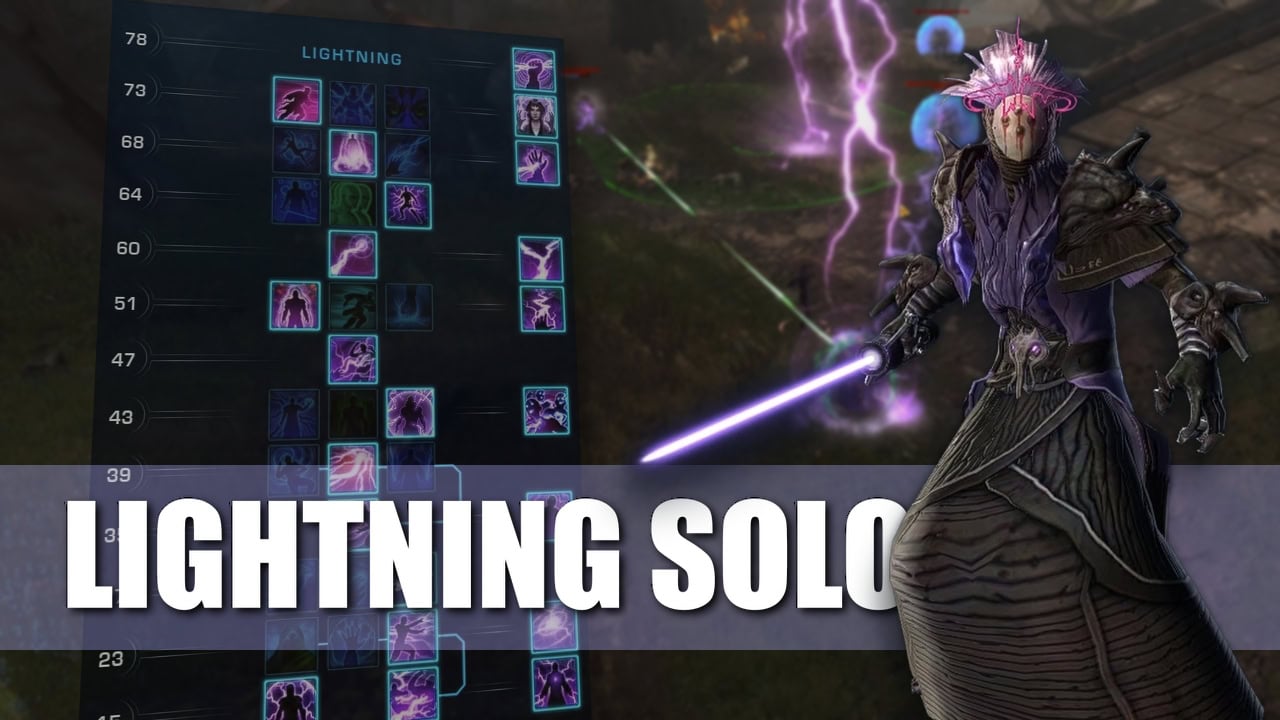
This video guide will show you how to use the best Deception Assassin build, optimized to perform extremely well in solo content by utilizing effects designed specifically for use against trash mobs.
We also have a written version of this build here on the site. You should also check out the full Class Guide for this spec to make sure you are not missing anything.
Best Assassin Solo Builds in SWTOR Solo Build guides for every Combat Style SWTOR Deception Assassin Class Guide All SWTOR Class Guides| Introduction to the build | |
| Skill Tree and Gearing | |
| Ability Priorities |
The video includes gameplay elements and custom-built screens showing and explaining the build in details with Vulkk’s voice over time-stamped and shown in the table below.
| 0:11 | This build is designed to be used for solo content and utilizes the May Cause Injury Tactical. |
| 0:16 | The signature feature of this build is that you can take out many groups of enemies with Severing Slash + autocrit Discharge and anything that’s still left standing gets whacked with Reaping Strike crits. |
| 0:33 | The May Cause Injury build uses 2 crit implants, so you’ll need to get an extra piece of alacrity or give up Dynamic Force in favor of Force Training. |
| 0:42 | Dynamic Force is more valuable with this build because it will enable you to use Recklessness for every single trash pull without having to wait around. |
| 0:51 | I recommend taking Lightning Critical and Voltaic Engine to boost your damage output, but they’re not required. |
| 0:59 | Don’t bother trying to maintain the crit chance from Voltaic Engine on regular trash. |
| 1:04 | In boss fights in FPs, switch Reaper to Penetrating Slash and May Cause Injury to The Awakened Flame. |
| 1″12 | You don’t have to worry as much about building up Voltage since you’ll be getting 3 stacks of Static Charge from other sources, though you will still need to build 1 stack with Severing Slash, Lacerate, or Voltaic Slash to turn Discharge into an AoE. |
| 1:31 | This is the general priority system you’ll be using your abilities in against each group of trash in order to maximize your damage output. |
| 1:40 | Generally, you’ll activate Recklessness, Phantom Stride in from Stealth giving you 3 stacks of Static Charge and Shadowcraft, enabling single-target autocrit Discharge, then cleave the group with Severing Slash to boost Discharge’s damage further and enable it to be an AoE. |
| 1:57 | Most enemies hit by Severing Slash will go down for the count with the AoE Discharge, and the ones you missed can be finished off with Reaping Strikes crits. |
| 2:07 | If that wasn’t enough, quickly do Assassinate then Maul or Ball Lightning and hopefully that will be enough. |
| 2:14 | If you’re too slow, you won’t get the cooldown reset on all of your attacks, so make sure to only use Reaping Strike against enemies that have low enough health that a Reaping Strike crit will be able to finish them off. |
| 2:29 | For more details read the full guide on VULKK.com. And check out the list with all Solo Build Guides for each Class and Discipline on the site. Thank you. |
