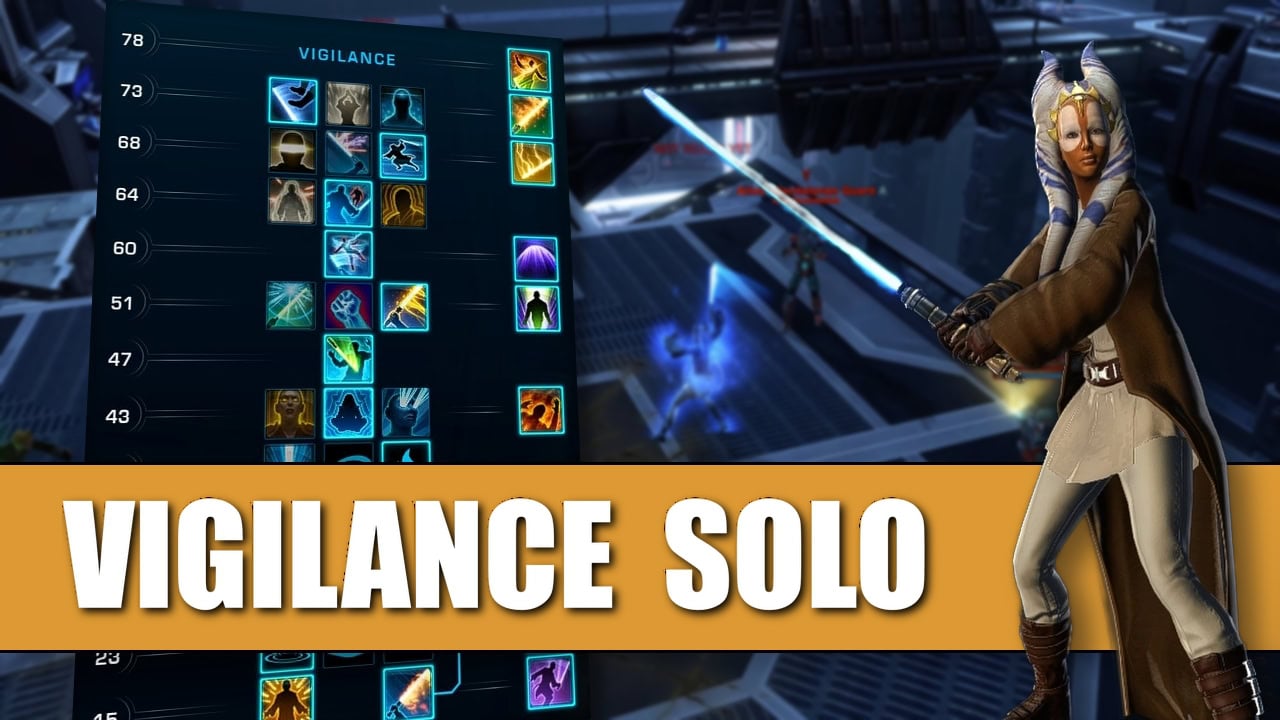
This video guide shows you how to create the best solo build for the Fury Marauder discipline in Star Wars: The Old Republic.
Read the written guide for all best solo builds for Marauders as well as the full Fury Guide to get a full grasp of this discipline and combat style’s.
SWTOR Marauder Best Solo Builds SWTOR Fury Marauder Full Class Guide| Start | |
| Skill Tree and Gearing | |
| Ability Priorities |
Start
0:02 | Welcome, to the best Fury Marauder Build, optimized to perform extremely well in solo content.
Skill Tree and Gearing
0:12 | If you want, you can use Subjugate and/or Criticality instead of Dark Synergy and Furious Rumination. Criticality offers slightly higher single-target DPS, but with Furious Rumination, you’re overflowing with Rage, so you don’t need to worry about it nearly as much. Subjugate enables you to deal AoE damage with Raging Burst, which will increase the rate at which you will take out the weaker enemies, though it will take longer to defeat the stronger enemies as single-target DPS is lower.
Ability Priorities
0:48 | This is the opening rotation you’ll use against trash. Think carefully about which mob you’re hitting with each attack.
0:56 | Start by leaping in and making sure you have sufficient Rage, use Battering Assault if you need more. Then use Obliterate. It grants a proc that makes your next Raging Burst or Smash autocrit. You should be using Obliterate pretty much on cooldown.
1:16 | Your first major objective is detonating Force Crush as an AoE with Smash. Force Crush only lasts 3s, so you have to be quick about applying it and immediately following it up with Smash or you’ll miss out on your AoE damage.
1:31 | Before you do Force Crush and Smash, throw in a Furious Strike. It hits hard and gives you a proc that boosts the damage dealt by your next Smash or Raging Burst. Furious Strike should be used next on a target that will be able to survive through the subsequent Smash autocrit and Force Crush detonation, so use it on a different enemy if there are no Strong or Elite enemies present.
1:56 | Once you’ve done Smash and Force Crush, it’s time to finish enemies off with Obliterate, Raging Burst, and Furious Strike. You need to leverage the Obliteration ability tree buff to reset the cooldowns of Obliterate, Raging Burst, and Smash and boost their damage dealt.
2:14 | To get the Obliteration proc, you need to defeat the enemy within 3 seconds of using Obliterate on it, so you need to pay close attention to what enemy you expect to defeat next and how much damage it will take to defeat them. Obliterate + Raging Burst is sometimes overkill, so you can use Force Scream instead of Raging Burst if you think that will be enough to finish something off.
2:37 | You can use Sweeping Slash, Mad Dash, and Dual Saber Throw for an additional bit of AoE (especially from range) as needed and Vicious Throw, Furious Strike, Force Scream, and Ravage for other single-target attacks.
2:53 | For more information read the full guide on VULKK.com. And check out the full list with all Solo Build Guides for each Class and Discipline. Thank you.
