Everything you need to know about how to beat the Orbital Core, a challenging 4-player boss added as part of Wreckage on Dantooine in Game Update 7.8.
Requirements and Access
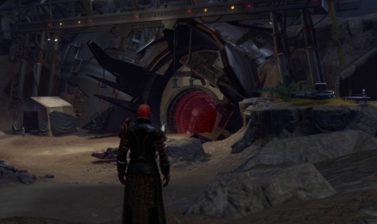
Orbital Core is a phased Master Mode boss fight available to level 80 players inside the wrecked ship called the Jannimak on Dantooine at the Crash Site Outpost.
The Orbital Core is only available for 90 real-world minutes at a time after leveling up each of the biomes to level 3. You won’t get kicked out of the Orbital Core room once the timer runs out, but you rez outside if you die and can’t get back in.
Defeating it is the final step of the Wreckage on Dantooine mission and there is a Weekly [Master] Orbital Core mission associated with it, but you do not need either to participate.
However, somebody in the group needs the weekly [Master] Orbital Core for the group to be able to enter the phase because access is tied to the weekly. If you don’t have the weekly and try to enter before the person who does, you will get auto-killed.
The weekly is repeatable 3 times, you essentially have a 3x lockout per toon, though you can avoid this by only having one person in your group get the weekly each time.
You need a standard 4-person group composition with a capable 1 tank, 2 DPS, and 1 healer. We strongly recommend having at least 340 gear, proper tactical item, and legendary implants, along with a full set of 296 augments.
It is also pretty important to get your whole group in voice chat, and if you can’t handle that emotionally, even just to listen, I’m afraid this fight isn’t for you, even with all the buffs that make it easier.
Without the buffs, Orbital Core is a Master Mode fight comparable to the difficulty of modern MM Operations and Chapters, not Flashpoints.
How to Lower the Difficulty of Orbital Core
Rather than the traditional approach where you set the difficulty before walking into the phase, Orbital Core is only available in Master Mode; but you can still significantly lower the difficulty through other means.
To make the fight easier, you must instead acquire numerous, powerful buffs that organically make the fight easier. Some of these buffs are locked behind Reputation ranks.
The buffs you can get are massive, like reducing the damage you take by 30-60%, increasing your damage output by more than 30%, and making you immune to some of the mechanics.
These buffs will lock you out of getting the “A Core to Settle” achievement and Legacy Title: Locked In, but that’s basically just the MM achievement for the fight, which is not required to get any of the other achievements on Dantooine.
Buffs Breakdown
These buffs are massive, usually enough eliminate most of the damage you’ll take. With these buffs, it is possible to solo most of the fight, though bringing a duo is more practical due to interrupt requirements on Orbital Core.
- +30% to +60% Defense/Resist Chance
- +30% from
 Mysterious Stim
 - +30% from Volcanic Residue
- +30% from
- +10% to +20% Critical Chance
- +10% from Unknown Adrenal
- +10% from Crystalized Energy
- +10% from
- +20% to +40% Alacrity, 100% Ability Activation Pushback Immunity
- +20% from Unknown Adrenal
- +20% from Altered Flora
- +20% from
- +10% to +15% Endurance
- +5% from Mysterious Stim
- +5% from Benign Spores
- +5% from Guild Flagship Orbital Support
- +5% from
- Ignore Some Mechanics (Friend+)
- Glacial Preservation Droid with Thermal Regulator
- Sporogenic Droids with Hyphal Degeneration Stim
- G30-MN Mining Unit with Emergency Chemical Purge
- 15% of Max HP HoT from Spore-Spangled (Friend+)
- One-Time Death Avoidance from Spore Spangled (Friend+)
- +10% Kinetic Damage Absorption from Regulated Preservation Adrenal (Hero+)
- +1200 Defense Rating and Endurance from Regulated Preservation Adrenal (Hero+)
- +1200 Mastery, Power, Critical Rating, Alacrity Rating from Regulated Aggression Adrenal (Champion +)
- +300 Accuracy Rating from Regulated Aggression Adrenal (Champion +)
- +7.5% Damage Absorption (on average) from Icy Infusion (Friend+)
- 5s DoT from Weaponized Runoff (Friend+)
- +5% Damage Reduction from Guild Flagship Orbital Support
- +5% Damage Dealt from Guild Flagship Orbital Support
Ecotone Buffs
The clickable buffs from the ecotones connecting Glacial Trespass to Geothermal Disruption and Sporefall can be incredibly valuable. These are the most reliable buffs you can get as they are almost always there by the time the Core is available.
The Volcanic Residue is particularly essential if you ask me, but I don’t recommend spending time to get the Glacial/Sporefall ecotone buffs unless the pink flowers from Altered Flora are there. Usually, it’s just the blue flowers that give Benign Spores.

Volcanic Residue
Empowered by the frozen volcanic vents in the Glacial/Geothermic Ecotone.
Increases your Defense/Resist Chance by 30% and increases your movement speed to 110%. Lasts 30 mins. Does not persist through defeat.
CRYSTALlIZED ENERGY
Empowered by the crystalized toxins in the Glacial/Geothermic Ecotone.
Increases your critical chance by 10% and increases your movement speed to 110%. Lasts 30 mins. Does not persist through defeat.
Benign Spores
Empowered by the frozen spores in the Glacial/Sporefall Ecotone.
Increases your Endurance by 5% and increases your movement speed to 110%. Lasts 30 mins. Does not persist through defeat.
Altered Flora
Empowered by the altered flora in the Glacial/Sporefall Ecotone.
Increases your Alacrity by 20%, eliminates ability activation pushback, and increases your movement speed to 110%. Lasts 30 mins. Does not persist through defeat.
Frustratingly, the ecotone buffs do not persist through defeat, so you will need to go out and grab them after every single wipe.
You can speed things up with the Maintenance Access Cards you unlock at Hero rank, but the whole group needs to do it, or you end up waiting on that last person. Also, it’s 120-180k credits per wipe if you use the shortcuts.
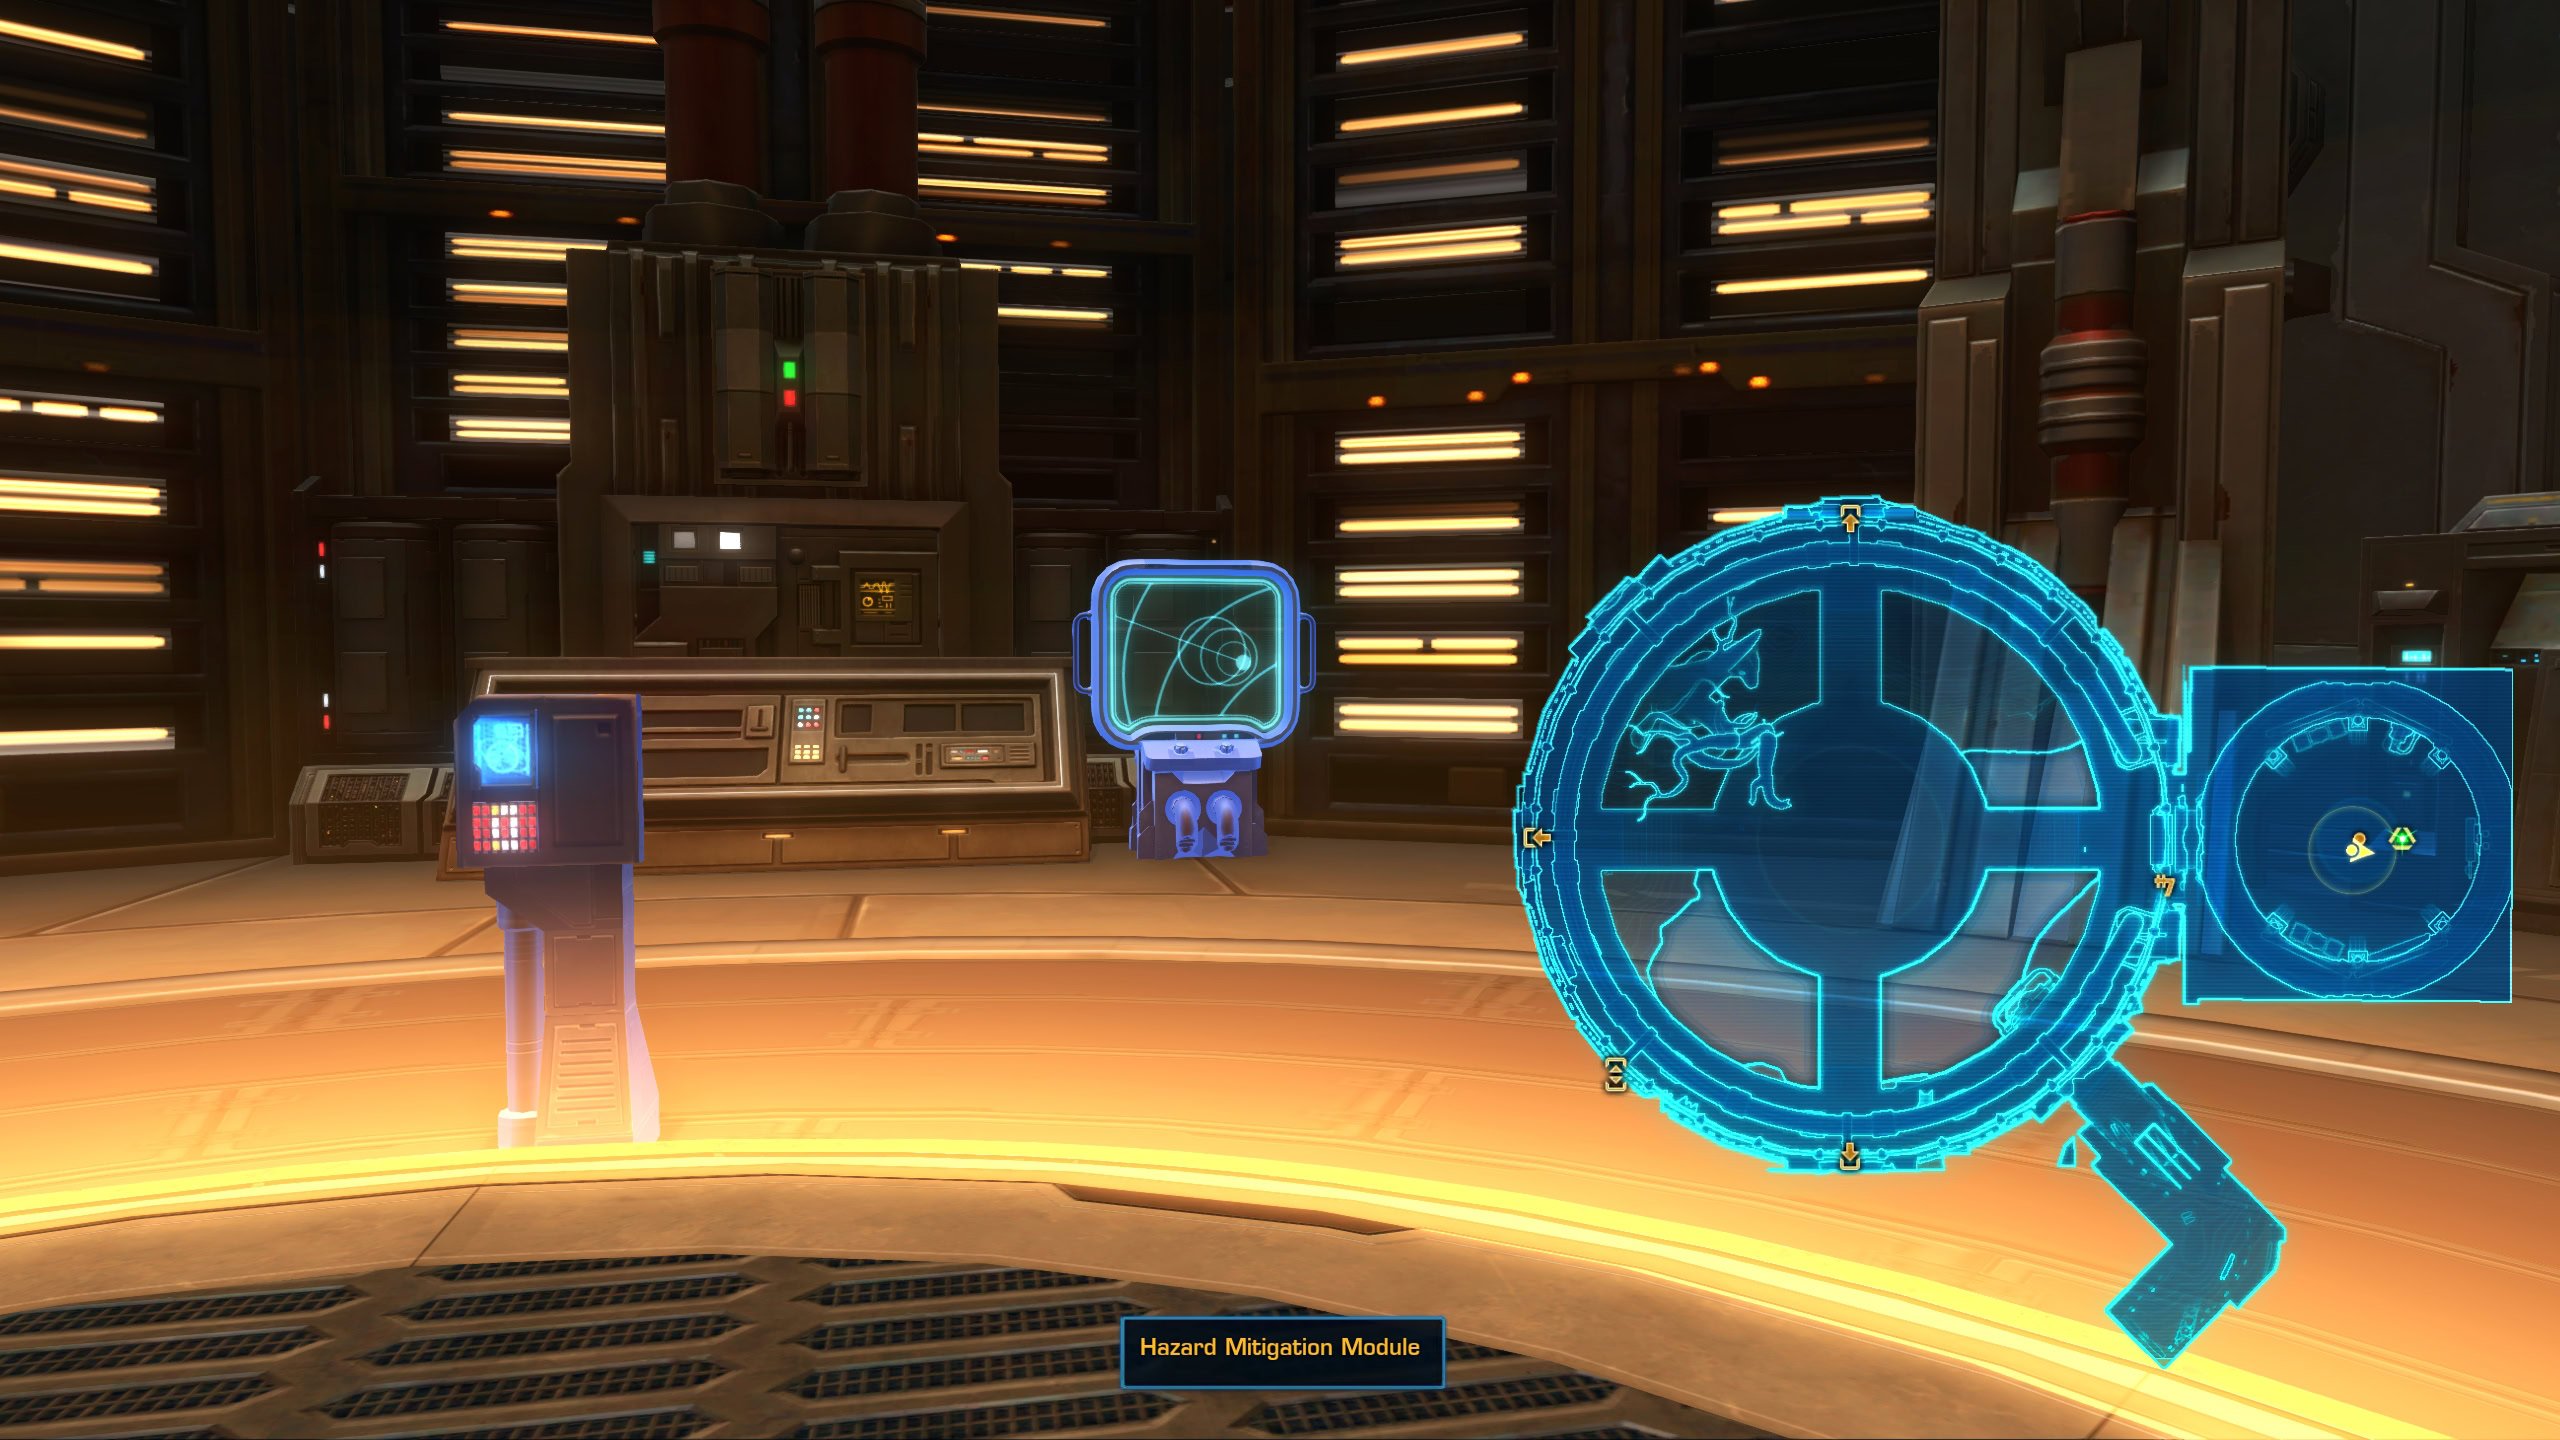
Orbital Core Hazard Mitigation Module
There’s a separate terminal near the entrance to the Orbital Core that supplies buffs that only function within the Orbital Core and require at least Friend or Hero reputation rank to use.
Hazard Mitigations (Friend+)
The normal Hazard Mitigation Module that protects you from the harsh effects of each biome doesn’t work inside the Orbital Core.
Instead, you can get special protection from one of the main debuffs from one of the droids. Each buff lasts only 30 mins and costs 200k credits but does persist through defeat. You can’t have more than one active at a time and they all require Friend+ rank to use.

Thermal Regulator (Glacial)
Reduces your damage taken the Glacial Preserver’s Magma Pools and Magmolated DoT by 25%. In addition, you gain a temporary ability on a 30s cooldown that zeroes out stacks of Cryo Calibration and purges the bonus mechanic for the Glacial Preserver.
Toxic Runoff Protection (Geothermal)
Grants a temporary ability that can purge G30-MN Mining Unit’s Toxic Runoff and Splattering Runoff debuffs.
Hyphal Degeneration Stim (Sporefall)
Grants a temporary ability that can purge Horrible Spores and automatically transfer Spore Delerium, the Spore Droid bonus mechanic, to another valid target.
You should choose the buff for whichever droid you pick to fight in the first area, since that’s the one that has the harder mechanic you’d have to deal with.
Regulated Adrenals (Hero+)
Regulated Adrenals are also available from the Hazard Mitigation Module near the entrance to the Orbital Core. They require Hero or Champion reputation rank and come in both an offensive and defensive flavor.
Regulated Preservation Adrenal [Hero+]
Grants a temporary ability for 90 mins that increases Endurance and Defense Rating by 1,200 and absorbs 10% of incoming Kinetic damage for 10 mins.
Regulated Aggression Adrenal [Champion+]
Grants a temporary ability for 90 mins that increases Accuracy Rating by 300 and Mastery, Power, Critical Rating, and Alacrity Rating each by 1,200 for 10 mins.
The fact that these buffs increase baseline stats makes them akin to temporary gear upgrades or Biochem stims, though they are much stronger than the latter.
The benefit of the stat value provided varies by stat and role. For example, +1,200 Endurance is only a ~5% boost, whereas +1,200 Critical Rating is more like a ~33% boost to your total stat.
Mysterious Stimpacks and Unknown Adrenals
Mysterious Stimpacks and Unknown Adrenals vastly improve your defensive and offensive capabilities, respectively. They do last 90 mins, the full duration that the Orbital Core is available, but they do not persist through defeat and require you to spend time finding them.
Mysterious Stimpack
Increases your Defense Chance by 30% and Endurance by 5% for 90 minutes. Does not persist through defeat.
Unknown Adrenal
Increases your Critical Chance by 10%, Alacrity by 20%, and eliminates all ability activation pushback for 90 minutes. Does not persist through defeat.
Both spawn in set locations and do not require reputation, but once one person picks it up, it’s gone and everyone else has to find other ones, if there are any left. If you’re already there before the Core becomes available or are waiting for the group to form, they’re absolutely worth picking up.
Stealthers can get a whole lot more mileage out of these inside the Core because they can stealth out instead of stucking it like you could in the olden days of SWTOR since it’s not a normal FP or Operation instance.
If you have the Mysterious Stimpack and Volcanic Residue, that’s +60% Defense/Resist chance right there, so it’s very unlikely you’ll die from something that doesn’t one-shot.
Both are valuable for everyone, but your tank should have first dibs on any Mysterious Stimpacks and DPS/healers get first dibs at Unknown Adrenals.
Regional Research Note Buffs
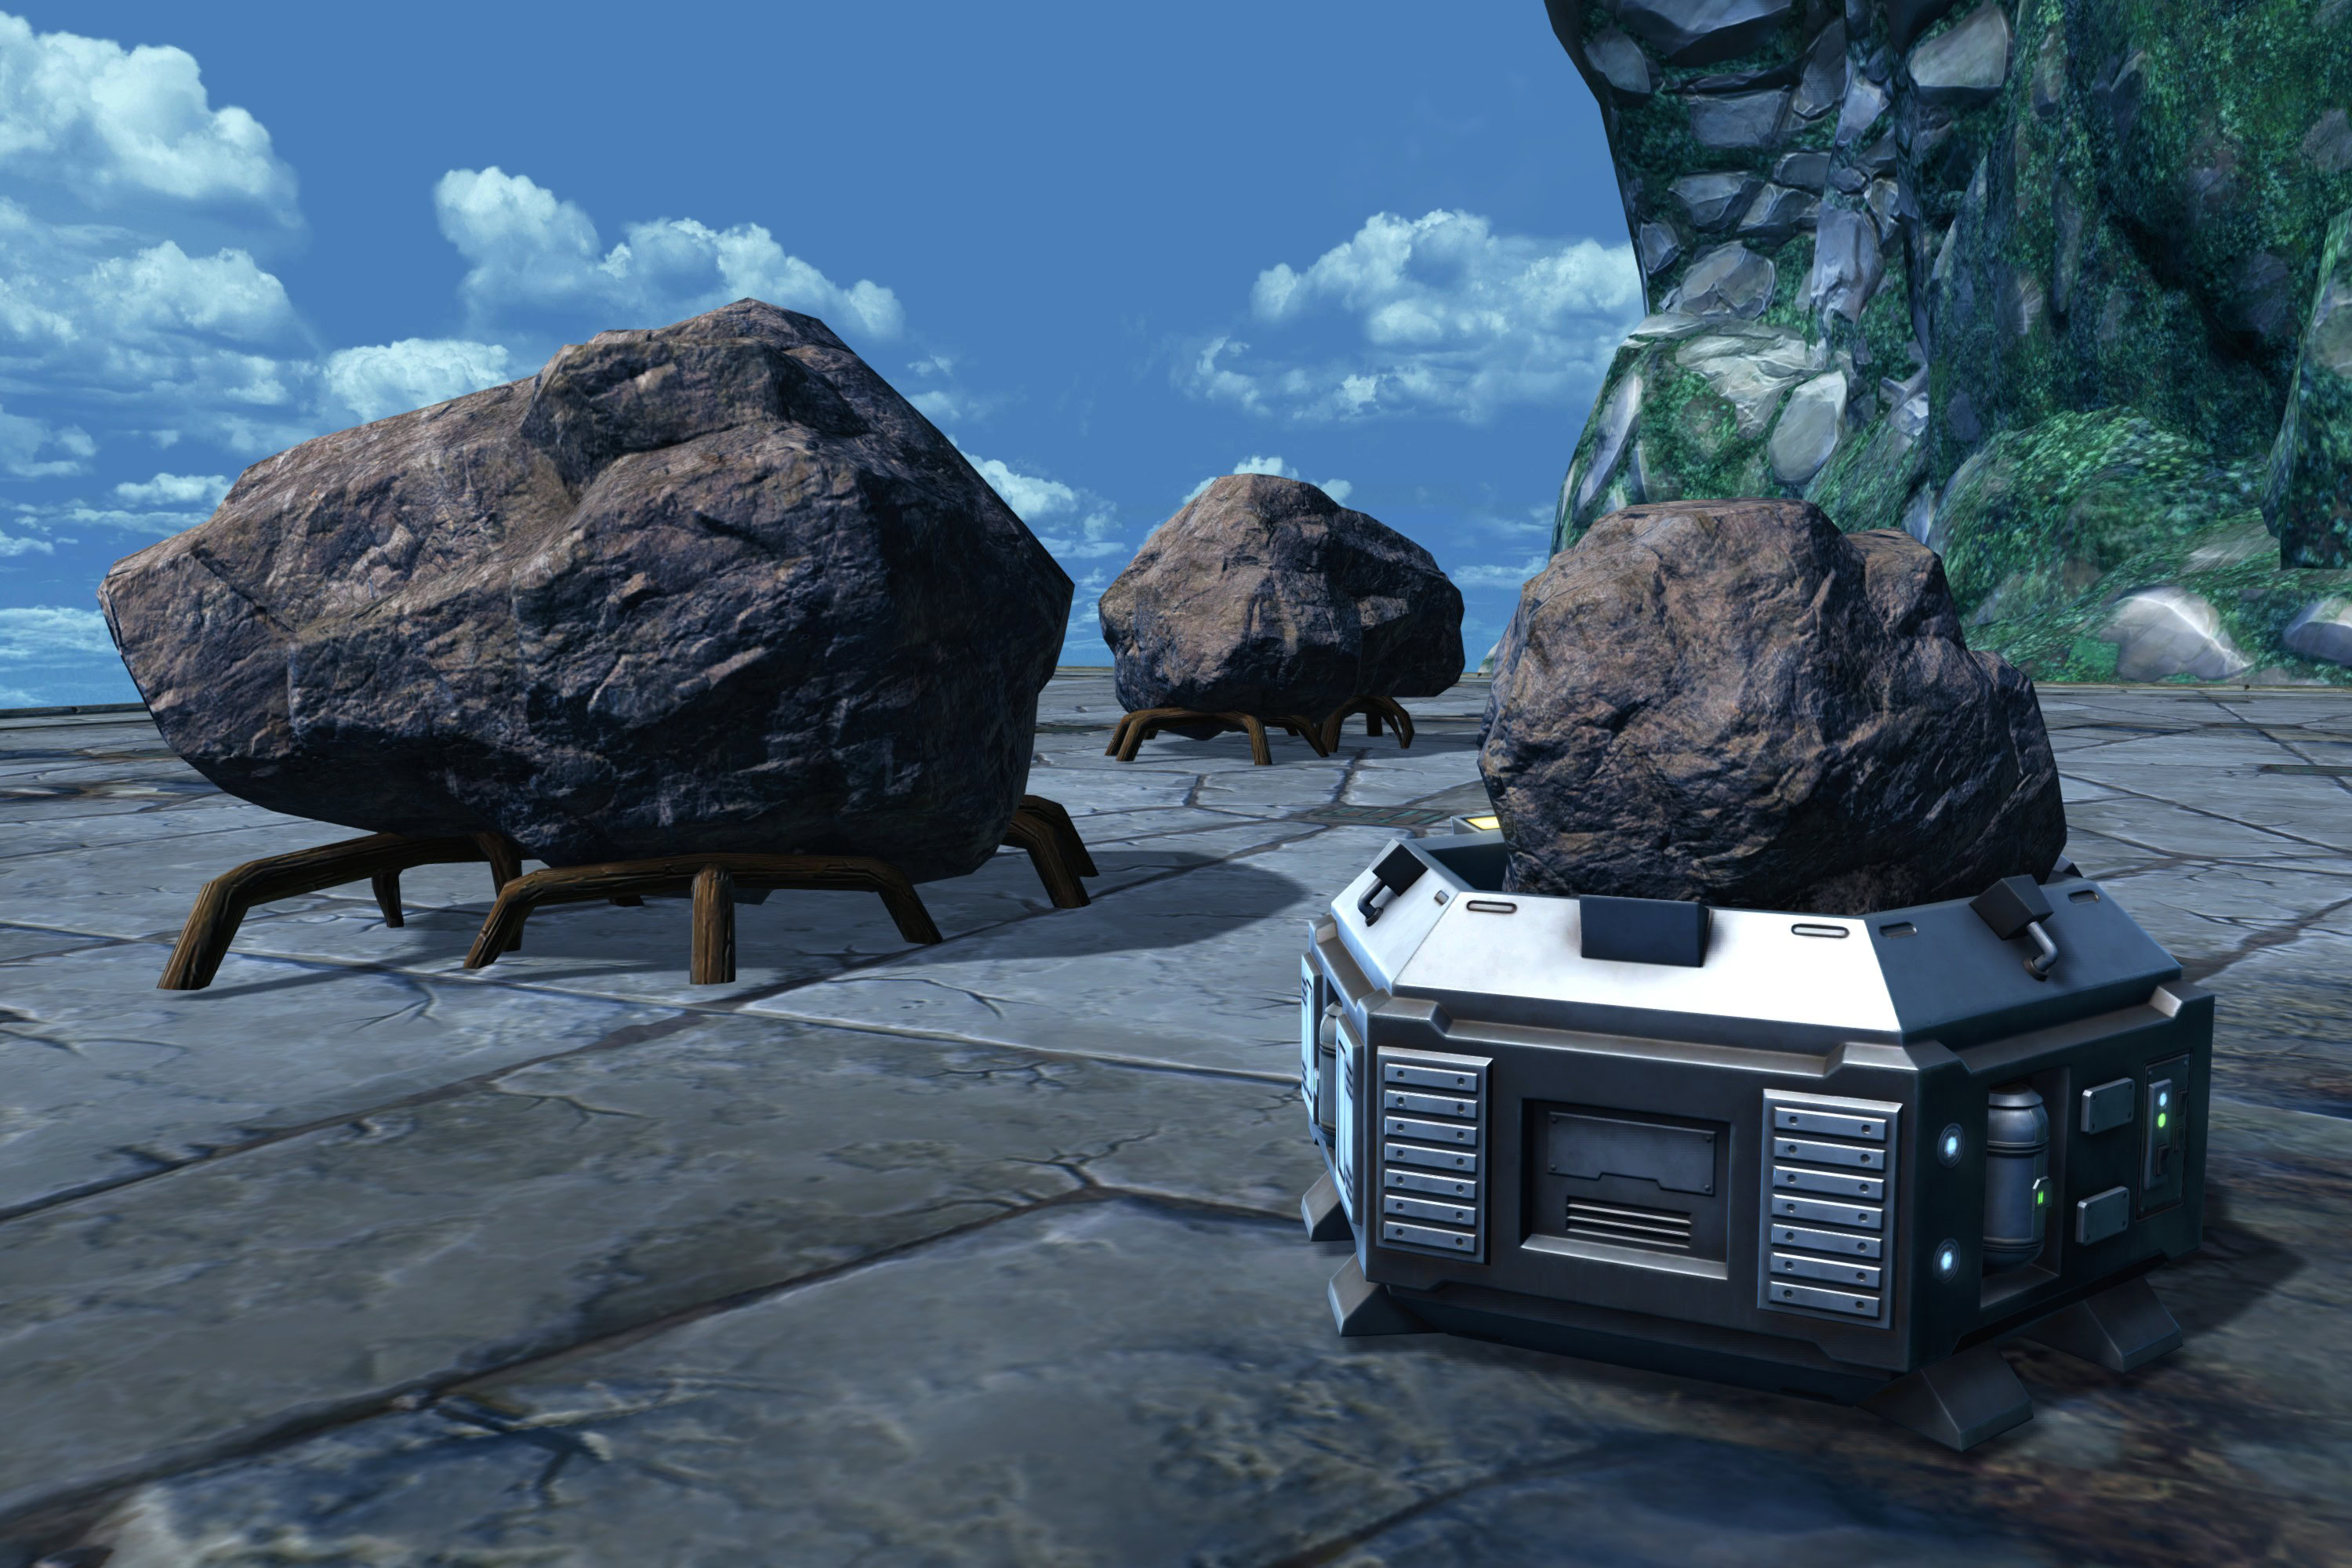
Once you hit Friend reputation, you can buy Research Notes for each region that let you click the associated special object, providing a chance-based buff that lets you turn the harsh environment back on the denizens of the Jannimak.
| Location | Buff | Special Object |
|---|---|---|
| Sporefall | Spore-Coated Mass | |
| Geothermal Disruption | Ejected Sludge Container | |
| Glacial Trespass | Supercooled Crystaline Shards |
These buffs only last 30 minutes, but they do persist through defeat, even if the Research Notes don’t. As a result of their short duration combined with inconsistent availability, I only recommend picking these up if you’re waiting around.
Spore-Coated Mass gives you a HoT and prevents you from dying once. Supercooled Crystaline Shards provide some partial damage absorption and stuns non-Champion enemies. Ejected Sludge Container does nothing to Champions, so it isn’t worth using for Orbital Core.
Reflects Are Your Friend (For Now…)
The vast majority of attacks from each droid are reflectable, so Juggernauts | Guardians, Mercenaries | Commandos, and even Powertechs | Vanguards are particularly well-suited to fighting the Orbital Core.
So many attacks are reflectable and don’t respond to AoE DR, particularly circles, that this will likely get patched.
Practice Defeating Each Droid
You can experience 90% of the fight by practicing against each of the droids in their rooms. Once you beat one, exit the area instead of moving on to fight the Orbital Core and reset your [Weekly] Orbital Core. Then, go back in and fight a different one.
The actual Orbital Core boss fight just has you fight all 3 back-to-back and then all at once. If you can’t beat each of them, you won’t be able to defeat the Orbital Core.
Contained Spore Bombs and Spore Purifying Towers
Contained Spore Bombs are purchasable from the main Reputation Vendor at the Research Camp for 50k a pop, but they are disabled for the fight!
You cannot use Contained Spore Bombs against the Orbital Core.
Spore Purifying Towers can be constructed after defeating Spore-Tending Droids in Sporefall.
When you defeat one, you get a buff that lasts for 2 hours (does not persist through defeat) that allows you to build part of a Spore Purifying Tower in set locations around Sporefall. It takes 4 droids (or drops for 4 people) to build a tower.
Given the lack of unique interactions beyond nullifying other Spore-Tending Droids, we thought you might be able to construct one inside the Orbital Core, but that turned out not to be the case.
In summary, neither Contained Spore Bombs nor Spore Purifying Towers can be used against the Orbital Core.
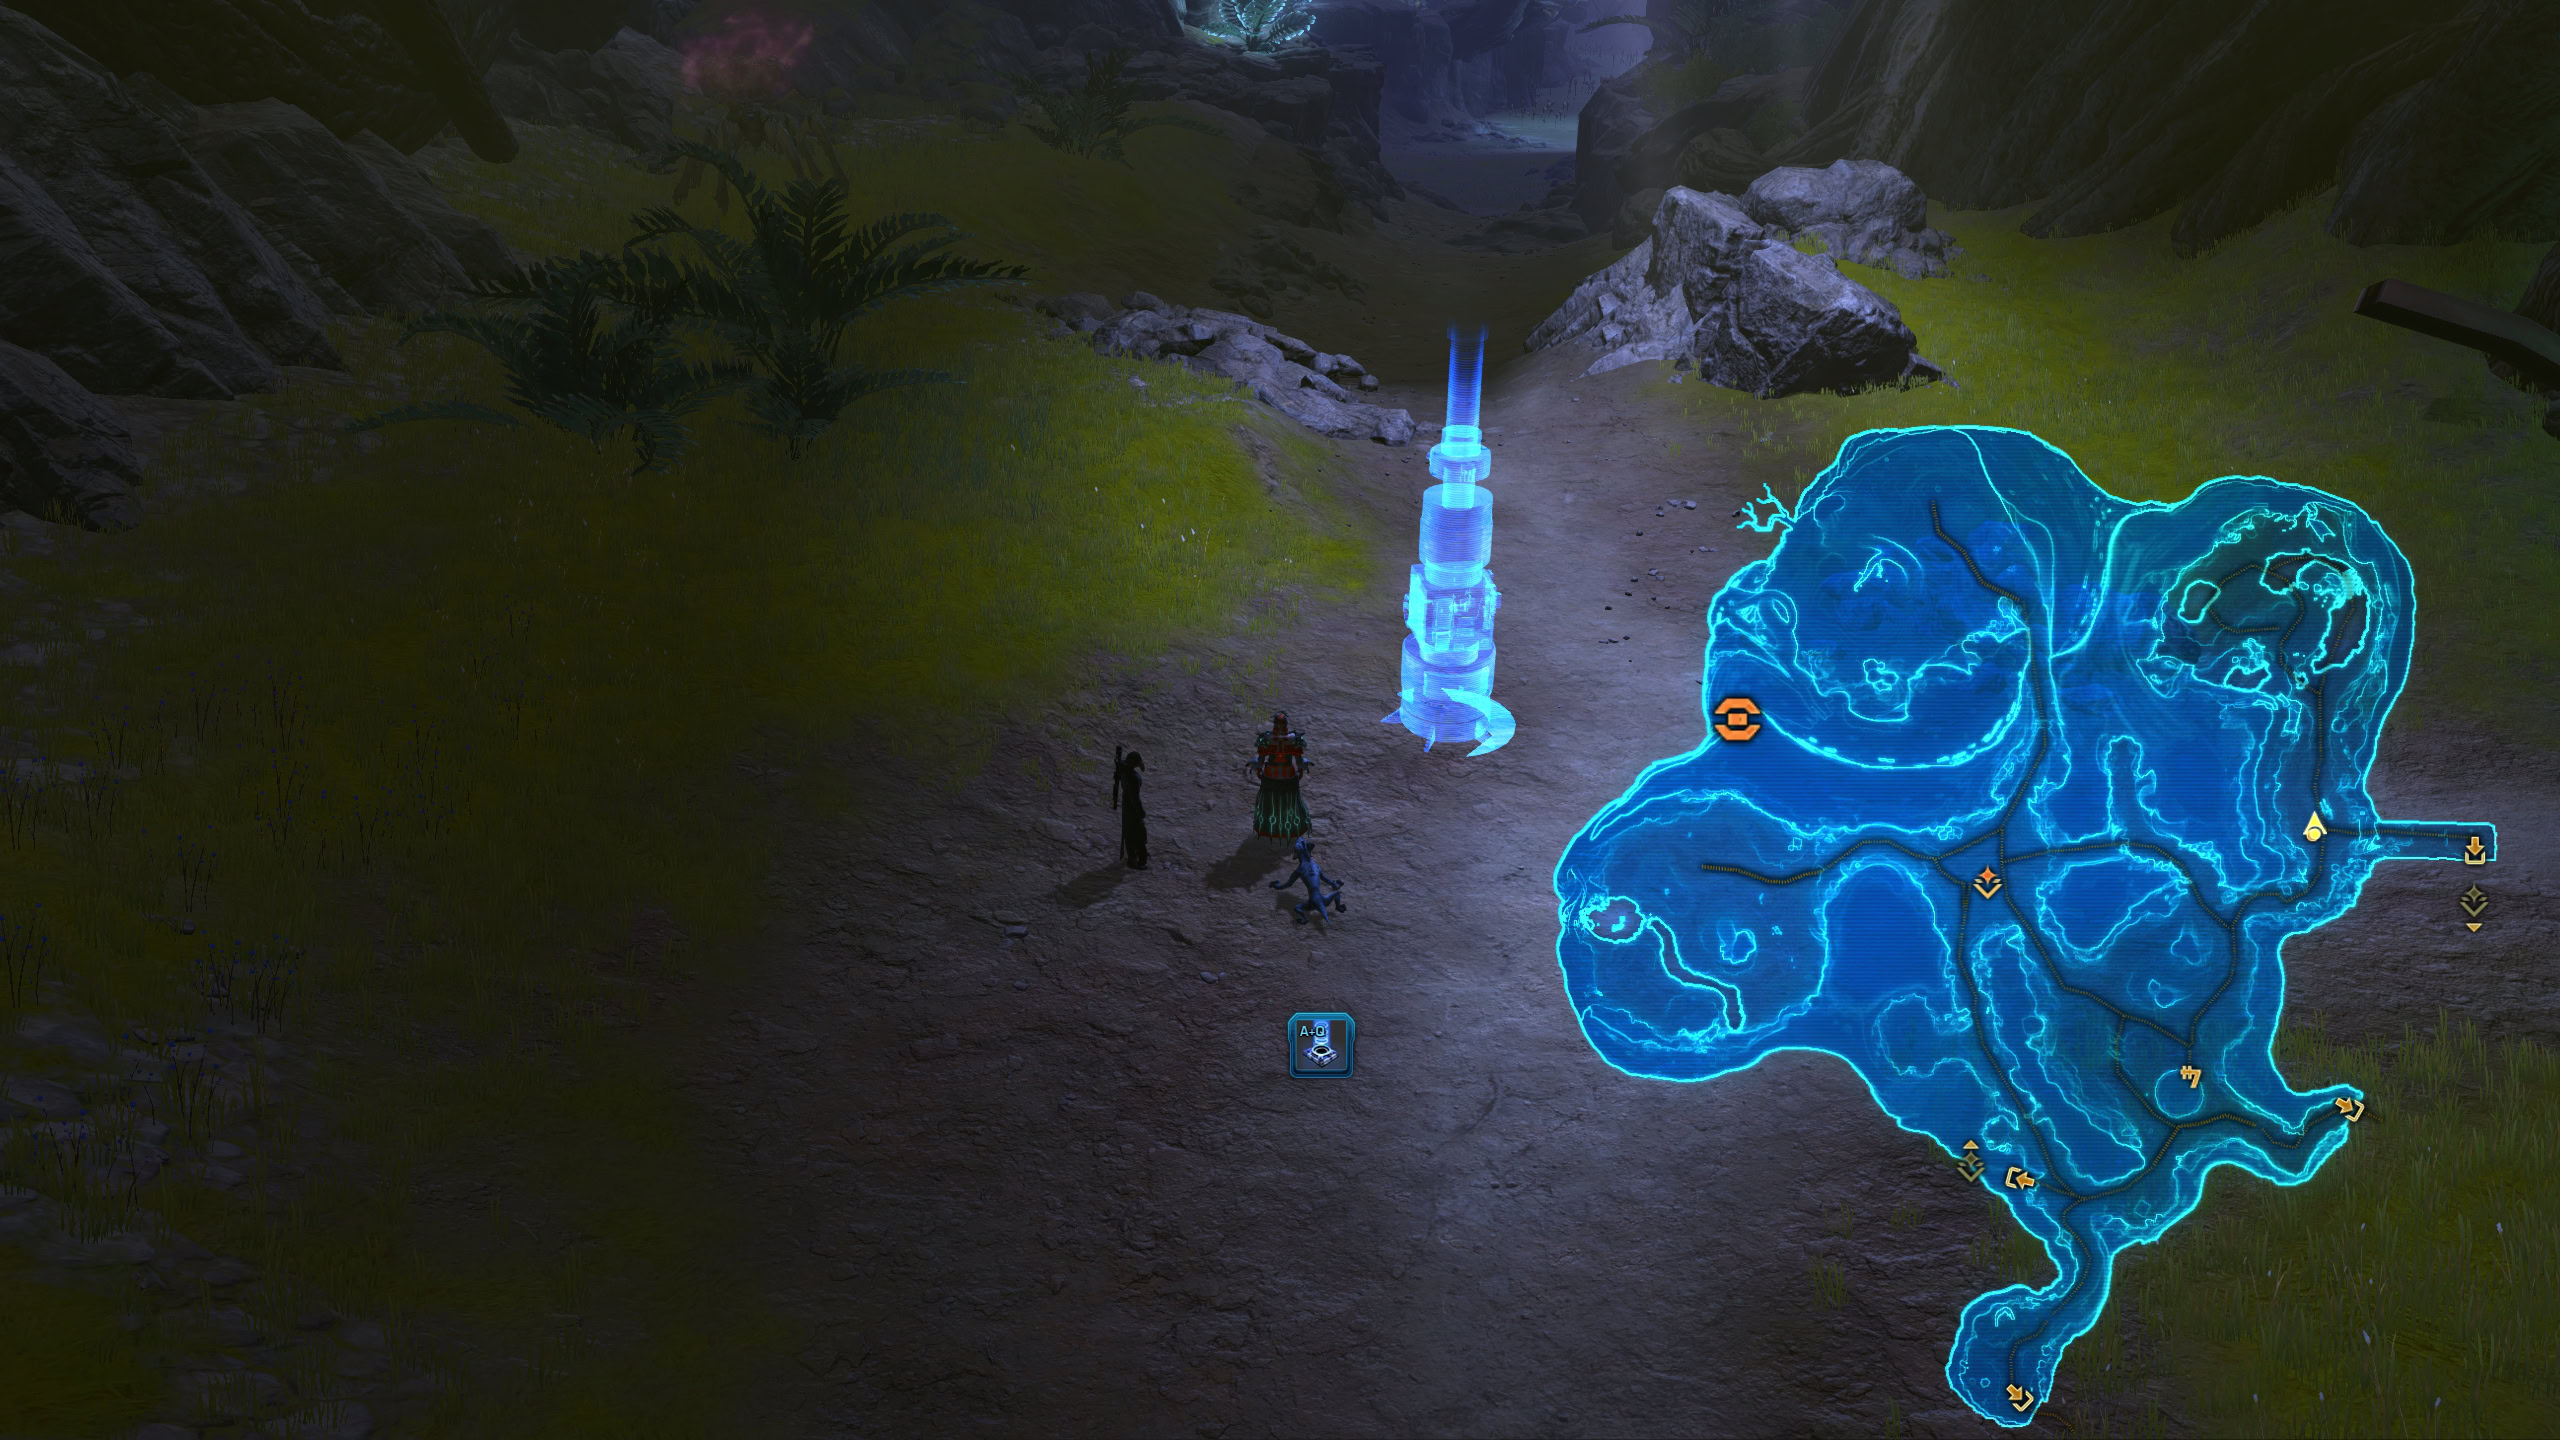
Overall Flow
The Orbital Core boss fight has several different phases with many of the mechanics centered around the environmental obstacles you encounter while exploring the wreckage of the Jannimak.
- Choose Room
- Defeat Chosen Droid
- Enter Main Arena
- Experience Environmental Debuffs
- Defeat Glacial Droid
- Burn Orbital Core to 60%
- Defeat Sporefall Droids
- Burn Orbital Core to 20%
- Defeat Geothermal Droid
- Fight Damaged Trio
- Burn Phase: Core Meltdown
First, you fight one of the biome’s droids on its own (your choice), then you go to the room with the Core itself, then you alternate between defeating each of the biome droids and destroying the actual Orbital Core.
Again, I highly recommend defeating each of the droids before trying to fight the Orbital Core itself.
Choose Your Opponent
Before you can get into the main arena and fight the actual Orbital Core, you have to beat one of the droids you’ll see again later. Each door corresponds to one of the 3 biomes.
This first section basically just enables you to practice each of the main phases of the Orbital Core fight, since you’ll encounter each of these droids again in sequence after you get through the door.
Whichever droid you choose to fight will have some sort of buff that it will carry over when you fight it in the next room. In other words, whichever one you fight first will be a little harder, though the Orbital Core’s Hazard Mitigation Module will protect you.
These droids are the bulk of the main fight, so read on to learn more about the mechanics of each one.
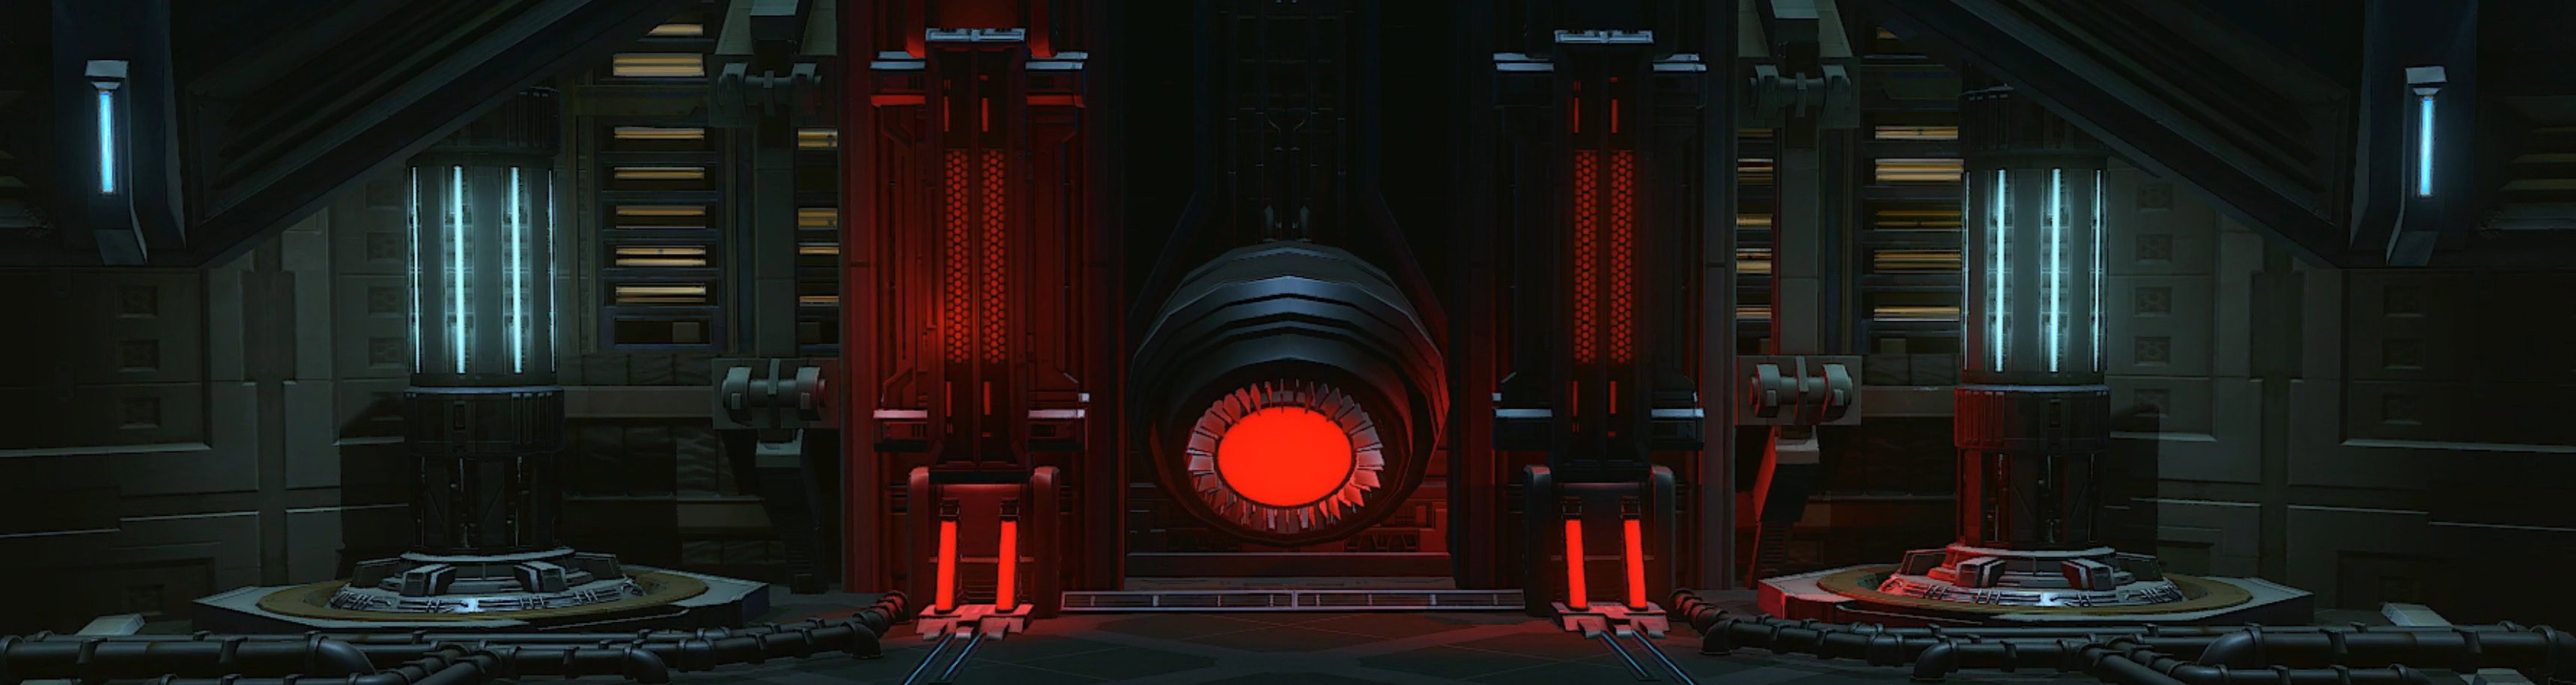
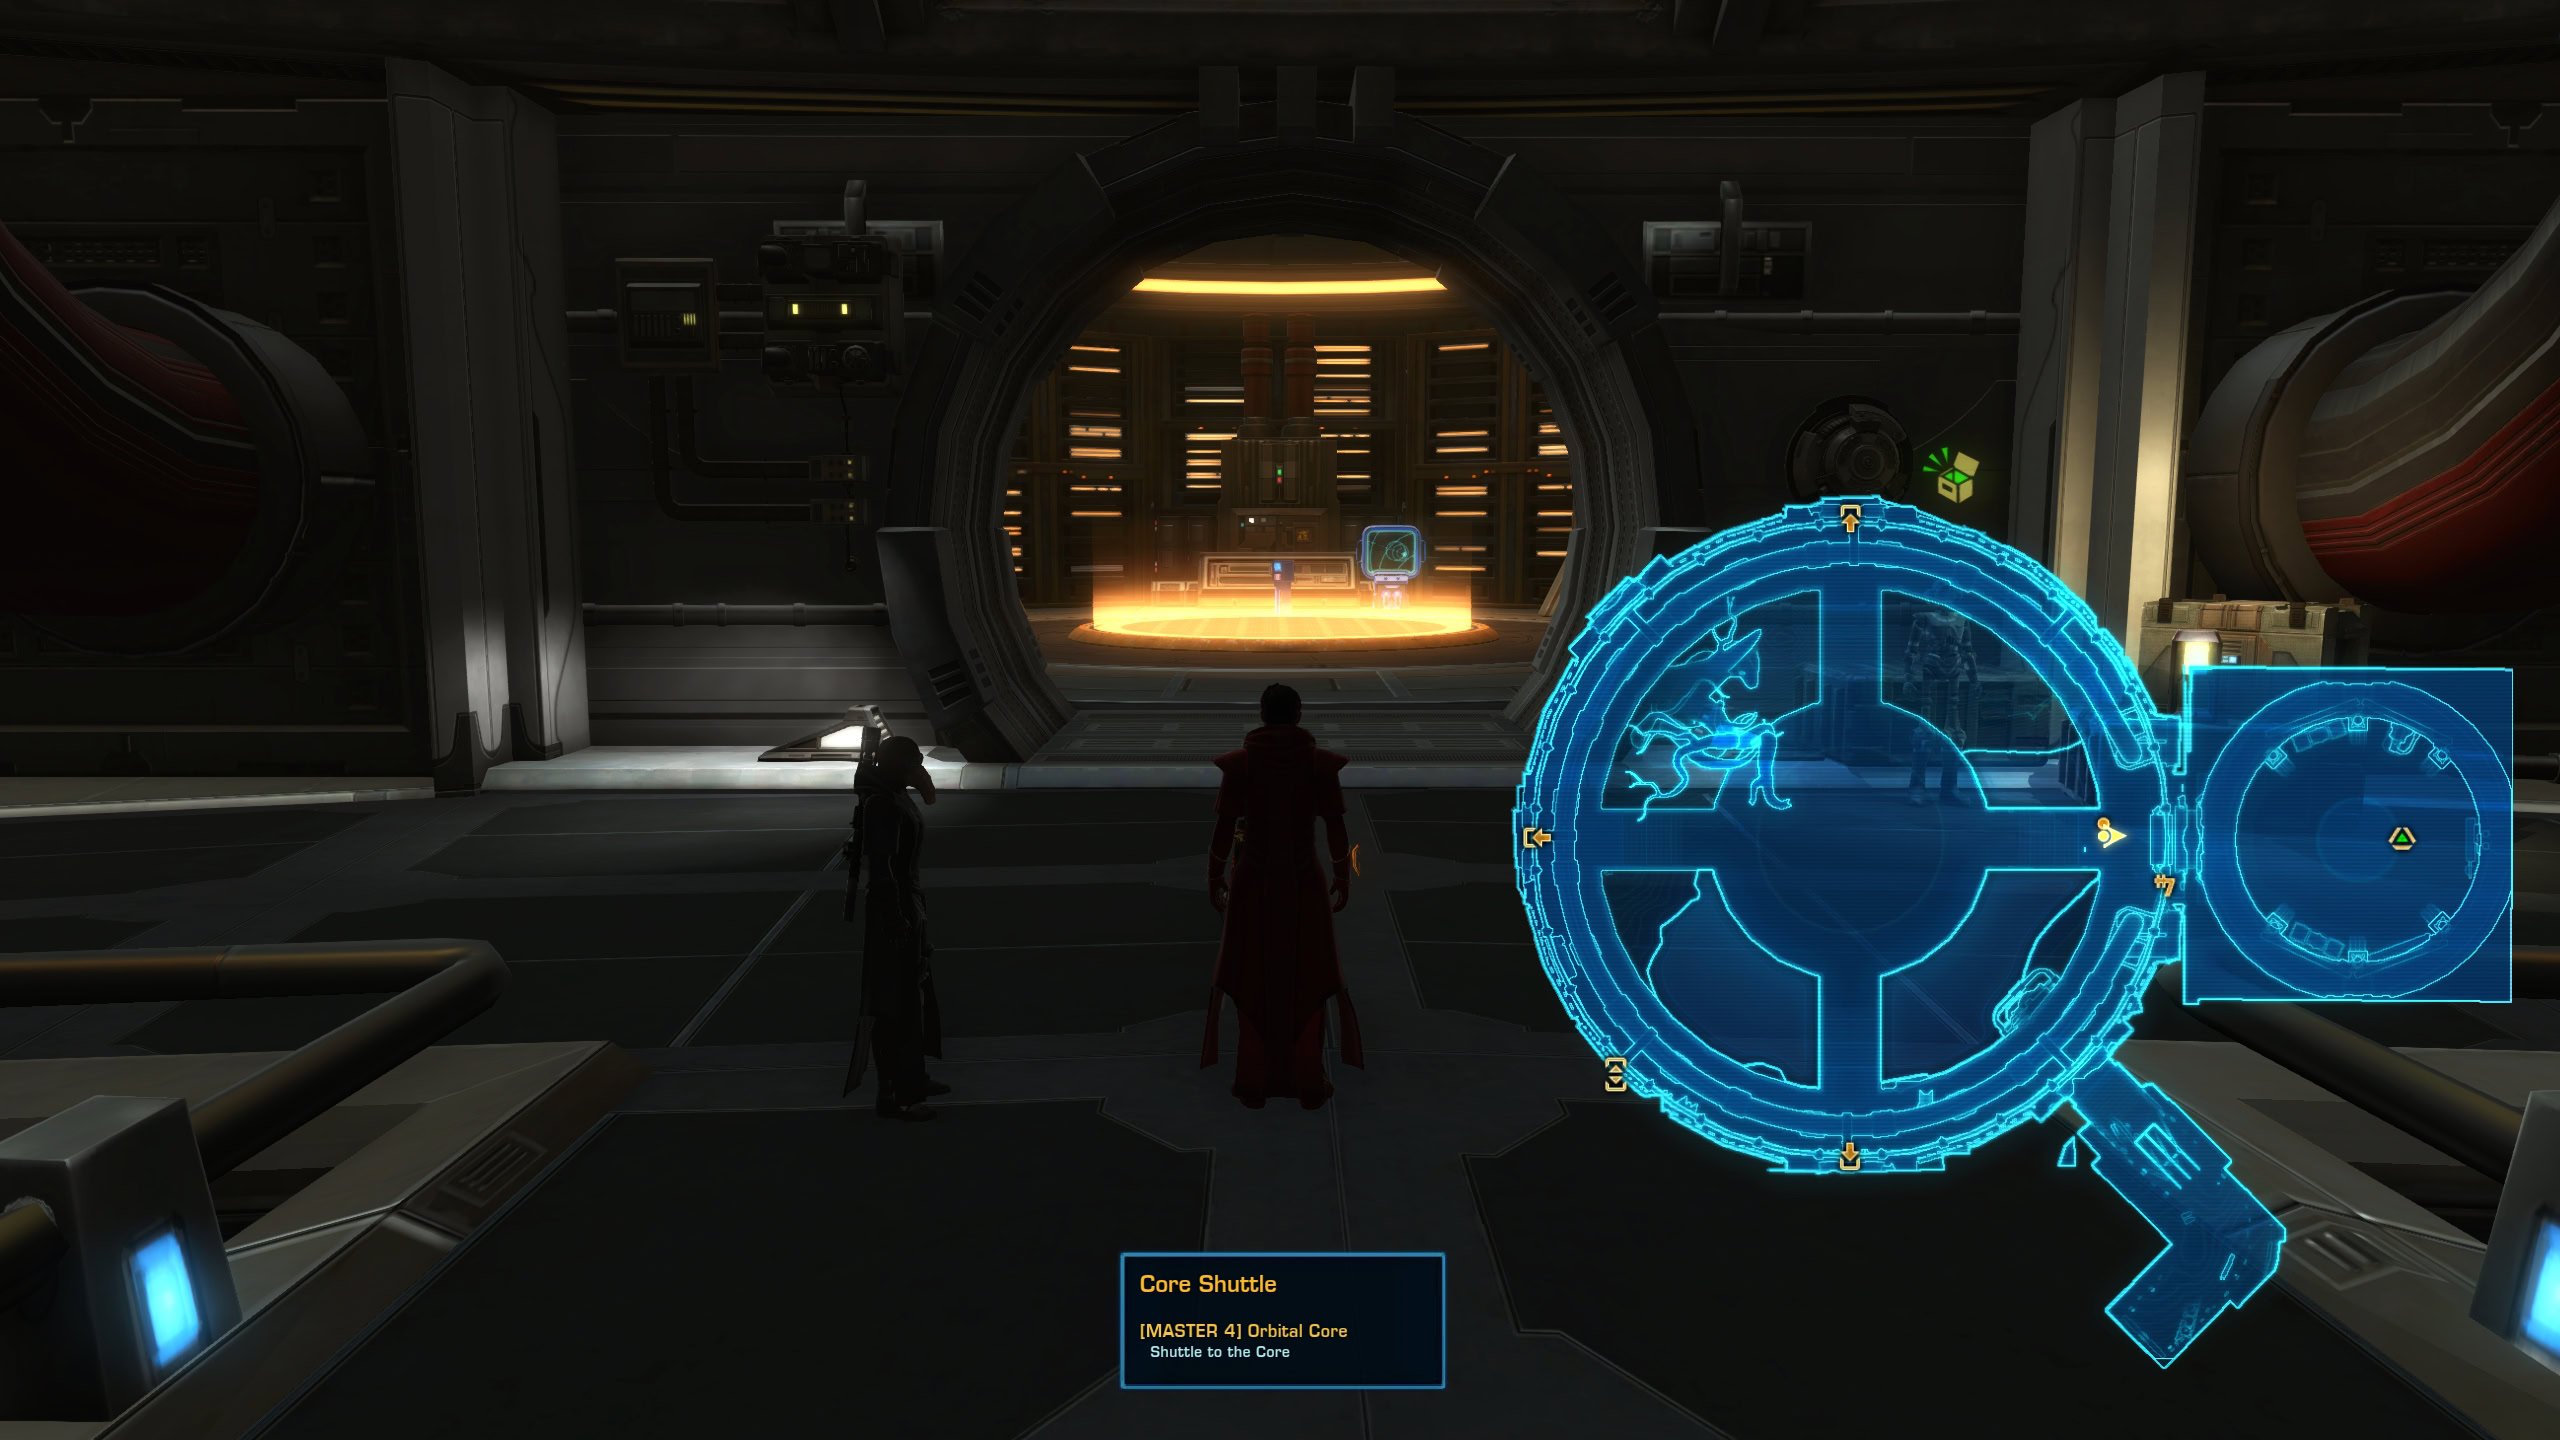
Orbital Core Proper and Transitions
After clearing the droid behind your chosen door, the real fight begins. Again, the general flow is: defeat biome droid ▶ burn Orbital Core ▶ repeat.
The Orbital Core itself is usually shielded and access is cut off by a light bridge. After you defeat a biome droid, the light bridge activates and the Orbital Core’s shield is deactivated.
Ranged DPS don’t need to cross the bridge to hit the Orbital Core, but the healer needs to catch up and recover. It’s important that everybody stacks for AoE healing, so everyone should cross the bridge.
The Orbital Core only has a single ability it channels called Prox Rejector, which deals increasing damage the longer it ticks. If the channel finishes, everyone gets knocked back, though you’ll probably wipe before then.
Your group will need to cycle through your interrupts using 3-4 players, depending on length of each player’s interrupt cooldown. Sort out an interrupt order or just claim them as cooldowns become available by saying “I’ve got next” in voice.
Once you burn through 40% of the Orbital Core’s HP, its shield will reactivate, and you’ll all need to cross the bridge back to the main platform ASAP. The bridge does not stay up for very long.
There is no need to use any cooldowns on the Core until the burn phase at the very end of the fight. Save them for fighting the individual droids.
In fact, you can stall for time if you need your cooldowns to come back up, just stop DPSing and keep interrupting Prox Rejector until everyone is ready.
Glacial Preserver Droid
The first droid you fight is always the Glacial Preserver, which is themed around the Glacial Trespass biome, but with a fiery twist.
Debuff: Cryo Calibration
Every 45s, the Glacial Preserver will cast Cryo Calibration, which does a dangerous knockback and applies a debuff that works just like the Extreme Cryogenic Saturation from Glacial Trespass biome.
You build stacks if you stand still and you perish if you reach 10 stacks. You need to keep moving to stay warm until the debuff falls off after 20s. You don’t need to make laps around the arena; it’s fine just to move back and forth.
It’s okay to build a few stacks to get your casts off so long as you don’t hit 10. Take it one GCD at a time. The Thermal Regulator (Hazard Mitigation) will reset your stacks.
It’s important to note that the knockback can be lethal. Make sure you are in the inner gray ring of the arena unless you’re dealing with the Magma Grenade.
As soon as that very first knockback goes out, you can and should pop all offensive cooldowns and raid buffs.
Magma Grenade
Every 25s, the Glacial Preserver will toss out a Magma Grenade on 2 players. It will feel overwhelming and scary to have a red circle around you that’s constantly exploding, but don’t panic.
The actual mechanic behind Magma Grenade is that you drop 3 red magma circles on the ground in succession and standing in one of these fire circles (or being the one to place them) applies the exploding fire DoT to you.
The red circles you leave behind are problematic when Cryo Calibration happens because you can get knocked into them. It’s really hard for the healer to keep up if people are setting themselves on fire more often than they should.
The circles last quite a while, almost a minute, and can quickly fill up the small platform you’re standing on, so it’s essential to place them as close together as possible with as much of the circle off of the platform as possible.
As soon as you get a red circle, follow this procedure:
- Move to the very edge of the platform
- Pop 1-2 good DCDs and ignore your HP
- Wait for the first red circle to drop
- Step out of the first red circle, moving along the edge of the platform
- Wait for the second red circle to drop
- Step out of the second red circle, continuing along the edge of the platform
- Wait for the third red circle to drop
- Return to the middle of the platform
If you have a DCD that’s particularly well-suited to mitigating the damage from the circle, like Force Barrier, it’s better to drop all 3 circles on top of each other. It will hurt a little more, but you really don’t have much space by the end, so the more you can stack, the better.
It’s also ideal if you can avoid dropping a red circle in front of the bridge to the Orbital Core so others don’t have to run through it.
Just move to the edge as soon as you have the red circle, do a single GCD, move along the edge until you’re out of the previous red circle, then do another GCD, then move again, and repeat one more time.
When you return to the middle, position yourself so that you won’t get knocked back into the fire (or off the ledge). The knockback is emitted by the droid, so your back just needs to be facing towards the part of the platform that isn’t on fire.
Don’t let it get in the way of placing your circles correctly but try to do as much damage as you can. The fewer rounds of fire circles that go out, the better.
Magma Blast
If that wasn’t enough, the Glacial Preserver also does a narrow conal attack called Magma Blast that tracks whoever has aggro. It doesn’t deal too much damage, but if someone is low from the Magma Grenade, it can be lethal.
The tank just needs to point it away from the group and everyone else needs to not stand in front of the boss. This is a lower priority than getting knocked into the Magma Pool or off the ledge. Just pop a weaker DCD if you’re gonna get hit.
The Glacial Preserver only fires Magma Blast after Magma Grenade goes out.
Bonus Mechanic: Calibration
If you choose to fight the Glacial Preserver before Orbital Core, you’ll have to contend with a bonus mechanic that requires a bit more coordination but seems to make the fight a bit easier.
When the Glacial Preserver’s health drops below 50%, it will cast Cryo Calibration II, which completely freezes 3 group members. The Thermal Regulator ability will purge this, so pop it as soon as you get frozen.
After freezing everyone, the Glacial Preserver will channel Calibrating for 15s, during which time it will take 75% reduced damage. It’s still worth DPSing it during this channel but just don’t pop any cooldowns.
Otherwise, whoever doesn’t get frozen needs to step into the Magma fire circle on the ground to get the DoT and then stand on top of each person until the DoT ticks to melt the ice.
Besides just making the healer’s life easier, it’s ideal to have everyone stack up behind the boss unless you’re dealing with the Magma Grenade so that a single tick from the DoT will cleanse everyone all at once.
Glacial Preserver Mechanics Order
The Glacial Preserver cycles through two sets of Magma Grenades followed by Magma Blasts before doing Cryo Calibration again.
 Cryo Calibration
- Magma Grenades
- Magma Blast
- Magma Grenades
- Magma Blast
- Repeat
- Calibrating (sub-50%, bonus mechanic only)
Don’t forget about that knockback after you drop your Magma Grenades! Get back to the middle!
Sporogenic Probe Droids and Beasts
After defeating the Glacial Preserver, you’ll need to burn the Orbital Core down to ~60% while interrupting Prox Rejector. Then, a whole bunch of Sporogenic Probe Droids, Sorogenic Scouts, and Spore-Maddened beasts will spawn in alternating configurations.
Sporogenic Probe
The first probe is an introduction to the red circles and a simple DPS check. The Sporogenic Probe will repeatedly cast Spore Expulsion. Each cast gets progressively shorter and covers an increasing proportion of the platform:
 10s cast | 8.5m radius
- 7.5s cast | 12.5m radius
- 5s cast | 27m radius
The third cast engulfs the entire platform, so you need to defeat it before that cast finishes. The damage cannot be mitigated and will chunk you for 90% of your max HP, so get out before it blows up.
You can stand in the red circle until it detonates. It does nothing until the cast finishes. If you’re a melee DPS, you must keep hitting it until the cast is almost done. Stay calm and be prepared with a movement ability to get out when there’s ~2s left in the cast.
Sporogenic Probes have a lot more health than Sporogenic Scouts and the check is much tighter, so save your offensive cooldowns for these rounds with the single droid.
Sporogenic Scouts and Spore-Maddened Beasts
A ton of Sporogenic Scouts will spawn around the outside of the room along with one in the middle and begin casting Mycelial Burst for 20s. Their red circles will encompass the entire platform, but you have enough time to defeat one before they all detonate.
Their cast looks similar to that of the Sporogenic Probe Droid, but it’s different. It is a singular 20s cast called ![]() Mycelial Burst, which applies a very painful DoT called
Mycelial Burst, which applies a very painful DoT called ![]() Debilitating Spores.
Debilitating Spores.
You will also get the ![]() Horrible Spores purple circles that take a bit to detonate but they do explode shortly before the red circles do.
Horrible Spores purple circles that take a bit to detonate but they do explode shortly before the red circles do.
It is imperative that you spread out and wait in the red from the outer Scouts until the purple circles detonate. Then, as soon as your purple circles detonate, stack in the middle. The central Sporogenic Scout must be defeated before the red circles detonate.
- Spread out with purple circles
- After purple circles detonate, stack in mid
- Defeat Sporogenic Scout in the middle before the Spore Expulsion cast finishes and the red circle detonates
Spore-Maddened Beasts from the Sporefall biome will also spawn. These are only there to distract you. Your top priority is to defeat the Sporogenic Probe in the middle of the platform.
You can and should knock them off, though they can bug out and continue hitting you while invisible, similar to Revan’s Sabers in ToS. Once the Sporogenic Scout in the middle is dead and you’ve stacked up there, you can burn down the remaining beast.
Purple Circles: Horrible Spores and Even More Horrible Spores
During this phase where you’re fighting a whole bunch of Sporogenic Scouts and Spore-maddened beasts, each player will get a purple circle at the same time as the droids start their cast, which tracks your position and detonates after 15s.
If you are standing by yourself, you just get ![]() Horrible Spores and take a little bit of damage over time. Just pop a DCD and move on with your life.
Horrible Spores and take a little bit of damage over time. Just pop a DCD and move on with your life.
If you are standing in someone else’s circle when it detonates (and they are subsequently in yours), both of you will die with ![]() Even More Horrible Spores.
Even More Horrible Spores.
Just wait in the red circles until you get your ![]() Horrible Spores debuff and move into the middle of the platform when you see the debuff appear on your bar.
Horrible Spores debuff and move into the middle of the platform when you see the debuff appear on your bar.
Rinse and Repeat
The Sporefall Droid phase just alternates between fighting a single, big Sporogenic Probe Droid and a bunch of little Sporogenic Scouts + Beasts:
- Big Droid
- Little Droids + Beasts
- Big Droid
- Little Droids (no beasts)
- Big Droid
- Little Droids + Beasts
- Big Droid
- Orbital Core
You’re gonna fight 4 Sporogenic Probe Droids and 3 sets of Sporogenic Scouts, the first and third set come with a pair of Spore-maddened beasts.
Bonus Mechanic: Spore Delerium
If you choose to fight the Spore droids before Orbital Core, you’ll have to contend with a more challenging bonus mechanic called ![]() Spore Delerium, which you have to pass on to someone else who has not yet been infected, if you want to live.
Spore Delerium, which you have to pass on to someone else who has not yet been infected, if you want to live.
The Hyphal Degeneration Stim will automatically pass Spore Delerium to another eligible player.
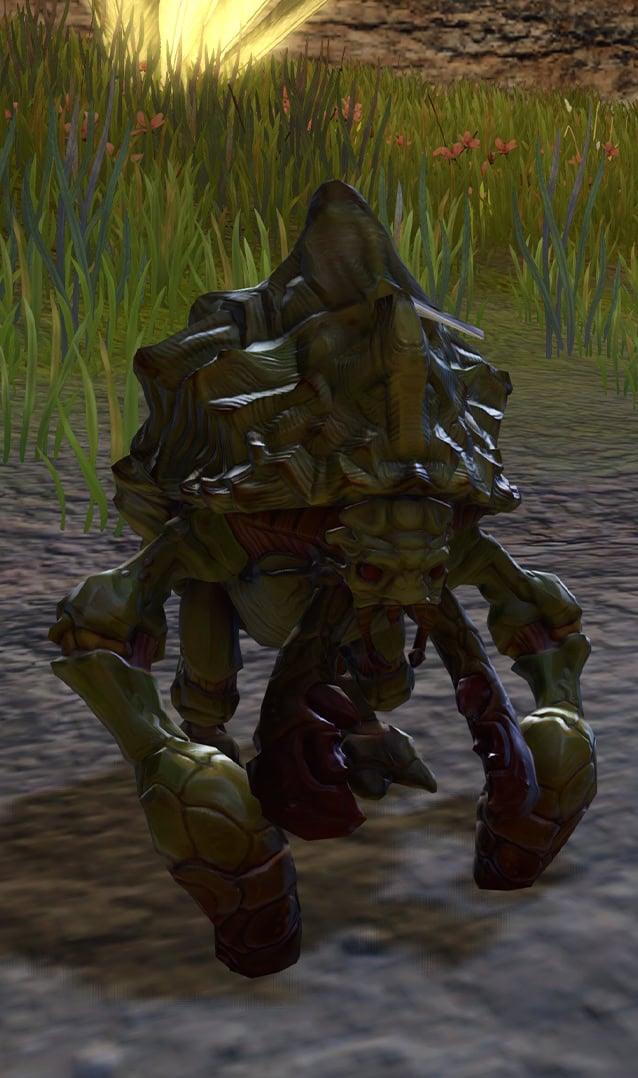
G30-MN Mining Unit Droid
After surviving the Sporogenic droids, you’ll need to burn down the Orbital Core further and then fend off the G30-MN Mining Unit.
Debuff: Toxic Runoff
The G30-MN Mining Unit will periodically cast ![]() Toxic Runoff, which is a DoT that deals increasing damage whenever you move. It’s basically the opposite of the Glacial Preserver’s
Toxic Runoff, which is a DoT that deals increasing damage whenever you move. It’s basically the opposite of the Glacial Preserver’s ![]() Cryo Calibration debuff.
Cryo Calibration debuff.
You have this debuff for a majority of the fight, though it does fall off eventually. You also get stunned whenever G30-MN (re)applies it.
The Toxic Runoff DoT is reflectable, though this is almost certainly a bug as DoTs are explicitly disqualified by all reflect ability descriptions. Still, it’s not unheard of for attacks to be mistyped and stay that way.
Mining Charge
G30-MN will toss ![]() Mining Charges at 3 group members’ feet every 15s or so. These Mining Charges are red while arming, turn white when they have finished arming, and turn red again when they will explode if someone steps in them.
Mining Charges at 3 group members’ feet every 15s or so. These Mining Charges are red while arming, turn white when they have finished arming, and turn red again when they will explode if someone steps in them.
If you stand in a Mining Charge when it has turned from white back to red, it will blow up, dealing a bit of damage to you and knocking you up into the air.
The previous round of Mining Charges blow up when the next set finish arming, resulting in each dealing damage to everyone regardless of whether they’re standing in the circle or not.
Since you’ll take damage from all 3 bombs if they explode on their own, you need to detonate them before the next round goes out.
Strangely, CC immunity effects completely negate the damage from Mining Charges, so things like Hydraulic Overrides | Hold the Line, Entrench | Hunker Down, Unstoppable | Unremitting, Force Camouflage, etc. will protect you. I am confident this is a significant bug.
Regardless, they can still be cheesed with more traditional abilities like Force Shroud | Resilience, Supercommando Implant, etc. If your group is coordinated enough and has sufficient cheeses at their disposal, you can stack them up on top of each other and have the person with the cheese stand in them to blow them all up.
If you’re stacking, start to the side of the bridge to Orbital Core and move as a group out of the mines counterclockwise (assuming you start with the bridge to your left). Standing on the outside of the platform reduces the chance that you’ll have to move out of the ![]() Mining Laser.
Mining Laser.
You will need to rely on stacking cheeses if you’re going for Locked In, but otherwise, it’s better to spread out and roll the dice.
Hazard Shielding
The G30-MN Mining Droid can make itself immune to all damage by applying ![]() Hazard Shielding to itself on a 45s cooldown. The only way to get rid of this shield is by making G30-MN get hit by the Mining Droid’s Mining Laser by having the tank lead G30-MN into the beam.
Hazard Shielding to itself on a 45s cooldown. The only way to get rid of this shield is by making G30-MN get hit by the Mining Droid’s Mining Laser by having the tank lead G30-MN into the beam.
The tank needs to avoid getting hit by the Mining Laser themselves. The easiest way to do it is run through the laser perpendicularly and stop right on the edge. You should be barely outside while the droid is barely inside.
There is no point in trying to damage G30-MN while it’s immune, so just use some off heals, refresh your DoTs, and prepare your opener.
Mining Droid
G30-MN will periodically activate a Mining Droid, which is a probe droid that comes down and floats in the corner and does a 6s cast called ![]() Mining Laser, which puts a big red laser telegraph on the ground that fires across the room.
Mining Laser, which puts a big red laser telegraph on the ground that fires across the room.
You will die if you’re standing in it when it fires. The only time you should move while fighting the G30-MN Droid is if you need to step out of the Mining Laser (or Mining Charges if you’re stacking and reflecting).
Corrode Armor
On top of being immune while ![]() Hazard Shielding is active, G30-MN will apply stacks of
Hazard Shielding is active, G30-MN will apply stacks of ![]() Corrode Armor to the tank (or whoever has aggro) with its basic melee attack whenever it takes damage. Each stack increases damage taken from all sources by 112%.
Corrode Armor to the tank (or whoever has aggro) with its basic melee attack whenever it takes damage. Each stack increases damage taken from all sources by 112%.
In other words, you will probably kill the tank if you attack the boss when Hazard Shielding is up.
The tank can mitigate this by popping a big DCD here, ideally the one that buffs Defense Chance, so Deflection, Saber Ward, or Explosive Fuel + Oil Slick | Battle Readiness + Riot Gas.
Regardless, once you pop your DCD, focus on breaking the Hazard Shielding with the Mining Laser. Don’t worry about your HP.
Hazard Shield, Mining Droid, and Corrode Armor
Everyone needs to watch for the ![]() Hazard Shielding cast and stop DPSing immediately or the tank will get stacks of
Hazard Shielding cast and stop DPSing immediately or the tank will get stacks of ![]() Corrode Armor that make them take a lot more damage. A Mining Droid will spawn at roughly the same time.
Corrode Armor that make them take a lot more damage. A Mining Droid will spawn at roughly the same time.
The Mining Droid casts ![]() Mining Laser, which is the only thing that can remove
Mining Laser, which is the only thing that can remove ![]() Hazard Shielding. The tank needs to position the G30-MN Mining Unit inside the red line telegraph without standing in it themselves.
Hazard Shielding. The tank needs to position the G30-MN Mining Unit inside the red line telegraph without standing in it themselves.
Everyone can start DPSing again once the ![]() Mining Laser has fired.
Mining Laser has fired.
Bonus Mechanic: Splattering Runoff
If you choose to fight the G30-MN Mining Droid before Orbital Core, you’ll have to contend with a more challenging bonus mechanic which is a more powerful version of the ![]() Toxic Runoff DoT, called
Toxic Runoff DoT, called ![]() Splattering Runoff.
Splattering Runoff.
G30-MN will cast Splattering Runoff when its health gets low instead of Toxic Runoff. It’s extra important that you don’t move when you have this as it will deal increasing damage to you and those around you.
The Emergency Chemical Purge will remove this effect.
Damaged Trio
After defeating the G30-MN Mining Unit, you will immediately have to face off against Damaged versions of all 3 droids you just fought, including the Glacial Preserver, Sporogenic Probe Droid, and G30-MN Mining Droid.
These Damaged droids can still do all their regular mechanics; except they can be interrupted and spawn at half health.
This phase is all about focusing one down while interrupting them as much as possible, though you can’t interrupt everything and a lot of their casts are super short.
Current Successful Strategy
The current prevailing strategy involves interrupting the Glacial Preserver and Sporogenic Probe Droid while cheesing G30-MN with CC immunity, but this demands a pretty specific group composition that is impractical for general use.
We recommend focusing them down in the following order:
- Glacial Preserver (~3mil HP)
- G30-MN Mining Unit (~2.9mil HP)
- Sporogenic Probe Droid (~2mil HP)
Glacial Preserver goes first because it’s the most problematic if a cast gets off. The tank doesn’t have to worry about people hitting the droid during Hazard Shielding and the Sporogenic Probe Droid does nothing except cast its deadly circle.
Leaving the Sporogenic Probe Droid for last also allows you to sit there with it for 5 mins and wait for all your cooldowns to come back up for the final burn phase.
Interrupt Assignments
This will depend a bit on your group composition and assumes you will interrupt everything.
- Tank, Melee DPS alternate on Glacial Preserver
- Healer, Ranged DPS alternate on Sporogenic Probe Droid
The idea is that the tank and mDPS can get all interrupts on the Glacial Preserver by alternating their interrupt abilities and leap interrupts.
You stick the mDPS on the Glacial Preserver so they can focus the main target the whole time and don’t have to worry about swapping targets.
Since ranged tend to have longer interrupt cooldowns, they’ll need to alternate with someone who also has a longer interrupt cooldown, namely the healers.
If you don’t have any rDPS, it’s fine to have a mDPS interrupt the Sporogenic Probe Droid, but then you have to stack the droids in the red circle and risk wiping the group if you miss a single interrupt.
Regardless of which droid you’re interrupting, you still need to follow the kill order and focus the same boss.
Reduced Interrupt Strategy
If you don’t have very many classes with short interrupt cooldowns or can’t consistently interrupt 1s casts, you probably need to deal with the Sporogenic Probe Droid first, followed by whichever droid you don’t have the Hazard Mitigation for, and saving the one which you do have Hazard Mitigation for last.
For example, if you have the Thermal Regulator you might want to do Sporogenic Probe Droid ▶ G30-MN Mining Unit ▶ Glacial Preserver.
In this case, you’d focus interrupts on the G30-MN Mining Unit and Sporogenic Probe Droid because you can mitigate the mechanics from the Glacial Preserver with your Thermal Regulator.
Again, that’s just an example, you’d want to swap interrupts and kill order if you’ve got Emergency Chemical Purge instead.
It’s probably best to do the Sporogenic Probe Droid first in this situation because it will just wipe you if you mess up the interrupts too much and you can’t protect yourself from its damage.
It also it gets harder and more punishing to interrupt whenever you make a mistake. The Sporogenic Probe Droid also has the least HP, a bit more than when you fight the same type of droid in the Spore phase.
Still, it’s much better if you can just interrupt everything.
Core Meltdown
As soon as the final Damaged droid is defeated, the Orbital Core will immediately begin casting Core Meltdown, which is a 15s cast that wipes the group if you don’t kill it before the cast finishes.
Everyone needs to be ready to murder it the moment that bridge materializes. Pre-DoT, pre-cast, pop all offensive cooldowns and raid buffs. Healer must DPS only, no healing.
If someone doesn’t have a cooldown ready, stall on killing the final Damaged droid. It’s easiest to do this with the Sporogenic Probe Droid, which is why it’s ideal to save that one for last if your interrupts are on point.
Once the Orbital Core is dead, whoever has the weekly [Master] Orbital Core has to go click one of the doors where you came in to let everybody out.
Rewards and Achievements
There are a bunch of goodies associated with the Orbital Core, including as boss loot, mission rewards, and achievements.
Boss Loot
The Orbital Core can drop a bunch of cosmetic loot, including pieces of the Fitted Armor Set of the Rugged Researcher, decos, and a minipet from each biome. No drops are guaranteed. No gear gets dropped.
Fitted Rugged Researcher’s Armor Set
Individual pieces of the Fitted Rugged Researcher’s Armor Set have a chance to drop each time you defeat the Orbital Core. You’ll need Friend rep to equip it, and cannot trade it like the other rewards, so you’ll never see it on the GTN. This also means you have to get every single piece to drop for you.


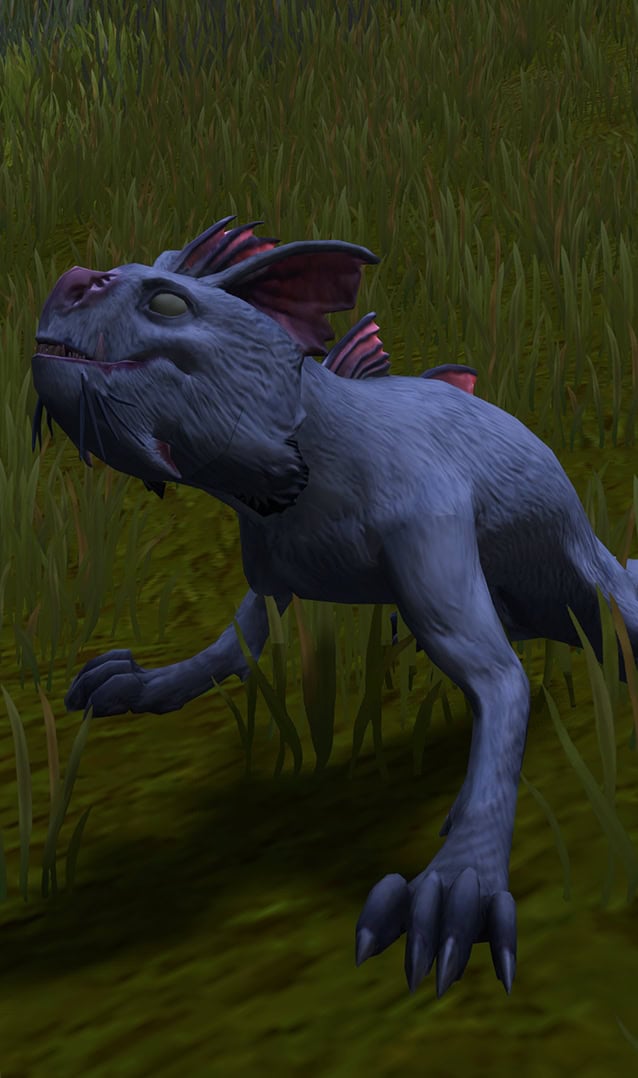
Minipets
The third minipet associated with a given biome can drop from the Orbital Core. This includes the Snowdrift Yaracat, Terra Shaclaw, and Marsh Nerf Calf. The pet drops are random. They are not tied to choosing a specific droid. For example, I got the Terra Shaclaw (associated with Geothermal Disruption) when we picked the Glacial Preserver.

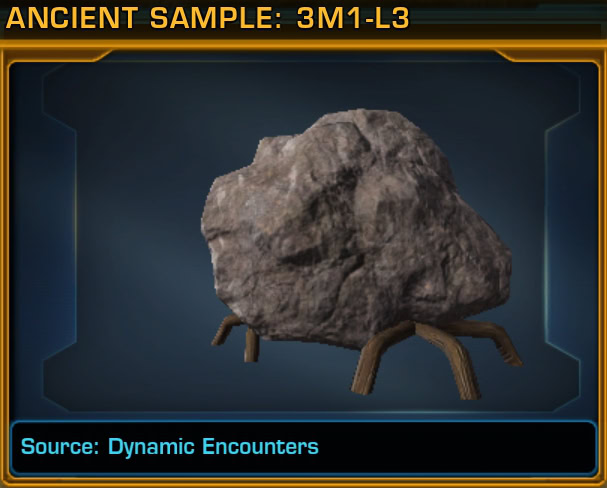
Ancient Sample: 3M1-L3 (Deco)
You can get the Ancient Sample: 3M1-L3 deco as a reward for defeating the Orbital Core. There is a similar deco you can buy from the secret scientist vendor in Geothermal Disruption, but this one fits on Centerpiece hooks and doesn’t come in the high-tech container.

Mission Rewards
The Wreckage on Dantooine one-time mission and [Master 4] Orbital Core Mission each drop the same rewards as any other Dynamic Encounters, including a blue rep trophy, 3 Conquest Commendations, and 50 Tech Frags.
Achievement Rewards
There are a couple of achievements that give a reward that require you to defeat the Orbital Core. There are also achievements for defeating the Orbital Core up to 25 times, but these do not have any sort of reward attached to them.
Legacy Title: Locked In
You receive the Legacy Title: Locked In for clearing Orbital Core without any of the buffs from the Dantooine Crash Site.
In essence, you get Locked In if you’re locked in and manage to clear the fight with NiM difficulty. You will need full 344 Rakata with at least some gold augs and probably Guild Flagship: Orbital Support.
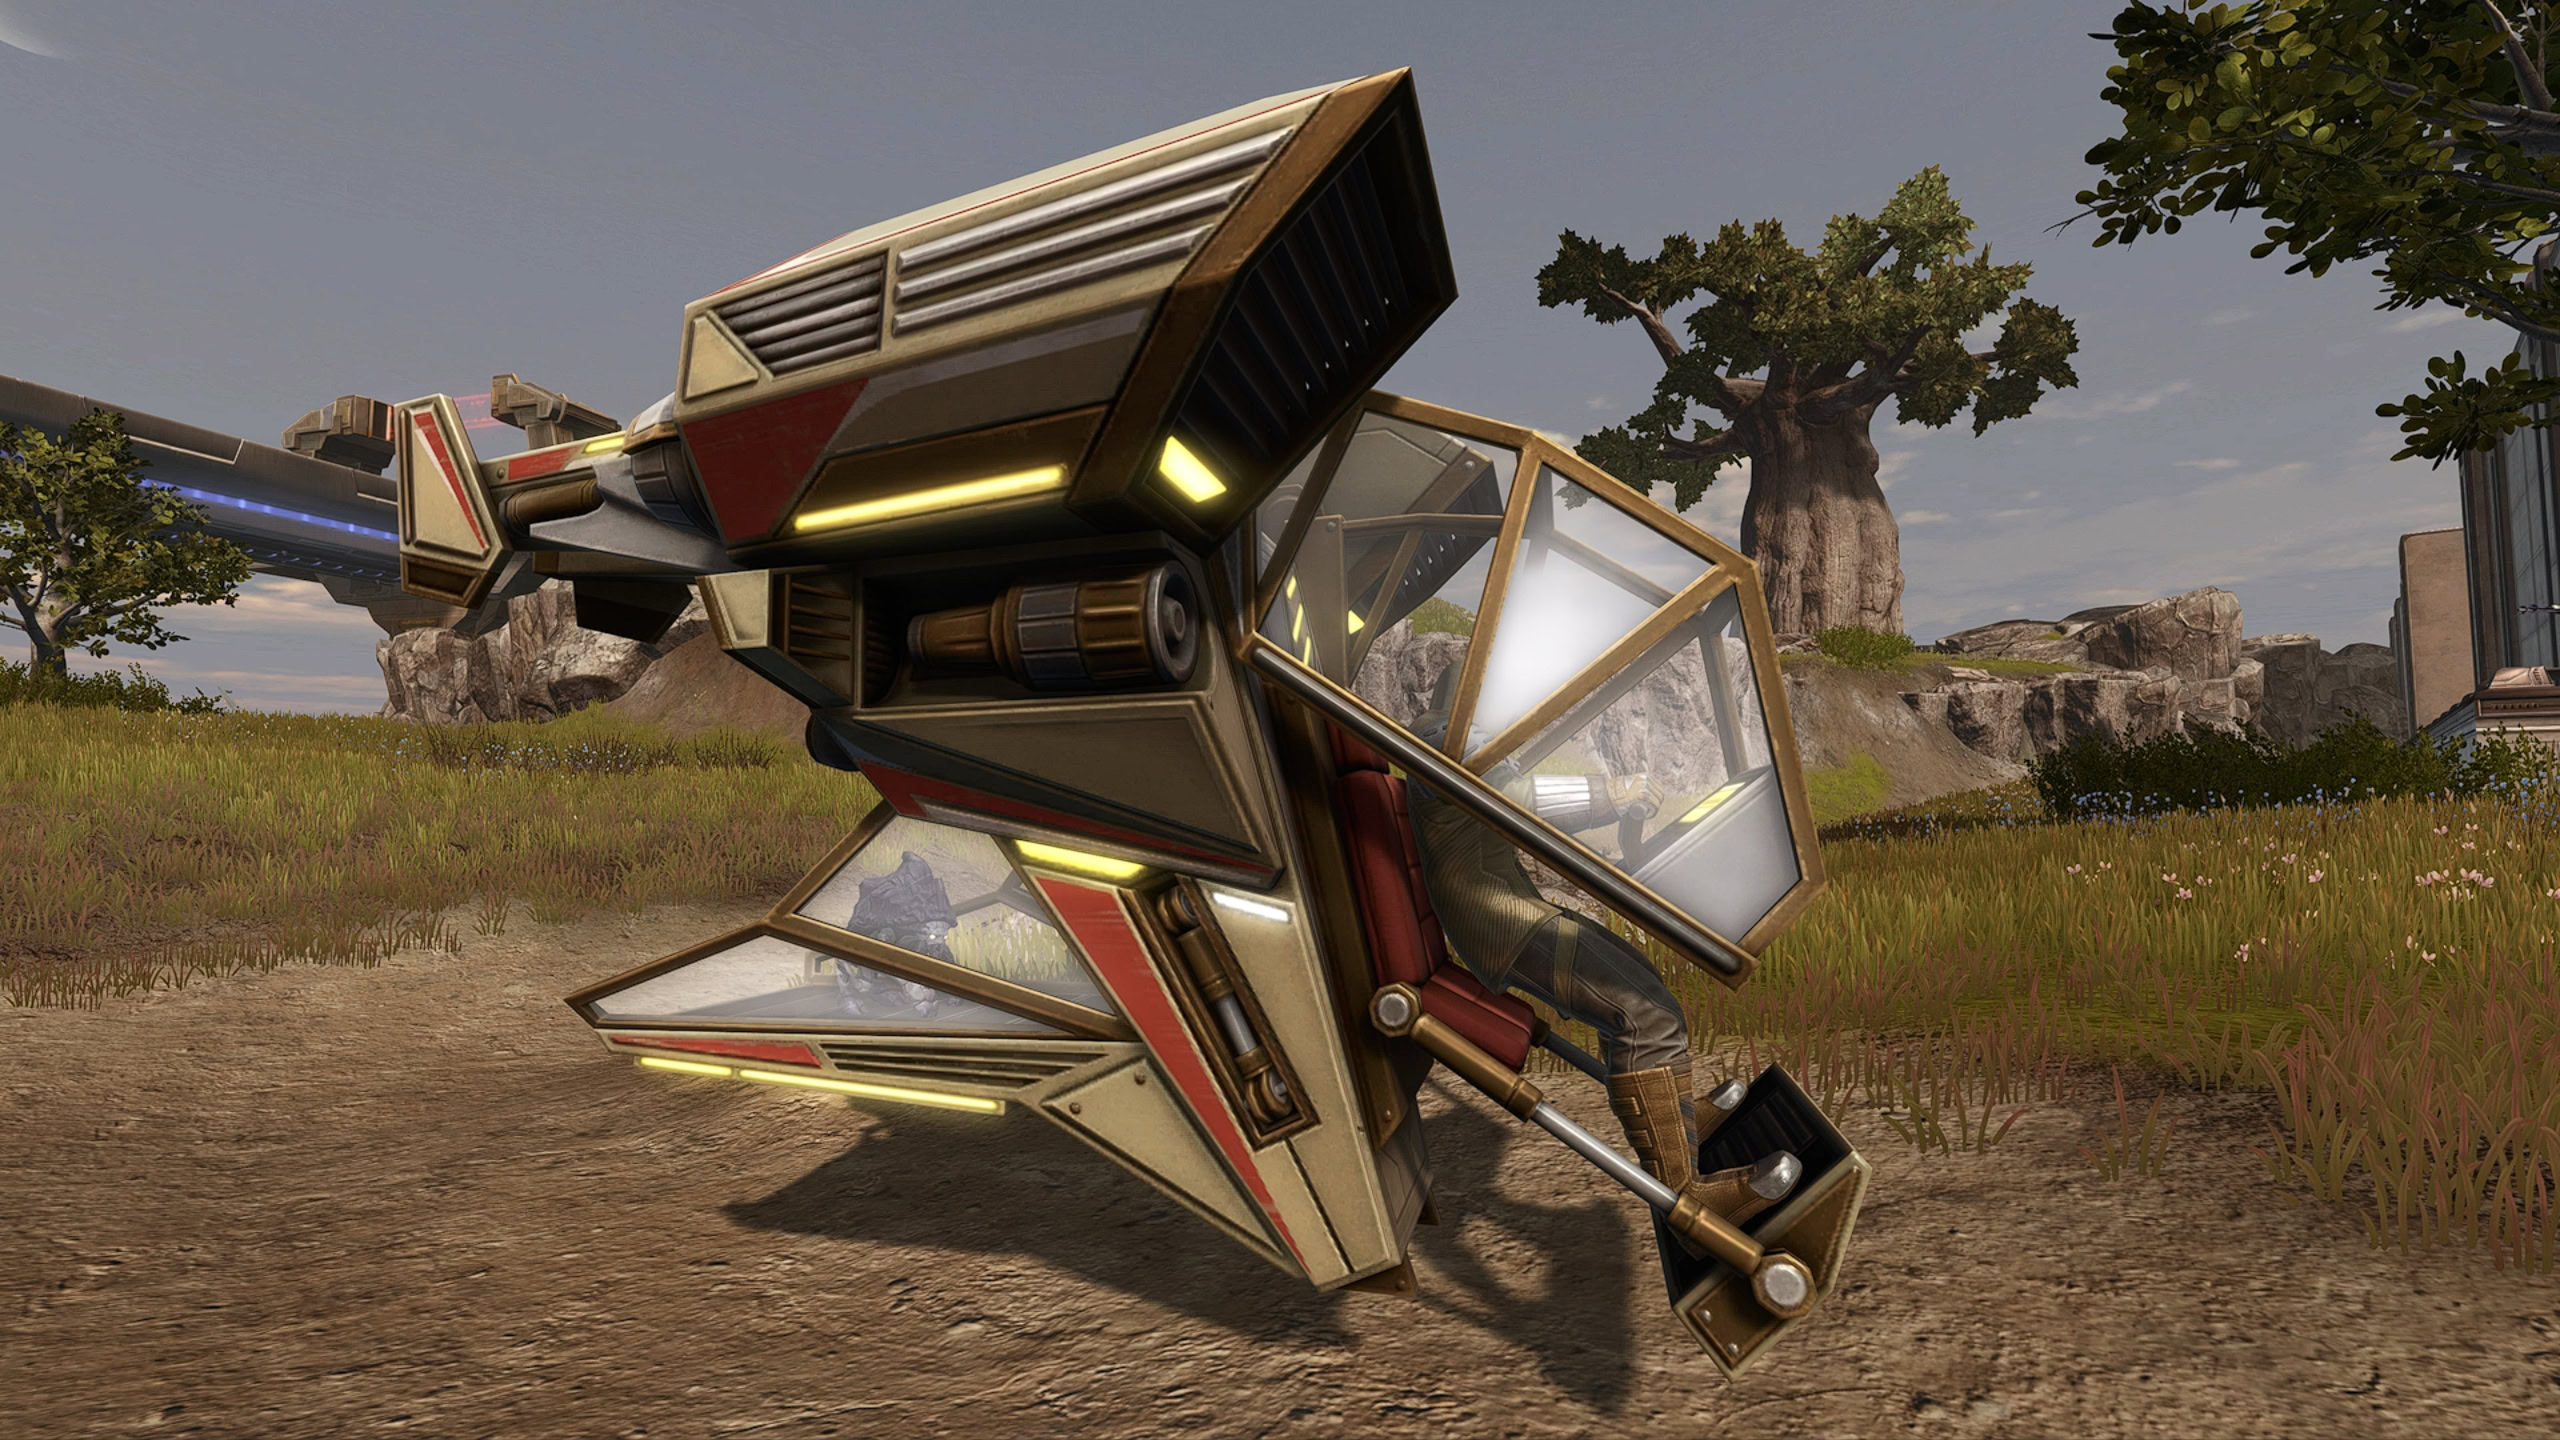
Dantooine Expedition Carrier Mount
The Encounter Mastery: Dantooine achievement gives the Dantooine Expedition Carrier, complete with minipet spot. It requires you to defeat Orbital Core once and get the other meta-achievements related to Wreckage on Dantooine.
Video
Below is a video by Quiescent from a healer PoV, also featuring Hiquii (tank), Lordoftransform (DPS), and Jabba (DPS), showing a pretty clean “Locked In” clear, so what you’d have to do without any of the buffs.
The strategies they employ here closely match the recommendations in this guide, with some divergence when it comes to mistyped attacks and what’s practical or easier to do when you lower the difficulty with buffs.
Acknowledgements and Special Thanks
I want to thank Quiescent, Hiquii, and Lanfan for explaining some of the finer points of the fight over on SF, particularly the end and how the loot works, and helping me get Locked In. I also want to thank Malka, Mera, Vesper, and Asura, some of my pals on SS, for progging through the fight with me.