Learn strategies for defeating Kailok, the Hornsplitter Boss in Crimson Desert. Defeating this nimble adversary will require good timing, quick reflexes, and patience to defeat.
Gearing Up and Recommended Skills
This boss fight will be your first real challenge in Crimson Desert. You should prepare to ensure you can stay alive long enough to tell the tale.
First off, make sure you got some good food heal during the fight. Second, visit an armor merchant and purchase a couple pieces of armor to increase your defense.
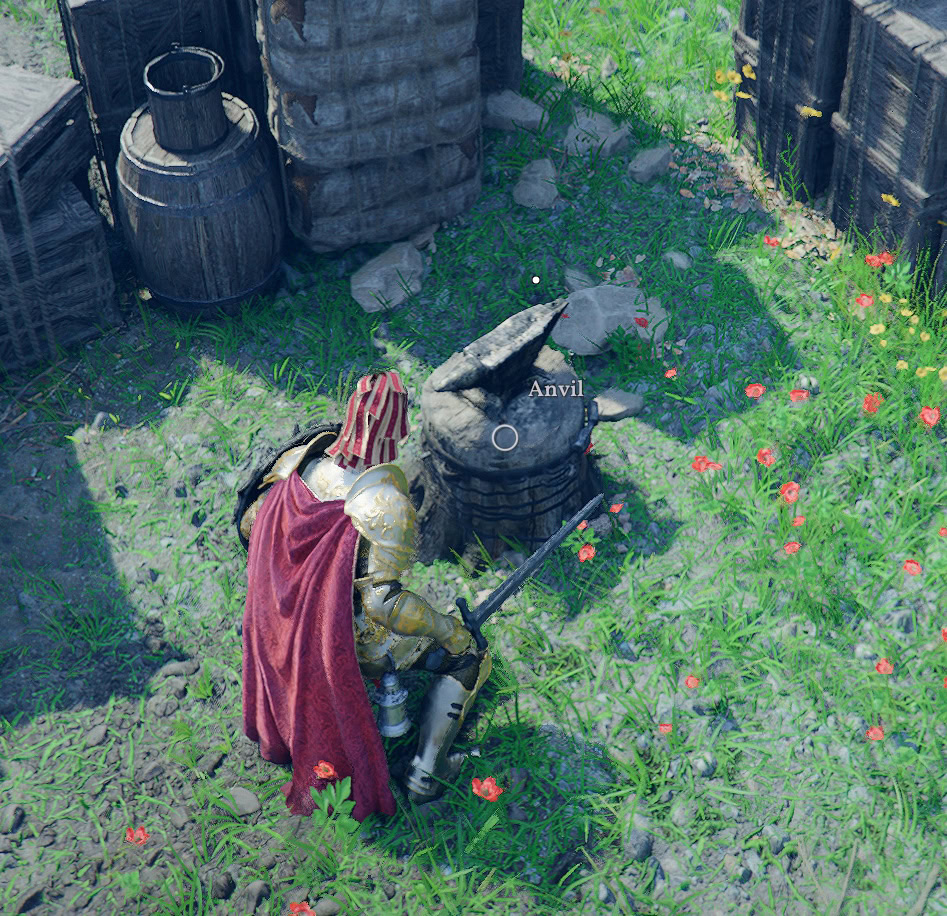
The Small Camp before Hornsplitter’s gives us easy access to a Bonfire to cook food and an Anvil to reinforce our Armor. Reinforcing our Armor is a huge boost of defense in addition to any additional replacement armor we purchase.
As for skills, it’s not a bad idea to get 3 or 4 levels in Health Upgrades. Getting Armed Combat to level 2 will prove useful as this grants the Evasive Slash ability. The Hornsplitter boss is very nimble and you’ll need to be just as fast as he is.
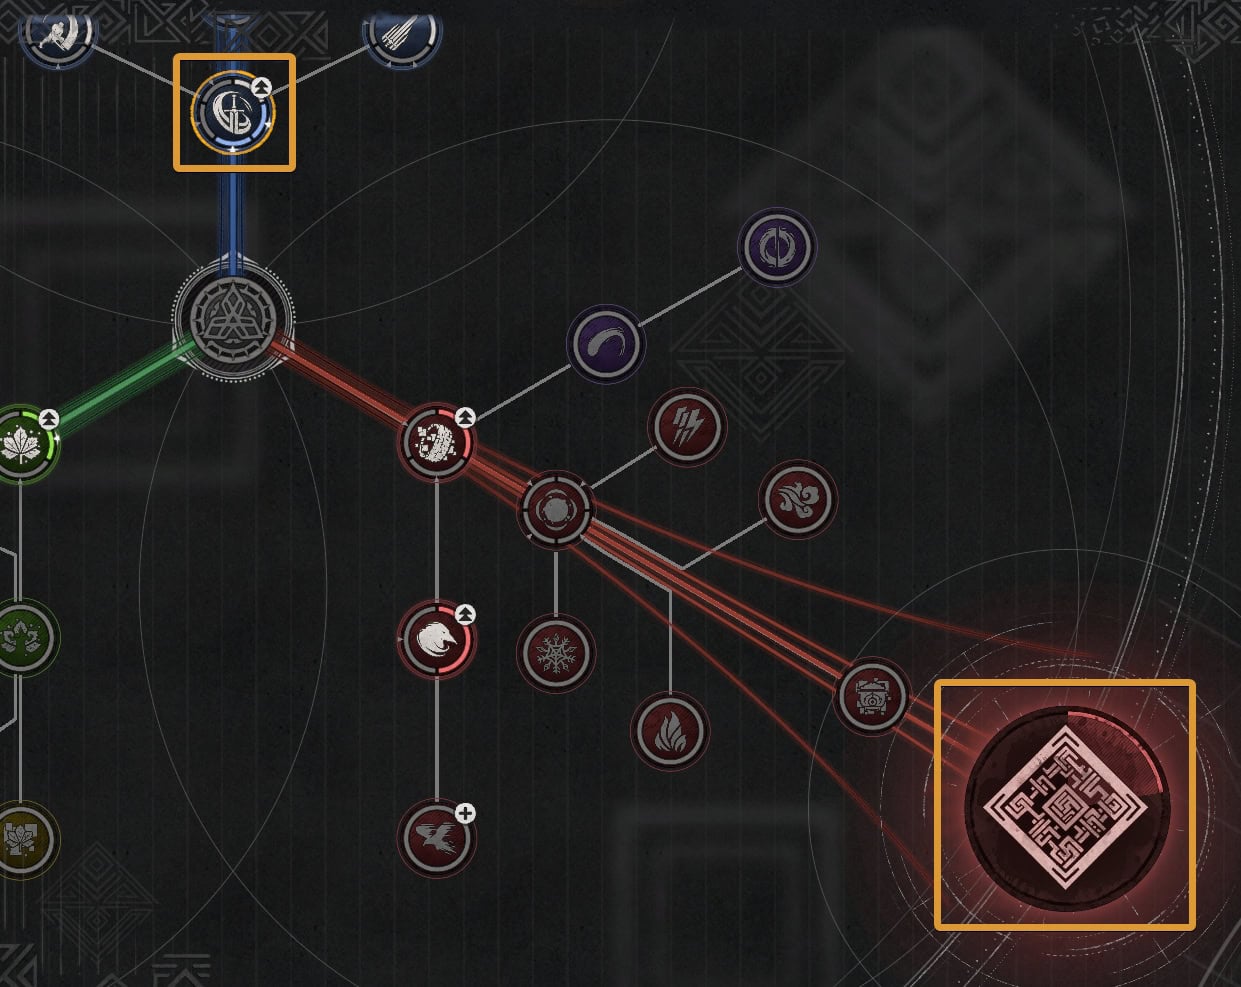
It’ll also be a good idea invest into upgrading your stamina. This fight will require a lot of dodges and having some extra stamina will help you survive a bit more easily.
Reaching the Hornsplitter
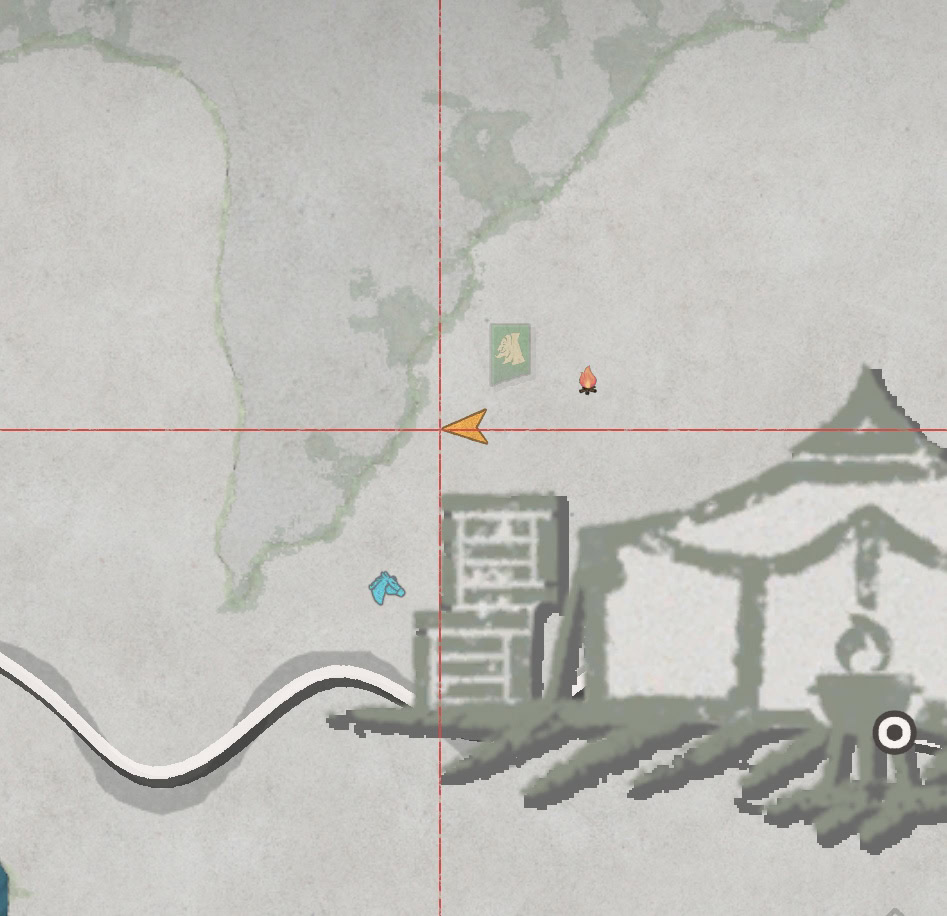
The Hornsplitter will be found at the top of Unicorn Cliff. Take the path south of Nas River and you’ll see a large camp with cloth walls ahead. This is the Goldleaf Guildhouse and the path near site is well guarded.
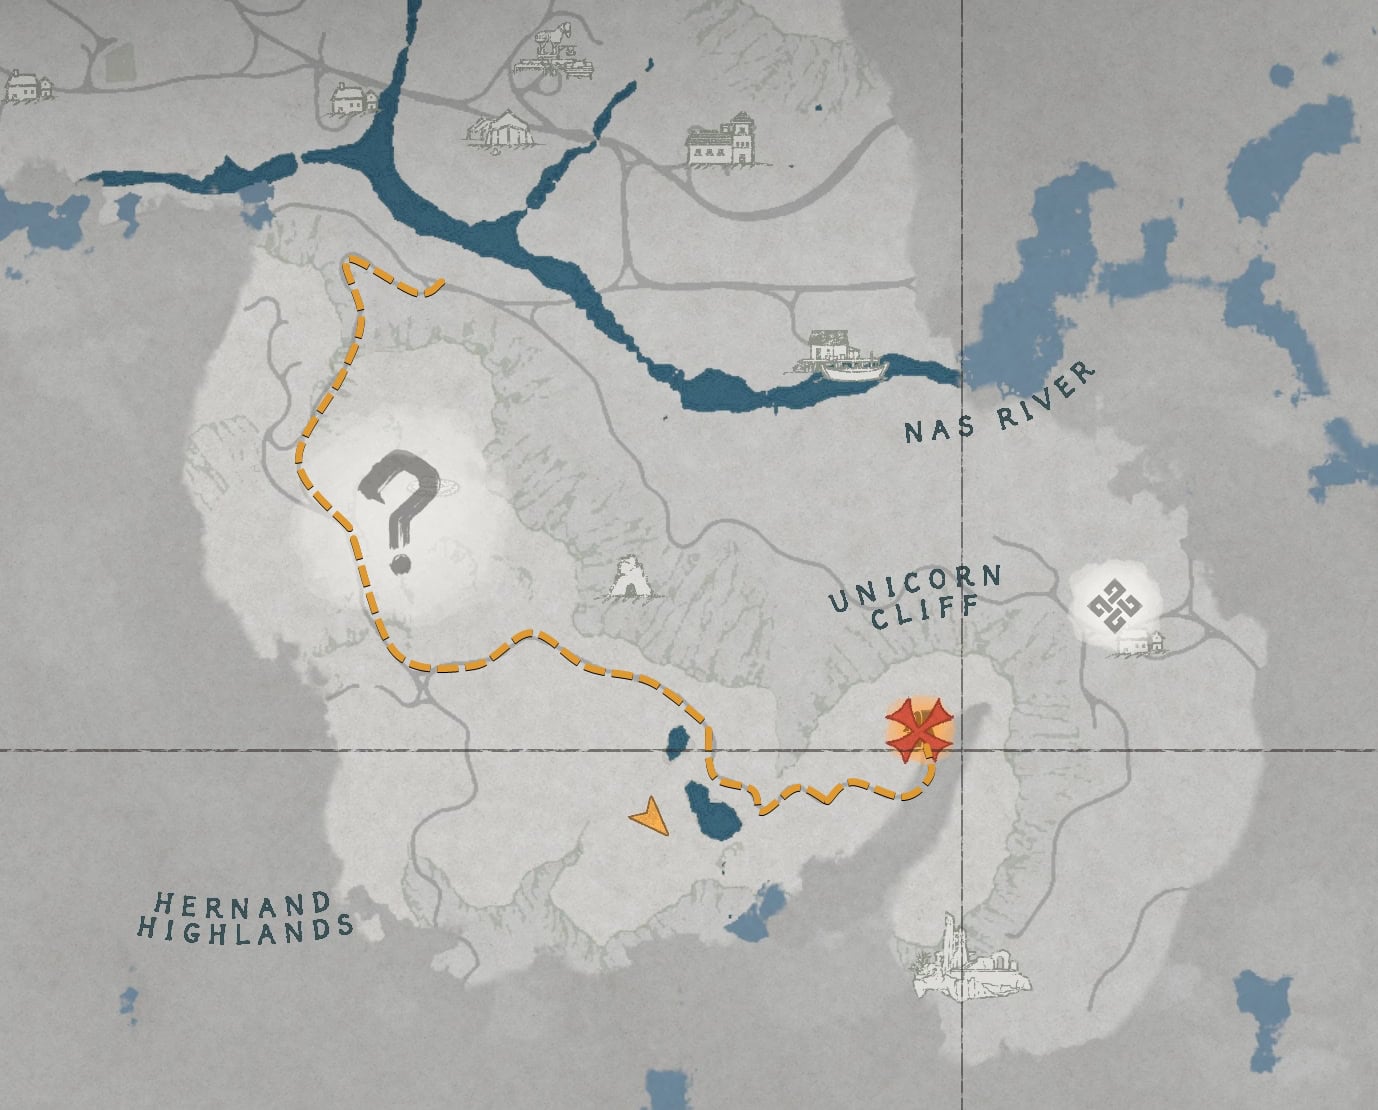
If you wanted to, you could fight your way through the Hornsplitter Guards. However, this risks burning through your food supply. Another option is to sneak around to the left and reach the back of the Goldleaf Guildhouse.

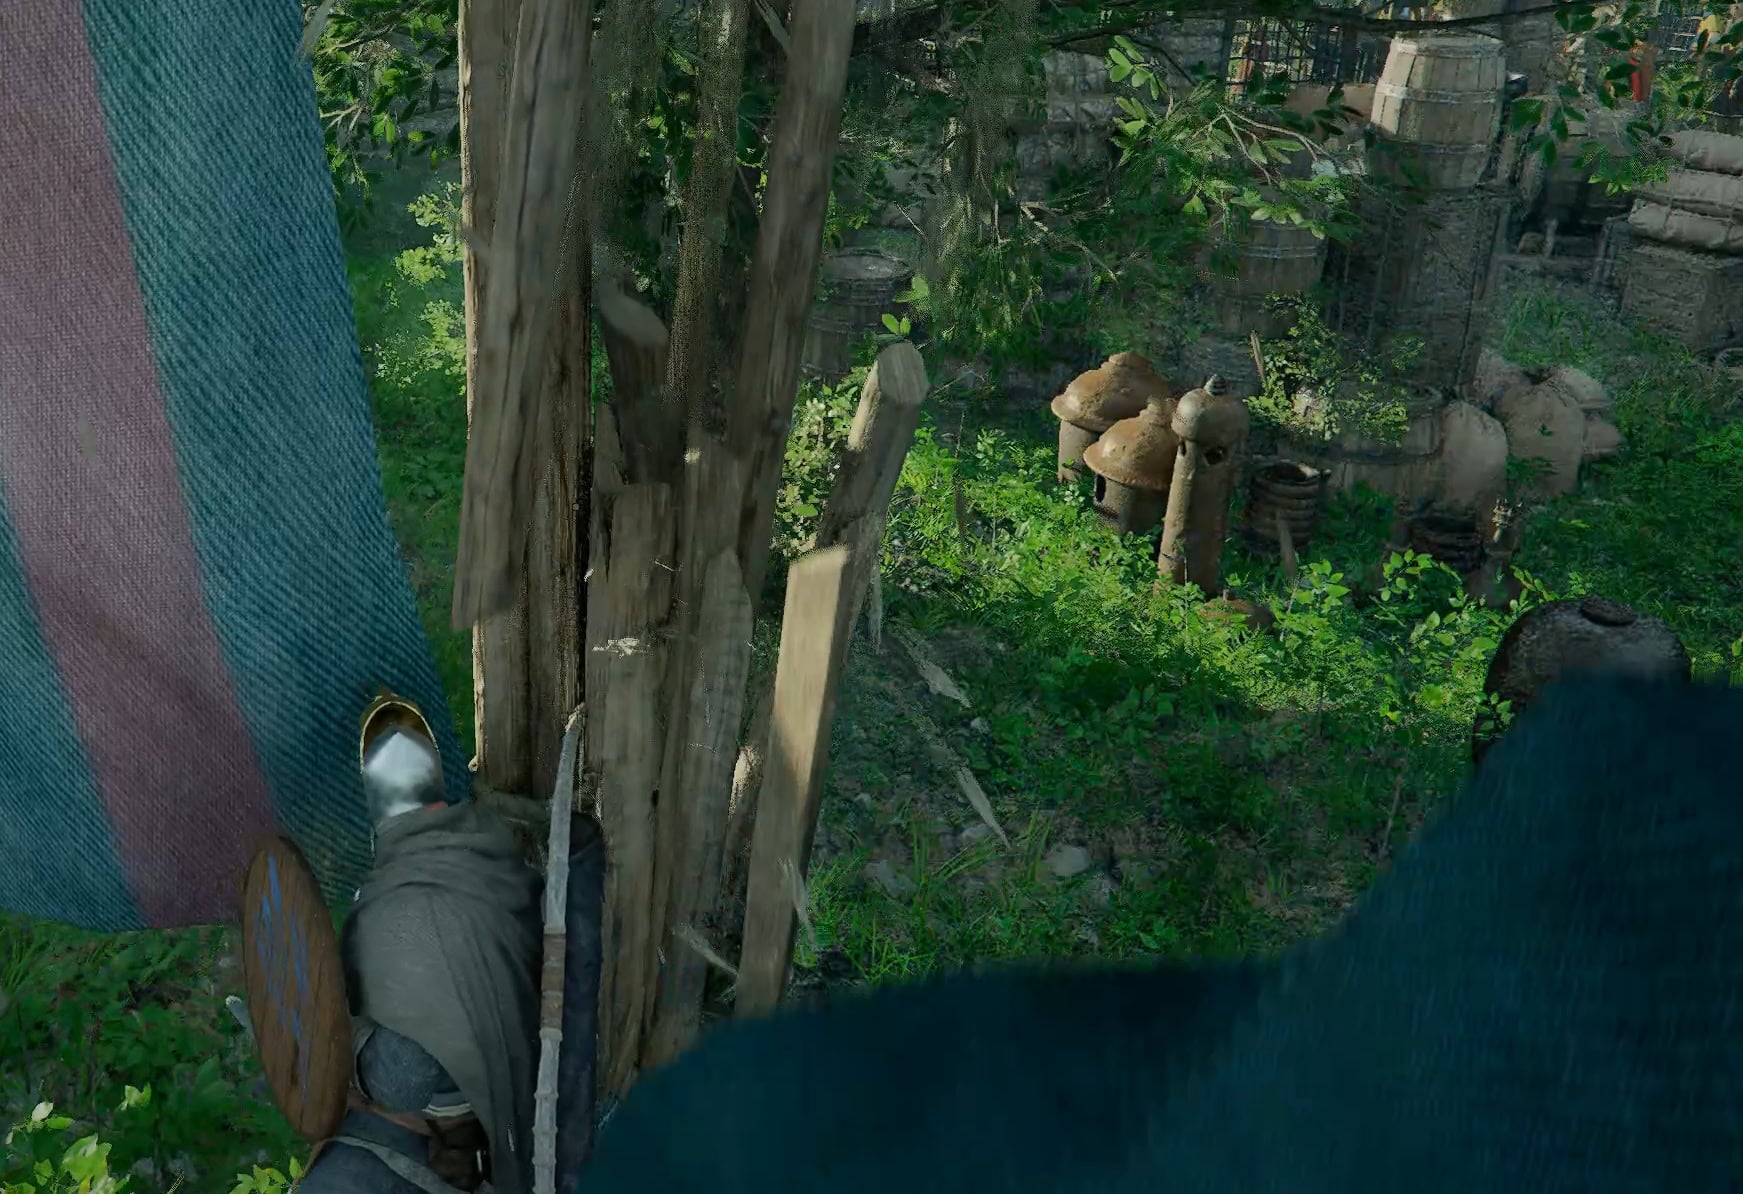
Once you reach the back of the guildhouse, strike one of the wooden posts with your sword to break it down. Walk right into the area and a cutscene will start.
The Evasive Roll
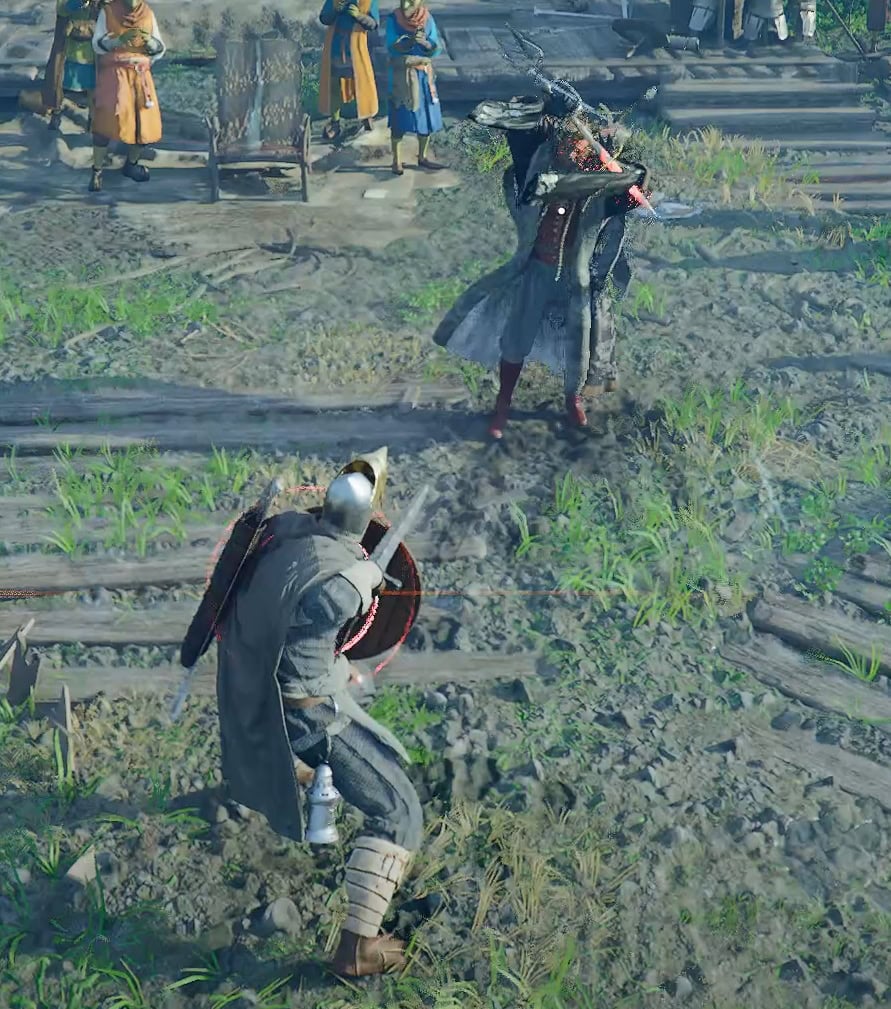
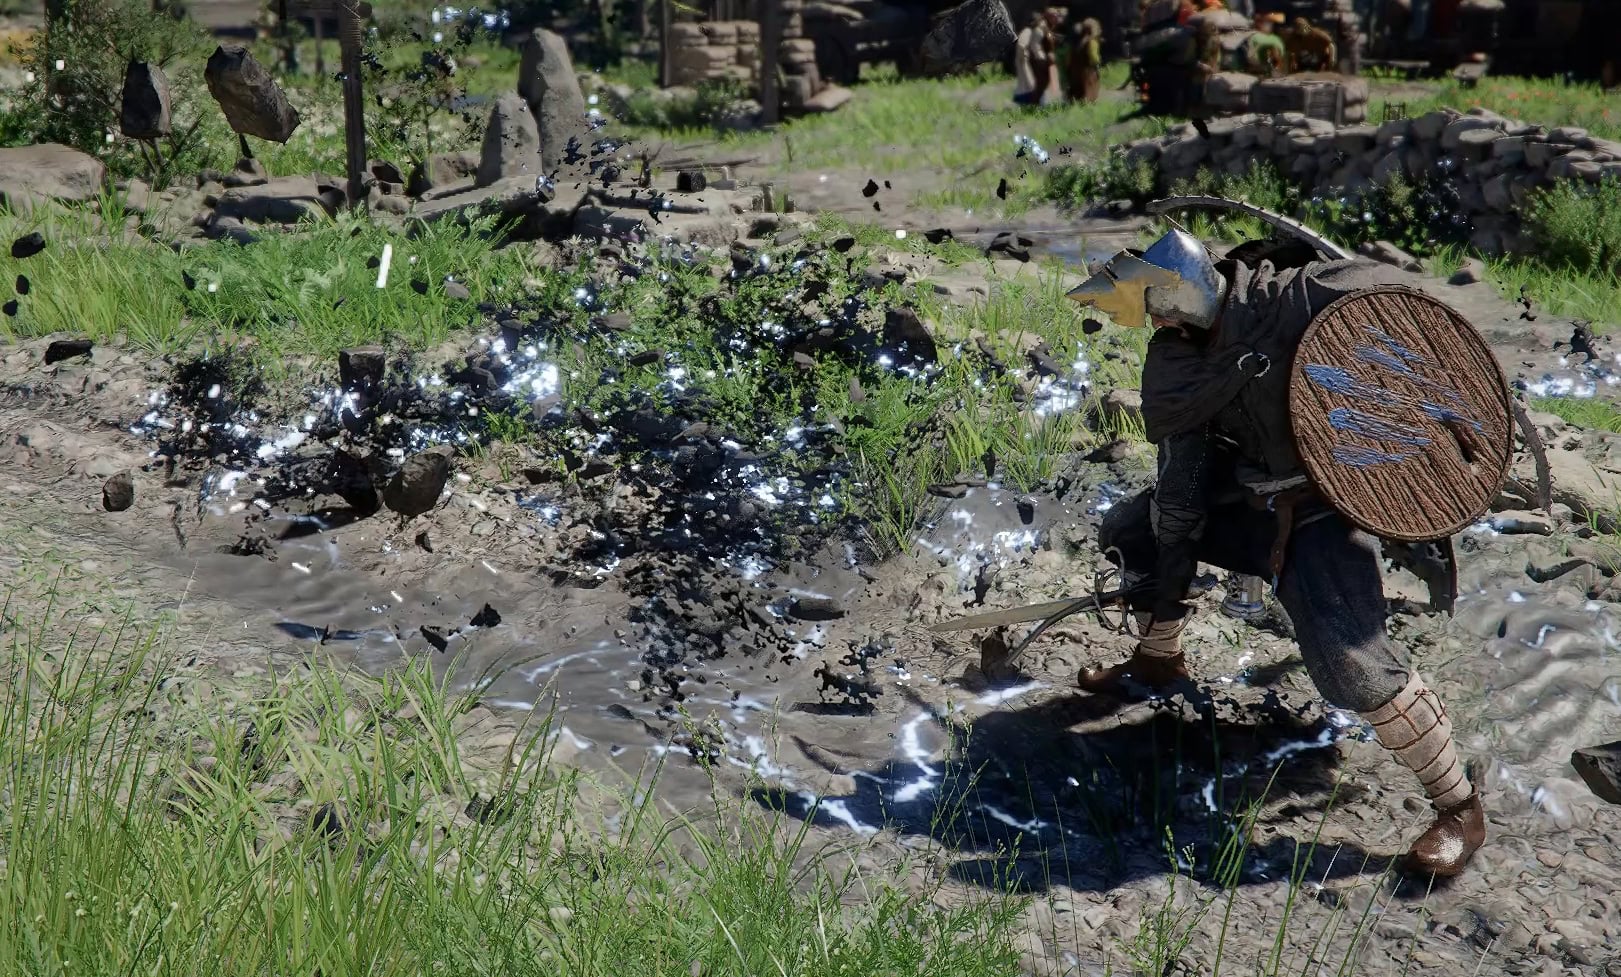
At the very start of the fight, you’ll see that Kailok, the Hornsplitter is very aggressive. With his sword, he’s able to make ranged Wind Slash attacks and will start the fight with two of them right after the cutscene.
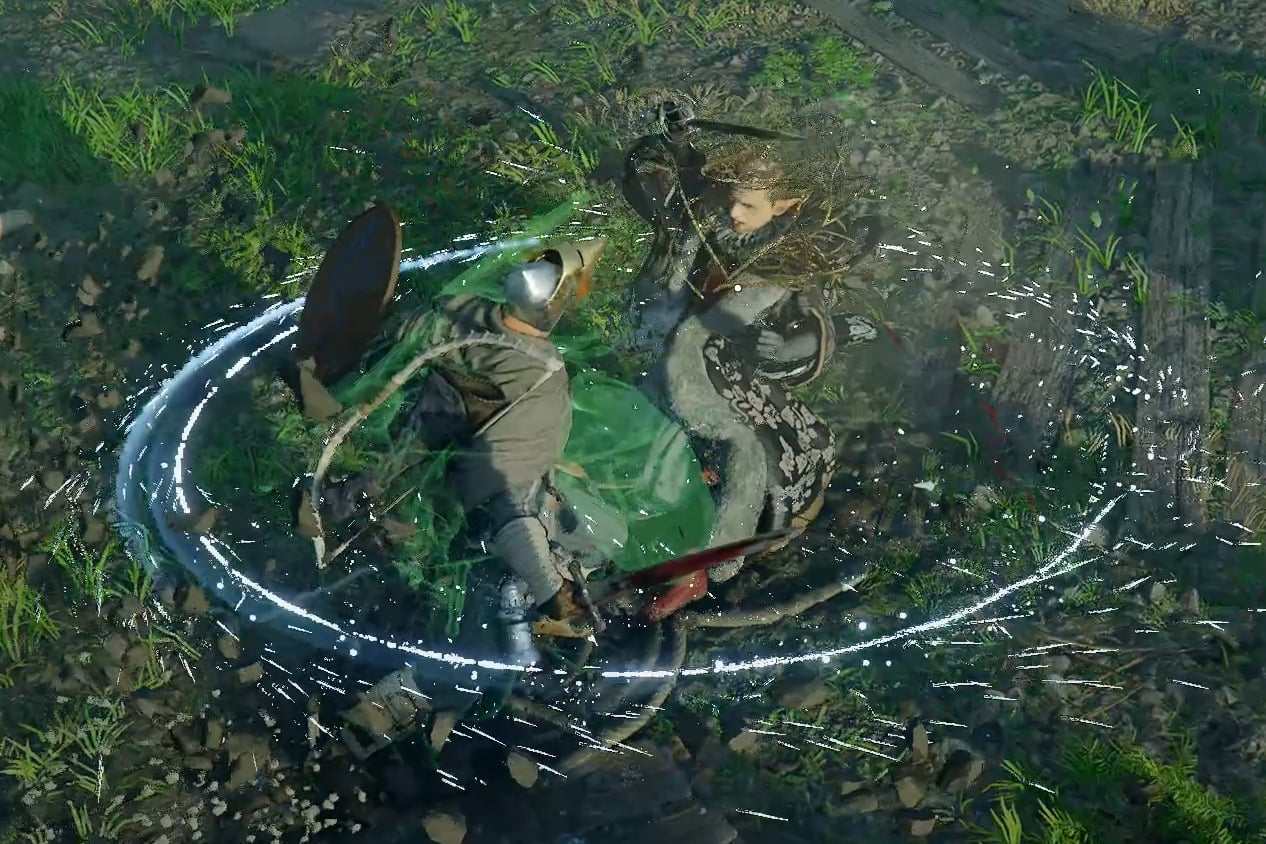
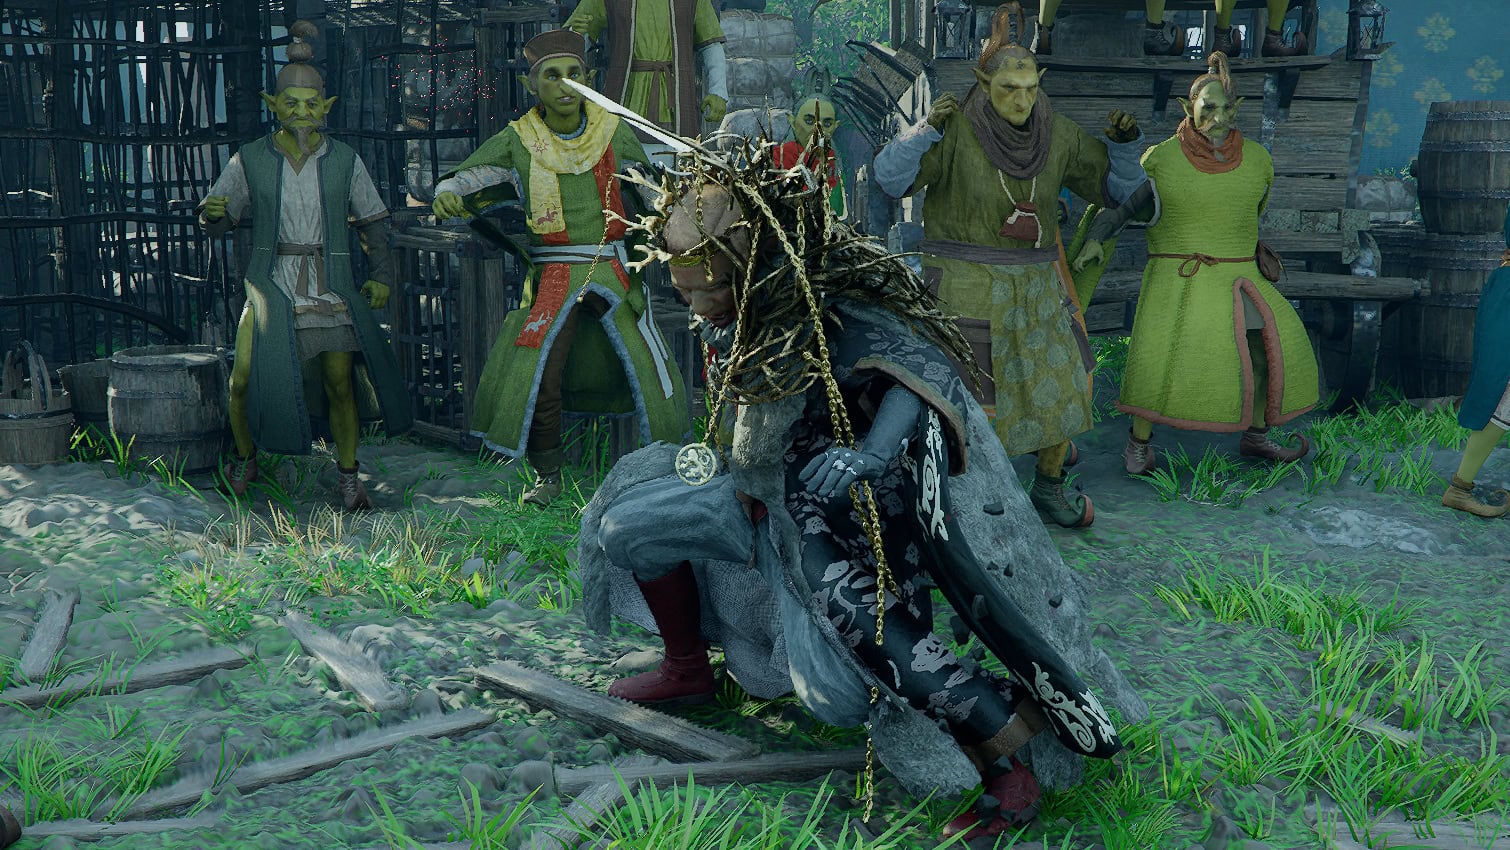
As you attack Kailok, he may perform an Evasive Roll as seen with everything turning blue. The second time he does this, you’ll learn it too.
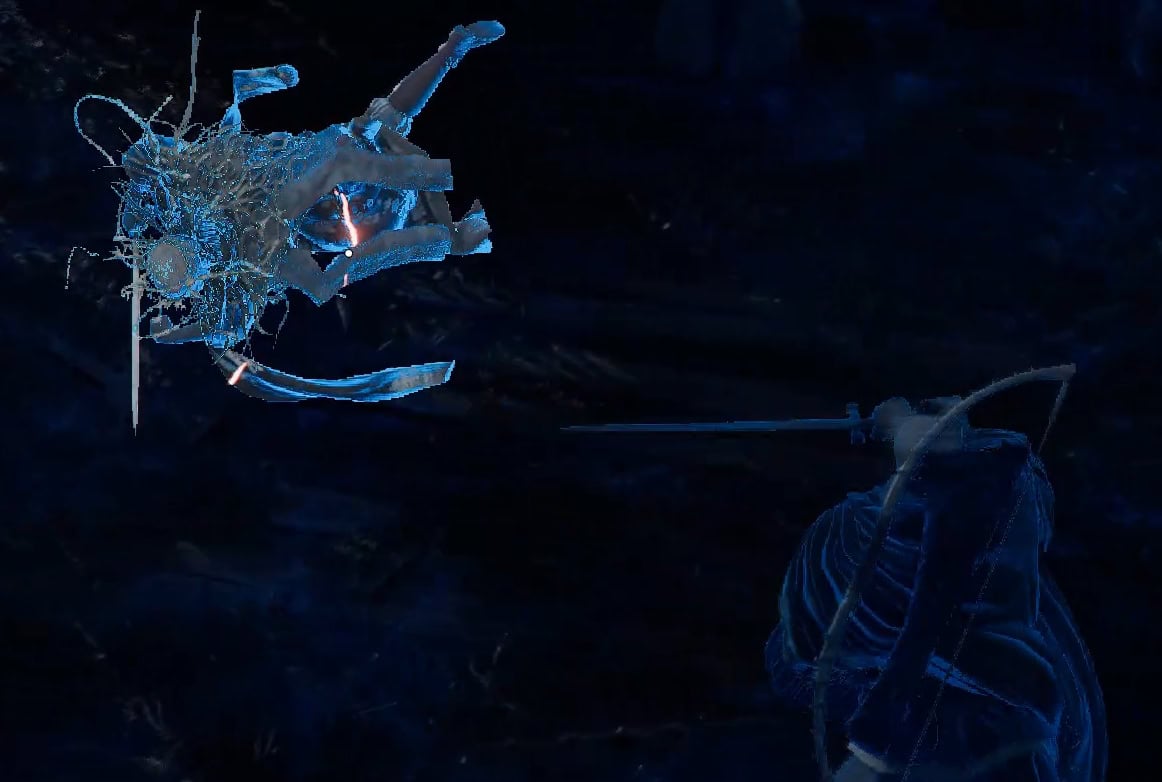
The Evasive Roll can only be used after dodging an attack. It won’t work if you try dodging when no attack is present.
Parries and Patience
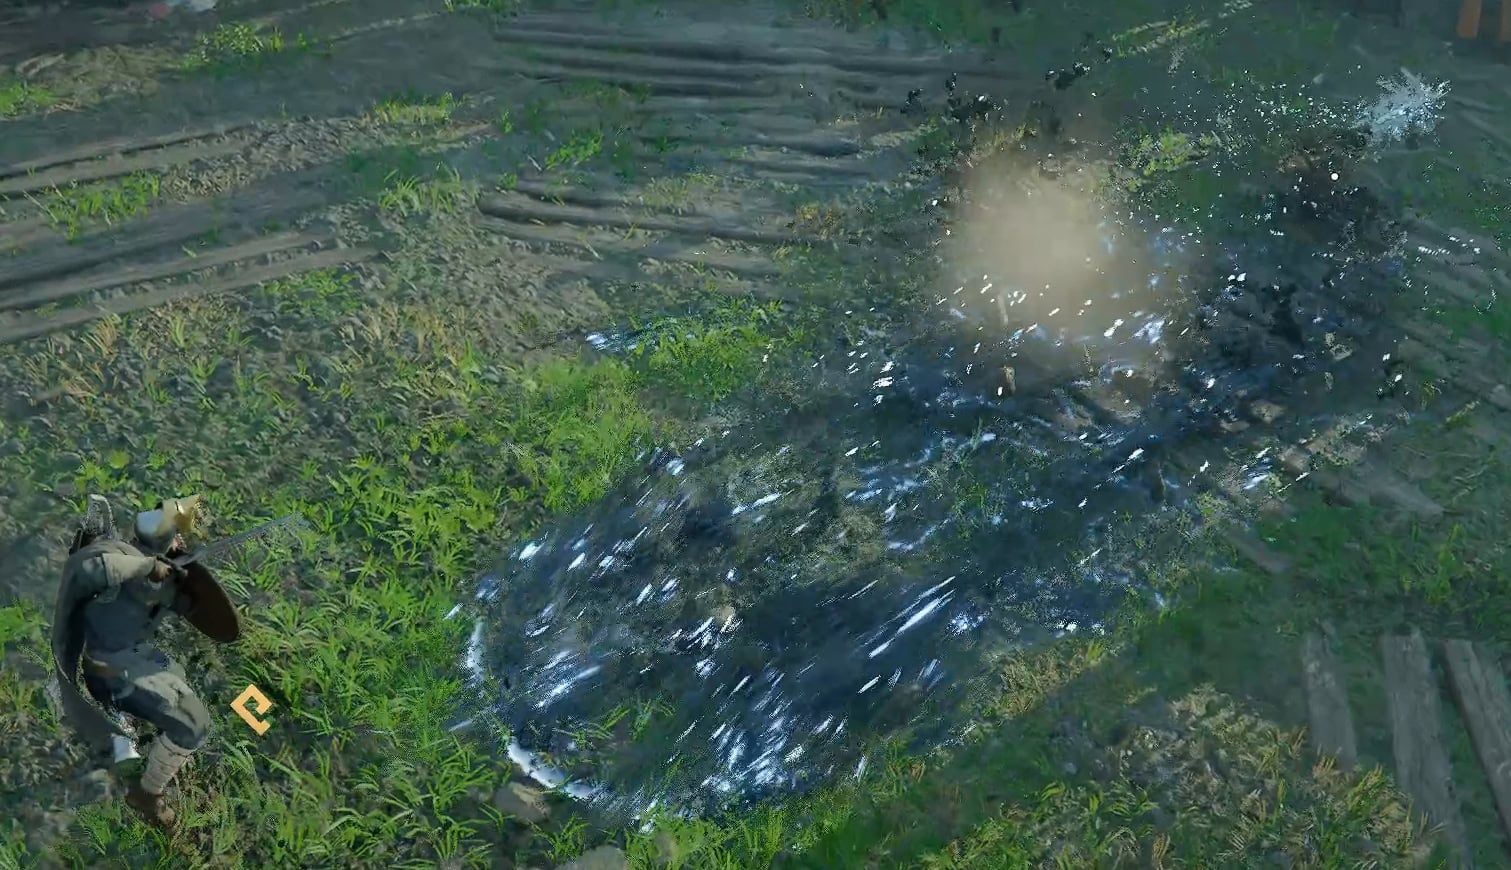
Don’t be intimidated by Kailok’s swift dashes and wind slash attacks. Despite his speed and penchant for ranged attacks, he will eventually attack you in melee range. Keep your distance as much as you can to dodge his slashes until he melee attacks.
His wind slashes cannot be fully blocked or parried. You’ll take chip damage while blocking, but you’ll need to dodge them to the side to avoid damage entirely.
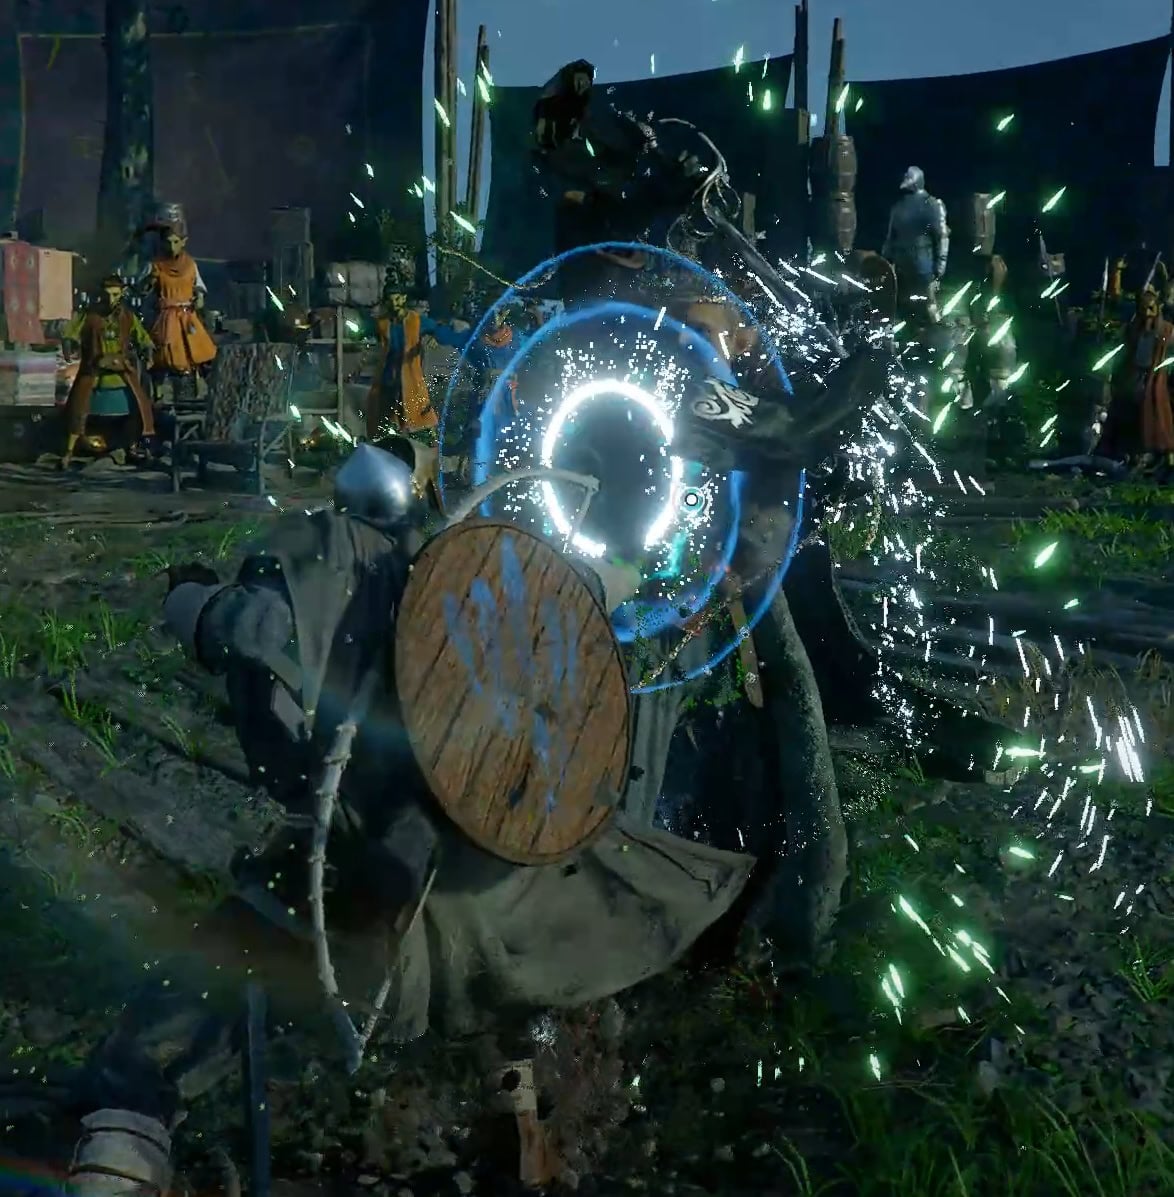
Kailok often attacks in sets of two melee strikes before jumping back to use a wind slash. Try to parry his melee attacks to fill the yellow bar beneath his health.
You can also use the Force Palm to interrupt his basic combos and fill the yellow meter. Just don’t try Force Palm during any of his red glint combos.
If you fully fill this yellow bar, he’ll be left vulnerable as he recuperates. Take this time to use heavy attacks before he gets back up.
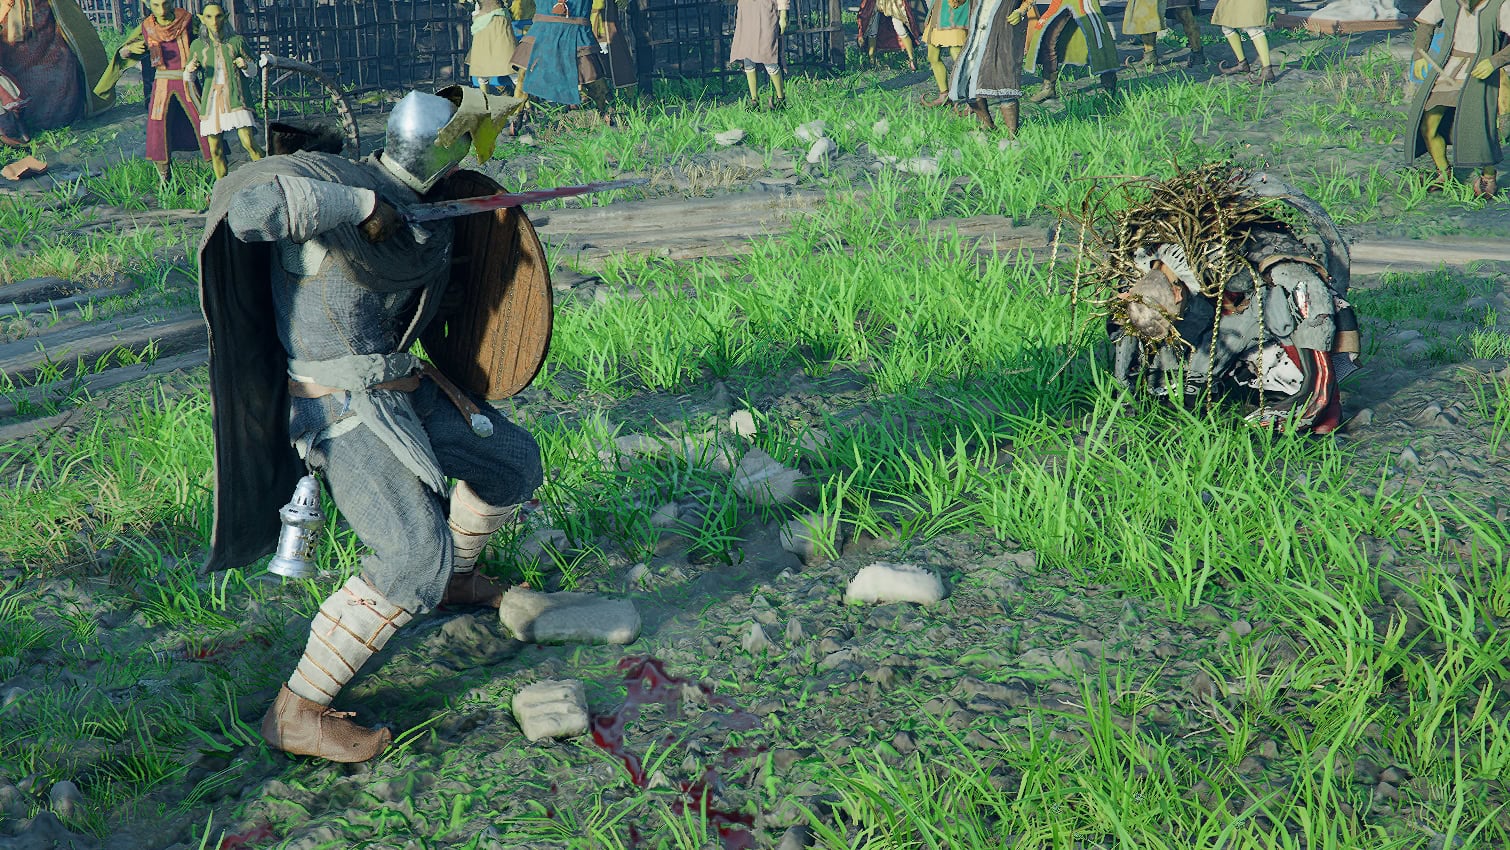
Any attempt to attack him as he charges a red glint attack will fail. During his opening stance, Kailok gains a shield that prevents you from attacking him with your weapon or any powers.
Combos to watch out for
Kailok is a very slippery opponent with many aggressive combos he can use. Watch out for the following combos so you can defend yourself against them.
Charged Dash Combo
When Kailok bends down with his sword at his side, he’s going to dash attack to you followed a jumping overhead slash. Either dodge out of the way, use Evasive Slash, or ideally, parry his attacks. Get a couple swings in before he gets his guard back up.
Front Sword Red Glint Combo
Kailok has a three Red Glint combos and which one he uses depends on whether his sword is in front of him or behind him or worse, if it has an additional white glow.
If it’s in front of him, he’ll jump back and launch two wind slashes at you, followed by a dash attack towards you. Dodge the wind slashes and parry the dash attack.
Back Sword Red Glint Combo
When Kailok holds his sword behind him with a red glint, he’s going to do an aerial overhead attack, jump back, and use a wind slash. With how fast this combo goes by, it’ll be better to remain on the defensive and focus on dodging these attacks.
Red Glint Ranged Flurry Combo
If the area goes dim as a red glint and white light envelops his sword, ready yourself. He’ll make five wind slash attacks with the fifth attack launching three waves. This combo can be tricky to dodge as he may work in two waves of wind slashes into one of his first four attacks.
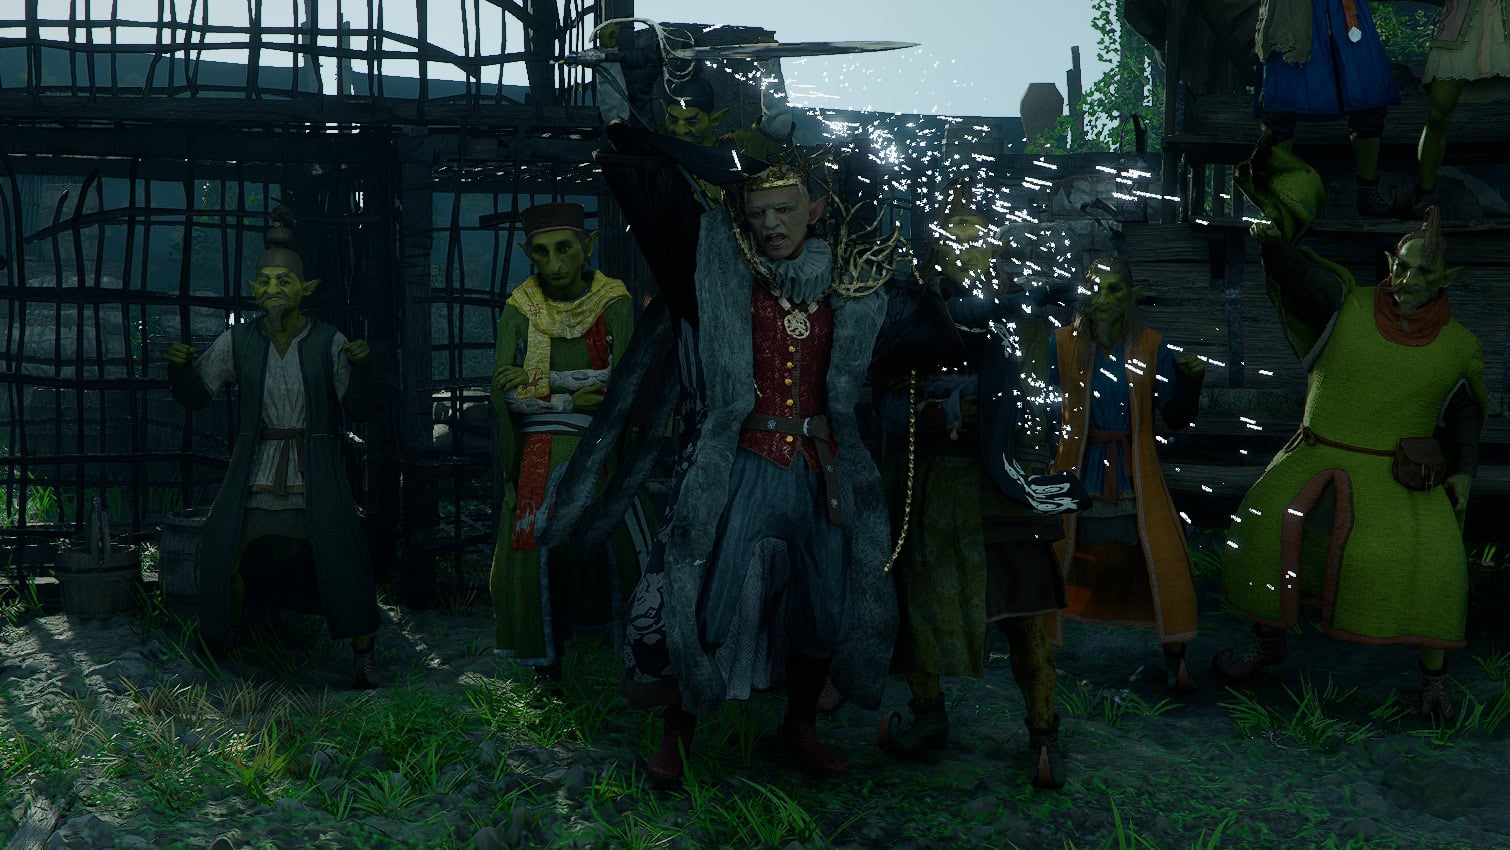
A good way to avoid this flurry is to dodge side to side. Save your Evasive Roll to dodge his final wave of attacks or any attacks that have two waves.
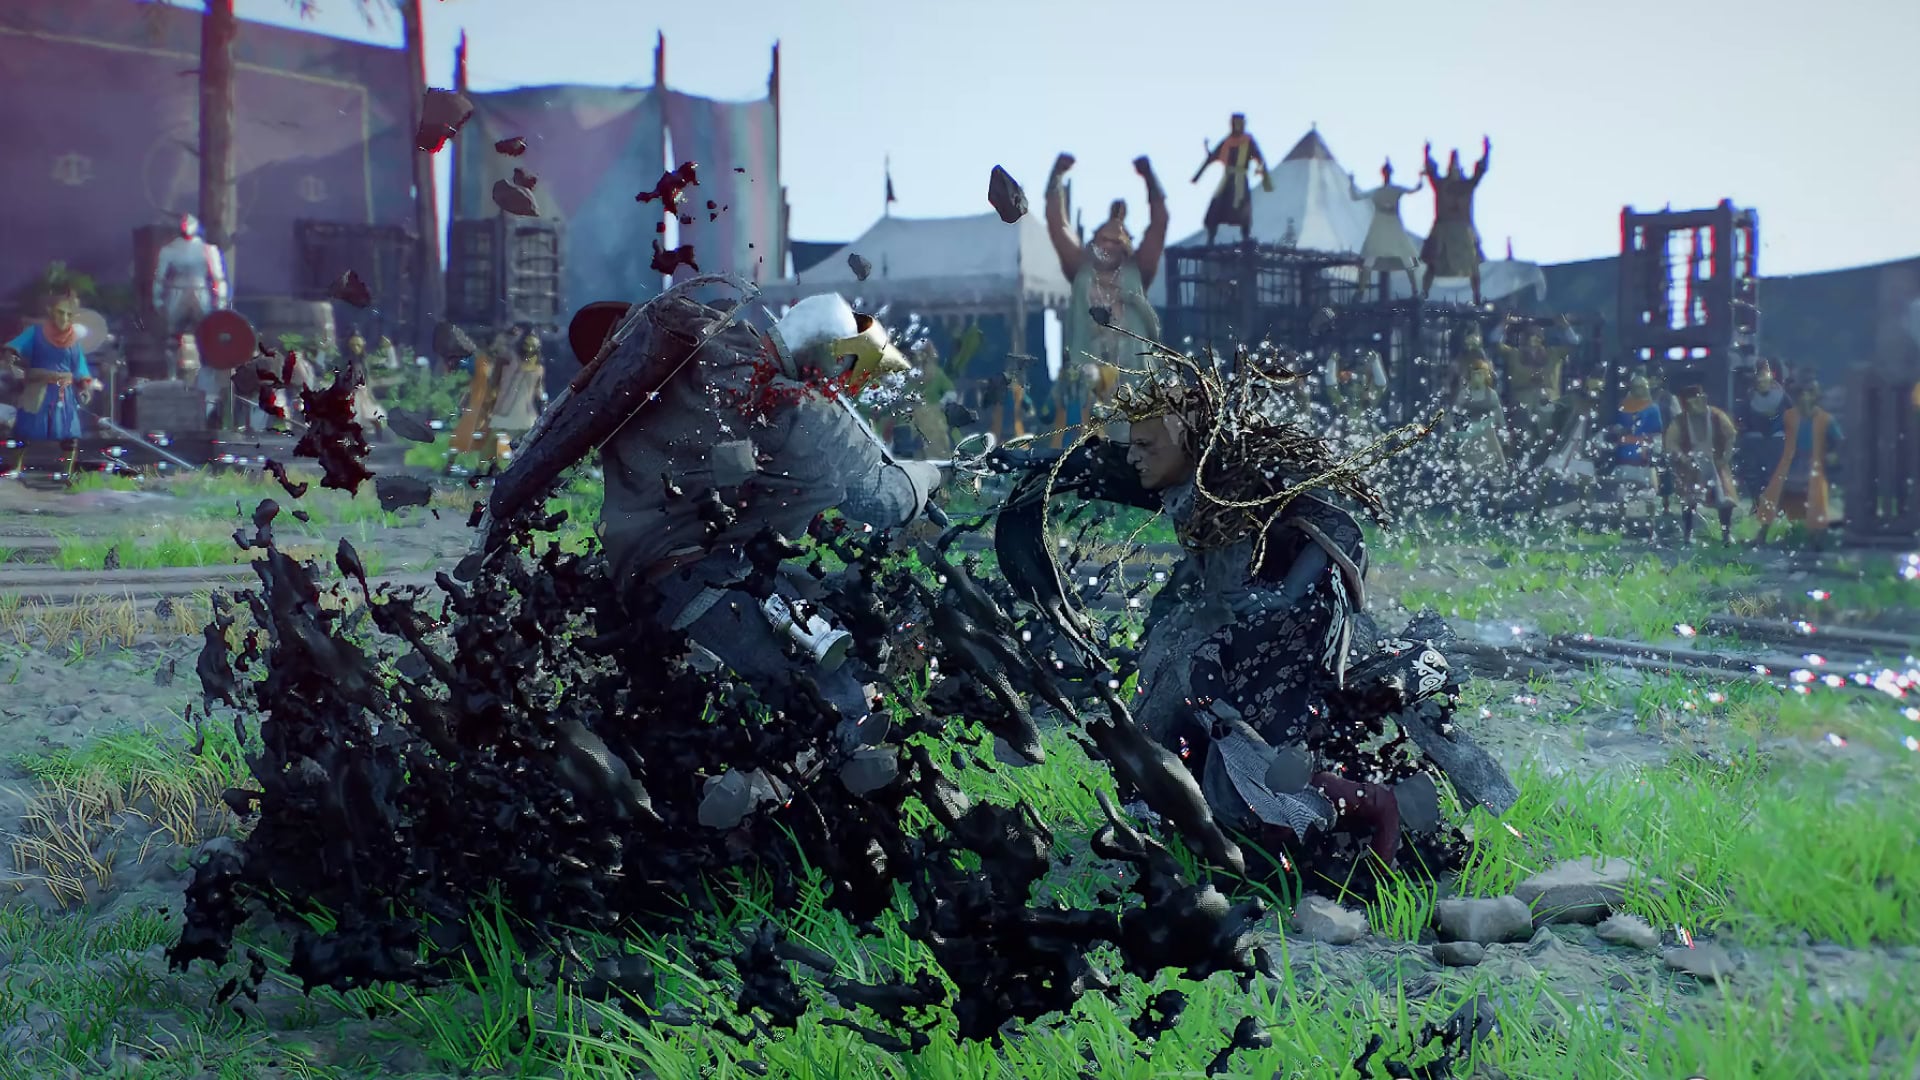
Rewards
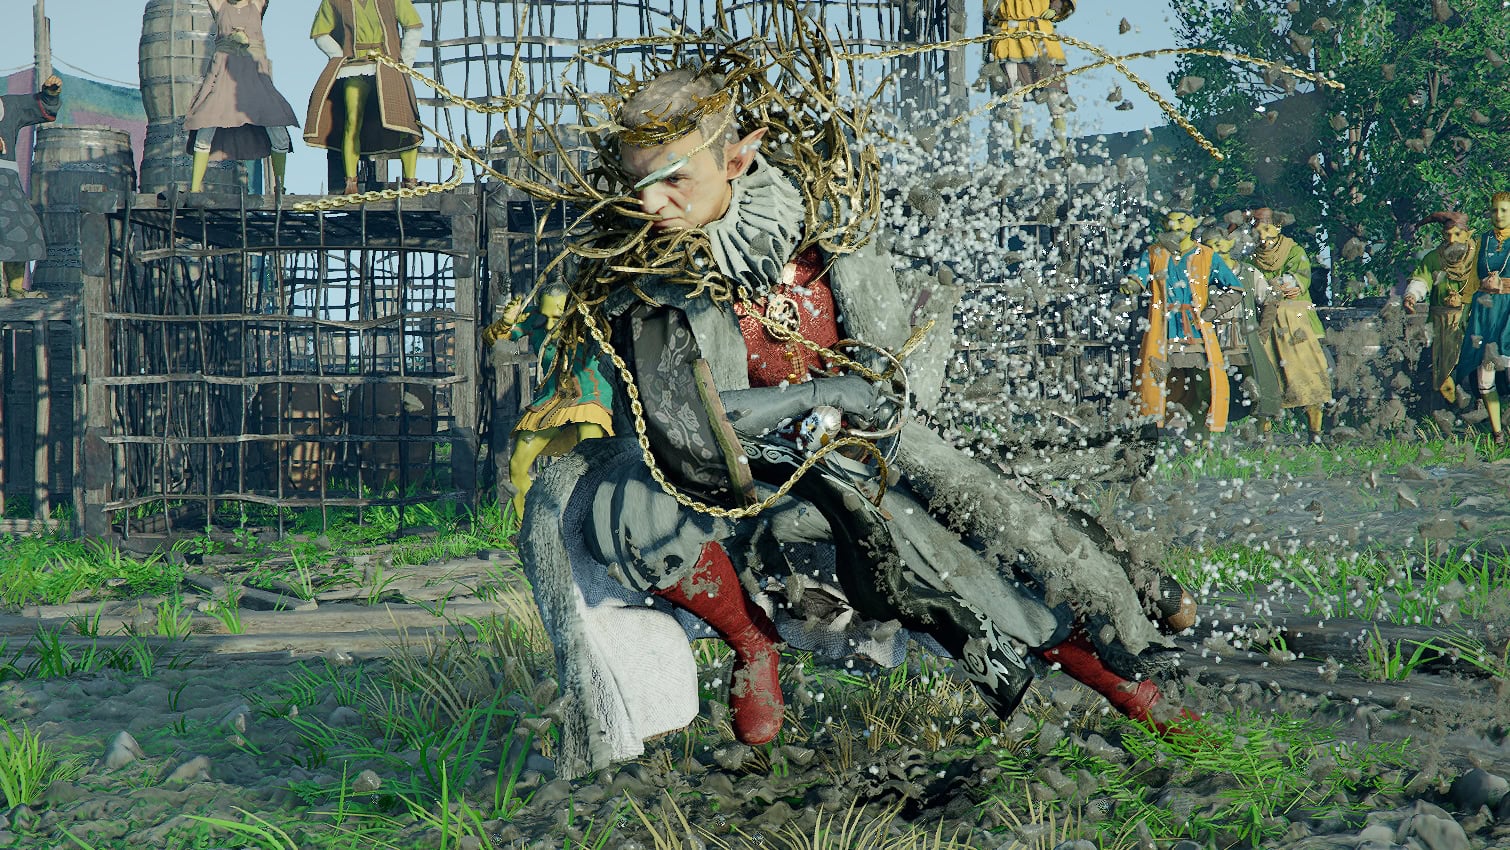
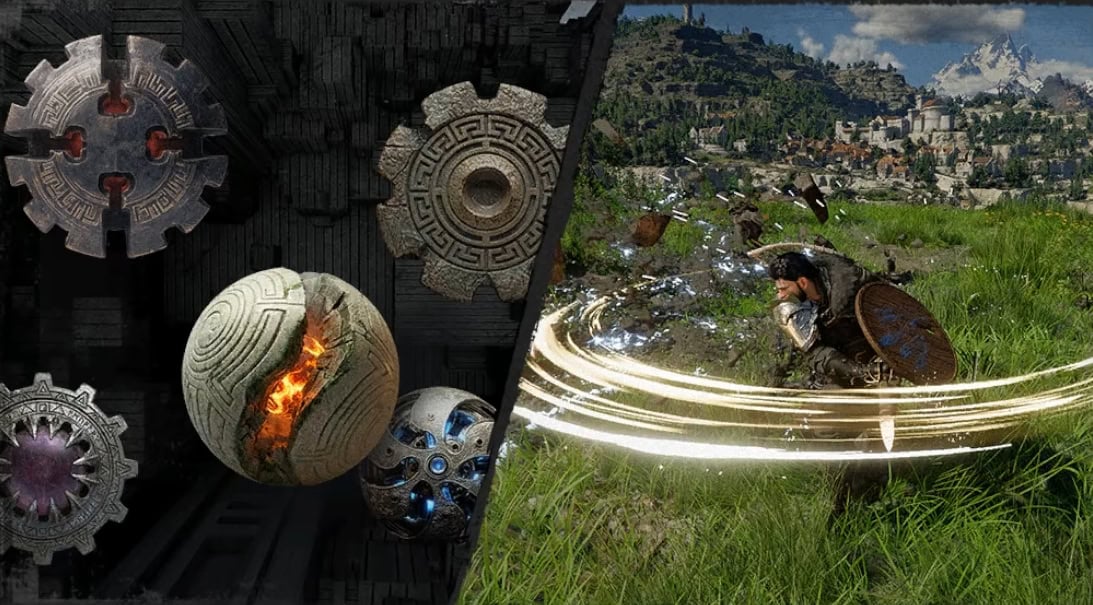
Once defeated, a cutscene will start and Kailok will have a rather gruesome (but well deserved) end. This ends Chapter II and starts Chapter III: Howling Hill.
You’ll also learn about Abyss Gears, items infused with Abyss Energy that can be slotted into equipment for buffs and abilities.
For your efforts, you’ll receive the Sword of the Lord, Seal of Greed – Goldleaf Merchant Guild, Iron Ore, and Copper Ore. Your next task is to investigate the back alleys of Hernand for a Greymane.
The Sword of the Lord boasts 13 Attack, Level 2 Attack Speed, and grants the Wind Slash ability.
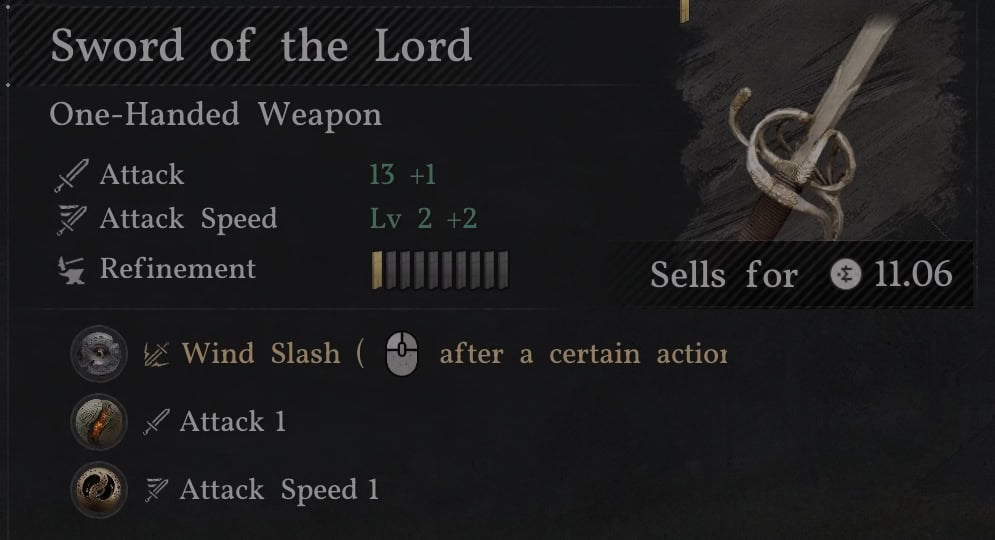
This ability allows you to launch a Wind Slash with every third standard melee attack. This goes quite some distance which is a nice feature when fighting archers. It will also activate when you attack after performing a successful parry.
Do note that the third wind slash may not launch if that third attack hits an enemy. Due to this, it can be tricky to activate outside of parrying when fighting against large groups of enemies.
If you need help with the boss in Chapter III, our guide to how to beat the Reed Devil, is available and waiting to teach you the best strategies and mechanics for this fight.