The Sanctorum of Darkness is one of Crimson Desert’s many Abyss puzzles. Find out how to reach this section of the Abyss and how to solve the puzzle within to claim an Abyss Artifact in this guide.
How to reach the Sanctorum of Darkness
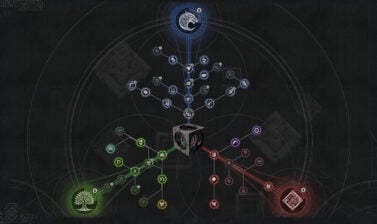
The Sanctorum of Darkness is the fourth in a chain of Abyss Puzzles starting from the Spire of Ringing Truth.
This puzzle is immediately preceded by Path of Trials, with Ether Rest and Frostbitten Paradise between Path of Trials and the Spire of Ringing Truth.
The Spire of Ringing Truth and all previous Abyss Puzzles in the chain must be completed to access the Sanctorum of Darkness.
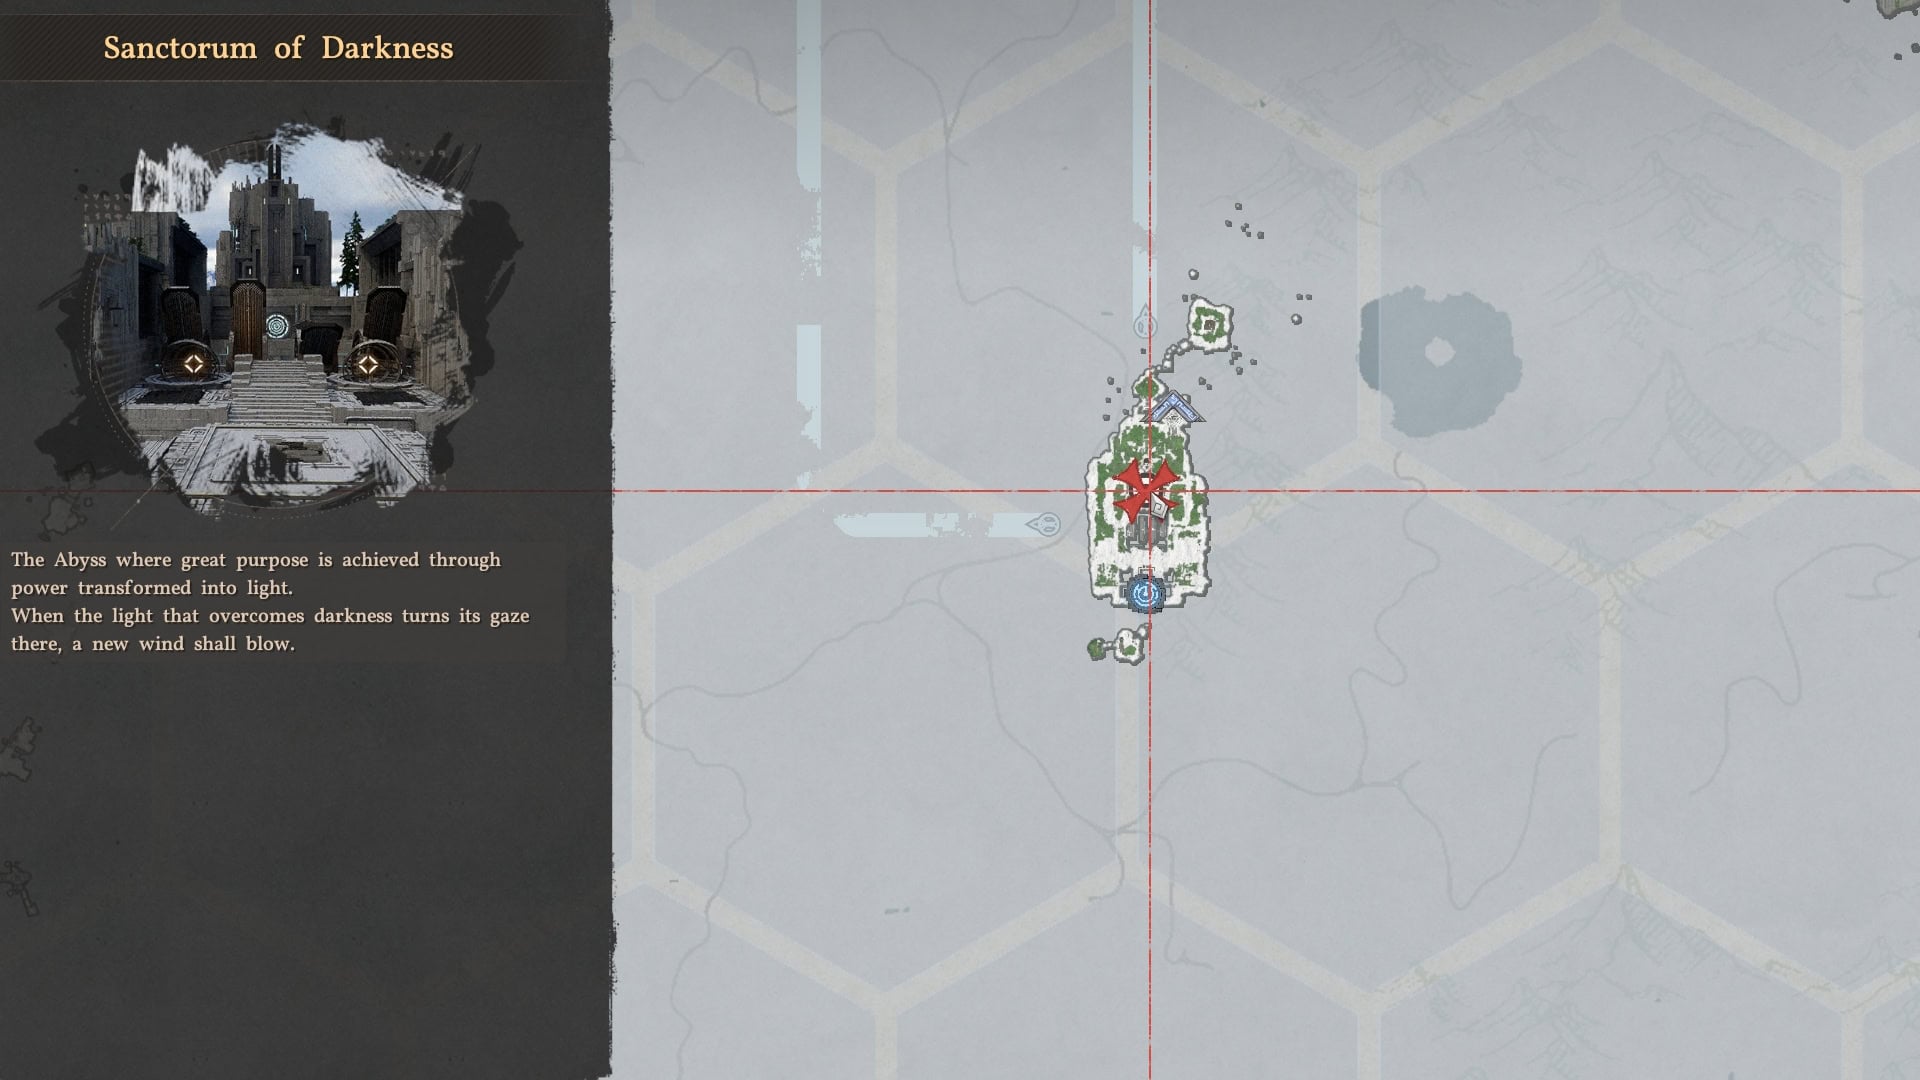
Here is the full list of all chained Abyss Puzzles and their order:
- Spire of Truth
- Ether Rest
- Frostbitten Paradise
- Path of Trials
- Sanctorum of Darkness (this one)
- Loop of Life
- Tree of Slumber
- Skyloop Bridge
Solving the Sanctorum of Darkness
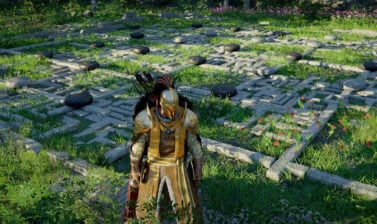
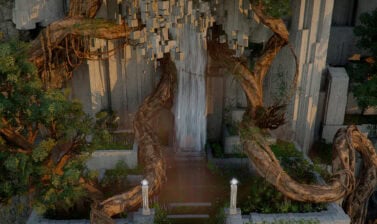
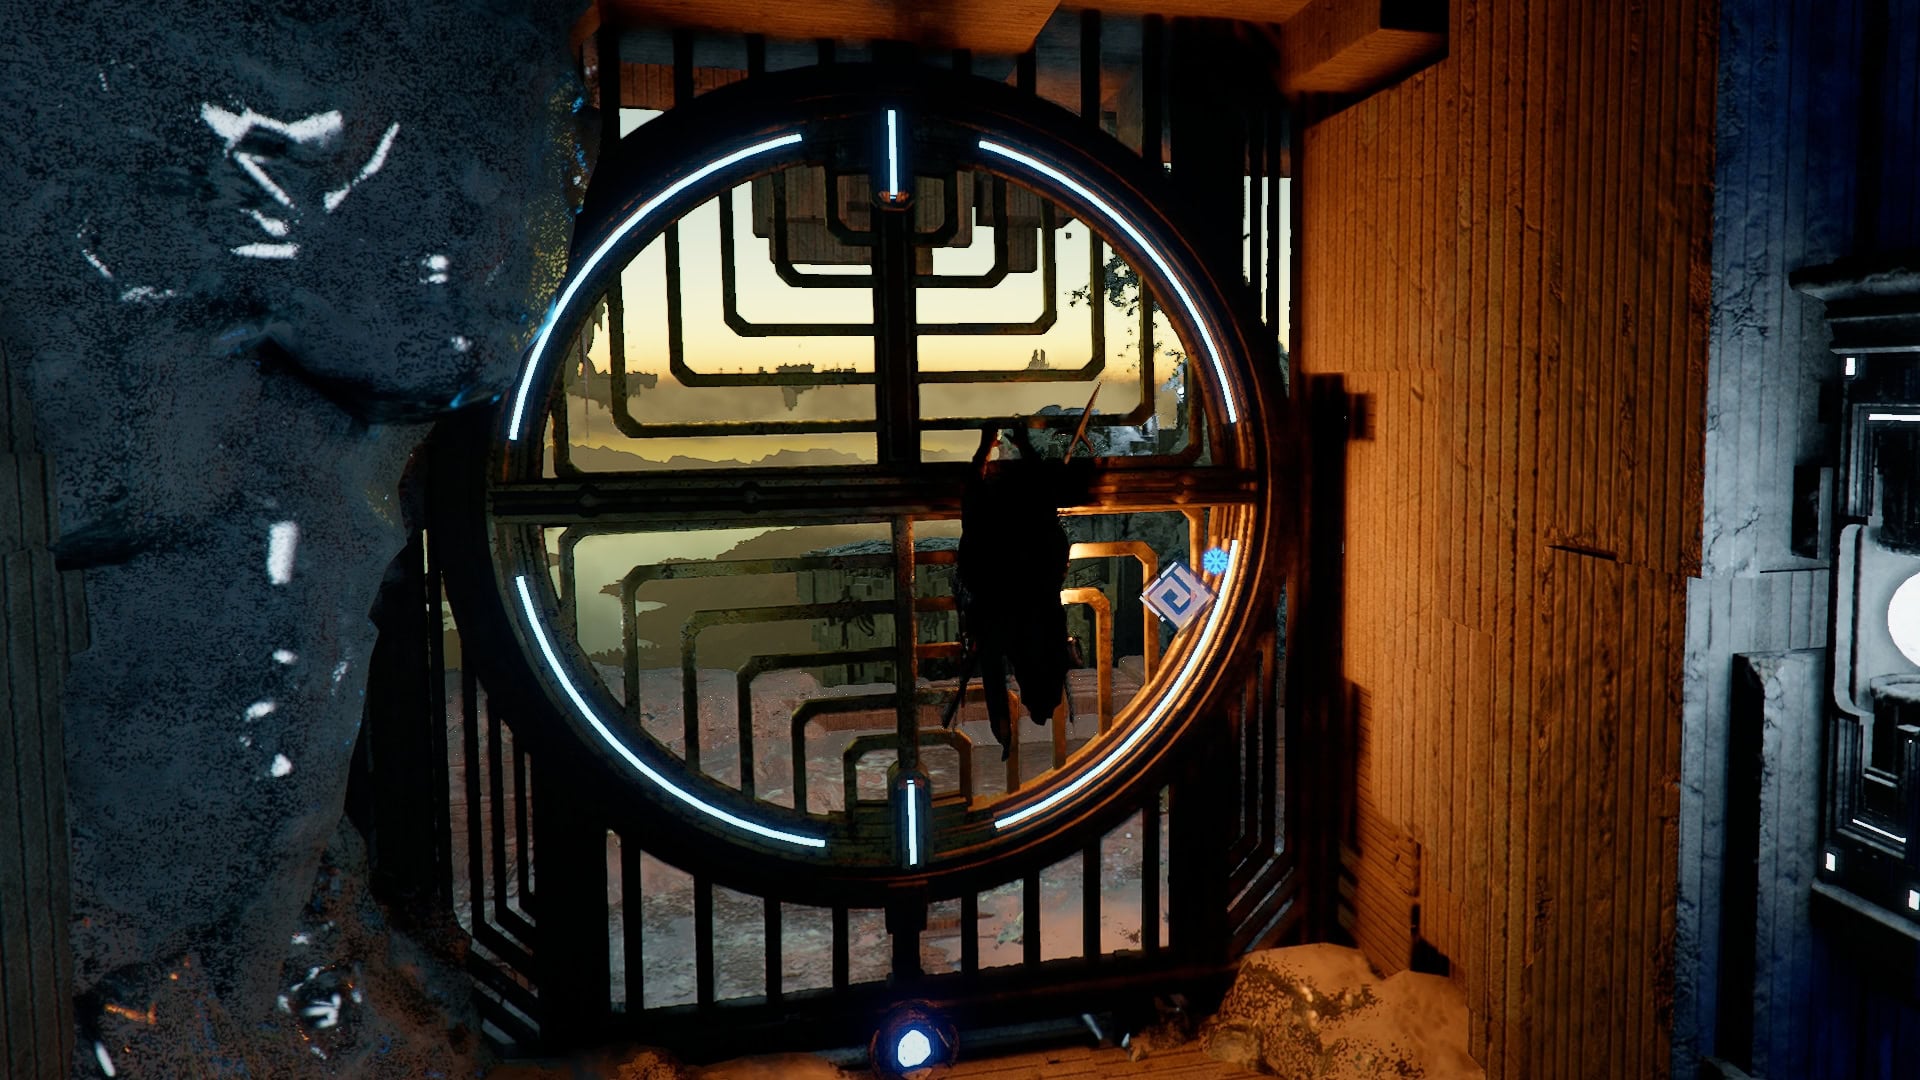
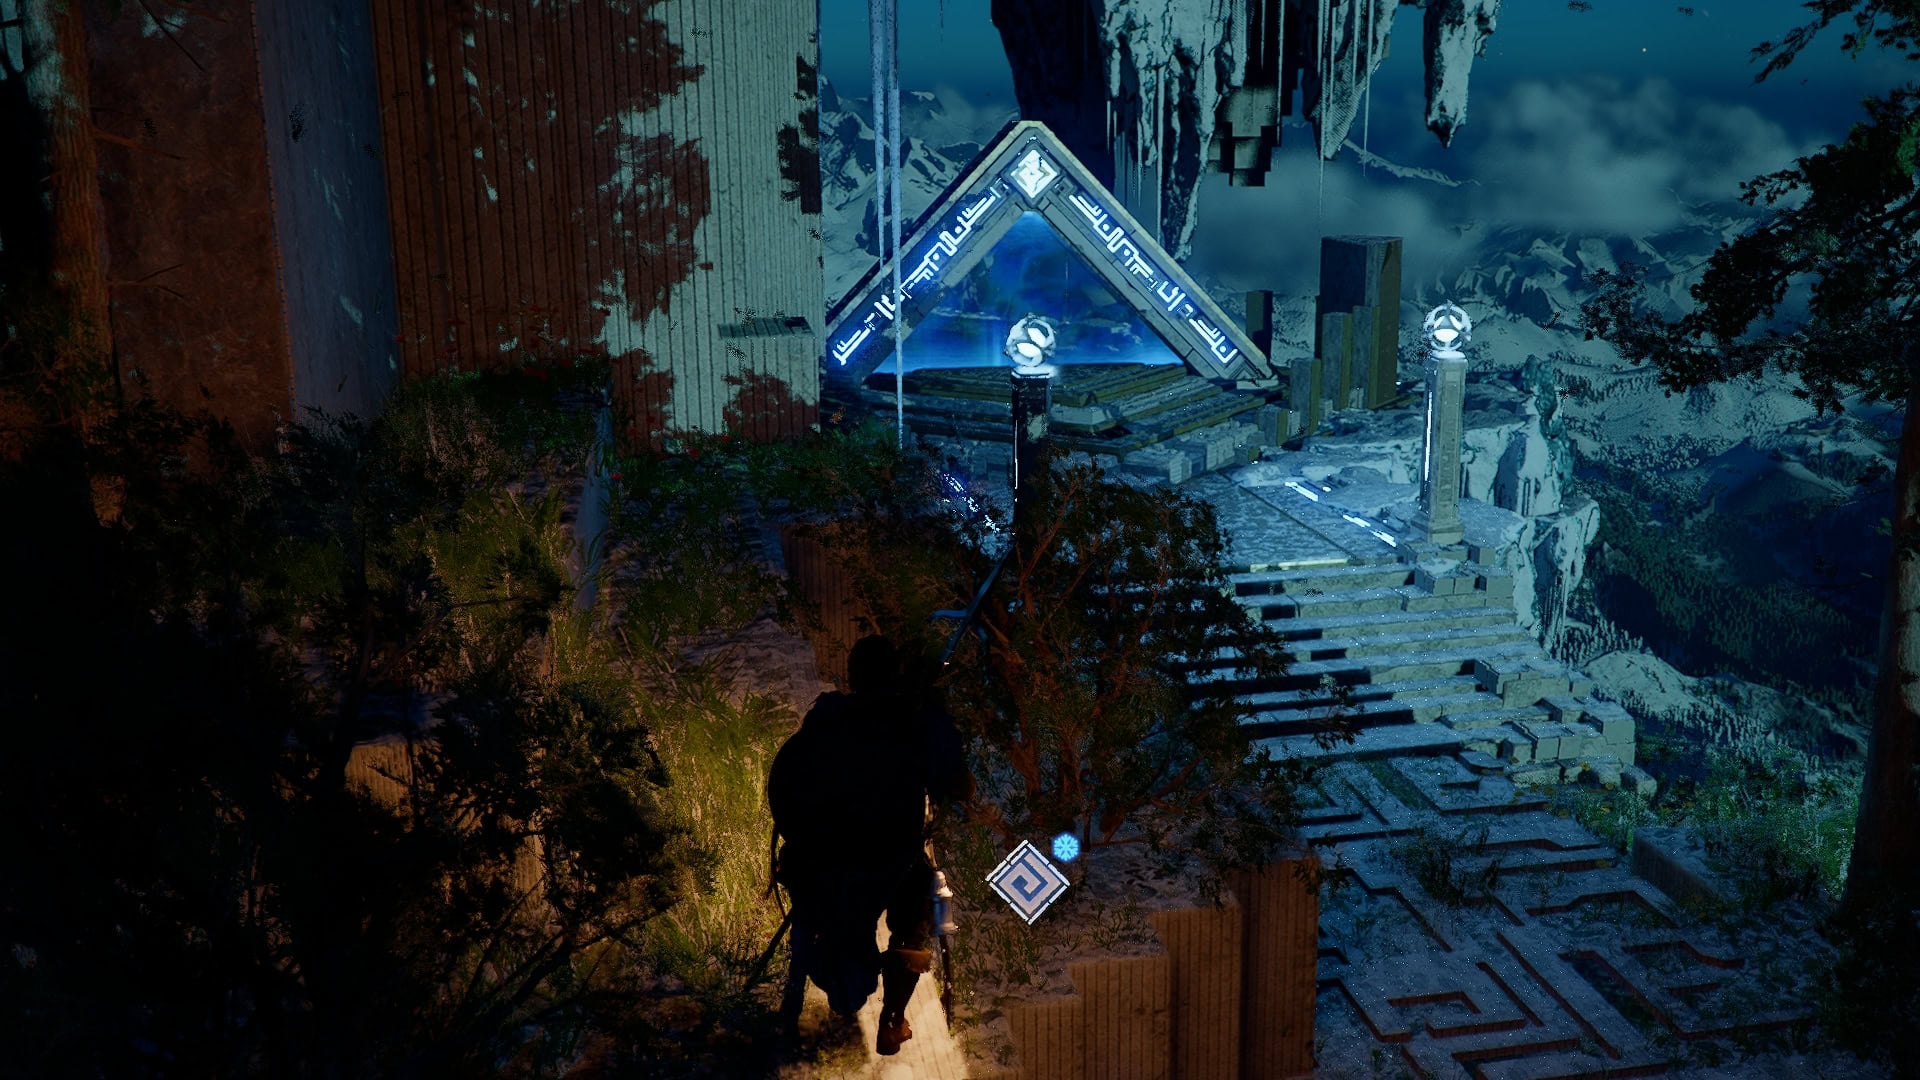
When you first arrive in the Sanctorum of Darkness, you’ll be a bit far away from the Nexus, so head there first. It’s on the upper level of the main structure just ahead; use the platforms to get there without a hassle.
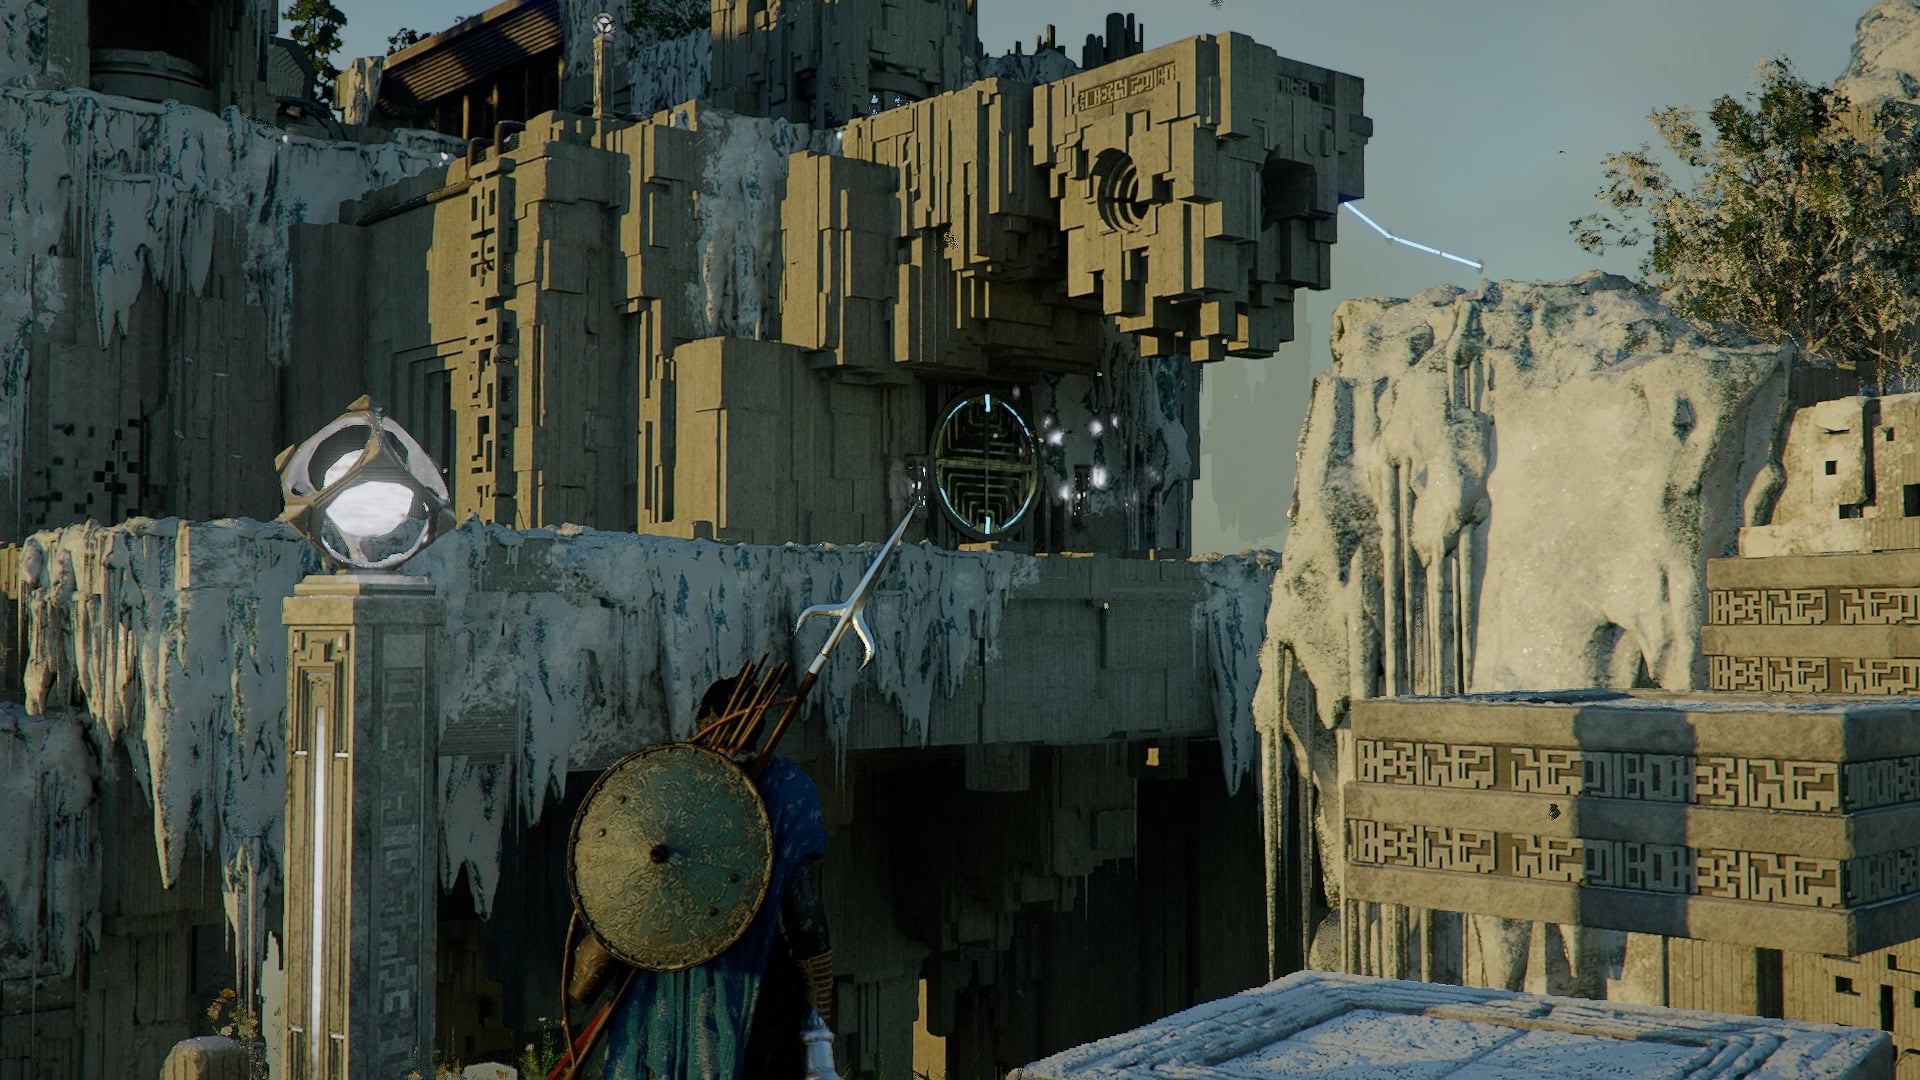
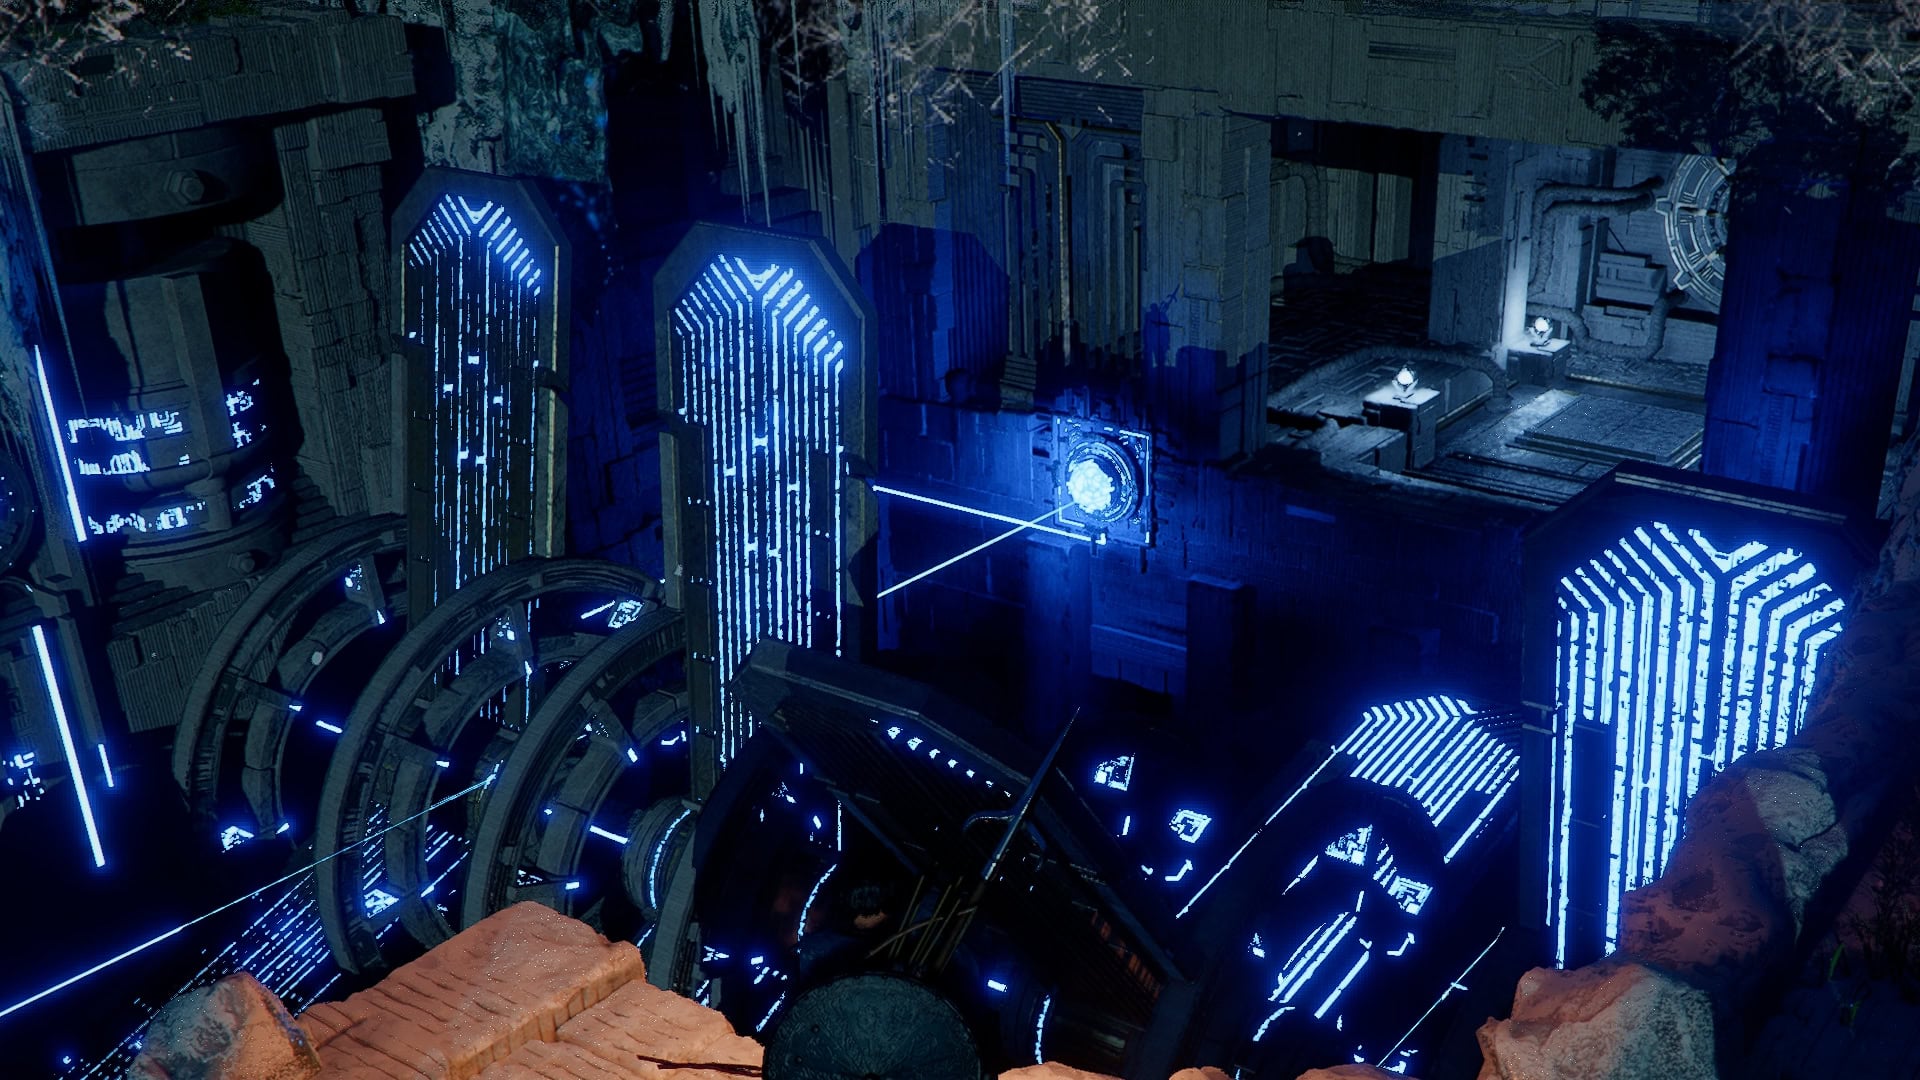
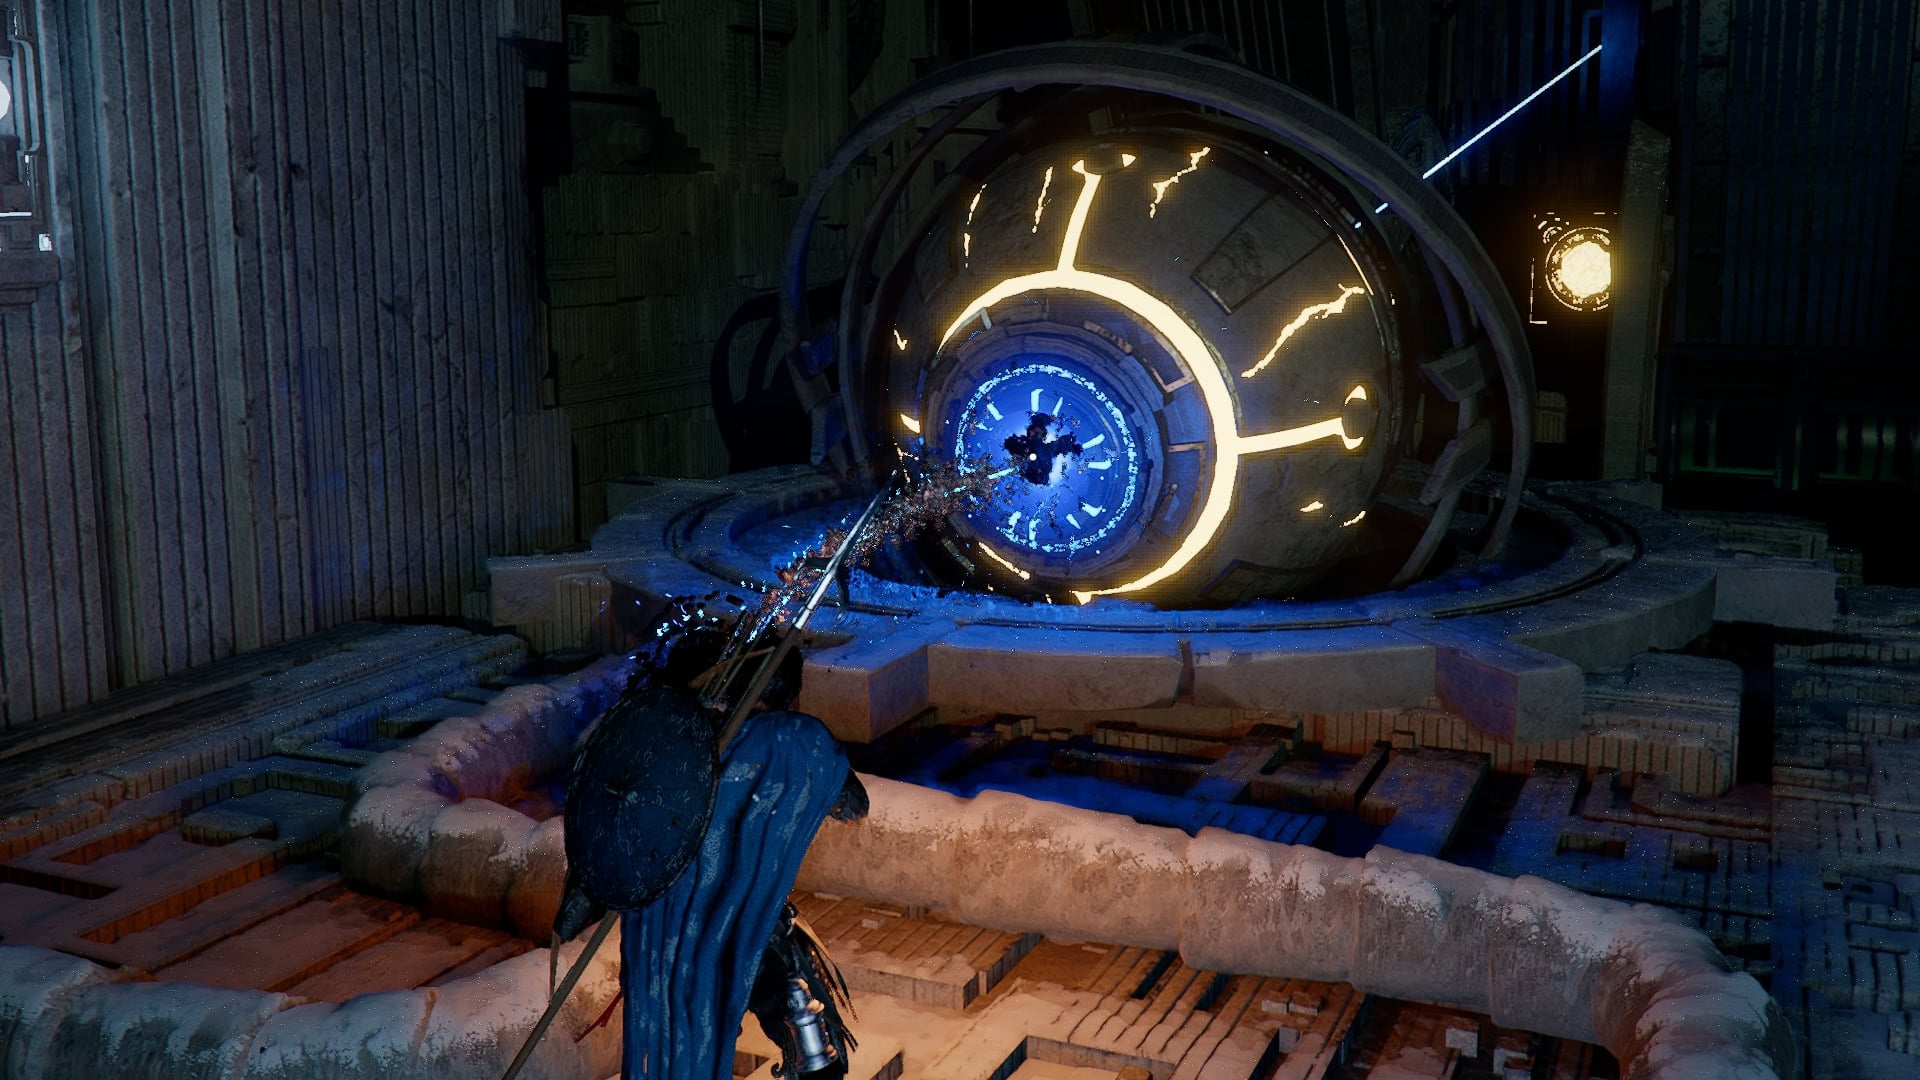
From the nexus, hop down to the lower level. Right below the nexus is a Power Source stuck in a wall socket behind a grate.
Climb onto the right side of the grate, and hold the input to resist being thrown off and give it a good Force Palm.
This will flip you to the inside, where the Power Source is.
Turn and Grab the Power Source with Axiom Force. Don’t worry, it’s not connected to anything important. Pull it out, and this will deactivate the barrier directly above.

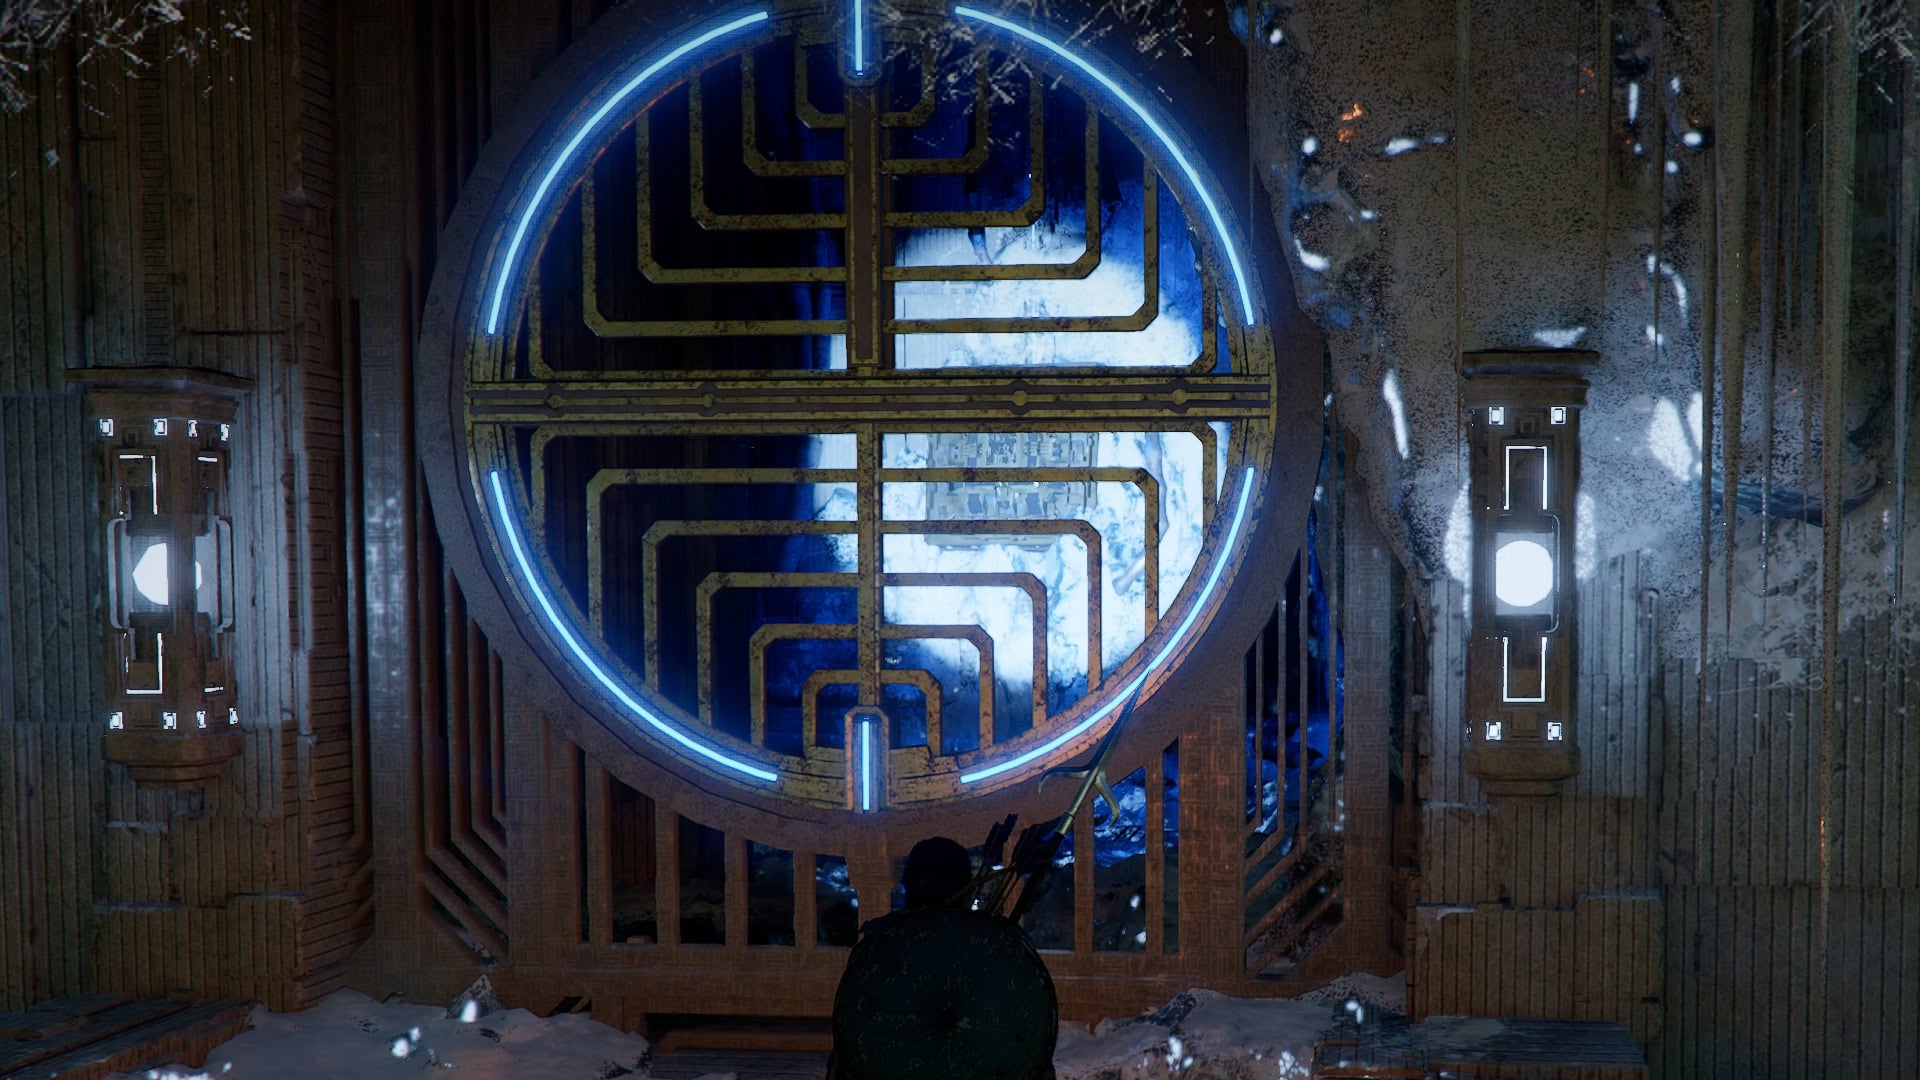
Push the Power Source up towards where the barrier was.
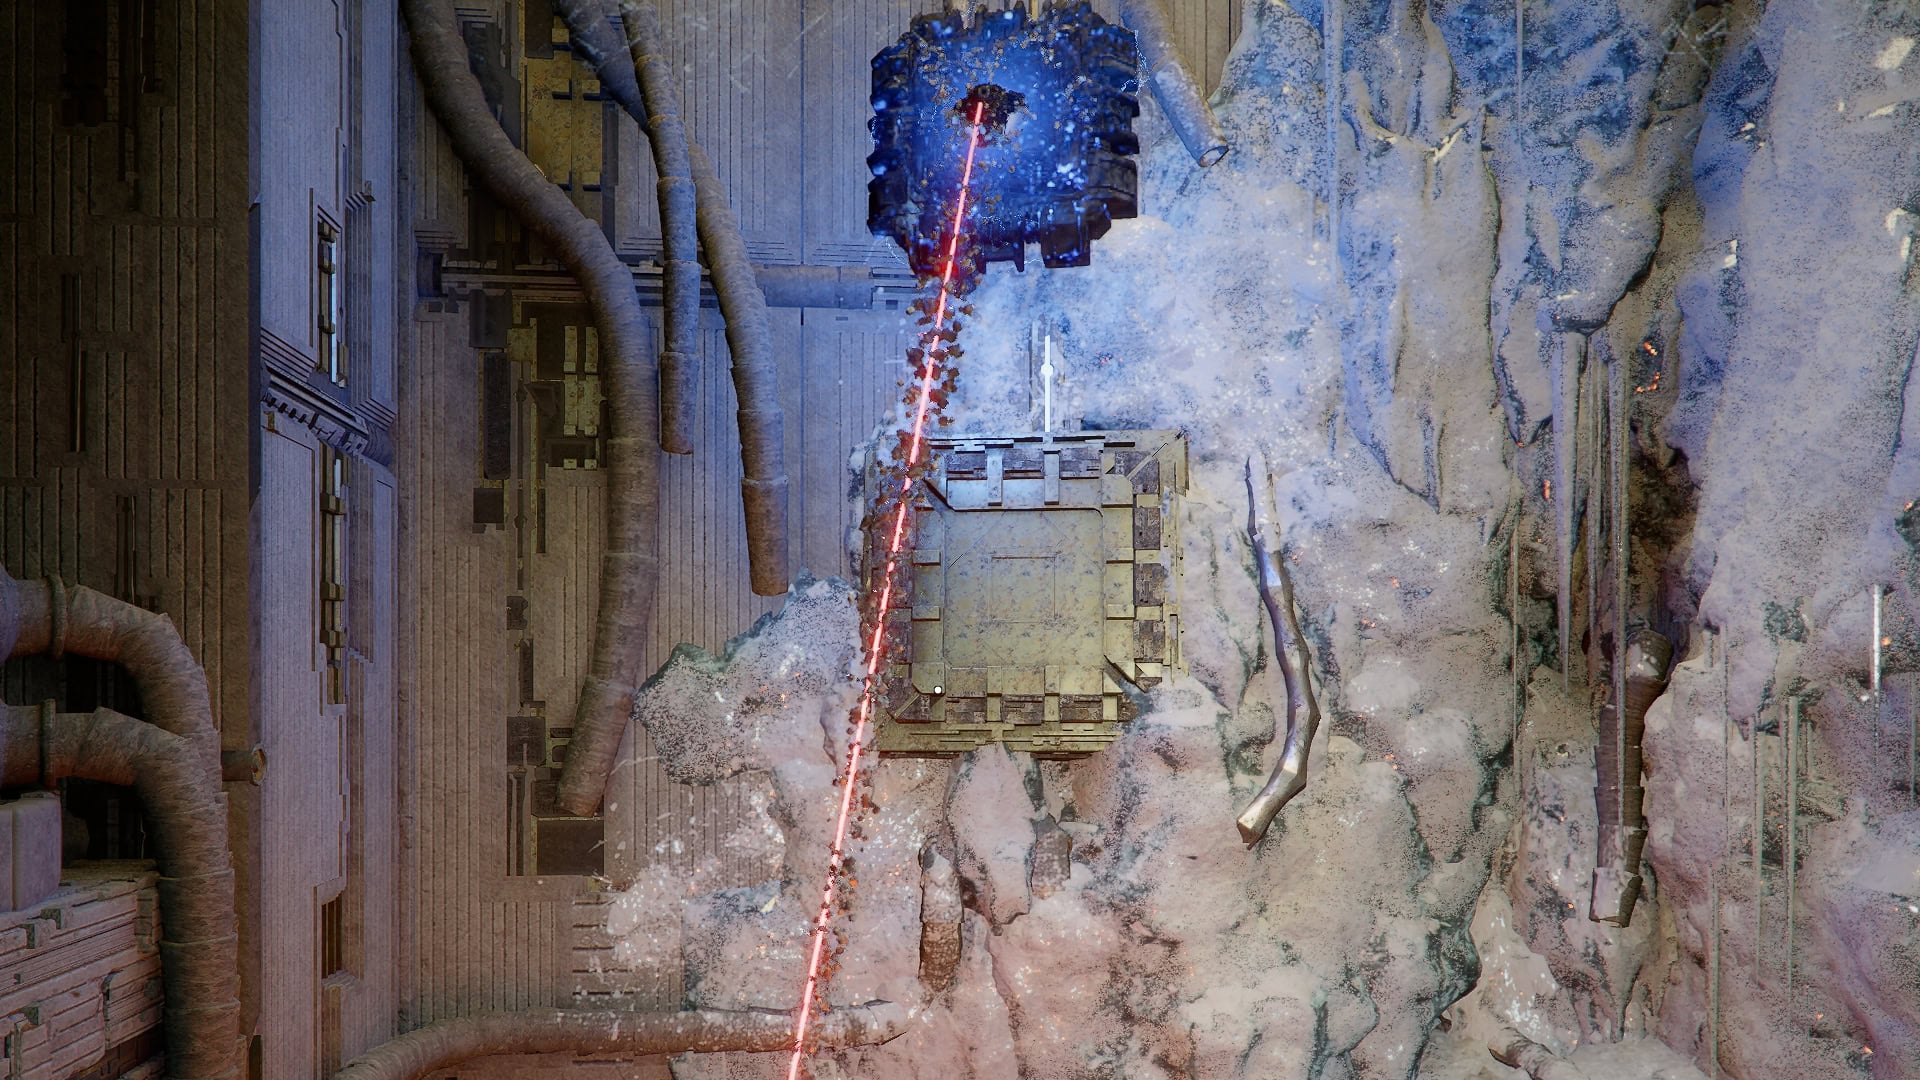
This allows you to head back up to the upper level and grab it through the opening.
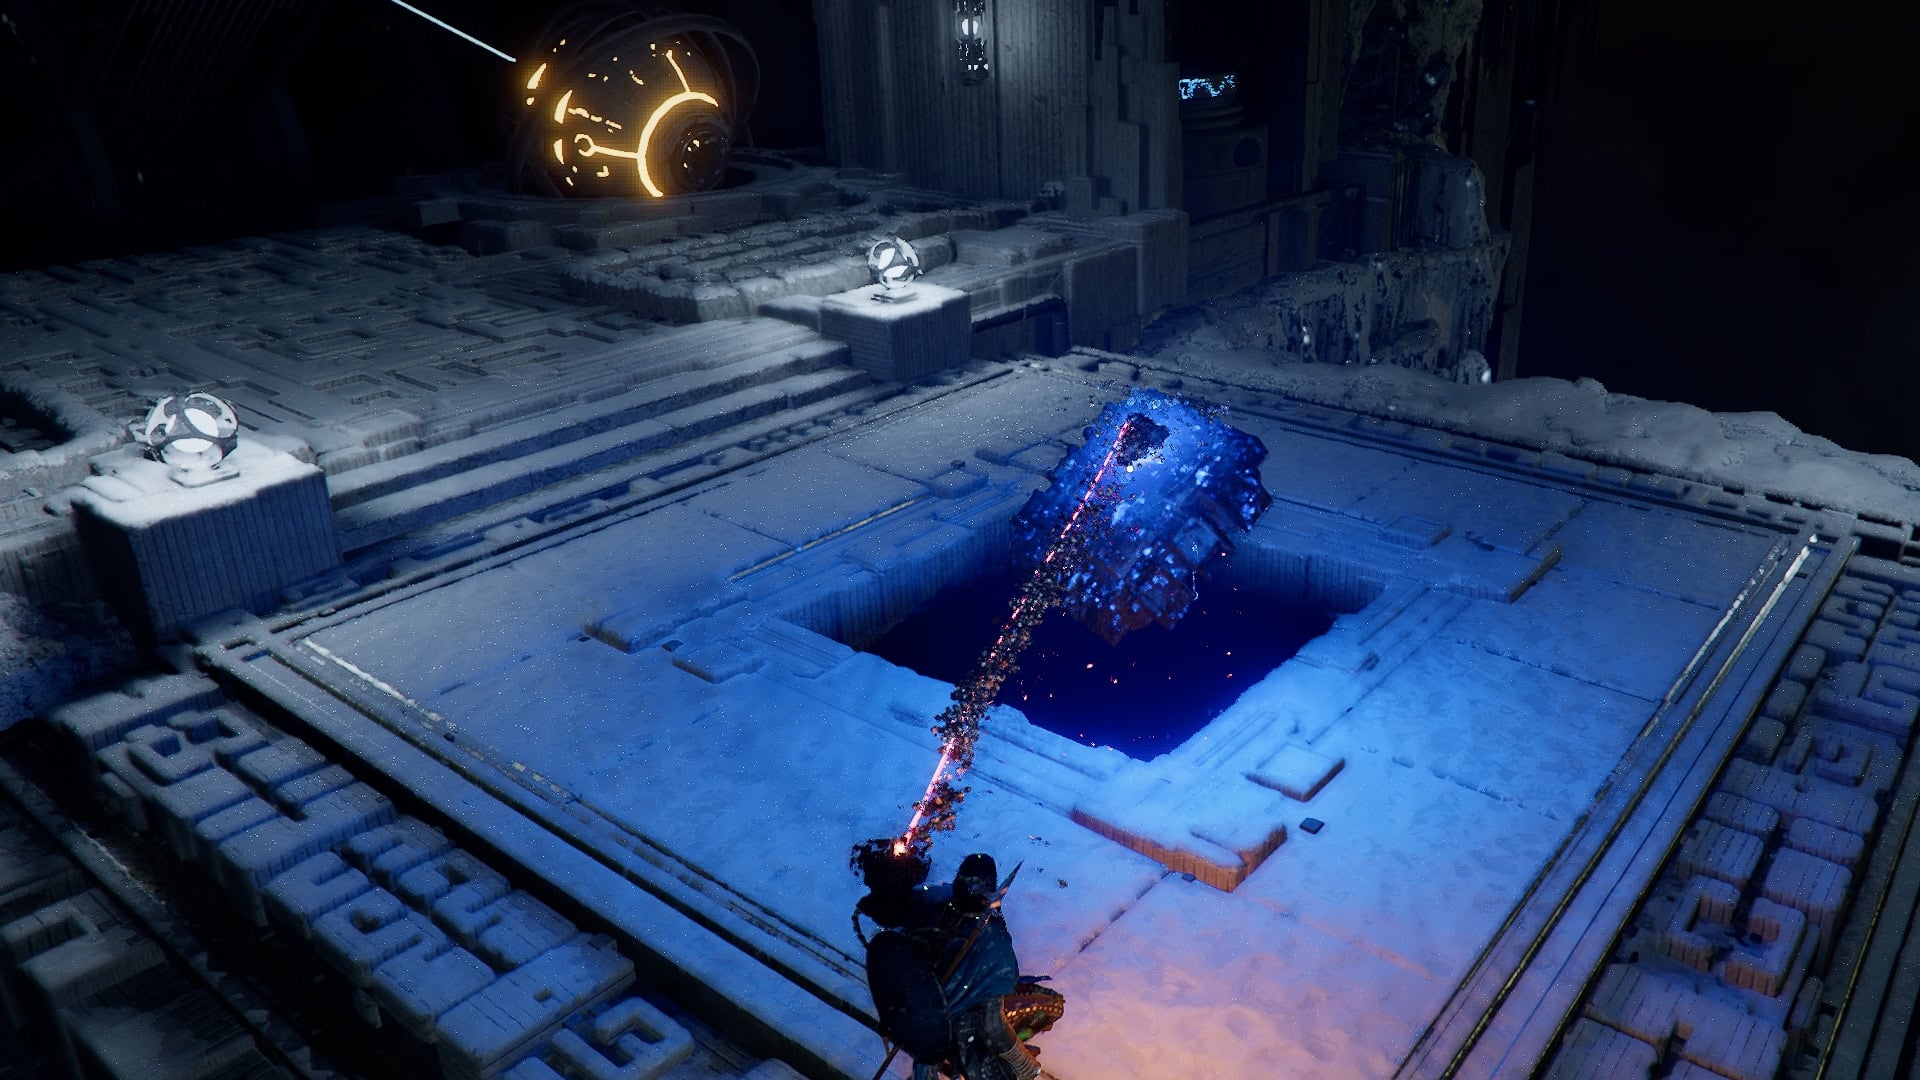
From here, move this Power Source to the socket on the left side.
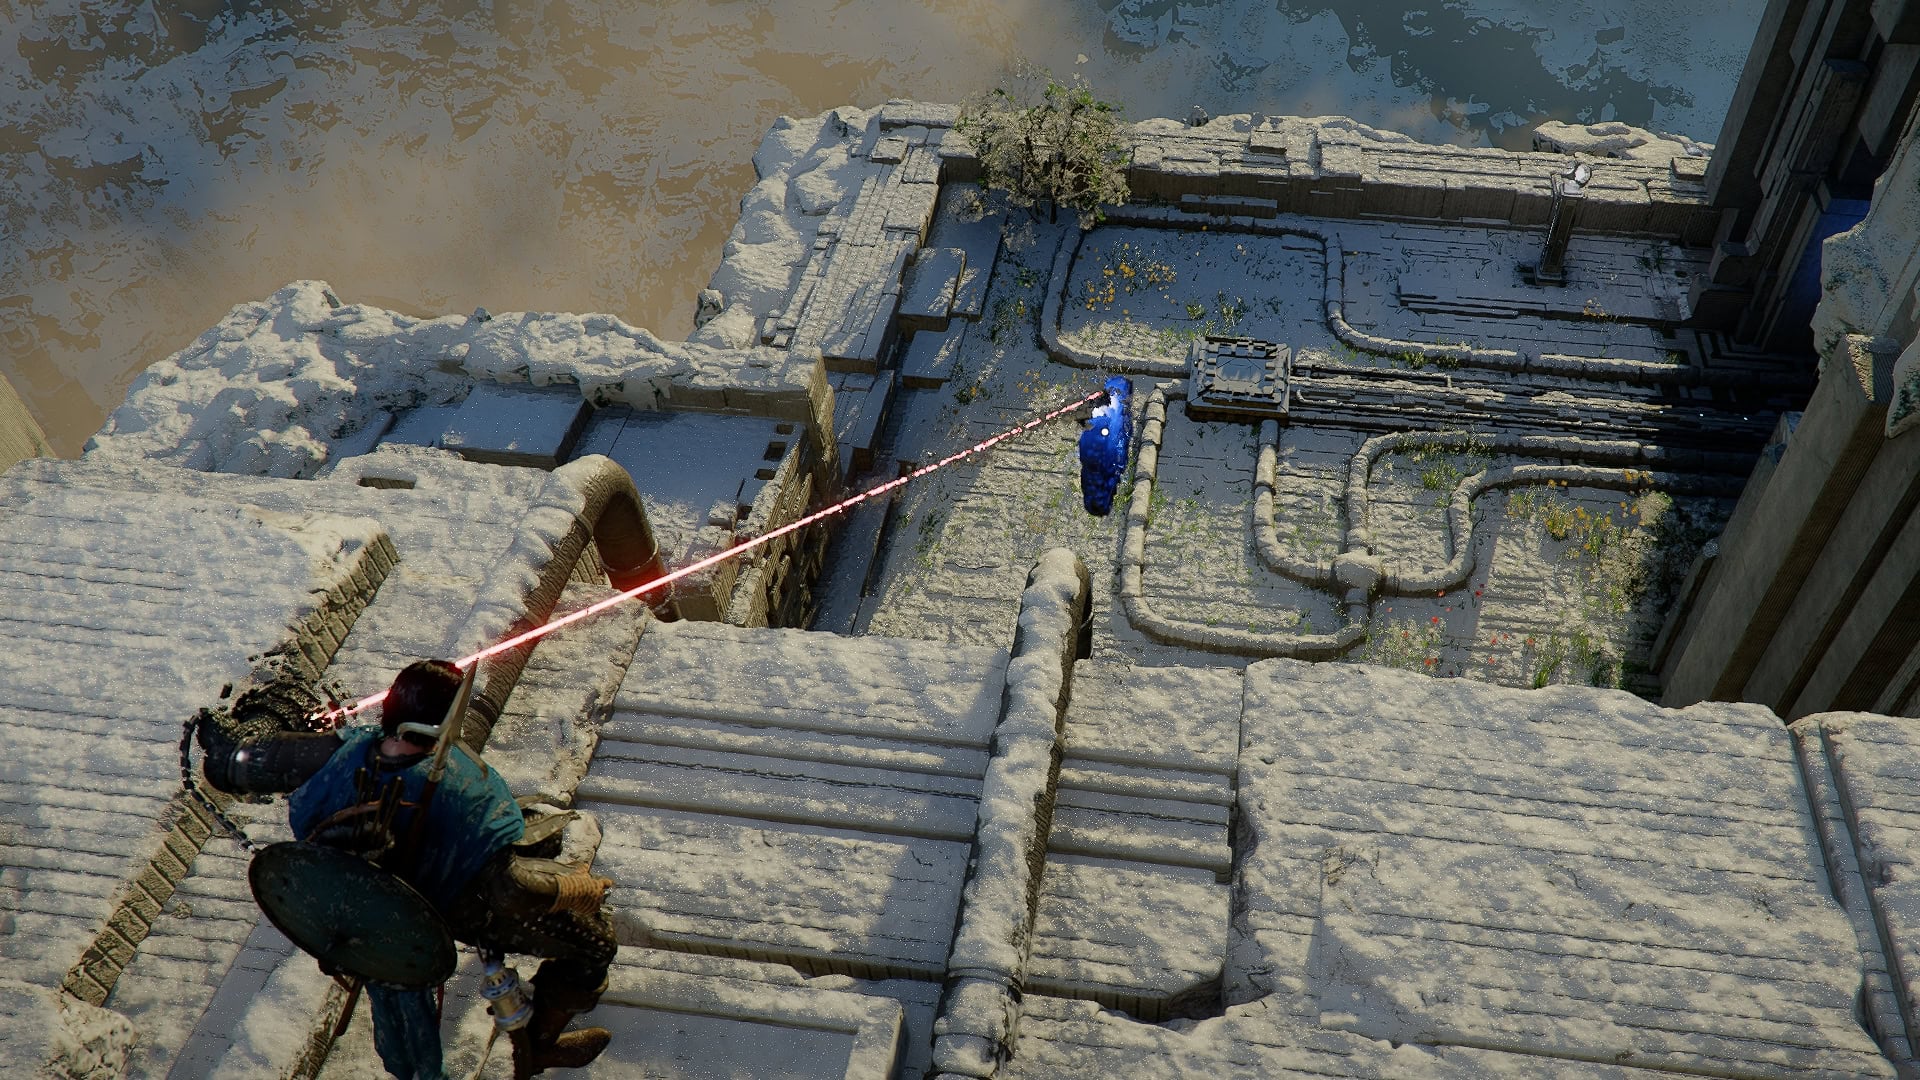
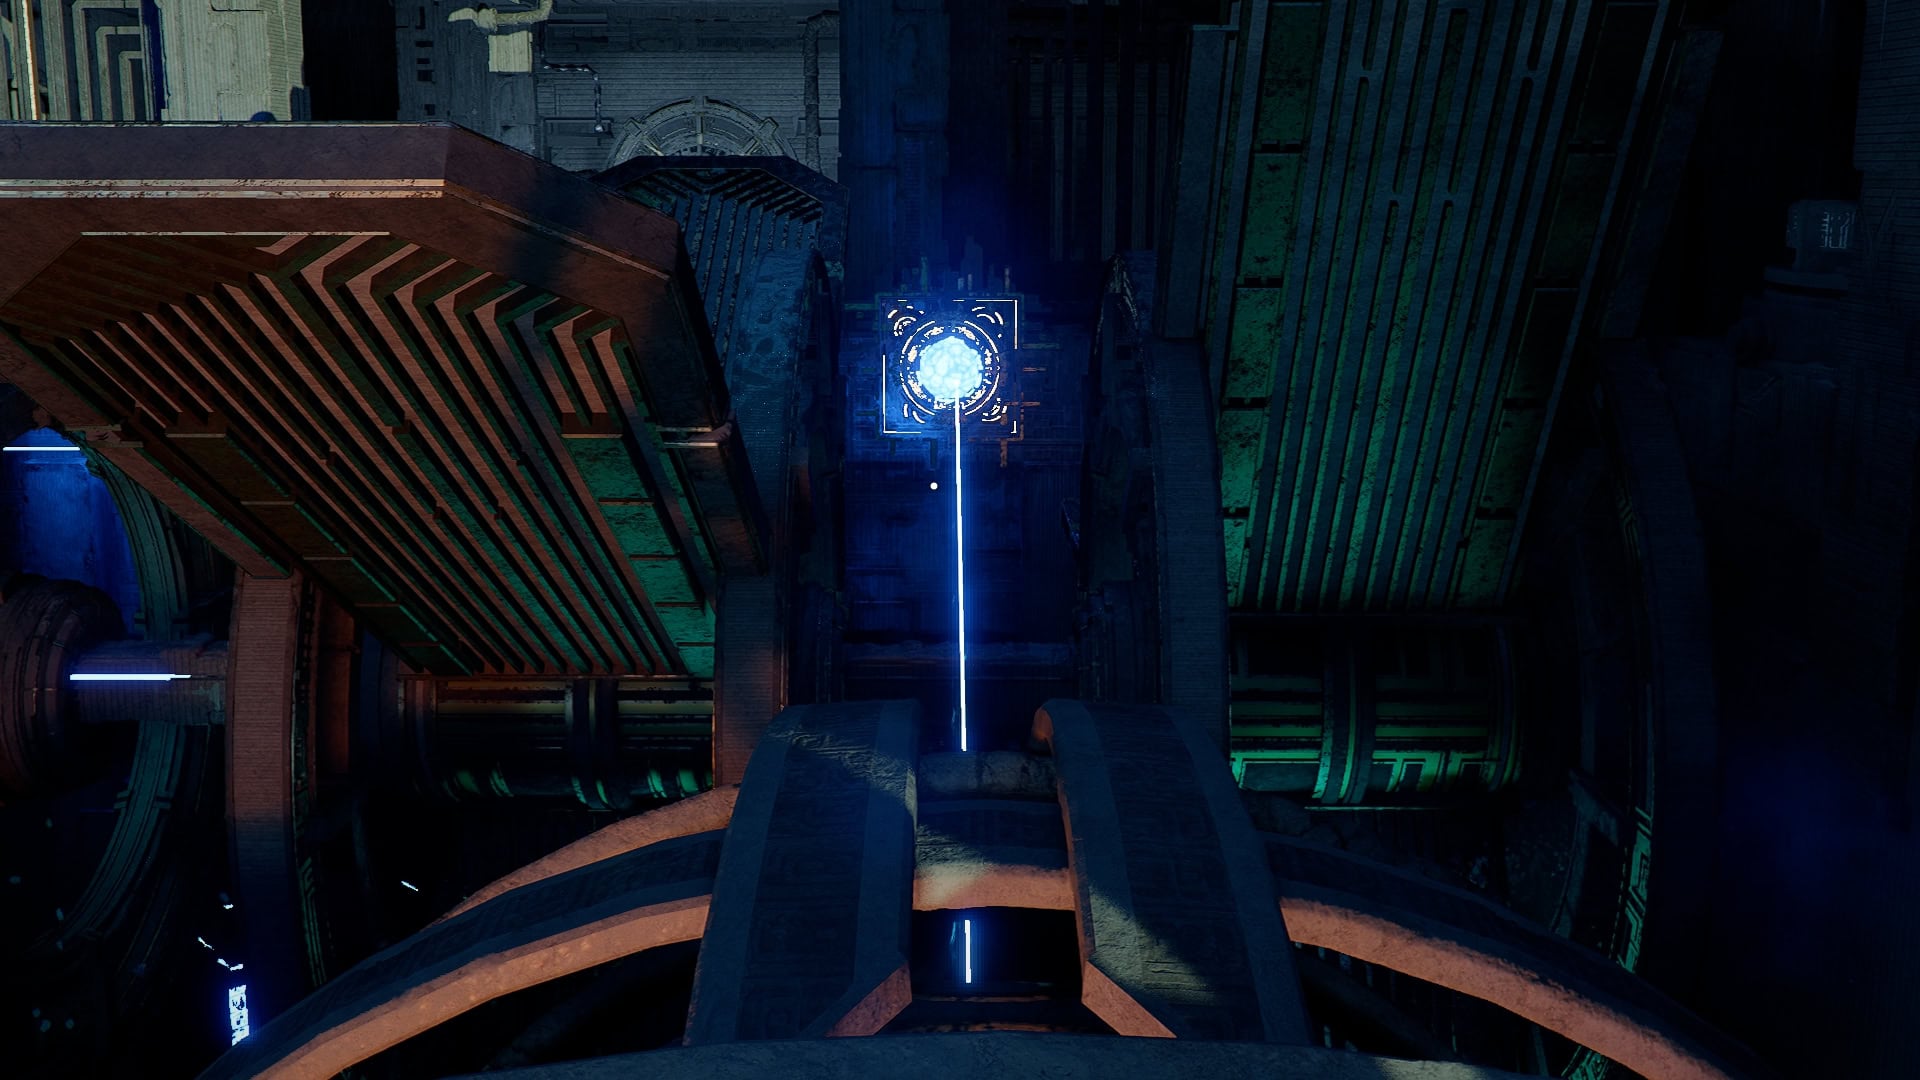
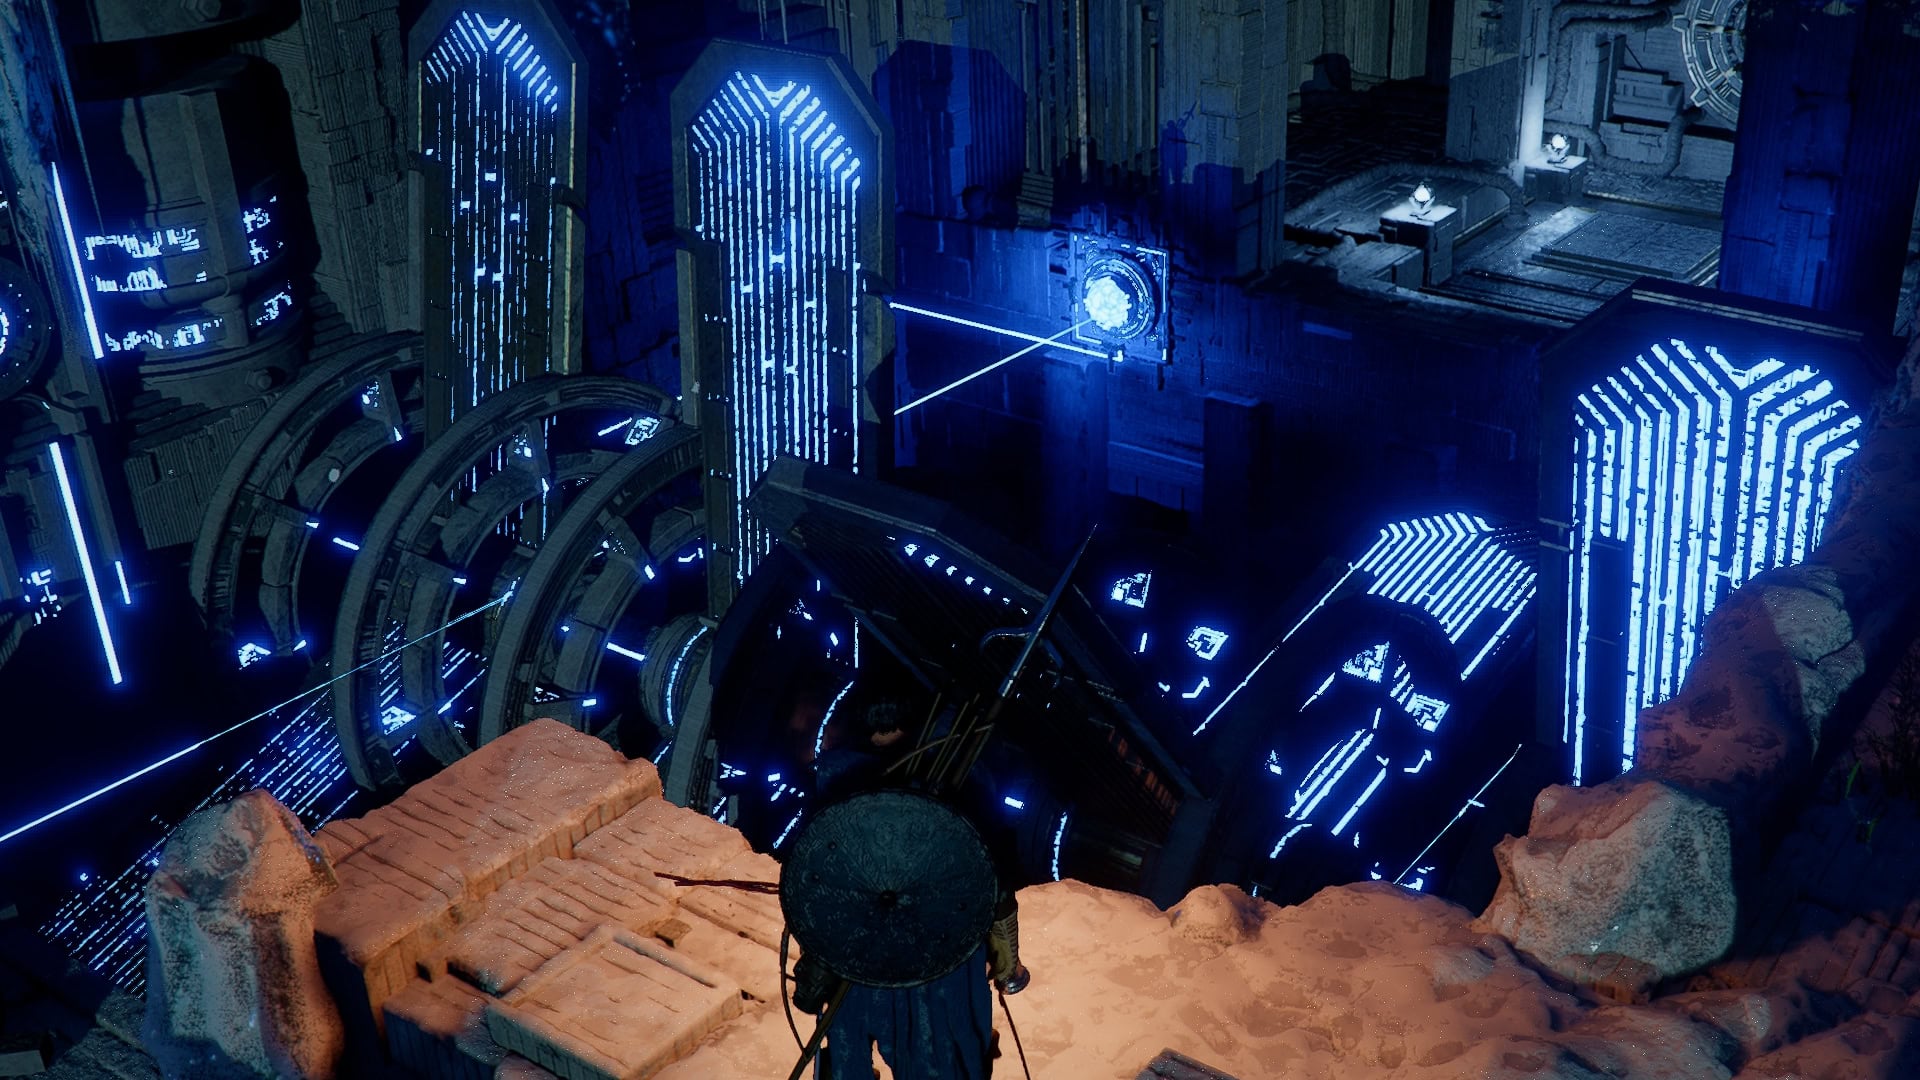
Socket it in place and head back up so you can start adjusting the lasers by using Axiom Force on the rear panels.
Then line both lasers up with the orbs directly across from them.
Once both are in place, wait a minute or so for Power to flow through all the devices it needs to.
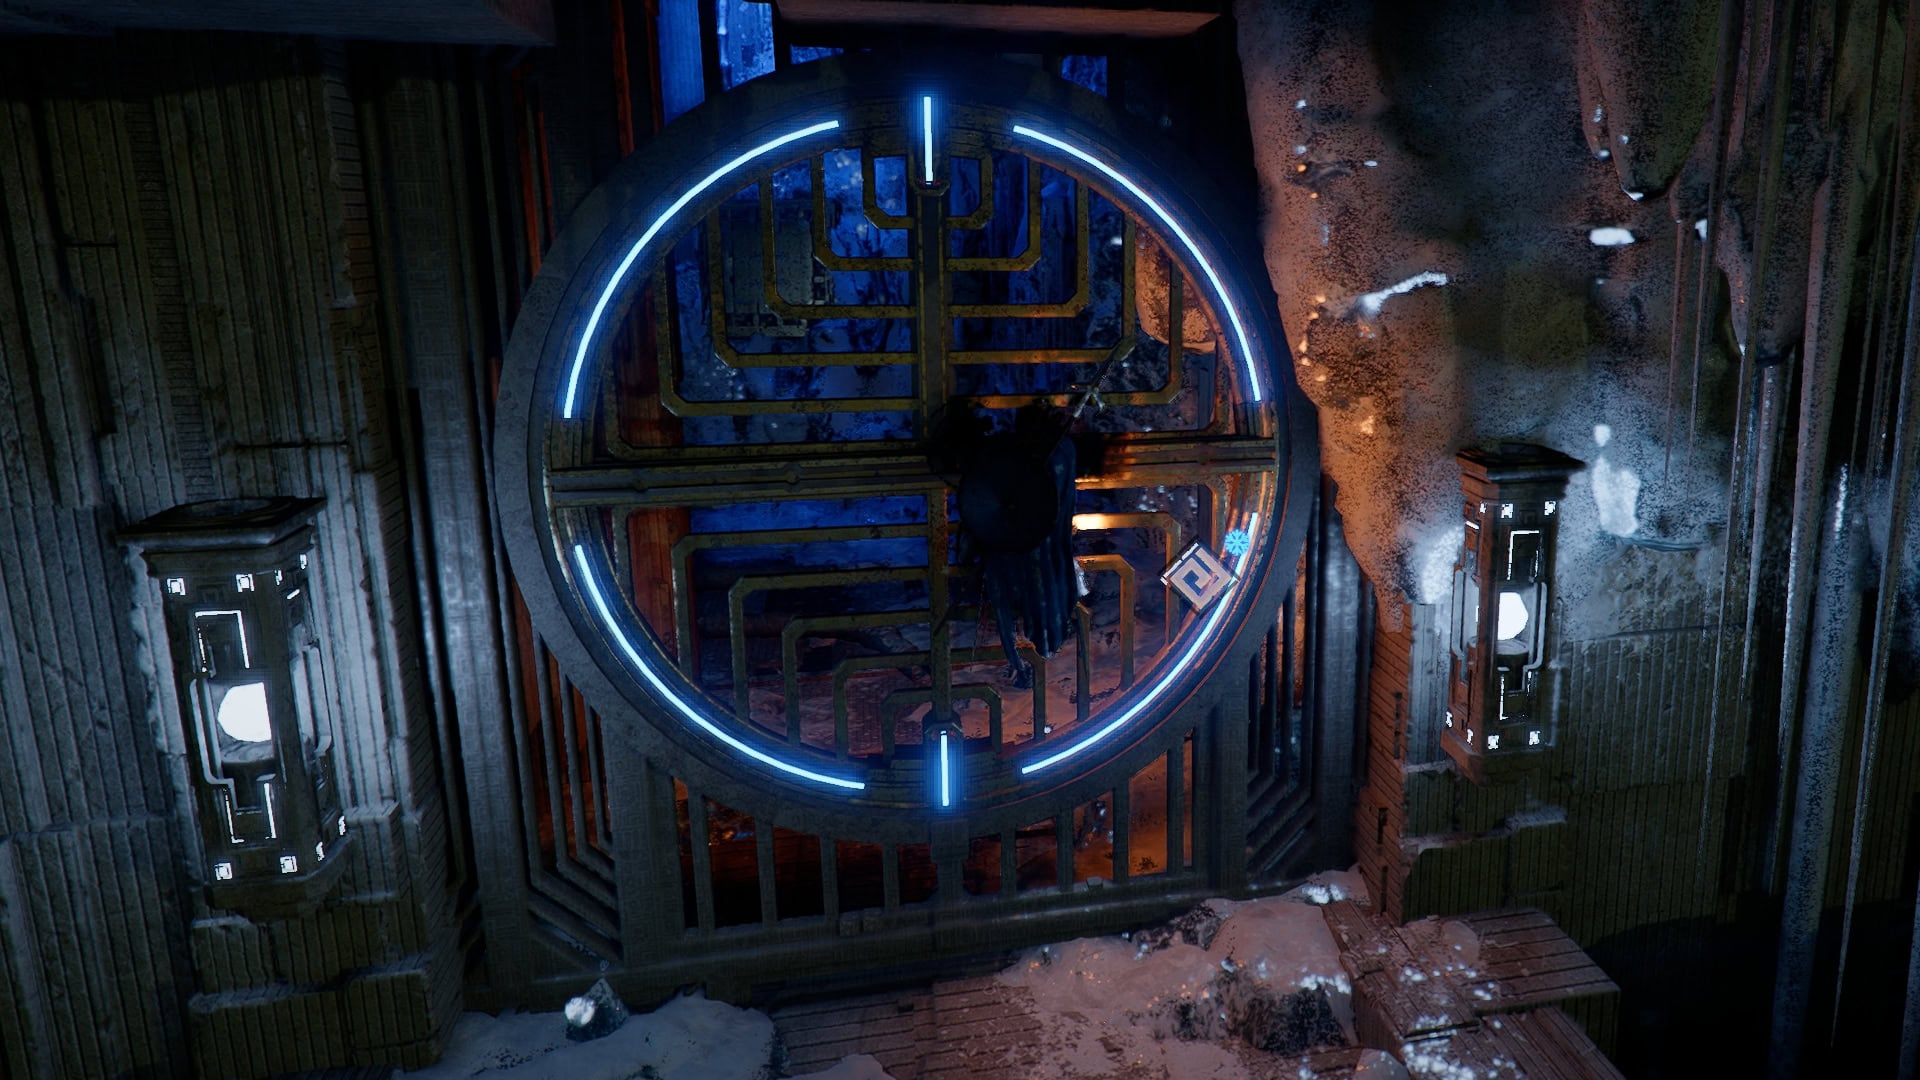
Eventually, the final button you need to press will activate. Climb the nearby walls to get above the spinning platforms and glide across the gap to the roof above the button.

Drop in the hole, climb up to the button, and give it a good Force Palm to complete the puzzle.
Use Aerial Force Palm to exit through where you dropped in and glide onto the platform. Walk forward to claim your reward, an Abyss Artifact.
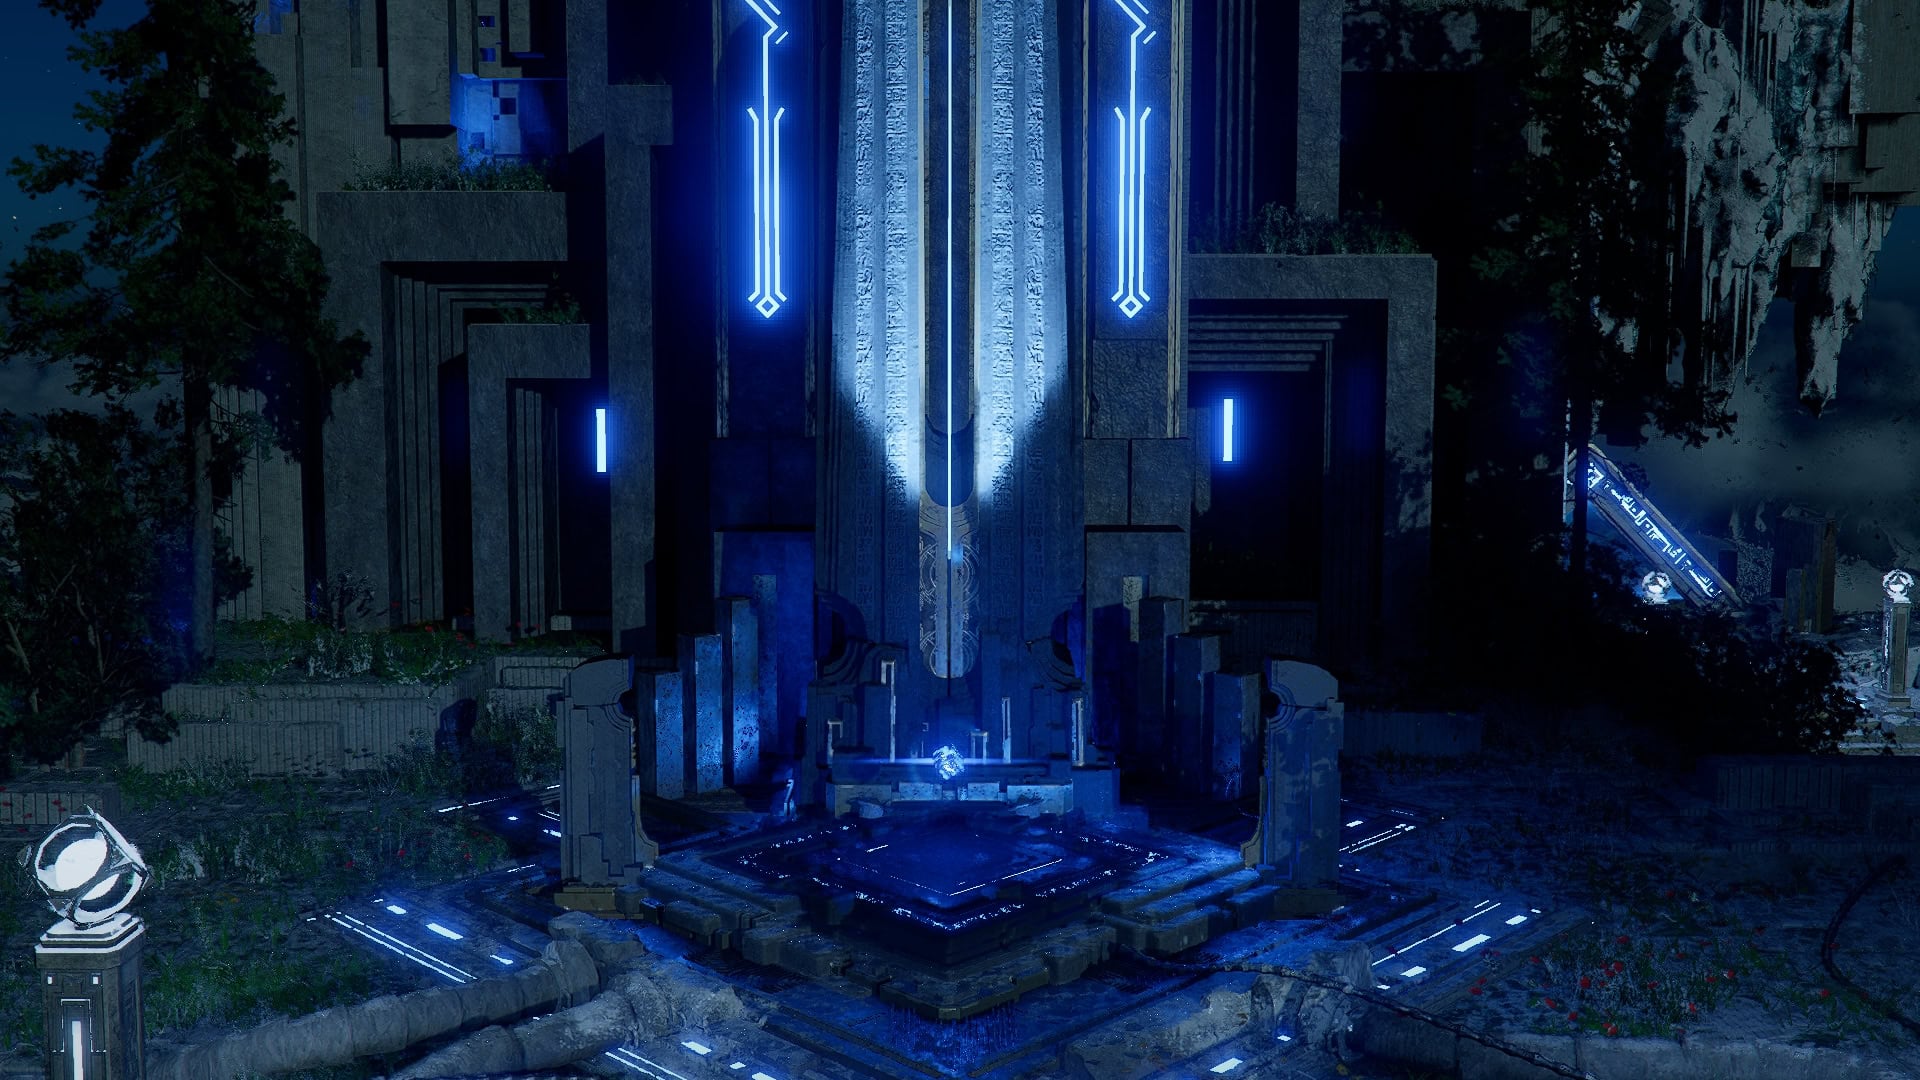
Sanctorum of Darkness Skybridge
Just to the right of this obelisk is a path to another Skybridge, leading the way to a teleporter that will take you to the Loop of Life.
There’s nothing tricky or fancy with this Skybridge, so go ahead and follow the platforms up and around towards the teleporter.

Enter the Teleporter to be taken to the next Abyss Puzzle in this chain, the Loop of Life.
NEXT: How to solve the Loop of Life Abyss Puzzle