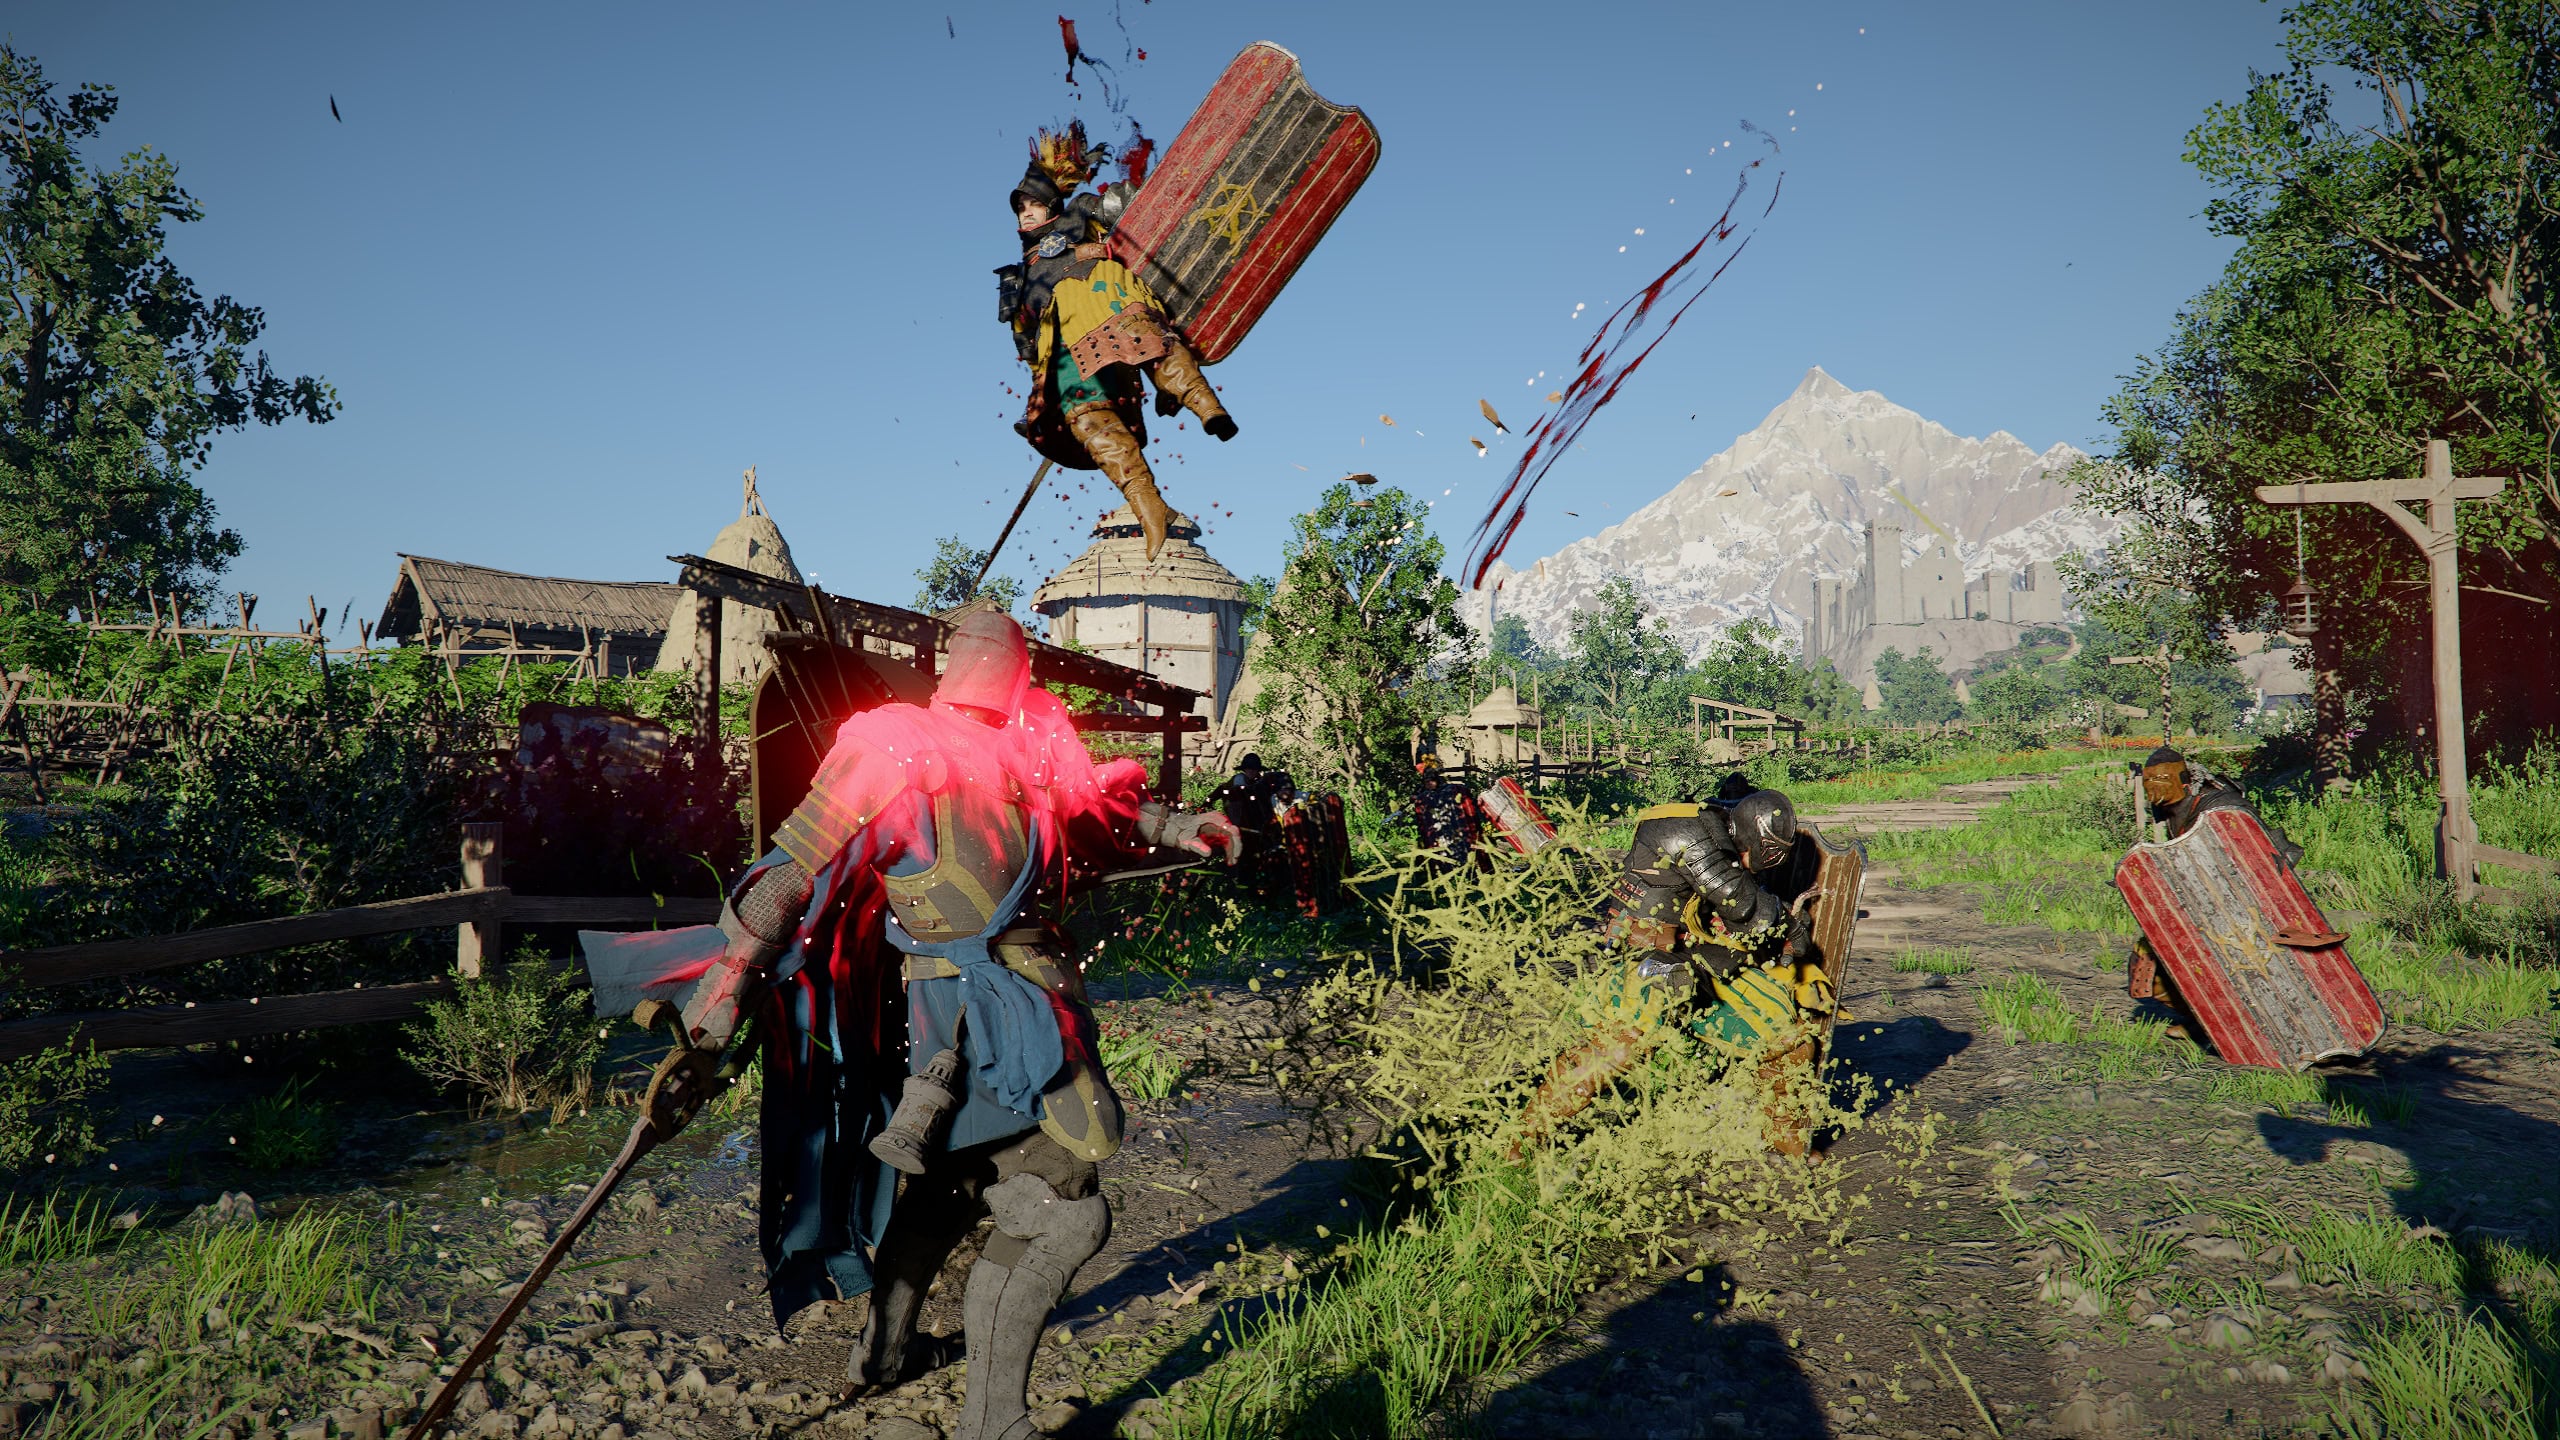
Learn how to liberate locations from hostile forces in Crimson Desert. This guide will provide strategies for taking on large groups of enemies, using your comrades to help fight the enemy, and tips on how to weaken enemy forces at the locations!
Use the Table of Contents, located in the left panel (top left button on the mobile menu) to navigate through this long guide more easily and quickly.
Liberating occupied locations
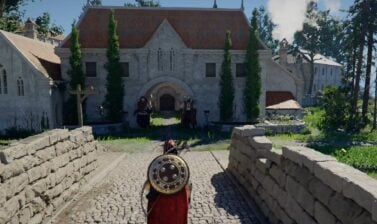
As you travel around the various kingdoms in Crimson Desert, you’ll often run into hostile territories that appear as red locations on your map. These are locations that can be liberated from those hostiles.
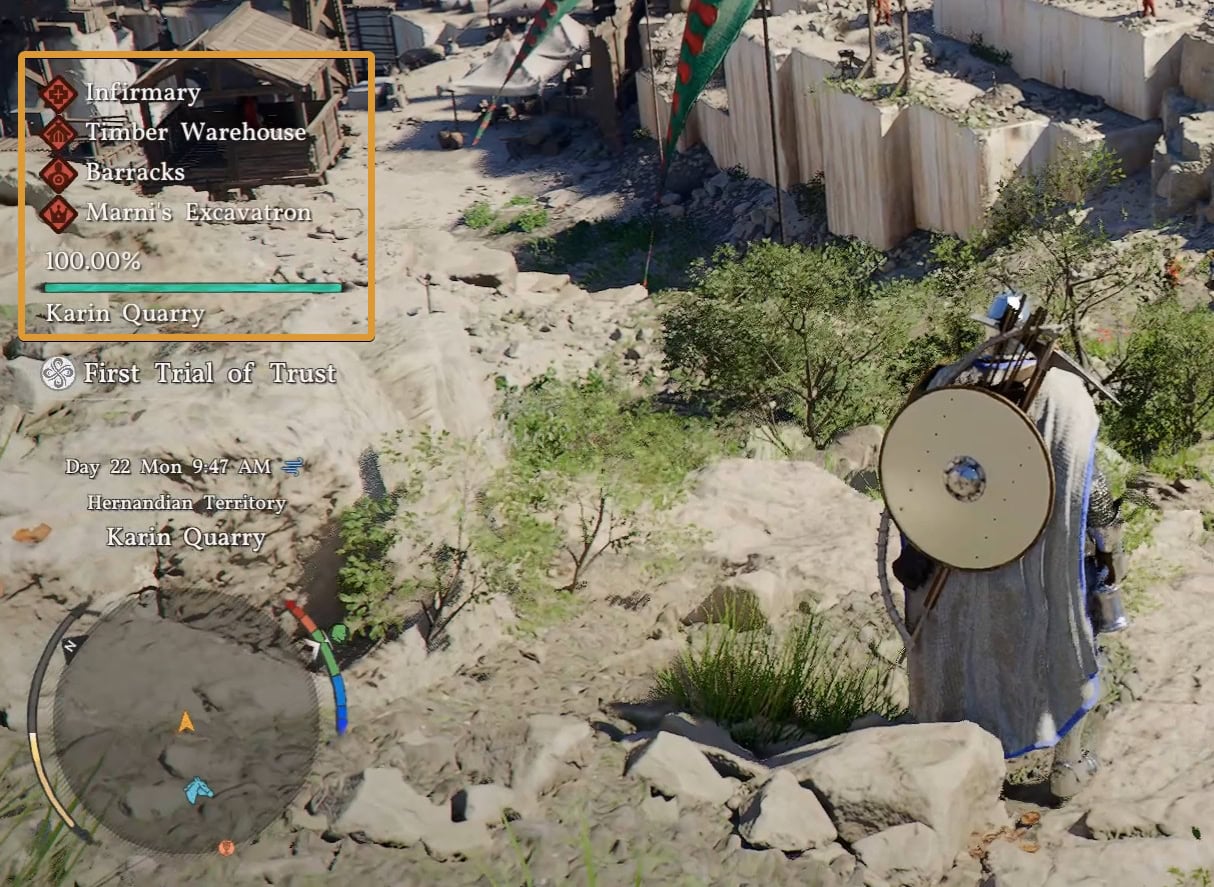
Whenever you enter an area that can be liberated, a green bar will appear on the left side of your screen. It starts full at 100% and as you defeat enemies, it’ll begin to drain.
If the area is big enough, it’ll even have sub-objectives such as locations you can destroy and the area’s boss. Once empty, the area will be free of hostiles and repopulated with friendly NPCs.
If by some chance you enter an area and there’s no green bar counting down from 100%, then that area is locked and is unable to be liberated at that time.
Unlocking areas to liberate
When you start Crimson Desert, many of the initial locations you’ll find will be territories controlled by the Bleed Bandits in Hernand. As you progress, you’ll encounter locations that have prerequisites to be liberated.
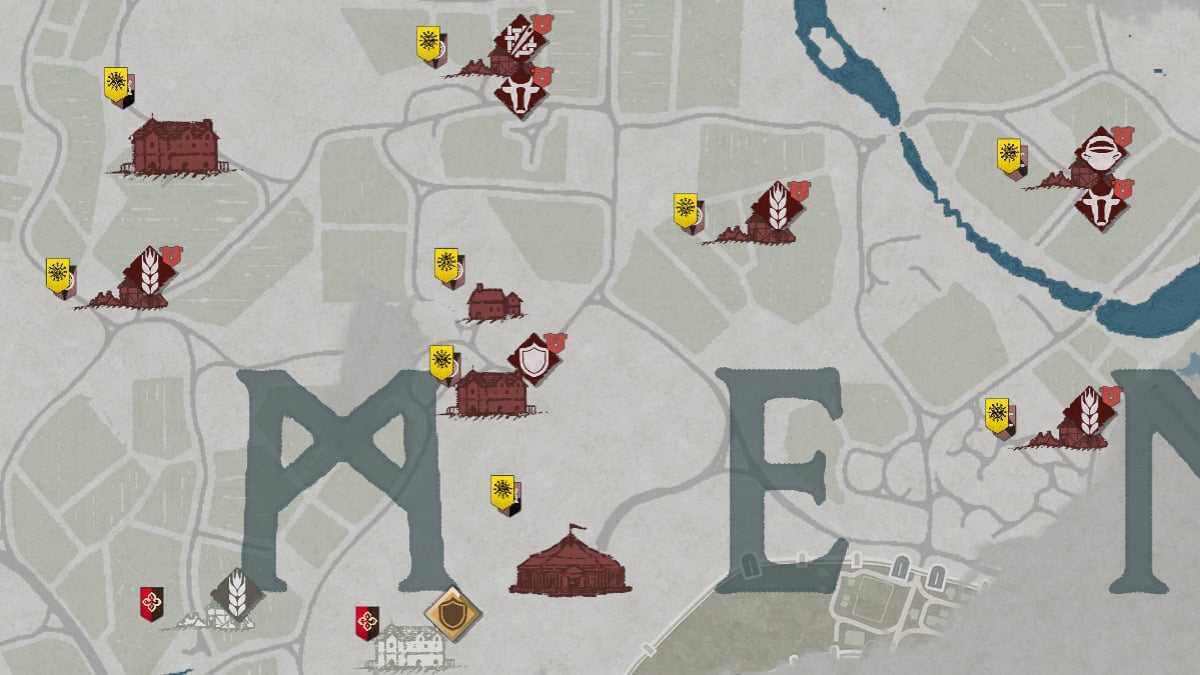
One such example is Demeniss which has many locations controlled by Bastier’s Inquisitors. Before you can liberate these areas, you’ll need to meet the prerequisites. Simply hover over a location on the map to see which Main or Faction Quests will allow you to liberate the area.
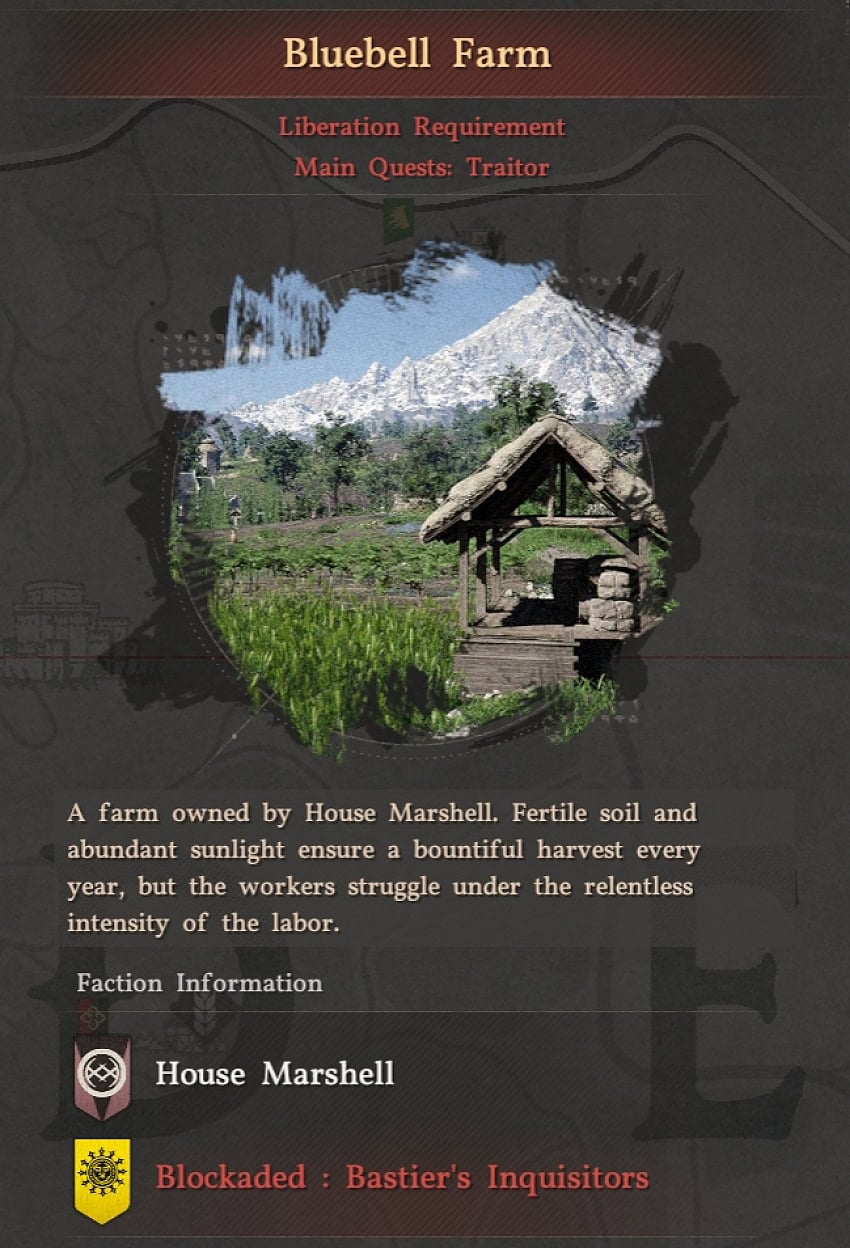
At the bottom of the locations information you’ll see two factions. The top is the faction that seeks to reclaim the territory while the bottom is the occupying force. Finding the location the top faction is a good way to find their faction quest giver.
Why you should liberate locations
Liberating occupied locations will grant a good amount of EXP, dropped loot you can sell, increase your contribution for the area for contribution currency, and it makes traveling around much safer.
Pro Tip: If you so desired, you could leave the infirmary of a large area alone to let more enemies respawn. If you have the durability and food, you can farm the area to get Abyss Artifacts so long as the area boss is kept alive.
Farming Abyss Artifacts in small areas isn’t viable as any remaining enemies will run away once the meter reaches 0%. You can always find Abyss Cressets in the land for a less time consuming way to farm artifacts.
Dealing with Sub-Objectives
To have an easier time clearing out a large territory, you’ll need to deal with the sub-objectives. Use your Blinding Flash to find these sub-objectives. You’ll see a spinning red square above them.
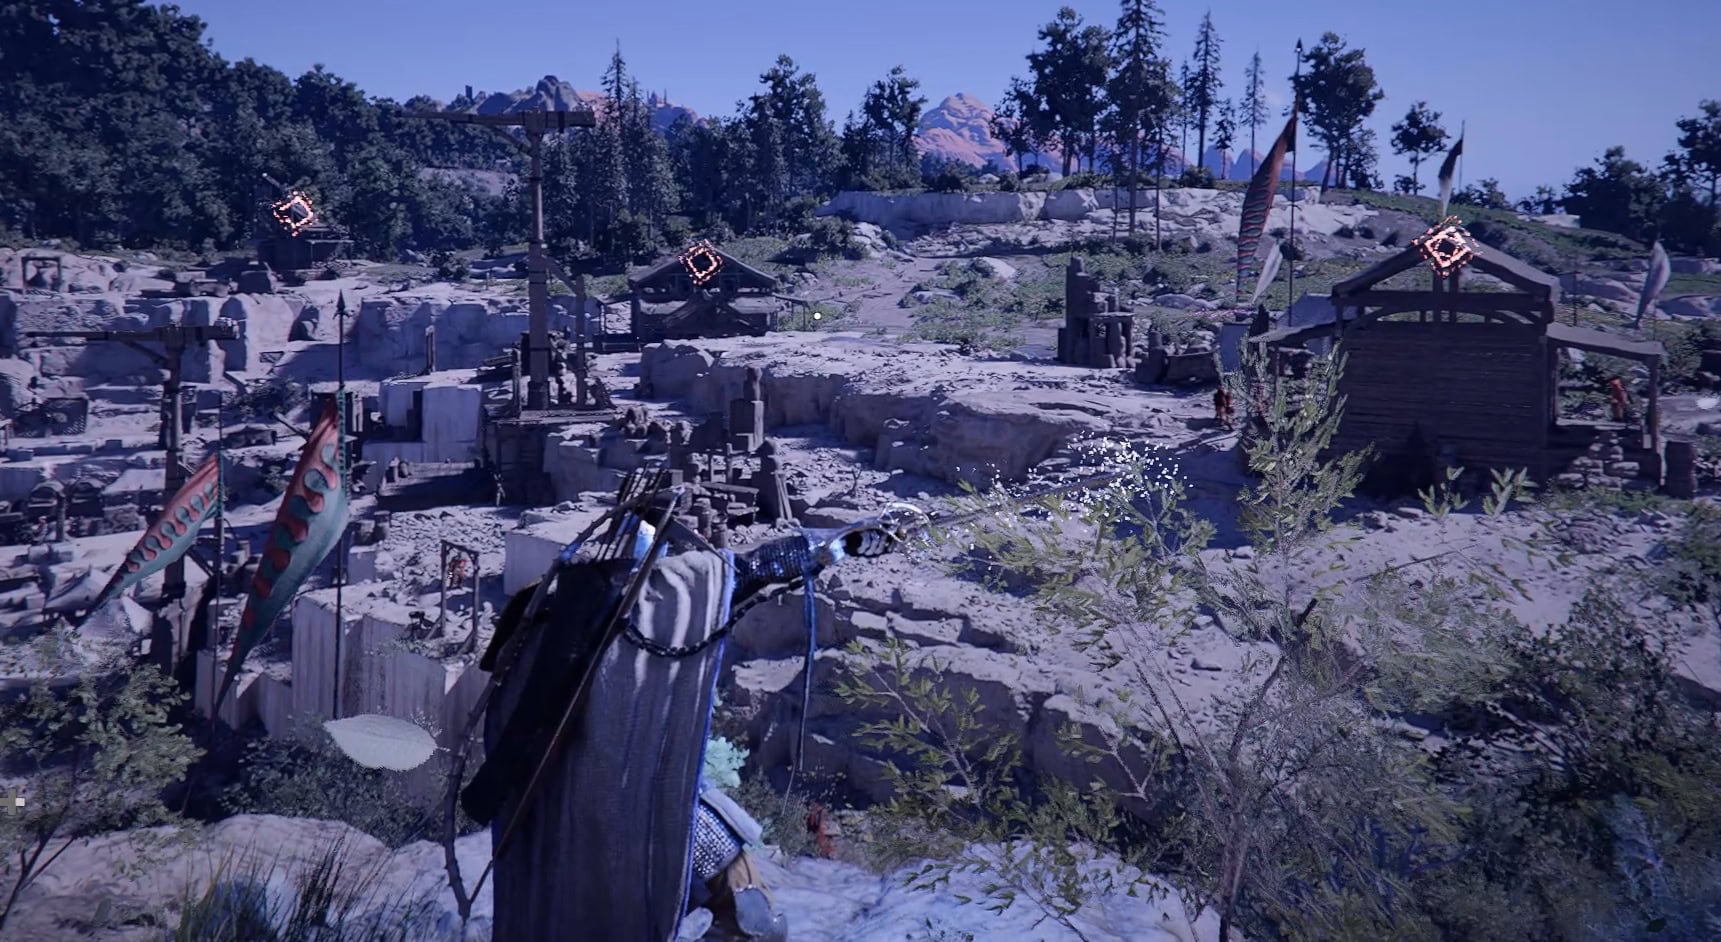
By destroying these objectives, you’ll apply debuffs to all enemies within that location. A good way to destroy them is to use the Turning Slash ability on the walls or load-bearing structures.
Infirmary
When you destroy the Infirmary of an occupied territory, wounded enemies will not return to the fight. This helps make the fight ahead more manageable as it’s easy to get overwhelmed.
Barracks
Destroying the Barracks of an occupied territory will reduce the enemy’s attack power by 5. Considering how easy it is to get surrounded in occupied territories, the less damage you take the better.
Storage Facilities
When you destroy Storage Facilities, enemy max HP will be reduced by 10%. Squishier enemies make for a much easier time to clear out an area, especially with AoE attacks.
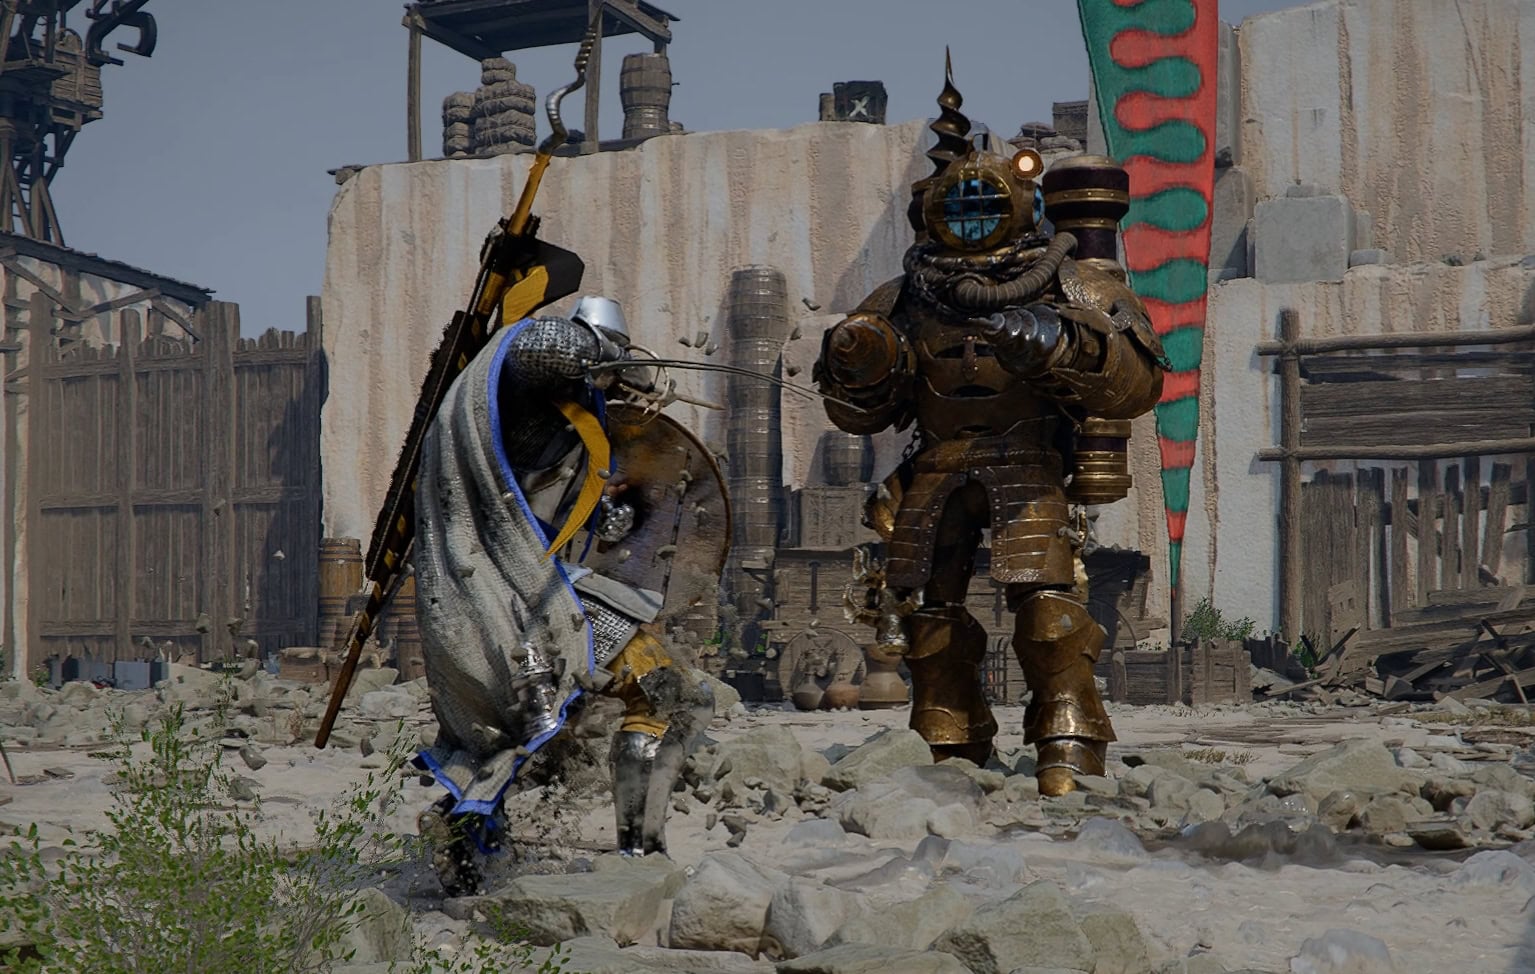
Area Boss
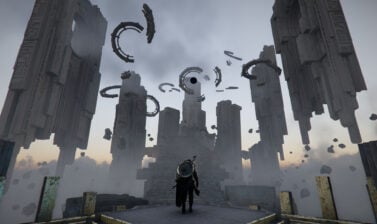
Large territories will have an area boss. You’ll need to defeat the boss to reclaim the territory.
One such example of an area boss is the Excavatron found at Karin Quarry. Expect these bosses to put up a tough fight, but the rewards will be well worth it.
What weapons to use and how
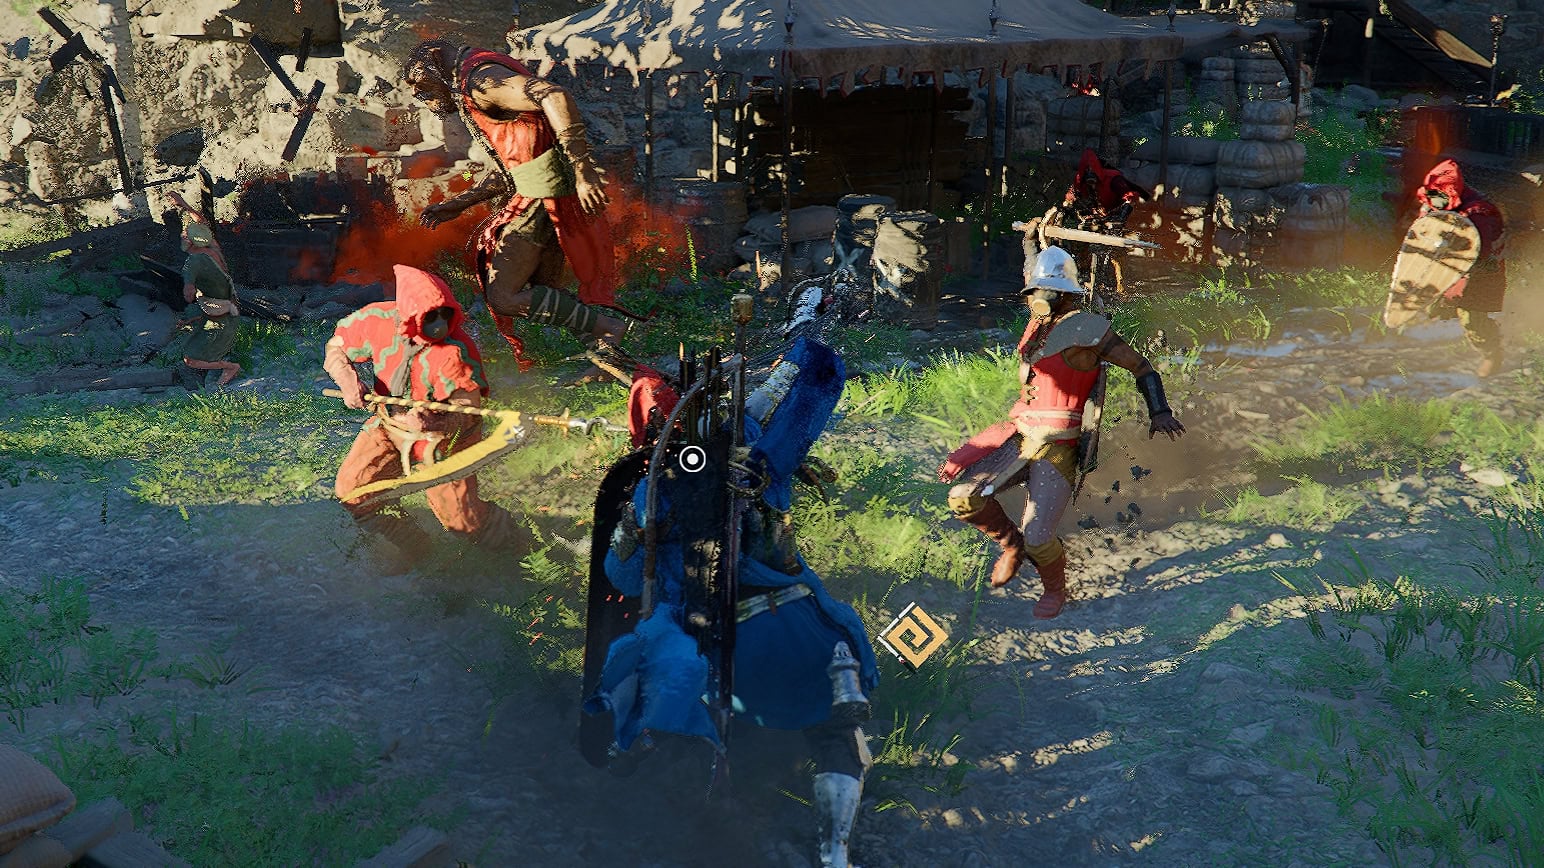
You’ll often be surrounded by enemies attacking you at all angles, so you’ll need to attack all of them at the same time. I would recommend the spear or longsword for clearing out melee enemies. Both of these weapons attack in large areas, making them great for clearing out enemies.
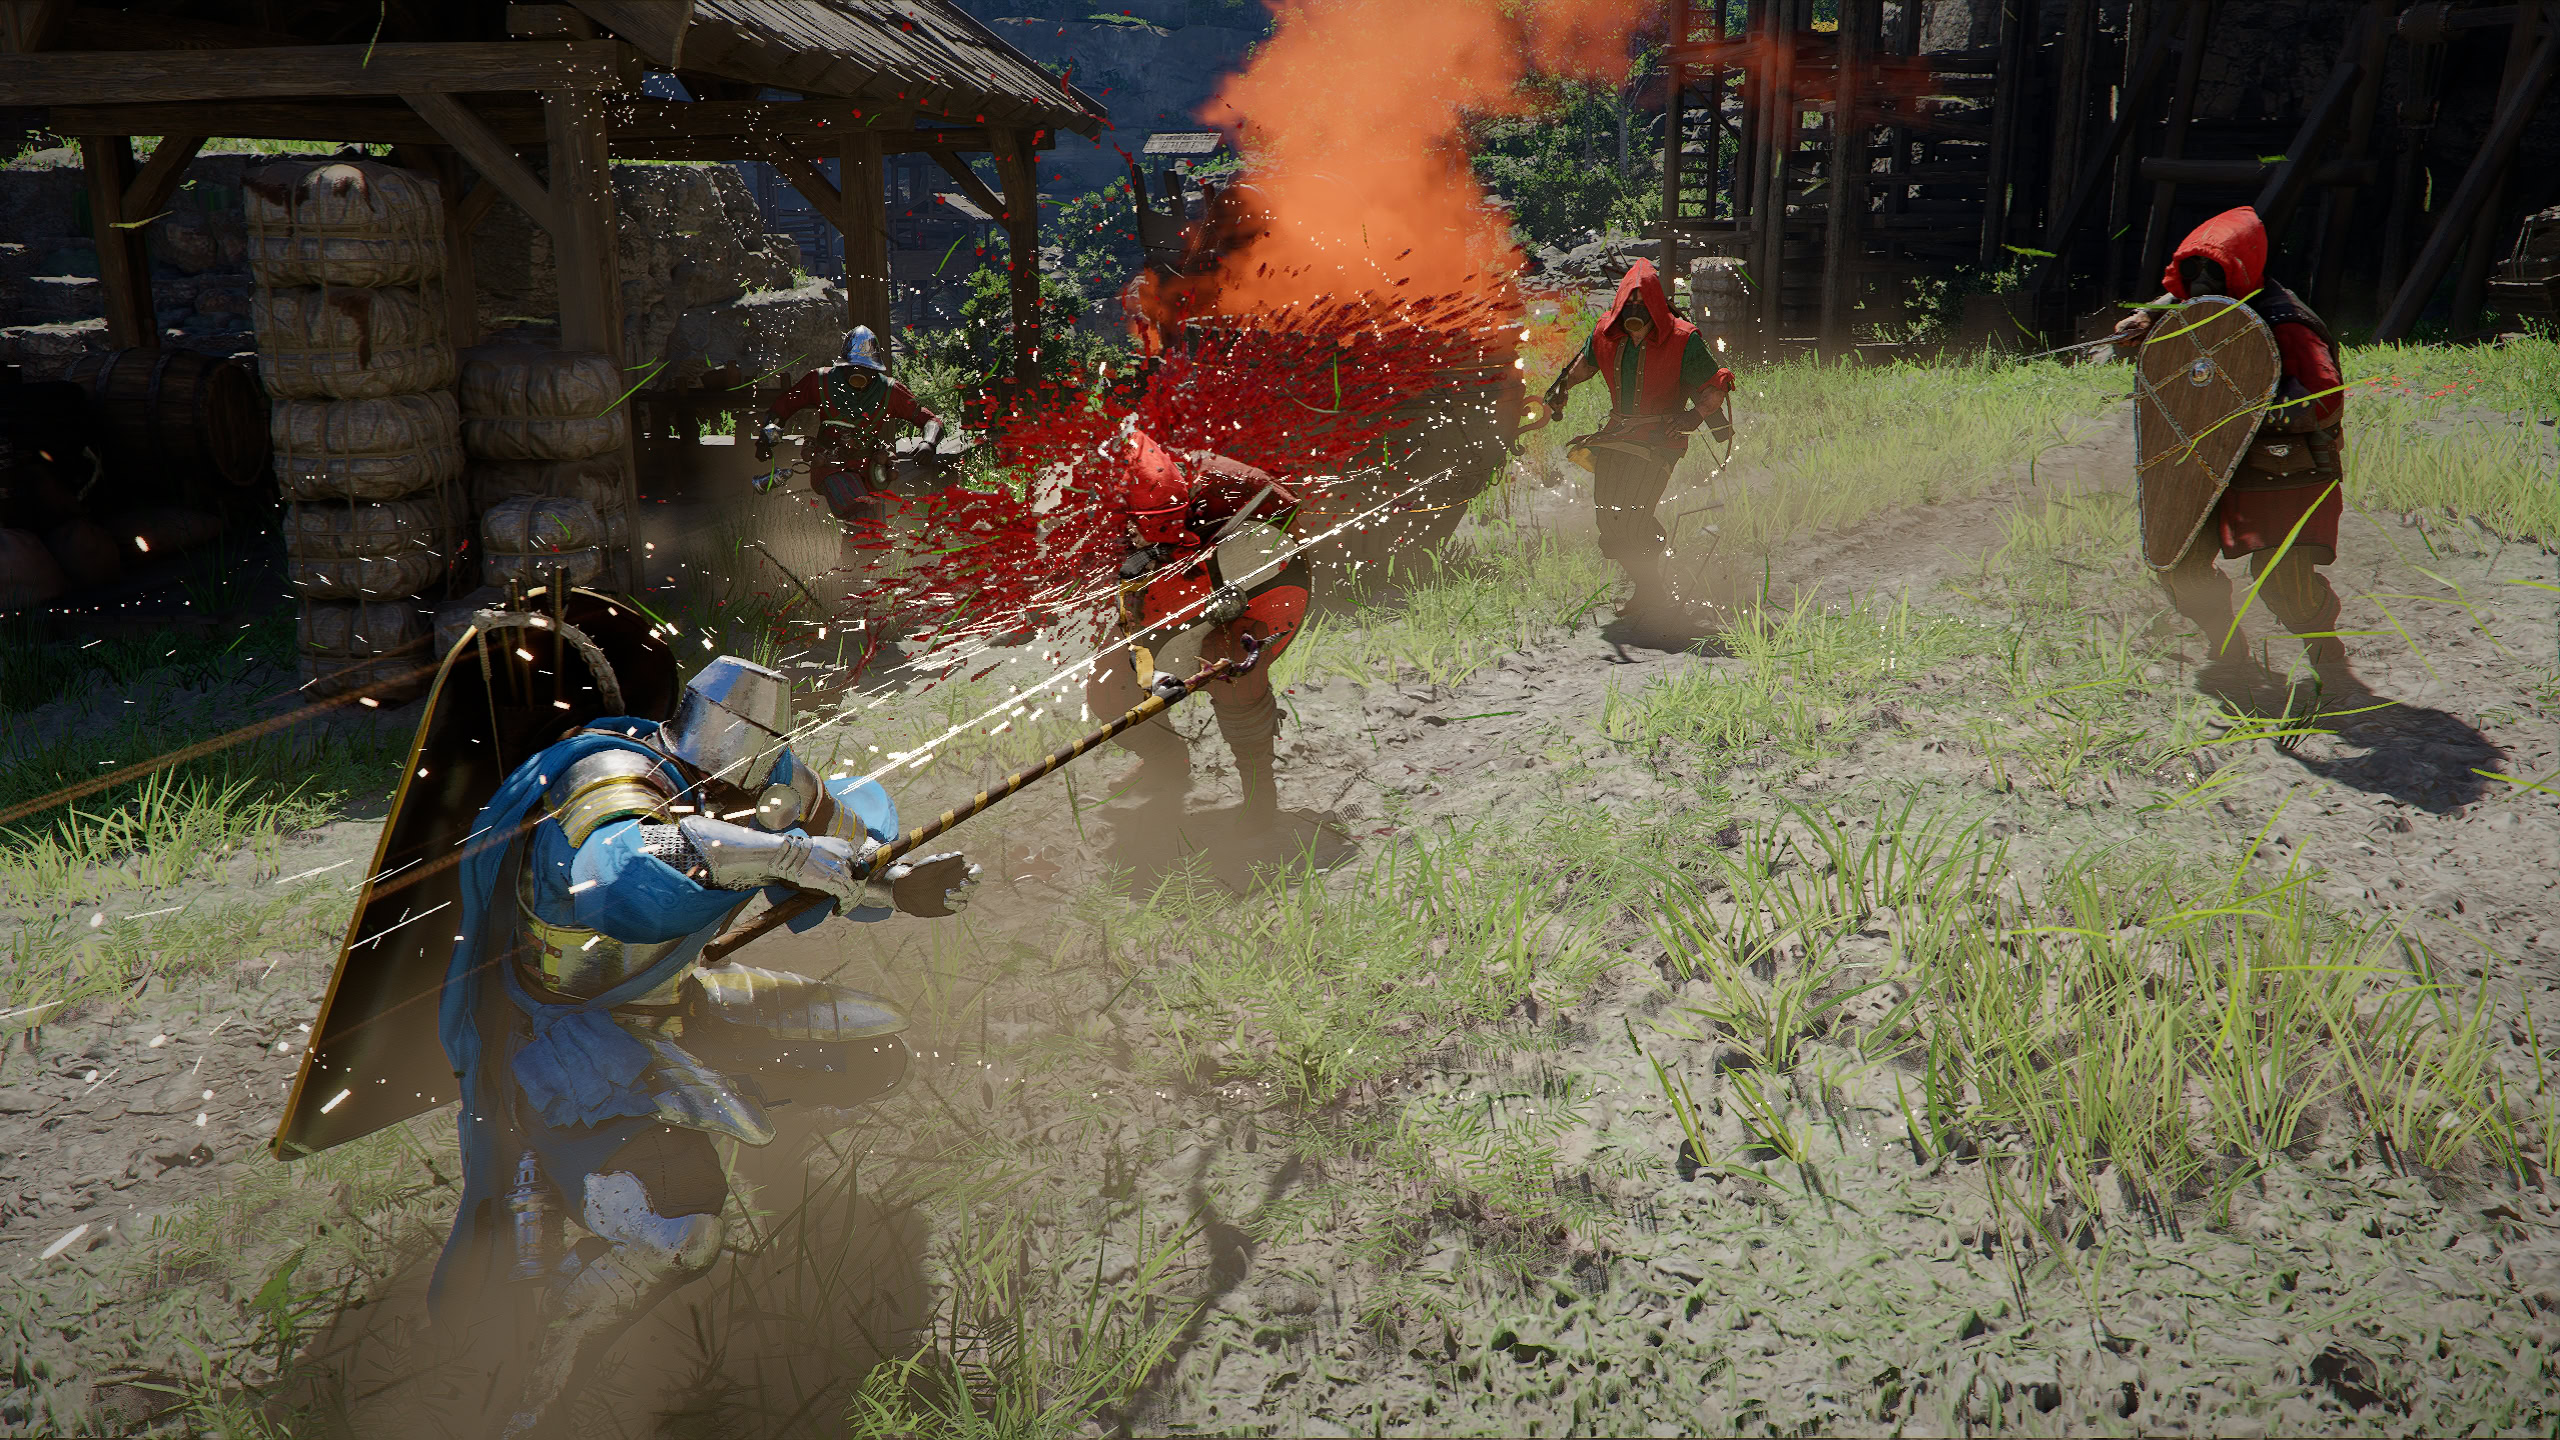
Spear for Defense
For a more defensive approach, the Spear will be your go-to. With Level 2 Armed Combat, you’ll have the Counter Stance ability for the spear. Use this ability before being hit by a melee or ranged attack to negate the damage of regular attacks.
This will deal a large amount of damage to all enemies around you and in front of you. It’s a good way to melt through squishy opponents without getting a scratch.
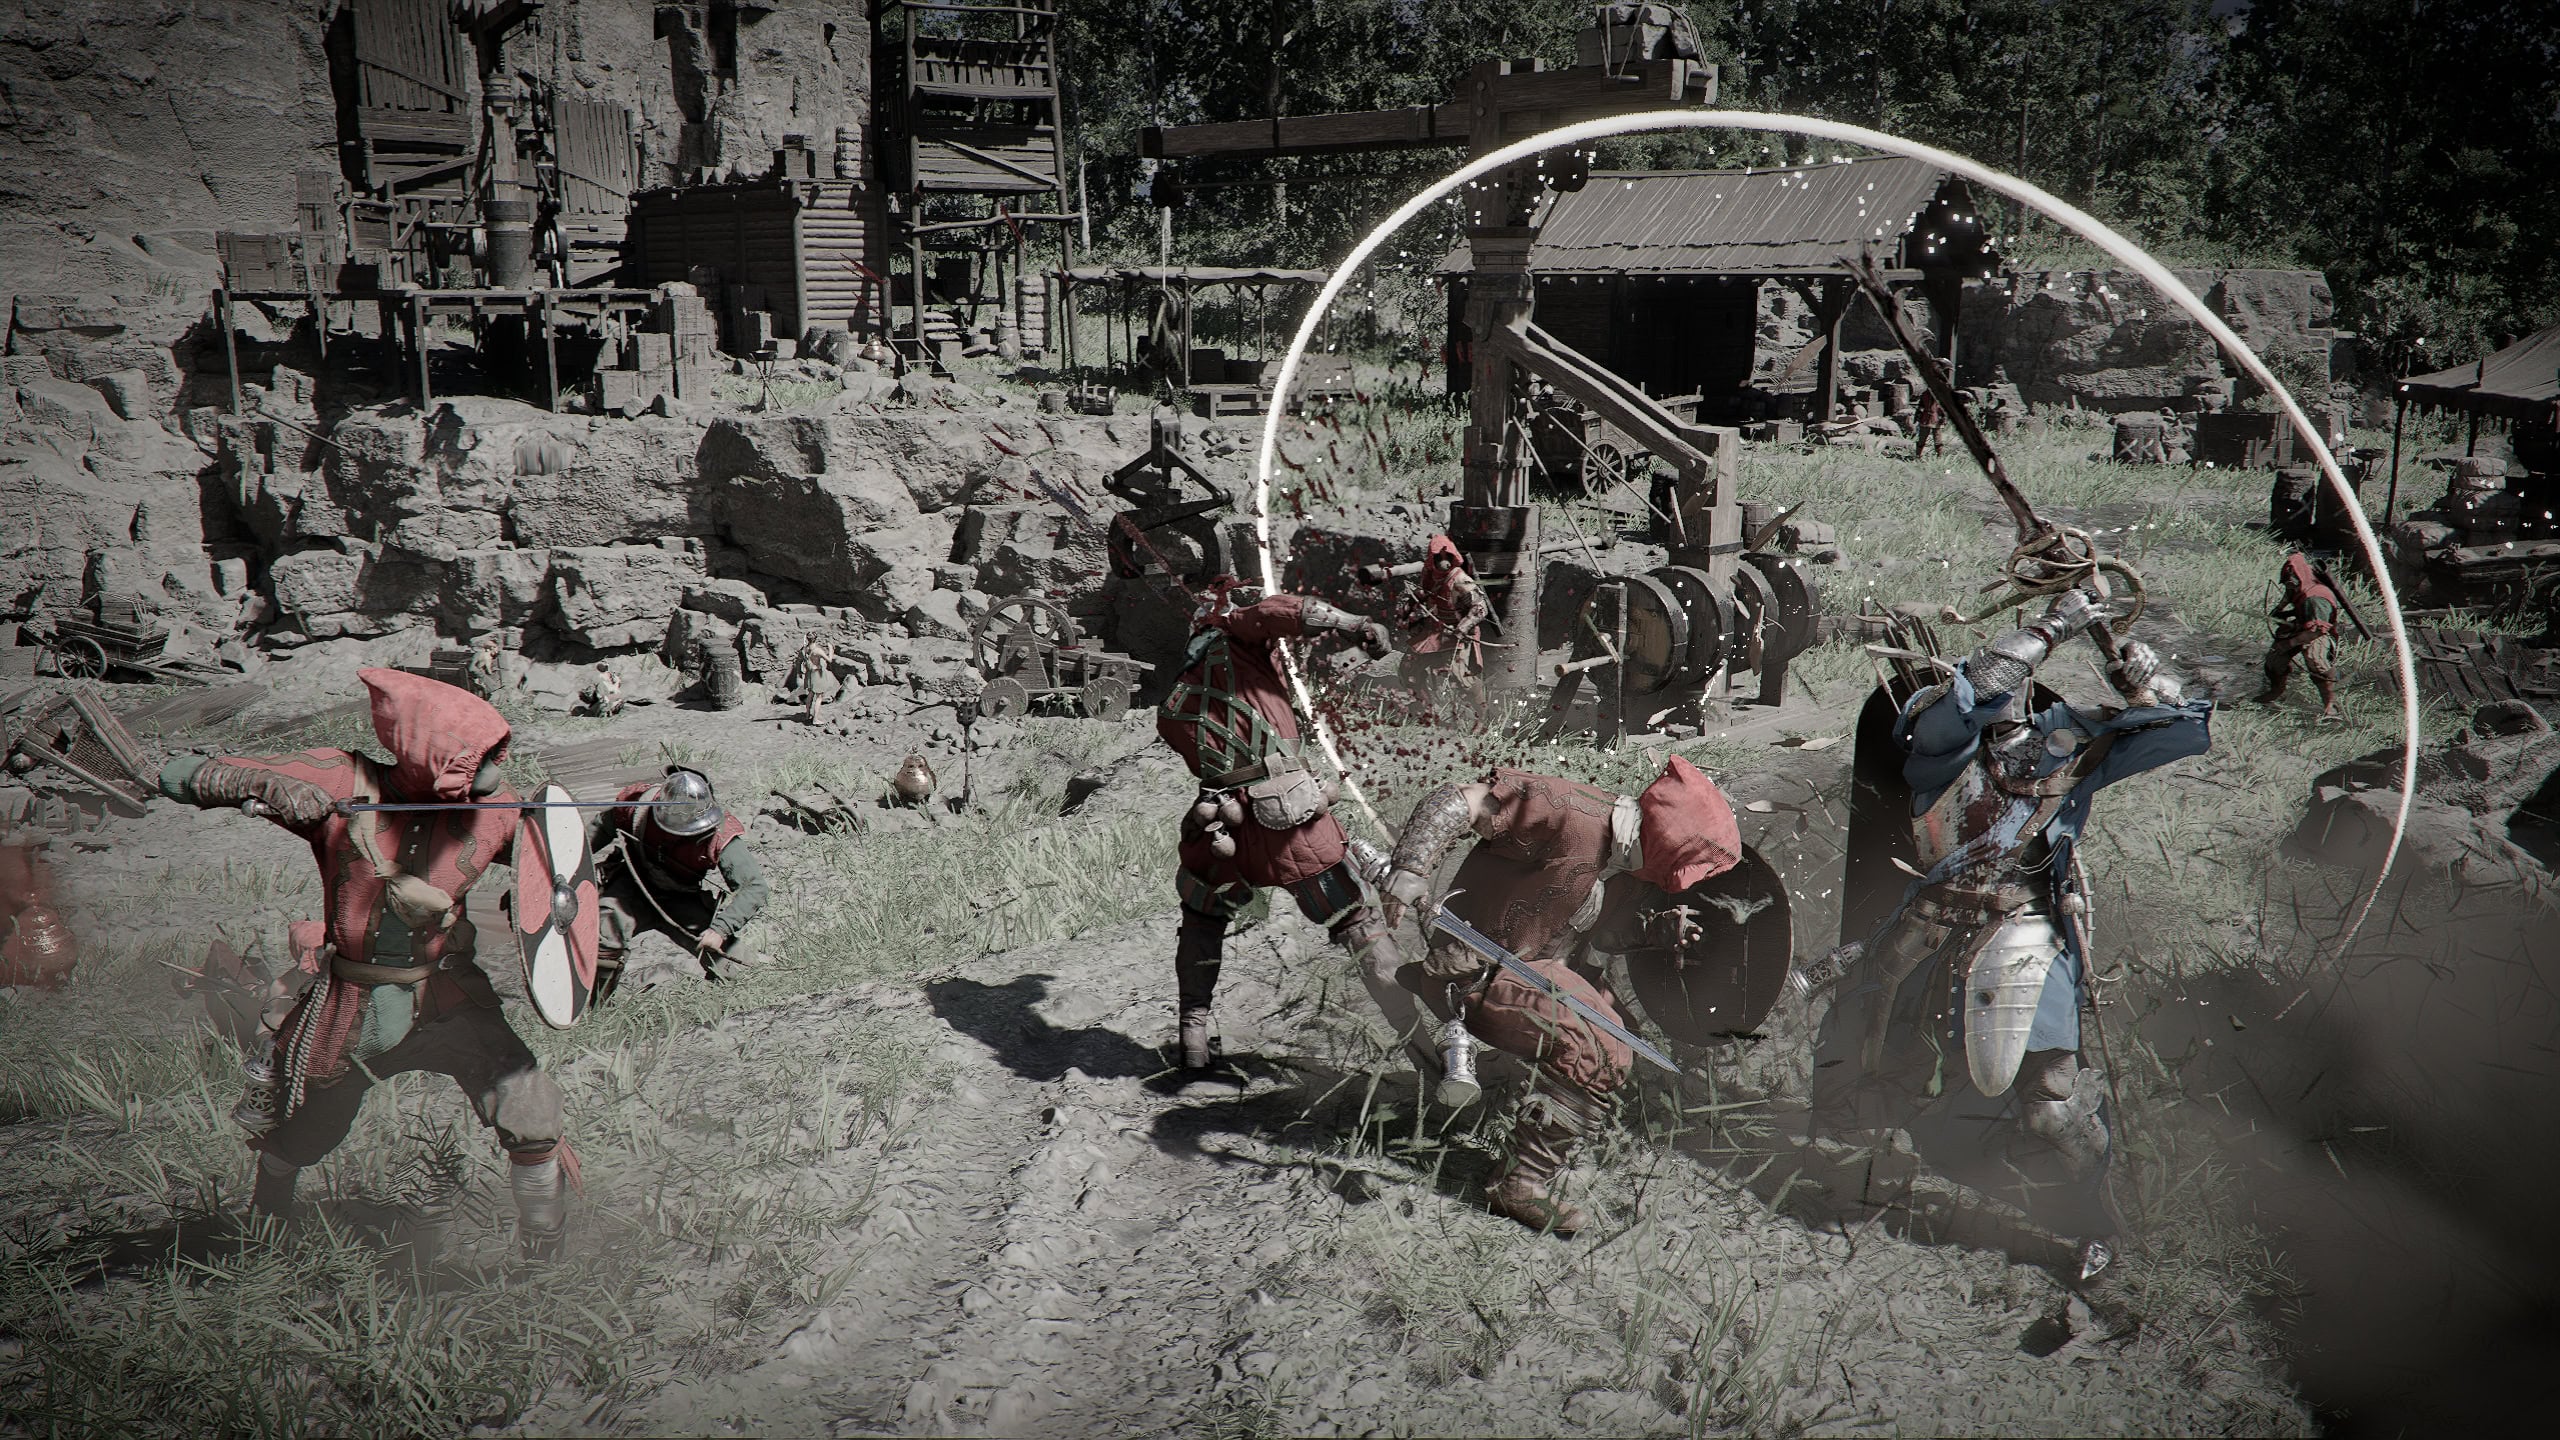
Longsword for Offense
If you prefer to take the offensive, use the Longsword with Level 3 Forward Slash. You’ll break open enemy defenses while dealing damage to enemies around you with this weapon’s circular attacks.
When using either weapon, be sure to upgrade your armor as you’ll need it to absorb the blows that manage to hit you. The Health Siphon Abyss Gear is a great option for your spear or longsword.
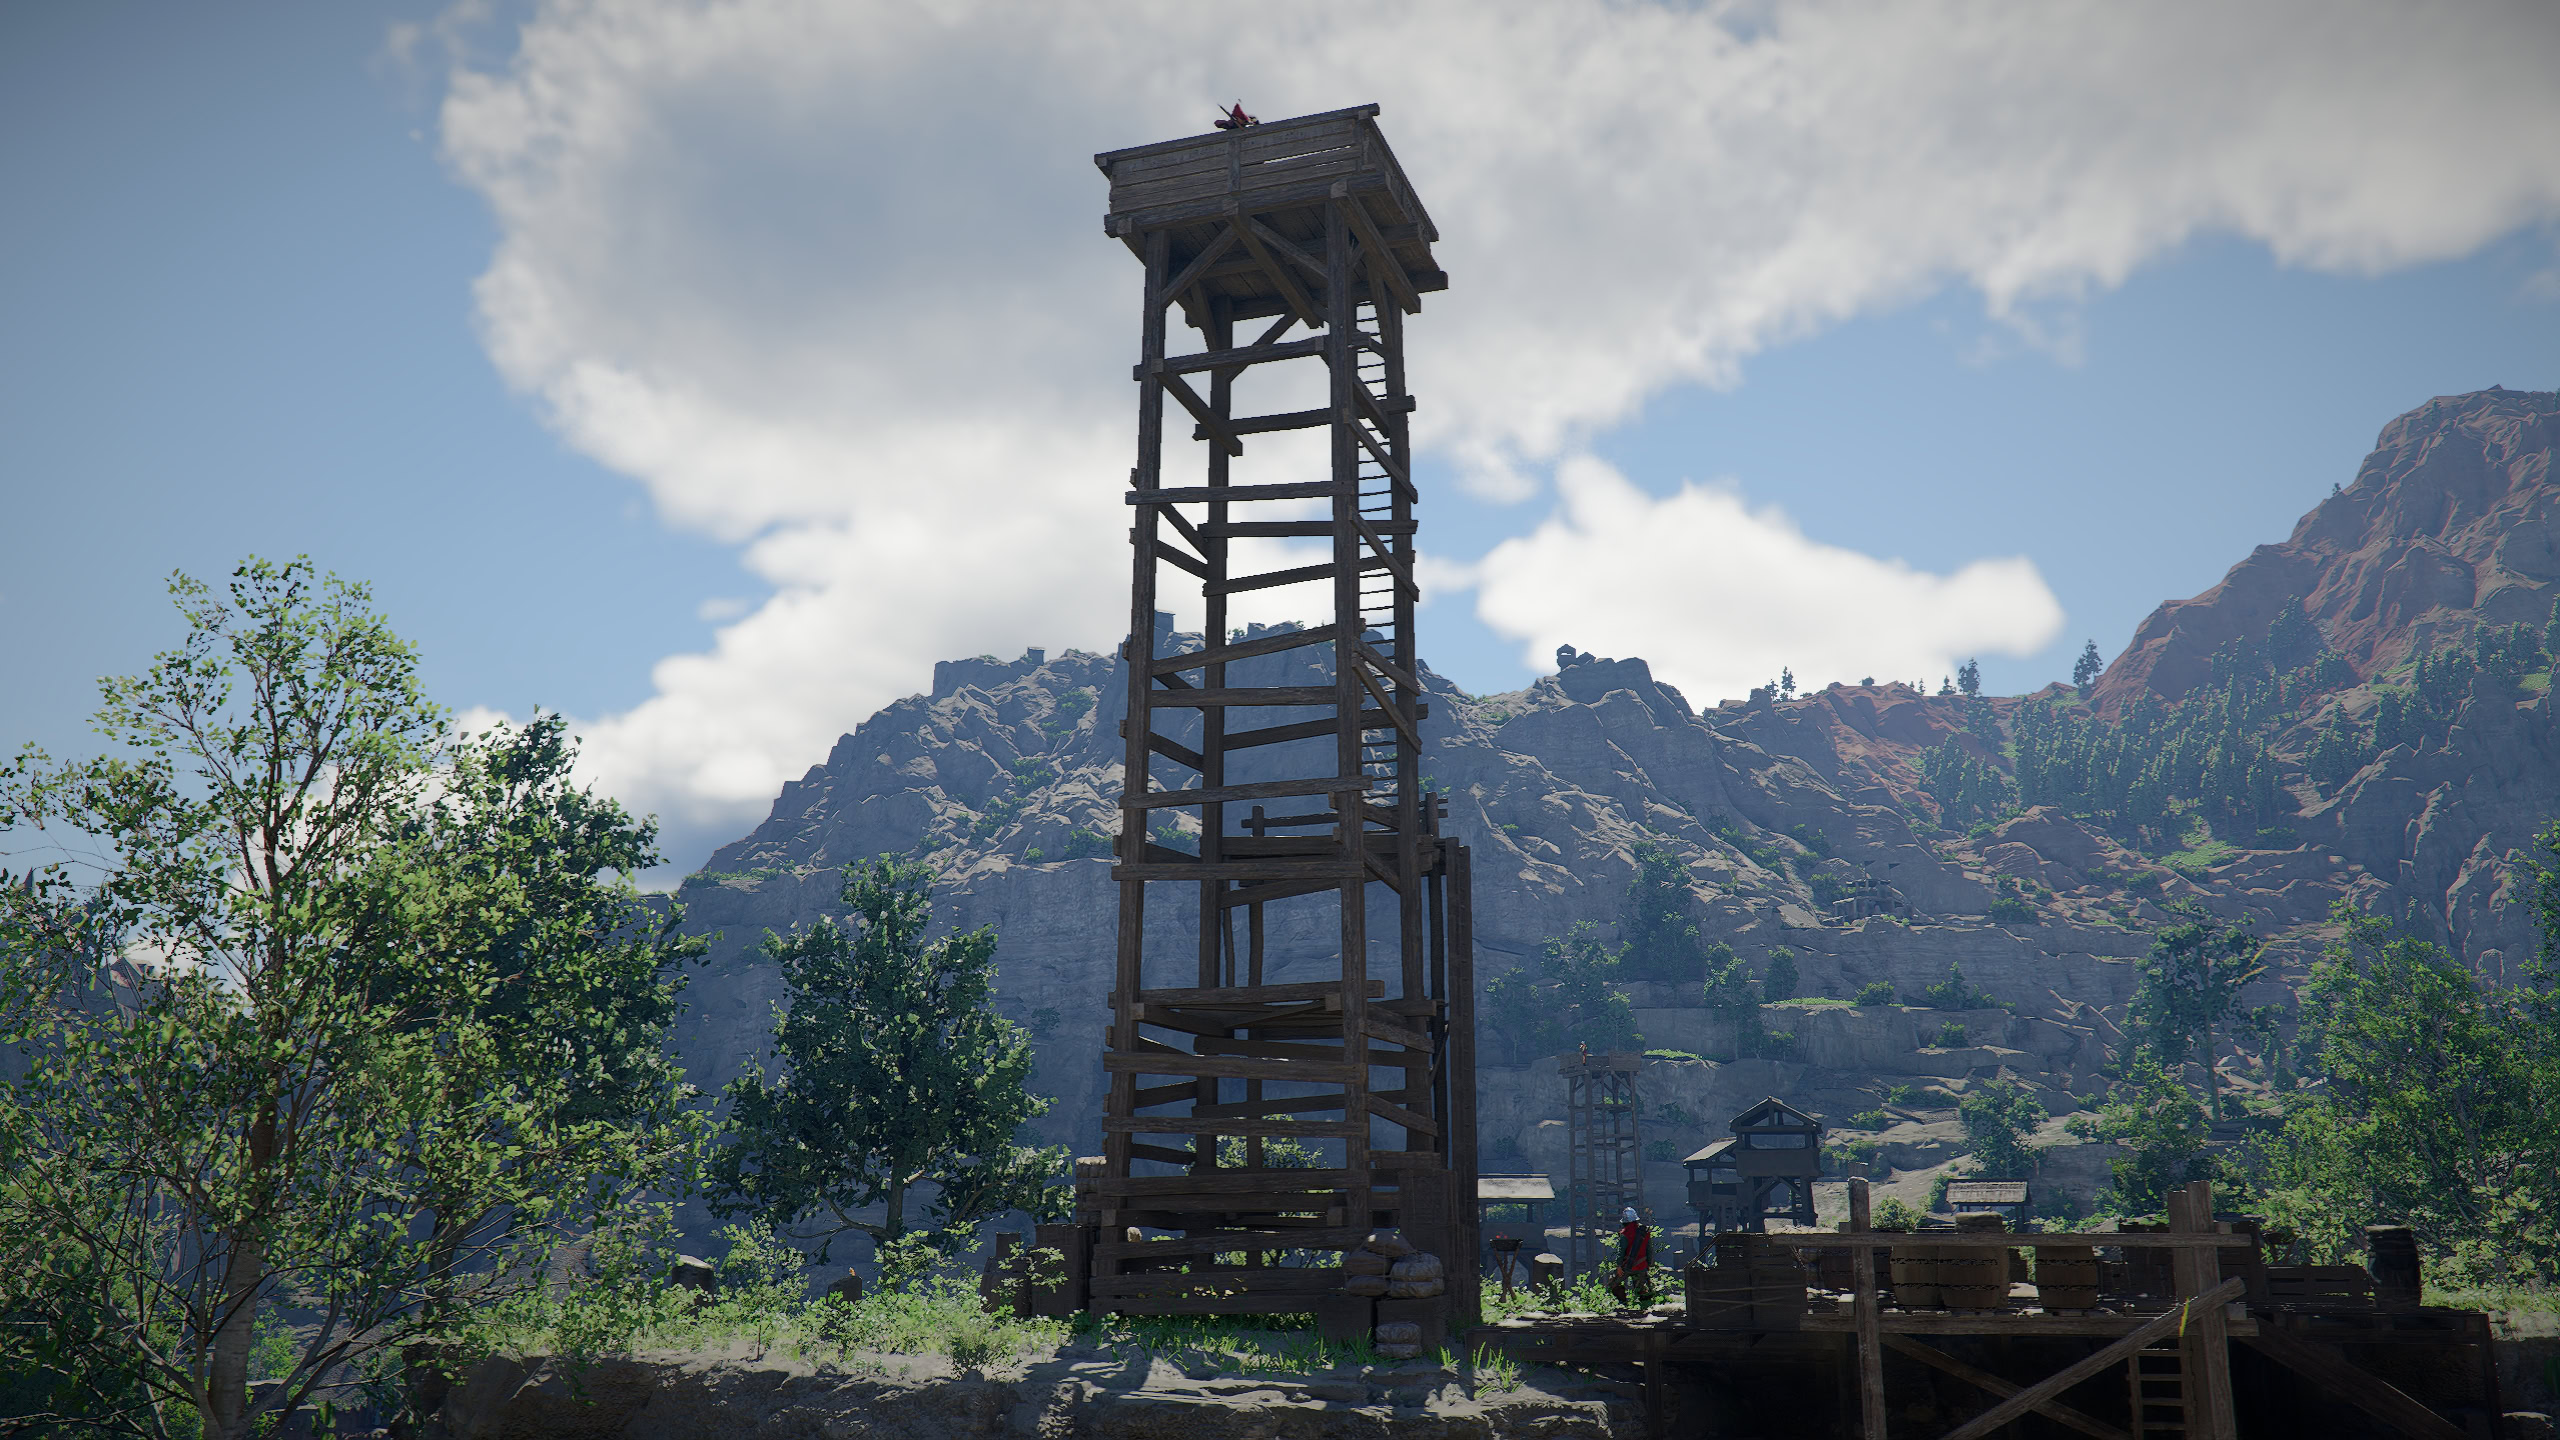
Watch for environmental hazards
Be mindful of anything in the environment that can pose a threat. The most common will be watchtowers that house an archer taking pot shots at you. More often than not, these are not worth climbing up as you can just look for melee opponents to fight. You can also opt to destroy most towers (hit the base a few times).
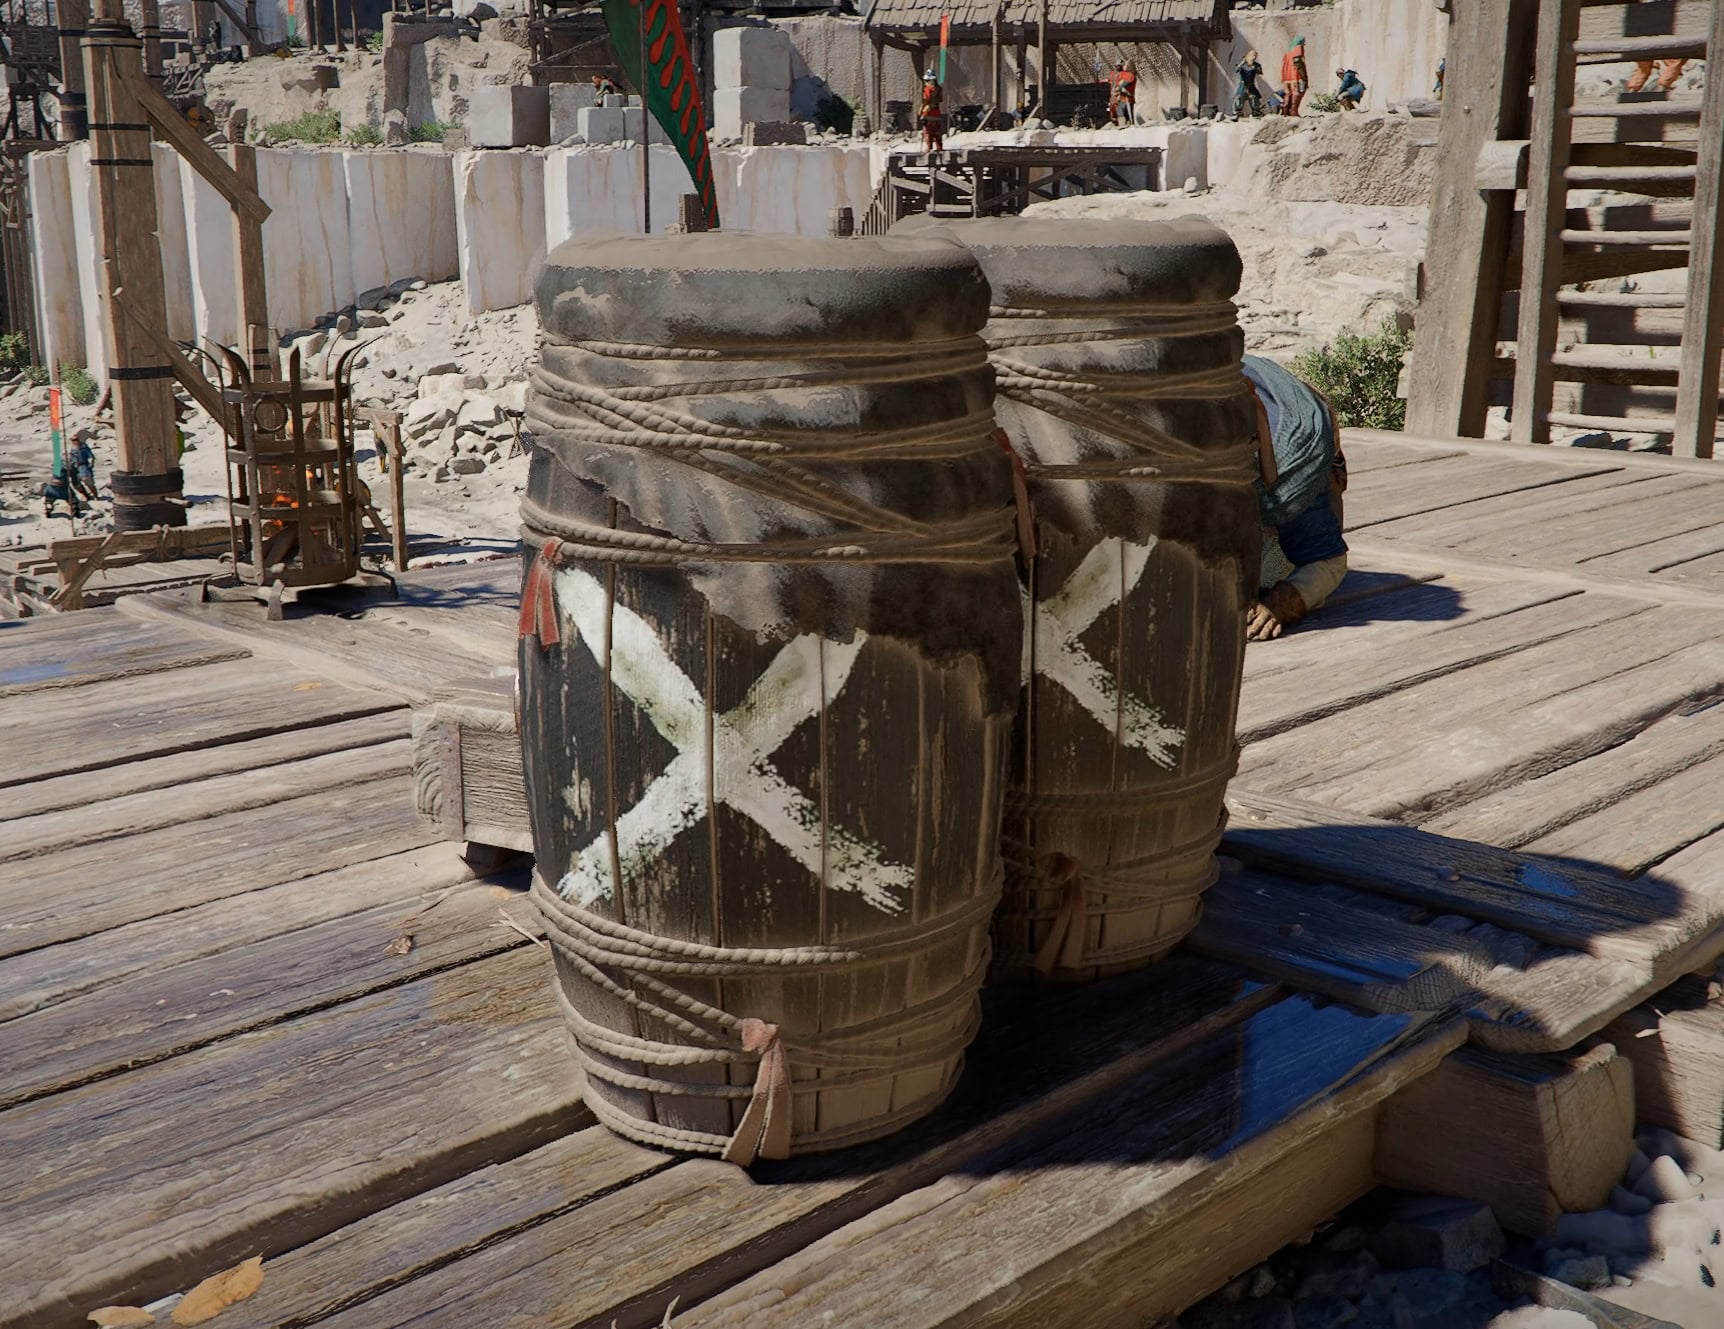
A deadly example of an environmental hazard are the explosive barrels. These aren’t painted red for your convenience like most video games, they’ll instead have a white X on them.
Some hazards are something you’ll just have to deal with. One example are the endless stream of arrows at Bloodsteel Camp in the Steel Mountains. These don’t deal a ton of damage with well-upgraded armor, but they’ll still whittle away at your health.
Knowing your enemy is half the battle
Always keep an eye of who specifically is occupying a territory. You’ll have to adjust your strategies depending on who they are.
For example, the Bleed Bandits have fairly weak armor with a balanced mix of melee fighters and archers. Any means of attack will work well against them.
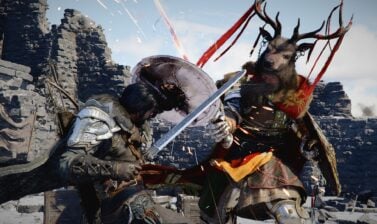
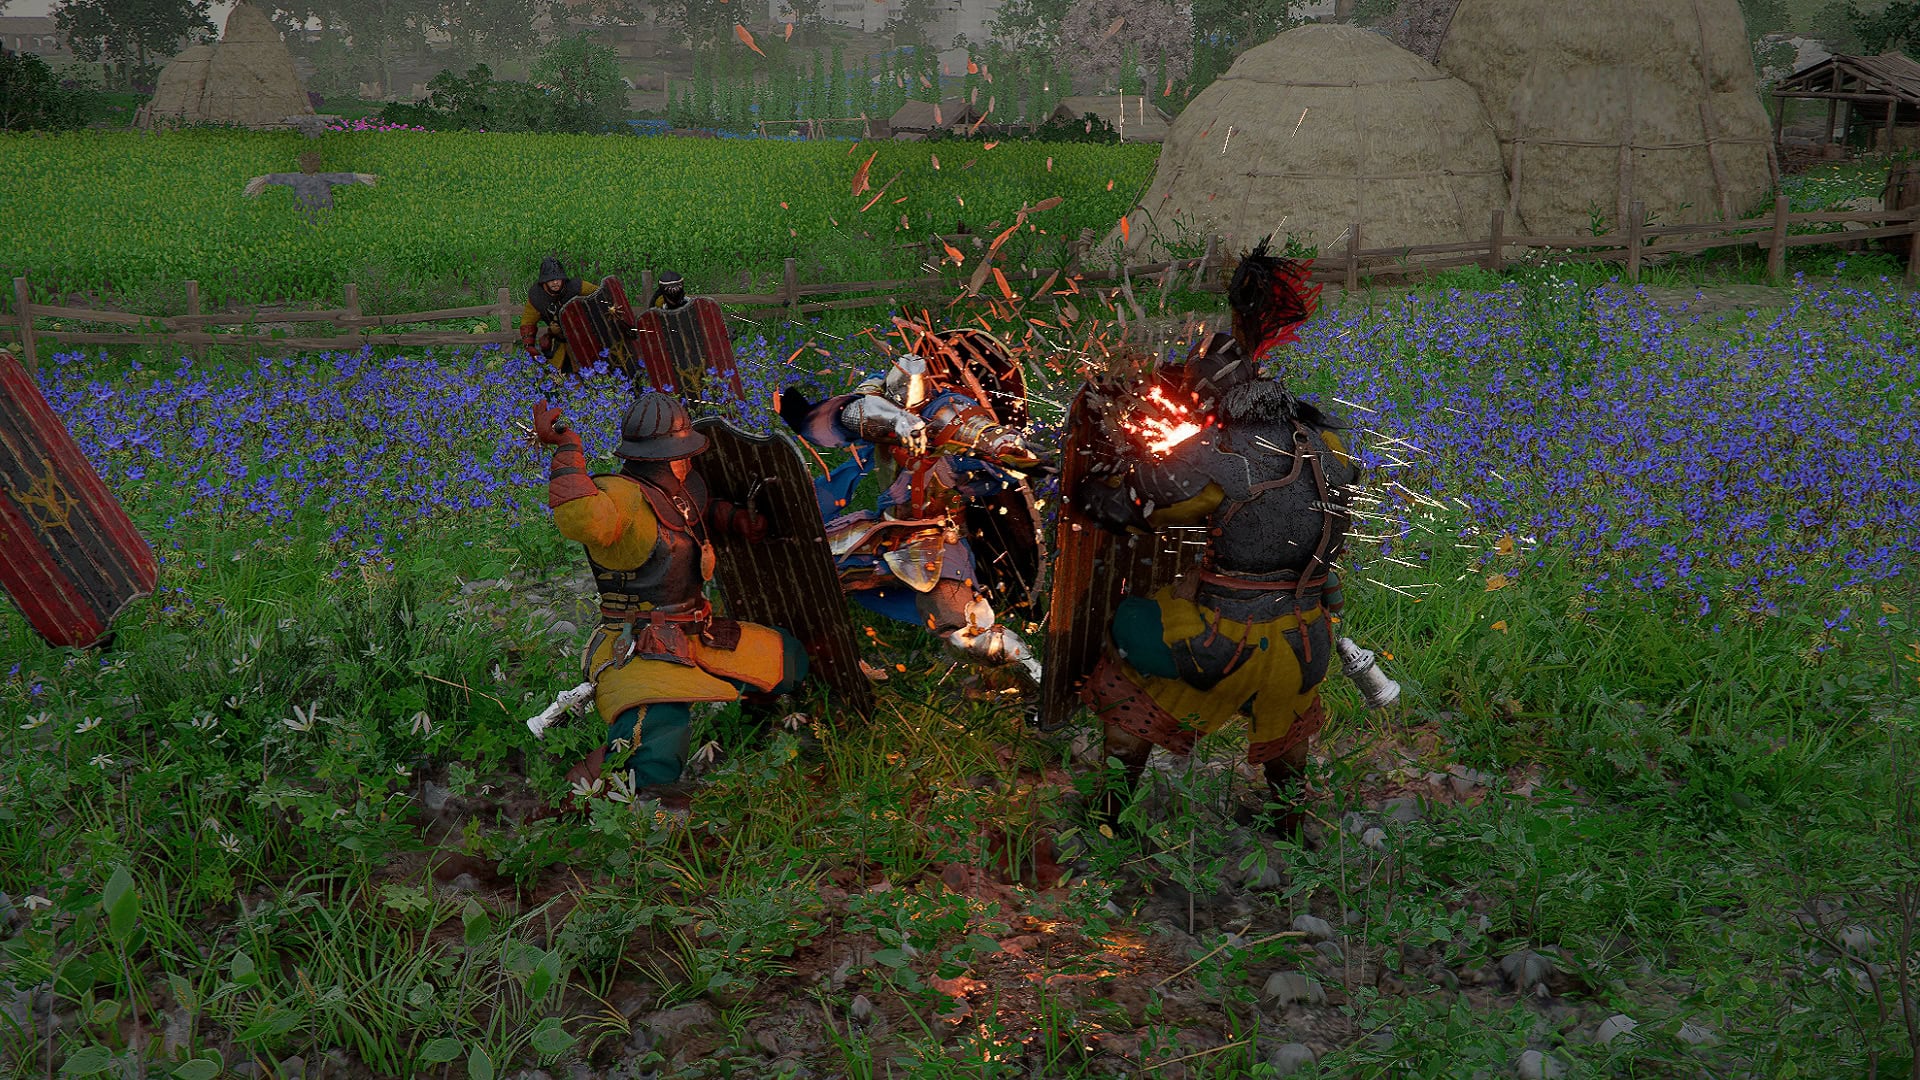
On the other hand, Bastier’s Inquisitors will travel in large groups armed with shields with little to no ranged fighters. You will need to be very aggressive to break through their shield walls, so a longsword or spear fits the bill.
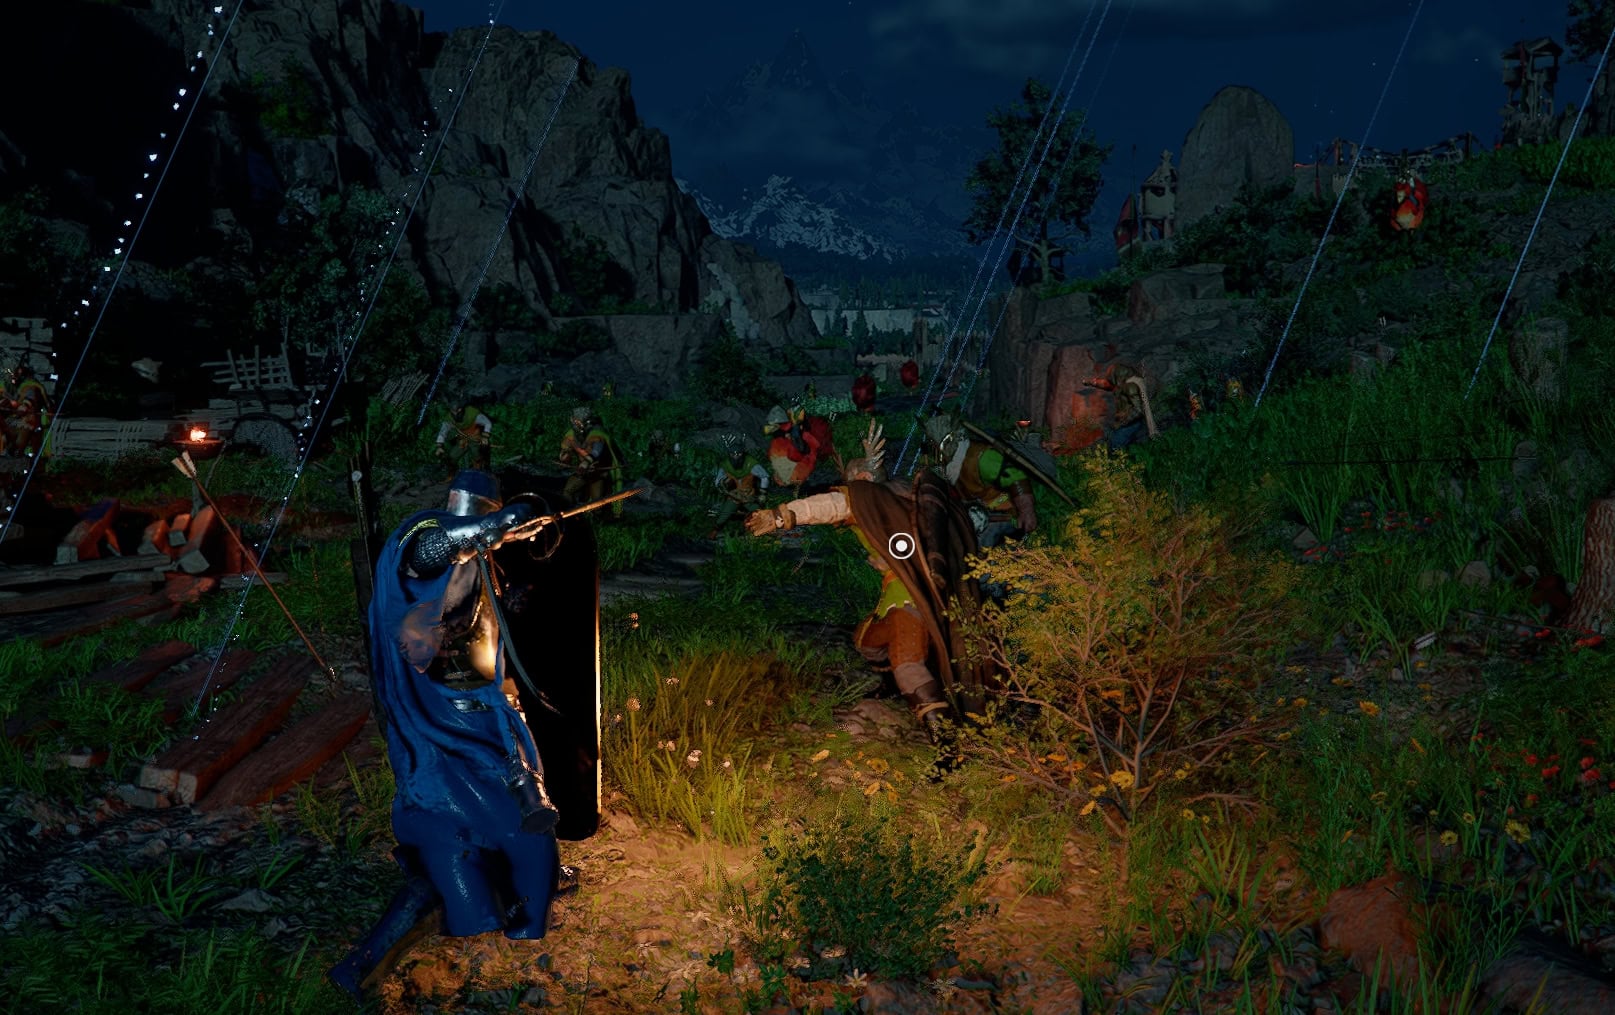
One final example are the Wolf Trackers found in Pailune – a large shield would be good against them to block their rifle shots. Adapt and overcome depending on the situation. There are far more hostile factions you’ll encounter, study them as you fight them.
Dispatch Greymanes from your camp
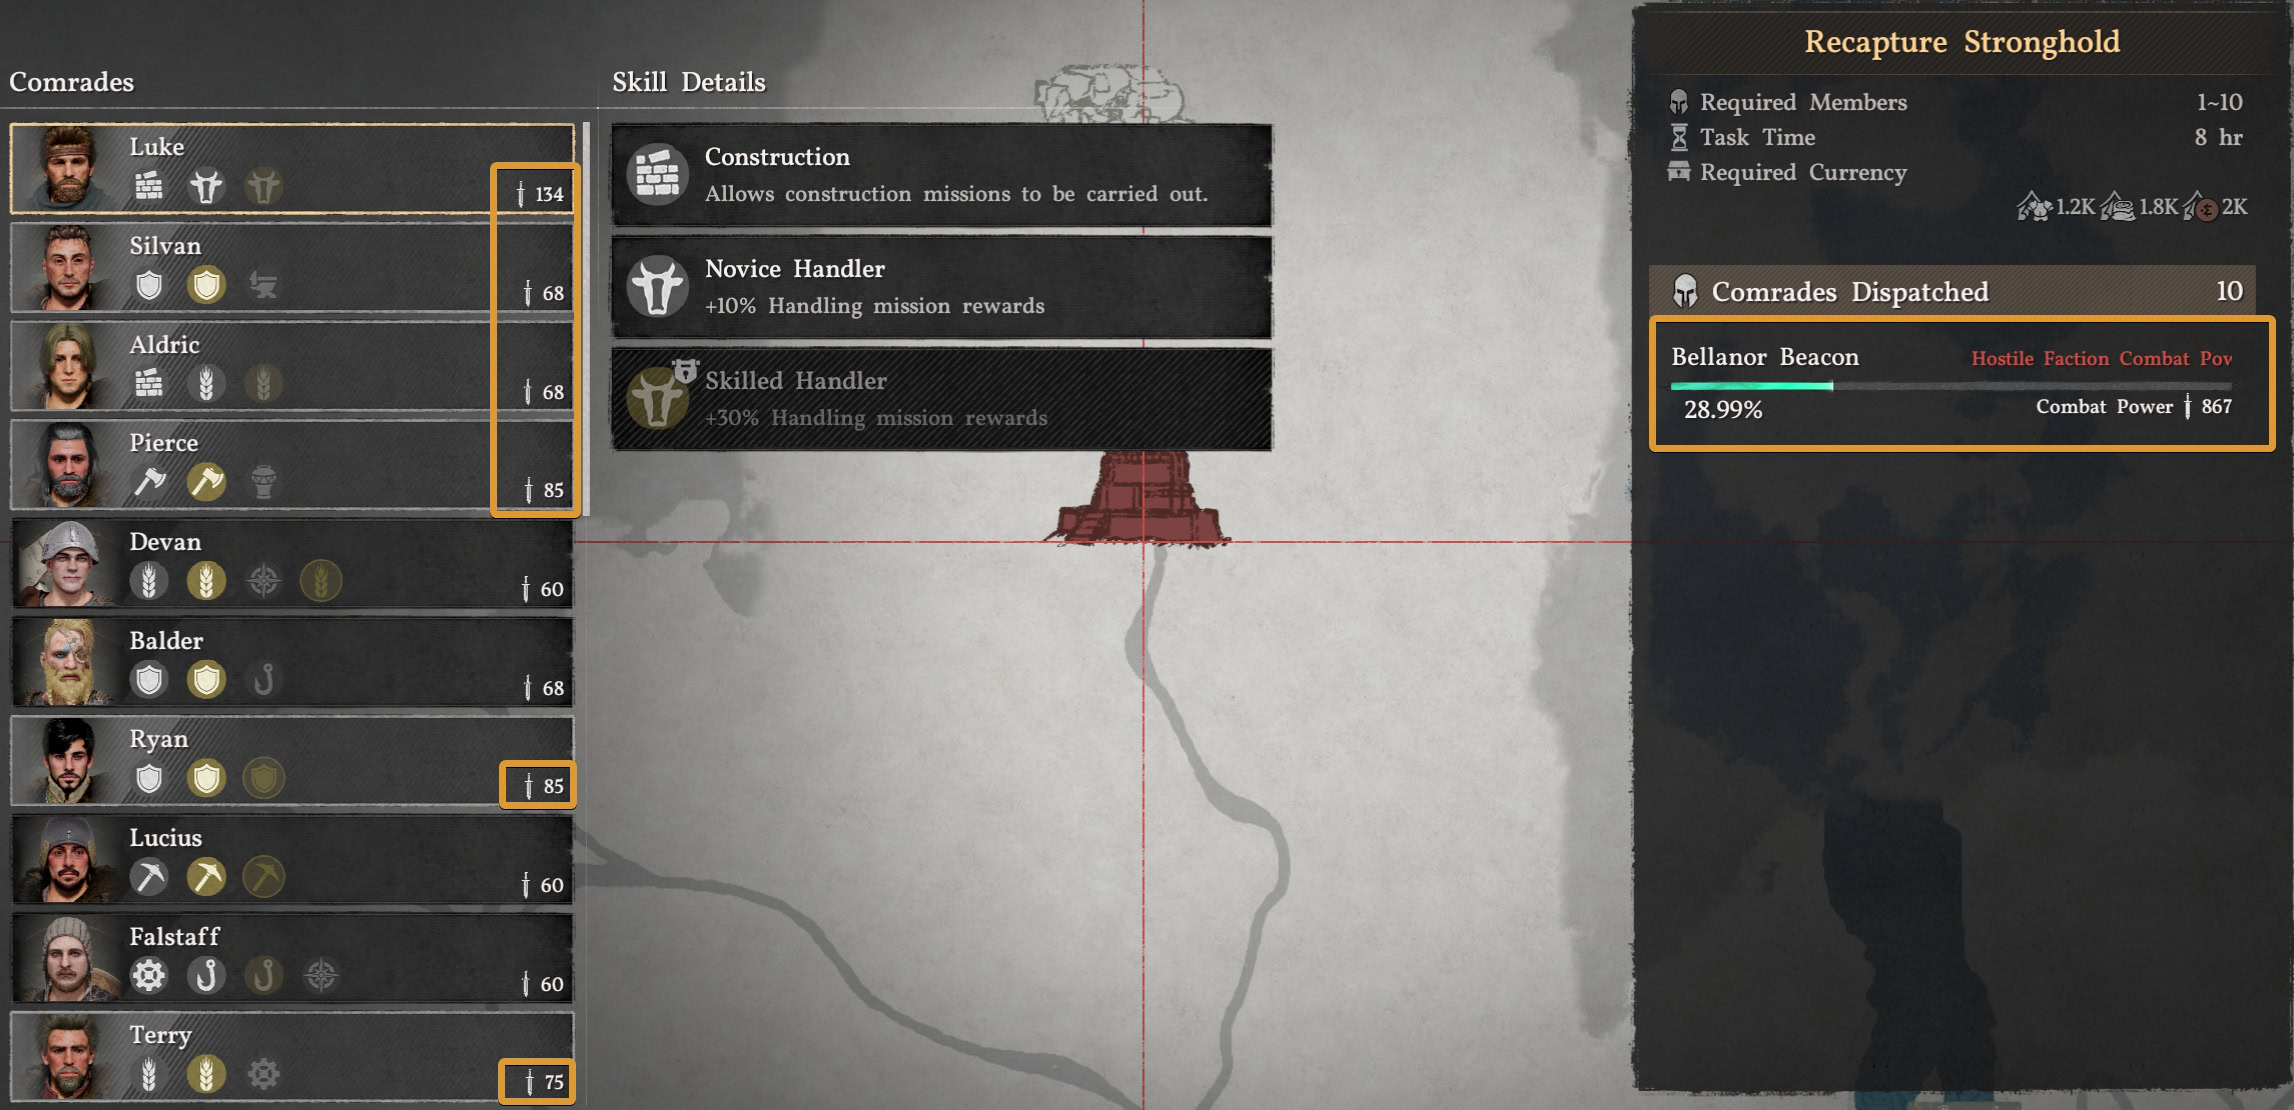
After finding more Greymanes to join your camp, you can dispatch them on missions to attack occupied territories. Talk to Ross at Howling Hill and select a Recapture mission. You can also dispatch them from the map, by inspecting the location and navigating to the Missions tab in the top.
These missions will cost arms, food, and money. You’ll want to select comrades with higher combat scores to deal more damage to a territory. This is a good way to soften up an area to make your visit there less troublesome.
While you could rely on your comrades to do the work for you, it’ll be much faster to go there yourself. This is a good way to help clear zones as you’re busy exploring or completing main quests.
You can fight alongside them. And you can even call the other two playable characters, Oongka and Damiane. When you have to face the boss to complete the liberation quest, however, you will not be able to rely on their support.