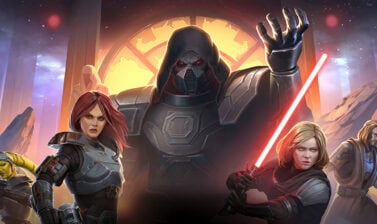
This is a complete guide to the Eternal Championship in SWTOR with a description of all encounters, boss mechanics, instructions, and tips on how to make the fights easier!
The information has been thoroughly updated, and the videos are also new as of 7.4, presenting you with a modern and up-to-date visual walkthrough for all ten boss encounters.
Table of contents
- What is the Eternal Championship
- How to complete all 10 Boss Encounters
- First Encounter: Arlaia Zayzen
- Second Encounter: Daruula Grah
- Third Encounter: Gungus Boga
- Fourth Encounter: Conraad Om’wurt and Chompers
- Fifth Encounter: Lanos
- Sixth Encounter: Brawler Thades
- Seventh Encounter: Nocturno and Drake Raven
- Eight Encounter: Little Gut
- Ninth Encounter: Doom Droid
- Tenth Encounter: Eternal Champion Zotar
- Video Walkthrough
- Rewards and Vendor Contents Overview
- Eternal Championship Achievements
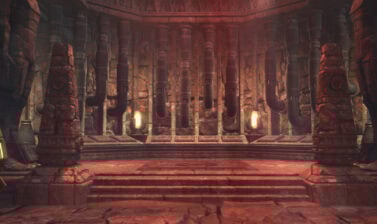
What is the Eternal Championship
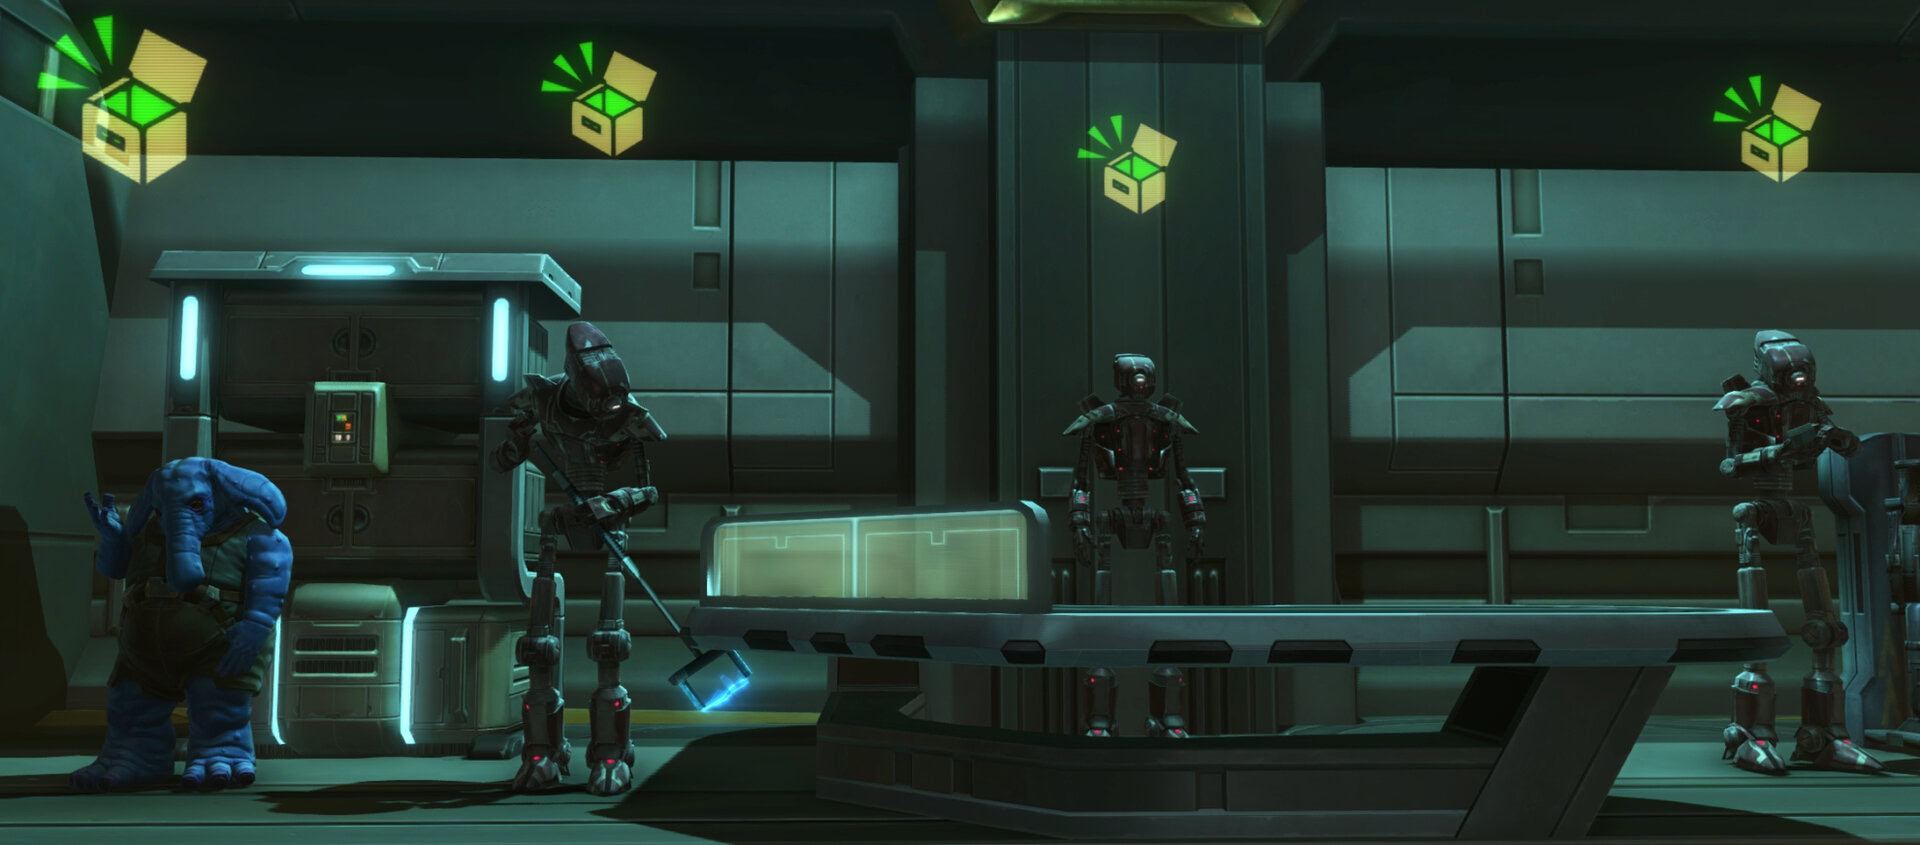
The Eternal Championship in SWTOR is a unique feature allowing you to test yourself against 10 solo boss encounters with various rewards. Each boss has several stages and unique mechanics.
BioWare’s idea is to help and introduce new and casual players to the mechanics available and seen in Flashpoints and Operations, while also providing achievements, credits and gear rewards for each complete encounter. There are various quests available for defeating 5th, 7th, and 10th bosses (listed below).
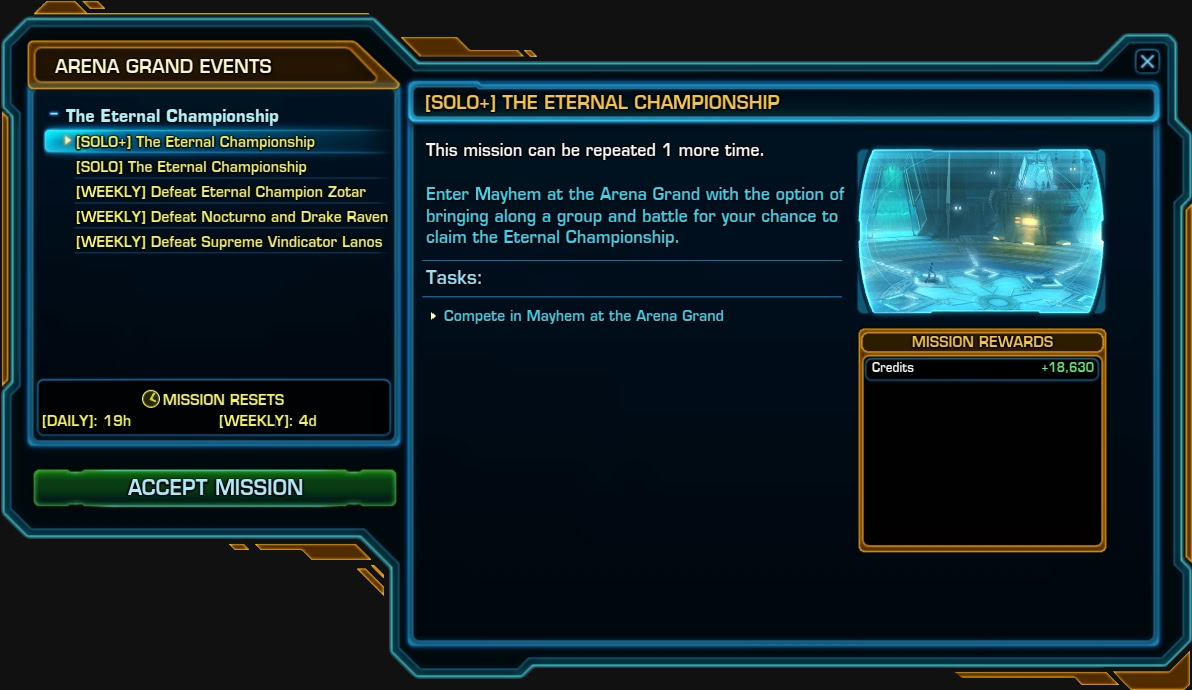
Starter Mission and Requirements
The quest giver is an NPC called Dominaire. He is located in the Cantina on Zakuul. More detailed directions on his location you can find in the video linked below (click on the thumbnail) as well as in this Developer Post by Eric Musco.
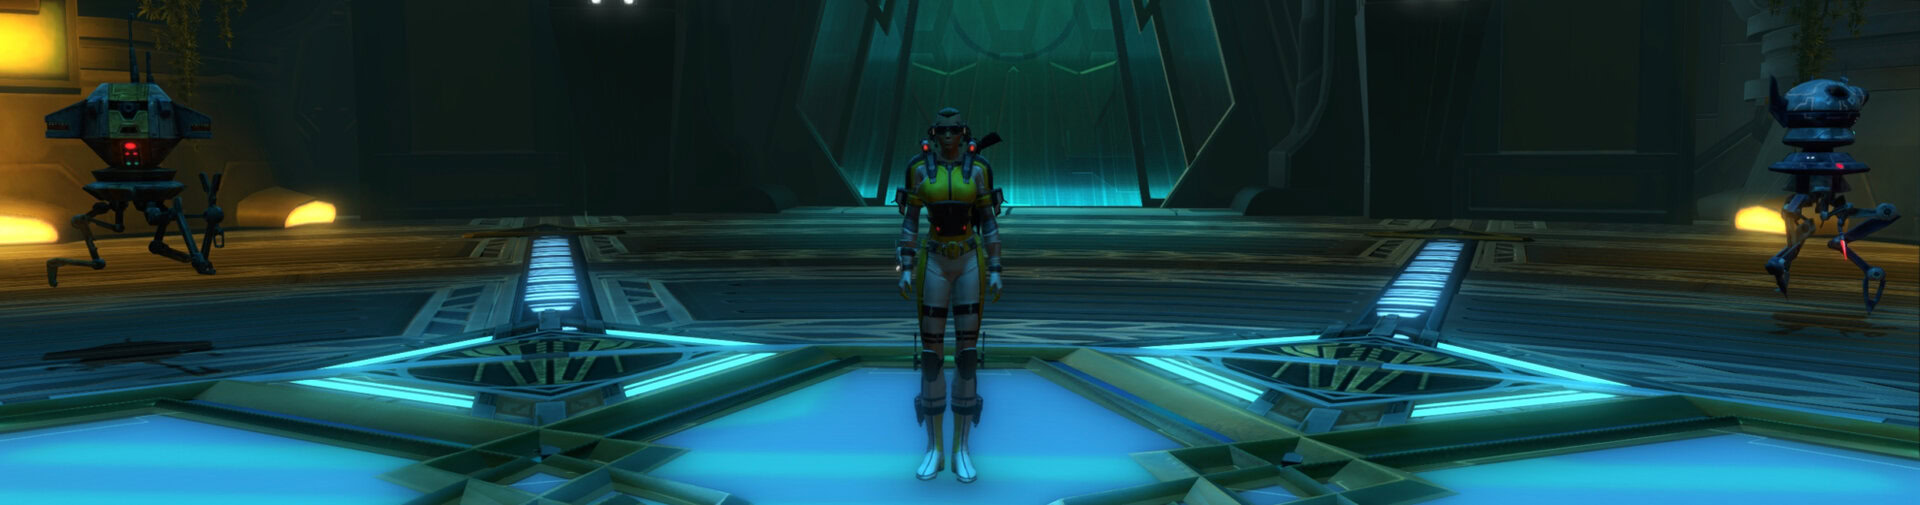
To enter the Eternal Championship your character must have completed Chapter IX of Fallen Empire and be level 65. The Quest Giver NPC is on Level 2 of Platform 6, where the Cantina is. The entrance to the Arena is on Level 1, take the elevator nearby.
List of all Related Missions
Next to the Quest Giver NPC Dominaire is located a terminal. On it, you will find 5available quests.
- [Solo+] Eternal Championship – Compete in Mayhem at the Arena Grand
- [Solo] Eternal Championship – Compete in Mayhem at the Arena Grand
- [Weekly] Defeat Eternal Champion Zotar (10th and final boss)
- [Weekly] Defeat Nocturno and Drake Raven (7th boss)
- [Weekly] Defeat Supreme Vindicator Lanos (5th boss)
How to complete all 10 Boss Encounters
Below is a detailed breakdown of all 10 encounters with tactics, tips, and tricks. Each boss guide is available in both written and video form for your convenience. If you cannot see the videos, your AdBlocker may be hiding them.
One thing to note is that you’ll have 4 medical stations in the arena. Use these wisely as when you use one, you won’t be able to use it again for the remainder of the challenge. If you use them all too soon, you might find yourself struggling in later fights.
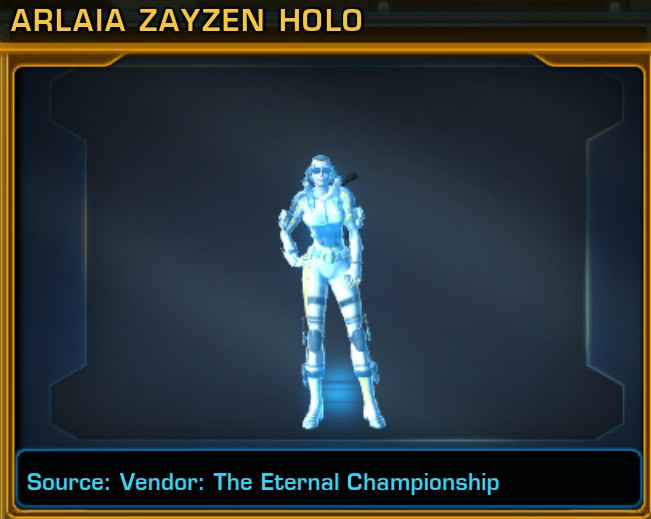
First Encounter: Arlaia Zayzen
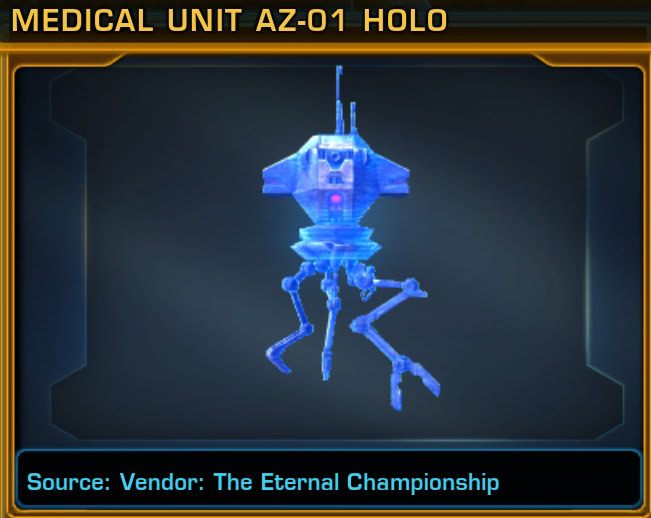
The first boss is very simple to kill. Includes Arlaia Zayzen in the middle, surrounded by her 2 probe droids. The left droid, Medical Unit AZ-01, heals her.
The droid to the right, Combat Unit AZ-02, provides combat support. These droids boost Arlia’s performance and need to be defeated first. Their HP pools are small and no more than 2-3 abilities are required. Once the adds are dead, finish off the boss to complete the encounter
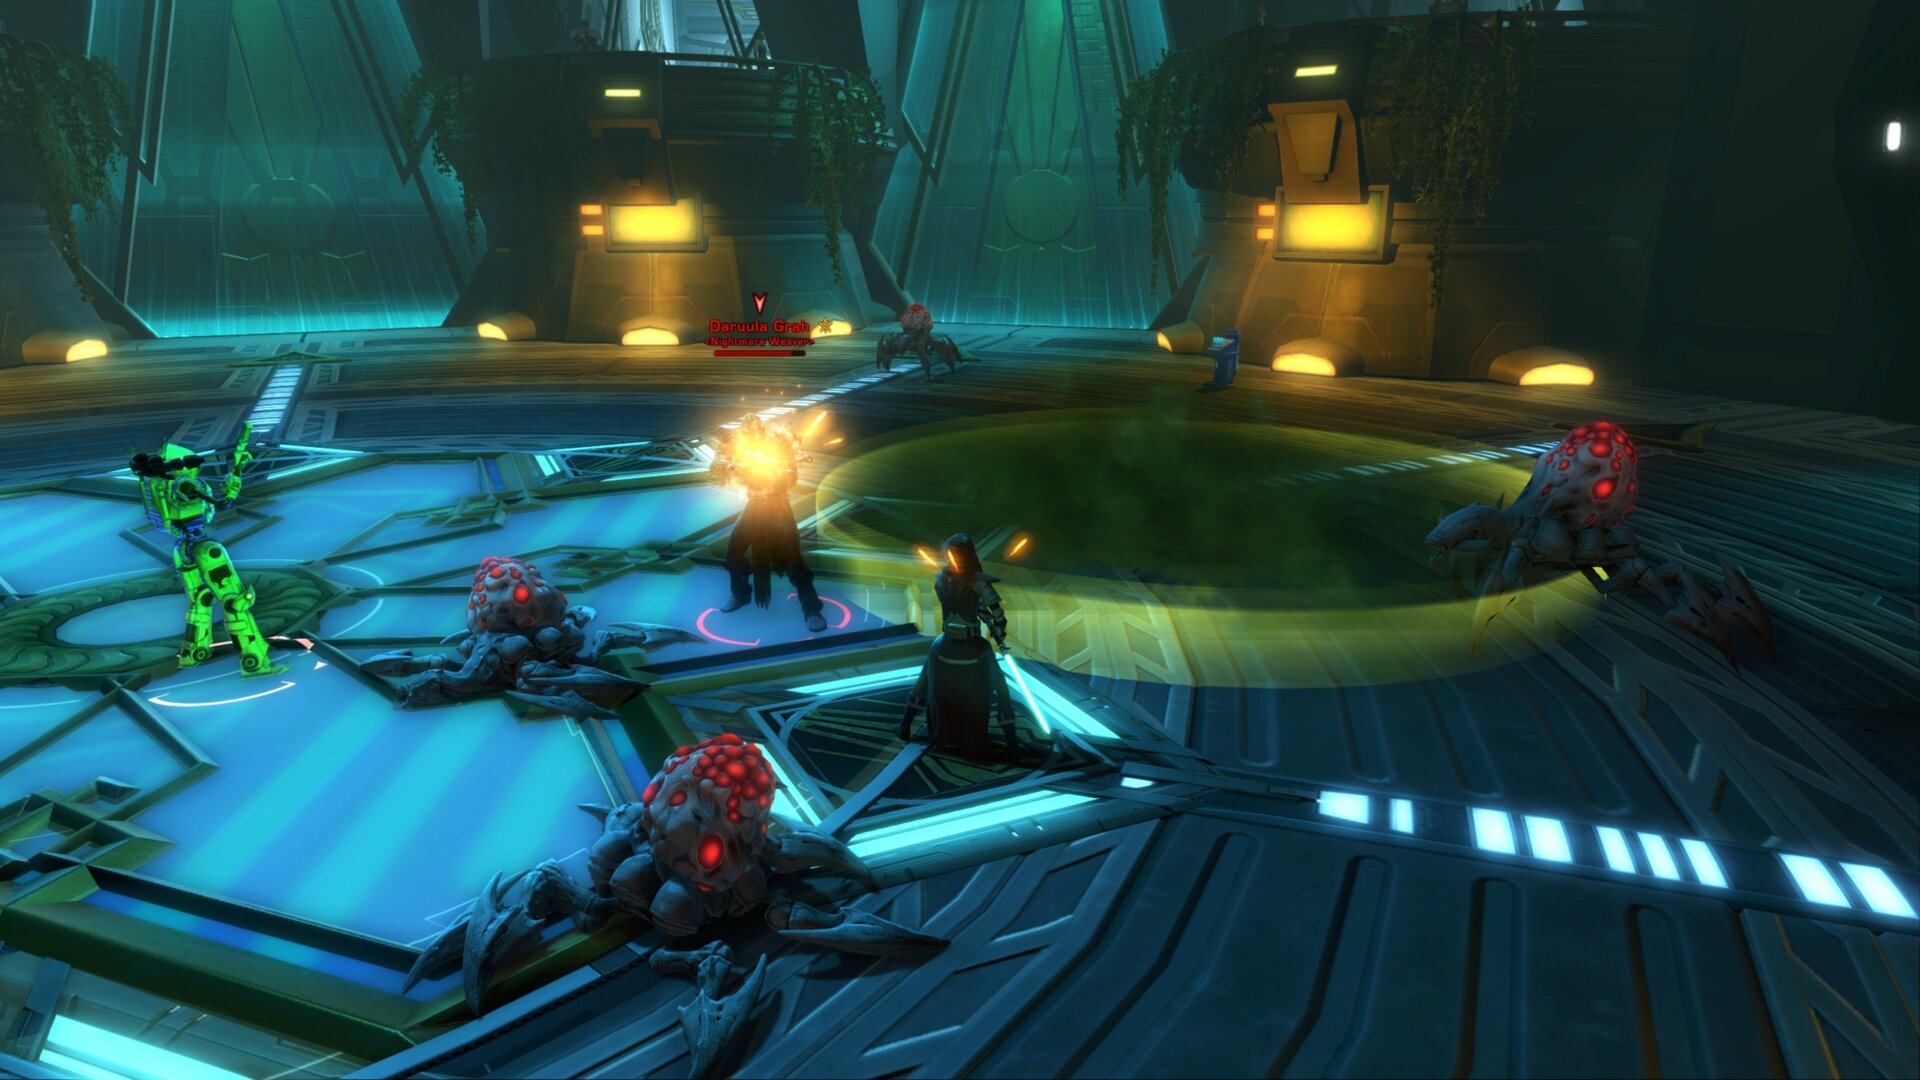
Second Encounter: Daruula Grah
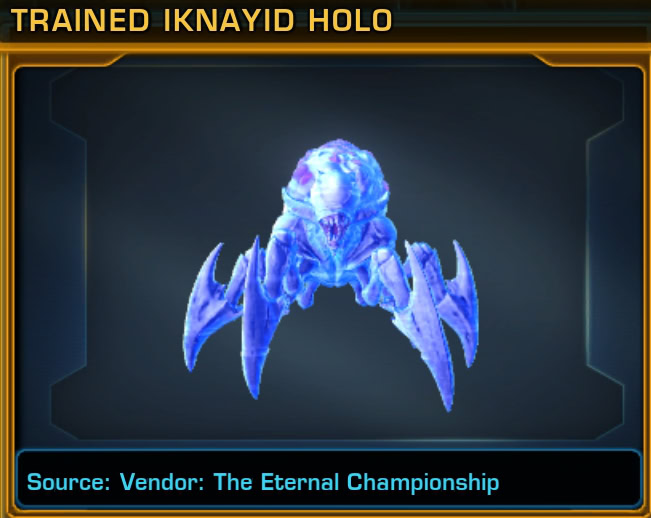
Originally Daruula’s fight mechanics include forcing the boss to attack his own adds, the Trained Iknayids (as the scouting report suggests – bring them through the toxic circles from her grenades). However, it’s easy to focus on the boss and AoE the adds. If you have a healing companion, be sure to stay close as some of the spawning ads will surely go for them.
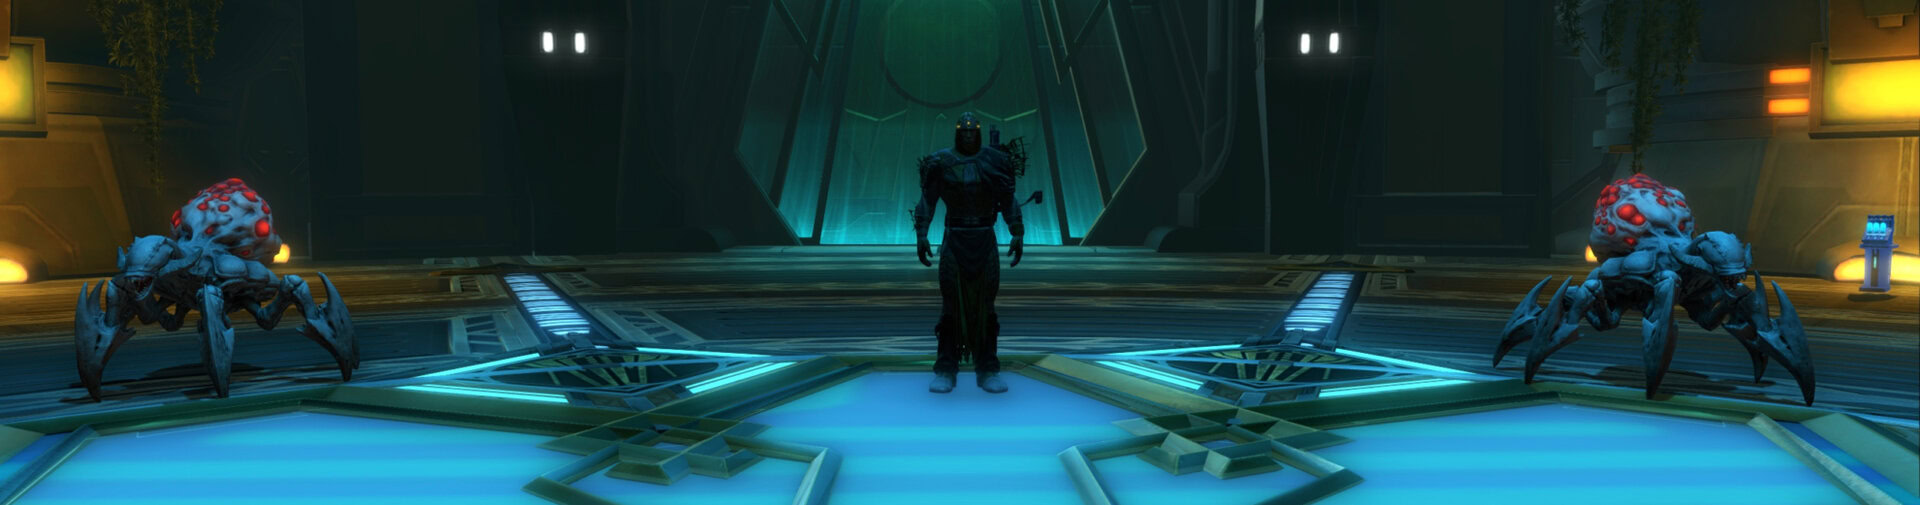
Avoid the Yellow circles on the floor as they put a DoT on you if you stay inside. Burst DPS spec is very useful here and depending on your class and gear you can complete this by the time a 2nd wave of spider adds spawns.
Third Encounter: Gungus Boga
At the beginning of this encounter, you will fight 2 NPCs – Gungus and one of his Heralds. The add is weak and can be killed easily with AoE. My suggestion is to focus on the boss while keeping your companion close (especially if it’s a healer).
Near the end of the fight, a few more Heralds will spawn and they will likely go for your healer. The specific mechanic for this encounter is the 2 fire AoEs. Gungus will jump to the middle of the arena and pull you there as well. If you have a Speed Boost Buff, save it for this moment.
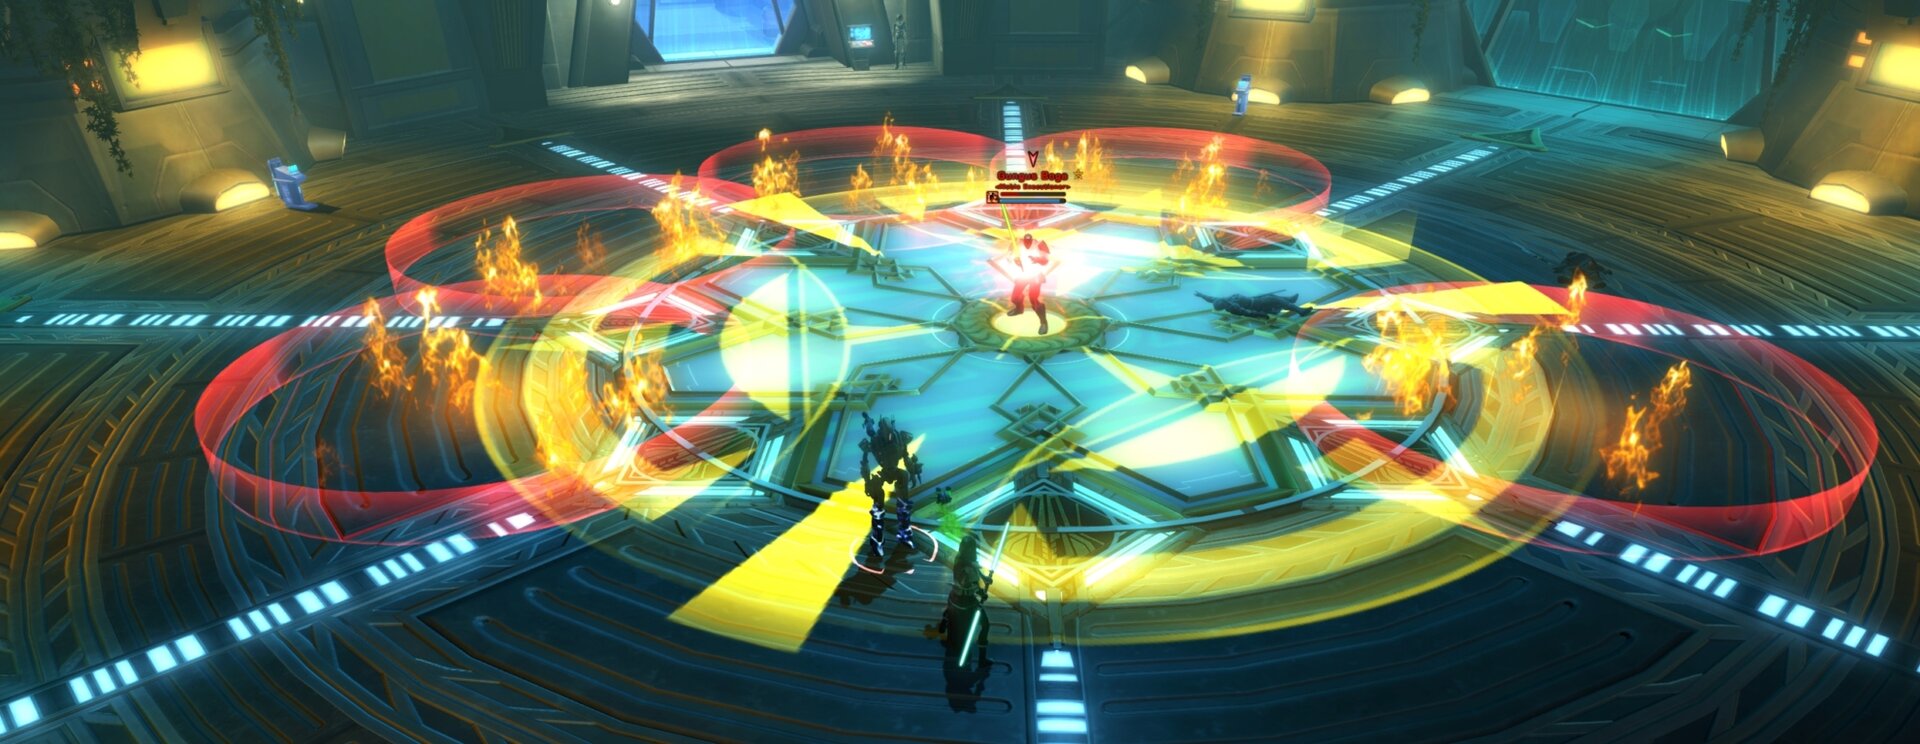
The big yellow circle is in the middle and is surrounded by a few smaller red fire circles. The pattern is different each time it spawns and there’s always a gap in the outer ring (red circles) – this is where you should run to avoid the stacking DoT. Focus on the boss and with enough DPS, you should be able to take him down within 2 circle spawn events.
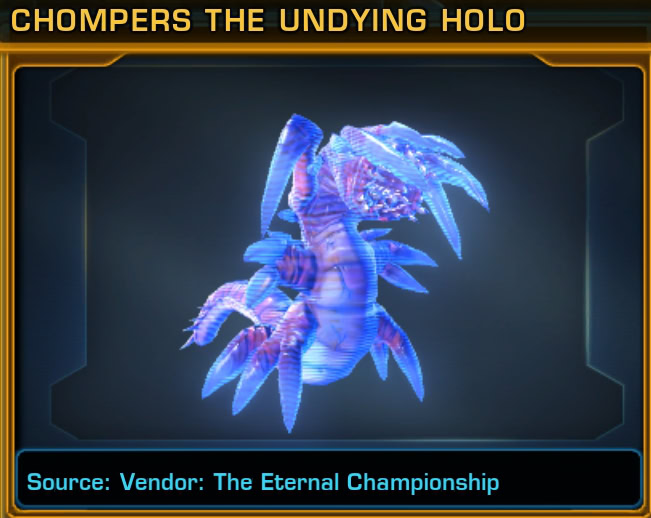
Fourth Encounter: Conraad Om’wurt and Chompers
Start the fight focusing on the K’lor’slug (Chompers the Undying). When you drop it to low HP (~30%), it will go into an HP-regeneration phase. When that happens, switch to Conraad and nail him down.
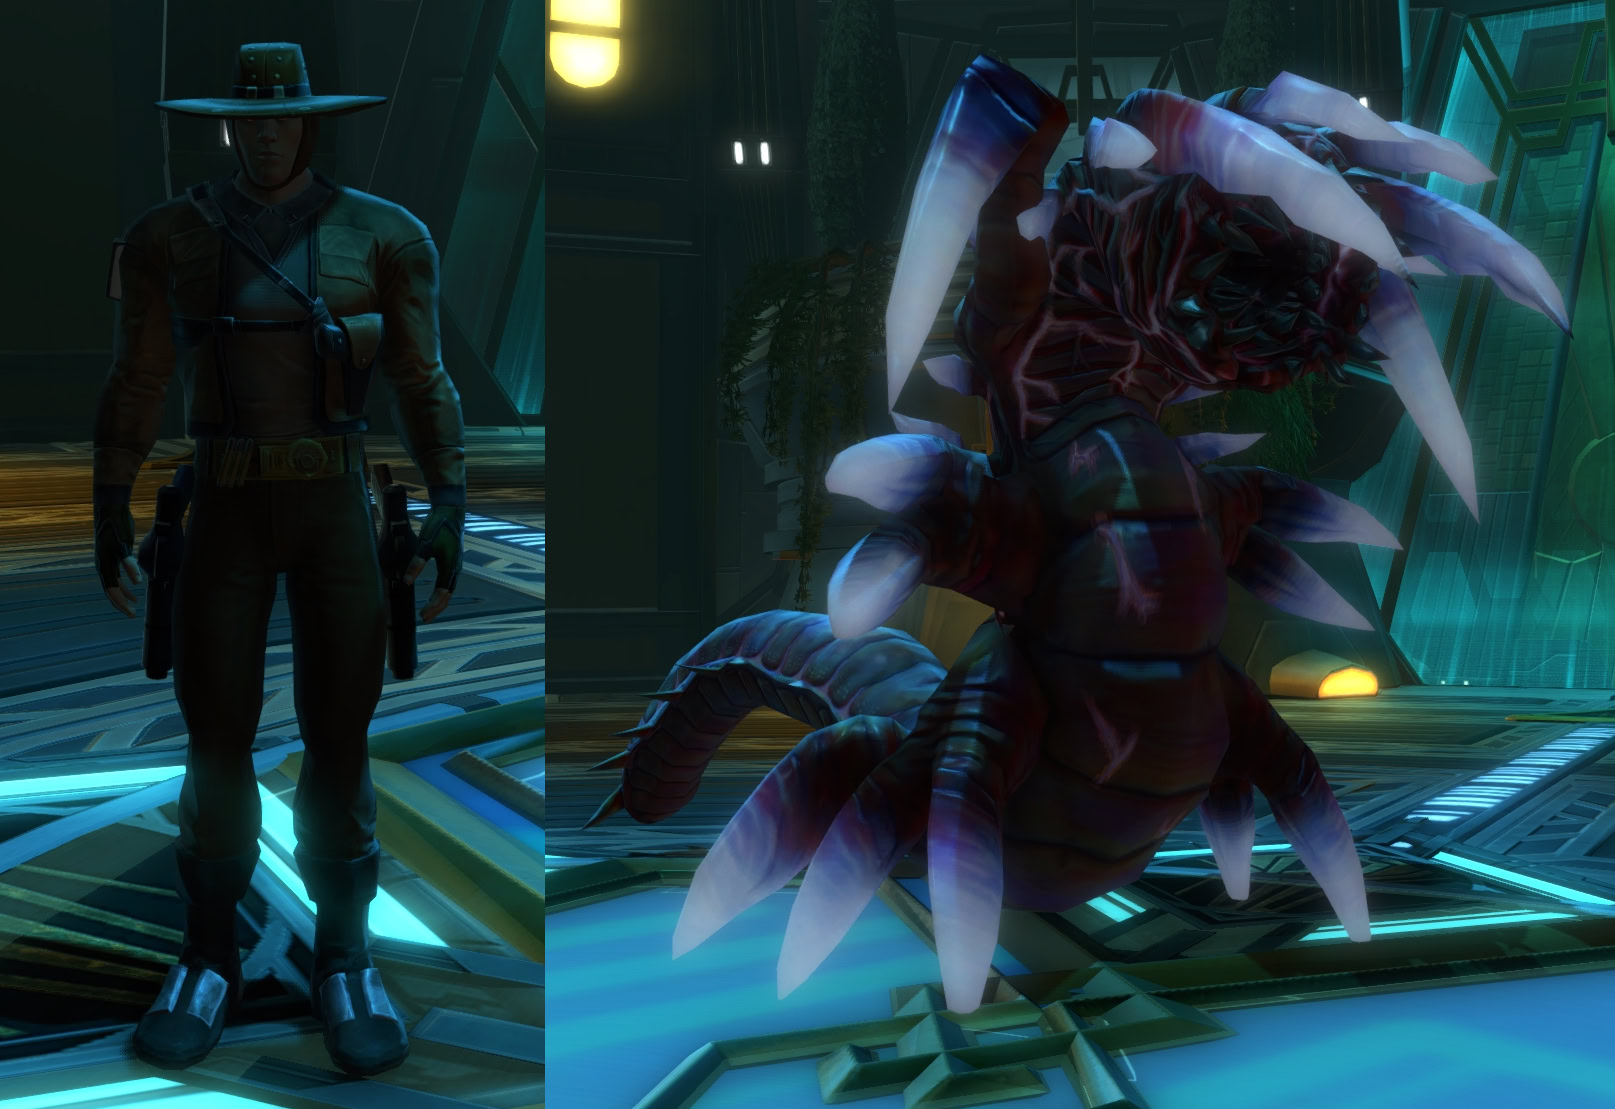
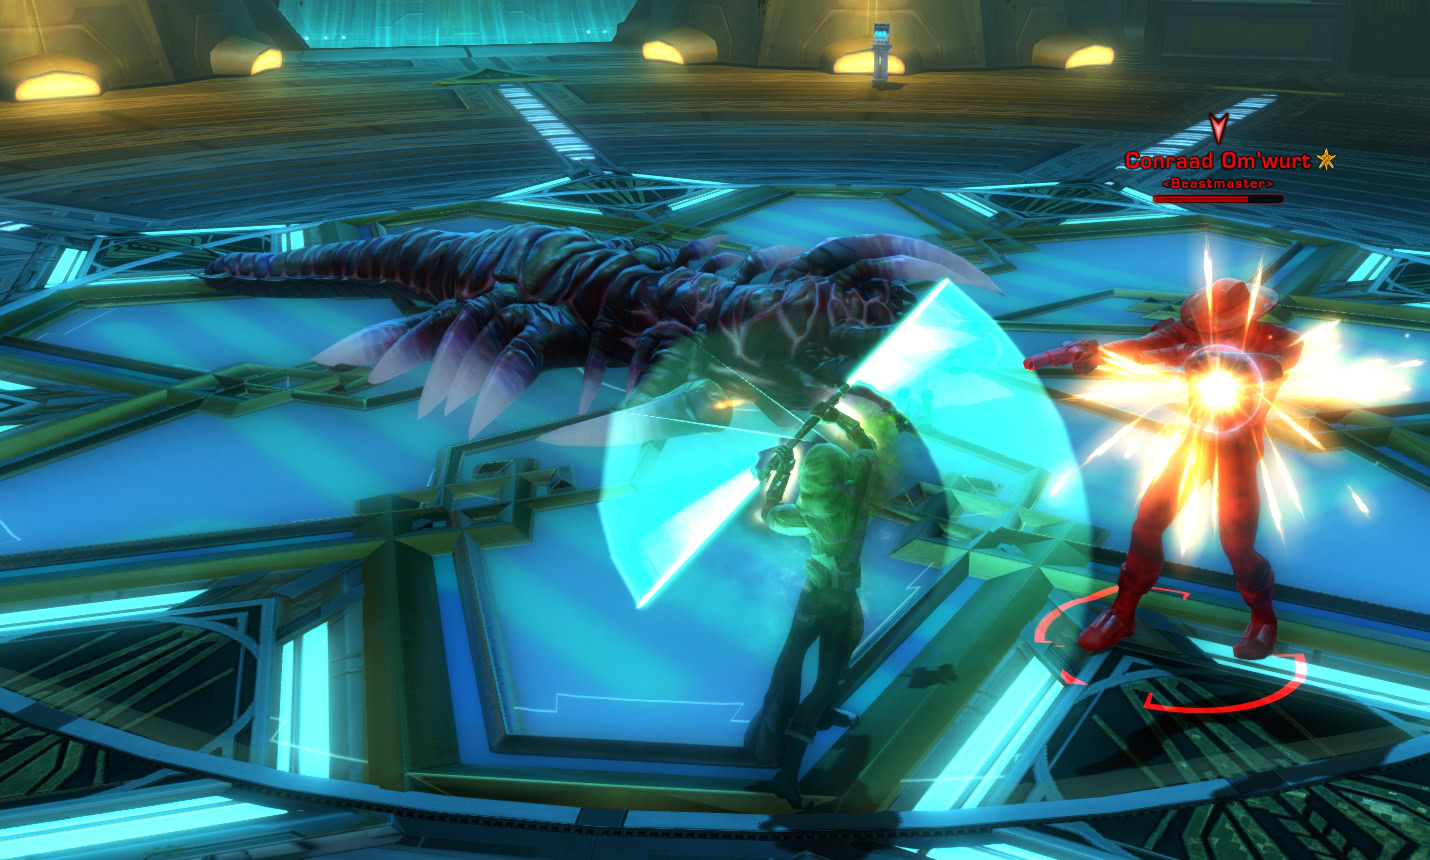
Any spawning adds can be cleared with AoE or after the real boss fight is over. You should avoid any red circles that appear on the floor. If you can’t DPS down Conraad before Chompers is refreshed back to 100%, go back to Chompers and force him to regenerate again, then finish off Conraad before that regeneration is done.
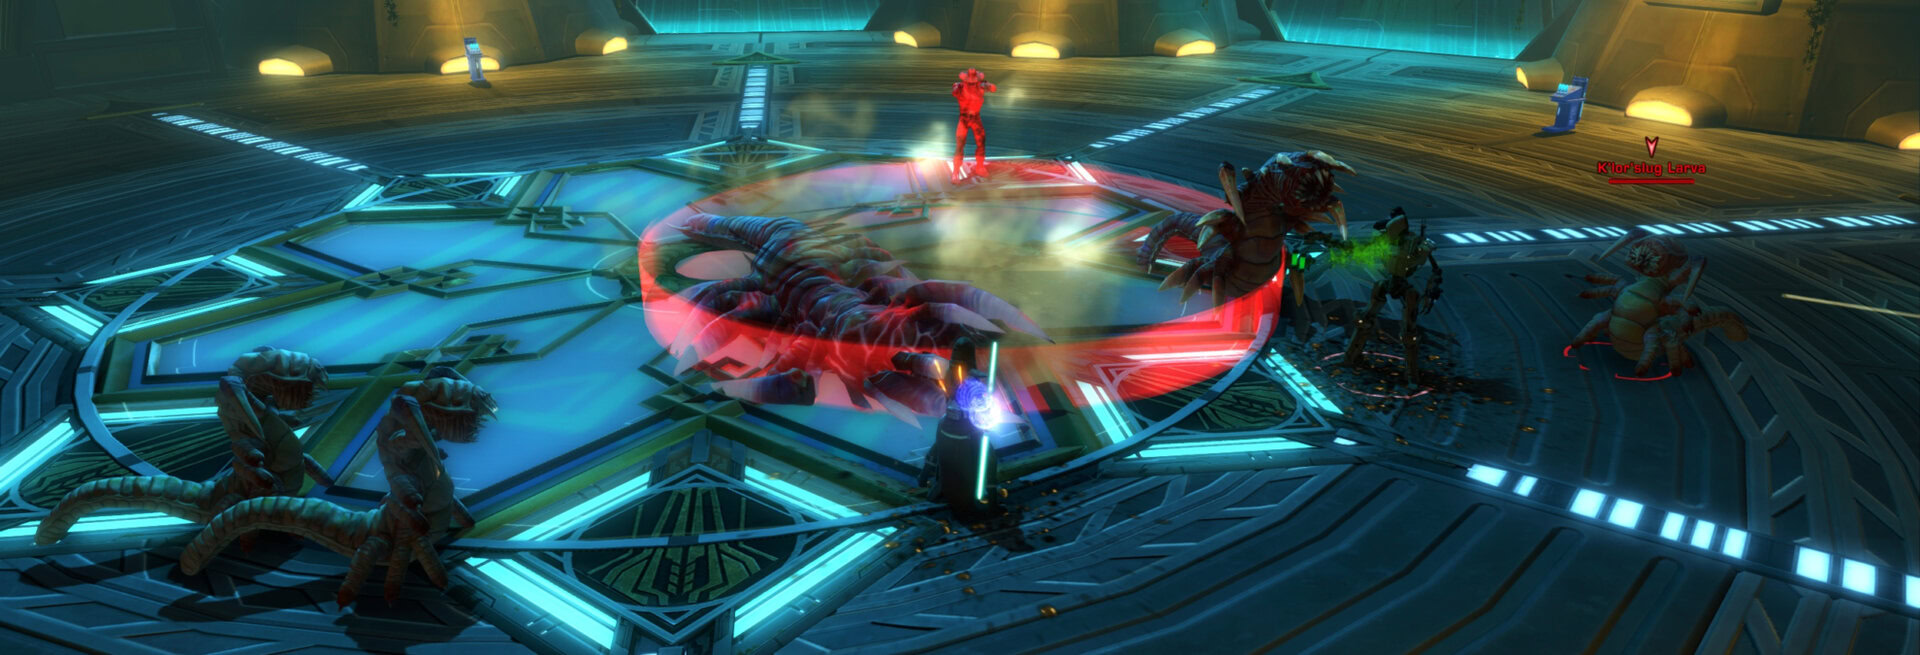
Otherwise, Chompers will enrage and start dealing a lot more damage. If you delay the fight and adds start spawning and attacking you or your companion (take care of them first).
Fifth Encounter: Lanos
Begin the fight on Lanos and as soon as the Defender Skytroopers spawn, interrupt one, defeat it (it has low HP), and finish off the 2nd one to remove the immunity from Lanos. Keep DPSing the boss until the other 2 types of droids spawn.
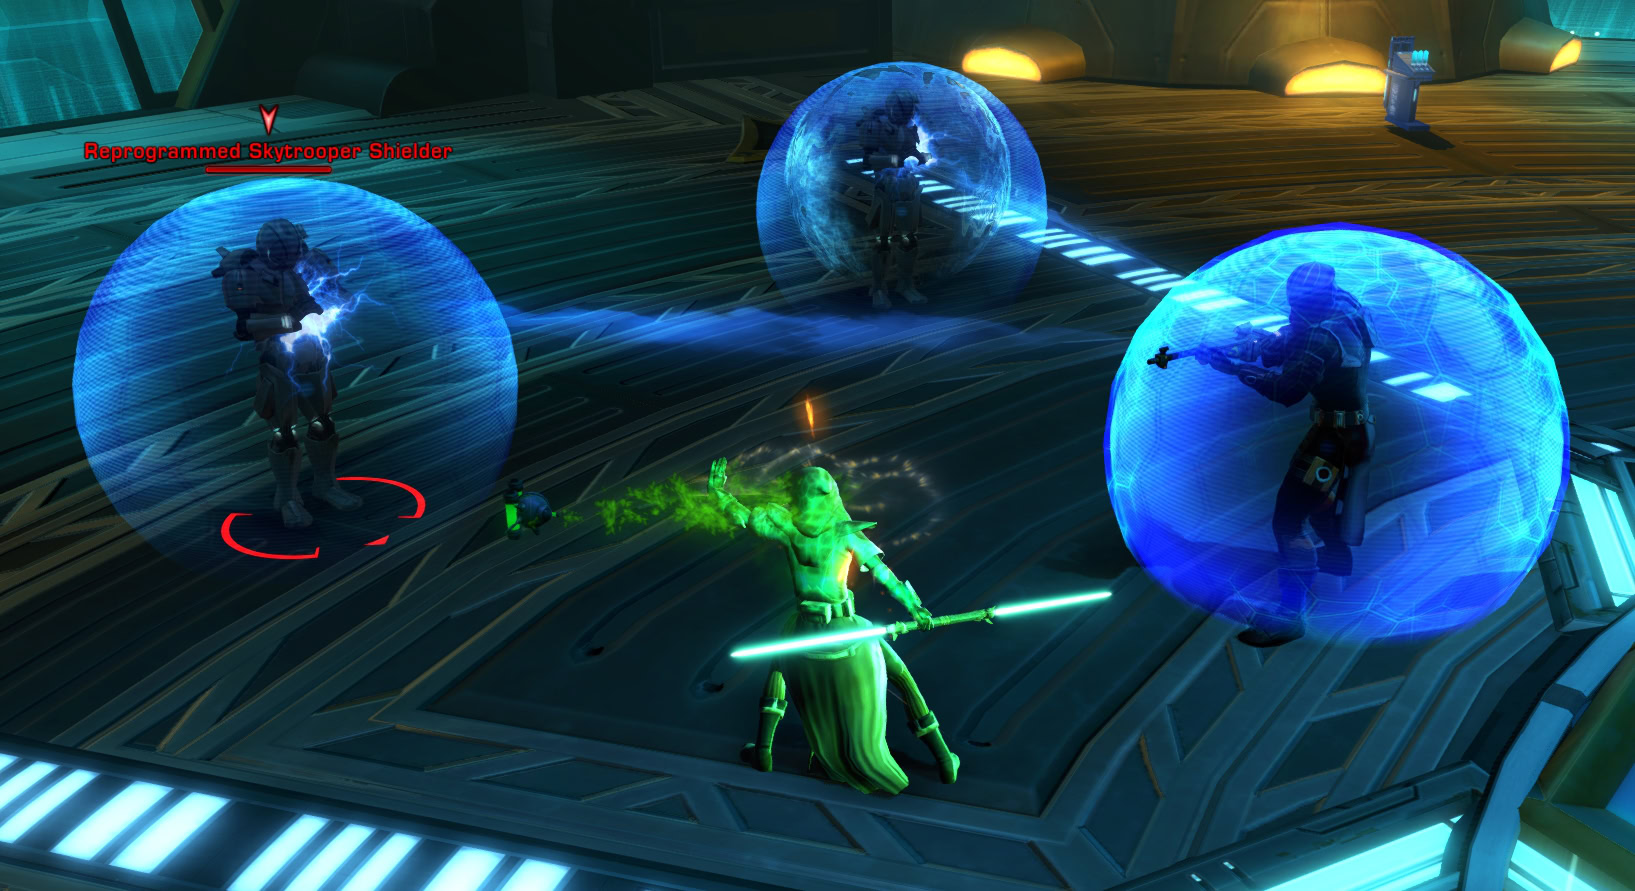
First, a small group of 3-4 normal Skytroopers will spawn in the far corner of the arena. Kill them quick, they have low HP and usually go immediately for the companion if it’s a healer. The 3rd type of adds that spawn is the Unstable Skytrooper. They target you, jump to your location, and attempt to explode.
There is no need to interrupt their channel, just let them explode by moving quickly away from the surrounding red circle (the area of the explosion). Lanos will likely summon droids to shield him again, interrupt one then take them both down to DPS Lanos. Repeat this process until Lanos is defeated.
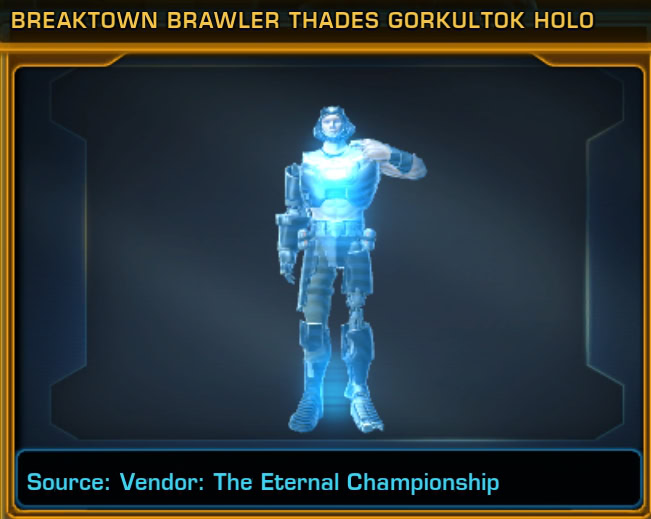
Sixth Encounter: Brawler Thades
For this boss encounter you need to be prepared for a lot of movement around. The boss is accompanied by 2 adds, King Crush and Master Ripper. This fight can be rather annoying, so follow these instructions closely.
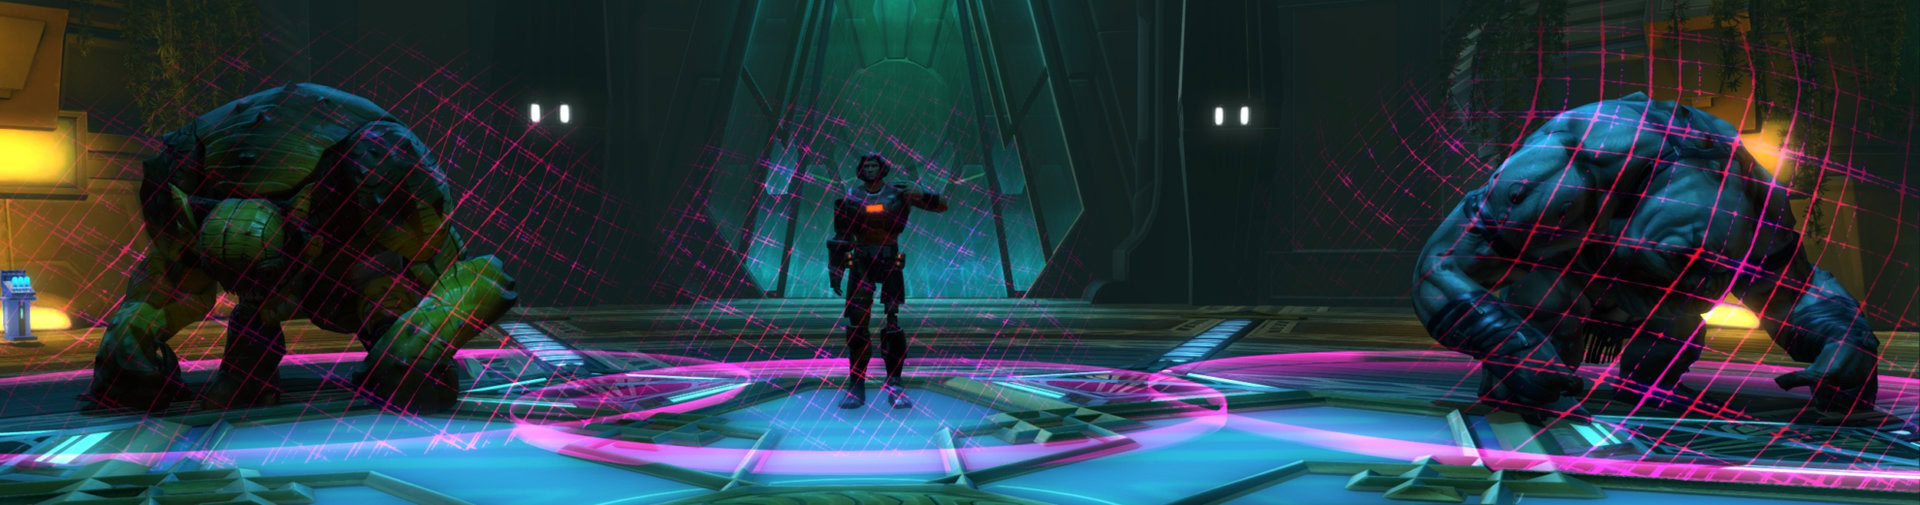
They all have a specific buff boosting their damage when they are close to each other, while also reflecting any attacks aimed at them from range. Always fight them at melee range and kite them around. So long as you’re within the purple circles around them, you’ll deal damage to them.
It doesn’t matter who you focus and defeat first. A good way to keep the two beasts separated is to have your companion attack one beast at the start of the battle, then you focus the other one. Defeat your beast first, then the one your companion is attacking.

Don’t stay close to Thades too long as this will allow him to stack a debuff on you, boosting his damage. The two beasts are very slow, but they tend to jump to your location when you too move far away. The boss teleports to you as well, so you need to keep moving around and keep them separated.
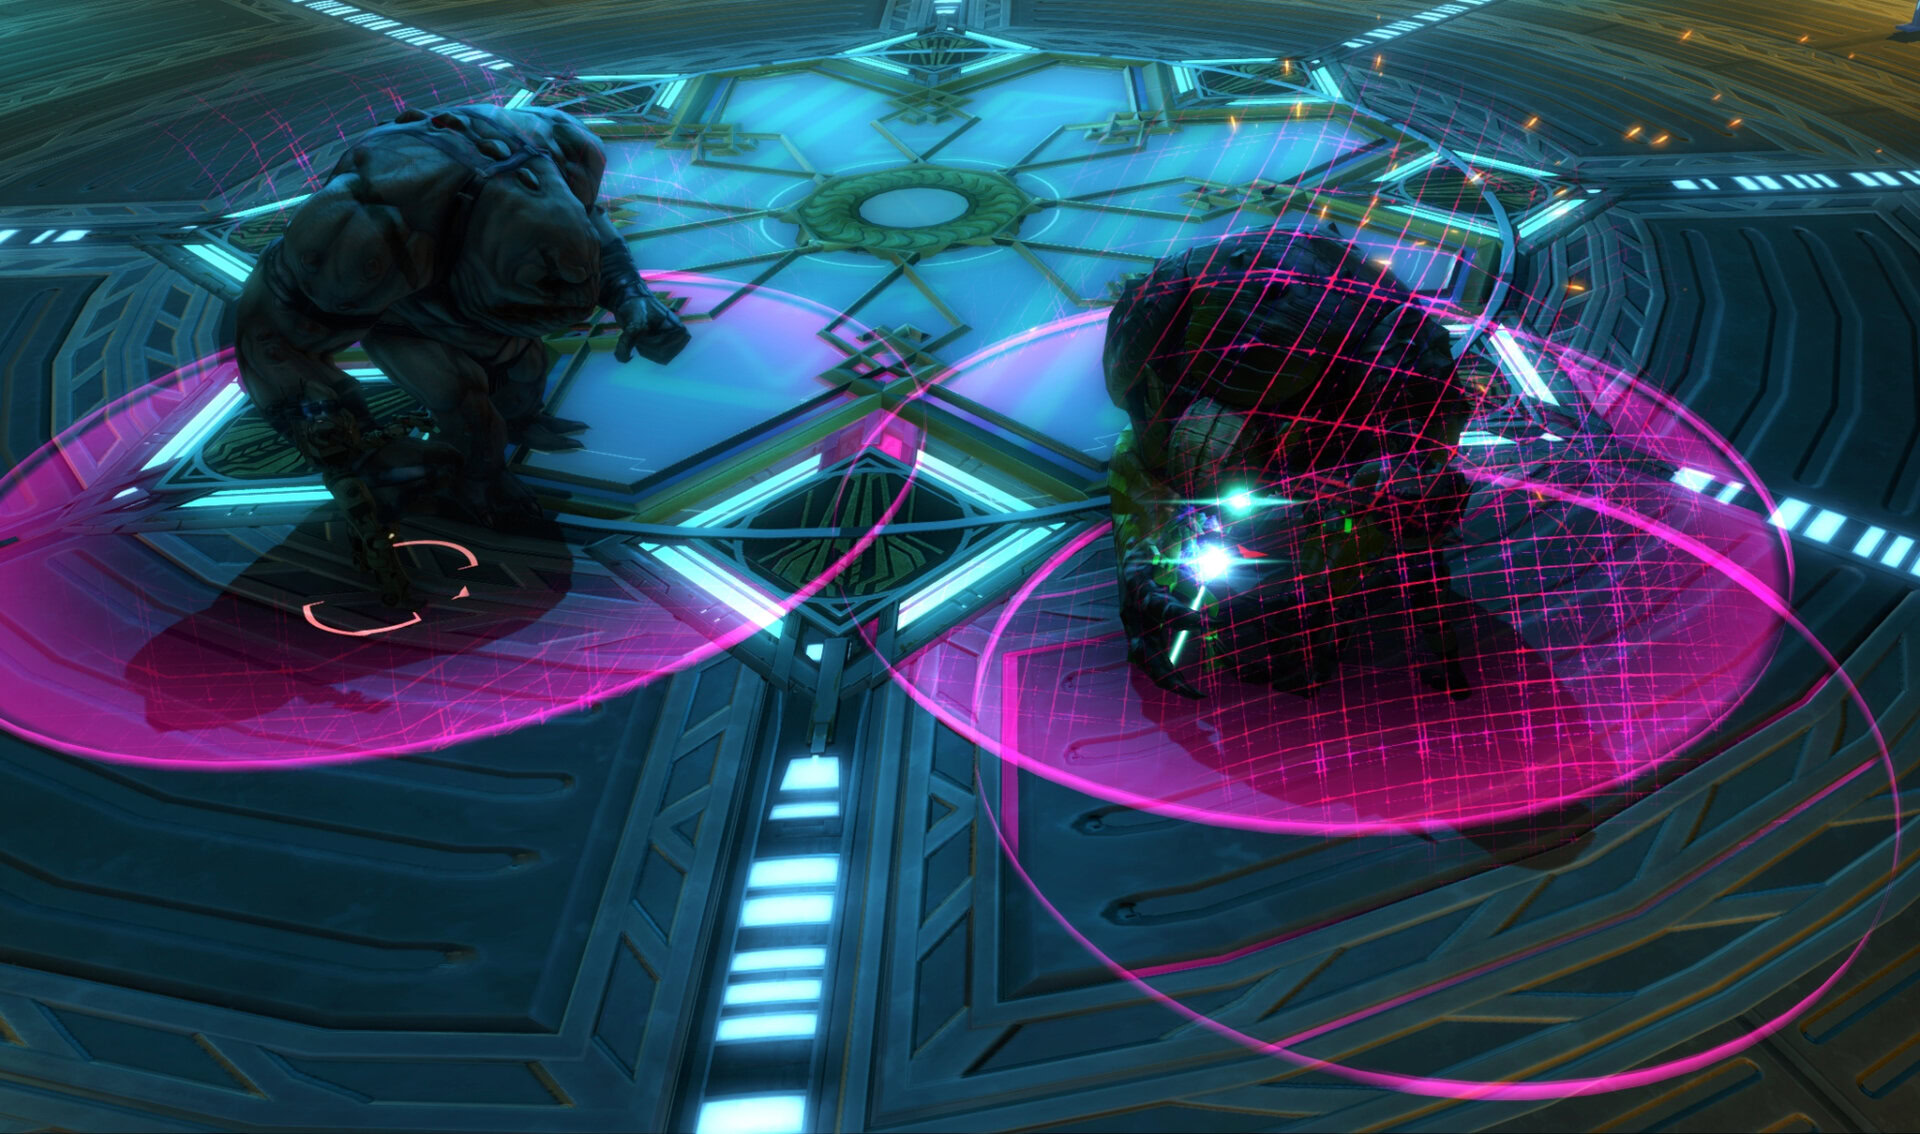
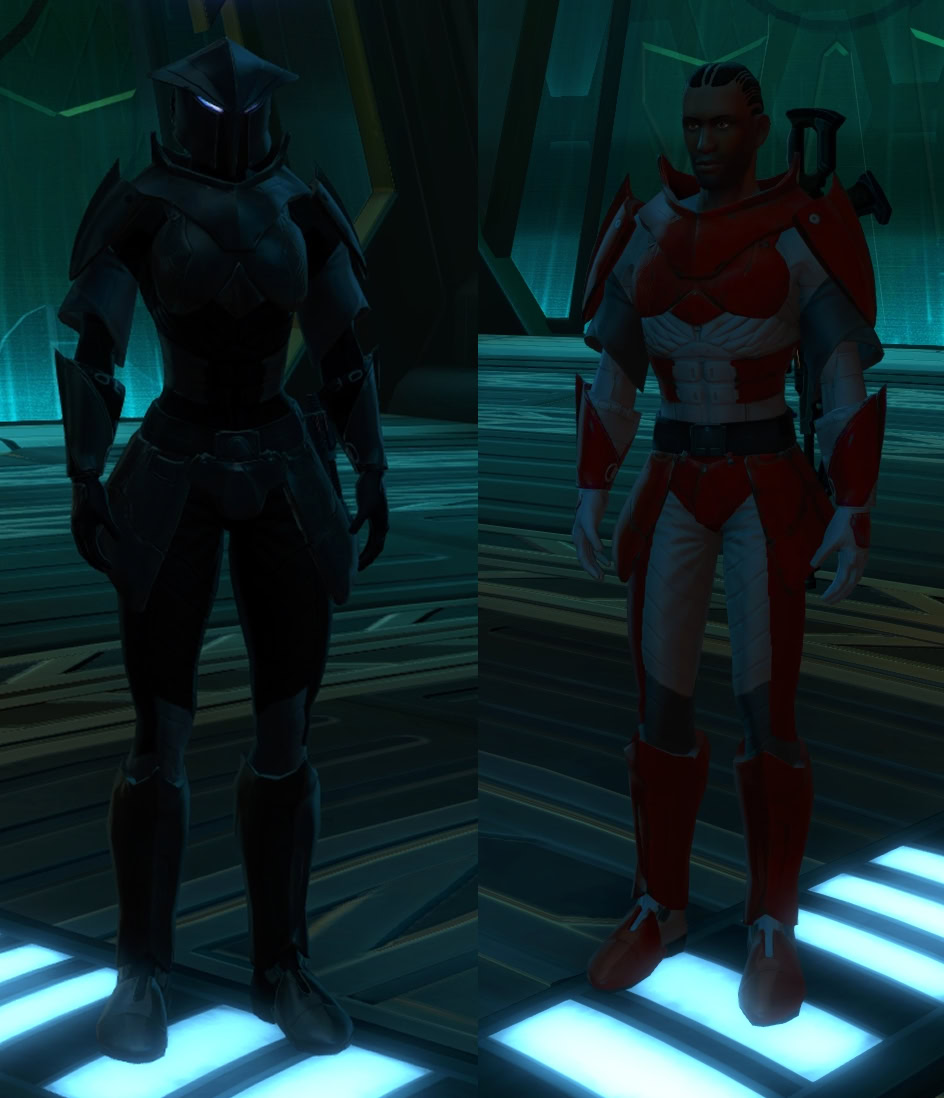
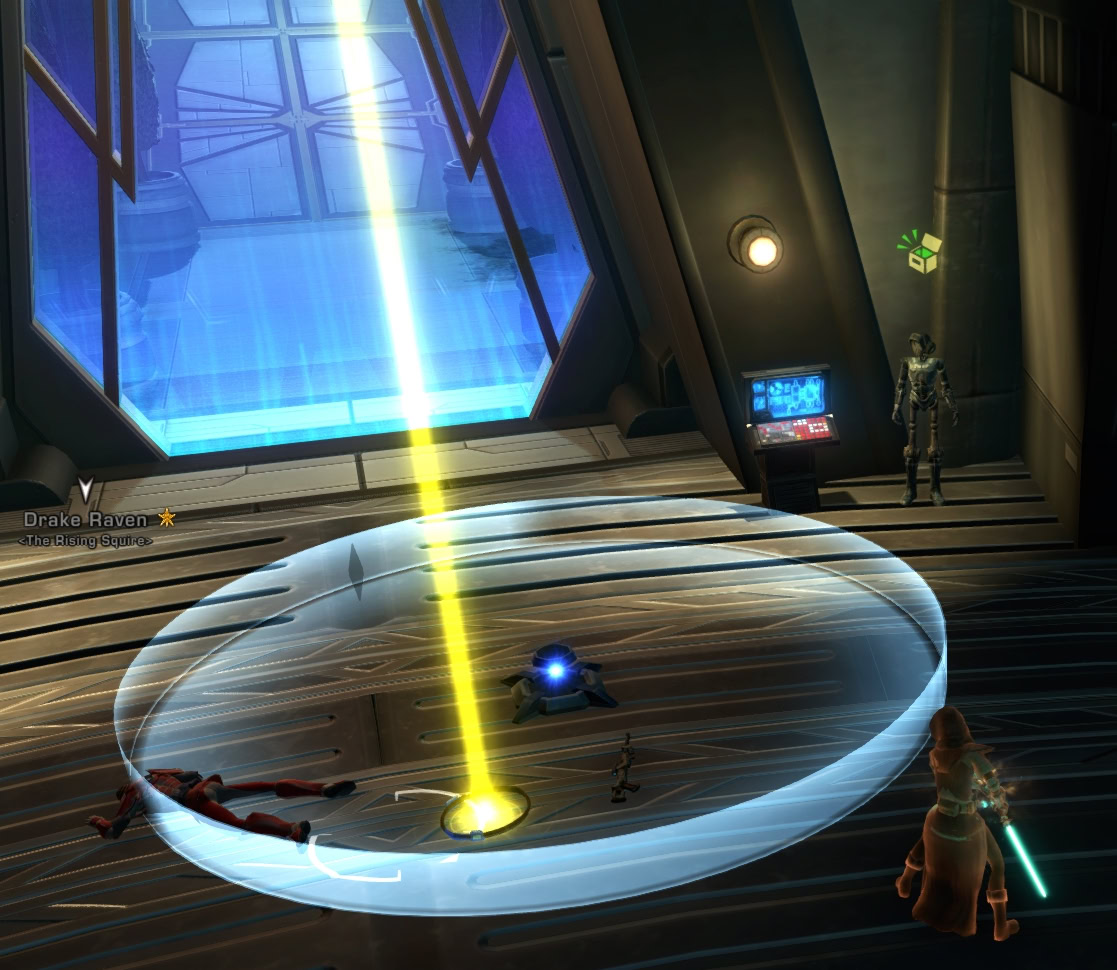
Seventh Encounter: Nocturno and Drake Raven
When you start the fight, Nocturno is shielded but also slowed. You should focus your attention on Drake to start. When he places a bomb on you, move around to place it near Nocturno.
For the first few seconds, the bomb will move with you as seen by a red circle centered on you. This bomb will then attach to the ground when the circle turns light blue. Position yourself in a way that will bait Nocturno inside the blue circle. When she gets stunned by the bomb, she becomes slow again.
If you kill Nocturno first, Drake calls for support – a few adds spawn shortly and annihilate your companion (my healer in my case). These adds have similar auras around them, reflecting damage done from range back to you. If you reach that state (by killing Nocturno first or being too slow in this fight), make sure to kill the GO-ON Abductor in the middle, the rest will self-destruct.

It is recommended to take them nearly at the same time as they enrage if one falls first. Kill Drake first and finish off Nocturno. Her enrage is not too hard to heal. Remember, use the Kolto tanks spread around the arena. Nocturno hits like a truck in melee range, even more so when enraged.
If you defeat Drake, you’ll be able to pick up his utility belt. Once picked up, you’ll gain four temporary abilities:
- Stunning Mine – This creates the AoEs on the floor that stuns Nocturno
- Jetpack Reposition – This sends you to the edge of a random quadrant of the arena, this is good for getting away from an enranged Nocturno to set up a mine.
- Firaxian Shark Repellant – Ignore the strongly worded label and spray Nocturno’s eyes with the repellant to stun her.
- Deploy Abduction Squad – Don’t use this, this will summon droid adds that’ll make things tougher for you.
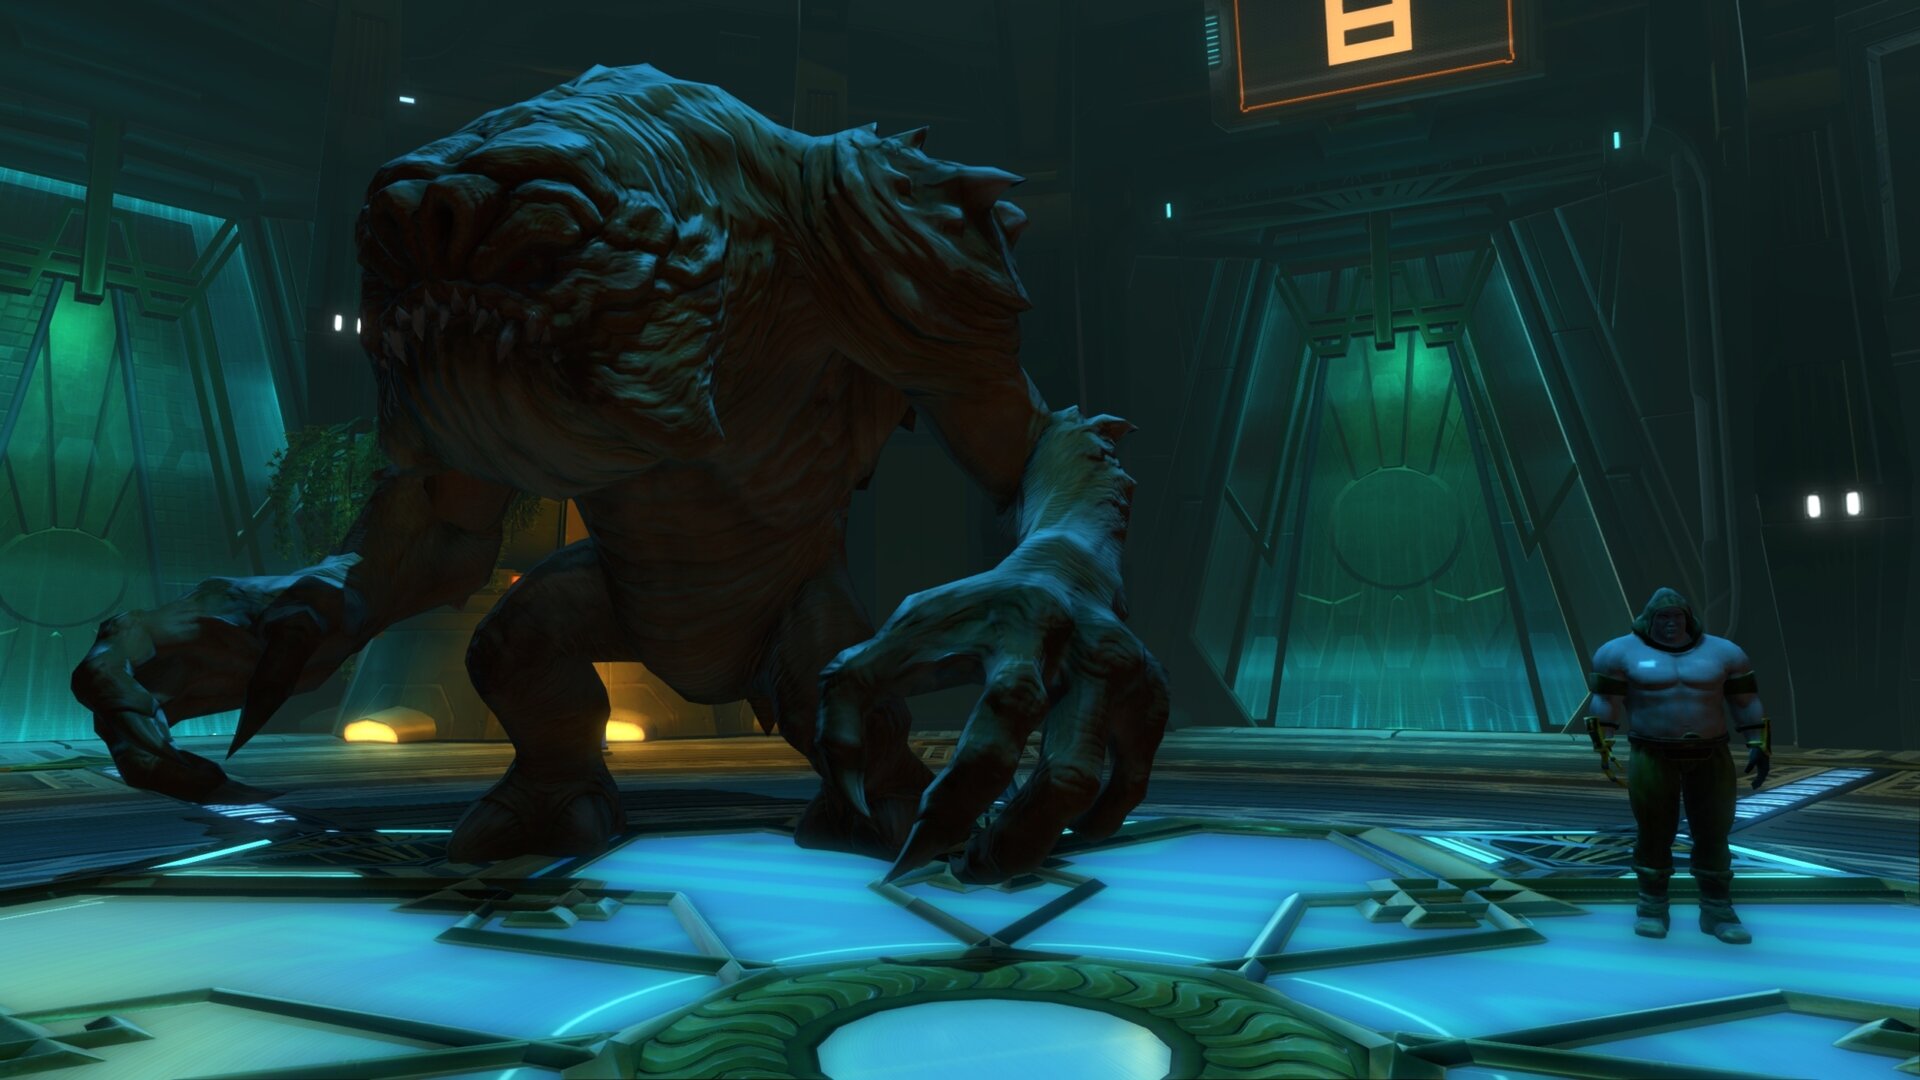
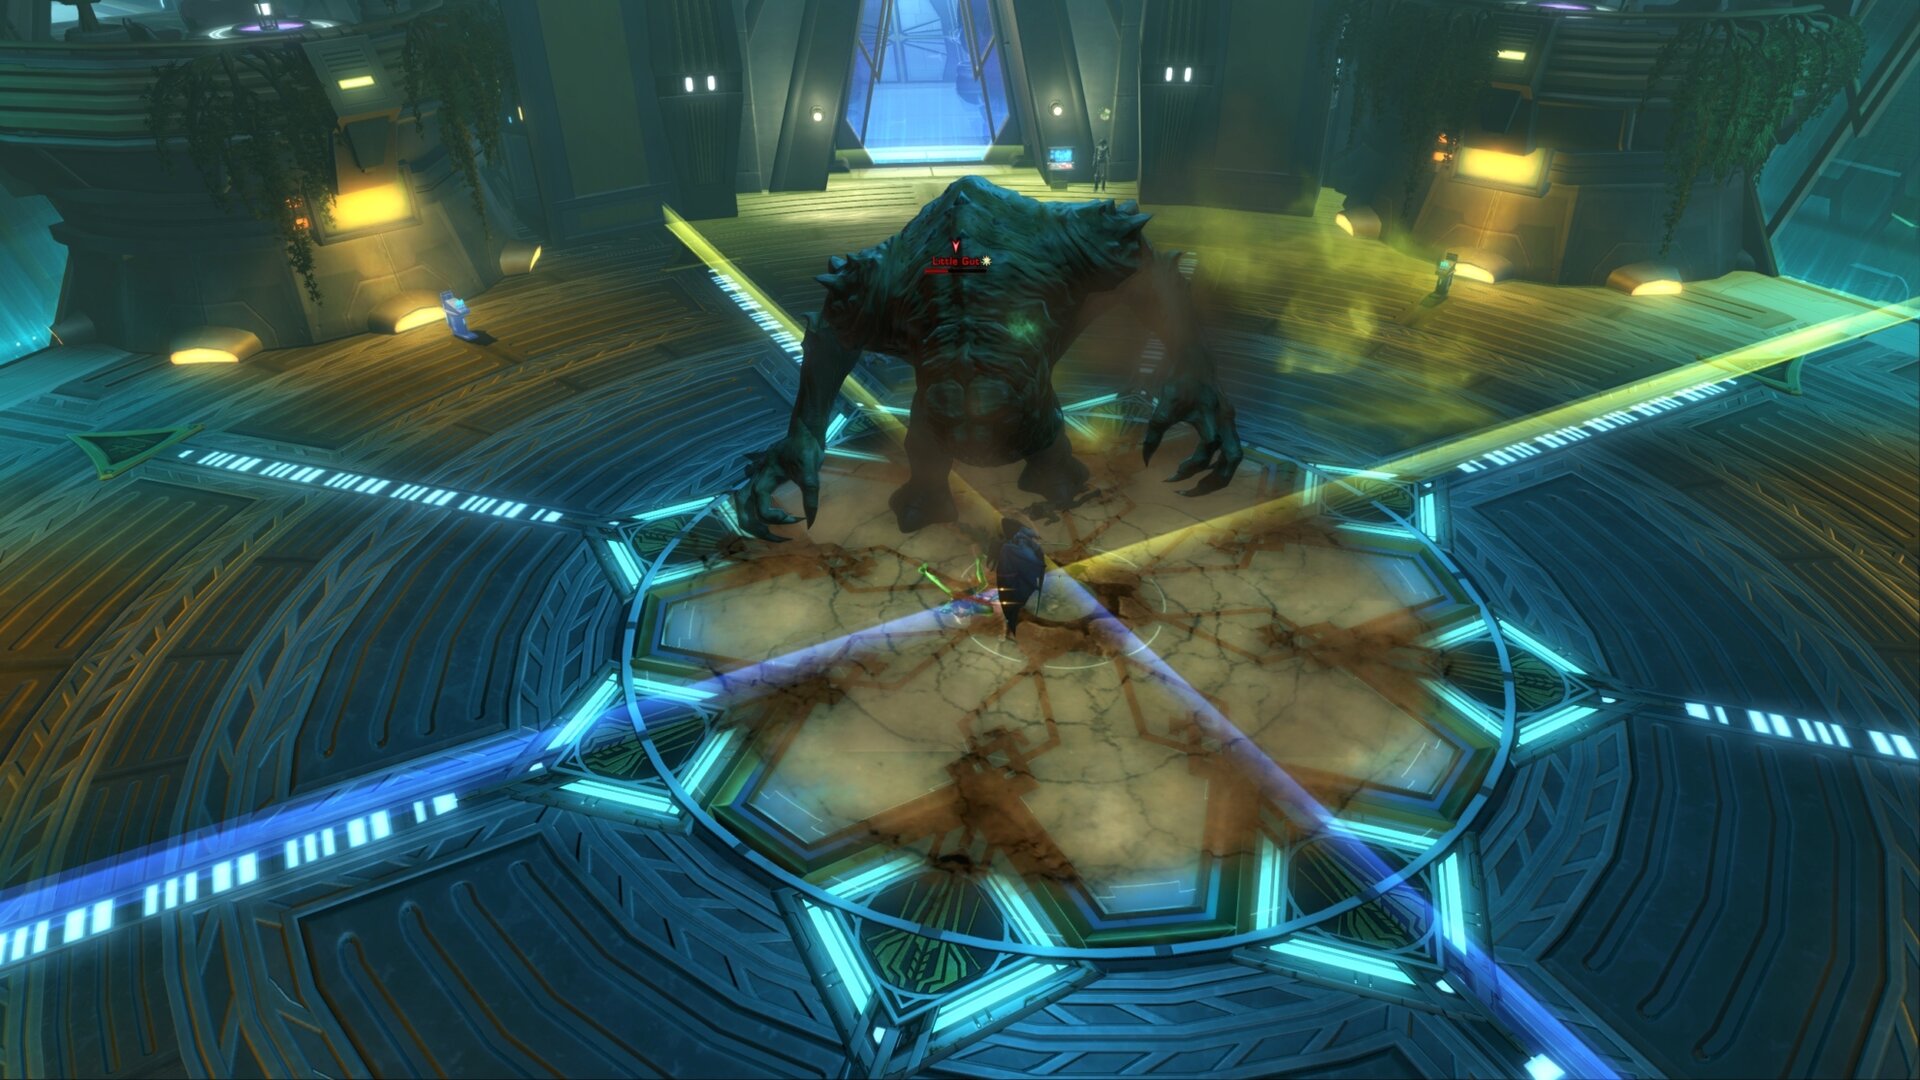
Eight Encounter: Little Gut
The Rancor doesn’t do much damage on its own and this fight should be rather simple so long as you can avoid the numerous AoEs found in this match.
To minimize the incoming damage, avoid the different reticles placed on the floor during the fight. It may be useful to map a keybind for making your companion switch quickly from Passive to Active mode, otherwise they will take damage from the marked areas.
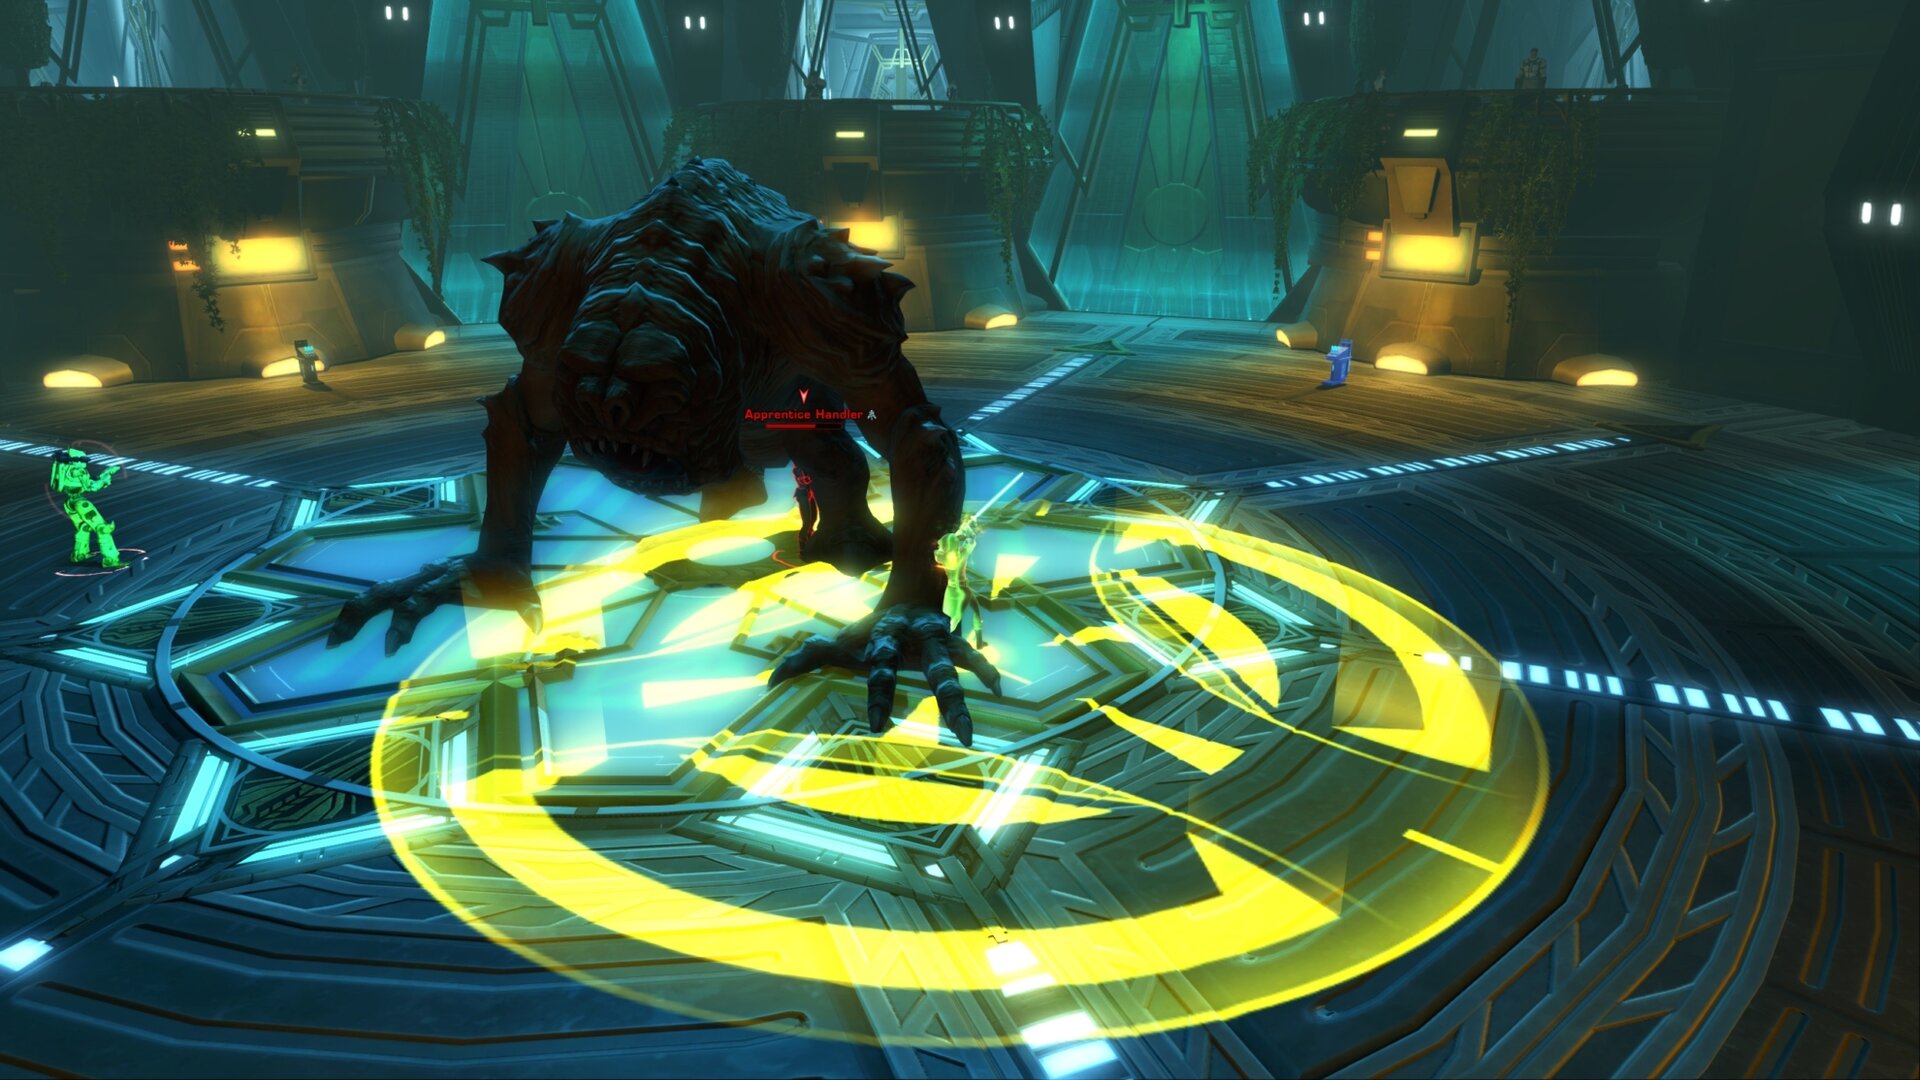
The spawning adds are no trouble and can be cleared after the Rancor is dead or with some AoEs, which means you want to try and keep your companion close. Defeat the Handler Apprentices as they spawn, they will buff the boss.
Lastly, you’ll want to avoid stepping into any AoEs used by the boss. The yellow and blue AoEs can slow you down and they’ll take up a quarter of the arena each. Standing in Little Guy’s red rectangle AoE can cause you to get flung towards a wall.
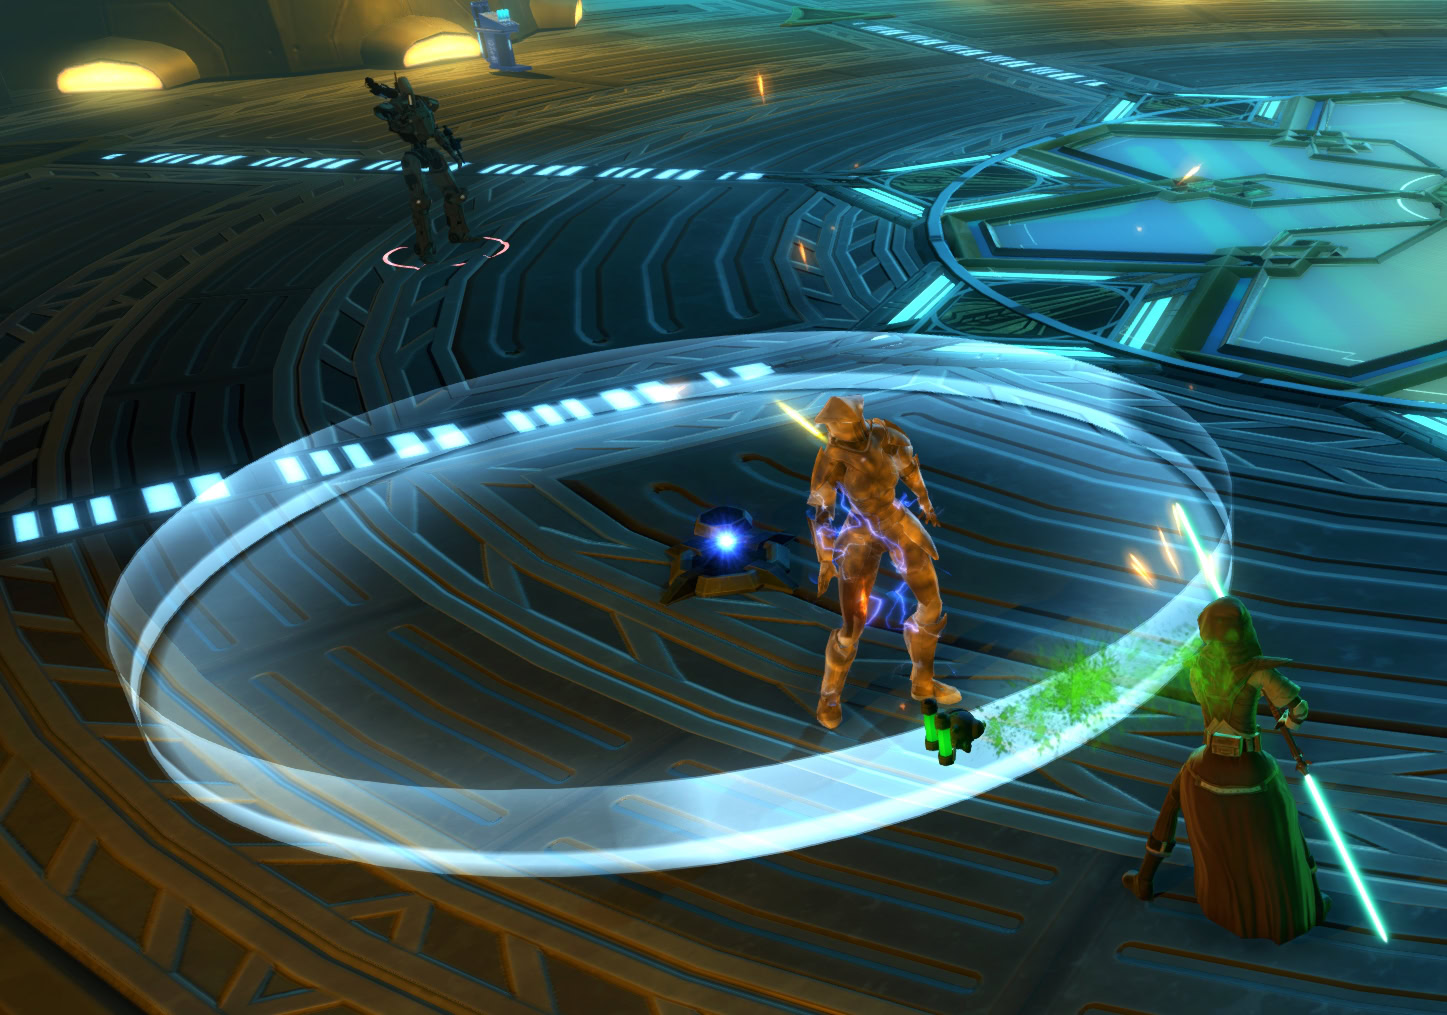
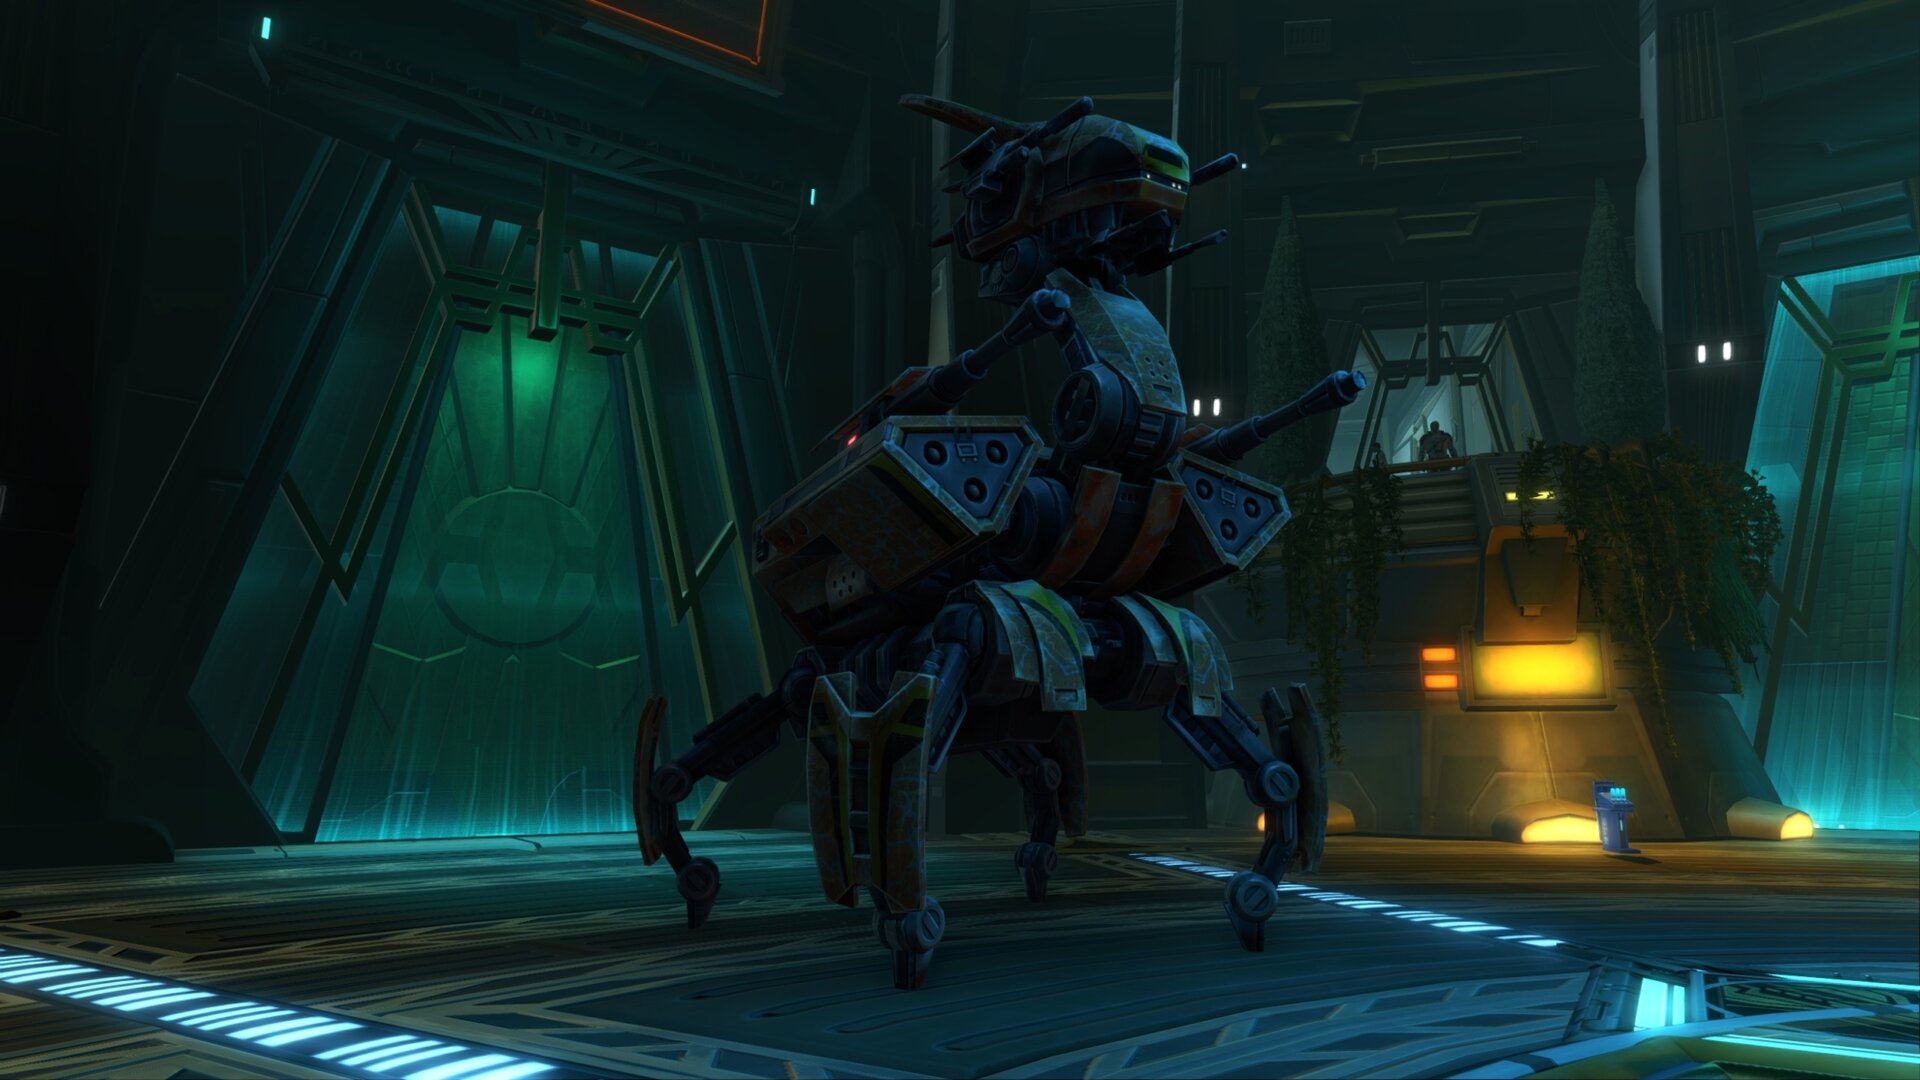
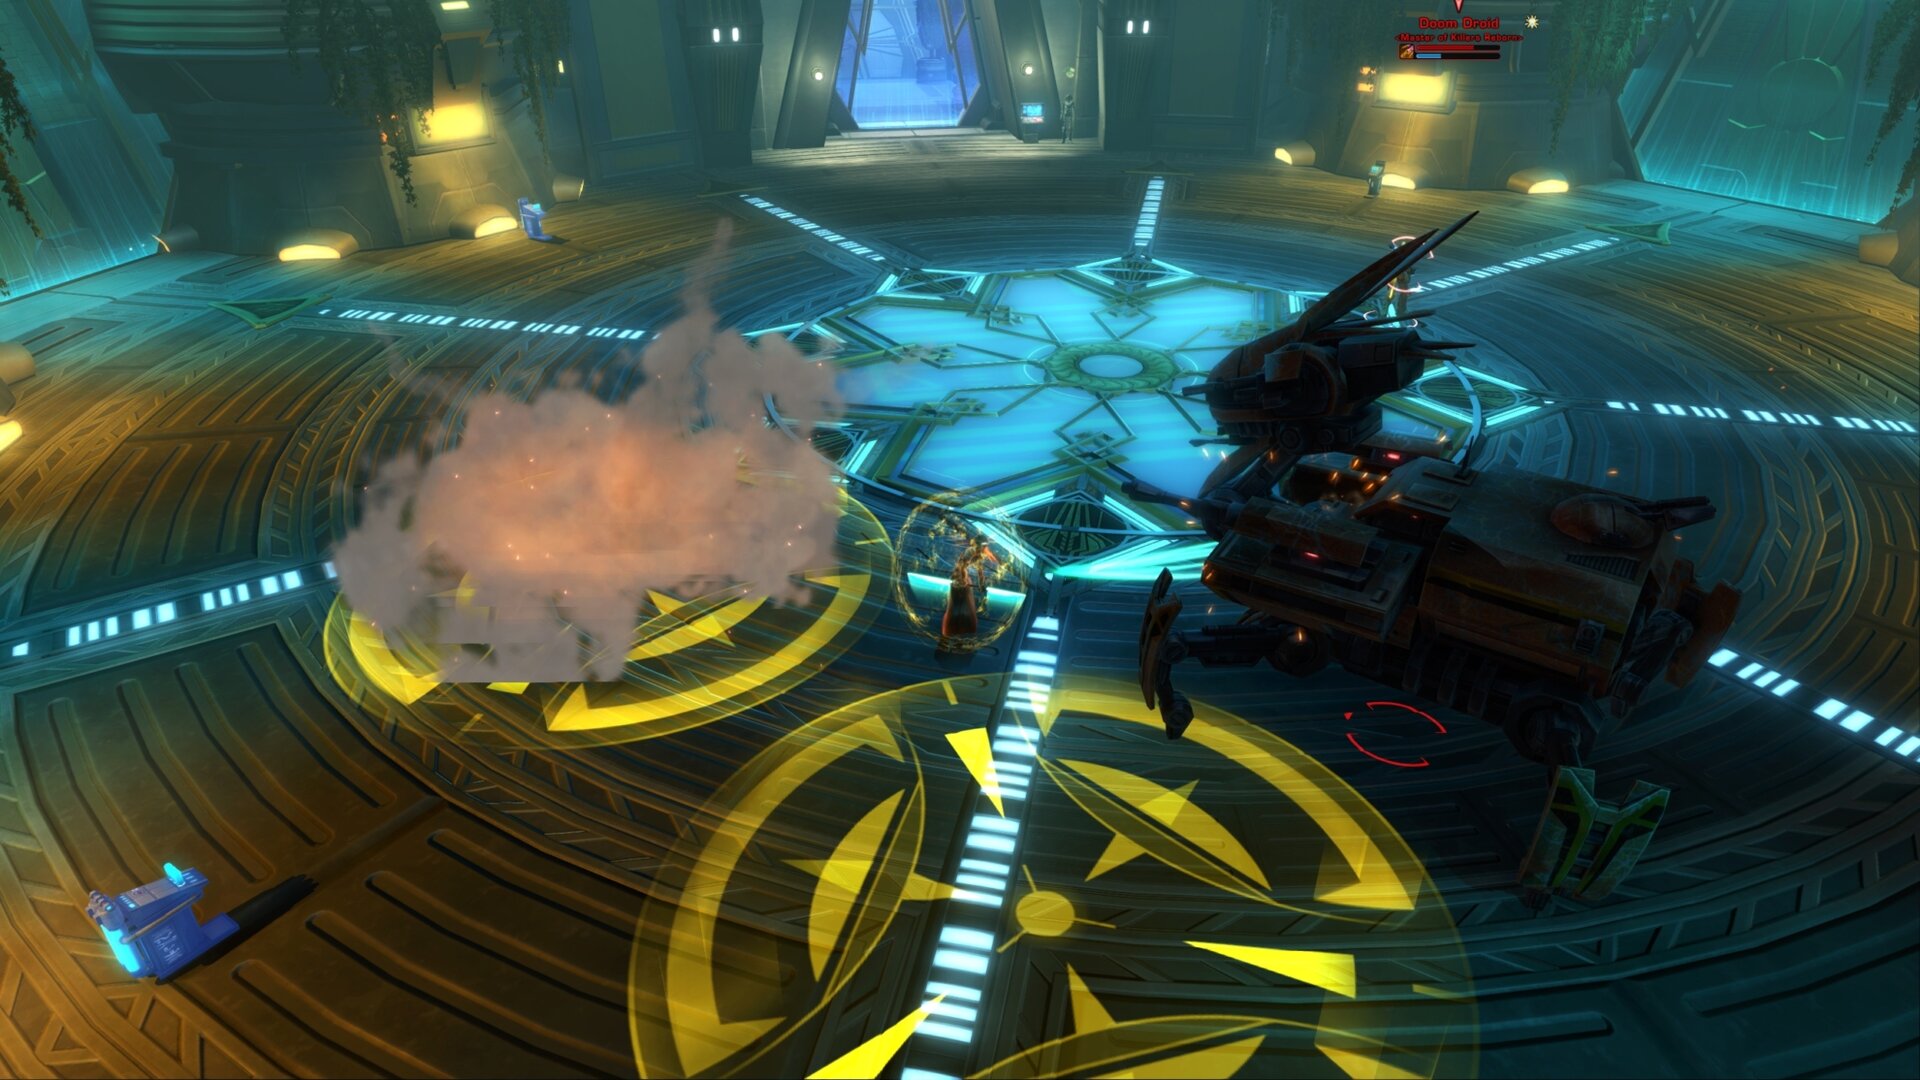
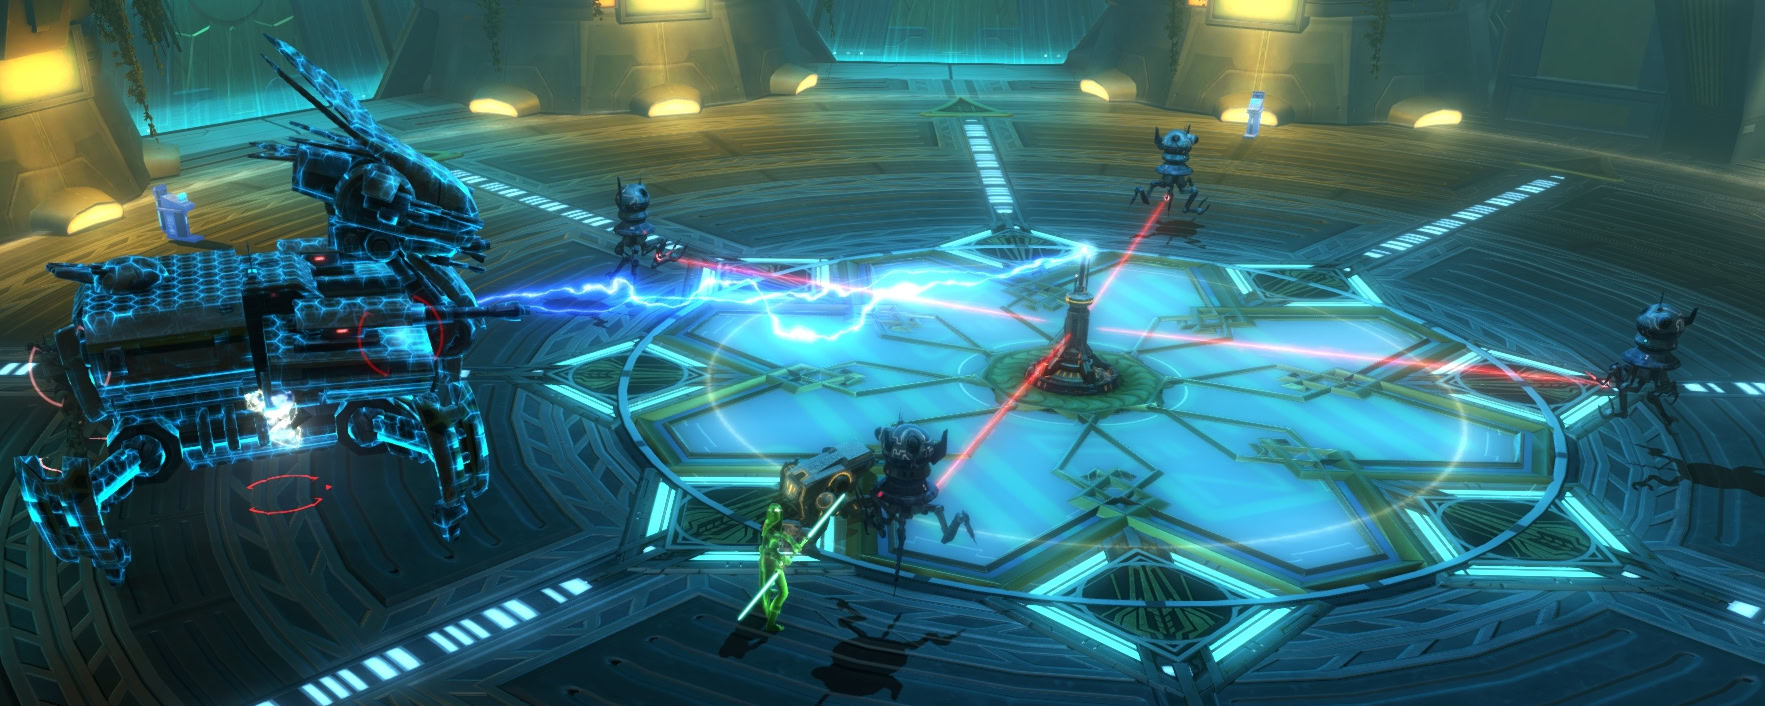
Ninth Encounter: Doom Droid
Arlaia returns from the death to face you again. What’s left of Arlaia has been placed into a war droid reminiscent of the Isotope-9 droids from the Makeb story arc.
Keep a 90-degree angle between the boss, yourself, and your companion as when the red Laser beam channel begins, you need to move to the side to avoid damage (much like in Makeb’s final boss and Toborro’s Courtyard Boss Fights). The next mechanic is Missle Strike, which puts a yellow circle on your feet – easily avoidable.
2 types of adds spawn throughout the fight. Assault AZ-B droids channel a Shock Beam (slow debuff) and can be killed quickly as it has low HP. The Assault AZ-A unit chases you and self-destructs when it’s close enough, damaging whatever stays inside the red circle centered around it.

Around ~20% of the Doom Droid’s HP, the final mechanic triggers – 4 droids channeling towards a pylon in the middle of the arena with a timer running down. Destroy the droids one by one to interrupt the channel, then finish off the Doom Droid.
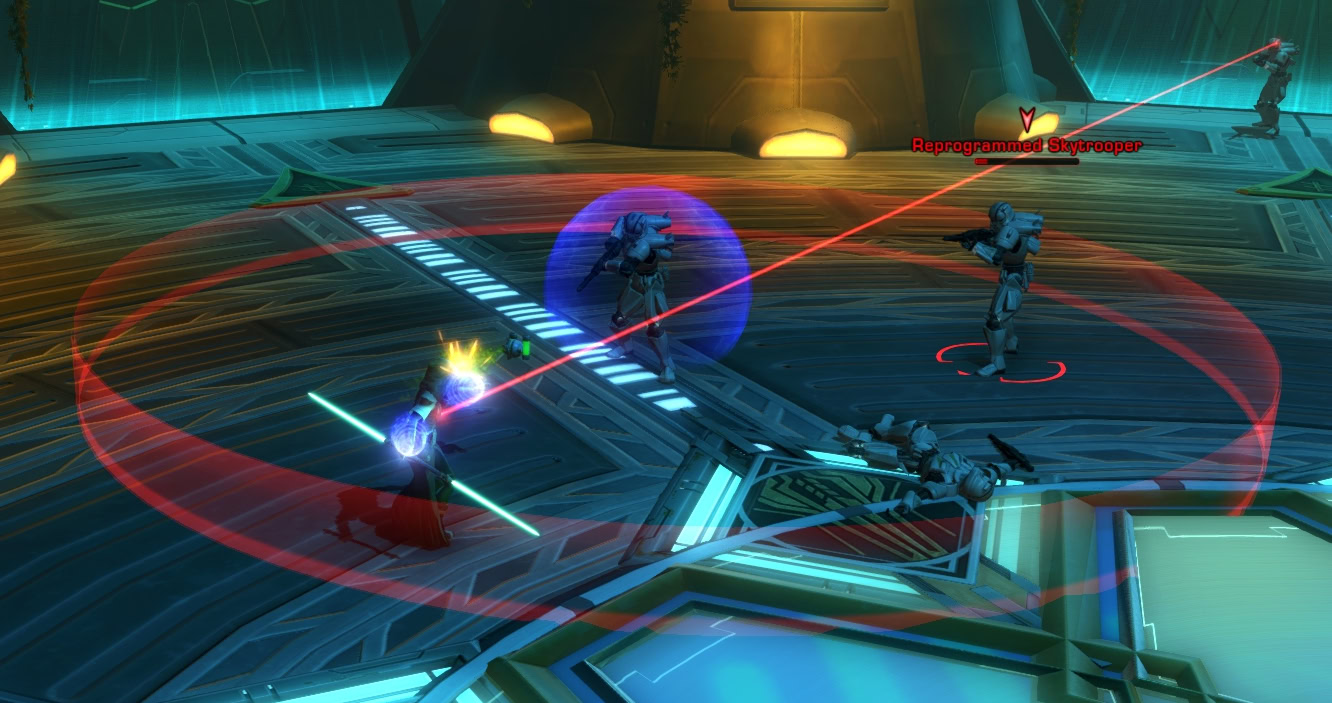
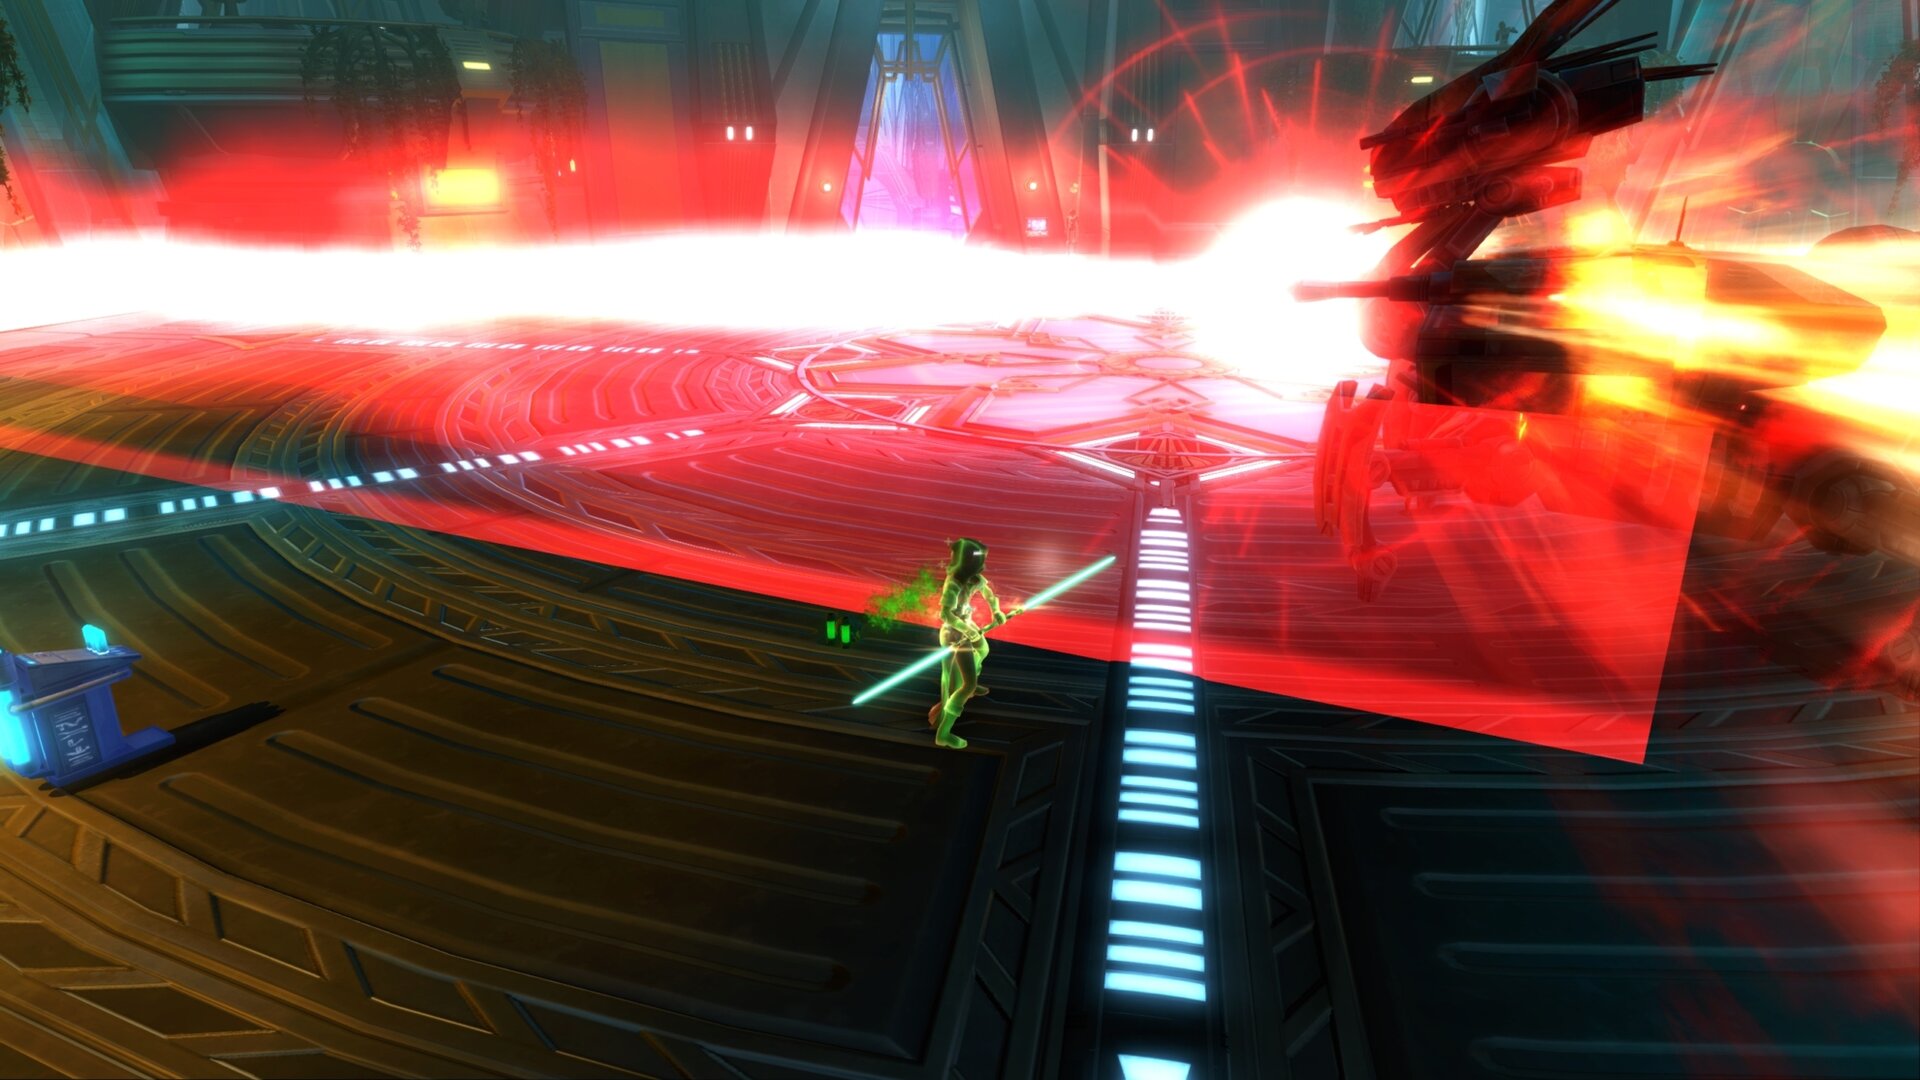
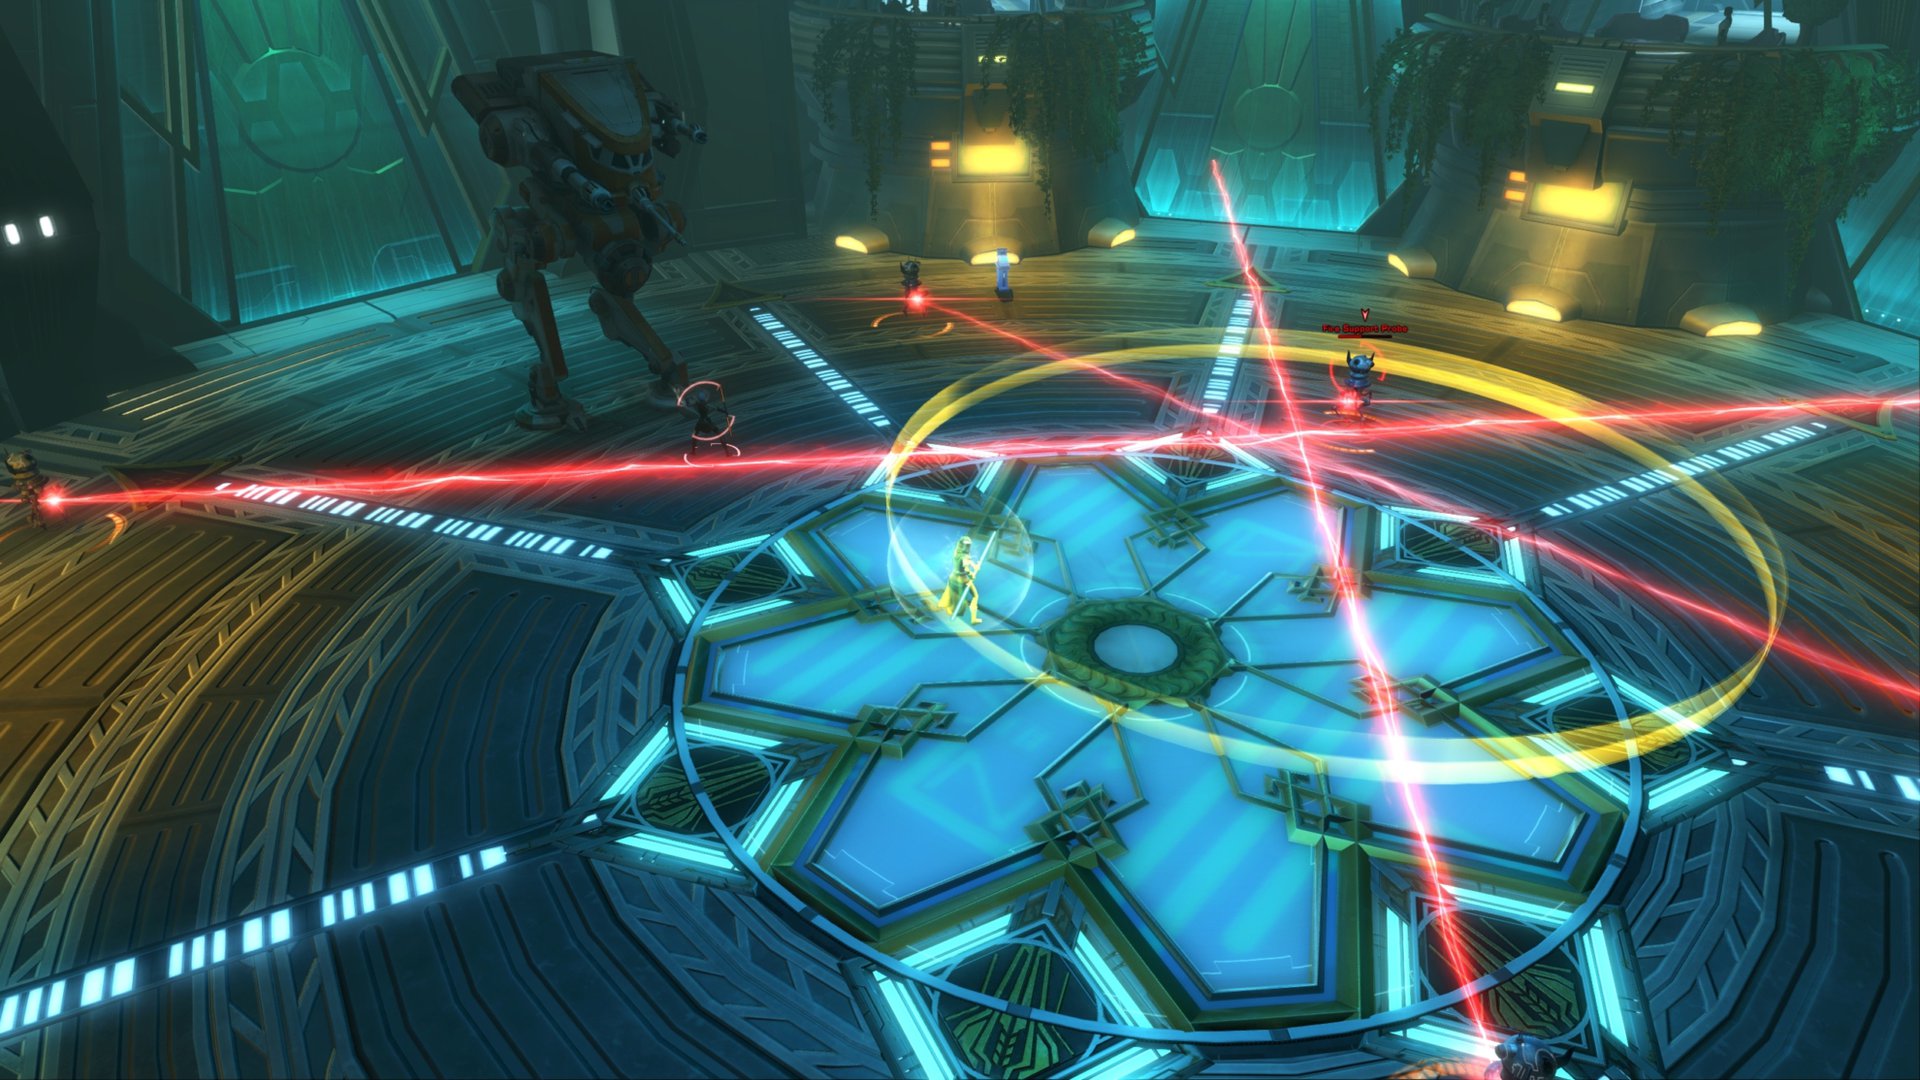
Tenth Encounter: Eternal Champion Zotar
This is the last boss fight in the Eternal Championship. Burst DPS Spec is recommended. Well, it is for most if not all encounters and they are all relatively short and involve hitting multiple adds, but not always at the same time.
There is no scout information available, which makes the fight a little more interesting to learn. Zotar comes on his walker, After Shock.
The fight begins with just the walker present. After a short while, Fire Support Probe Droids spawn around the arena. They channel a High Priority Laser, which you can either interrupt, avoid, or cancel by killing the droids. They can destroy each other if you aim the beams at them and place the yellow circles from the bombs on them – useful for non-DPS players to speed up the fight.
Avoid the yellow circles that spawn on you during this first phase of the fight. Don’t let these yellow AoEs hit healing terminals as it’ll destroy them.
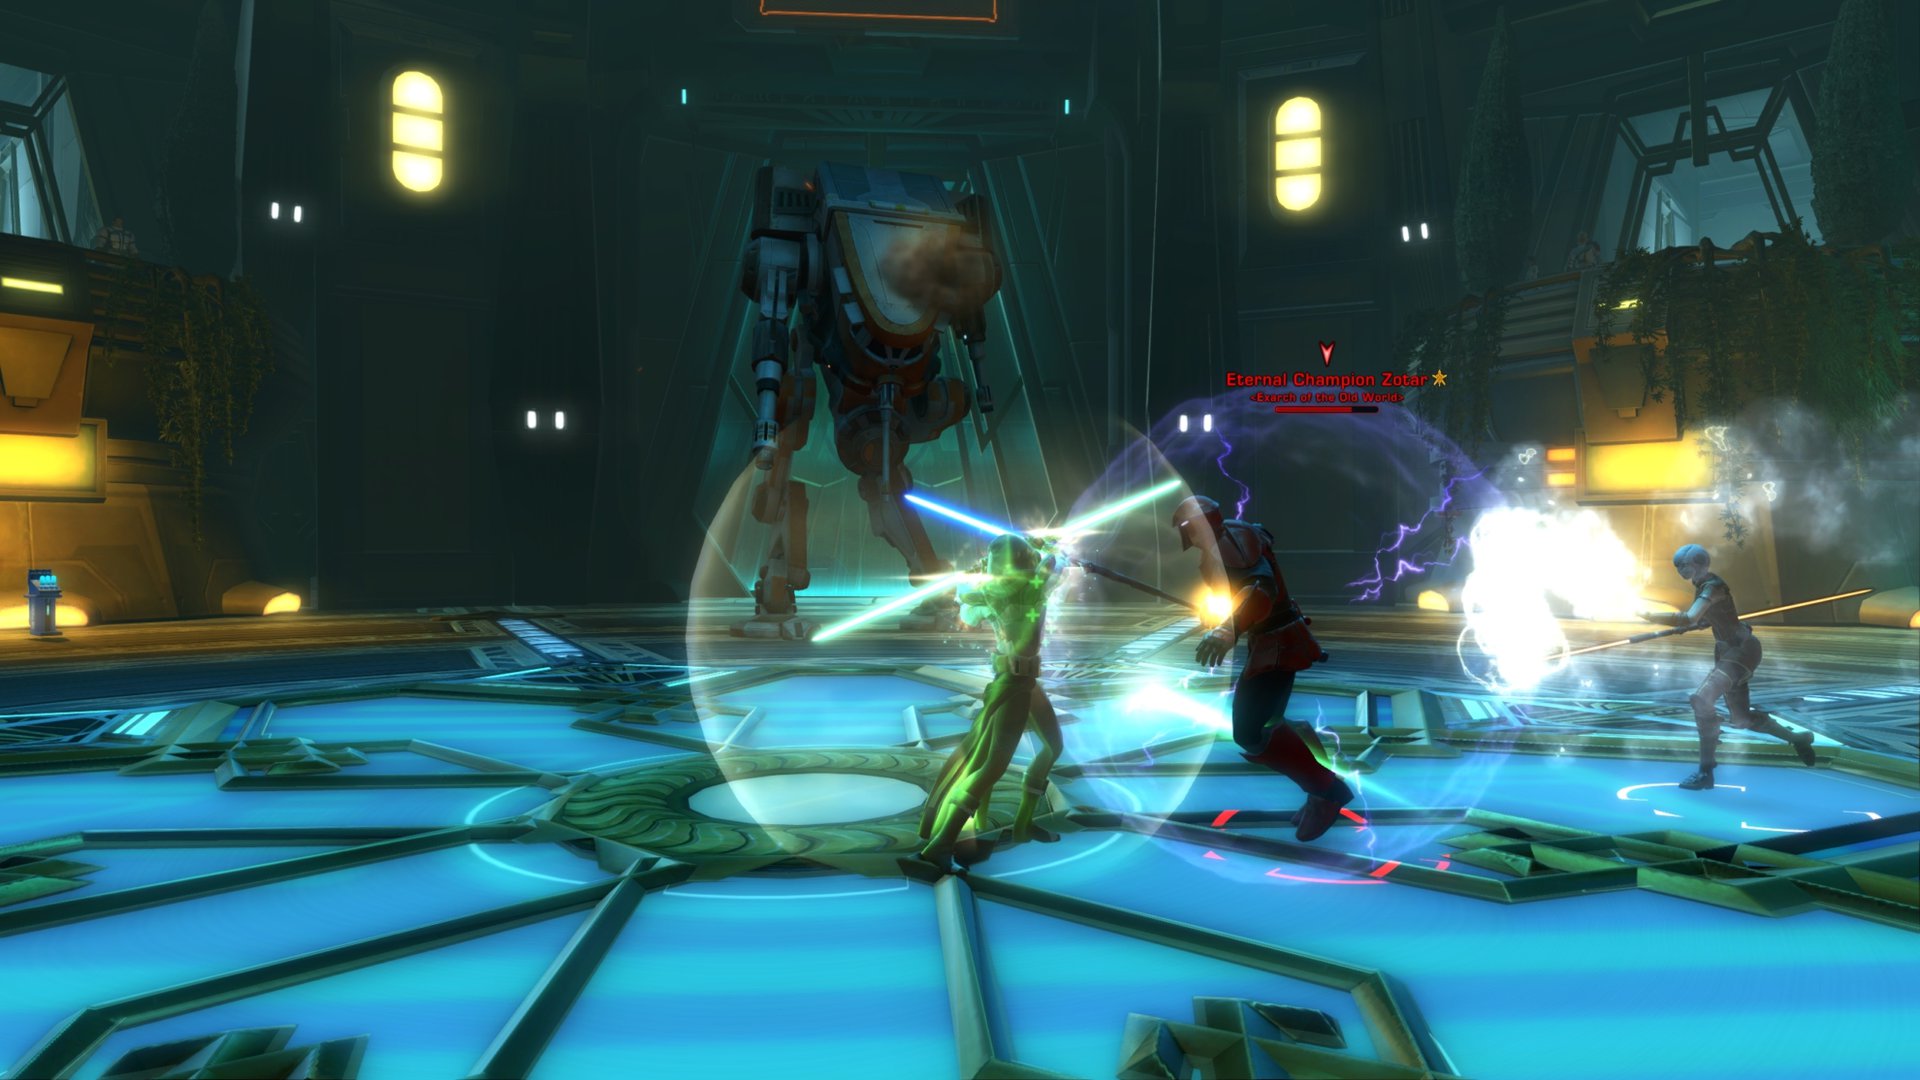
Around ~50% of the Walker’s HP, Zotar will drop down and attempt to show you “how things are done”, Eternal Champion style. He has a stacking buff “Lightning shield” which boosts his damage if you are not in melee range. So, whatever class and companion you choose, always try to stay in melee range to Zotar.
In this 2nd phase of the encounter, the walker is inactive and Zotar will keep pushing you away every few seconds, so be sure to always move back to him (unless he jumps to you).
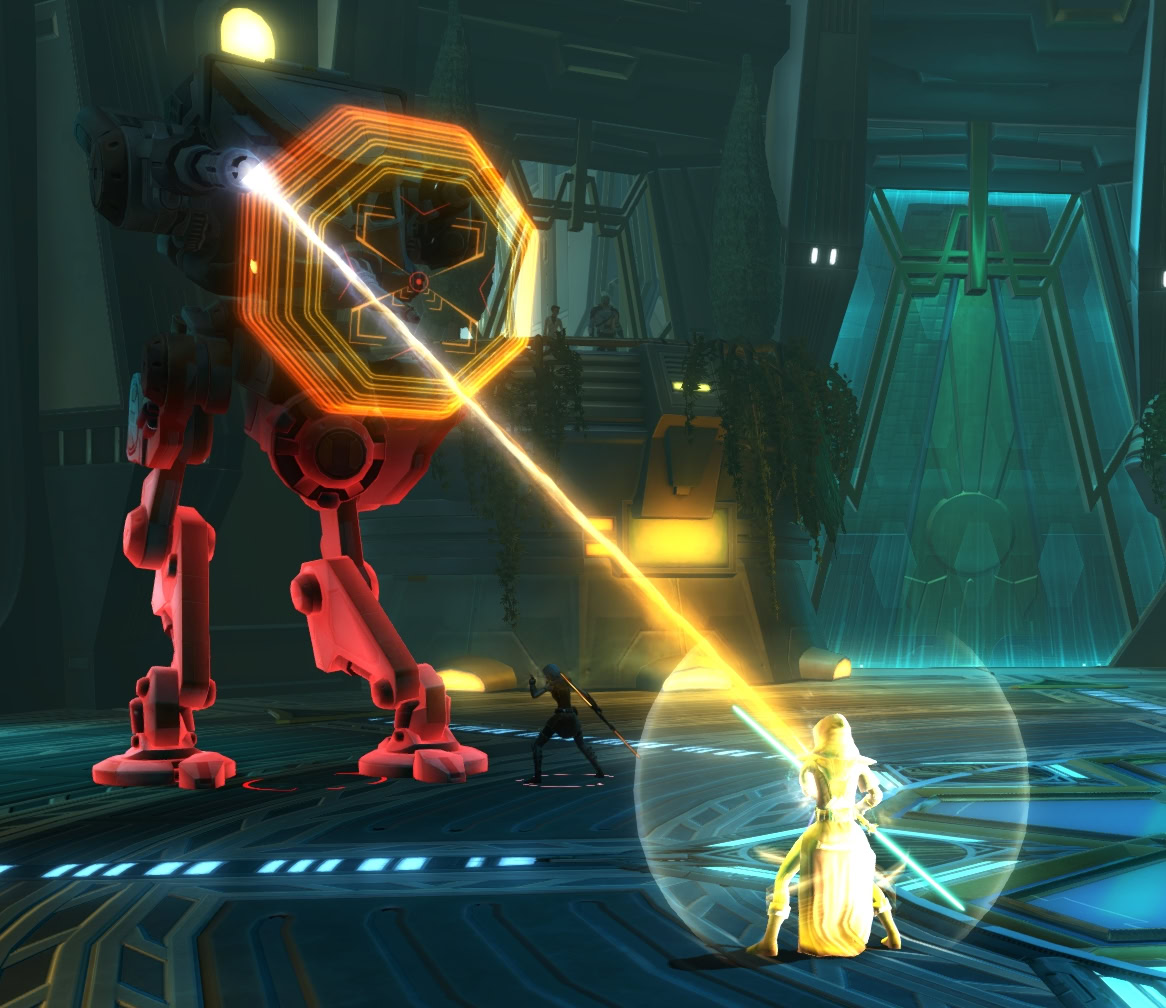
For the next phase Zotar will return to the walker (it has healed up a bit in the meantime, up to ~70% of its HP in my case). The walker will begin a 15-second channel “Focused Laser” attack. so use your defensive cooldowns to stay alive. DCDs that work against Force/Tech damage work especially well against the Focused Beam. Otherwise, damage mitigation DCDs or personal shields work as well.
The last phase begins as Zotar drops from the Walker once again. He jumps to the middle of the arena and channels an unavoidable full AoE attack that covers the whole arena, except the middle ring around the boss. He will keep pushing you back, remember to move in melee range – yourself and your companion. When a yellow circle spawns at your feet, move away, but stay next to the boss.
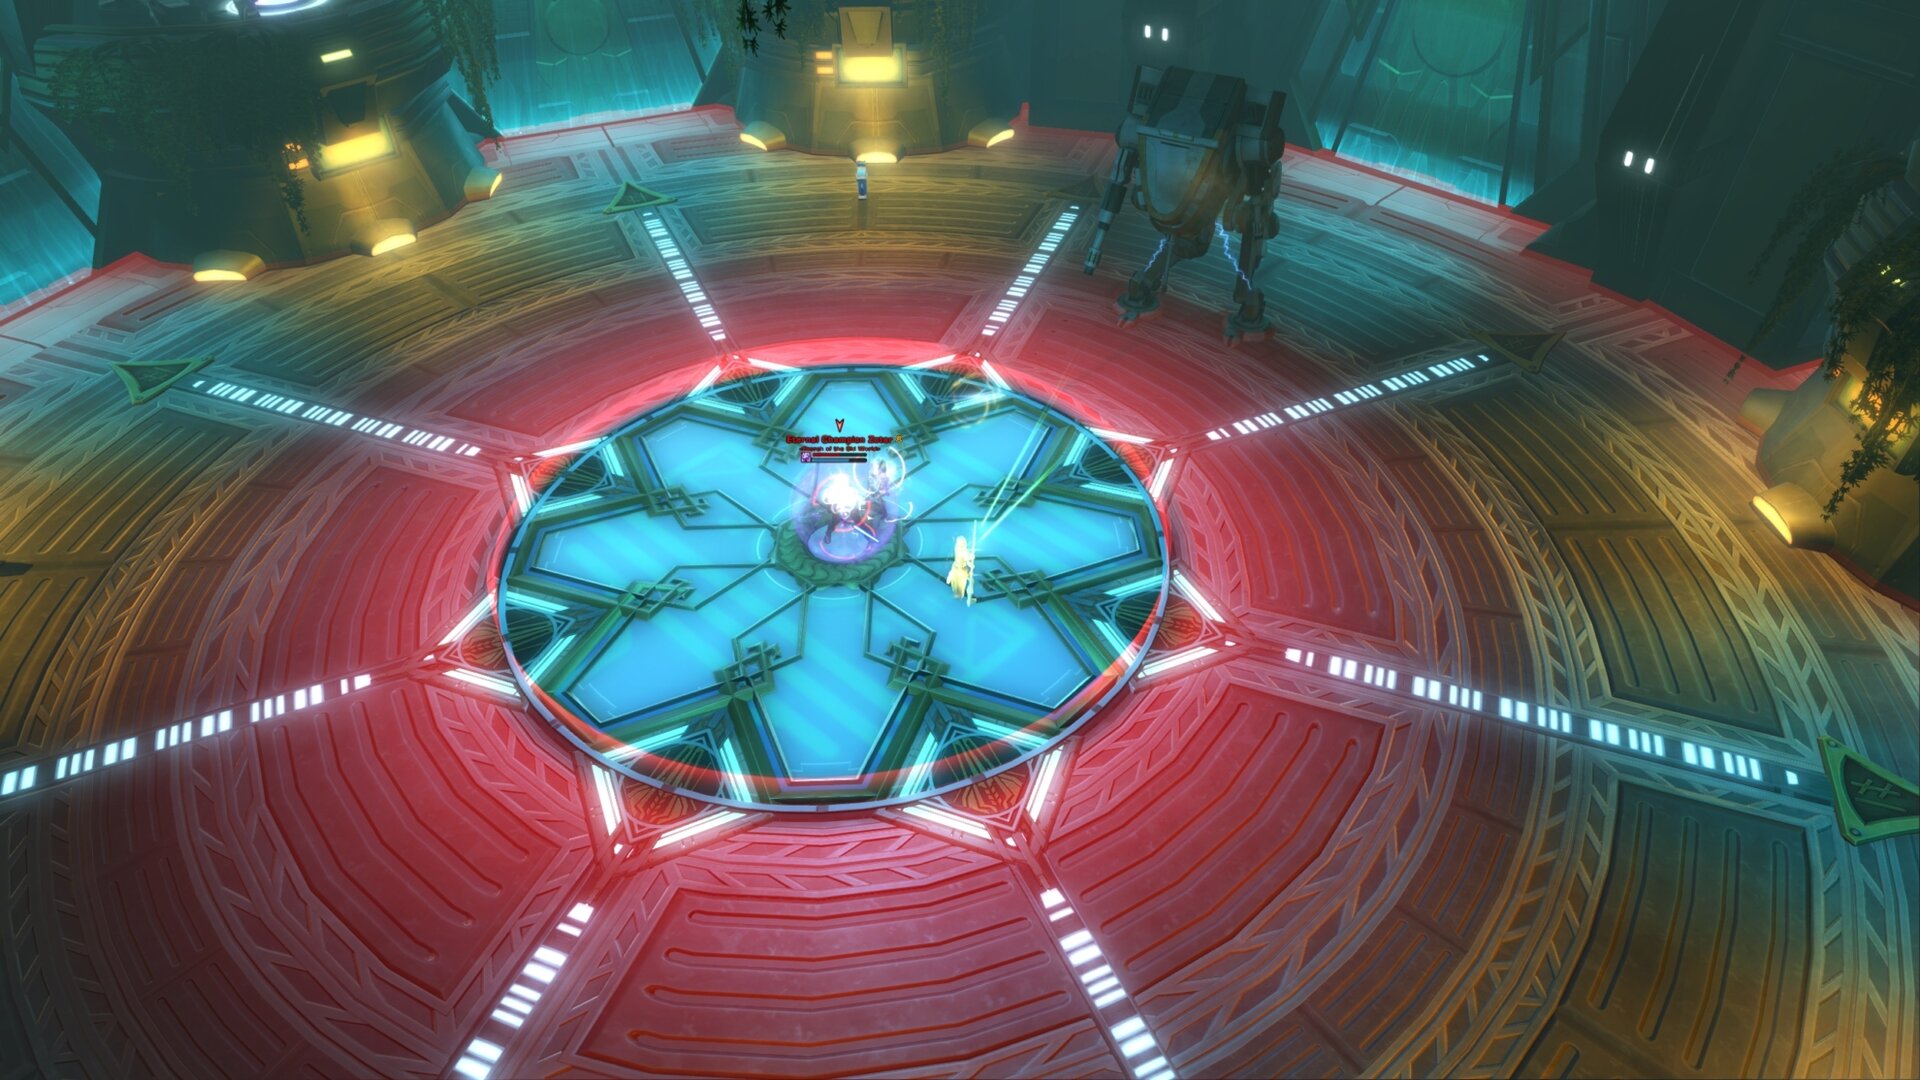
Once you defeat Zotar, the walker will explode after taking a couple of hits. This concludes the whole fight. It’s one of the longer encounters in the Eternal Championship, but everything is easily predictable in it.
Video Walkthrough
The video you will find embedded here is my live stream archive of the full circle – starting with the “Freedom Fight” Alliance Mission alert, doing the Bowdaar quest, entering the Eternal Championship and completing all 10 encounters while explaining each fight’s mechanics and tactics and finishing with all weeklies handed in and Bowdaar in my companion collection :)
Rewards and Vendor Contents Overview
Except for the money and gear, the weekly quests provide some extra rewards such as Eternal Championship Trophies and some Exotic Isotope Stabilizers. The trophies can be traded at the four gear vendors located by the arena’s entrance. Up to 6 trophies can be earned a week per character, fortunately these trophies are bound to your legacy.
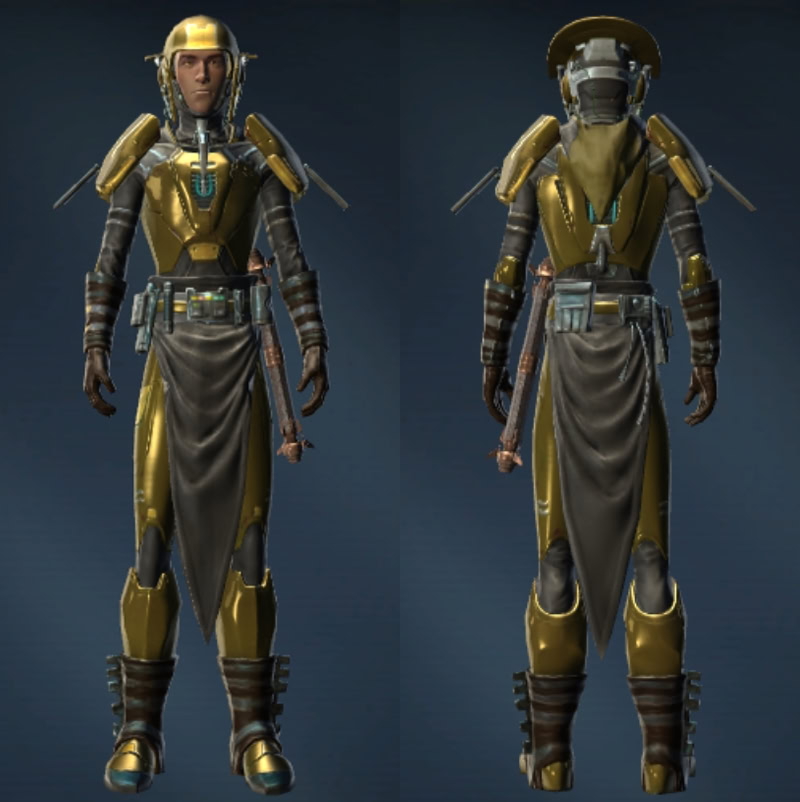
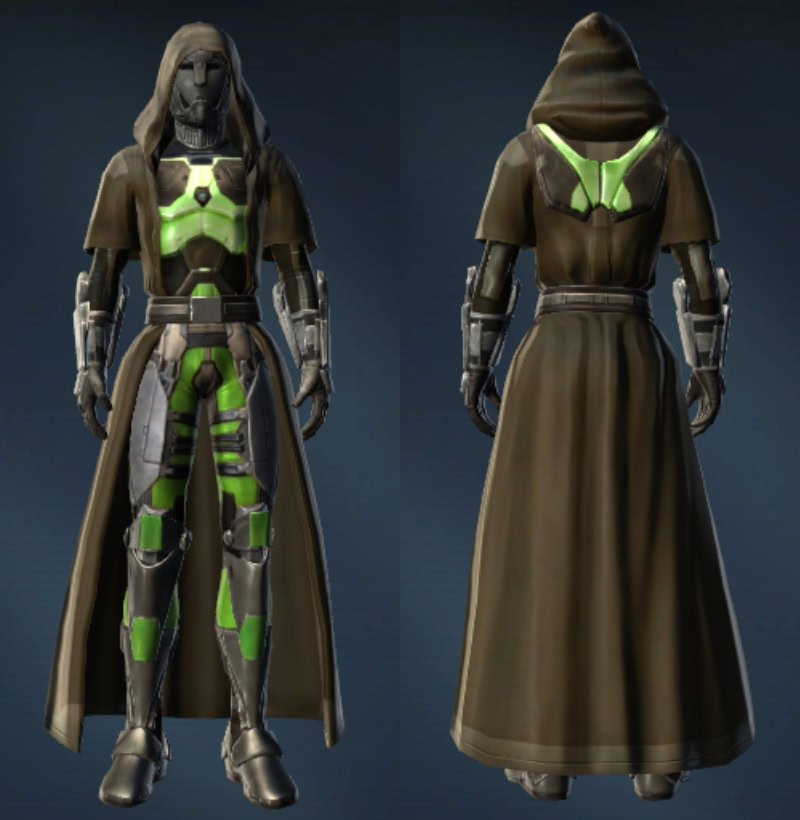
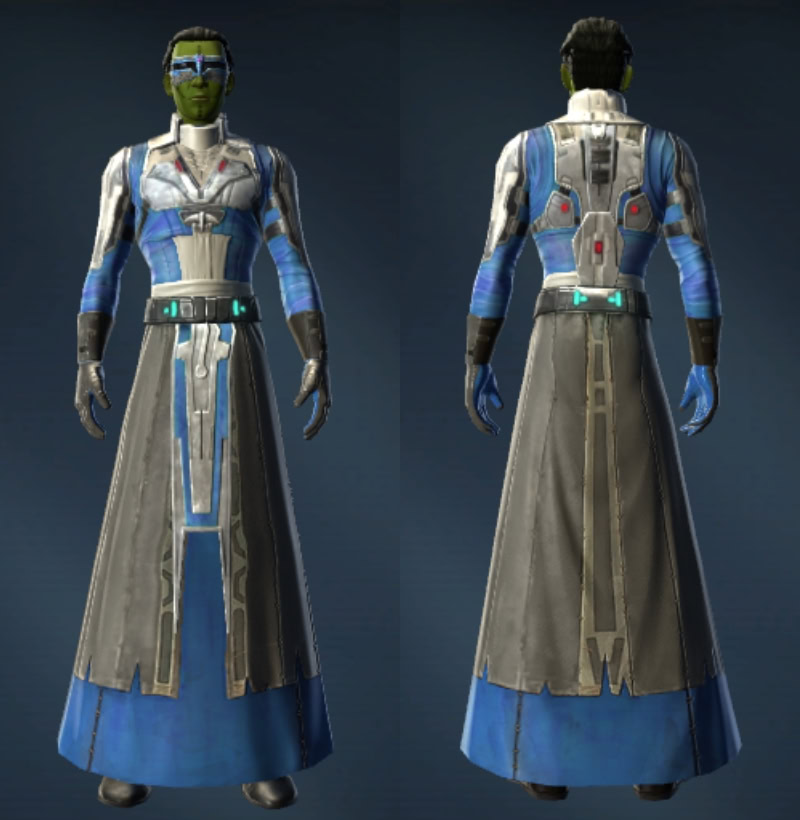
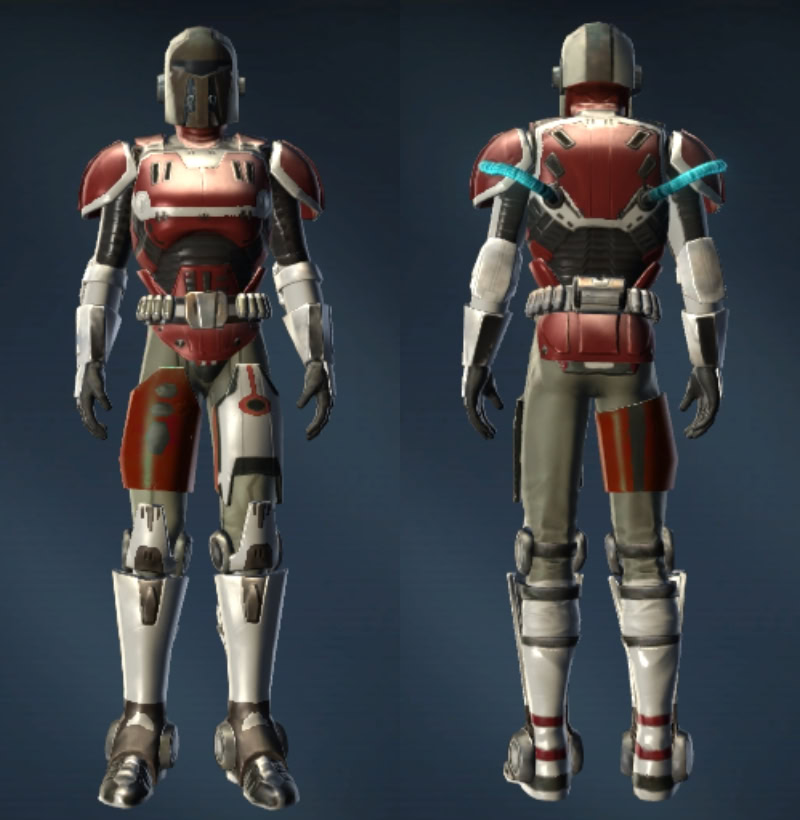
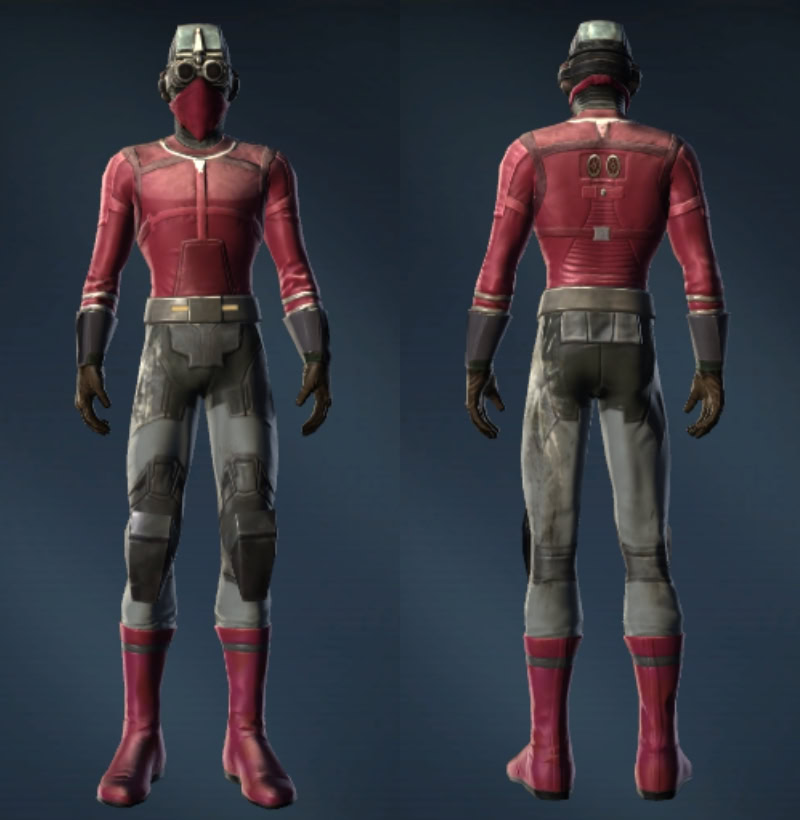
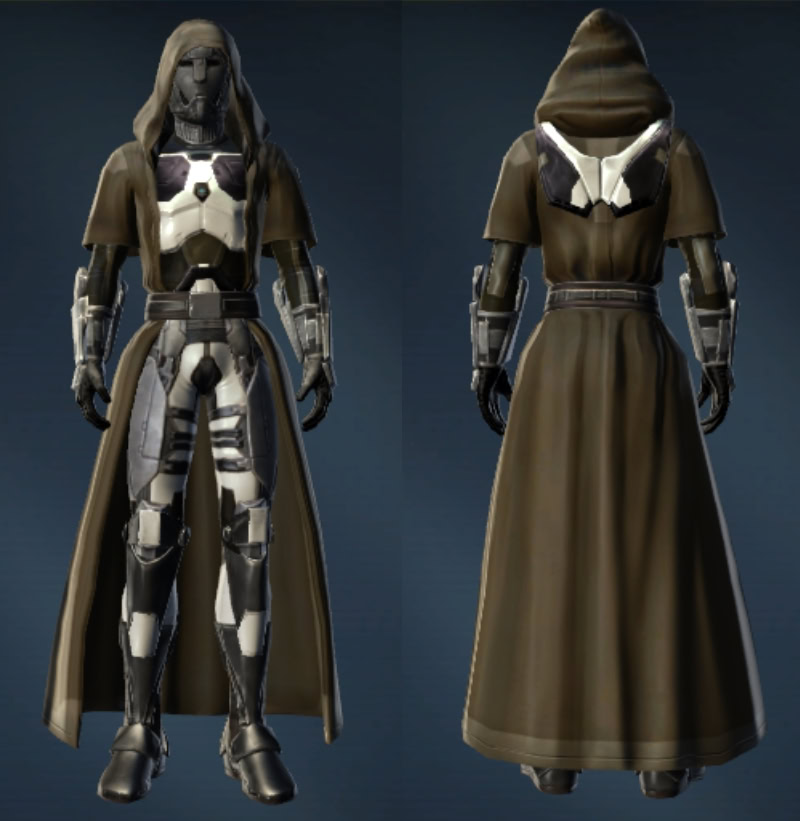
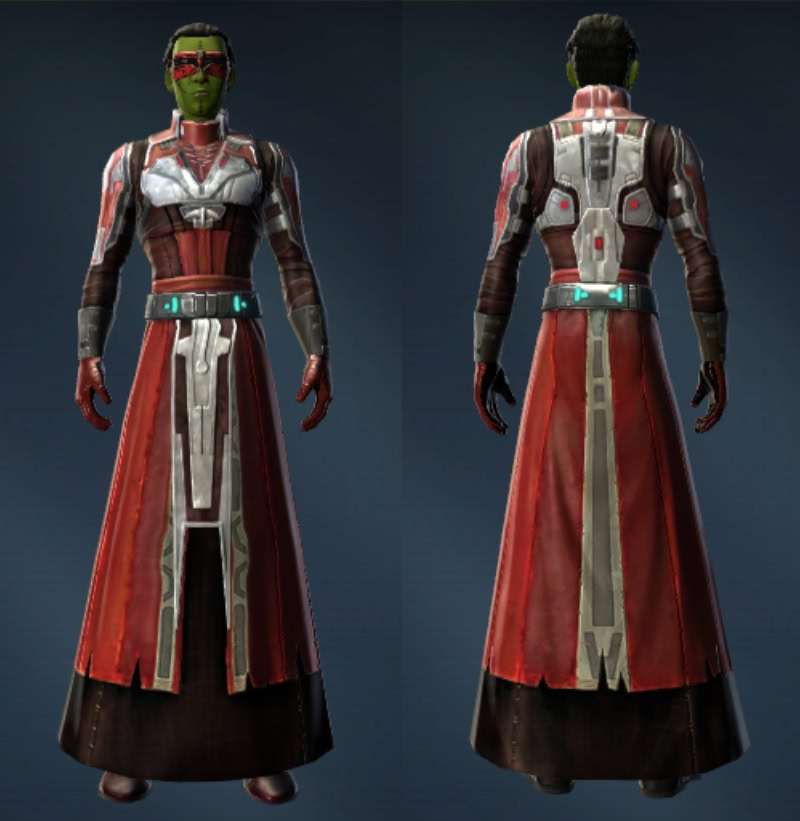
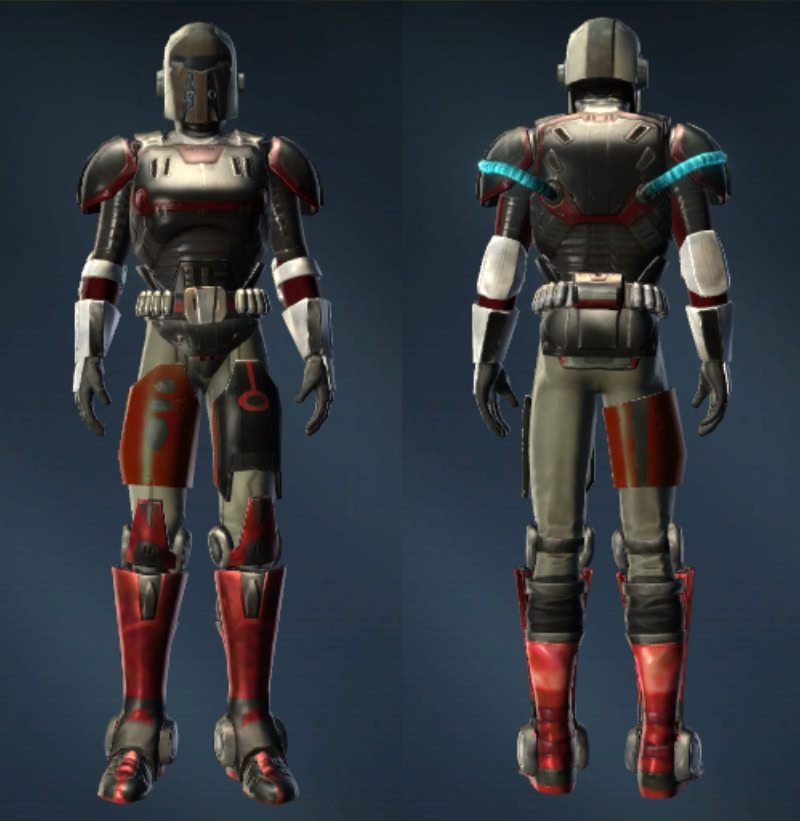
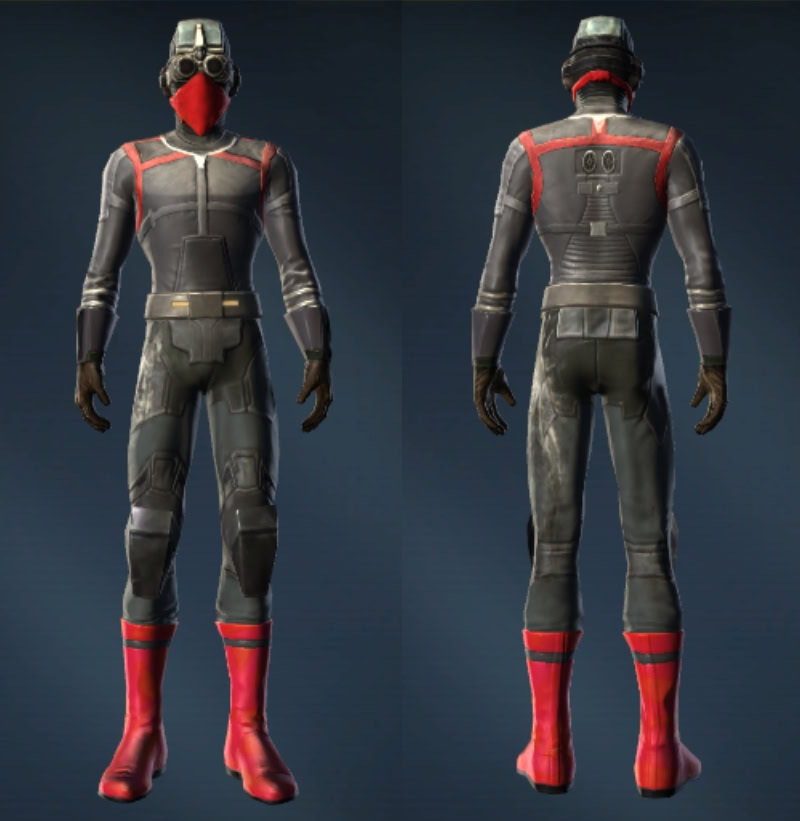
Armor Sets
These are the armor sets available from the four vendors in the arena. See the Vendor Tables to see which vendor sells the following armor sets.
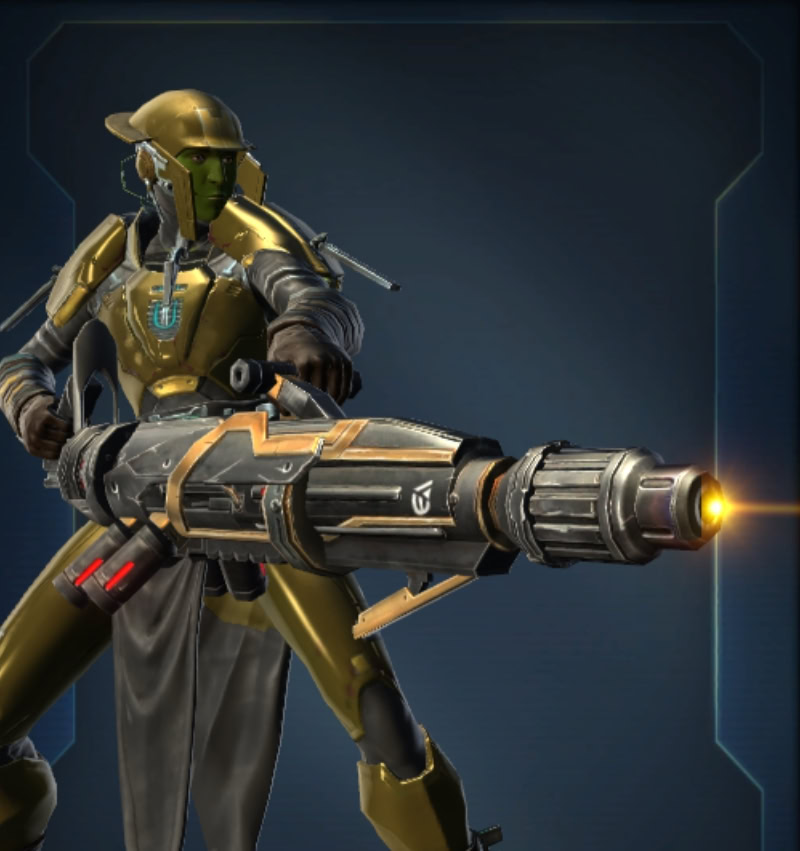
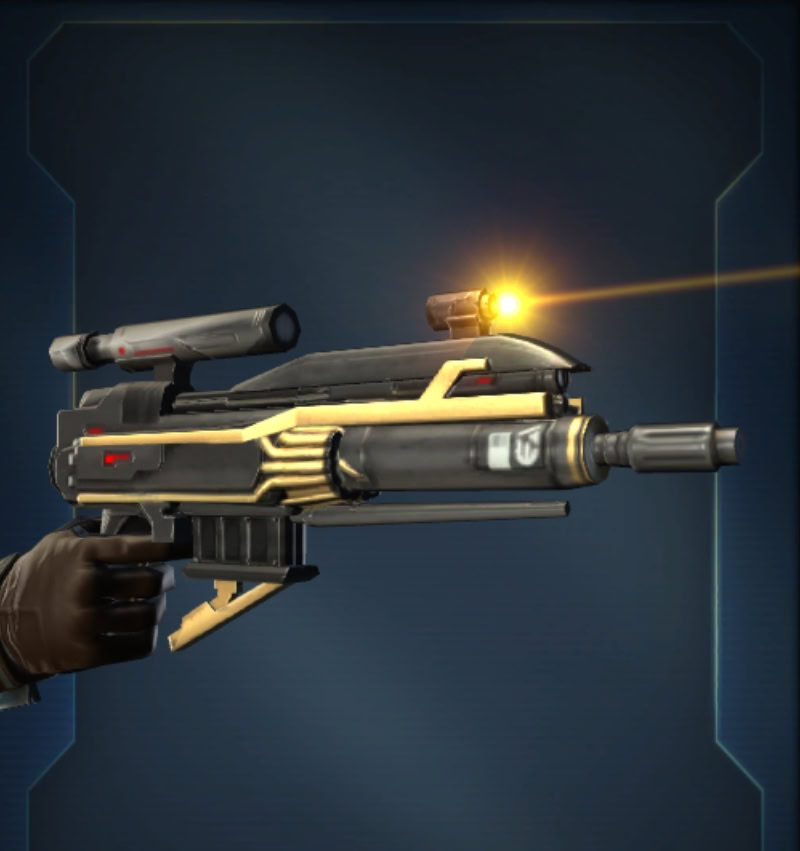
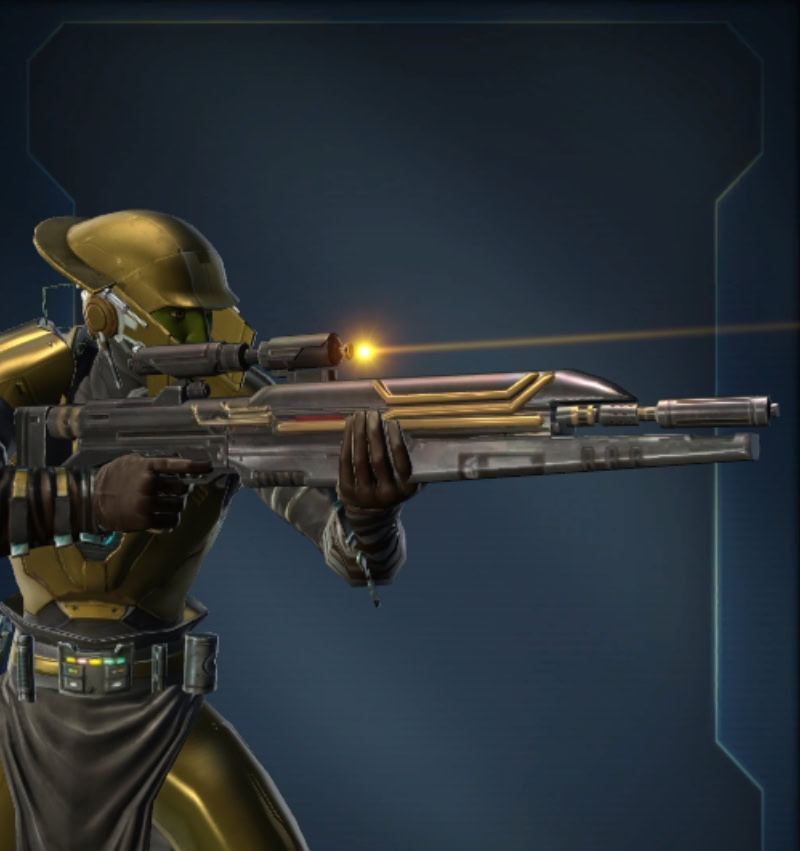
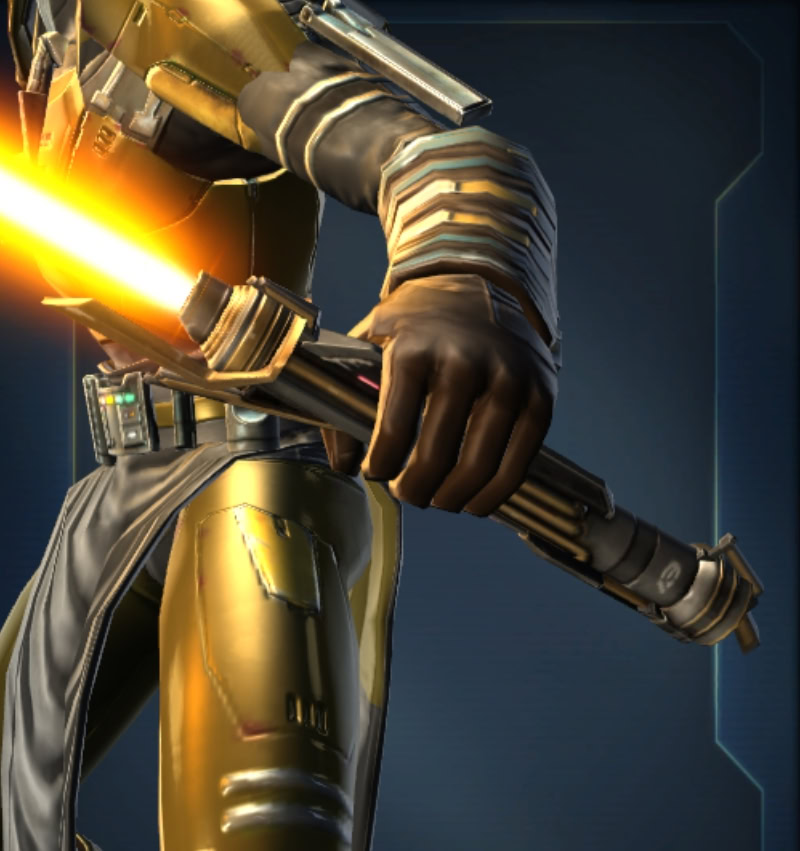
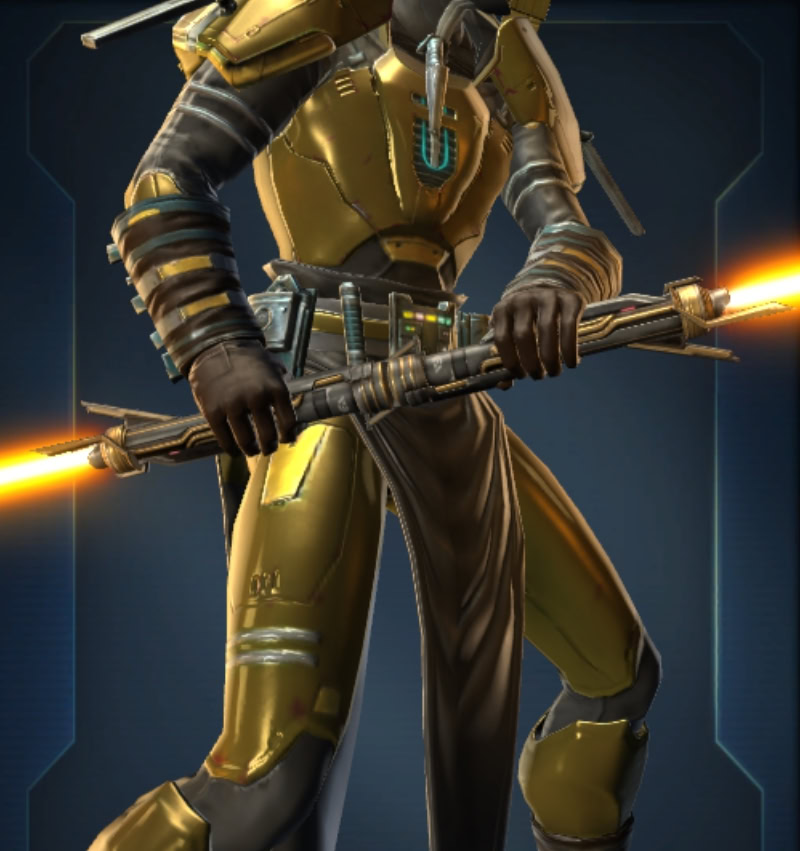
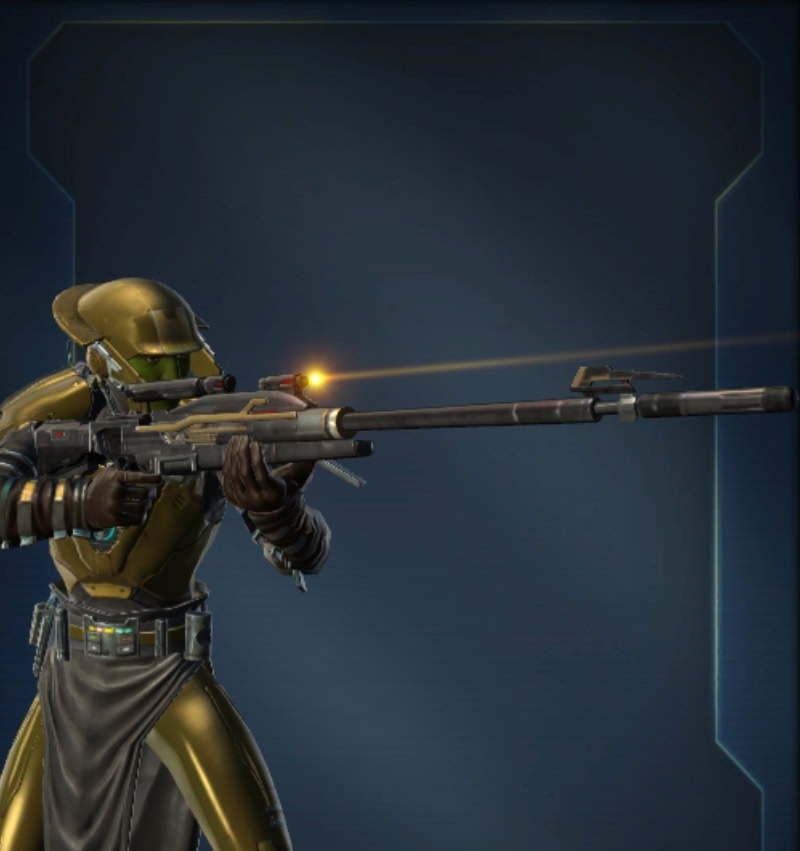
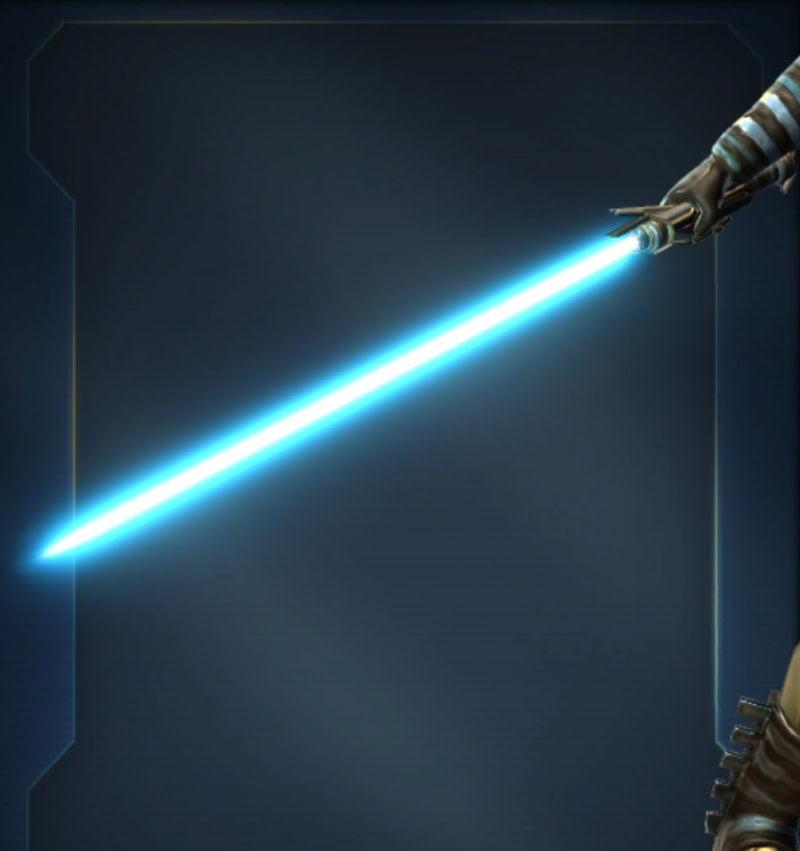
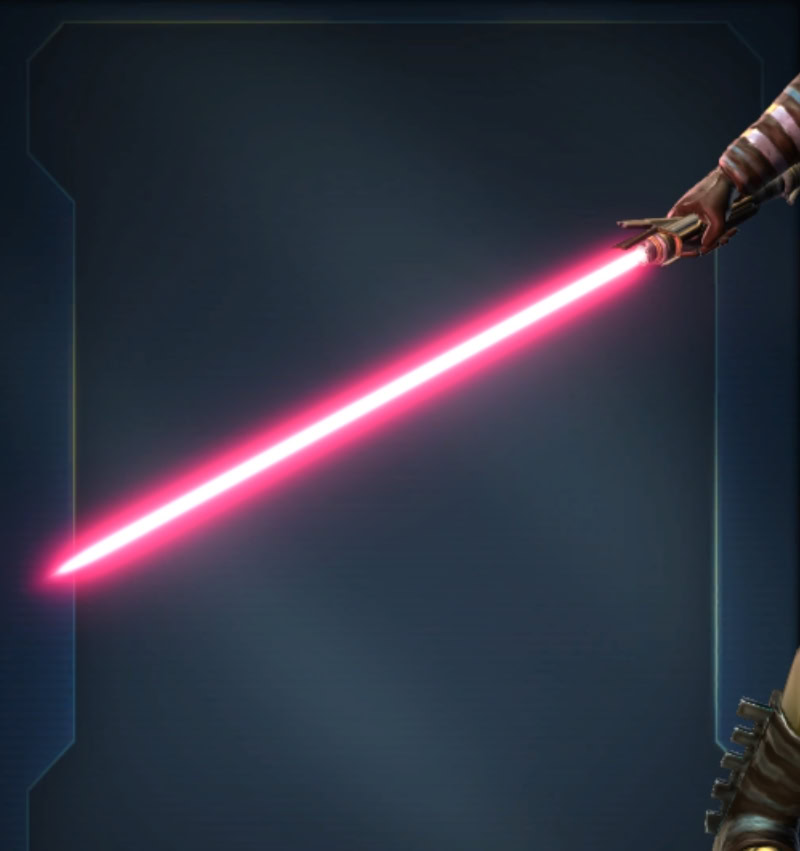
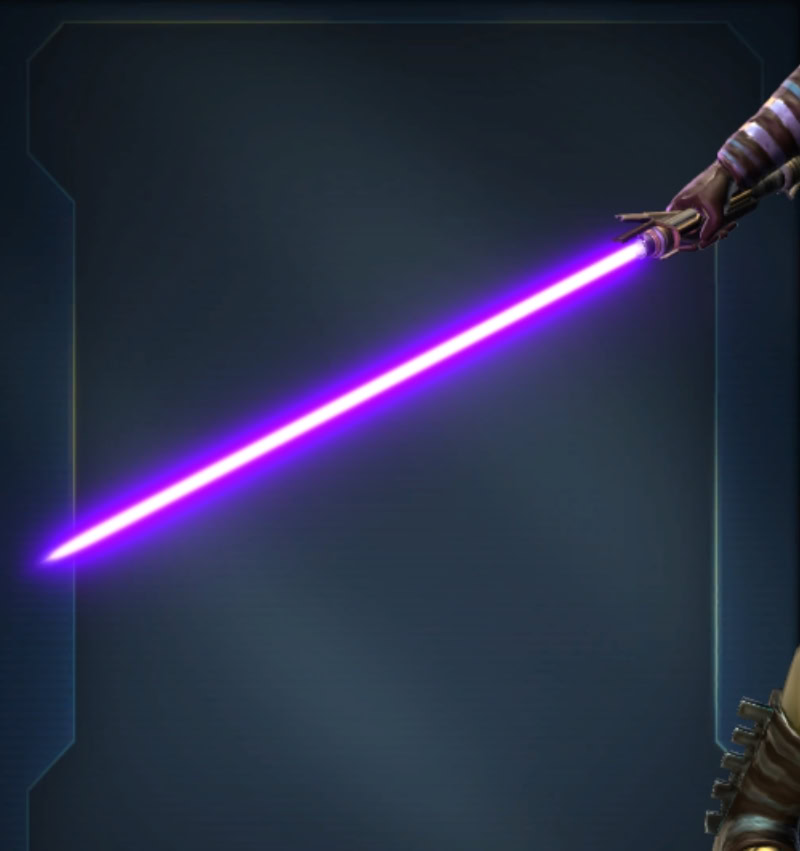
Weapons and Crystals
The following weapons and crystals are available from Piij. These weapons and crystals are bound to your Legacy.
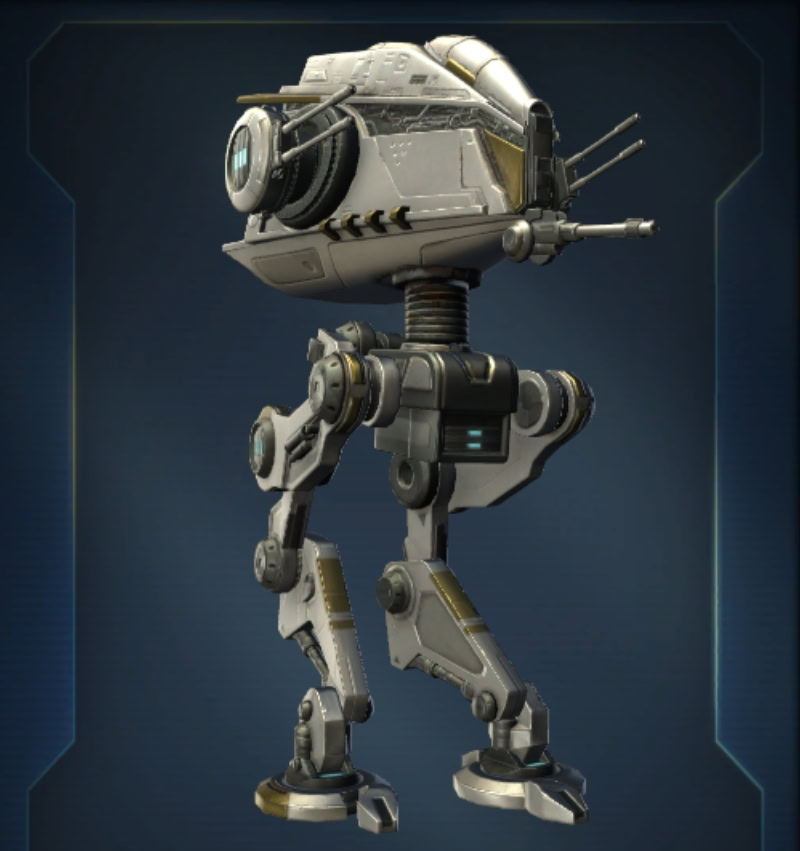
Eternal Empire Recon Walker Mount
The Etneran Empire Recon Walker mount is available from Piij for 48 Eternal Championship Trophies.
Decorations
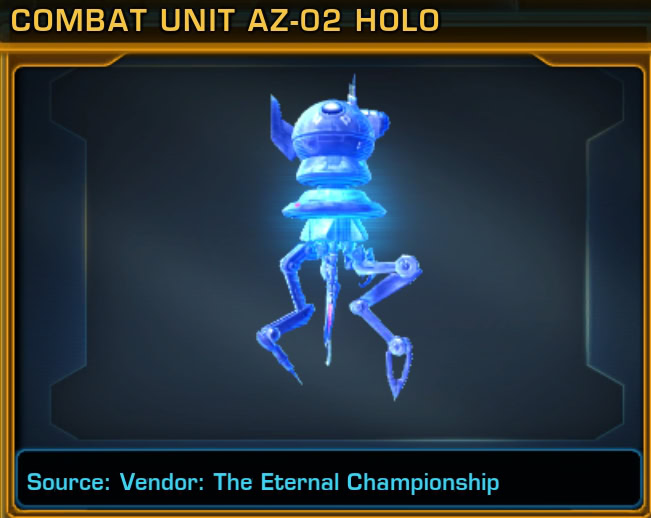
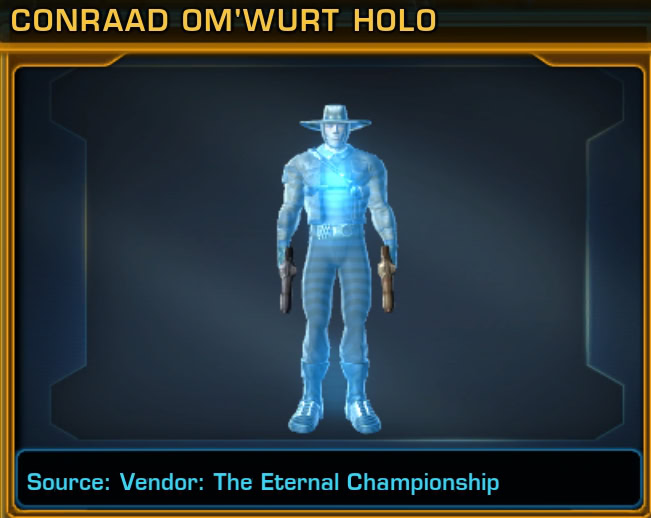
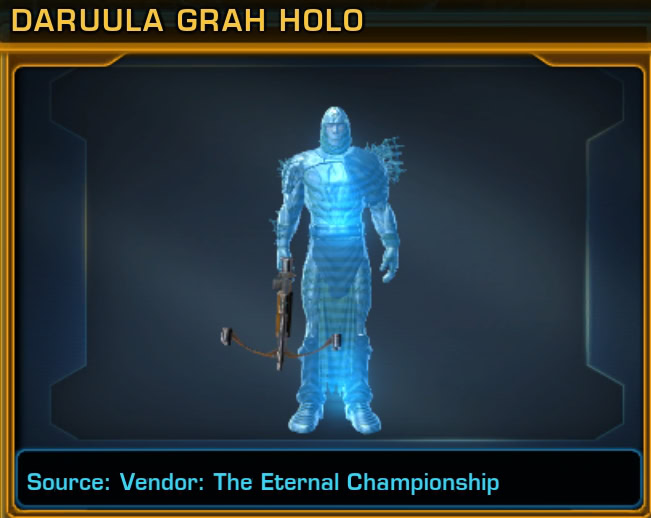
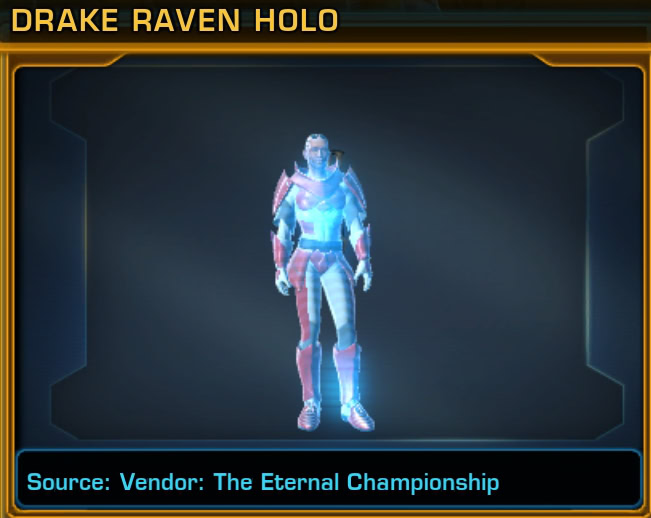
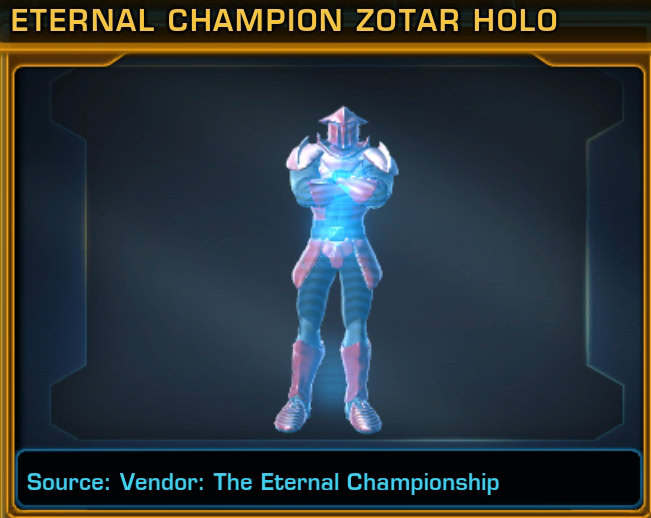
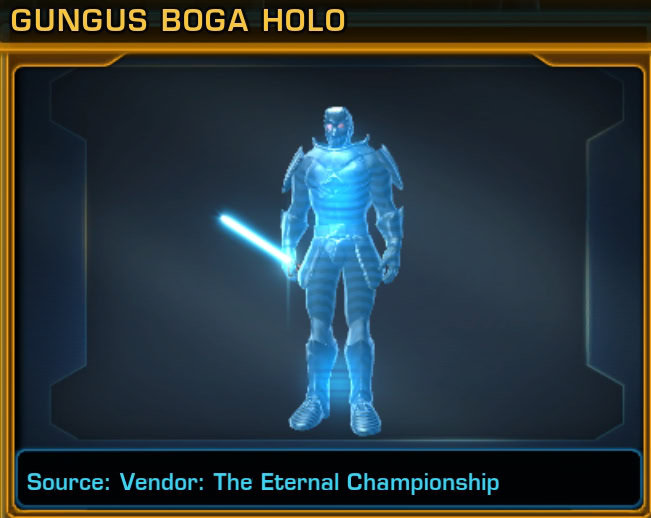
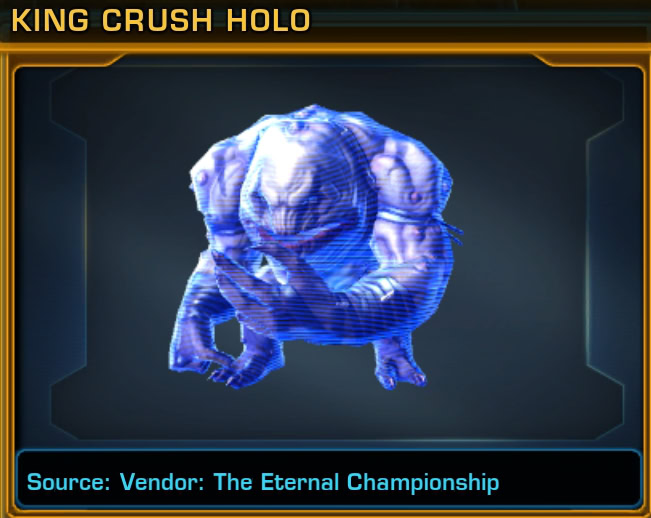
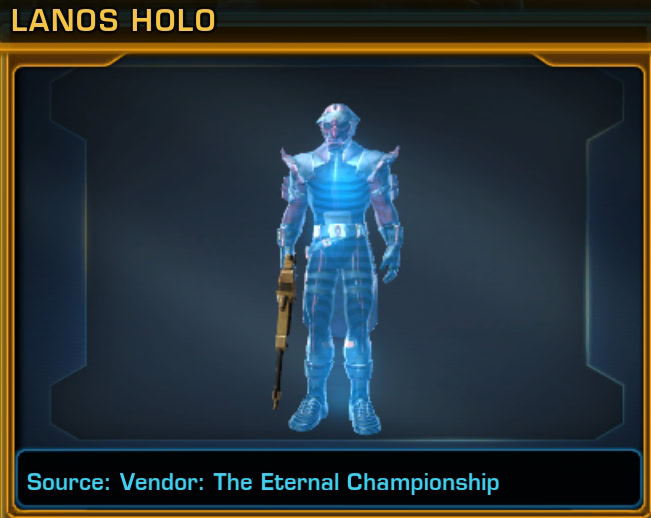
The following decorations are available for 2, 4, or 6 Eternal Championship Trophies. Each of these are just holograms of all the combatants you’ll fight in the arena.


Full Vendor Items Tables with Prices
Here is the entire catalog of the Eternal Championship Distributors on Zakuul with the pricing for each item. Each table shown is for a different vendor available.
Piij
Piij the Ortolan will be selling decorations, weapons, armor sets, and a walker mount. He’s also a good source of Cyan, Purple, and Magenta crystals for your weapons.
These crystals used to be crafted with artifice but the schematics for those stopped dropping years ago. So if you need a basic Purple, Cyan, or Magenta crystal, the Eternal Championship is the perfect place to get one!
| Icon | Item Name |  |
 | After Shock Holo | 6 |
| Arlaia Zayzen Holo | 2 |
| Breaktown Brawler Thades Gorkultok Holl | 2 |
| Chompers the Undying Holo | 4 |
| Combat Unit AZ-02 Holo | 2 |
| Conraad Om’wurt Holo | 2 |
| Daruula Grah Holo | 2 |
| Doom Droid Holo | 6 |
| Drake Raven Holo | 2 |
| Eternal Champion Zotar Holo | 2 |
 | Eternal Champion’s Autocannon | 6 |
 | Eternal Champion’s Belt | 1 |
 | Eternal Champion’s Blaster | 6 |
 | Eternal Champion’s Blaster Rifle | 6 |
 | Eternal Champion’s Body Armor | 3 |
 | Eternal Champion’s Boots | 3 |
 | Eternal Champion’s Gauntlets | 3 |
 | Eternal Champion’s Helmet | 3 |
 | Eternal Champion’s Legplates | 3 |
 | Eternal Champion’s Lightsaber | 6 |
 | Eternal Champion’s Saberstaff | 6 |
 | Eternal Champion’s Sniper Rifle | 6 |
 | Eternal Champion’s Vambraces | 1 |
| Eternal Cyan Eviscerating Crystal | 2 | |
| Eternal Cyan Hawkeye Crystal | 2 | |
| Eternal Cyan Indestructible Crystal | 2 | |
 | Eternal Empire Recon Walker | 48 |
| Eternal Magenta Eviscerating Crystal | 2 | |
| Eternal Magenta Hawkeye Crystal | 2 | |
| Eternal Magenta Indestructible Crystal | 2 | |
| Eternal Purple Eviscerating Crystal | 2 | |
| Eternal Purple Hawkeye Crystal | 2 | |
| Eternal Purple Indestructible Crystal | 2 | |
| Gungus Boga Holo | 2 |
| Herald of Zildrog Holo | 2 |
| King Crush Holo | 4 |
| Lanos Holo | 2 |
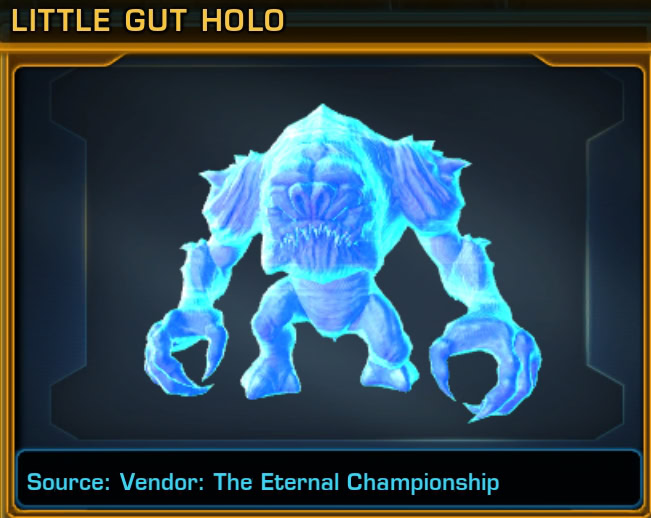
| Little Gut Holo | 6 |
| Medical Unit AZ-01 Holo | 2 |
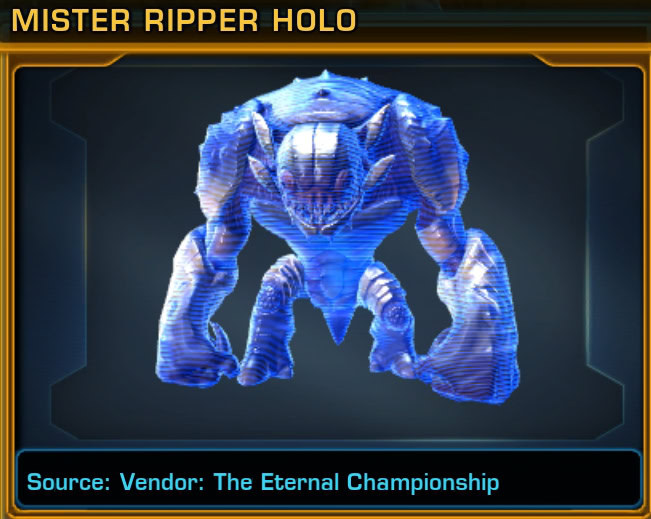
| Mister Ripper Holo | 4 |
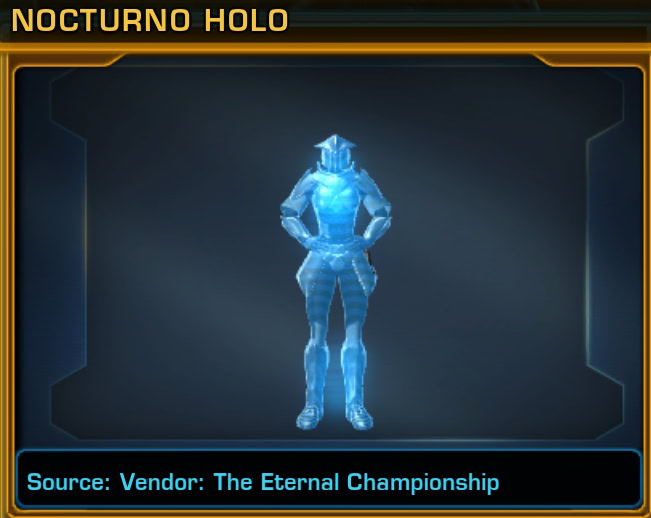
| Nocturno Holo | 2 |
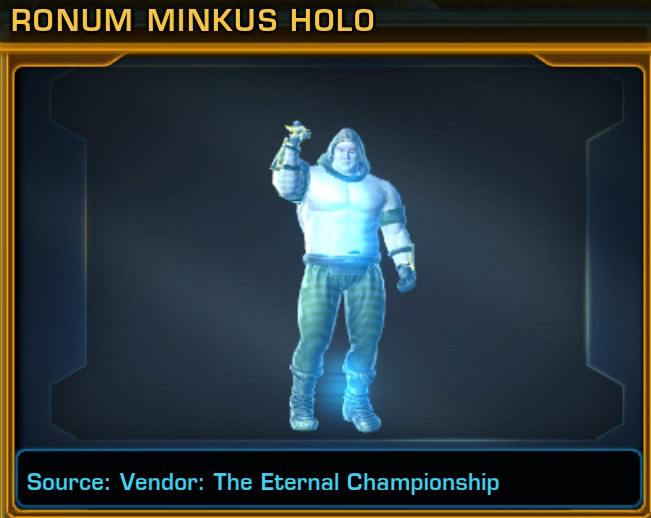
| Ronum Minkus Holo | 2 |
Z1-V8
Z1-V8 sells Eternal Brawler armor for various classes. This includes Boltblaster, Bulwark, Demolisher, Duelist, Force-Healer, Force Lord, Med-Tech, Mender, Pummeler, and Targeter armor sets.
Do note the icons in the following table may not reflect the actual icon for each piece of gear, it’s been condensed for brevity’s sake.
| Icon | Item Name | |
 | Eternal Brawler Head | 2 |
 | Eternal Brawler Chestpiece | 2 |
 | Eternal Brawler Wrists | 2 |
 | Eternal Brawler Gloves | 2 |
 | Eternal Brawler Belt | 2 |
 | Eternal Brawler Legs | 2 |
 | Eternal Brawler Feet | 2 |
Z3-V6
Z3-V6 sells Eternal Battler armor for various classes. This includes Boltblaster, Bulwark, Demolisher, Duelist, Force-Healer, Force Lord, Med-Tech, Mender, Pummeler, and Targeter armor sets.
Do note the icons in the following table may not reflect the actual icon for each piece of gear, it’s been condensed for brevity’s sake.
| Icon | Item Name | |
| Eternal Battler Head | 6 |
| Eternal Battler Chestpiece | 6 |
| Eternal Battler Wrists | 6 |
| Eternal Battler Gloves | 6 |
| Eternal Battler Belt | 6 |
| Eternal Battler Legs | 6 |
| Eternal Battler Feet | 6 |
Z9-V86
Z9-V86 sells Eternal Conquerer armor for various classes along with some (very outdated) earpieces and implants. This includes Boltblaster, Bulwark, Demolisher, Duelist, Force-Healer, Force Lord, Med-Tech, Mender, Pummeler, and Targeter armor sets. These armor sets look exactly like the Eternal Battler armor, so if you’re after the aesthetic you should purchase the Eternal Battler armor to save time and resources.
Do note the icons in the following table may not reflect the actual icon for each piece of gear, it’s been condensed for brevity’s sake.
| Icon | Item Name | |
| Eternal Conquerer Head | 18 |
| Eternal Conquerer Chestpiece | 18 |
| Eternal Conquerer Wrists | 18 |
| Eternal Conquerer Gloves | 18 |
| Eternal Conquerer Belt | 18 |
| Eternal Conquerer Legs | 18 |
| Eternal Conquerer Feet | 18 |
 | Eternal Conquerer Efficient/Proficient/Savant Device | 18 |
 | Eternal Conquerer Efficient/Proficient/Savant Package | 18 |
 | Eternal Conquerer Steadfast/Vigilant Device | 18 |
 | Eternal Conquerer Steadfast/Vigilant Package | 18 |
Eternal Championship Achievements
You can earn multiple trophy wall decorations and a several legacy titles by partaking in the Eternal Championship. Achievements that grant rewards will be listed here.
Master of Killers
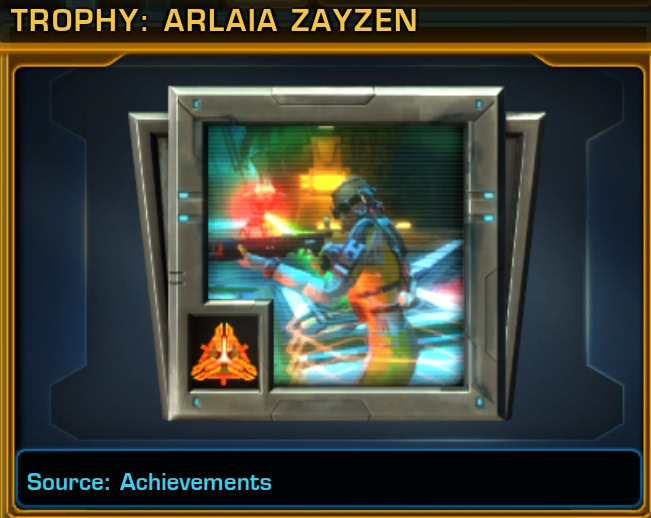
Defeated Arlaia Zayzen, Master of Killers in round one of Mayhem at the Arena Grand.
You’ll gain the Arlaia Zayzen Trophy Decoration.
Nightmare Weaver
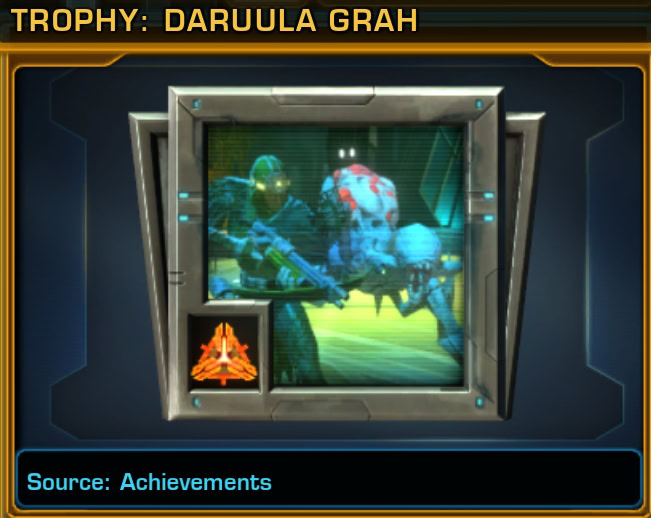
Defeated Daruula Grah, Nightmare Weaver in round two of Mayhem at the Arena Grand.
You’ll gain the Daruula Grah Trophy Decoration.
Noble Executioner
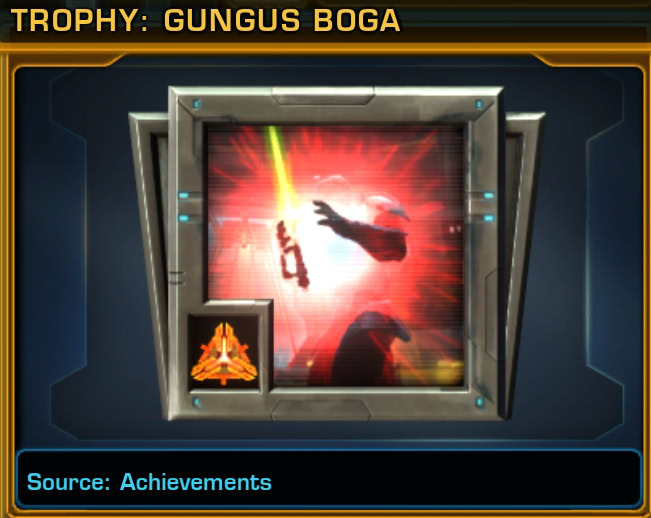
Defeated Gungus Boga, Noble Executioner in round three of Mayhem at the Arena Grand.
You’ll gain the Gungus Boga Trophy Decoration.
Beastmaster
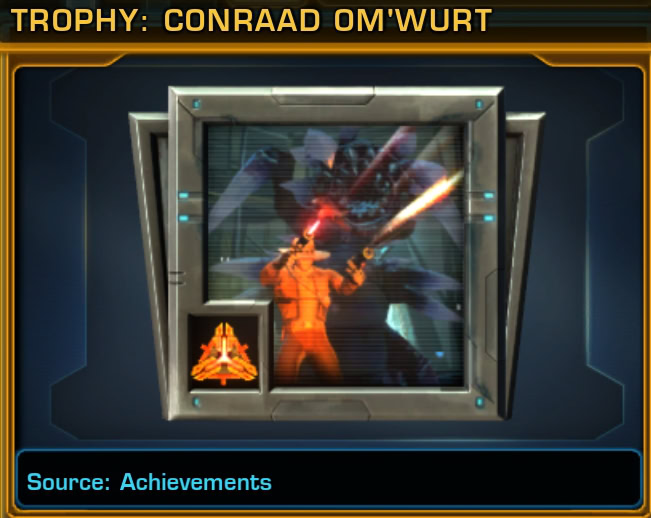
Defeated Conraad Om’wurt Beastmaster in round four of Mayhem at the Arena Grand.
You’ll gain the Conraad Om’wurt Trophy Decoration.
Supreme Vindicator
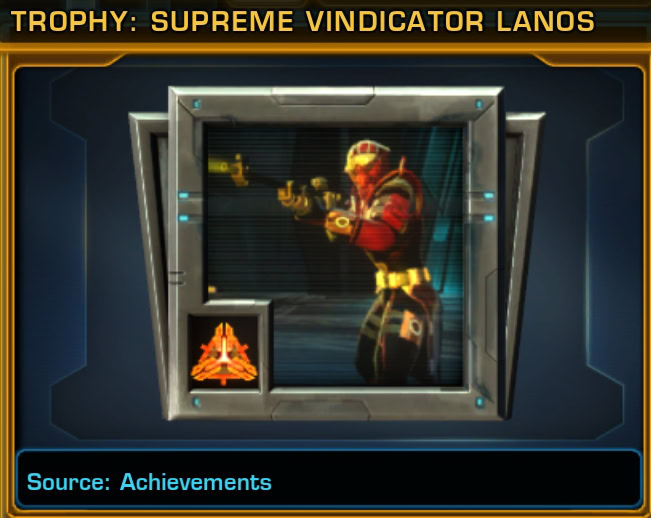
Defeated Lanos, Supreme Vindicator in round five of Mayhem at the Arena Grand.
You’ll gain the Supreme Vindicator Lanos Trophy Decoration.
Old World Muscle
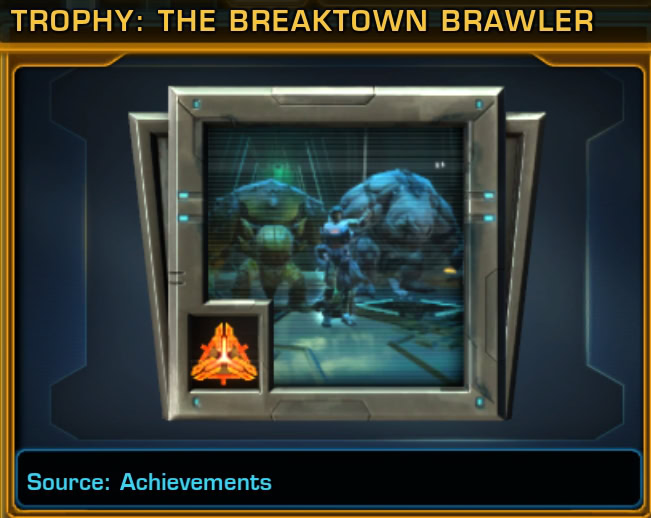
Defeated Breaktown Brawler Thades Gorkultok in round six of Mayhem at the Arena Grand.
You’ll gain the Breaktown Brawler Trophy Decoration.
The Fallen Knight and The Rising Squire

Defeated Nocturno and Drake Raven in round seven of Mayhem at the Arena Grand.
You’ll gain the Nocturno and Drake Raven Trophy Decoration.
One-Handed Handler
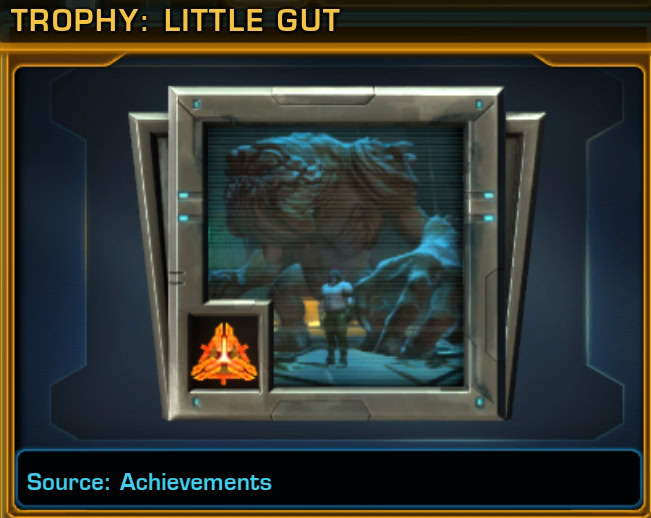
Defeated Ronum Minkus and Little Guy in round eight of Mayhem at the Arena Grand.
You’ll gain the Little Gut Trophy Decoration.
Doom Droid
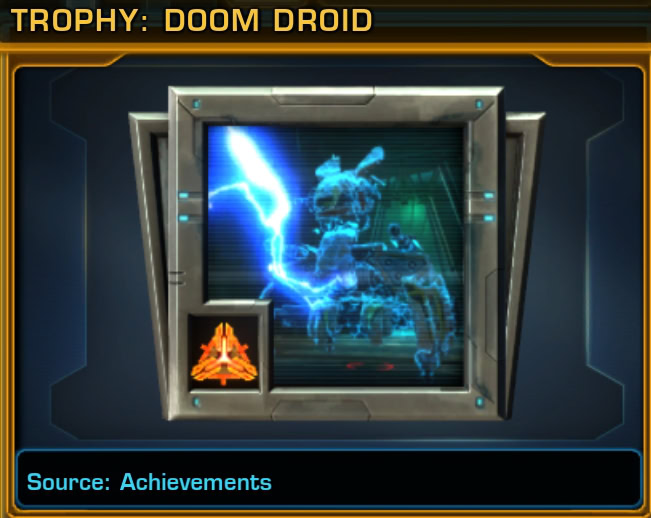
Defeated the Doom Droid in round nine of Mayhem at the Arena Grand.
You’ll gain the Doom Droid Trophy Decoration.
Exarch of the Old World
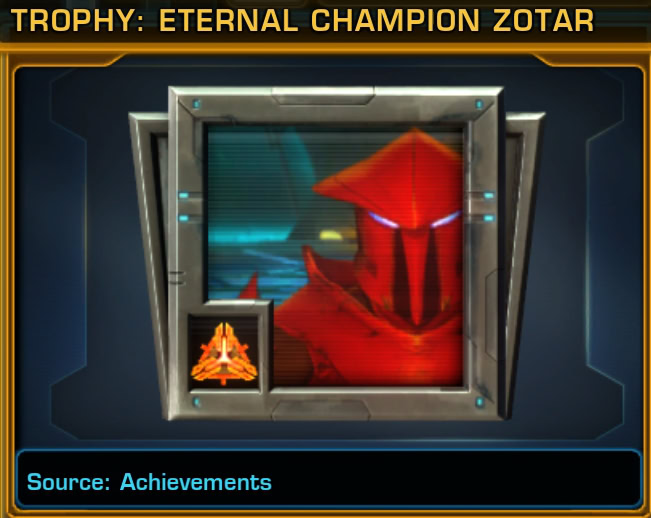
Defeated Eternal Champion Zotar, Exarch of the Old World in round ten of Mayhem at the Arena Grand.
You’ll gain the Eternal Champion Zotar Trophy Decoration.
The Mysterious Stranger
Survived five rounds of Mayhem at the Arena Grand.
Rewards “The Mysterious Stranger” legacy title.
Master of Mayhem
Survived all ten rounds of Mayhem at the Arena Grand.
Rewards the “Master of Mayhem” legacy title.
Eternal Champion
Survived all ten rounds of Mayhem at the Arena Grand without the aid of a group.
Rewards the “Eternal Champion” legacy title.
Eternal Legend
Survived all ten rounds of Mayhem at the Arena Grand with each player class and without the aid of a group.
Rewards the “Eternal Legend” legacy title.
Sprint Champion
Survived all ten rounds of Mayhem at the Arena Grand without the aid of a group and under 15 minutes.
Rewards the “Sprint Champion” legacy title.
Deathless Champion
Survived all ten rounds of Mayhem at the Arena Grand without the aid of a group and without dying.
Rewards the “Deathless Champion” legacy title.
That was it. I hope you found this guide useful. Let me know how you managed with your favorite character. Leave a comment below with your personal experience after you become the Eternal Champion of Zakuul! :)
• Watch the full playlist “Everything about the SWTOR Eternal Championship” on YouTube
Learn what the SWTOR Alliance System is, when it was introduced, how it works, and how to use it to gain more followers, reputation across the galaxy, and rewards.