Complete guide to the Crimson Fang Uprising in Star Wars: The Old Republic. Includes all boss fights with their mechanics, enhanced with Images and Video.
The “Crimson Fang” Uprising is available to all active lvl 75 Subscribers via the Activities Window or by directly accessing its personal terminal on the Fleet. It takes place on Port Nowhere. For more detailed information on what Uprisings are, check out the SWTOR Uprisings Blog Post.
This is one of the longest Uprisings available with the launch of SWTOR Patch 5.0. It offers 4 boss encounters.
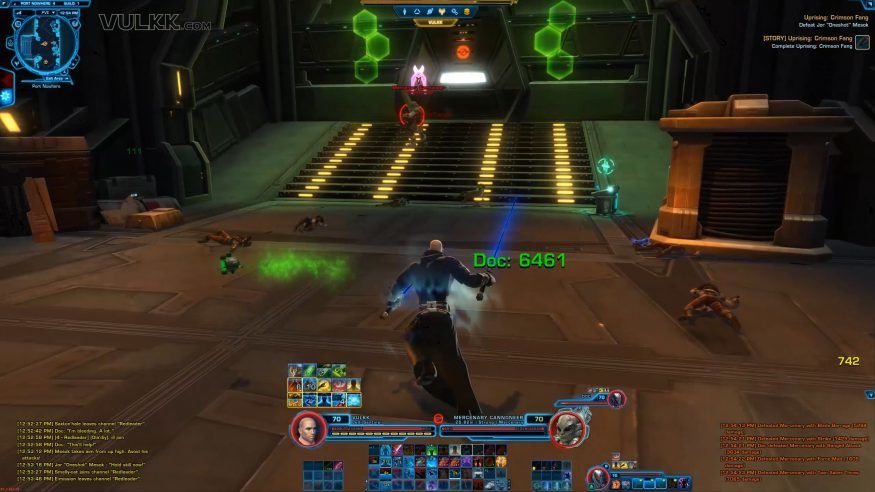
1st Boss: Jor “Oneshot” Mesok
Mechanics
Phase 1
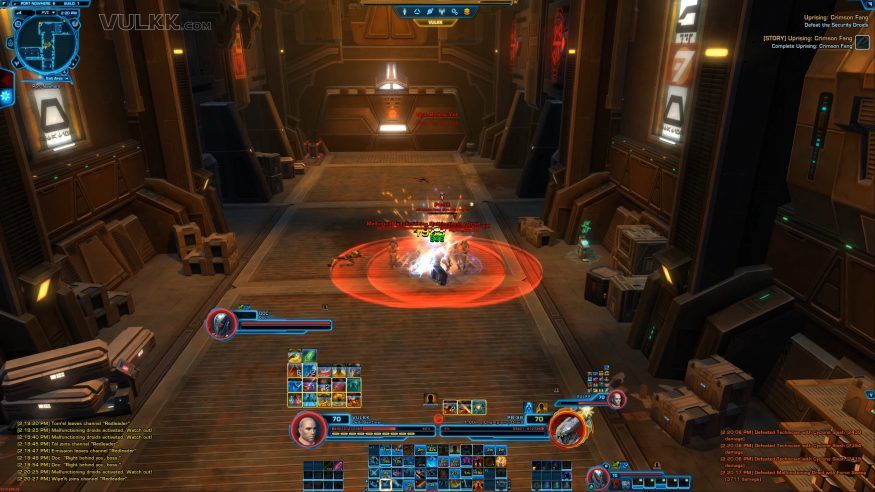
After you start the fight, Jor jumps on top of a pipe and waves of weak enemies start spawning. After a while a special NPC “Mercenary Cannoneer” with a purple marker above its head will spawn from the west door. Kill it quick, to disable the shield on the terminal below Jor, then click on it to force the boss to move. While Jor is on the pipe, he will target a random player from the group and hit them with a Snipe attack. It doesn’t do much damage in Story Mode, but can be avoided by quickly moving out of Line of Sight.
Phase 2
Same as phase 1. Kill a couple of waves of weak enemies until the “Mercenary Cannoneer” NPC spanws – this time from the north side, to disable the shield under Jor’s location. Click on the terminal to force the boss to dropdown.
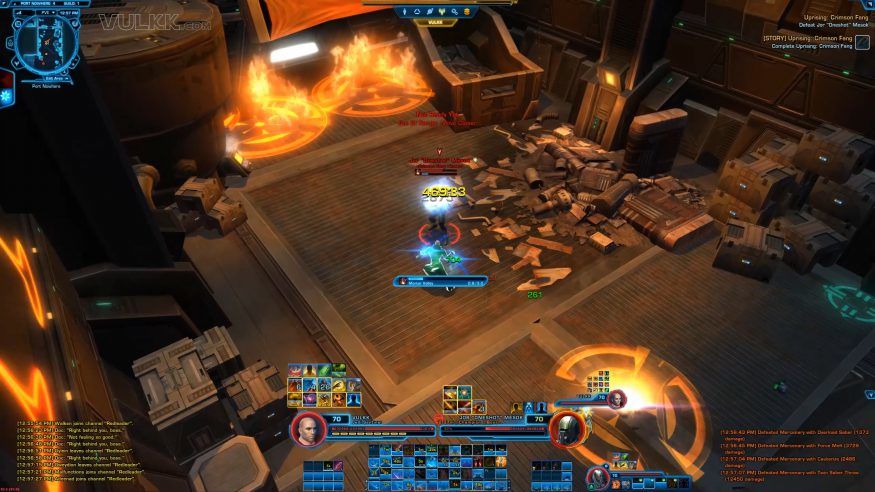
Phase 3
Burn the boss down. Don’t position yourself with your back towards the fire circles, Jor does a knockback. Don’t bother with the spawning 3 NPCs. If you kill them, they keep coming back. In the final phase Jor will spawn orange circles (Mortar Volley) and will occasionally do a single target channel ability (Series of Shots)
Screenshots

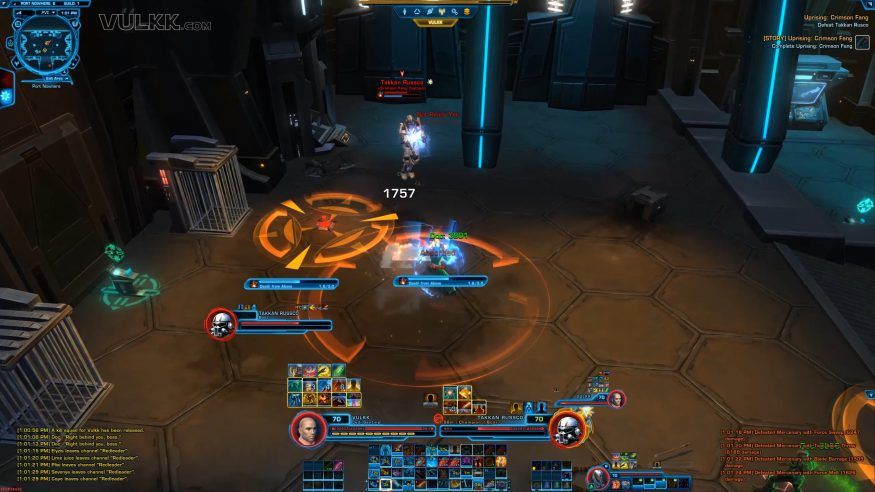
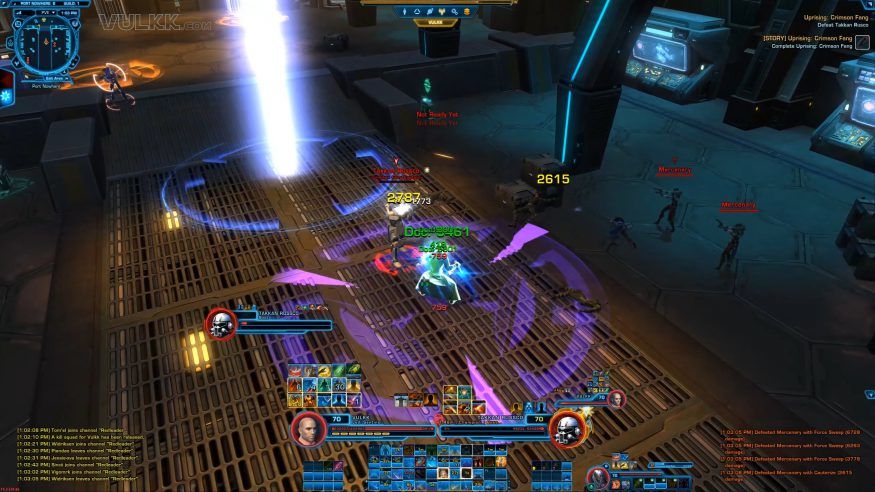
2nd Boss: Takkan Rusco
Mechanics
Phase 1
Damange the Boss until he jumps in the are and gets shielded. At this point adds spawn from all sides of the area and focus on a random member. They are weak and easy to kill. After a few seconds the boss loses his shield and drops down again.
During the fight Takkan will spawn orange circles (Mines) that detonate if someone walks on top of them. They do not disappear otherwise and remain on the ground for the duration of the fight. He alsp channels Death from Above AoE attack (marked with a different, brighter orange color on the ground). Death from Above is channeled for 3 seconds and doesn’t leave a mark on the ground after that, unlike the mines.
Phase 2
Burn. At 20% HP the boss starts spawning purple circles on a random group member. They turn blue in a couple of seconds and deal a constant AoE damage on the ground. Finish off the boss.
Screenshots

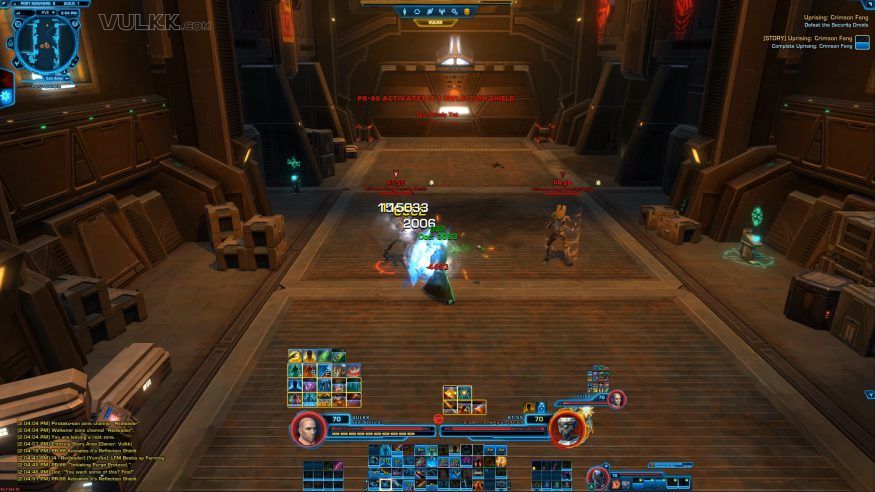
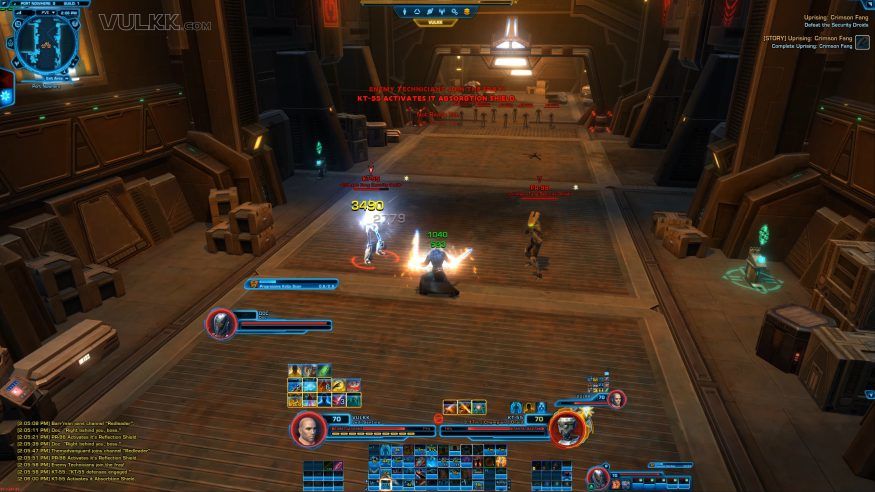
3rd Boss: TK-55 and PR-98
Phase 1
Both droids stand stationary and never move. Start the fight on TK-55 as PR-98 is shielded first and has a reflect buff. At ~75% of TK-55will get shielded and start reflecting. At the same time a group of weak NPCs spawn from the door behind the bosses. The adds die from 1-2 AoE attacks. Keep hitting the droid that has no shield. The swap is announced with a voice and in red text on the screen
Phase 2
Burn. At 20% of either of the droids’ HP, Malfunctioning Droids will start spawning from both sides of the corridor. They target random member of the group and rush to wards them. Once in melee range, they spawn a red circle on the floor and explode. You have 1-2 seconds to move out of the circle to avoid damage. The waves don’t stop until you kill the droid. Once the first one is down, the fight gets easier. When you drop the 2nd droid to 20%, the Malfunctioning Droids start spawning again.
Unlike the Techinicians, the Malfunctioning Droids keep spawning until you end the fight. There is no enrage time.
Screenshots
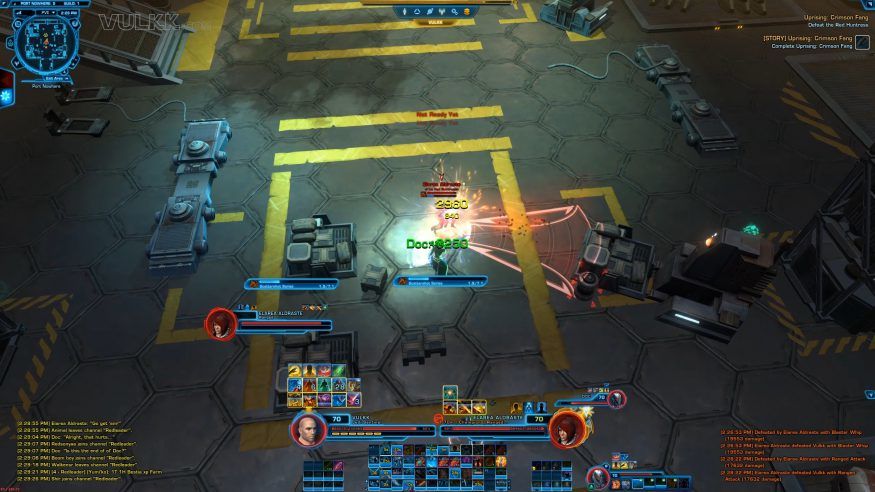
4th Boss: Elarea Aldraste
Mechanics
The final boss encounter is just Elarea, no adds.
Phase 1
The boss performs 2 special attacks: Scattershot Series – 4 frontal hits that cannot be interrupted, but is easy to avoid as she doesn’t move while channeling (like Doctor Lorik from the Lost Island Flashpoint); Charged Burst – single target unavoidable heavy hitting ability.
From time to time Elarea will freeze in carbonite 3 of the members and focus on the 4th (random) member. If you have Defensive CDs, use them in this phase, if not – kite her around. The session is not long – only a few seconds.
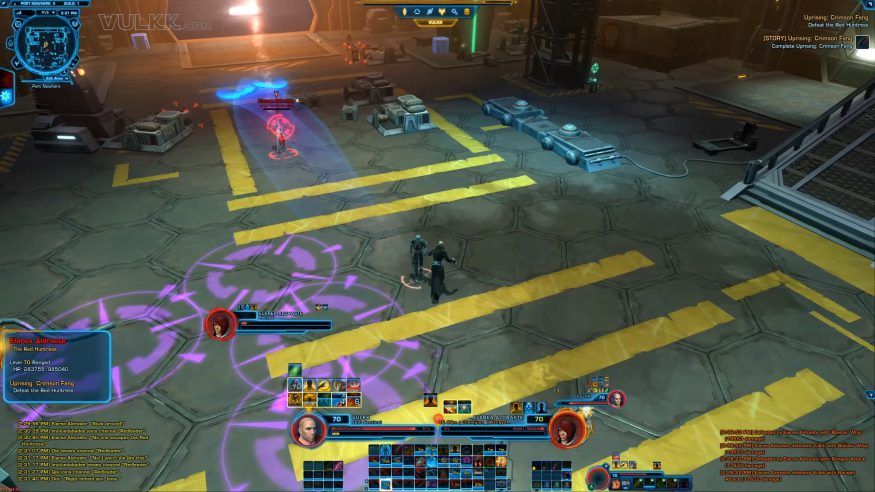
Phase 2
Burn. Below 20% the boss will start dropping purple AoE damage circles constantly until you finish her off – keep moving all the time during this final burn phase.
Screenshots