Complete beginner friendly guide to the Done and Dusted Uprising in Star Wars: The Old Republic. Includes all boss fights with their mechanics, enhanced with Images and Video.
- Visit the collective post for all SWTOR Uprisings Guides
- My new SENTINEL 5.0 and MARAUDER 5.0 Guides are ready and online
- Check out the Collective Post to learn Everything about SWTOR KOTET
- Need SWTOR 5.0 Guides? Check them all out via this link and also from Main Menu
The “Done and Dusted” Uprising is available to all active lvl 70 Subscribers via the Galactic Command UI or by directly accessing its personal terminal on the Fleet. It takes place on Tatooine. For more detailed information visit the SWTOR Uprisings Blog Post or watch the SWTOR Uprisings Video Overview.
This is one of the longest Uprisings available with the launch of SWTOR Patch 5.0. It offers 2 boss encounters.
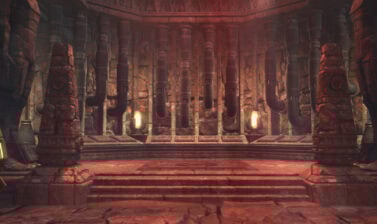
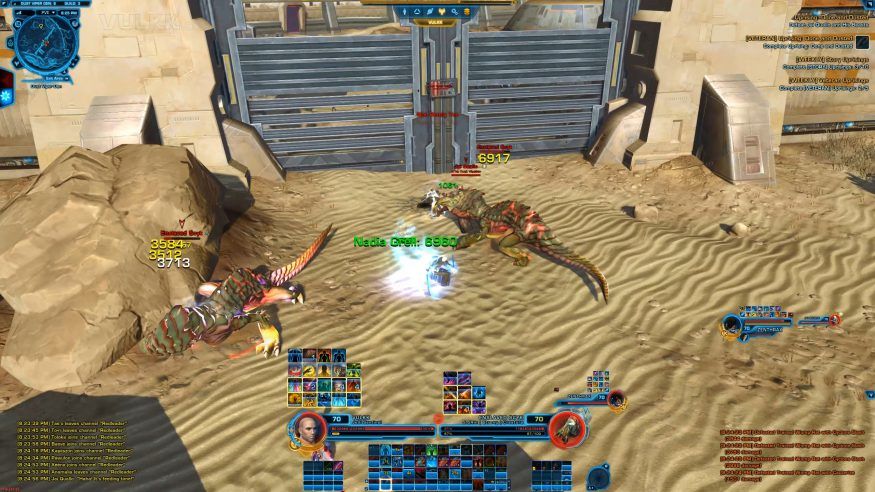
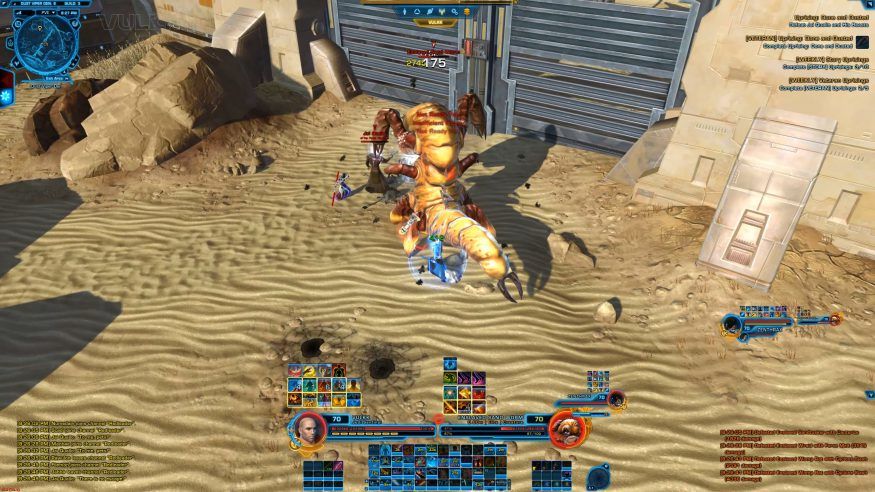
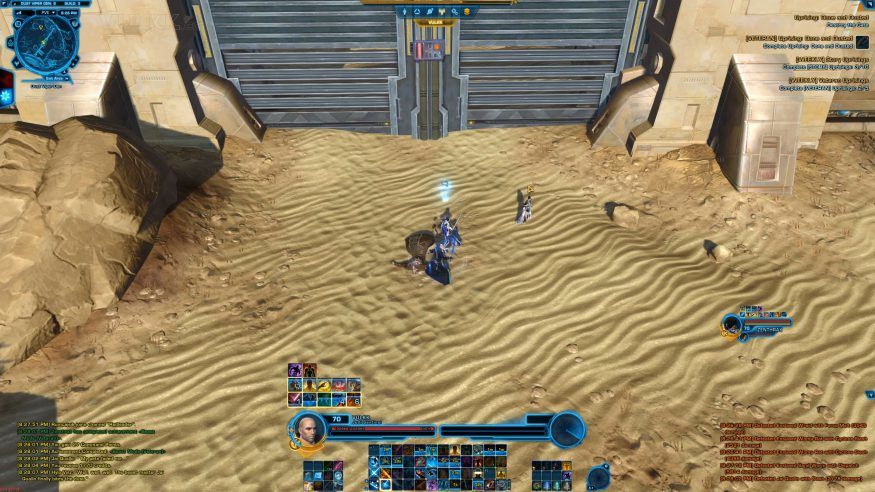
1st Boss: Jai Quallo
Mechanics
- Story Mode HP: 680k | Veteran Mode HP: 1.3 mill
- Defeat the 2 silver adds first (Enslaved Scyks) before the boss. Can AoE them all together.
- The boss will be spawning several waves of Enslaved Sandtuskers, Wraids, Womp Rats and at the end – a Giant Enslaved Sand Worm (gold NPC). AoE them all down, while the tank keeps aggro on as many as possible. Most will die quick, so no reason to worry too much.
- Upon defeating the boss, a special token may drop – this item will allow you to summon a random beast to help and fight on your side. This is a unique to the Uprising mechanic. There’s also an achievement for summoning all 12 different beasts. To summon them, stand on the whirlwind-like locations available all over the map and use the new ability form your pop-up toolbar. You can only have 1 beast at a time, but can summon as many as you wish one after another to complete the achievement.
Screenshots
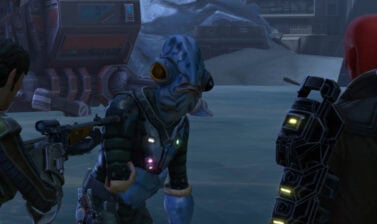
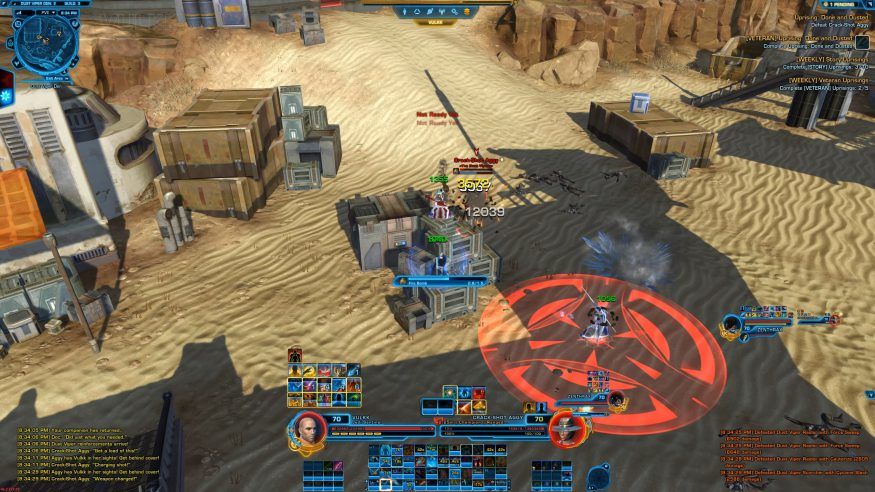
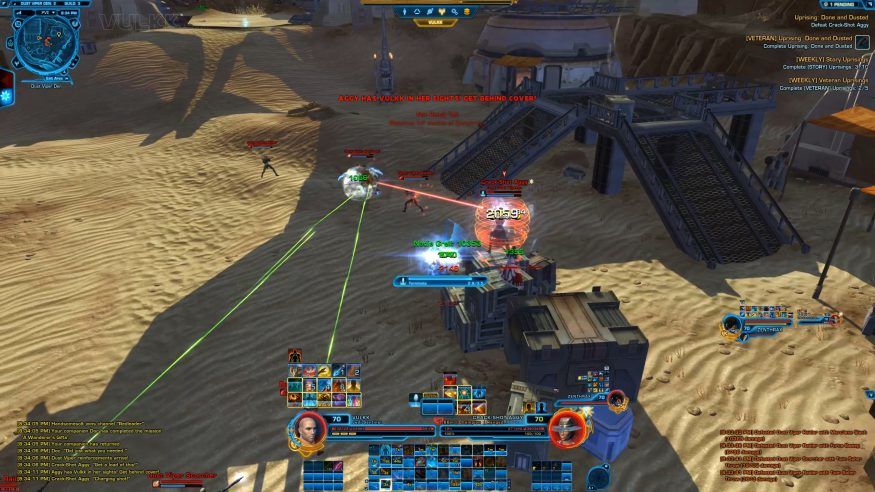
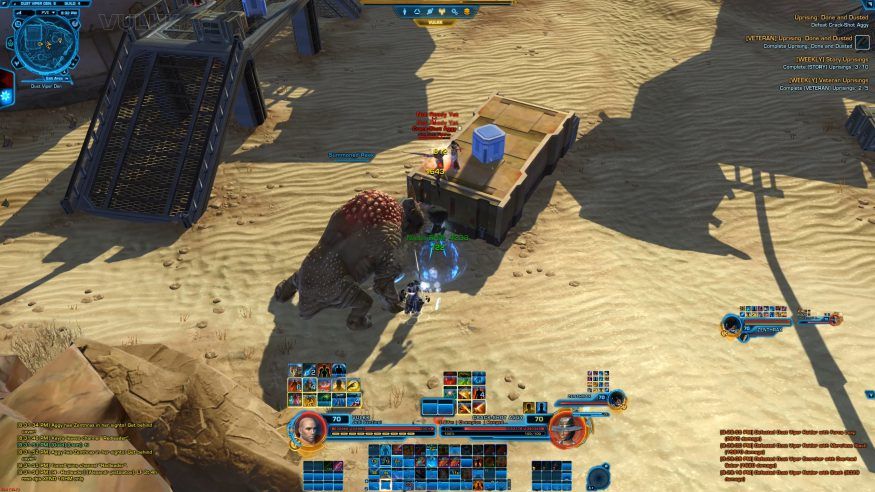
2nd Boss: Crack-Shot Aggy
Mechanics
- Story Mode HP: ??? | Veteran Mode HP: 1.4 mill
- The boss jumps (teleports) often, but you can LoS to force her to move back. She bugged quite a lot when teleporting on the platforms for me and I recommend you to not follow here immediately, but ask the tank to draw her back closer to the middle.
- Aggy throws Cryo Granades and Fire Bombs, that deal moderate amount of damage.
- Every now and then she will channel a Terminate ability, which will deal big damage on whoever is being targeted (randomly). To avoid it, follow the instructions that appear on the screen – hide somewhere and cut her line of sight.
- Adds will spawn from time to time and when they all focus on the same target, it can be hurtful, especially if it’s not the tank player.
Screenshots
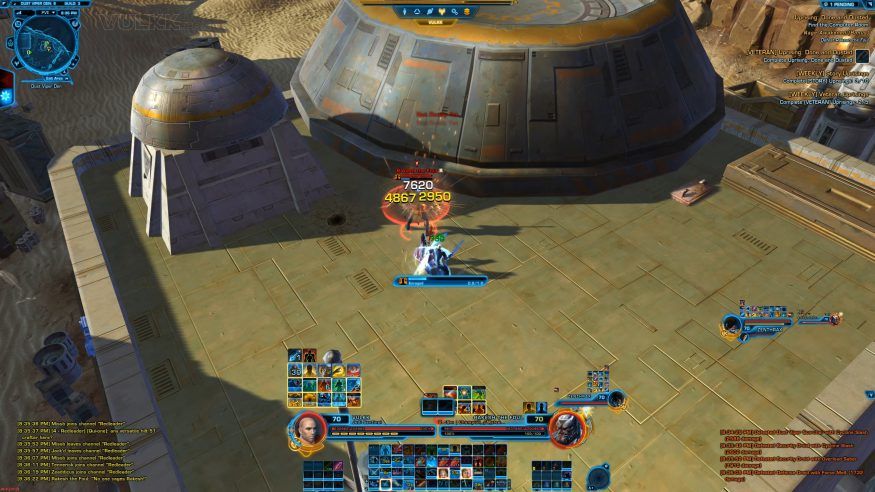
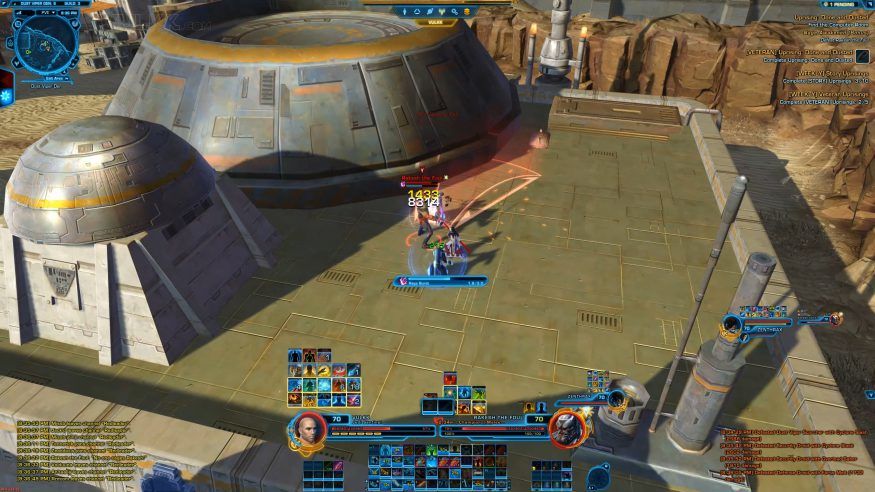
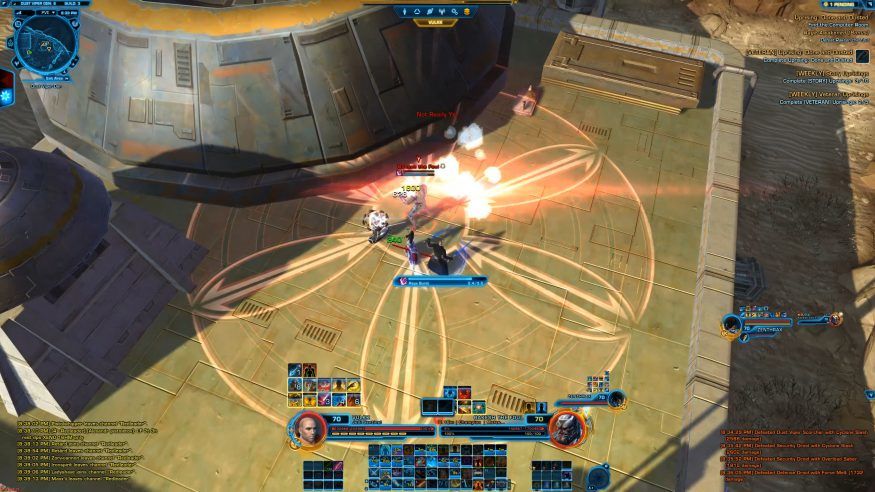
3rd Boss: Rakesh the Foul (Bonus)
Mechanics
- Story Mode HP: 1.2 mill | Veteran Mode HP: 1.7 mill
- This boss is on the roof of a building, in the same area where you fought Crack-Shot Aggy. He can be skipped, but is not hard to do and rewards you with an extra 20 CXP.
- Rakesh’s only special attacks are frontal cone Rage Burst channel, which targets the tank’s position. The ability does a knocnback as well, but due to delay between the end of the channel and the actual damage output, it can be completely avoided if the tank moves quickly to the side.
- Near the end of the fight his Rage Burst becomes wider until it turns into a full circle. It can still be completely avoided.
Screenshots
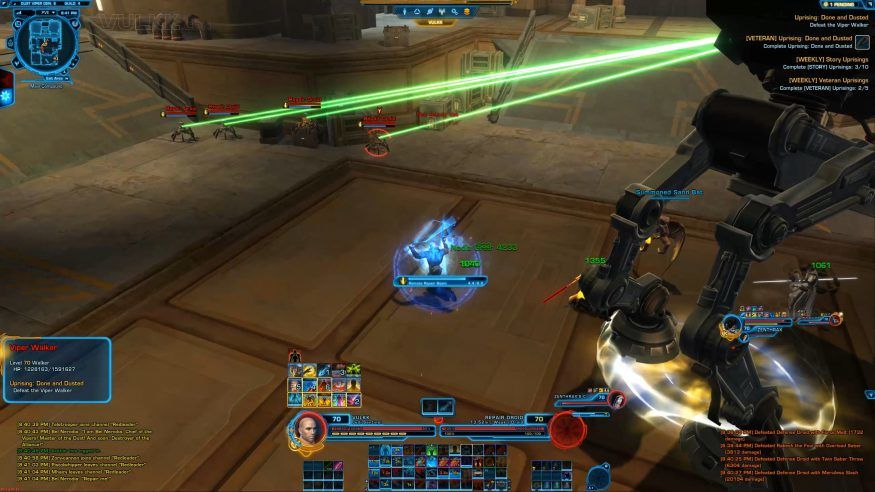
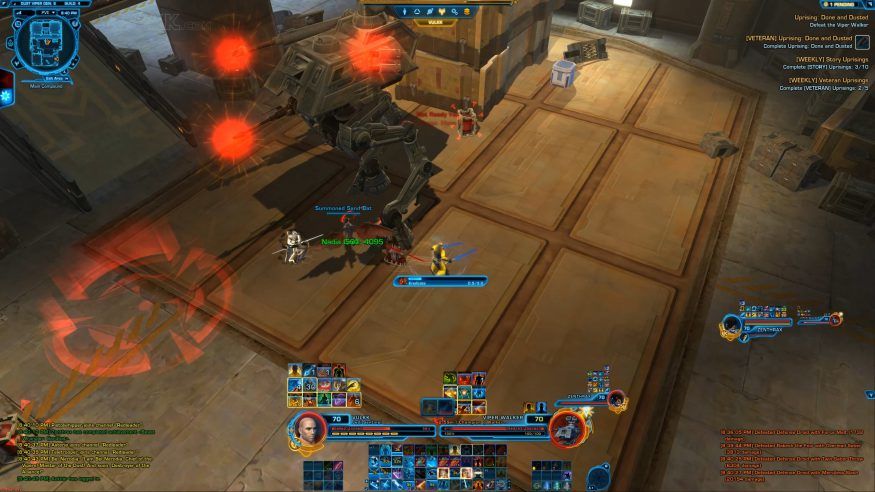
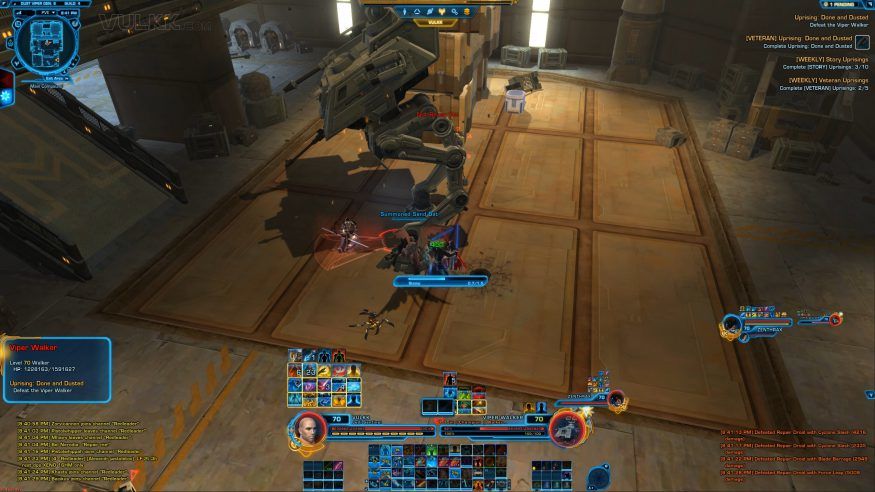
4th Boss: Viper Walker
Mechanics
- Story Mode HP: 817k | Veteran Mode HP: 1.7 mill
- The walker has 3 mechanics worth mentioning. Stomp – a short ranged frontal cleave on the tank with a knockback, can be avoided. If knocked back, Eradicate (red circle) channel begins, which is another AoE attack, that can be avoided by simply moving out of the red zone. From time to time little droids will spawn and channel with a green beam, attempting to repair the walker – kill them quick.
Screenshots
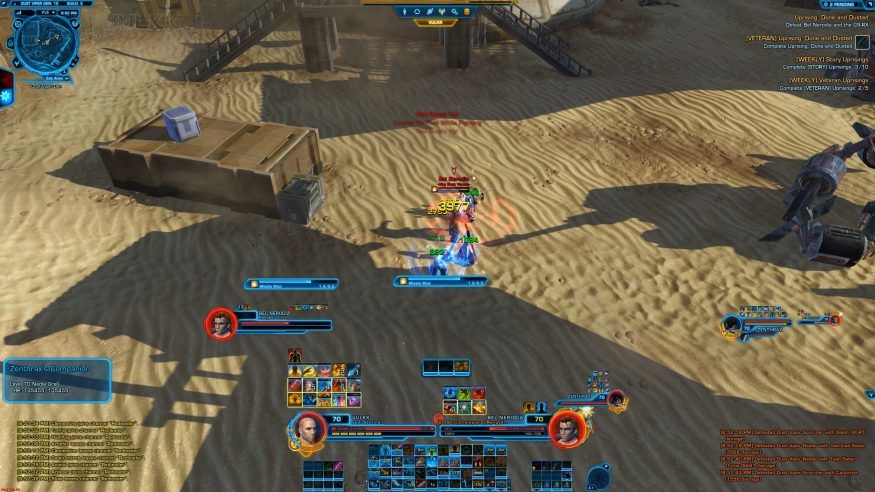
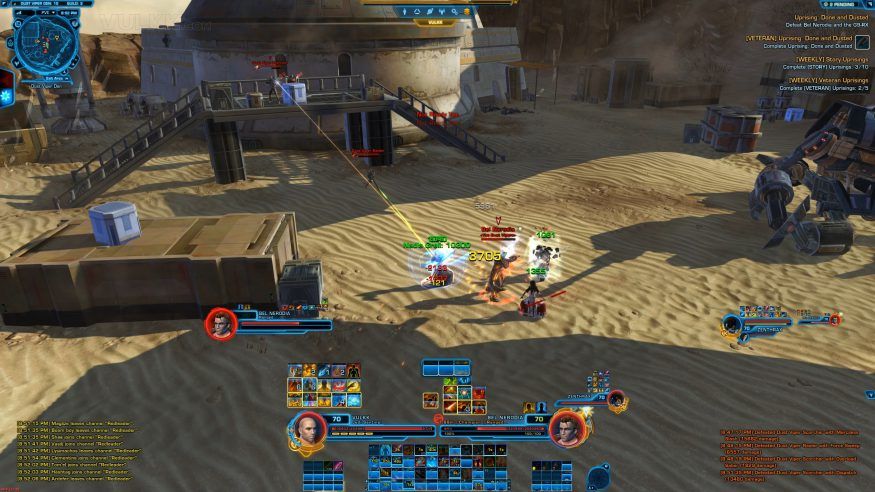
5th Boss: Bel Nerodia and G9-RX
Mechanics
- Story Mode HP: 1.4 mill and 1.2 mill | Veteran Mode HP: 2.4 mill and 2.1 mill
- The giant droid is best killed first as he spawns Mortar Barrage while alive. The attack looks and behaves similarly to the same one we all remember from first boss in EV.
- Bel does several special attacks on the tank, such as Suppressive Fire and Missle Shot (which is a red circle on the tank and can be avoided by stepping out of it).
- Several adds will spawn all over the place and channel single target attacks on random group members. They usually don’t deal a lot of damage, but can hurt a non-tank if all focus the same target together. In my test runs the waves of adds spawned completely randomly and once they all appeared together, making clearing them out a bit more difficult. I consider that to be a bug. Adds should spawn 2-3 at a time max and spread out over the fighting area.
Screenshots

Video
The video section will show you my currently available videos with gameplay and guiding commentaries about the various mechanics inside the Uprisings and the boss encounters there.