Full guide to SWTOR Battle of Rishi Flashpoint Master Mode. Including all bosses with their mechanics and tactics. Written and video format!
The Battle of Rishi Hard Mode is not recommended for brand new players as it is quite a bit tougher than most of the other Flashpoints.
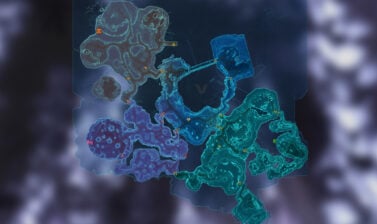
Table of contents
How to start the mission
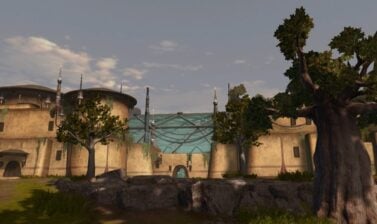
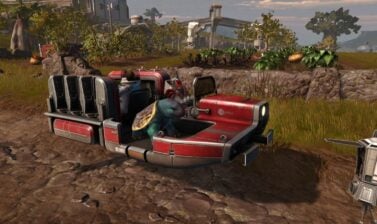
To pick up the story mission for this, you have to do all the main missions on the planet Rishi, which is a part of the Shadow of Revan expansion. Battle of Rishi’s entrance is located in the north island at the Rishi Village

This is the 2nd Flashpoint that was released with Shadow of Revan on the planet Rishi with patch 3.0. It includes 3 bosses and 1 bonus boss. In Patch 5.0 it is scaled up to lvl 70 and offers interesting challenges to old and new players. Read below for my strategy and suggestions for each of the bosses.
Read our SWTOR Story Progression Guide to learn where this story fits in. The guide will help you experience the game’s narrative in the proper intended order of events and aid and assist you if you are not sure what to do and where to go next.
Basic Overview
The “Battle of Rishi” Flashpoint is available in 3 difficulty modes:
- Story Mode – previously known as Solo Mode, where you have a Support droid to help you around
- Veteran Mode (Normal Mode) – previously known as Tacticsl Mode, where up to 4 players of any class and role fight light mechanics and not too hard boss encounters
- Master Mode – previously known as Hard Mode, is where the fun begins and this guide focuses exactly on this mode!
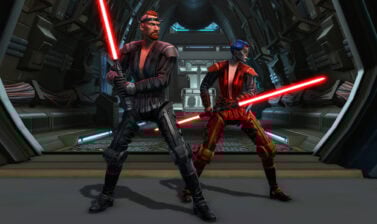
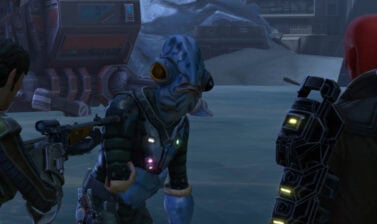
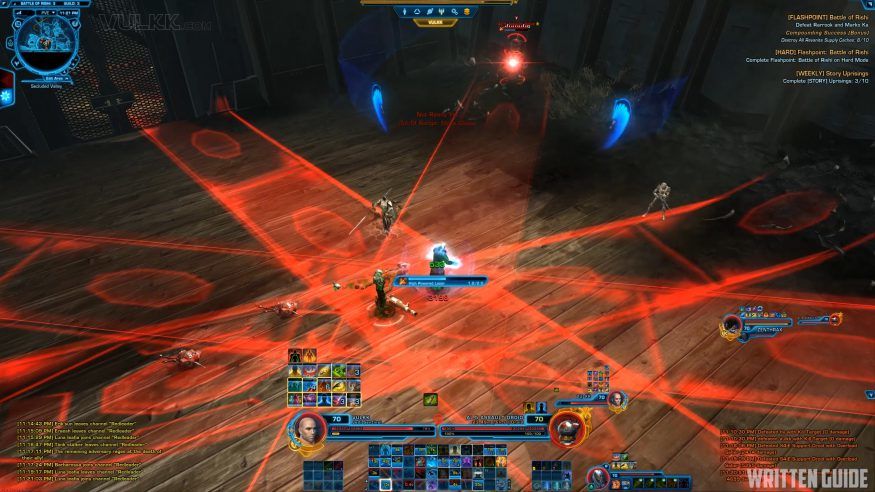
1st Boss: Rarrook and Marko Ka
Rarrook has 2 special attacks worth mentioning – Hindering Shockwave (3s activation time) and Displacement Mines:
The Shockwave is a wide blue circle, spawning around the wookiee boss.
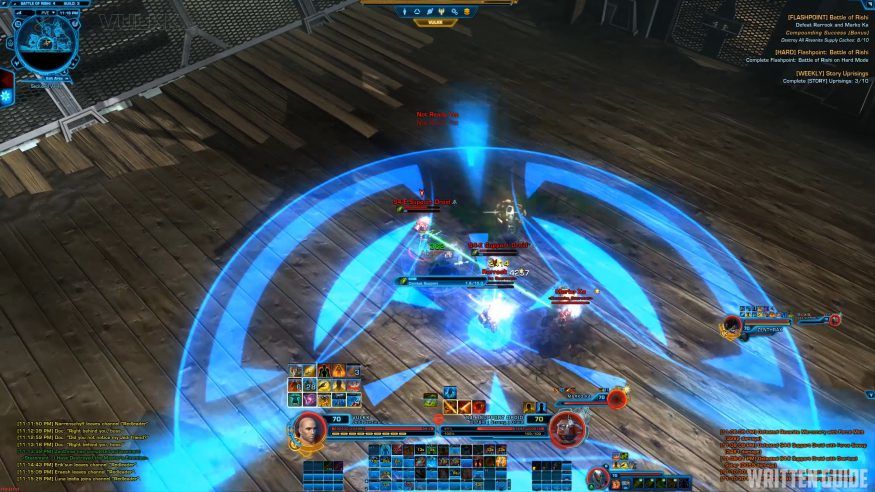
The mines are shown as red circles, placed around random group members.
Staying in it results in a knockback and damage taken. Rarrook also does a Death from Above (3s channel), marked with a red circle and Full Auto (4s channel), which aren’t as dangerous as the other 2 attacks.
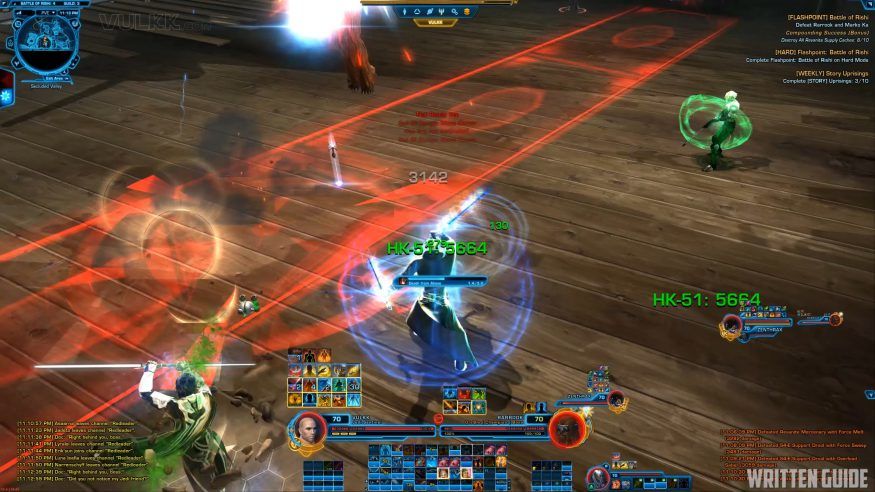
Marko Ka throws DoTs on the players and spawns 2 types of droids. The ones around the corners of the area should not be killed. They despawn after projecting a red telegraph, which doesn’t do much damage, but near the end there may be several of those stacking on the players and then it can hurt a lot.
The 2 S4-E Support Droids (~100k HP each) that spawn near the middle heal the boss and have to be killed immediately. Their channel cannot be interrupted. They are close to each other, easy to spread DoTs on them, so best to keep the bosses nearby too. Marko Ka is the boss summoning the Assault and Support Droids.
My suggestion is to kill the Wookiee first. Marko Ka gets a soft enrage, but it’s very easy to heal through. Depending on group setup, it might be benefitial to take out Marko Ka first. I, as a MDPS, prefer to have the wookie out first. If you use a companion, it is best to get a ranged one.
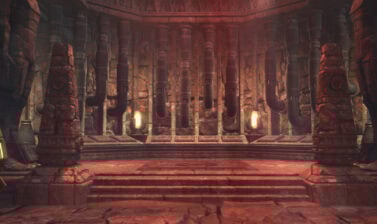
2nd Boss: Master Obai and Lord Vodd
Master Obai’s most interesting and important attack is Paralyzing Forcewave (3s activation) – a big yellow circle that damaged and stunns the players if they remain inside it.
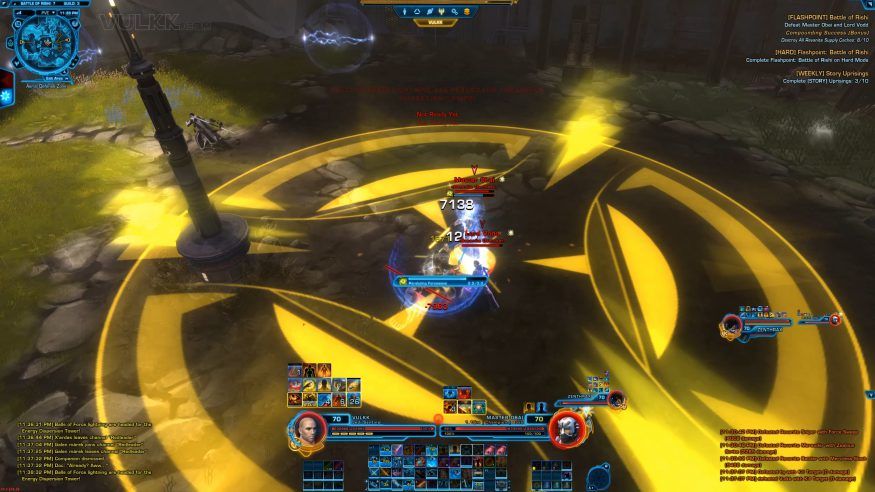
Lord Vodd’s spawns a purple circle (Stunning Forcewave), which is much smaller than the yellow one.
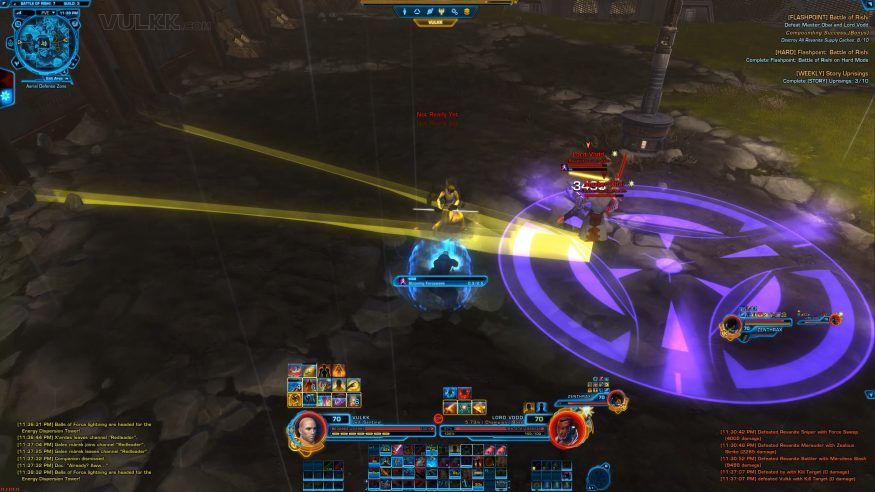
Lord Vodd is the one that frequently spawns lightning balls. These objects spawn in the corners of the room and head for the pylon in the middle. They move slowly, but once they reach the middle, an unavoidable AoE will damage all group members for a significant amount.
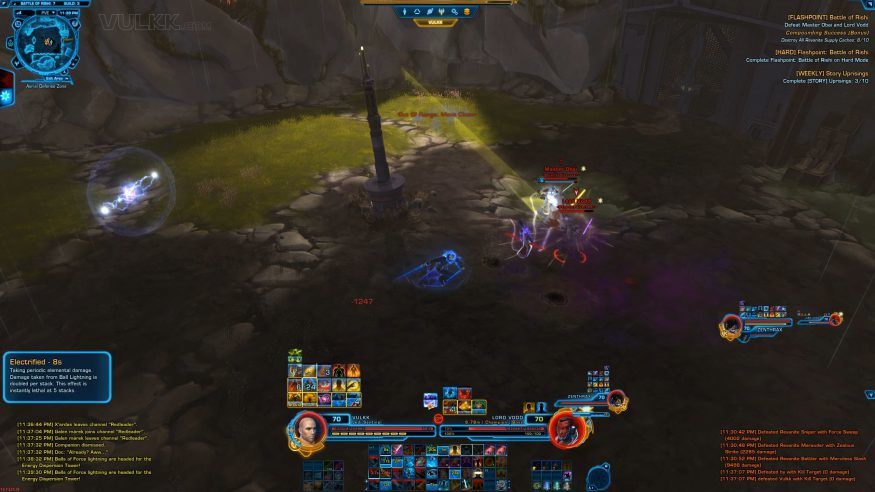
To prevent that, players must run through the lightning balls. Each one you run through will give you a stack of Electrified debuff. Stacking 5 of them results in an instant kill. Each stak doubles the damage you take from the next lightning ball. I recommend a tank to pick up the first 2-3, followed by DPS member(s) using CDs. The stacks don’t last long, but the number of lightning balls gets bigger with each new wave.
It is highly recommended that you kill both bosses at the same time. The Enrage mechanic is very dangerous and it happens almost immediately after the first one drops dead.
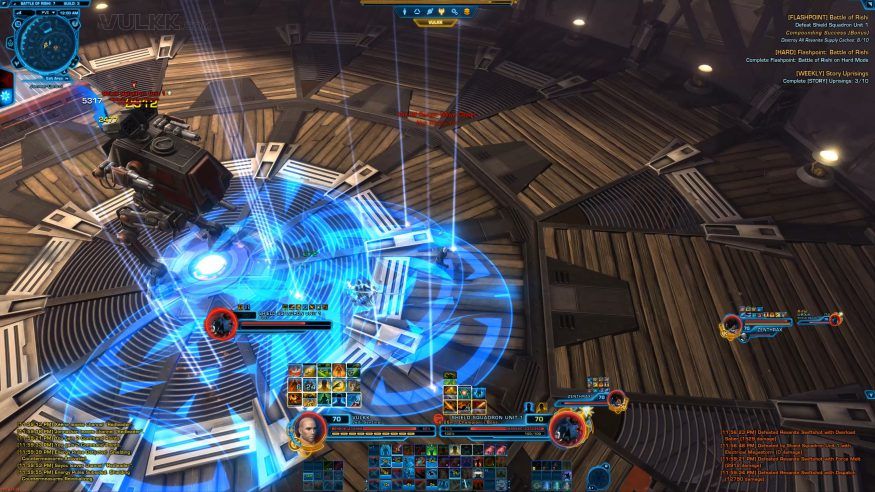
3rd Boss: Shield Squadron Unit 1
In Master Mode, Frequently during the fight the group will be grappled into the middle and the boss will channel Electrical Megastorm (12s channel).
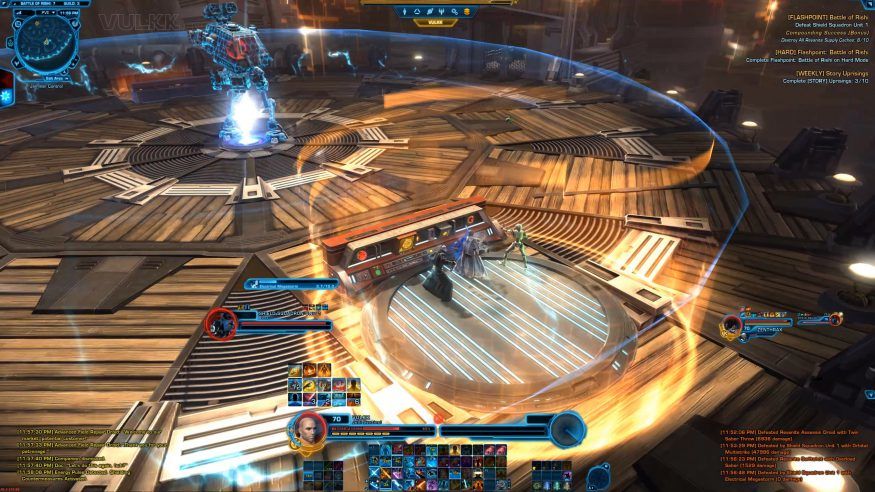
Run to the consoles immediately and click on them to prevent AoE damage. According to my experience the Grapple does not happen in solo and Veteran Modes.
Between each Electrical Megastorm the walker will also use 2 other special attacks. Missle Blast (3s activation time) is marked on the ground with a blue cross (gets wider and bigger near the end of the fight).

The other one is called Ortbital Multistrike (1s activation) that are placed on players and can become a pain if there are too many MDPS present around the walker. It’s a good idea for players to stack up, so the blue circles don’t get placed all around the boss, preventing MDPS from doing their job.
Random types and groups of adds will spawn after each Electrical Megastorm. They can be 2 RDPS golds, a group or silvers or 2 groups of 3 weak droids. All adds hurt a lot and need to be dealt with quickly.
The possible ways to minimize damage are to use Cooldowns, push the adds off the platform or stun them and place heavy AoE on the group(s). If they focus a single member, they may die in seconds.
Battle of Rishi Full Vide
Bonus Boss: Commander Mokan
I have not done this boss since 3.0. Was told it got nerfed badly and decided not to bother. Here you can see my old video guide. I you find it useful. It explains the fight mechanics step-by-step and shares a successful strategy on how to defeat Mokan.