Complete beginner friendly guide to the Inferno Uprising in Star Wars: The Old Republic. Includes all boss fights with their mechanics, enhanced with Images and Video.
- Visit the collective post for all SWTOR Uprisings Guides
- Check out the Collective Post to learn Everything about SWTOR KOTET
The “Destroyer of Worlds” Uprising is one of the 5 Uprisings released with SWTOR Patch 5.1 and is available to all active lvl 70 Subscribers via the Galactic Command UI or by directly accessing its personal terminal on the Fleet. For more detailed information visit the SWTOR Uprisings Blog Post or watch the SWTOR Uprisings Video Overview.
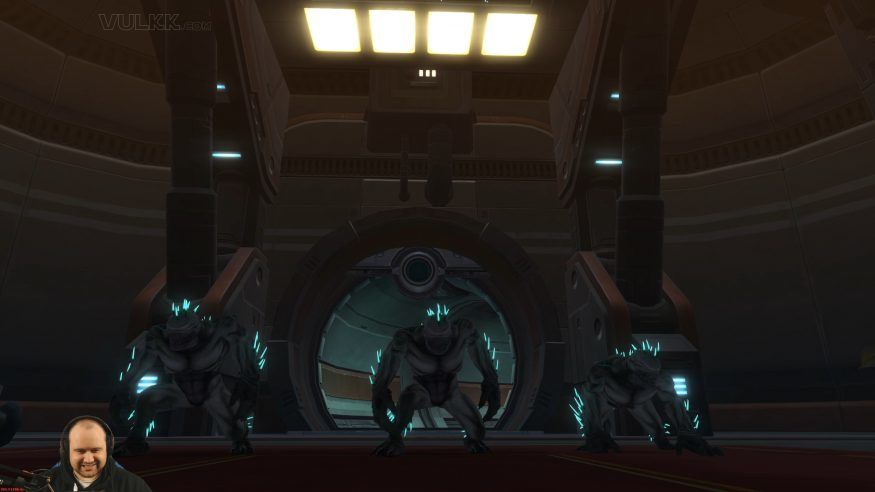
This is one of the more challenging Uprisings. It contains 3 bosses and an interesting feature – turn yourself into a fully functional and controllable Rakghoul creature. The alternative form is a lot of fun, but doesn’t really bring anything to the table. You have 3 toggle forms – Heal, Tank and DPS, which can be changed on the go and even during combat with no Cooldown. Each form has a set of 4 unique abilities with their own animations and effects. Ultimately the Rakghoul forms are much weaker than your normal character’s abilities, unfortunately. The transformation can be achieved in a side room between the 1st and 2nd bosses.
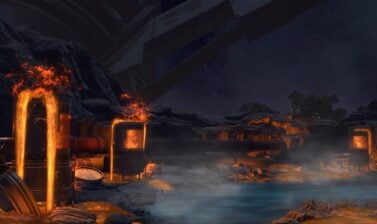
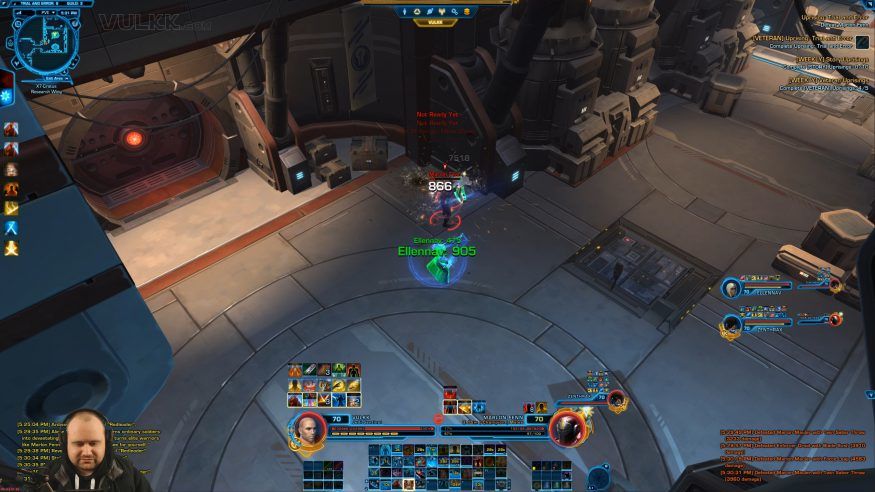
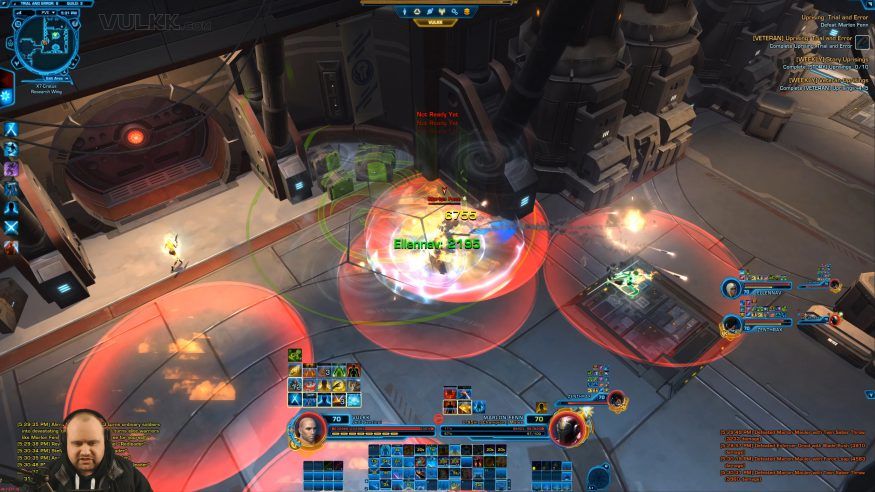
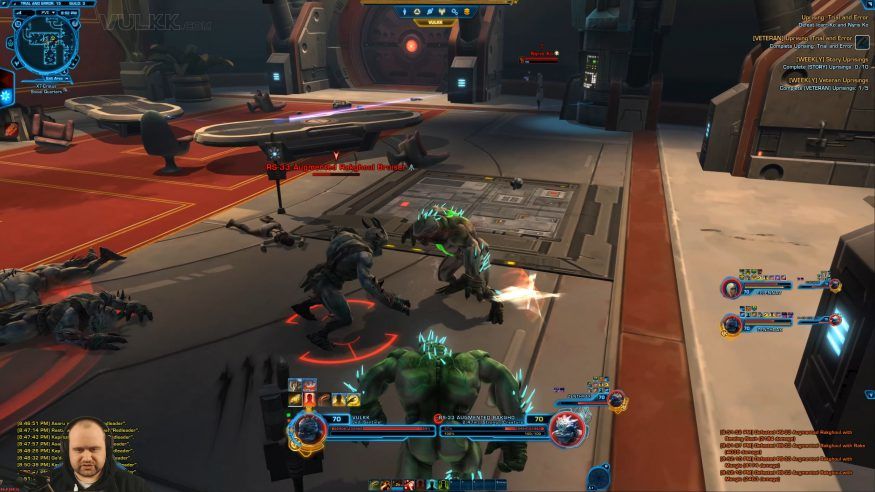
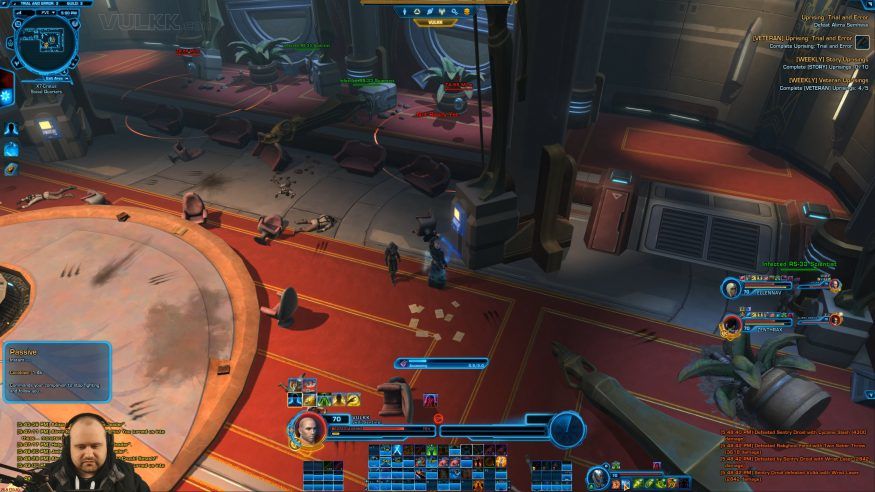
1st Boss: Marlon Fenn
Mechanics
- Story Mode HP: XXX| Veteran Mode HP: 868k
- In the beginning of the fight Marlon spawns several maulers and 2 enforcer droids (silver adds). After that it’s just a solo fight with the boss himself. No more adds spawn.
- When attacked Marlon stacks up a buff on himself, when the stacks reach 10, he starts spawning red circles, that deal damage on whoever stands in them. The damage in Veteran mode is very low, though (at the time of writing the guide!) and there’s no need to avoid them if you wish to remain static.
Screenshots
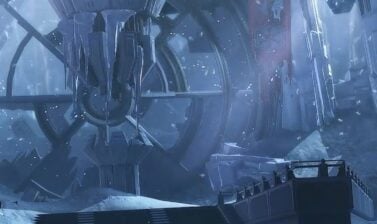
Transforming into a Rakghoul
Here are a few screenshots of the Rakghoul playable alternative form and the exact location of the terminal.
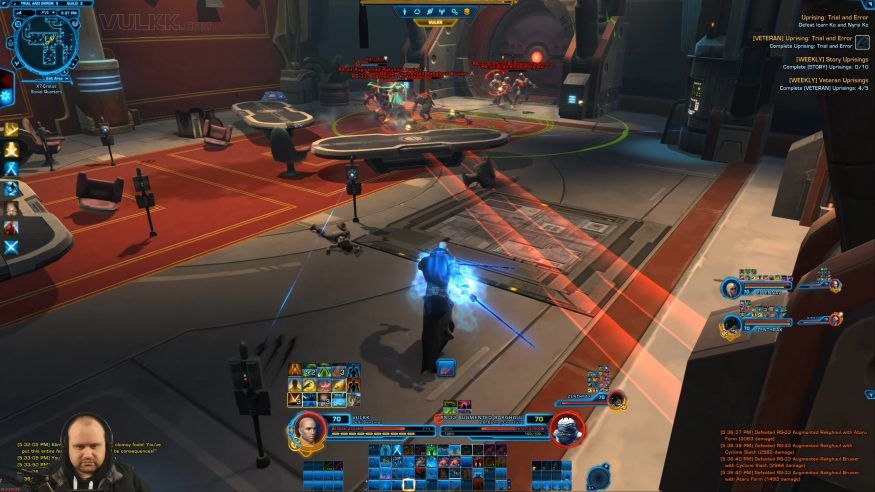
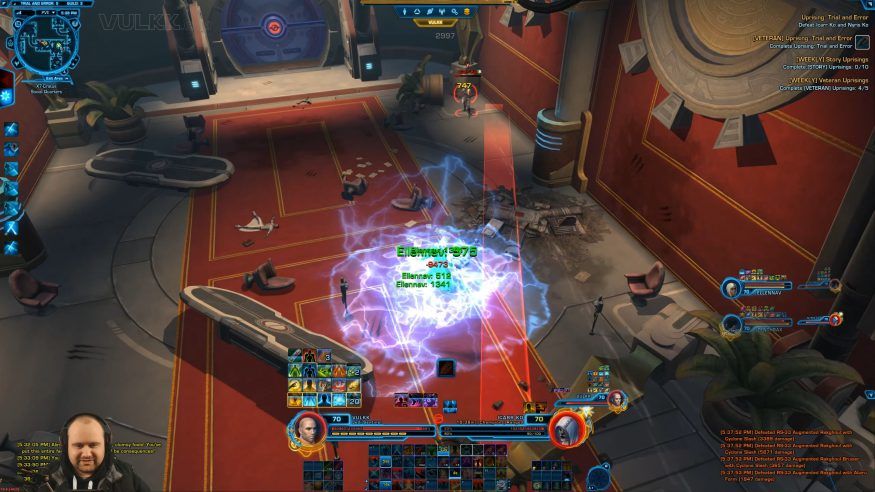
2nd Boss: Nyris Ko and Icarr Ko
Mechanics
- Story Mode HP: XXX| Veteran Mode HP: 434k each
- There are several adds groups spawning during the first part of the fight. Not too hard to kill, but due to the many obstacles in the room, it can be slower.
- The 2 bosses teleport constantly and channel snipe abilities (Exterminate, 2.5s channel), projected as red beams on the floor. This ability hits quite hard, but can be avoided easily.
- Do not cross the thin light blue lines located in several positions across the room. They will stunn you for a few seconds
- There is no need to kill the two of them at the same time. As soon as both disappear, you go into the next room to finish them in part 2 of the fight.
- Part 2 involves the 2 names boss mobs and a few waves of adds spawning. Once again, you do not need to kill them at the same time. Gather them and the spawning adds together and AoE.
- For Part 1 of the fight, the 2 champions have 434k HP each. once again.
Screenshots
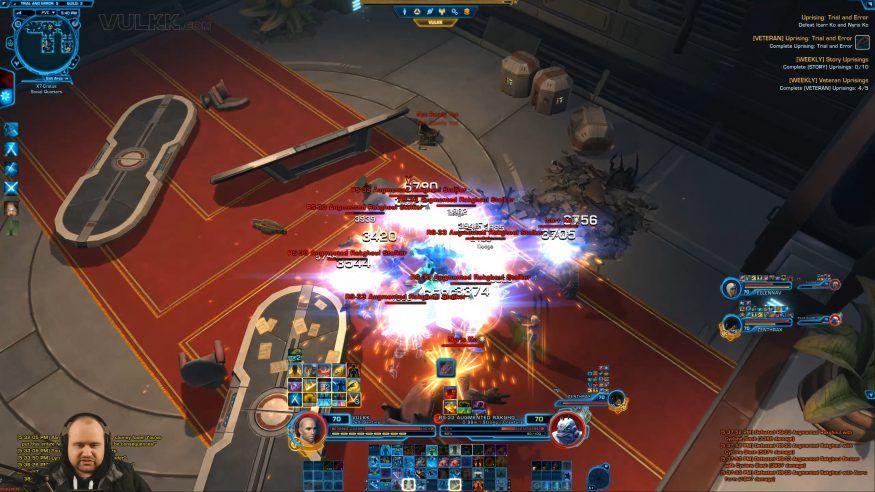
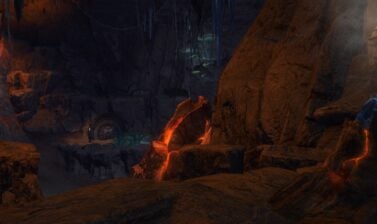
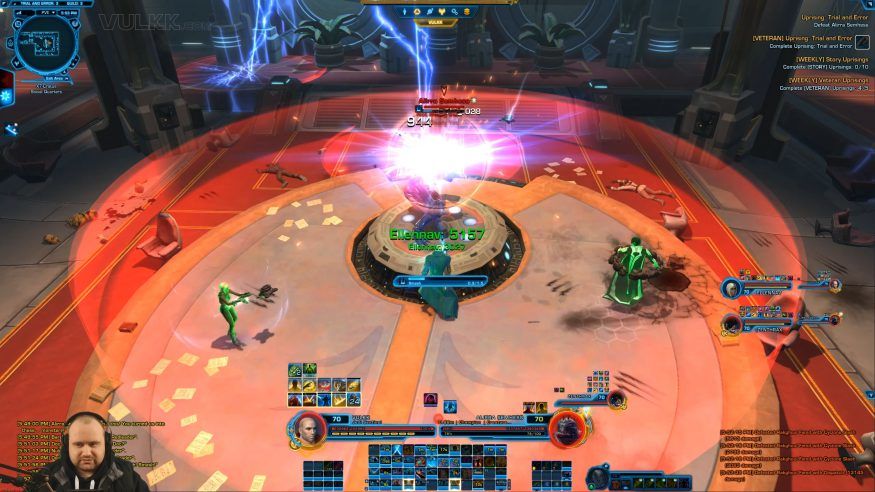
3rd Boss: Alirra Semhess
Mechanics
- Story Mode HP: XXX| Veteran Mode HP: 832k as human, 1.36 mill as Rakghoul
- At first she will be shielded. Click on the 4 consoles on the columns nearby to disable her shield.
- The Za-99 mine droids explode when killed, dealing damage to nearby players. Kill them with range attacks, preferably. The damage is not too high, can be taken one by one by MDPS too.
- During the first stage of the fight you can take turns to interrupt her 2 channeled abilities Toxic Bomb (1.5s) and Knife Storm (1.0s)
- The Rakghoul Fiends (silver adds) that spawn can deal a lot of damage if they focus on one player. Combining that with the possible DoTs Semhess can put on players (if not interrupted), it may result in a tough healing situation some times.
- Once you take her down to 0HP, the 2nd Stage of the fight begins. Semhess is resurected as a Rakghoul (Lorrick, anyone? :P).
- The special attack she does is Smash (1.5s channel) – a full AoE that can easily be avoided.
- The last thing worth mentioning are the lightning beams that form circles on the ground – yet again easy to escape from and avoid completely. Staying in them, players will take moderate damage.
Screenshots

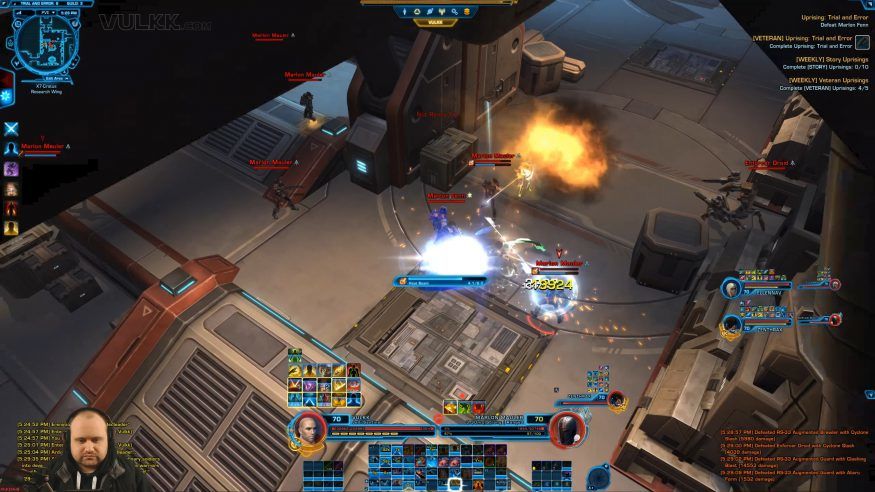
Videos
The video section will show you my currently available videos with gameplay and guiding commentaries about the various mechanics inside the Uprisings and the boss encounters there.