This is a complete guide to the SWTOR Spirit of Vengeance Flashpoint, released with Game Update 6.2 on December 9th, 2020. This guide explains the boss mechanics, achievements, lore objects and a few secrets and it is valid for all difficulty modes!
Table of contents
Boss Encounters
These bosses are much easier if you have a good understanding of how your class works and are able to pull good numbers. All of the damage dealt by these bosses is quite healable and a lot of the time you can just skip mechanics entirely if your DPS is high enough, so try to practice on the dummy if you can and definitely read the guide for your spec if you haven’t already!
First Boss: Gorga Brak
This boss has the most health by far and there aren’t any adds, so make sure you’re using your single-target tactical. In addition, make sure you equip your single-target tactical before clicking the console in this room since he aggros as soon as the cutscene is over. He doesn’t really have much in the way of significant mechanics.
Fire Bomb

This attack just leaves a big red circle on the floor that deals a bit of damage if you stand in it. He tends to throw it at your companion, though occasionally he will throw it at you as well.
Full Auto

This attack will root you in place for the duration of the channel, you can survive without doing anything, though it does hurt a fair bit. He doesn’t do this attack too often, but you should definitely interrupt it if you can. Otherwise, pop a DCD.
Master Mode
- When you interrupt the boss, he gains stacks that make him do significantly more damage. You will likely wipe if he gets interrupted. It is safe and recommended that you interrupt Flame Sweep specifically though.
- Full Auto’s channel can be broken with your CC break ability or any ability that breaks roots, which a lot of movement abilities have or can have with a utility. This attack still does a lot of damage, so make sure you are able to quickly break out of the root and if those abilities are on cooldown, make sure you pop a DCD.
- Tank needs to re-taunt the boss during the cast of Full Auto since he will do a threat drop.
Optional Bonus Boss: Goldie and the Goldie’s Locks Bonus Mission
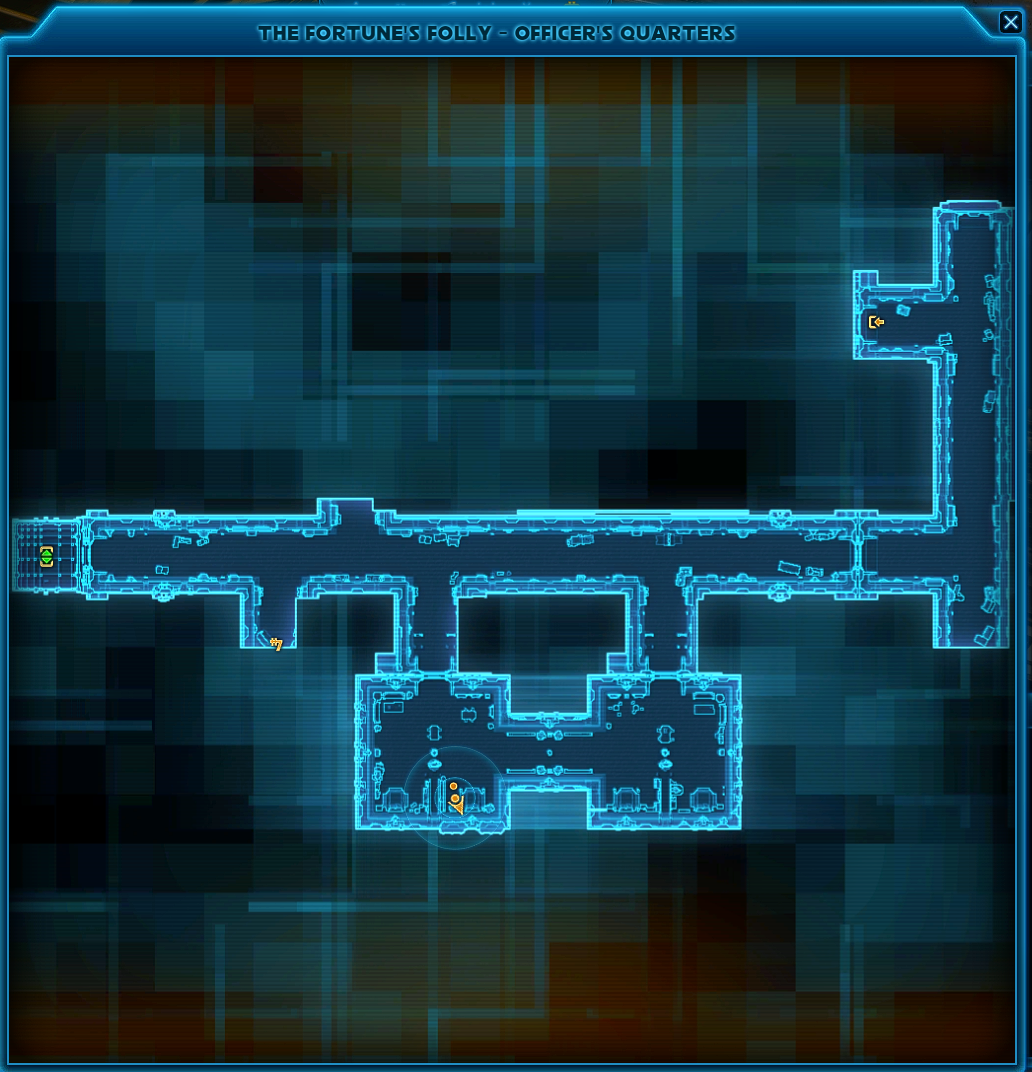
This boss is a rancor named Goldie that requires you to complete the Goldie’s Locks bonus mission on the Fortune’s Folly (second) ship. There are two keys hidden in the Officer’s Quarters.
First Key


Second Key

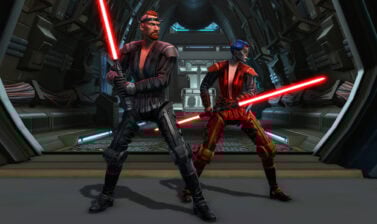
Goldie herself is on the next floor and seems to be basically identical to the Savage War Beast rancor you fight as part of the first boss fight of the Legacy of the Rakata Flashpoint. No adds spawn, so you should use your single-target tactical item. Goldie has three attacks:
Slam
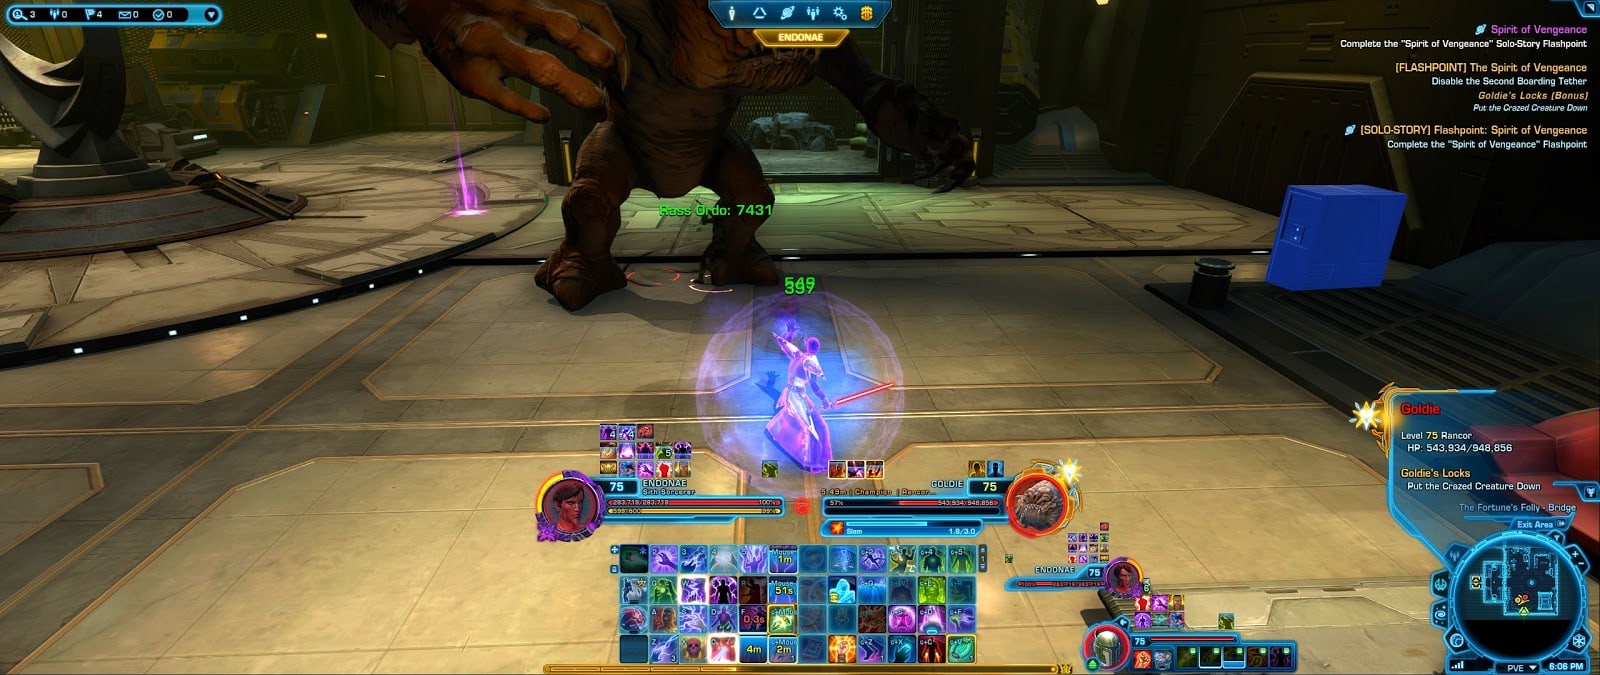
This attack is basically just flat damage, it also knocks you, so if you have an ability that prevents you from getting knocked around, use it.
Left-Handed Swipe

This swipe places a telegraph on the ground wherever the person is that the boss is currently targeting. All you have to do is move out of it.
Right-Handed Swipe

This swipe follows whoever is being targeted. If you are the target, you may want to pop a DCD.
Master Mode
- Each time she does Slam, she gains a stacking buff that makes her next Slam deal more damage. This seems to function as a small DPS check.
- As the tank, make sure the boss is pointed away from the rest of the group (this is standard practice for tanking in general) so they don’t have to worry about either of the swipe attacks. If the Left-Handed Swipe is not the end of the world since everybody can just move out of it, but that doesn’t work for the Right-Handed Swipe, so make sure the tank is the only one getting hit by that attack.
Second Boss: Bask Sunn

This boss just has several enemies, more did not spawn in the time it took for me to kill him. I would recommend using an AoE tactical since this boss has fairly little health.
This boss does have an instant Rocket Punch attack that hits very hard, so don’t panic when you instantly lose 70% of your total health, just run over to one of the medical stations and you’ll be fine. You might want to pop some DCDs if the adds aren’t dead so they don’t kill you.
Master Mode
- Bask has a lot more health, so you should definitely use the single target tactical, make sure to kill the adds first though.
- He always does a Rocket Punch that hits super duper hard right after he does his knockback ability, so make sure to pop a DCD at that point. Healers need to make sure that everybody has as much health as possible so that they don’t get murdered by the Rocket Punch.
- Tank should try to have their back against a wall or pillar to mitigate the knockback.
- There is a grapple rope that tethers a tank to another player. Make sure everyone is in a straight line behind the boss except the tank. This seems to prevent him from doing the uppercut by stunning him. He really doesn’t hurt though outside of the uppercut though, so if you can just manage to keep everyone at full health and be prepared with a DCD when he does a knockback, you don’t necessarily have to worry about this mechanic.
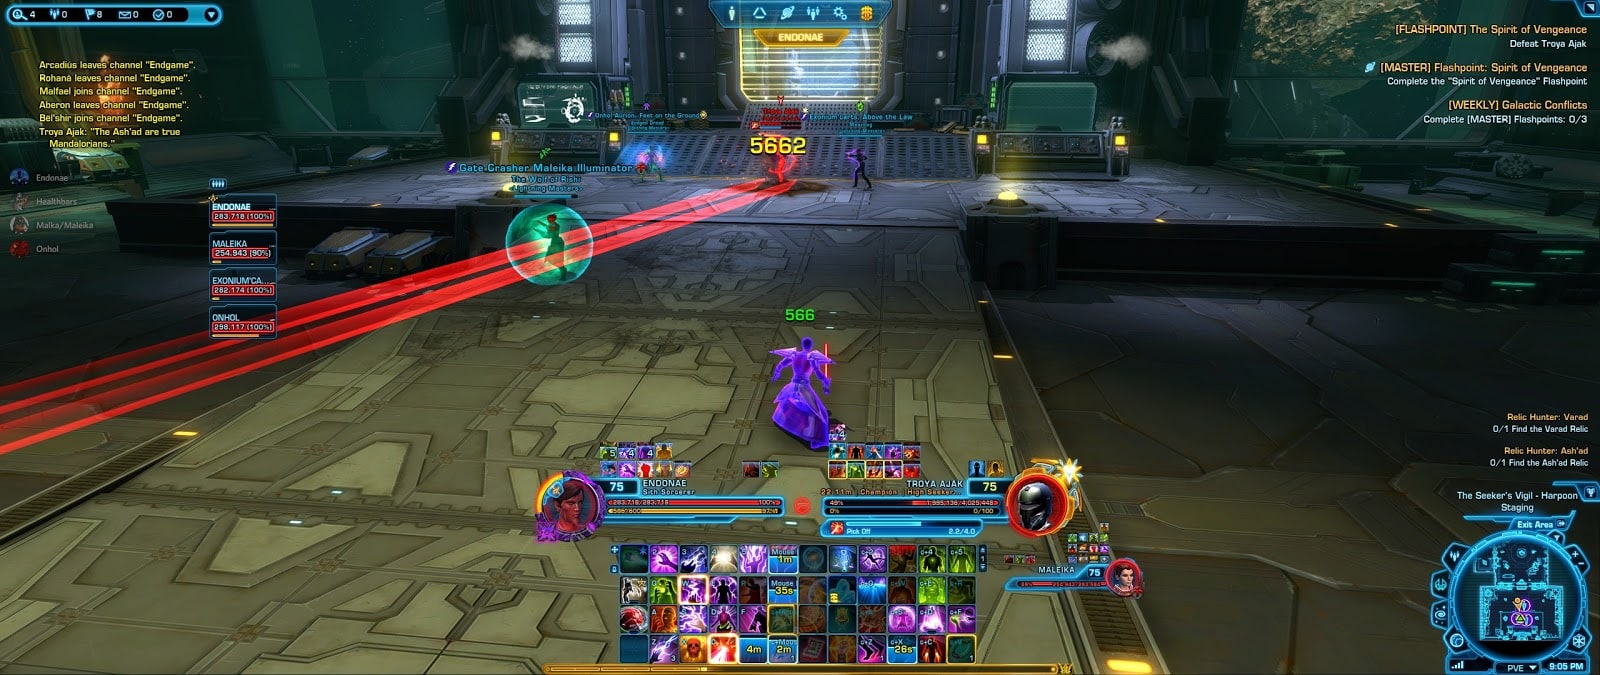
Third Boss: Troya Ajak
This fight seemed a bit buggy for me. Before clicking the panel, make sure you are out of combat since this triggers a cutscene. If you are still in combat with the snipers from the room with the two lore objects and the trash pit, make sure to stuck it before clicking the panel since there doesn’t seem to be a way to get the snipers to de-aggro. If you don’t do this, you will have to reset the phase and start the entire FP over.
The boss itself has very little health and based on one of her debuffs, I think she is supposed to go invulnerable periodically. Since I did not observe any adds, I would recommend using your single-target tactical here. I was only able to document a single attack:
Songbirds Volley

I think this attack is supposed to be a reference to the Whistling Birds used by Din Djarin from The Mandalorian TV show. The attack itself is a 15 second channel, I didn’t really take any damage, so I’m not sure what was supposed to happen here. When I tried it in Master Mode, it seemed to just deal a bit of damage to everybody, so pop a DCD.
Master Mode
She does a 4s channel that deals damage but also puts a tracking red circle beneath you. I have a feeling the intent is to have you group up for AoE healing during the 15s channel and then spread out slightly during the 4s channel so you aren’t hitting others with your circle.
Pick Off
This ability tracks a single player and has a very tiny telegraph. There are two ways to deal with this. First, that player can pop a DCD and you can just try to avoid everybody with it, otherwise you can have everybody stack in the telegraph and the damage will get shared among the people that stack. The damage is very healable, though if you are having trouble with numbers, you have to be good with awareness and have everyone stack.
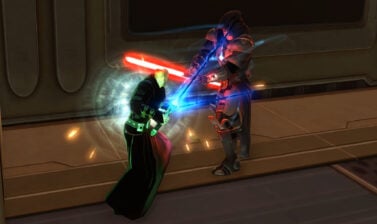
Final Boss: Heta Kol
This is the final boss of the encounter, it has a few more mechanics than the previous bosses, which is expected given it is the final encounter. Heta lets you damage her for a bit, then she flies away and some adds spawn. Once the adds are dead she comes back down. This fight does have adds, so you may want to use your AoE tactical. They’re pretty similar to individual trash pulls though, so if you’re having trouble with Heta’s mechanics, you might want to use the single-target tactical instead. It’s up to you.

Heta Kol has several attacks:
Some sort of sticky grenade

This attack doesn’t have a cast, she just throws a sticky grenade that blows up on you a couple seconds after attaching. The debuff is green. Pop a DCD if you want. I noticed that this attack mostly went to my companion. You will get knocked down though, so if you have some sort of immunity ability, use it here. You can technically cleanse it, but it deals so little damage that I don’t think it’s worth it. It is cleansable via the tech cleanse that Operatives/Scoundrels and Mercenaries/Commandos have as well as with Purges like Force Shroud.
Lockdown

Heta will place many circles beneath you in quick succession. The best thing to do is interrupt the 15 second cast, though if your interrupt is unavailable, kite the circles and pop a DCD.
Execute
After Lockdown, Heta does an attack called Execute. I would imagine that it just kills you if you’re below a certain percentage and does not seem to do any damage otherwise, or perhaps kills you if you are stuck in one of the circles. The cast is very quick, so I was unfortunately unable to get a picture of the attack.
Master Mode
The lockdown attack is interruptible. I personally recommend interrupting it, though it is pretty easy to just kite as well and that gives the DPS some time to really lay into the boss. She jumps around doing Executes afterwards, so melee DPS will have trouble doing damage to her during this time, so you may need the 15 seconds during the Lockdown channel. If you have ranged, this shouldn’t be a problem though.
Flamethrower
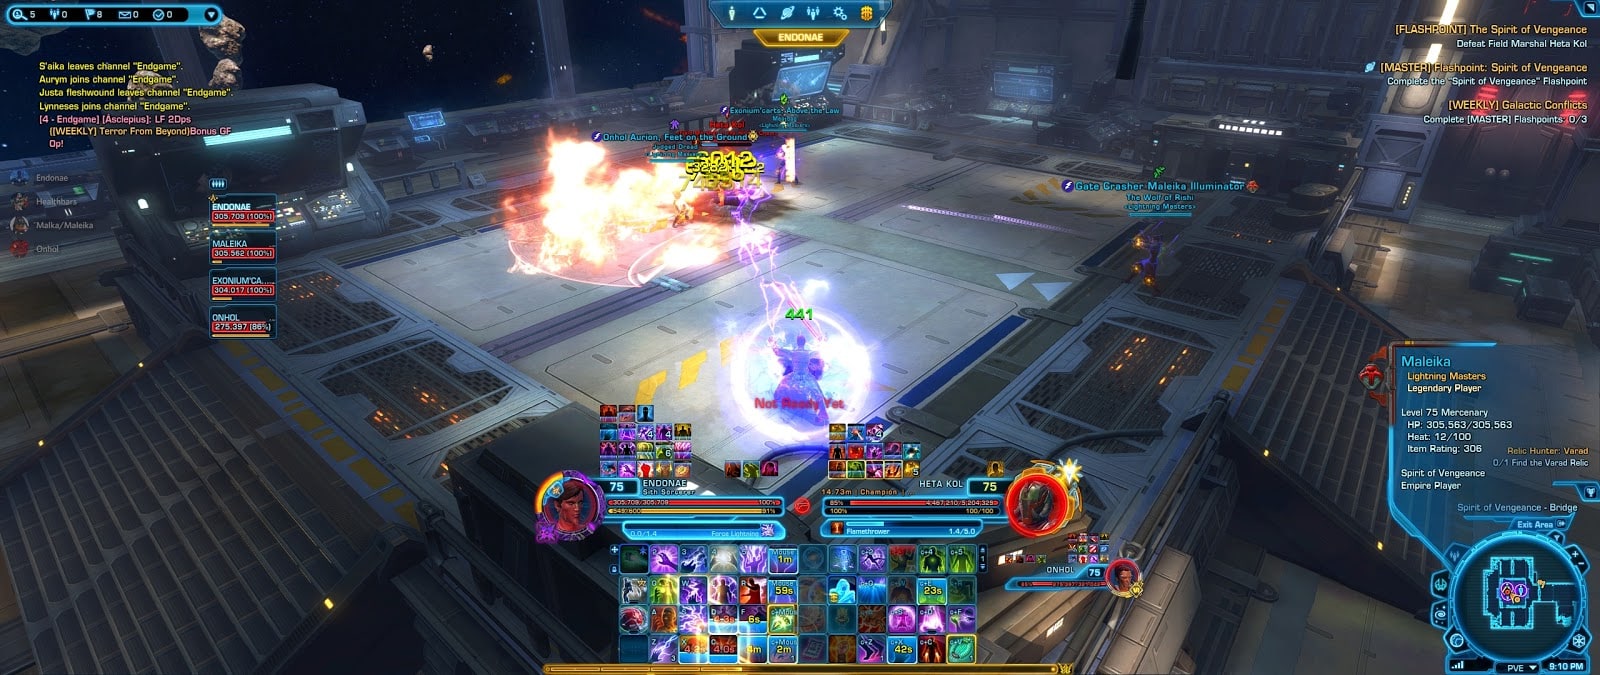
Heta does a Flamethrower conal ability. It’s not really all that different from a basic attack. As a tank, make sure you aren’t pointing the attack at anyone else and make sure you’re not standing in front of her if you’re a melee DPS. This attack is interruptible and it is recommended that you try to interrupt it when possible.
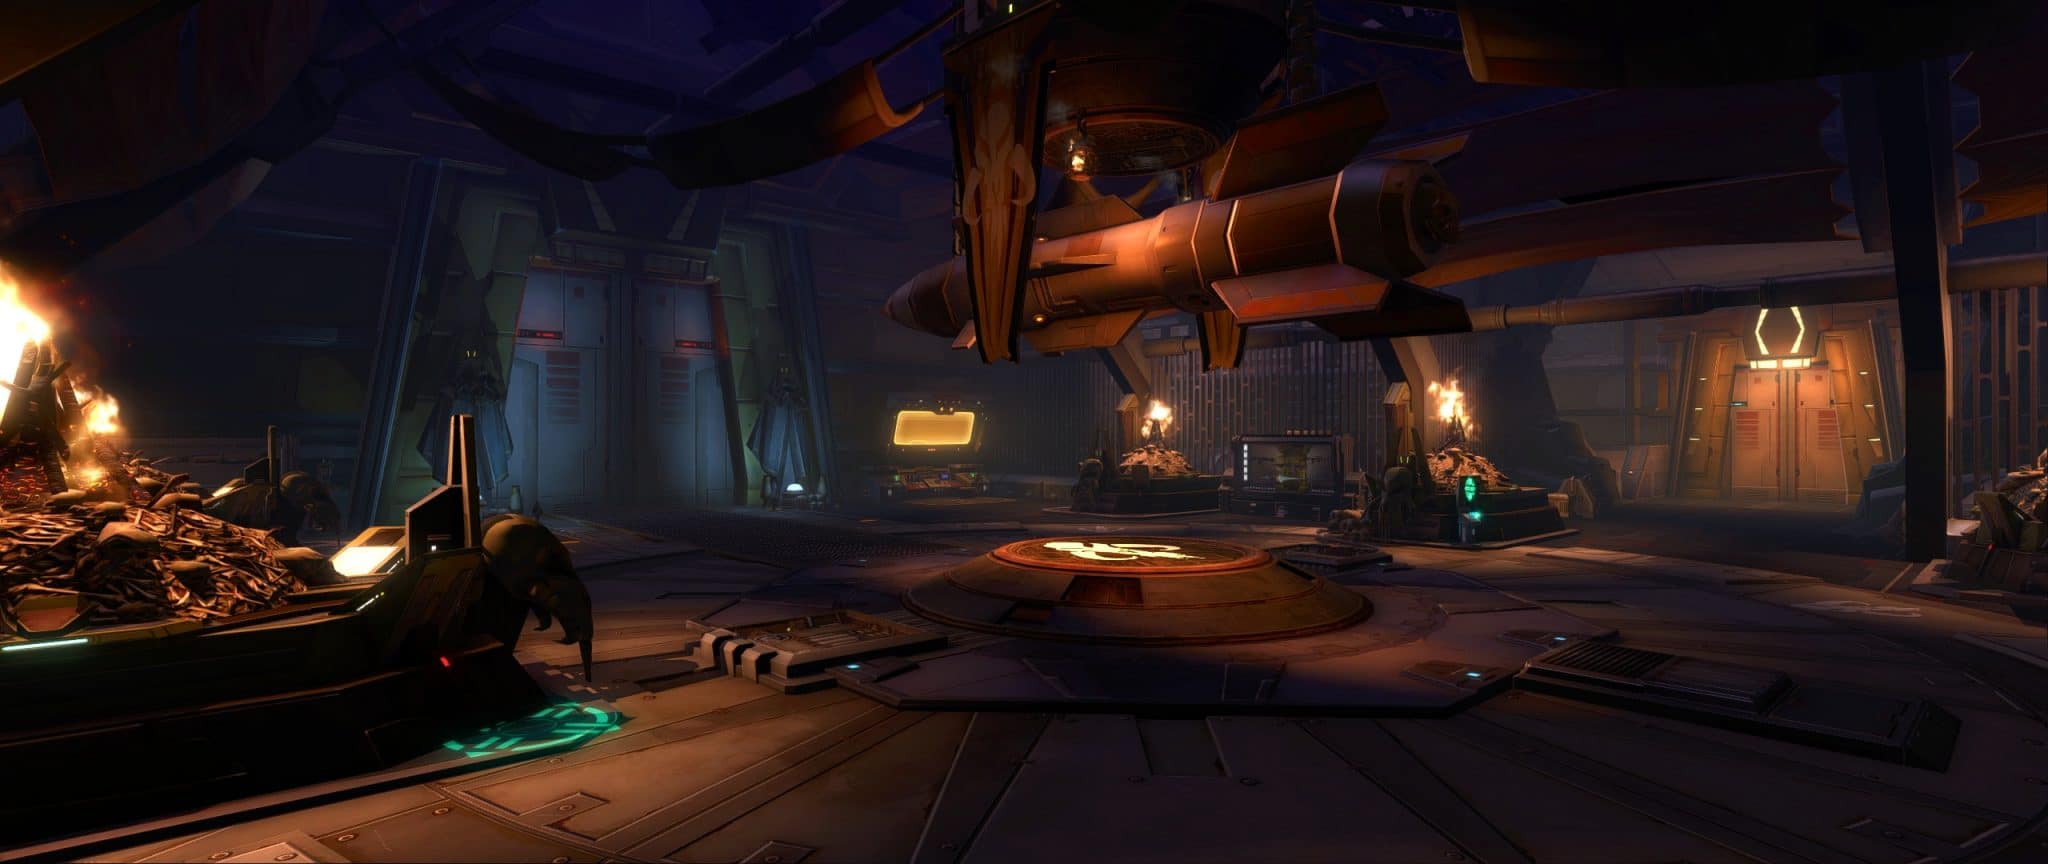
Lore Objects
There are 5 lore objects throughout the flashpoint:
First Datapad on Fortune’s Folly


Second Datapad on Fortune’s Folly


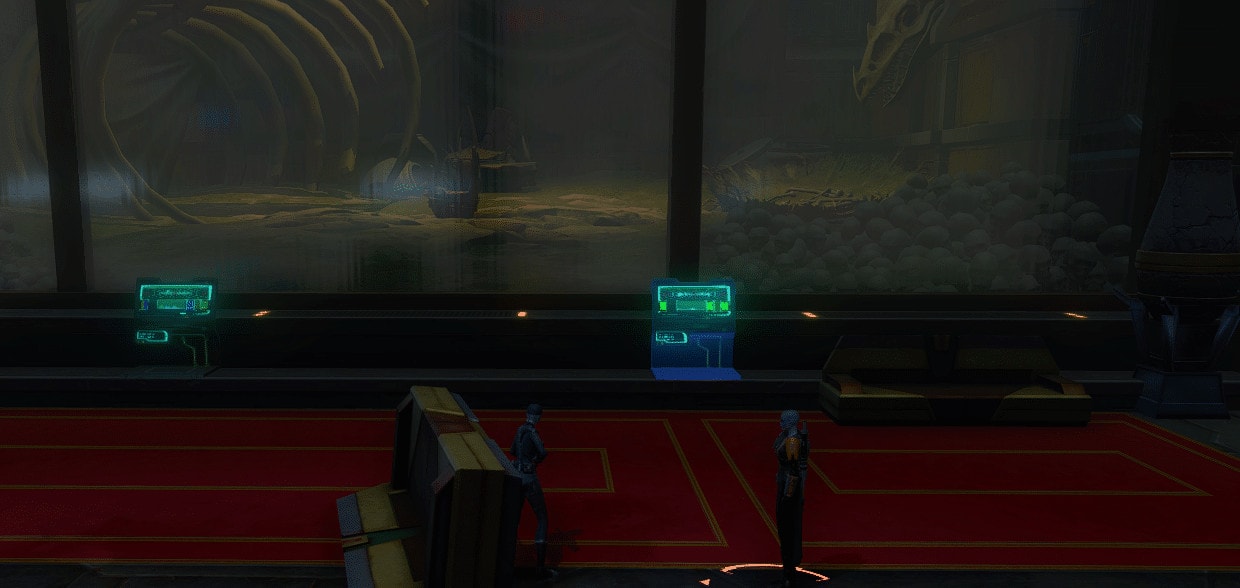
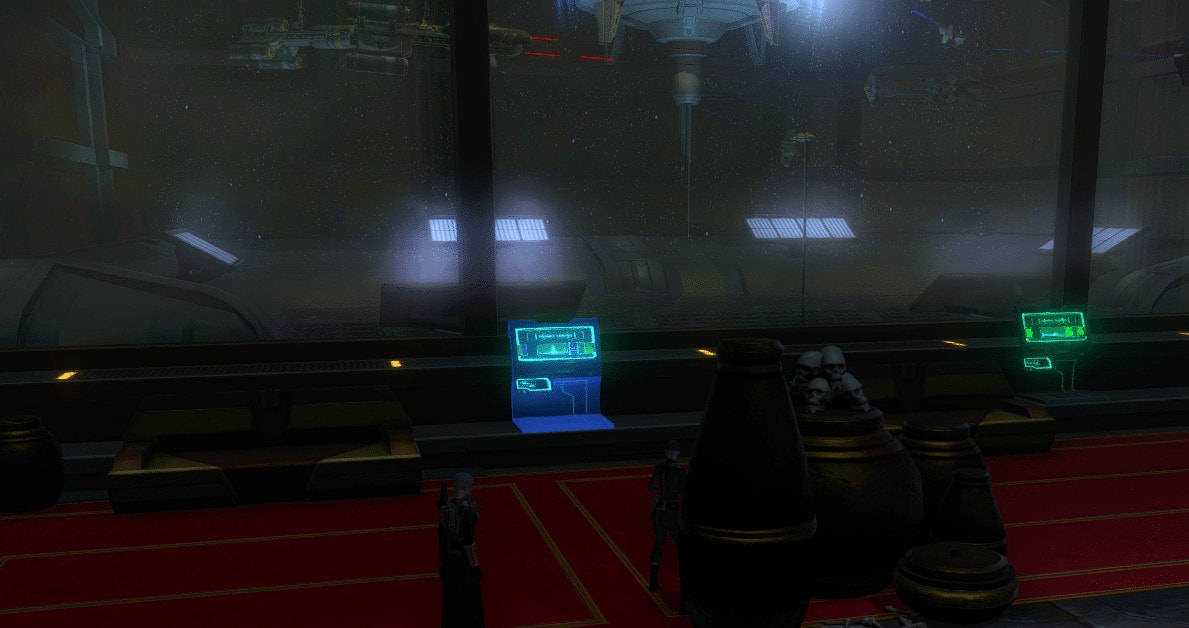
2 Lore Objects in the Sniper Room
Toy on The Seeker’s Vigil


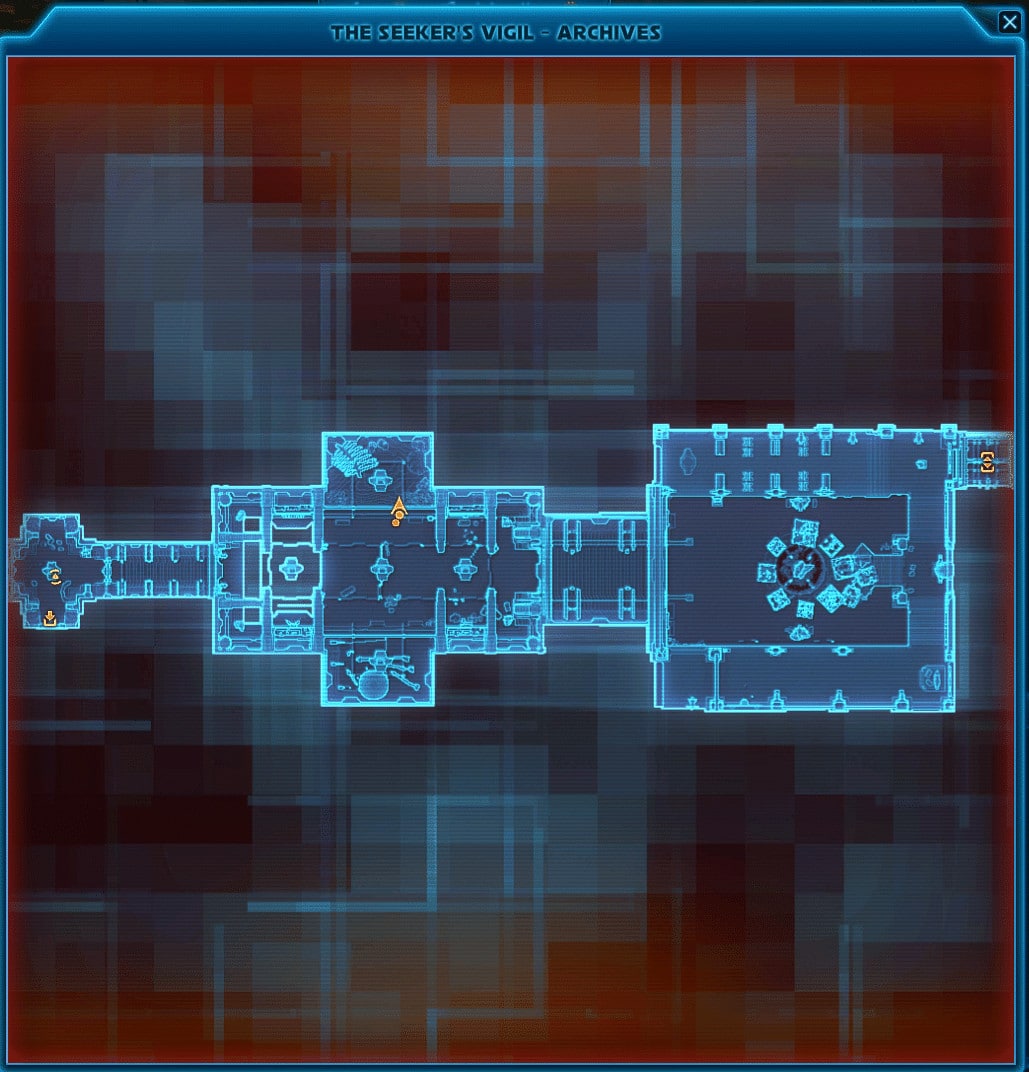
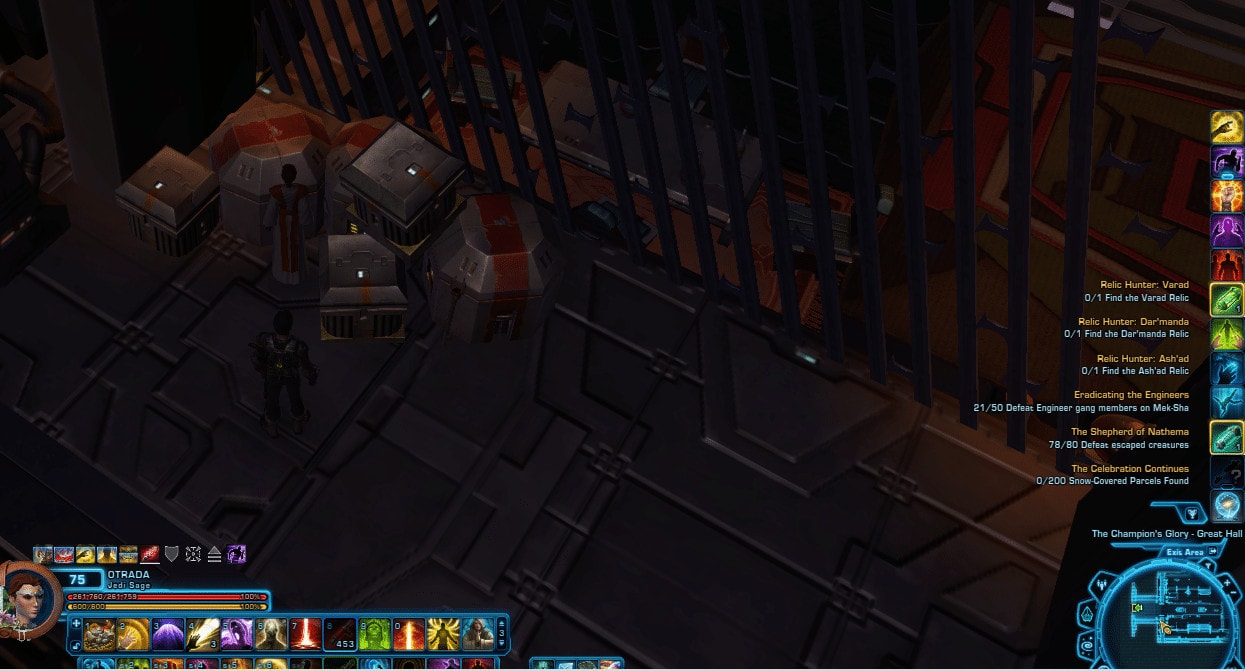
Relic Hunter Achievement Locations
Please note that these relics are always in these rooms, but some players have reported that their locations within these rooms can be different and some players have posted alternative locations for the relics in the comments, so you may want to check those out.You can get multiple relics per run as well, it isn’t just one relic per run as some have suggested.
Relic Hunter: Ash’ad


Relic Hunter: Dar’Manda


Relic Hunter: Varad
Thanks to Kristof Steichert for sending this image with the location of the item.
Hidden Achievements
- Not so Profitable Now, Is It? – Defeat all War Profiteers
- Precision Platformer – Be the first to cross the gap
- Race to the Bottom – Be the first to jump down the trash hole trap
- Mercy of the Wicked – Spare the War Profiteers (thanks to Kathryn)