A complete guide to the Ruins of Nul Flashpoint on Elom in SWTOR. Includes detailed walkthrough, tactics and mechanics for all encounters! Includes Master Mode specifics!
The Ruins of Nul, also known as the Elom Flashpoint, was released with SWTOR Game Update 7.0. It features three boss encounters, one bonus mission that ends with a bonus boss and no secret achievements to discover.
In Master Mode (MM), the second boss is currently extremely challenging, so I do not recommend doing this Flashpoint with a random group, at least until you have Legendary Items and 326 gear.
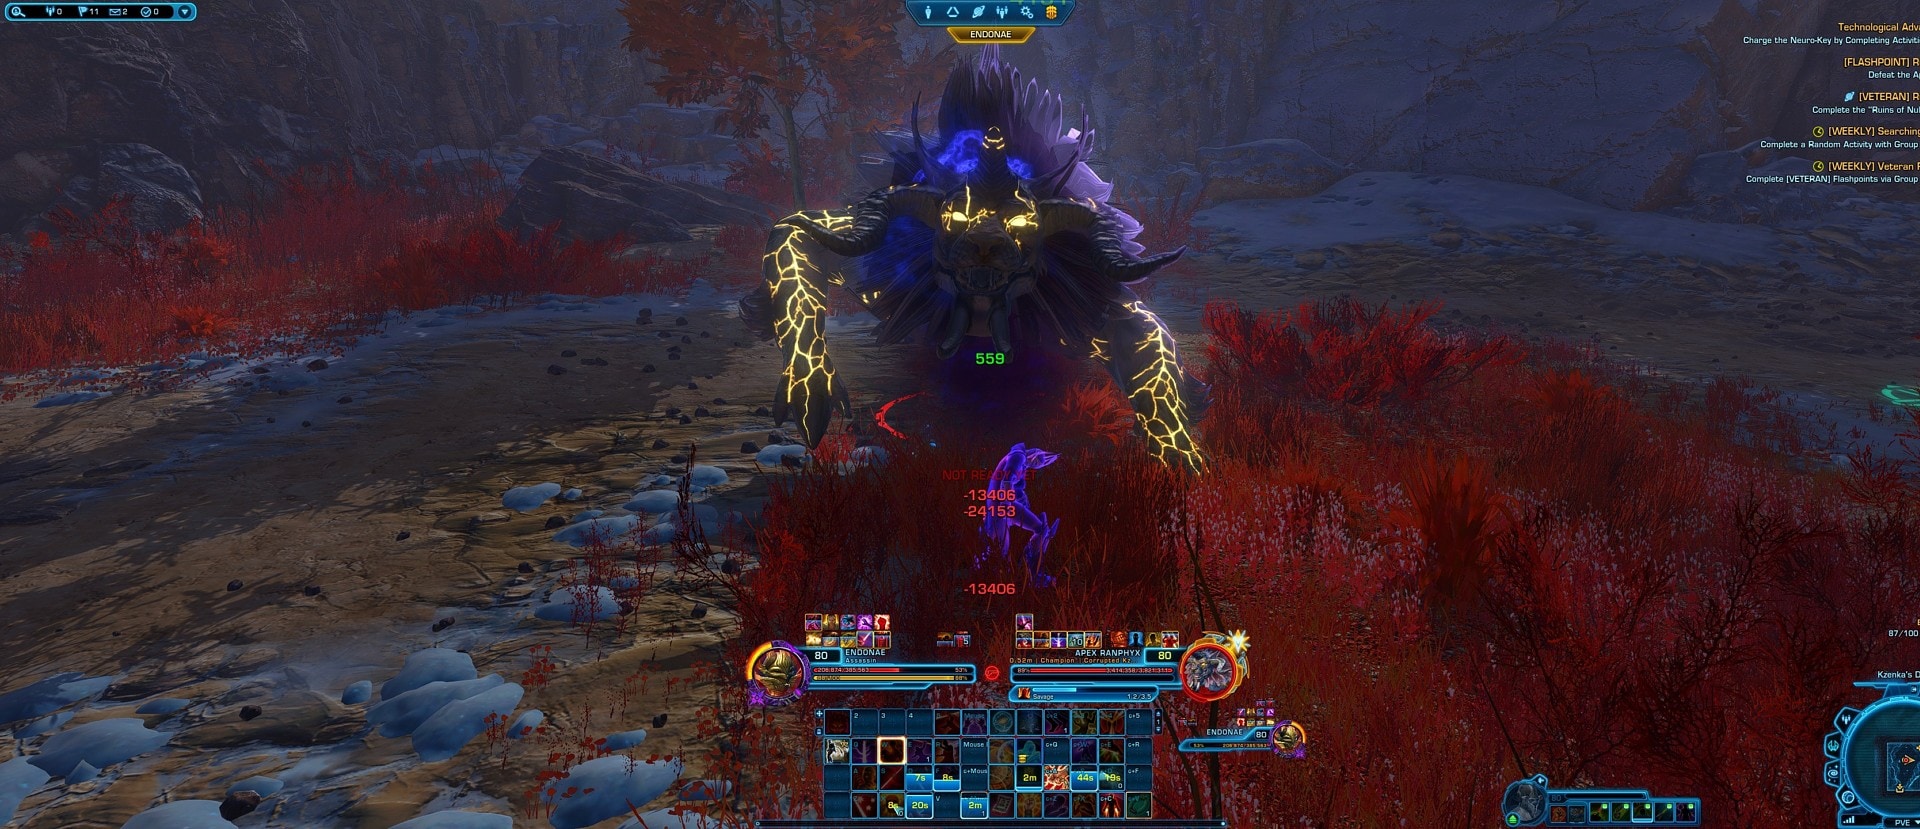
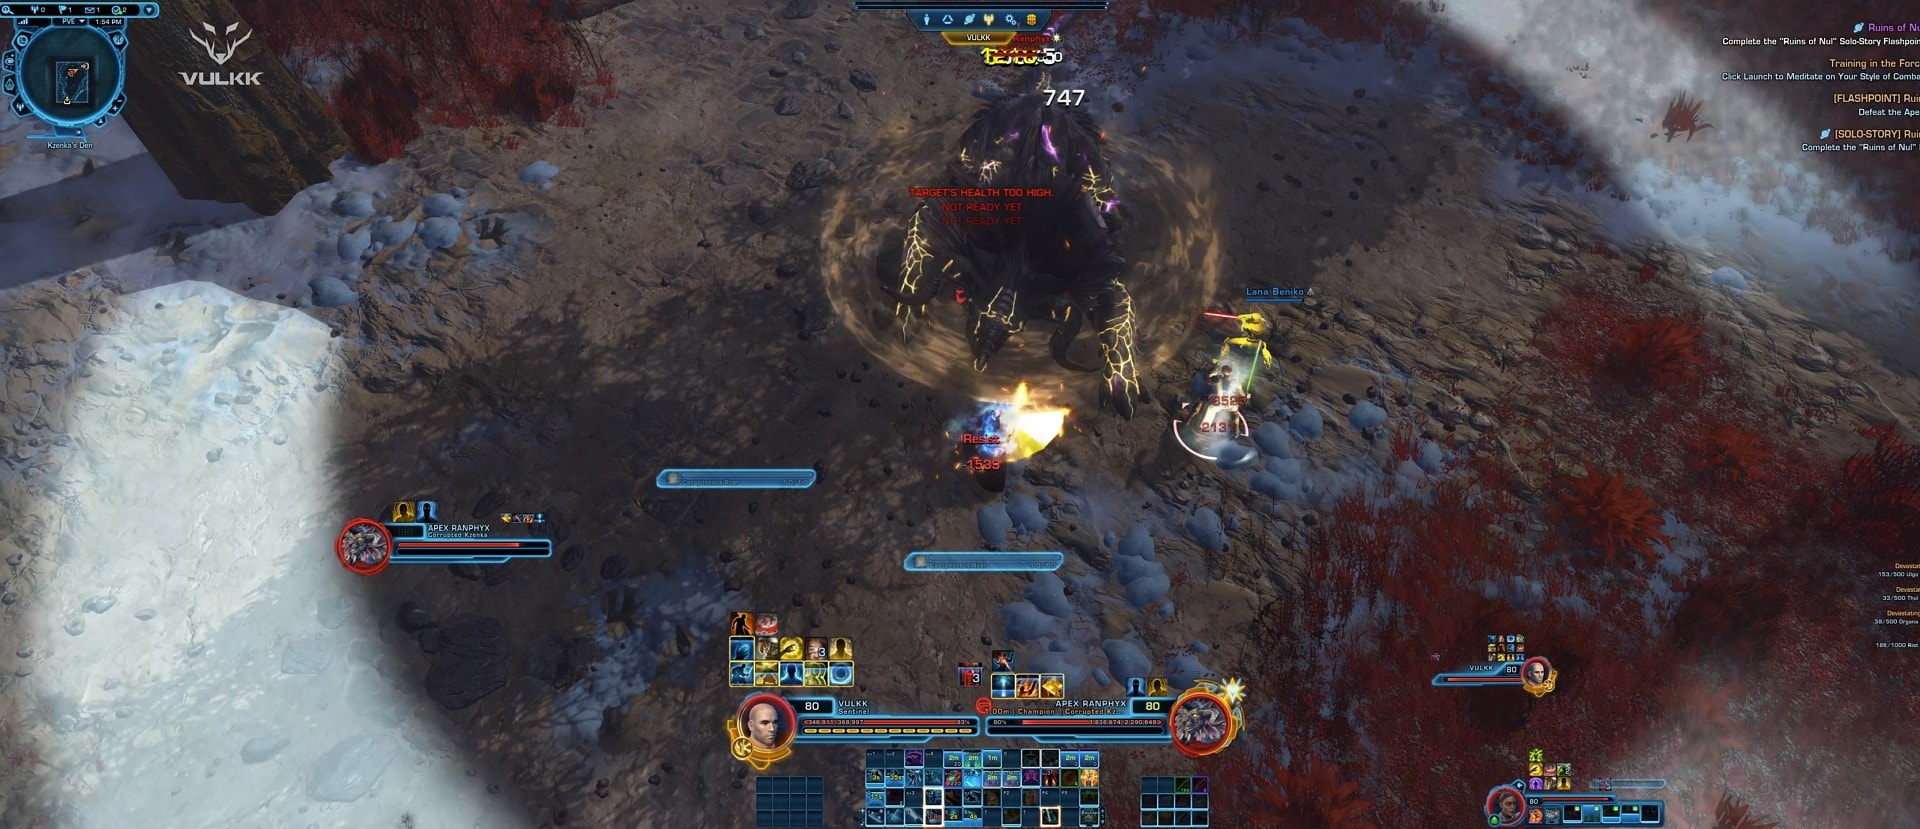
First Boss: Apex Ranphyx
The first boss is a big Ranphyx monster. Below is a description of each of its special attacks and how to react.
Savage
This attack stuns the primary target for 3.5 seconds while dealing damage. Tanks should take their Stun DR ability tree option. It can also be CC broken.
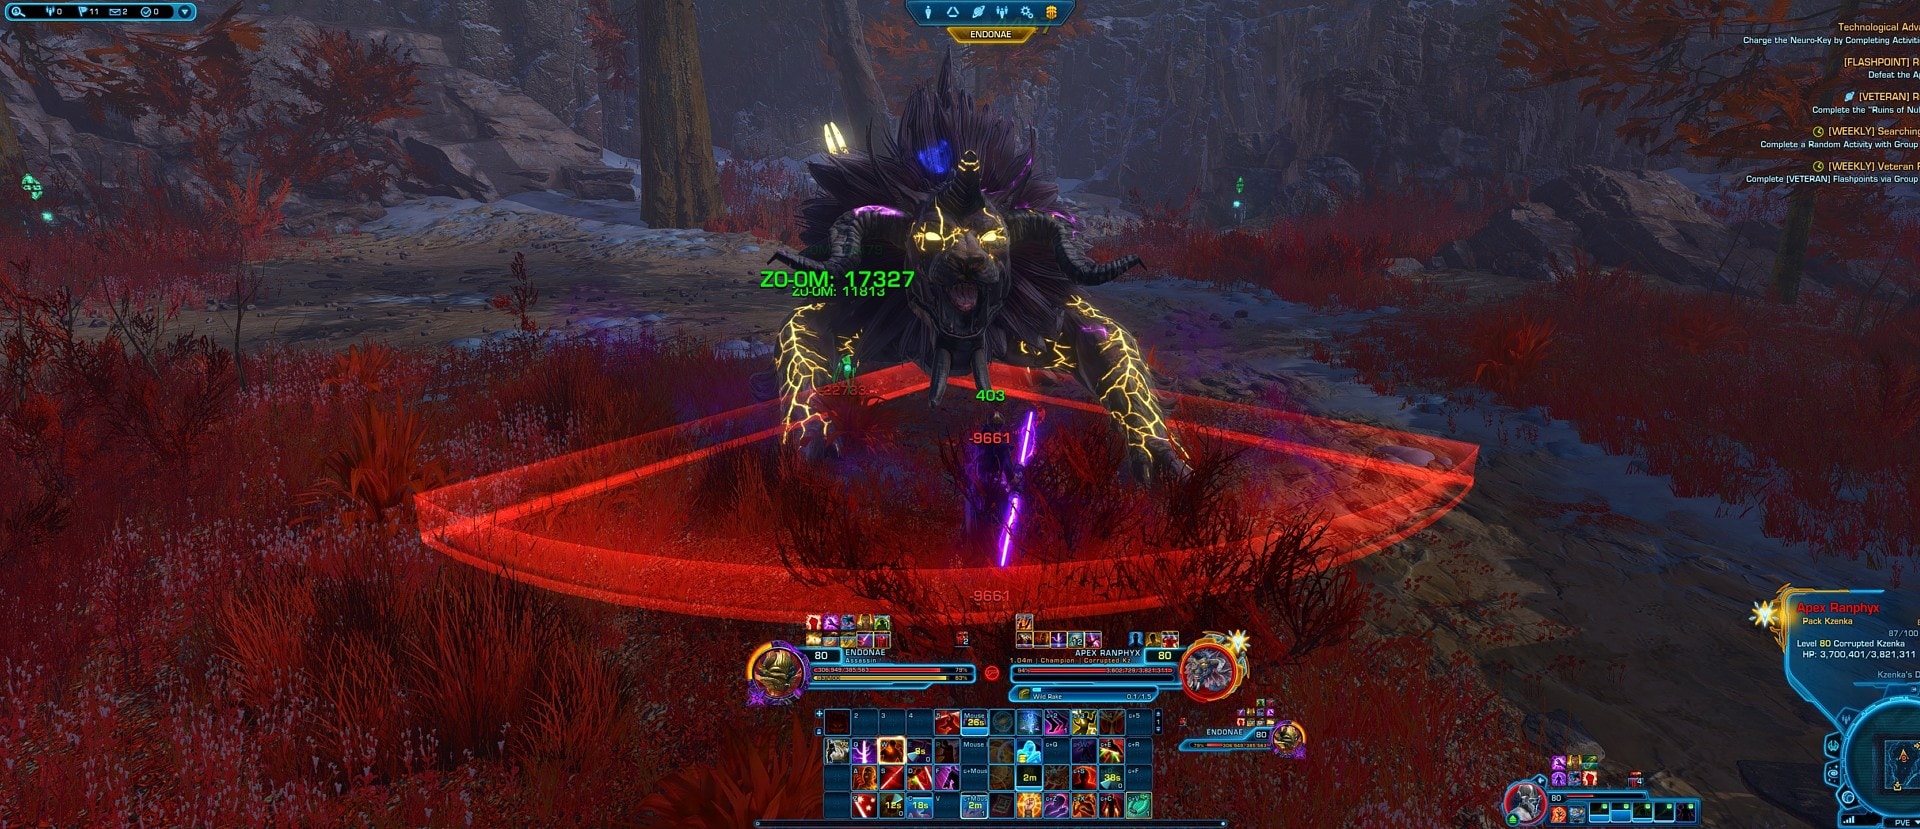
Wild Rake
This is a frontal cleave, just back out of it. Try to keep the boss pointed away from other group members so they don’t have to worry about it.
Harrowing Bellow
Once the boss goes below 50%, can begin casting Harrowing Bellow, which is just a beam attack that follows its target. If you’re pointing the boss away for Wild Rake, it shouldn’t be an issue for the rest of the group. It is unavoidable, so you may need to pop a DCD to mitigate it.

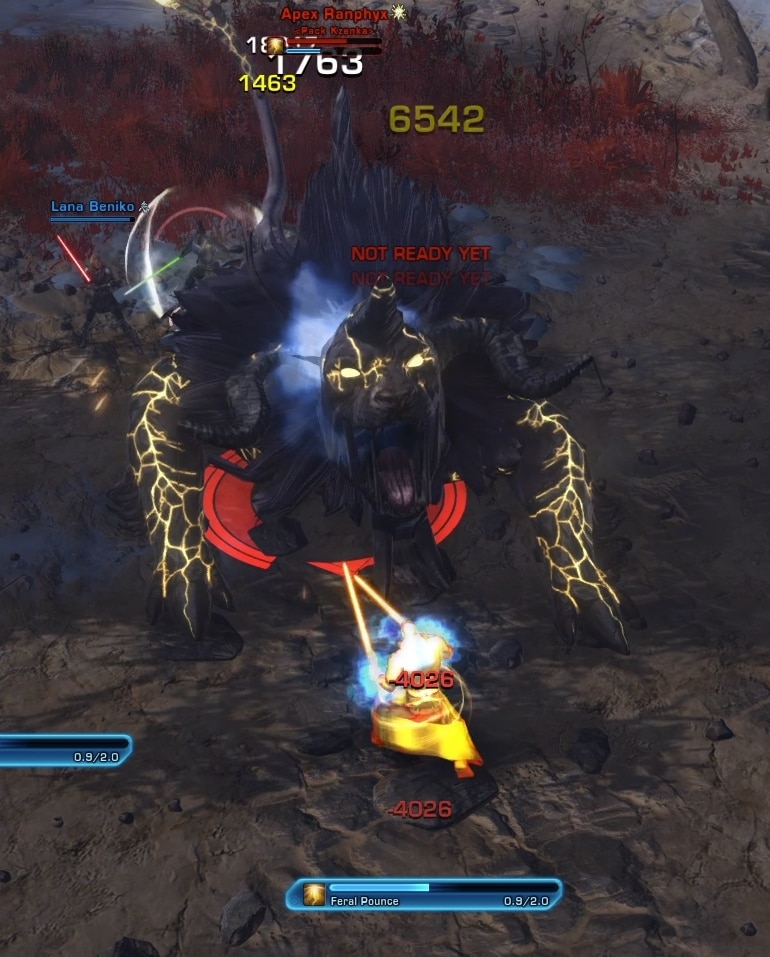
Feral Pounce
I couldn’t get a good picture, but the boss appears to jump to at least 1 member of the group, sometimes multiple, so be sure to spread out when you see the cast so you don’t get hit more than once. This attack is reminiscent of Sparky’s Rampage attack (first boss of Ravagers).
Cacophonous Roar
This attack was not working consistently, it appears to deal a lot of damage and knock everyone back. Pop a DCD when you see this cast.
Deep Wounds
This is a stacking DoT you can see in several pictures with a red skull icon ![]() . I think it might be cleansable by something, but I wasn’t able to test it thoroughly. It seems to apply stacks from every other attack the boss does.
. I think it might be cleansable by something, but I wasn’t able to test it thoroughly. It seems to apply stacks from every other attack the boss does.
Master Mode Mechanics
The first boss is not that different in MM. The only additional mechanic is a debuff called Gouge that makes you take more damage from the Deep Wounds DoT.
I think it is cleansable, but it usually goes out to multiple players at once, which makes it impractical to cleanse. Really, it just serves to makes proper tanking more important so that you’re minimizing the amount of Deep Wound stacks on the rest of the group so healing and DTPS are manageable.
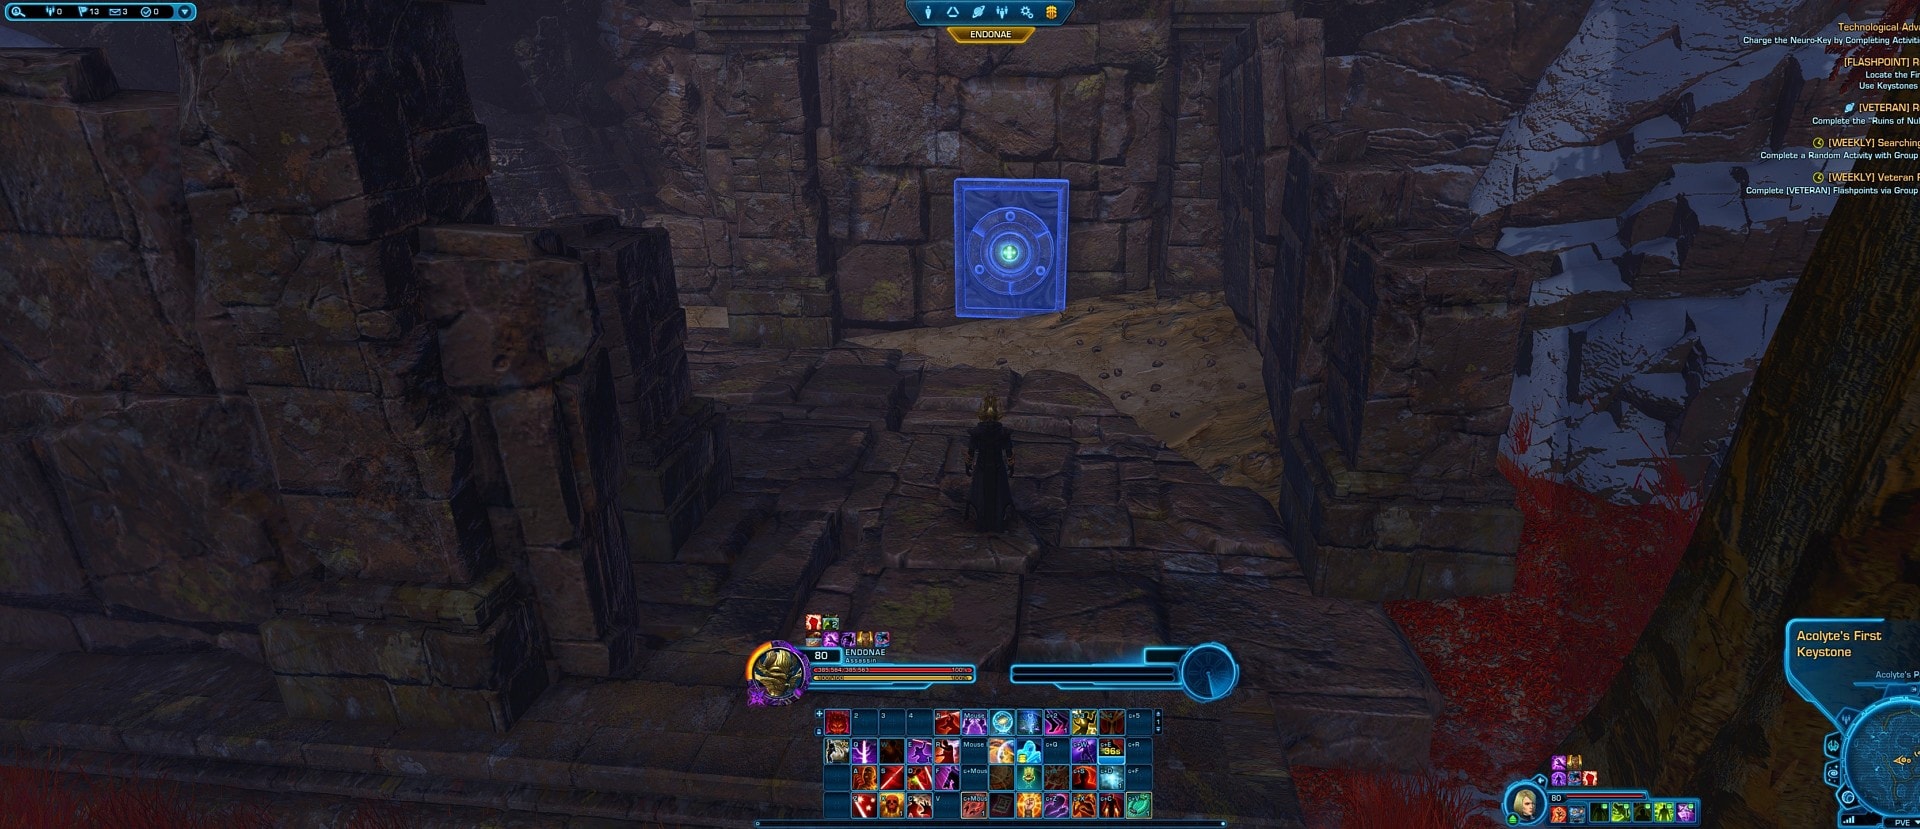
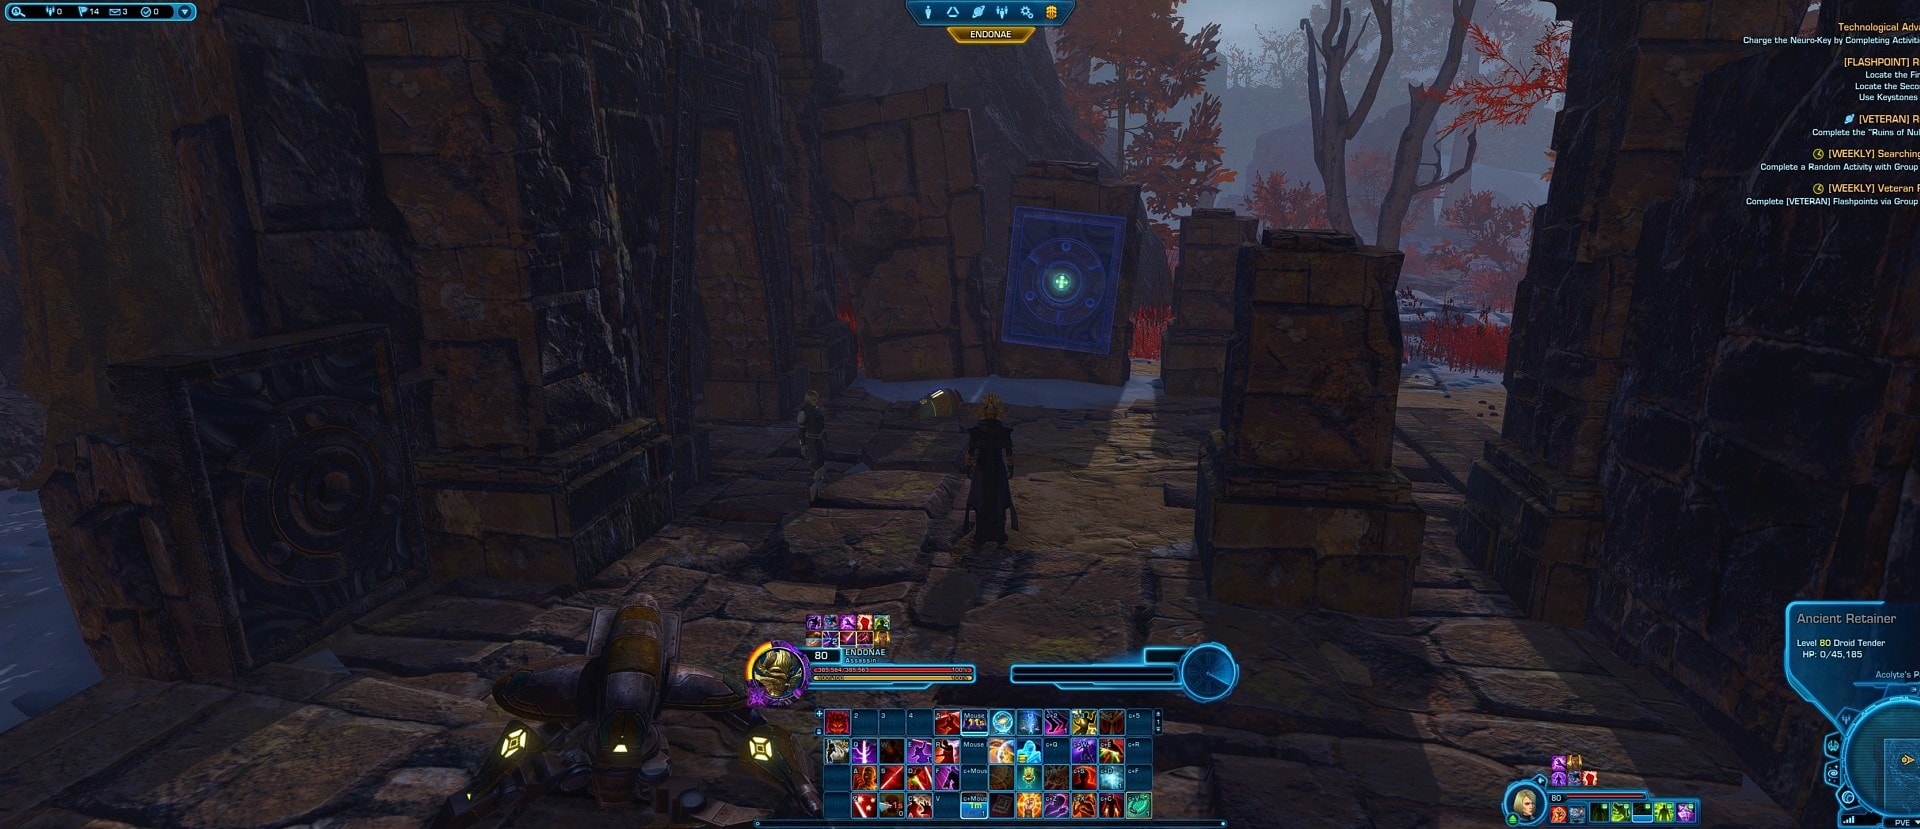
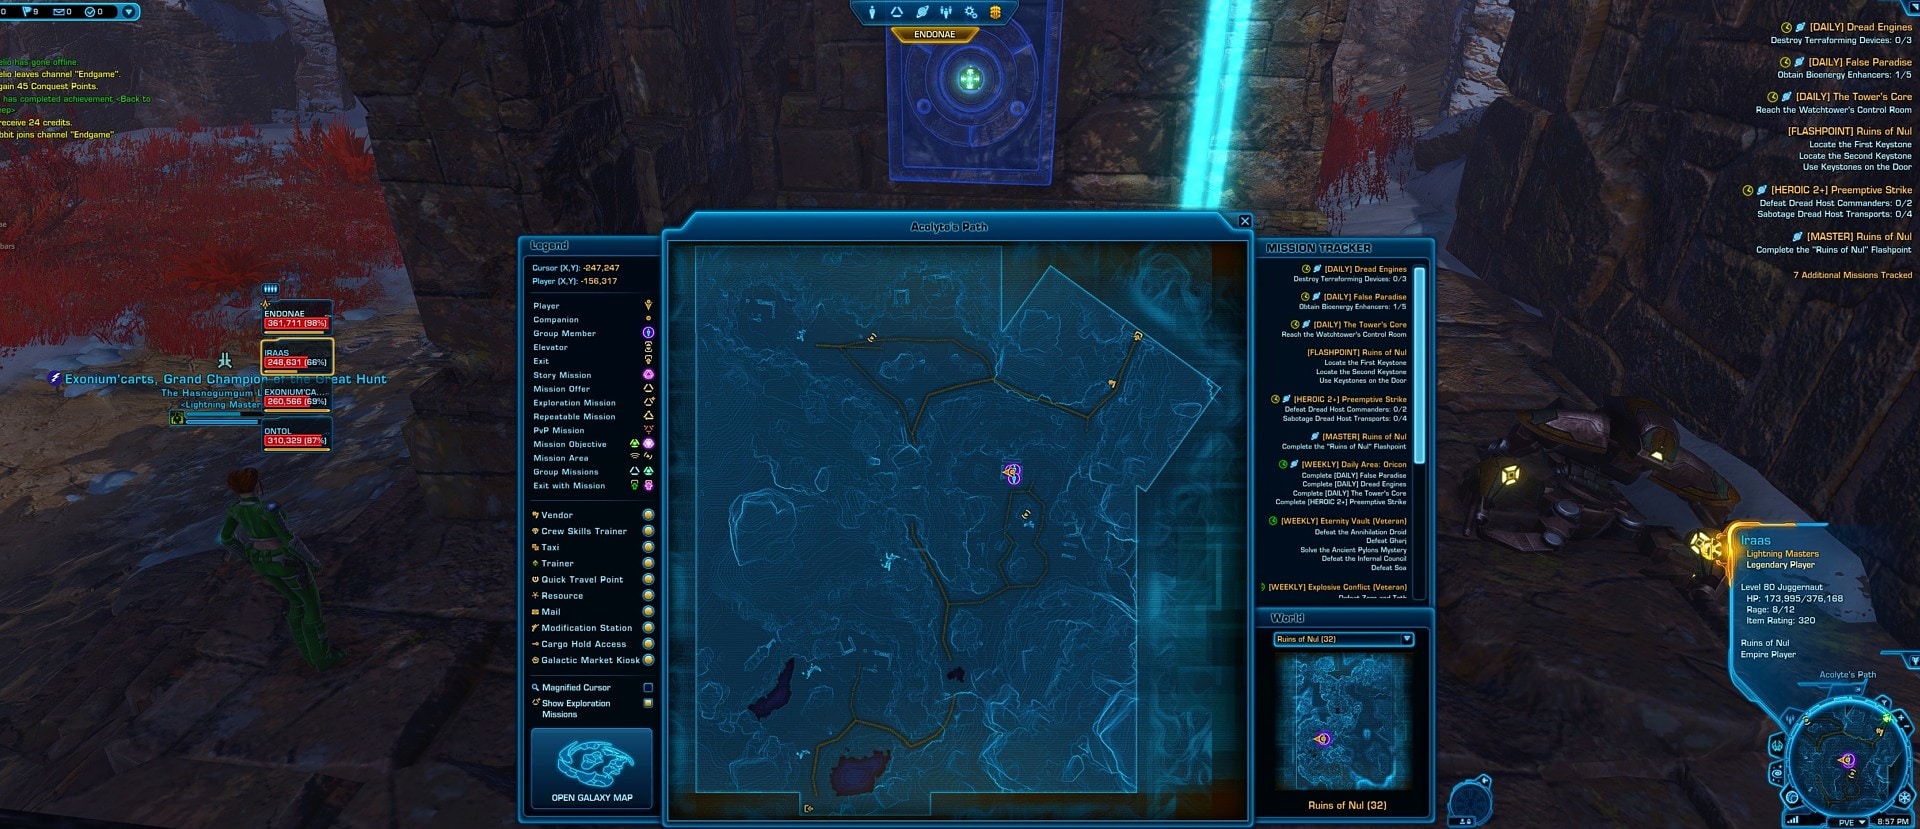
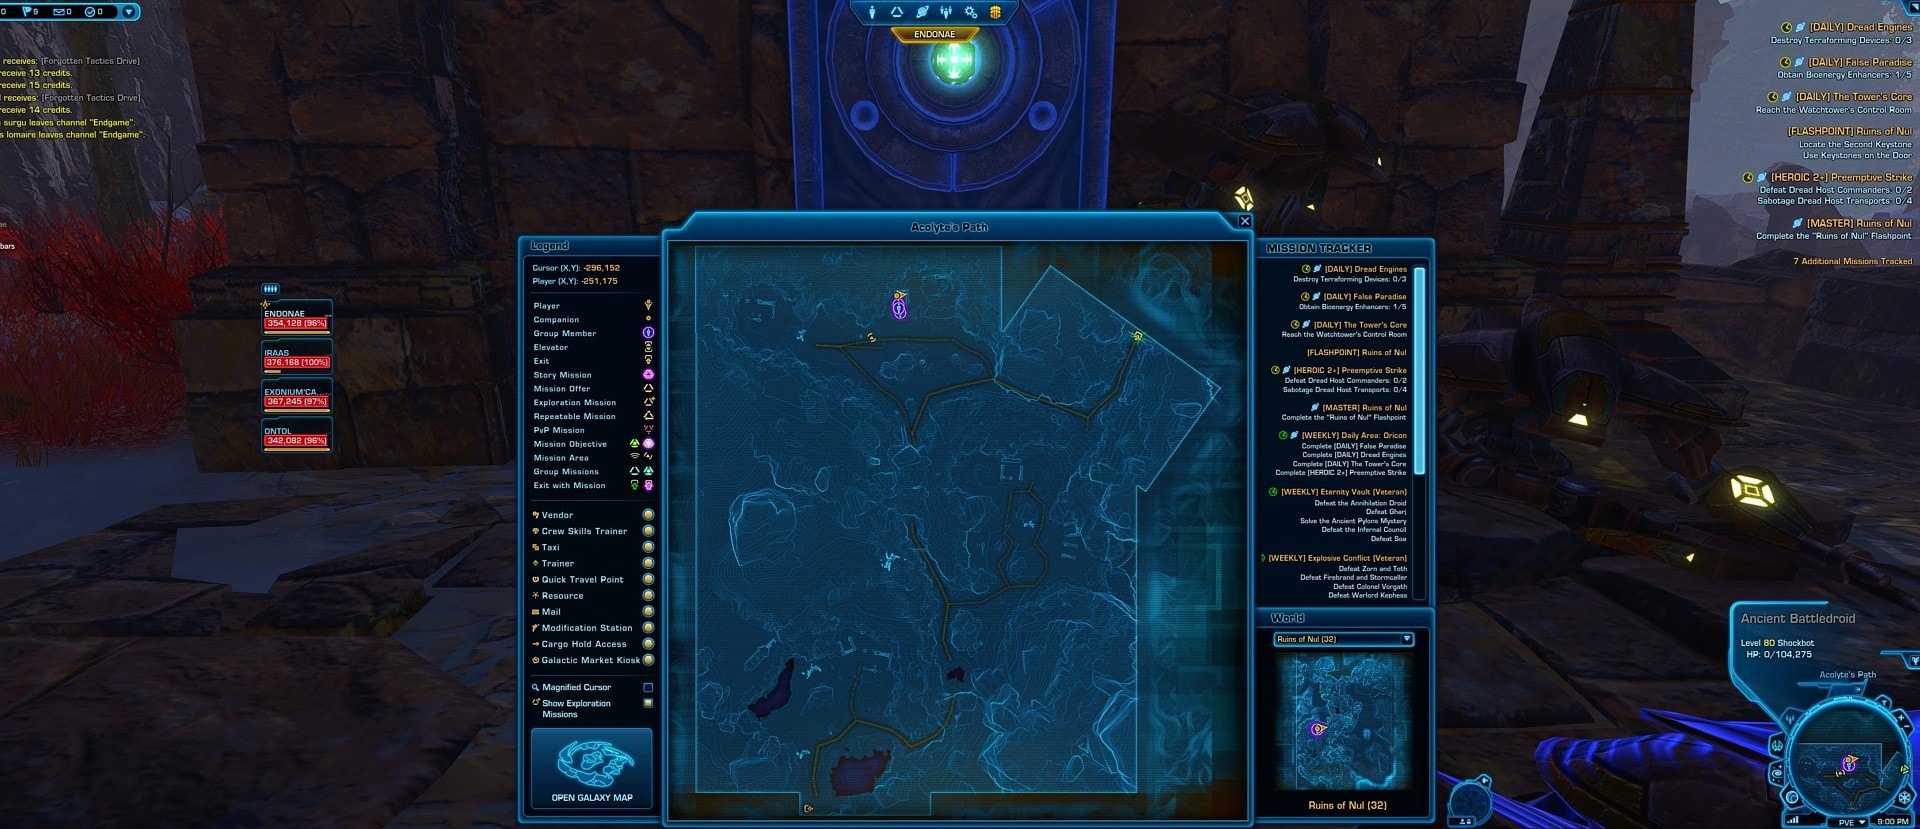
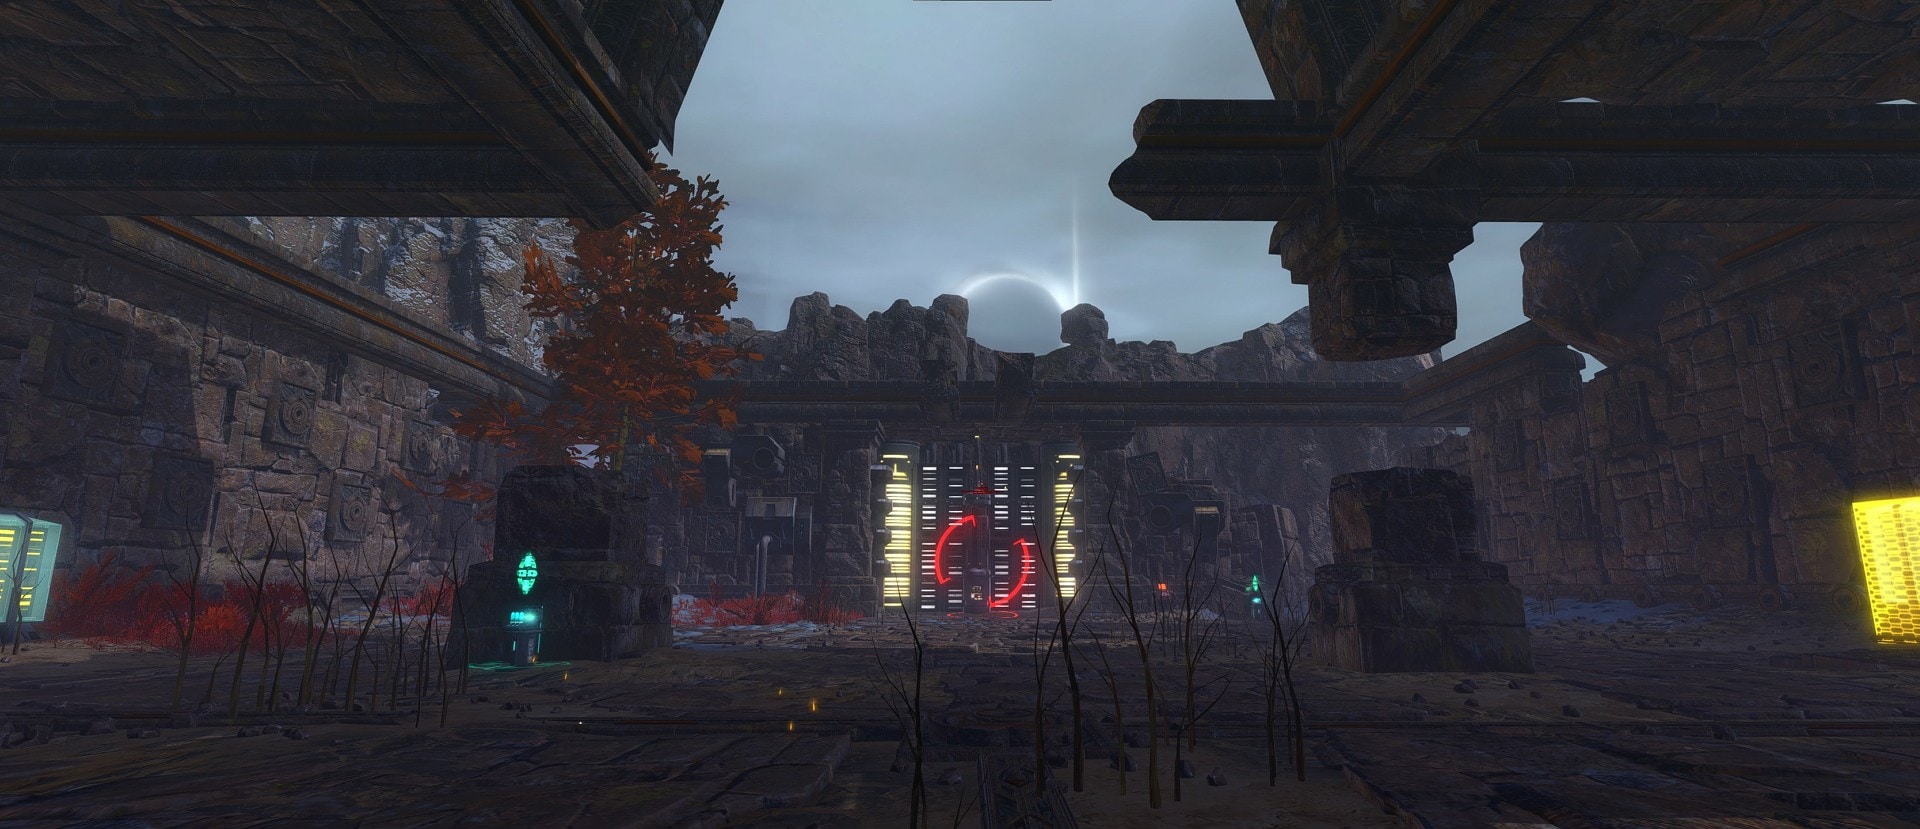
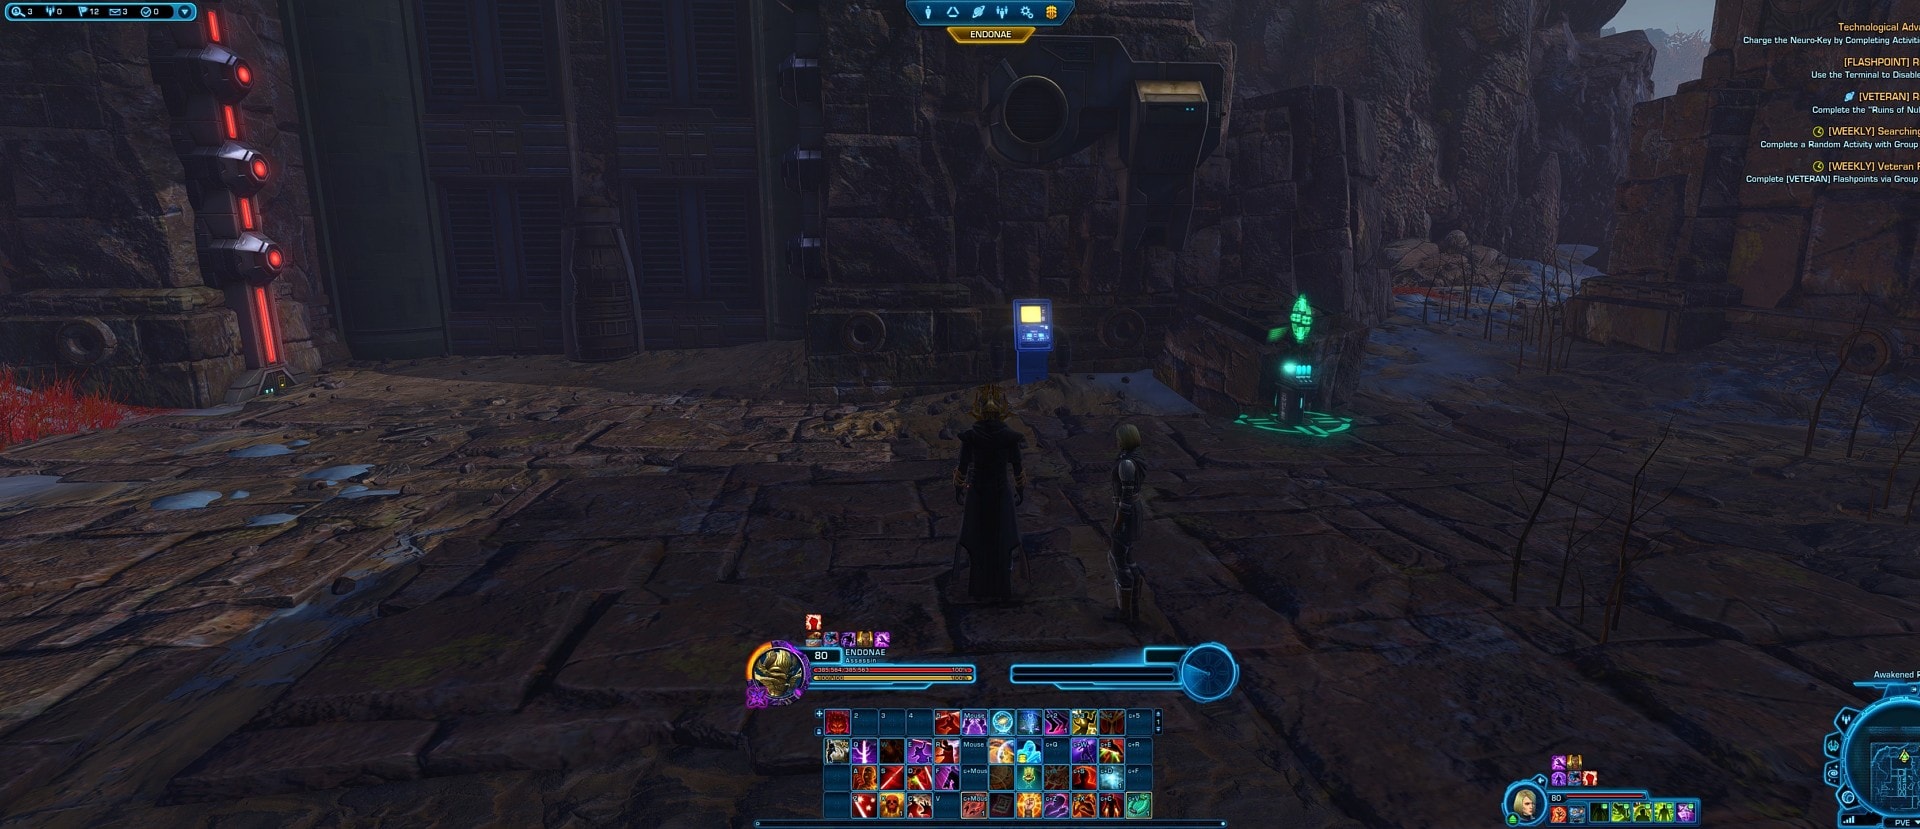
Keystones Locations
Once you reach a locked door, you have to run back and collect 2 Keystones.
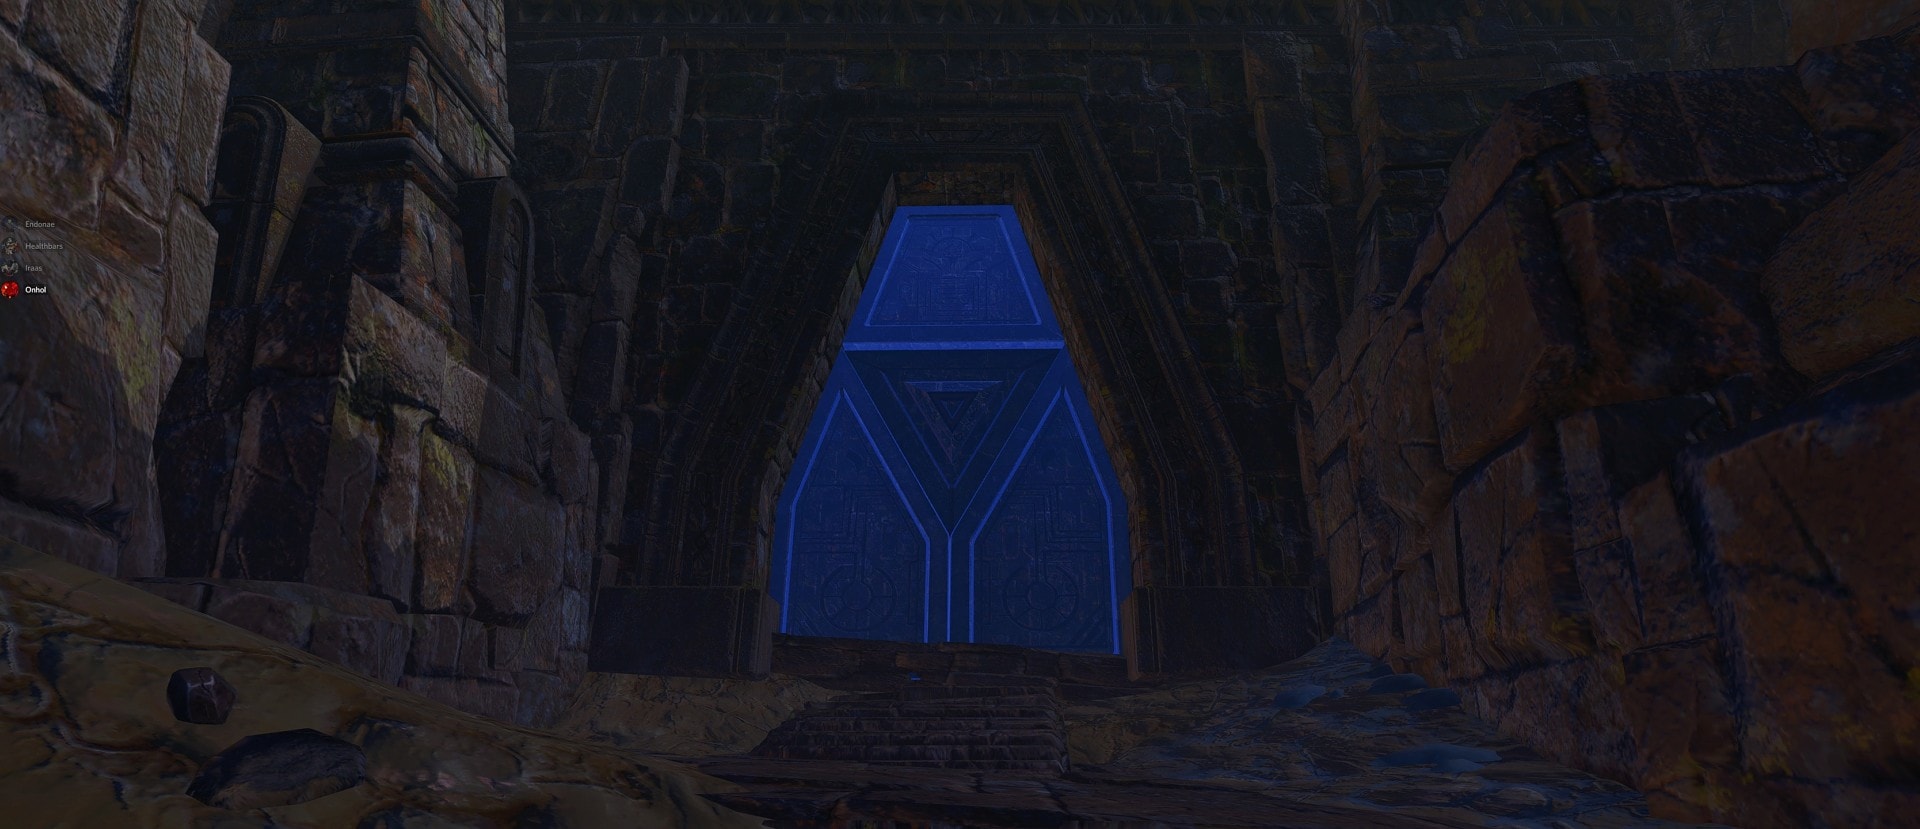
The locations for the Keystones can differ from run to run, here are a few locations I have come across. Just go to the locations on your map and they shouldn’t be too difficult to spot.
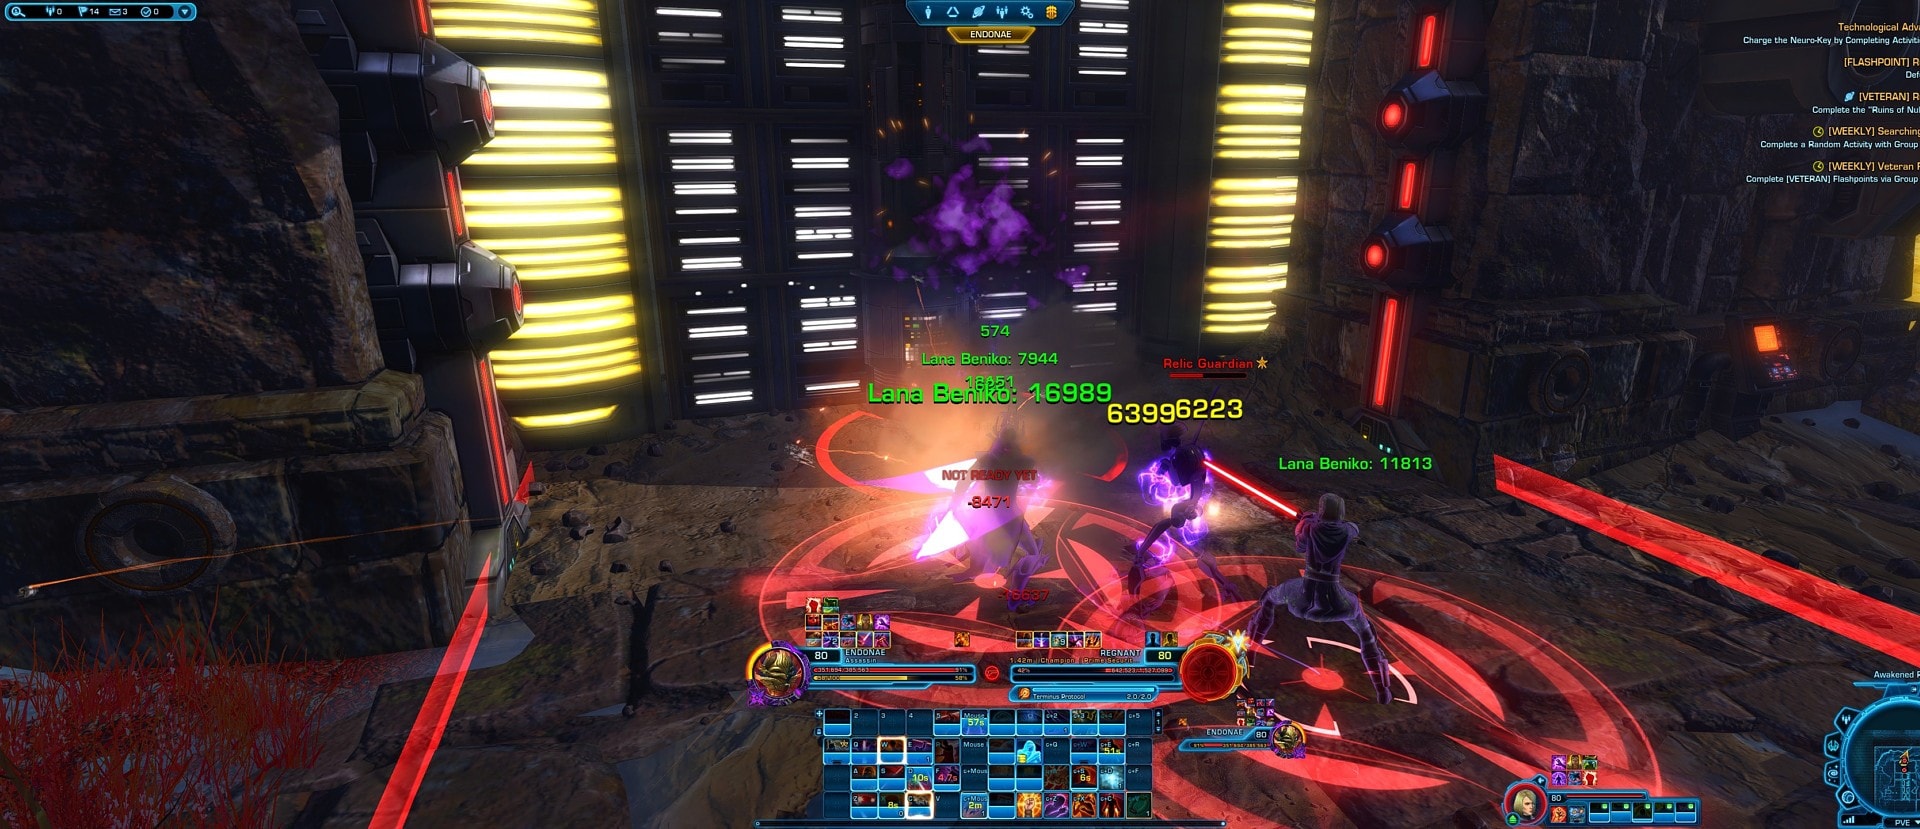
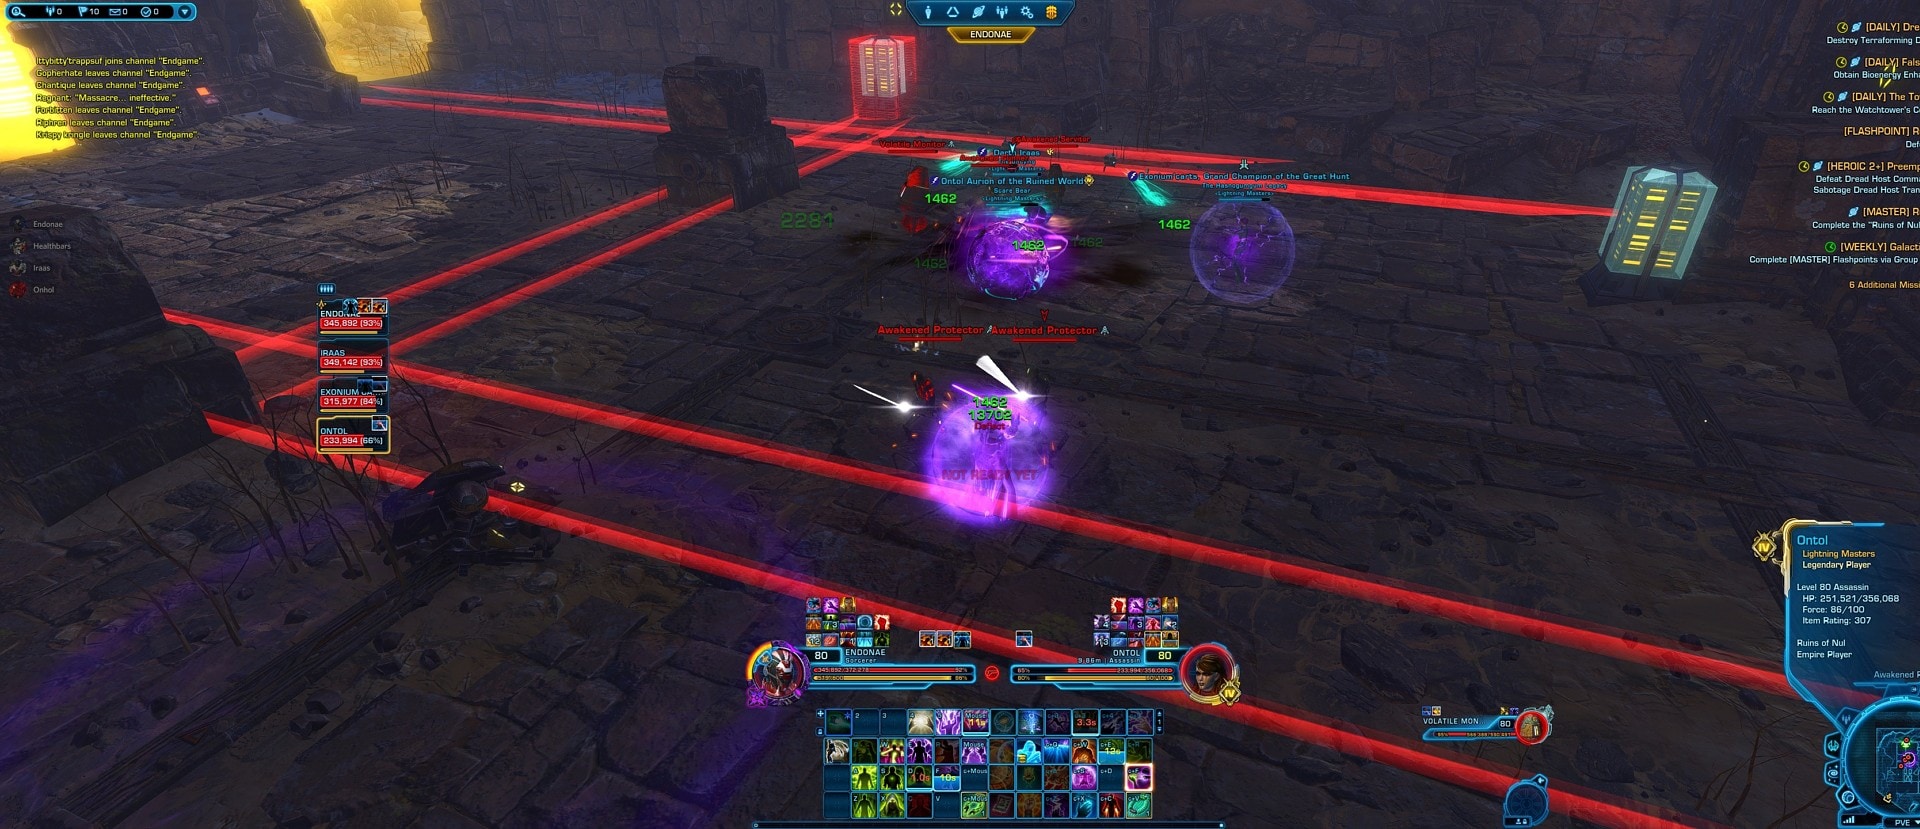
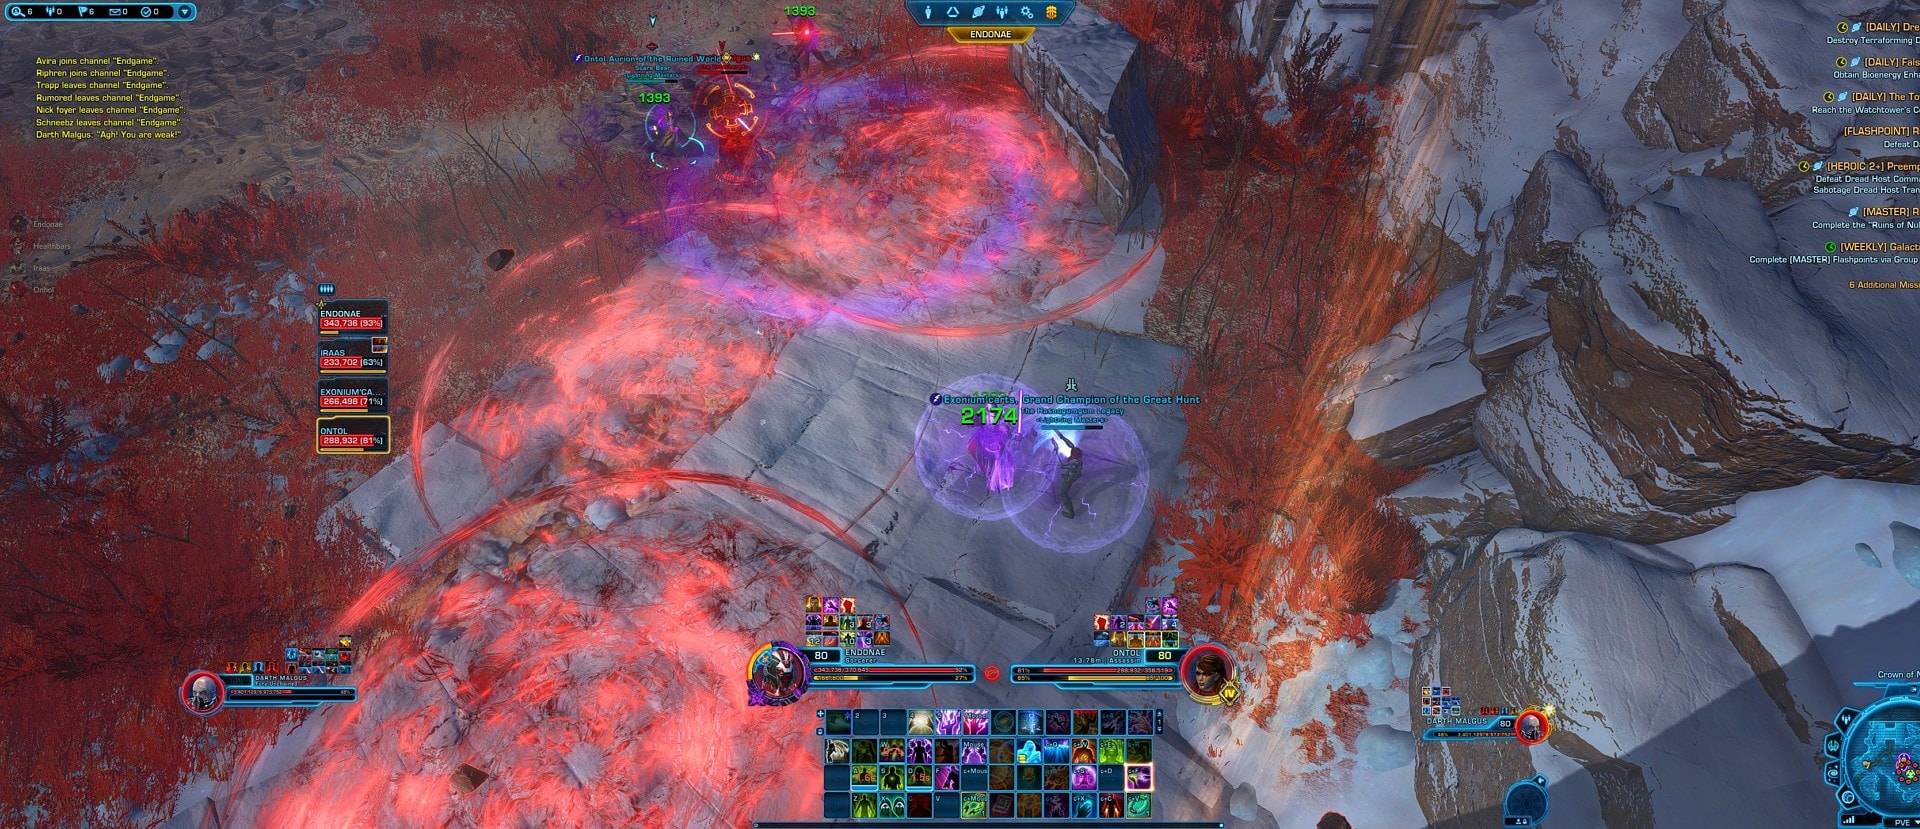
Second Boss: Regnant
The second boss encounter is a bit more complex, it features a few key mechanics that you have to perform properly or risk wiping the group.
Around the edges of the room, there are Data Cores. Some have shields around them, one does not. The ones with yellow shields are completely invulnerable. The one with a red shield shows which shield will deactivate next. The unshielded one is what we care about. Regnant is unable to be damaged until all Data Cores have been destroyed. We can’t damage the unshielded Data Core directly, we need a Volatile Monitor.
Volatile Monitors and Data Cores
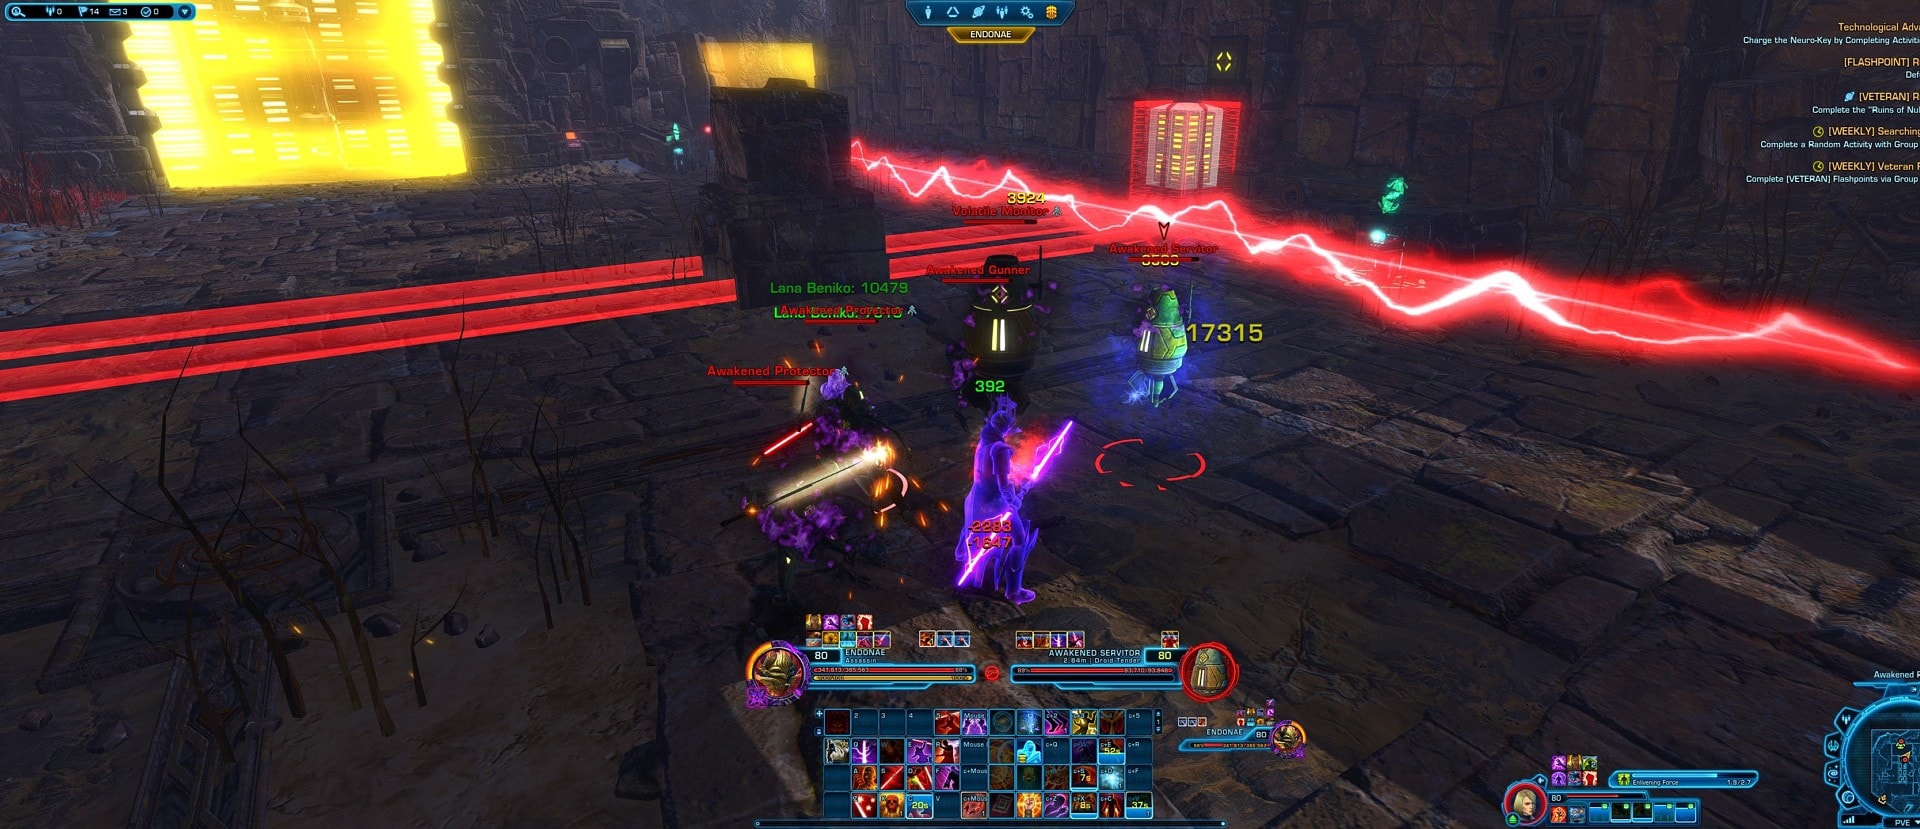
Volatile Monitors will spawn in the middle of the room alongside other adds. The Volatile Monitor needs to be brought to the unshielded Data Core. Do not defeat the Volatile Monitor until it is nearby the unshielded Data Core. DPS should wait to start AoEing the group until the Volatile Monitor is out of the area so the tank doesn’t lose aggro.
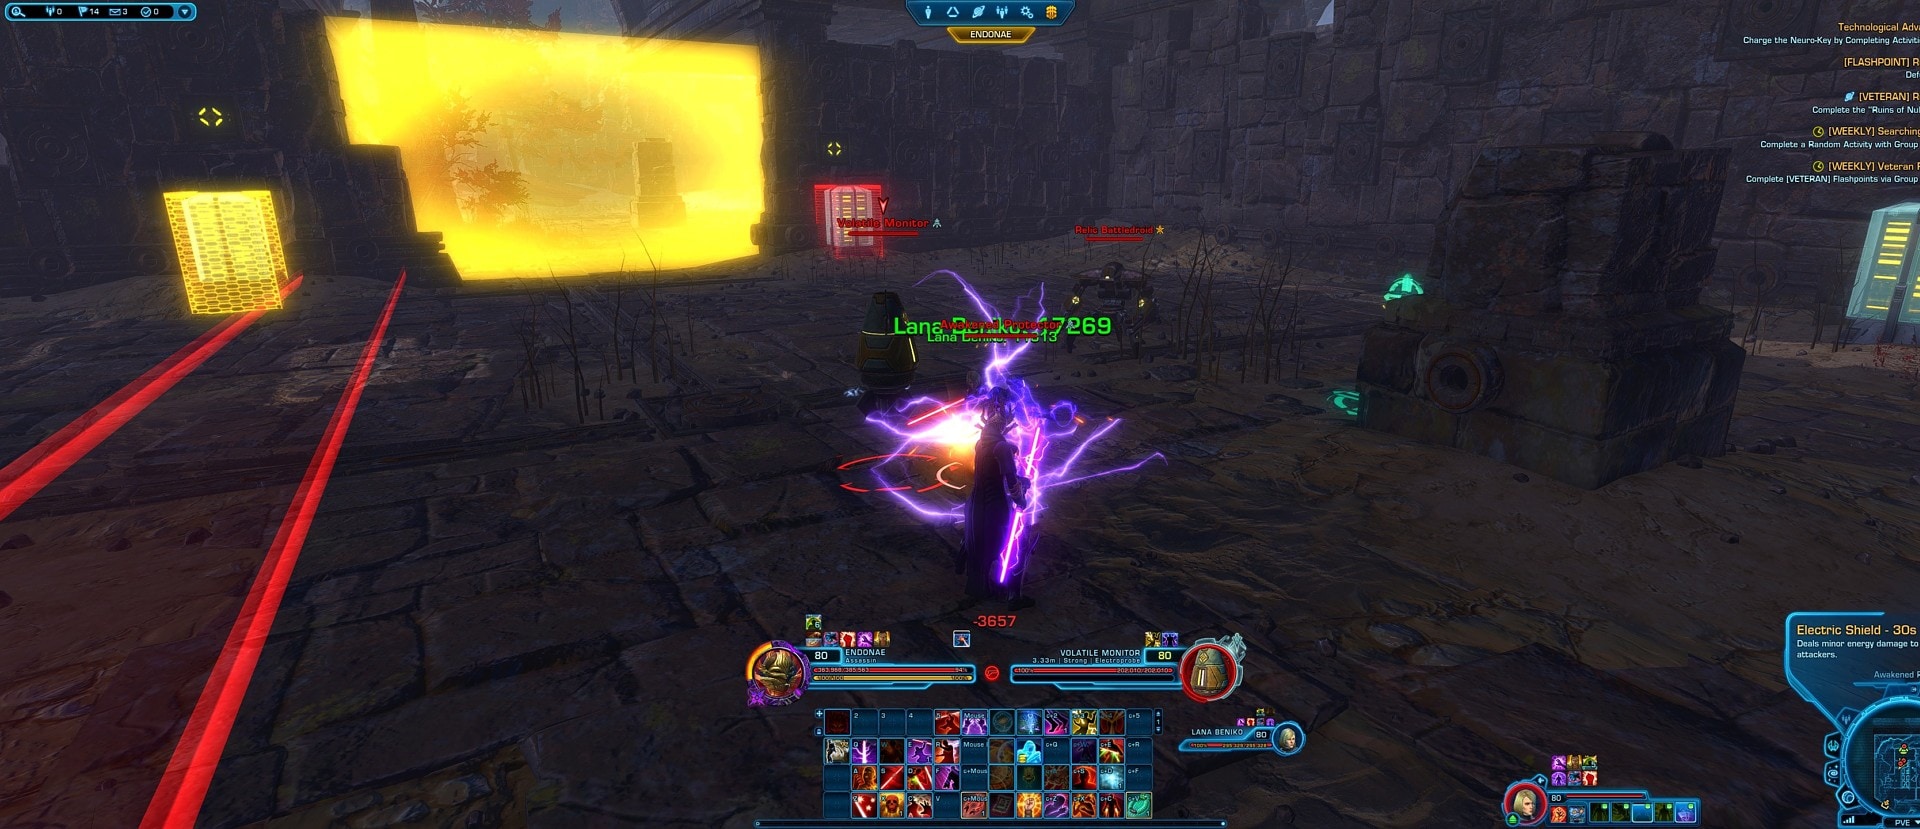
Once the Volatile Monitor is close to the unshielded Date Core, you can kill it and it will explode and that explosion will destroy that Data Core. This is very similar to the bonus mission in the Secrets of the Enclave FP.
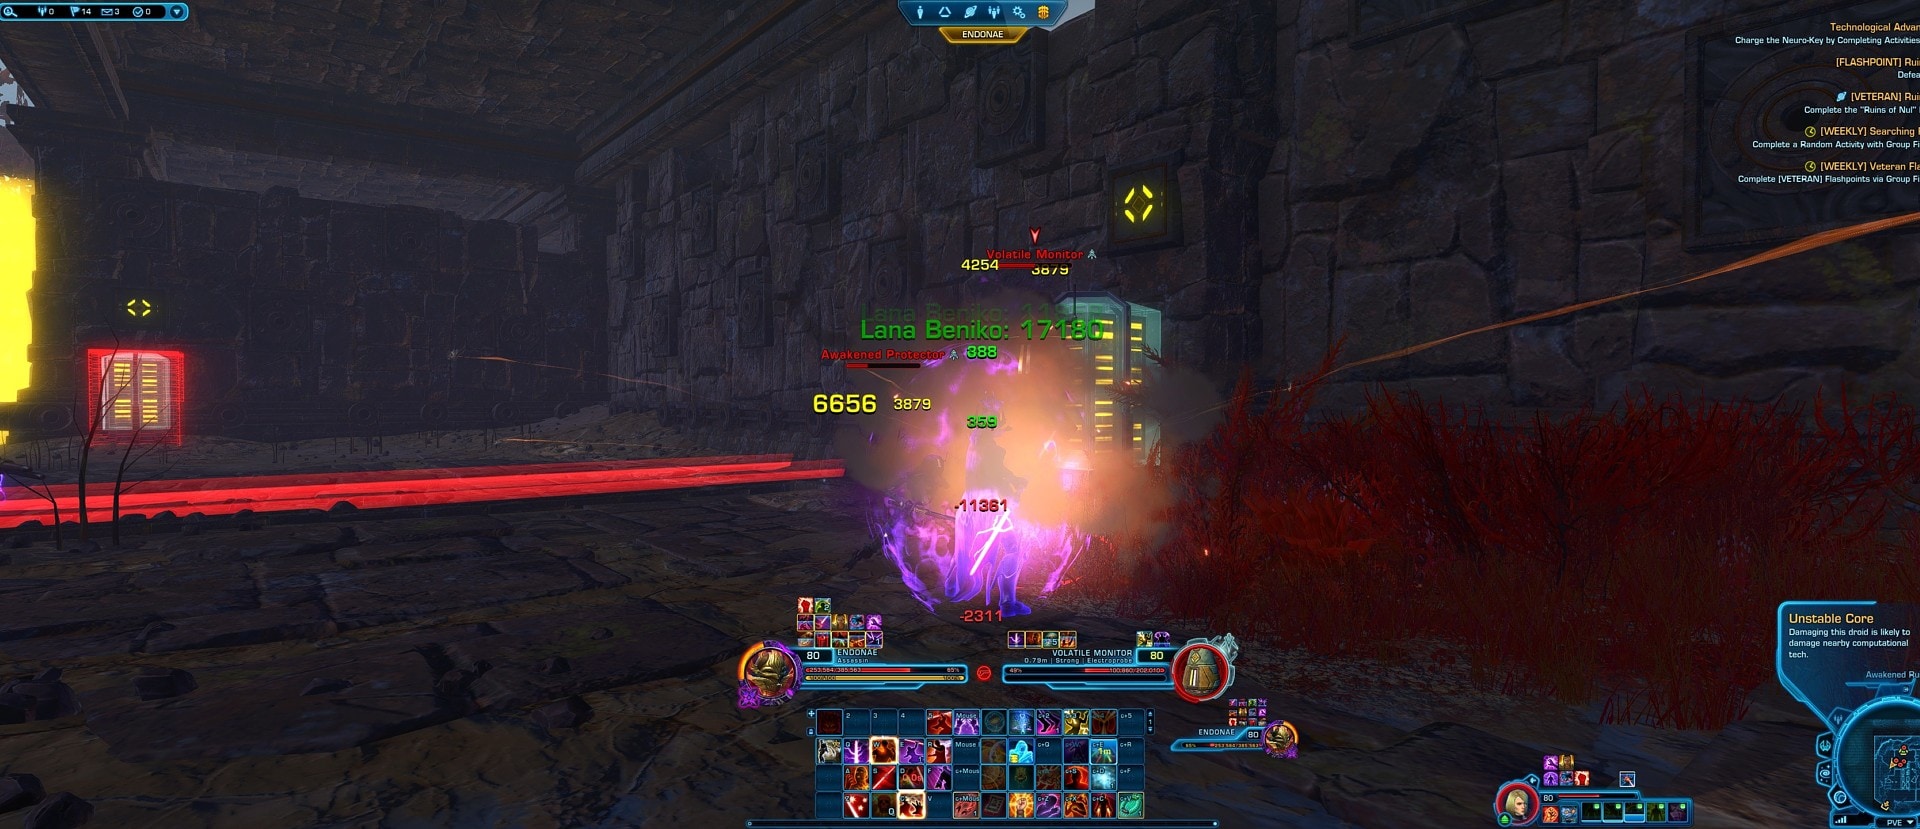
Various Danger Zones
There are various red circles and telegraphs on the ground throughout the fight, stay out of them! The red line telegraphs apply a green uncleansable debuff that makes you take more damage for a period of time. The circles seem to just do a lot of damage.
Burn Phase
Adds will continue to spawn in the middle of the room once the main shield is down. This is kind of a burn phase where you have to destroy the main machine (Regnant) before the adds overwhelm you. The Volatile Monitors did not appear to damage Regnant when detonated nearby. It’s possible that this will be a MM mechanic.
Master Mode Mechanics
This fight has incredibly high number checks (DPS, HPS, DTPS) and that makes it very difficult, possibly the hardest FP boss in the game. If not, the hardest, it’s definitely up there with fights like Zildrog and the Umbaran Spider Tank. There aren’t any new mechanics in MM, but the numbers checks really define how challenging the fight is. You cannot afford to ever stand in a red line or circle or your healer won’t be able to keep up. If you fail to destroy a Data Core with the Volatile Monitor, that means more adds which you won’t necessarily have the DCDs to deal with.
It is essential that you all stack up where the adds spawn with each Volatile Monitor and AoE down the adds. You have to take advantage of group healing and higher AoE damage or you will have an extremely difficult time surviving. This is made more difficult by the fact that the circles on the ground force you to spread out, but you have to keep grouping up. The Volatile Monitor has enough health to outlive the other droids. Once its health gets fairly low, that’s when you drag it over to the appropriate Data Core. Again, you cannot sustain the adds being focused down.
We tried LOSing around the broken columns, but we didn’t find it to be very helpful. The better approach is to just AoE them down.
The easiest way to move the Volatile Monitor is to just have the tank use Force Push, Grapple / Harpoon, or Force Pull from where the adds spawn to the core. Everyone needs to stack on the Data Core as well so that the Volatile Monitor doesn’t wander off. You may find it helpful to hard stun or root the droid when it gets in position to prevent it from leaving.
The sword-wielding adds apply 2 debuffs, one is blue, the other is orange. The blue seems to be a knife throw from range and the orange one is applied by the melee attack. Both are cleansable and both need to be cleansed because it hits hard. If you do not cleanse them as soon as they show up, you will fall behind.
DPS should cleanse themselves if they get multiple debuffs while the healer should be focused on cleansing single debuffs on cooldown and prioritizing players that have multiple debuffs when that happens. If your cleanse is not available, pop a DCD. DoT specs are highly preferred here thanks to their much stronger AoE and Periodic damage mitigation. If you don’t know how to play a DoT spec, just use an AoE build.
It’s also helpful to CC any Strong (silver) or Elite (gold) enemies that are out of the AoE area and interrupt any casts from the adds that you see.
The burn phase at the end is practically impossible to deal with as intended. The adds will spawn but don’t seem to aggro if you don’t go near them (and you don’t have to), and just staying away was the only way we managed to actually beat the fight.
Don’t Forget to Click This Panel
It’s easy to walk past this after the fight is over and collect your loot, but the quest will not progress correctly until this is clicked, forcing you to run back and click it. I actually forgot to click it after adding this little section and then I had to run back and click it.
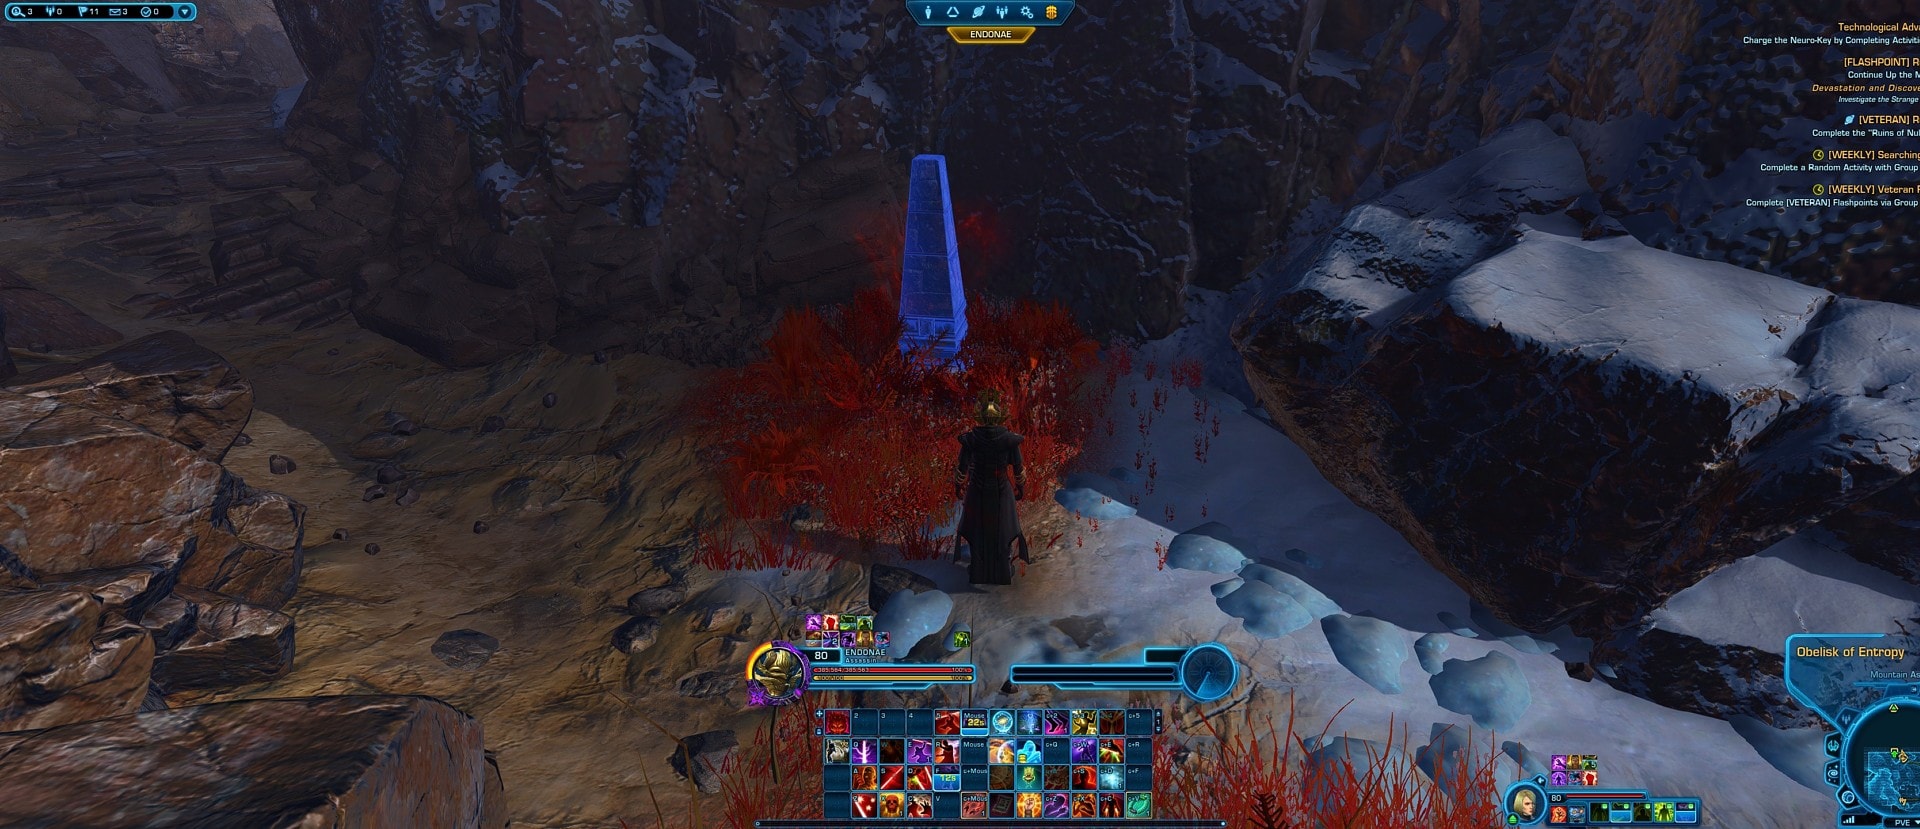
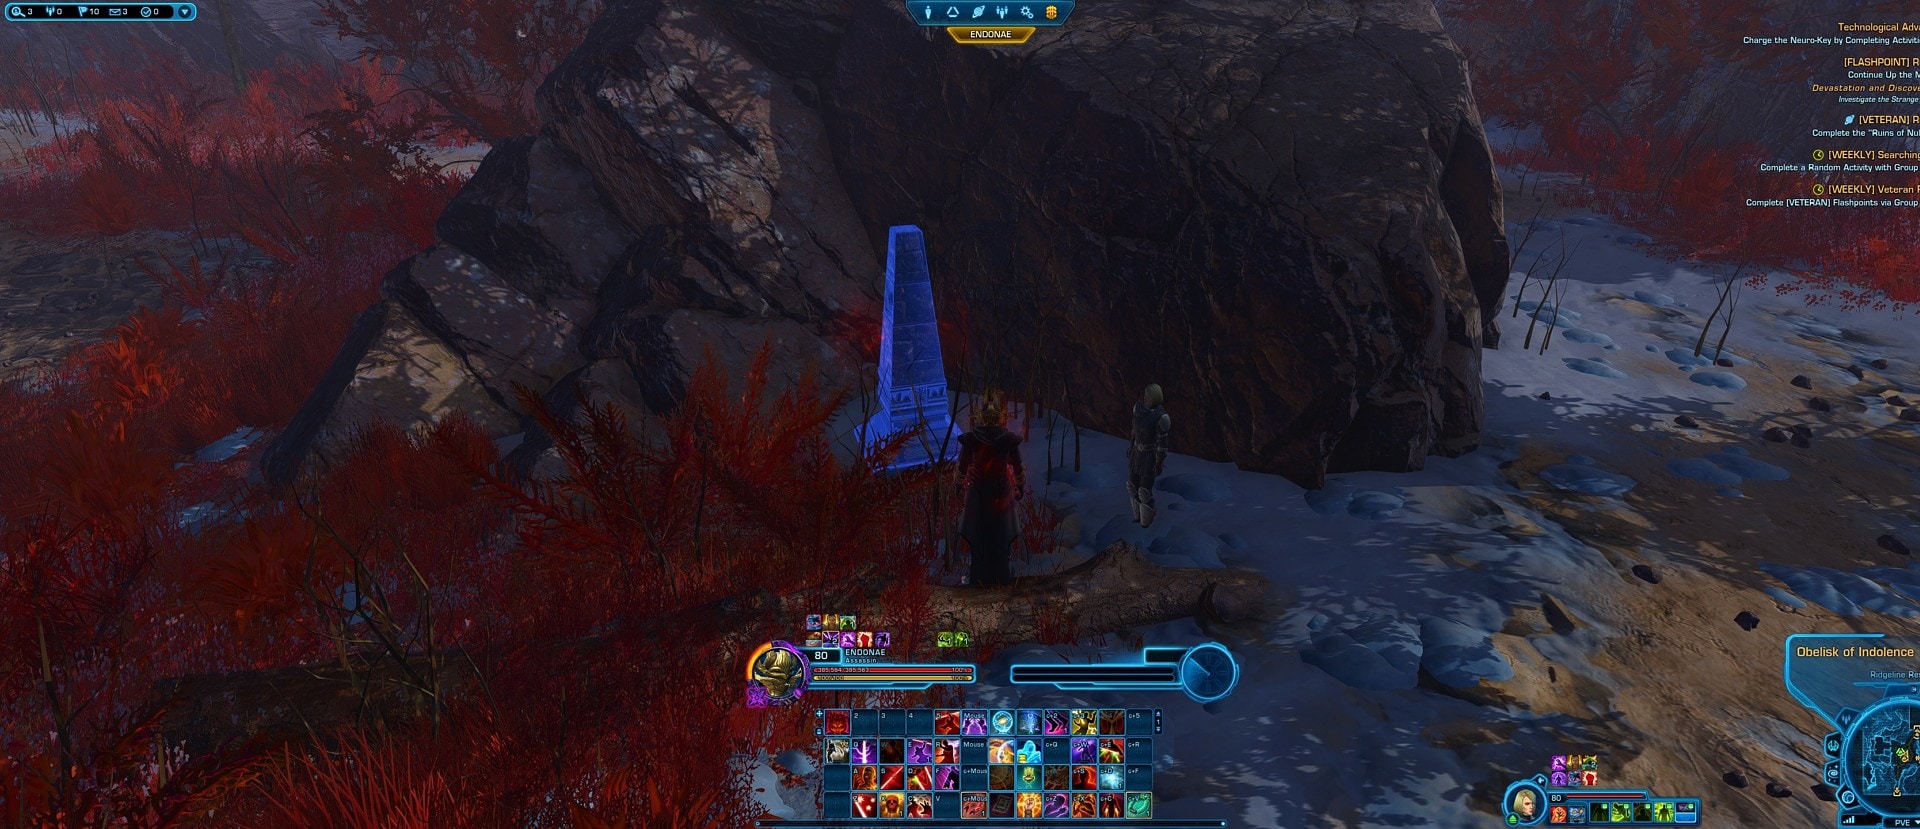
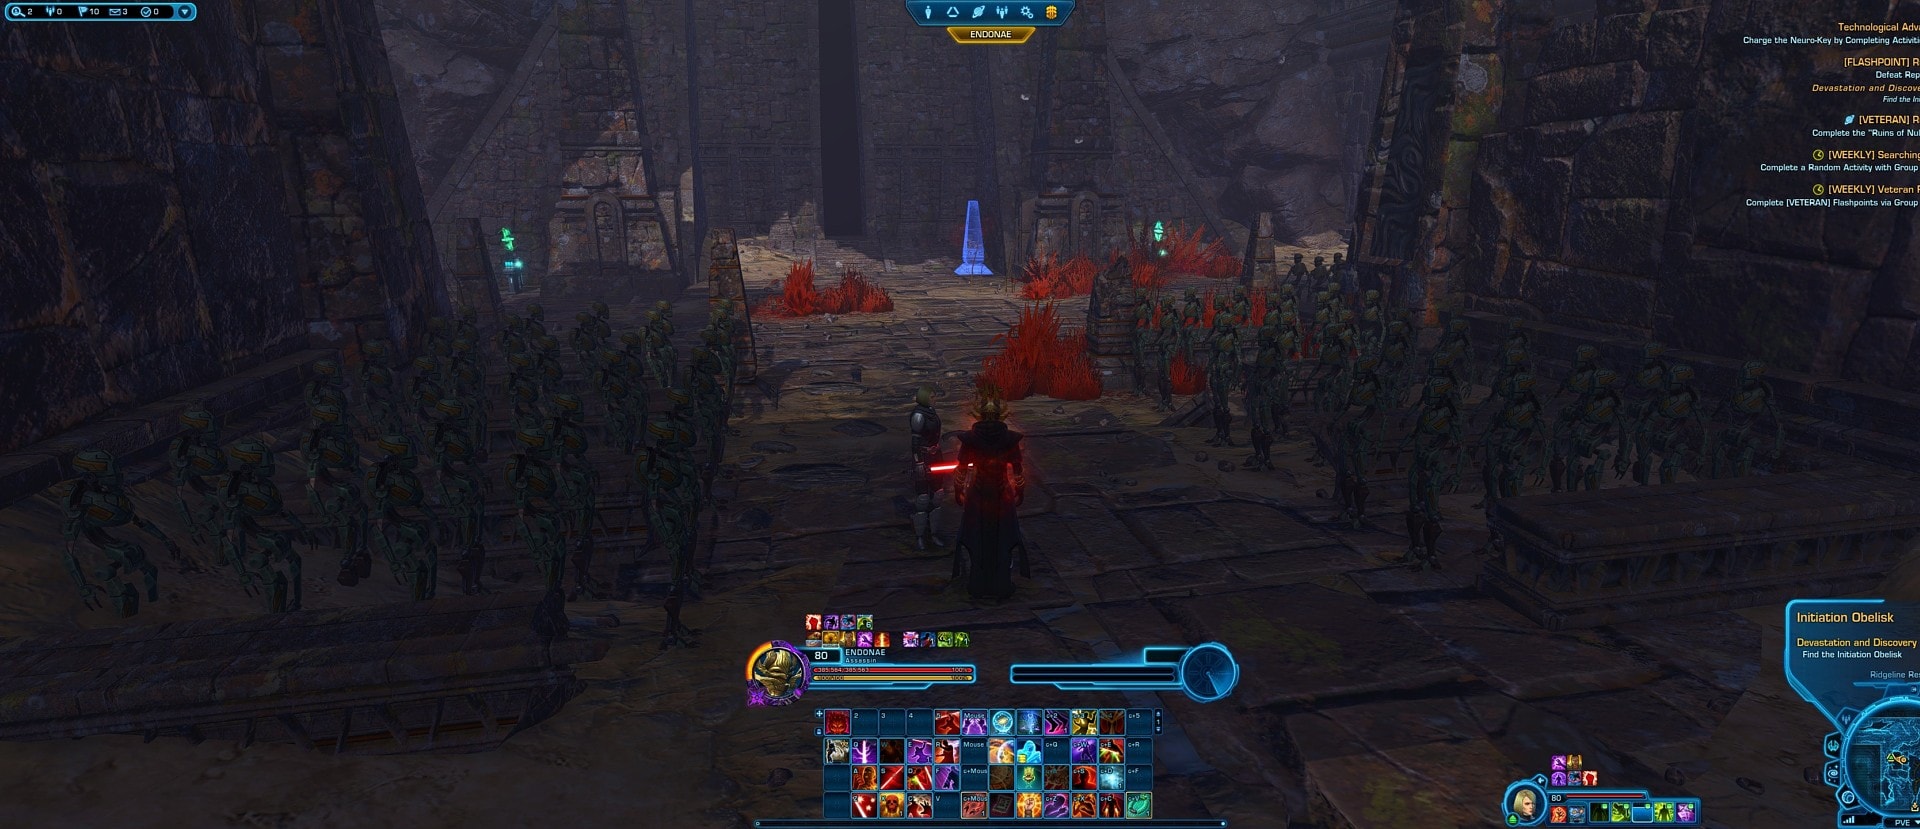
Bonus Mission
There is a bonus mission after the second boss where you have to commune with 4 obelisks to open a shielded door. If these obelisks are not clickable, it means you forgot to deactivate the shield like I did.
Each obelisk gives you a minor debuff. They’re basically irrelevant in VM, but seem to be the core mechanical difference for the bonus boss in MM. These debuffs are similar to the crystals you use in Raptus, but without the buff.

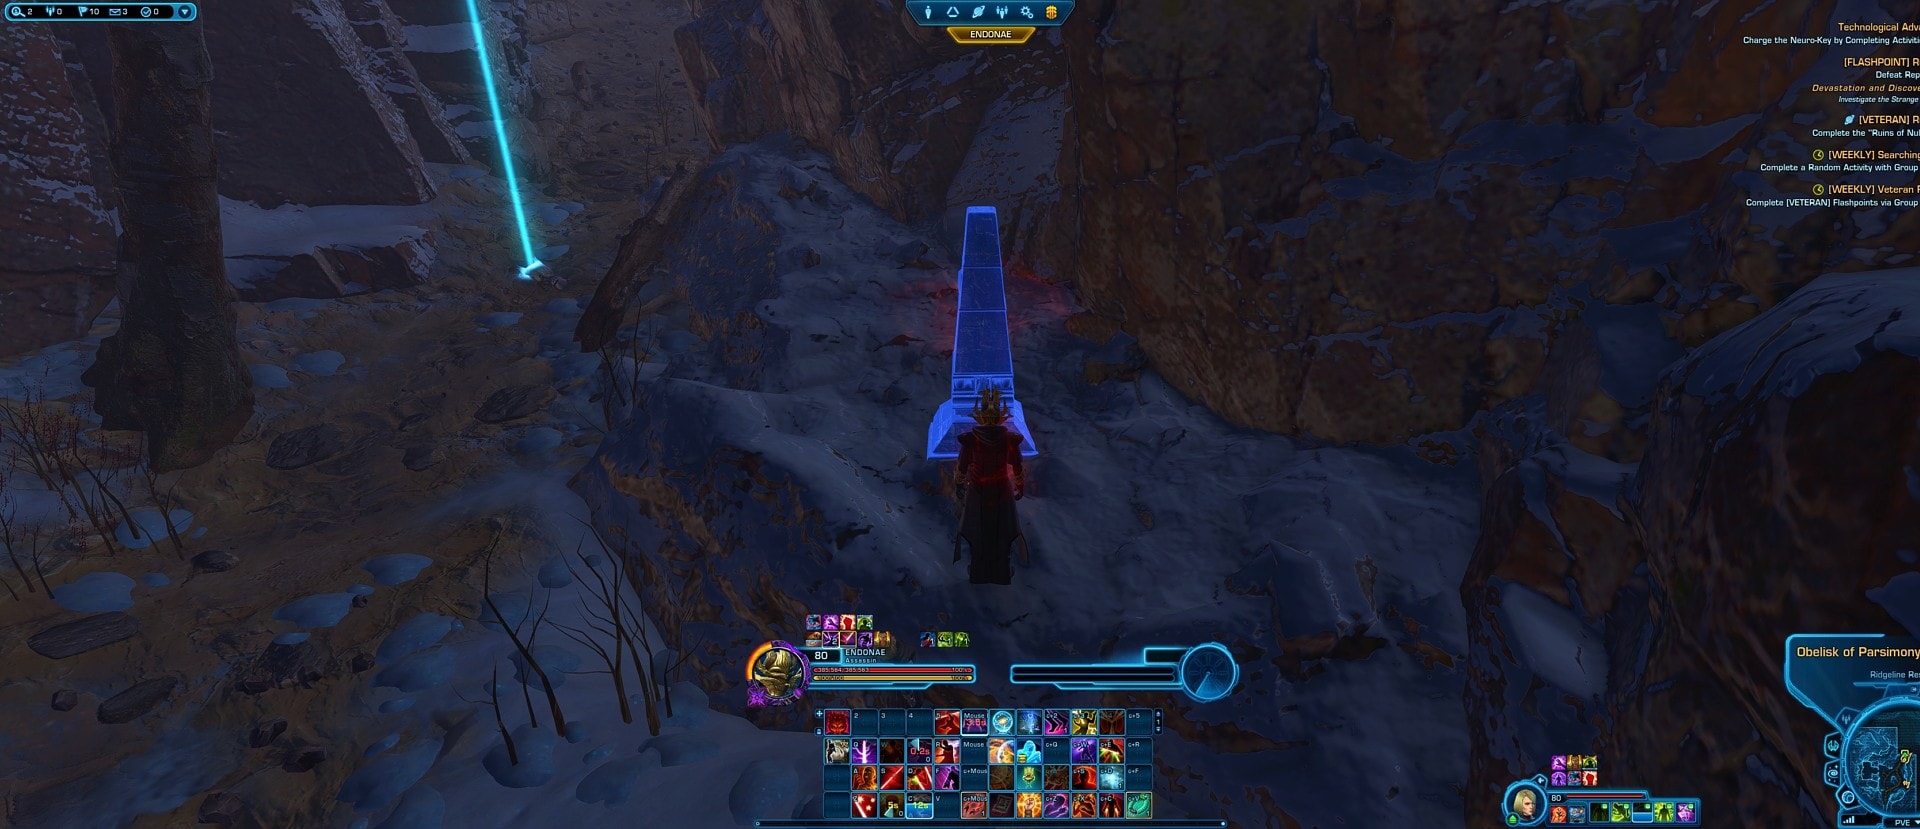
Once you click the 4th one, you’ll have to backtrack slightly. The shield door will be down and there will be one final obelisk to click which will start the fight.
There isn’t really a best obelisk for each role to pick up, but each role definitely has a worst one that they should absolutely not pick up. It kind of depends on your group composition for what each role should take:
- Healer – Click Obelisk of Indolence
- DPS 1 – Click Obelisk of Agony
- DPS 2 – Click Obelisk of Parsimony (the DPS with less self heals)
- Tank – Click Obelisk of Entropy
Bonus Boss: Rock Paper Scissors
There are a bunch of little adds to AoE down, then the bonus bosses spawn.
The way this fight works is that each boss has a buff that makes them take less damage unless they get hit by a specific attack that one of the other bosses does. I’m calling these bosses Sword (AG-99), Floaty (PR-33), and Big Guy (ND-66).
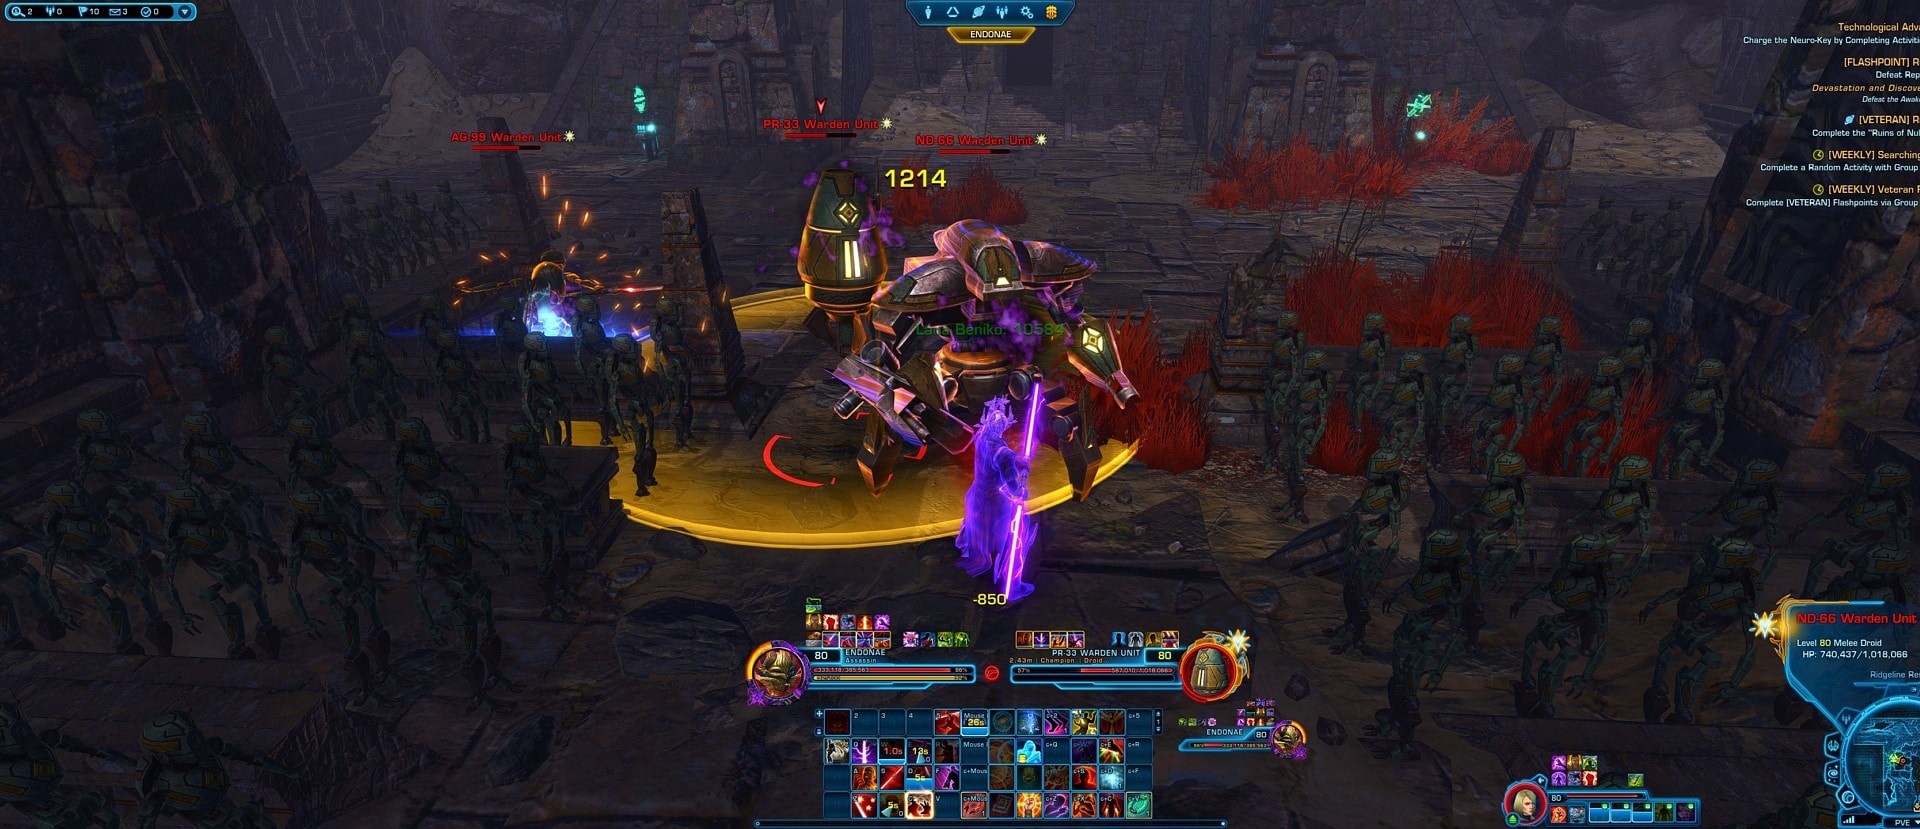
Each boss has 2 attacks, 1 of which makes another boss vulnerable, and another that is just there to cause confusion for you. Sword is vulnerable to missile circles from Big Guy. Floaty is vulnerable to the big line telegraph from Sword. Big Guy is vulnerable to the single yellow circle from Floaty.
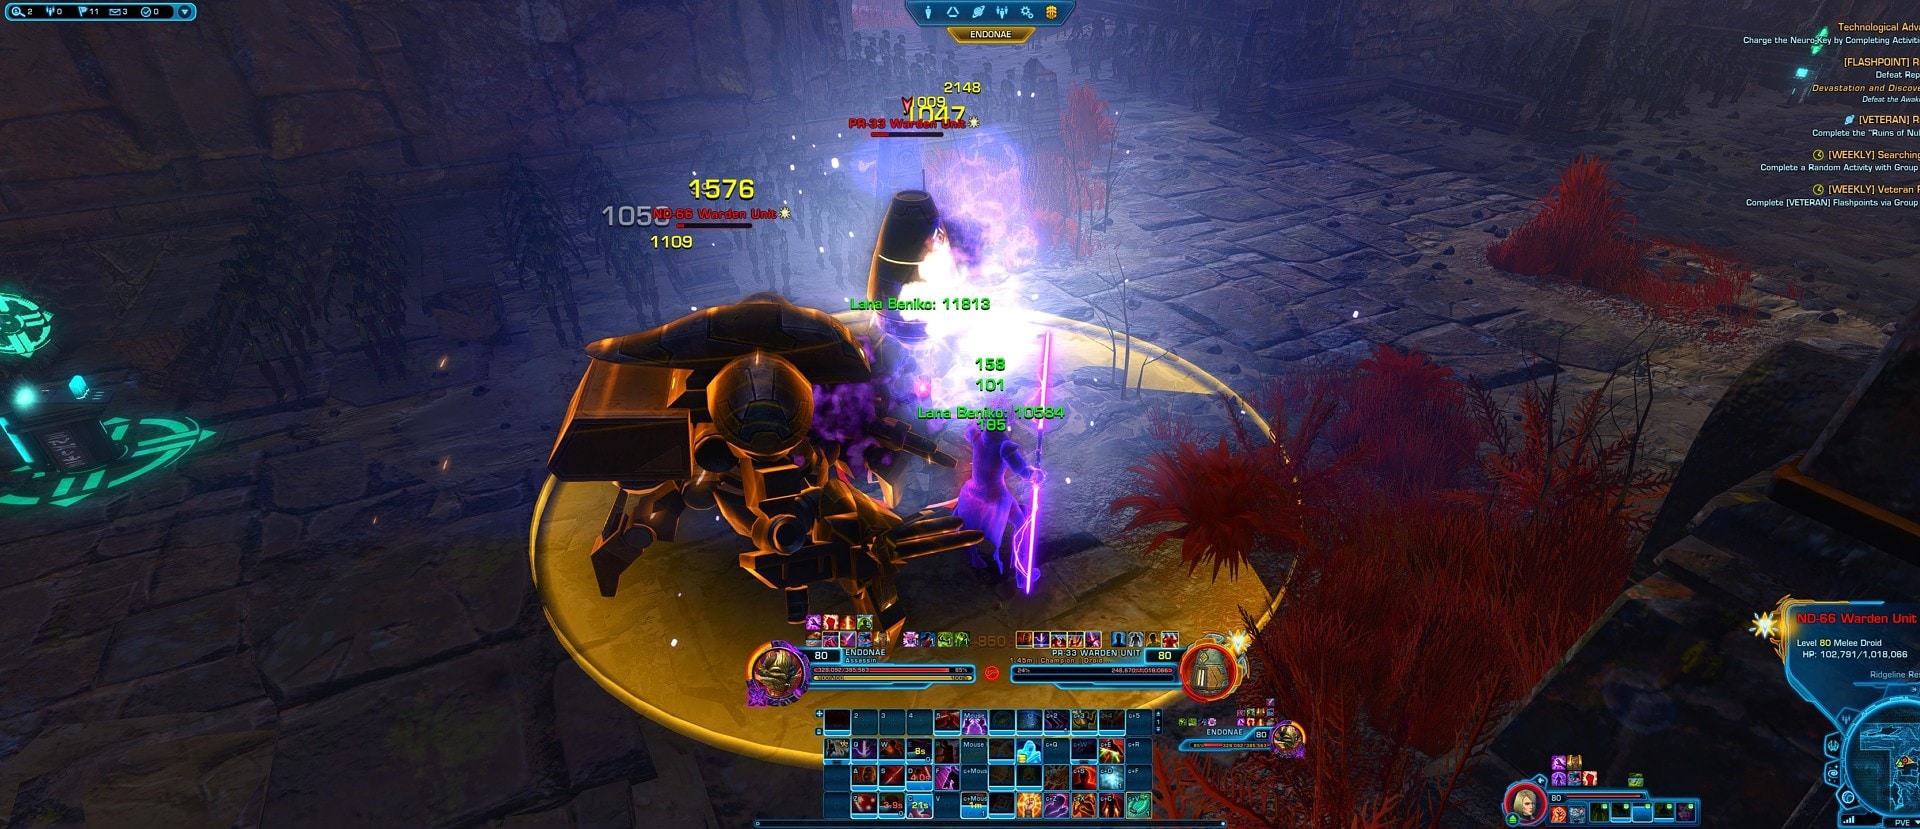
The missile circles from Big Guy are more orange have flashy and follow the player. Run them over to Sword. He doesn’t move too much so it’s not too hard. The single yellow circle from Floaty is slightly bigger and stays in the same spot on the ground. Big Guy needs to be dragged into that circle. Whoever is being targeted by the long yellow line telegraph needs to point it at Floaty.
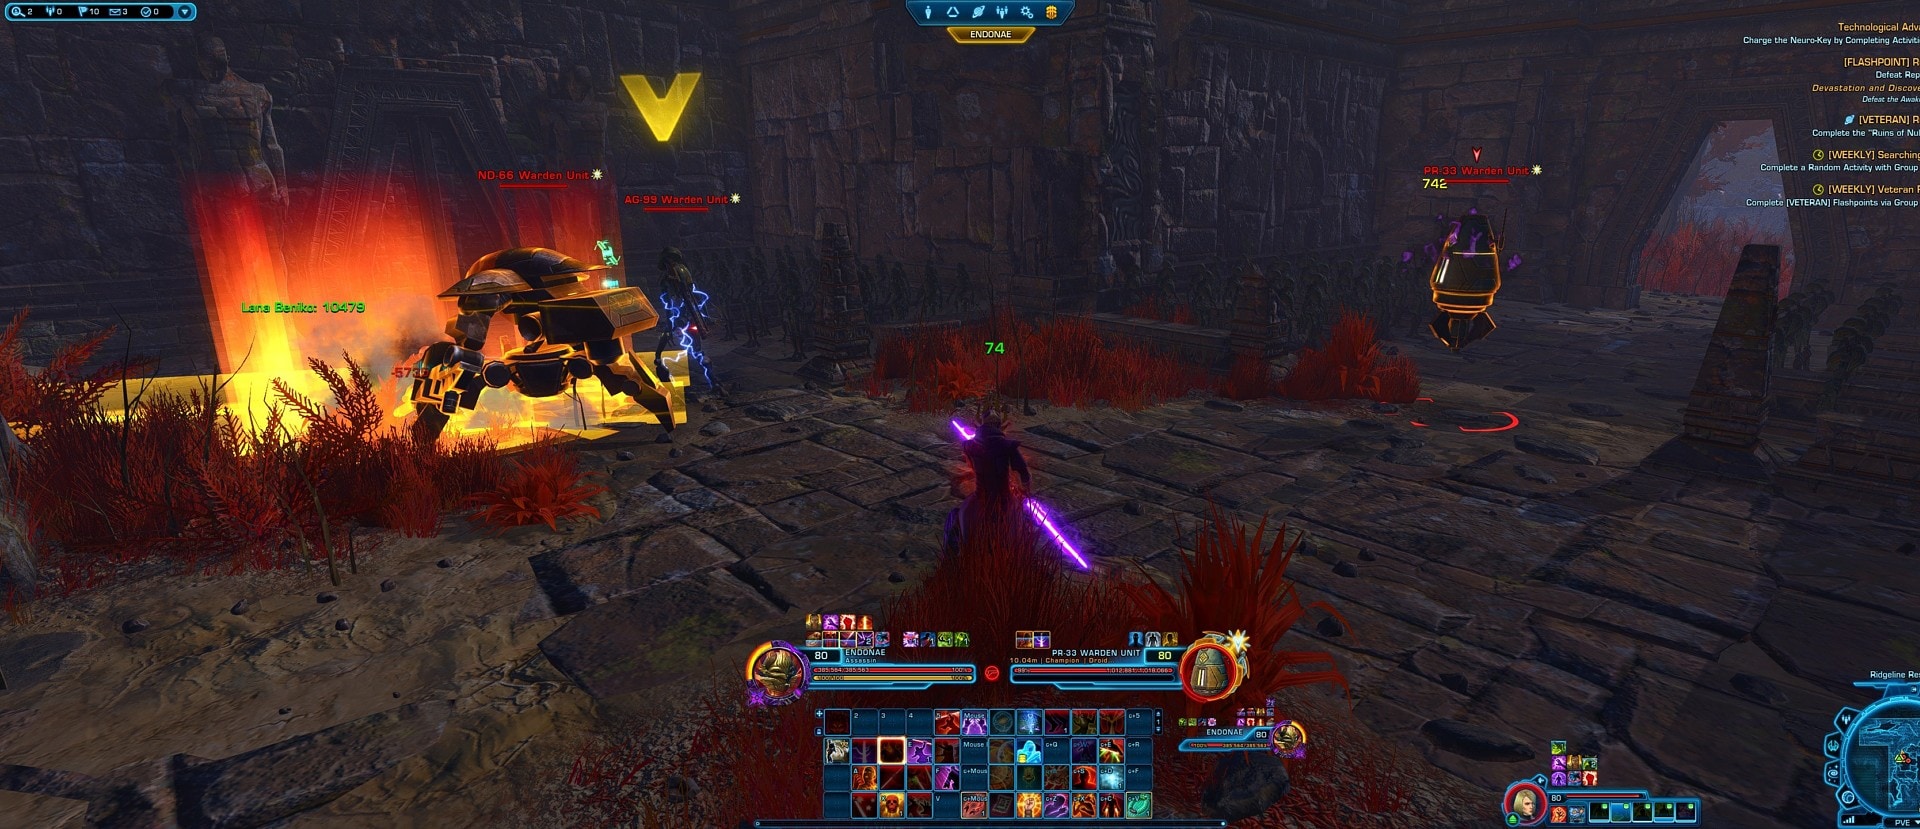
Once a boss has been hit, you’ll see a big yellow arrow over them. They’re vulnerable for a short time and while one of them is vulnerable, it’s stunned and the others stop doing their attack that can disable another.
Once 1 of them dies, the other two stop casting their disabling attack altogether. This means it is better to not kill any of them until they are all super low on health. It’s not the end of the world if you kill one of them early, it just means that the fight will take a lot longer.
Master Mode
This fight is pretty similar in MM, the only thing that seemed any different was that everyone was taking more damage. I’m not sure if it was bugged, but the DoT from the Obelisk of Agony built up really fast, and that seemed to be the source of higher DTPS. The other debuffs started stacking higher when the first one died. I think this just reinforces that you need to be getting them to hit each other with their attacks efficiently and you need to burn them down evenly. Basically, this fight is just less forgiving in MM.
The Stairs Challenge
The Stairs area isn’t a boss, but I just want to point out that you need to actually kill all the adds for the quest to progress. Don’t bother trying to knock them off the ledge or sneak past them. Just defeat them and keep moving.
The big red circles deal Tech damage. If you don’t run out of them with a movement speed boost or pop a DCD, you will get hit. Don’t make your healers sad.
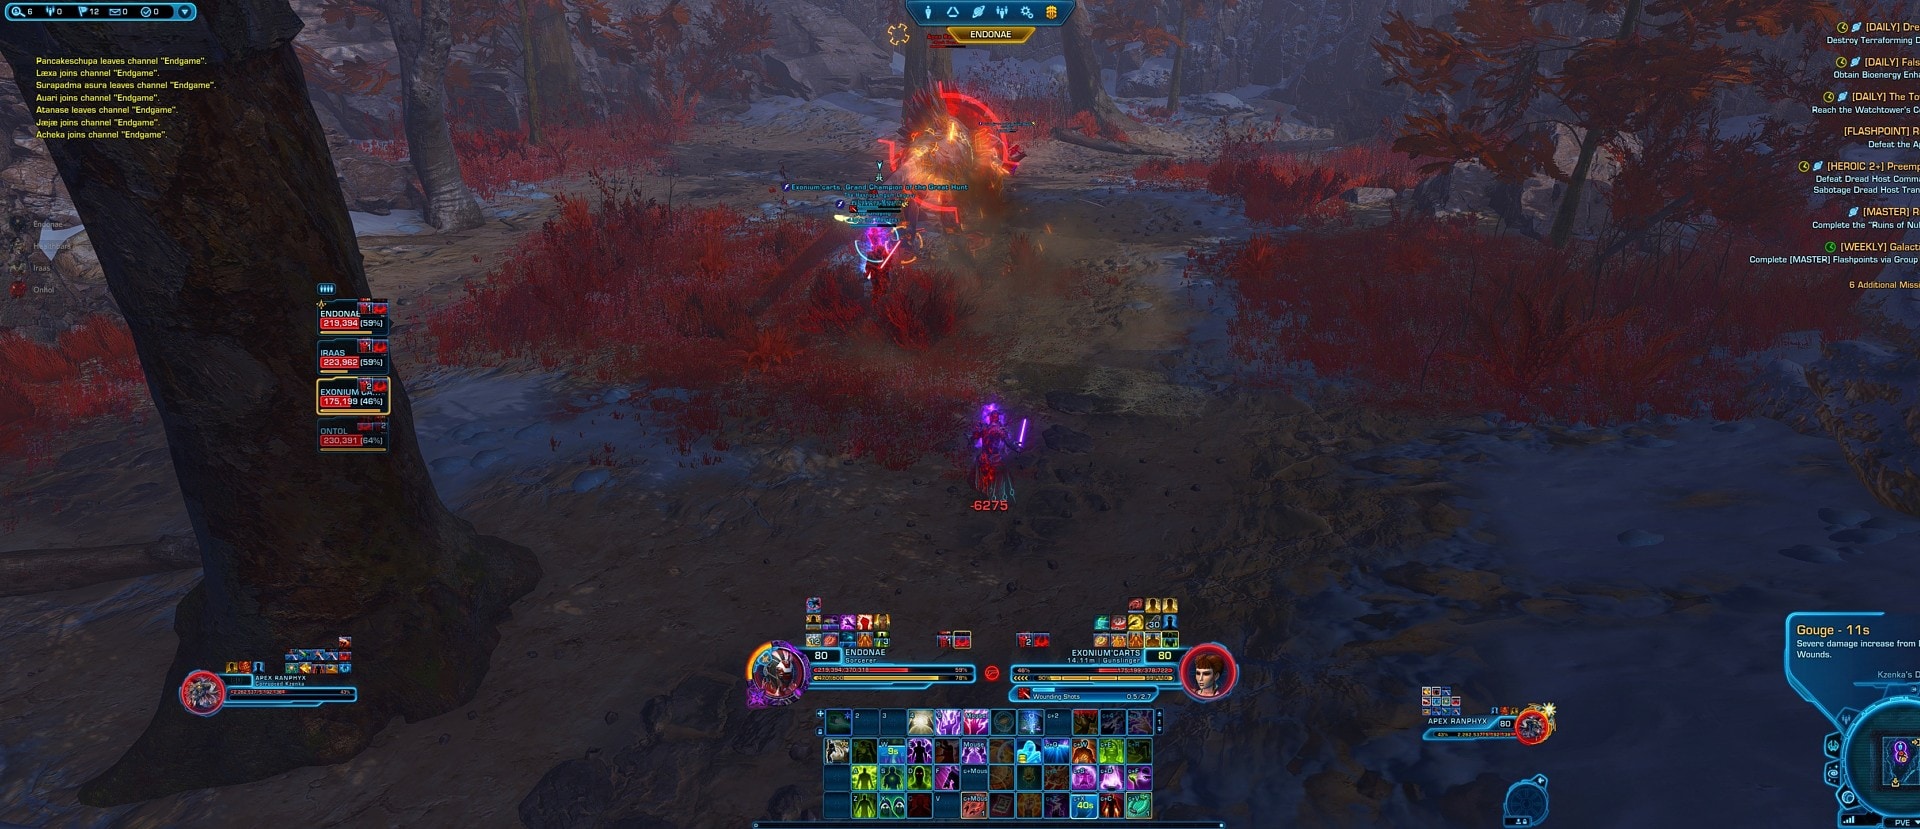
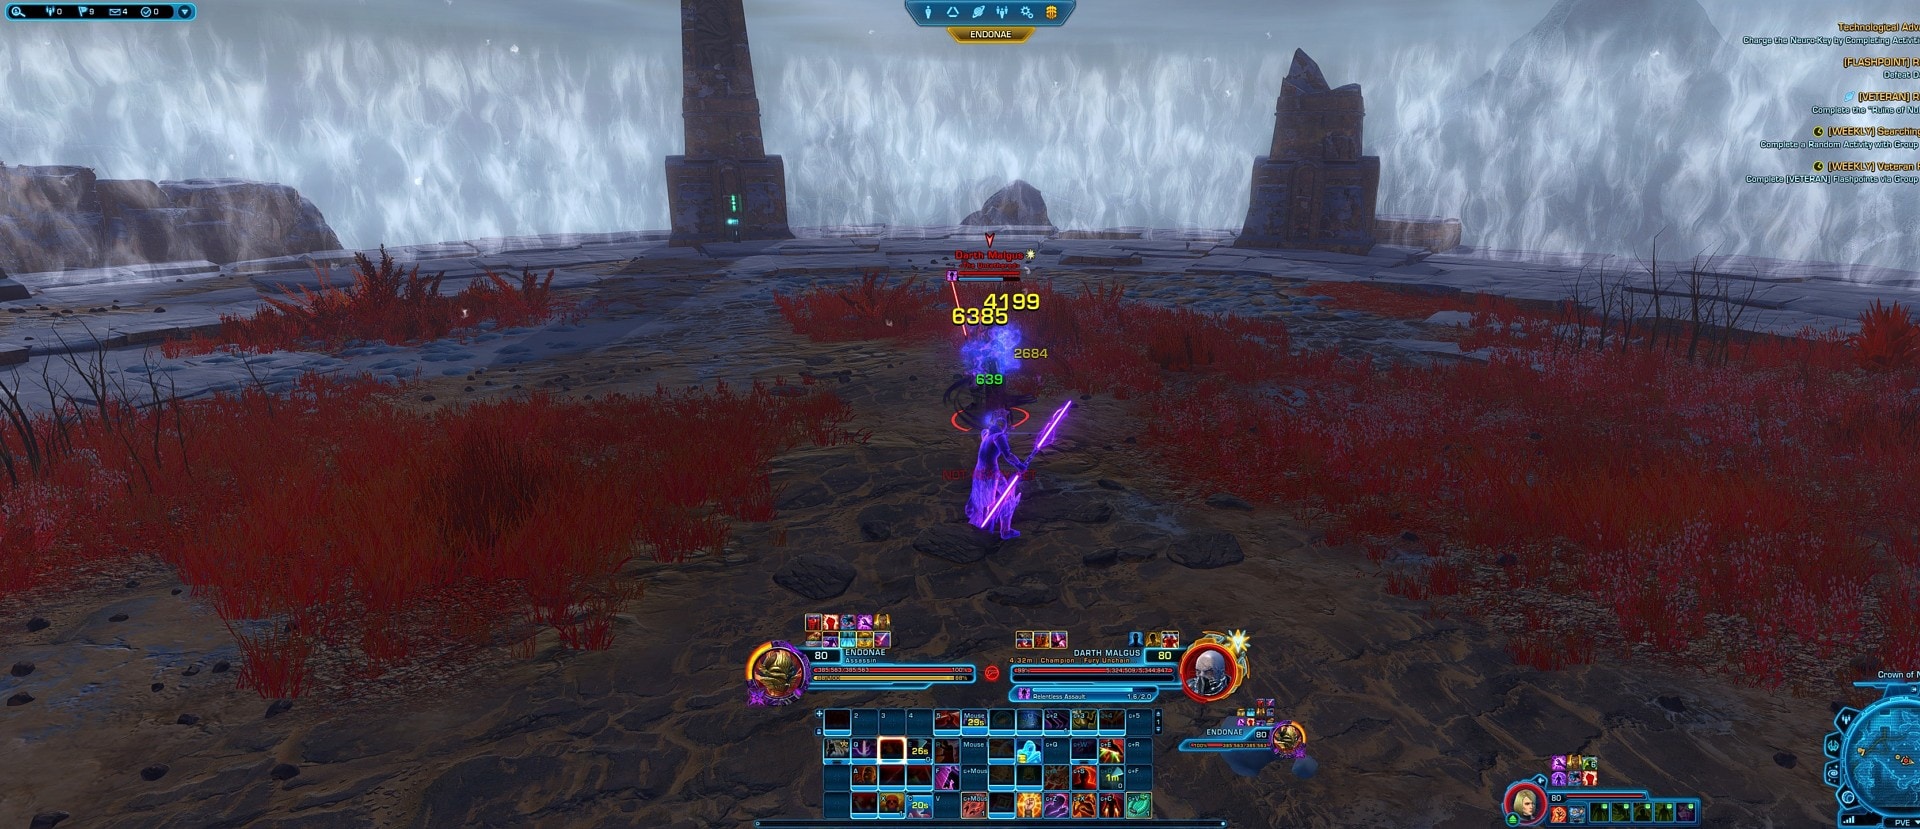
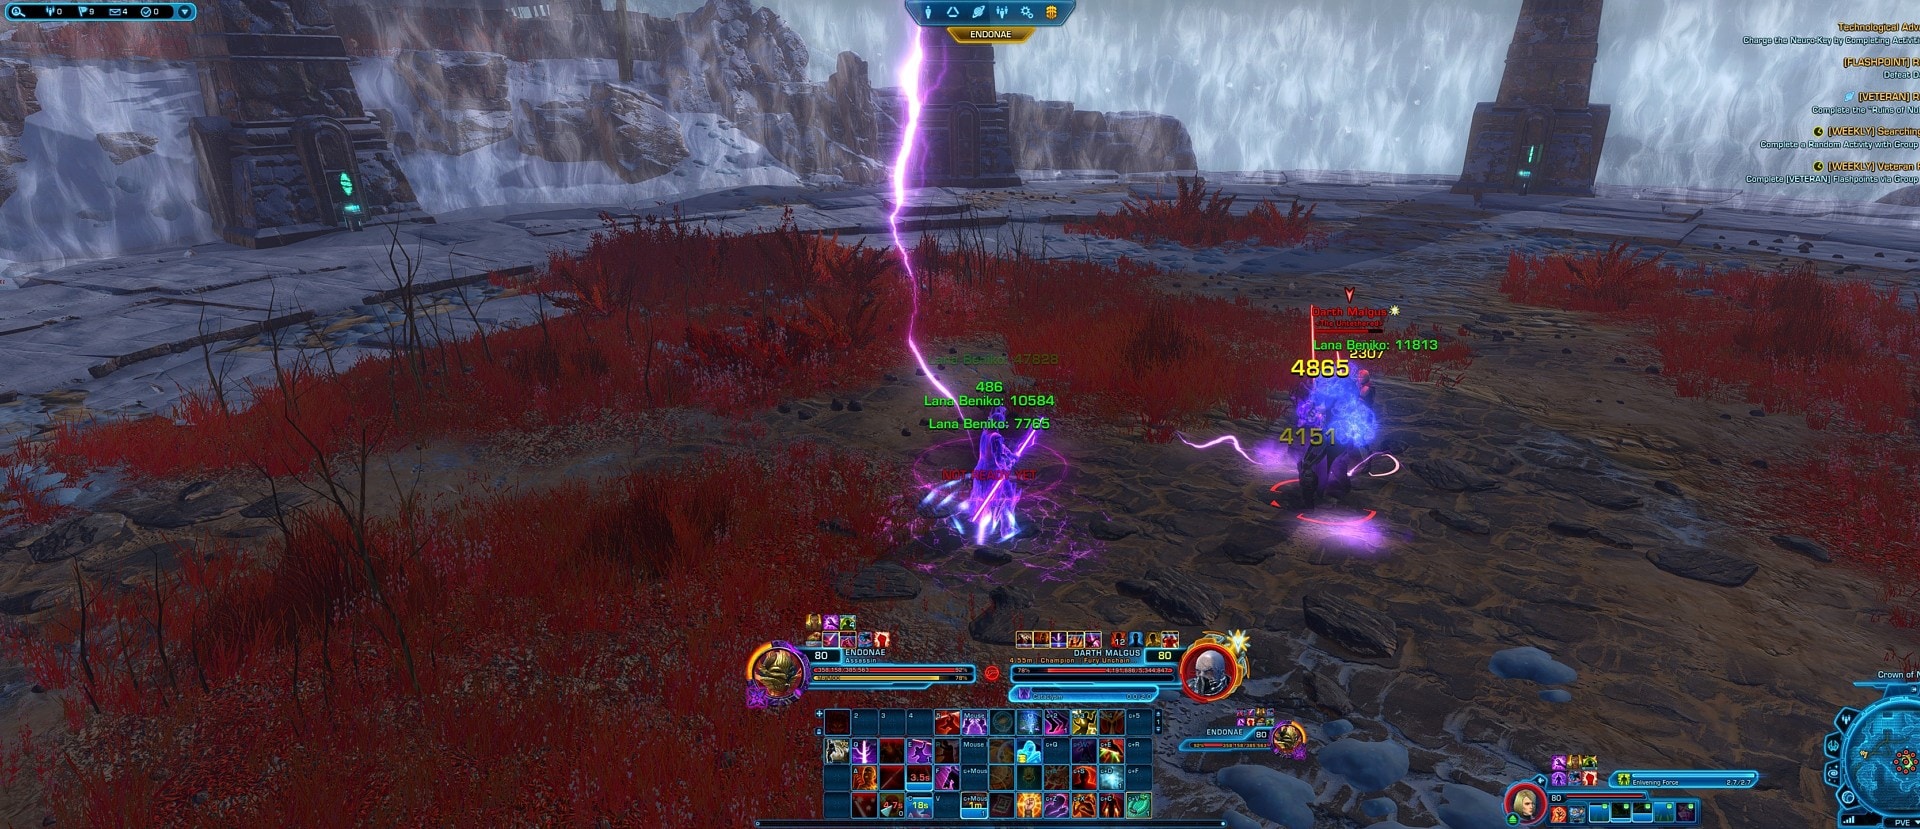
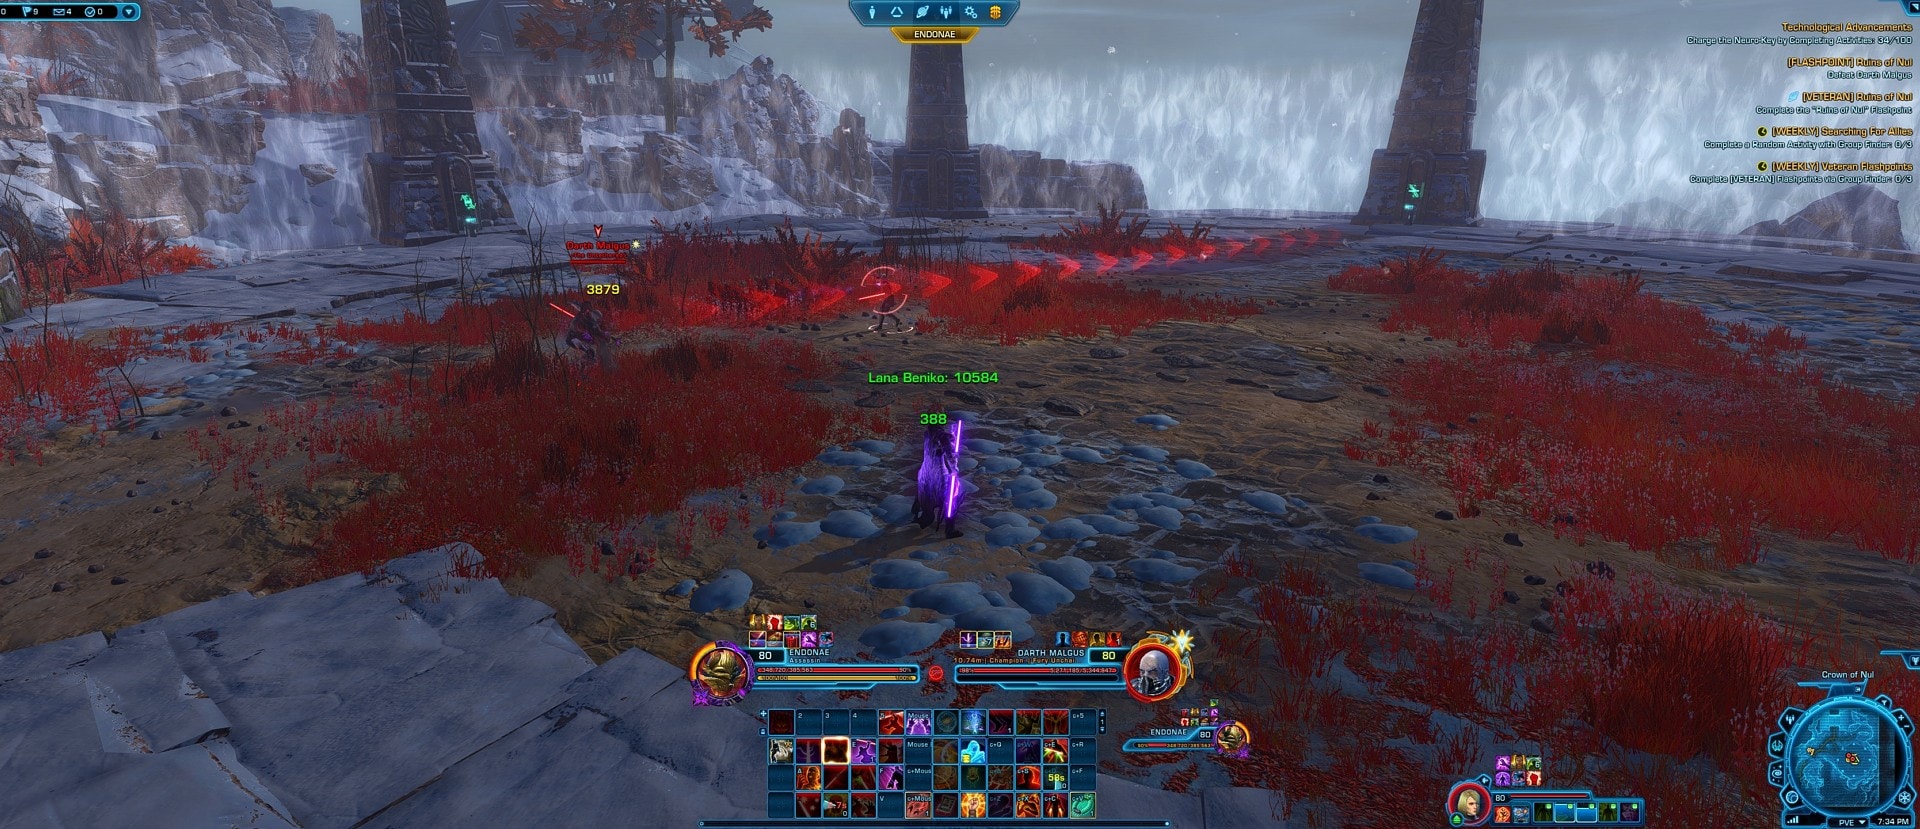
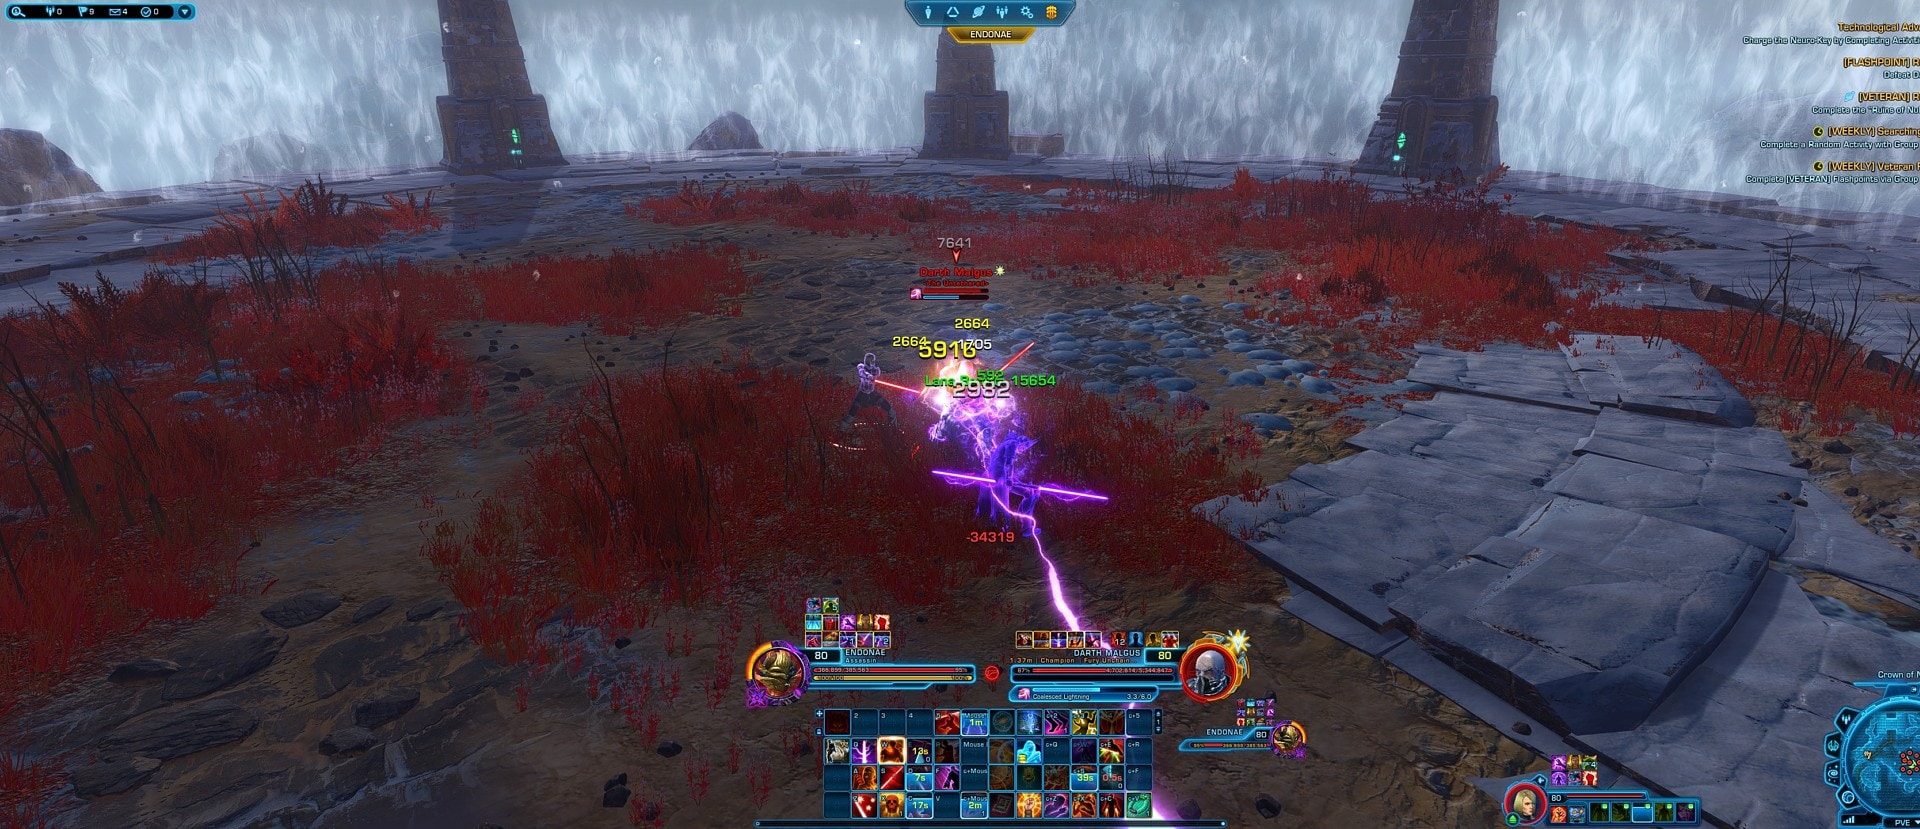
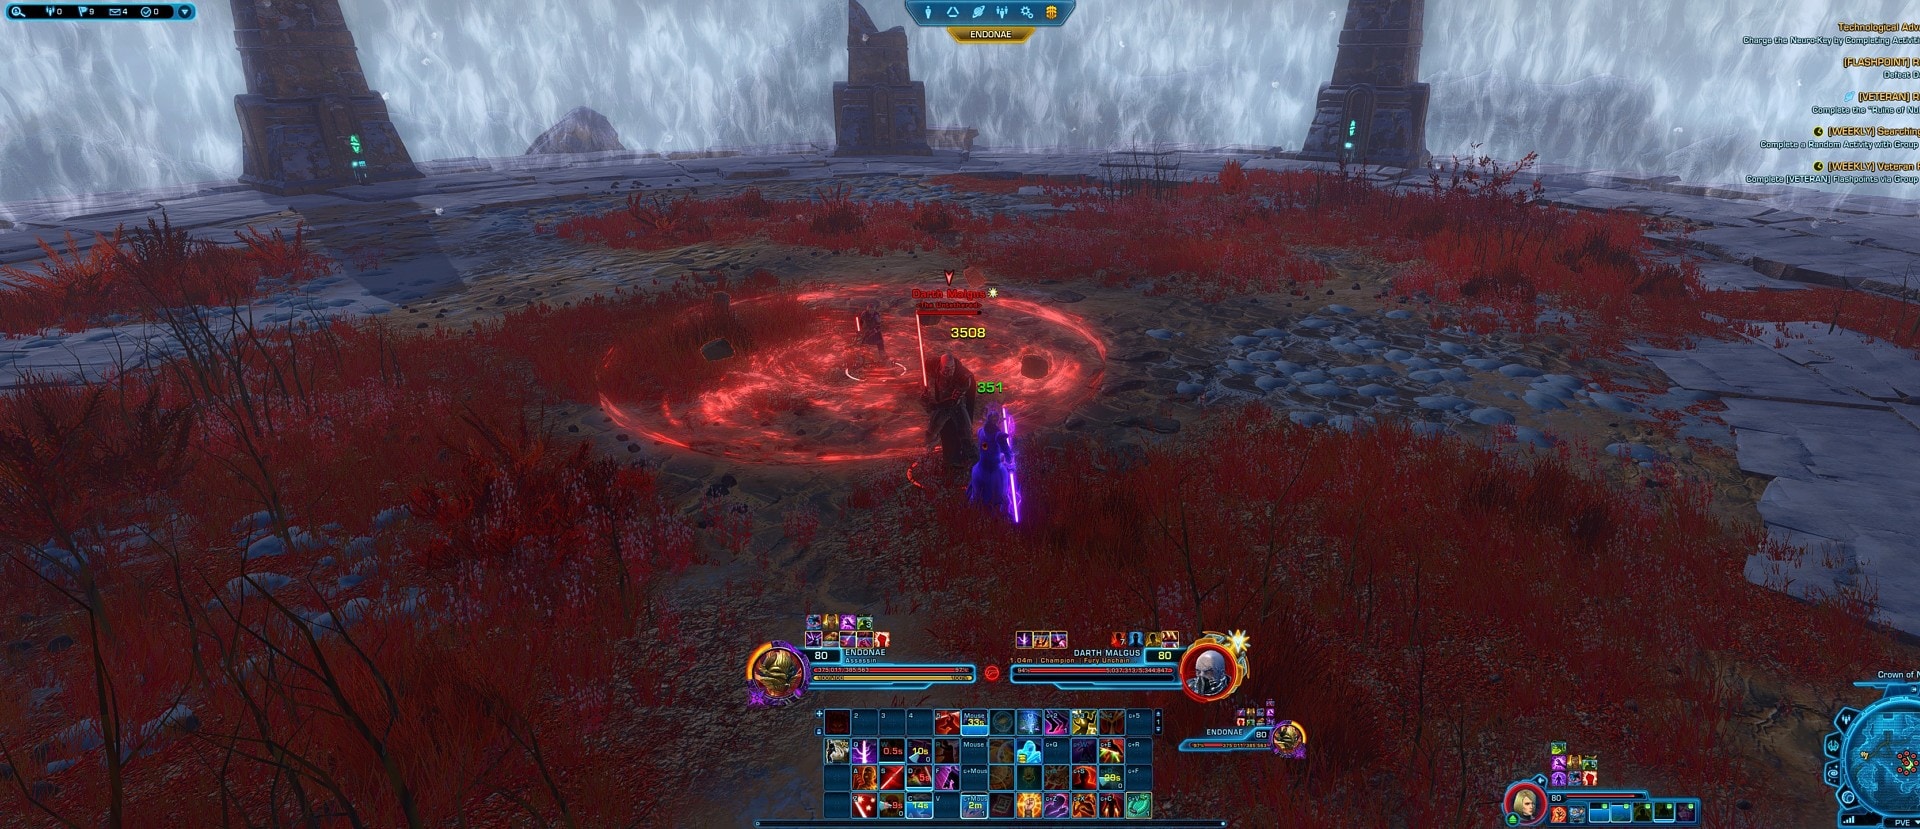
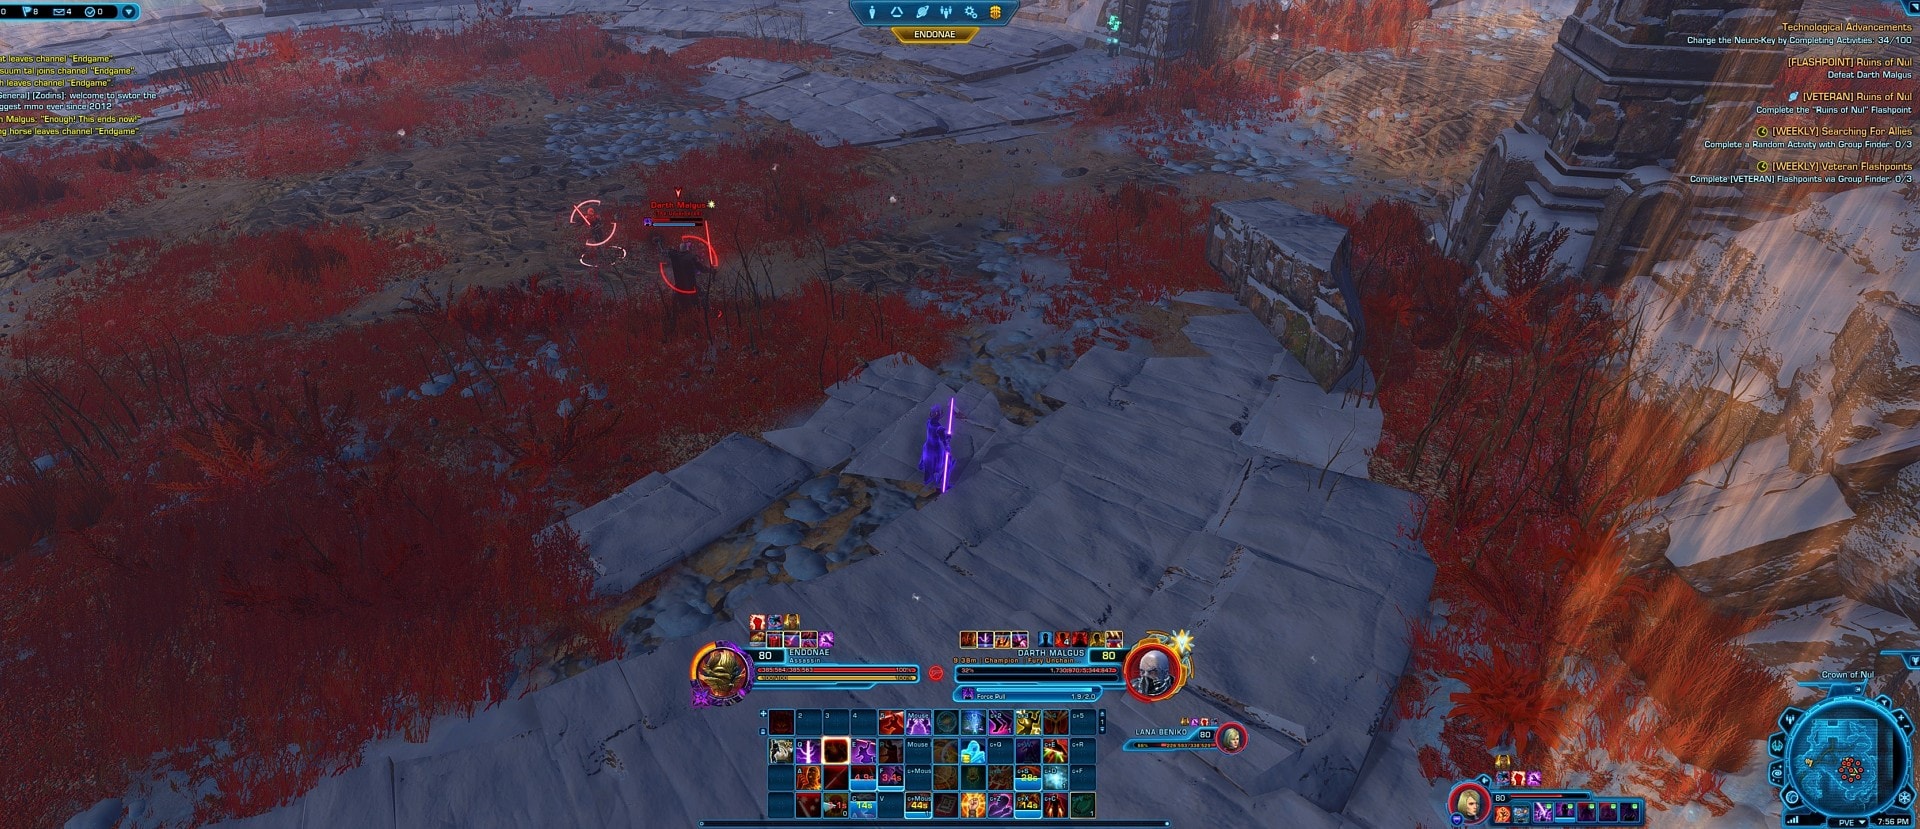
Final Boss: Darth Malgus – Untethered
The final encounter is against Malgus himself in a wide-open flat area.
Relentless Assault
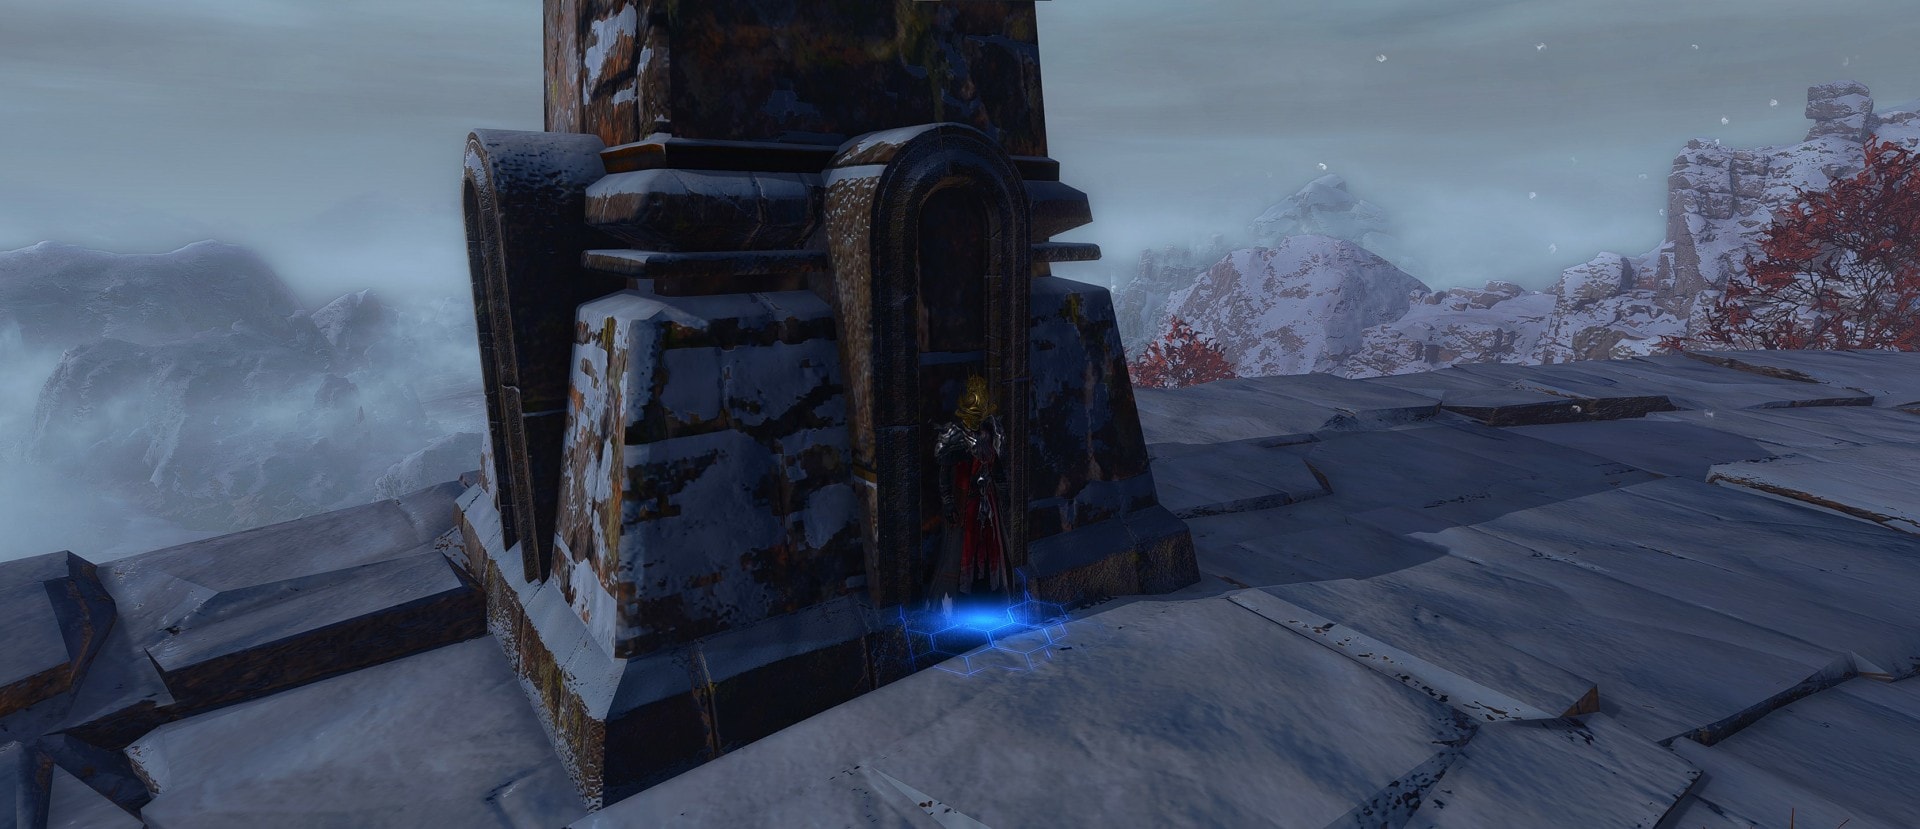
This attack is super buggy in SM and VM and it’s his first attack every single time. It’s supposed to just pull you to the center of the arena, but often causes to you glitch through the floor, which makes the game auto /stuck you. I had the best luck mitigating the bug by running away and LoSing it behind a broken pillar as as soon as he started casting it. Setting my companion to tank also seemed to help.
It seems to stop you from getting pulled by Relentless Assault if you stand inside one of the central nooks in one of the pillars.
Stacks and Cataclysm
Malgus builds stacks which you can see on his buff bar. He gains a stack each time he deals damage with one of his special attacks. Once he reaches 12 stacks, he casts Cataclysm, which hits really hard in a circle each player It’s inevitable that he’ll reach 12 stacks occasionally, but your healers will thank you if you try to minimize your damage taken.
Super Speed Mode
Malgus occasionally goes into this super speed mode where he zips around the arena several times. It hurts, so try to avoid it if you can. If you’re a melee DPS, you can’t really chase him, so just wait until he’s done. If you’re a ranged DPS, you can keep hitting him, but still try not to get hit by it. It seems that if you get hit by him and not the red trail, he’ll knock you and you’ll get hit by the Force Barrier wall.
Coalesced Lightning
This lightning is a 180 degree frontal cleave that he does periodically that stuns you for a brief moment after each tick. This makes it difficult to get out of once he’s started casting it, so it’s important everybody stays behind him as much as possible. The attack itself hurts and because it has such a long range, he can quickly build stacks and use Cataclysm.
Telekinetic Barrage
Malgus casts Telekinetic Barrage, which at first is a hollow red circle.

Then gains an effect. It hurts, so don’t stand in it.
Force Pull
When the Malgus’ target is too far away, he will cast Force Pull. If you have aggro and stay within melee range of him, he will never use this ability.
Force Barrier
There’s a white aura surrounding the arena. You can see this in all of the above pictures. If you touch it, you will take a ton of damage.
Master Mode
If you somehow manage to make it past the second boss, Malgus is much easier by comparison, though he’s still challenging. Thankfully, the Relentless Assault attack appears to be working properly in MM, though it does sometimes push you into a wall instead of pull you to the center of the room.
The key difference in MM is that the red circles left by Telekinetic Barrage do not go away and apply a very damaging (cleansable) DoT. This heavily restricts your positioning because you do not want to place them in the middle of the room because you’ll get pulled there by Relentless Assault.
Since Malgus does a lot of 180 degree cleaves, everyone but the tank needs to be behind the target. We found it best to just place red circles along the the ring where the center dirt meets the outer stone. When a red circle spawns, the tank backs up (still following the dirt-stone divide) such that there is enough space for the other group members to stand behind Malgus past the new red circle, and then everyone follows. Basically, you’re just dropping circles in a ring around the room and moving forward around that ring so there’s more space to drop new circles. This ensures that you won’t get pulled into any.
Also the Force Barrier wall just one-shots you. This means you really don’t want to get knocked by him during his super speed mode. When Malgus goes into his speed mode, run to the outer edge of the room since he mostly sticks to the center of the room.
Achievements
Strangely, there are no hidden achievements for this Flashpoint. There are only 2 bonus achievements for killing 50 Ranphyx and 100 droids. If you want to defeat 100 droids in a single run, you have to use a Rampage Achievement Boost that you can get from login rewards.