This guide will tell you how to start and complete the Flashpoint, Kaon Under Siege in any difficulty mode, what achievements you can unlock and the rewards you can earn.
Table of contents
How to Start the Flashpoint and its Story
Kaon Under Siege is a classic SWTOR flashpoint, released with Game Update 1.1 way back in January of 2012. It is the first of two flashpoints from the “Rise of the Rakghouls” story arc. Right after Kaon follows Lost Island.
For this mission, you’ll be on the planet Kaon in the Tion Cluster where you’ll need to combat a rakghoul outbreak. There will be waves upon waves of foes that get progressively more dangerous so be on your toes and read well!
This guide covers Veteran Mode and Master Mode for Kaon Under Siege.
An epidemic of rakghoul plague has broken out on several worlds in the Tion Hegemony, spreading like wildfire and consuming them. There is a single holdout, the world of Kaon, that is in desperate need of outside aid.
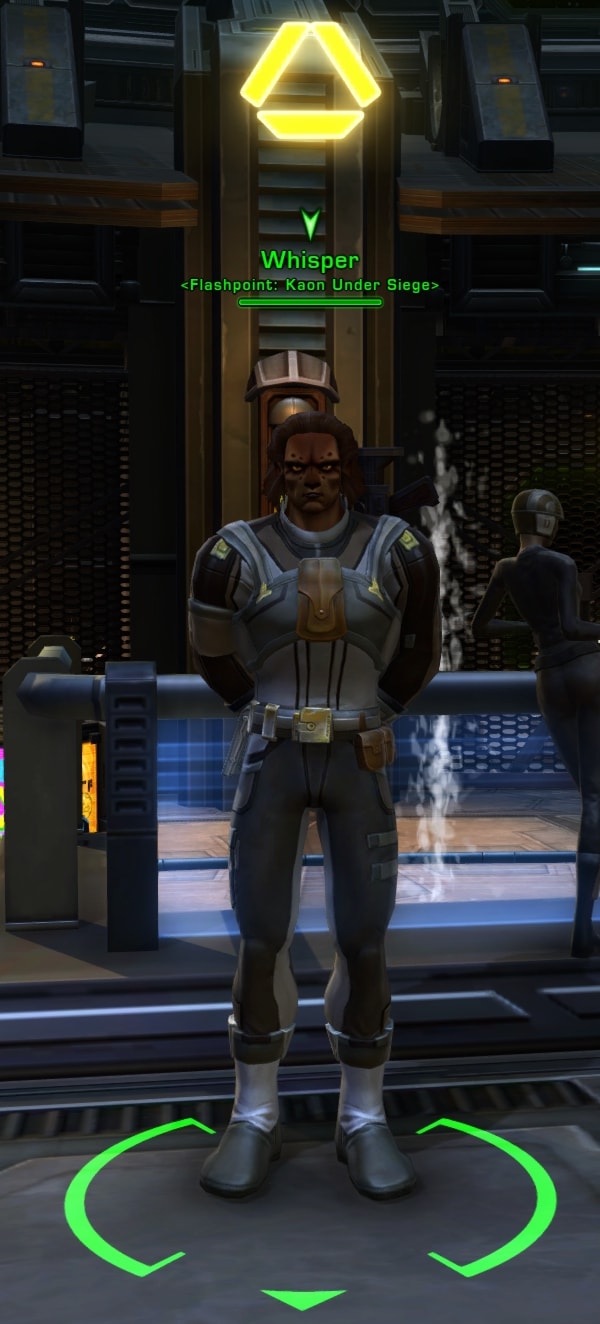
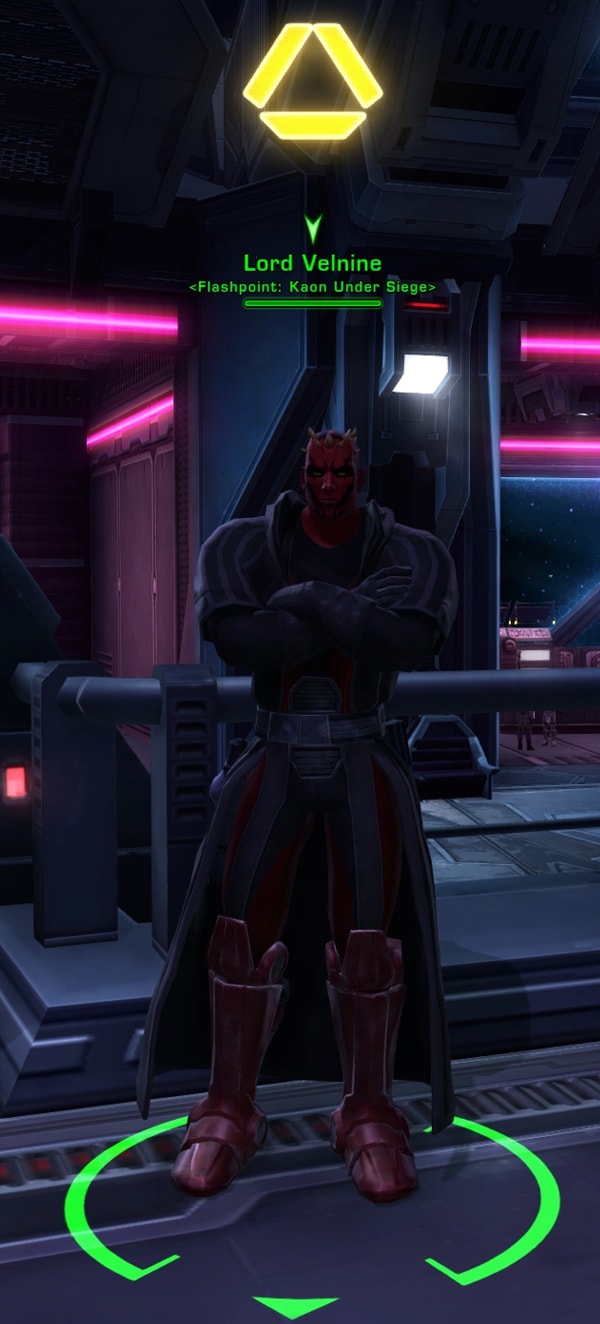
To get the story arc for Kaon Under Siege, go to the Supplies section of your faction’s fleet. For the Republic, you’ll need to talk to is Whisper. For the Empire, you’ll need to talk to Lord Velnine.
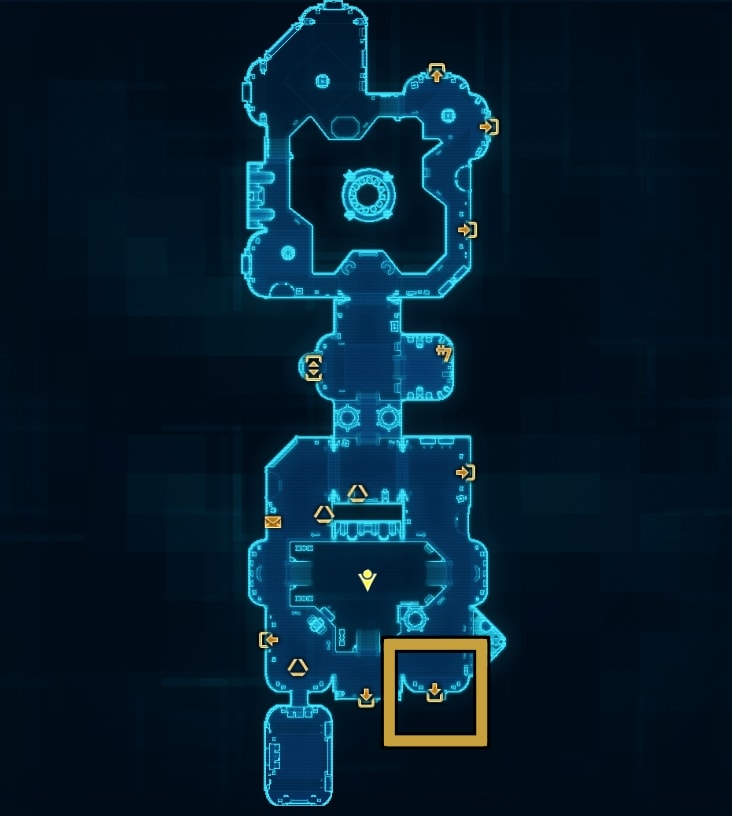
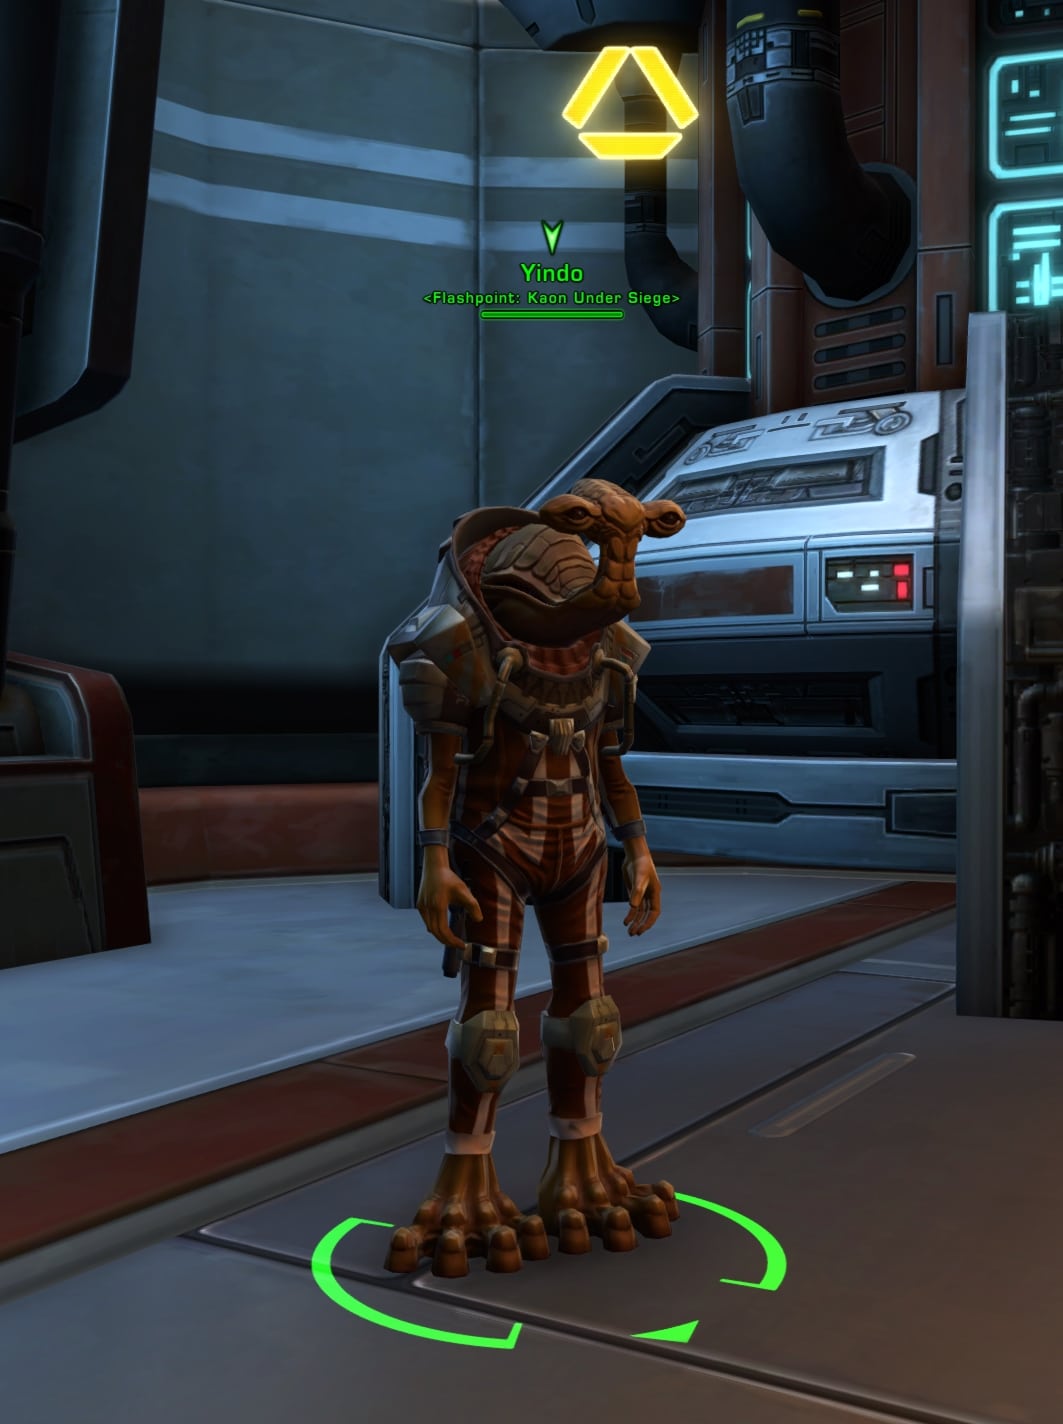
To start the Kaon Under Siege Flashpoint without the story arc for Republic characters, you’ll need to go to the Mission Deck of the Gav Daragon capital ship at the Republic Fleet. Go towards the lower right of the Mission Deck to find the Tion Mission Hangars. You can get the mission for Kaon Under Siege from Yindo.
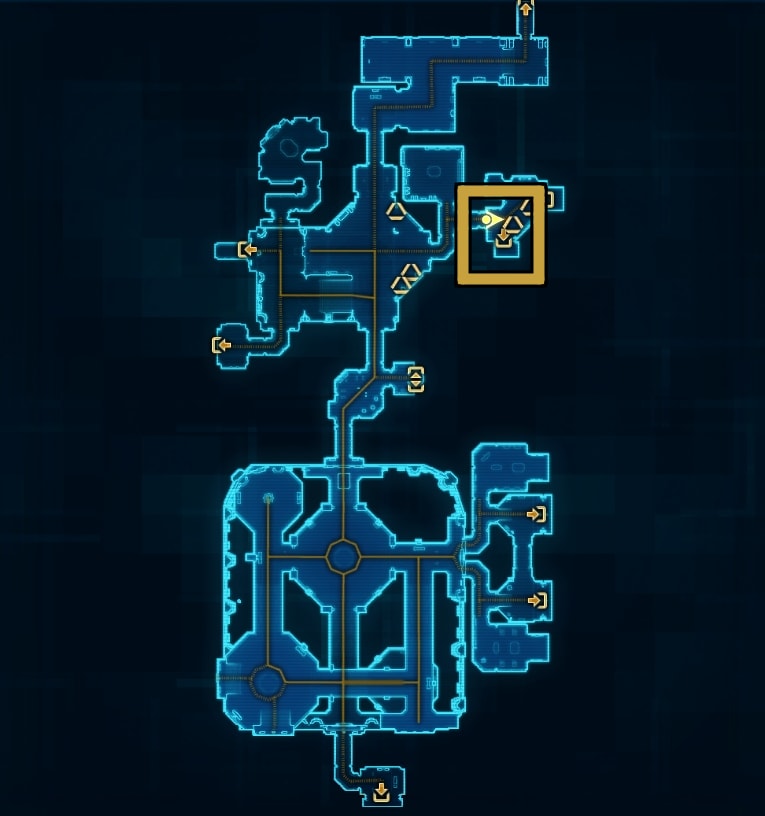
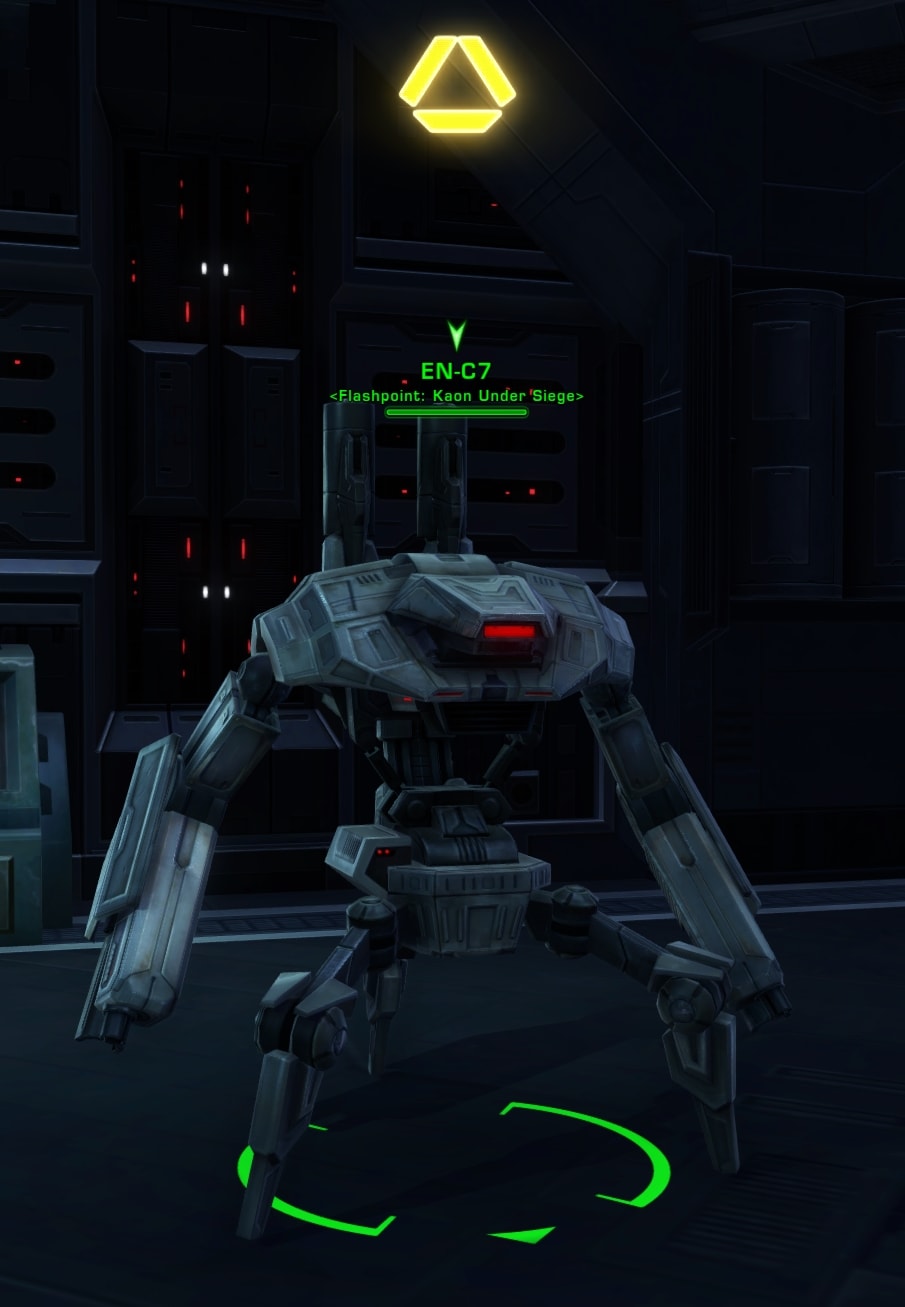
To start Kaon Under Siege without the story arc for Imperial characters, go to The Ziost Shadow capital ship at the Imperial Fleet. It’ll be on the upper right portion of the Mission Deck and you can find EN-C7 who will give you the flashpoint mission.
The flashpoint is also available in the Activity Finder under the Group tab. It’s available for Veteran and Master modes but as it lacks a Story Mode difficulty, you’ll be unable to use the Solo tab to get to this flashpoint.
Read our SWTOR Story Progression Guide to learn where this story fits in. The guide will help you experience the game’s narrative in the proper intended order of events and aid and assist you if you are not sure what to do and where to go next.
Quarantine Breach (Bonus Mission) Phase 1-3
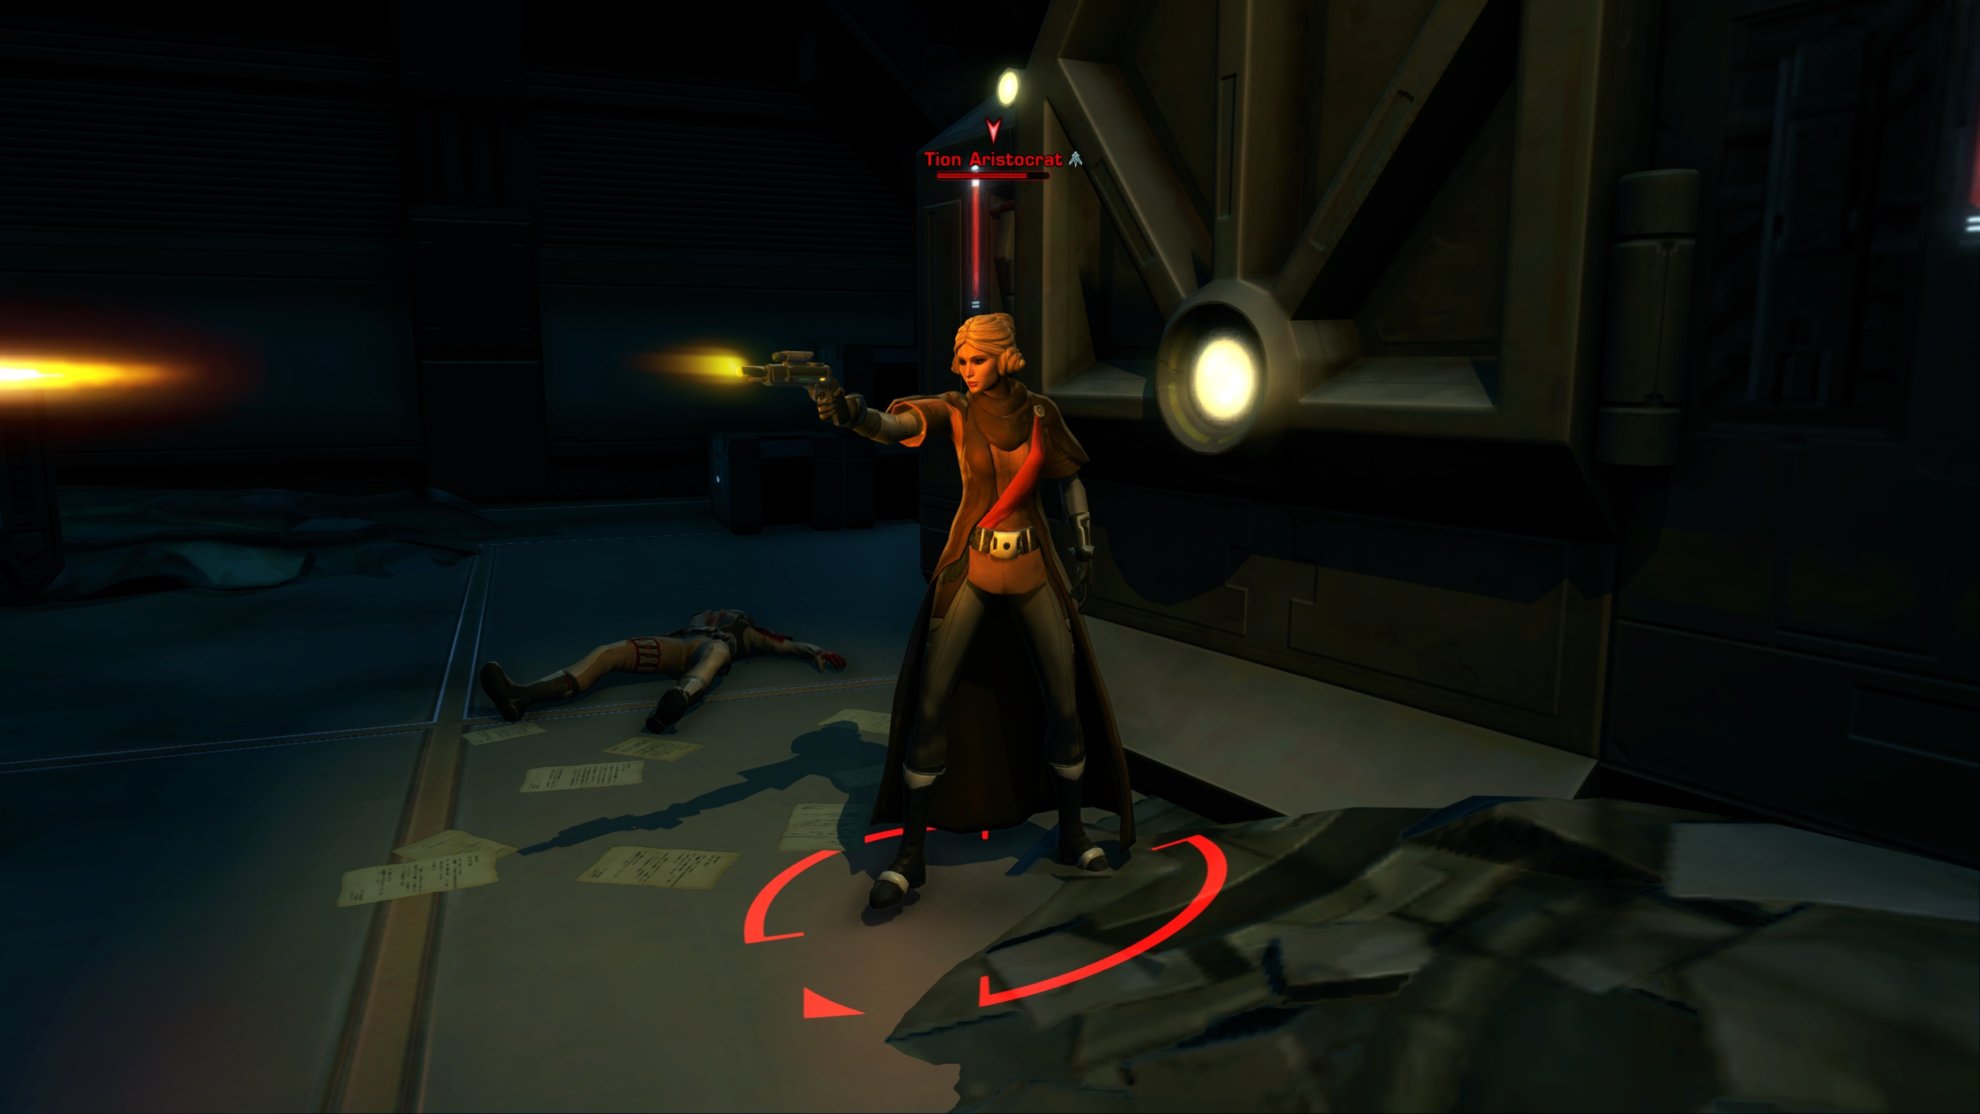
You’ll be able to start the Bonus Mission when you fight your first opponents in this Flashpoint. The Tion upper class are attempting to flee the planet despite quarantine procedures and you’ll need to defeat 25 of them to complete the first phase of the Bonus Mission. Focus the Tion Aristocrats first as they can heal their allies.
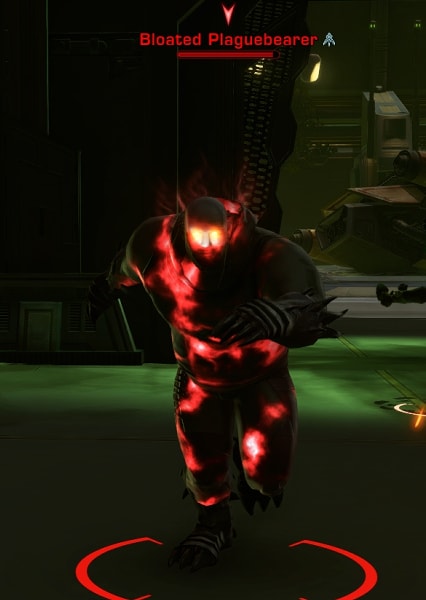
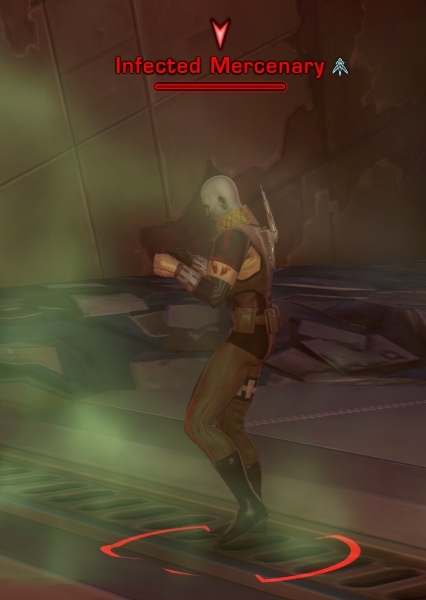
Phase 2 of the Bonus Mission will have you defeat another 25 enemies but this time they will be civilians infected with the Rakghoul virus. Keep an eye out for Bloated Plaguebearers and Infected Mercenaries.
The Bloated Plaguebearers will explode when they are defeated knocking anyone nearby into the air. The Infected Mercenaries can constrict you and keep you stunned until they are defeated. While you can use your CC breaker to free yourself, then can constrict you or an ally immediately after. Always focus the Infected Mercenaries first in combat.
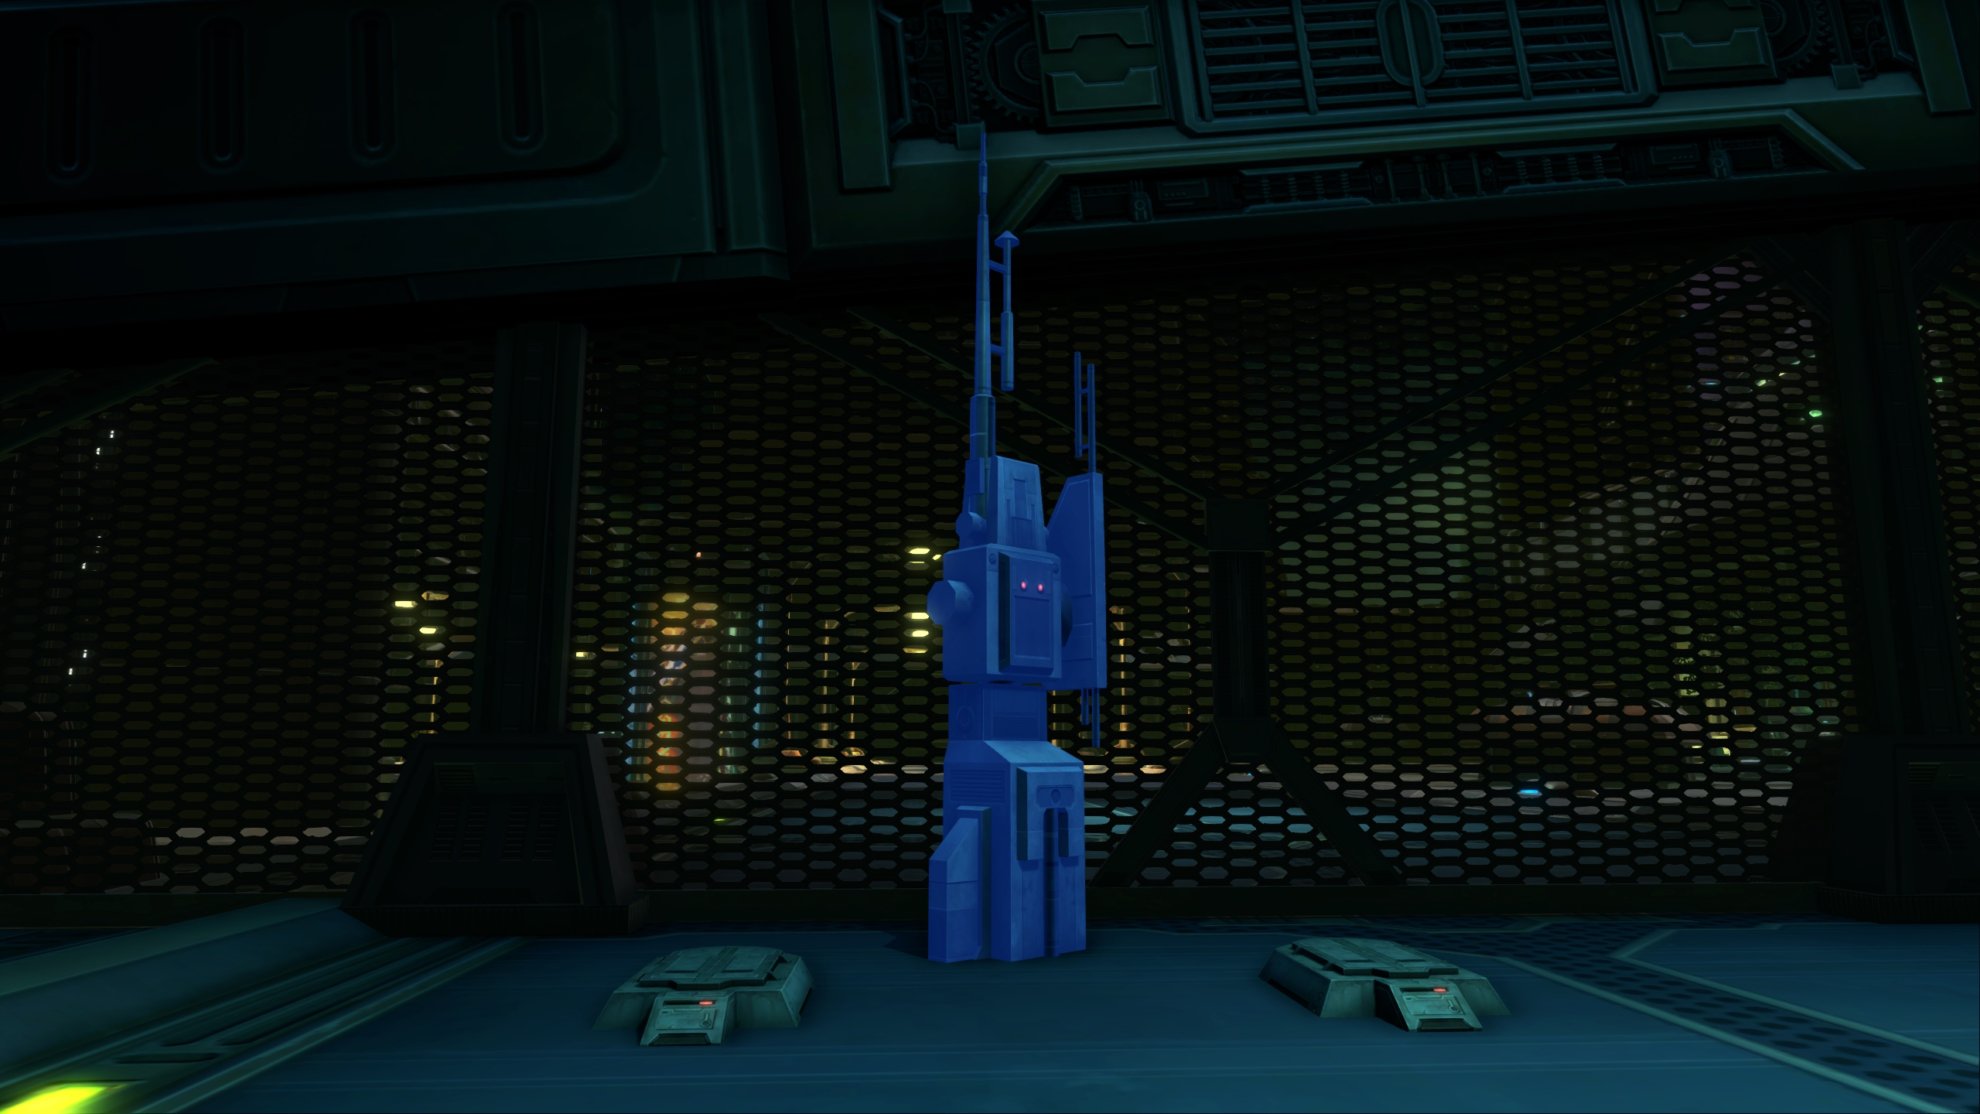
Phase 3 of the Bonus Mission will have you activate 6 Containment Beacons. Look for these structures and right click them to activate some defense turrets. These turrets will damage any nearby rakghouls. You’ll only be able to find one in the Park District, you’ll encounter more later as you progress.
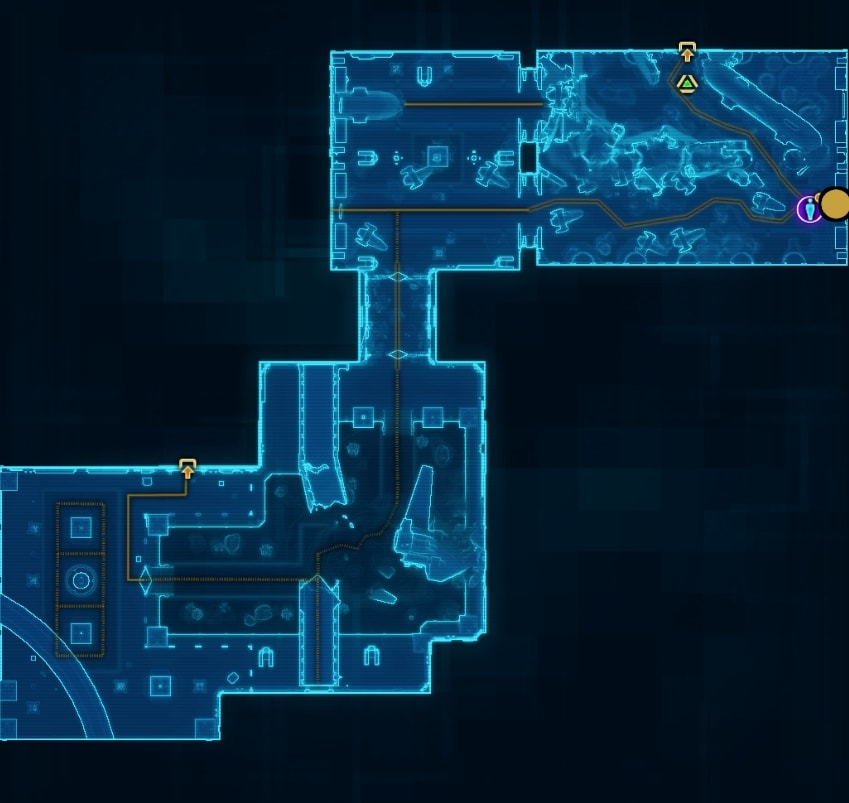
I have a more in-depth segment about Phase 3 later in the guide, where you will actually start the Phase.
First Boss: Infected Swarm
When you reach the end of the tunnels in the Park District, you’ll find a set of explosives attached to a pile of rubble and a turret you can mount. Activating either will start this boss fight.
Activate the explosives and have one DPS get onto the turret and everyone else stays on the ground. Simply aim the turret in the direction of enemies and it’ll automatically fire, hitting all enemies within a line. Whoever is in the turret will be immune to Crowd Control effects so they cannot be knocked up or constricted.
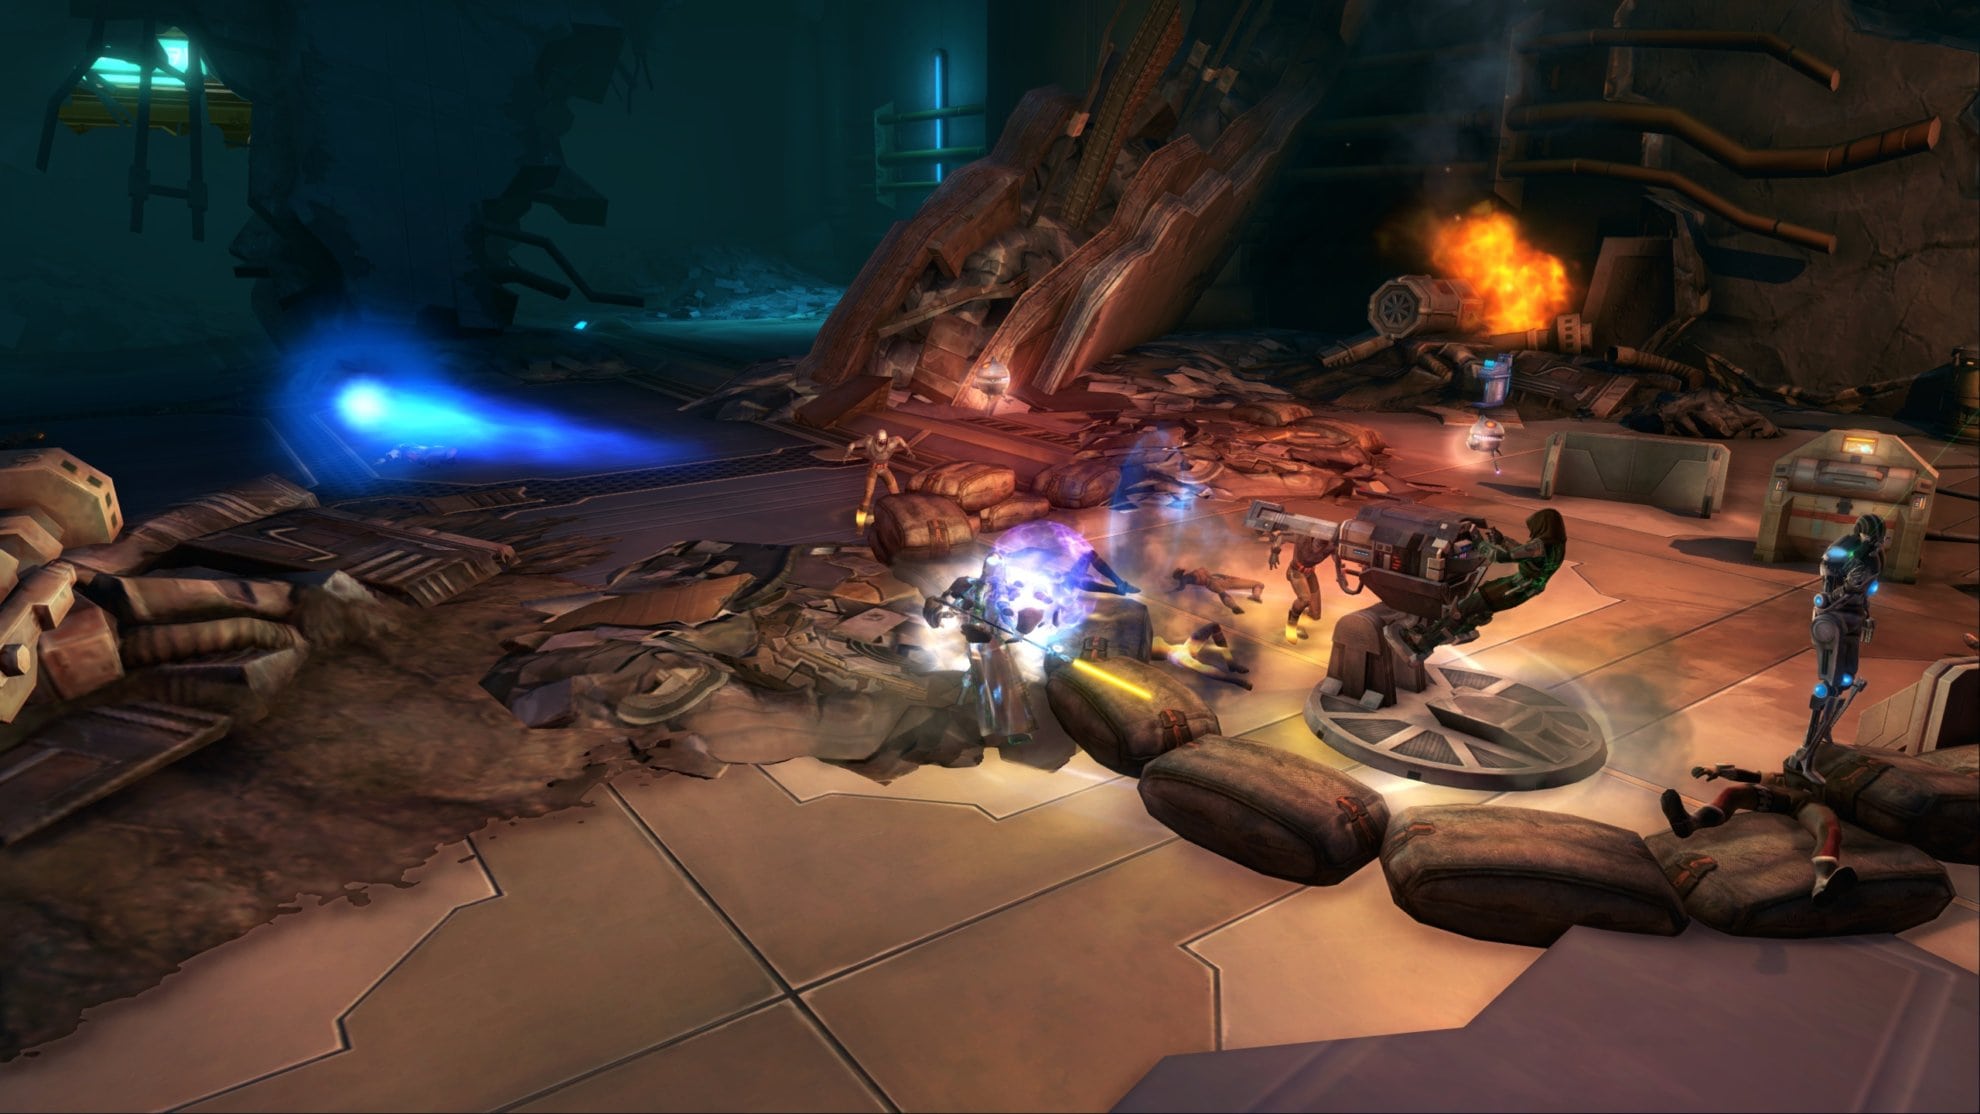
Swarms of Infected will appear on your left and right so keep aware of your surroundings. Have the tank gain aggro while the DPS defeat the swarms.
It’s fairly simple but it can become overwhelming if you’re knocked up by Bloated Plaguebearers or stunned by Infected Mercenaries. Once enough time has passed, the explosives will clear the path forward and the waves of Infected will stop.
Master Mode Differences
There aren’t any substantial differences other than the enemies being tougher and more aggressive. This will certainly hurt the DPS if the tank is not aware so the tank will really need to be on top of things to keep the party alive. Group them close so the turret can take out multiple Infected.
Quarantine Breach (Bonus Mission) Phase 3
After surviving the Infected Swarm you’ll be able to make more progress in the Bonus Mission. You’ll run across one Containment Beacon in the Park Service Tunnels and four in the Transit District. Though this last one is near the second boss of this flashpoint so you can activate it for some extra DPS against the boss.
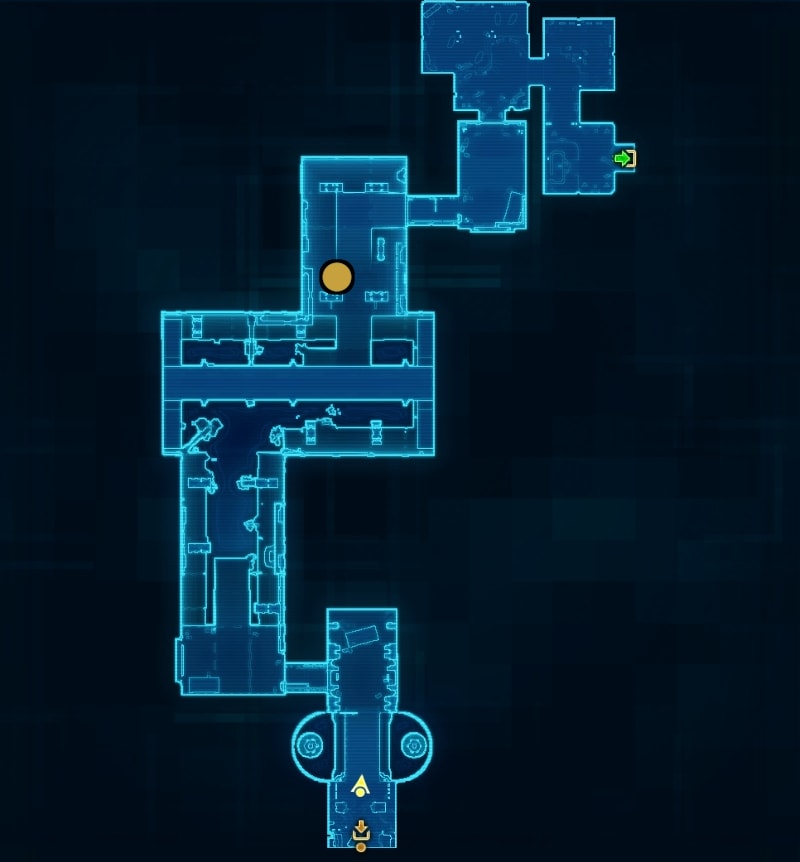
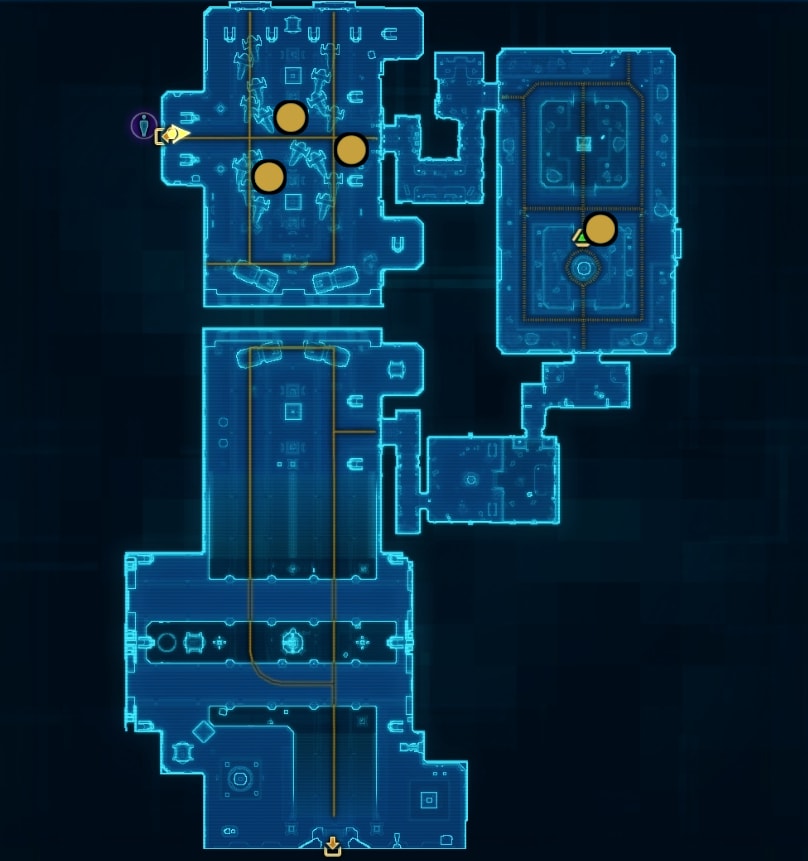
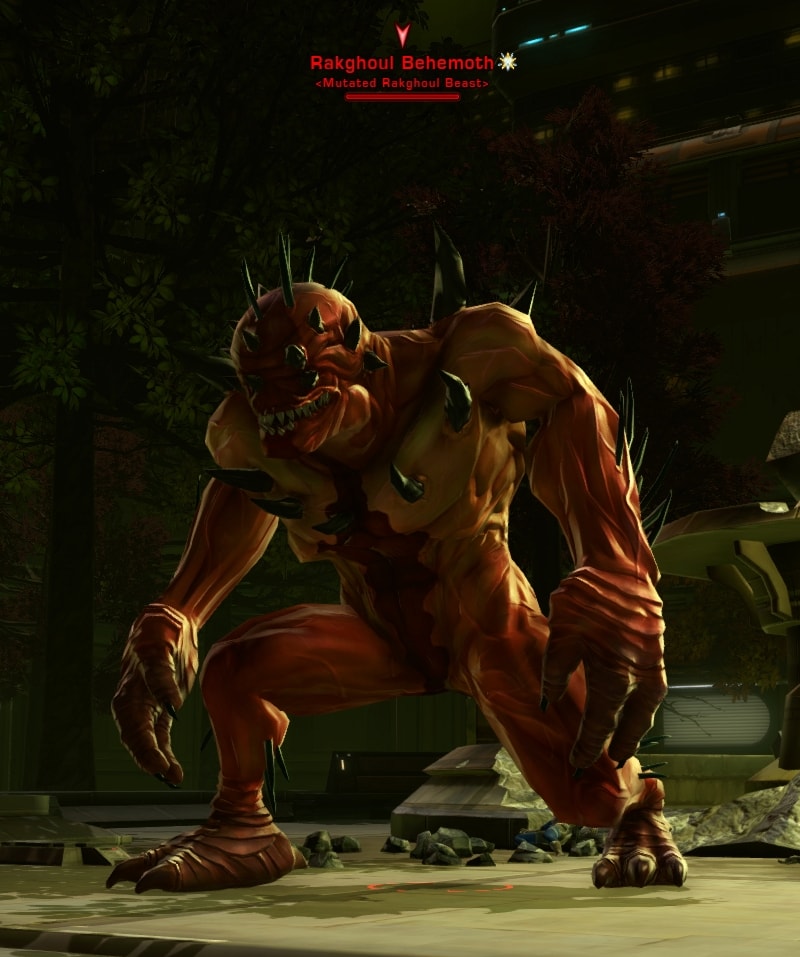
Second Boss: Rakghoul Behemoth
When you walk towards a group of survivors, the Rakghoul Behemoth will jump onto them. If left alone for a bit, it’ll begin to walk around the area. This boss has an attack where he’ll fling his target into the air. If this target is the tank, the tank will lose all aggro so they’ll need to use their taunt to regain aggro.
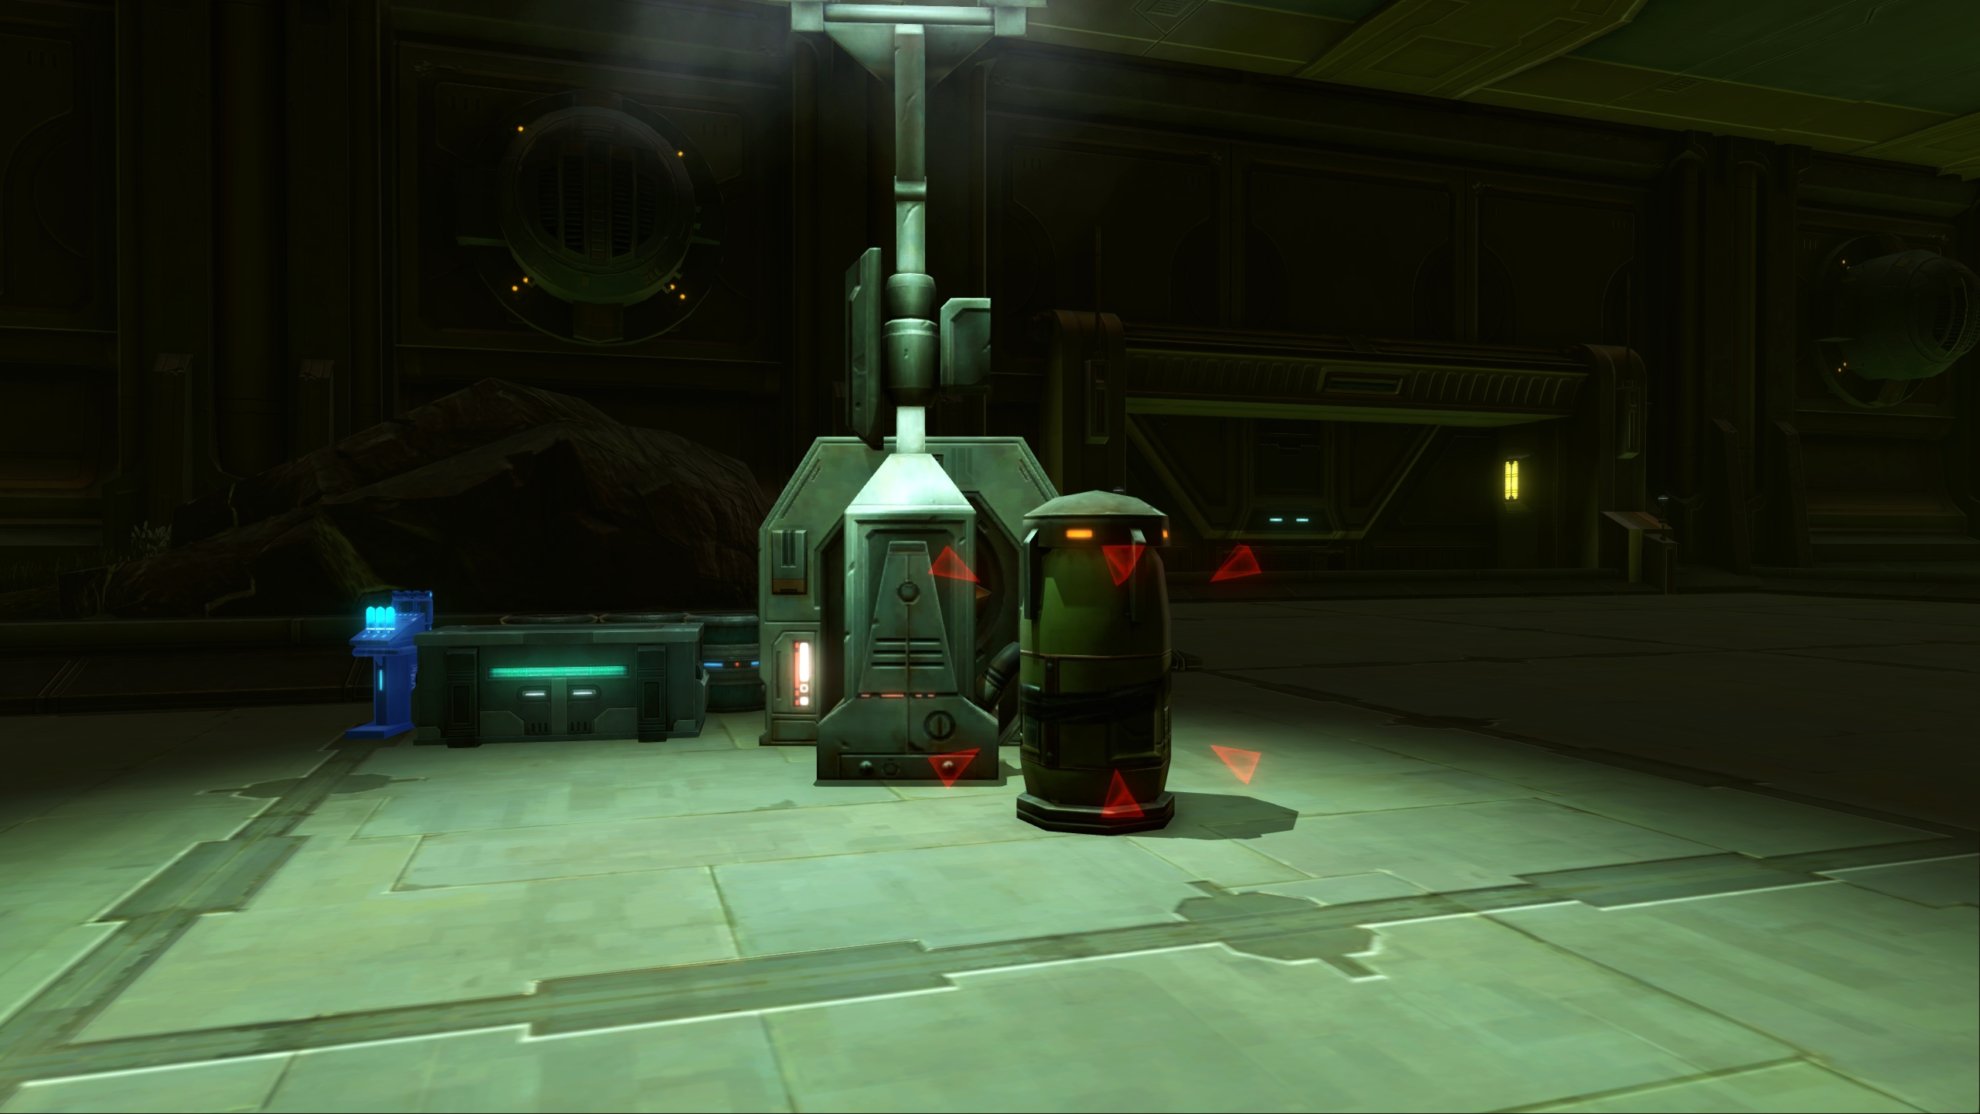
The tank will need to lure the Rakghoul Behemoth towards some Explosive Fuel Canisters found at the four corners of the area. Do not activate until the Behemoth gets the “Absorb Damage” buff. This allows the boss to take 25% less damage so you’ll need to explode a fuel canister near it to remove it.
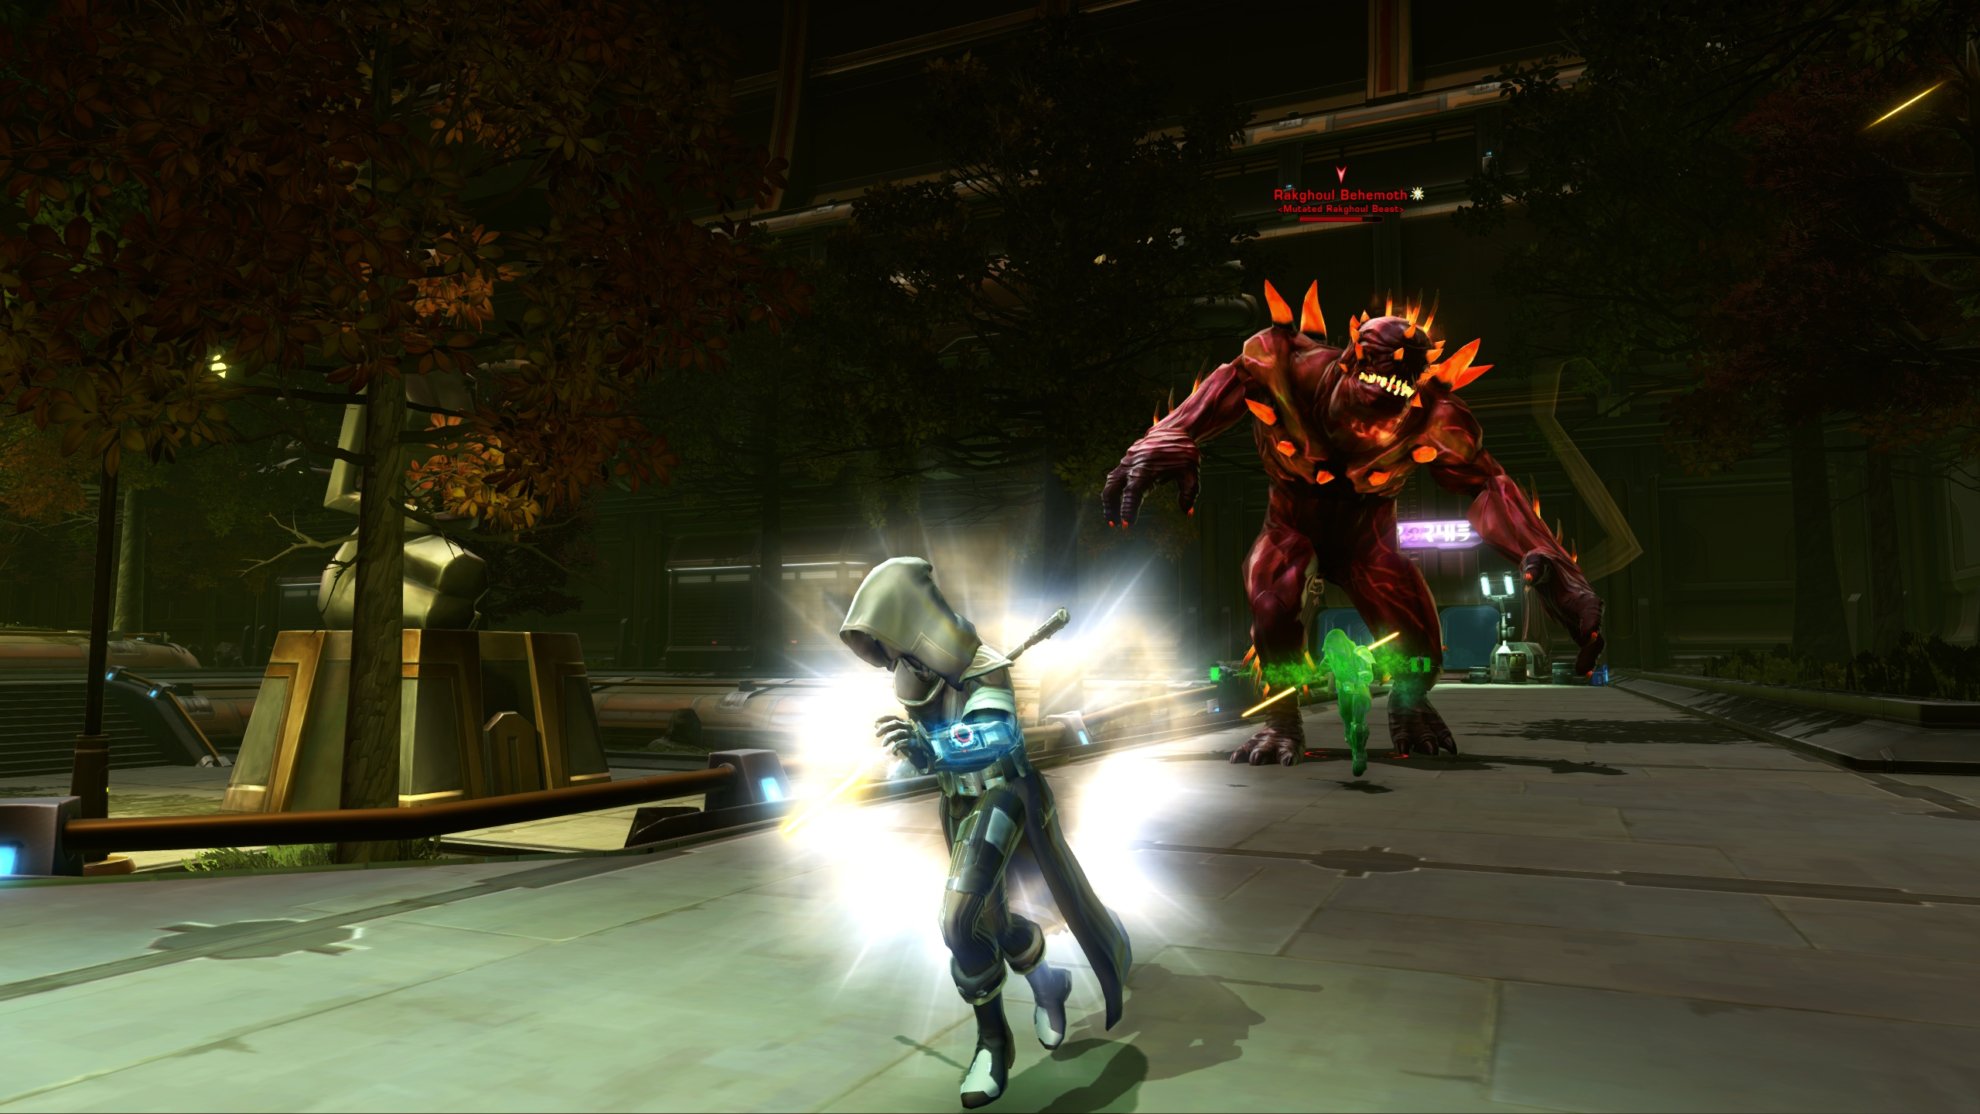
If the spikes on the Behemoth glow, it’s in a frenzy and it will deal increased damage. The tank will need to kite it and avoid getting too close to it otherwise they’ll take heavy damage. It’ll eventually stop frenzying. Repeat the process of removing the Absorb Damage buff and kite it while its frenzying to defeat it.
Master Mode Differences
The Rakghoul Behemoth is just a lot stronger with his attacks and health pool. You’ll likely have to burn through more fuel canisters and need to take even more caution when kiting him while he’s frenzied. Otherwise the battle is about the same as Veteran Mode.
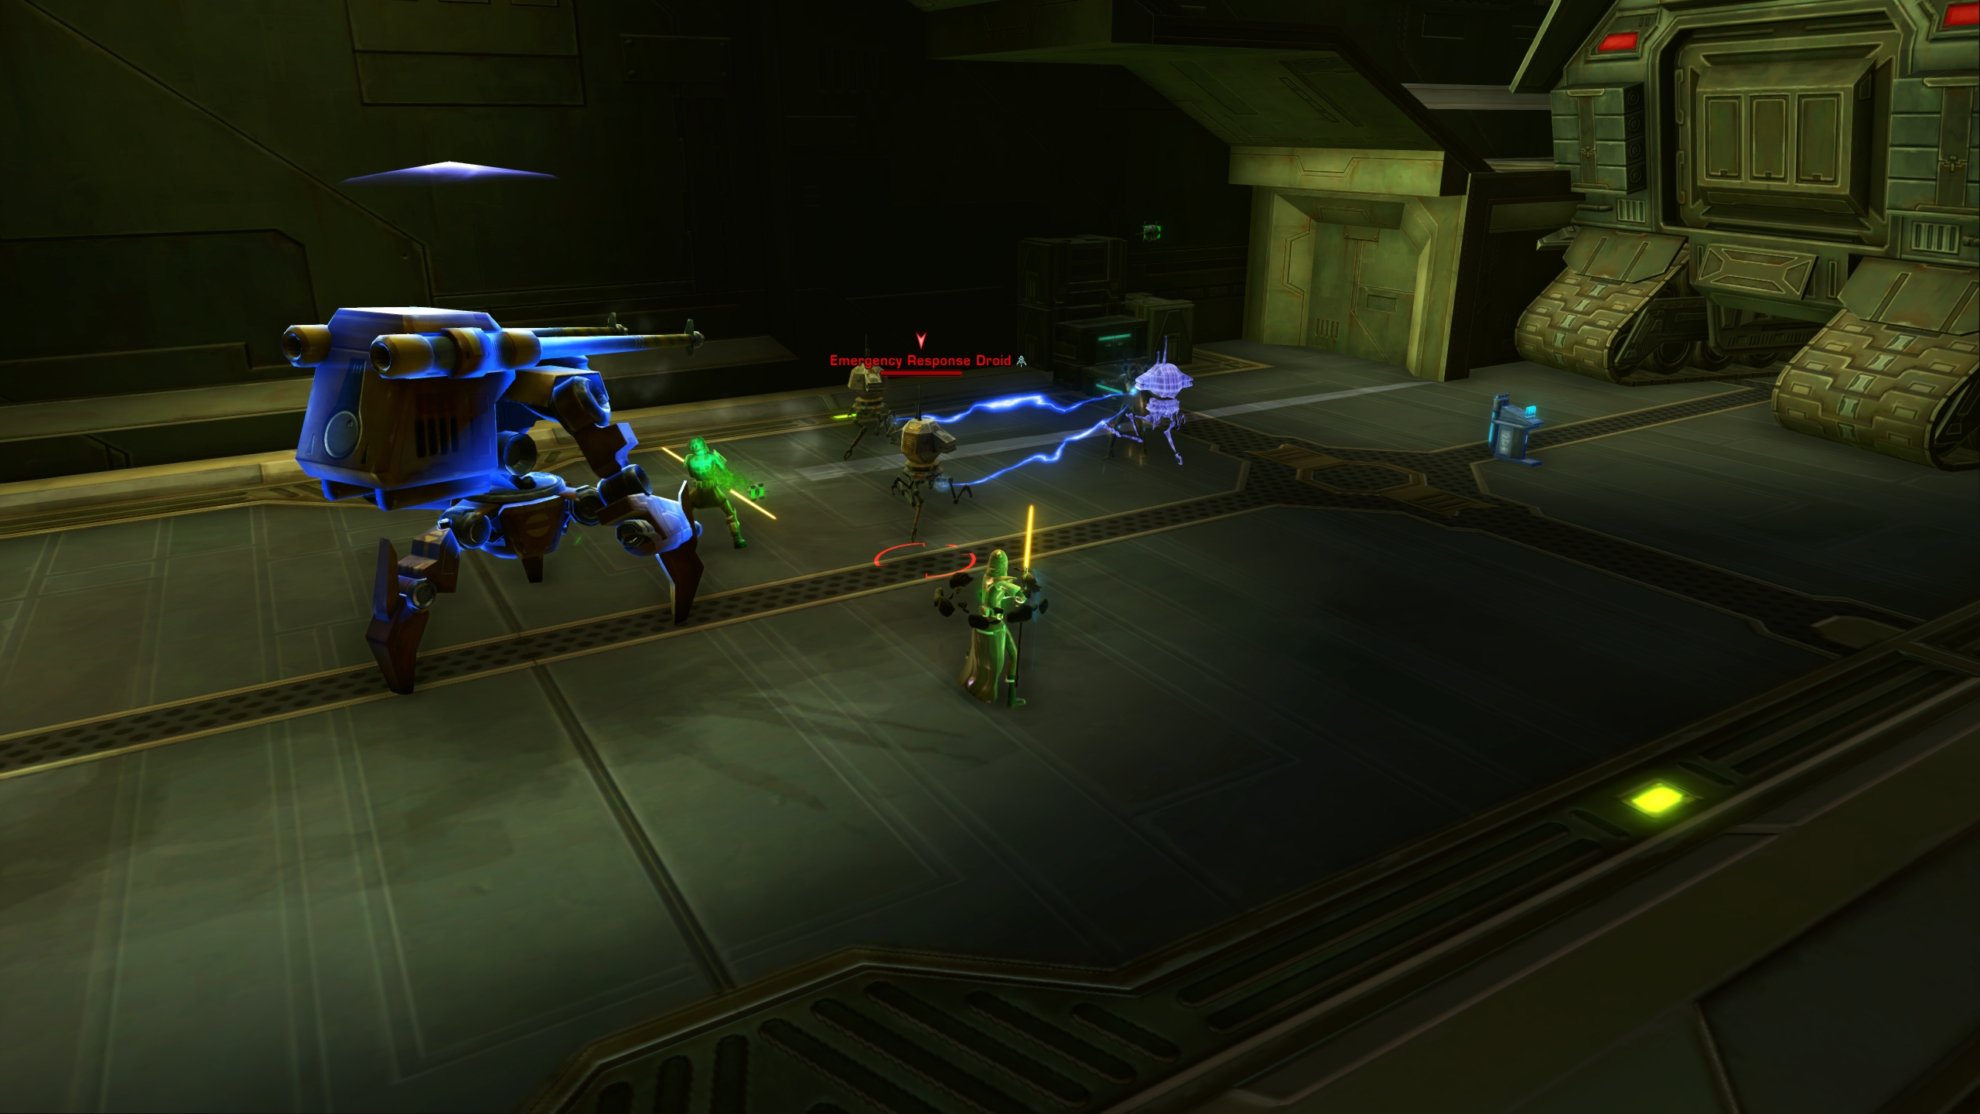
Optional Bonus Boss: KR-82 Expulser
If you have completed the previous bonus missions, you’ll be able to fight the KR-82 Expulser Droid. This fight is a simple tank and spank though it’ll occasionally grapple the team to it and use an AoE Tech attack.
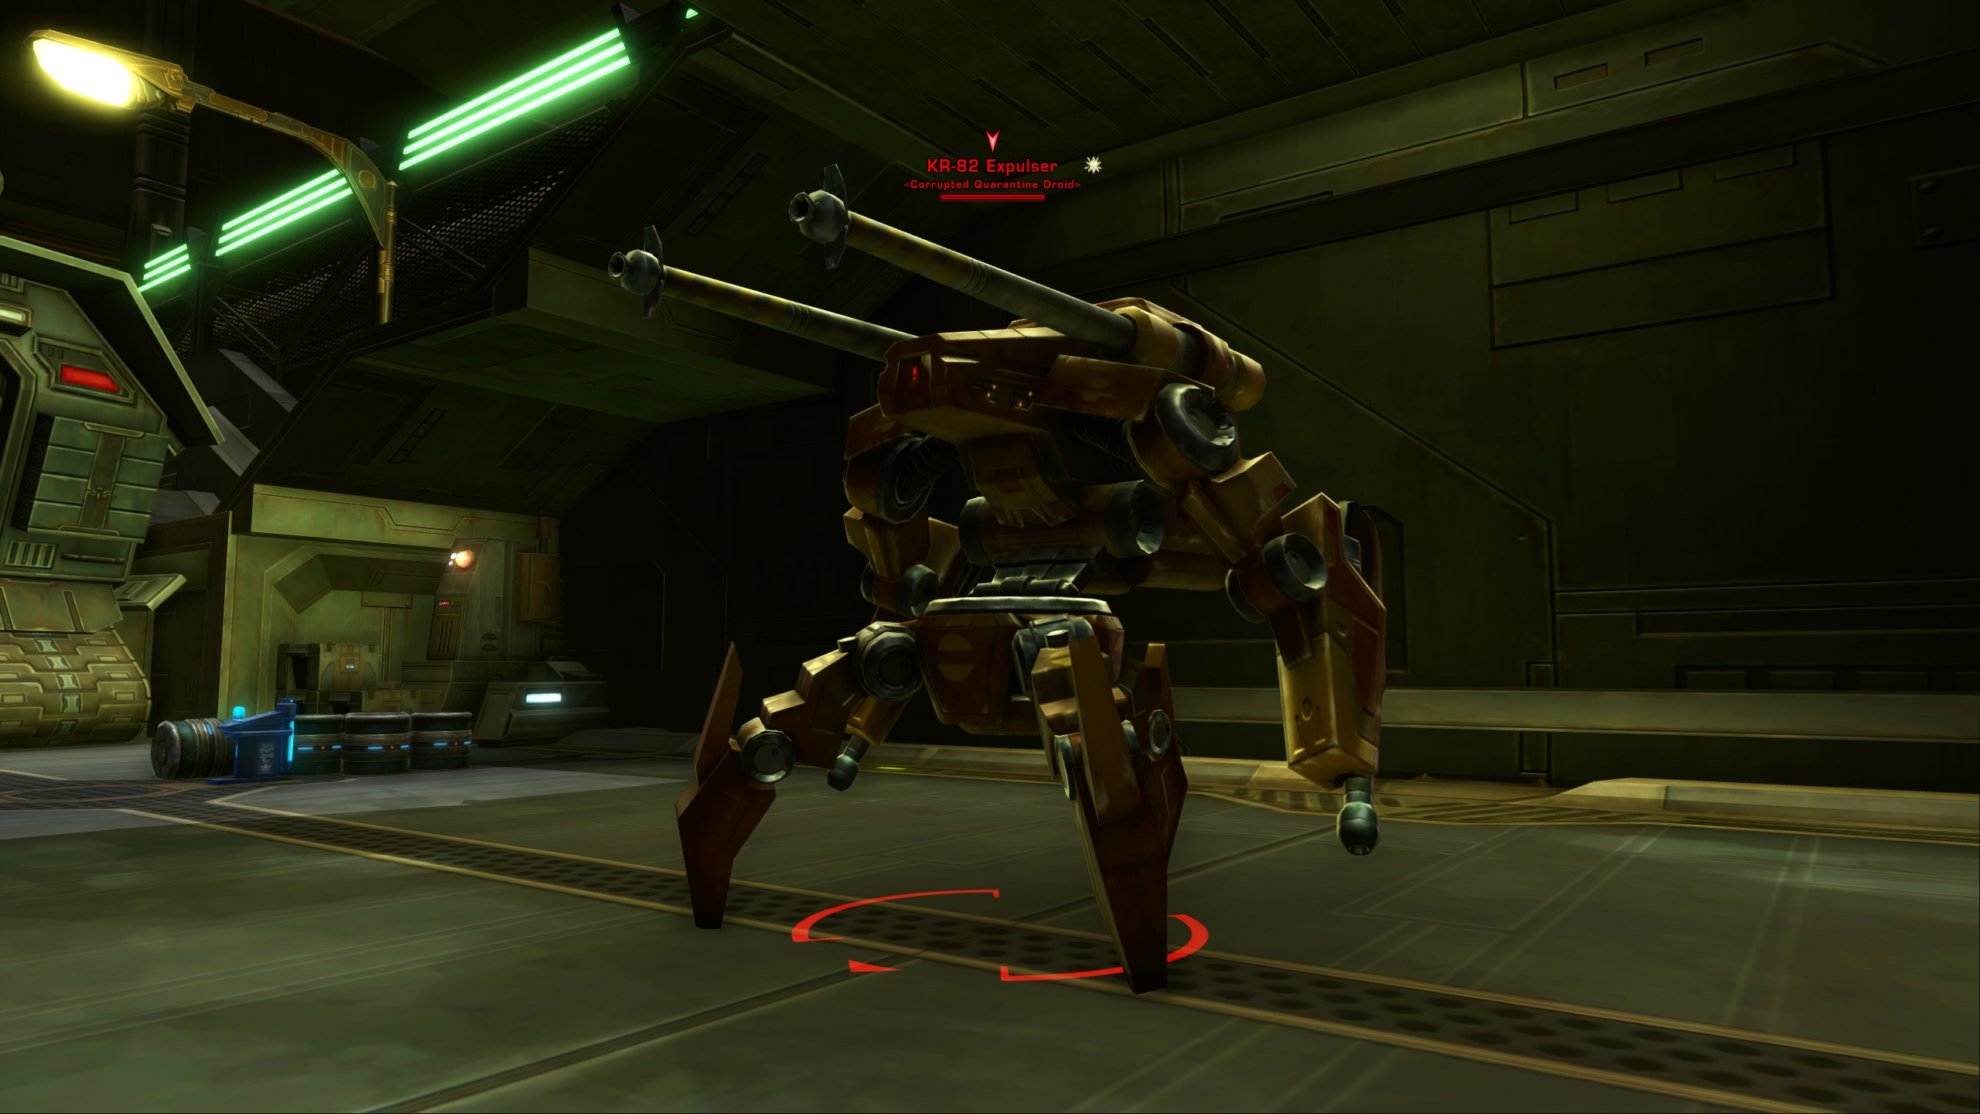
If you see it charging an Energy Surge, it’ll gain a temporary shield making it immune to damage. The KR-82 Expulser can still attack the party while the shield is active. To make matters worse, some Probe Droids will be summoned. Defeat the Probe Droids and continue attacking the boss once its shield is down. Repeat this until it is defeated.
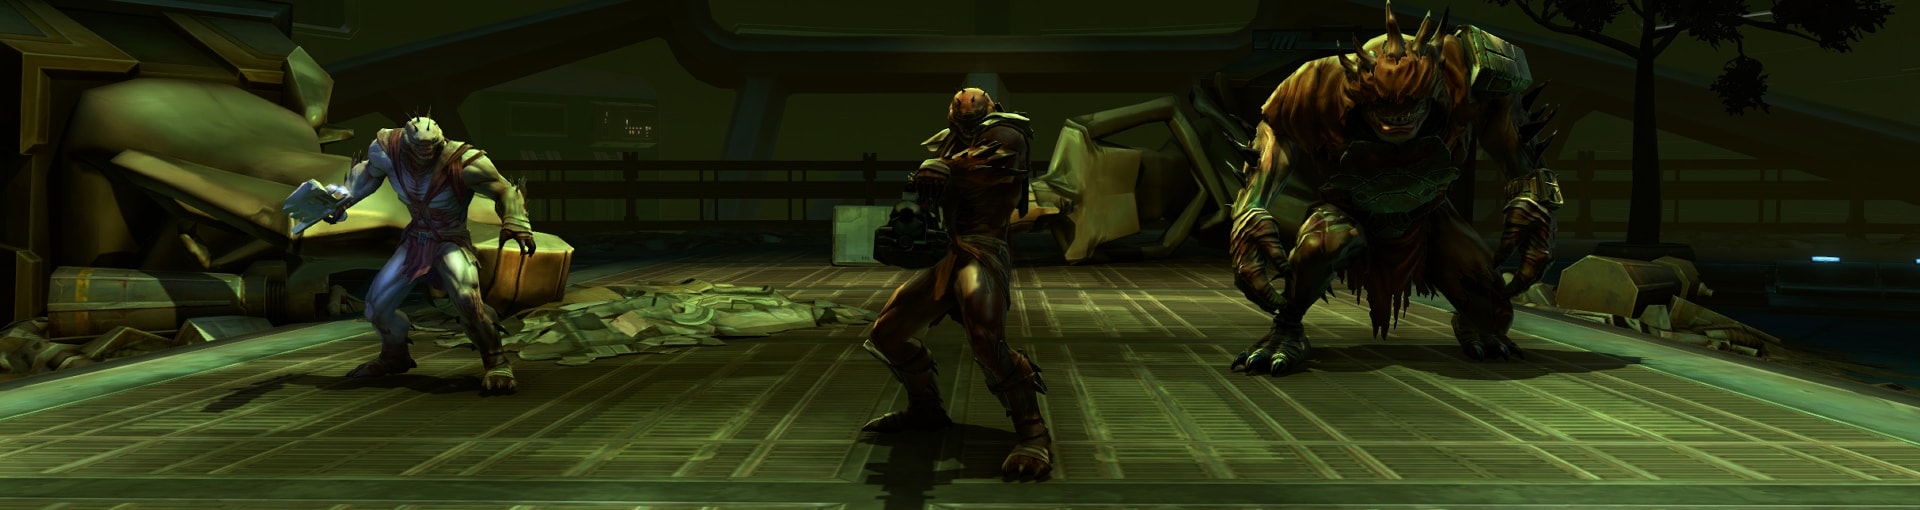
Final Boss: Rakghoul Super Soldiers
The final boss is actually three bosses, a trio of Rakghoul Super Soldiers. The two on the sides will be immune to taunts and attack random targets so long as Commander Lk’graagth is alive. If you want the tank to taunt the other two, you’ll need to defeat the commander first.
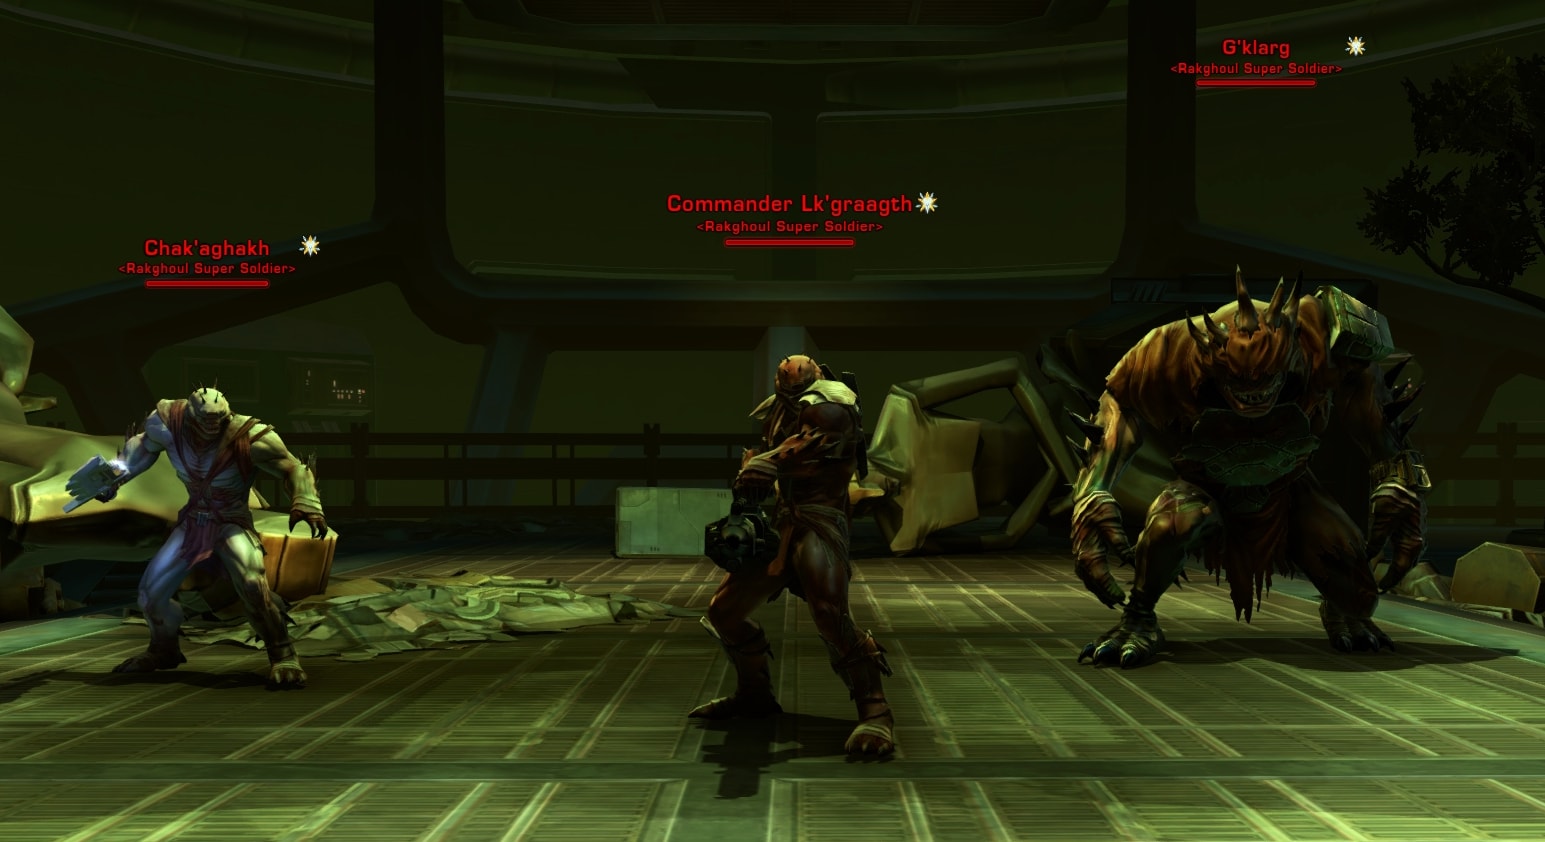
Focus and defeat the bosses in the following order:
- Commander Lk’graagth
- Chak’aghakh
- G’klarg
Each time you defeat one of the super soldiers, a swarm of Infected will attack the party. Focus G’klar last as when he hits 1/3 health, he’ll grow in size and become empowered.
Master Mode Differences
There aren’t any mechanical differences in these earlier flashpoints with Master Mode, they’ll just be tougher overall.
Achievements
The majority of the achievements for this flashpoint are for defeating the bosses 1 time, 10 times, and 25 times. Though here are two that grant item rewards:
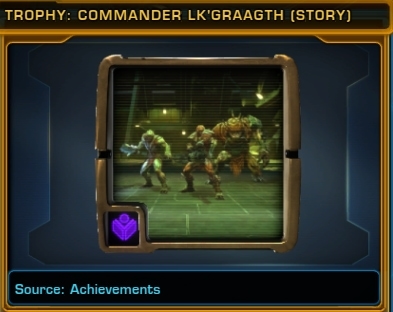
Defeat Commander Lk’graagth (Veteran Mode)
Defeated Commander Lk’graagth in the “Kaon Under Siege” flashpoint.
You’ll gain the Commander Lk’Graagth (Story) Trophy Decoration.
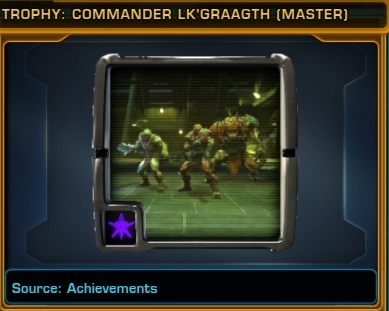
Elite: Savior of Kaon (Master Mode)
Cleared all the bosses in the “Kaon Under Sieve” flashpoint 25 times on master mode.
You’ll gain the Commander Lk’Graagth (Master) Trophy Decoration.
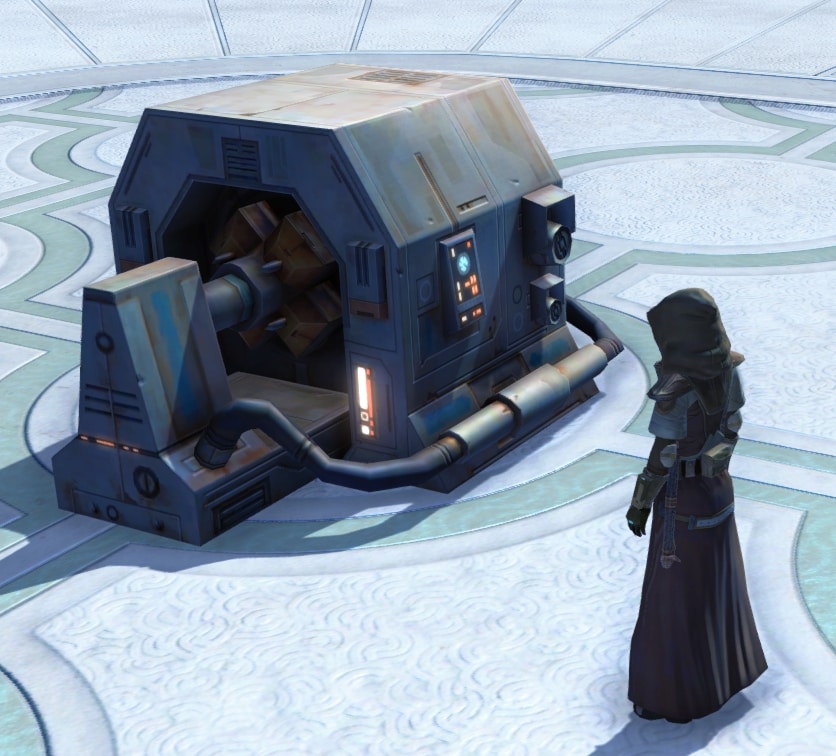
Decoration Drop
The bosses have a small chance to drop the Large Field Generator decoration. This will fit a Medium or a Medium Narrow Hook. It’s just a simple machine with a spinning turbine. Interacting with it will turn off the turbine.