This guide will tell you how to start and complete the Flashpoint, Czerka Core Meltdown, in any difficulty mode, what achievements you can unlock and the rewards you can earn.
Table of contents
How to Start the Flashpoint and its Story
Czerka Core Meltdown is a SWTOR flashpoint, released with Game Update 2.3 on August 6, 2013. It is the second of two flashpoints from the “Titans of Industry” story arc. Before this was the Czerka Corporate Labs flashpoint.
The Czerka Storyline takes place after the events on Makeb from Rise of the Hutt Cartel expansion.
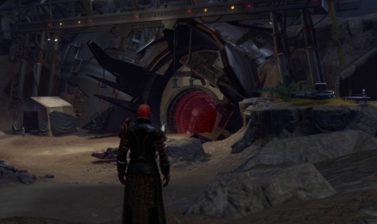
For this guide, you’ll be infiltrating a Czerka Research Facility where Czerka is conducting bioengineering research on fauna from various worlds. Unfortunately things took a turn for the worse and now the facility is now under the control of an experiment named “The Vigilant”.
This guide covers Veteran Mode and Master Mode for Czerka Core Meltdown
To start the “Titans of Industry” story arc, you’ll need to be at least level 55 and head to the Galactic Trade Market area of your faction’s fleet. Look for RK-C3 (Republic Fleet) or C-E29 (Imperial Fleet) and talk to them to start the story arc. You can also find these droids near the CZ-198 landing pads as well.


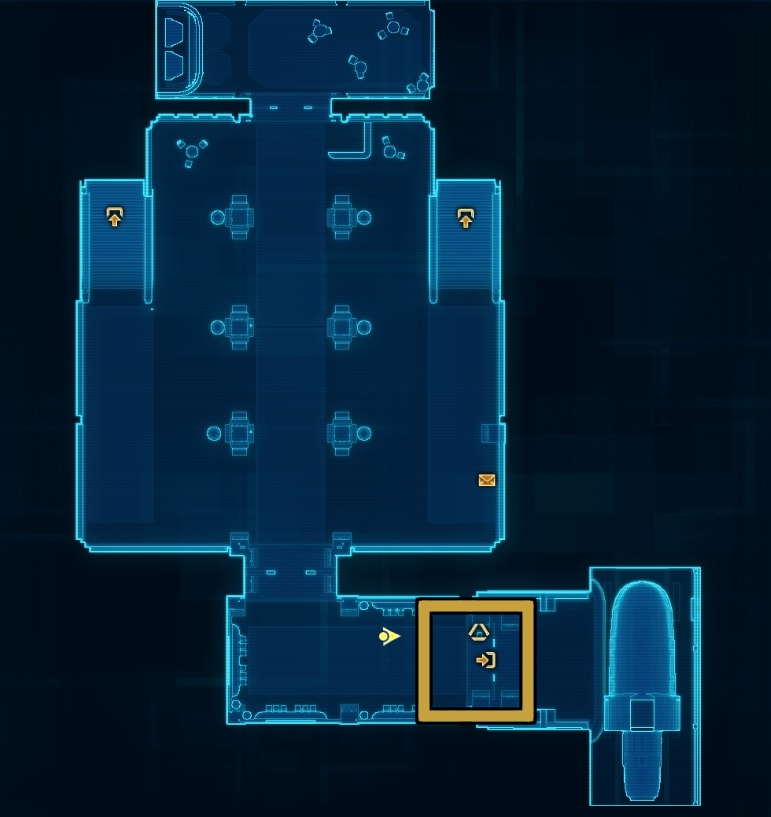
To start the Czerka Core Meltdown flashpoint you’ll need to interact with the Tram Ticket Kiosk on CZ-198. You’ll be able to find this in Lab Terminal 2-A for Imperials and Lab Terminal 2-B for Republic. This is downstairs from the room where the Reputation Vendors are.

To run Czerka Core Meltdown without the story arc, the flashpoint is available in the Activity Finder under the Group tab. It’s available in Veteran and Master modes. Story mode is not available for Czerka Core Meltdown. This flashpoint does not include any Bonus Missions so all you need to focus on is defeating the bosses.
Read our SWTOR Story Progression Guide to learn where this story fits in. The guide will help you experience the game’s narrative in the proper intended order of events and aid and assist you if you are not sure what to do and where to go next.
Accessing the Habitats
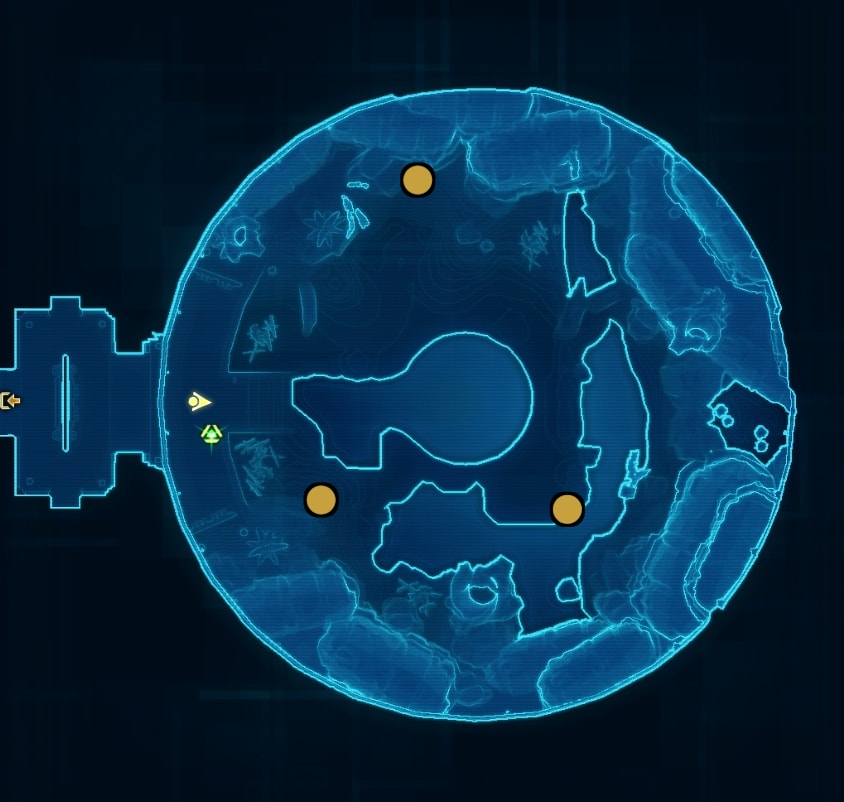
In Czerka Core Meltdown, you’ll need to reach the artificial habitats in the research facility to fight the first two bosses. When you walk inside the Green Habitat Zone, it will go under lockdown. You’ll need to deactivate the security lockdown at three Information Terminals. These are easily found by the red hologram of The Vigilant around the room.

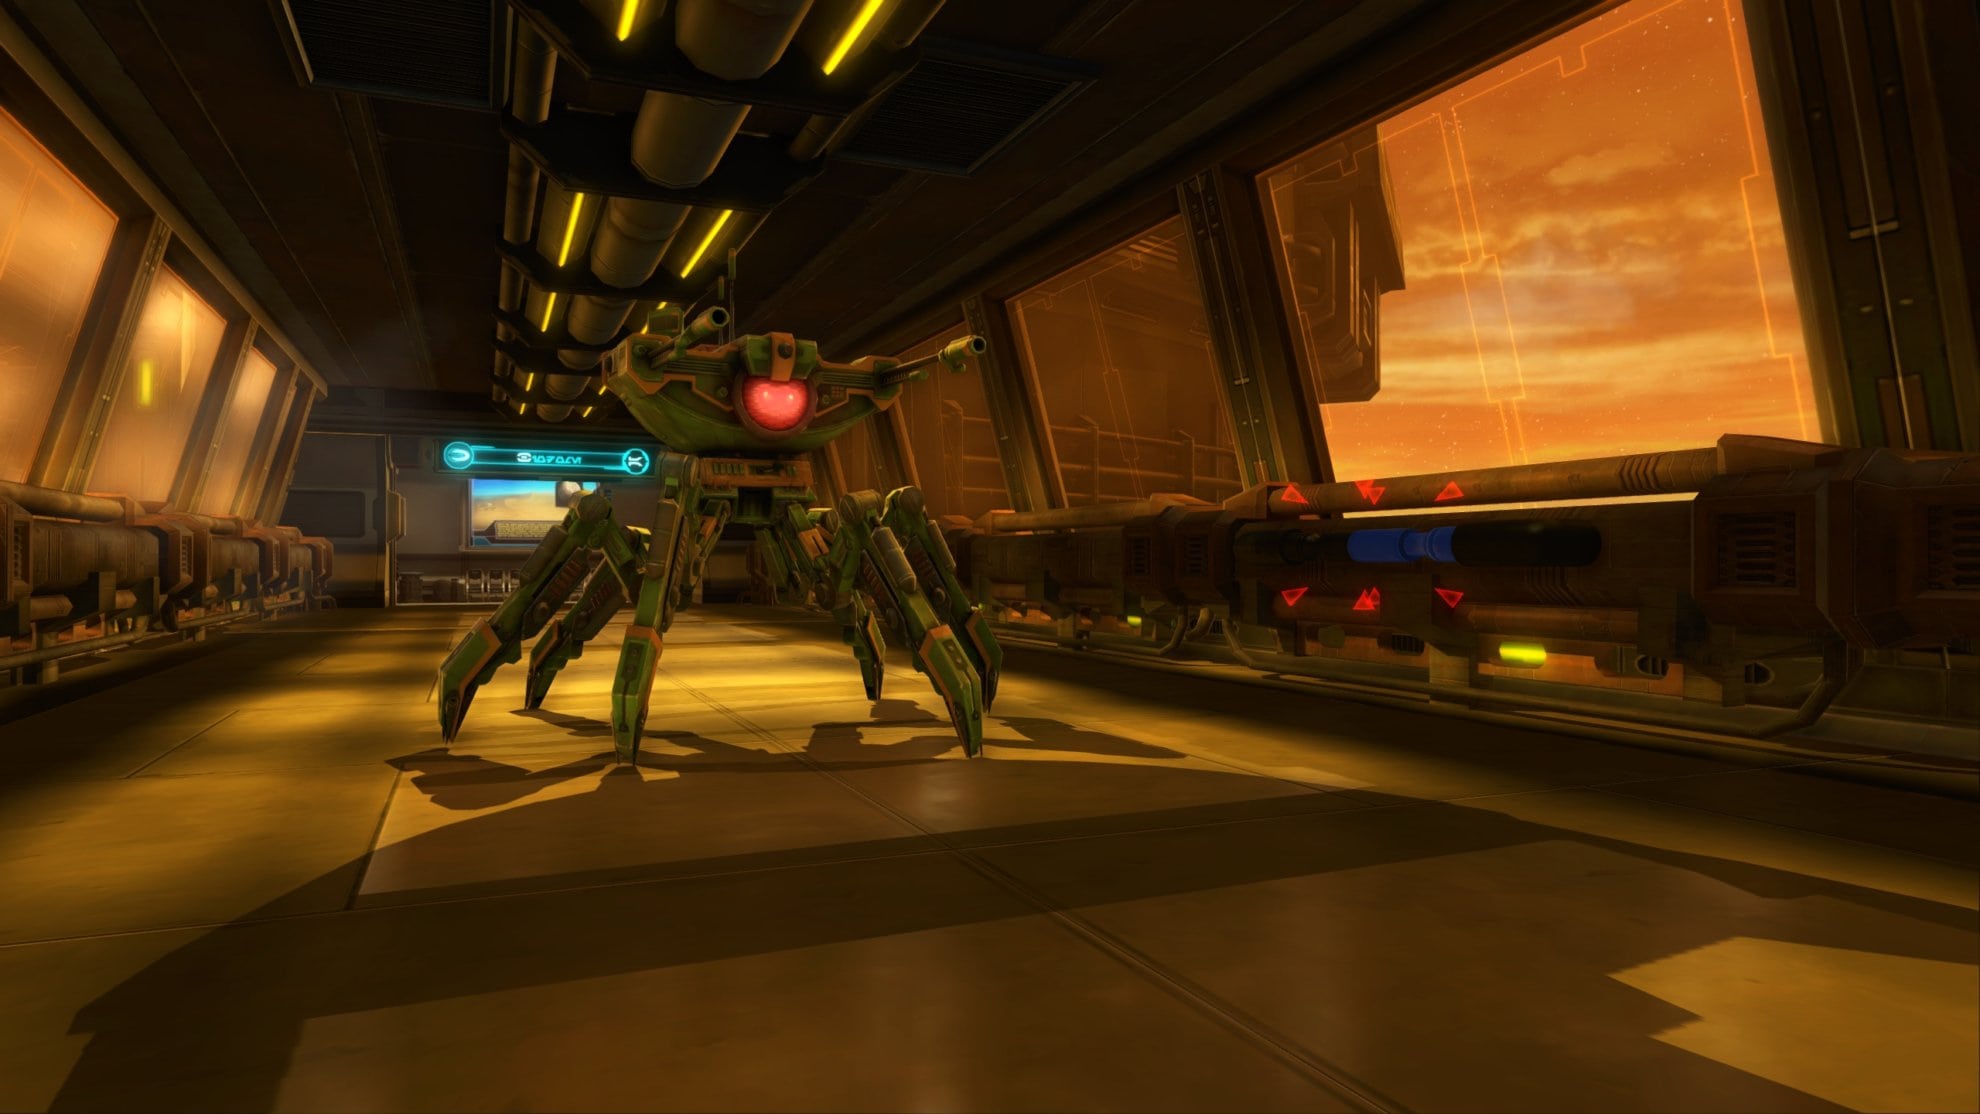
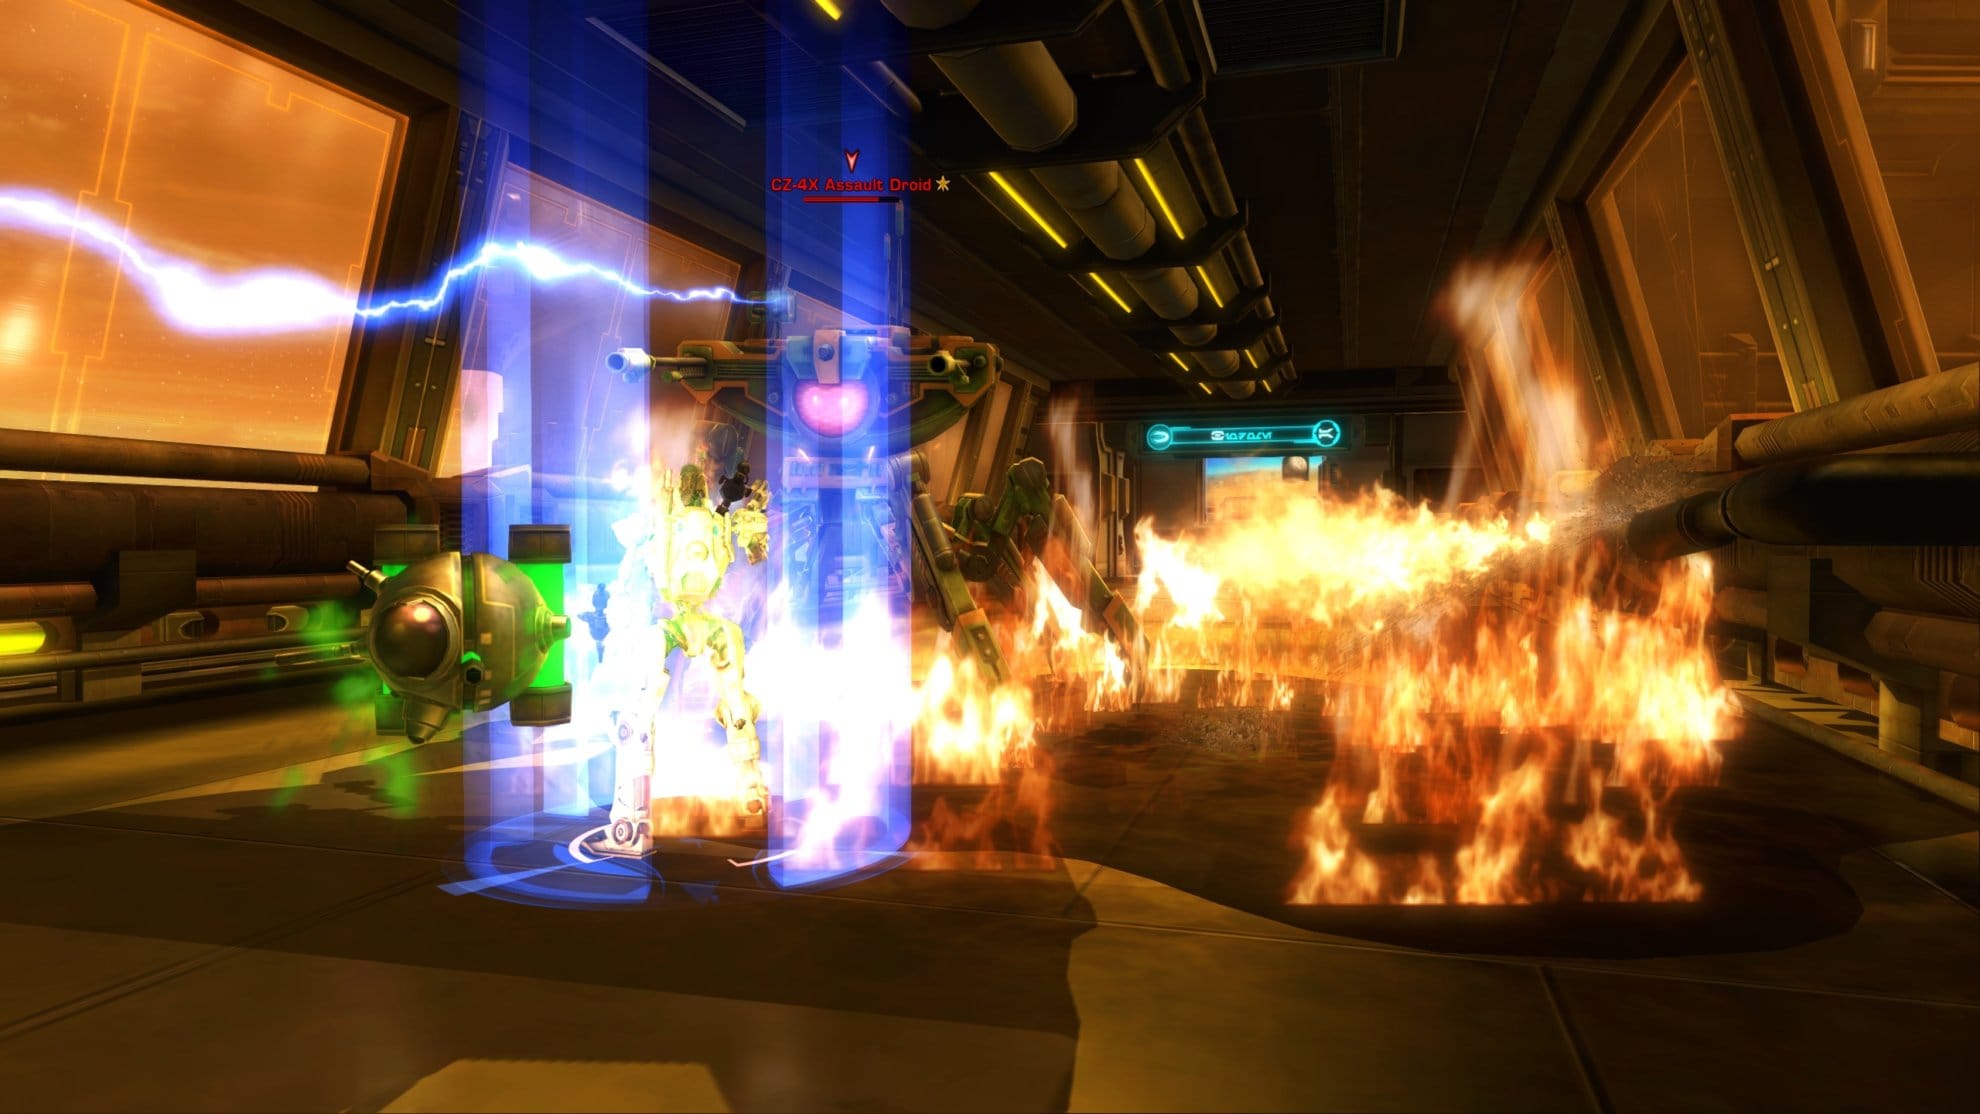
Once you do that you can access the next room where you’ll need to override the Biodome Security Controls. From here your next objective is to shut down the Desert and Jungle Habitat Zones. Which one you choose to do first is up to you. In either scenario, both bosses have a hallway with a CZ-4X Assault Droid.
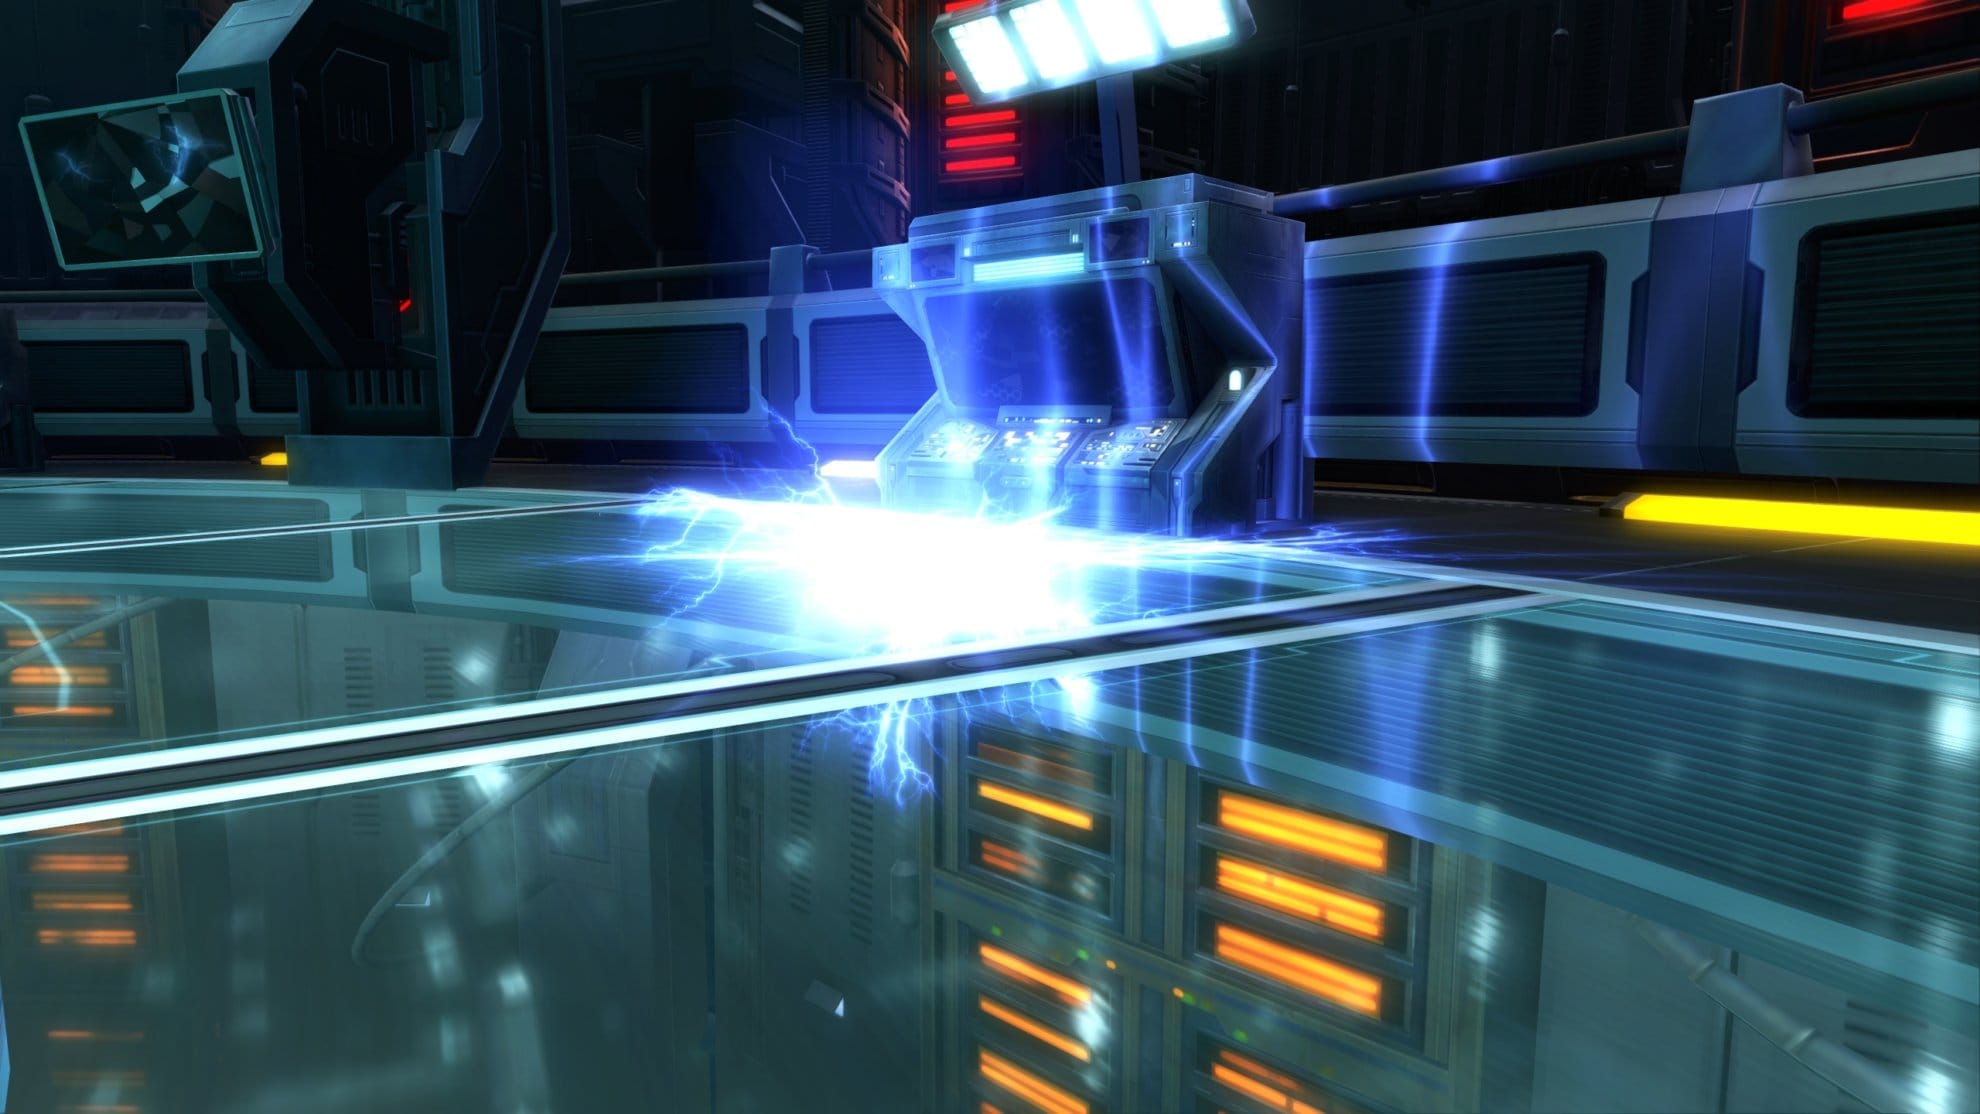
This droid can create large fields of electricity in a selected area. To help take them out more quickly, use the glowing blue pipe to leak fuel. Use the pipe again to ignite the fuel to deal damage to the droid.
These droids have stealth detection in Master Mode so you won’t be able to sneak past them.
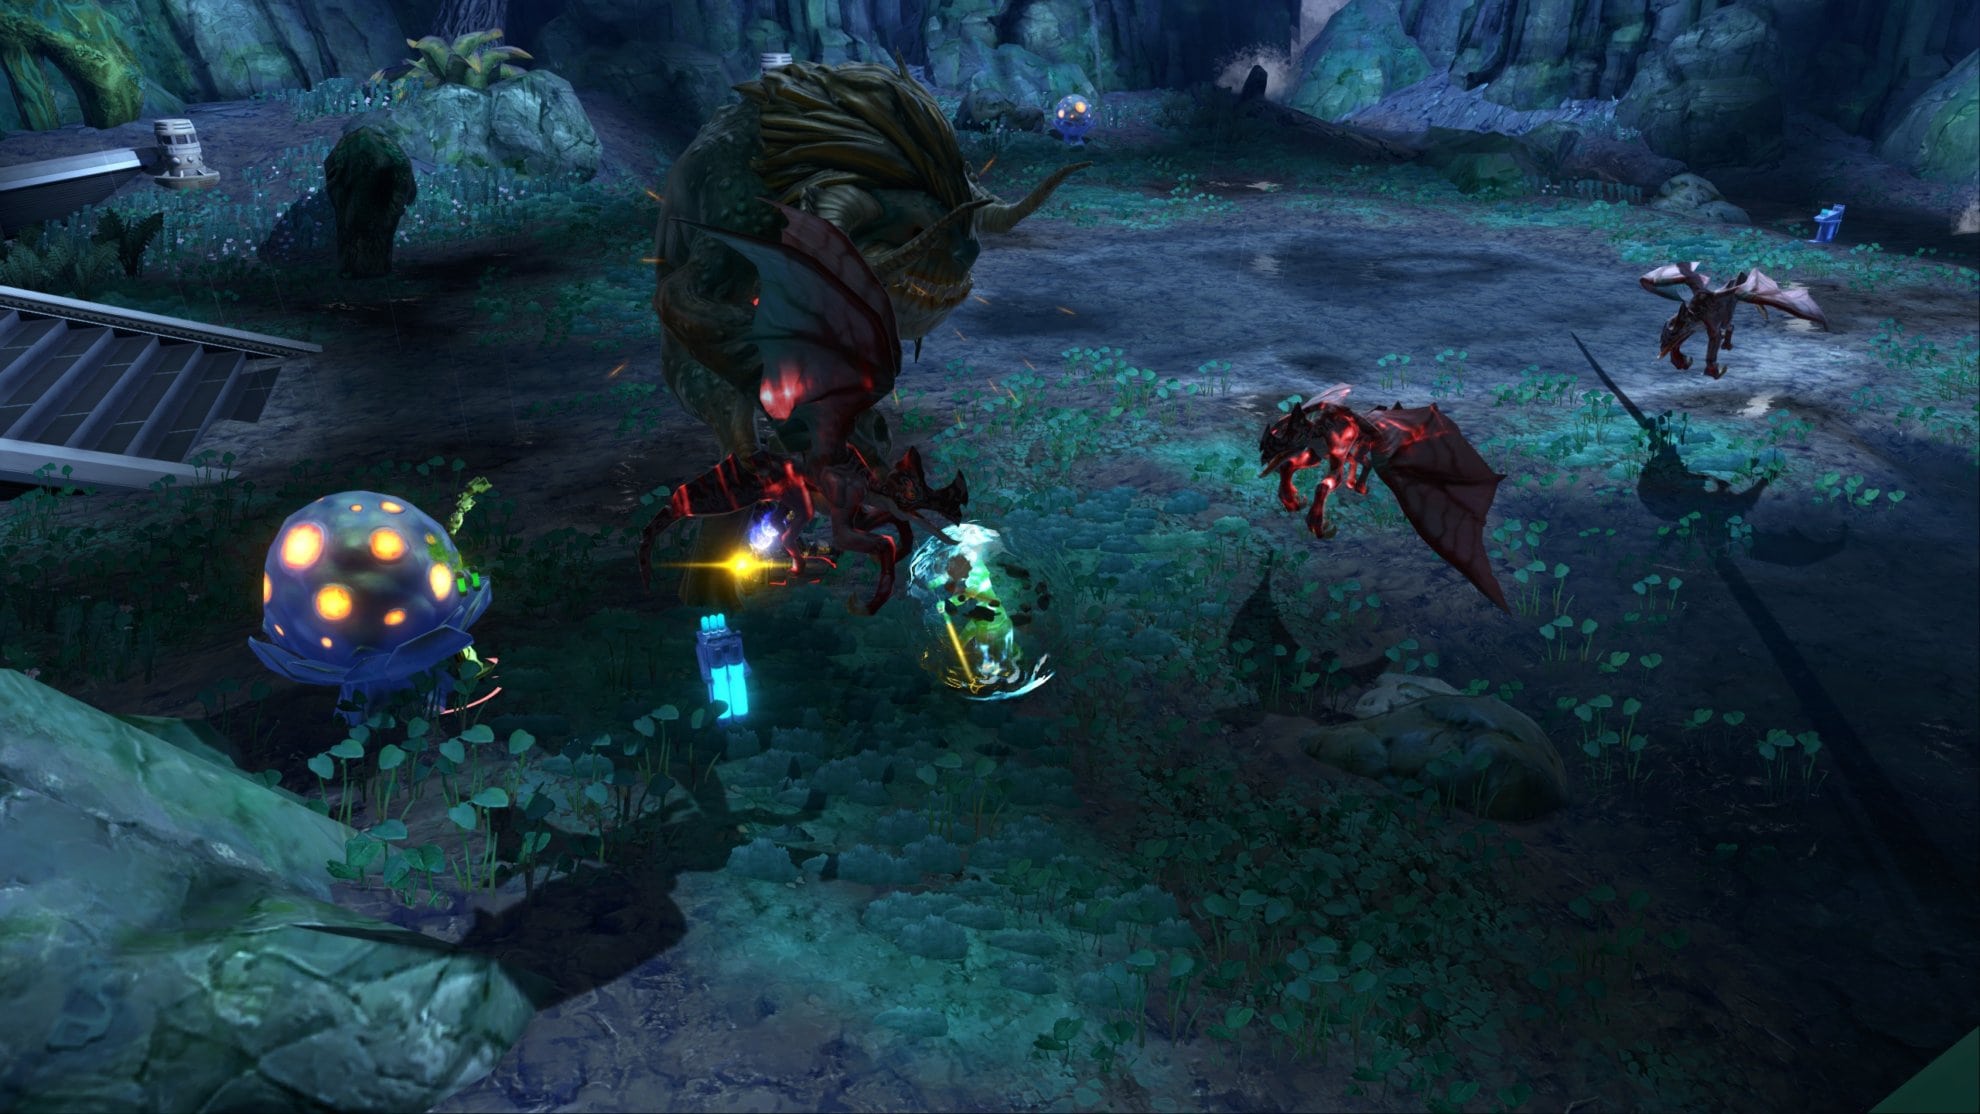
First Boss: Enhanced Vrblther
The Enhanced Vrblther (good luck pronouncing that) is the boss that resides in the Jungle Habitat Zone. This one is easier than the other boss so it’ll be best to start out here.

There are three of these Poisonous Spores in the Jungle Habitat Zone. You’ll need to use these on the Vrblther when it has the “Climatized” buff. While this buff is active, the Vrblther will take less damage. The tank needs to lure the Vrblther to the mushroom and they or someone else must activate it when its close enough. These Poisonous Spores do respawn over time so you don’t need to worry about wasting them.

This boss isn’t too bad though if his target is too far away, it’ll jump to them and stun them. It attacks by flinging its target away only to then jump at and stun them, there is no escape from being stunned. Ranged units should be careful as the Vrblther can throw boulders at its target. Occasionally some Bogwings will spawn, you’ll need to defeat these to avoid unnecessary damage then focus on the Vrblther once again.
Repeat the process of removing the Climatized buff with the Poisonous Spores, defeat the Bogwings, and take down the boss. Once defeated, you can deactivate the Jungle Habitat Zone with the switch near the entrance.
Master Mode Differences
In Master Mode, the Vrblther and Bogwings hit harder and are tougher to defeat. The Bogwings in particular are very dangerous as they can easily overwhelm a squishy party member so they need to be taken down as soon as possible.
Second Boss: Enhanced Duneclaw
The Enhanced Duneclaw is the more difficult of the first two bosses so it might be wise to take them on second. When fighting this boss, the tank must not run away too fast otherwise the Duneclaw will charge at them and stun them. It’s possible that while stunned the tank will lose aggro, so they must instead travel more slowly and keep the Duneclaw within arm’s reach.
DPS and Healers should stay behind the Duneclaw as it has a smash attack that’ll damage and knock down anyone in front of it.

What makes this boss encounter more dangerous than the Vrblther isn’t the boss itself, but the environment. Every so often a sandstorm will appear in the habitat and damage everyone except the Duneclaw.

When a sandstorm activates, one of the four Sandstorm Activators in the habitat will glow green. The tank needs to slowly lure the Duneclaw to face the active Sandstorm Activator and wait for the Duneclaw to use its smash attack. It’ll destroy the Sandstorm Activator and then the tank needs to lure it back into the center of the room in preparation for the next sandstorm.


Repeat this process until the Duneclaw is defeated. Once you’re done, deactivate the Desert Habitat Zone near the room’s entrance and make your way back to the core. Unlock the Observation Chamber, overload Power Conduits A and B, then make your way to the final boss.
Master Mode Differences
The sandstorm becomes the biggest threat in Master Mode. It’ll deal increased damage to everyone so it can wipe out the entire party if you’re not careful. So long as you use the strategies listed earlier you should be fine. As for the Duneclaw, it just hits harder and takes more damage to defeat.
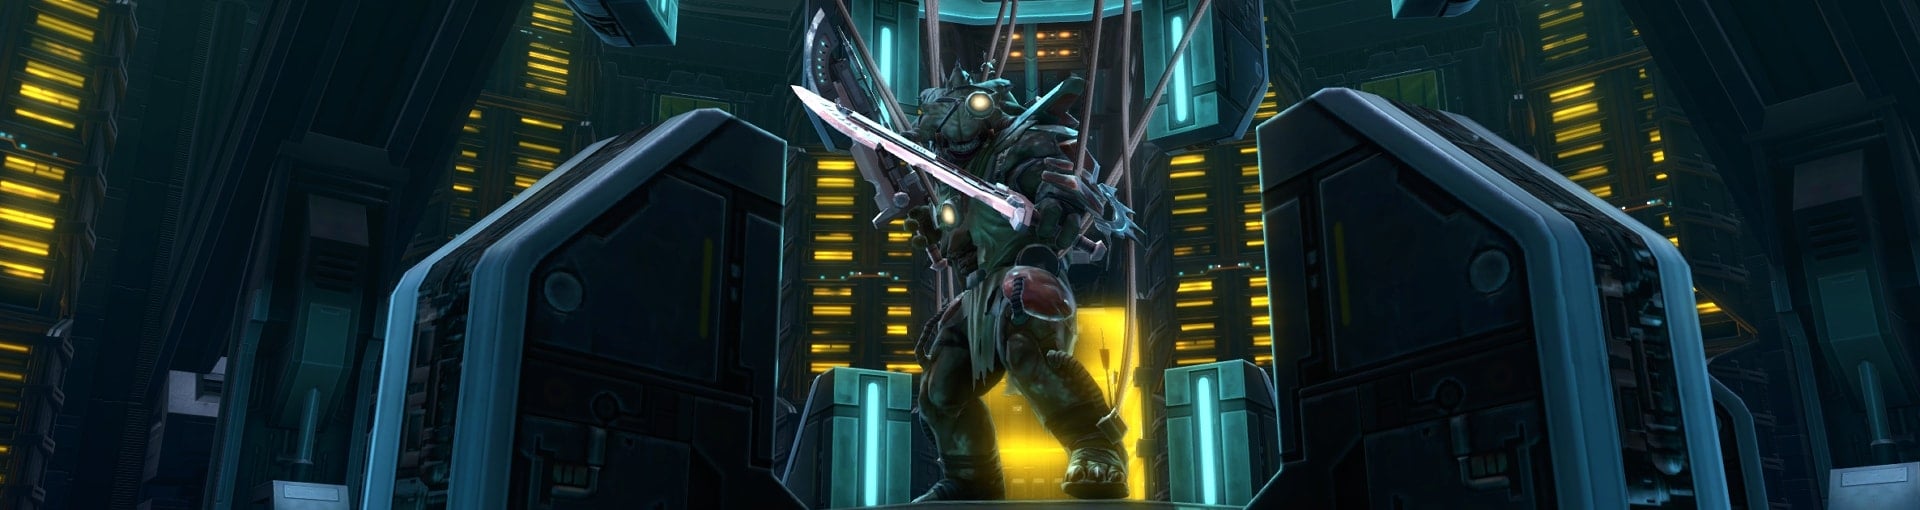
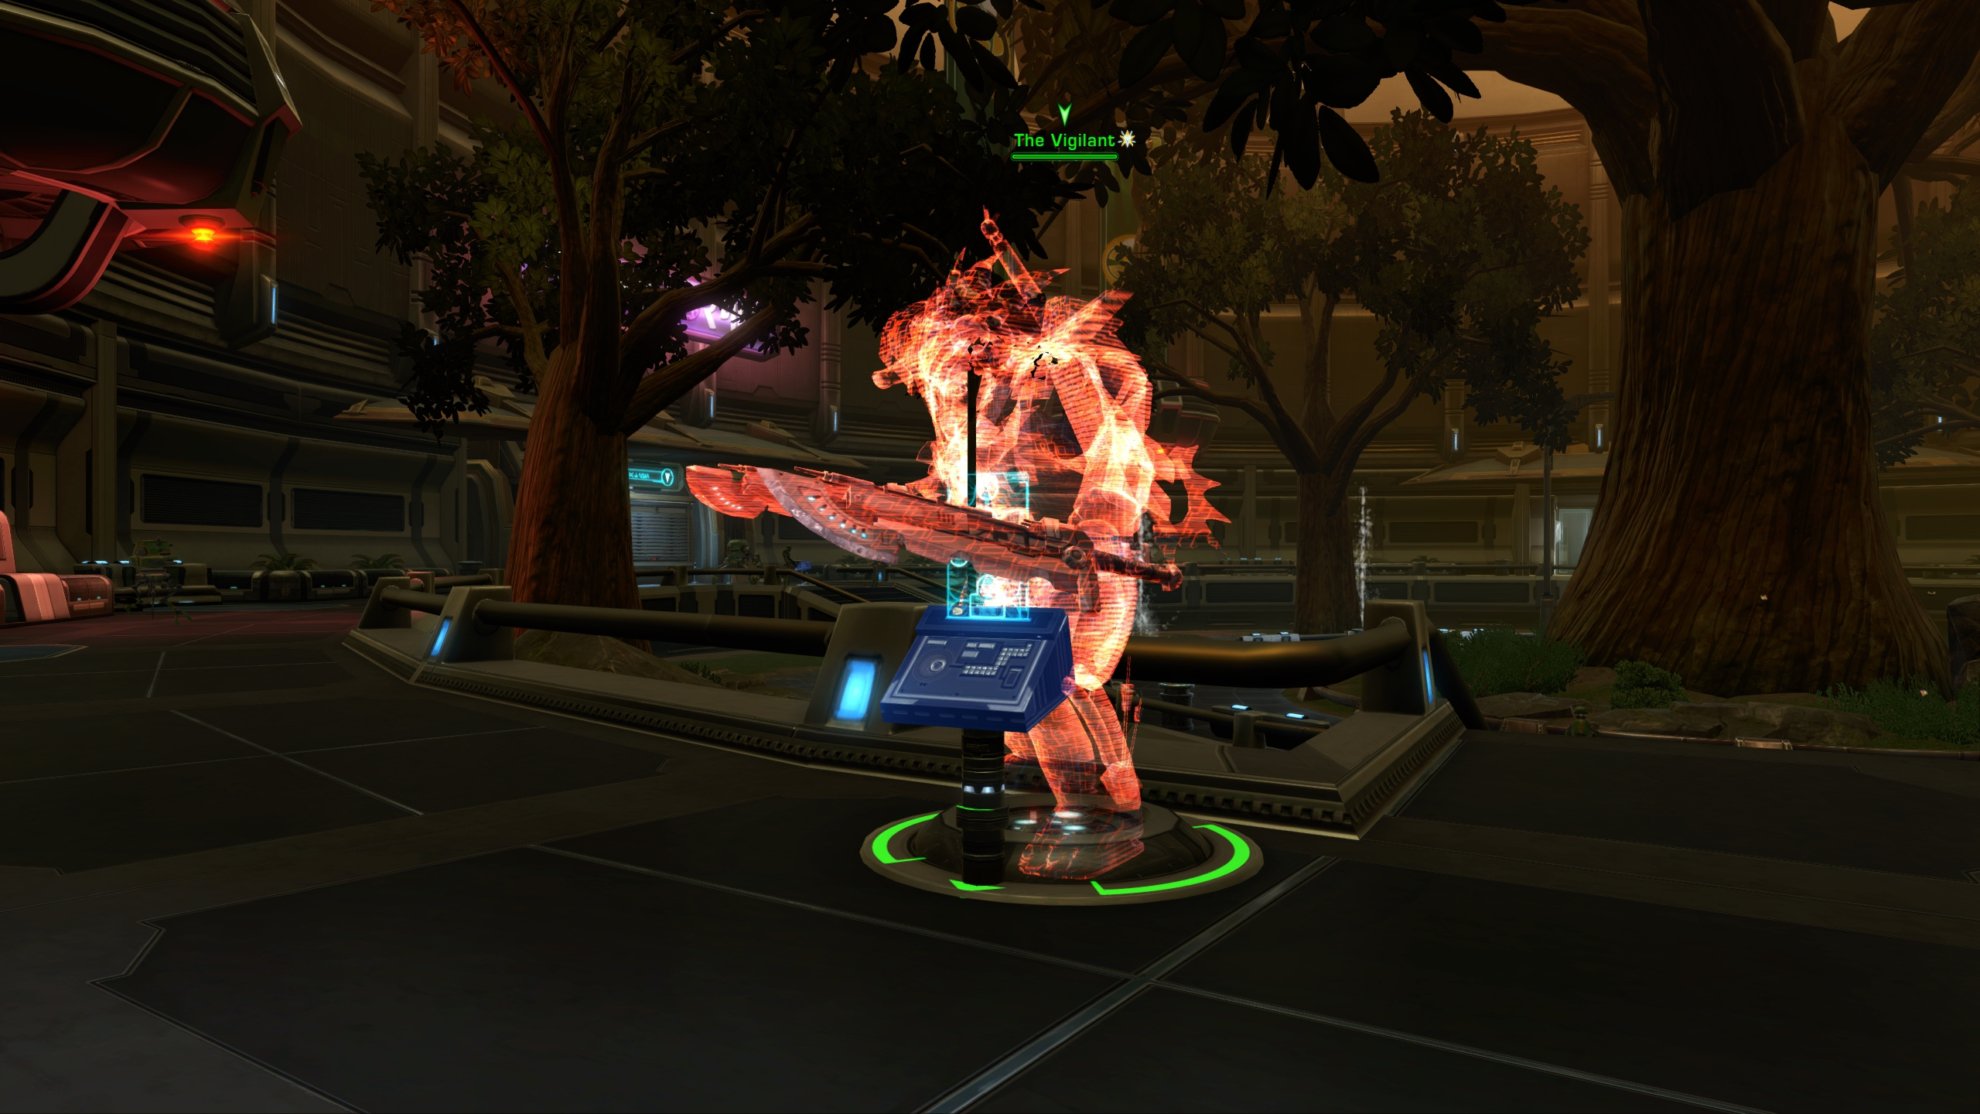
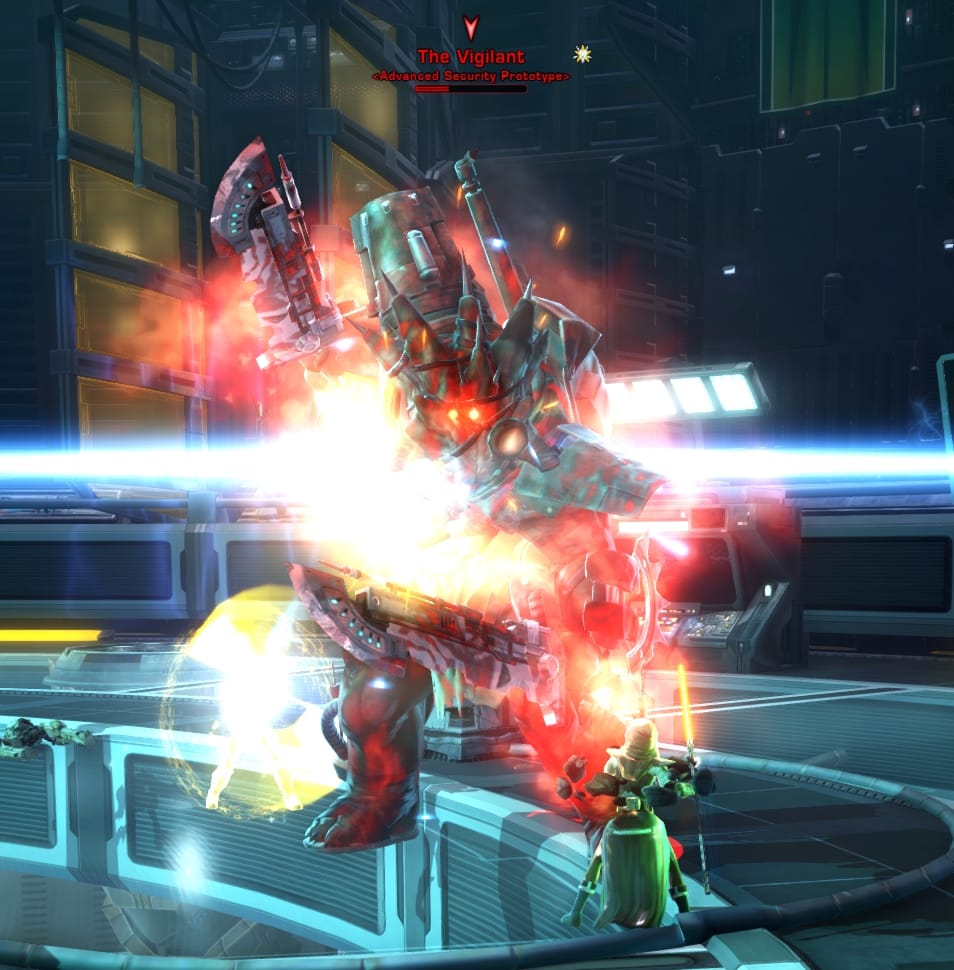
Final Boss: The Vigilant
After a short cutscene, you’ll enter The Vigilant’s lair. For the first portion of the fight you will not be able to damage The Vigilant. If you look at his buff bar, you’ll notice he has a buff called “Data Integration” and 7 stacks of it. So long as he has this buff he will be immune to damage and remain in the center of the room.

To remove the Data Integration buff, you’ll need to destroy the Data Integration Points throughout the room. In Veteran Mode, destroying one of these removes two stacks of Data Integration.
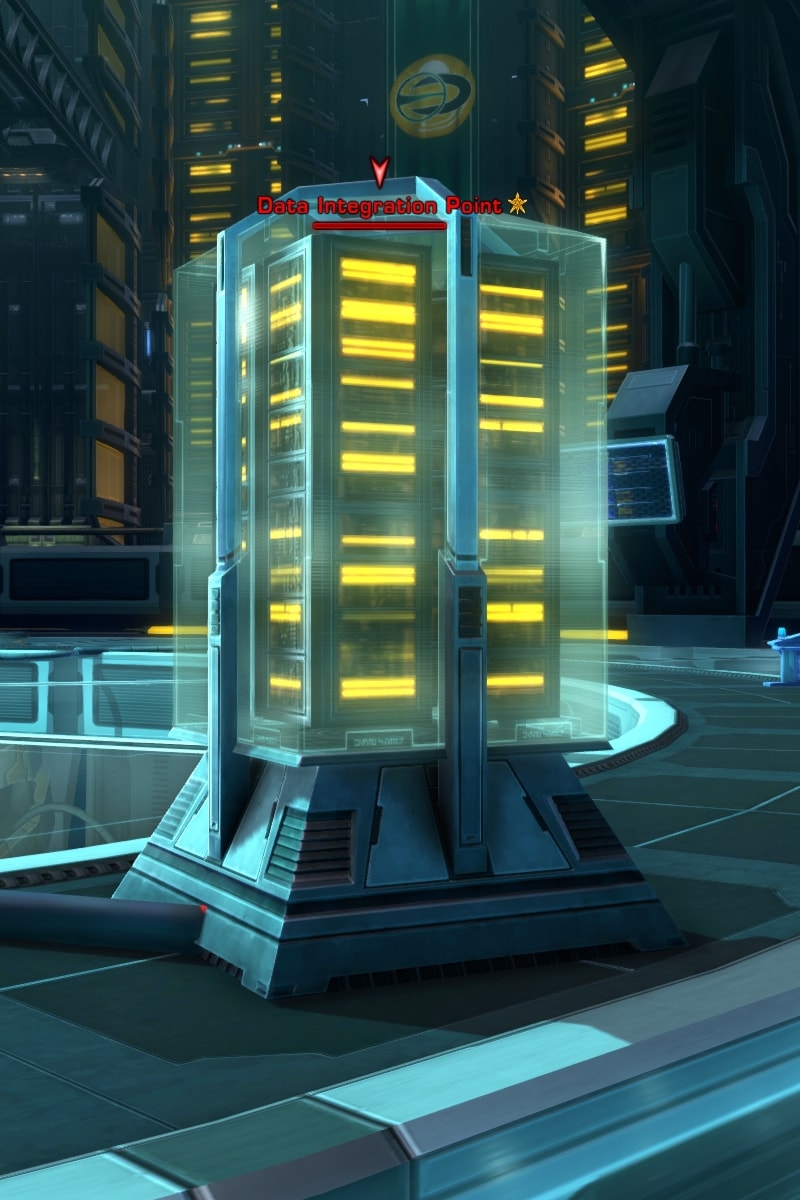
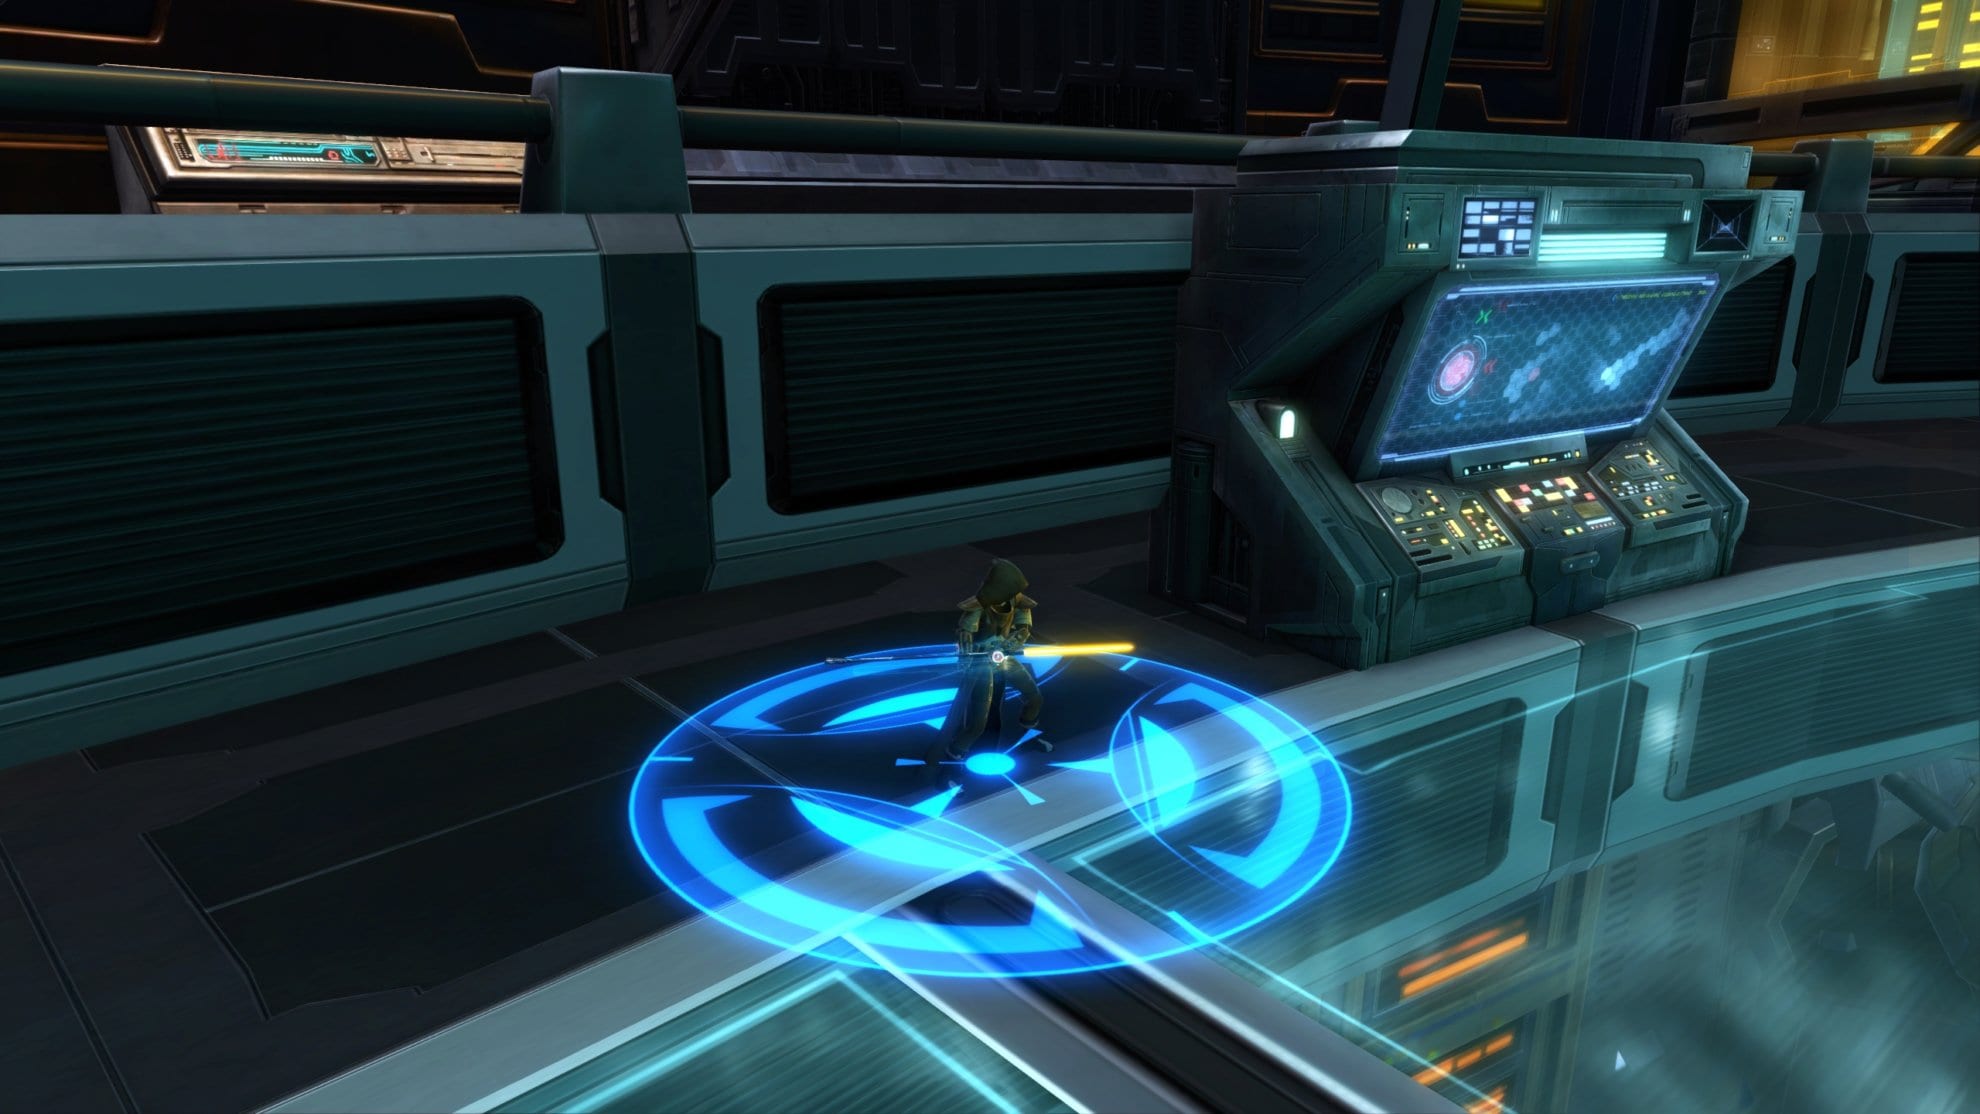
You can find three Data Integration Points at a higher level around the room. If you stand on the teleporter below you’ll be placed next to the Data Integration Point. If you have an ability that lets you charge or teleport to an enemy, you can use that as well to reach them.

When you destroy a Data Integration Point, two Experimental Berserkers will spawn and attack someone in the party. Defeat them as they come otherwise if you ignore them and destroy more Data Integration Points, you’ll likely become overwhelmed.
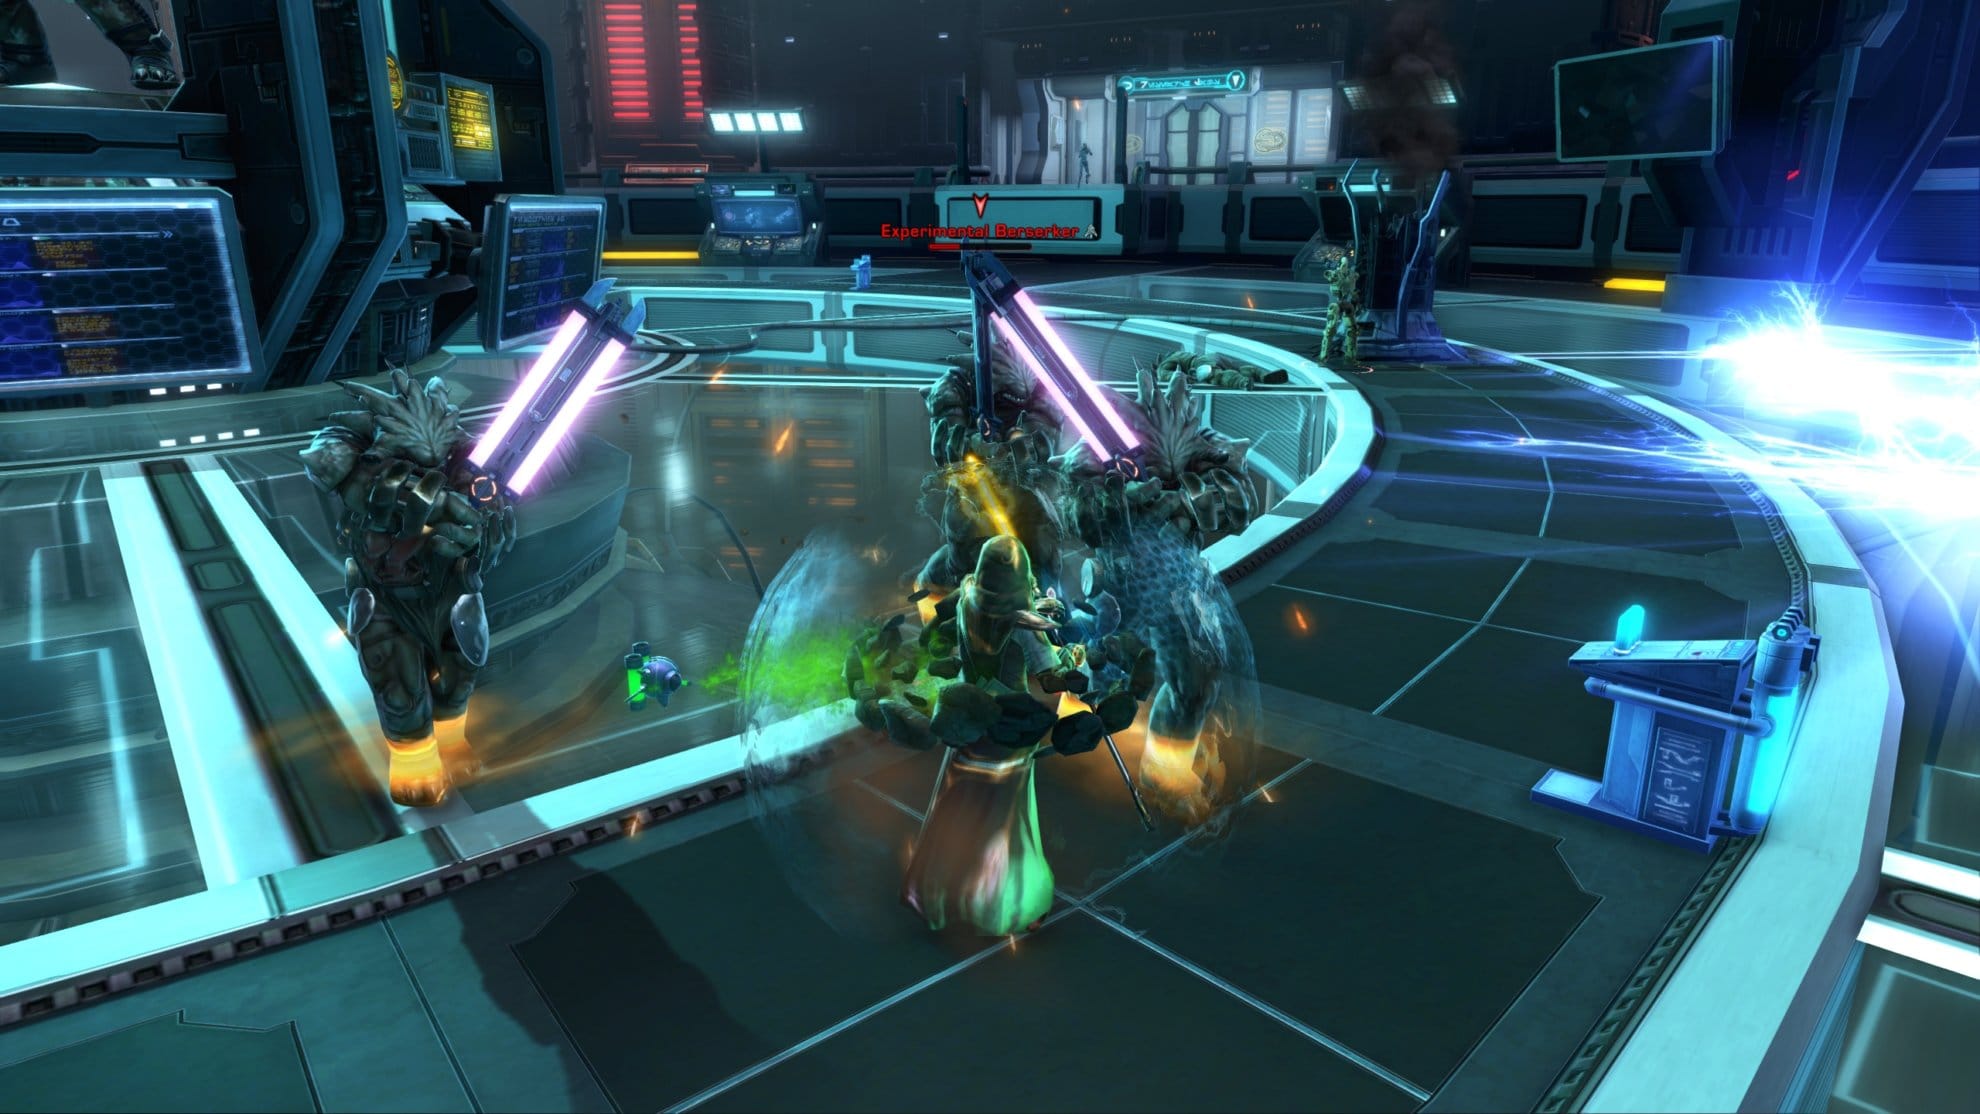
While your party is destroying the Data Integration Points, a random player will get a blue ring underneath them. If this appears below you, run to the edge of the map. After a few seconds the ring will turn red and summon electricity at that spot. This will linger for a while and deal damage to anyone stepping over it. Keep these at the edge so your party members don’t fight in an electric minefield.
After destroying enough Data Integration Points to remove the Data Integration buff, The Vigilant will come down to fight you. From this point on, players will stop spawning blue circles beneath them. During this phase of the fight, DPS should stay behind The Vigilant to avoid his cleave attack.

If you see The Vigilant in this pose with one hand held back, he’s charging a circular sweep attack. Anyone within melee distance should back up to avoid the AoE he uses after charging this ability.

When the Vigilant hits around one third of his health, he’ll gain the “Emergency Protocols” buff which increases his damage dealt. Defeat him quickly after he activates this buff, you can tell when it’s active as he’ll glow red.
Master Mode Differences
When you destroy a Data Integration Point in Master Mode, it’ll only remove one stack of The Vigilant’s Data Integration buff. You’ll need to destroy all seven Data Integration Points around the area.
Experimental Berserkers will apply the “Marked” debuff to player characters which will not allow them to use the teleporters to reach the higher Data Integration Points. You can either defeat the Berserkers to remove the buff or use a charge ability to reach the higher Data Integration Points.
Aside from that, The Vigilant and Experimental Berserkers along with the electric AoEs will deal more damage making the fight much more dangerous. It would be best to take out the Berserkers as soon as possible to avoid them overwhelming the DPS or healer and keep the electric traps at the edge of the map.
Achievements
The majority of the achievements for this flashpoint are for defeating the bosses 1 time, 10 times, and 25 times. Though here are two that grant item rewards:
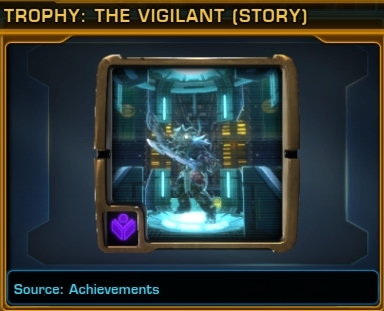
Defeat Vigilant (Veteran Mode)
Defeated Vigilant in the “Czerka Core Meltdown” flashpoint.
You’ll gain The Vigilant (Story) Trophy Decoration.
Czerka Retribution (Master)
Cleared all the bosses in “Czerka Core Meltdown” flashpoint 25 times on master mode.
You’ll gain The Vigilant (Master) Trophy Decoration.

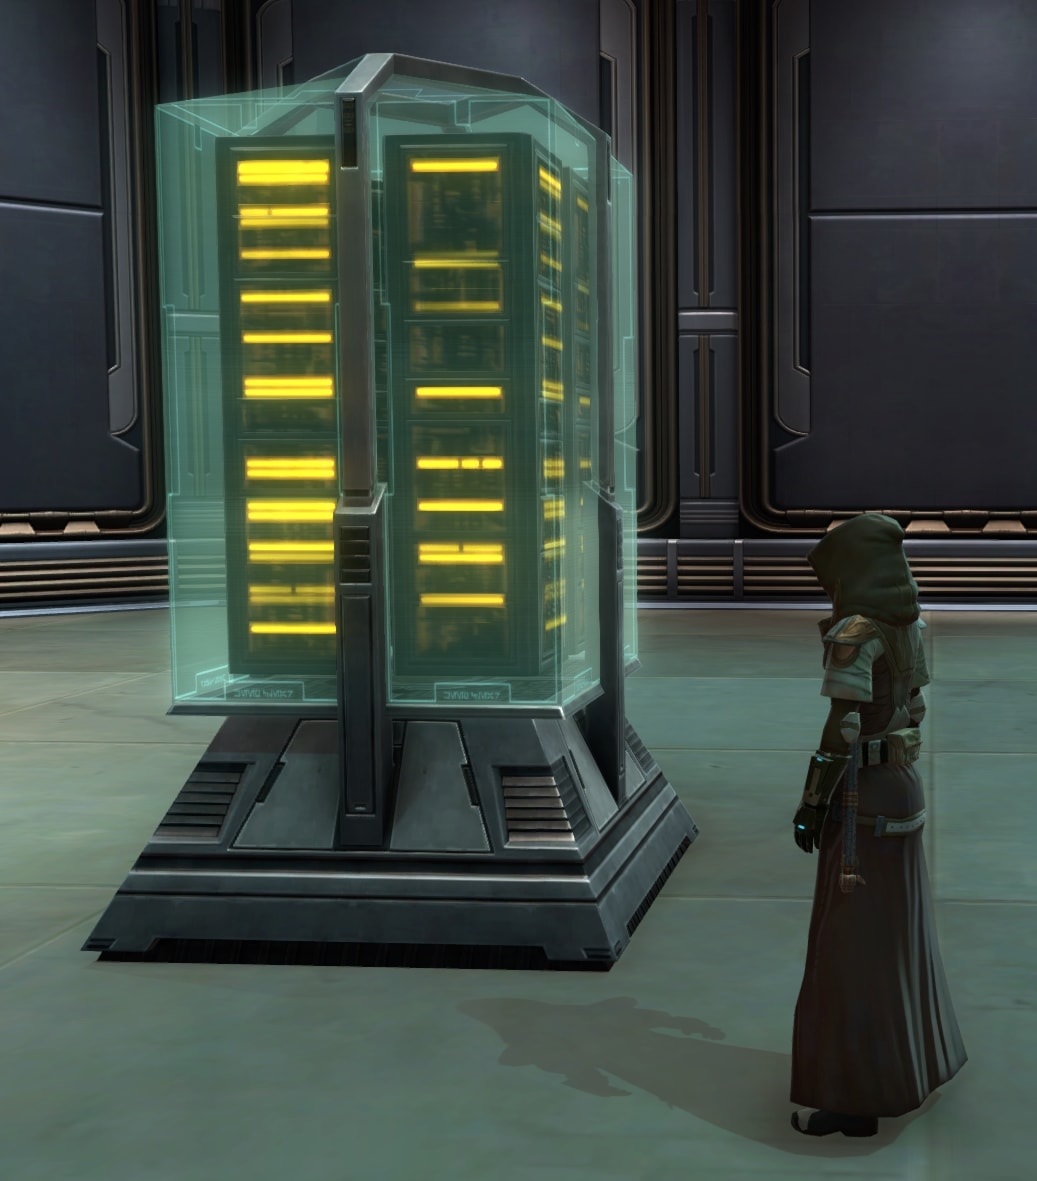
Decoration Drop
The bosses have a small chance to drop the Czerka Data Core decoration. This decoration will fit a Medium or Medium Narrow hook. This is a very nice decoration that’s great for adding to some archives or security center themed stronghold!