This guide will tell you how to start and complete the Flashpoint, Hammer Station, in any difficulty mode, what achievements you can unlock and rewards you can earn.
How to Start the Flashpoint
Hammer Station is an early game SWTOR Flashpoint that has been around since SWTOR first launched. It is still one of the more popular flashpoints as many will repeat this flashpoint to quickly gain experience on characters.
As part of the war effort to defend themselves, the Republic developed a battle station that could bring in asteroids with a tractor beam. These asteroids could then be launched at a target planet though this proved far too devastating to use even against the Empire. The blueprints were destroyed but the Advozse Hegemony have commandeered the station and now prove a threat to both the Republic and Empire.
This guide covers Veteran Mode and Master Mode for Hammer Station.
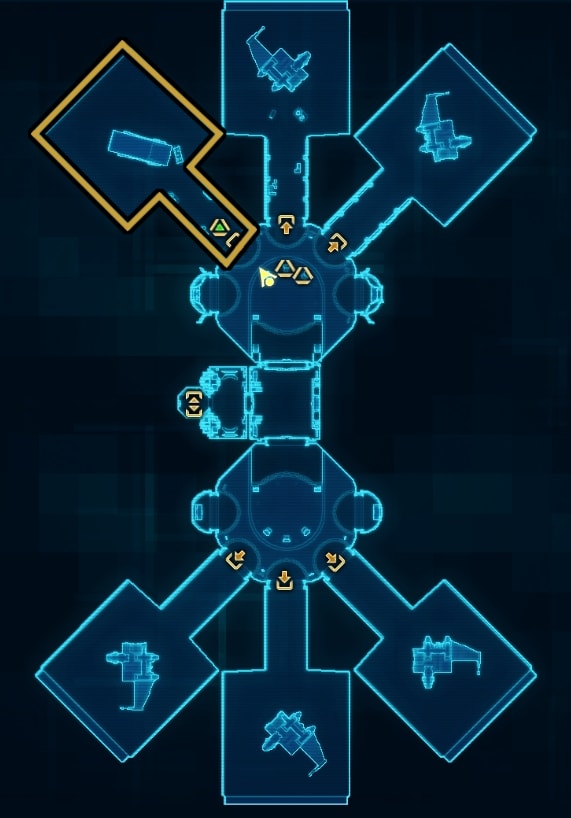
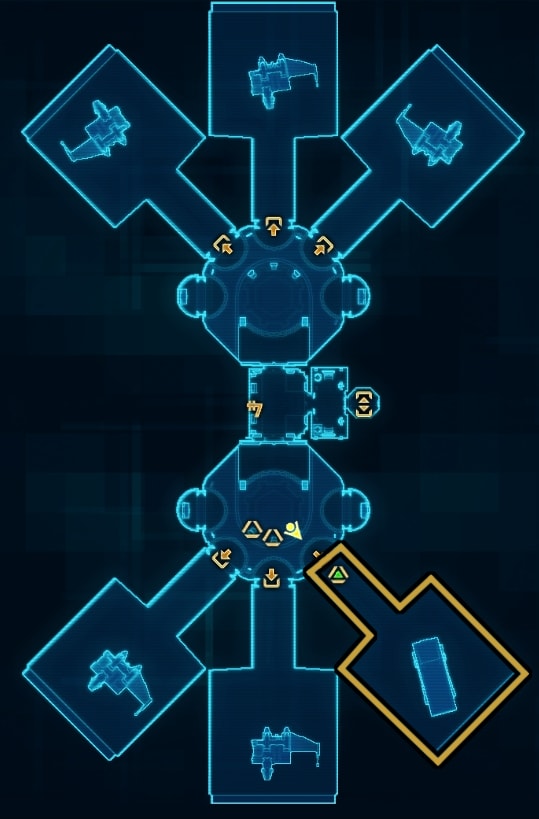
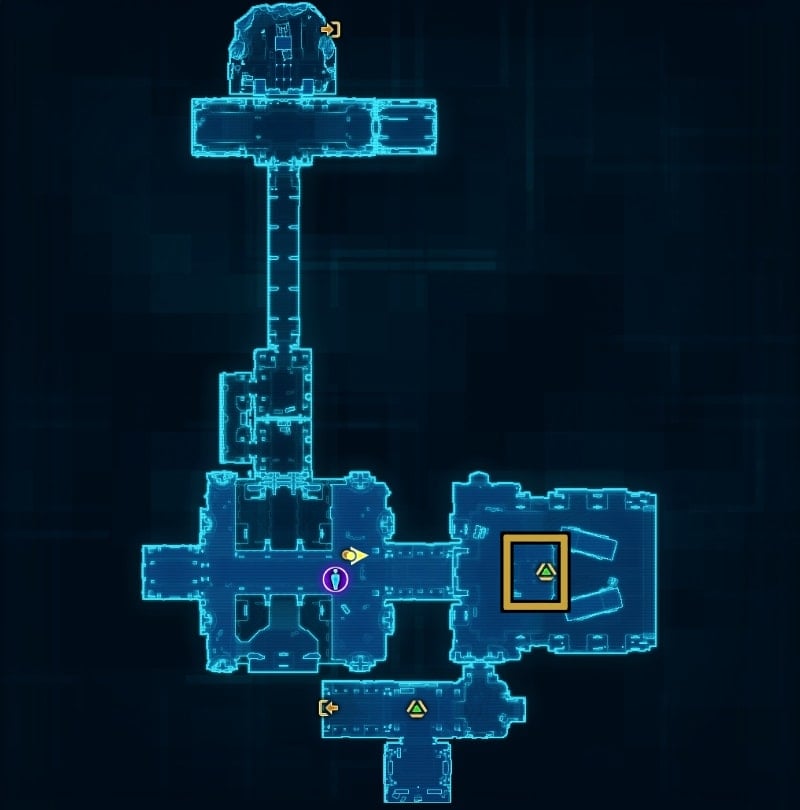
This flashpoint lacks a Story Mode and a Story Arc to accompany it. Instead players on either Republic or Empire must find the mission terminal that grants this flashpoint. You can get there by using the Mission Departures Elevator then going to the Dropship Launch Hangar. The mission terminal at the site will grant the flashpoint at either Veteran or Master Mode difficulty.
Read our SWTOR Story Progression Guide to learn where this story fits in. The guide will help you experience the game’s narrative in the proper intended order of events and aid and assist you if you are not sure what to do and where to go next.
Using Crew Skills in Hammer Station
As an early game flashpoint, Hammer Station sought to introduce the use of Crew Skills in Flashpoints. There are several notable points throughout Hammer Station where having certain crew skills can allow you to access new areas or create shortcuts.
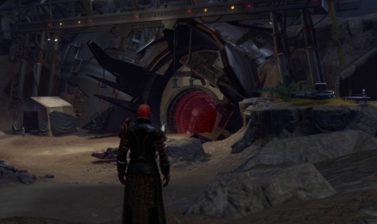
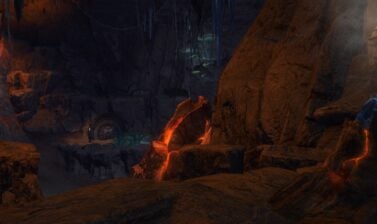
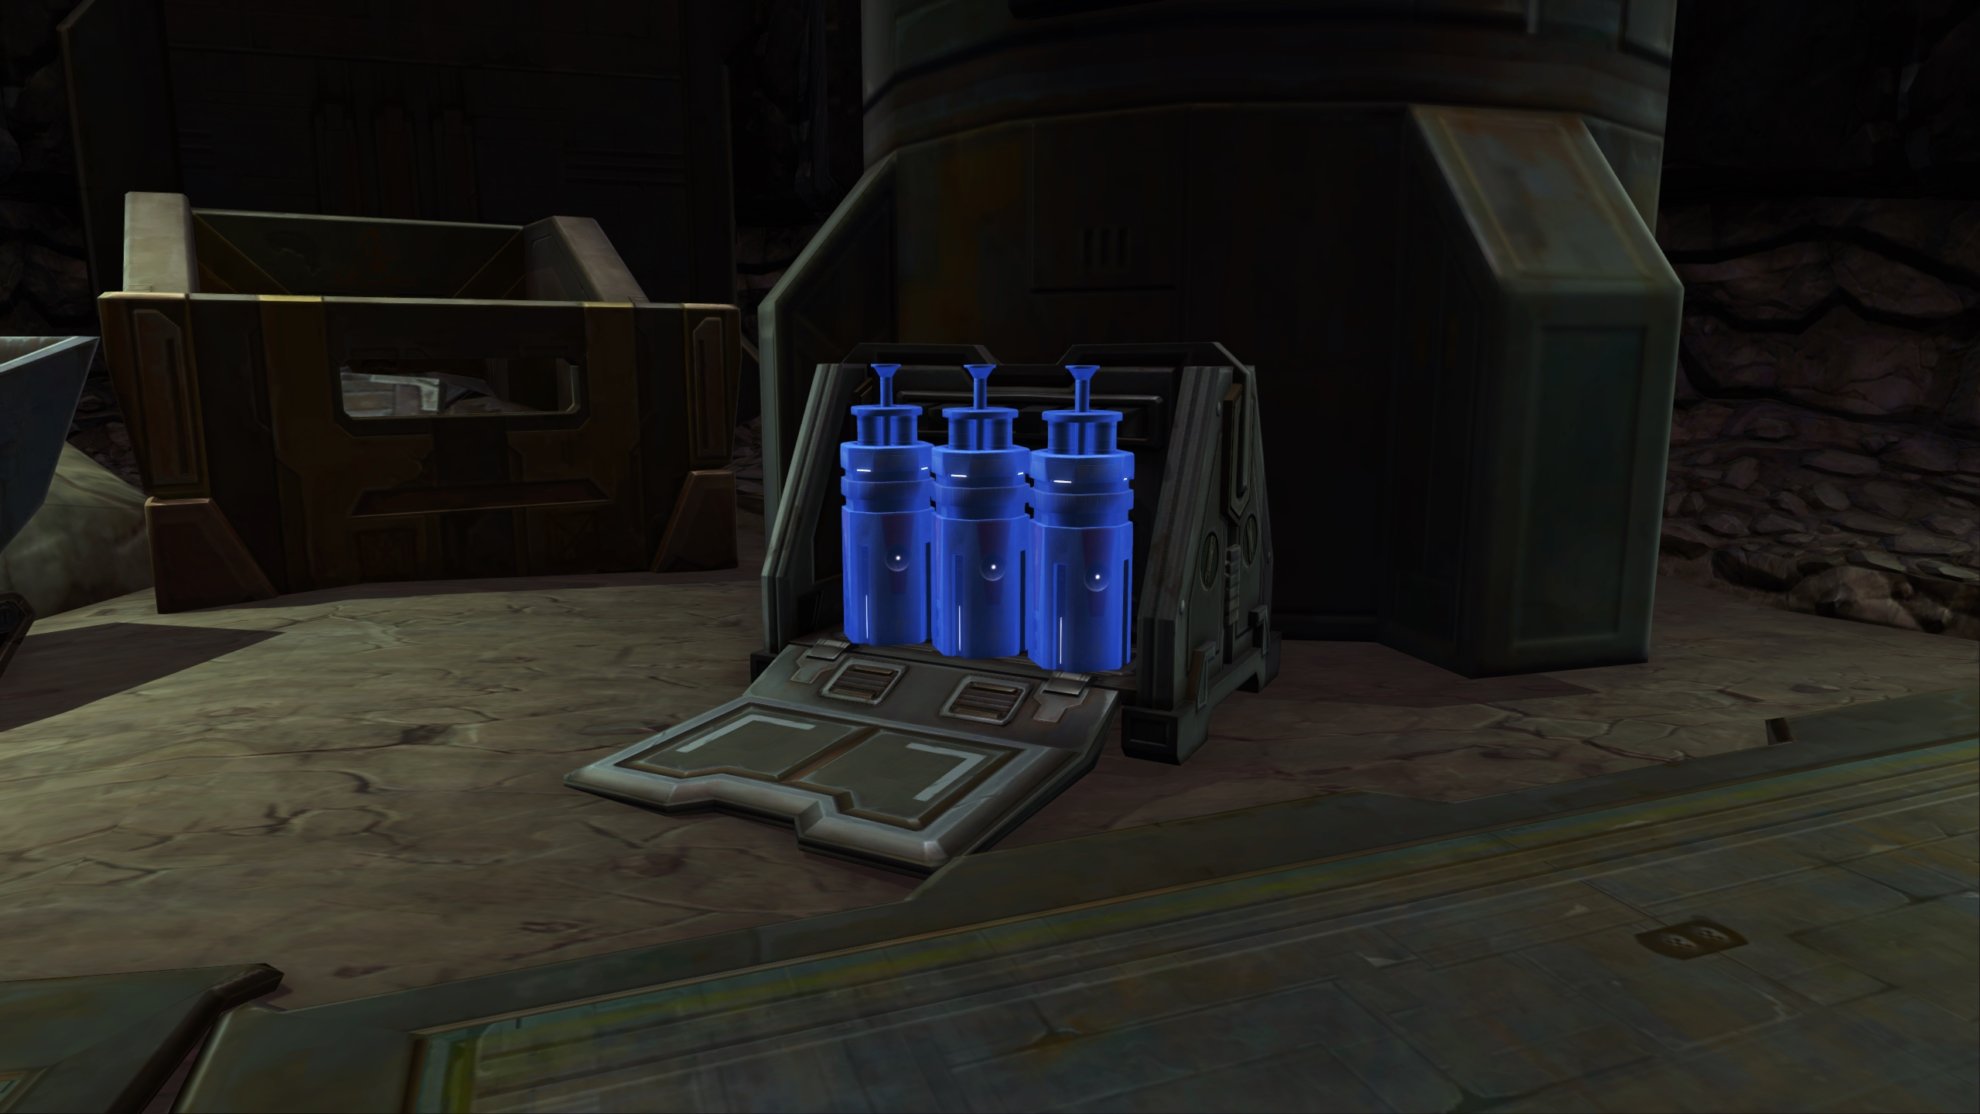
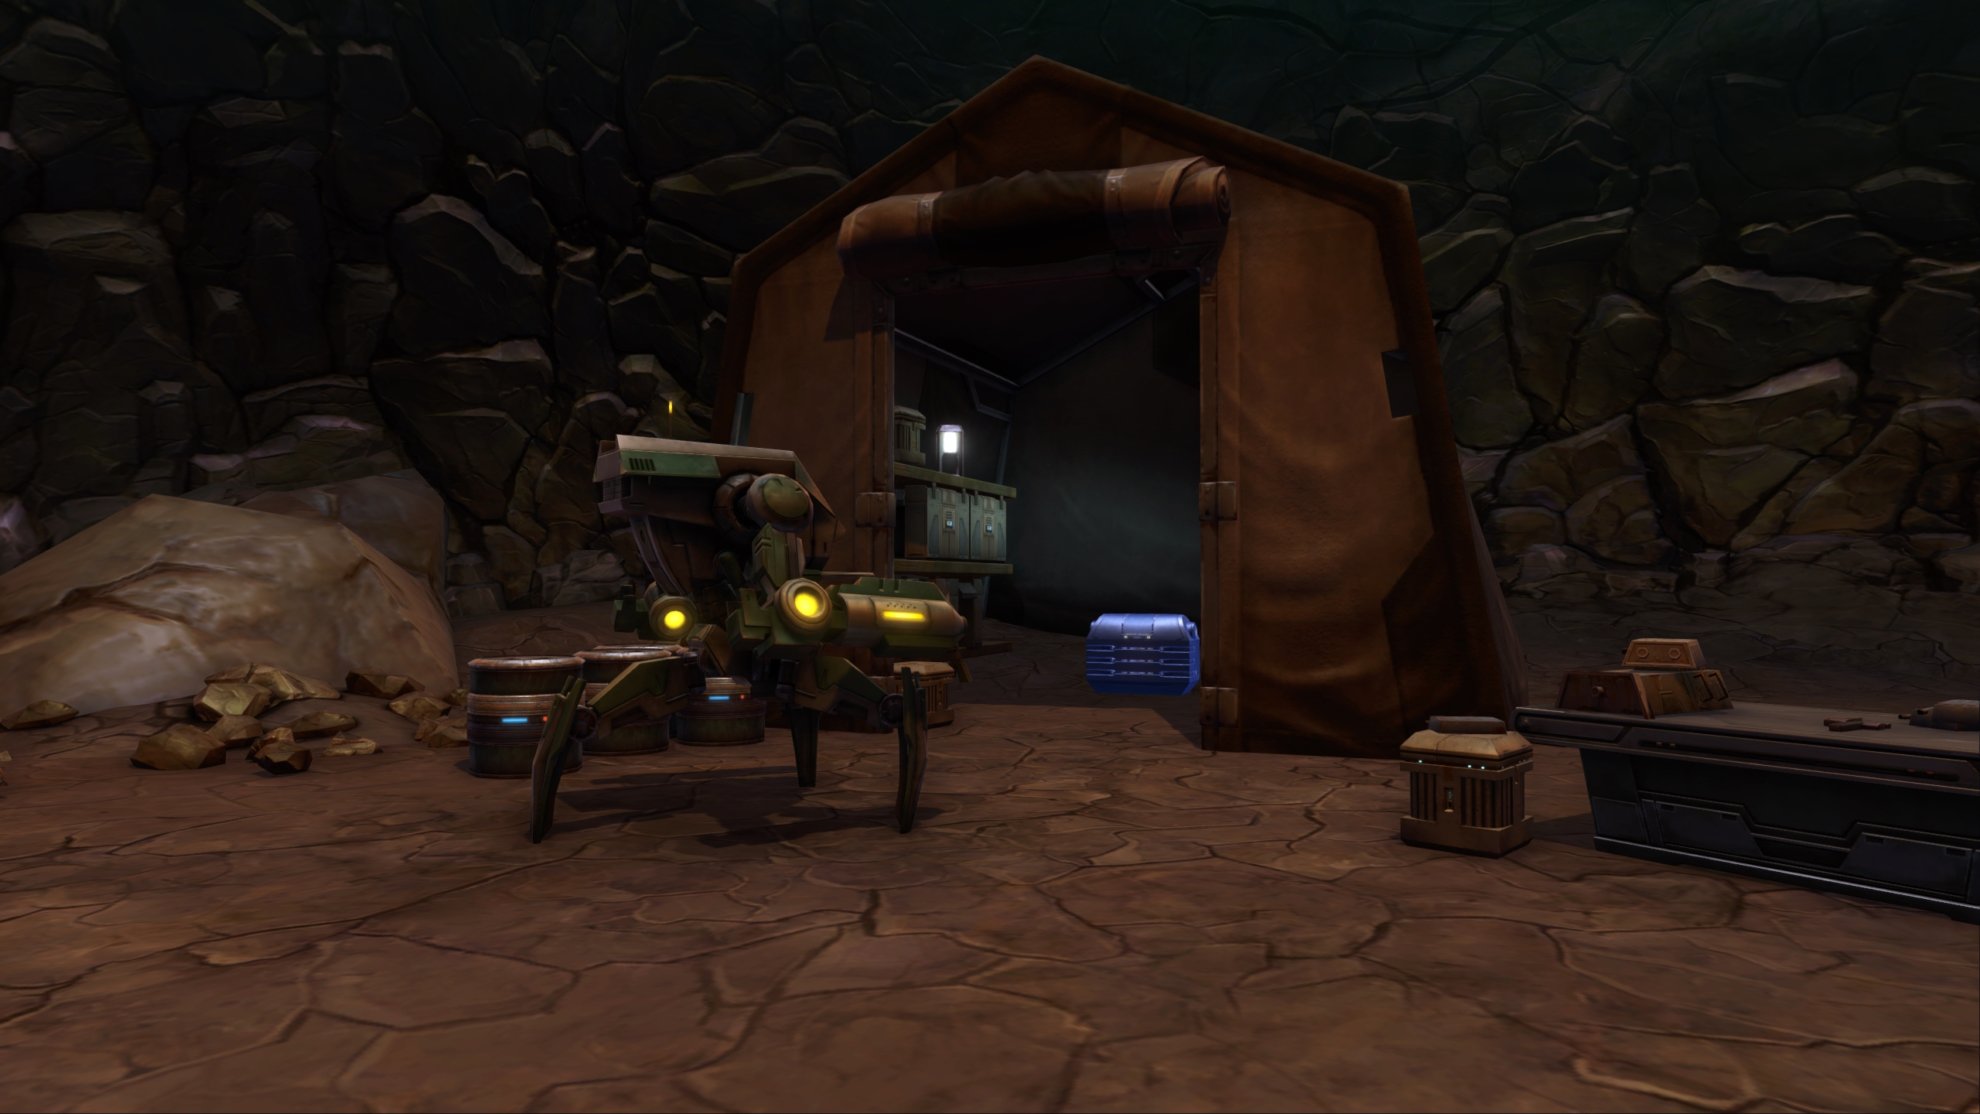
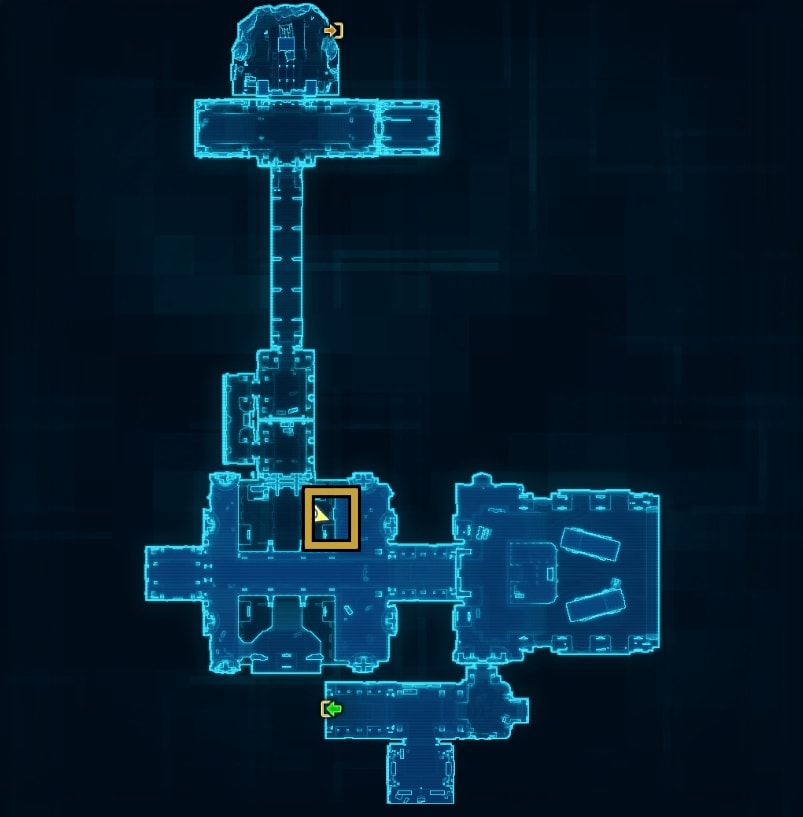
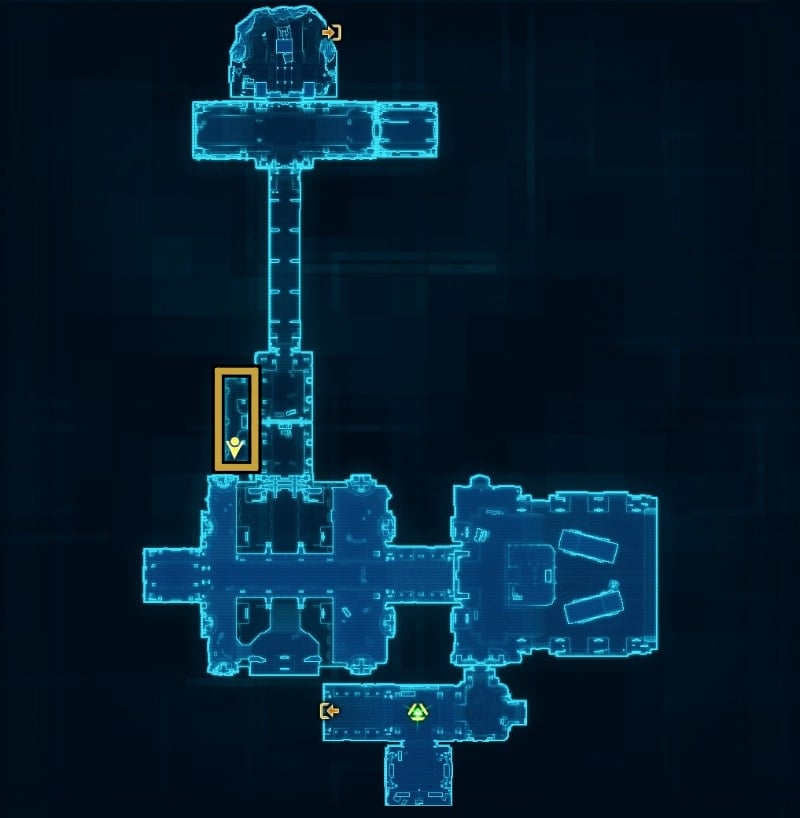
The first area you can explore with crew skills requires level 80 in Bioanalysis for Veteran Mode or 450 in Bioanalysis for Master Mode. You’ll encounter canisters of “Detoxifying Filters” right before a cave entrance in the Expansion Excavation area.
You can use Bioanalysis to pick up the filters where they’ll appear in your Mission Items tab in the inventory.
Use the filters on yourself and your allies so they can enter in the cave without suffocating from contamination.
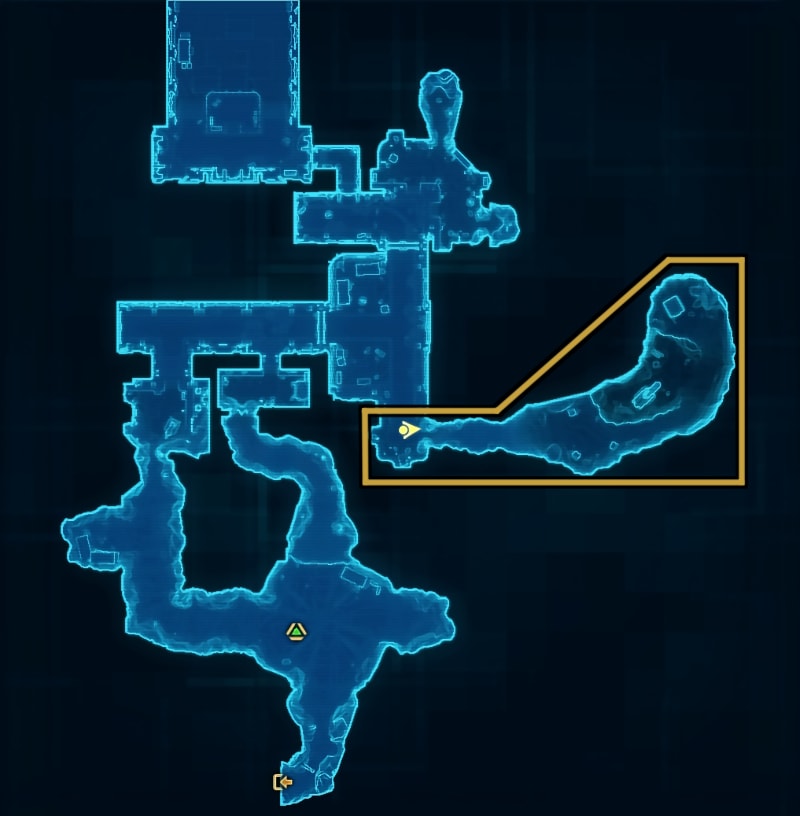
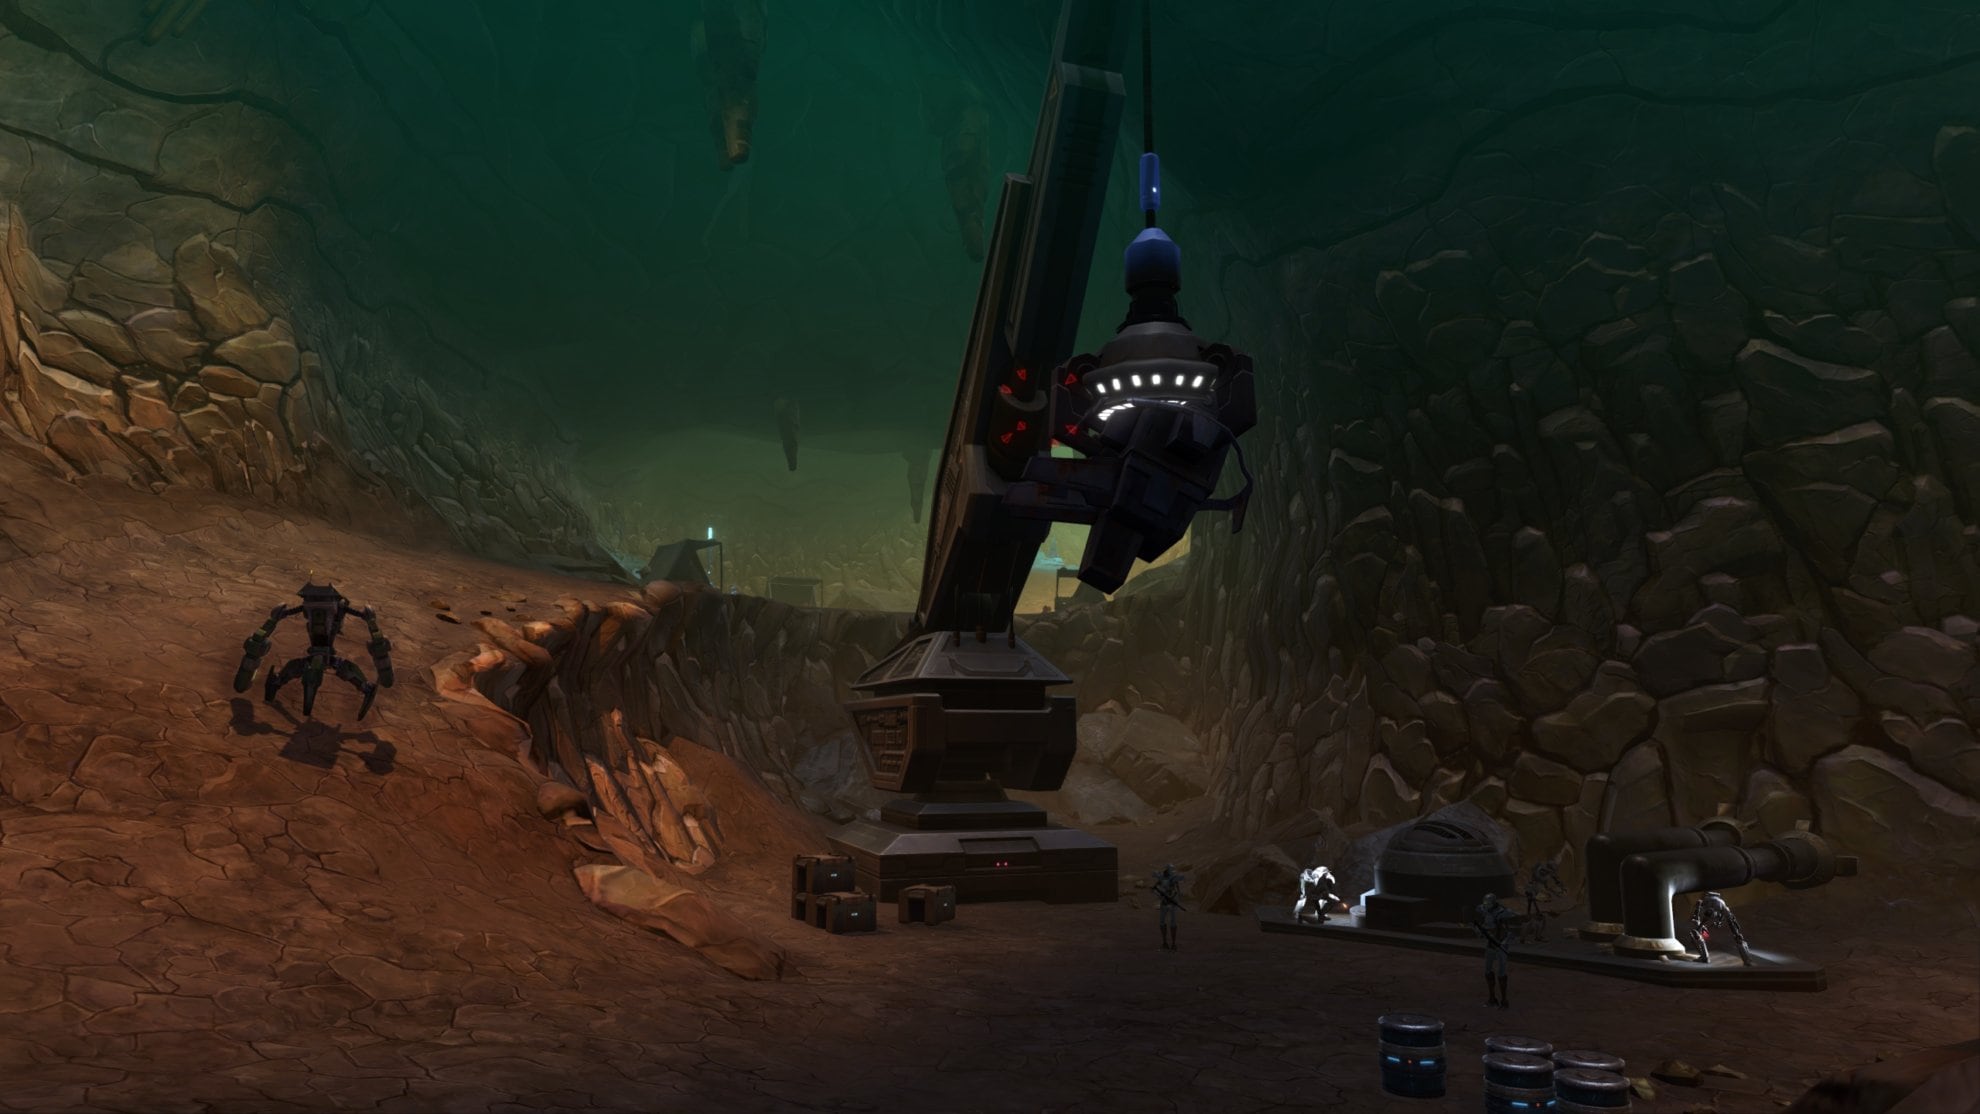
Once you’ve applied the Detoxifying Filters you’ll be able to explore this cave area. There’s not much here aside from enemies you can defeat for the Bonus Mission (explained later on).
There are some explosive canisters on a crane you can destroy to hit some enemies below. At the very end in a tent is a Security Chest that’ll contain crafting goods and maybe some credits.
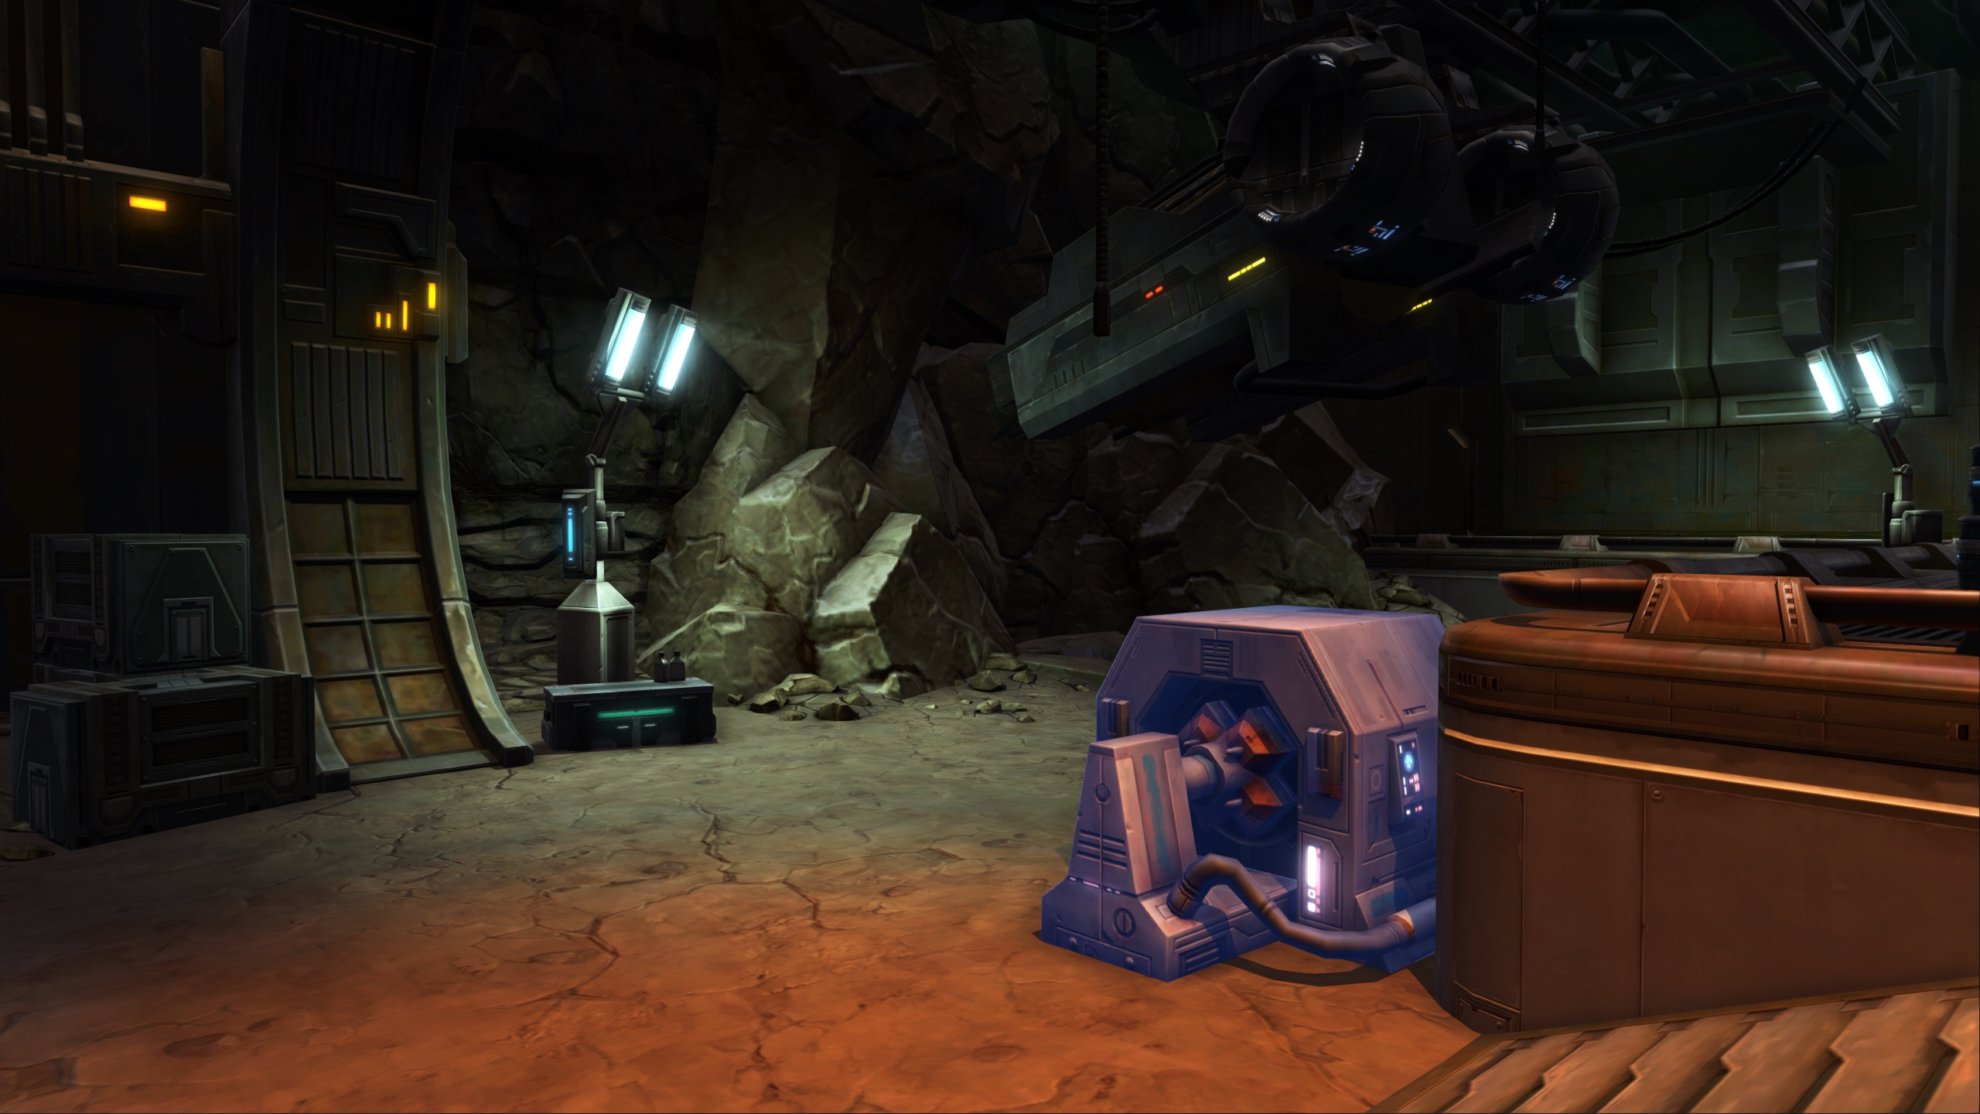
You can find a Drill Power Generator in the Expansion Extraction area that can allow you to create a shortcut to the first boss. You’ll need level 45 in Scavenging on Veteran Mode or level 450 in Scavenging on Master Mode to activate it.
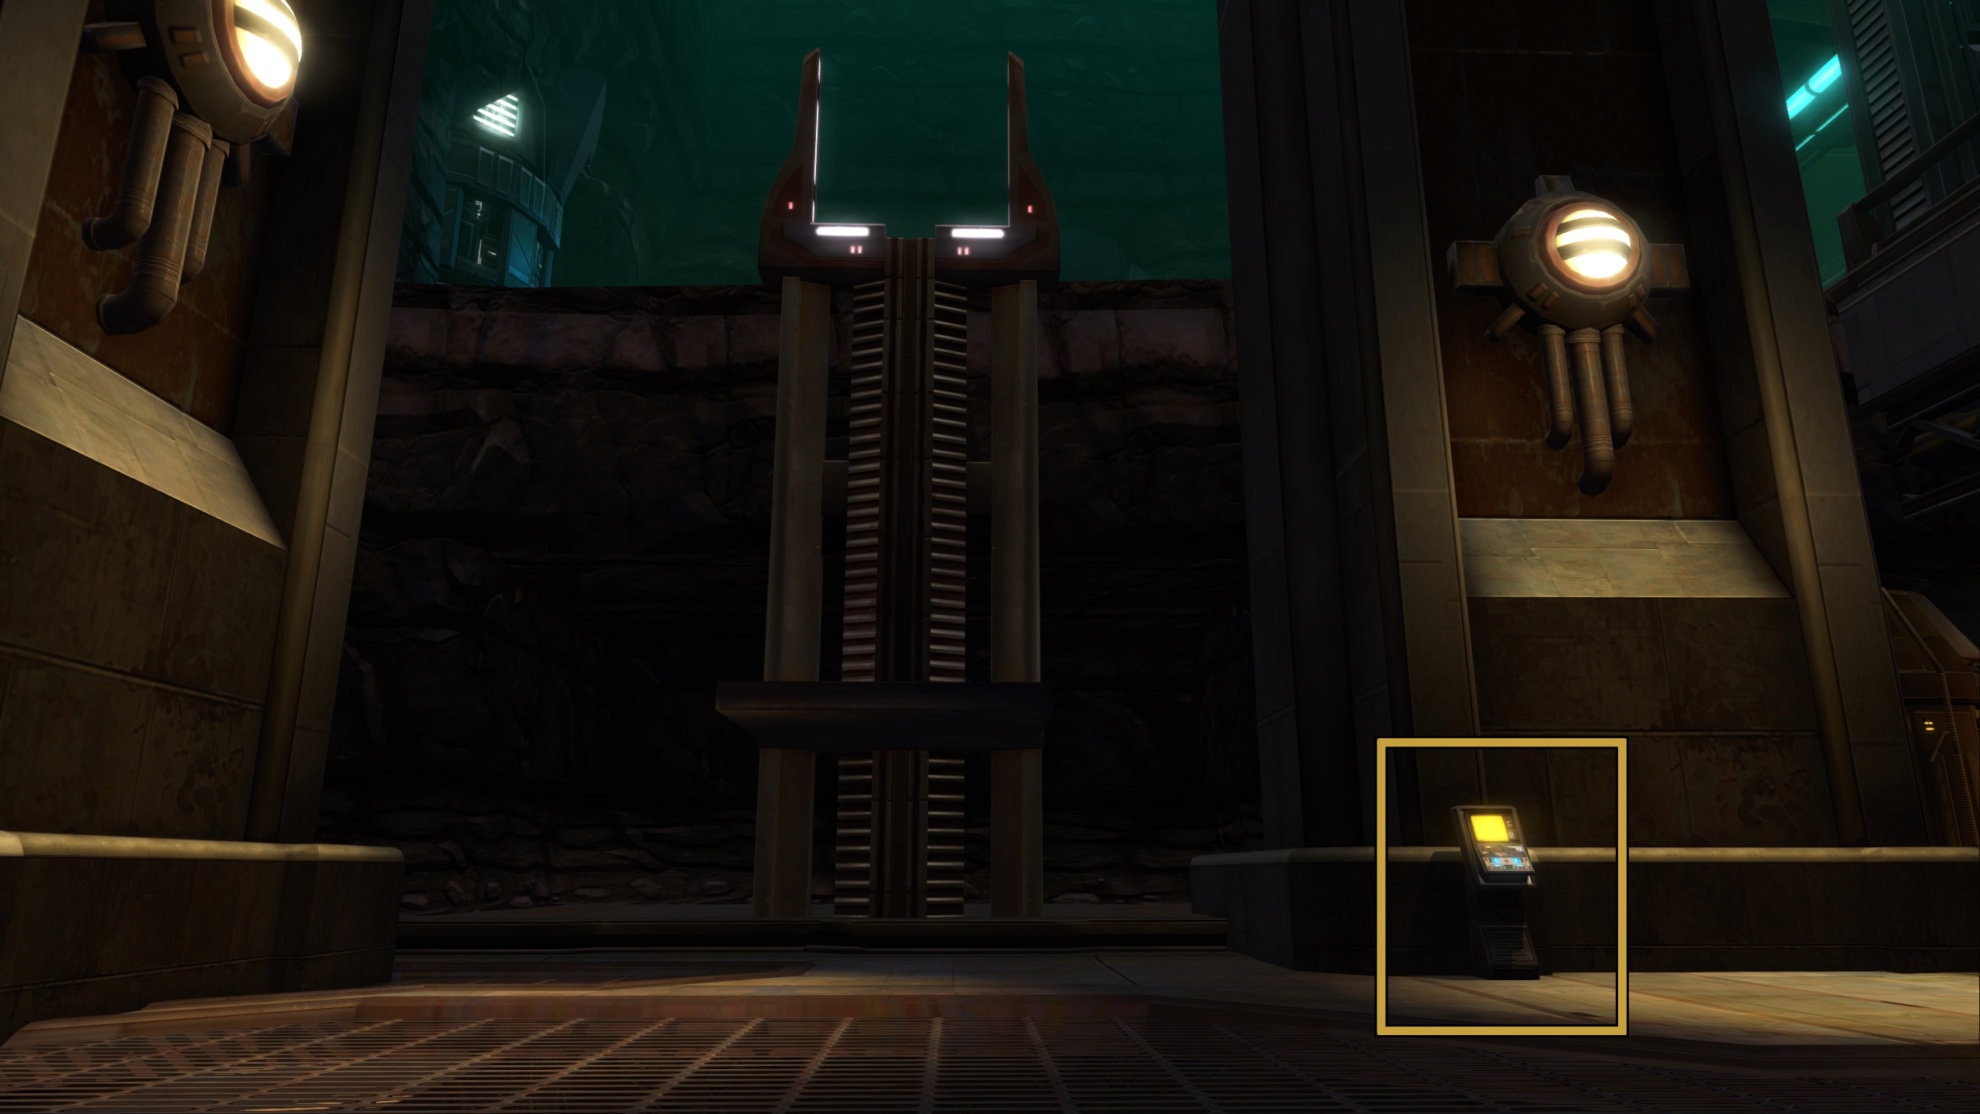
The last place you can make a shortcut with crew skills is in the Security Wing. There’s a terminal where someone with Slicing can interact with it and activate an elevator. This requires level 80 in Slicing for Veteran Mode and level 450 in Slicing for Master Mode.
Bonus Mission Phase 1
The Bonus Mission is only available for Master Mode difficulty. You can start this at the very start of the flashpoint after defeating any enemy. You’ll need to defeat 80 Enemy Forces on Hammer Station. So long as you clear out every enemy you run into, you should be able to get into the second phase easily enough.
To make this task a bit easier, there are a couple of spots in the flashpoint that many players will use to bunch up enemies. From there it’s easily to apply any damaging AoE abilities to quickly clear the map of enemies. The first area you can gather enemies in is within the first hallway you walk into at the Expansion Excavation area. Just drag the droids behind the corner so they’re forced to chase you inside the hall.
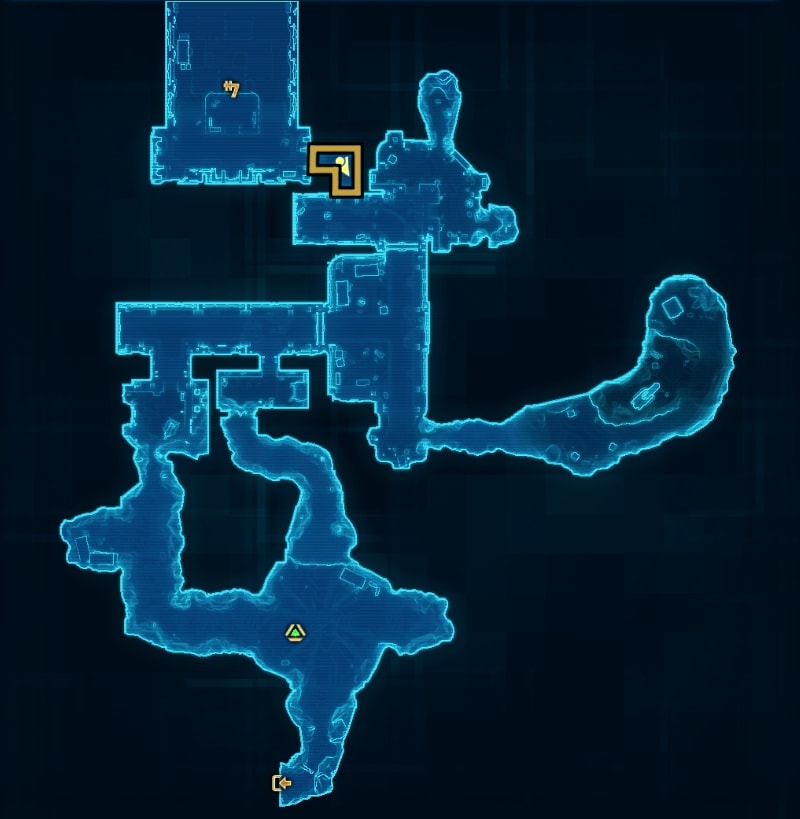
Another good place to gather enemies is this small hallway in the Security Wing of Hammer Station. Bring them around the corner so every enemy gets inside and have fun!
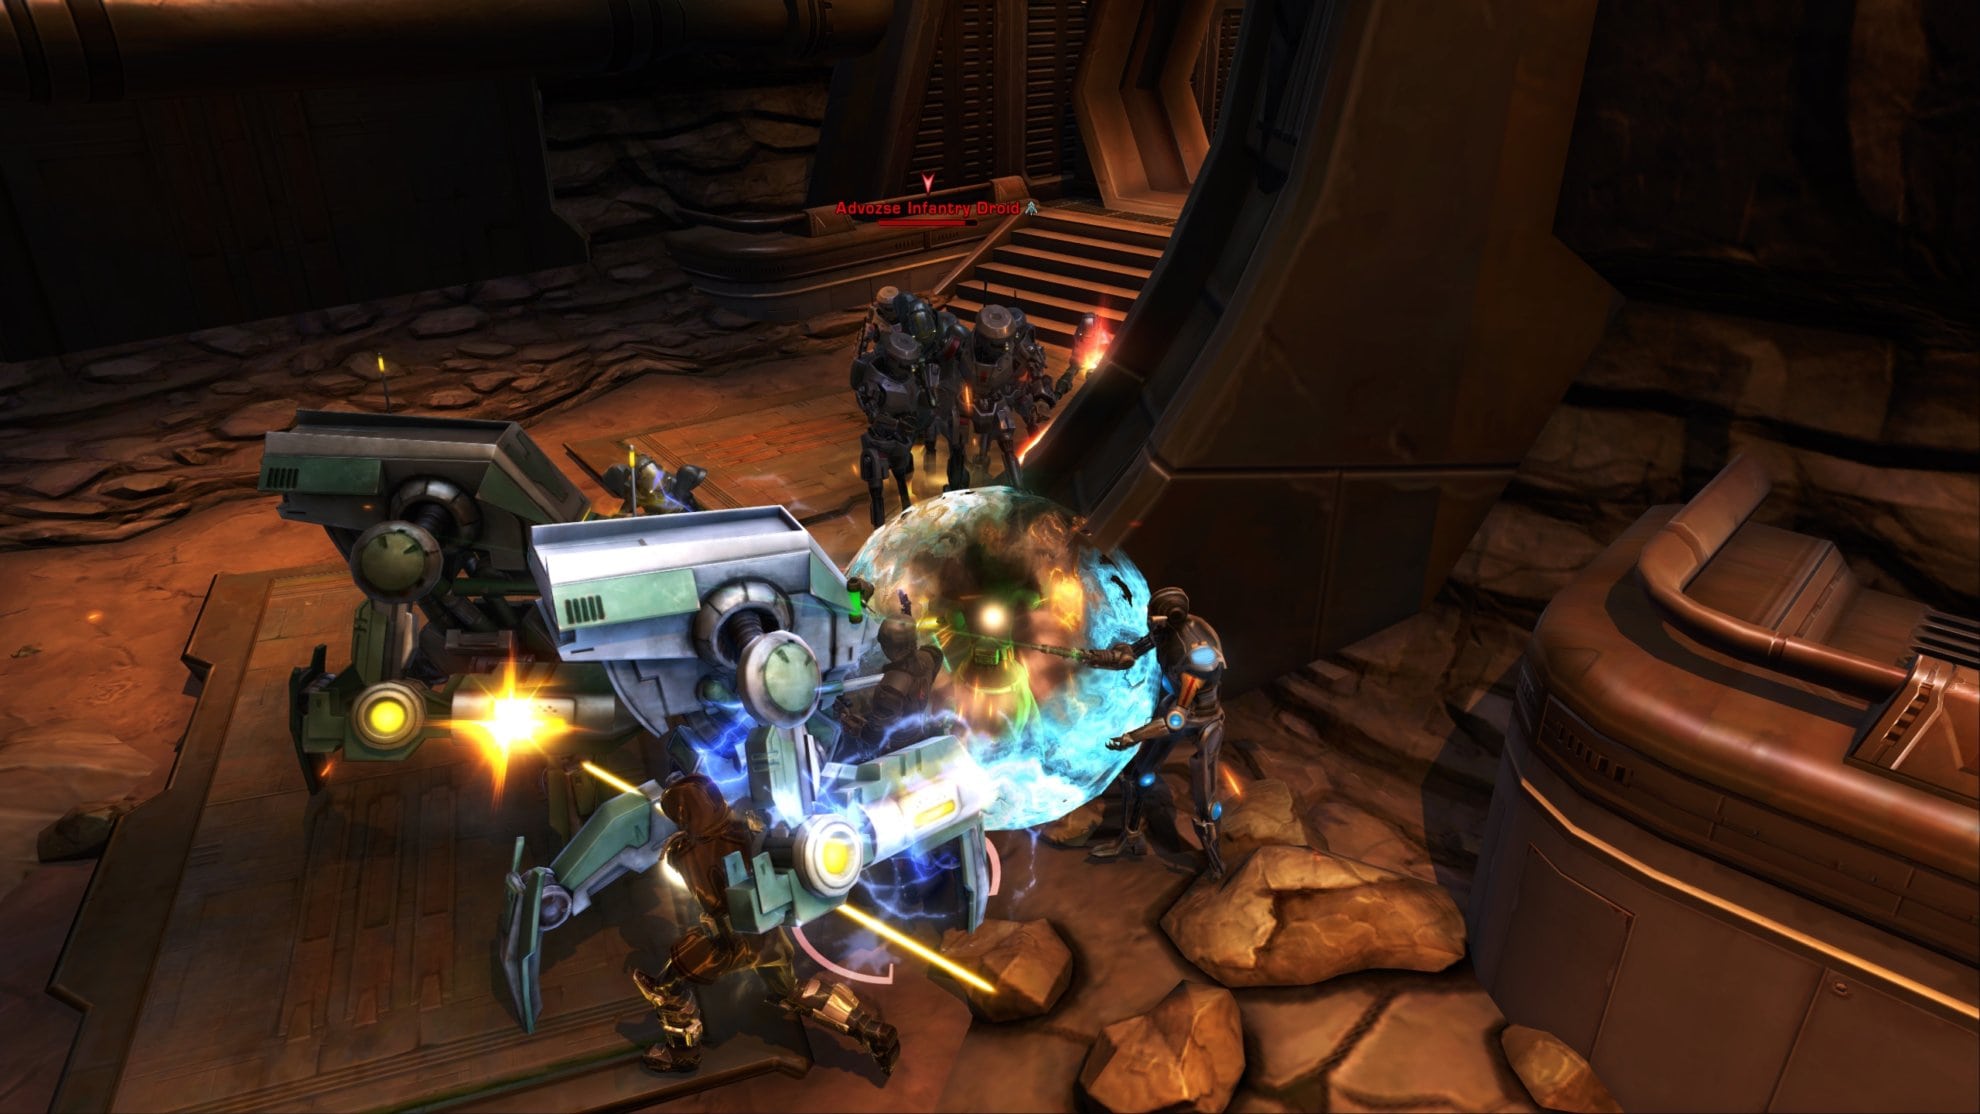
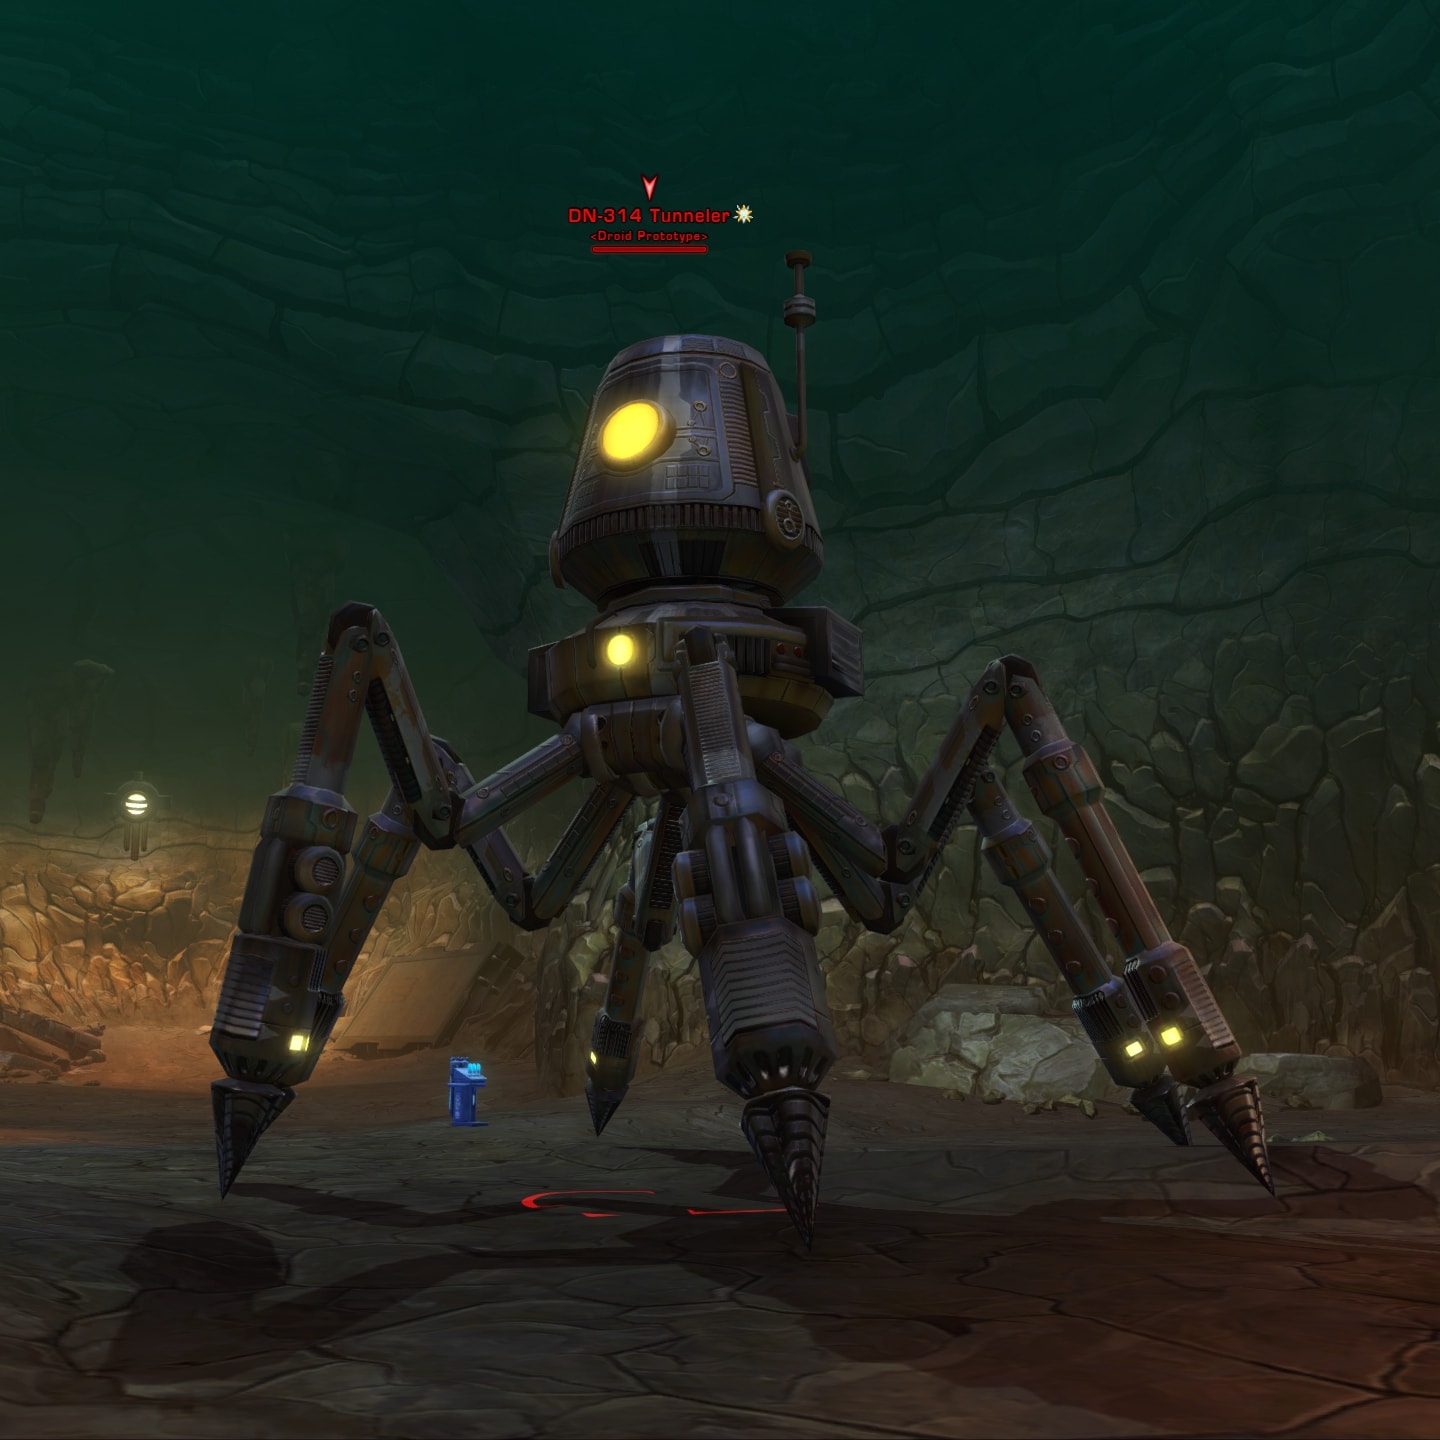
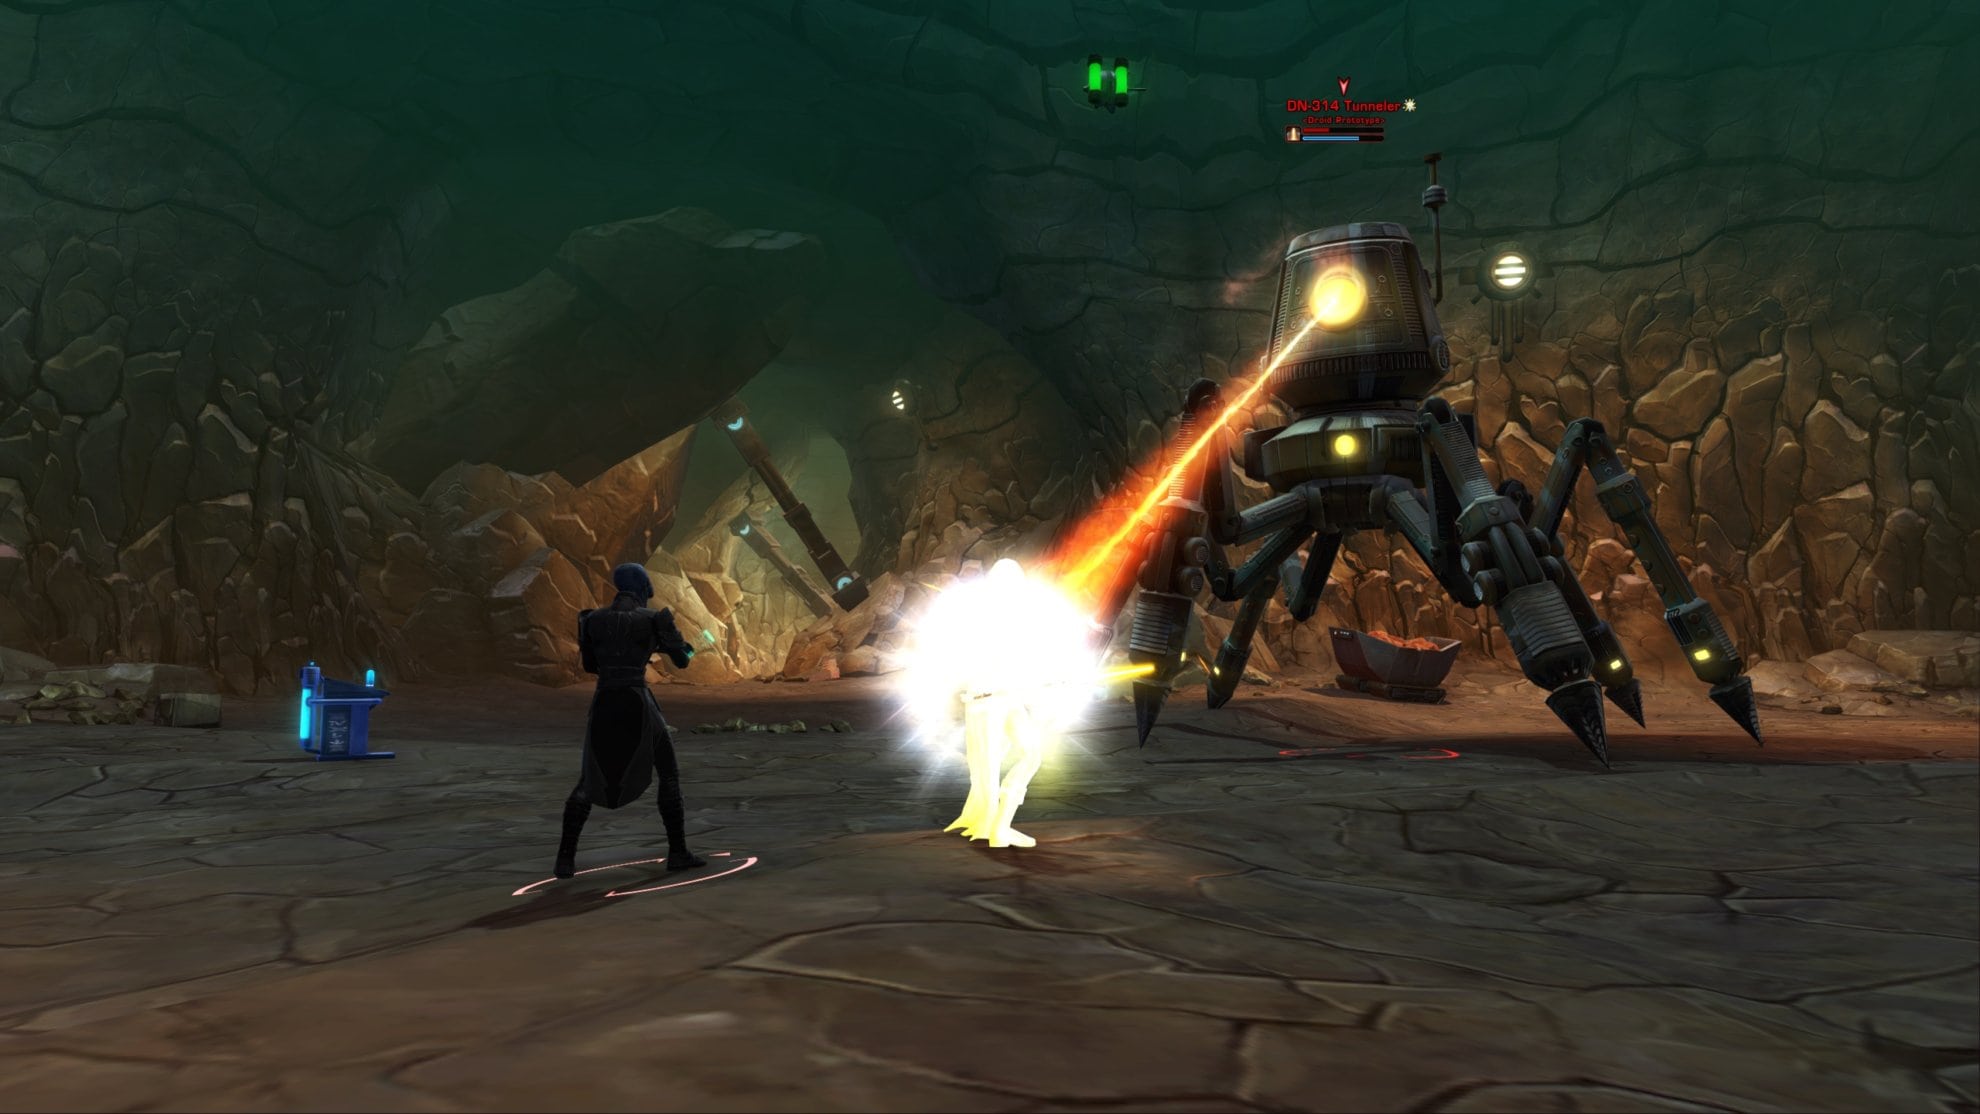
First Boss: DN-314 Tunneler
The first boss you’ll fight in Hammer Station is a prototype mining droid. The fight for the most part is simple though there are a couple things to be aware of to mitigate damage for the party.
An attack the Tunneler will use is a laser beam on its target. This beam will apply a debuff to the target that will increase the amount of damage the laser deals. This counts as a tech attack so a tank with the ability to negate tech attacks will do very well here. For Shadows/Assassins, they’ll use Resilience/Force Shroud. Guardians/Juggernauts can use Saber Reflect to negate the damage.
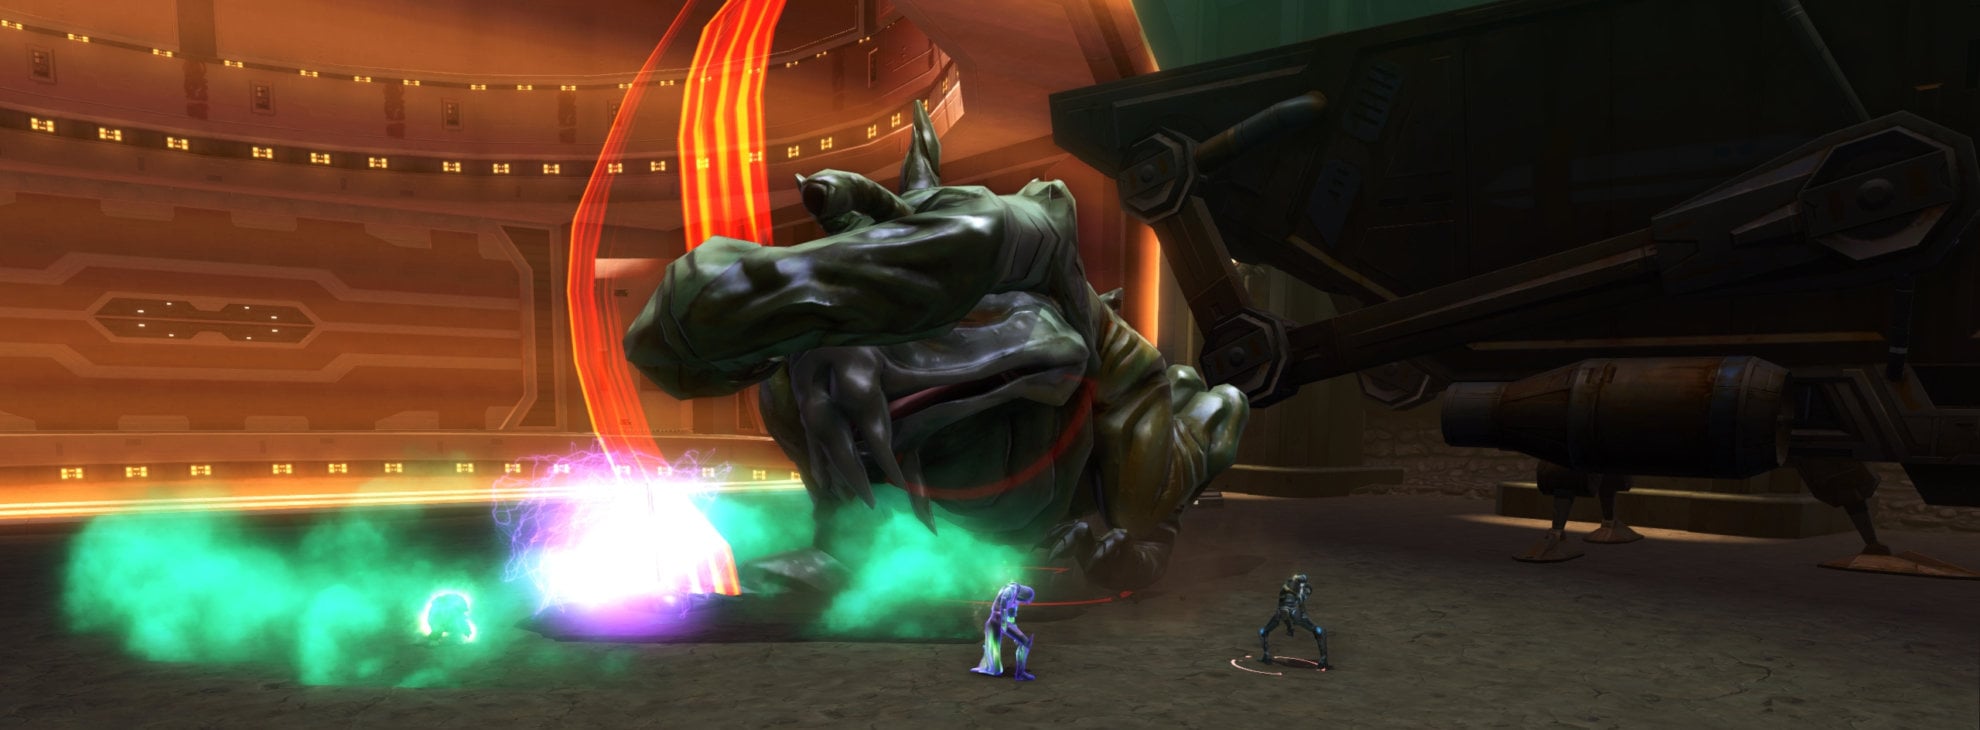
As the battle goes on and the Tunneler gets summoned, probe droids will spawn around the area. On Veteran Mode, they’ll wander around the area aimlessly for several seconds before exploding. You can tell when they’re about to explode as they’ll form a red ring underneath them. Get out of the red ring to avoid damage and have the tank use their AoE taunt to gather them in one spot.

Master Mode Differences
In Master Mode, the Tunneler and probe droids will deal more damage and be a bit tougher to defeat as they have a bigger health pool. The probe droids are also much more aggressive and will target a party member to pile on top of them. Aside from that, the fight is very easy so long as you keep the probe droids off the DPS and healers.
Bonus Mission Phase 2
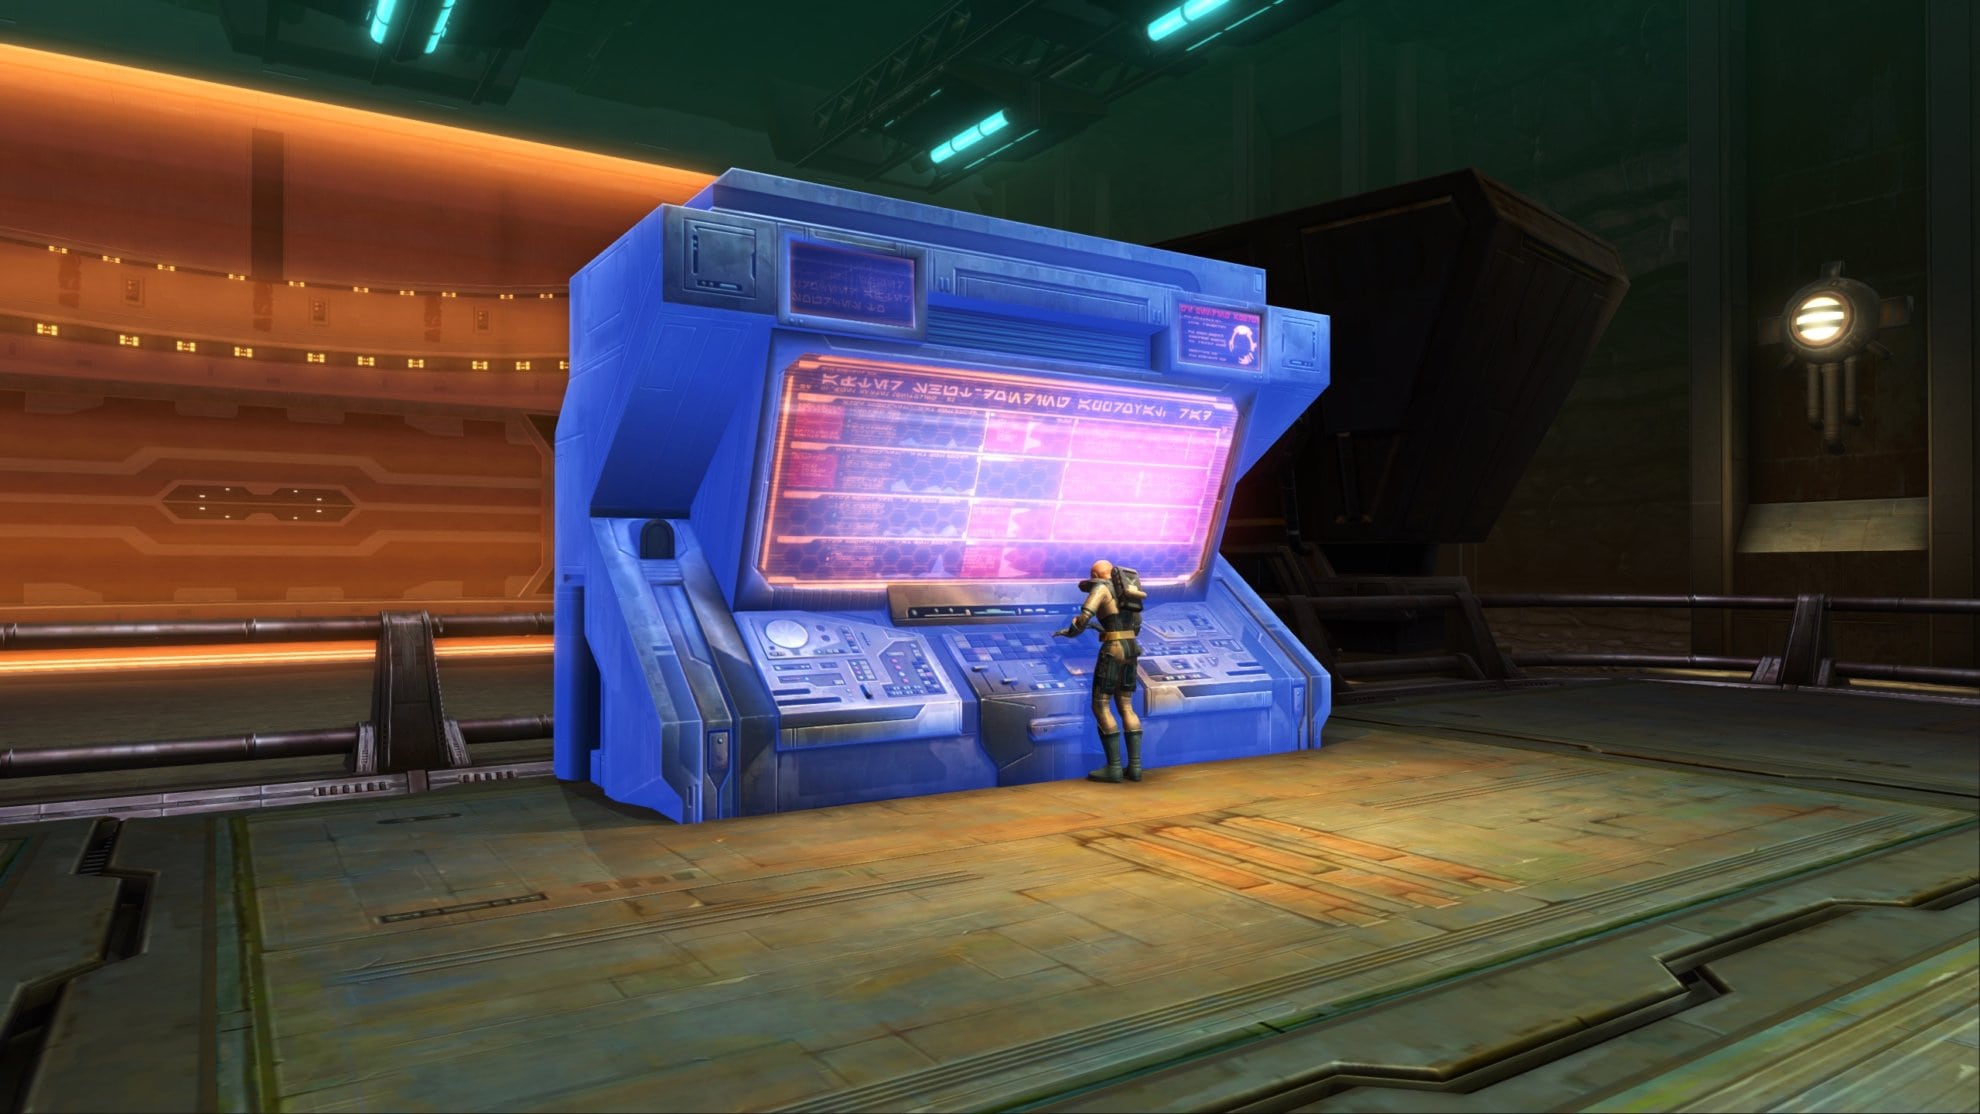
After defeating 80 enemy forces in Hammer Station, your next objective will be to Access the Hangar Terminal in the Security Wing. Clear the area of enemies to access the terminal and activate it to summon the Bonus Boss, the Asteroid Beast.
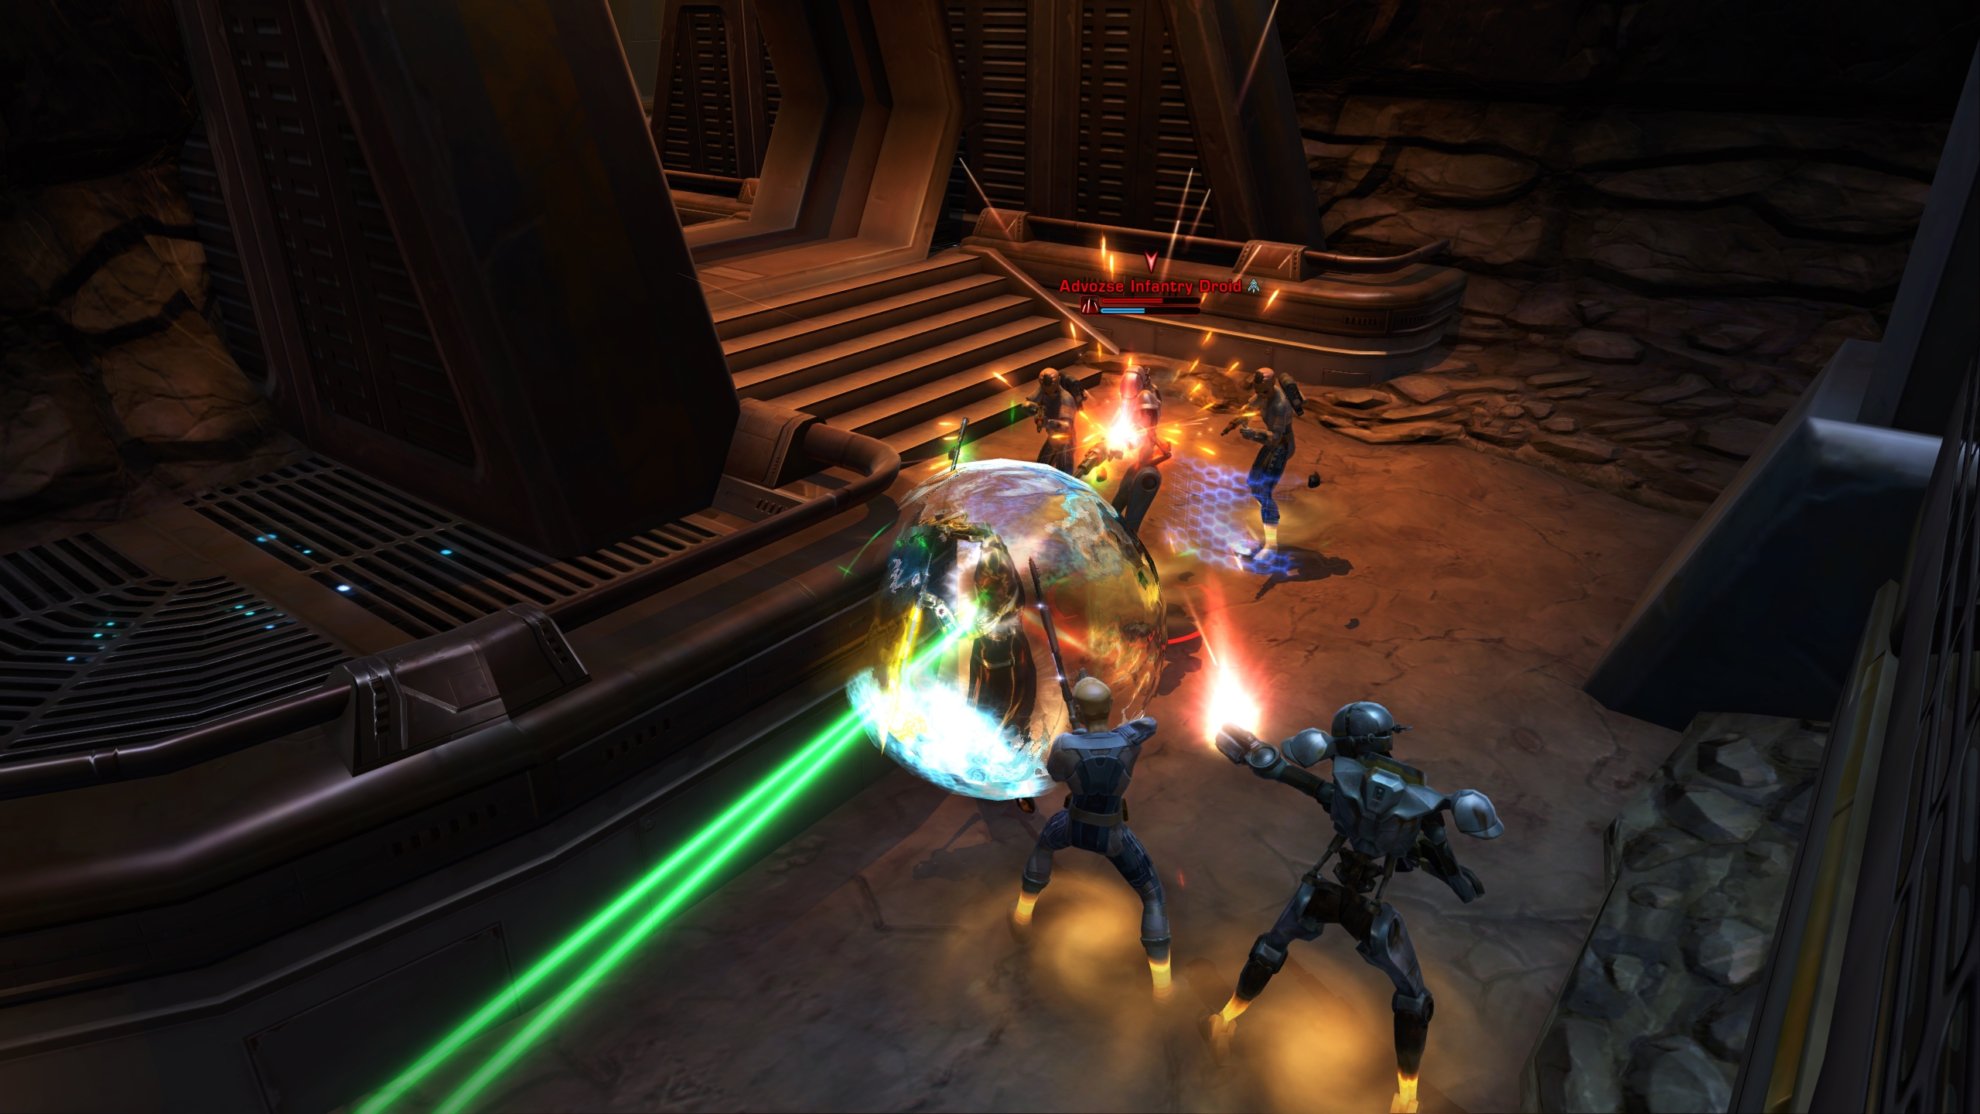
Optional Bonus Boss: Asteroid Beast
After accessing the Hangar Terminal, you would have summoned the Asteroid Beast. It may be large but it’s not that bad of a fight as it’s a simple tank and spank. The only thing you should be aware of is when it rampages.
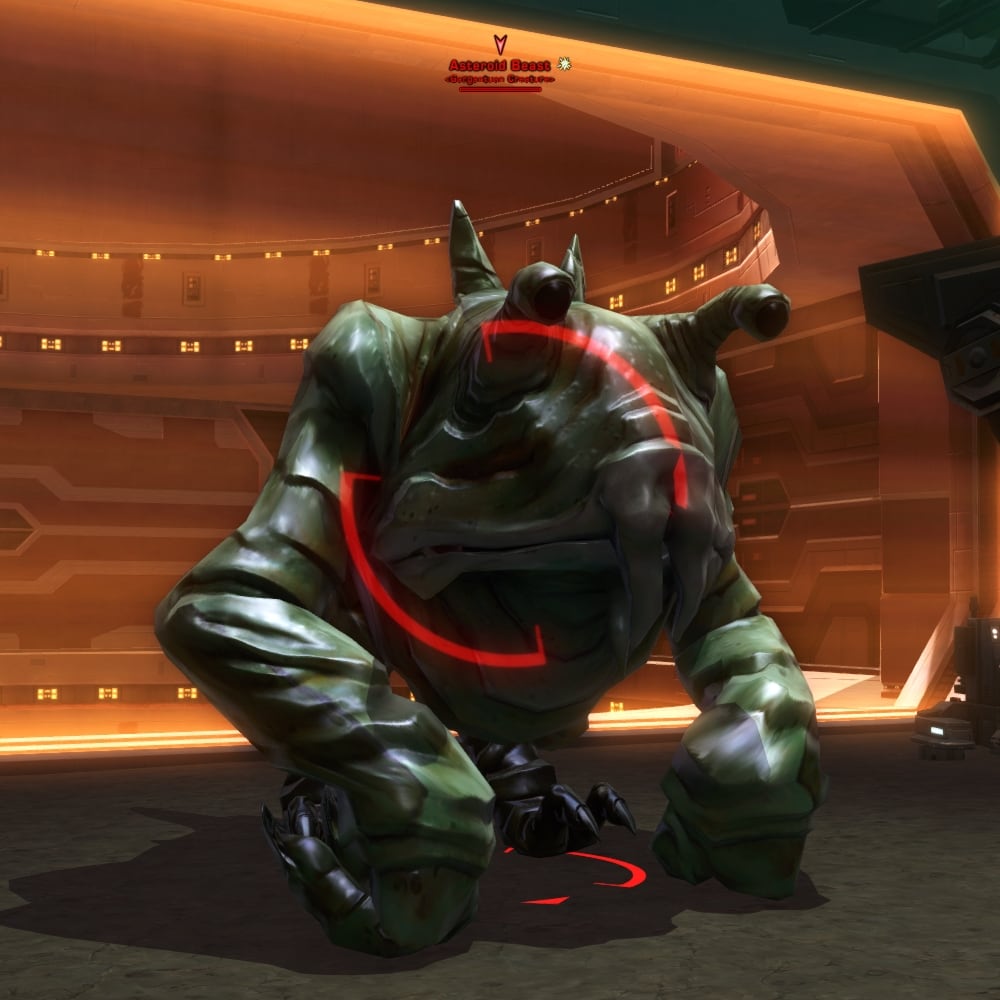
When you see the Asteroid Beast charge an ability, it’ll start to rampage soon. When it does, it’ll smash the ground and stun anyone within the area of effect for a couple seconds. This area is very large so ranged DPS need to get far away as possible to avoid getting stunned. Meanwhile the Asteroid Beast’s primary target will also be flinged into the air during the rampage.
This rampage ability counts as Force/Tech so a Shadow’s/Assassin’s Resilience/Force Shroud can negate the damage and stun from a rampage. Alternatively, any ability that allows you to ignore physics will allow you to avoid the stun. Just keep tanking and spanking until you defeat the boss!
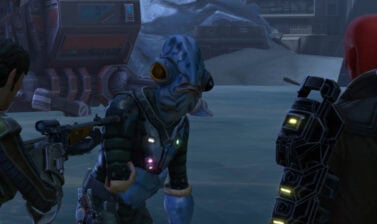
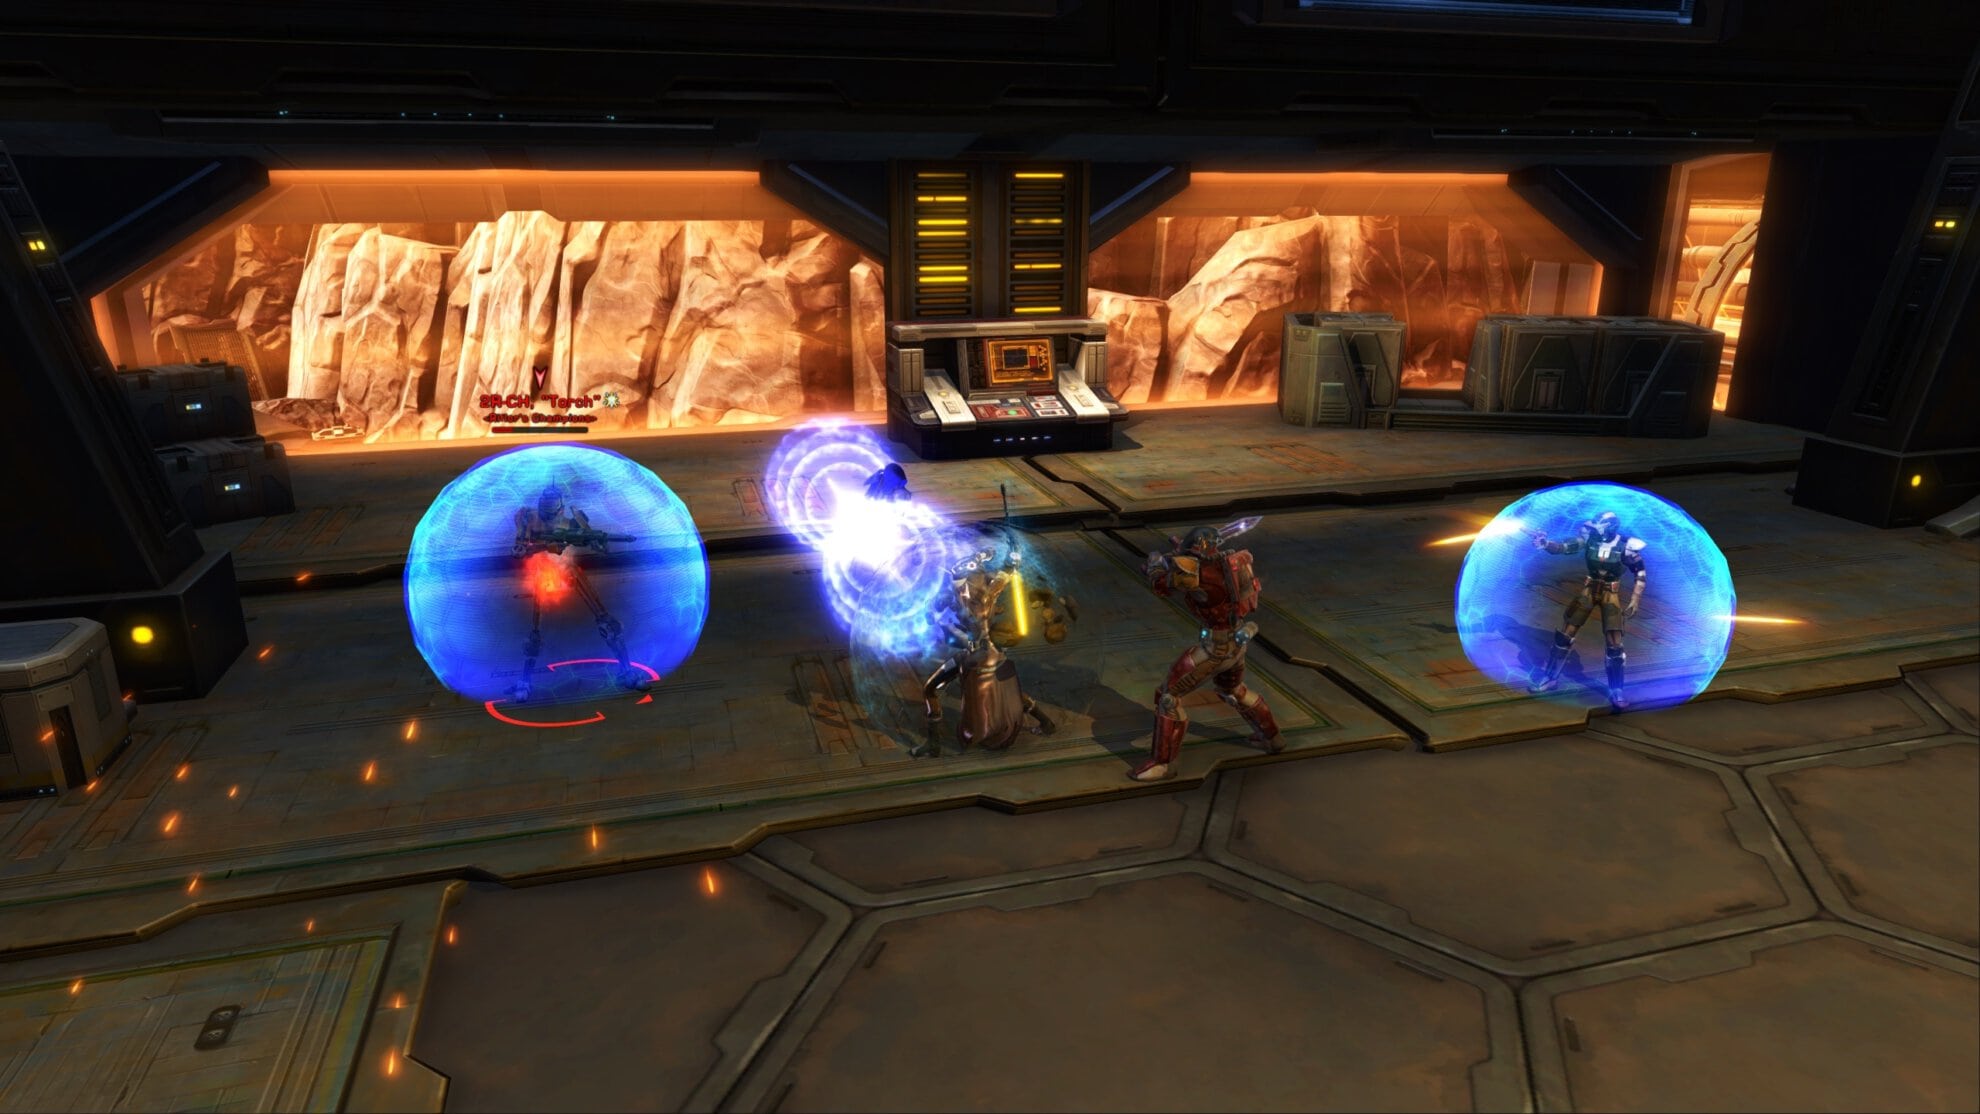
Second Boss: Riflor’s Champions
The second boss is a group of three bosses, Riflor’s Champions. This group consists up Vorgan the Volcano, 2R-CH “Torch”, and Sawbones Gjonfs. In Veteran Mode, Vorgan has stealth detection so stealth units should be careful about not accidently starting the fight by getting too close.
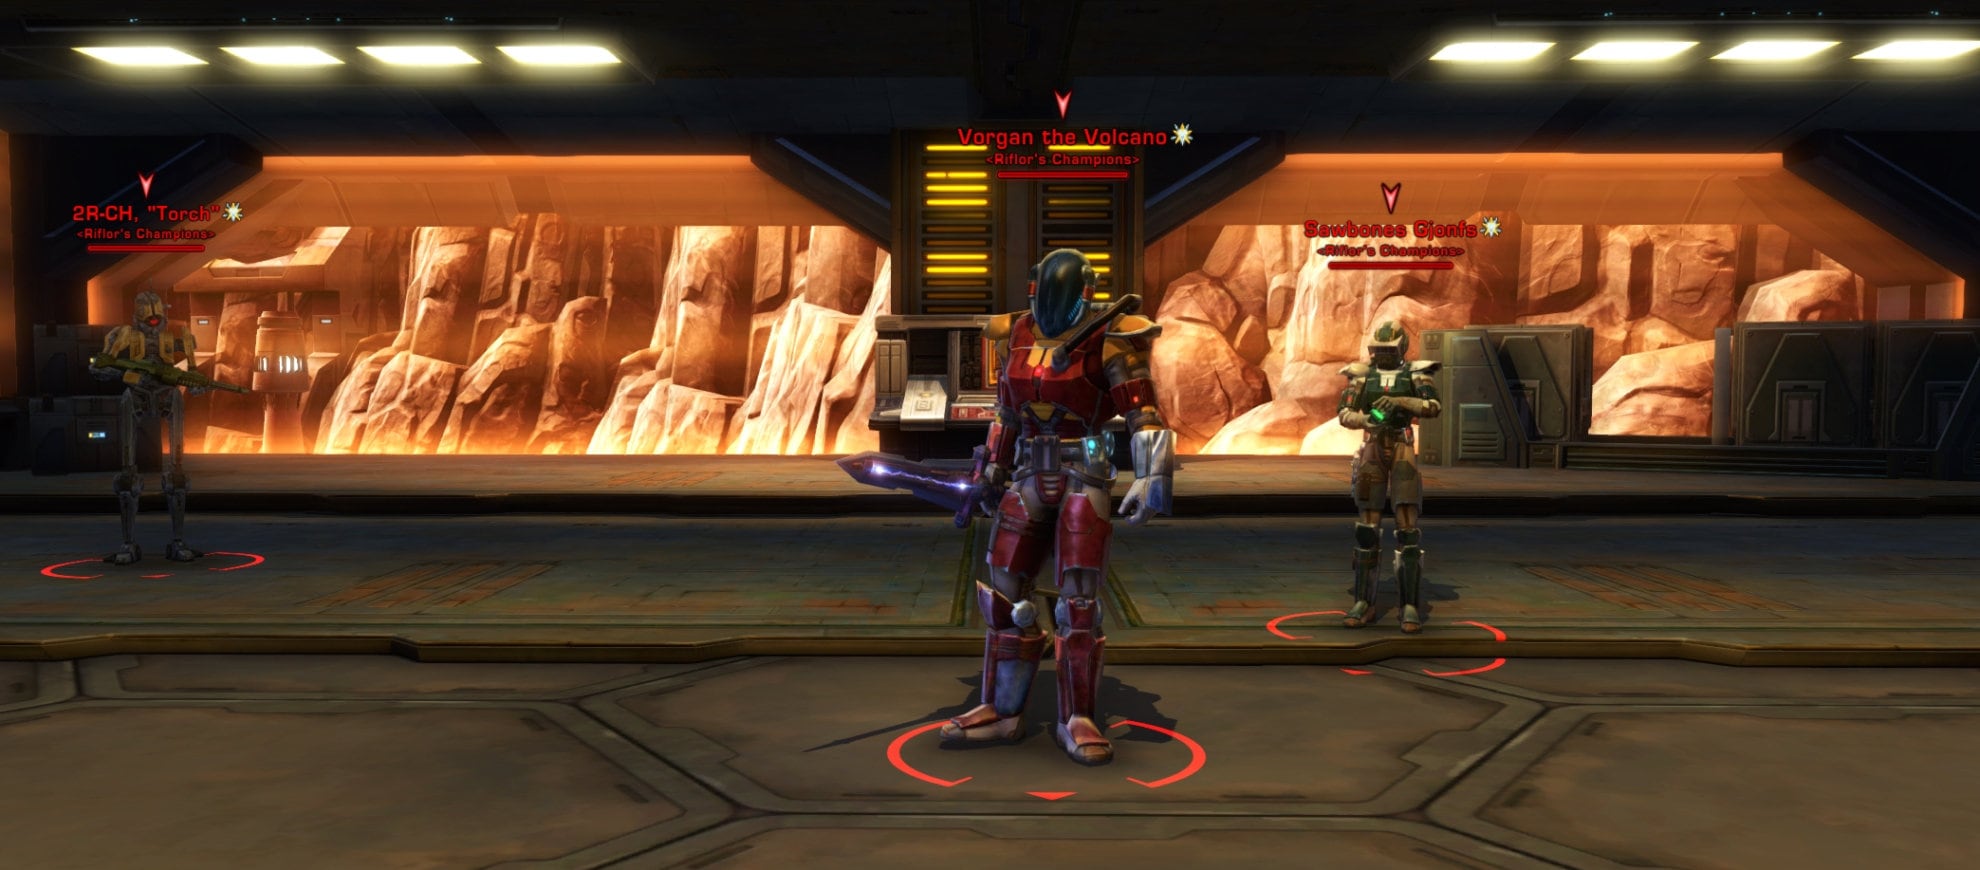
Your first priority should be to take out 2R-CH “Torch” first. They use a flamethrower attack which hits any enemies in the area, this can damage multiple group members. After defeating Torch, focus Sawbones Gjonfs then defeat Vorgan the Volcano last. Once they’re defeated, override the Security Console behind them to proceed with the flashpoint.
Master Mode Differences
Aside from dealing more damage and being tougher, Vorgan the Volcano will have the most substantial differences in Master Mode. He lacks any stealth detection in Master Mode but he has four stacks of Shield Generator. Vorgan will use these stacks to shield himself or his two allies throughout the battle. While shielded, he or his allies will be immune to damage.
Attack whoever is currently unshielded but still focus Torch first, Sawbones second, and Vorgan last. Torch’s flamethrower will hit a lot harder so it’s important to take them out first. Despite shielding two allies, this will only consume one stack of Shield Generator. Once Vorgan is out of stacks, he will be unable to shield again.
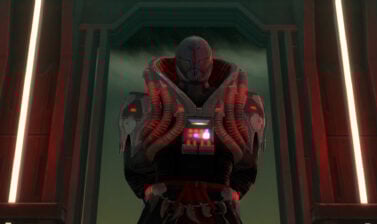
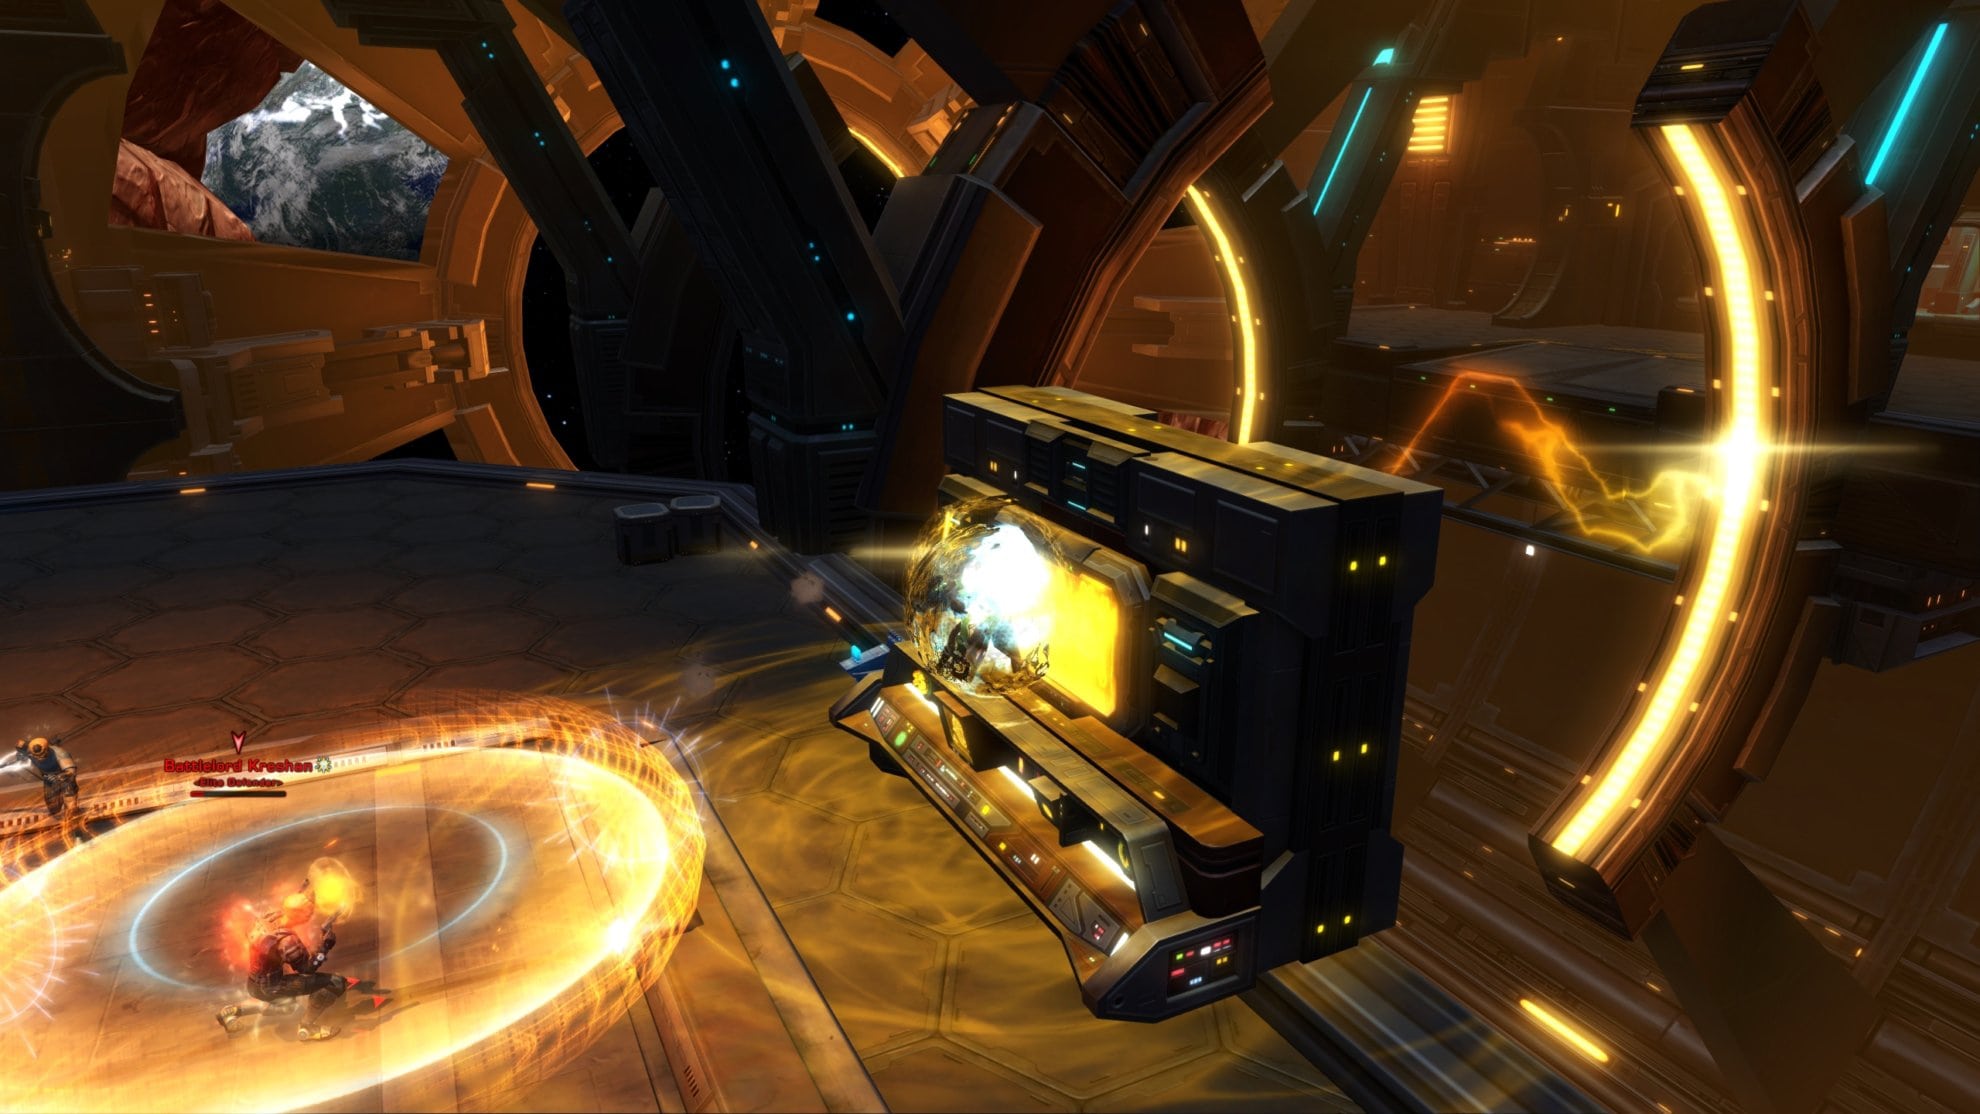
Final Boss: Battlelord Kreshan
The final boss of Hammer Station is Battlelord Kreshan, warlord of the Advozse Hegemony. This boss has several mechanics to be aware of as he can potentially one shot people even on Veteran Mode.

The tank needs to have Kreshan face away from the party and have their back facing the terminal. The DPS and Healer should stay behind Kreshan and let the tank take the blows as Kreshan’s primary damage ability is an AoE gun sweep. He’ll fire his blasters in a cone in front of him damaging anyone in front of him.
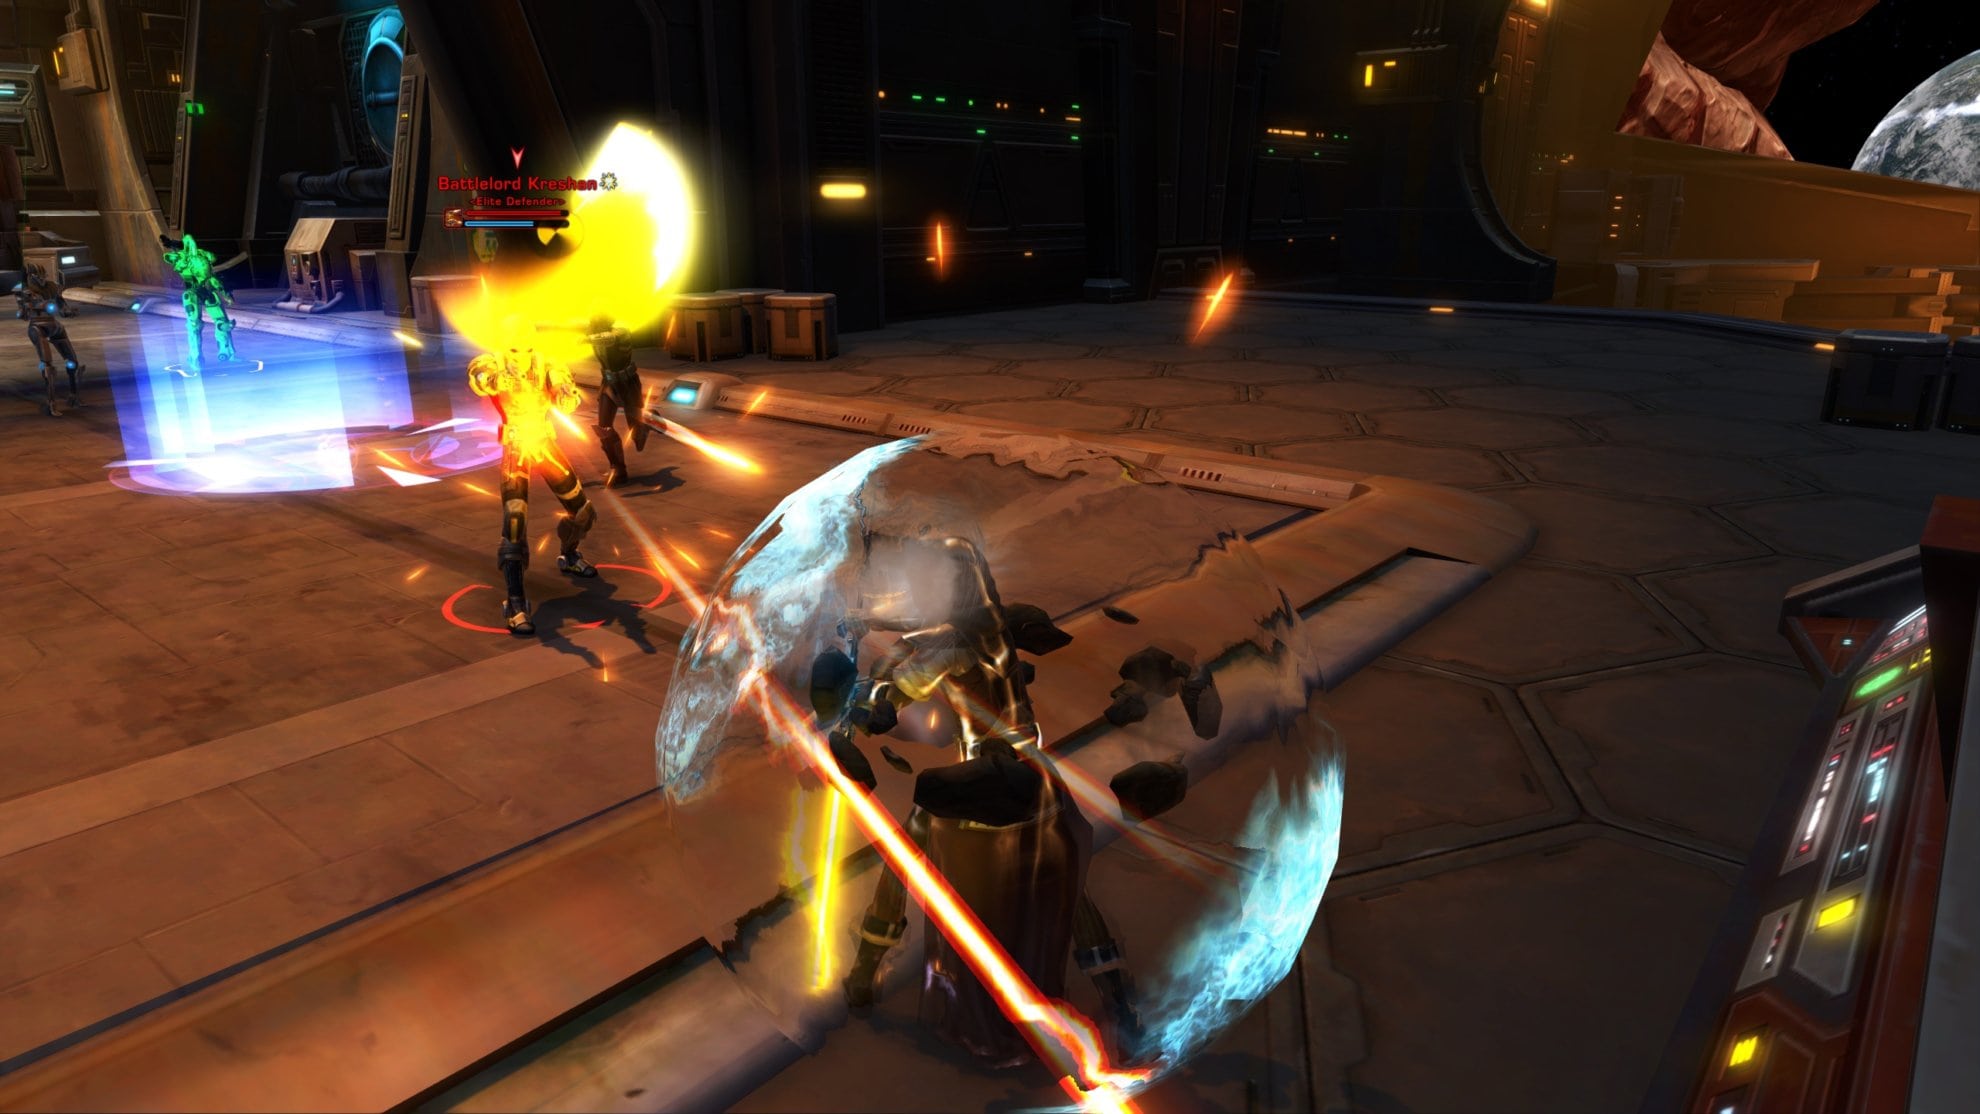
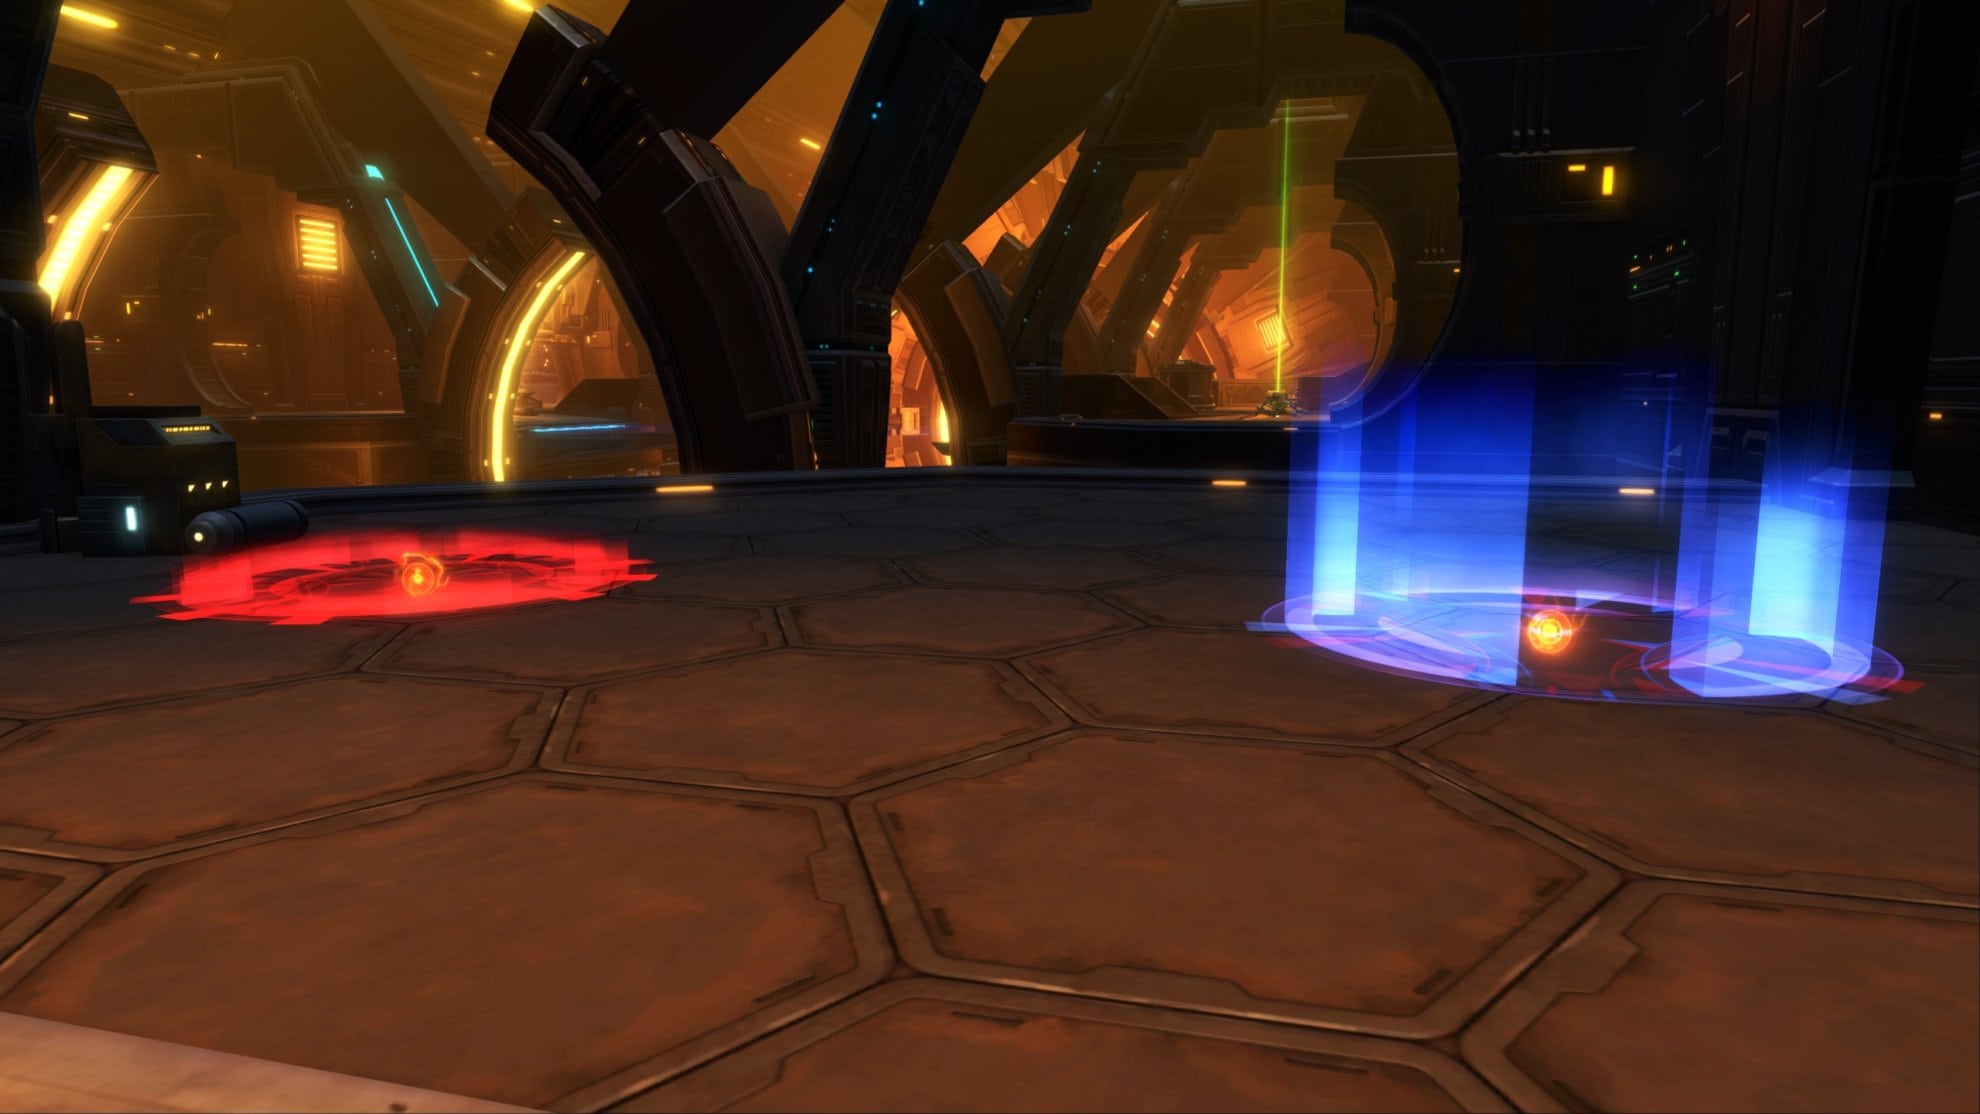
Kreshan will also throw grenades into the area at random points or at your party members. You can tell where a grenade lands with the blue rings on the ground. These rings eventually turn red, standing in a red ring will cause the grenade to explode multiple times so long as someone is standing on it.
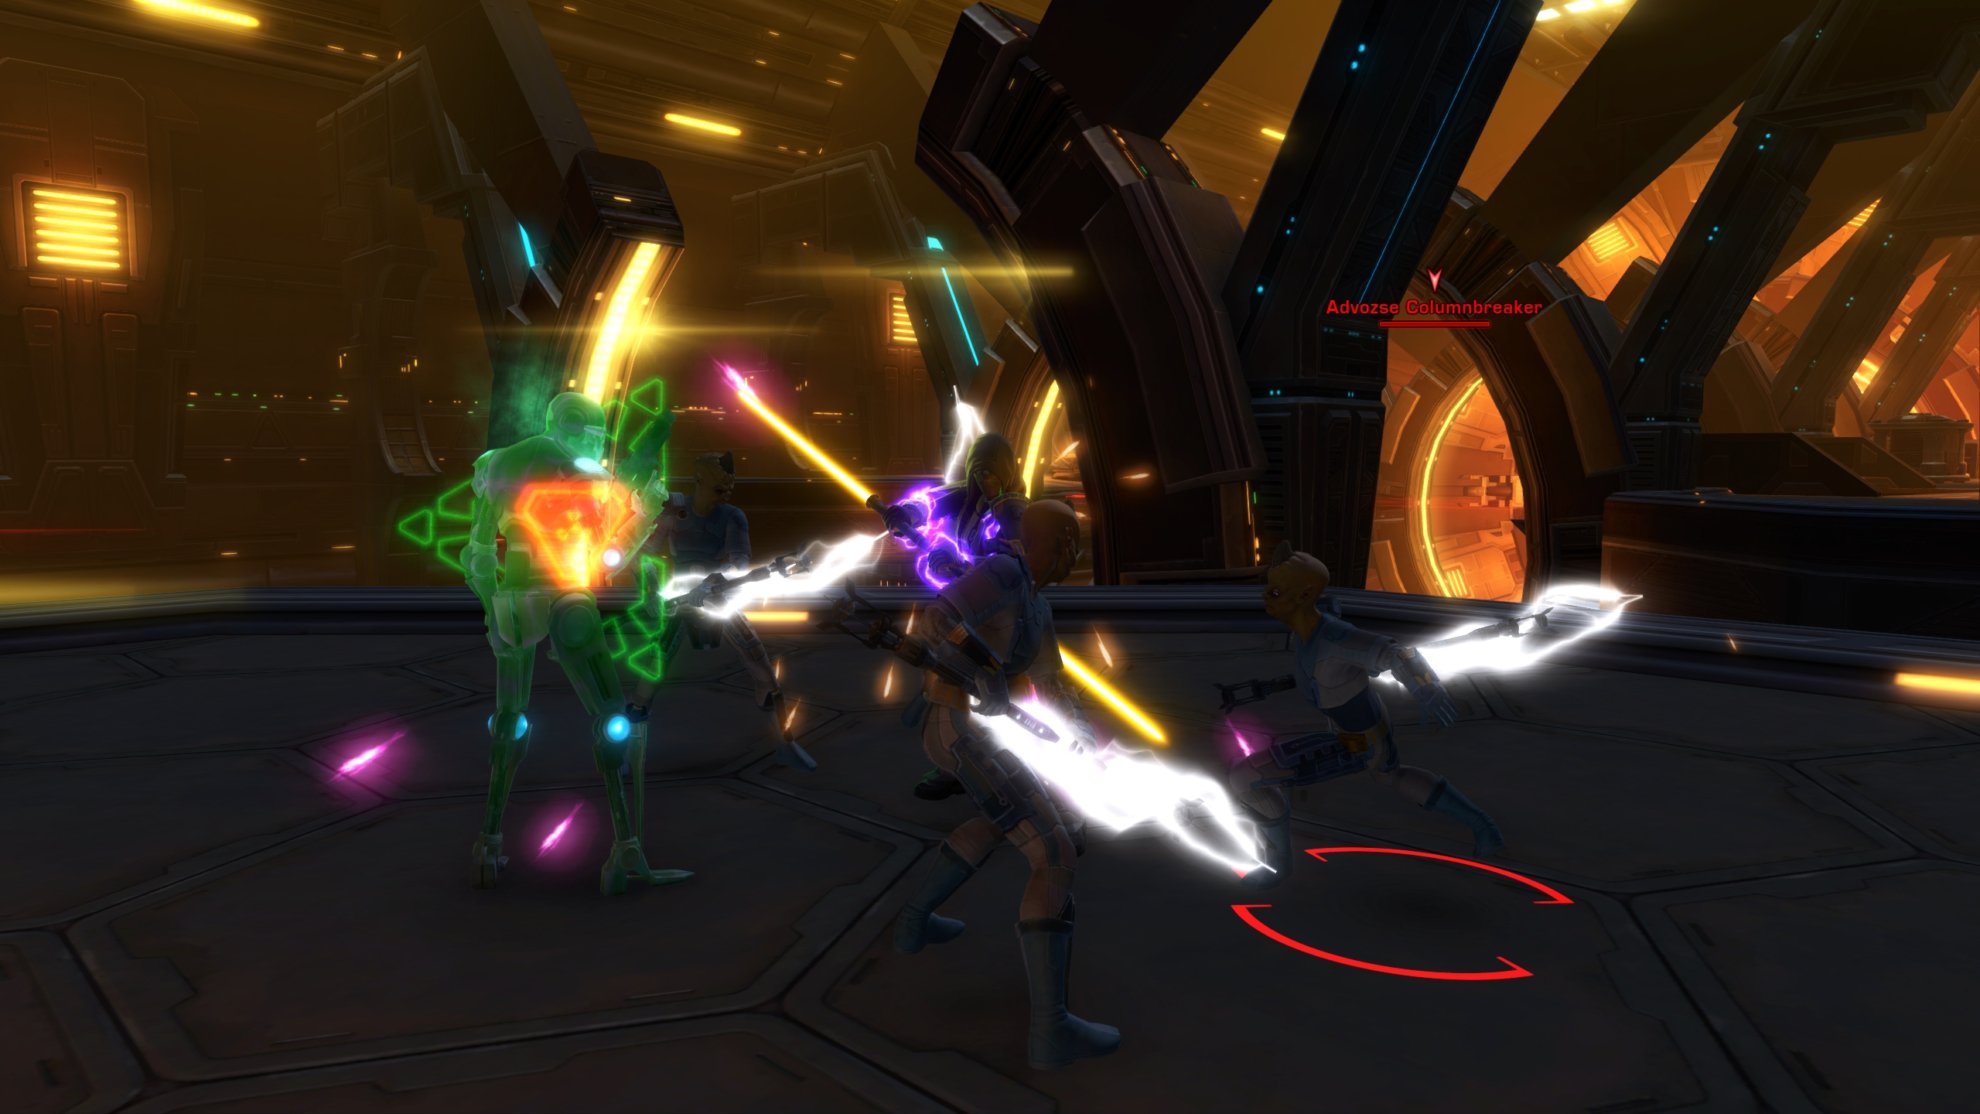
Kreshan will channel an ability where he’ll summon reinforcements. He’ll have Advozse Columnbreakers attack party members. The tank needs to use their AoE Taunt to draw them away from the DPS and healers.
Right after Kreshan summons his reinforcements, he’ll use an AoE push on anyone nearby. This is the ability that can one shot party members as they can be knocked off the ledge. So long as the tank had the terminal right behind them and everyone else was behind Kreshan, no one should get knocked off. Work around these mechanics and Kreshan should eventually fall so you can use the terminal to end the flashpoint.
Master Mode Differences
Kreshan’s abilities hurt a lot more in Master Mode. In the words of General Tarpals from The Phantom Menace, “Ouch time”. His grenades and AoE gun sweep are exceptionally deadly so the tank needs to be absolutely sure to have Kreshan face away from the DPS. Meanwhile the DPS and Healer need to stay out of the grenades as each explosion will deal a good chunk of damage that can easily defeat reckless party members.
Achievements for Hammer Station
The majority of the achievements for this flashpoint are for defeating the bosses 1 time, 10 times, and 25 times. Though here are two that grant item rewards:
Defeat Battlelord Kreshan (Veteran Mode)
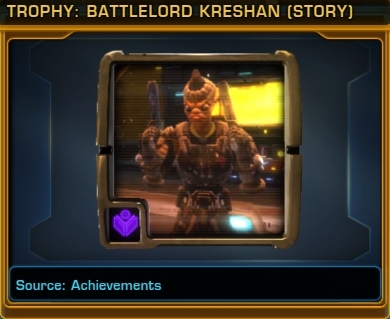
Defeated Battlelord Kreshan in the “Hammer Station” flashpoint.
You’ll gain the Battlelord Kreshan (Story) Trophy Decoration.
Elite: Dropped the Hammer (Master)
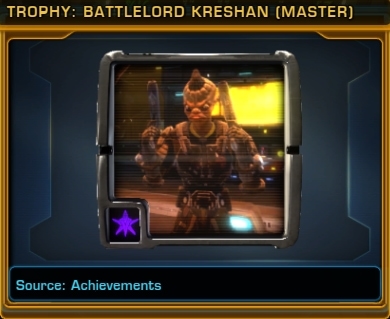
Defeated all bosses in the “Hammer Station” flashpoint 25 times on master mode.
You’ll gain the Battlelord Kreshan (Master) Trophy Decoration.
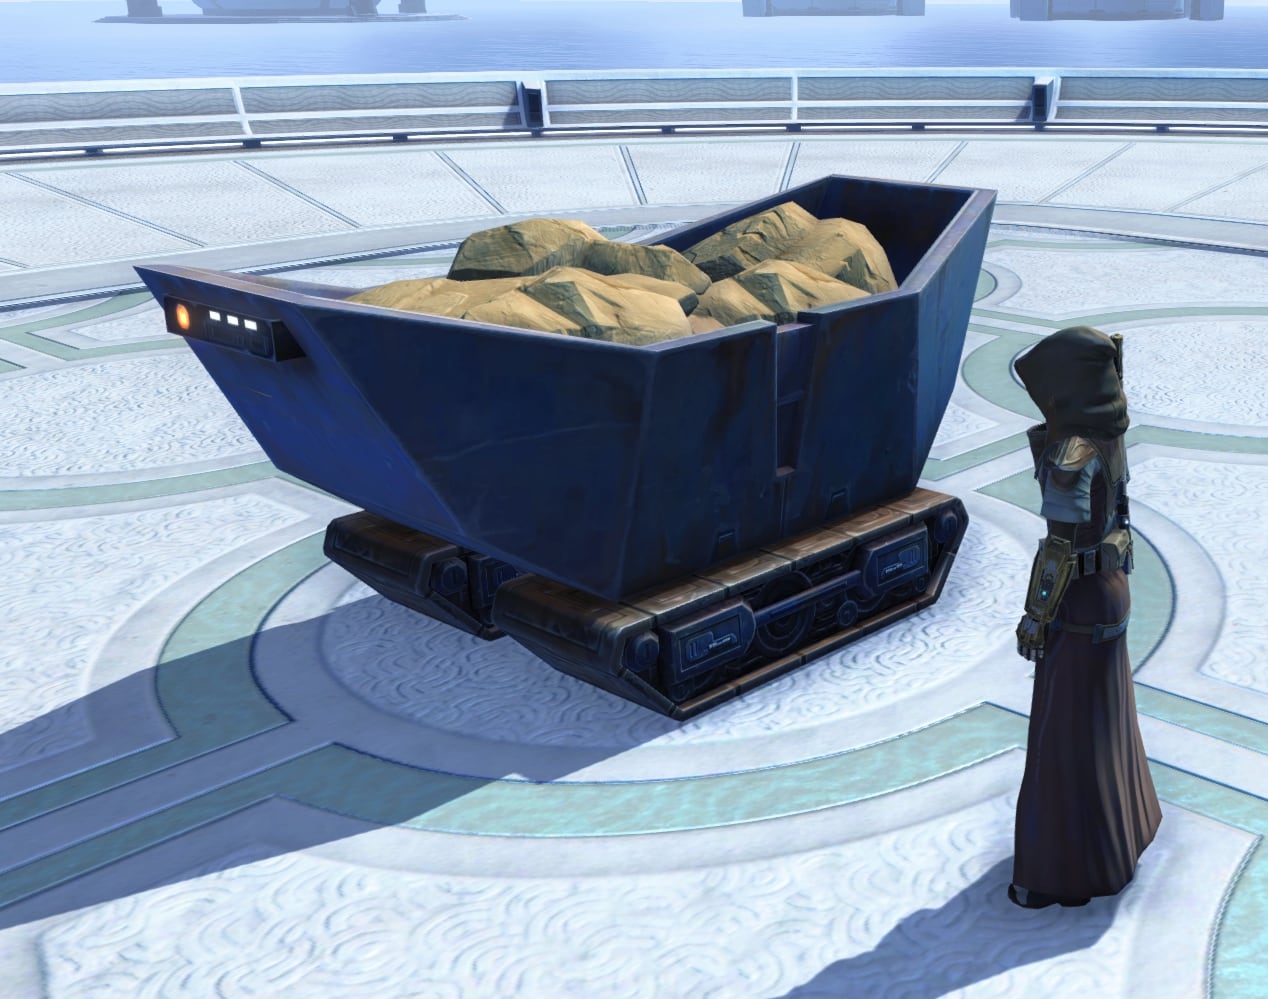
Decoration Drop
The bosses have a small chance to drop the Mine Cart (Asteroid Rocks) decoration. This will fit a Medium or a Medium Narrow Hook. If you’re trying to give your stronghold a more rugged, down to earth look then this cart might be good for an area made to look like an excavation site.