This guide will tell you how to start and complete the Flashpoint, Cademimu, in any difficulty mode, what achievements you can unlock and rewards you can earn.
How to Start the Flashpoint
Cademimu doesn’t have a story arc tied to it, rather you’ll need to get to the flashpoint by interacting with a mission terminal. As for the flashpoint’s story, the planet Cademimu is in chaos and placed into martial law.
The planet’s governor, Choranov, declared Cademimu an independent planet and has taken over the Republic’s missile array on the planet. This leaves the Celanon Spur trade route defenseless and a chance for the Sith Empire to expand their power through Cademimu.
This guide covers Veteran Mode and Master Mode for Cademimu.
There is no Story Mode available for the Cademimu flashpoint. Players on either Republic or Empire must find the mission terminal that grants this flashpoint.
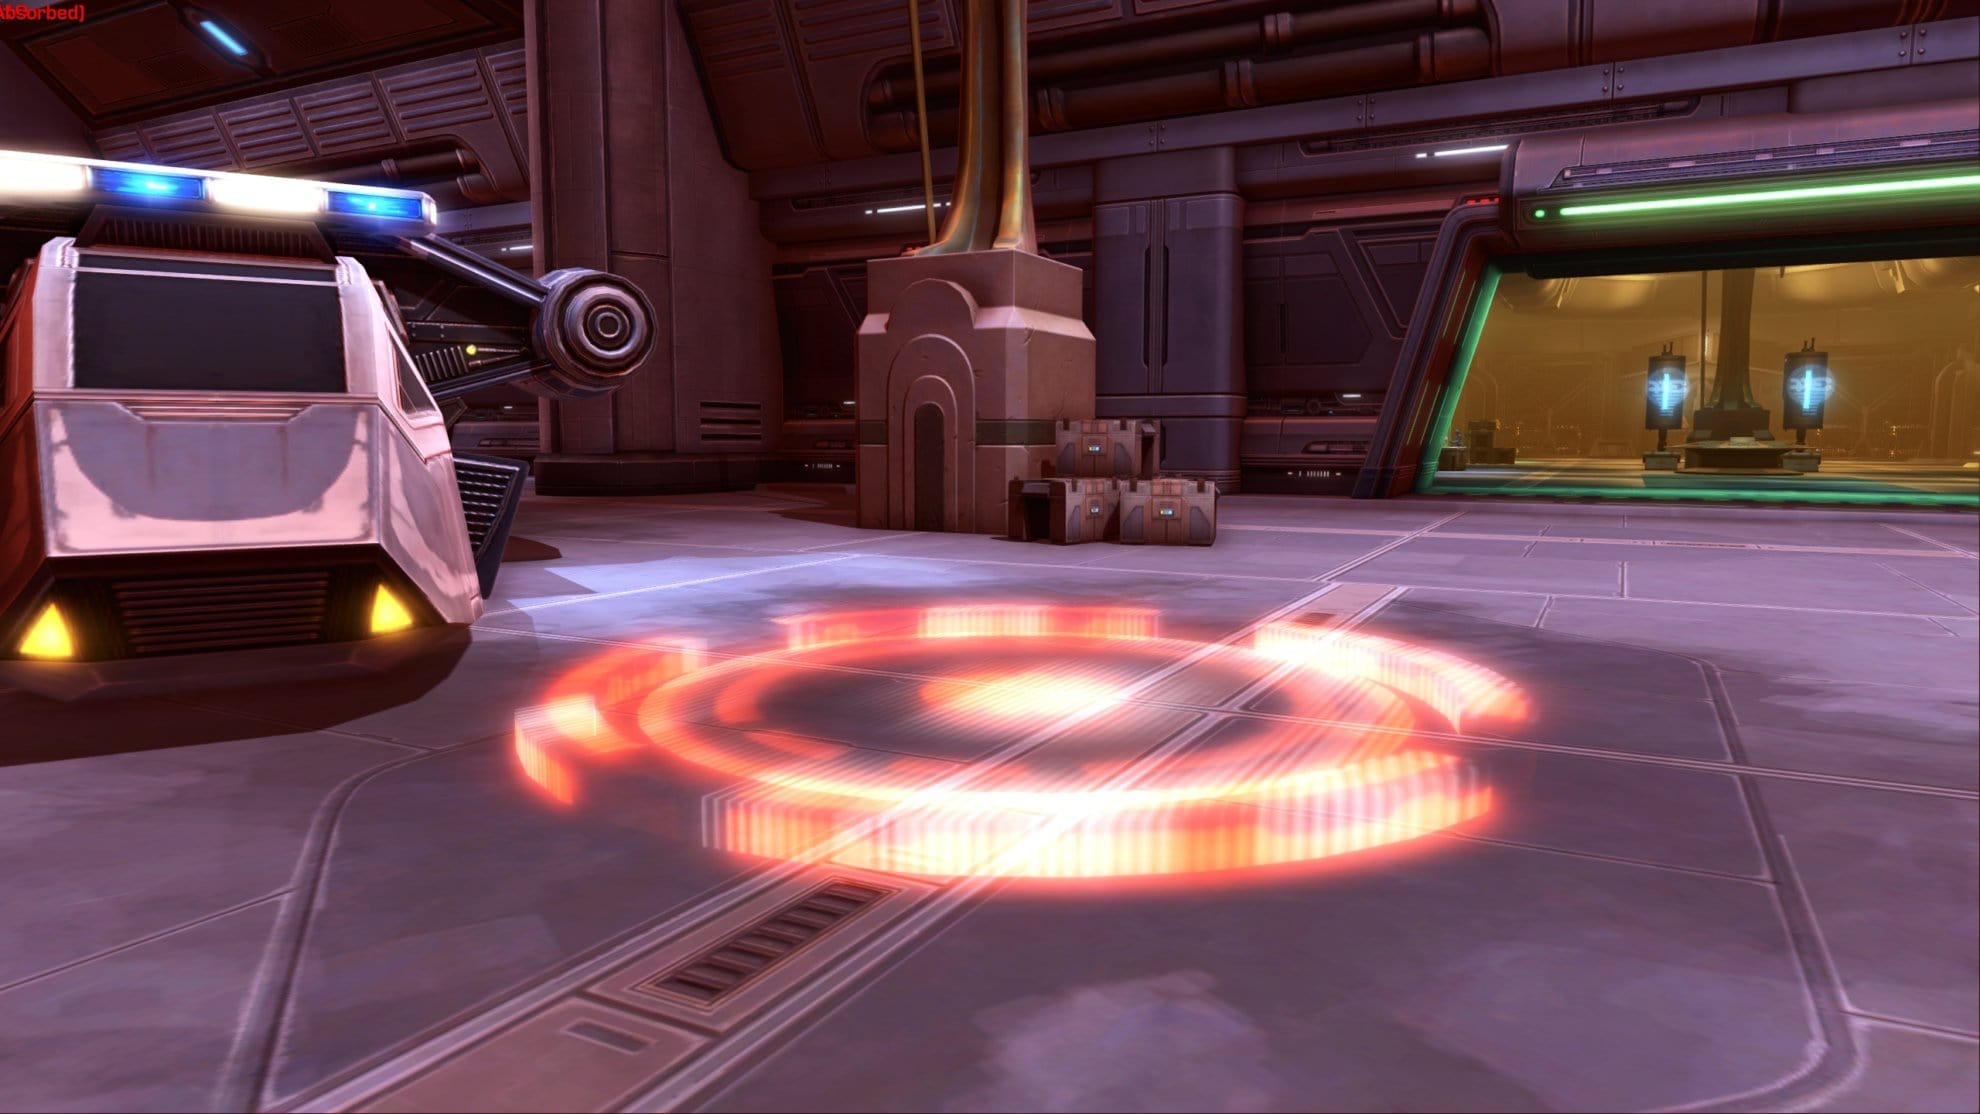
You can get there by using the Mission Departures Elevator then going to the Dropship Launch Hangar. The mission terminal at the site will grant the flashpoint at either Veteran or Master Mode difficulty.
Using Crew Skills in Cademimu
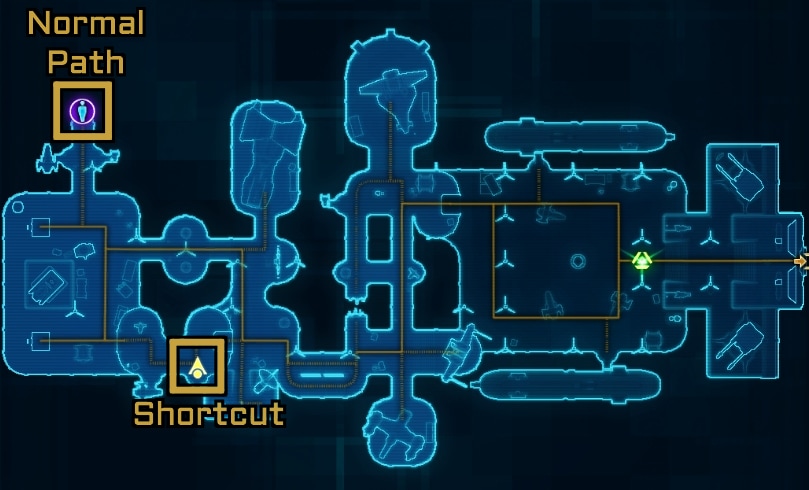
There are a few opportunities to use your crew skills in Cademimu but only two of these can be seen as useful since they open shortcuts. The first of these shortcuts is in the Residential District where you’ll need level 180 Scavenging on Veteran Mode or level 450 Scavenging on Master Mode.
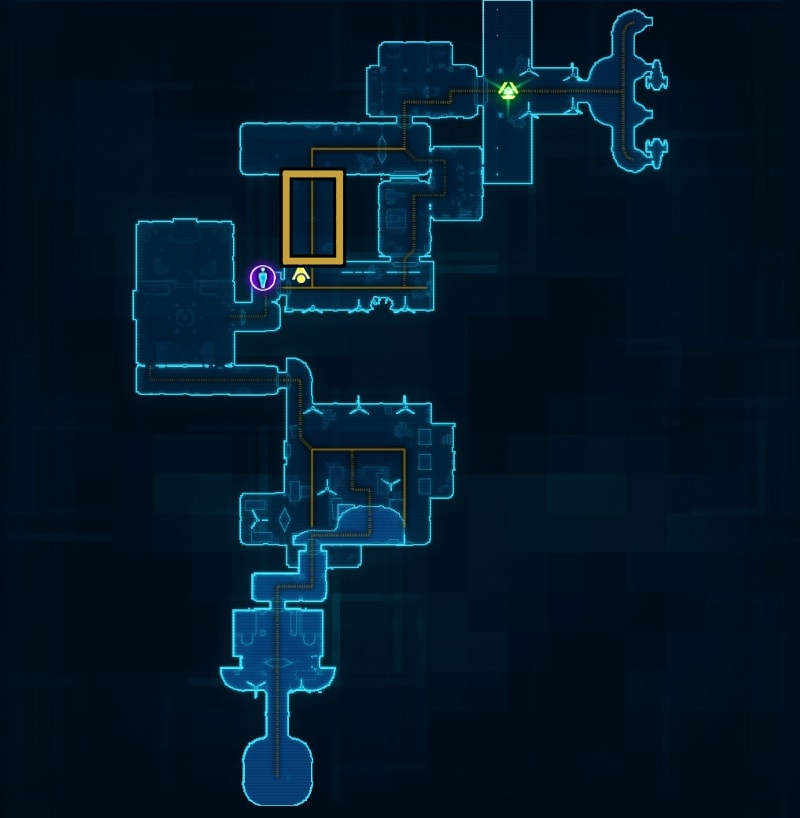
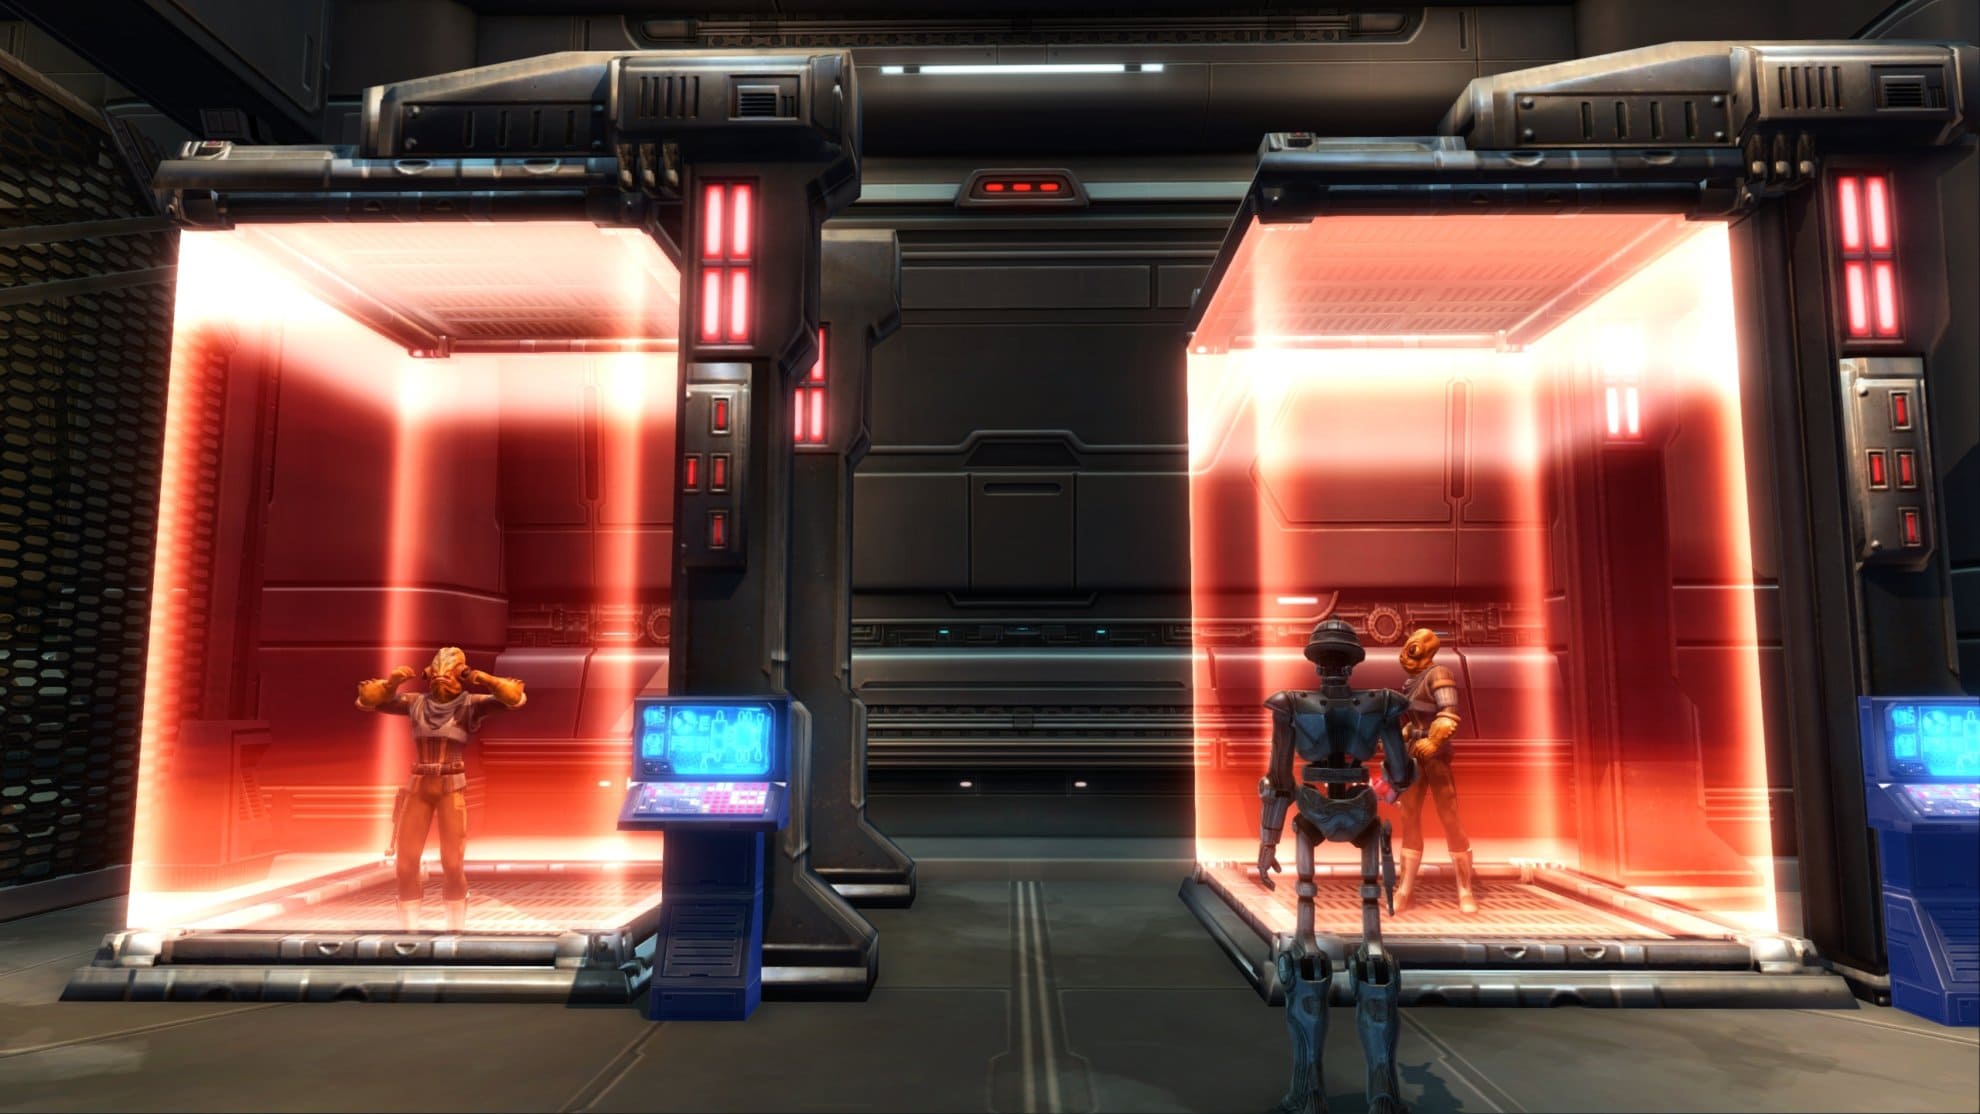
The next area you can use Crew Skills is also in the Residential District. With level 200 Slicing on Veteran Mode or level 450 Slicing on Master Mode, you can free these Mon Calamari prisoners who will fight with you. They’re meat shields at best as they’re fairly squishy but a nice touch, though you can only have one active at a time.
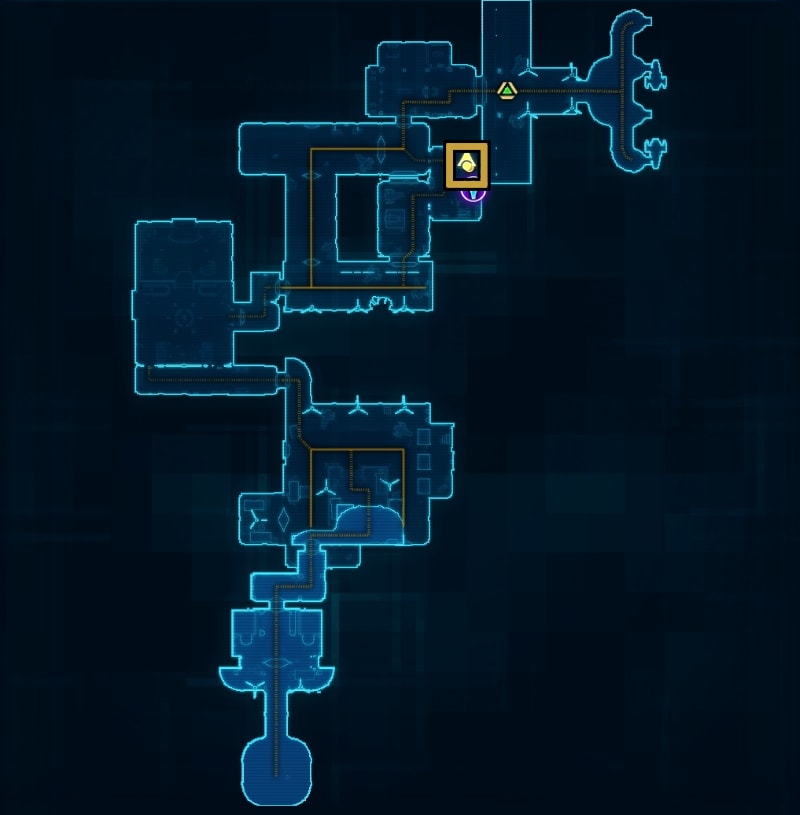
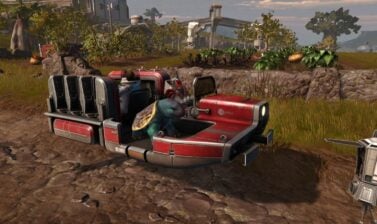
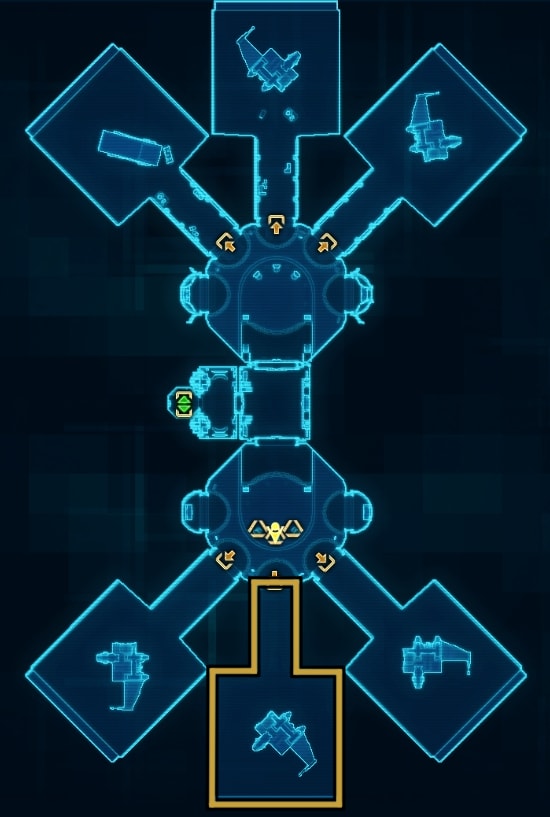
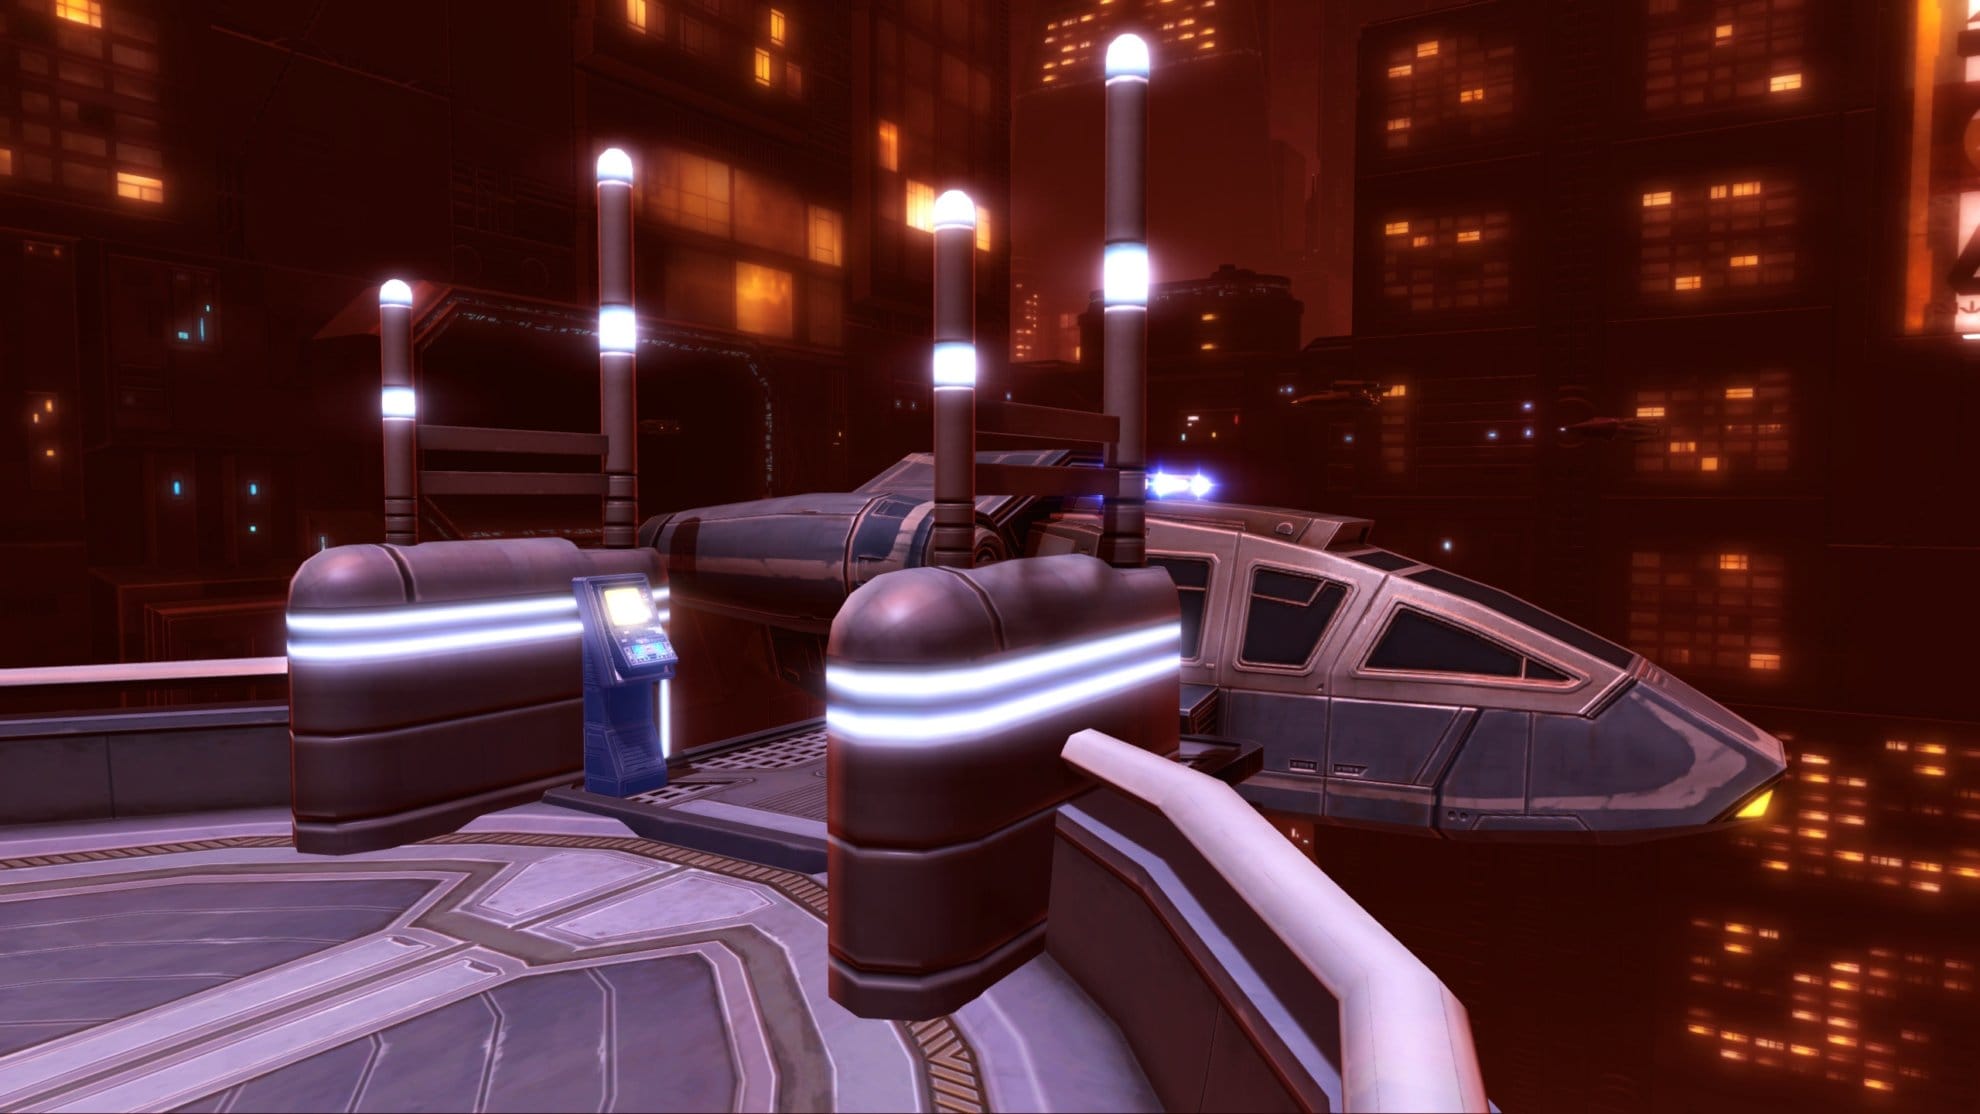
After defeating the first boss you can access the second shortcut in Cademimu. There’s a speeder to the north past the boss where you can use Slicing to unlock it. This requires level 200 Slicing on Veteran Mode and level 450 Slicing on Master Mode. Like the normal speeder you can access, this takes you to the Spaceport Docks but brings you a bit closer to the second boss.
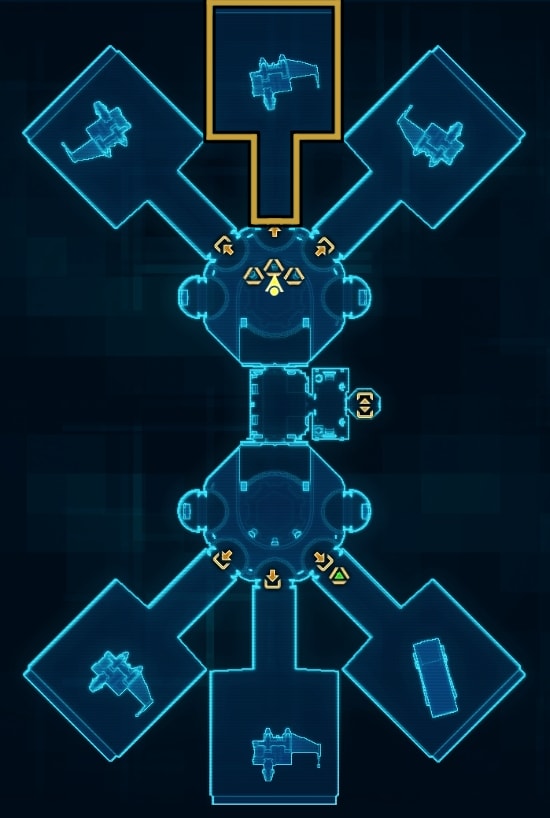
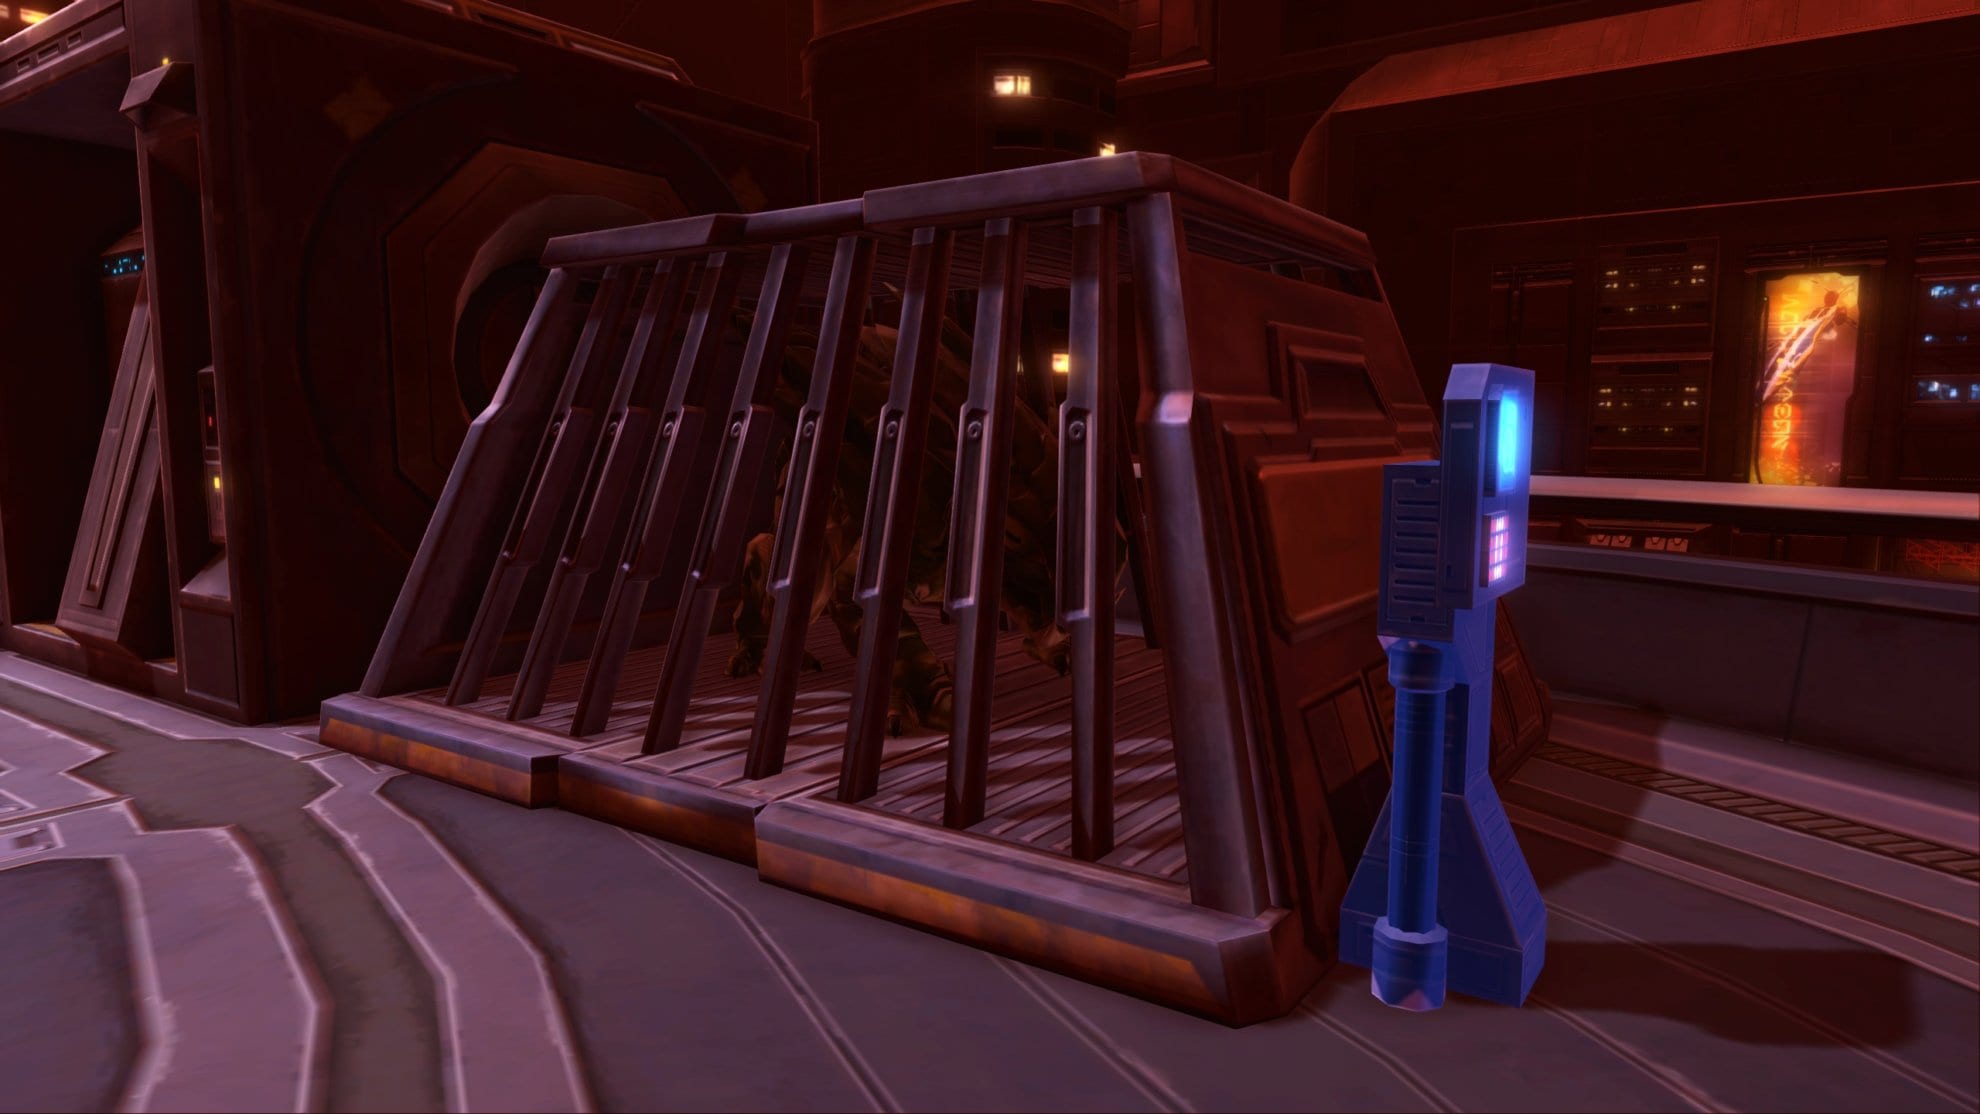
The last notable place to use crew skills is at the Spaceport Docks. There’s a caged animal named Fang that you can free with Bioanalysis. This requires level 200 Bioanalysis on Veteran Mode and level 450 Bioanalysis on Master Mode. They’re rather squishy so it’ll likely perish but try to see if you can keep them alive!

Bonus Mission Phase 1
The Bonus Mission is only available for Master Mode difficulty. You can start the bonus mission as soon as you start the flashpoint by defeating enemies you encounter. You’ll need to defeat a total of 85 enemies before you can unlock Phase 2 of the Bonus Mission.
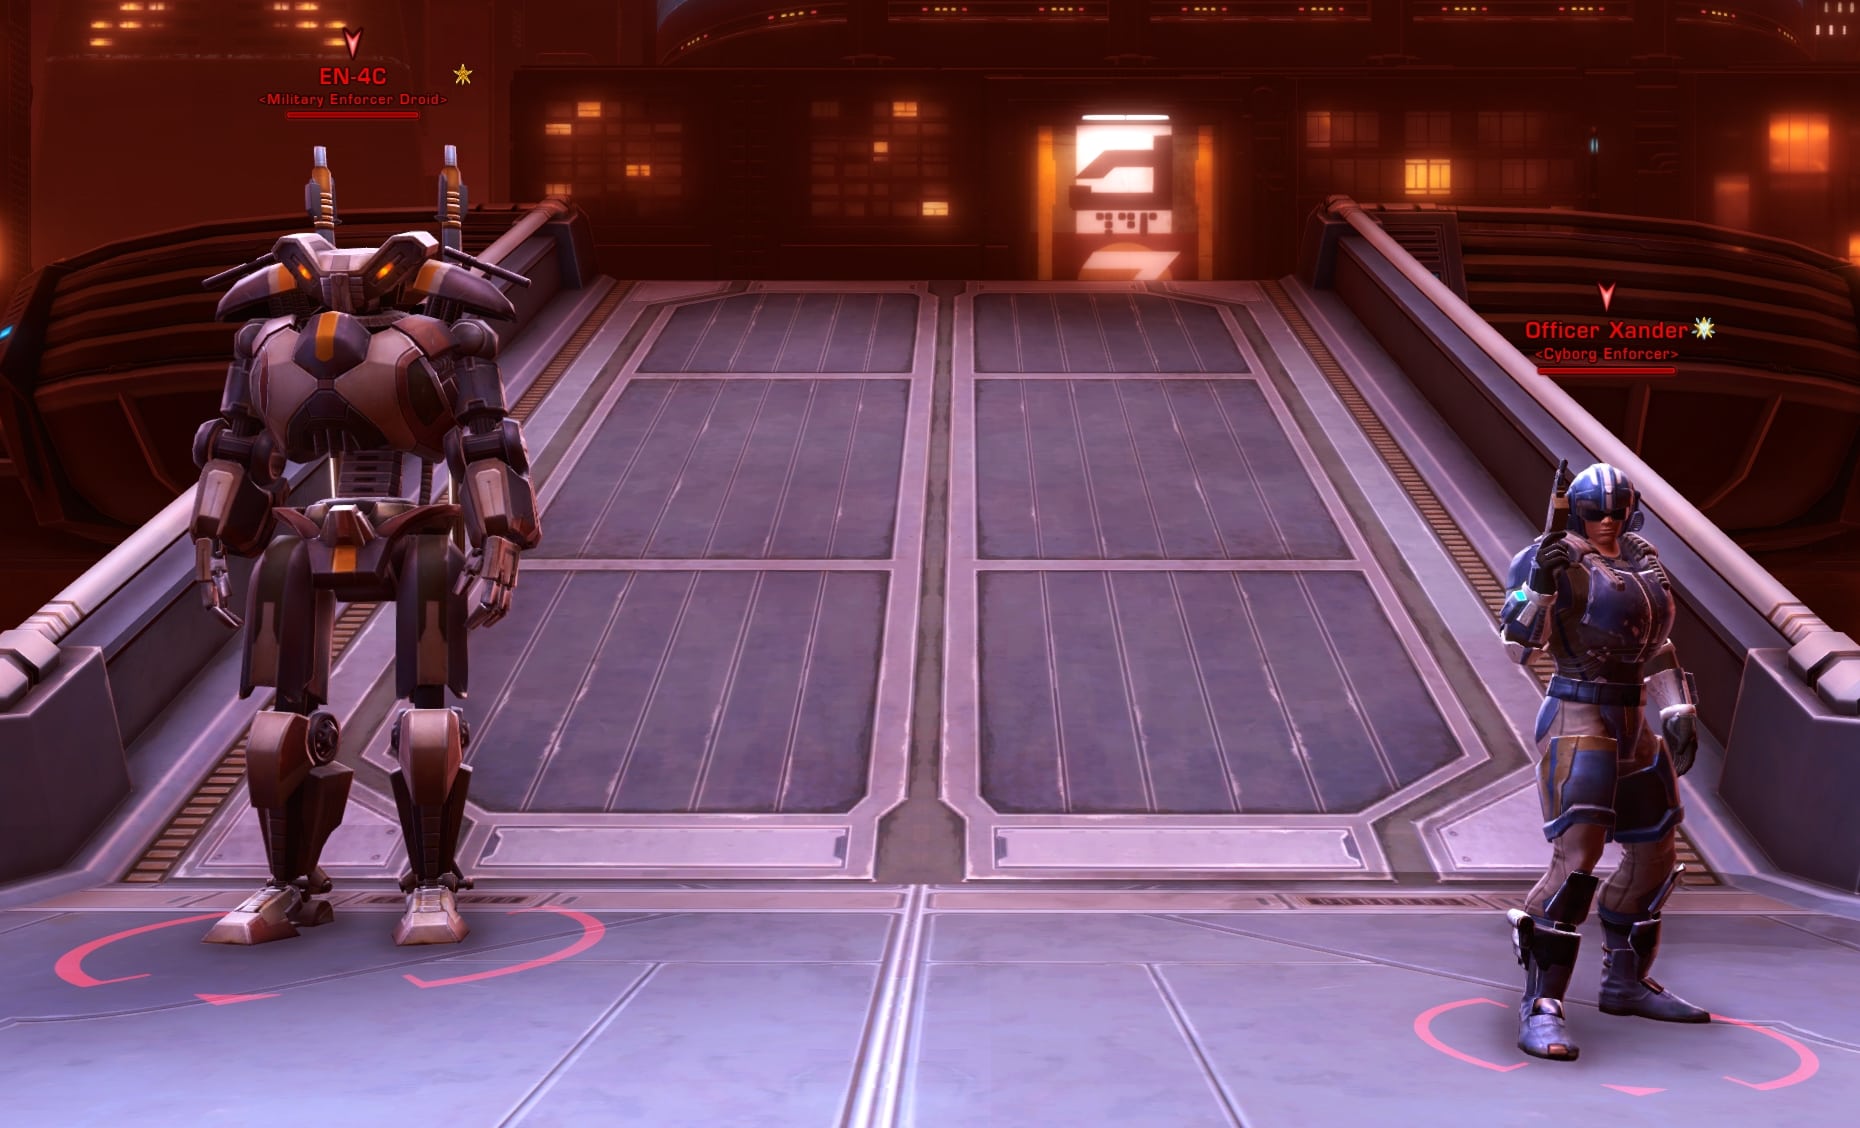
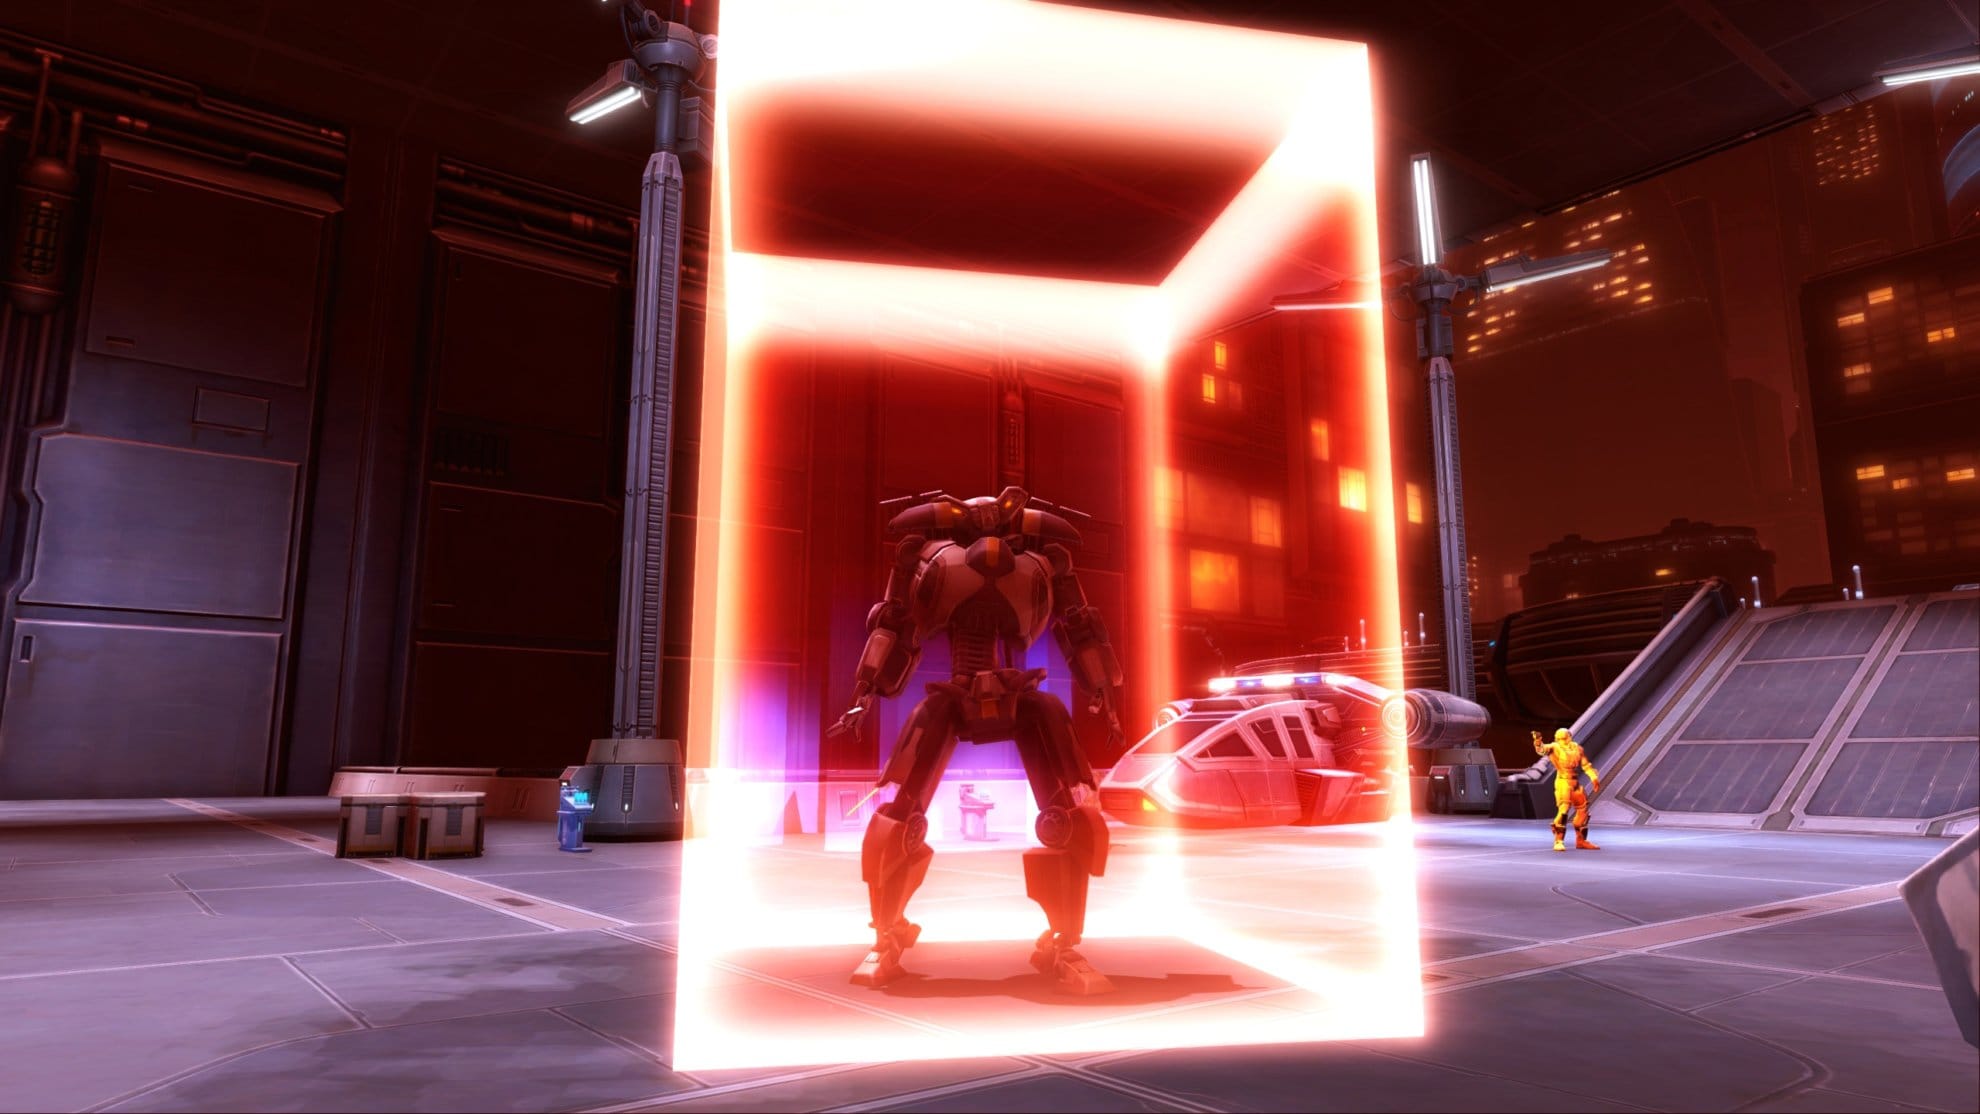
First Boss: Officer Xander and EN-4C
Officer Xander and EN-4C is an interesting if not frustrating fight at times. For the first part of the fight, EN-4C will remain inactive while Officer Xander fights you. After getting some damage, Officer Xander will activate EN-4C and this is where you have to work around the droid.
Xander will throw sticky grenades at party members as indicated by blue and red rings beneath them. If this shows below you, get away from your party members. Restrict the damage to yourself so your healer doesn’t overwork themselves.
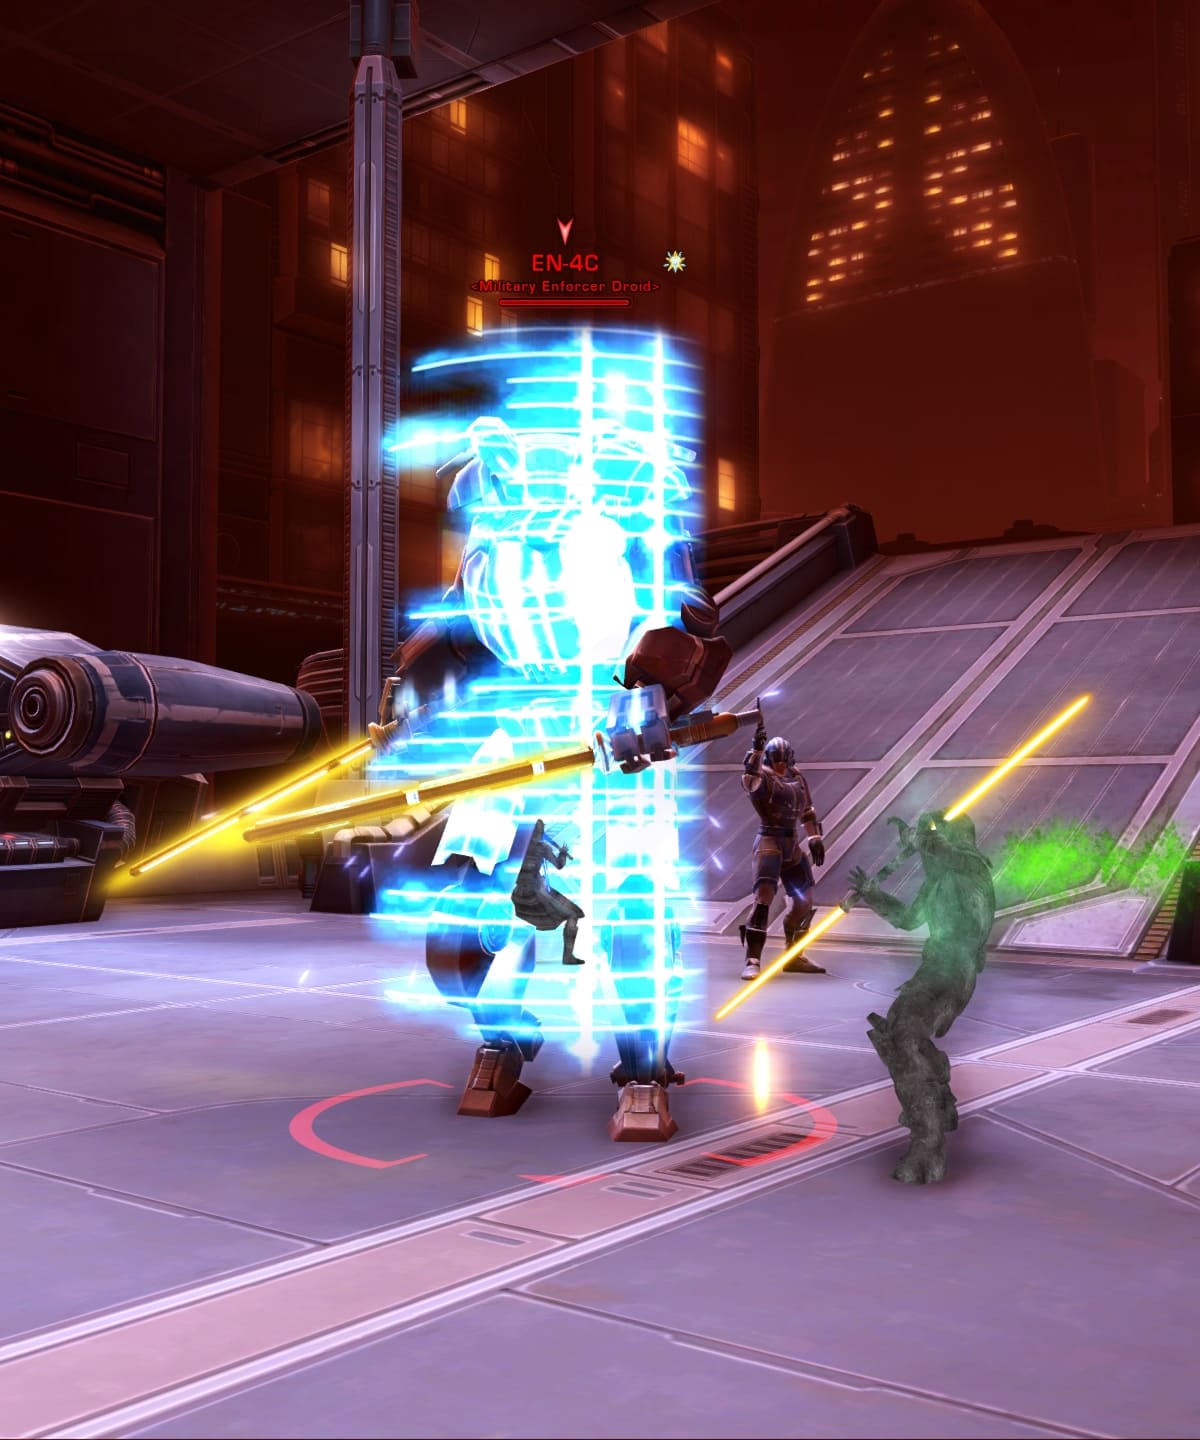
EN-4C is the real headache during this fight. It has two abilities that are very annoying, Carbonize and Electro-net. Carbonize can stun a target for 30 seconds leaving them helpless to defend themselves.
Electro-net will slow a target and stack up to four times with the slow increasing with each stack. The cherry on top? EN-4C cannot be taunted and will target random party members.
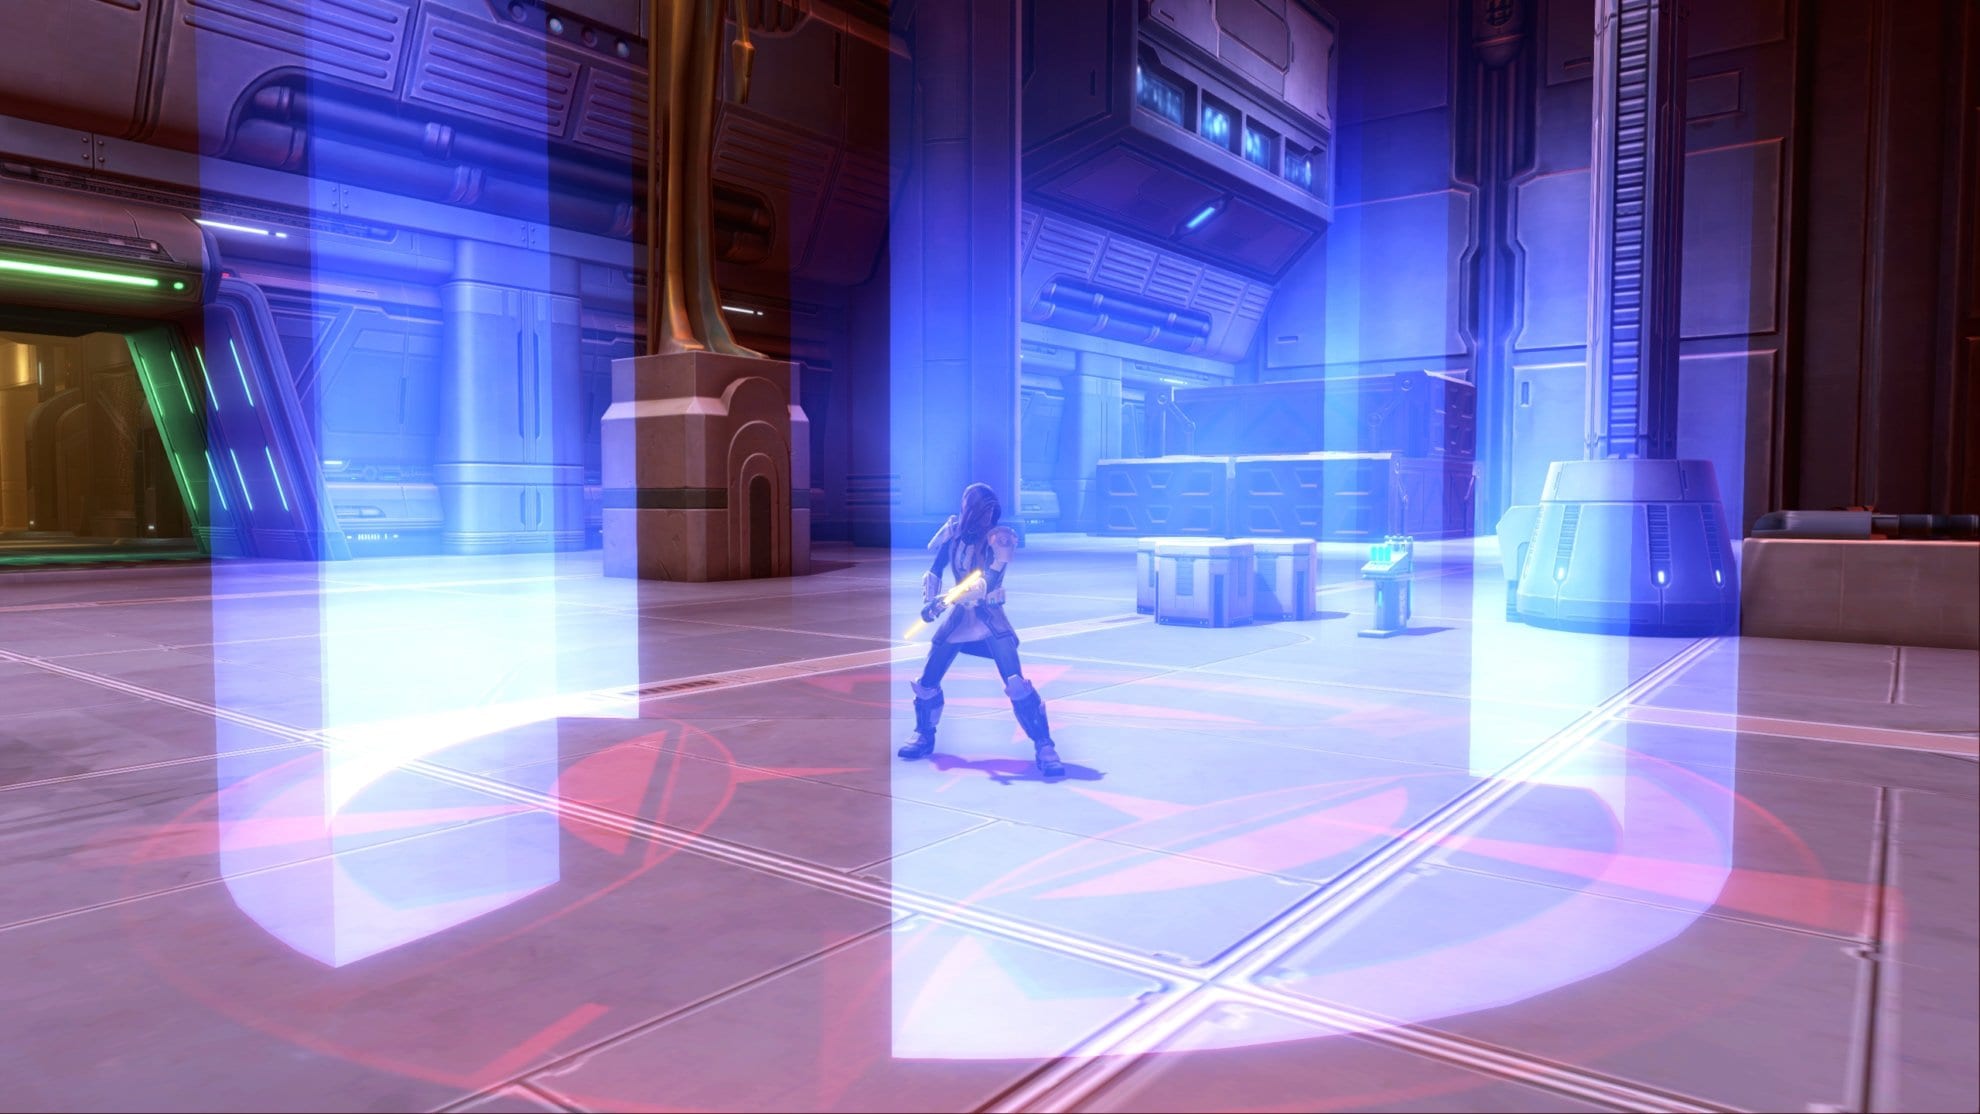
To deal with EN-4C, their current target must look for these red rings on the ground and lure EN-4C into it. If successful, the droid will become temporarily arrested in a cage. If the player steps in the ring, they will become arrested and unable to do anything for a bit.
On Veteran Mode, focus on defeating Officer Xander as soon as possible. Defeating Xander will result in E4-NC self destructing. Take the speeders up the ramp to get to the next area, the Spaceport Docks.
Master Mode Differences
E4-NC is a much bigger threat in Master Mode. Carbonize will deal damage over time and they also gain a shield which greatly reduces all incoming damage. Since you can’t damage them with this shield active, it’ll need to be lured into a red ring to arrest them as the party defeats Xander.
Defeating Xander in Master Mode will not result in EN-4C self destructing. Instead they lose their shield and instead gain the “Emergency Protocols” buff which increases their damage dealt by 200%.
You can tell when this is happening as EN-4C glows red while under the effects of this buff. It’s a DPS race at this point so everyone needs to go all out on the droid.
Second Boss: Captain Grimyk
The second boss is the Wookiee Captain, Grimyk. He’s acting as a smuggler for Cademimu’s Separatist forces and packs a flamethrower as his primary weapon.
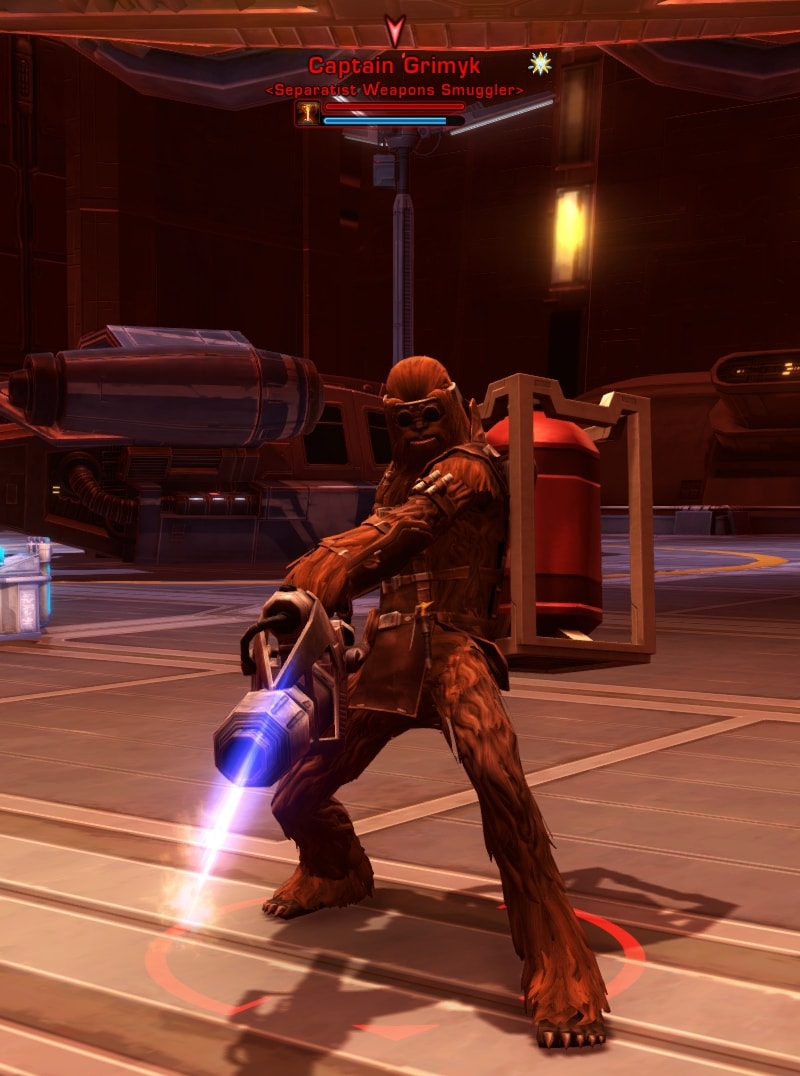
This fight is fairly simple as Grimyk just attacks with his flamethrower. The DPS and Healer should stay behind Grimyk to avoid the flames while the tank keeps Grimyk facing them. Once damaged a bit, Grimyk will summon his crew, a group of four Ugnaughts. He can do this a couple times throughout the fight and the tank will need to maintain aggro of all the Ugnaughts so the DPS can deal AoE damage.
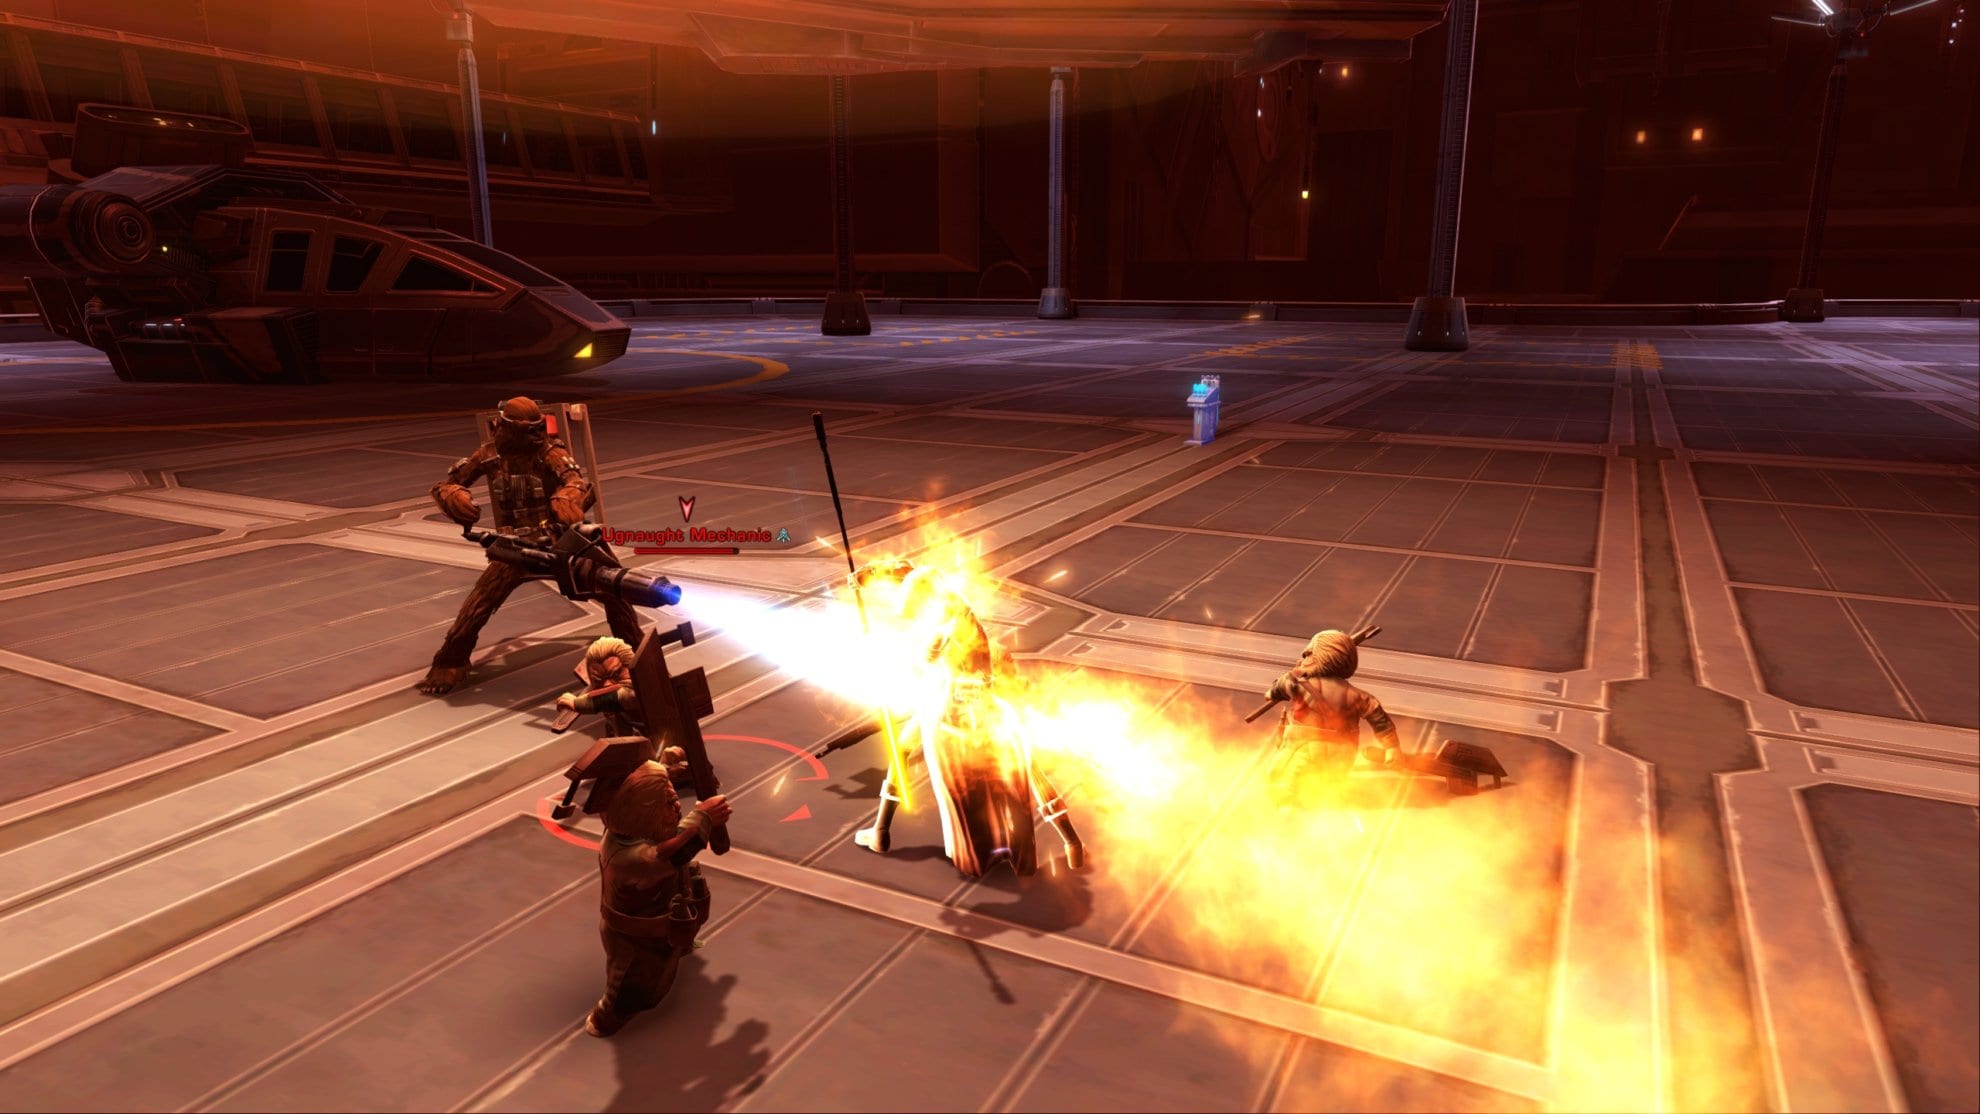
When low on health, Grimyk will become immune to damage and will channel an ability. Once complete he’ll blow himself up damaging anyone nearby. This includes his Ugnaught crew so everyone but the tank needs to get away from Grimyk when he blows up.
Master Mode Differences
Aside from everyone hitting harder, the Ugnaughts will be MUCH tankier and require more DPS to defeat. If you don’t keep them near Grimyk when he blows himself up, they may take a while to mop up so try to blow them up.
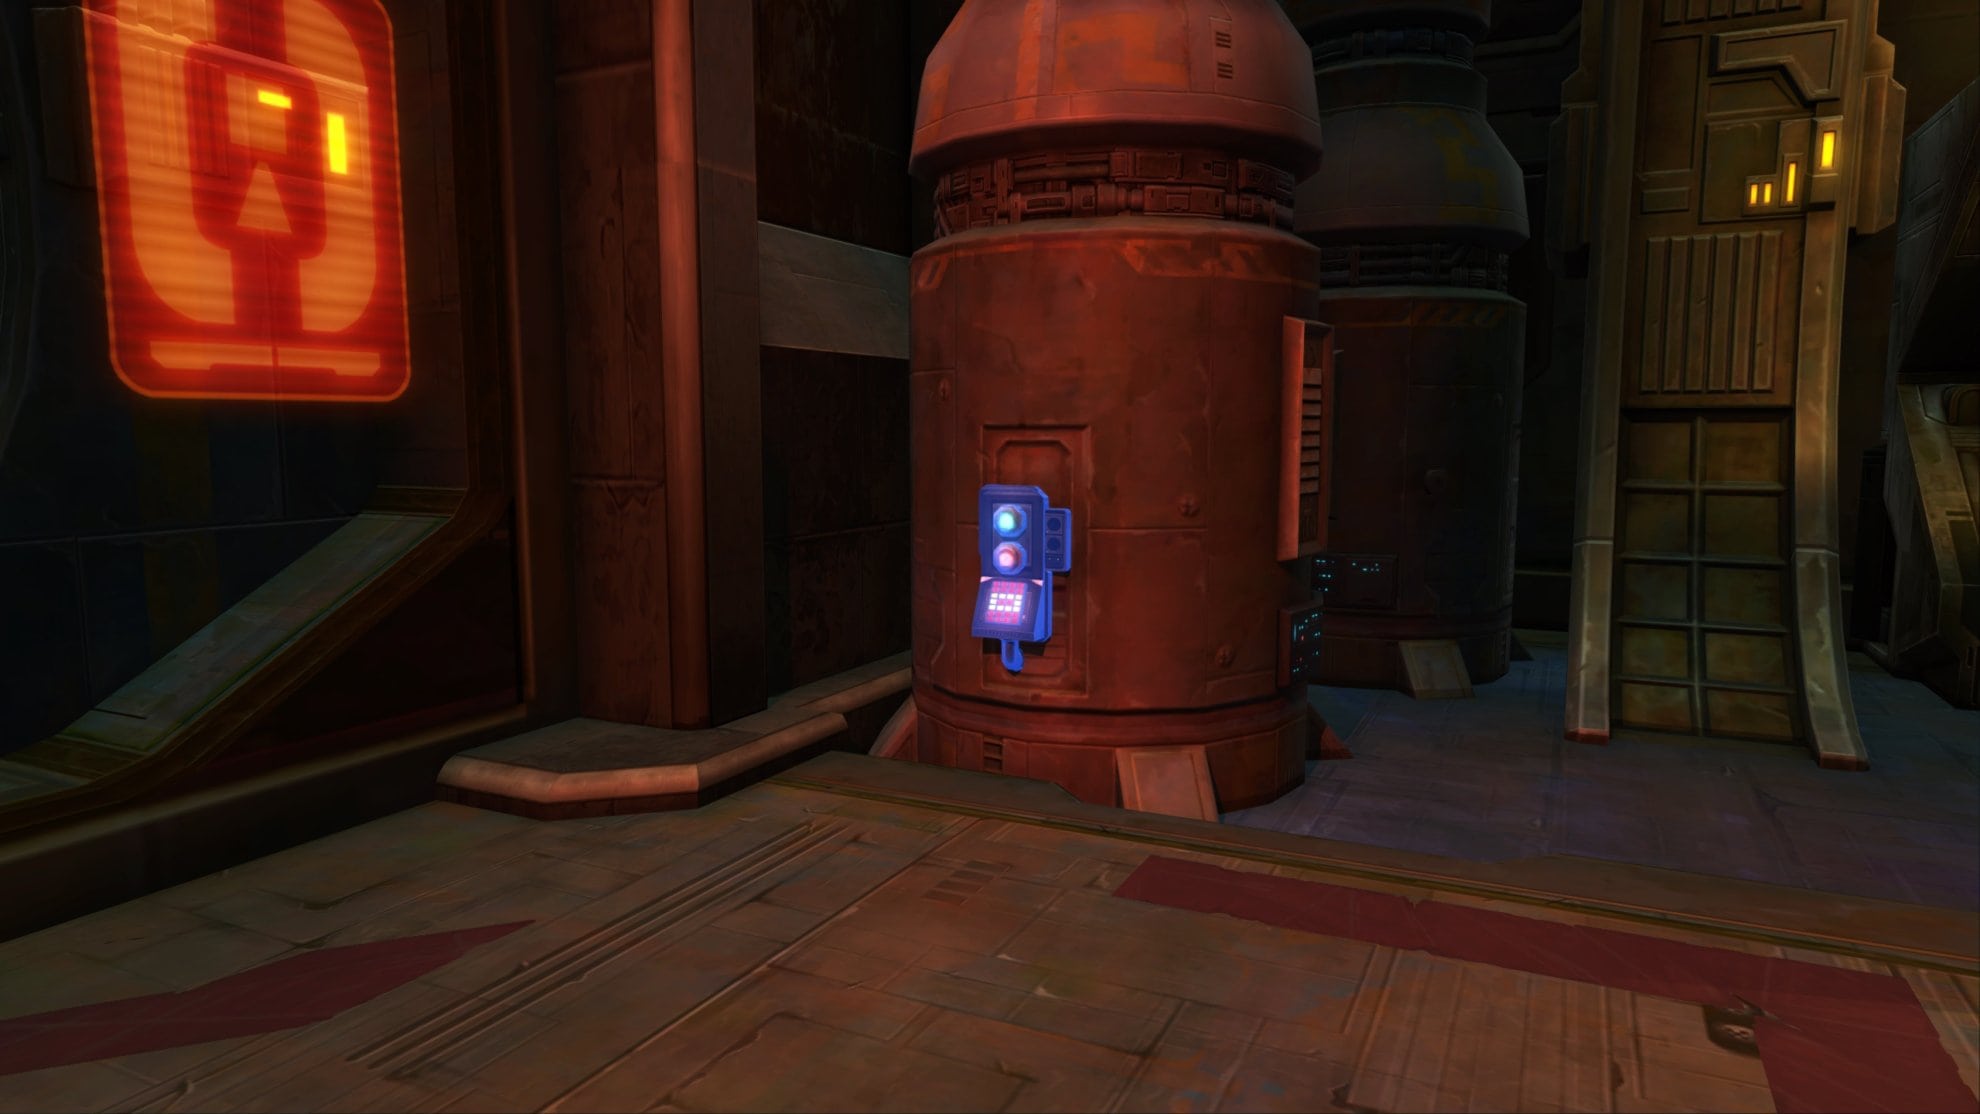
Bonus Mission Phase 2
After defeating Grimyk you can access the second phase of the bonus mission. You’ll need to go into the Missile Command Center and activate the Panic Button near the entrance to summon the bonus boss.
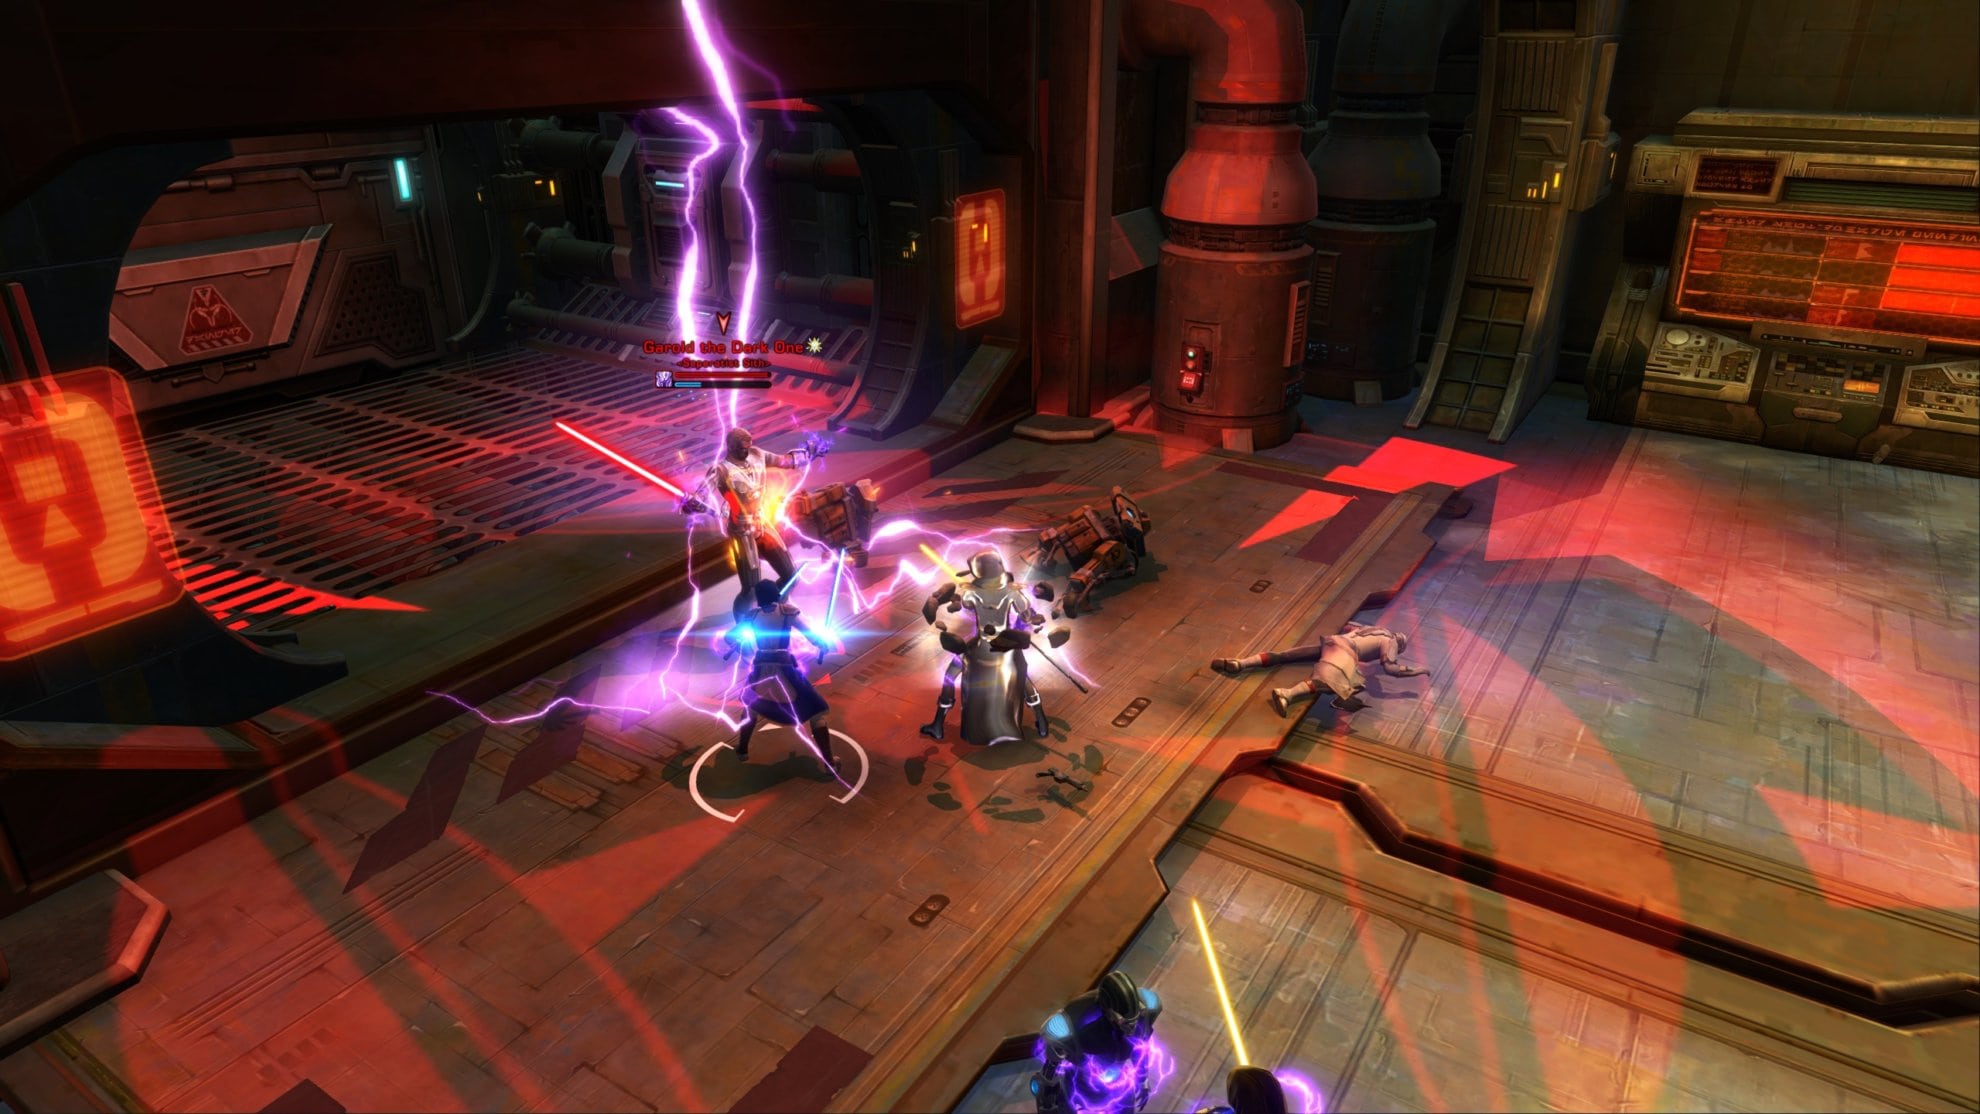
Optional Bonus Boss: Garold the Dark One
Garold the Dark One may sound like a silly name but Garold is no joke. Garold is simple but his simplicity is his strength and he will hurt. He is only available on Master Mode.
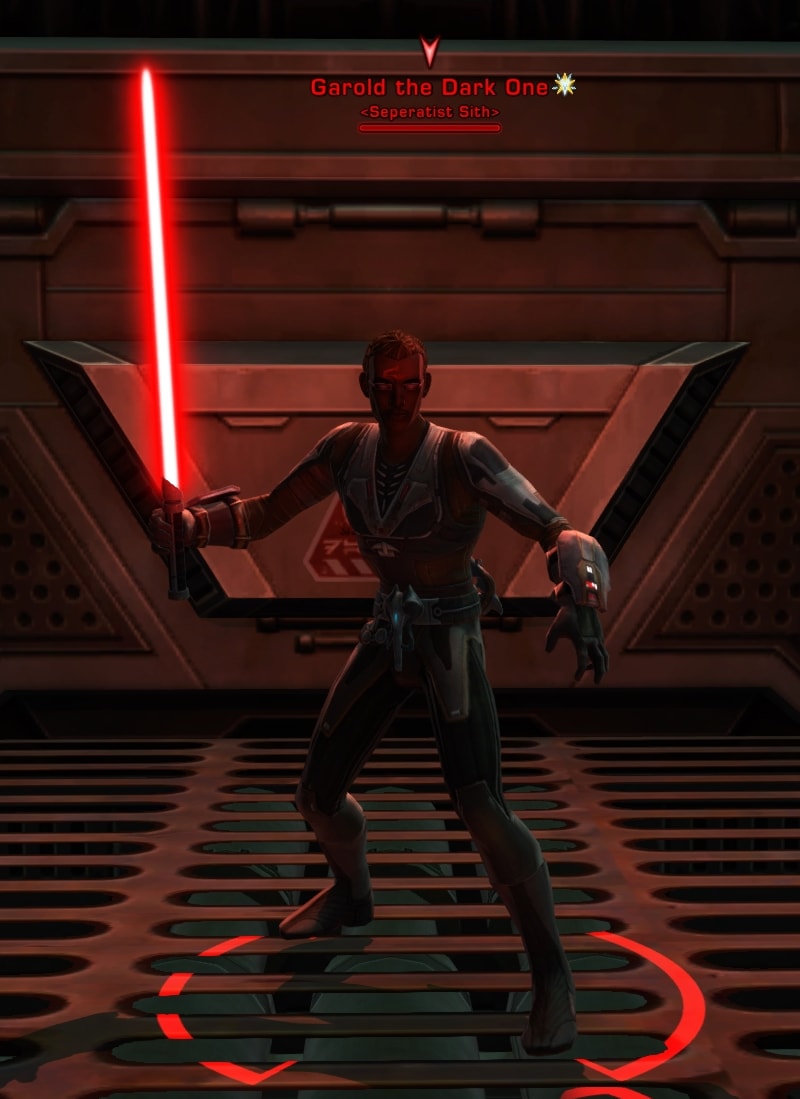
Aside from lightsaber attacks, Garold attacks with Force Lightning. He can shoot lightning at a single target that will root them in place for a couple seconds.
Though his next ability is what can defeat the party. He will pull everyone onto him then use a powerful Force Storm in the area, slowing and heavily damaging anyone caught inside.
Get out of this area as soon as possible and use abilities that remove movement impairing effects. Blade Blitz/Mad Dash, Force Speed with Force Phase, Hold the Line/Hydraulic Overrides, etc., just do whatever you can to get out of this area as soon as possible.
Just keep damaging Garold between the Force Storms and you’ll eventually defeat him. It might take a while as he’s a lot beefier than he looks.
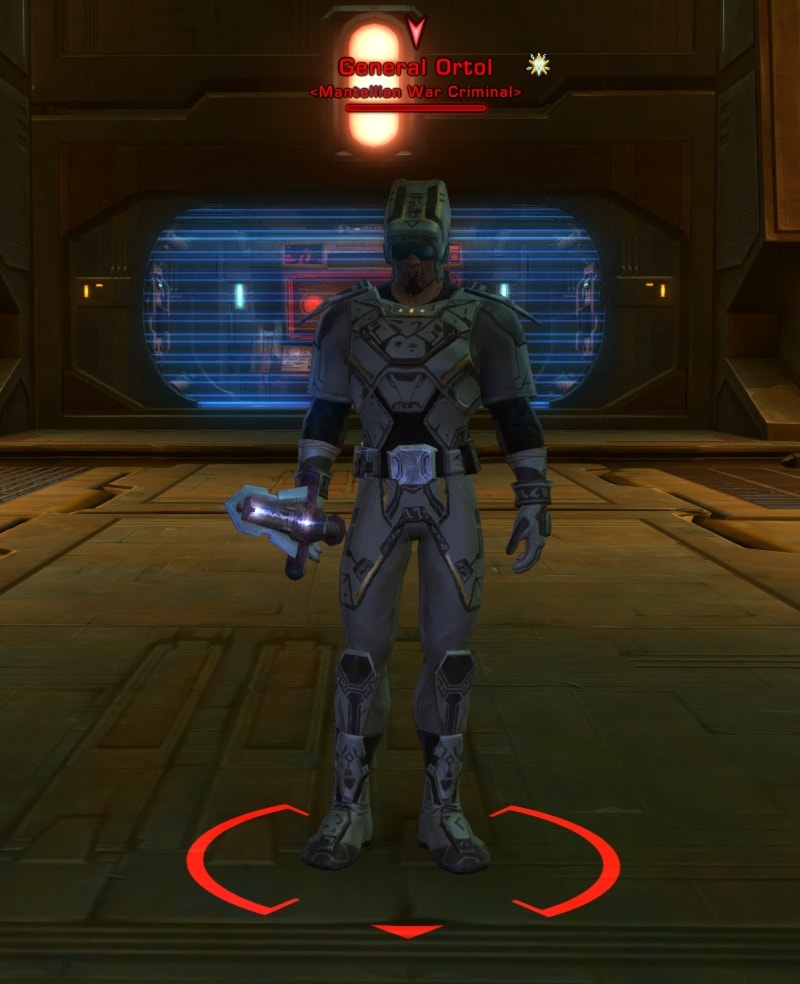
Final Boss: General Ortol
At the very end of the Missile Command Center will be General Ortol. This boss fight can easily defeat anyone without situational awareness so keep the following mechanics in mind while fighting him.
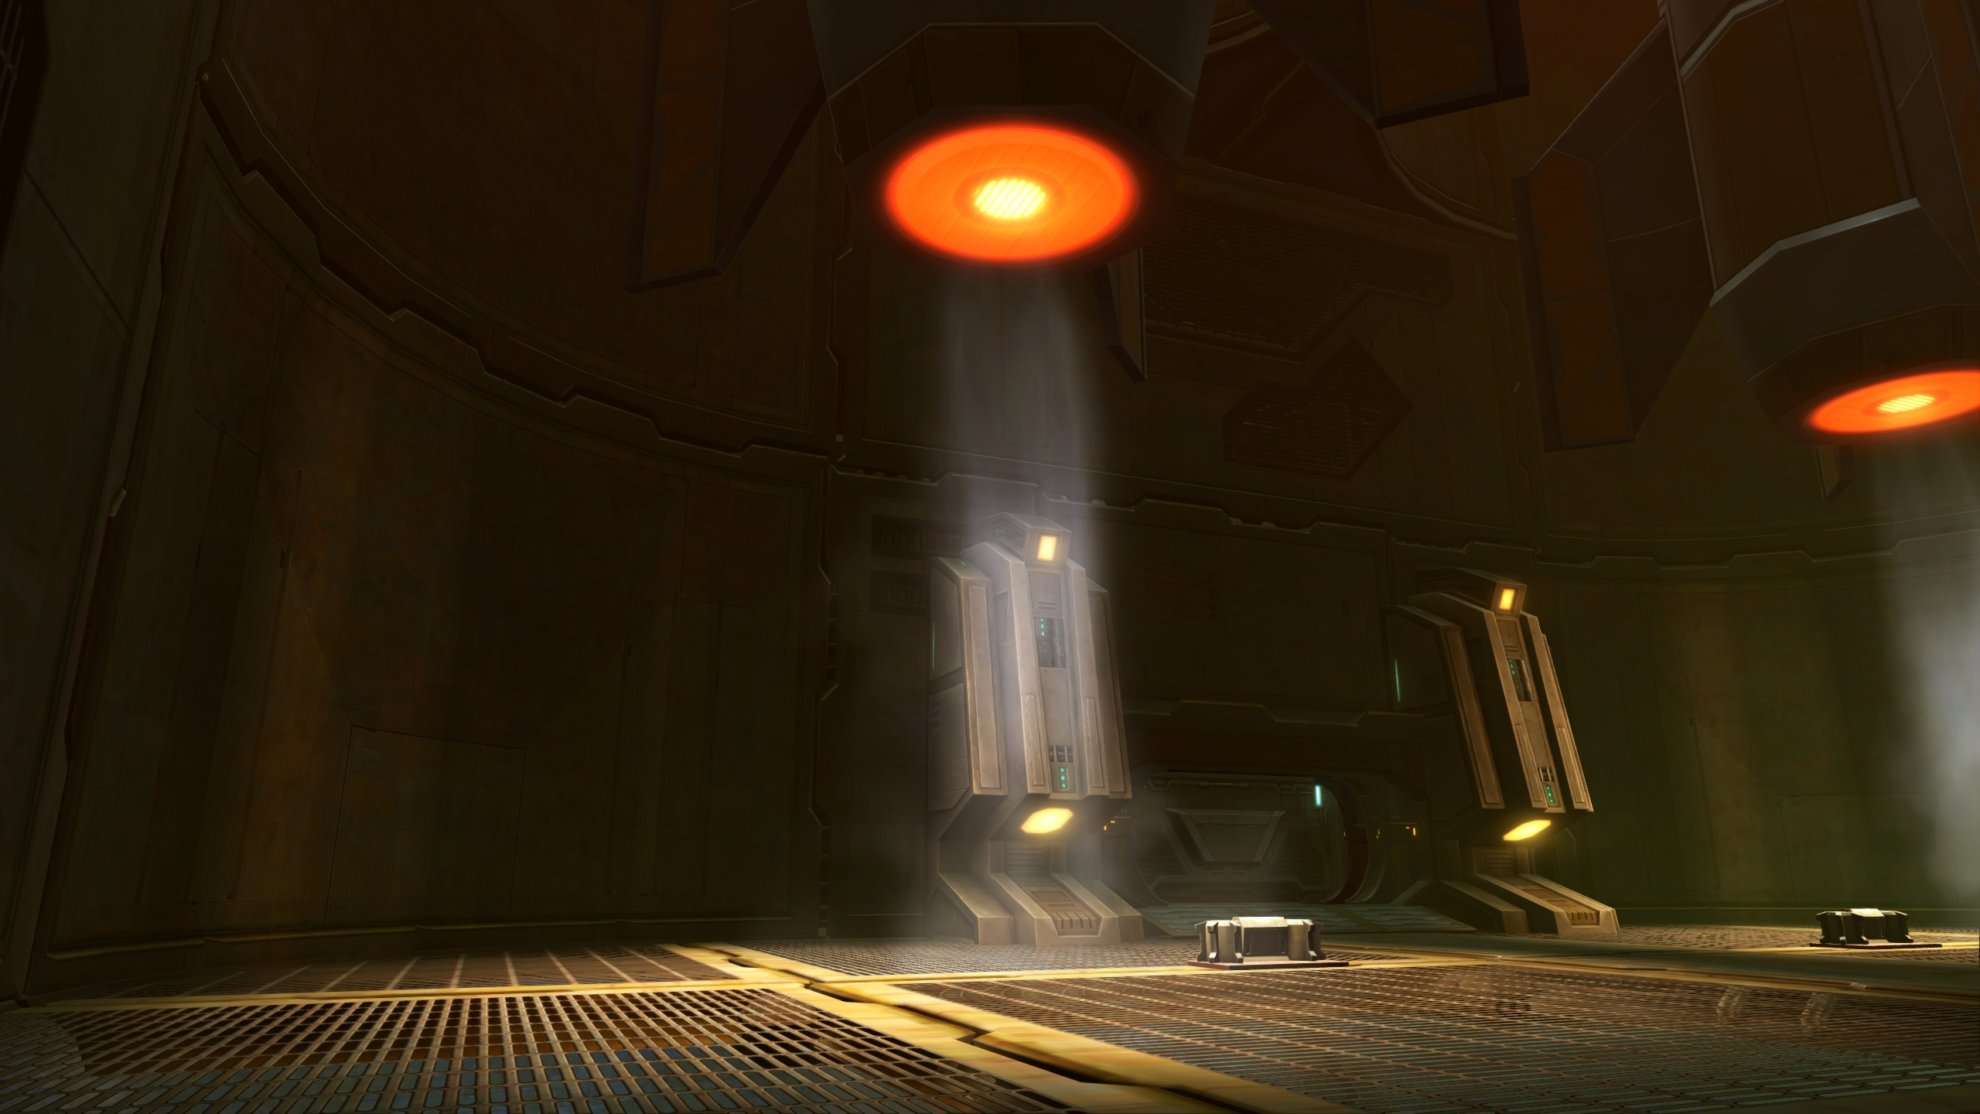
Above this room are four rocket engines. Throughout the fight they’ll ignite and a jet of flames will roast anyone caught underneath. Only one or two will light to start but as the fight goes on, three will light only leaving one corner of the room safe to be in. Keep an eye on these engines as they’ll begin to glow and emit hot air before they ignite.
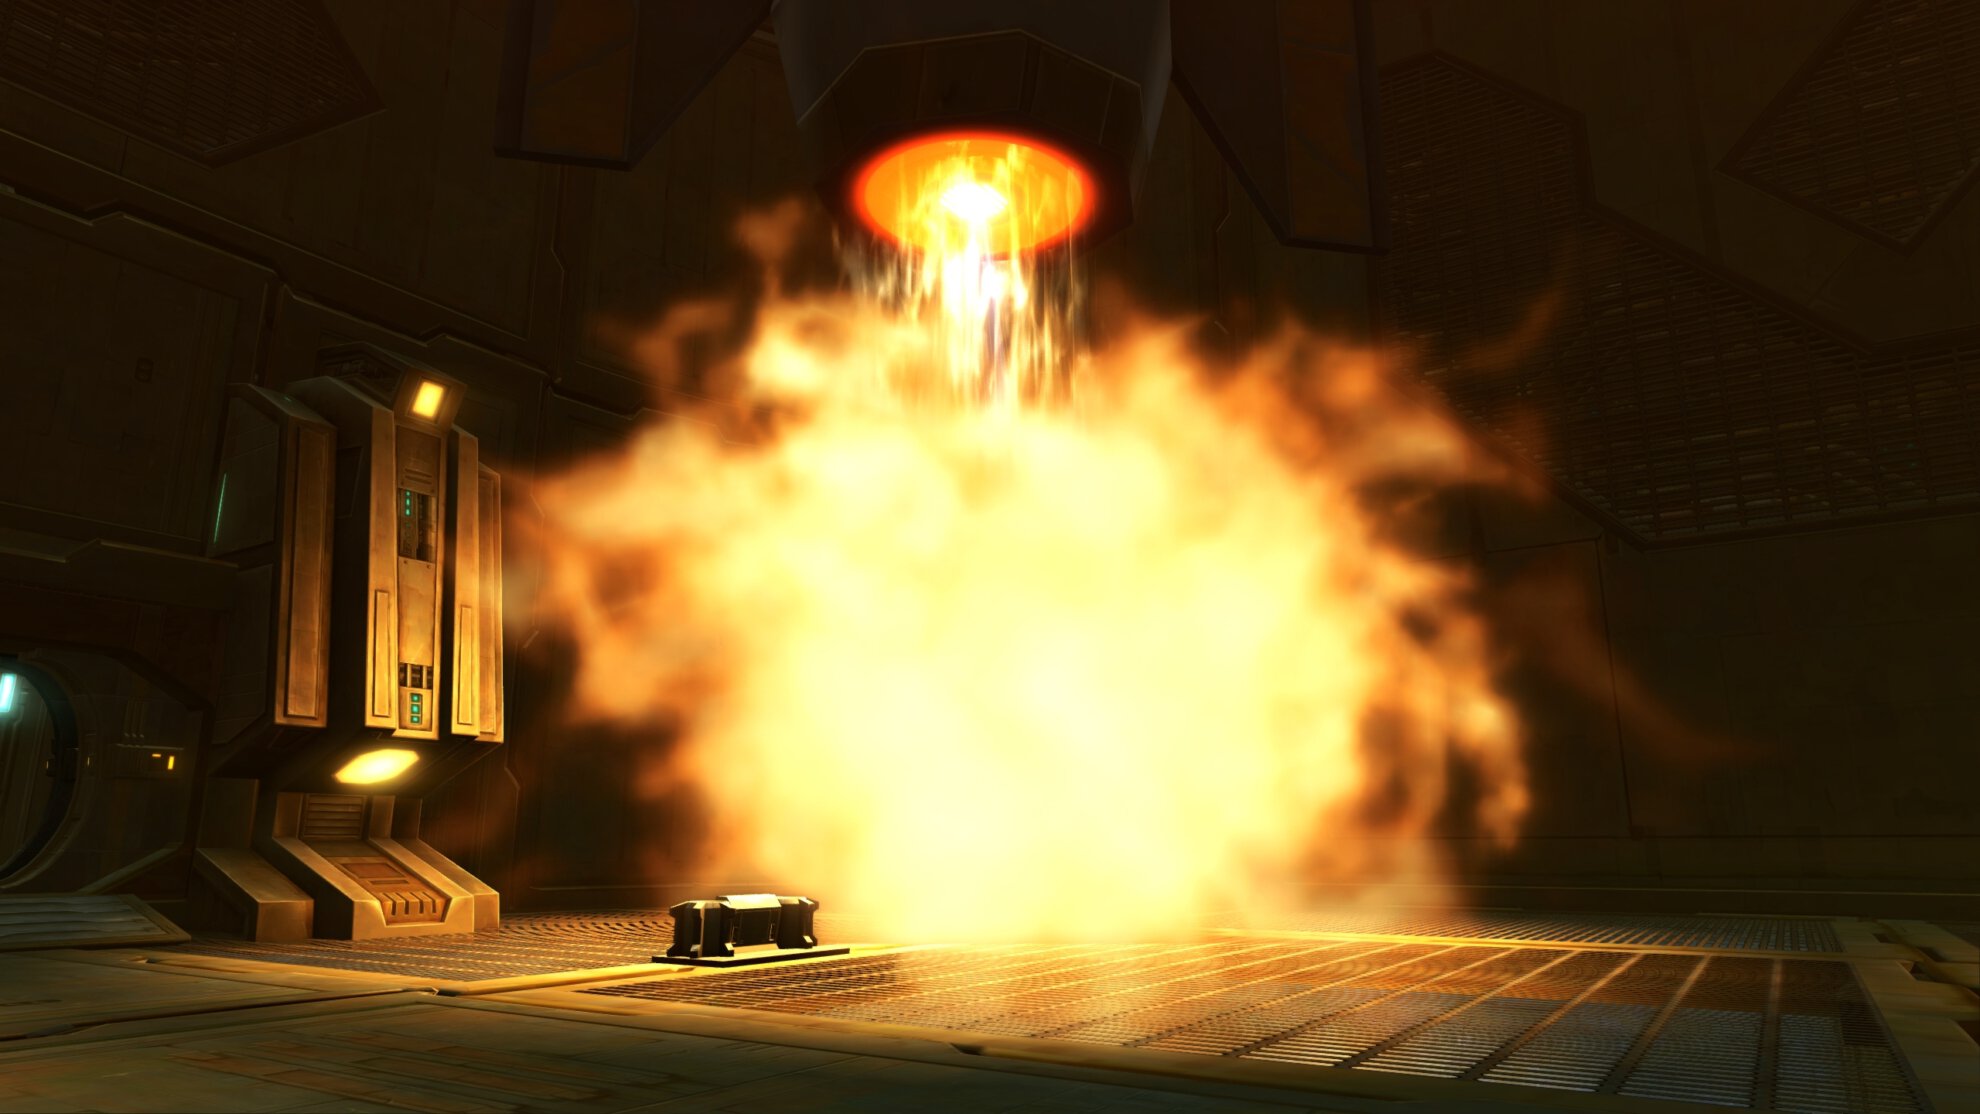
General Ortol is an easy fight once you can work around the engines. The tank needs to lure him away from the rocket flames as Ortol has an AoE push centered around himself. If you’re a DPS or Healer near him, don’t have your back facing the flames otherwise you might be pushed into them.
Master Mode Differences
The rocket flames in Veteran Mode were somewhat forgiving, Master Mode is not. They are nearly an instant death so you need to do everything in your power to avoid them. To make matters worse, General Ortol can use shackles on party members to root them in place.
To break free of the shackles, an ally can walk over a shackled party member to free them. Otherwise your CC breaker or any ability that purges movement impairing effects will break you free.
Achievements for Cademimu
The majority of the achievements for this flashpoint are for defeating the bosses 1 time, 10 times, and 25 times. Though here are two that grant item rewards:
Defeat General Ortol (Veteran Mode)
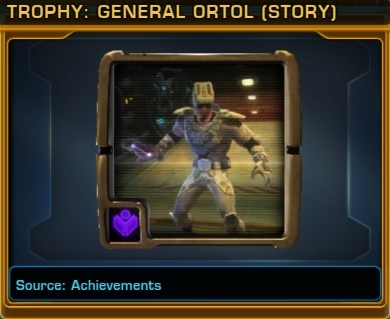
Defeated General Ortol in the “Hammer Station” flashpoint.
You’ll gain the General Ortol (Story) Trophy Decoration.
Elite: Missile Master (Master Mode)
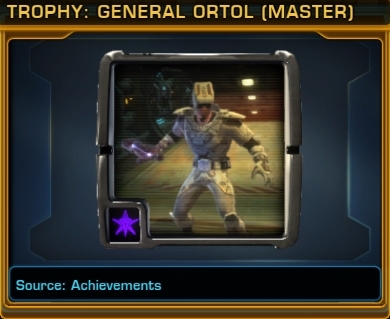
Defeated all bosses in the “Cademimu” flashpoint 25 times on master mode.
You’ll gain the General Ortol (Master) Trophy Decoration.
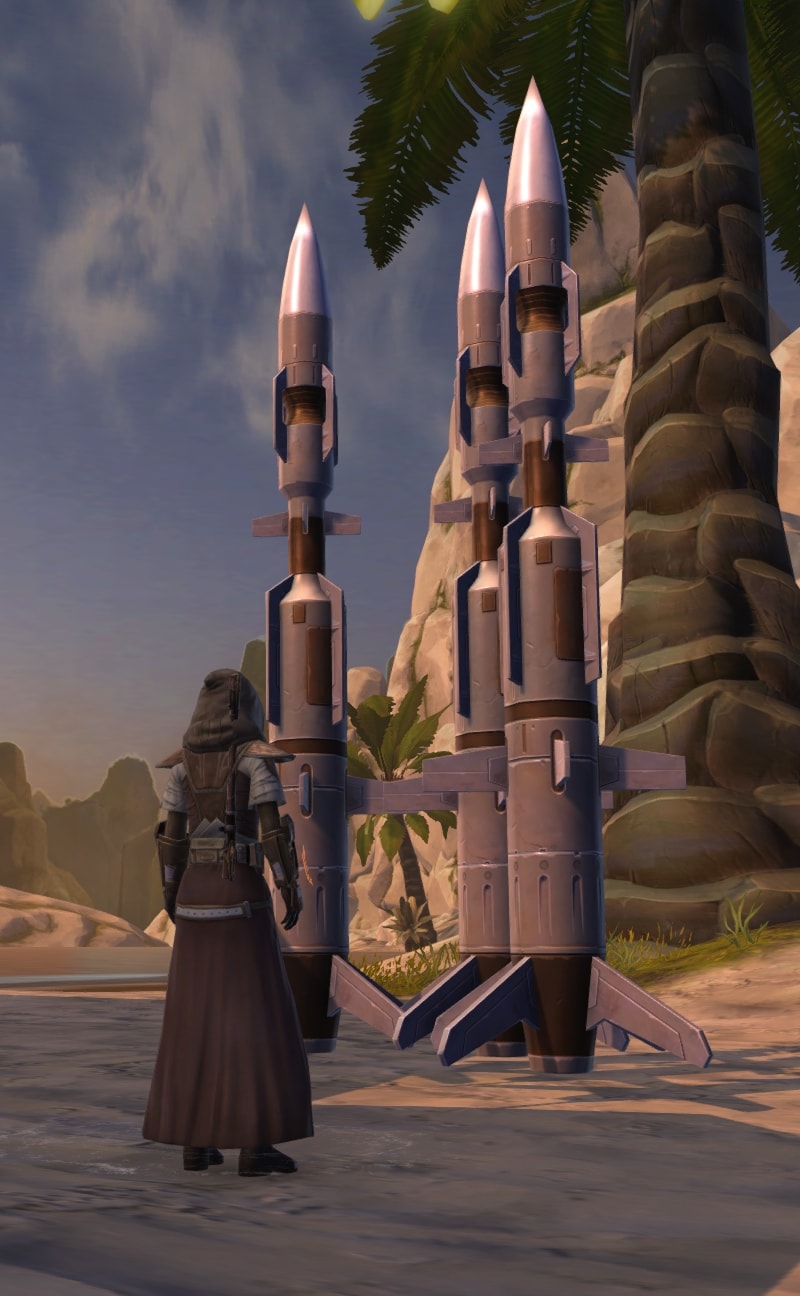
Decoration Drop
The bosses in Cademimu have a chance at dropping the Rocket Propelled Missile decoration. This will fit in a Medium or Medium Narrow hook. If you’re going for a more militaristic feel for your stronghold, the Rocket Propelled Missiles will give your place a much needed boost!