This guide will tell you how to start and complete the Flashpoint, Mandalorian Raiders, in any difficulty mode, what achievements you can unlock and rewards you can earn.
Table of contents
How to Start the Flashpoint
Mandalorian Raiders is one of SWTOR’s original flashpoints that was released with its launch. You’ll need to prepare yourself for a good fight as you’ll be primarily fighting Mandalorians throughout this flashpoint.
The story of Mandalorian Raiders is that a group of restless Mandalorians raided and hijacked the “Allusis”, a Republic warship. These Mandalorians began to use this ship to wage war against both Republic and Imperial worlds. Both the Republic and Empire need to eliminate this threat and sends in a strike team to seize control of the Allusis and end this Mandalorian menace.
This guide covers Veteran Mode and Master Mode for Mandalorian Raiders.
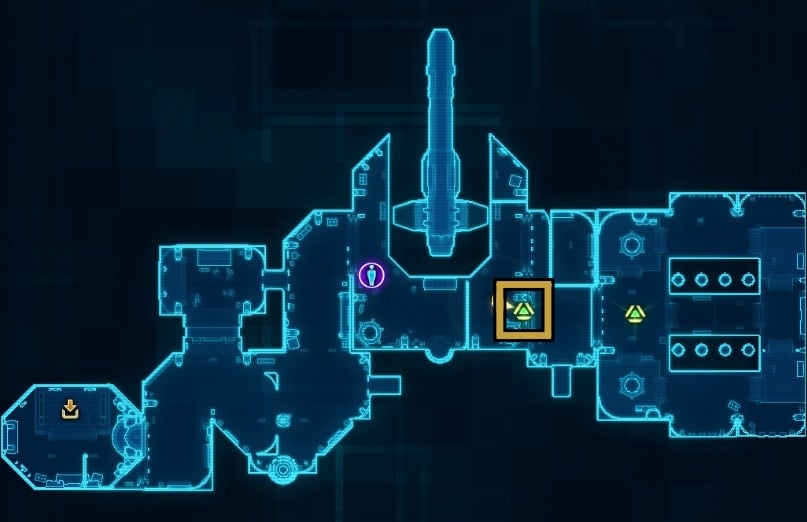
This flashpoint lacks a Story Mode and a Story Arc to accompany it. Instead players on either Republic or Empire must find the mission terminal that grants this flashpoint.
You can get there by using the Mission Departures Elevator then going to the Dropship Launch Hangar. The mission terminal at the site will grant the flashpoint at either Veteran or Master Mode difficulty.
The flashpoint is available in the Activity Finder under the Group tab.
Read our SWTOR Story Progression Guide to learn where this story fits in. The guide will help you experience the game’s narrative in the proper intended order of events and aid and assist you if you are not sure what to do and where to go next.
Using Crew Skills in Mandalorian Raiders
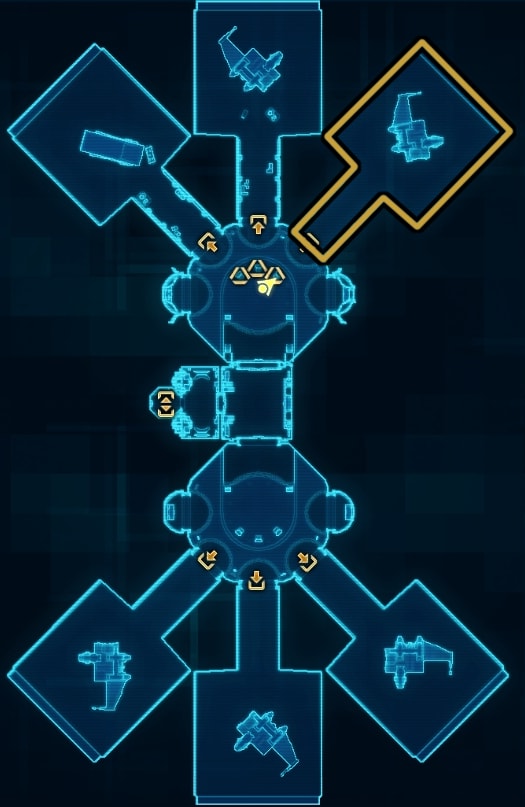
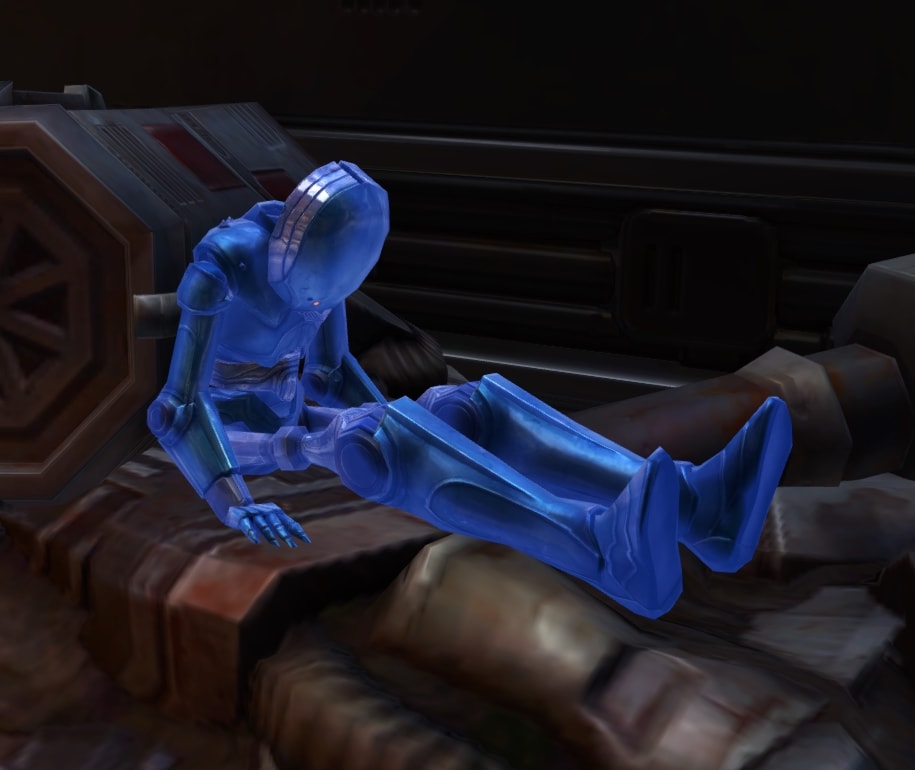
The first crew skill feature in Mandalorian Raiders is in the room right after the start on the Crew Deck. You can find a broken medical droid that can be repaired with the Scavenging skill. This requires level 100 Scavenging on Veteran Mode and level 450 Scavenging on Master Mode.
Once repaired, the droid acts as a companion for the group that provides minor healing. You can find another droid soon after the first but you can only have one droid active at a time.
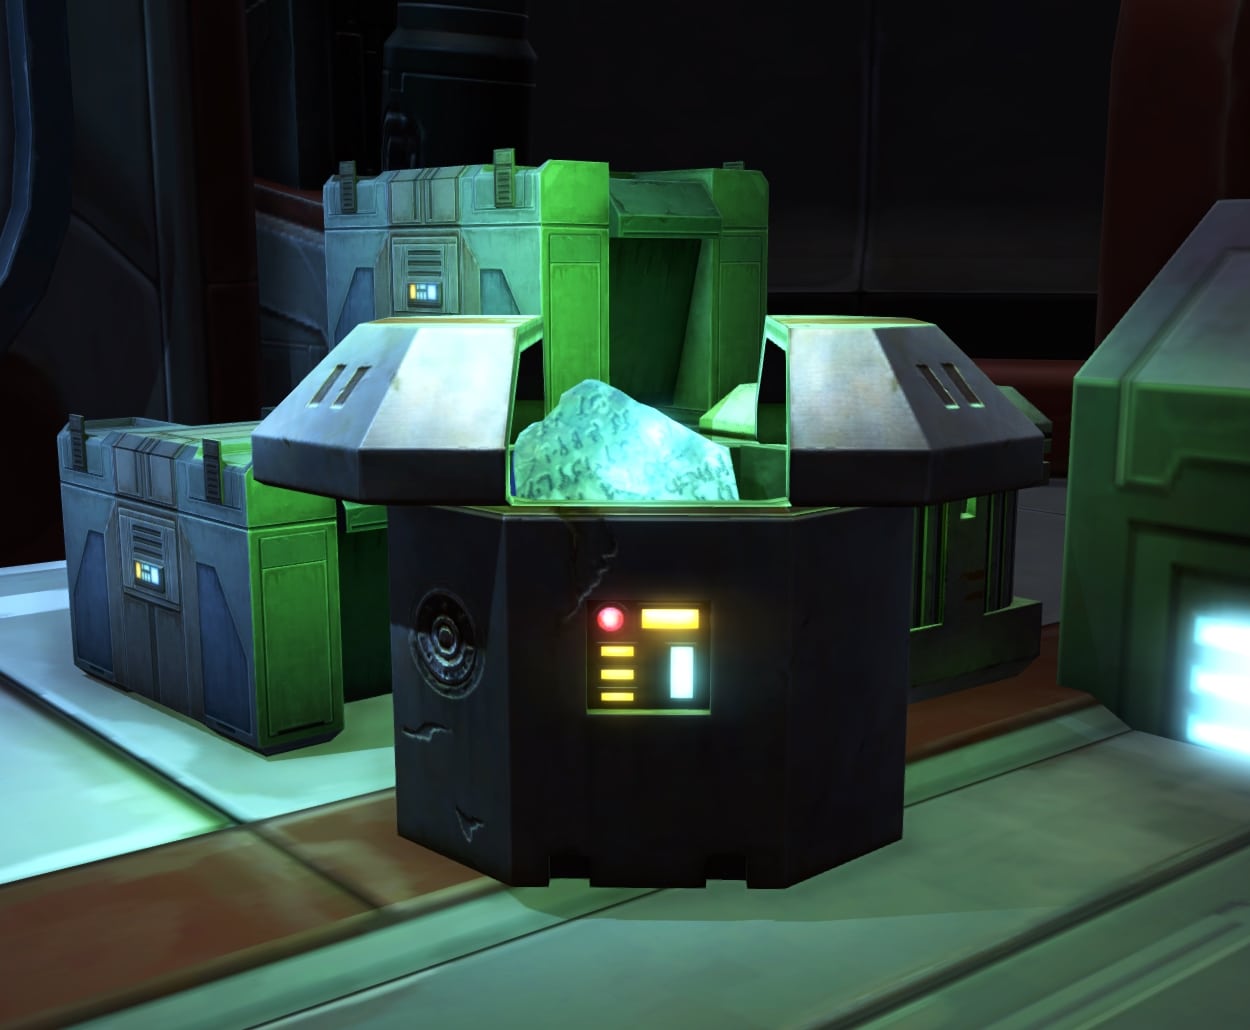
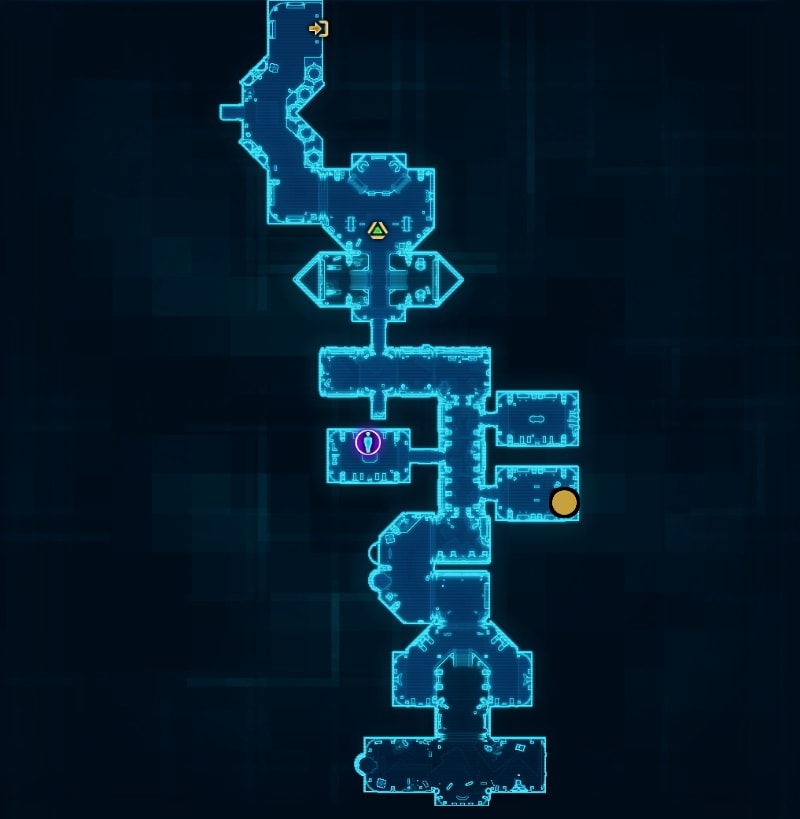
With Archaeology, you can interact with a Lost Cultural Artifact found on the Crew Deck. This requires level 165 Archaeology on Veteran Mode and level 450 Archaeology on Master Mode. Using this artifact will grant the party the “Blessing of the Ancients” buff, granting increased health regeneration for 10 minutes.
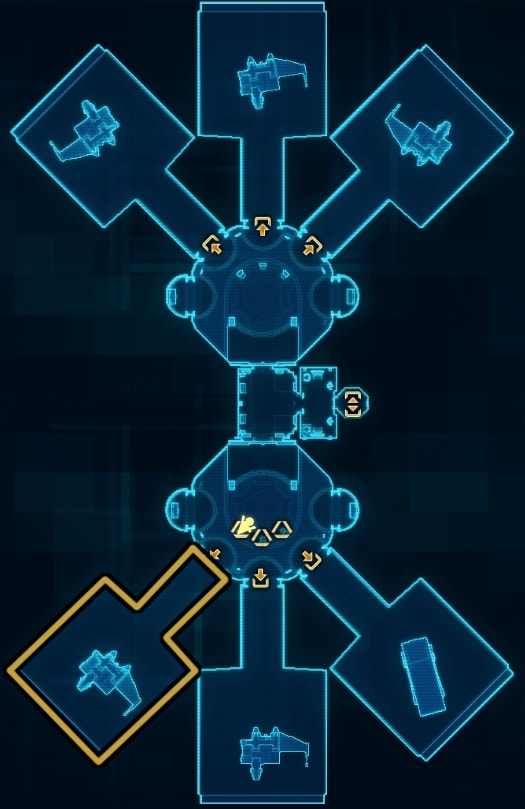
The last crew skill you can use in Mandalorian Raiders is Slicing. There’s an elevator you can slice into to activate on the Cargo Deck. This will help you skip some enemy encounters up ahead. This requires level 150 Slicing on Veteran Mode and level 450 Slicing on Master Mode.
Bonus Mission Phase 1
The Bonus Mission is only available for Master Mode difficulty. To start the bonus mission, you’ll need to defeat an enemy in Mandalorian Raiders on Master Mode. Once you do, you’ll need to defeat a total of 80 enemy forces in the Mandalorian Raiders flashpoint. Complete this to start phase 2 of the bonus mission.
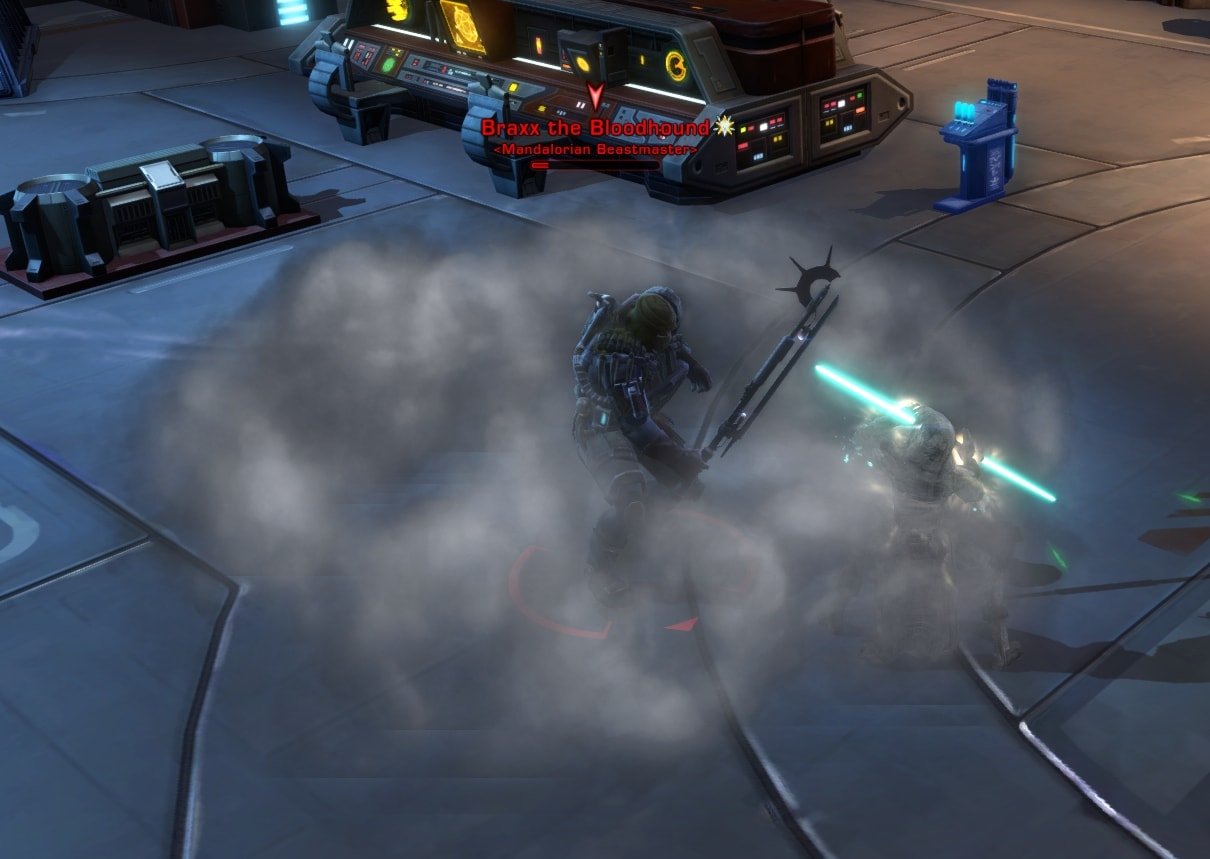
First Boss: Braxx the Bloodhound
The first boss you’ll encounter is a group of 3 bosses, Braxx the Bloodhound and his two Sanguine Salky Hounds. The tank will need to maintain aggro on Braxx on the elevated platform, while the DPS and Healer keep the hounds away from the tank and Braxx.
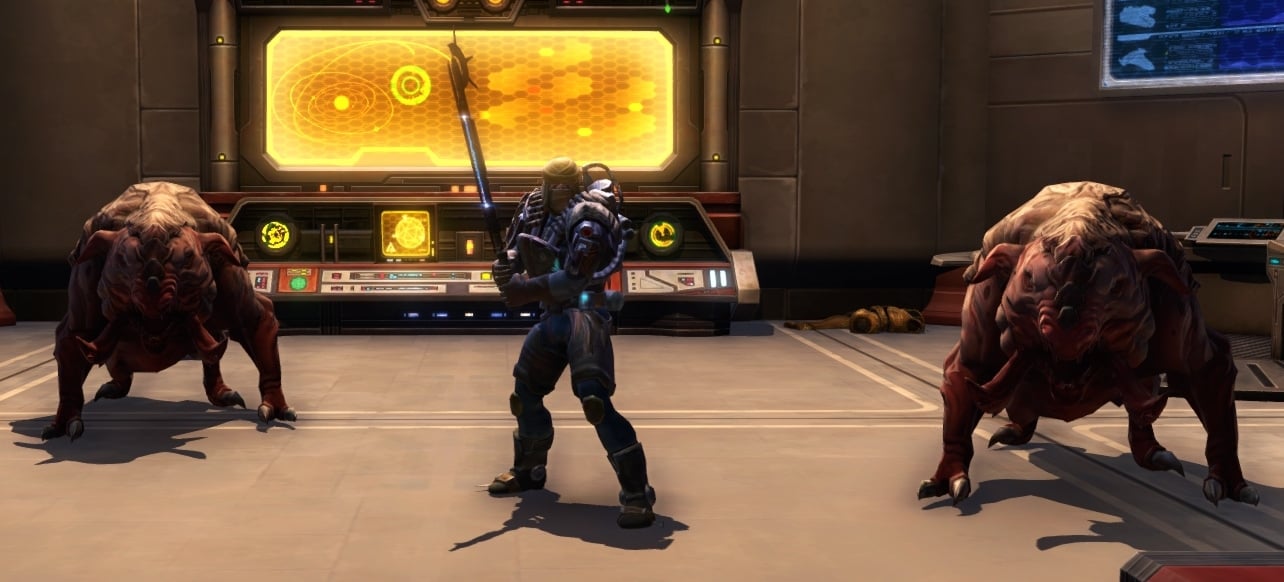
The Hounds cannot be taunted, so the DPS will need to damage them to maintain aggro and pull them away from the tank fighting Braxx. The reason you want to keep them away is that Braxx will occasionally receive the “Inspire Loyalty” buff. This is seen as a red circle beneath Braxx, if the hounds are in that area while the buff is active they’ll deal increased damage.

The tank needs to save their single target taunt for Braxx. He will occasionally carbonize the area around him, stunning anyone nearby. This will reset his aggro so the tank will need to taunt Braxx as soon as they’re free from the stun. Once the DPS and Healer defeat the Hounds, they can then focus on Braxx.
Master Mode Differences
There are no mechanical differences in Master Mode, the group of bosses are just tougher.
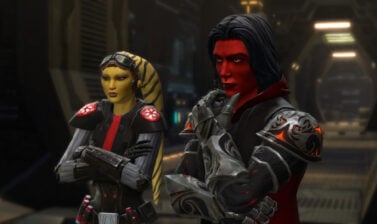
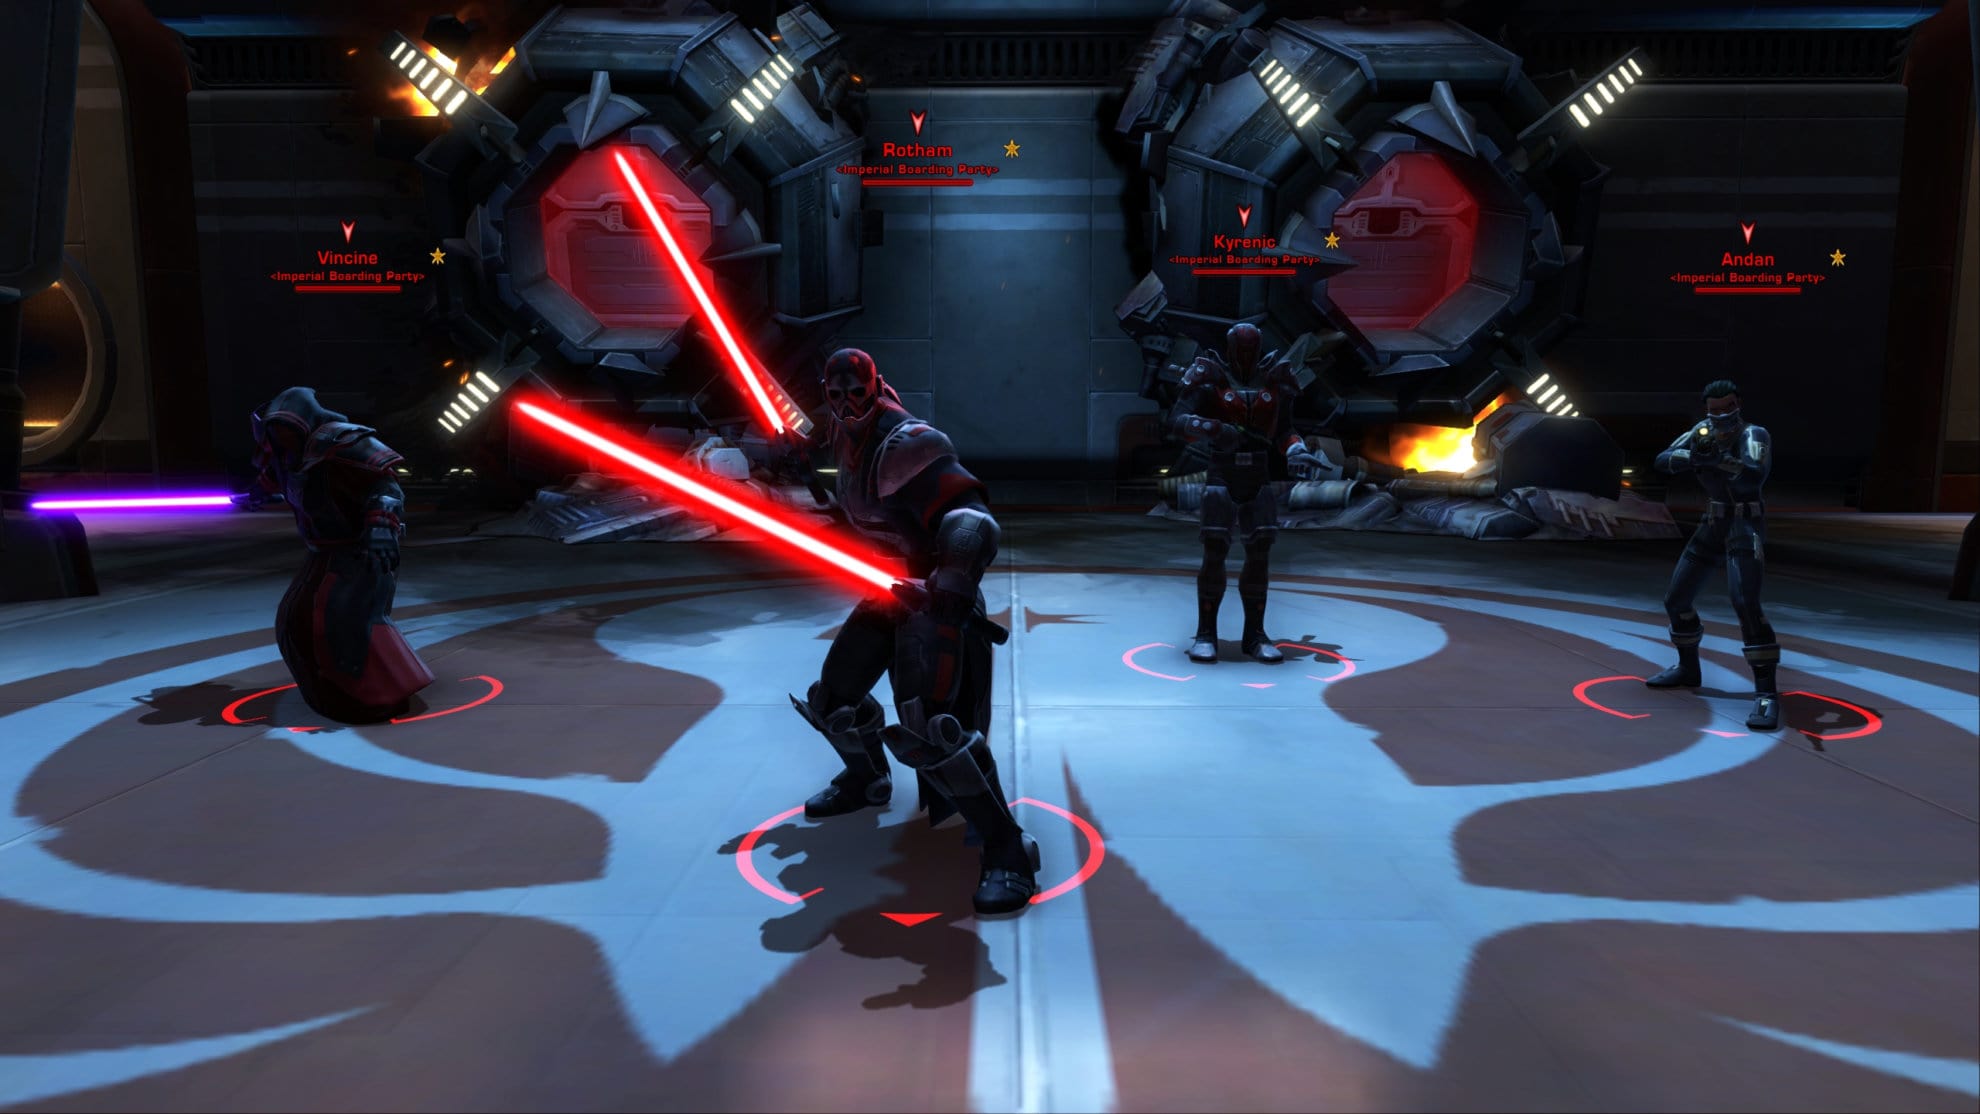
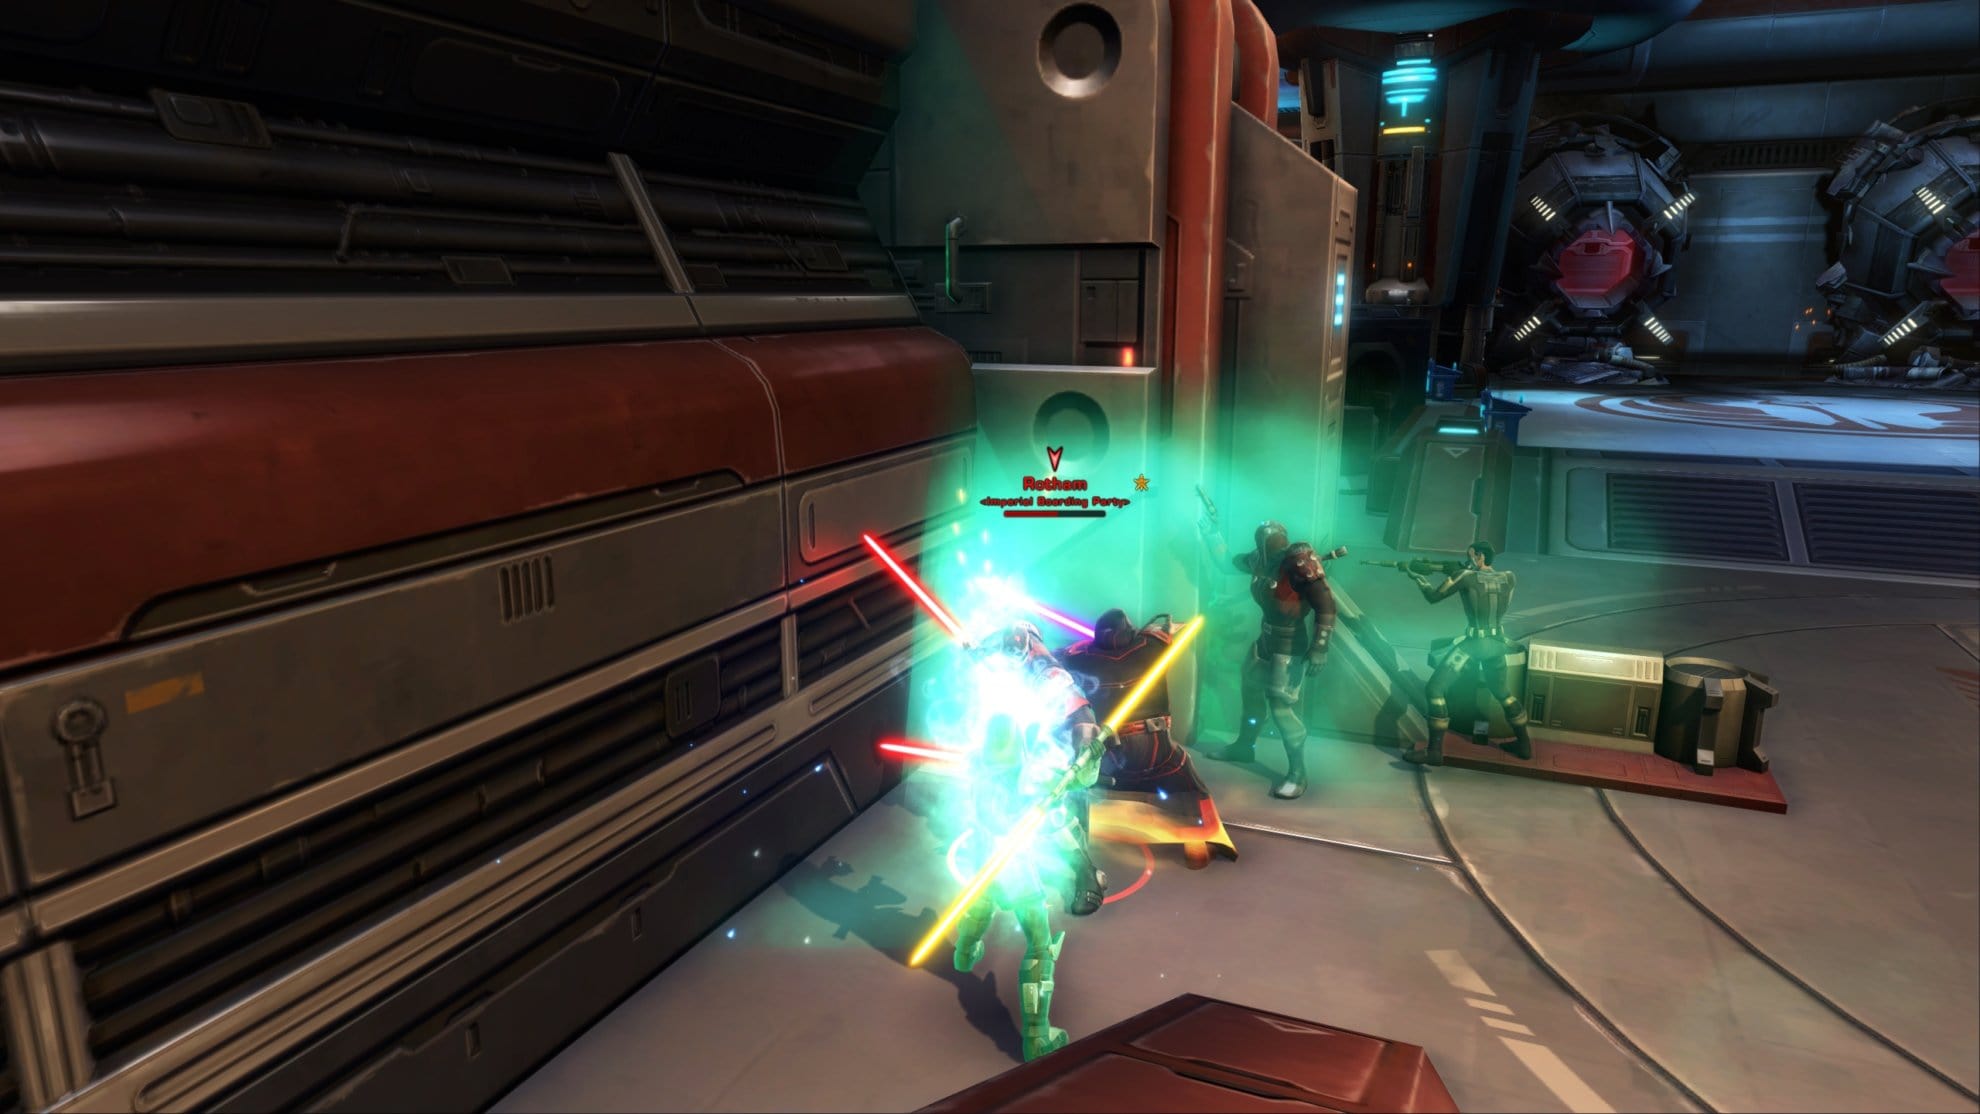
Second Boss: Boarding Party
The second boss is a boarding party attempting to seize control of the Allusis. These members of the boarding party change depending on which faction your character is sided with.
For the Republic, this party consists of an Inquisitor (Vincine), a Marauder (Rotham), a Powertech (Kyrenic), an Agent (Andan).
For the Empire, this party consists of a Knight (Magnus), a Sentinel (Ezeraline), a Vanguard (Keenor), and a Gunslinger (Taklan).
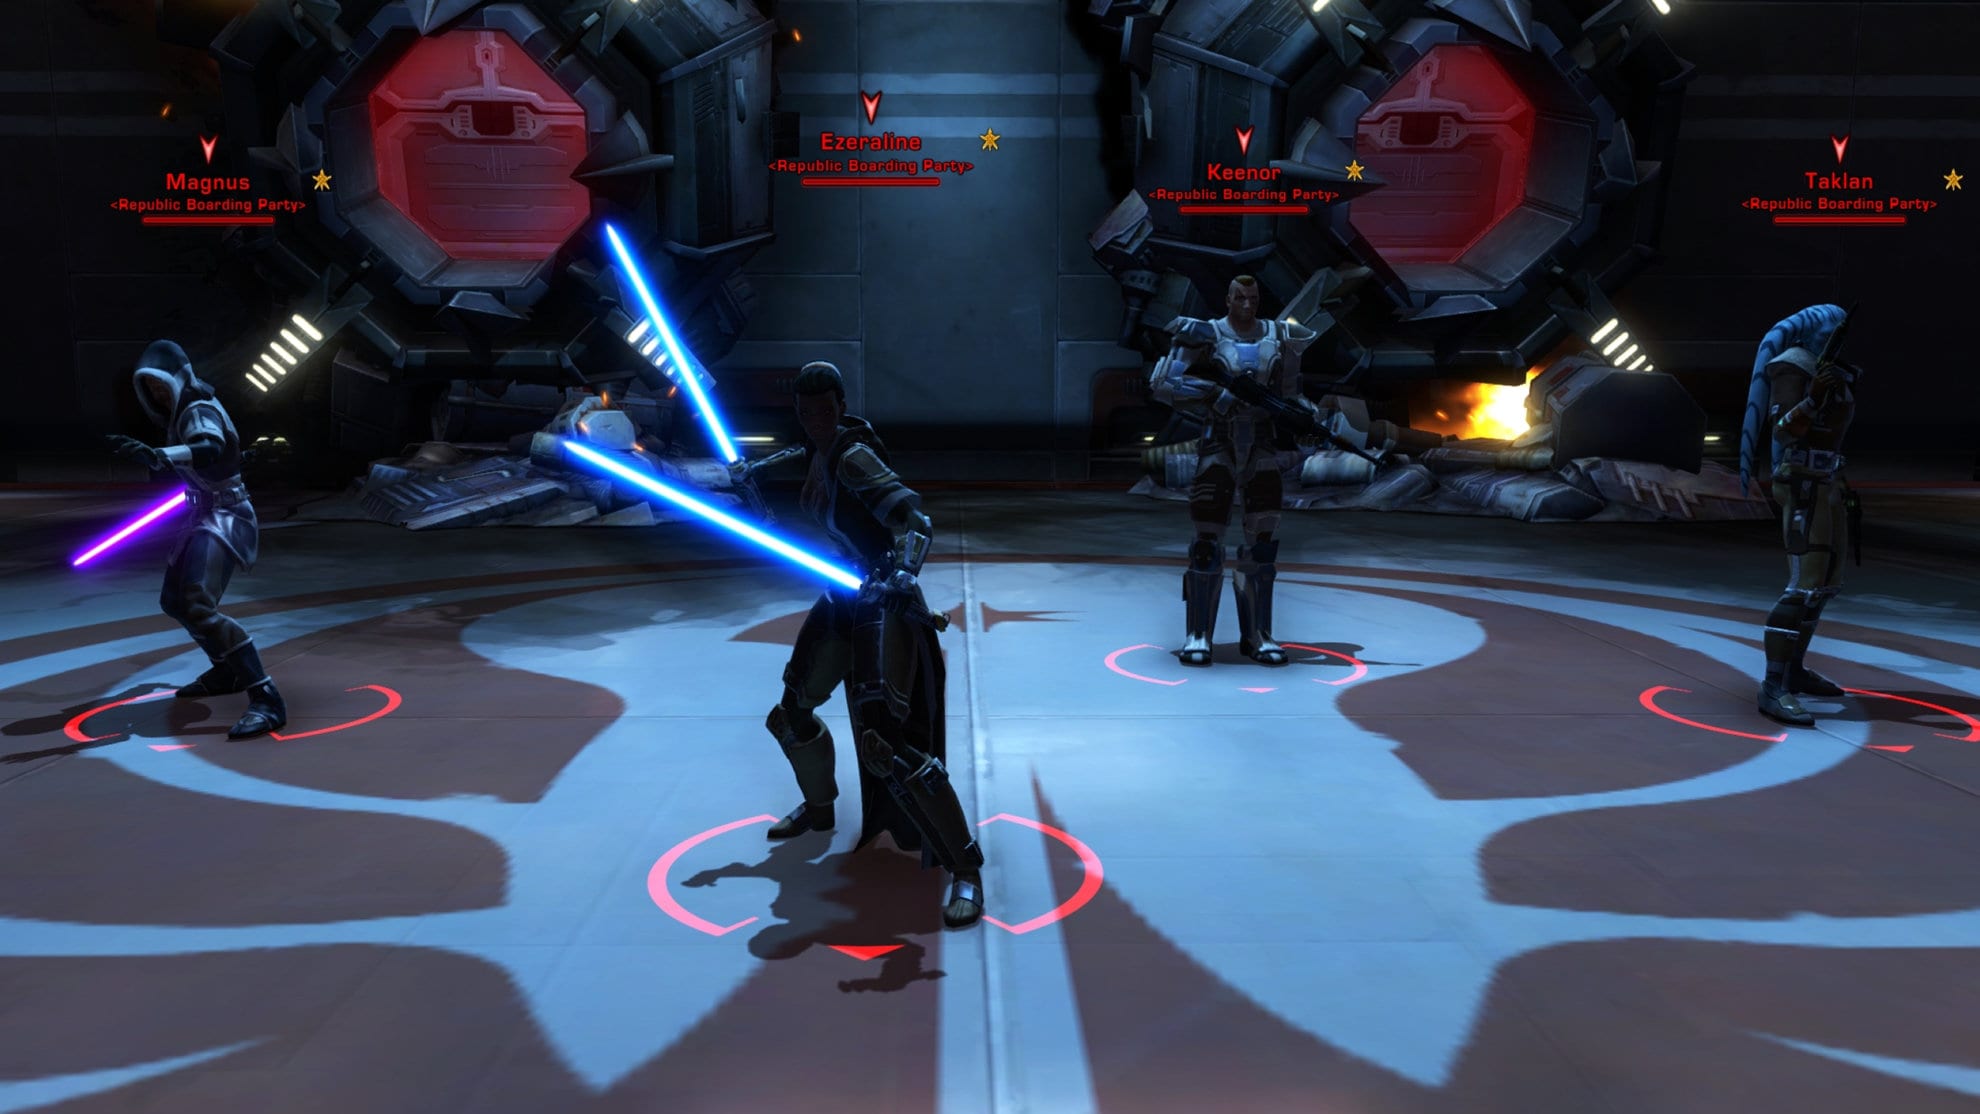
This fight has a lot of CC and can be annoying to fight. Rotham/Ezeraline can push away their target and leap to a target while resetting their aggro. Andan and Taklan have an AoE push centered around themselves. The key to easily defeating this group is to lure them into a corner in the left. Make sure everyone gets deep into that corner so that even the ranged units follow the party to that spot.
From there you’ll need to focus Rotham/Ezeraline first as they’re the most annoying of the group. From there, you can take out the remaining party members. Do note that every time a group member of the boarding party falls, the rest become empowered and deal more damage.
Master Mode Differences
After defeating Rotham/Ezeraline, the party needs to get the remaining members down between 10-20% HP each. They will deal large amounts of damage if you were to defeat them one by one. Instead, you need to get them all low and take them down at the same time to avoid too much empowered damage.
Bonus Mission Phase 2
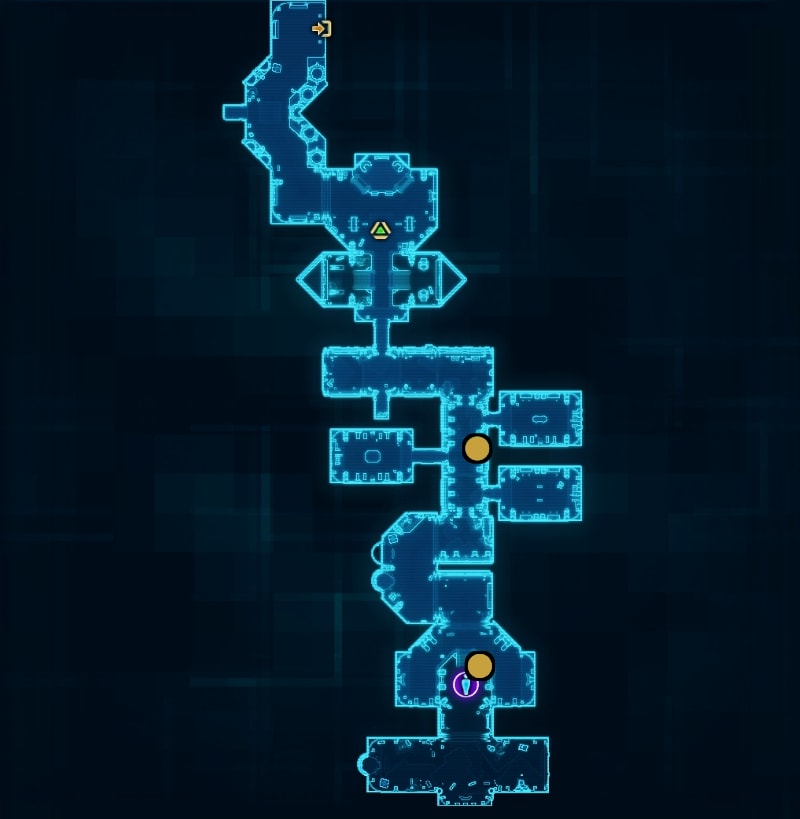
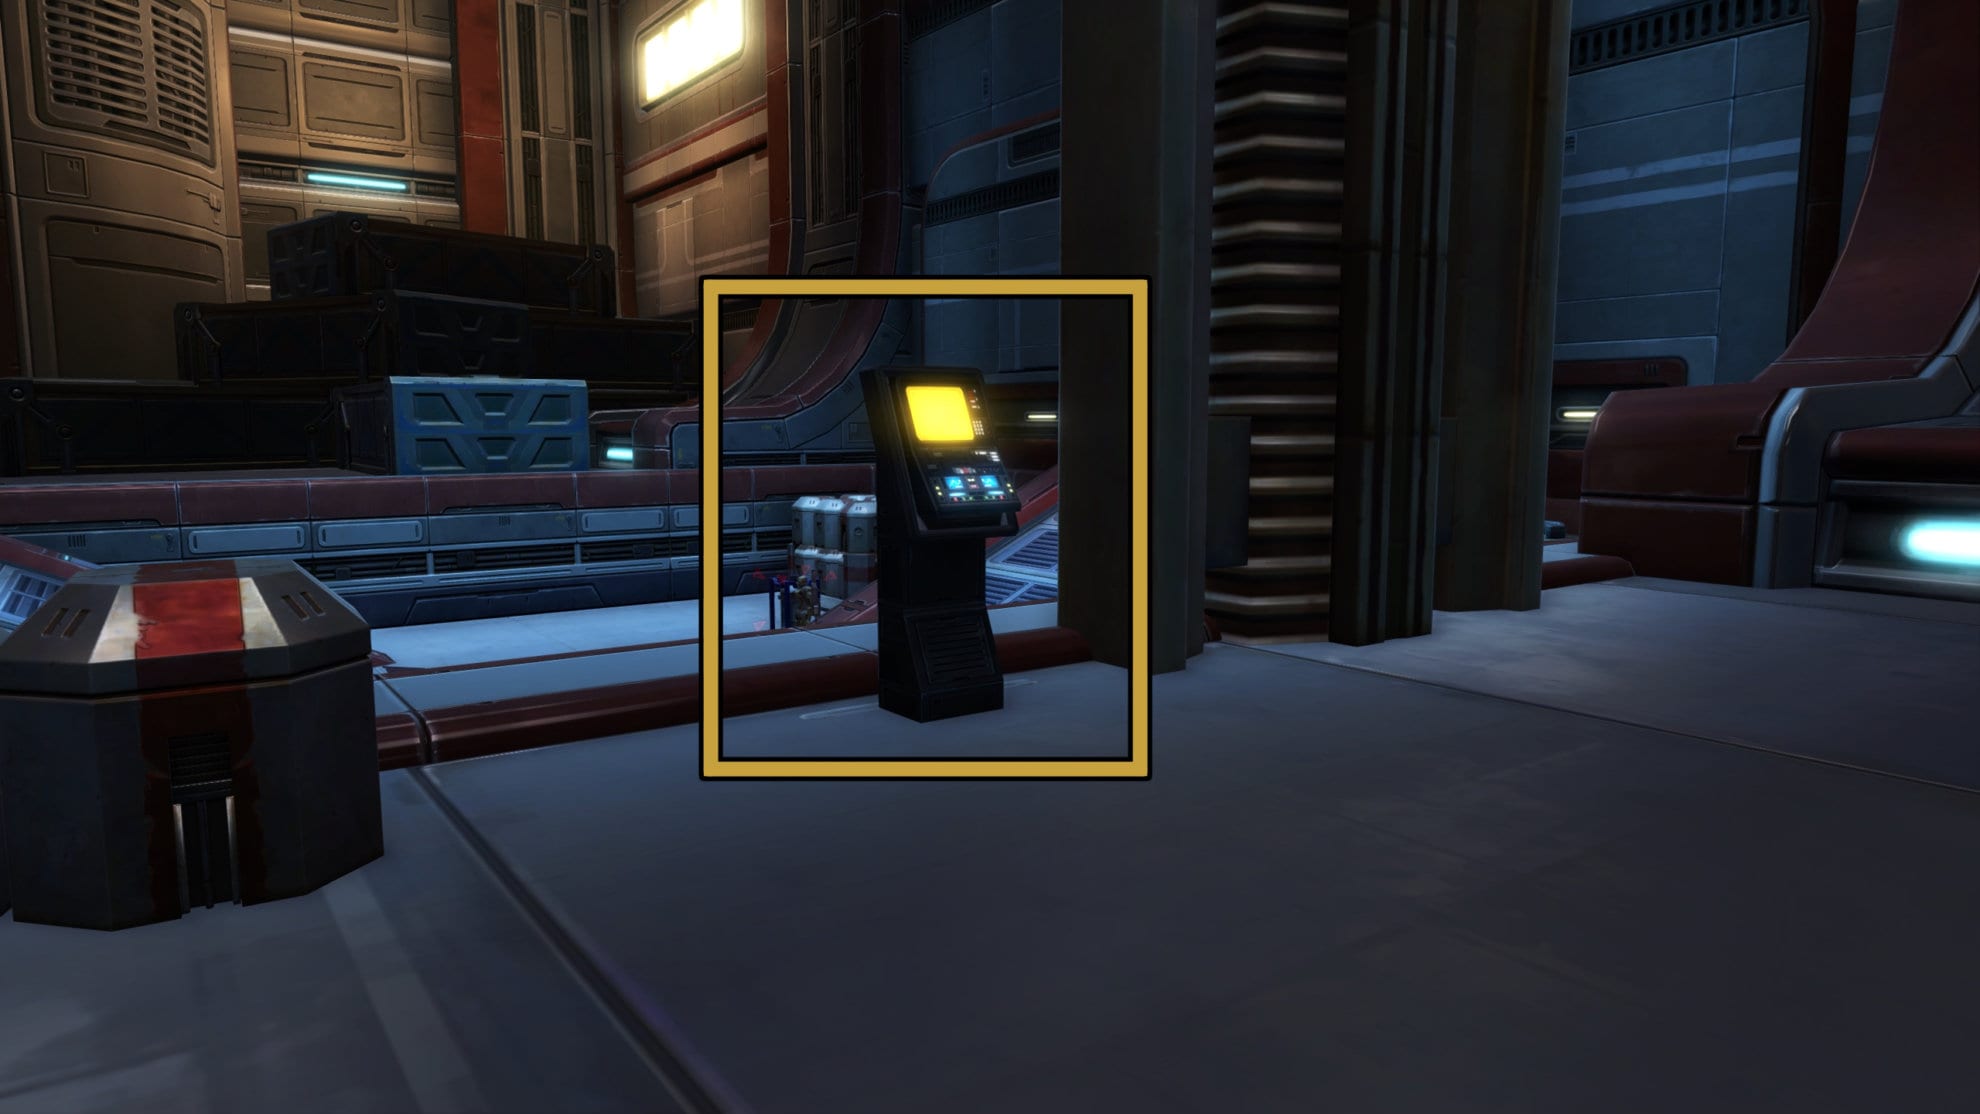
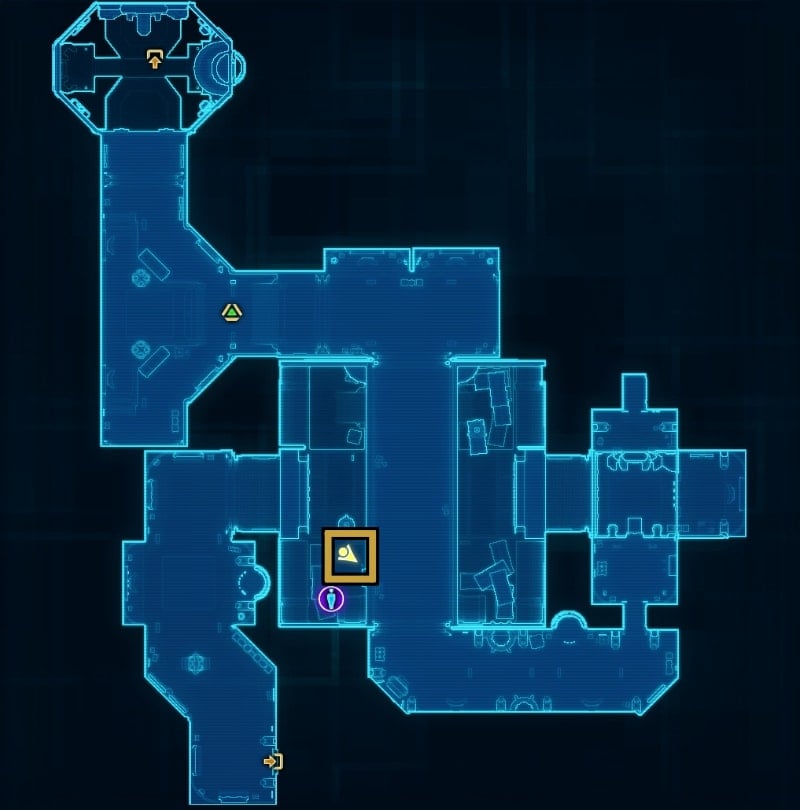
After completing phase 1, you’ll need to Access a Terminal found towards the end of the flashpoint. This is found in the Launch Control Deck in the room with the docked shuttle. Defeat the enemies in this room before interacting with the terminal. Once activated, the terminal will release the bonus boss.
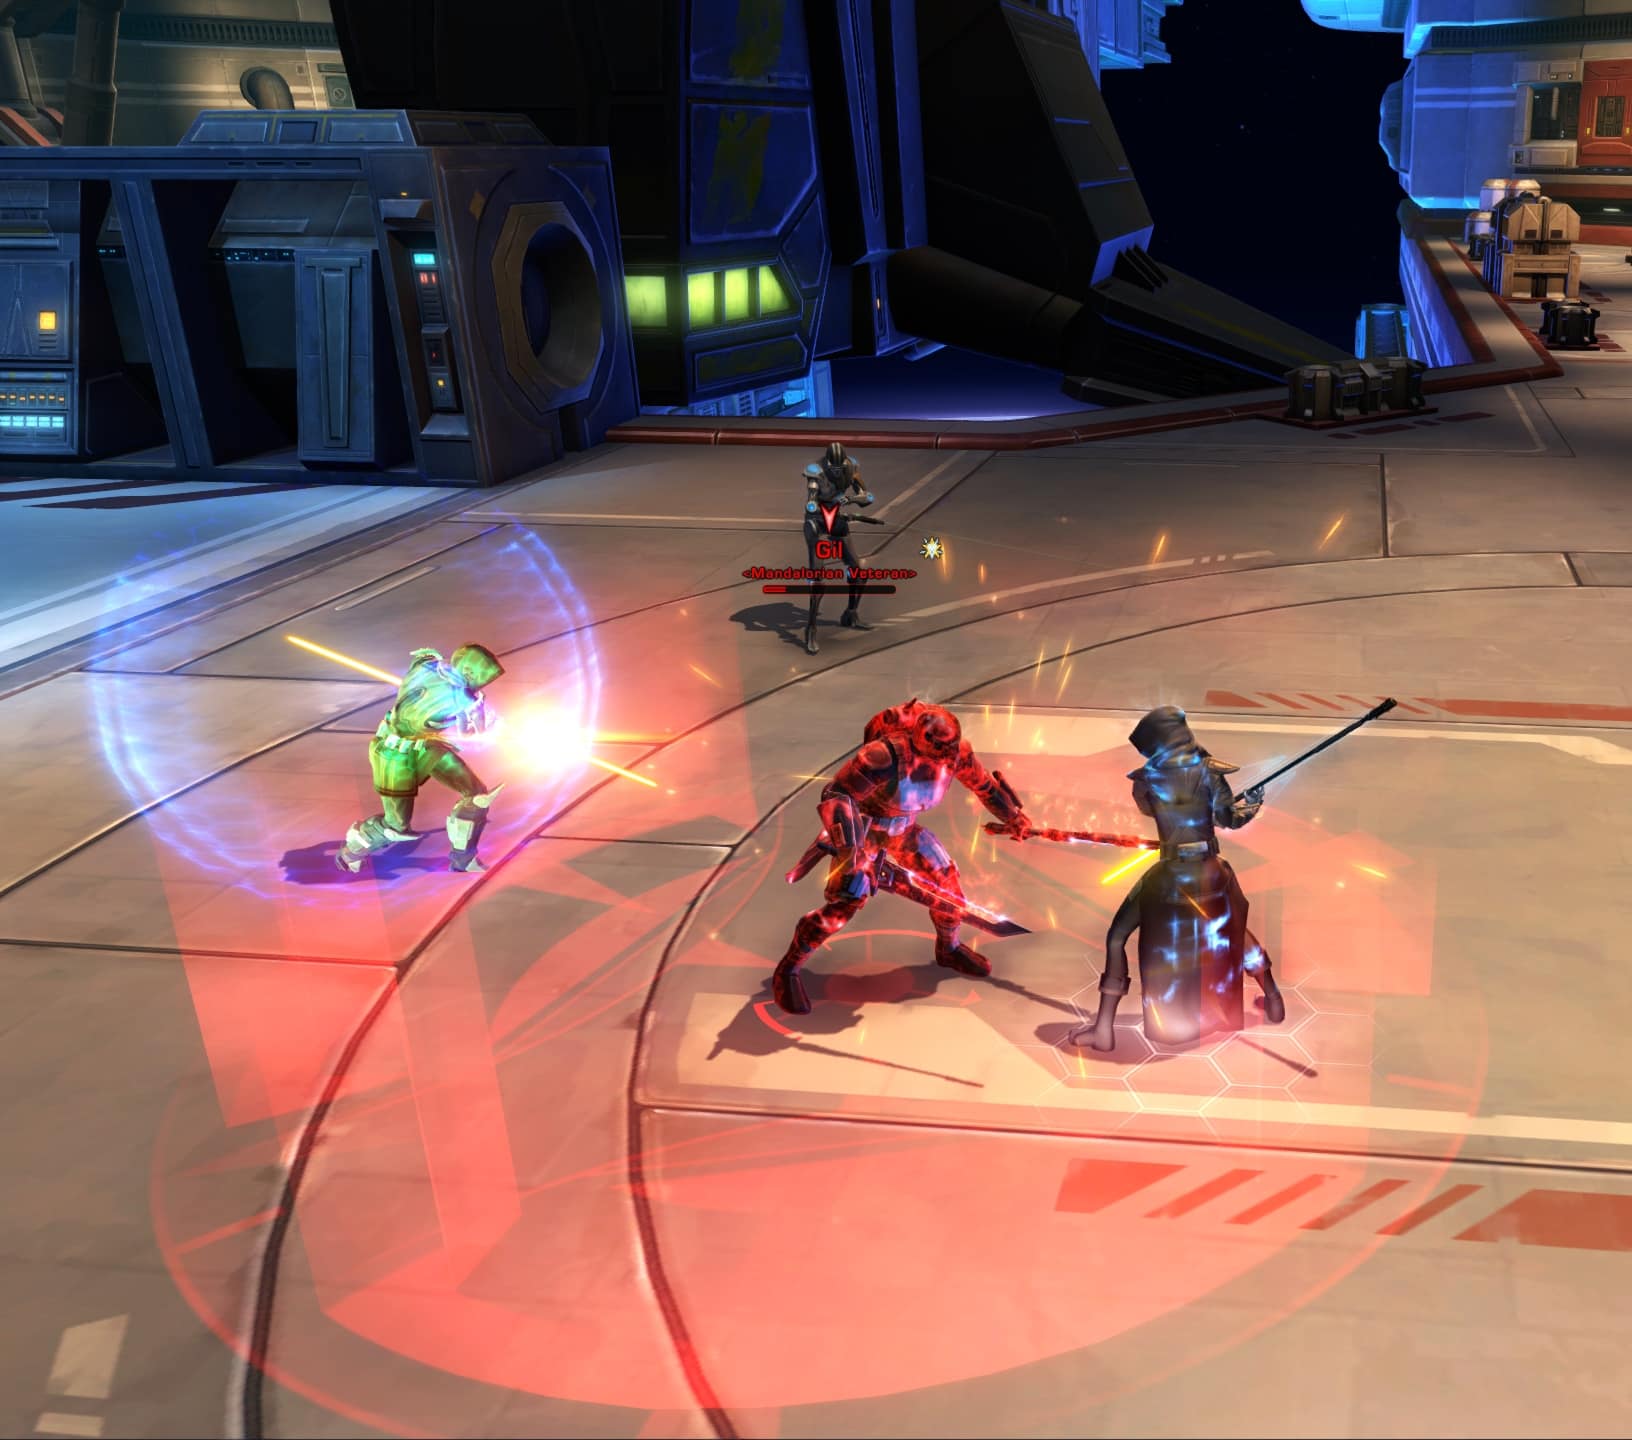
Optional Bonus Boss: Gil
Gil is a Mandalorian Veteran who serves as the bonus boss in Mandalorian Raiders. He’s very beefy and deals a good chunk of damage with his dual vibroswords. He is only available on Master Mode.
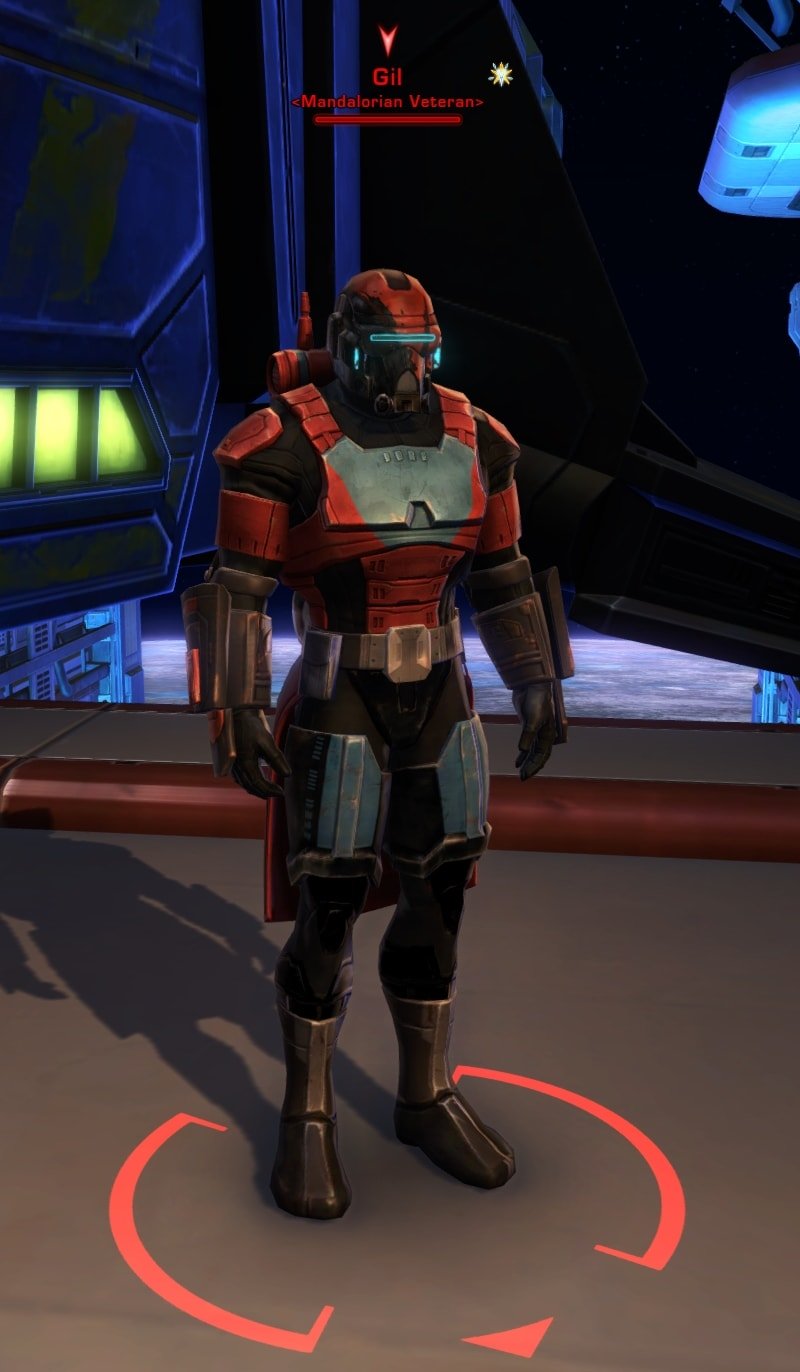
This fight is very simple and is primarily a tank and spank encounter. He has a knock up attack that’ll launch you into the air, so have your back facing a wall otherwise you might end up falling into space. He will also leap to a random target and reset aggro, so the tank needs to taunt him after he leaps.
Melee party members should be careful of Gil’s AoE attack. This attack will hurt a lot so it would be best to have the tank guard the squishiest party member while this AoE is active. Just watch out for the red ring beneath Gil to know when he’s using the AoE.
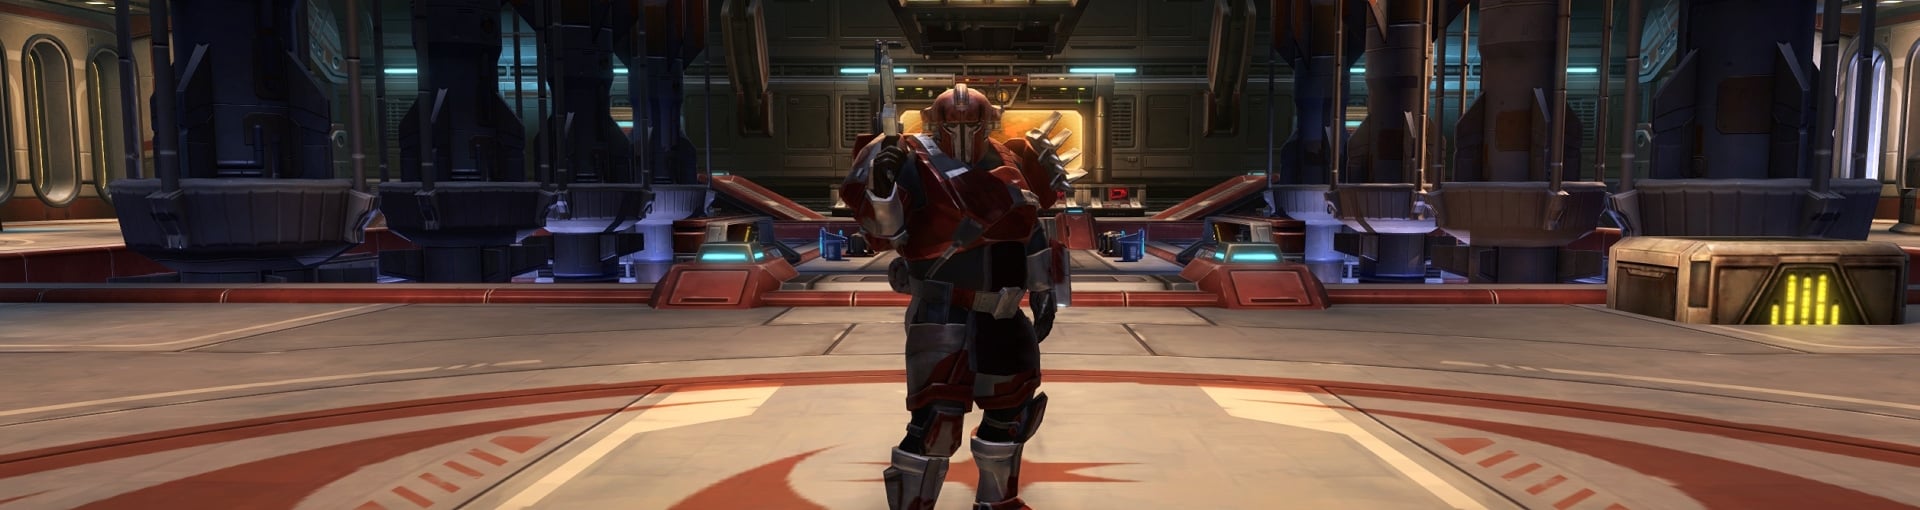
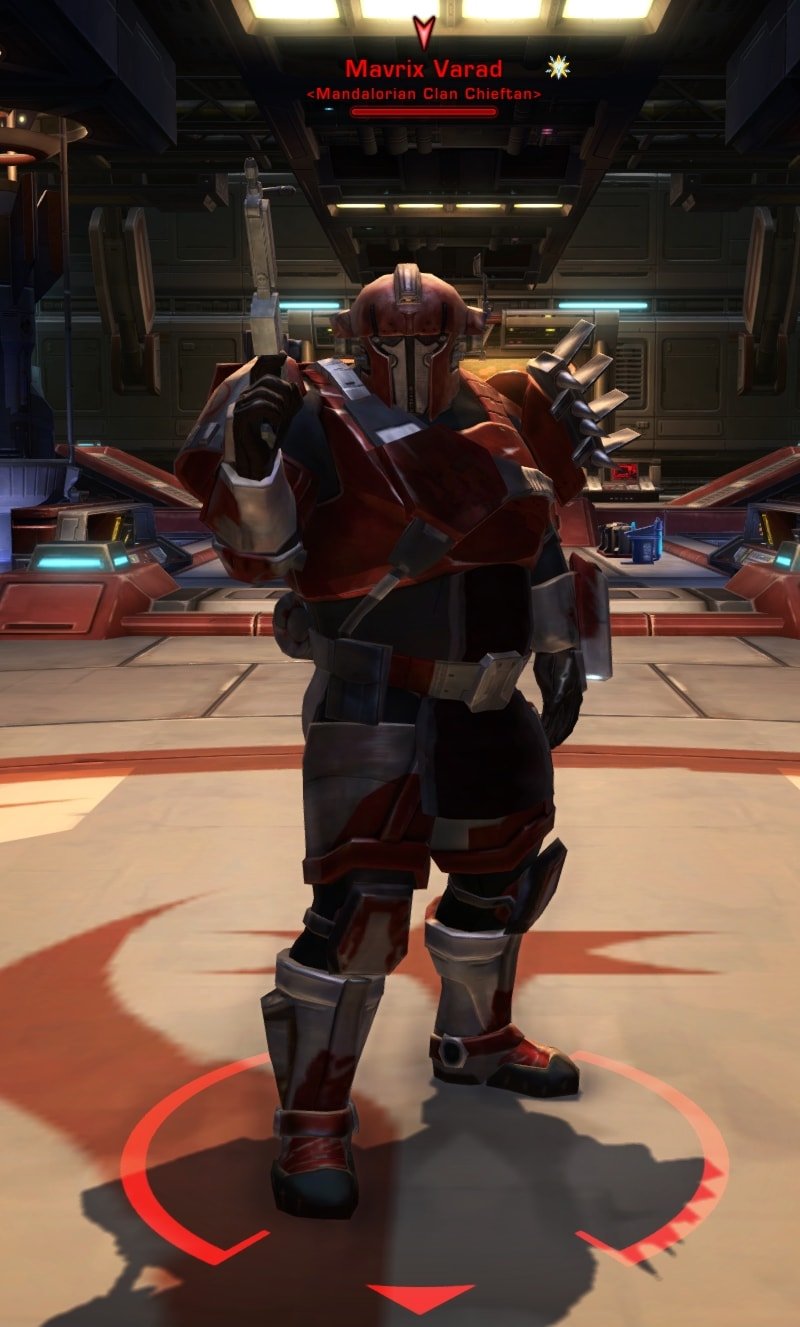
Final Boss: Mavrix Varad
The final boss of Mandalorian Raiders is a Chieftain of Clan Varad, Mavrix Varad. He’s not that bad on his own. Unfortunately, he’s not exactly on his own as you’ll soon find out.
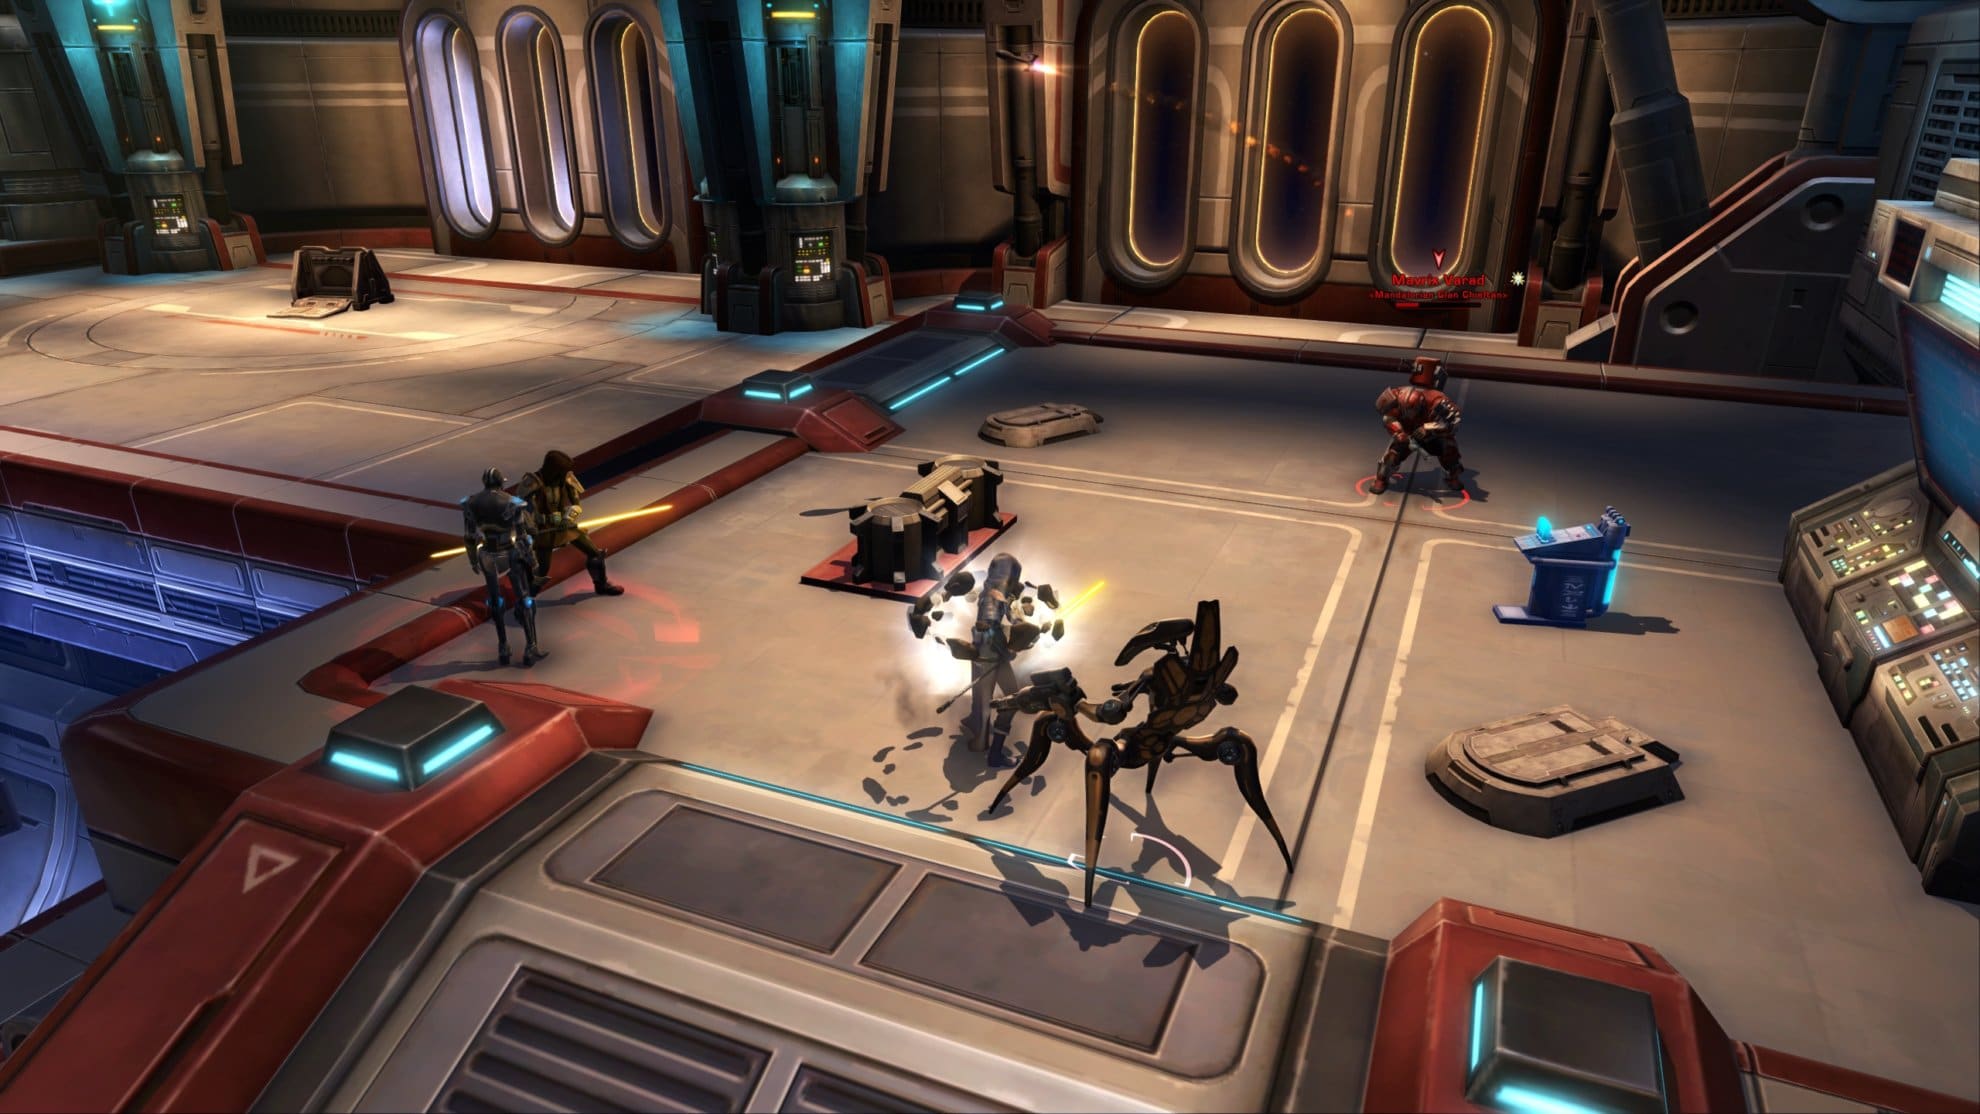
After damaging Mavrix, he’ll jump to a corner where he’ll activate two turrets. Stop focusing on Mavrix and focus on the turrets. The tank needs to use AoE taunts to maintain aggro while the DPS take out the turrets.
Once you defeat the turrets, focus Mavrix again until he jets off into another corner. Every time he goes to a new corner, he’ll activate another pair of turrets.
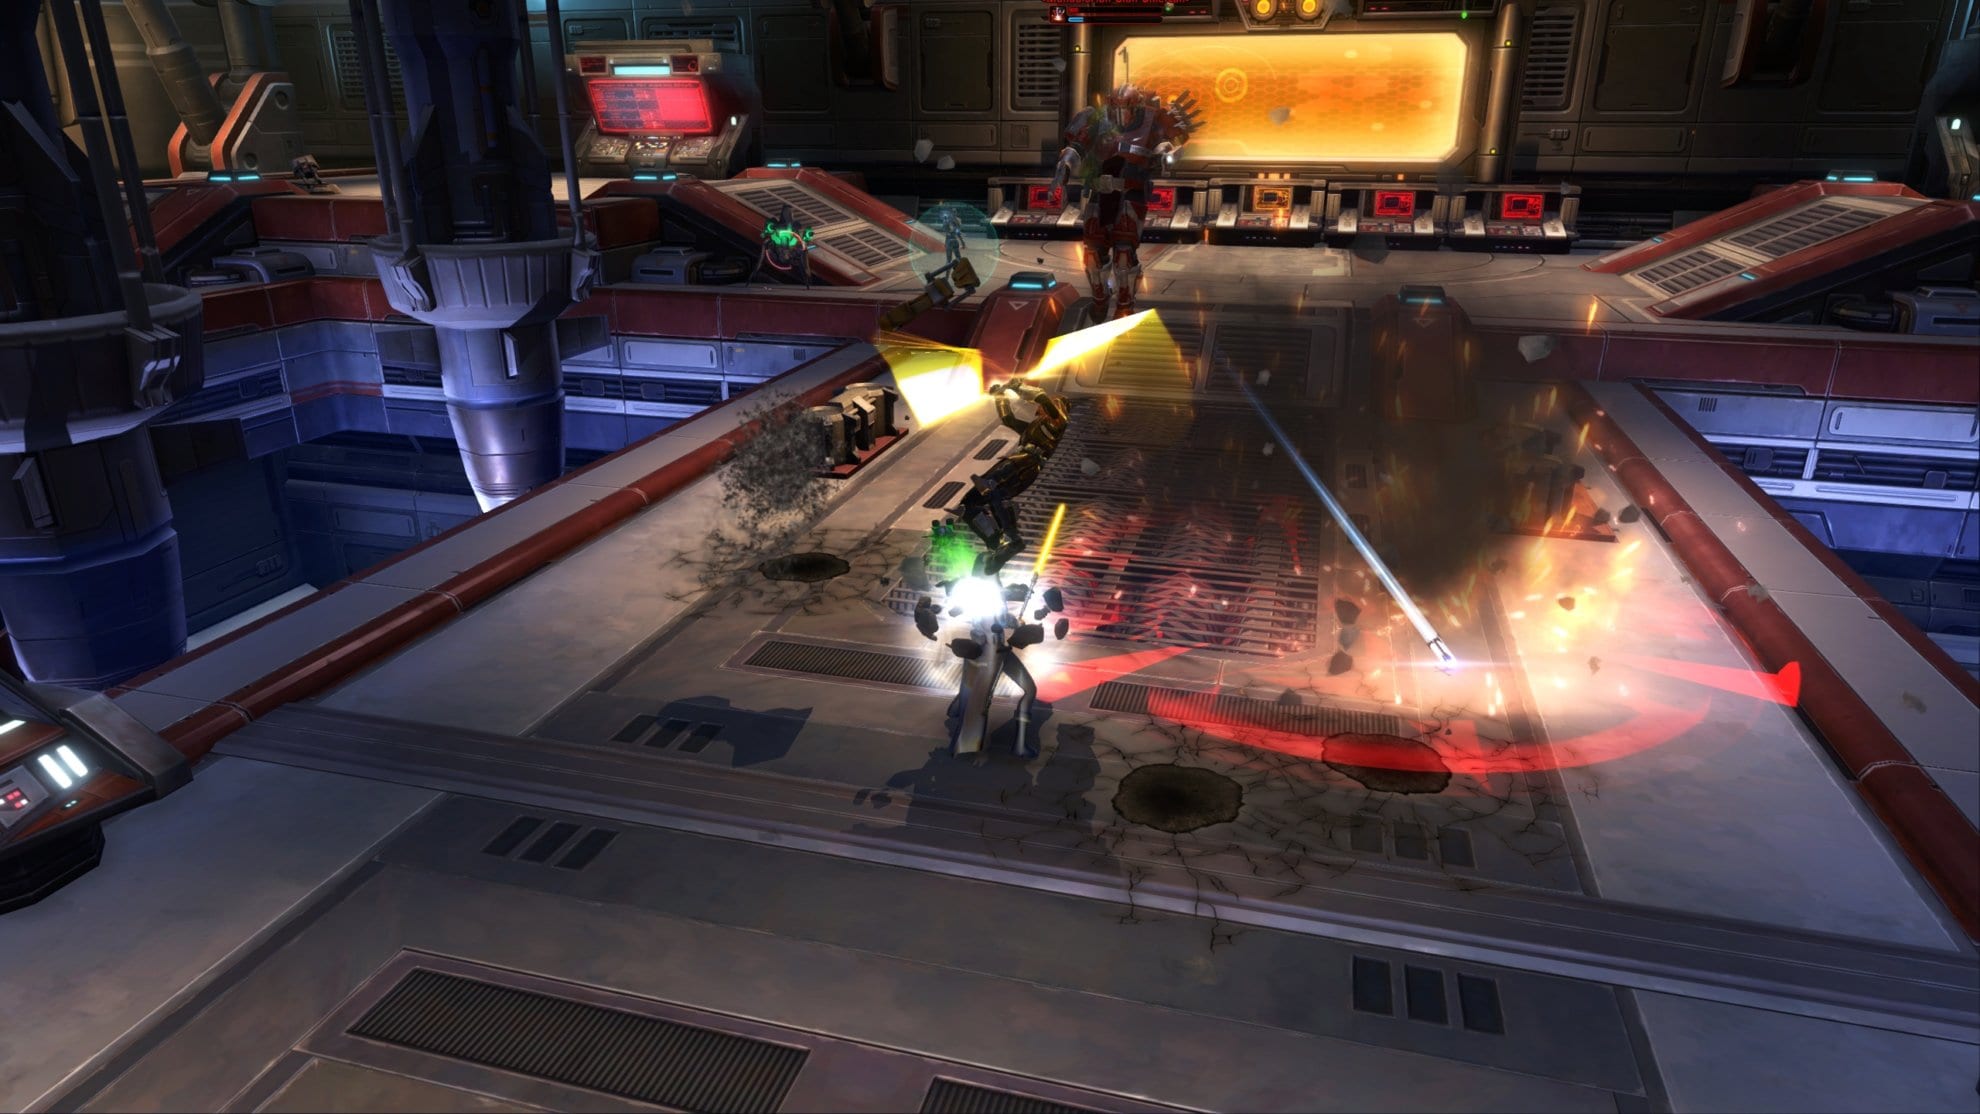
Mavix has an attack called “Flame Burst” where he’ll fire a short burst of flames from his wrist at his target. The tank should keep him pointed away from the others as this will hit anyone caught in the area and deal damage over time.
Do not ignore the turrets as it’s possible that they’ll overwhelm the team. You might end up having to take on 2-6 turrets at a time.

When in the corners with his turrets, Mavrix will launch missiles at random party members. If a red circle appears beneath you, move out of the way to dodge the incoming missile. It’s fairly easy to do as this area effect is very small. Keep chasing Mavrix around the room, destroy the turrets as soon as possible, then defeat him in the center of the room.
Master Mode Differences
There aren’t really any significant mechanical differences but the turrets and flame burst damage hurts a lot more. While you might get away with skimping on turrets in Veteran Mode, doing so on Master Mode will lead to disaster. Focus on the turrets as soon as they pop up.
Other than that, Mavrix will use his jetpack to fly in the air and fire missiles at the ground during the final phase of the fight. It’s not particularly dangerous, it’s just flashy.
Achievements for Mandalorian Raiders
The majority of the achievements for this flashpoint are for defeating the bosses 1 time, 10 times, and 25 times. Though here are two that grant item rewards:
Defeat Mavrix Varad (Veteran Mode)
Defeated Mavrix Varad in the “Mandalorian Raiders” flashpoint.
You’ll gain the Mavrix Varad (Story) Trophy Decoration.
Elite: Glorious Combat (Master Mode)
Defeated all bosses in the “Mandalorian Raiders” flashpoint 25 times on master mode.
You’ll gain the Mavrix Varad (Master) Trophy Decoration.
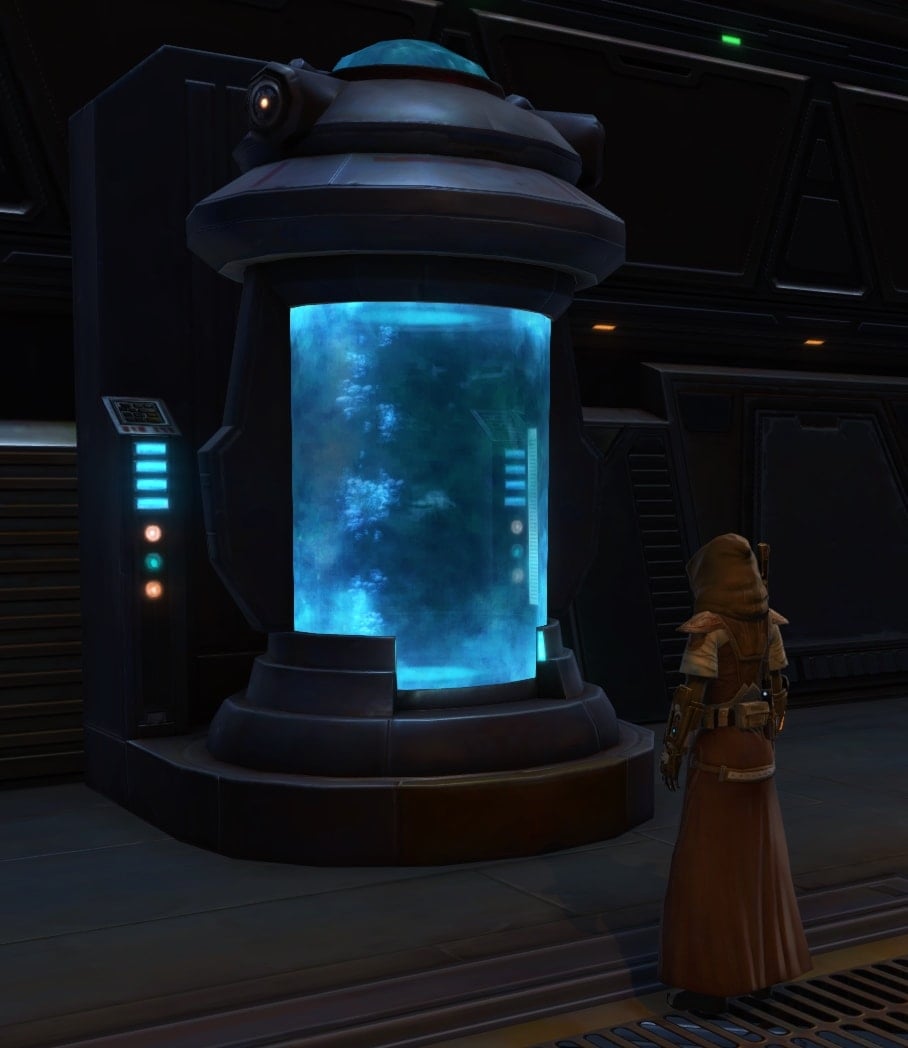
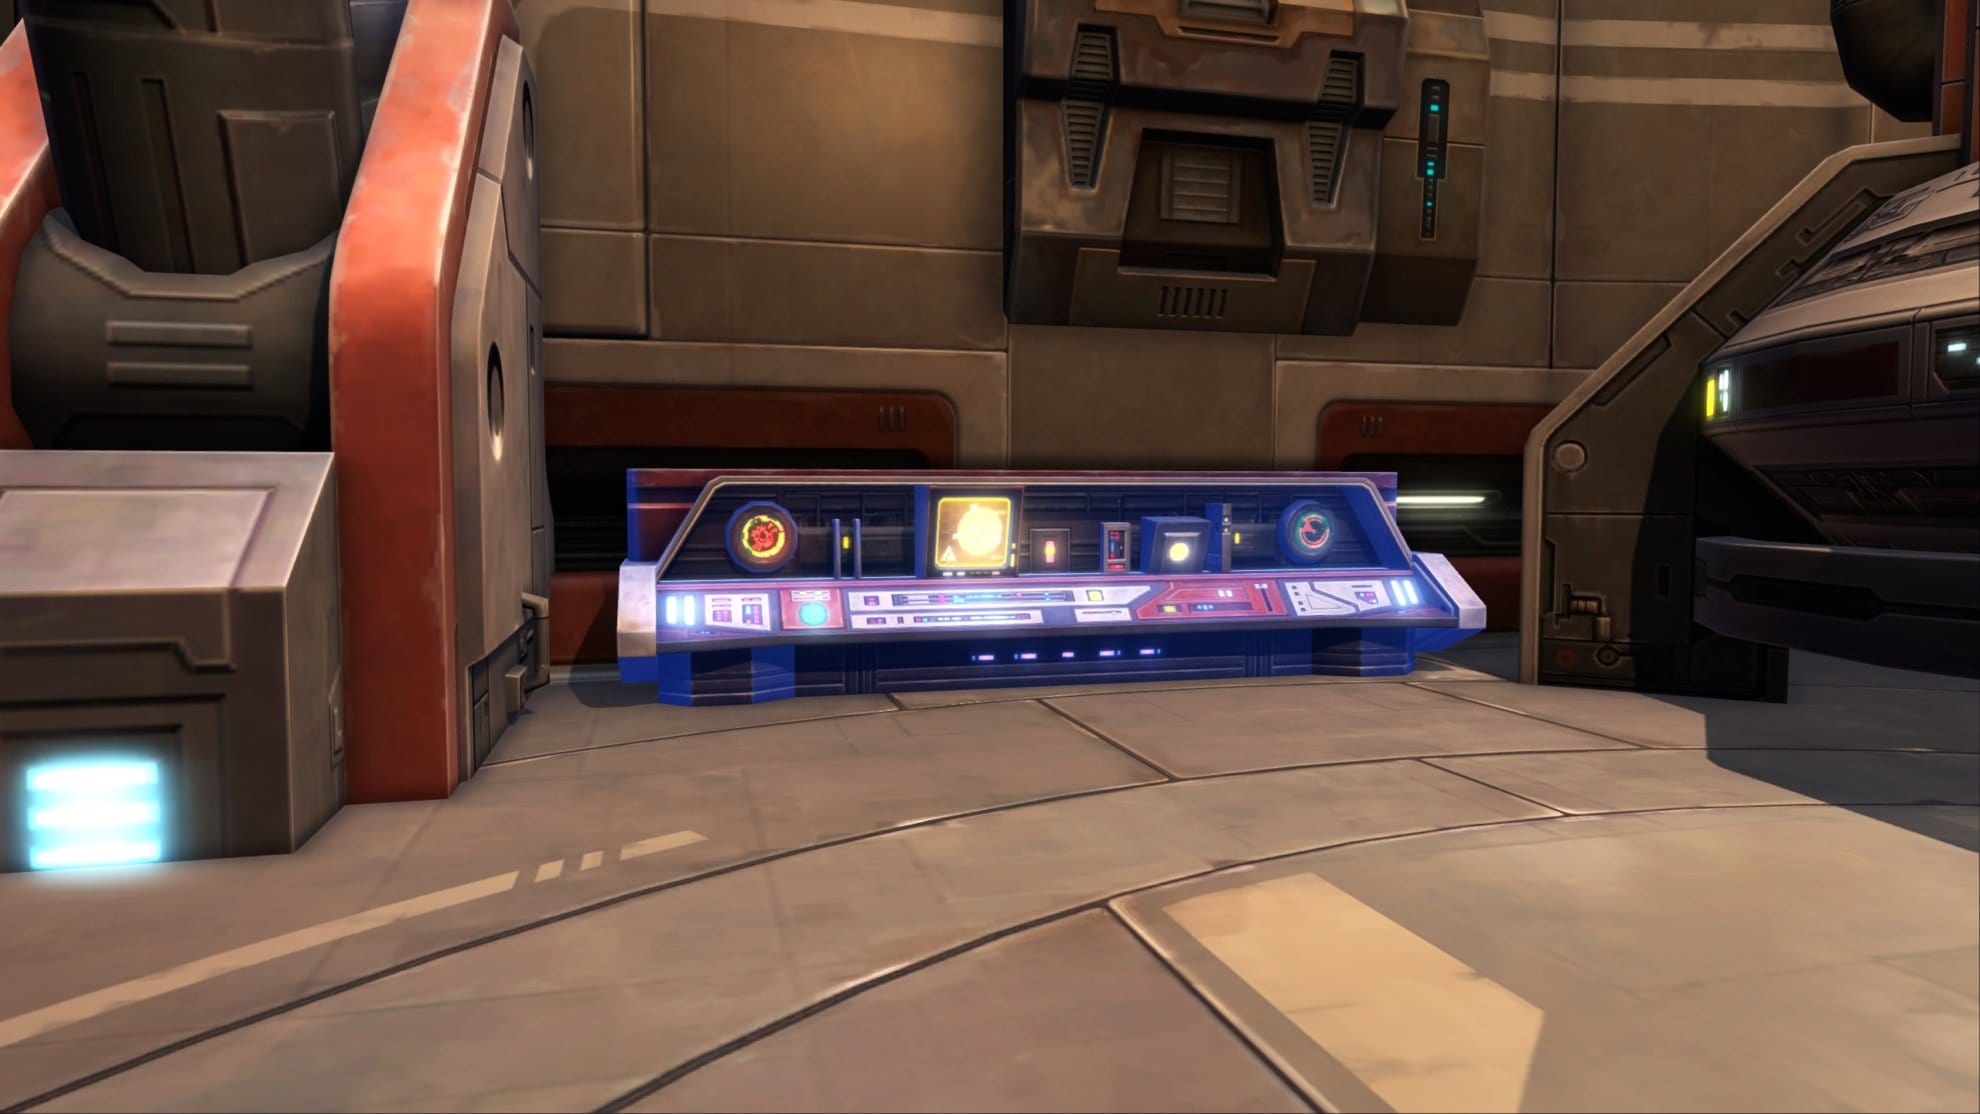
Decoration Drop
The bosses in Mandalorian Raiders can drop the Starship Medical Tank decoration. This will fit in a Medium or Medium Narrow hook. Who doesn’t want a Kolto Tank in their stronghold? It’s always nice to have a pristine tank of kolto to relax in after your adventures!