This guide will tell you how to start and complete the Flashpoint, Directive 7, in any difficulty mode, what achievements you can unlock and the rewards you can earn.
Table of contents
- How to Start the Flashpoint and its Story
- Bonus Mission: Orbital Interference
- Bonus Mission: Means of Production Phases 1 and 2
- Mini-Boss 1: Detector
- Zadd Hydroplant Shortcut
- Mini-Boss 2: Theta, Beta, and Zeta
- Boss 1: Interrogator
- Bonus Mission: Means of Production Phase 3
- Boss 2: Bulwark
- Mini-Boss 3: Assembler
- Optional Bonus Boss: Replicator
- Final Boss: Mentor
- Achievements for Directive 7
- Decoration Drop
How to Start the Flashpoint and its Story
Directive 7 is a classic flashpoint from the original release of Star Wars: The Old Republic. If you’re looking to scrap some droids, no other flashpoint is finer than this one! This flashpoint has a good chunk of mini-bosses to pair with the three main bosses, it’s a fun twist on the flashpoint formula.
On the small moon of Zadd, a faction of droids known as “Directive 7” have declared war on all biological life in the galaxy. Having turned on their creators, they “liberate” other droids to have them join their forces. The Republic and Empire have lost colonies and fleets of ships to these droids, so they both send out a strike team to take out the source of the liberation signal.
This guide covers Story Mode, Veteran Mode, and Mater Mode for Directive 7.
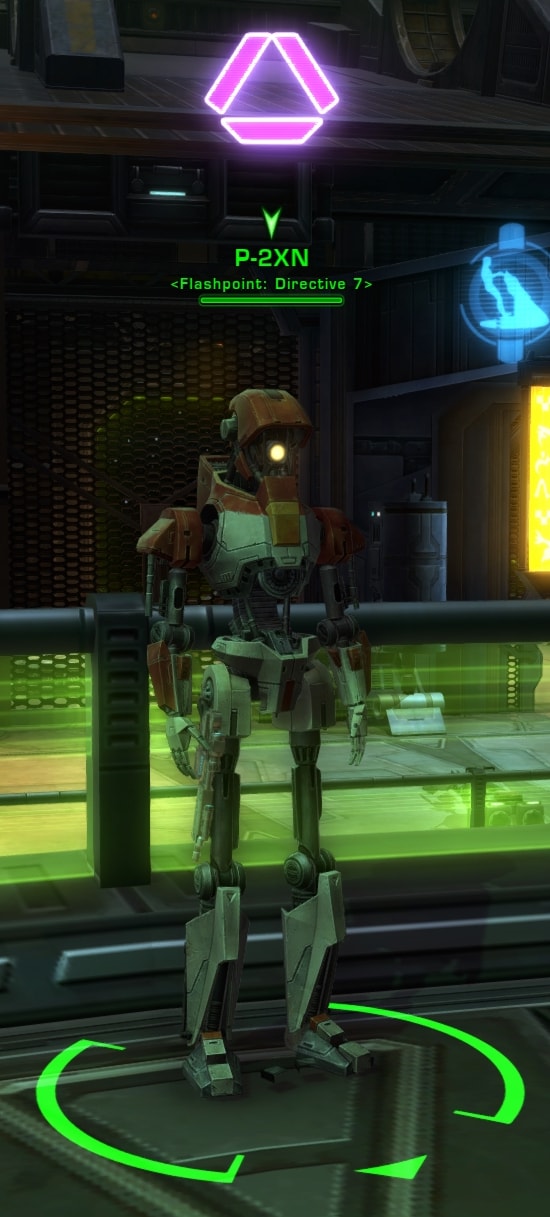
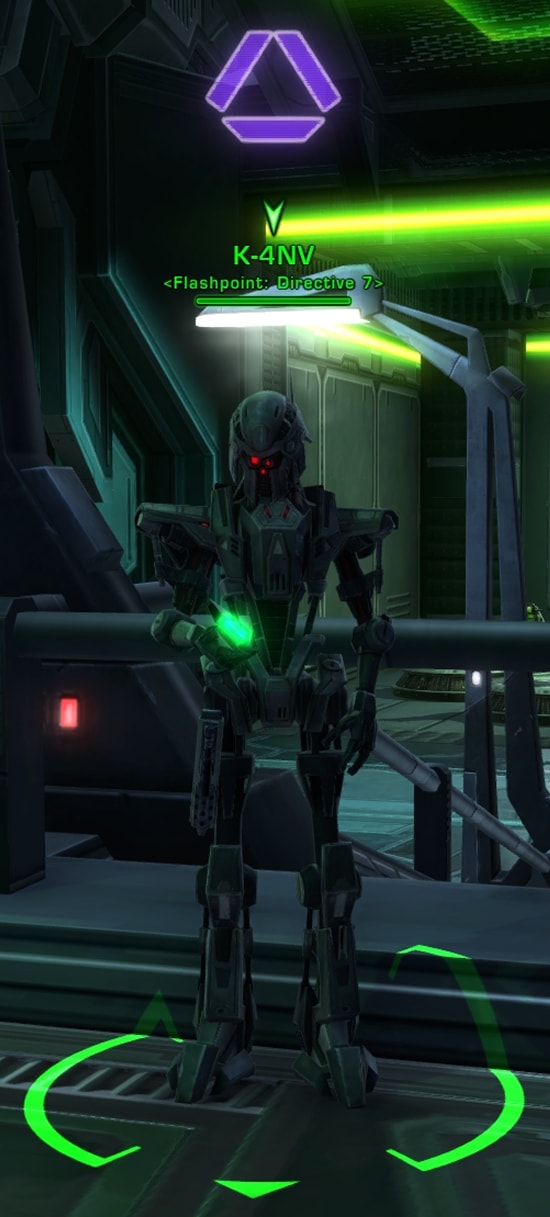
To start the story arc for Directive 7, your character needs to be at least level 48. Both factions can find the droid that starts the quest at the Galactic Market on the fleet. For the Republic, this droid is P-2XN. For the Empire, this droid is K-4NV.
If you prefer to get the flashpoint without going through the story arc, you’ll need to head to one of your fleet’s capital ships. This is the Gav Daragon’s Mission Deck for the Republic, and the Ziost Shadow’s Mission Deck for the Empire.
The flashpoint is available in the Activity Finder under the Group tab. You can also obtain it under the Solo tab of the Activities window if you wish to complete this flashpoint alone.
Read our SWTOR Story Progression Guide to learn where this story fits in. The guide will help you experience the game’s narrative in the proper intended order of events and aid and assist you if you are not sure what to do and where to go next.
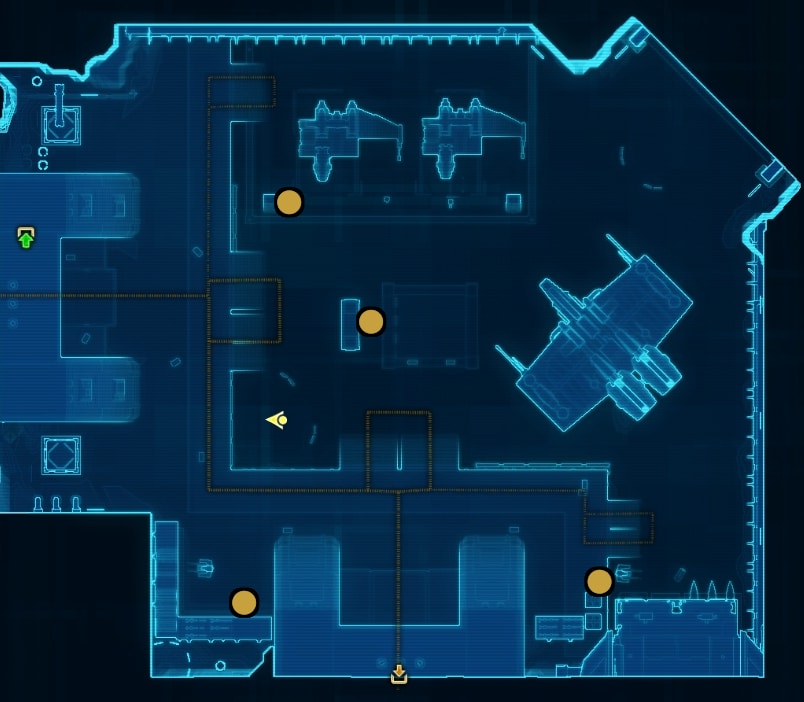
Bonus Mission: Orbital Interference
This is one bonus mission of two found in Directive 7. This one is a bit of a red herring as this only grants experience and a Lore entry at the end of it. If you’re at the level cap, don’t bother with this particular set of missions. This bonus mission is available on all difficulty modes.
If you’re after that Lore Entry and extra experience, then you’ll want to do this bonus mission. The Lore Entry is granted on Veteran Mode or higher. You’ll need to destroy 5 Signal Transceivers and 8 Thermal Sensors.
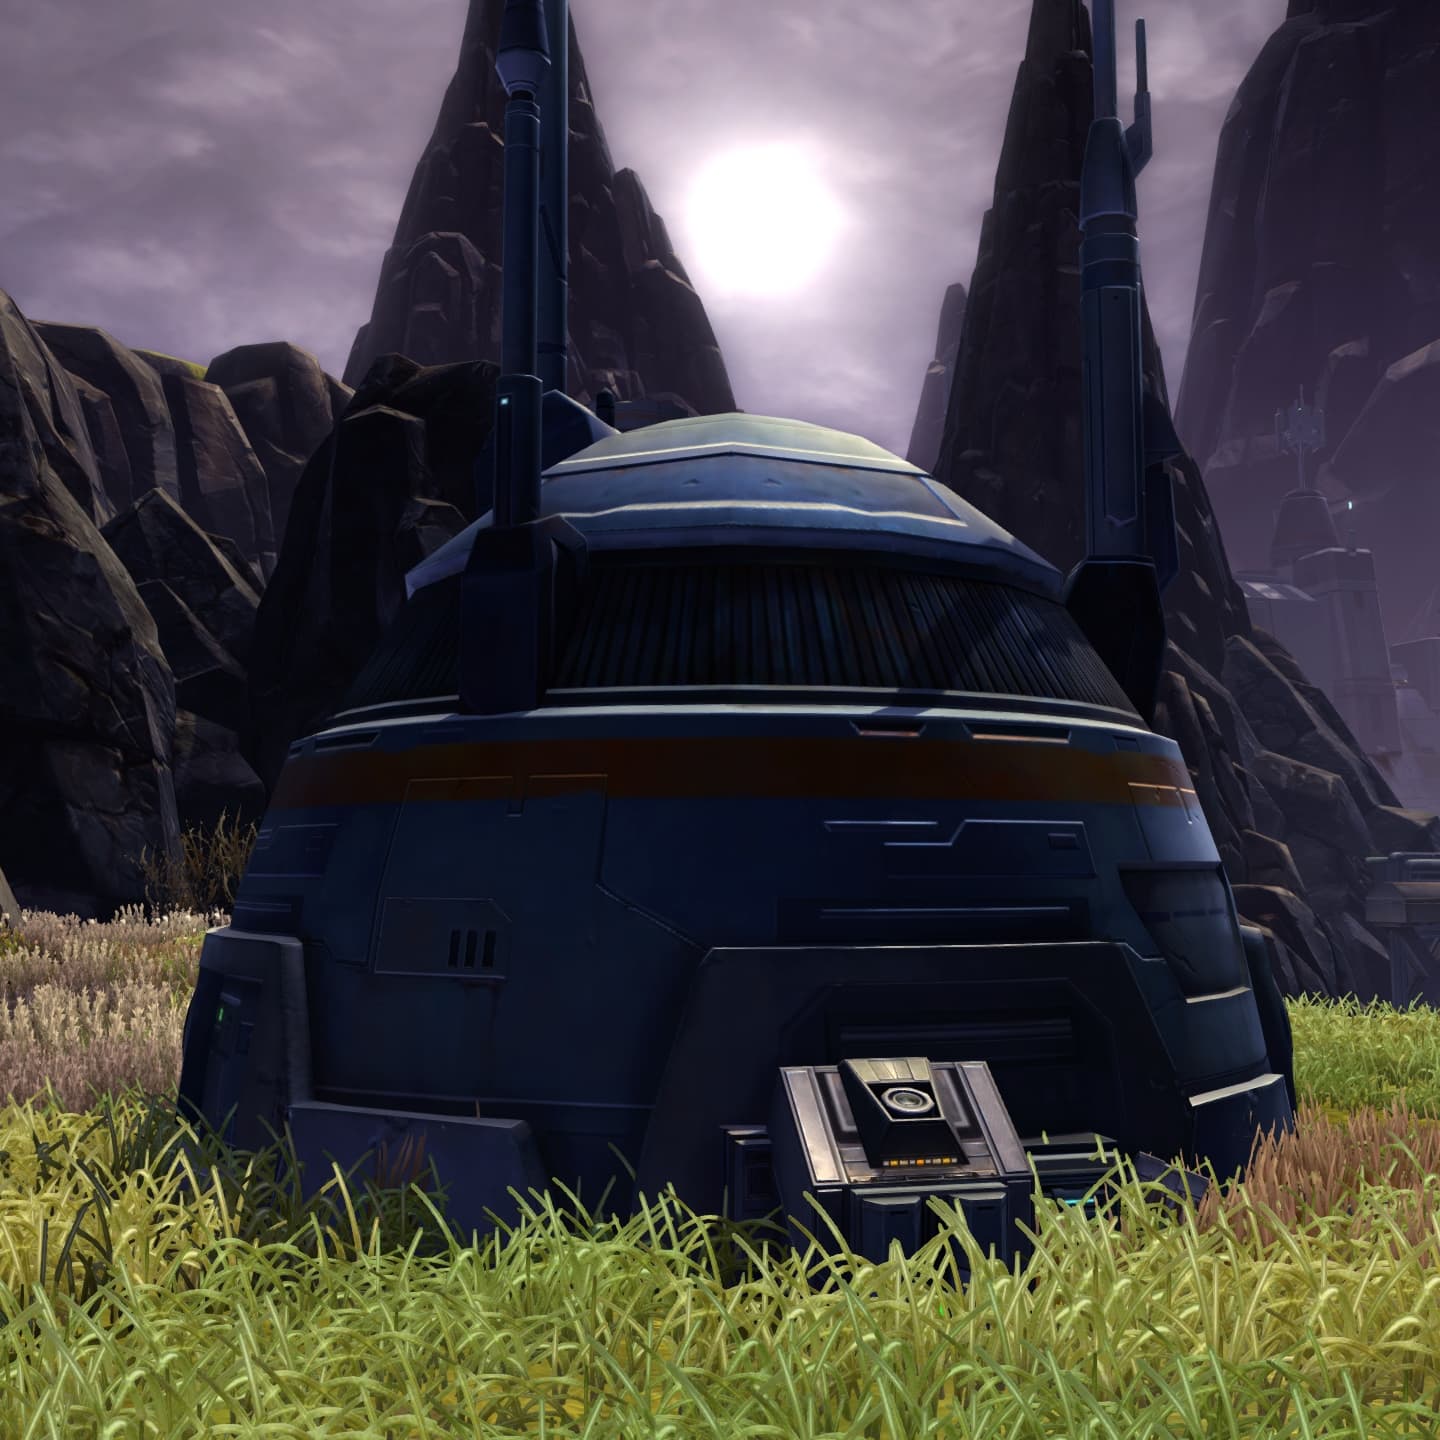
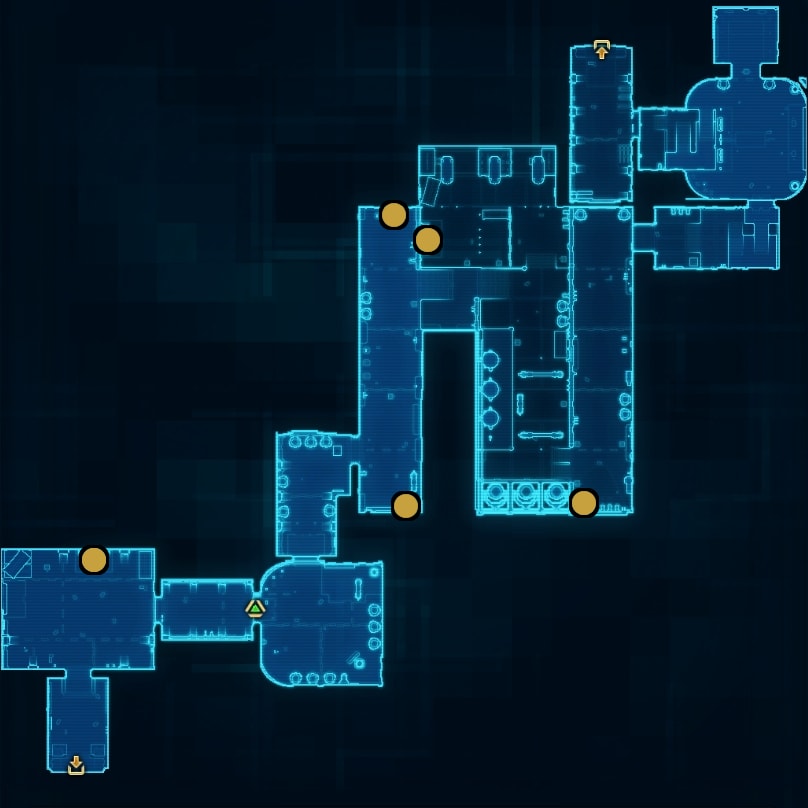
The Signal Transceivers can be found at the Zadd Hydroplant and The Factory’s Landing Pad. Look for these semi-spherical structures popping out of the ground.
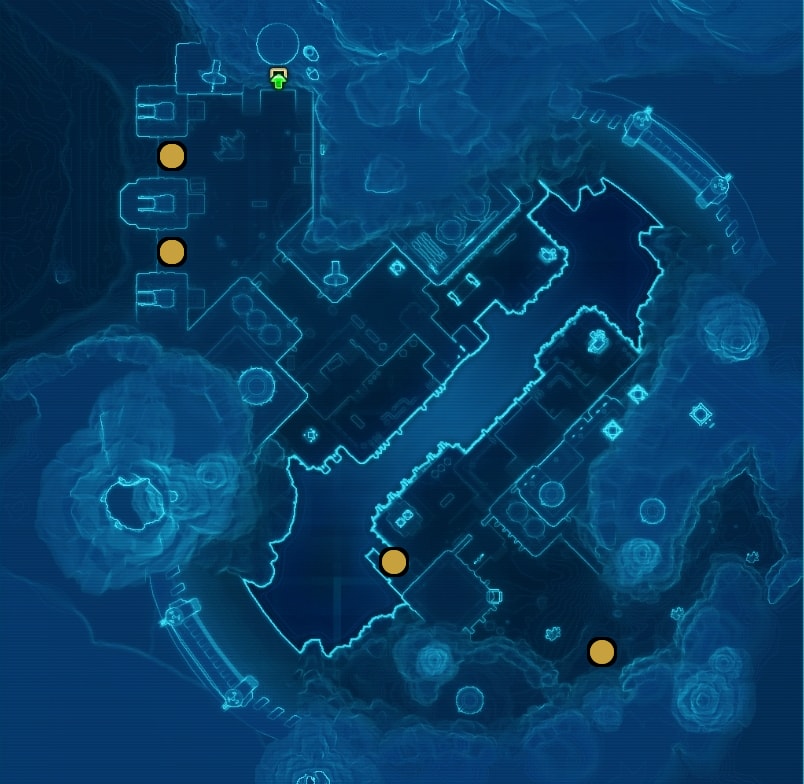
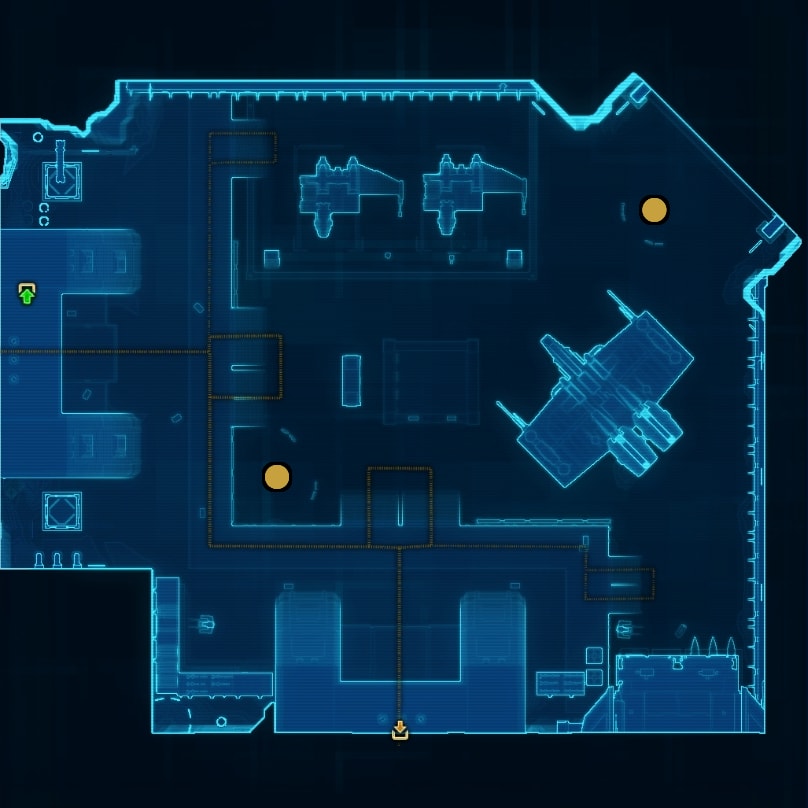
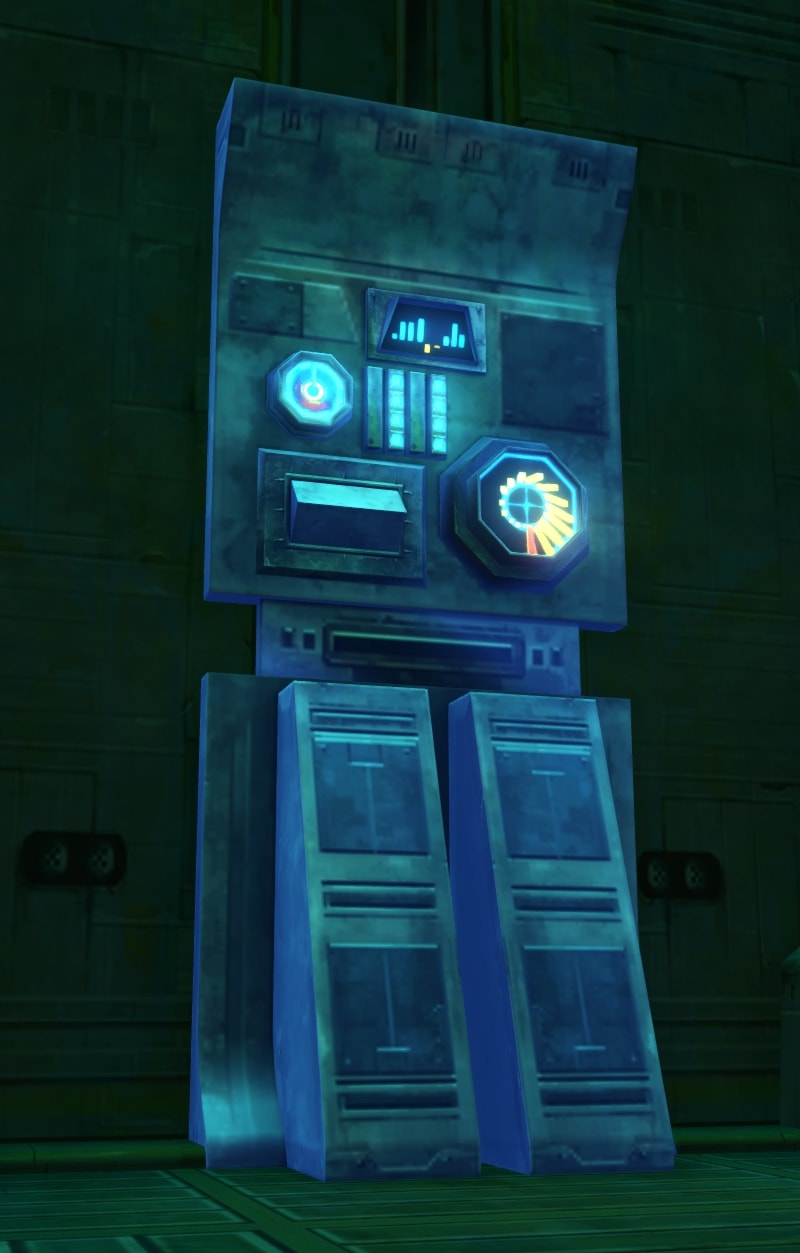
The Thermal Sensors can be found in The Factory and the Factory’s Production Control. Look to the walls as these sensors are wall panels.
Bonus Mission: Means of Production Phases 1 and 2
To start the series of bonus that leads to the Bonus Boss, defeat an enemy droid. Once you do that, the first phase requires you to destroy 50 droids in Directive 7. After completing phase 1, phase 2 will require you to destroy another 50 droids. This bonus mission is available on all difficulty modes.
Mini-Boss 1: Detector
As the first mini-boss of Directive 7, this is the most easy fight that will prepare you for later mechanics found in the flashpoint. Simply take out the turrets backing up the Detector to lower its overall DPS then take down the Detector itself.

Veteran Mode Differences
In Veteran Mode, the Detector gains access to two special abilities. One of these is an absorption shield that reduces incoming damage. It also has the “Reconstruct” ability that will allow it to channel heal itself for 10 seconds.
Master Mode Differences
The Detector is overall tougher in Master Mode and its absorption shield is stronger, so it’ll take less damage. It’s still an easy fight overall.
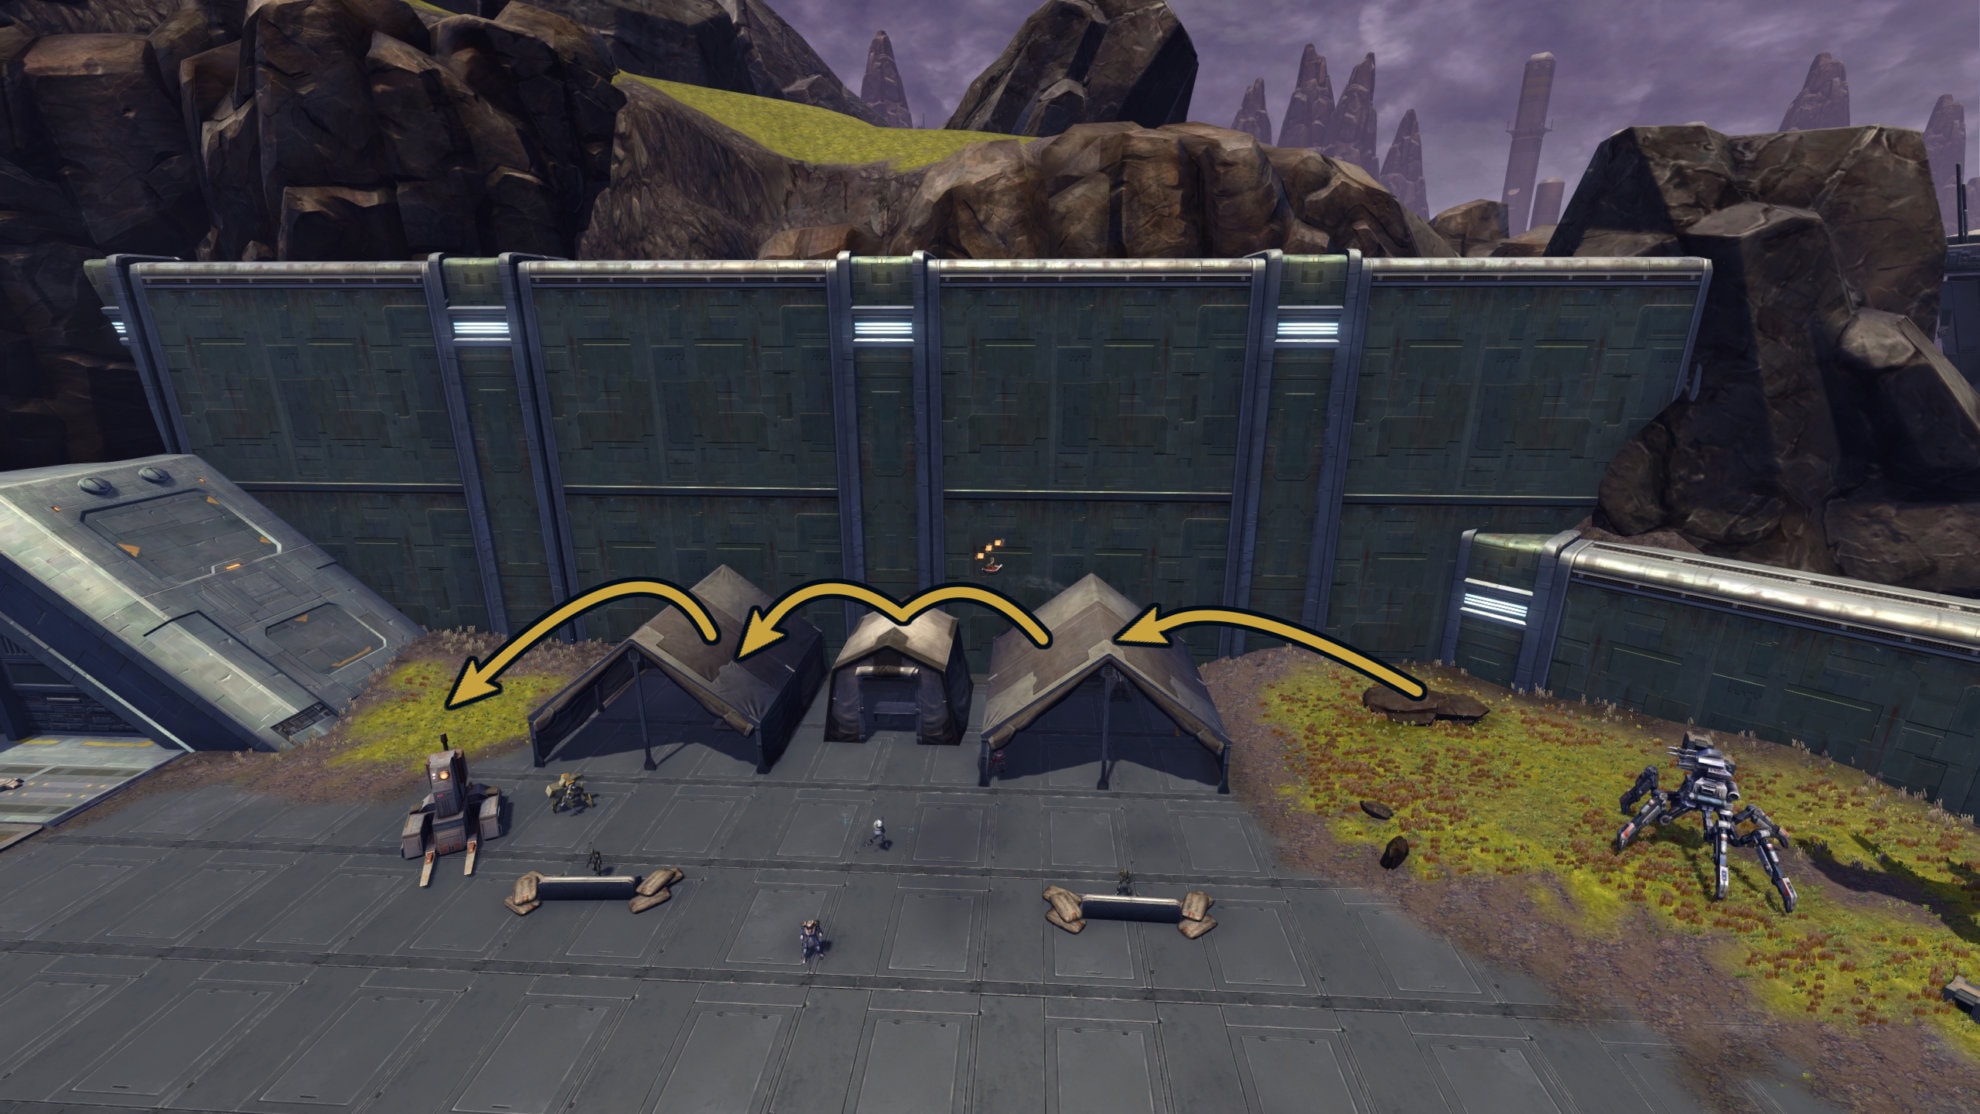
Zadd Hydroplant Shortcut
When you get towards the end of the Zadd Hydroplant map, you can skip some combat encounters by jumping over the tents with a mount. Hug the wall while jumping over the tents to avoid the droids below. If you do this right, you can run to your next objective with only one fight in the way.
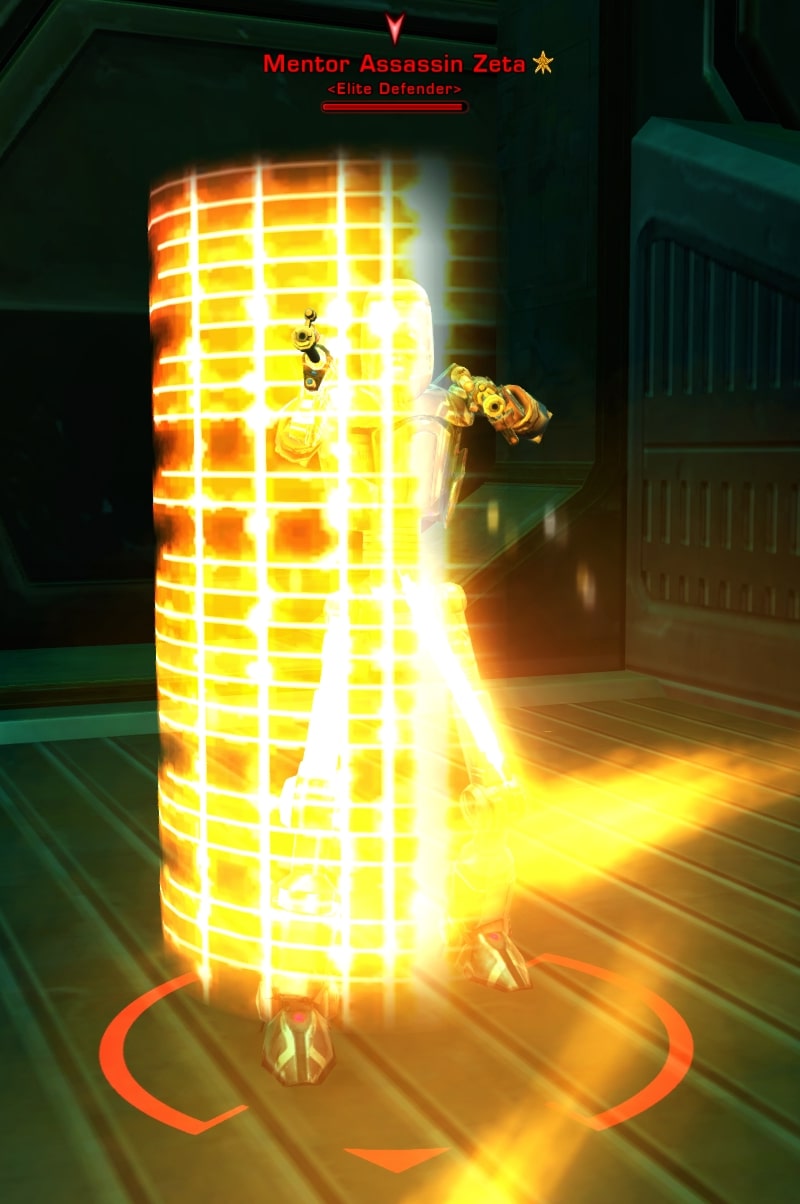
Mini-Boss 2: Theta, Beta, and Zeta
The Mentor’s Assassins, Theta, Beta, and Zeta, act as the second mini-boss encounter in Directive 7. You’ll notice that before the fight even starts, two of these droids have a shield. One of these shields is orange while the other shield is blue. Throughout the fight, the droids will alternate who has which shield so keep an eye out.

The orange shield is a Reflection Shield. Any weapon attacks against this shield will result in the attacker getting knocked back and dealing no damage to the droid. Instead, Force and Tech attacks are needed to pass through the shield. Alternatively, attack the droid with no shield.
The blue shield is an Absorption Shield. This will make the droid with it immune to damage. Don’t bother trying to damage the droid with the blue shield, instead focus on the one without any shield at all.
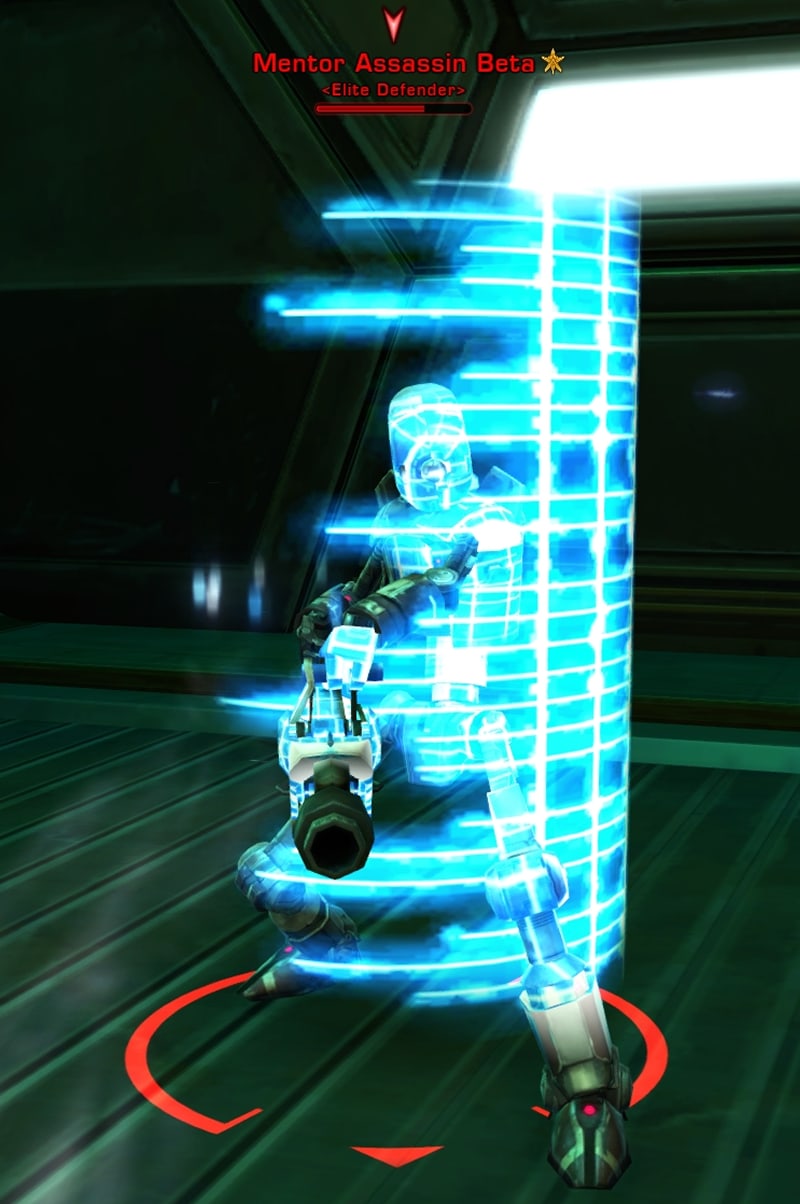
When you defeat one of the droids, they will lose the ability to gain shields and one will become enraged. Defeat the enraged droid first, then defeat the other droid.
Veteran and Master Mode Differences
There are no mechanical differences on Veteran or Master Mode, the droids are just overall tougher to fight.
Boss 1: Interrogator
The Interrogator is the first true boss you’ll find in Directive 7. While this giant probe droid isn’t particularly threatening by itself, it has the ability to scan you and make a cyborg copy of you. The copy won’t look like you, rather it mirrors whatever your character’s origin story is.
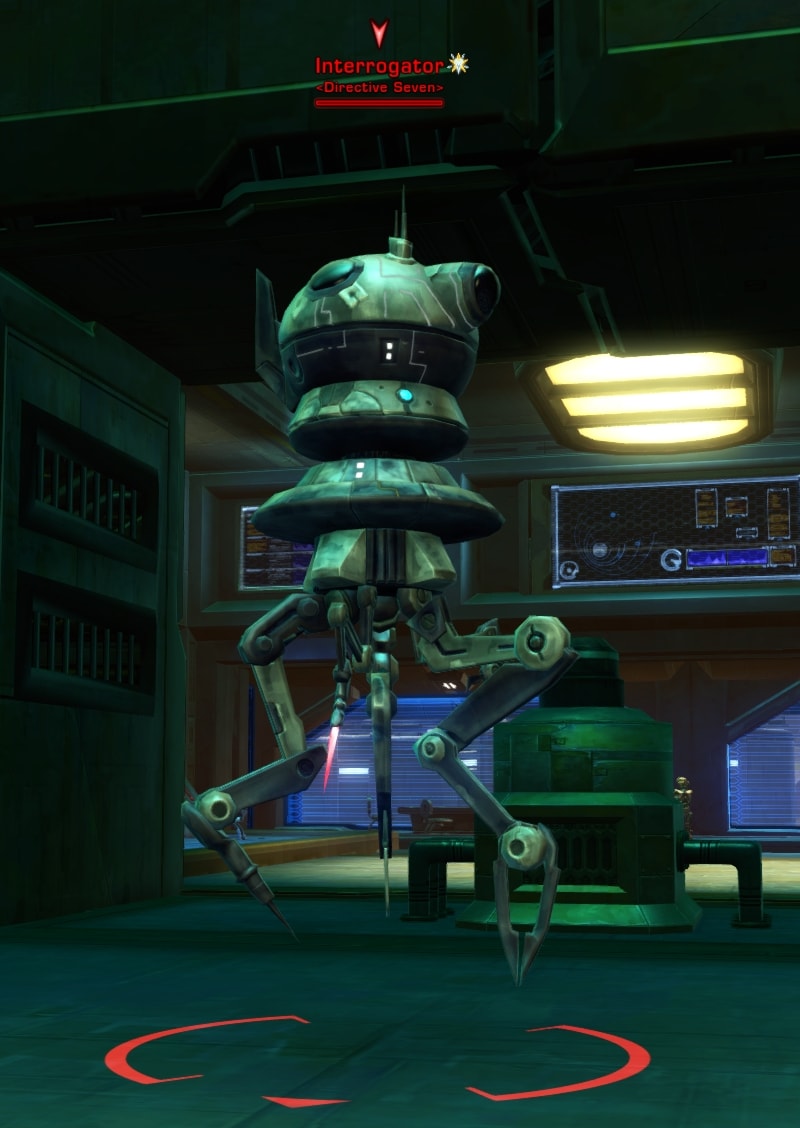
The boss will scan each player in the group and make cyborg copies of them. The more varied the group, the more varies the copies you’ll have to fight. Each of these copies have different abilities you’ll need to be aware of, especially on higher difficulties.
- Cyborg Knights/Warriors will dual wield lightsabers and attack with Juyo form. If left unchecked, their damage ramps up and will hurt.
- Cyborg Consulars/Inquisitors attack with Telekinetic Throw/Force Lightning and will push away a single target.
- Cyborg Troopers/Bounty Hunters will fire on a single target and will fire blaster bolts to multiple targets in a straight line area.
- Cyborg Smugglers/Agents will focus on a single target with their blaster and occasionally throw thermal detonators.
Defeat any cyborgs first then attack the Interrogator again. Repeat this process until the Interrogator is destroyed.
Veteran Mode Differences
After summoning a cyborg, the Interrogator will gain a shield that reduces incoming damage for 25 seconds. Focus any cyborgs currently spawned in first, then attack the Interrogator.
Master Mode Differences
The Interrogator’s shield is much stronger in master mode as your attacks will essentially do nothing to it while active. Instead, focus down any cyborgs as they will really hurt on Master Mode.
Bonus Mission: Means of Production Phase 3
You’ll be able to access the objectives for phase 3 of the bonus mission after defeating the Interrogator. For phase 3, you’ll need to destroy 8 Replicator Nodes found in the Factory’s Landing Pad and the Factory’s Production Control maps.
Boss 2: Bulwark
Bulwark is an incredibly large and durable droid. Don’t let its size intimidate you as it’s a fairly simple fight.
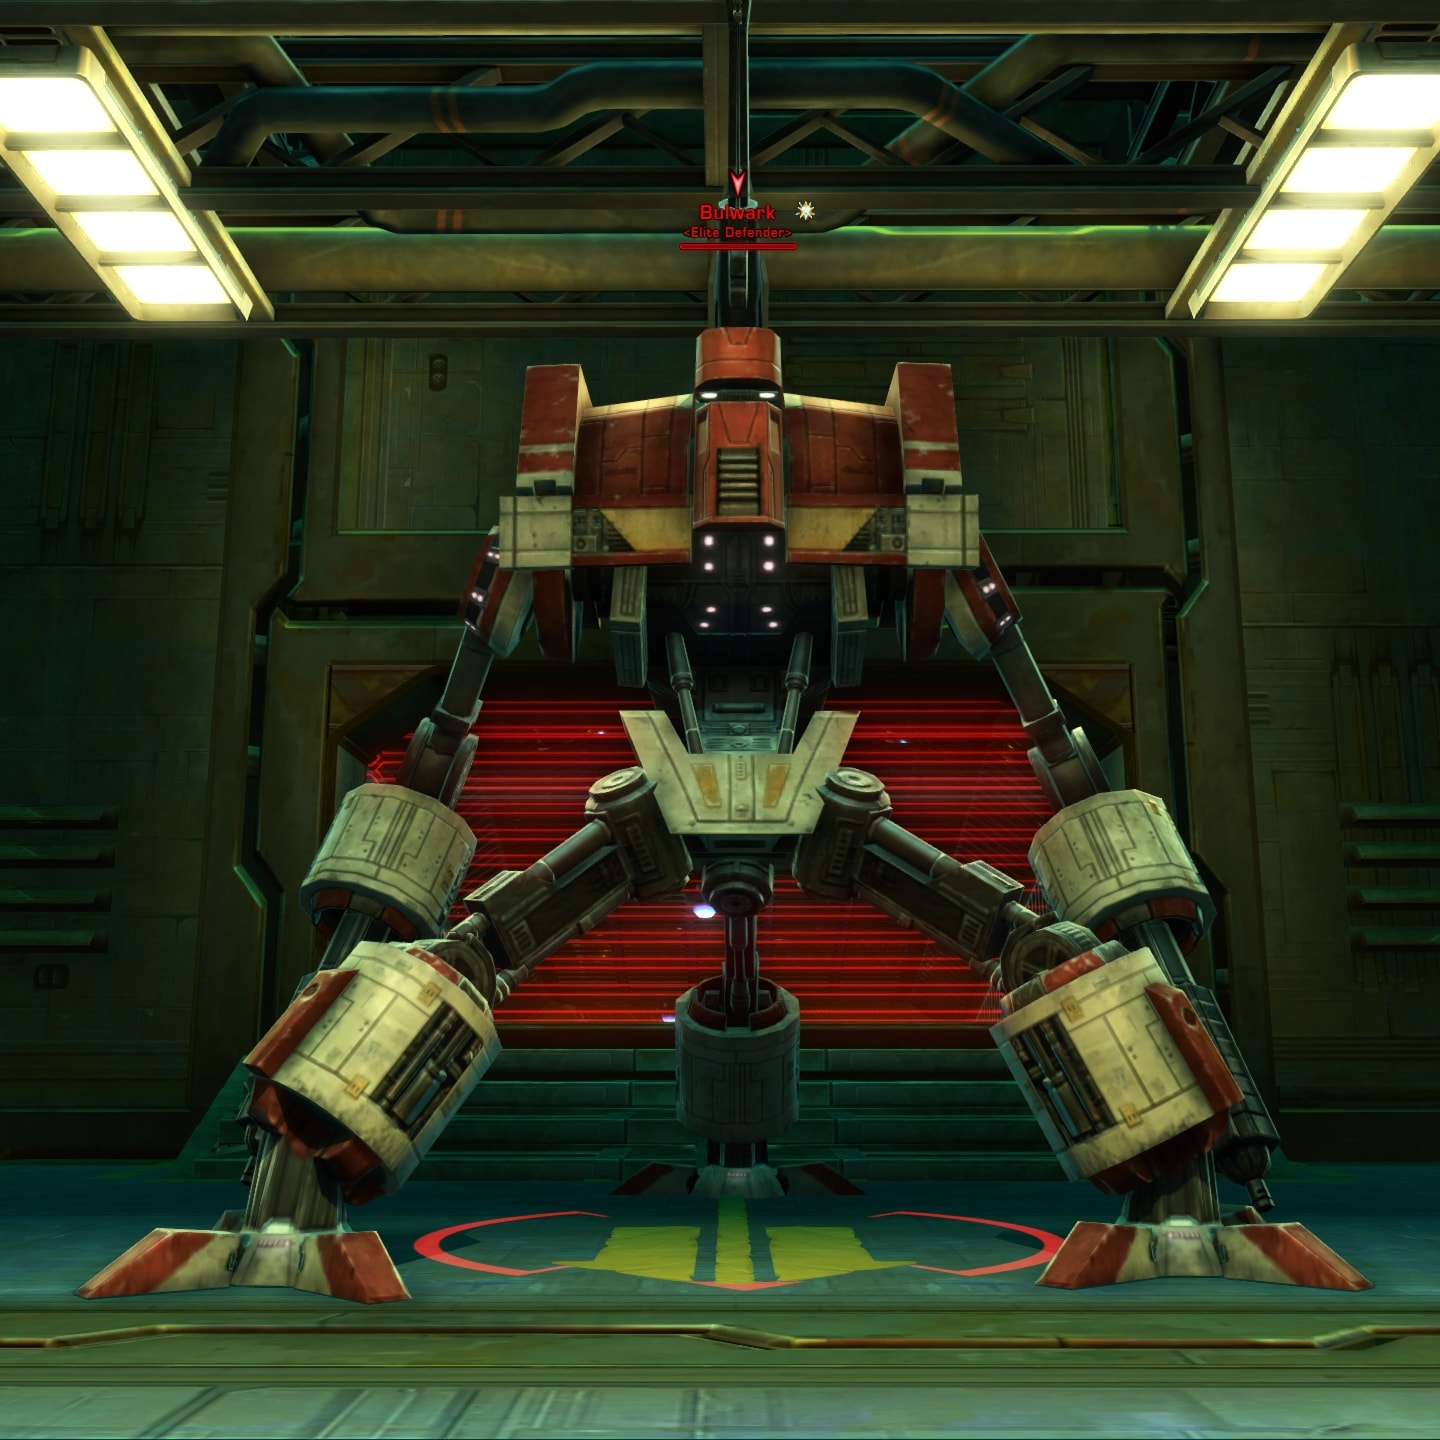
During the fight, Bulwark will attack its target by firing blasters and rockets at them. Occasionally, it will use the “Bulwark Smash” attack that will stun lock the target then knock them back. This isn’t much of an issue itself though its primary mechanic is what makes Bulwark dangerous.
Later in the fight, two shield generators on the sides of Bulwark will activate. This doesn’t really do much on story mode so keep attacking Bulwark. Bulwark’s attack will also become bolts of electricity which deal more damage than its standard attacks. You can destroy these shield generators by interacting with the panels beneath them.

After the shield generators are destroyed, Bulwark will switch back to its regular attacks. After some time, two repair droids will spawn and attempt to repair the shield generators. They are unshakeable and cannot be interrupted, so you can CC them to stop their channel. Though the best way to deal with the repair droids is to destroy them before they can reactivate the shield generators.
Veteran Mode Differences
The shield generators actually does something in Veteran Mode and reduces incoming damage. Bulwark’s electrical attacks hurt more, so take out the repair droids as soon as they spawn.
Master Mode Differences
The shield generators will make Bulwark immune to all incoming damage so long as they’re active in Master Mode. On top of that, his electrical attacks deal a great amount of damage and your tank will definitely feel it. Keep those shield generators down at all times.
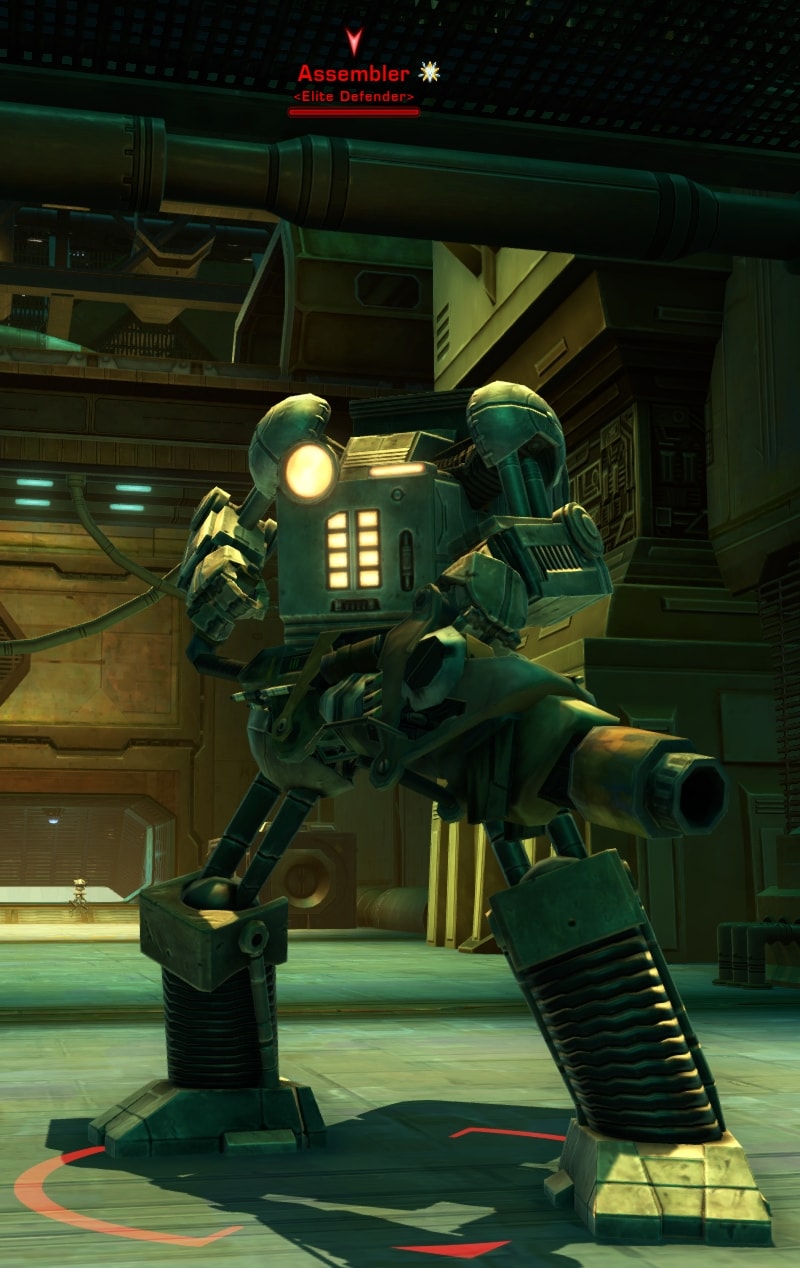
Mini-Boss 3: Assembler
The Assembler mini-boss is accompanied by two turbolasers. It’s not a bad fight and is more of an annoyance than anything. The tank should maintain aggro on the two turrets while the DPS takes out the Assembler first. The Assembler can repair the turbolasers so as with most situations, focus on the healer first.
Veteran and Master Mode Differences
There are no mechanical differences on Veteran or Master Mode, the Assembler and the turbolasers deal more damage and are slightly tankier.
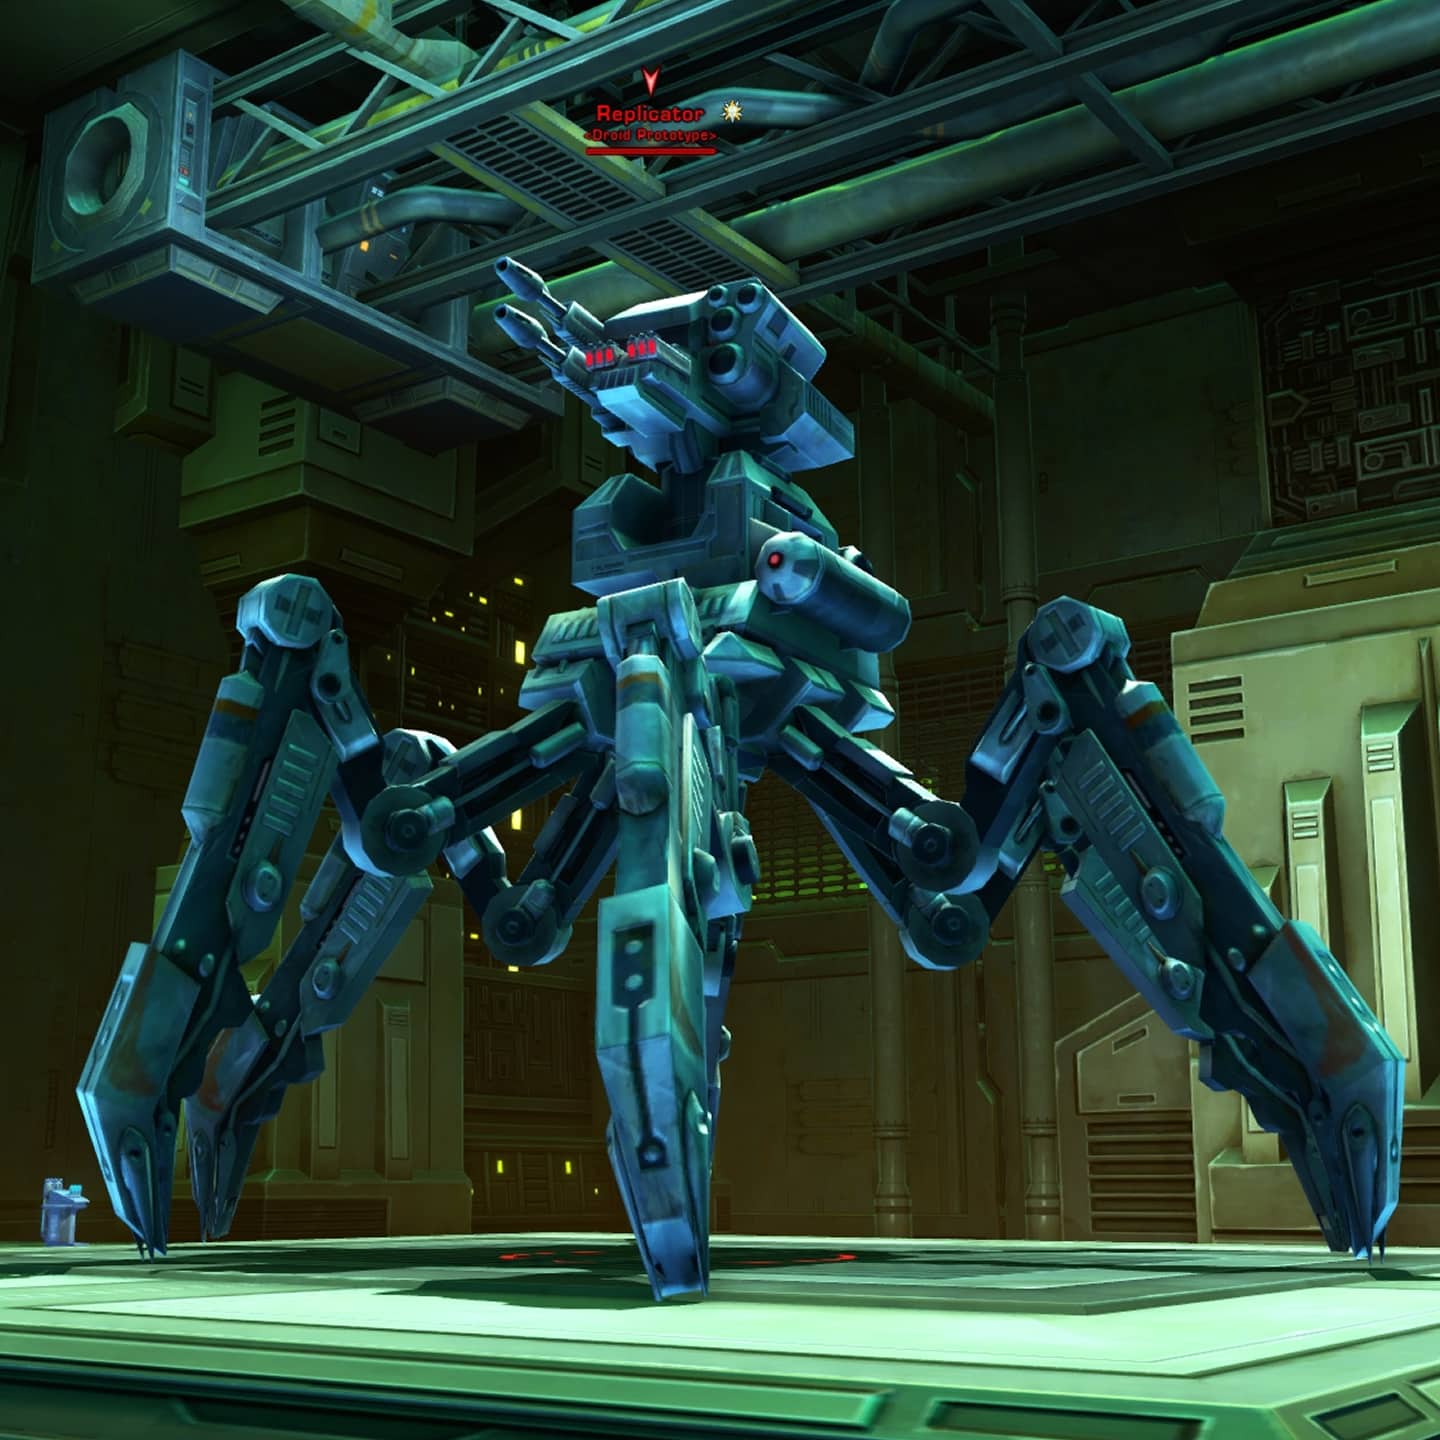
Optional Bonus Boss: Replicator
The Replicator is what happens when you mix a Hydra with a droid. As you damage the Replicator, it will split up into numerous copies of itself. If you’re not careful, these replicas can overwhelm a target. AoE abilities are great here, keep fighting the droids by taking out them out one at a time so you don’t spawn too many small droids.
Veteran and Master Mode Differences
There are no mechanical differences on Veteran or Master Mode, though the damage of numerous small Replicator clones adds up fast so they might actually pose a threat.
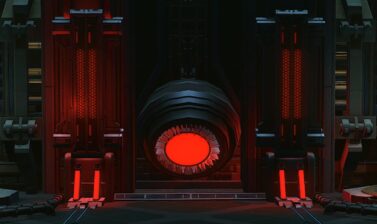
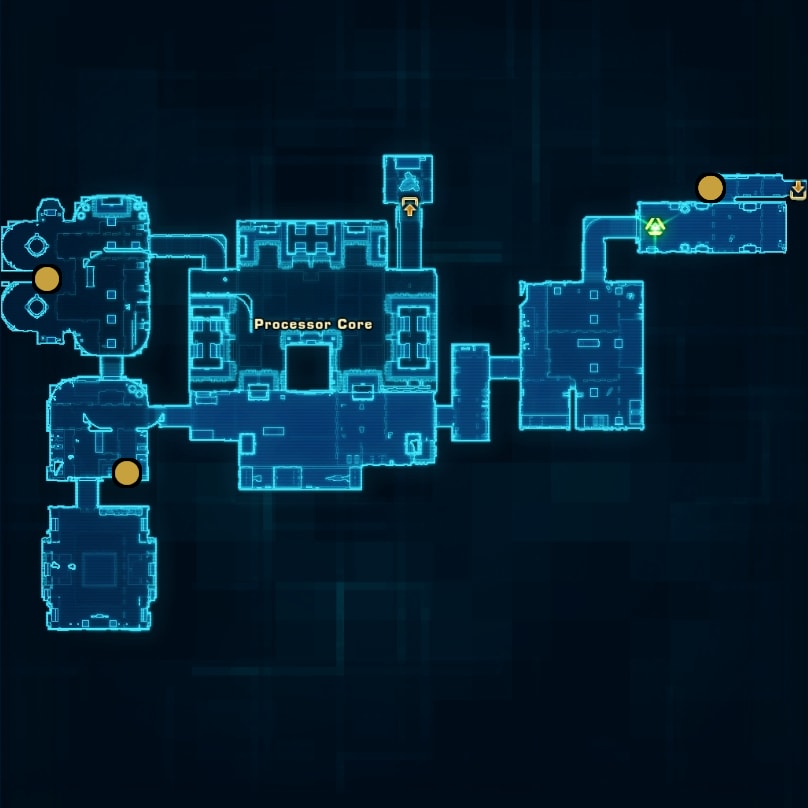
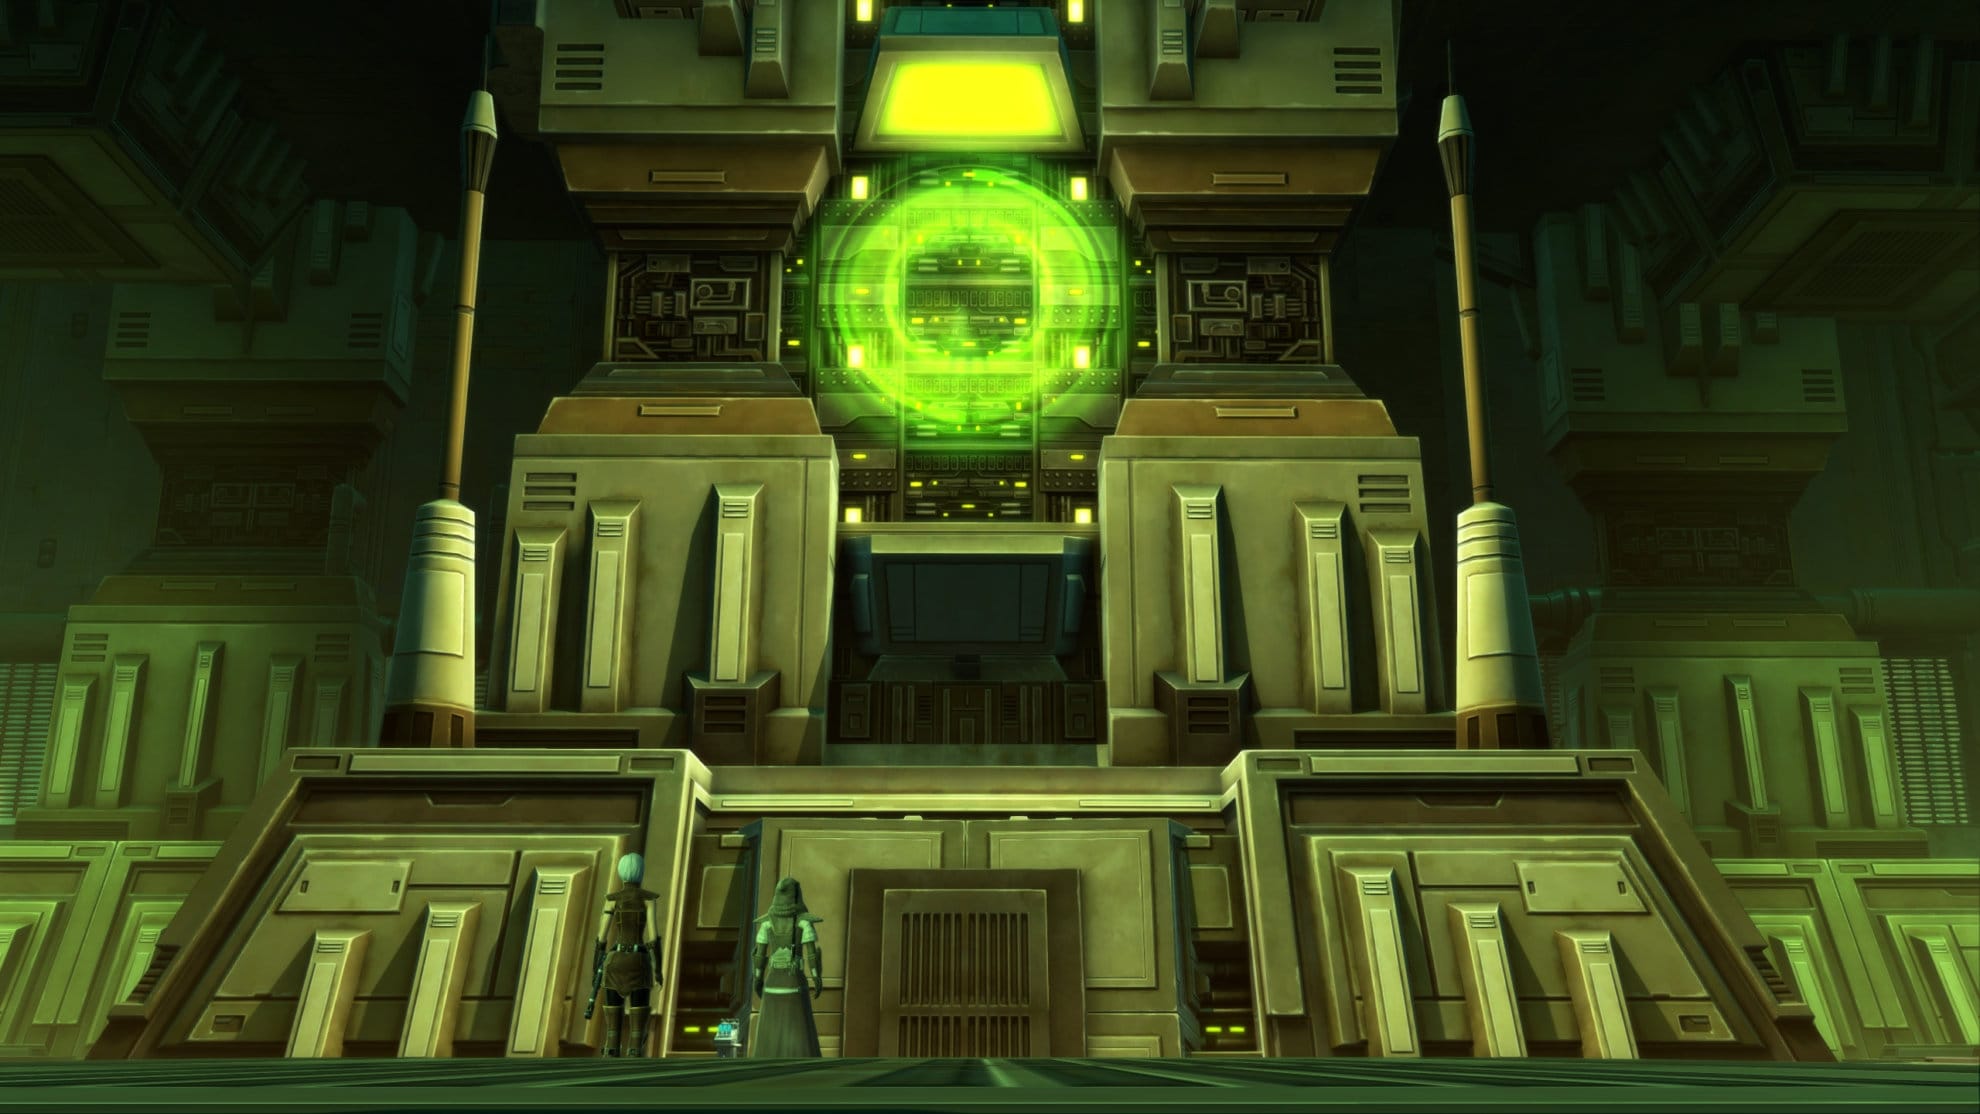
Final Boss: Mentor
After a long and arduous journey through Zadd, you’ll finally reach the Mentor. This rogue supercomputer is what’s planning to overthrow all biological life by sending a signal to every droid in the galaxy to go AWOL. Stop this from happening by taking down the Mentor!
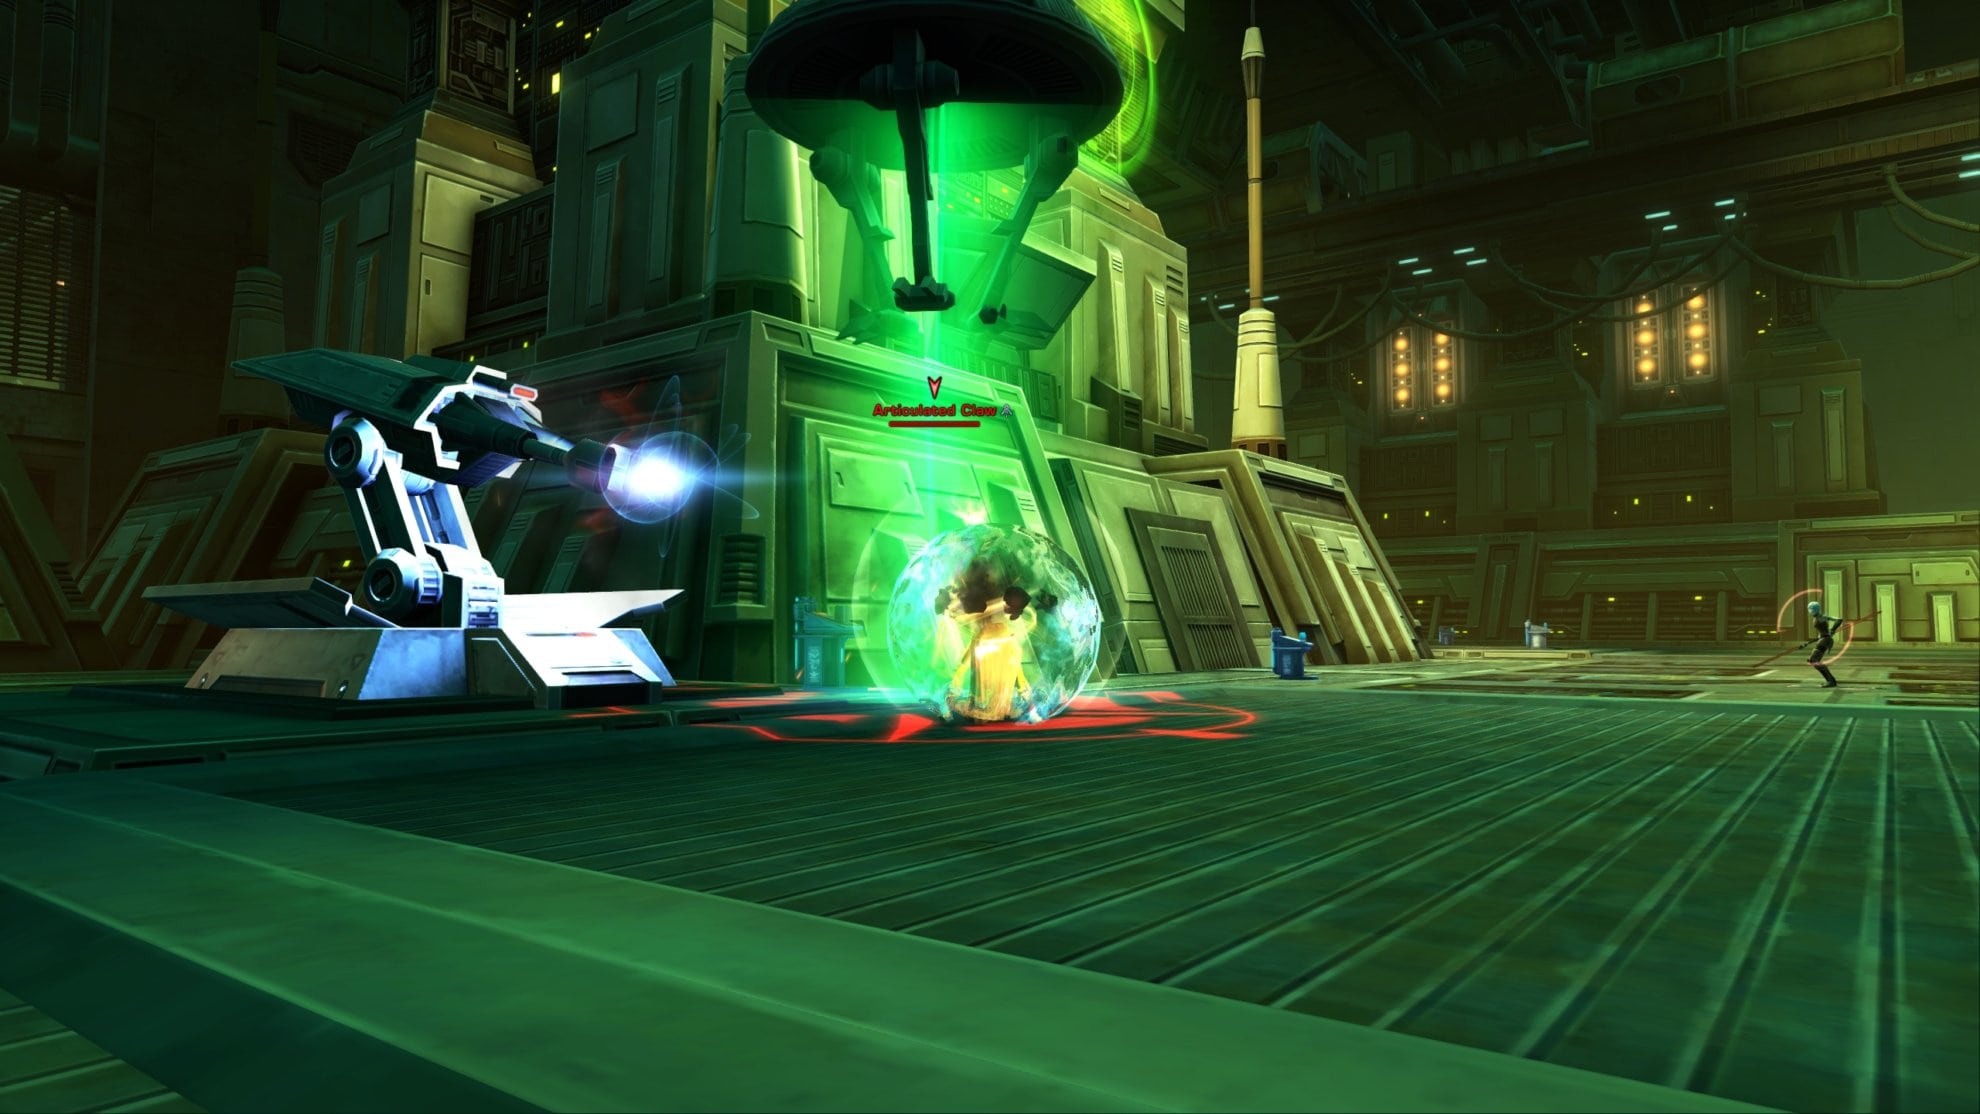
You will be unable to damage Mentor for most of the fight due to the “Repulsion Shield” buff. The Mentor will send use its Turbolasers to attack you during the first phase of the fight. Meanwhile, an Articulated Claw will hover over a target and fire a beam of energy at them. If you’re targeted by this claw, kite it until it retracts. The tank can also taunt the claw to distract it.
After defeating the turbolasers, a Mentor Core Guardian will spawn and attack the party. Mentor will also begin firing rockets at random points on the ground, so avoid the circles that turn from green to red.
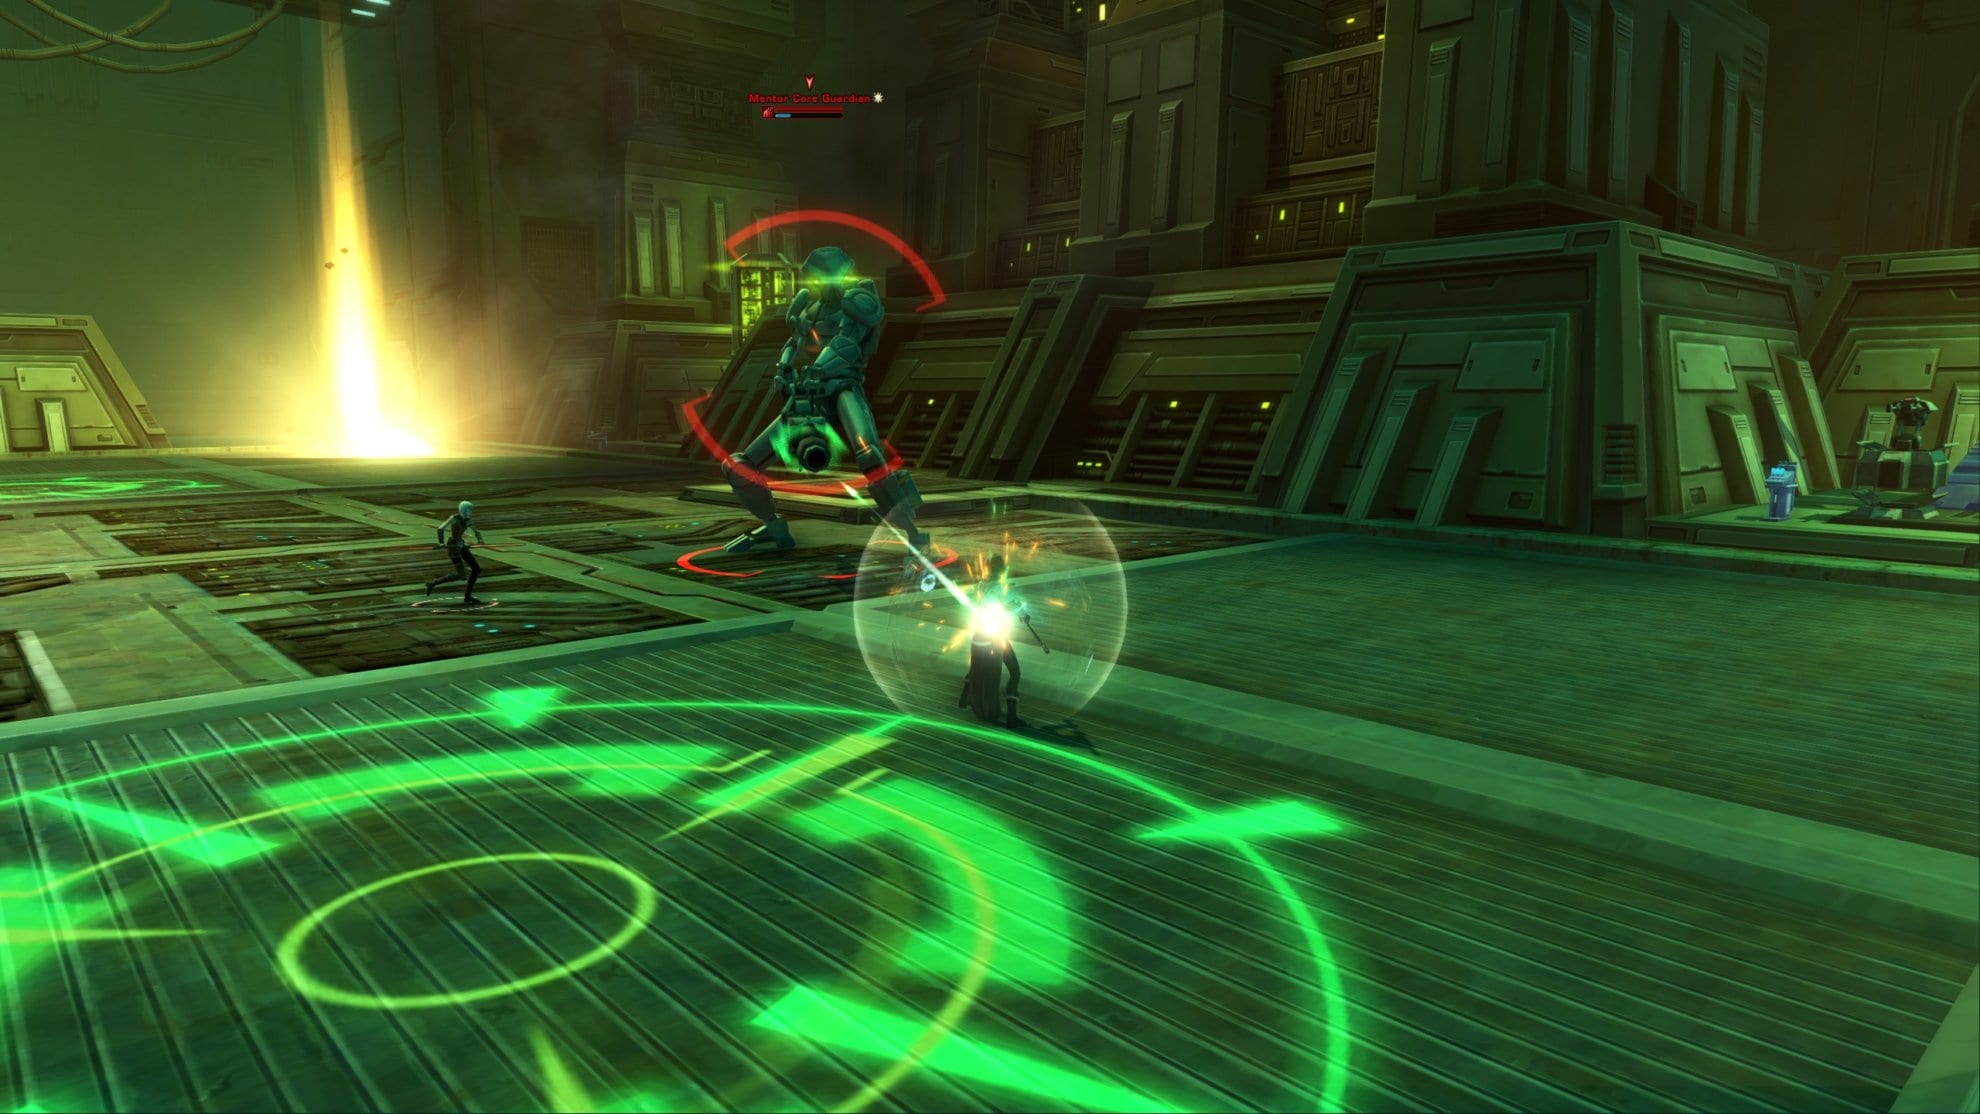
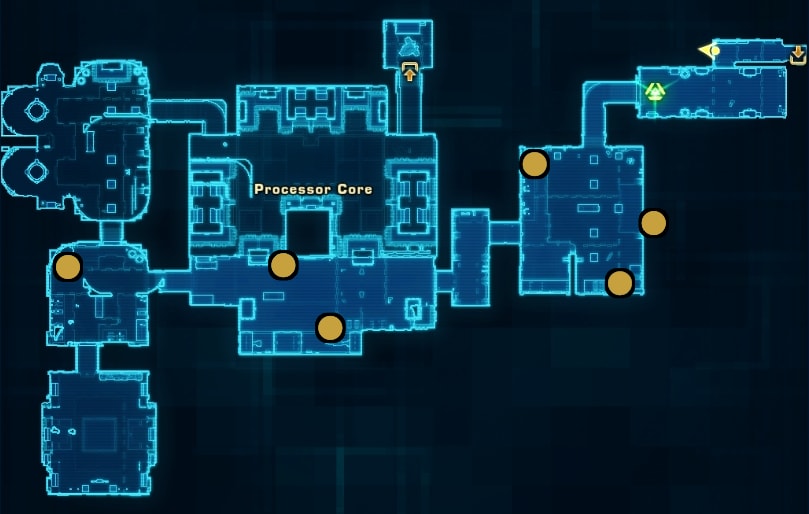
While this is going on, one of the Core Processors will become interactable and two turrets will appear near it. Interact with the processor to destroy it and take out the turrets. Defeat any enemies that have spawned and repeat this process until all cores are destroyed.

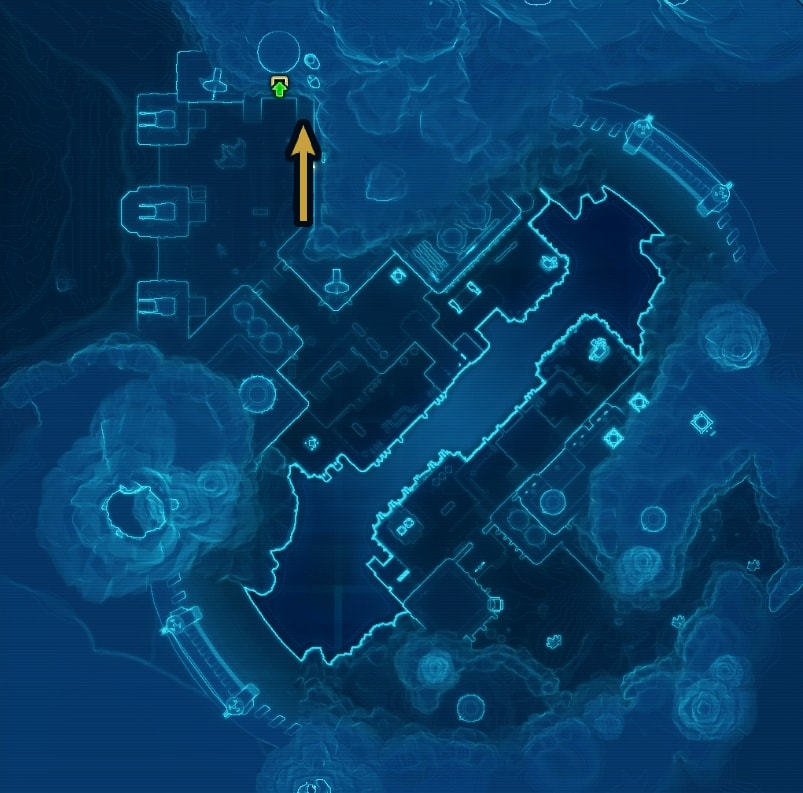
After destroying all the Processor Cores, Mentor will be vulnerable. Rockets will be firing everywhere, Mentor will be firing energy beams at random targets, the articulated claw will be out and about causing trouble, it’s very chaotic. Everyone needs to focus on damaging Mentor’s exposed chassis until it’s destroyed. Once you’ve done that, escape on the shuttle nearby before the moon destabilizes!
Veteran Mode Differences
Mentor takes a more active role and fires its energy beam throughout the fight. Everything hurts more and now the Processor Cores will periodically turn on and off. Interact with the cores while they’re active and avoid the AoEs.
Master Mode Differences
There are no new mechanics but everything hurts a lot more, particularly Mentor’s energy beam and the Articulated Claw’s energy beam. The tank should taunt the claw whenever it shows up and anyone underneath it needs to dodge the claw’s beams.
Achievements for Directive 7
The majority of the achievements for this flashpoint are for defeating the bosses 1 time, 10 times, and 25 times. Though here are two that grant item rewards:
Defeat Mentor (Veteran Mode)
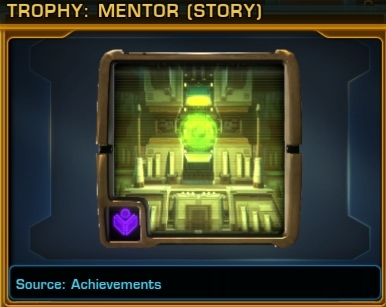
Defeated Mentor in the “Directive 7” flashpoint.
You’ll gain the Mentor (Story) Trophy Decoration.
Elite: Supreme Directive (Master Mode)
Defeated all bosses in the “Directive 7” flashpoint 25 times on master mode.
You’ll gain the Mentor (Master) Trophy Decoration.
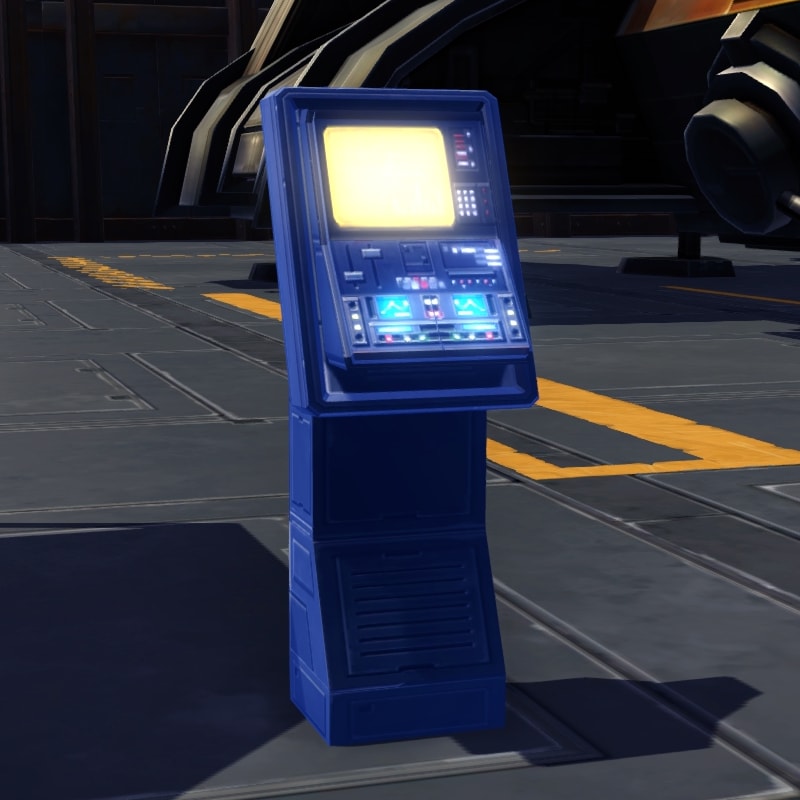
Decoration Drop
The bosses in Directive 7 can drop the Mentor Processing Core decoration. This will fit in a Medium or Medium Narrow hook. If you complete Directive 7 on Story Mode using the Activities window under the Solo tab, you have a guaranteed chance to get this decoration!
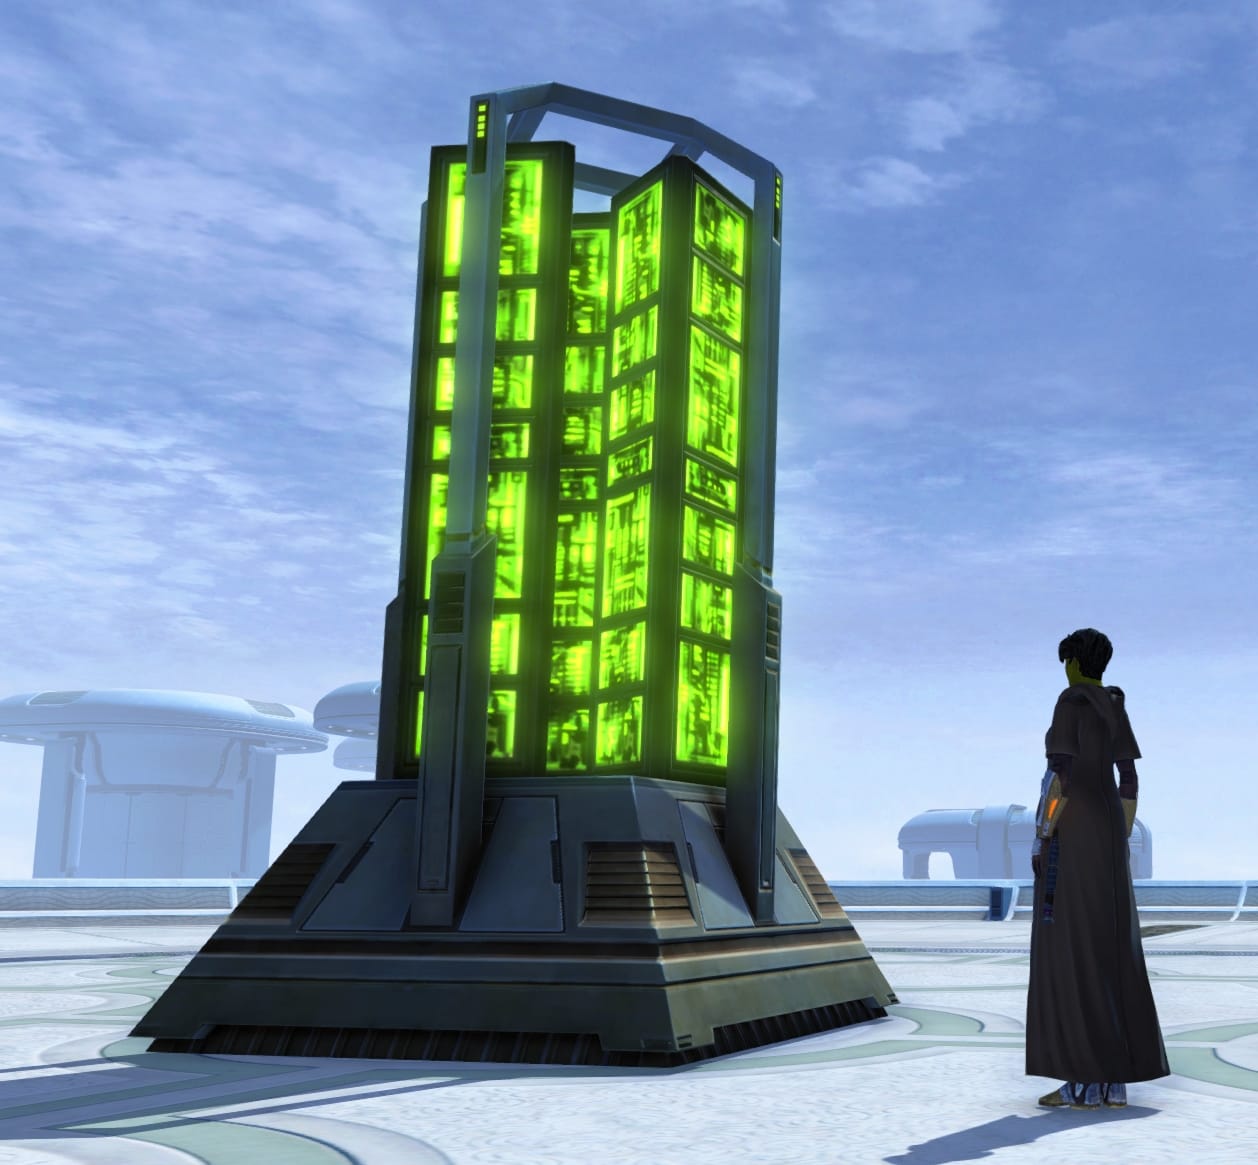
On one hand, using the processing core of a supercomputer that tried to wipe out all biological life in the galaxy seems reckless. On the other hand, it could also add a really nice touch to a tech room. Will you take the risk of starting the singularity for the sake of aesthetics?