This guide will tell you how to start and complete the SWTOR Flashpoint Czerka Corporate Labs in any difficulty mode, what achievements you can unlock and the rewards you can earn.
Table of contents
How to Start the Flashpoint and its Story
Czerka Core Meltdown is a SWTOR flashpoint, released with Game Update 2.3 on August 6, 2013. It is the first of two flashpoints from the “Titans of Industry” story arc. After the events of this flashpoint, the events of Czerka Core Meltdown occur.
The Czerka Storyline takes place after the events on Makeb from Rise of the Hutt Cartel expansion.
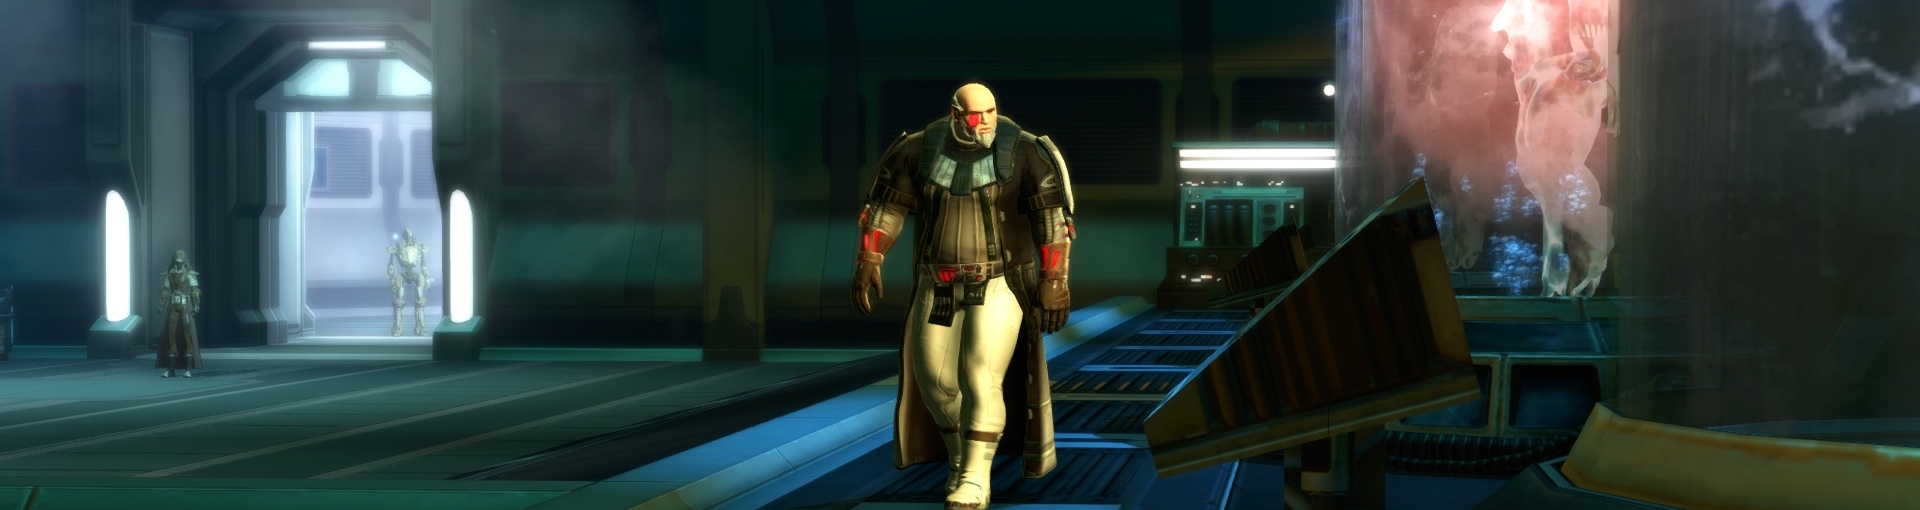
For this guide, you’ll be infiltrating a Czerka facility to apprehend Czerka Chief Executive, Rasmus Blys. The Republic has deemed Czerka as being too corrupt and is attempting to seize their assets on CZ-198. Meanwhile, the Empire is attempting to claim the Czerka assets for themselves before the Republic can.
Rasmus Blys is refusing to go down without a fight and has his security personnel and droids ready to fight any invaders. While all this is going on, he threatens to unleash a “Vigilant” security system if any invaders try to seize his assets.
This guide covers Veteran Mode and Master Mode for Czerka Corporate Labs.
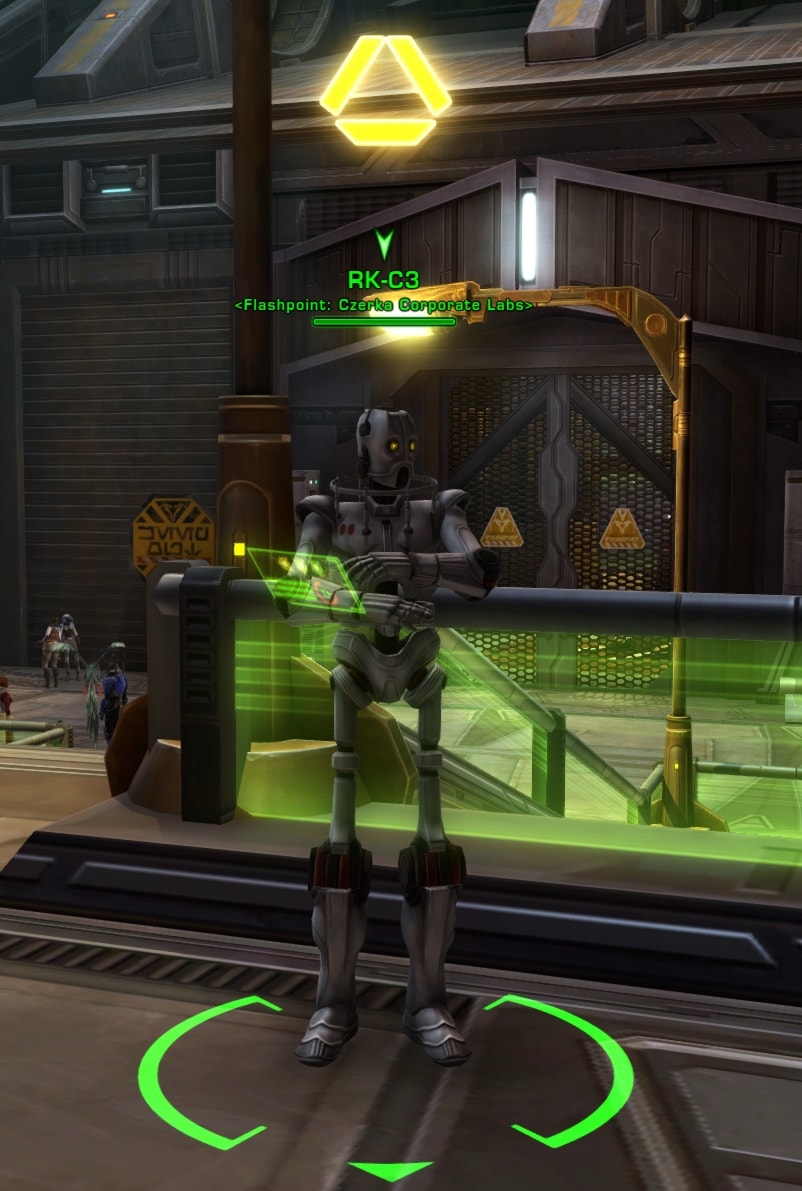
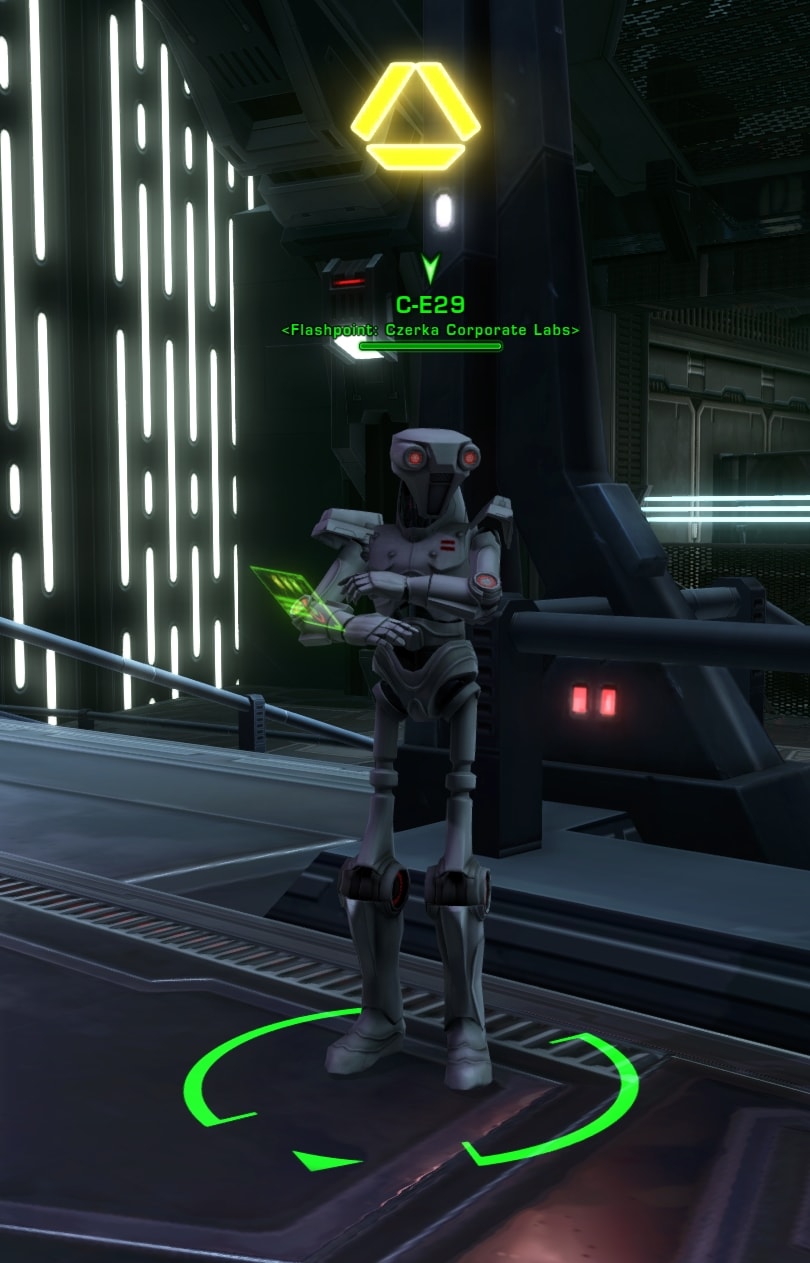
To start the “Titans of Industry” story arc, you’ll need to be at least level 55 and head to the Galactic Trade Market area of your faction’s fleet. Look for RK-C3 (Republic Fleet) or C-E29 (Imperial Fleet) and talk to them to start the story arc. You can also find these droids near the CZ-198 landing pads as well.
To start the Czerka Corporate Labs flashpoint, you’ll need to interact with the Tram Ticket Kiosk on CZ-198. You’ll be able to find this in Office Terminal 1-A for Imperials and Office Terminal 1-B for Republic. This is behind where the Reputation Vendors are near the starting area of CZ-198.
To run Czerka Corporate Labs without the story arc, the flashpoint is available in the Activity Finder under the Group tab. It’s available in Veteran and Master modes. Story mode is not available for Czerka Corporate Labs. This flashpoint does not include any Bonus Missions, so all you need to focus on is defeating the bosses.
Read our SWTOR Story Progression Guide to learn where this story fits in. The guide will help you experience the game’s narrative in the proper intended order of events and aid and assist you if you are not sure what to do and where to go next.
Obtain the Security Key Cards
The first part of Czerka Corporate Labs is to collect three Security Key Cards. You’ll need to collect Key Cards Alpha, Beta, and Delta. You can find all of these in the various floors in the Atrium inside their respective office rooms. You’ll find them on top of a desk in a random cubicle on each floor.

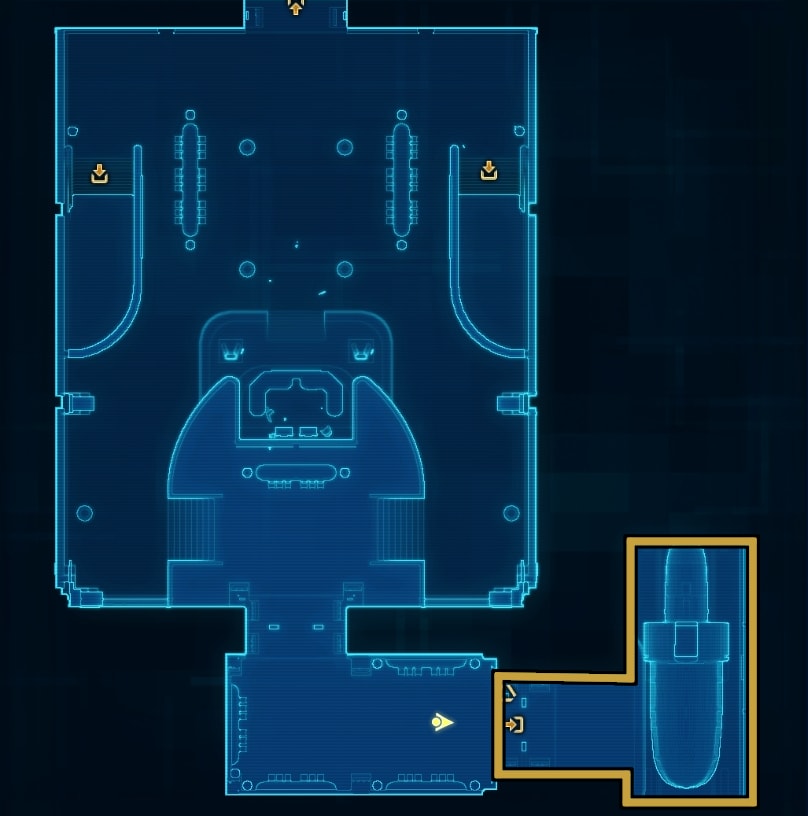
Security Key Card Alpha Location
Security Key Card Alpha can be found on the fourth floor of the Atrium.

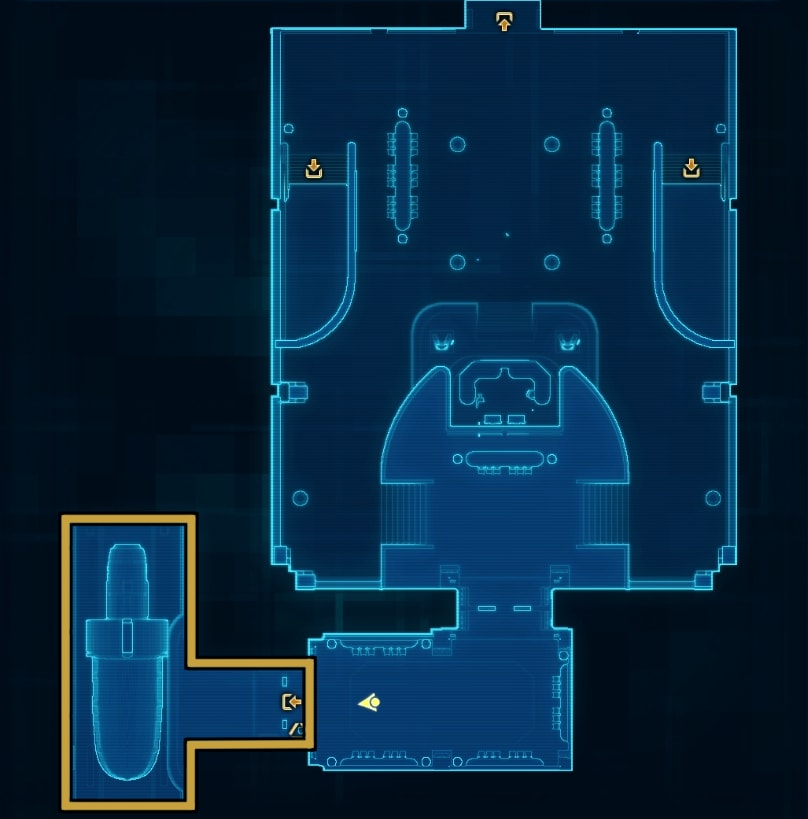
Security Key Card Beta Location
Security Key Card Beta can be found on the third floor of the Atrium.
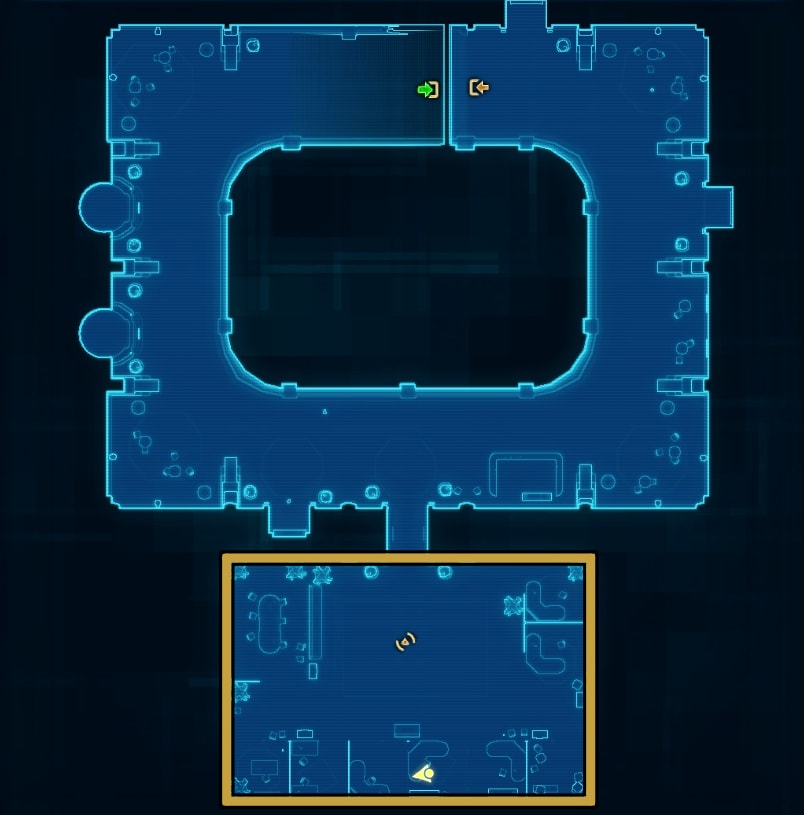
Security Key Card Delta Location
Security Key Card Delta can be found on the second floor of the Atrium.
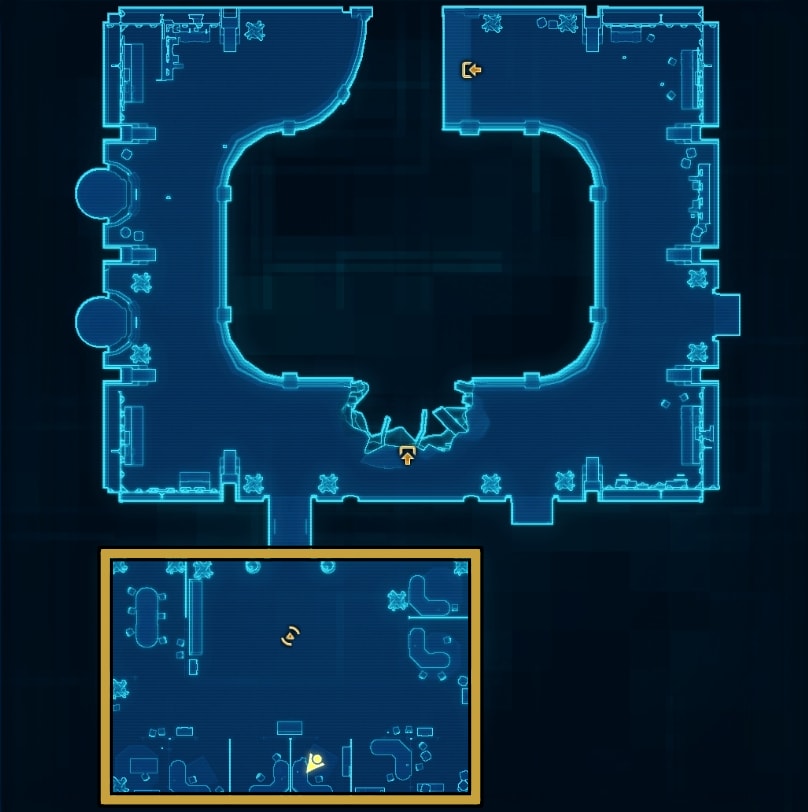
Once you have all three key cards, you’ll need to jump down to the first floor of the Atrium from the second floor. If for some reason you need to go back upstairs, there’s a rope you can interact with that’ll bring you to the second floor.
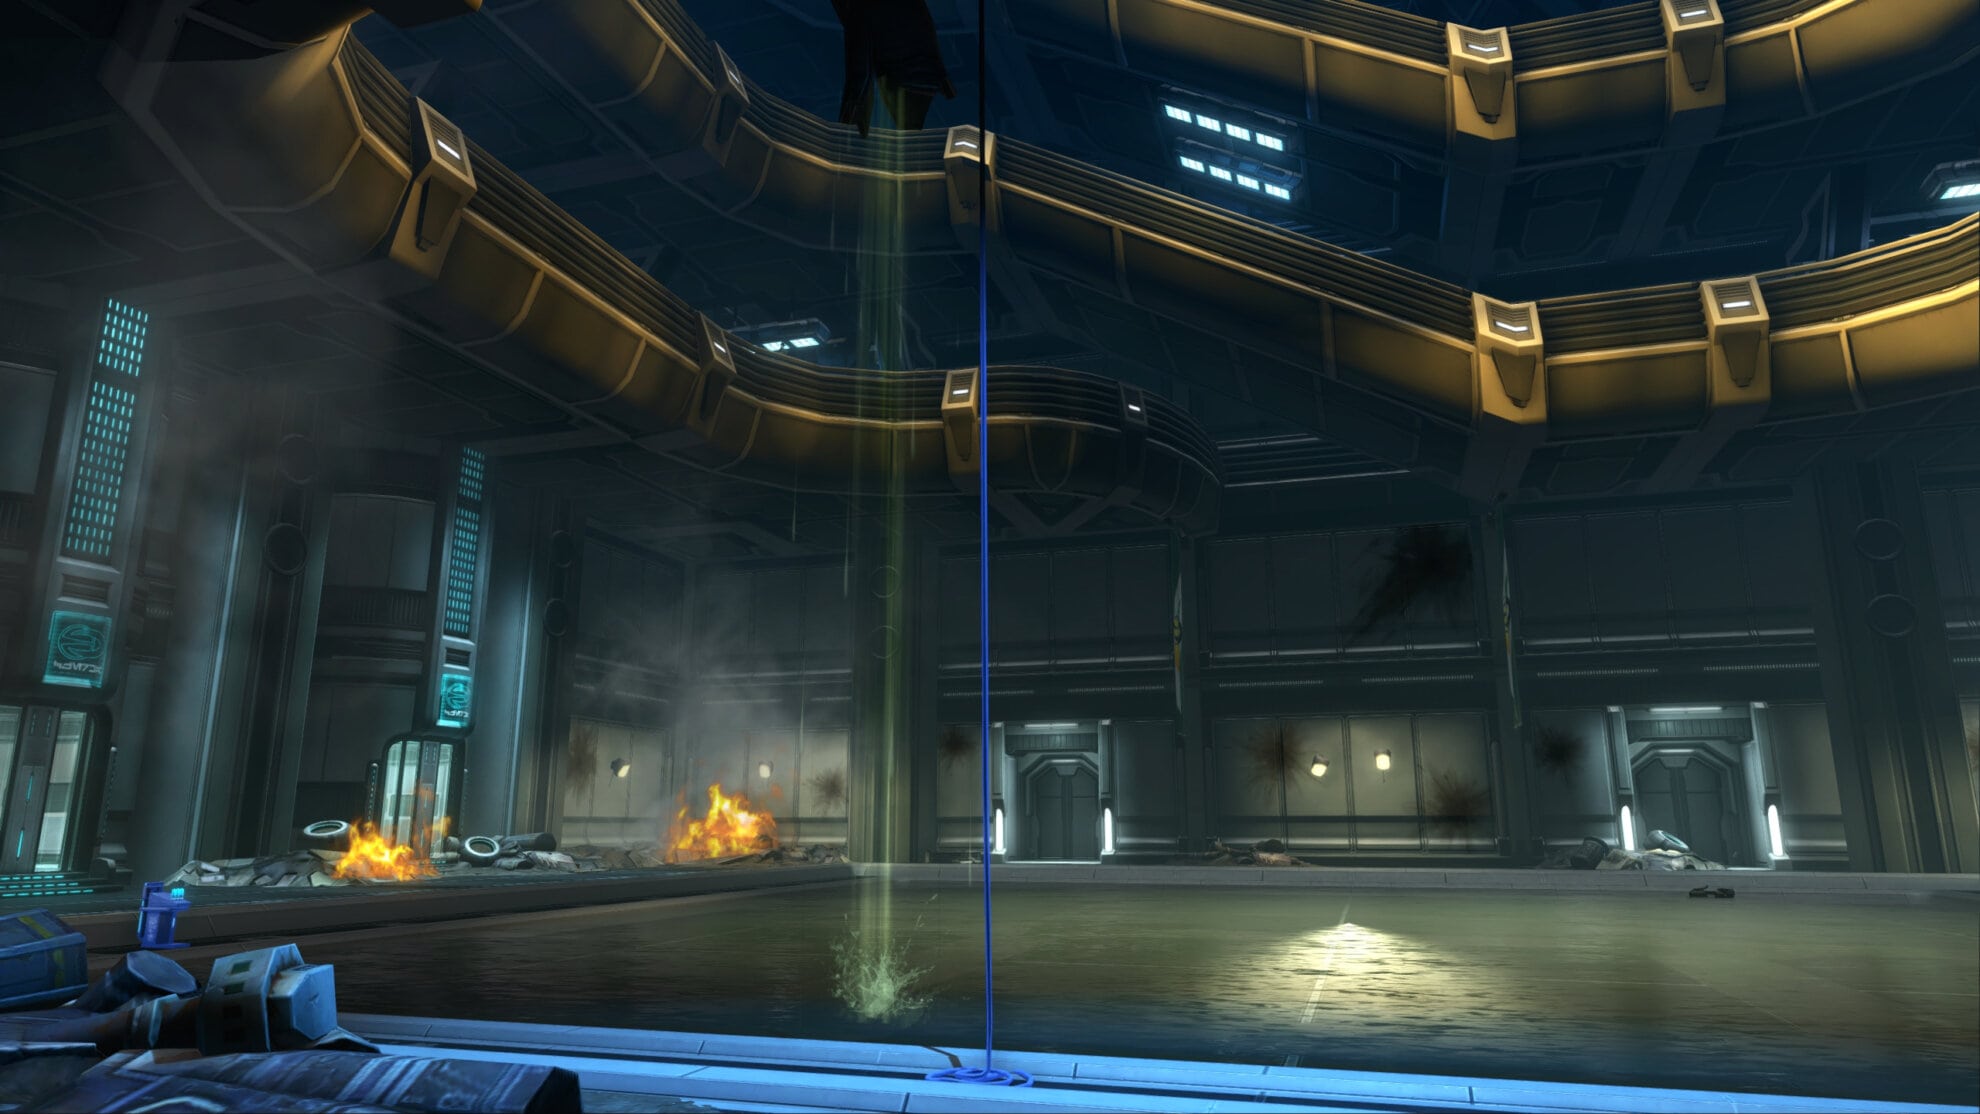
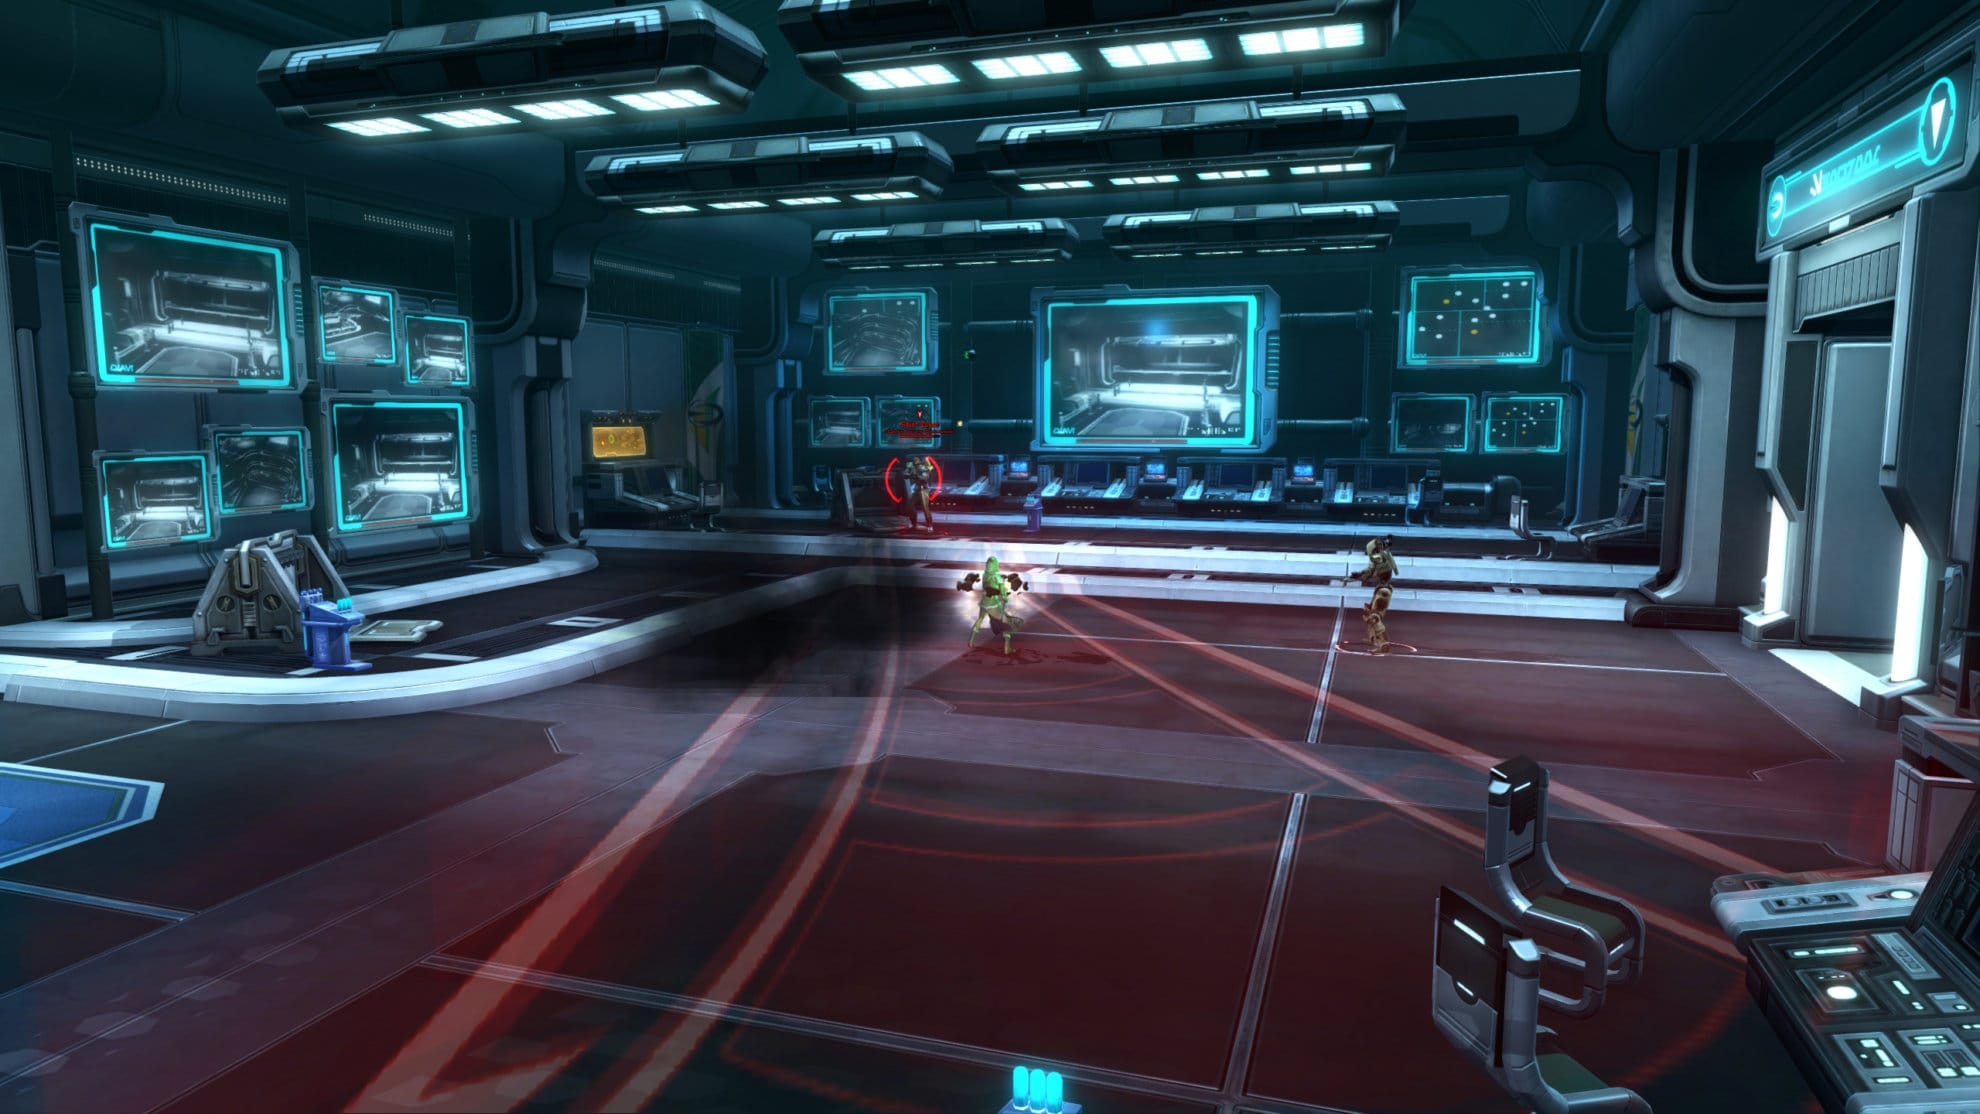
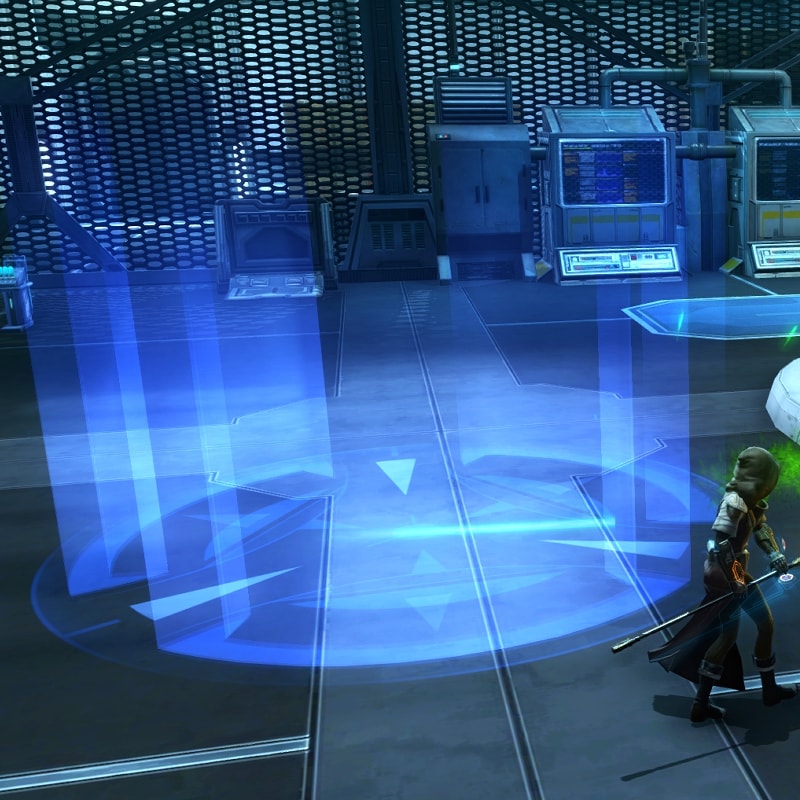
Deactivate the security field on the first floor near the red force field to summon the first boss.
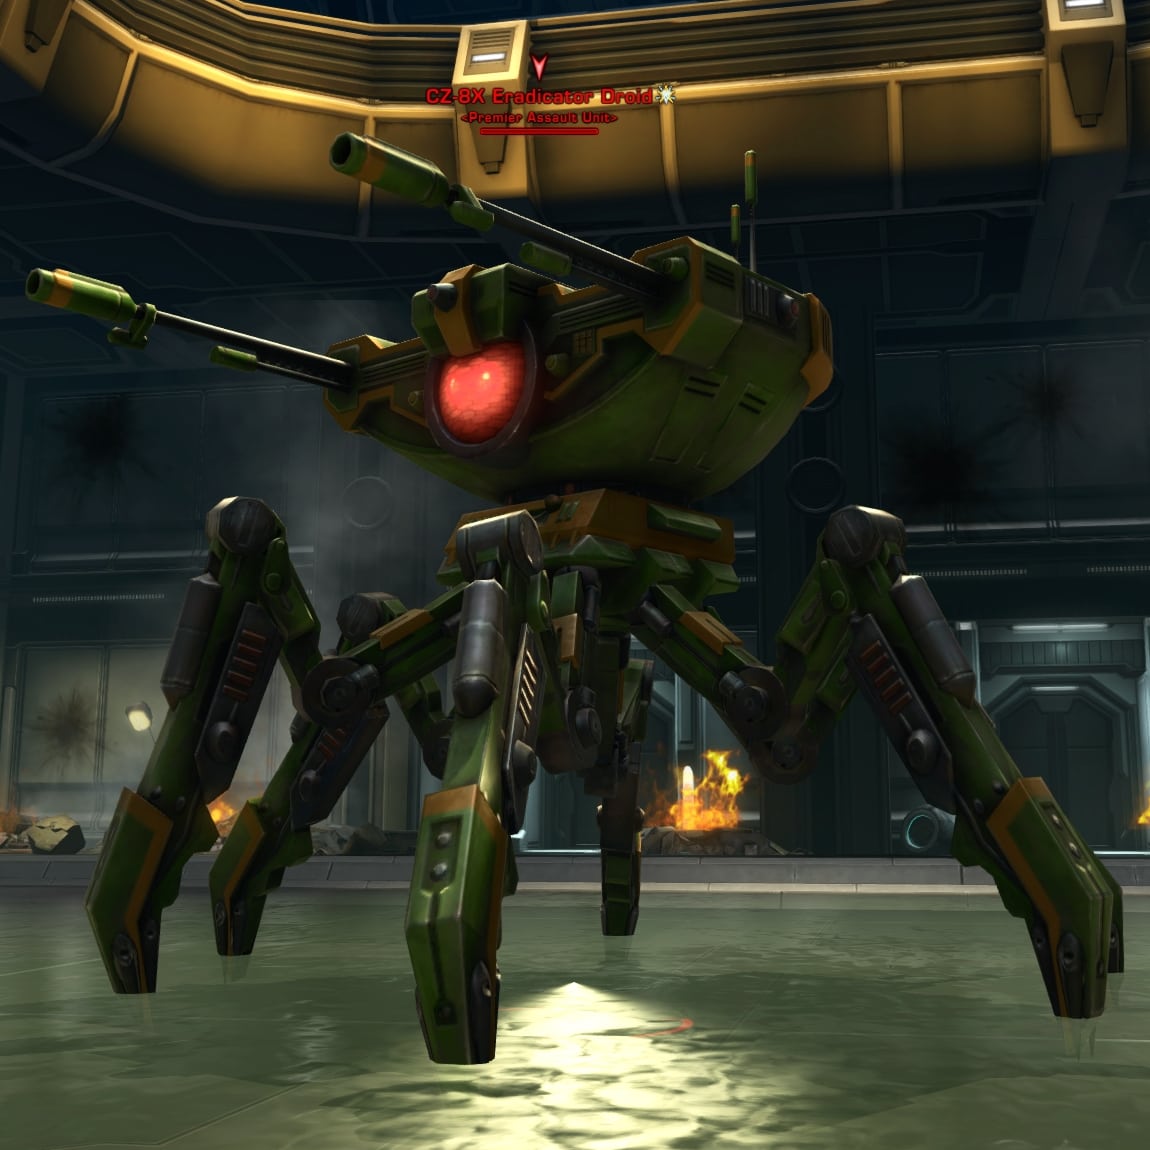
First Boss: CZ-8X Eradicator Droid
The first boss is a giant war droid, the CZ-8X Eradicator Droid. This fight requires you to weave in and out of the area and deals with environmental hazards. So long as you’re fast and have good situational awareness, you should be fine.
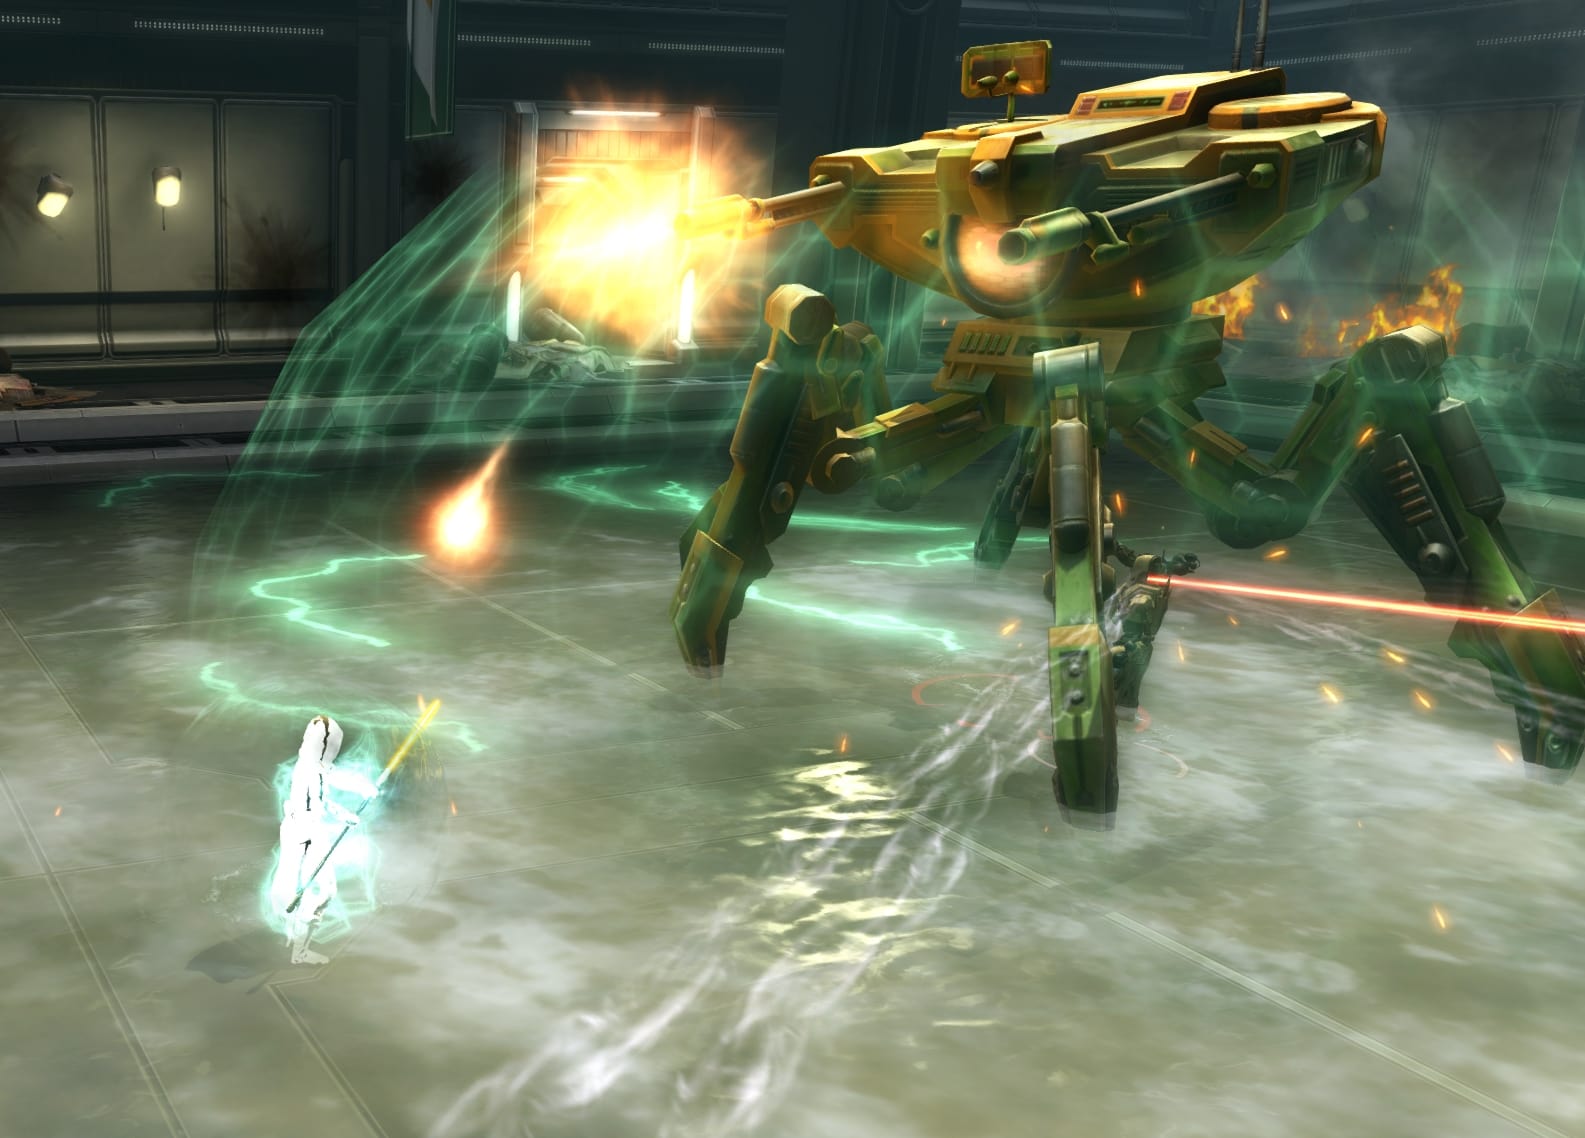
The boss will grapple random party members and pull them towards it. This isn’t dangerous on its own, but it can be when it activates its Charged Plating. When you see the boss casting Charged Plating, get out of the water as fast as you can.
With Charged Plating, the boss gains a shield that reduces incoming damage and electrifies the water. Standing in the electrified water will slow and deal damage to you. Wait for the water to return to normal and run out if you’re pulled into the electric water.
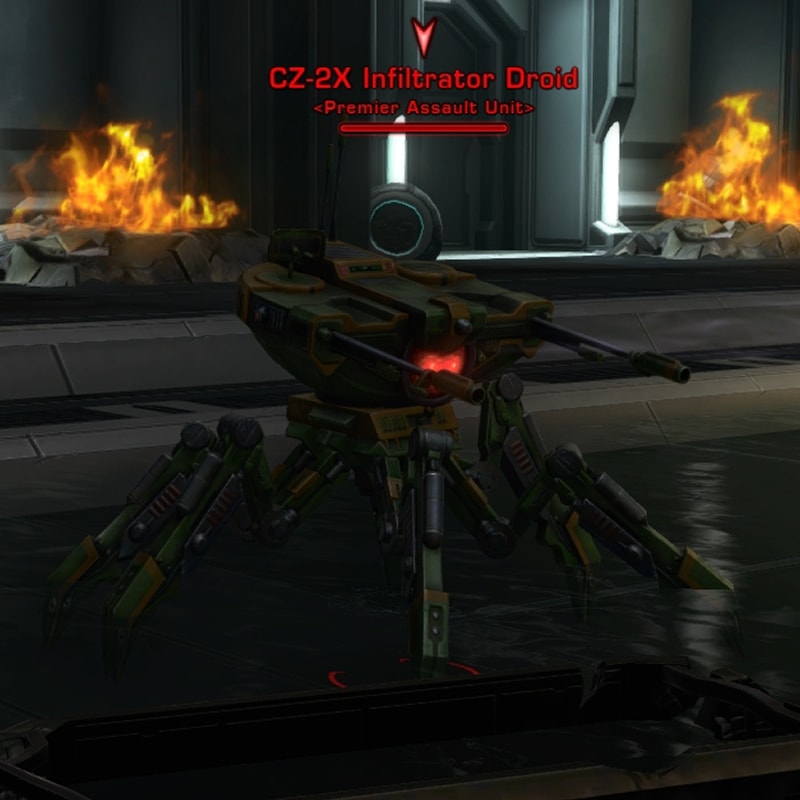
The first time the boss uses Charged Plating, three CZ-2X Infiltrator Droids will spawn in around the water’s edge. They will spawn in again every other time the boss uses Charged Plating. These are sniping droids, destroy them then refocus on the boss after the water is normal.
That’s it for the mechanics for this boss fight. Attack the boss while charged plating is off, stay out of the electrified water, and defeat the adds asap. Wash, rinse, and repeat until the boss is defeated. Once defeated, deactivate the security field and investigate the security wing.
Master Mode Differences
There are no mechanical differences in Master Mode. The biggest difference is the electrified water deals a lot more damage. The moment you see the boss casting Charged Plating, get out of the water as soon as possible.
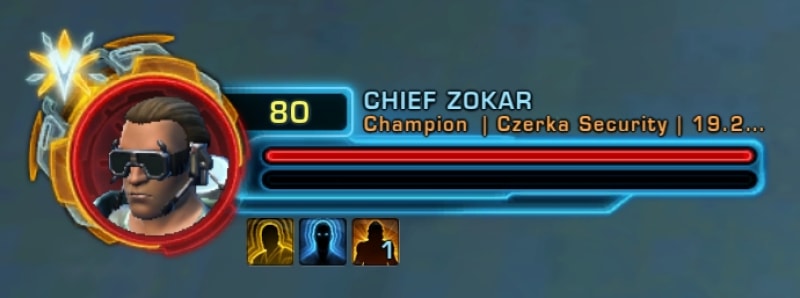
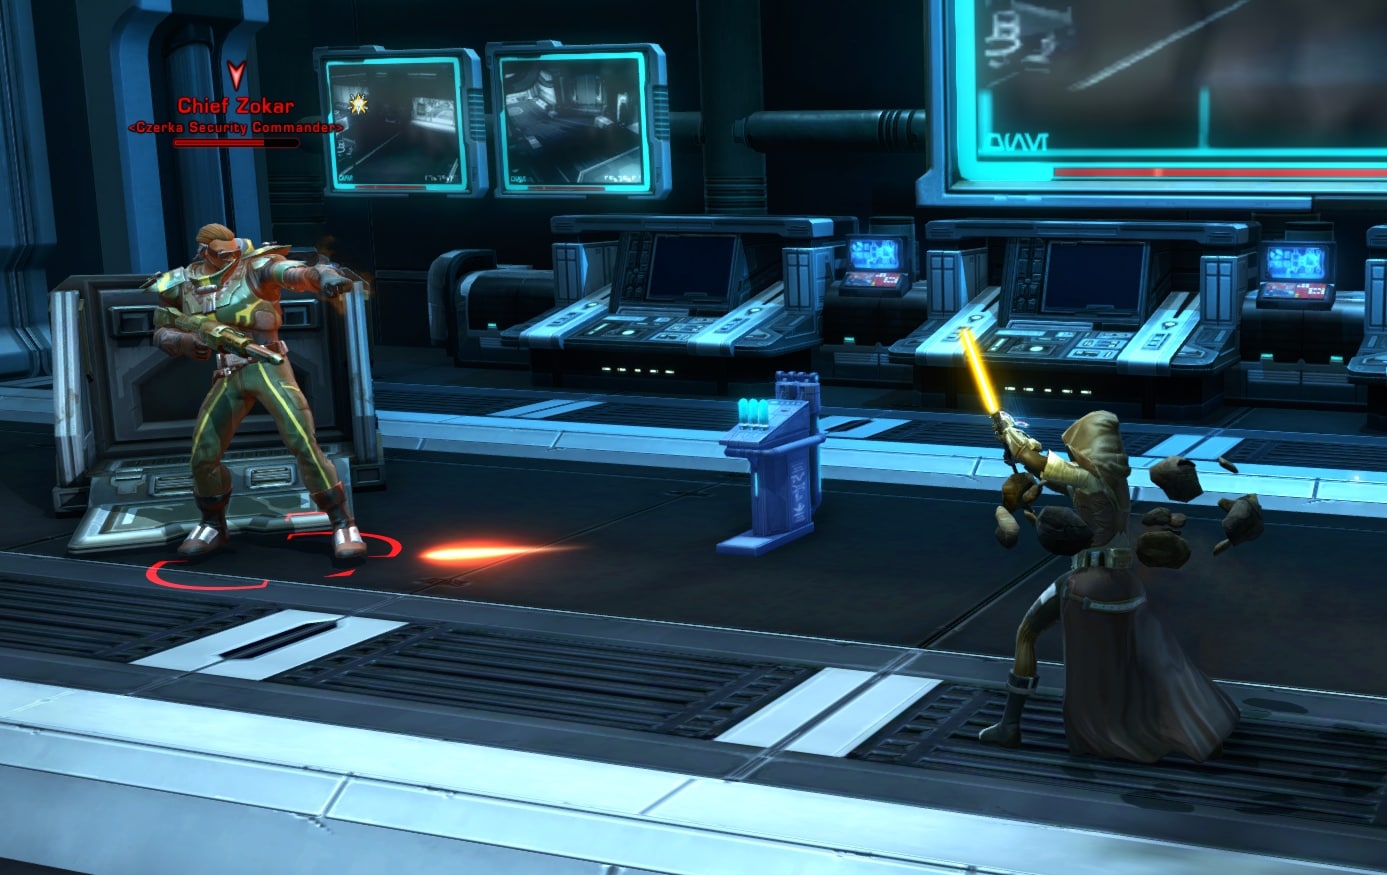
Second Boss: Chief Zokar
Security Chief Zokar is, to put it mildly, a weapon’s enthusiast. This fight will require party members to do a lot of running around to avoid AoEs. Situational awareness is key here and will keep you alive.
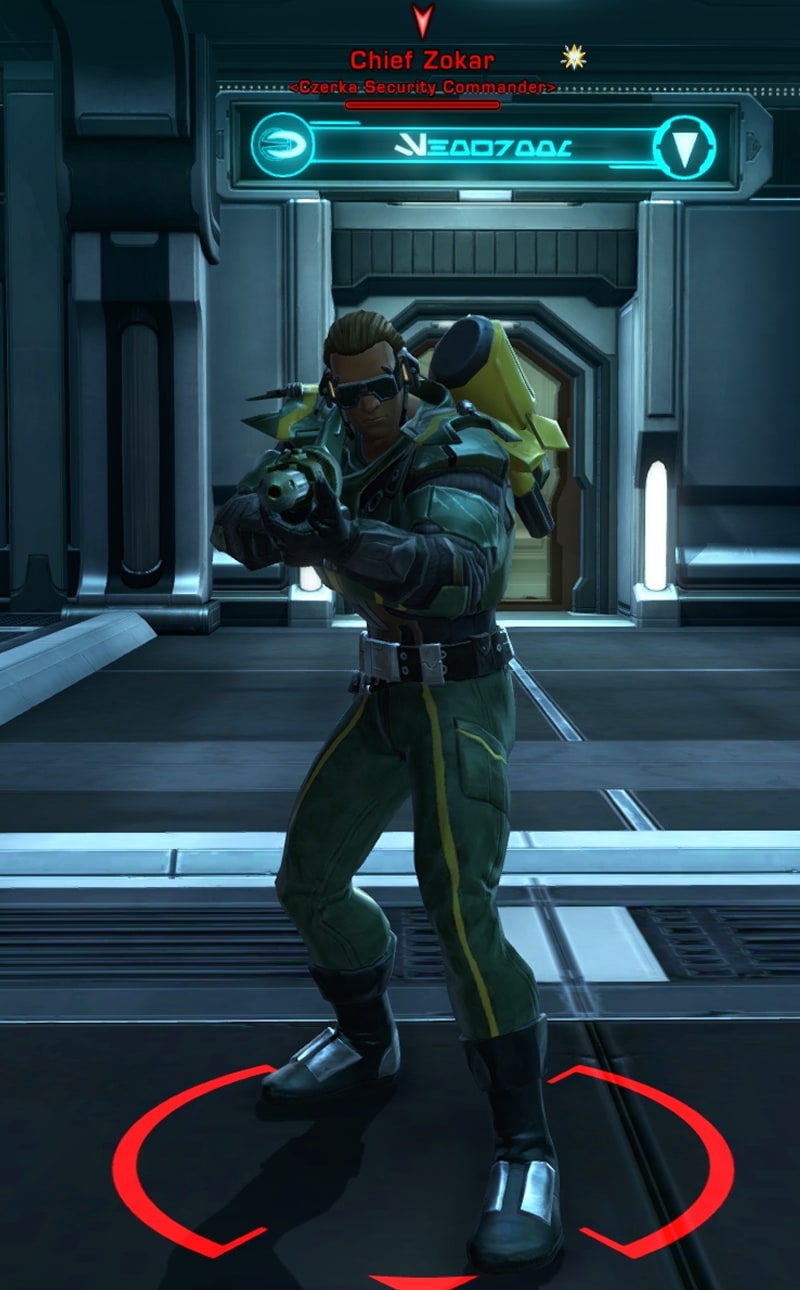
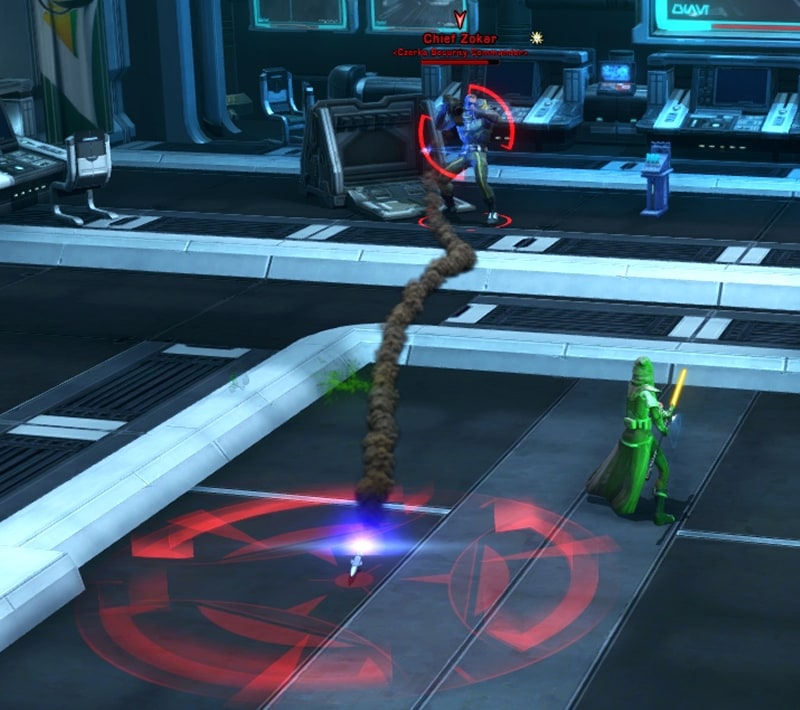
Chief Zokar’s primary mechanic revolves around his buff, Arsenal. Arsenal starts out numbered as 1. As the battle progresses, Zokar will jump across the room. Each time he jumps, he gets a stack of Arsenal and access to a new weapon. The majority of these weapons are AoEs that target random party members, so they can be dodged by moving away.
Arsenal Level 1
At level 1, Chief Zokar has access to his blaster rifle and thermal detonators. The thermal detonators instantly explode on his target so there’s no AoE on the ground to dodge.
Arsenal Level 2
At level 2, Chief Zokar gains access to the Shotgun Blast ability. This creates an cone-shaped AoE centered on his target that almost spans the length of the room. Anyone hit by the blast will receive damage and be pushed back. This will interrupt any channeled abilities, so stay out of it or wait to use channeled abilities for after.
Arsenal Level 3
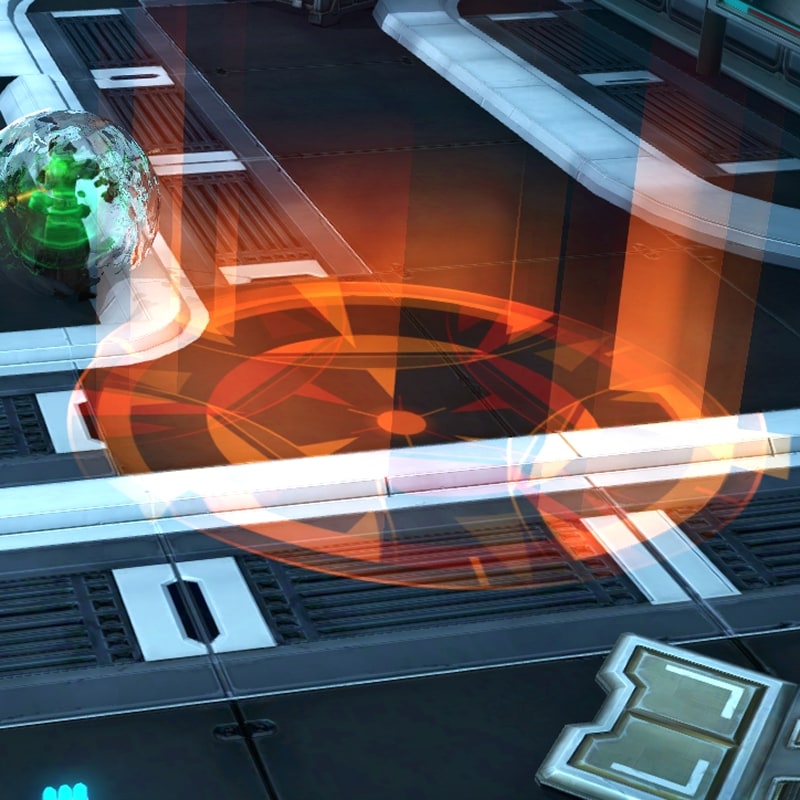
At level 3, Chief Zokar gains access to the Plasma Probe ability. If you see an orange circle appear on the floor, get away from it. A Plasma Probe will spawn there and release plasma in the area. It’ll go away after a while and it’s very easy to avoid.
Arsenal Level 4
At level 4, Chief Zokar gains the Cryo Grenade ability. When you see a blue circle on the floor, get out of there. Anyone caught in the circle when the grenade is thrown will be stunned. This makes you vulnerable to more of his attacks.
Arsenal Level 5
The fifth and final level of Arsenal grants Chief Zokar three new abilities. These are Wrist Laser, Shield Probe, and Rocket Launcher. At this stage, Zokar will stop using his blaster rifle and plasma probes, instead he uses the previously mentioned abilities exclusively.
Shield Probe grants Chief Zokar a chance to reduce incoming damage. It’s not consistent damage reduction as it’s only a chance to reduce incoming damage. Not too bad but it can be annoying if it reduces damage from a hard hitting ability.
Wrist Laser will grant Chief Zokar a few seconds of taunt immunity. The tank will need to save their taunts until this buff fades.
Rocket Launcher is self explanatory. This is Zokar’s hardest hitting ability and you’ll know where a rocket will land as seen by the red circle on the ground. Get out of this area and be careful to not get hit by Cryo Grenades. If you get stunned, he’ll use the Rocket Launcher on you.
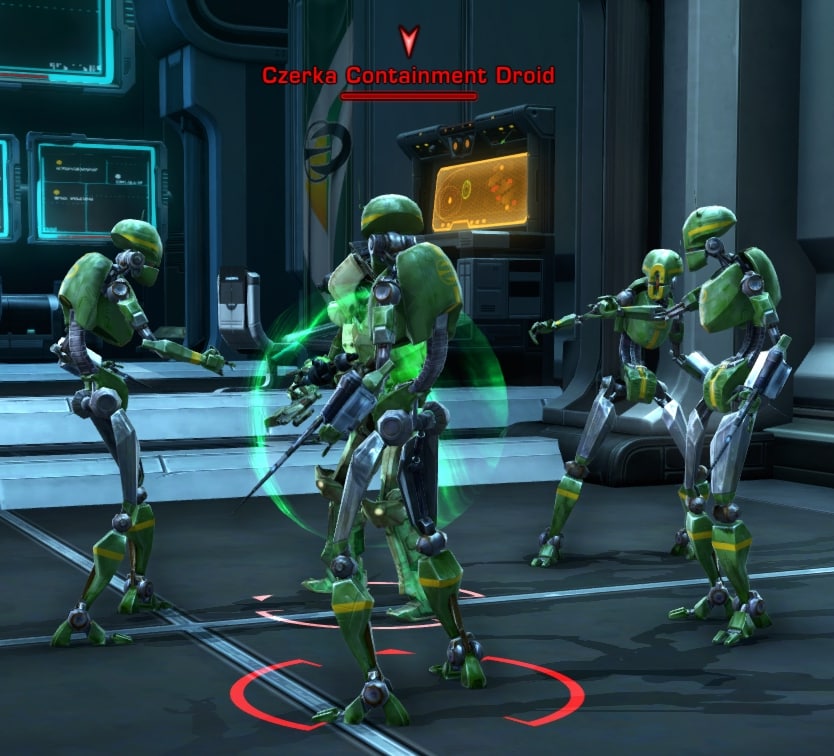
Czerka Containment Droids
A group of Czerka Containment Droids may spawn in at random times during this boss fight. Like most adds in boss encounters, they’re dangerous if they all gang up on a single target. Take them out with AoE attacks and continue focusing on Zokar.
So long as everyone in the party avoids the AoEs, you should be fine. The bulk of Chief Zokar’s damage is dependent on these AoEs landing. The tank should face him away from the group and have Zokar facing a wall.
All of these Arsenal abilities are Tech based attacks. If you have an ability to negate Force/Tech attacks such as Resilience or Force Shroud, it’s extremely useful to have in this fight.
Master Mode Differences
Everything hurts a lot more, especially the Rocket Launcher. Let me make this very clear:
One rocket on Master Mode can take out half a DPS or Healer character’s health.
Do your best do dodge the rockets and cryo grenades, it’s easy to do and failure to move will be punished.
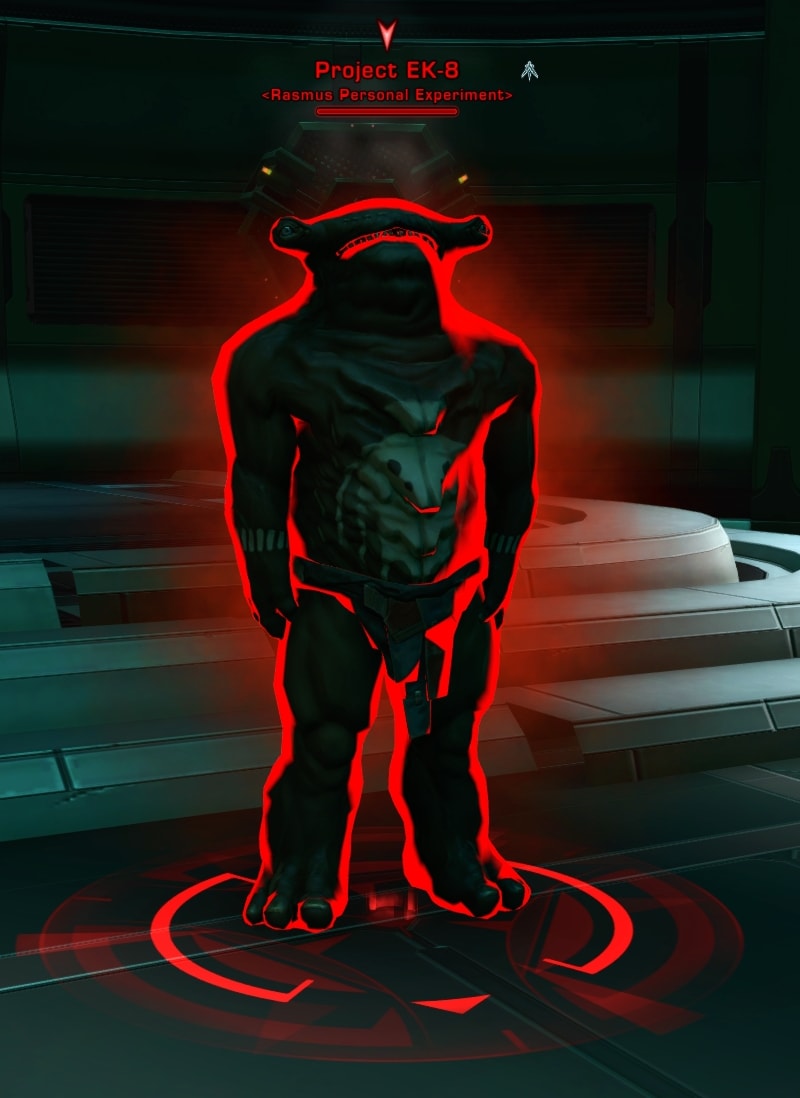
Projects EK-8 and TG-5
Before you reach the final boss, you’ll have a section that forces you to interact with Projects EK-8 and TG-5. You’ll find a couple of rooms with two EK-8’s standing around. These are augmented Flesh Raiders that Rasmus Blys has been experimenting with.
Project EK-8’s will have a red aura around them. They’ll attack by screaming at you in a manner similar to Force Scream. While you can whack and shoot them, there’s an easier way to defeat them.
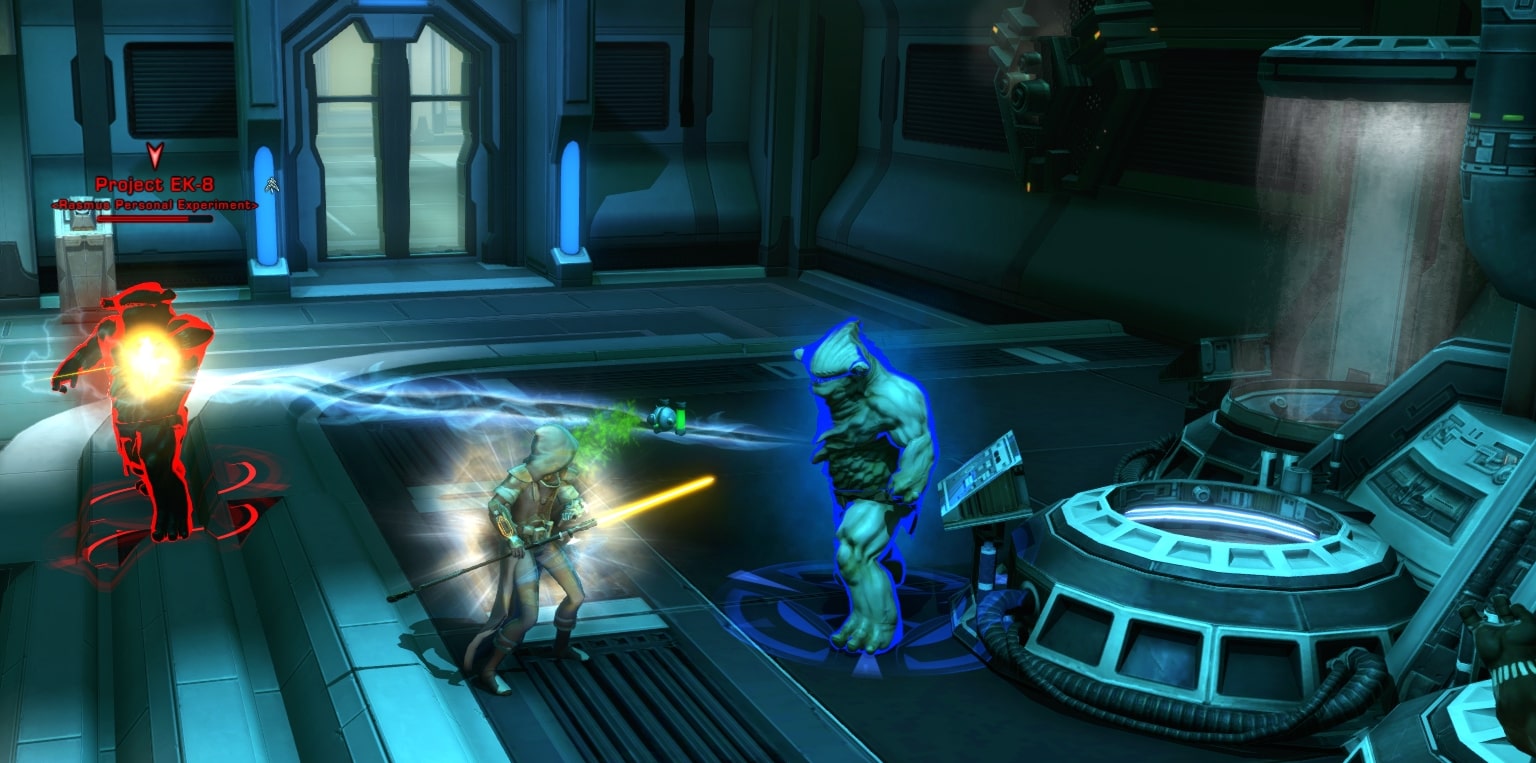
There are tanks nearby that contain Project TG-5’s. These are Flesh Raiders that have a blue aura around them. On Veteran Mode, the blue TG-5’s will attack and one-shot the red EK-8’s. On Master Mode, you’ll need to damage the TG-5’s a little bit before they one-shot the EK-8’s. Keep this in mind as this plays an important mechanic later.
Final Boss: Rasmus Blys
After fighting your way through the first two, mechanic-intensive bosses, you’ll be able to fight Rasmus Blys. He’s by far the easiest boss in this flashpoint which is a tad disappointing. He’s primarily a tank and spank but there are a couple of things to keep aware of.
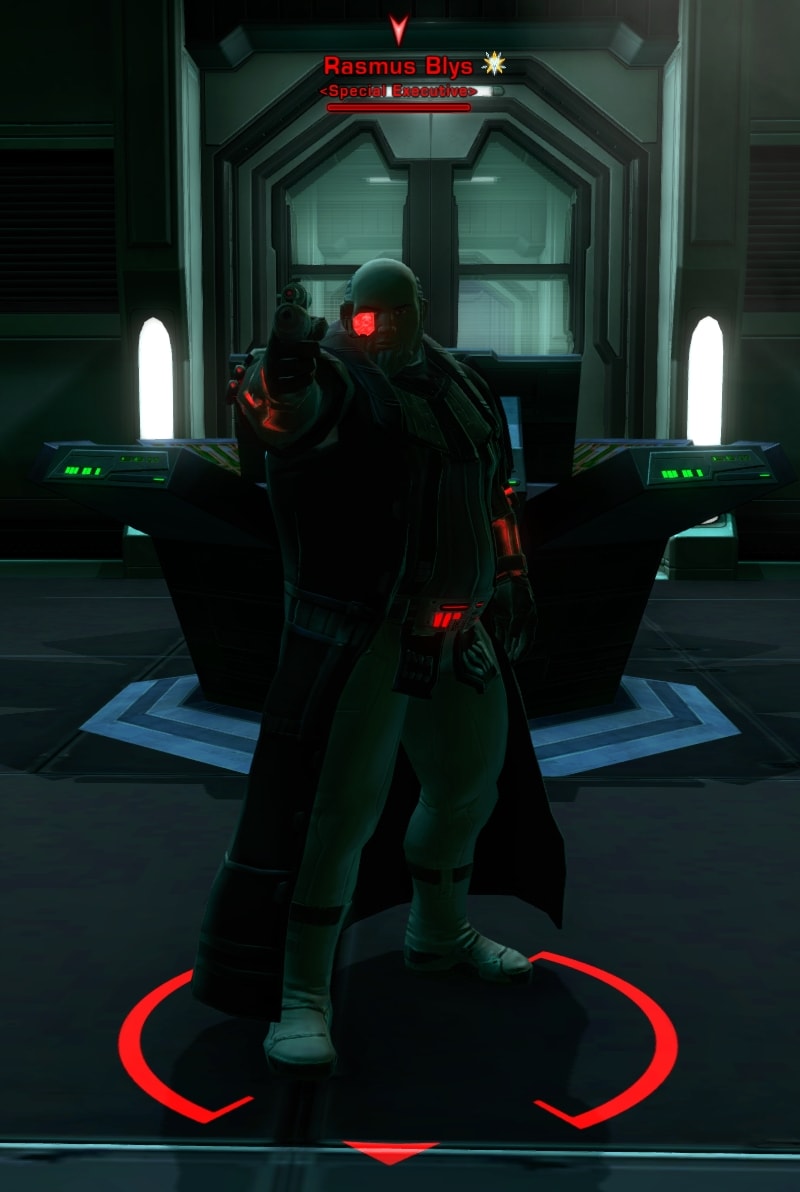
All Rasmus has to offer is shooting the party with a blaster pistol, slowing party members with a dart, and cloaking out to reposition at a random part in the room. When his health gets low, he’ll gain a shield that reduces incoming damage. That’s it, that’s all he does.
The only other mechanic are the numerous tanks in the room containing Project EK-8’s and TG-5’s.
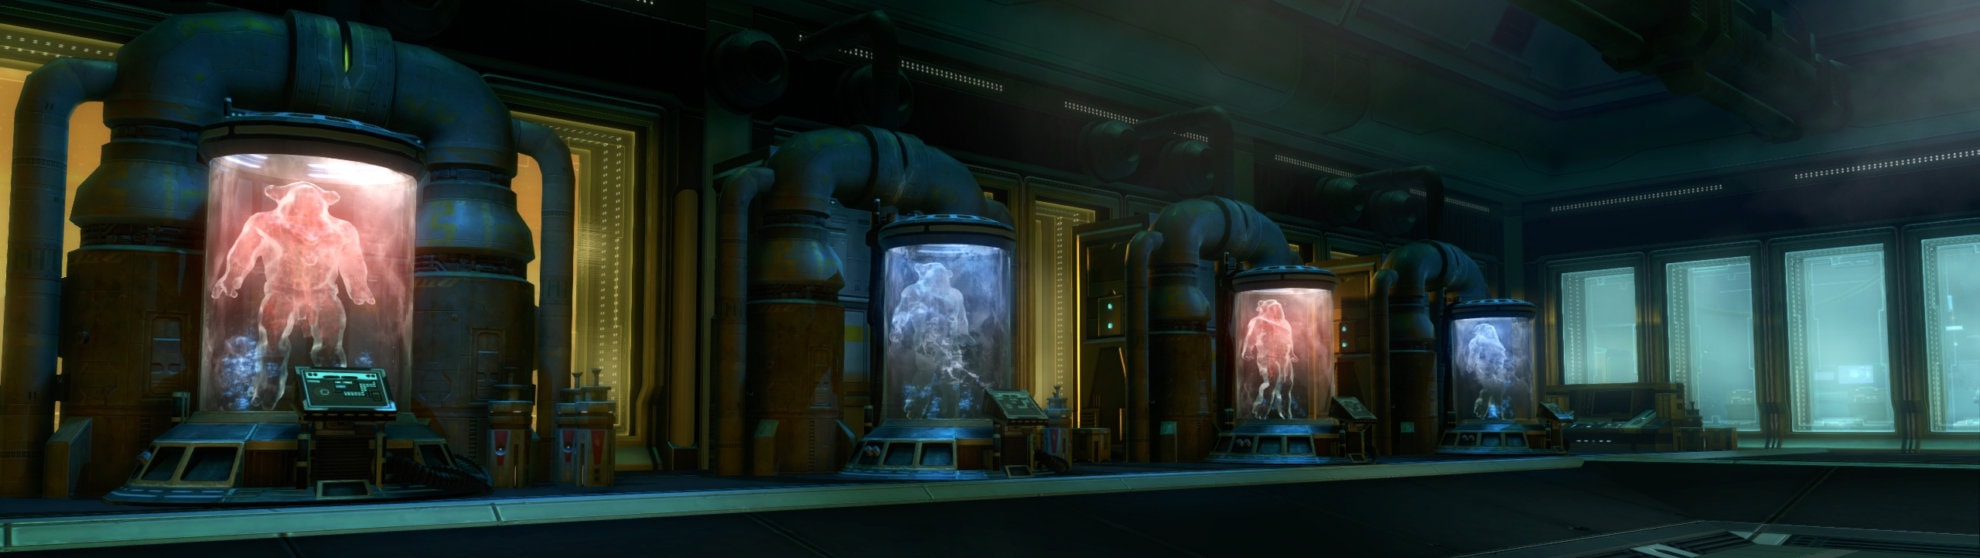
As you fight, a Project EK-8 or TG-5 will break free and attack the party. Someone in the group needs to interact with another tank that has the opposite project so they can negate each other. If you see a red Project EK-8, open a blue tank. If you see a blue Project TG-5, open a red tank. This only happens four times and once they’re depleted, the fight is a tank and spank.
Once defeated, access the Laboratory Console to finish the flashpoint
Master Mode Differences
There are no mechanical differences involving Rasmus Blys specifically. At most, you’ll just have to whack or shoot the Project TG-5’s a bit so they can negate the EK-8’s. Rasmus is much more durable and requires more spanking.
Achievements for Czerka Corporate Labs
The majority of the achievements for this flashpoint are for defeating the bosses 1 time, 10 times, and 25 times. Though here are two that grant item rewards:
Defeat Rasmus (Veteran Mode)
Defeated Rasmus in the “Czerka Corporate Labs” flashpoint.
You’ll gain the Rasmus Blys (Story) Trophy Decoration.
Czerka Assault (Master Mode)
Defeated all bosses in the “Czerka Corporate Labs” flashpoint 25 times on master mode.
You’ll gain the Rasmus Blys (Master) Trophy Decoration.
Decoration Drop from Czerka Corporate Labs
The bosses in the Czerka Corporate Labs Flashpoint can drop the Banner: Czerka Sunrise decoration. This decoration will fit in a Large wall hook.
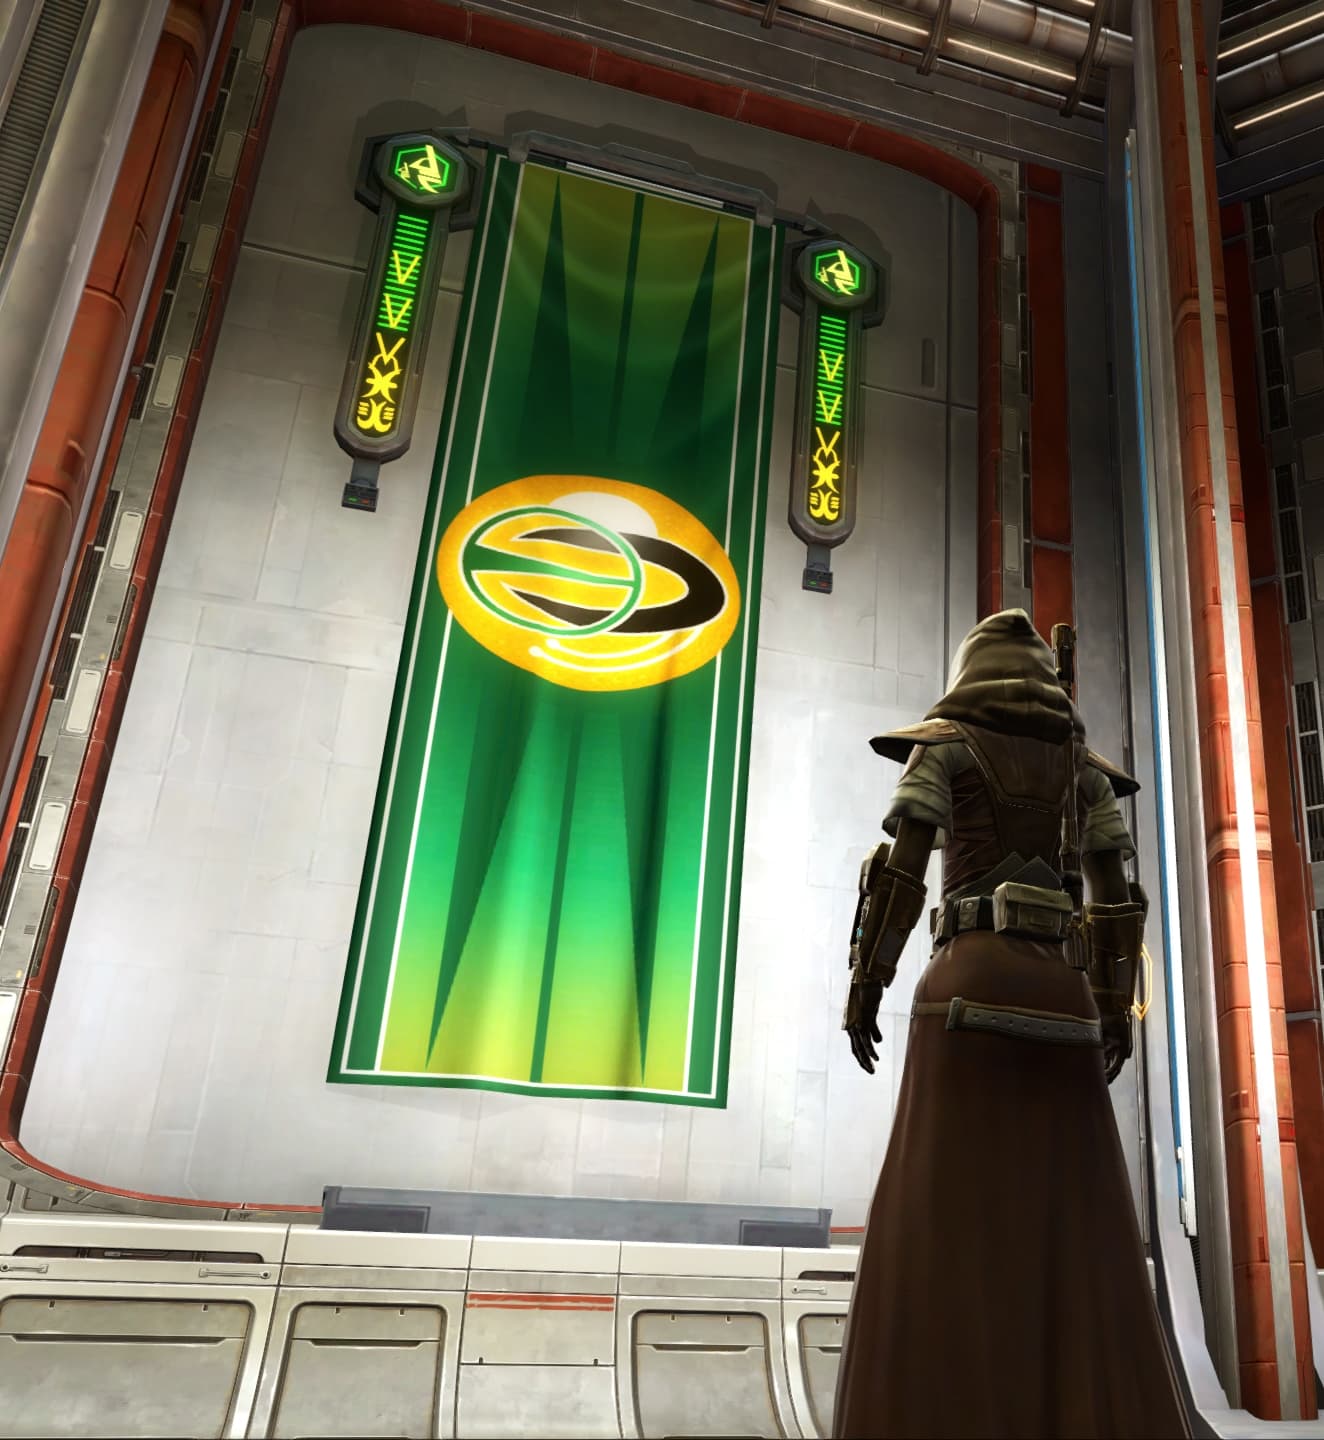
It’s a nice-looking banner, it would be nicer if it didn’t represent an evil corporation. It adds a nice professional touch to a stronghold. The green and yellow colors can add a touch of vibrancy and life to a more subdued stronghold.