This guide will tell you everything you need to know about the Blood Hunt Flashpoint, introduced to SWTOR during the Shadow of Revan expansion. This guide includes all boss encounters, bonus boss, achievements, decorations and other loot.
This guide covers Story Mode, Veteran Mode, and Master Mode
How to Start the Flashpoint and its Story
To access the story of Blood Hunt, you’ll need to have accessed the Shadow of Revan expansion’s story and completed story missions on Rishi. You would need to have completed your class story, Rise of the Hutt Cartel, and Forged Alliances.
With reports of Revanite activity on the planet RIshi, you’ll be going to investigate their activity and seek out a Mandalorian known as “Torch”. Torch was working with the Revanites but have since ceased cooperation and cut off ties. In Blood Hunt, you’ll be looking for Torch to find out more about what the Revanites are planning.
To start the mission without the story arc, you’ll need to go to Raider’s Cove Trade Port on Rishi. This is the area you land in whenever you come to Rishi. You’ll find an Advozse NPC named Frod Makora, talk to him to receive the Blood Hunt Flashpoint mission.

This flashpoint is also available in the Activity Finder under the Group tag. It’s available for Veteran and Master Mode, but you can find a Solo version in the Solo tab. The Solo version offers guaranteed decoration drops from defeated bosses (more about decorations at the end of this guide).
Author’s Note: There are a lot of long Mando’a names for bosses in this flashpoint. If boss names have a translation, I’ll be using those to refer to them instead of their Mando’a names.
Read our SWTOR Story Progression Guide to learn where this story fits in. The guide will help you experience the game’s narrative in the proper intended order of events and aid and assist you if you are not sure what to do and where to go next.
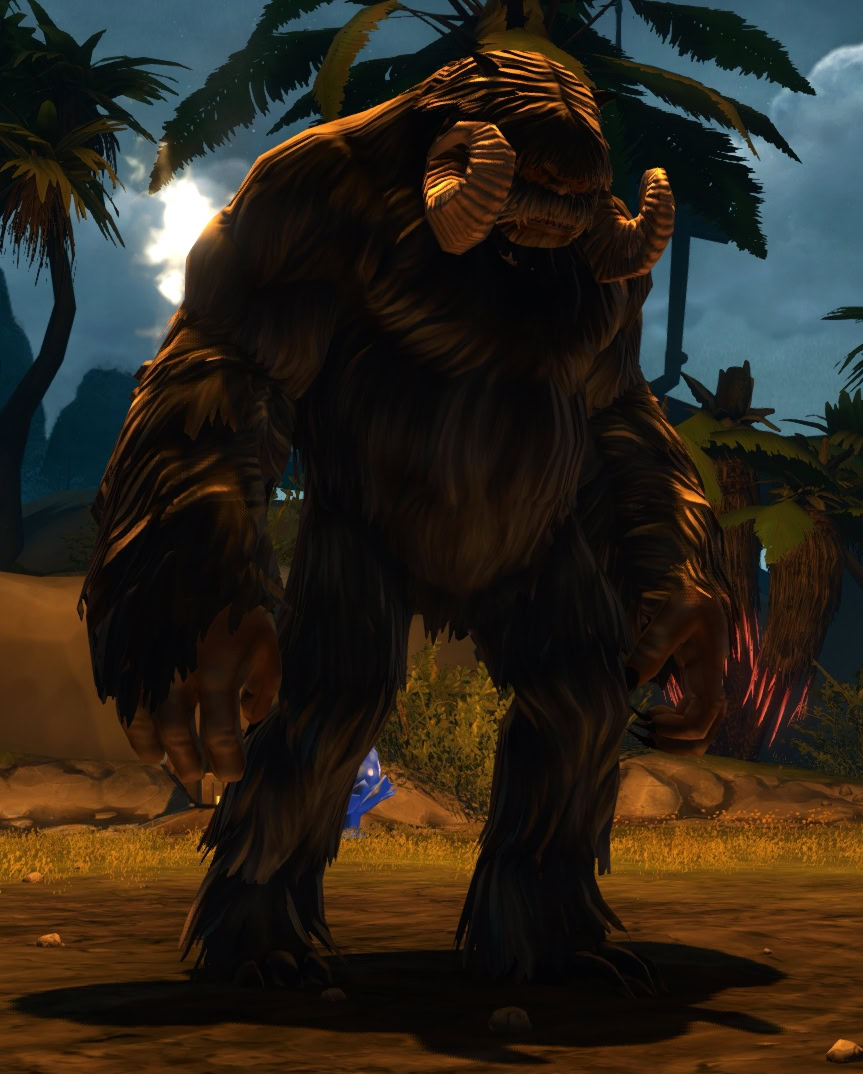
First Boss: Kyramla Gemas’rugam
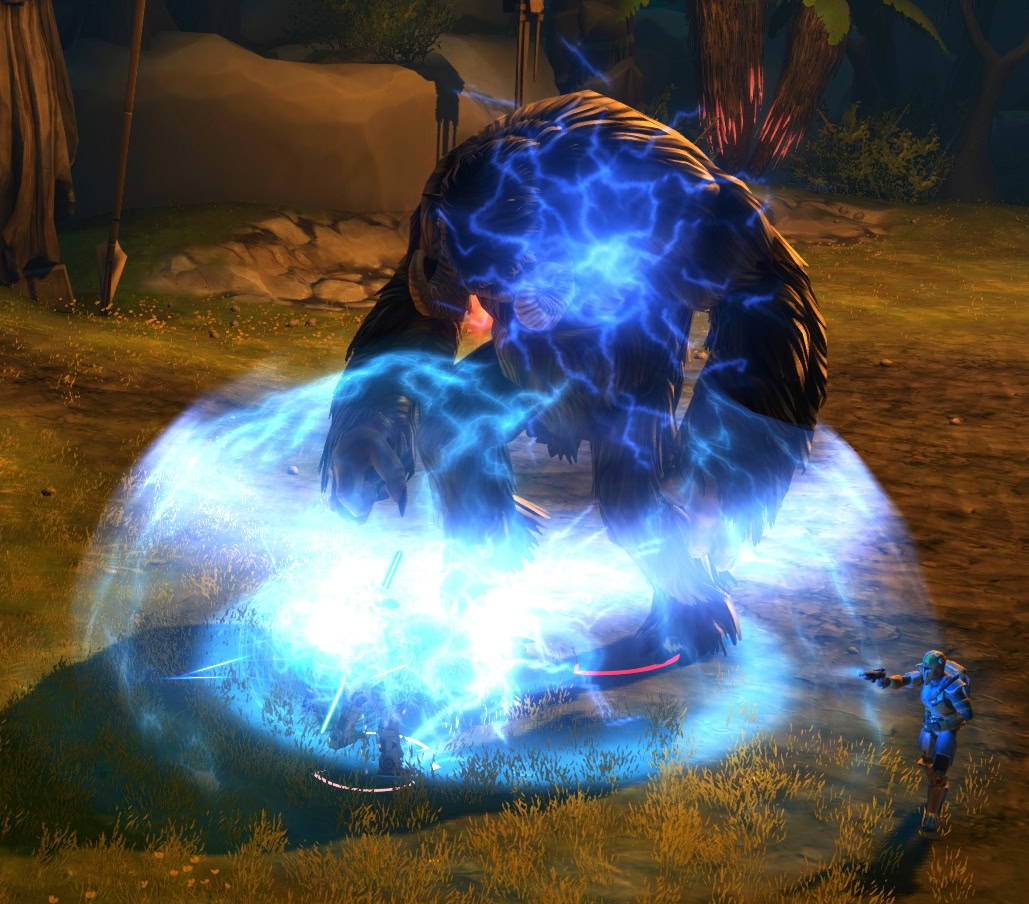
Mando’a for “Deadly Hairball”, Hairball is a Jungle Wampa that acts as a gatekeeper for the colosseum operated by the Mandalorian enclave. You’ll also notice instead of kolto stations, there are Healing Spores which serve the same function to heal your group.
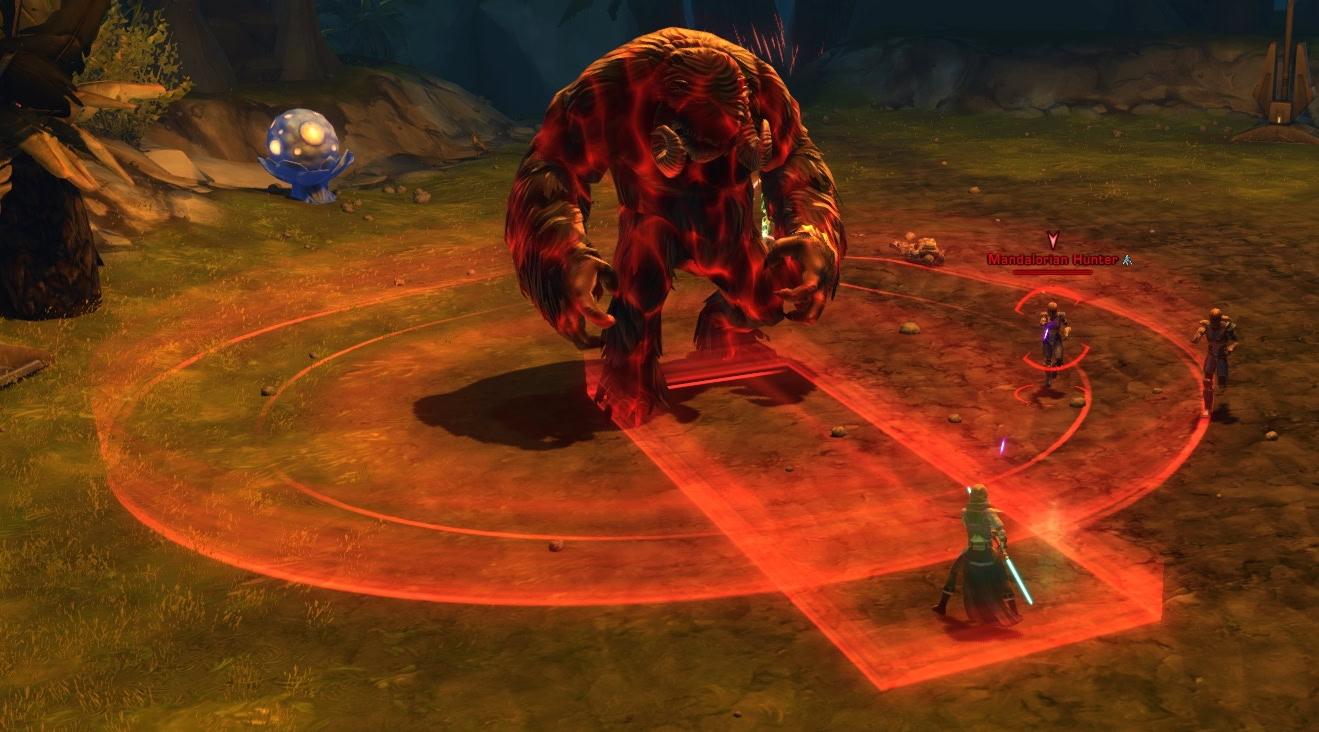
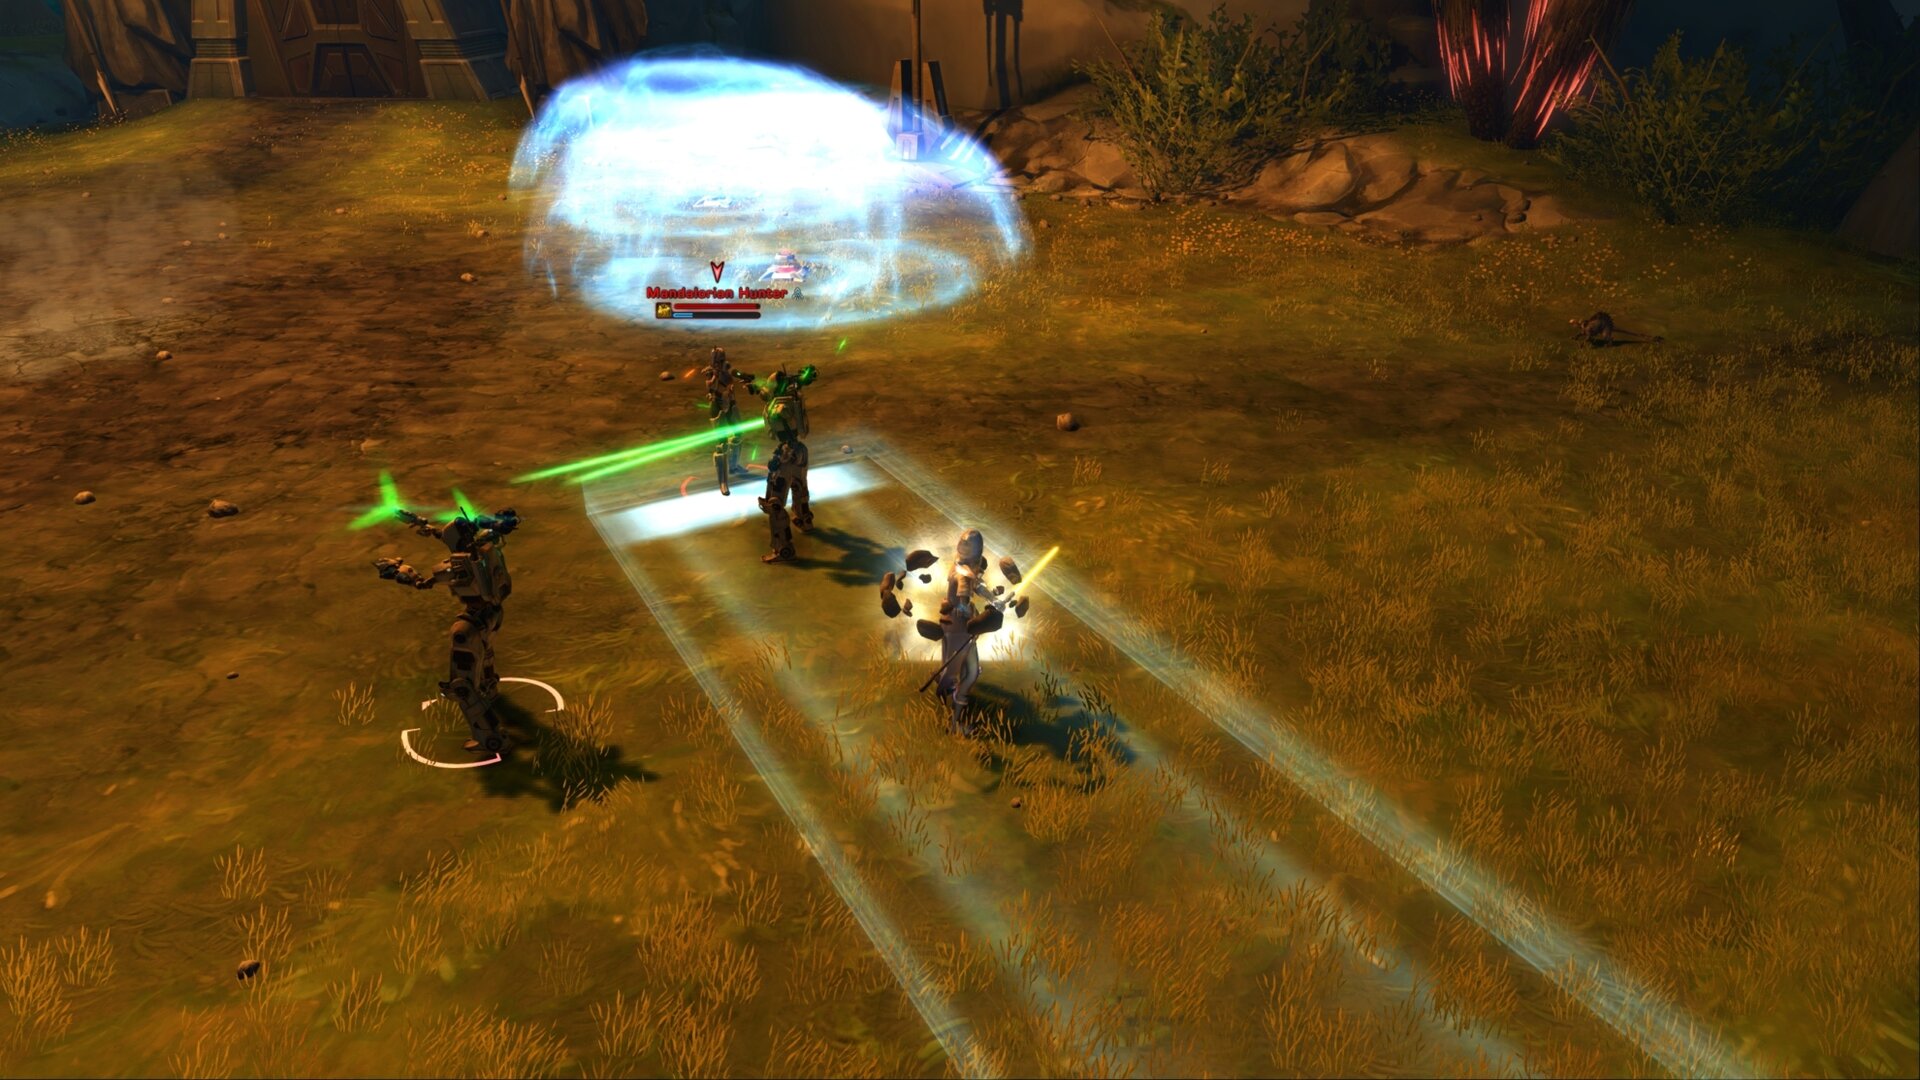
This fight is rather simple as it’s a tank and spank with adds and AoEs that are easily dodged. The adds are Mandalorian Hunters that appear in groups every so often, defeat them when they spawn and focus back on the boss. They can use flamethrowers to hit multiple targets while applying a burning DoT on them. It’s harmless in Story Mode but be careful of this at higher difficulties.

Hairball uses two AoEs, a red AoE and a blue AoE. The red AoE doesn’t seem to do anything in Story Mode, and it’s quickly followed up by the blue AoEs. Hairball will throw numerous boulders in the area and these boulders land in the blue AoEs. If you are hit by the boulders, you’ll be damaged and knocked down.
Hairball also has a powerful knockback that can send you far away. If you’re doing this solo, you might be pushed so far off that the fight resets. Make sure your back is facing the terrain so you don’t reset the fight. Aside from that, just defeat the adds, avoid the AoEs, and damage the boss to move on.

Veteran Mode Differences
The fight is tougher and now the Mandalorian Hunters deploy Shock Traps. These traps create a circular hazard in the area that’ll damage anyone standing inside them. Hairball’s red AoE still does nothing, so just avoid the additional AoE and you’ll be fine. If you pull Hairball through one of these Shock Traps, it’ll enrage, dealing more damage while becoming slowed.
Master Mode Differences
The Mandalorian Hunter adds gain a new AoE. If you see a light-blue linear AoE, get out of it. They’ll fire an electro-net to anyone in that area and it’ll slow you by 50%, deal energy damage, and increase damage if you try to move. It lasts for 3 seconds but can be very deadly if you end up stuck in other AoEs.
As for Hairball, he’ll apply a short DoT every time he flings his target and he’ll launch a LOT more rocks when he uses hurl. Avoid the AoEs and defeat any adds as soon as possible so you don’t end up having AoEs covering every part of the map.
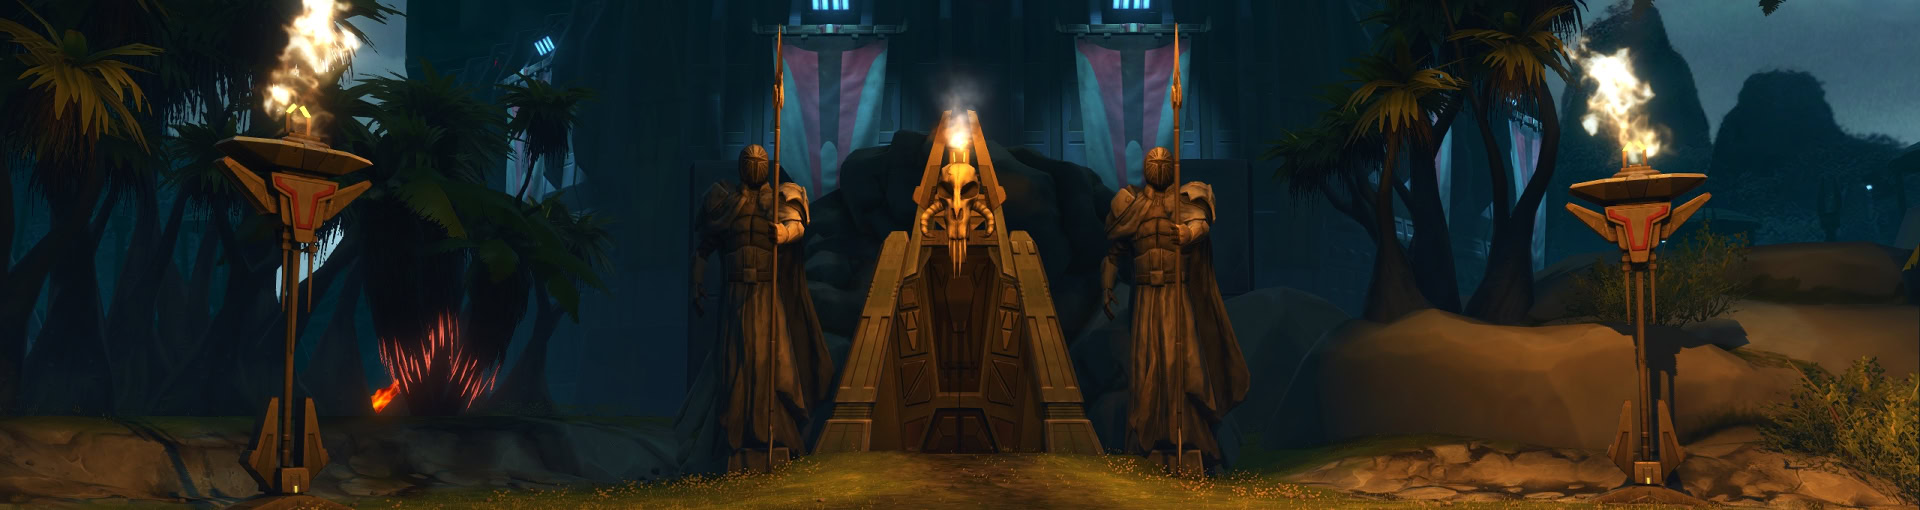
Torch’s Challenge
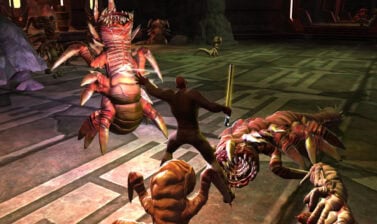
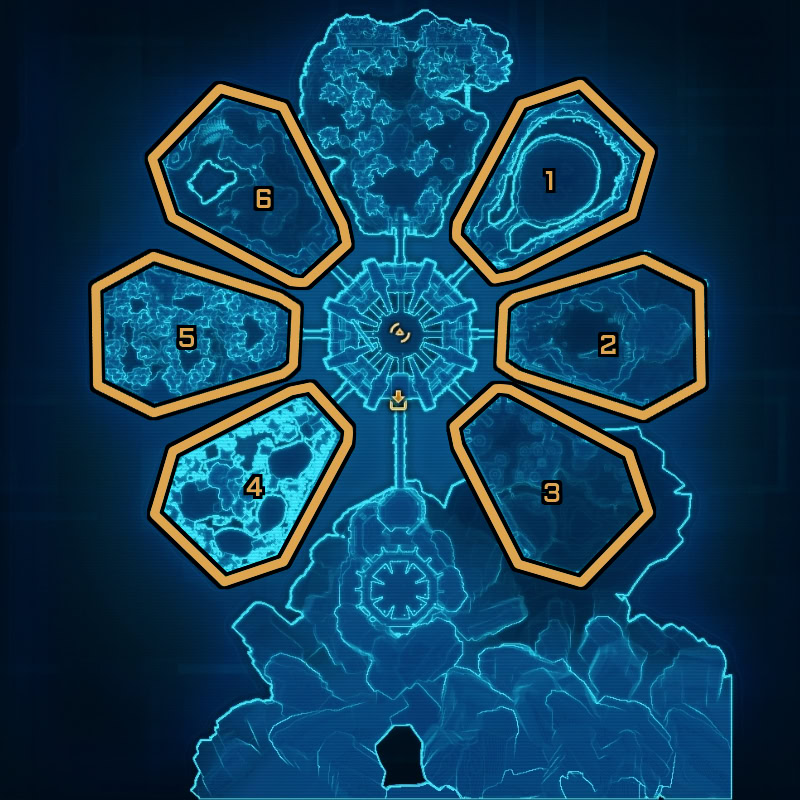
When you enter the colosseum, you’ll be met with Torch’s Challenge. You’ll need to complete a set of three challenges before you can proceed to the second boss. Each challenge is an enclosure with a unique habitat where you’ll have to defeat a large animal. You’ll be made to fight three of the six animals with them being randomly selected. You can return to this area after defeating the final boss to complete all the challenges for an achievement.
Using the map below, the six enclosures are labeled 1-6 in a clockwise motion. The mini-bosses are rather simple as they’re tank and spanks with an added fling and/or stun. They are as follows:
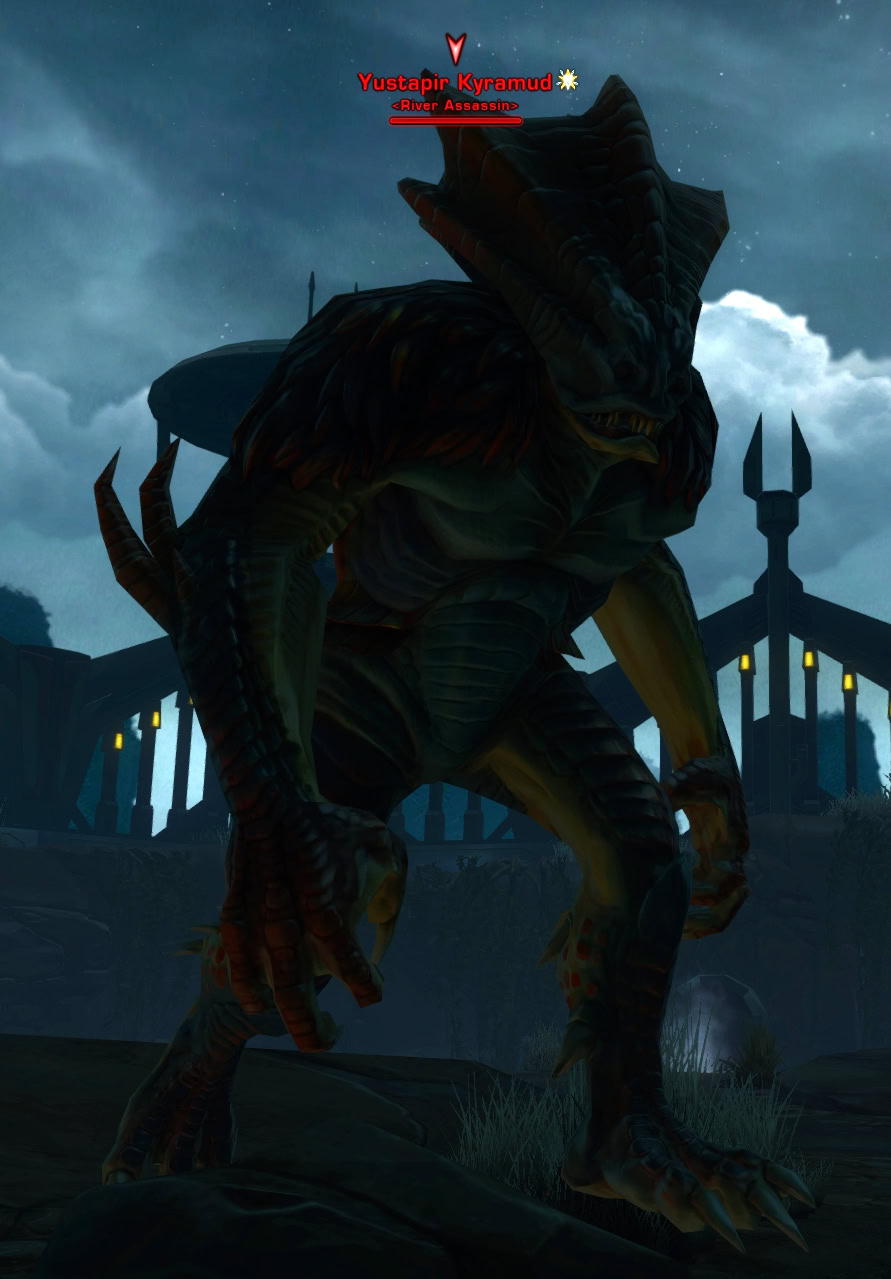
Challenge #1 – Yustapir Kyramud
Mando’a for “River Assassin”, this beast has a crazy far knockback than can easily throw you out of the arena. Bring it to the stone structure you passed on your way in, keep your back against it, and defeat it.
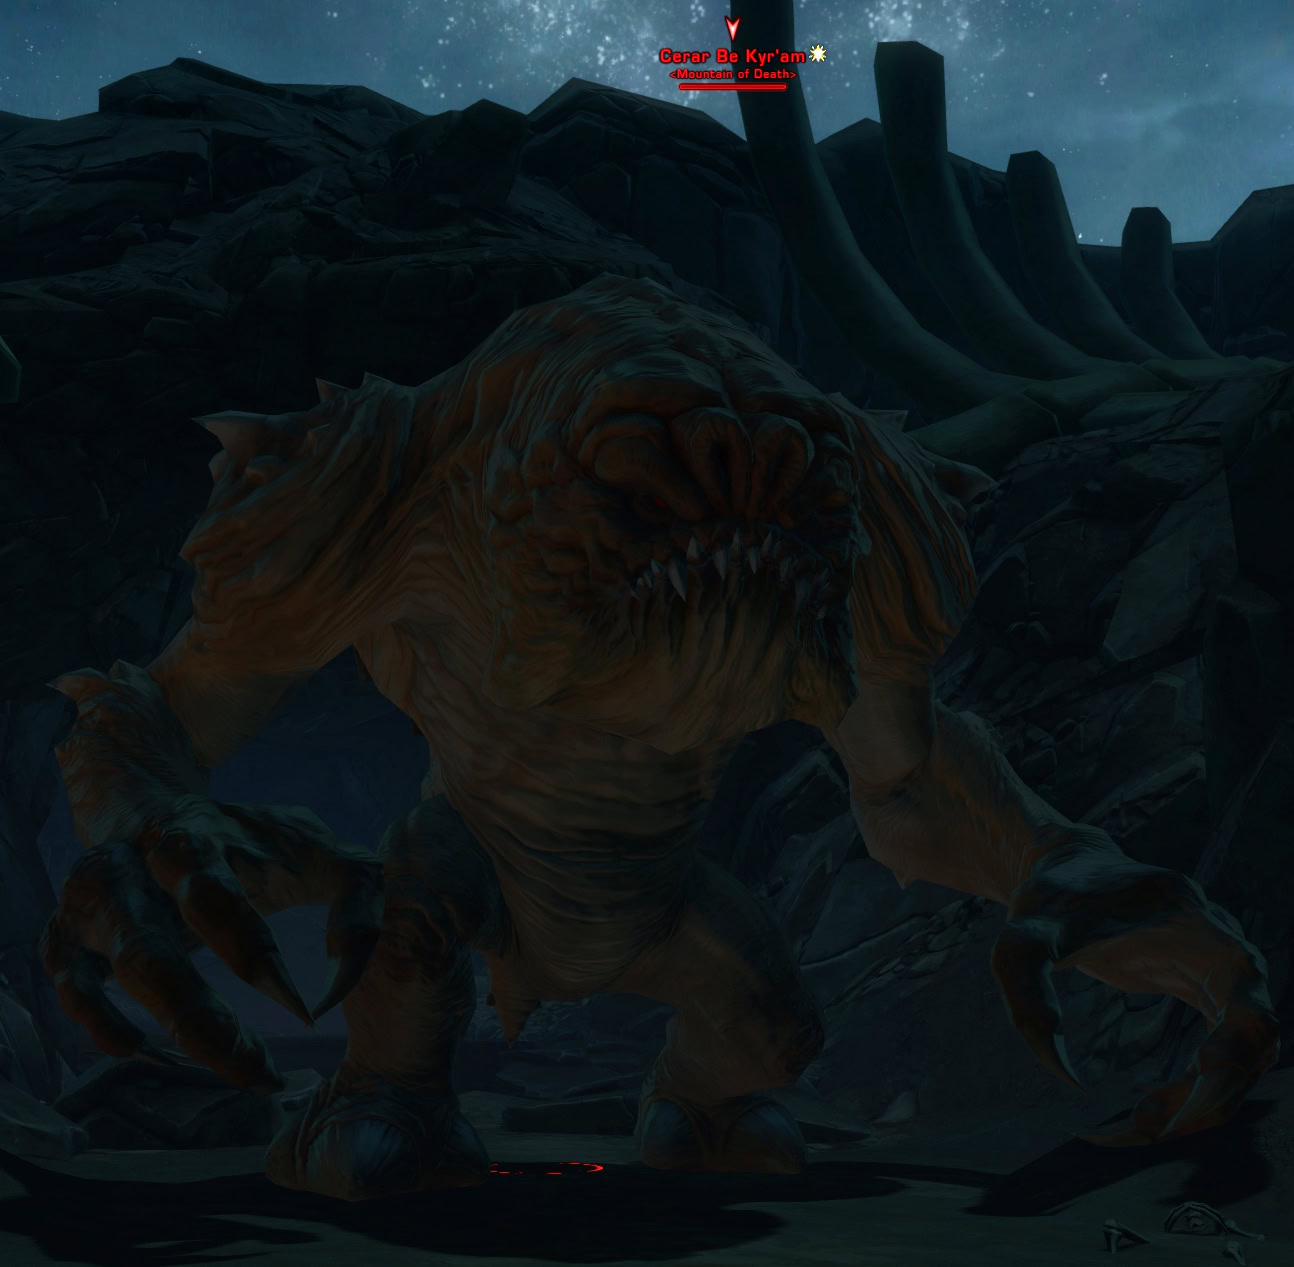
Challenge #2 – Cerar Be Kyr’am
Mando’a for “Mountain of Death”, this is just your standard rancor fight. Tank and spank the Mountain of Death until it’s no more than a molehill of death.
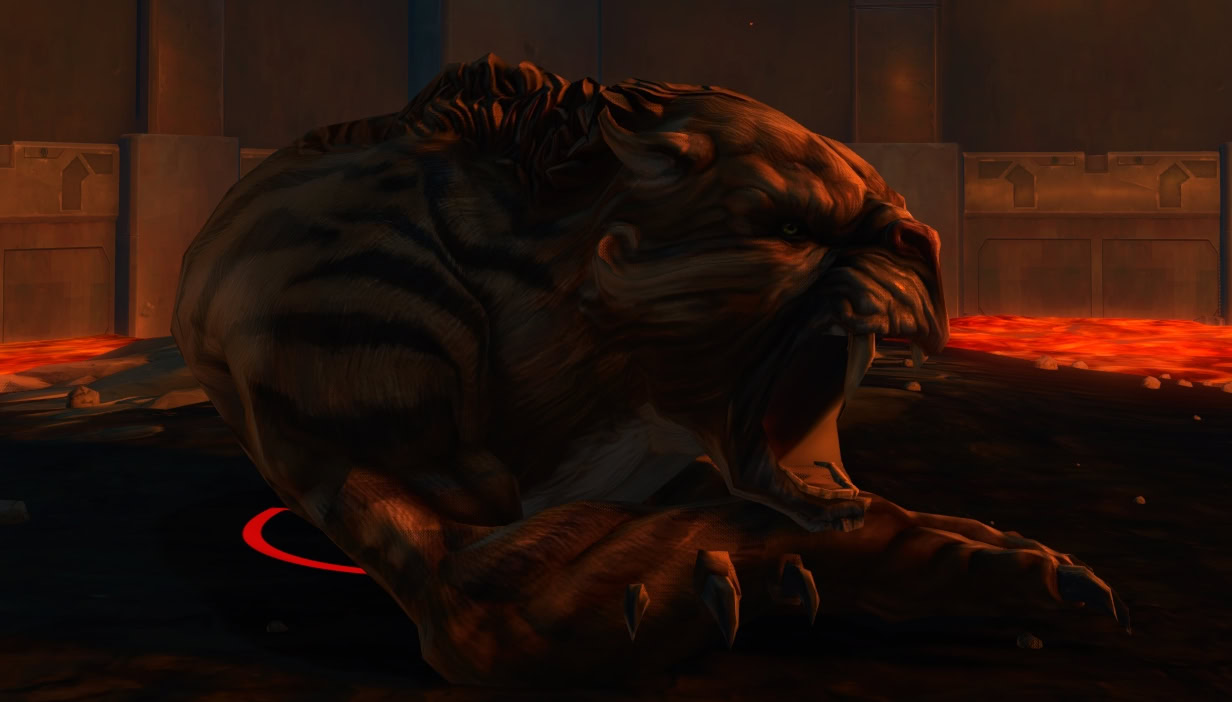
Challenge #3 – Dralne Be Te Oya’karir
Mando’a for “Strongest of the Hunt”, all this krak’jya really has going for it is a very powerful stun. No special mechanics hear, just slap the cat until it’s defeated to move on.
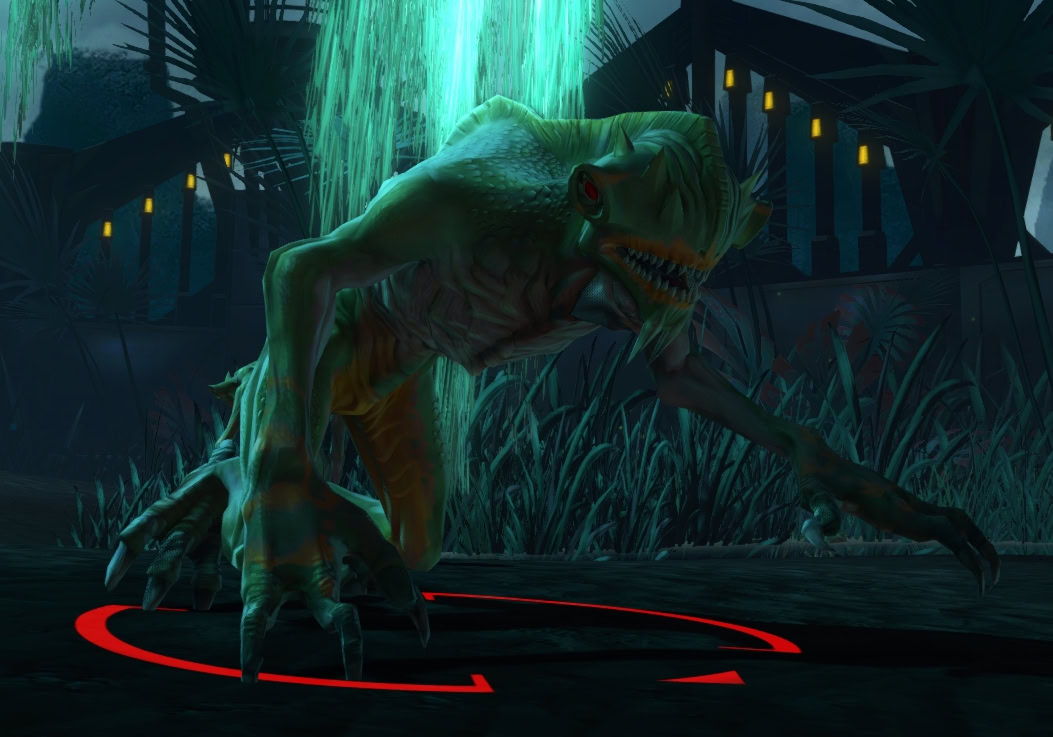
Challenge #4 – Pirun Ult
Mando’a for “Water Slime”, this slime is just a large lurker that patrols the enclosure in a clockwise manner. If you don’t immediately see Water Slime, walk around the area in a counter-clockwise manner and you’ll run into it.
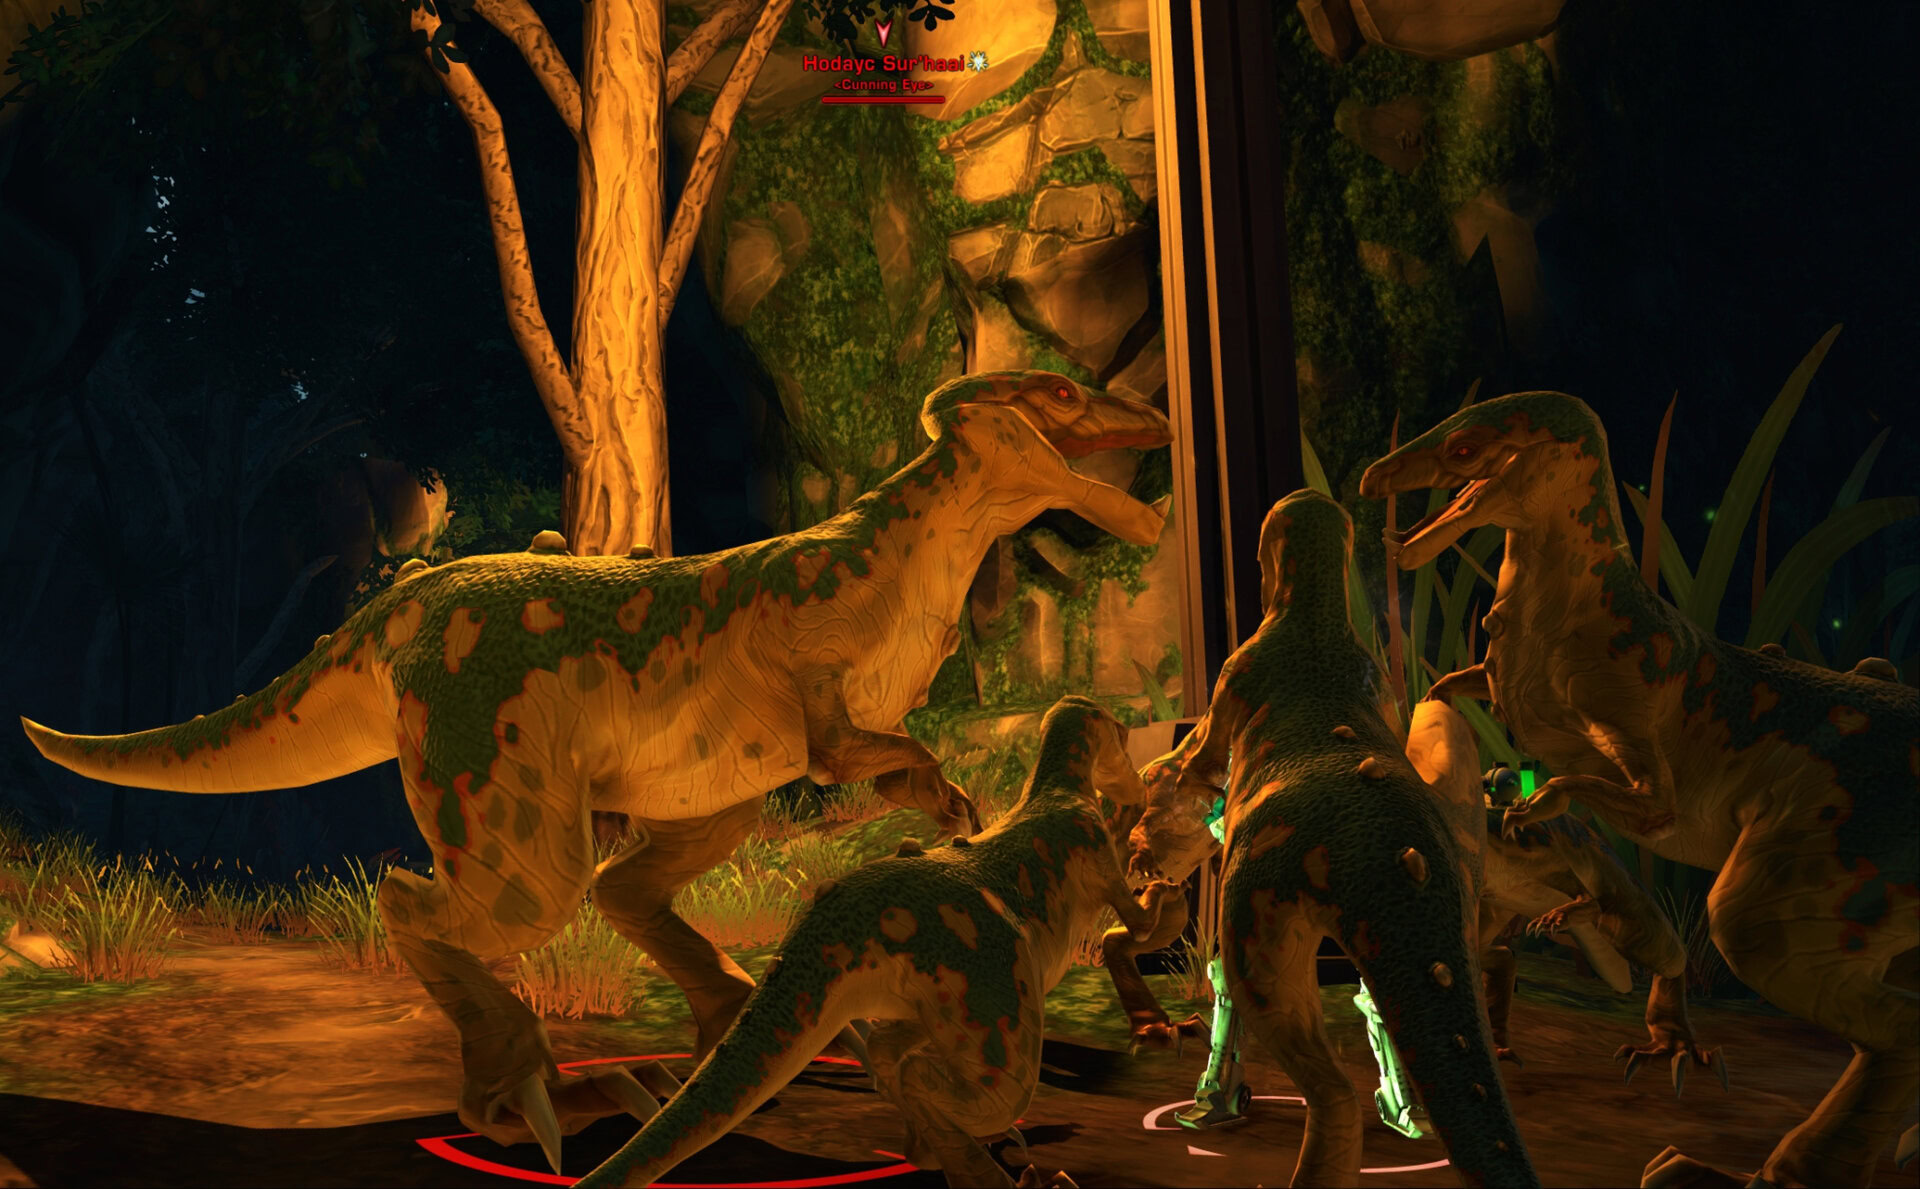
Challenge #5 – Hodayc Sur’haa
Mando’a for “Cunning Eye”, Cunning Eye is a large tonitran that’ll only be summoned if you walk around the enclosure and defeat any other tonitrans that spawn. Once you defeat enough of them, Cunning Eye will appear.
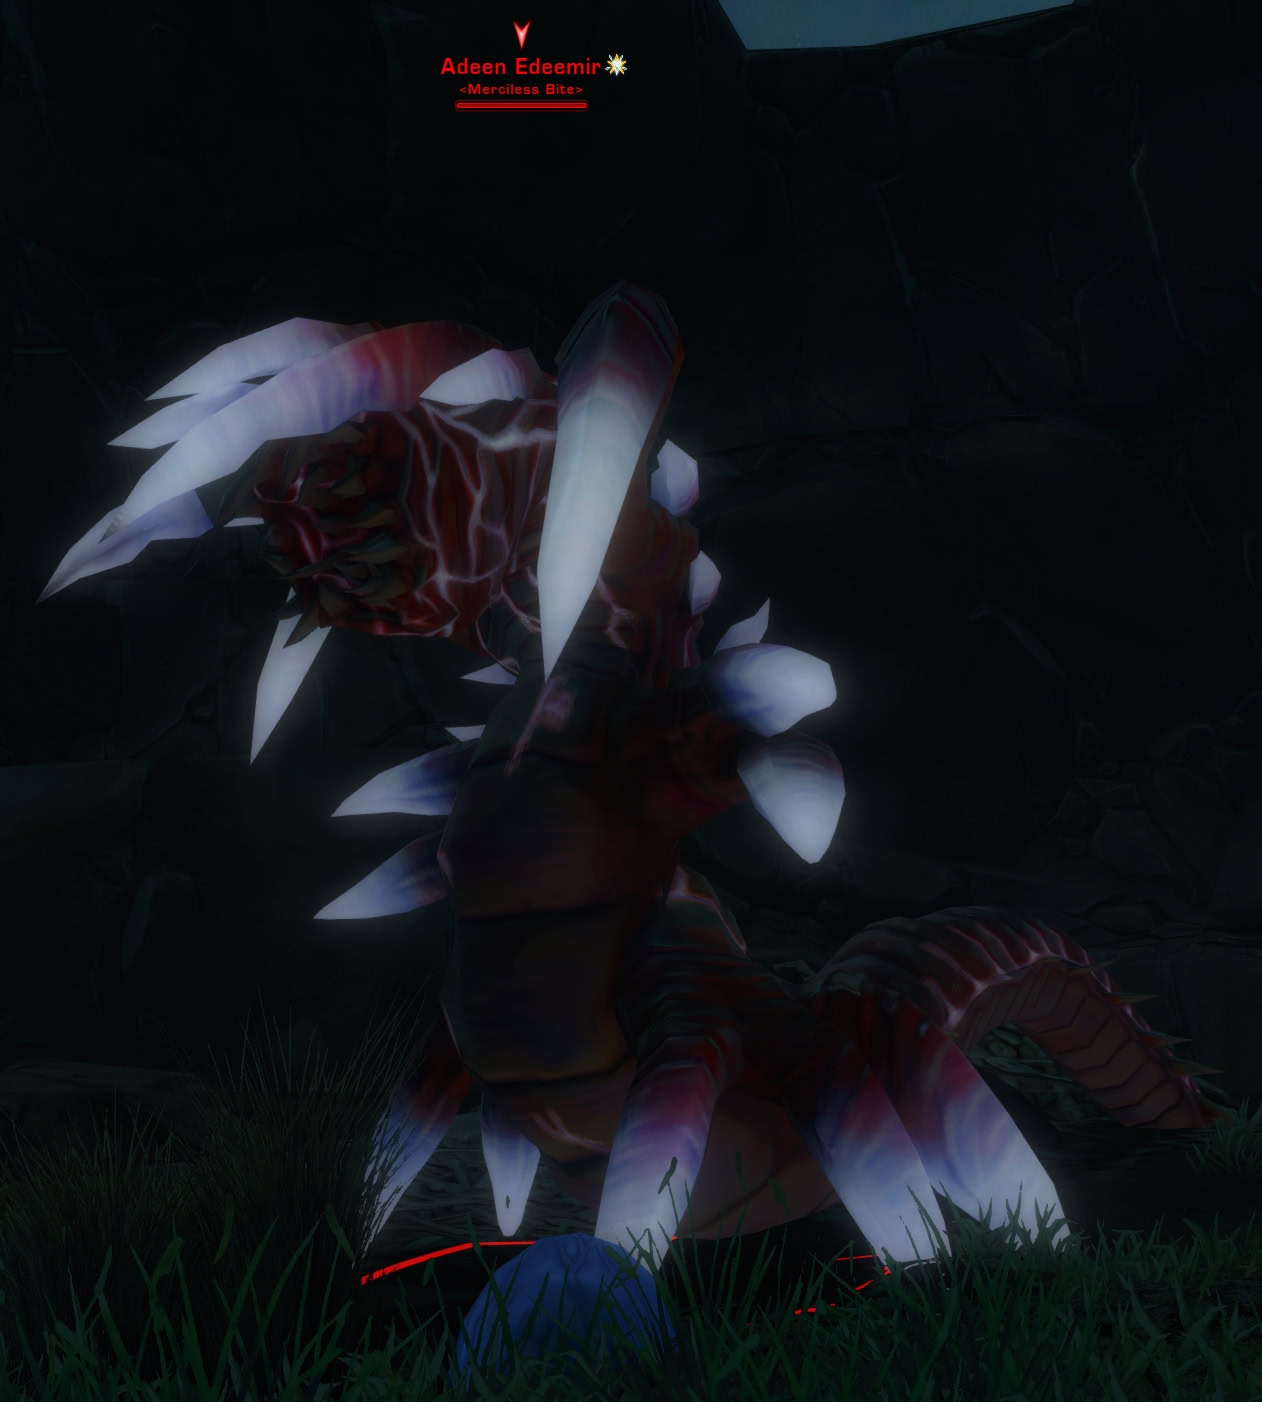
Challenge #6 – Adeen Edeemir
Mando’a for “Merciless Bite”, this k’lor’slug can only be summoned by destroying enough eggs in the area. Right-click the eggs enough times, defeat any adds that appear, then take down Merciless Bite.
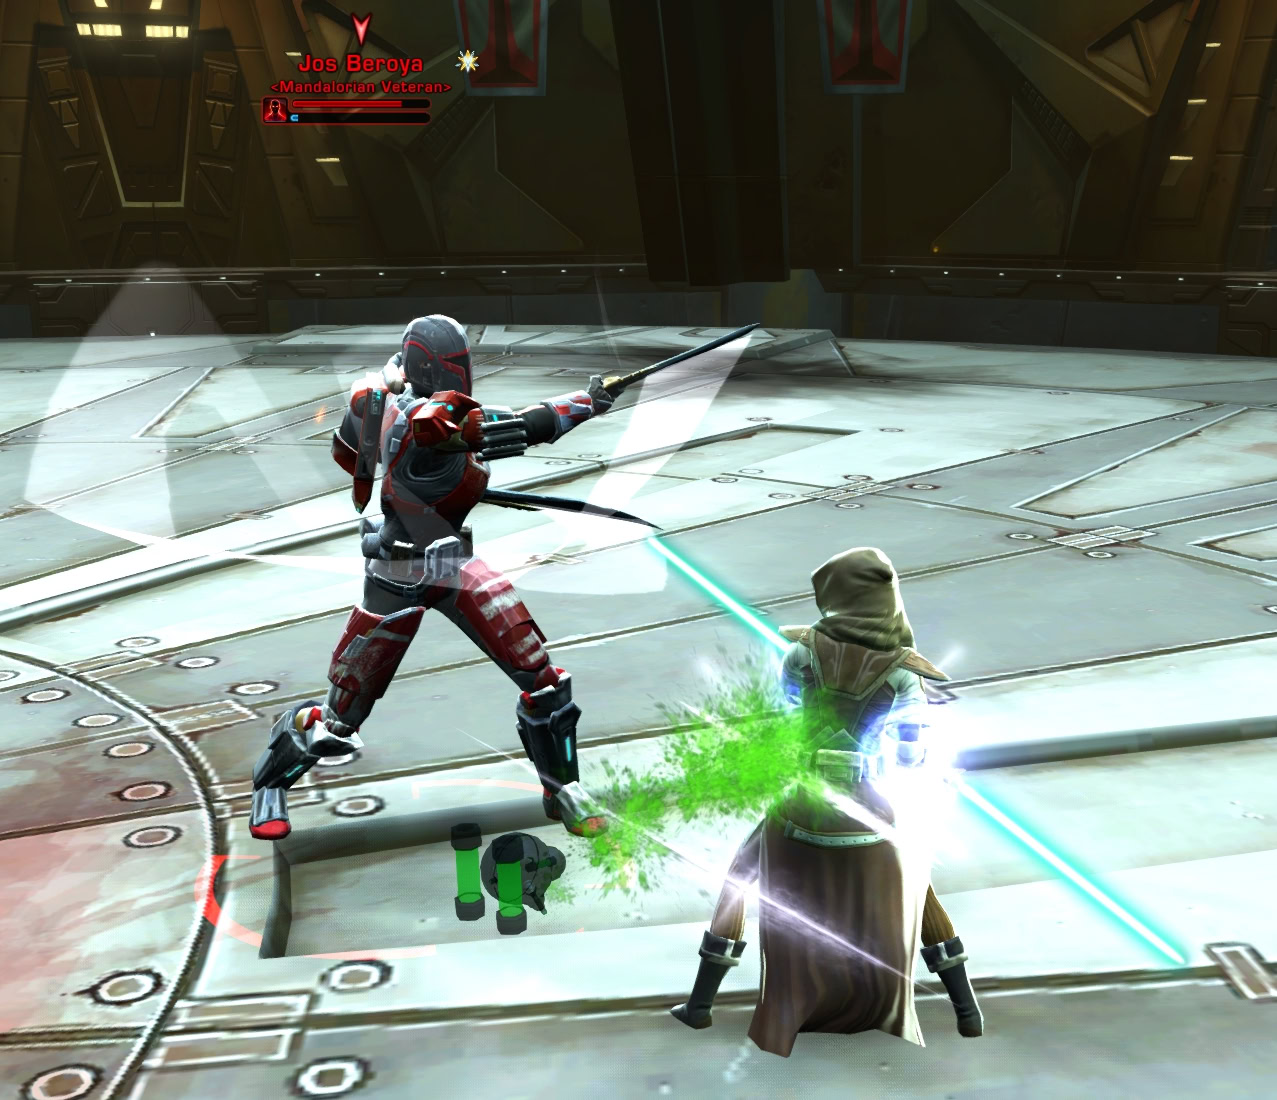
Second Boss: Jos and Valk Beroya
Everyone loves to hear couples bicker apparently, so the devs made that a feature in this boss fight! Jos will fight with melee attacks against a single target at a time, while Valk will attack multiple people with ranged attacks.

You’ll fight Jos first and you’ll need to avoid fighting him near the edge of the arena. He has a knockback and you don’t want to be pushed off. Every time he attacks his target, they get a stack of Execute. This stacks up to 10 times and if it hits 10, Jos can hit you with an attack that applies a DoT, stuns you, and he’ll ignore you. If you’re the tank and you got hit by an execute attack, don’t use your taunt until the Ignore debuff wears off.
Every so often, Jos can use an attack called Maul. This is a quick series of attacks that applies stacks of Execute and heavily slow his target. Prepare to get hit by an execute attack if he uses maul on you.
Another thing to watch out for with Jos is when he uses Aeriel Strike. He’ll charge his jetpack and jump into the air and land on a target. His takeoff point will leave behind a fire AoE that you’ll need to stay out of. Once he hits 50% health, he’ll swap out with Valk.
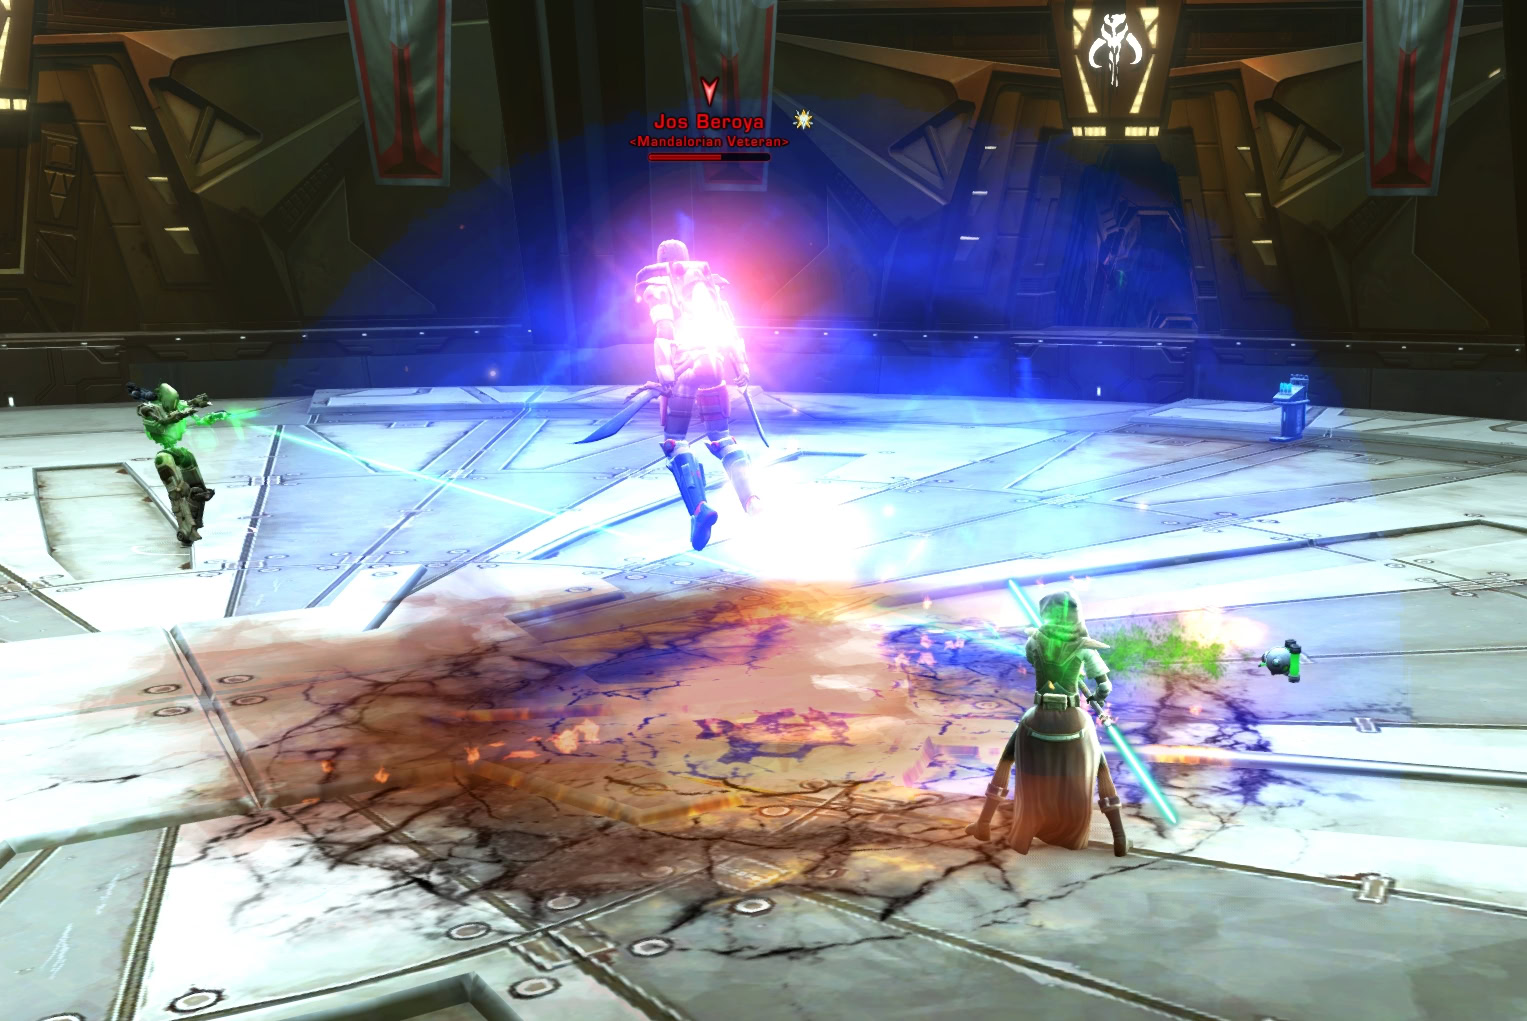
Valk uses ranged attacks and has an AoE that tracks and hits multiple targets. If you see a red circle beneath you, get away from everyone else in the group as the damage increases should these circles overlap.
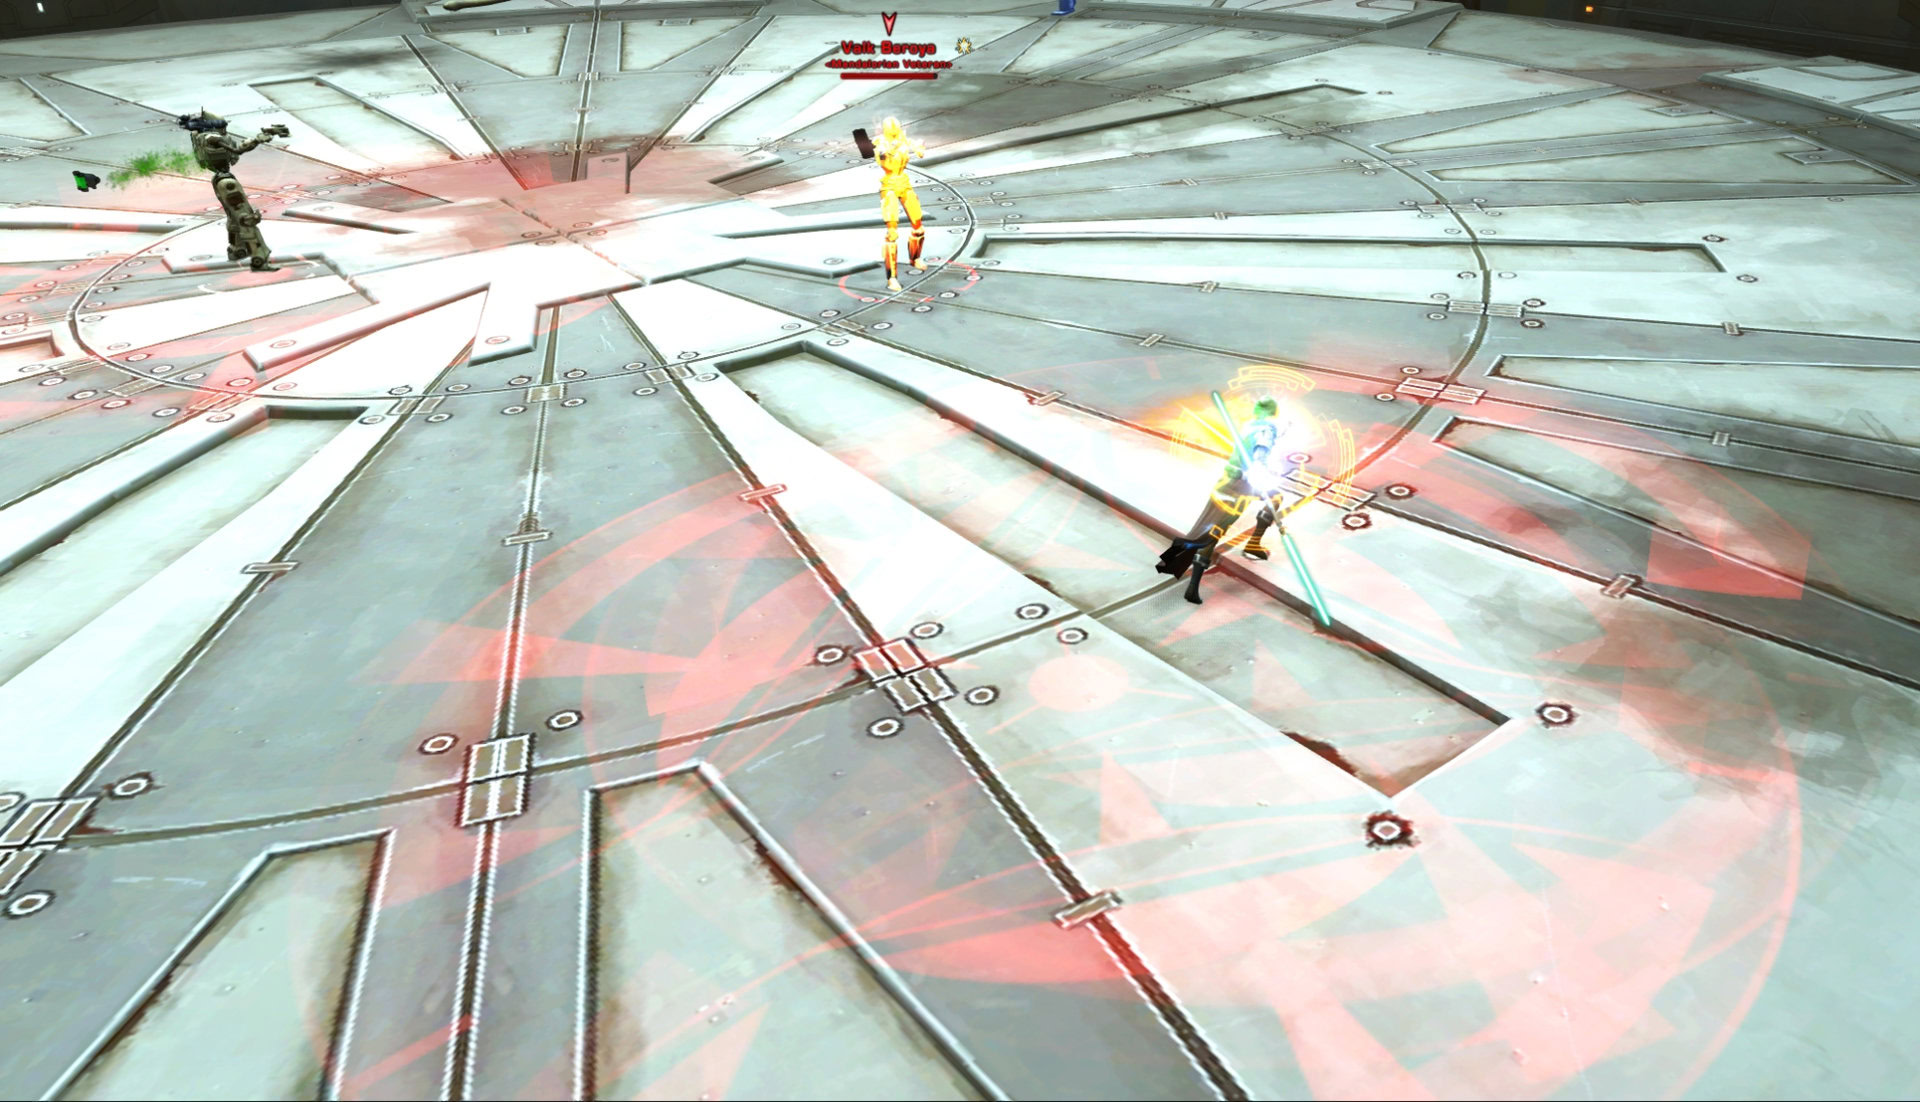
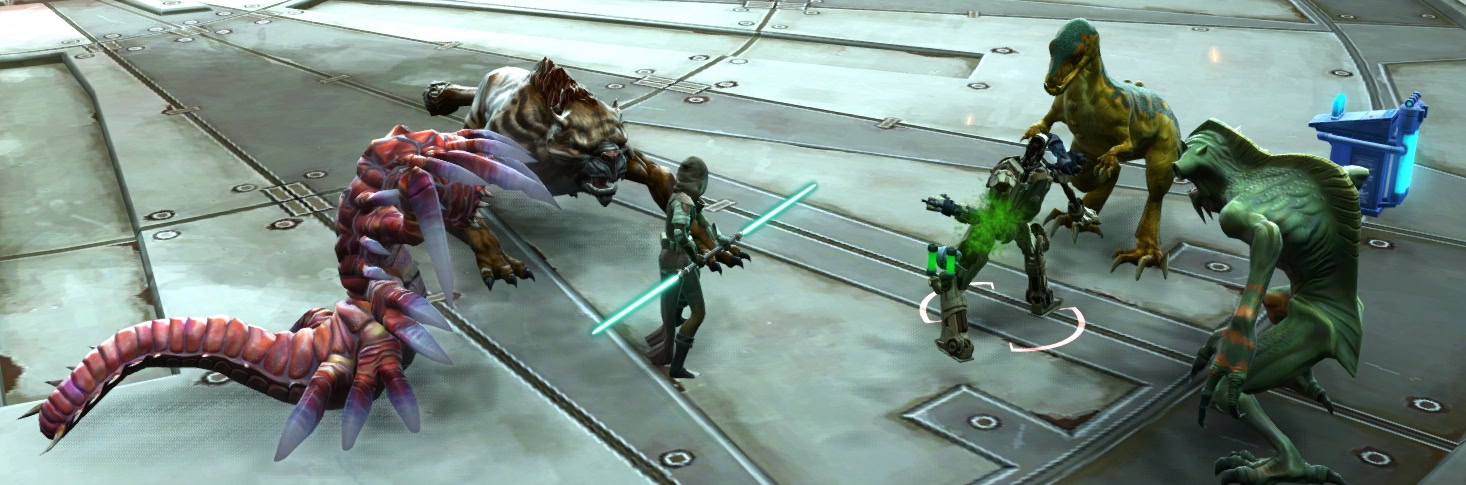
Valk also has a grapple and a charge ability to make her a bit more annoying to fight. The charge has a short knockback, so don’t fight close to the edge of the arena or you’ll be knocked off. Once you get her to 50% health, she’ll swap out to have four animals attack you. Defeat these animals to fight both Jos and Valk at the same time. Defeat them both and move onto the final boss.
Veteran Mode Differences
There are no mechanical differences in veteran mode, the fight is just tougher overall.
Master Mode Differences
Jos’s and Valk’s pushback are far stronger and will push you for half the length of the arena. Stay in the center to not get pushed out. Jos and Valk will swap out at 70% health instead of 50% health. Once you fight both of them at the same time, take out Jos first as Valk is FAR easier to deal with.
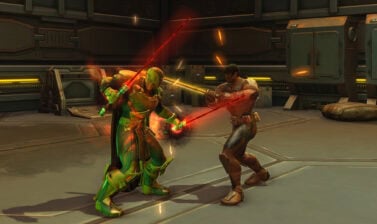
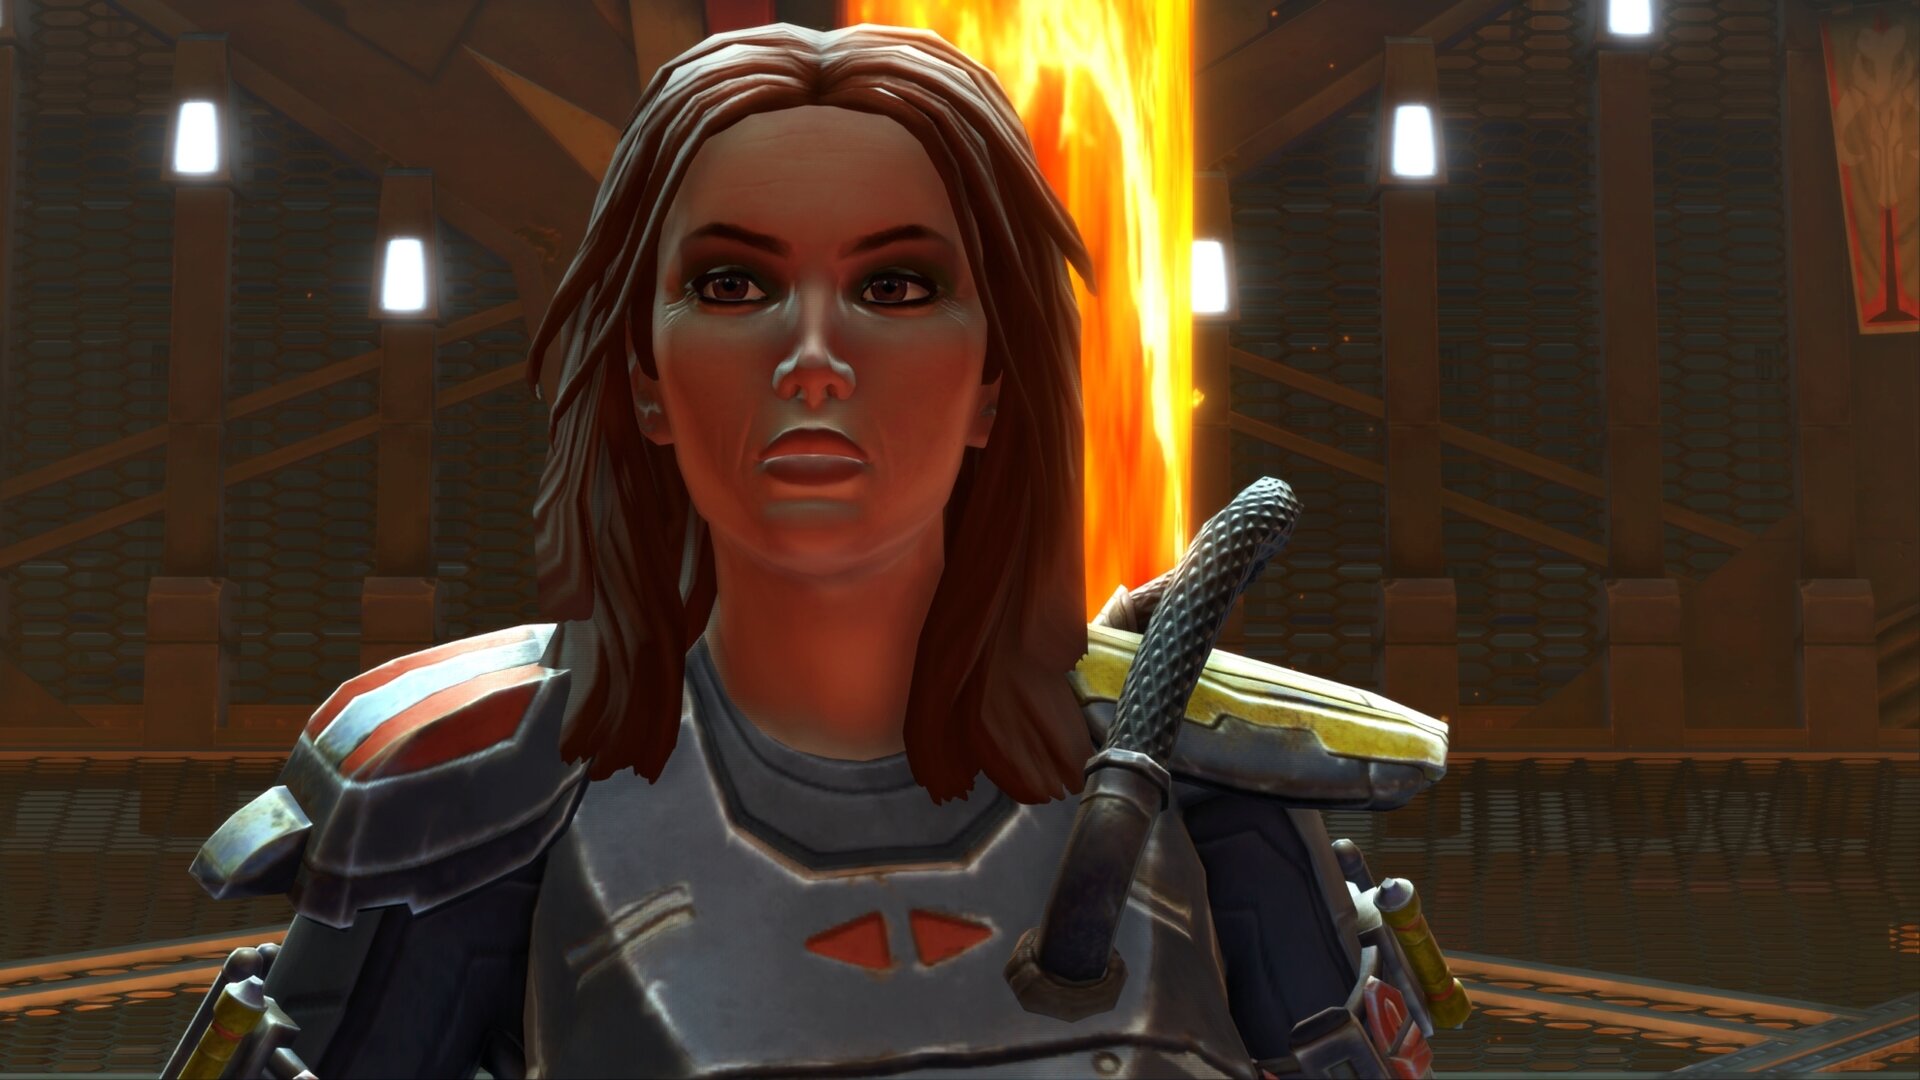
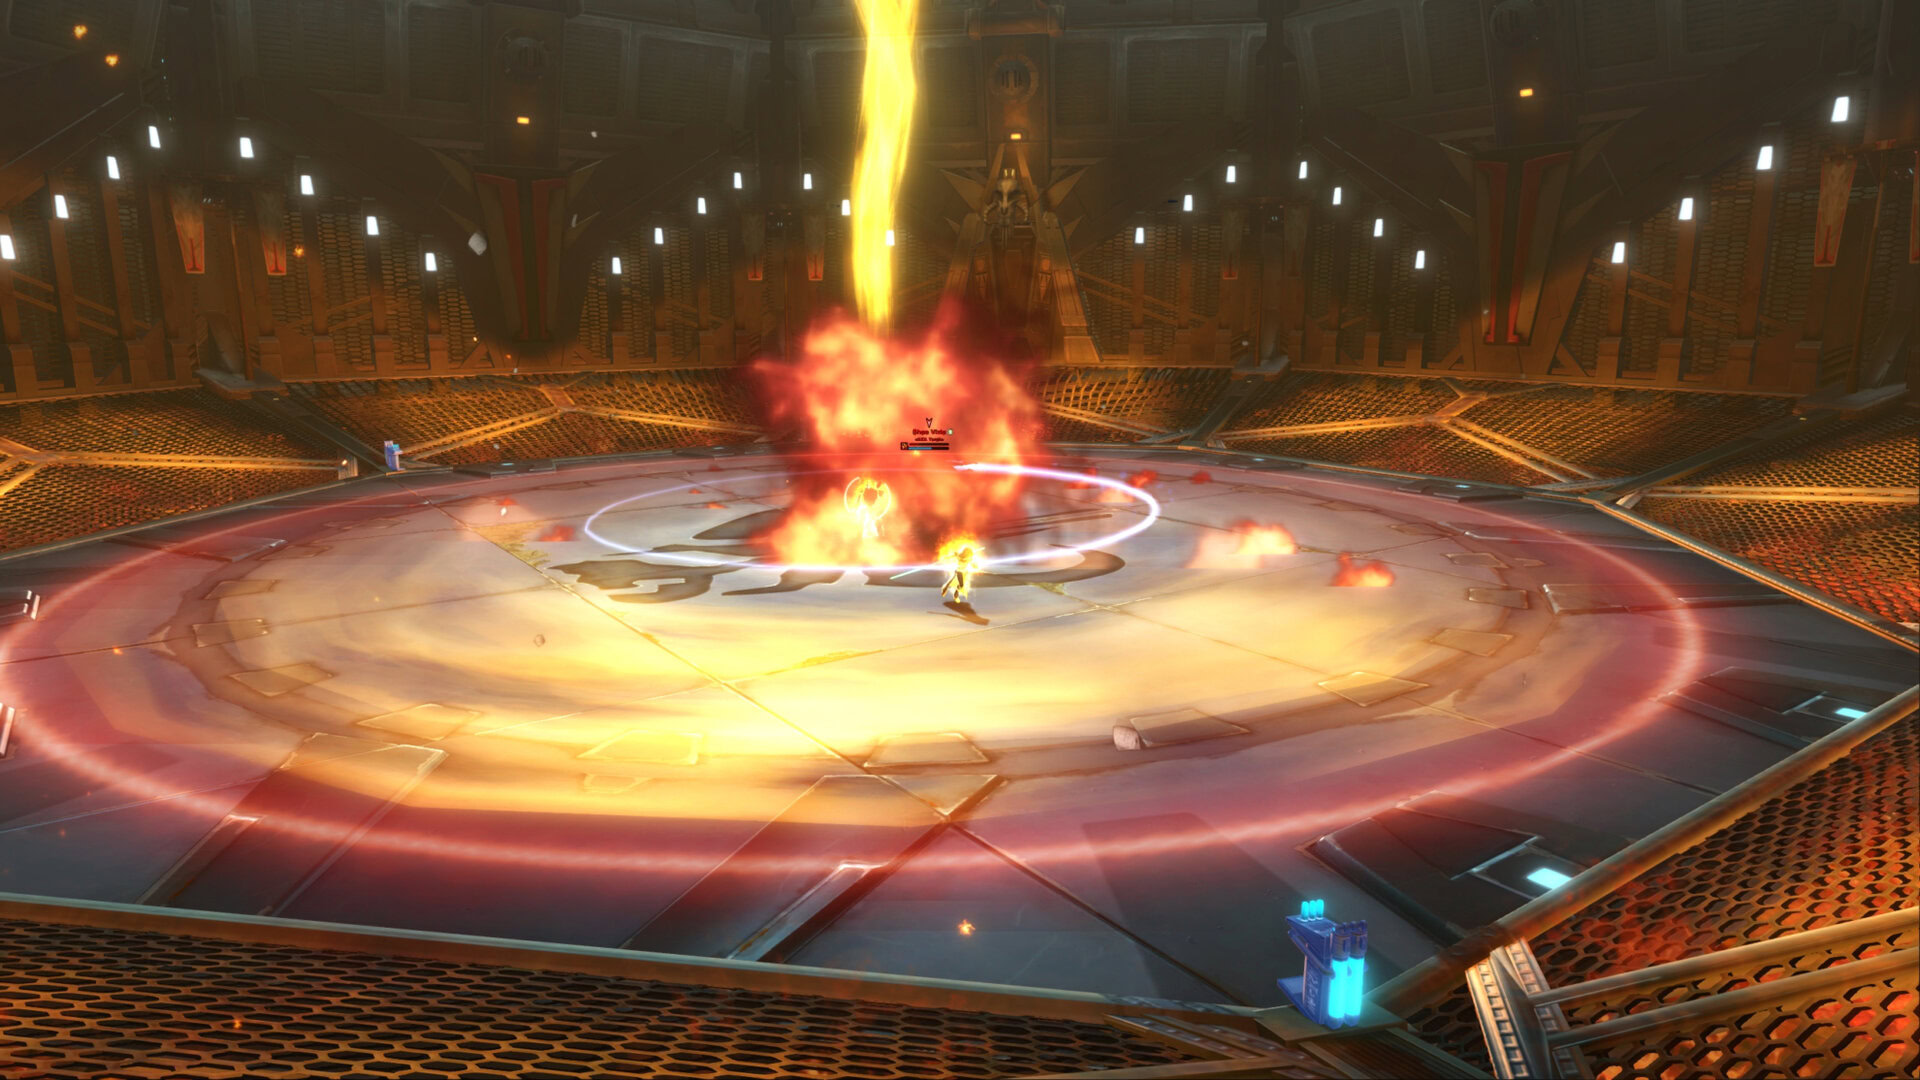
Final Boss: Shae Vizla
The final boss is this “Torch” person you’ve been seeking out. This turns out to be Shae Vizla, the same Mandalorian from the “Deceived” SWTOR cinematic who helped Malgus invade Coruscant. You’ll need to fight her and prove your worth before she decides to cooperate with you.
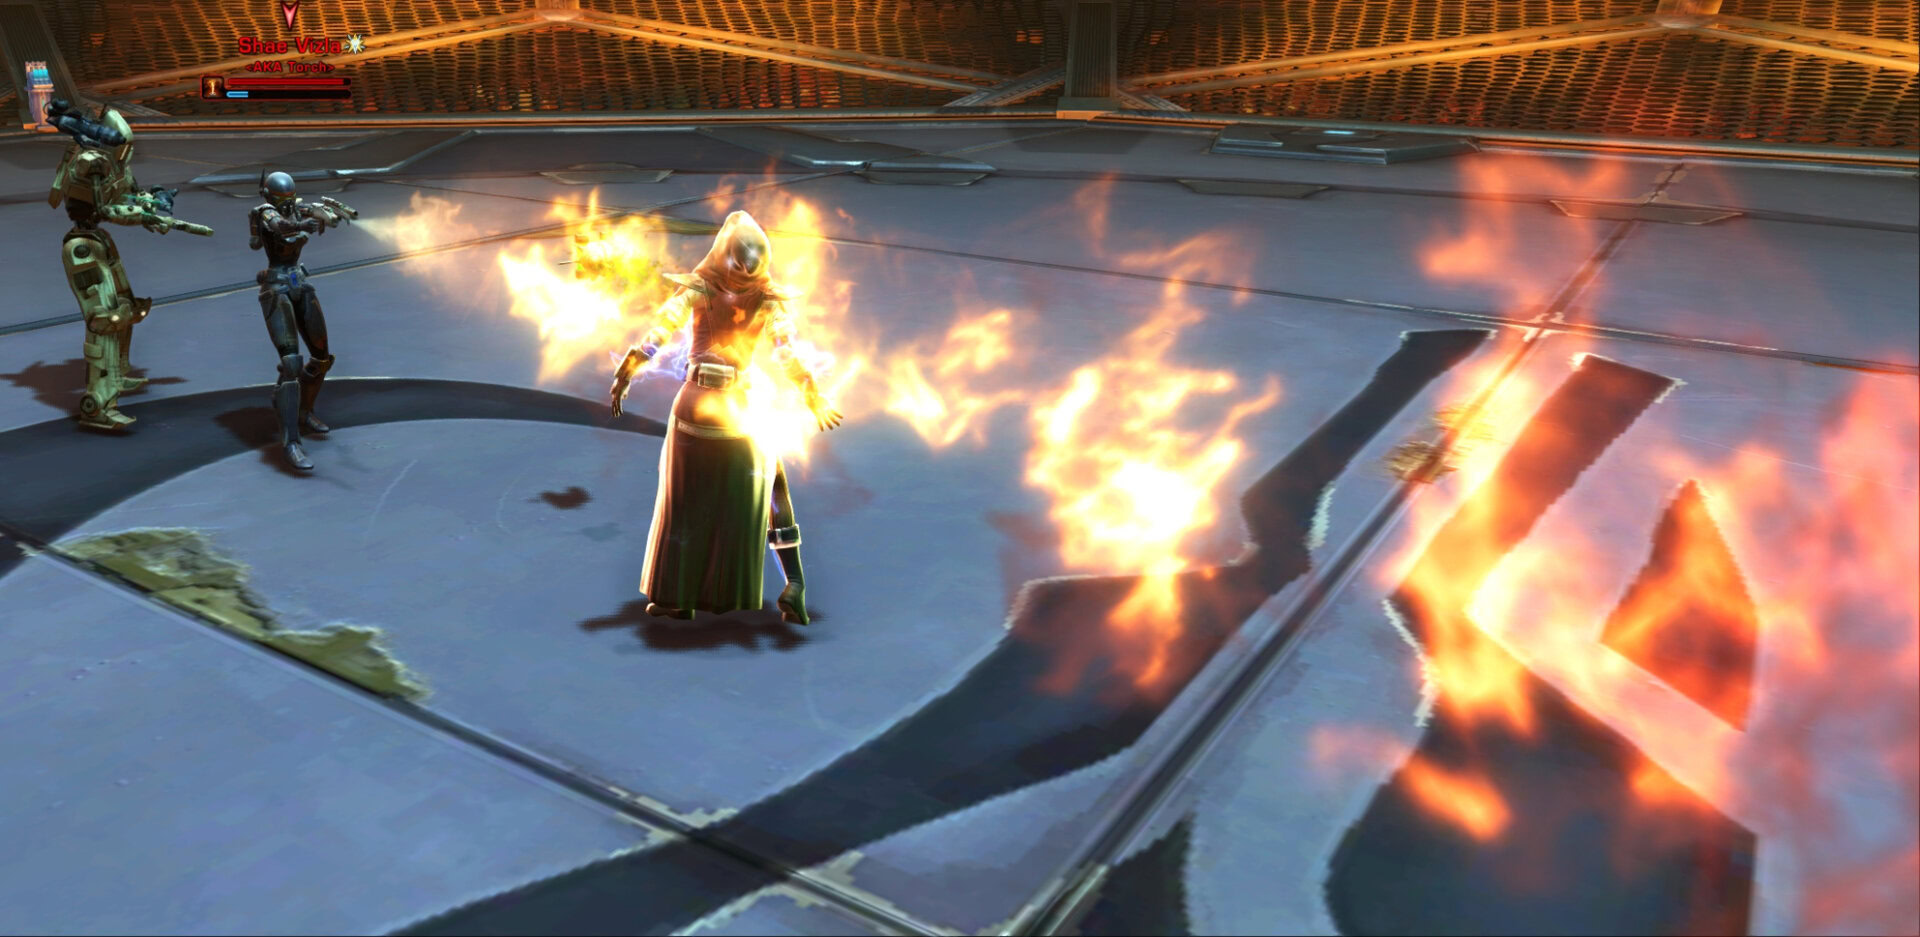
This fight looks a lot more challenging than it actually is. Shae uses a lot of AoEs with her flamethrower. She’ll use flame sweep to hit anyone nearby and a basic flamethrower cone, so the tank should face her away from the group. She can also stun you with Carbonize or an Electro-Dart, but this isn’t too much of an issue.
Later on in the battle, the floor will open up to form a checkerboard pattern. Stay out of the grated area as you’ll take damage from the lava. Shae will begin to hover and attack by firing rockets at multiple targets at the same time, and she’ll use an orange AoE. Stay out of the AoE and the lava and you’ll be fine.
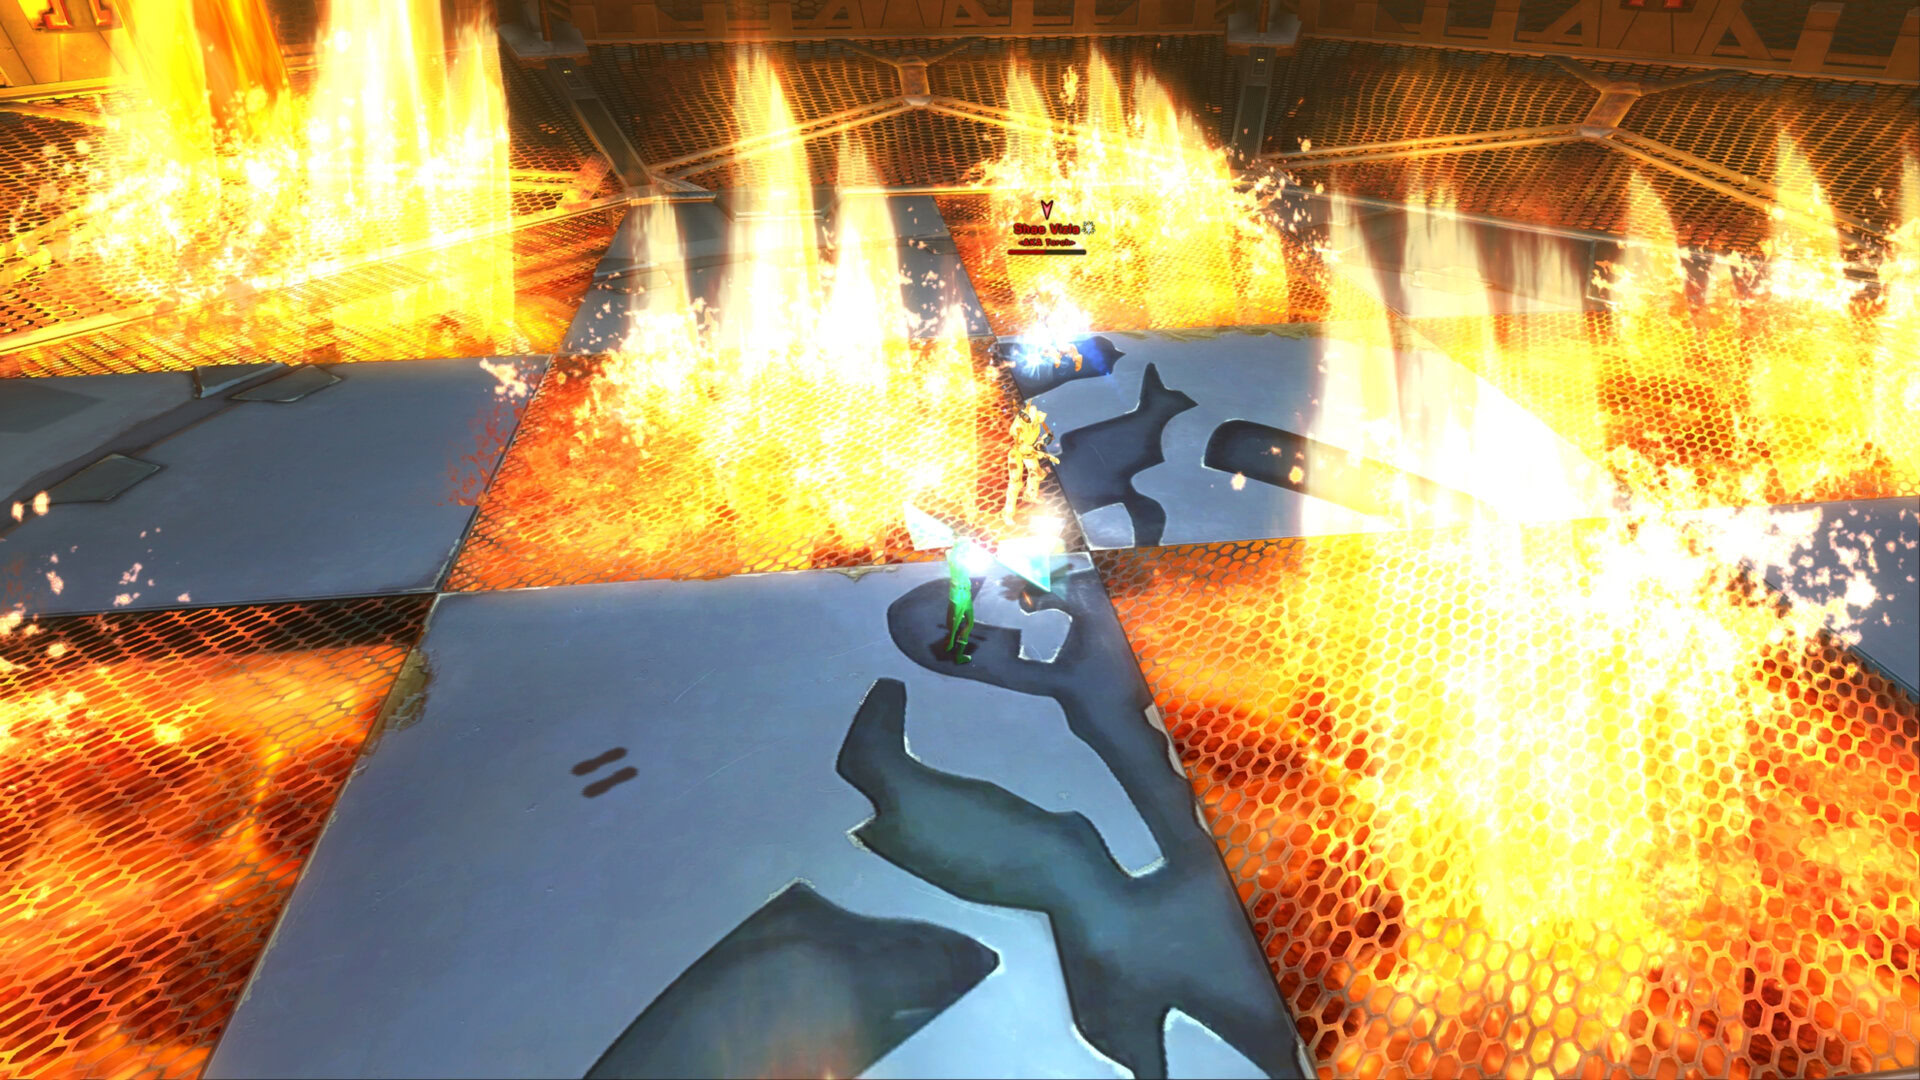
If you see a Grapple Droid spawn, be prepared to run. The droid will grapple everyone into the center and Shae will be flying circles in the arena to create a fire vortex. Get out to the edge of the arena as soon as possible and wait for the vortex to explode. Afterwards, the floor will be solid again and you’ll repeat this entire process until Shae is defeated.
Veteran Mode Differences
There are no mechanical differences in Veteran Mode.
Master Mode Differences
There are no mechanical differences, but Shae hurts so much more. The tank should avoid being too close to allies when half the floor is lava. Her orange AoE deals insane damage and DPS should avoid that AoE as much as possible or they’ll be blown to bits.
Achievements for Blood Hunt
The majority of the achievements for this flashpoint are for defeating the bosses 1 time, 10 times, and 25 times. Here are the achievements that grant rewards:
Defeat Torch (Veteran)
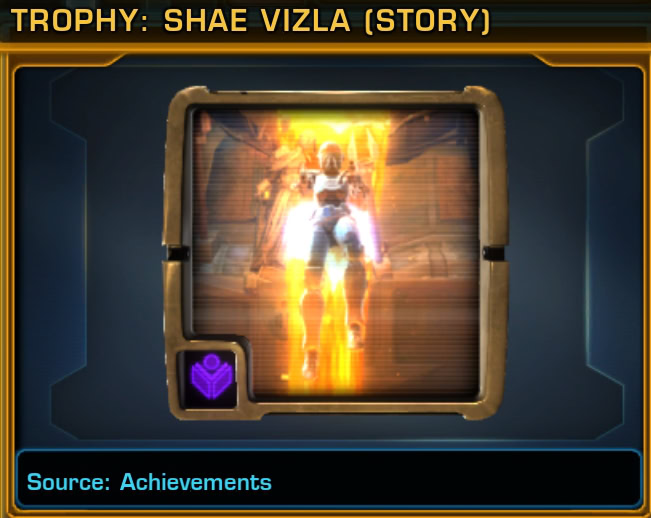
Defeat Torch in the “Blood Hunt” flashpoint.
You’ll gain the Shae Vizla (Story) Trophy Decoration.
Defeat Torch (Master)
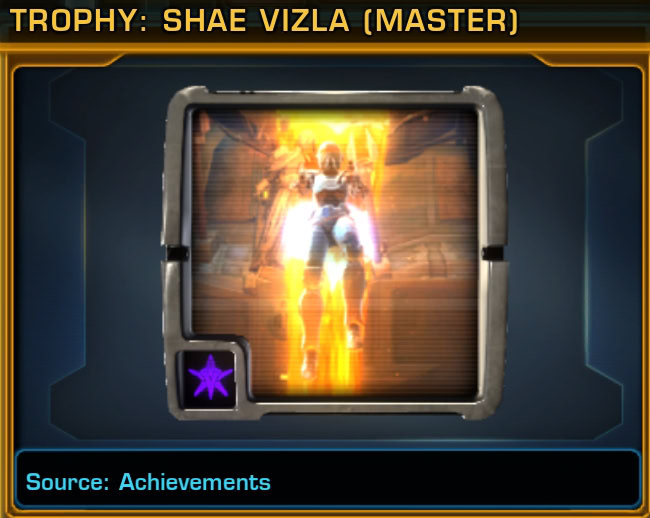
Defeat Torch in the “Blood Hunt” flashpoint on master difficulty.
You’ll gain the Shae Vizla (Master) Trophy Decoration.
Defeat Kyramla Gemas’rugam
Defeat Kyramla Gemas’rugam in the “Blood Hunt” flashpoint on master difficulty 25 times.
Rewards 20 Cartel Coins.
Defeat the Mandalorian Champions
Defeat Jos and Valk Beroya in the “Blood Hunt” flashpoint on master difficulty 25 times.
Rewards 20 Cartel Coins.
Defeat Torch
Defeat Torch in the “Blood Hunt” flashpoint on master mode 25 times.
Rewards 20 Cartel Coins.
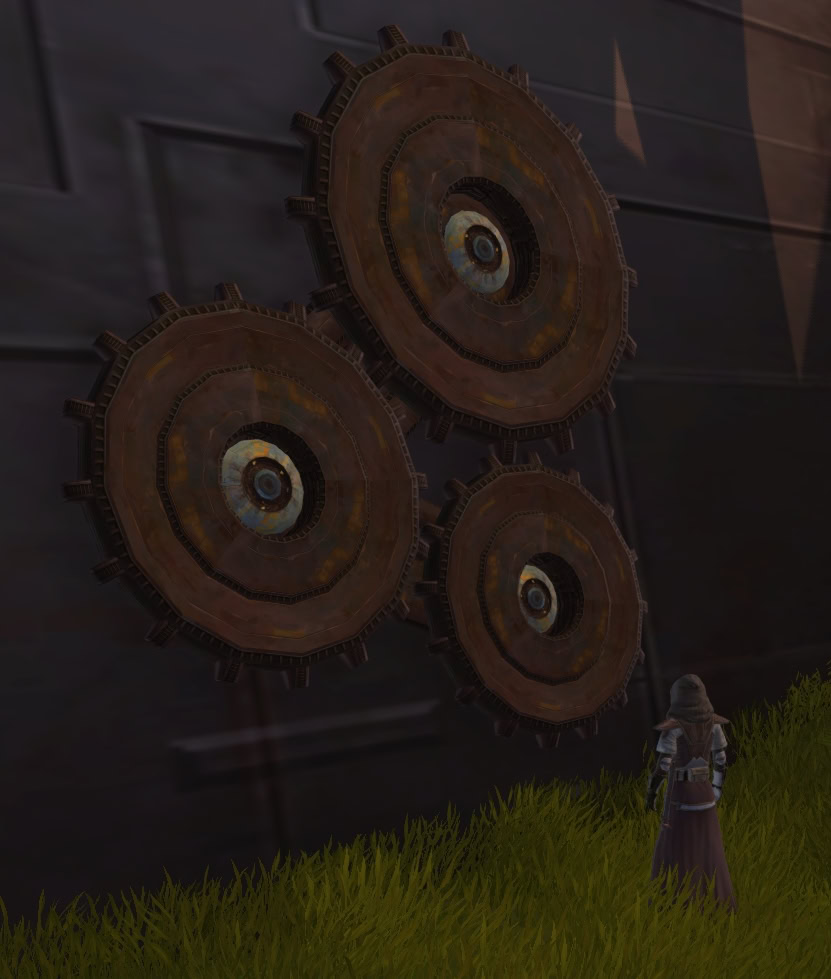
Decoration Drops
The bosses have a chance at dropping the Decorative Gear Arrangement decoration. This decoration will fit large wall hooks. If you complete the flashpoint in Solo mode, you’re guaranteed to get this decoration once you complete the flashpoint.
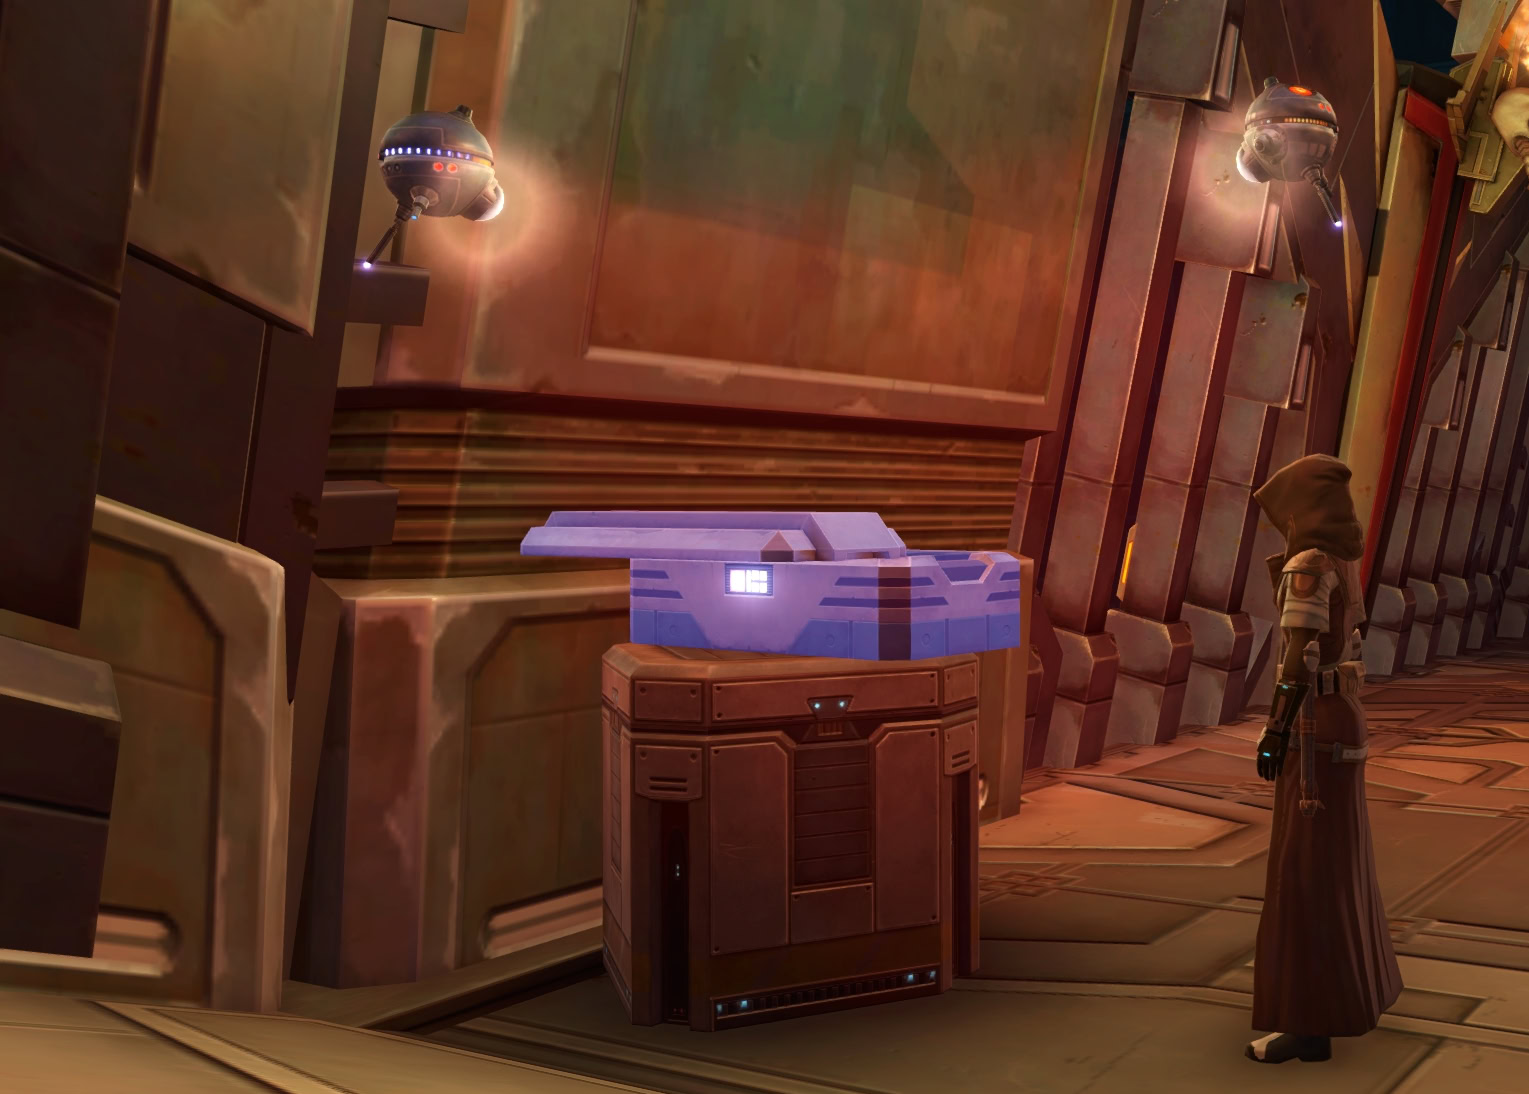
This flashpoint used to drop the Illumination Probe Crate decoration, but many years ago it stopped dropping due to a bug and the devs have never bothered to fix it to this day. This decoration would provide a portable source of light inside your strongholds just like it does during the Torch’s Challenge segment of this flashpoint.