This guide will tell you everything you need to know about the Depths of Manaan Flashpoint, introduced to SWTOR during the Forged Alliances expansion. This guide includes all boss encounters, bonus boss, achievements, decorations and other loot.
This guide covers Story Mode, Veteran Mode, and Master Mode
How to Start the Flashpoint and its Story
To access the story of Depths of Manaan, you’ll need to have accessed the Forged Alliance story and complete enough of the story to reach Manaan. You would need to have completed your class story, the Interlude, and Rise of the Hutt Cartel.
After discovering that the attacks on Tython and Korriban were orchestrated, you learn that those involved have operations on Manaan. This planet supplies the galaxy with its life-saving kolto, so now you’ll need to investigate the planet to learn what’s b being planned by Colonel Darok and Darth Arkous.
To start the Depths of Manaan Flashpoint without the story arc, you can find the NPC that gives the quests in Transport Departures on Manaan. Transporter Dumah Bah will grant the mission for Depths of Manaan on all difficulty levels.
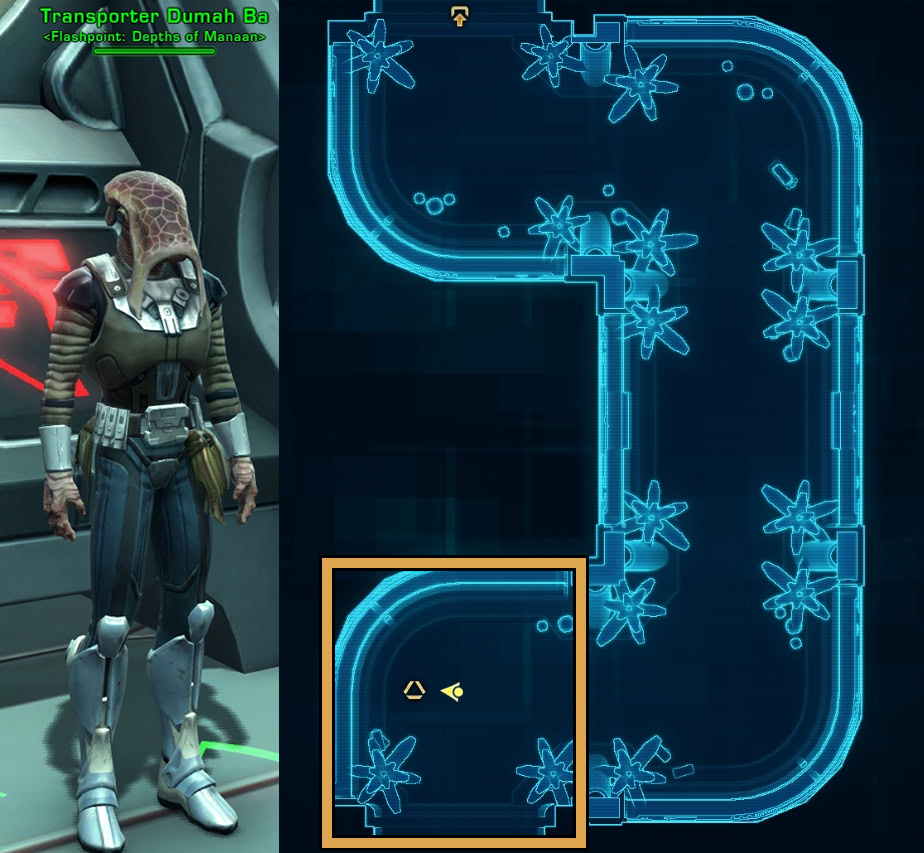
This flashpoint is also available in the Activity Finder under the Group tab. It’s available for Veteran and Master Mode, but you can find a Solo version in the Solo tab. The Solo version offers a guaranteed decoration drop from the flashpoint should you complete it.
Read our SWTOR Story Progression Guide to learn where this story fits in. The guide will help you experience the game’s narrative in the proper intended order of events and aid and assist you if you are not sure what to do and where to go next.
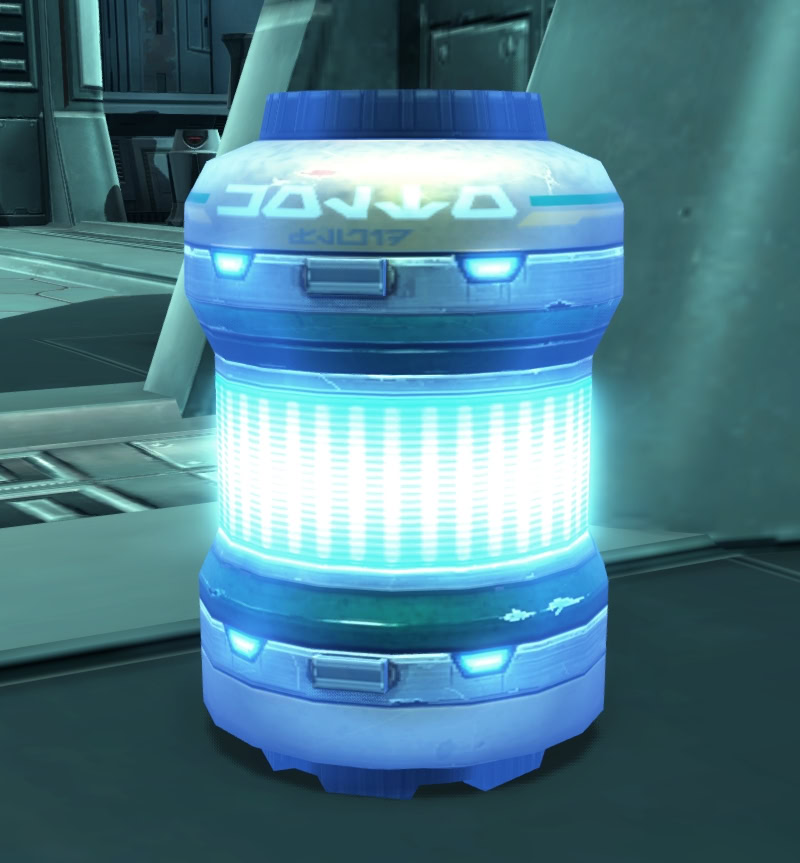
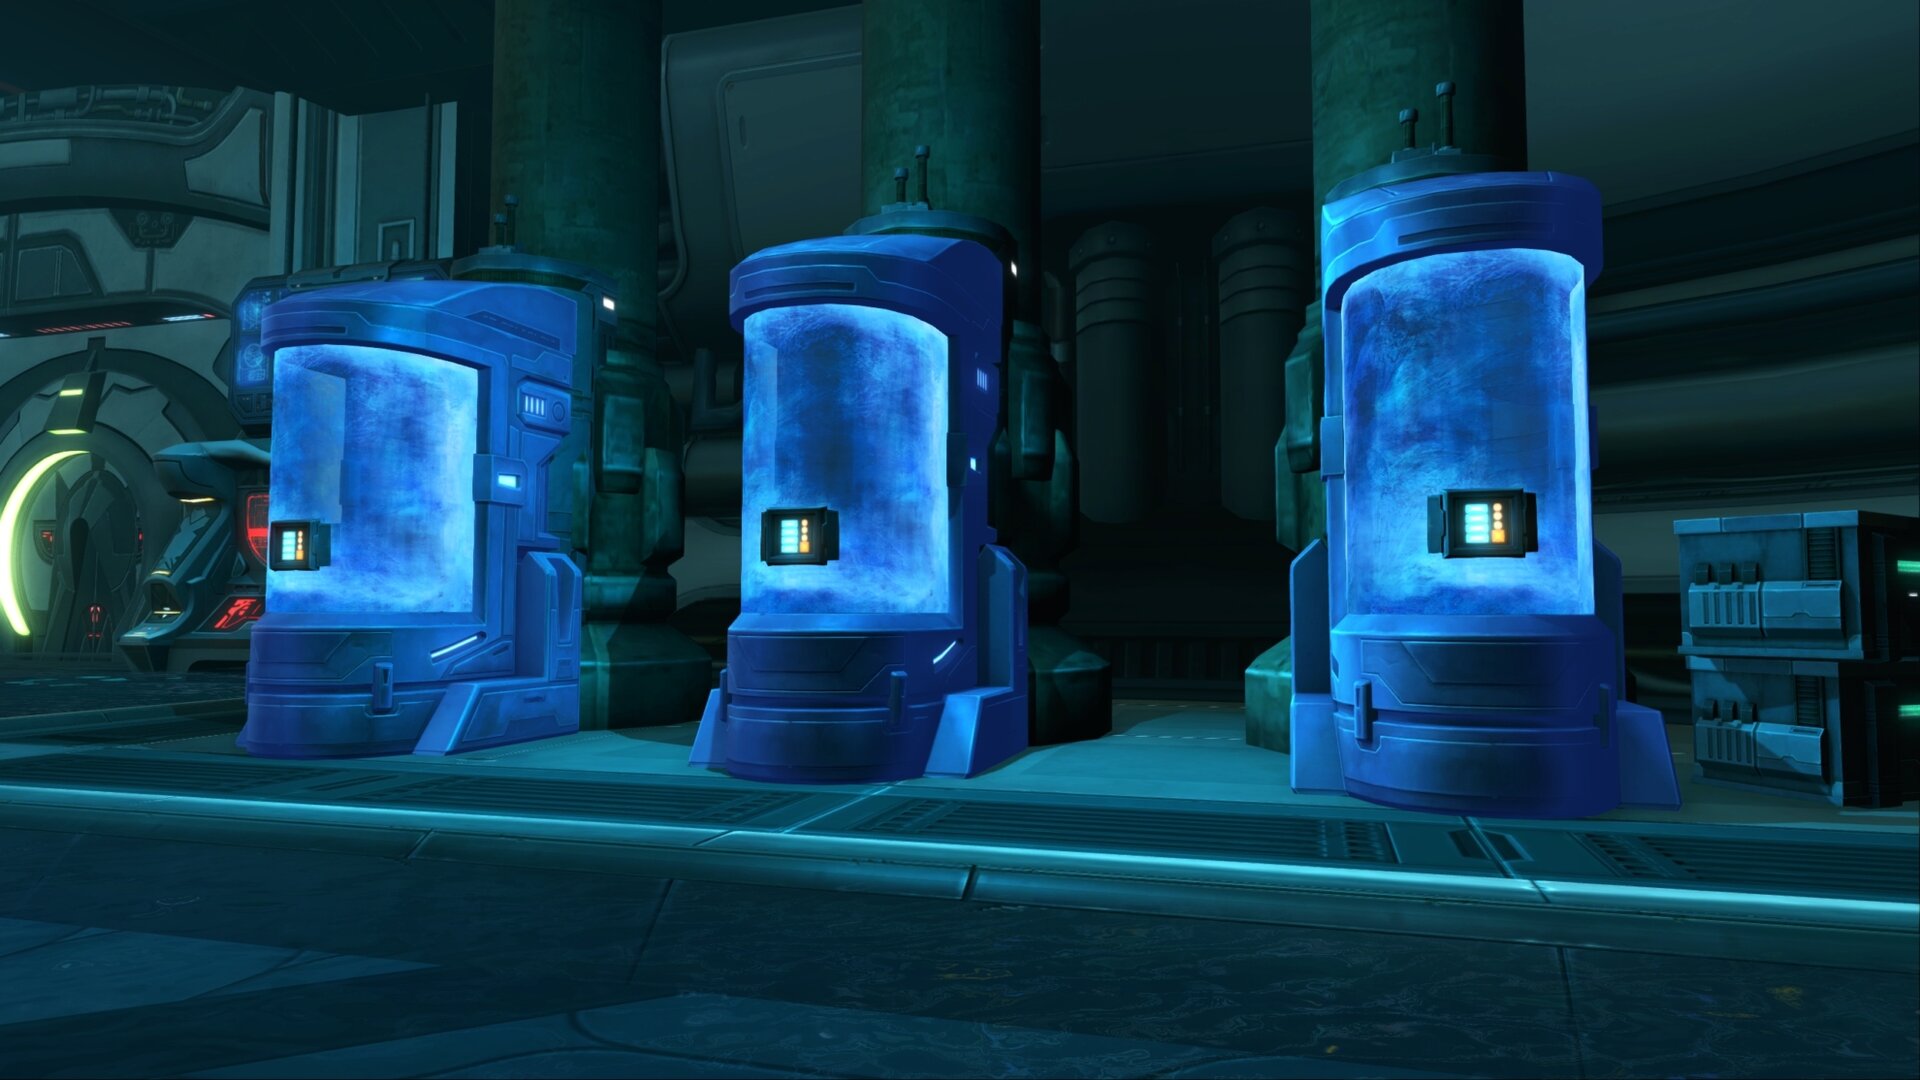
Unrefined Kolto
Throughout this flashpoint, you’ll find canisters of Unrefined Kolto. If you right-click these, they’ll explode and heal anyone near it for a few seconds. These are great for on-demand heals and if you destroy enough of them, you can earn an achievement and legacy title.
Bonus Mission: Logistic Confusion Phase 1
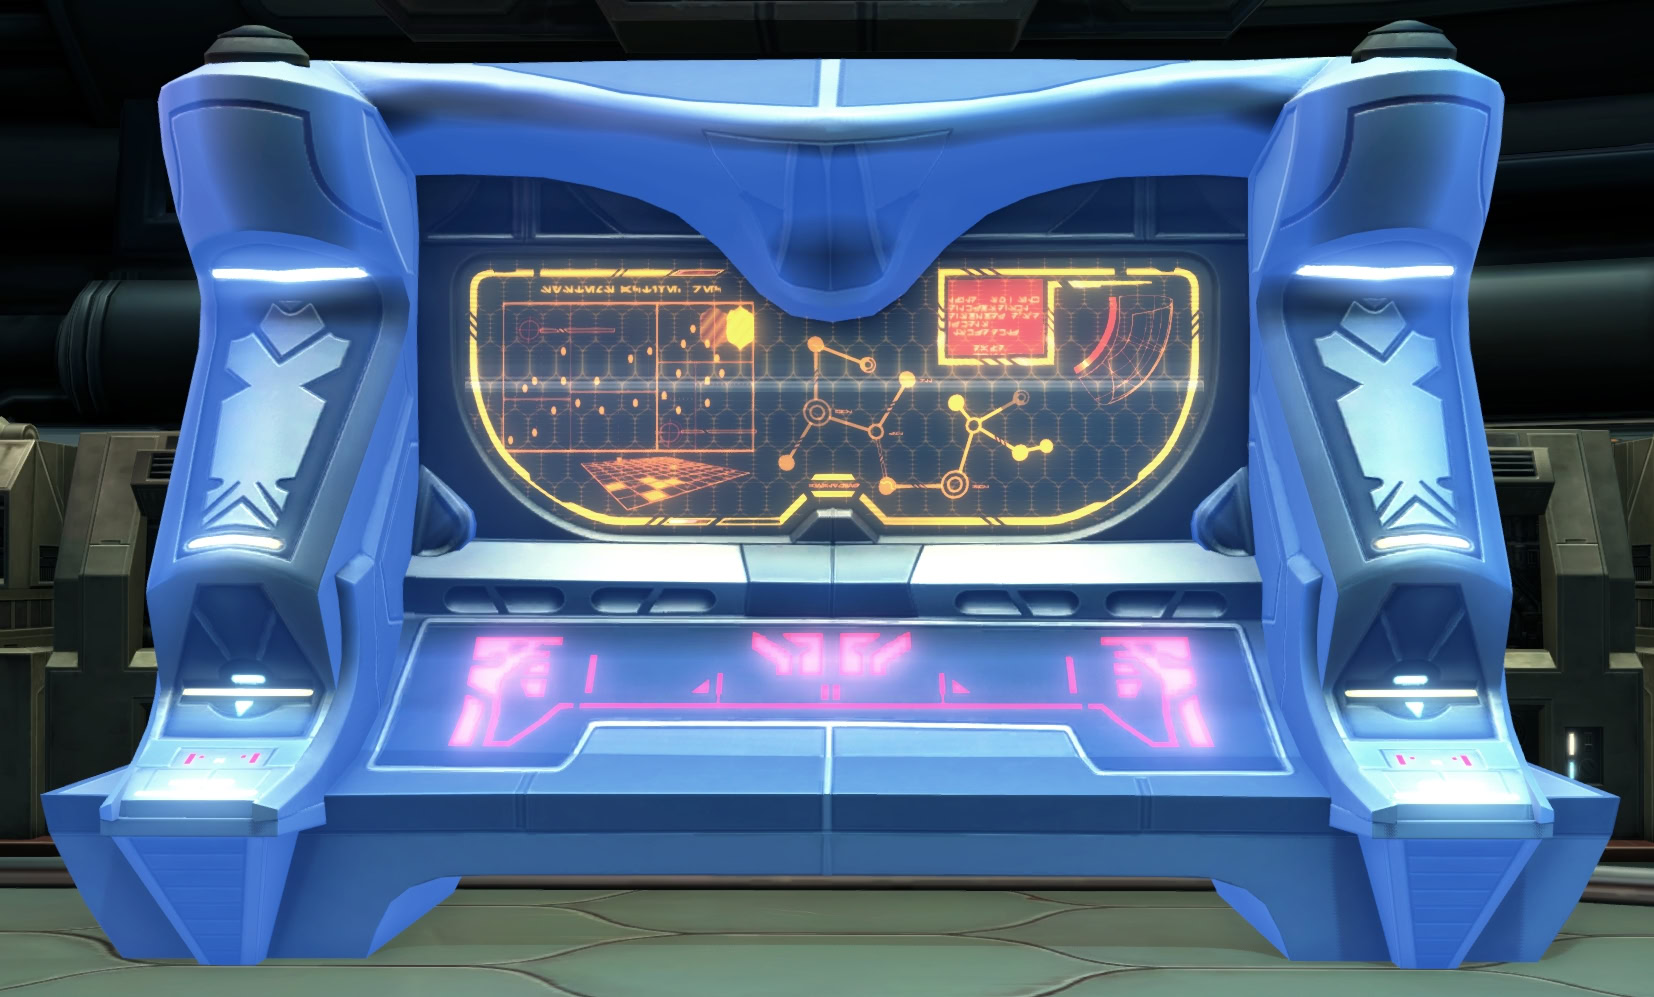
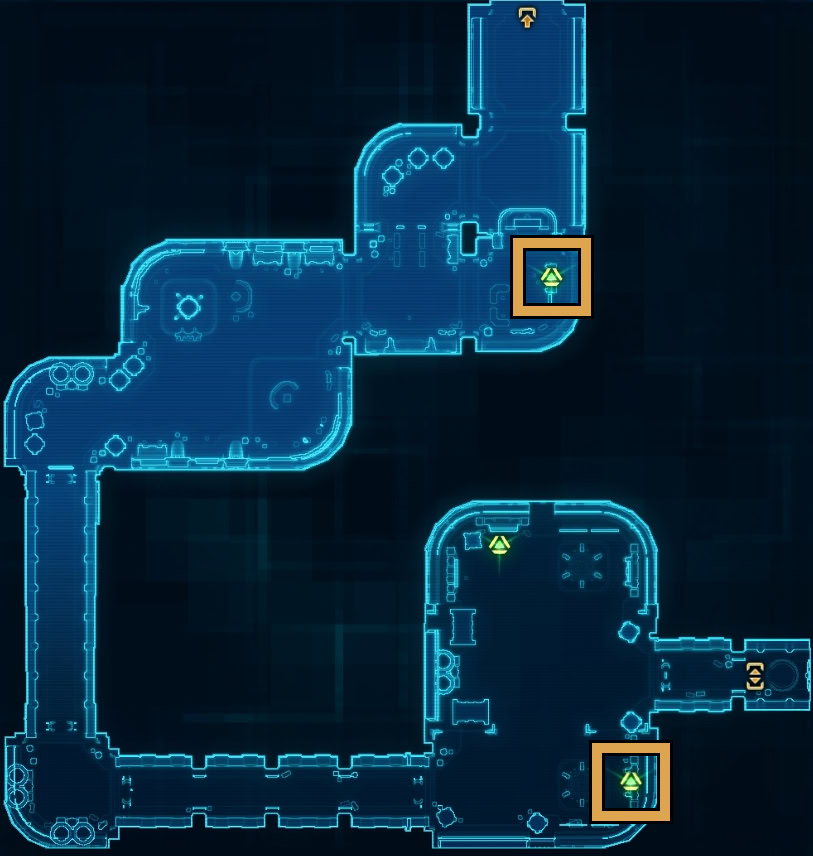
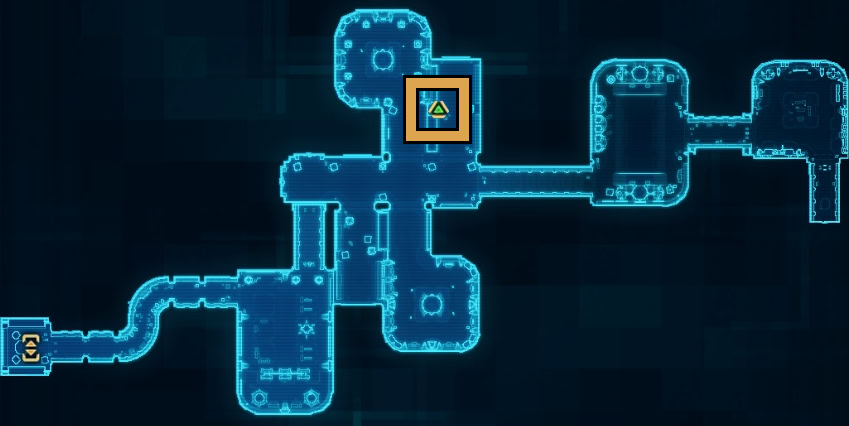
The Bonus Mission is only available in Master Mode. To start the bonus mission, you just need to enter the flashpoint on Master Mode and you’ll get it. You’ll need to interact with three terminals throughout the flashpoint to do the following:
- Disrupt Receiving and Processing Operations
- Disrupt Security Logistics
- Disrupt Sequencing Lab Logistics
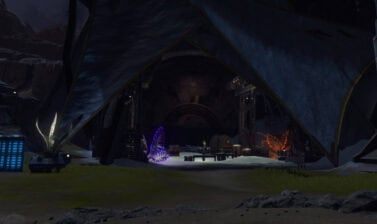
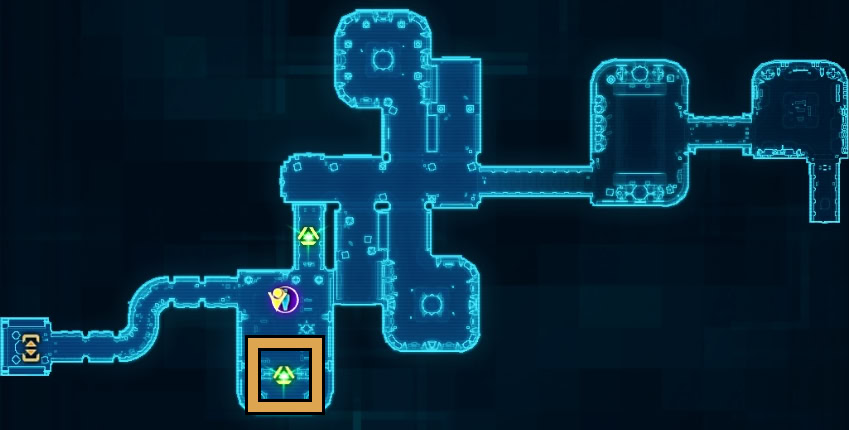
Two of these terminals are found in the first area you enter, the Secure Zone. The final terminal can be found near a main mission objective in the Underwater Labs.
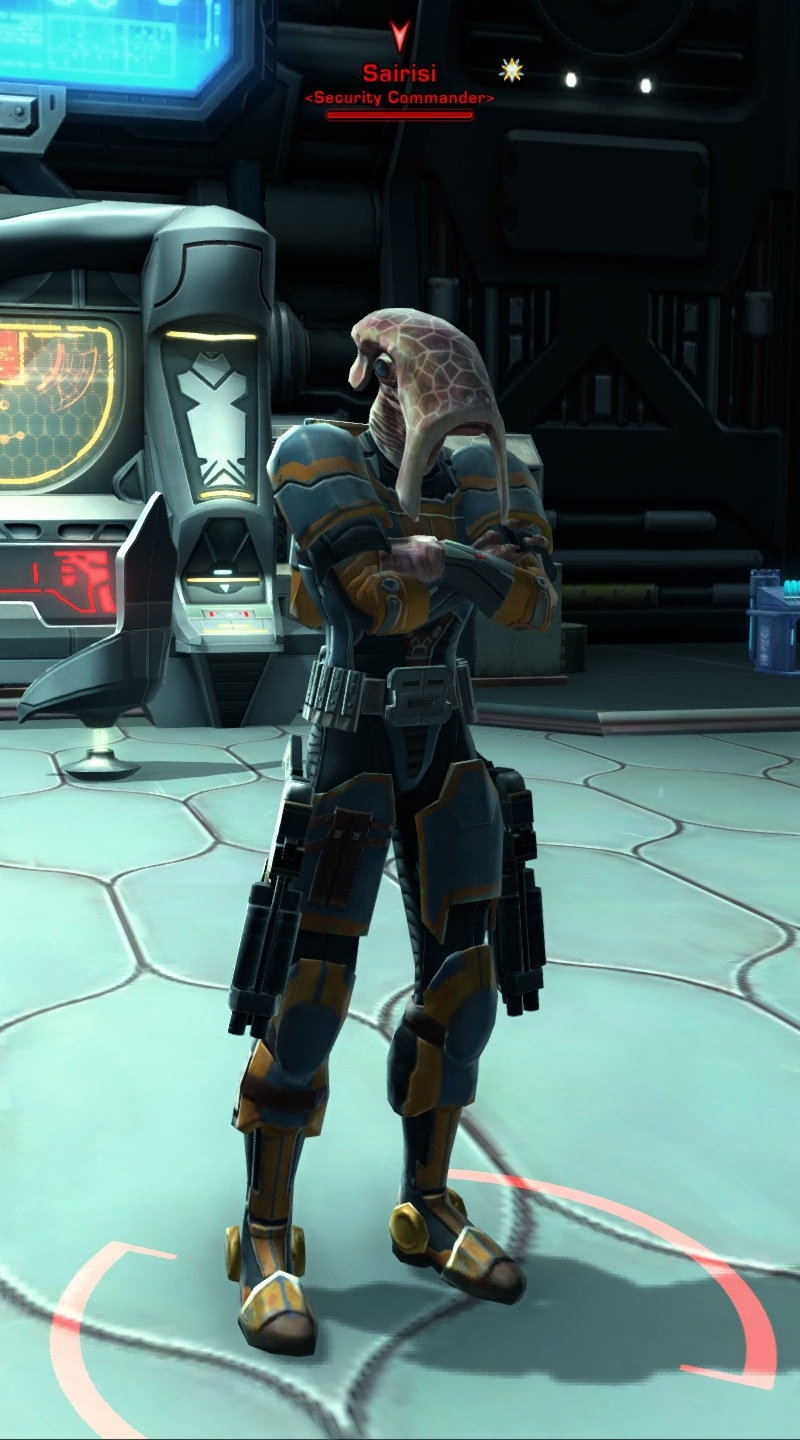
First Boss: Sairisi
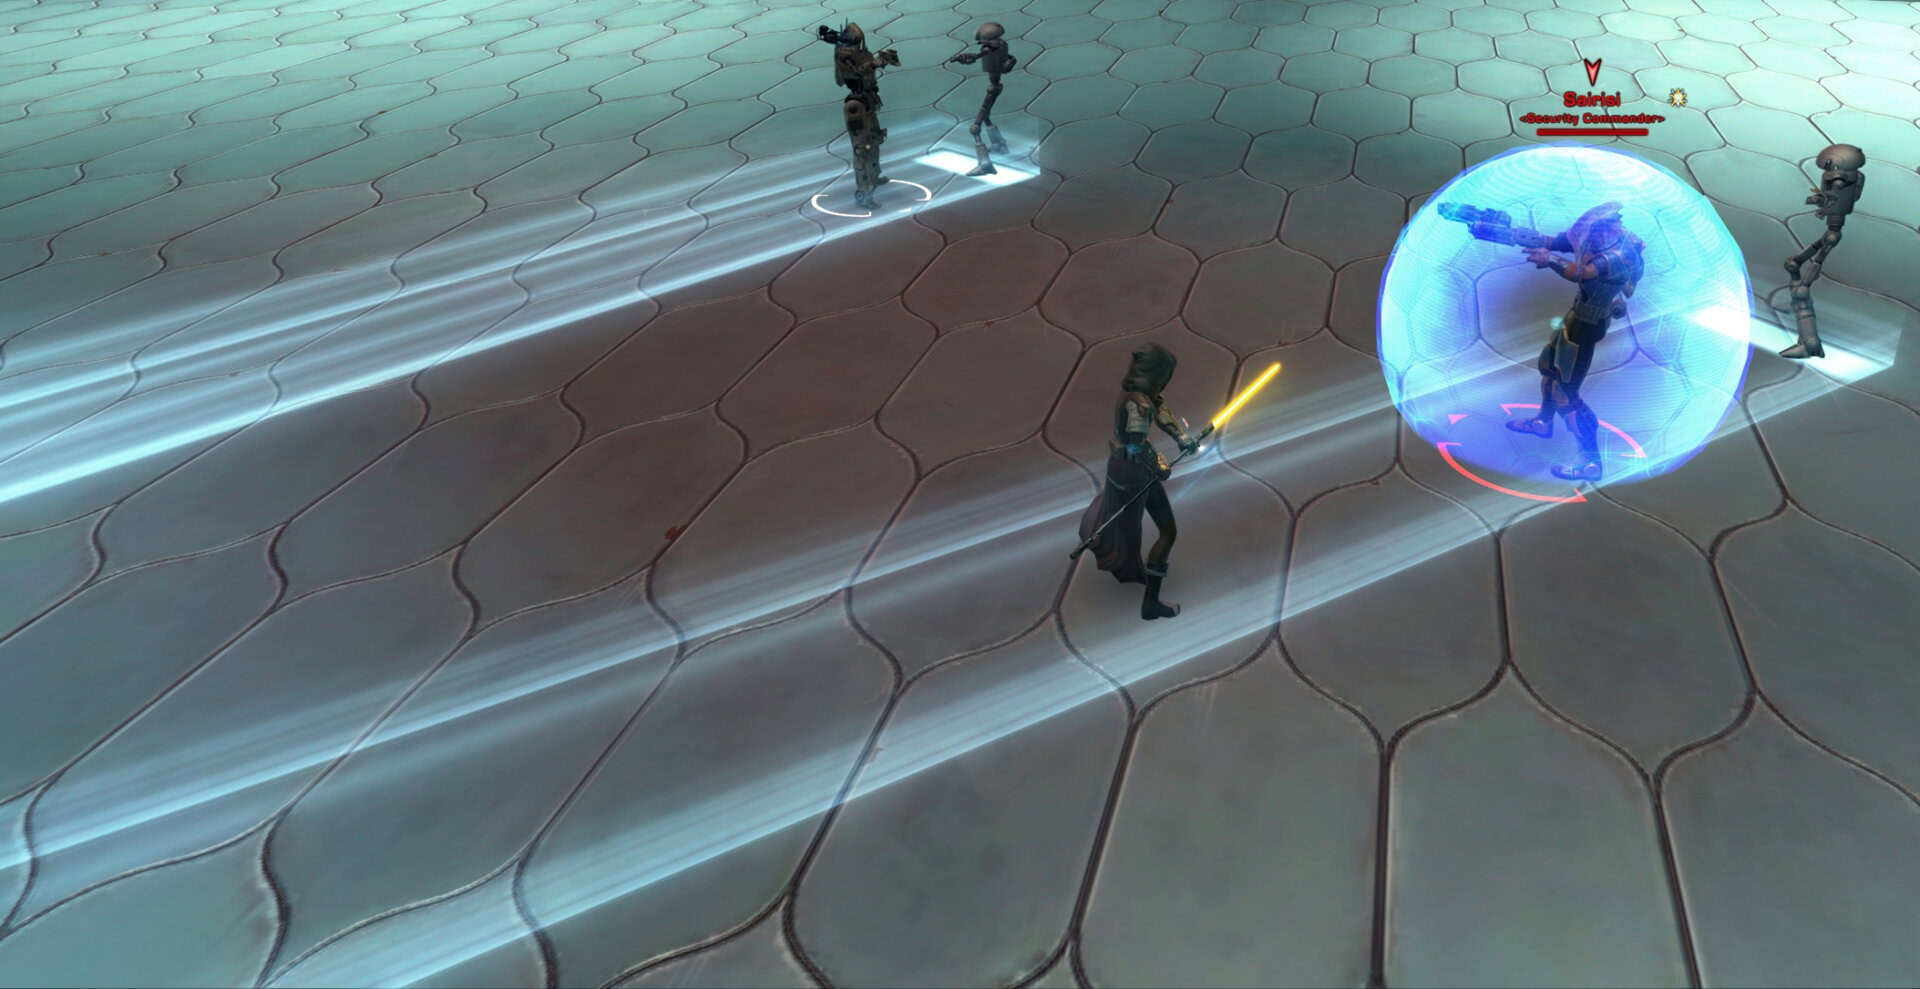
The first boss you’ll encounter is Sairisi, the Security Commander of the research facility. He’s accompanied by two BL-1T Riot Suppression Droids that are protected by shields making them immune to damage.
Sairisi attacks with dual scatterguns that hurt even in Story Mode. He’ll also use two shots of High Explosive rounds that’ll knock back his target. Start the fight by damaging him and the two droids will drop their shields and give it to him. Attack the droids until they bring their shields back up so Sairisi loses his shield. Once their shields are down, take down Sairisi.
The droids have a light-blue linear AoE, the first target hit by it will be grappled and pulled to the droid. The pull is followed by an uppercut that launches their target into the air, followed by a small electric explosion centered around the droid. You can bait Sairisi and put him between you and the droid so they pull him instead. This is a great way to keep Sairisi busy so he’s not shooting you.
If the droids ever come out of sync with their grapple, this only benefits you. You can then have Sairisi grappled twice in a row, further reducing his damage output.
Veteran Mode Differences
There are no mechanical differences on Veteran Mode, the fight is tougher overall. Keep Sairisi grappled by the droids so you’re not taking too much damage.
Master Mode Differences
The droids gain the ability to restore 1% of their max hit points every second when their shields are active. If you have the DPS, take out the droids. Otherwise, keep Sairisi grappled by the droids. Sairisi now has 4 shots of Explosive Rounds instead of 2, so the tank will get knocked back for a while.
Bonus Mission: Logistic Confusion Phase 2
To summon the bonus boss, you’ll need to Disrupt General Logistics Operations at the terminal in the Underwater Labs to summon the Bonus Boss. Before you fight, make sure everyone is inside the room where the terminal is as you can get locked out once the fight starts.
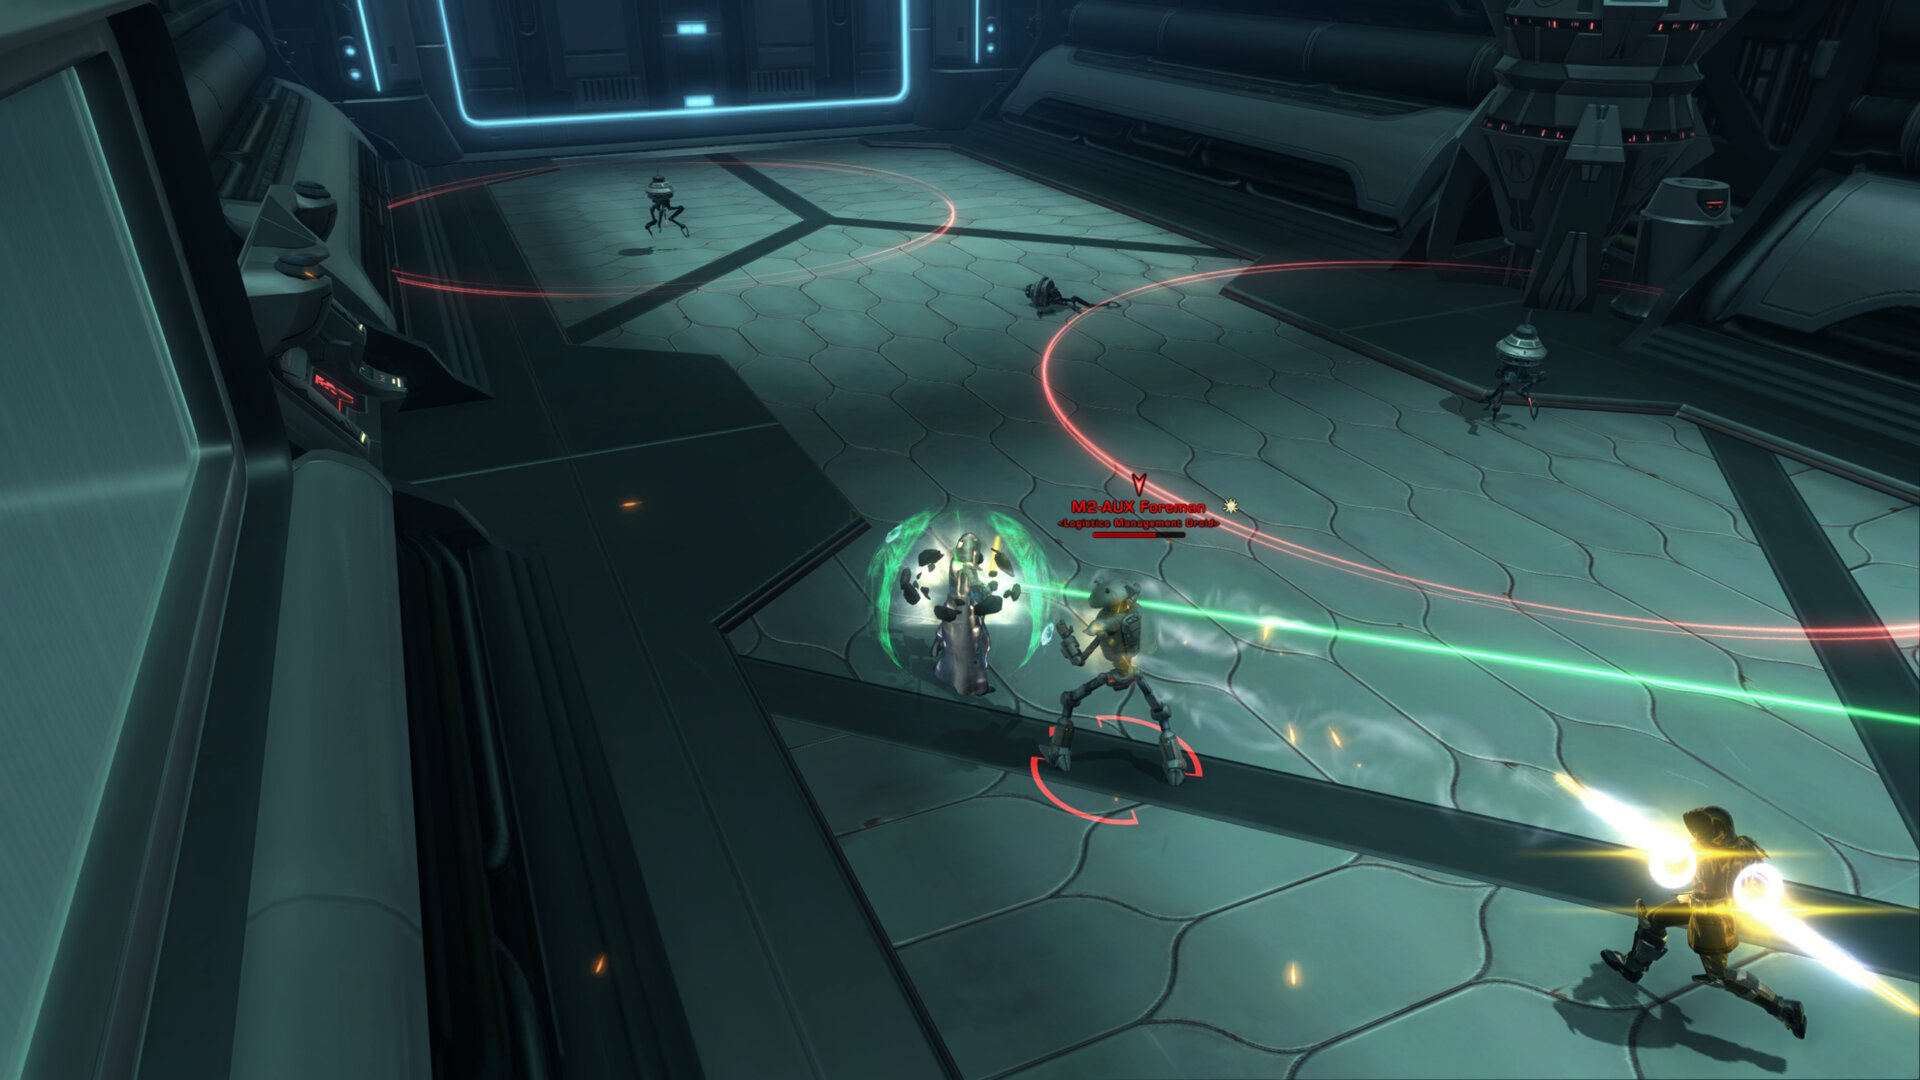
Bonus Boss: M2-AUX Foreman
The Bonus Boss is only available on Master Mode. The M2-AUX Foreman droid (hereafter referred to as “Foreman”) is rather annoyed with people interfering with his logistics systems. This fight requires good team coordination, map awareness, precise movement, and sacrifice.
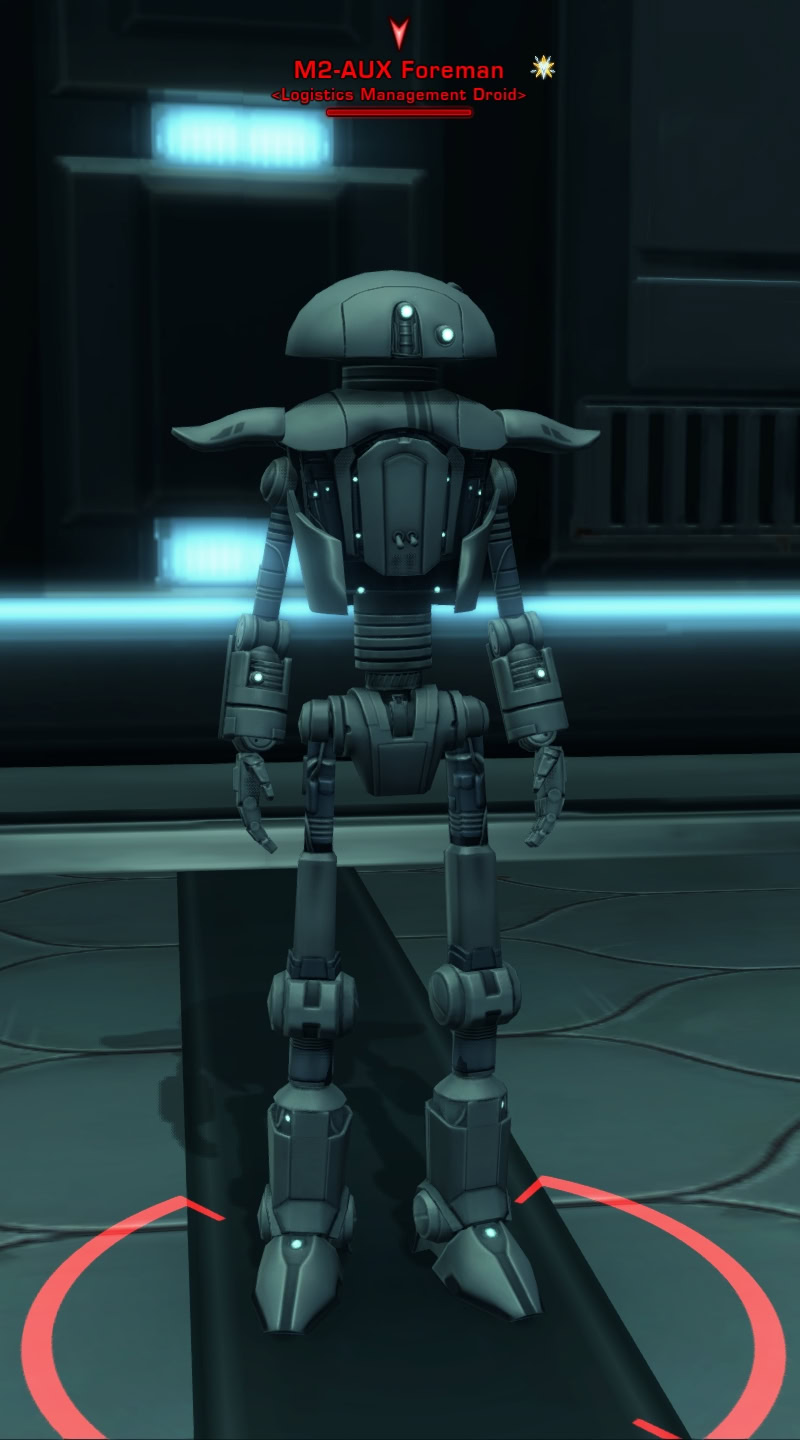
The Foreman doesn’t do much damage on his own, he’ll melee attack you and fire blasts from his hands. He’ll throw Endothermic Grenades at a target. It’ll apply a stacking slow and if it’s not cleansed, the target will get stunned. Not so bad on it’s own but it becomes deadly later on.
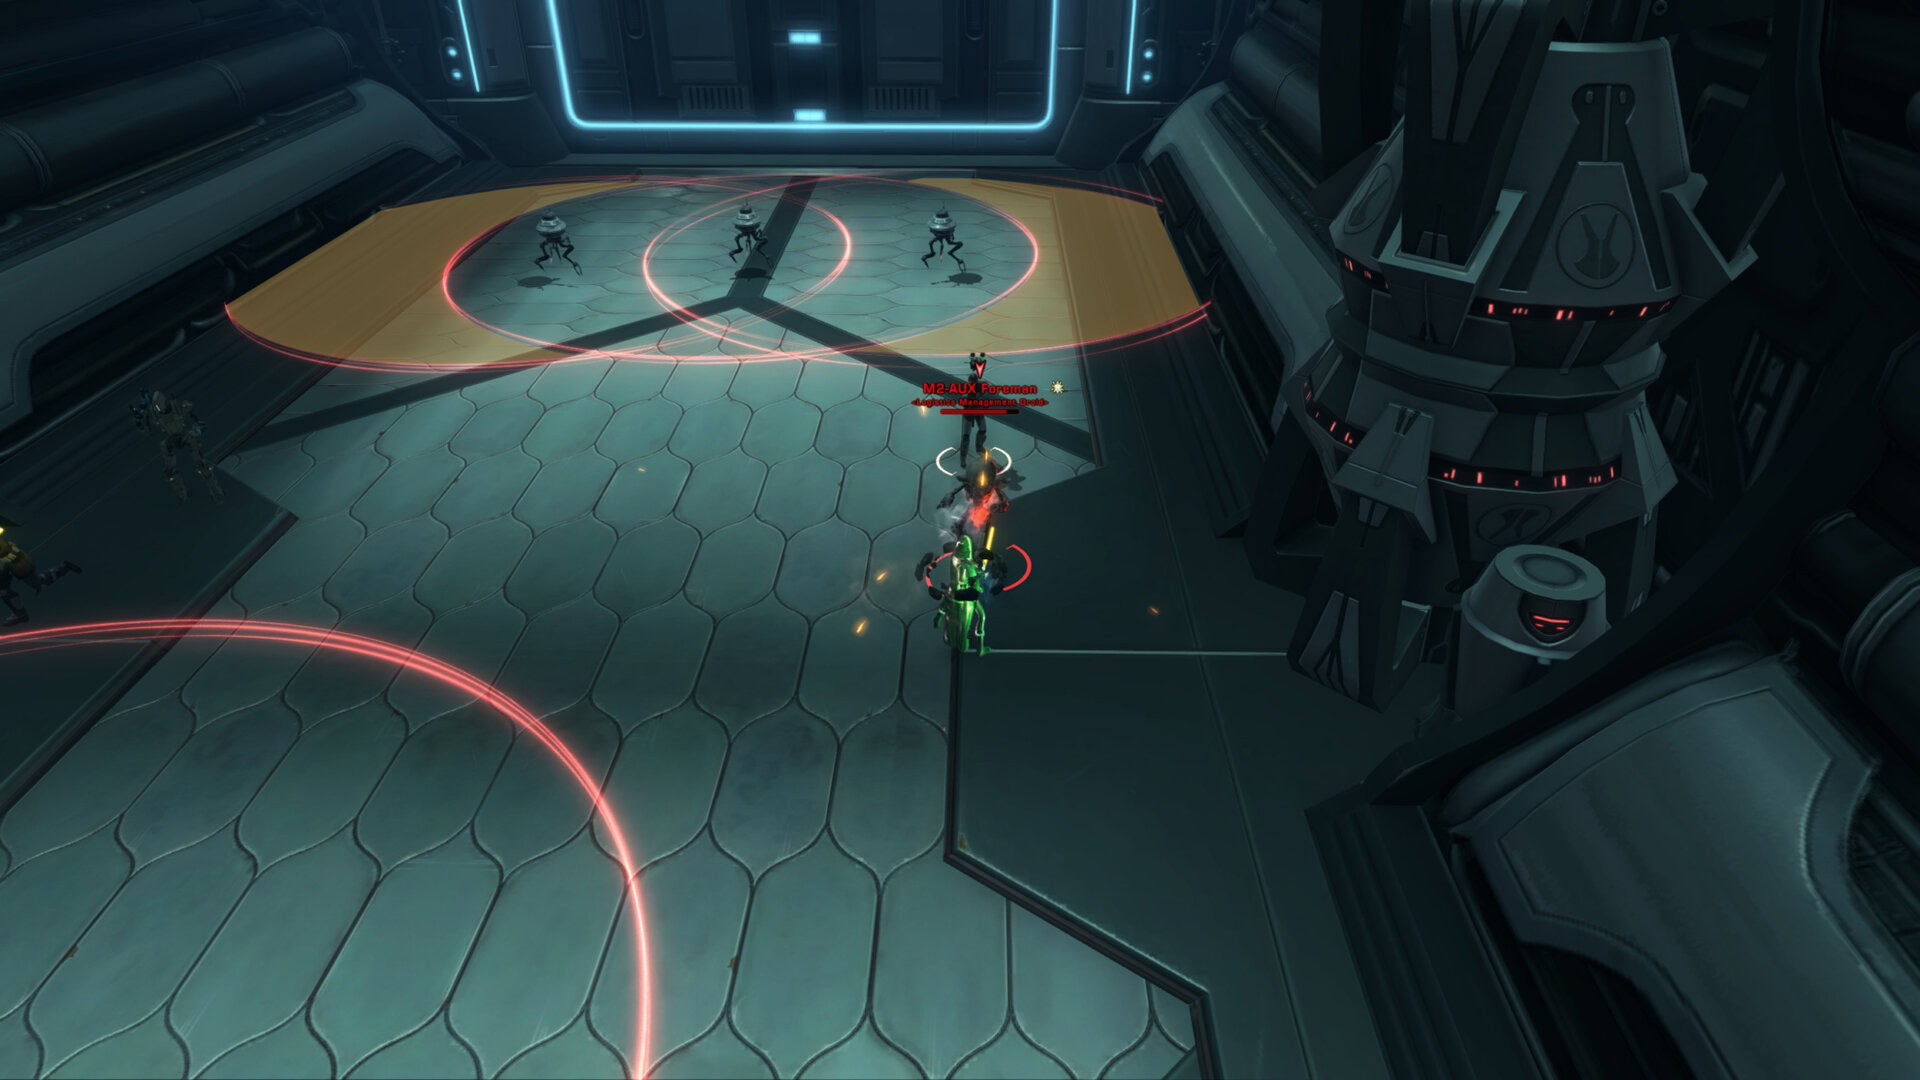
The hard part comes in when he summons Demolition Probes. Probe Droids will spawn from the back of the room and slowly move forward. They have an AoE around them and if you get into the AoE, they’ll explode and apply a Demolish debuff to anyone hit by it. The Demolish debuff increases incoming damage by 100% and the debuff stacks. DO NOT ATTACK THESE PROBE DROIDS!!!
Go towards the front of the room so your team has more time to react to the incoming droids. The tank can’t afford to get stacks of increased damage otherwise the boss will melt through them then the others should they fall. Weave between the AoEs as they move by and so long as you don’t attack the droids, they won’t target you. Be careful with your own AoEs and don’t hit the droids with them.
Meanwhile, you’ll need to attack the boss while weaving between the AoEs. Unfortunately, a trio of demolition probes will appear making escape impossible. The DPS or Healer will need to pop one droid and get a stack of the Demolished debuff. This will clear a way for the others and when this happens again, someone else with the least amount of stacks (except for the tank) needs to clear a path for the next trio, be sure to pop your DCDs if it’s your turn to do this.
Avoid the probes, don’t hit the probes, cleanse Endothermic Grenade, share the load of gaining Demolished stacks if you’re the DPS or Healer, and defeat the Foreman droid to end this boss encounter. It’s a tricky encounter, but don’t feel bad if you don’t get it right at first.
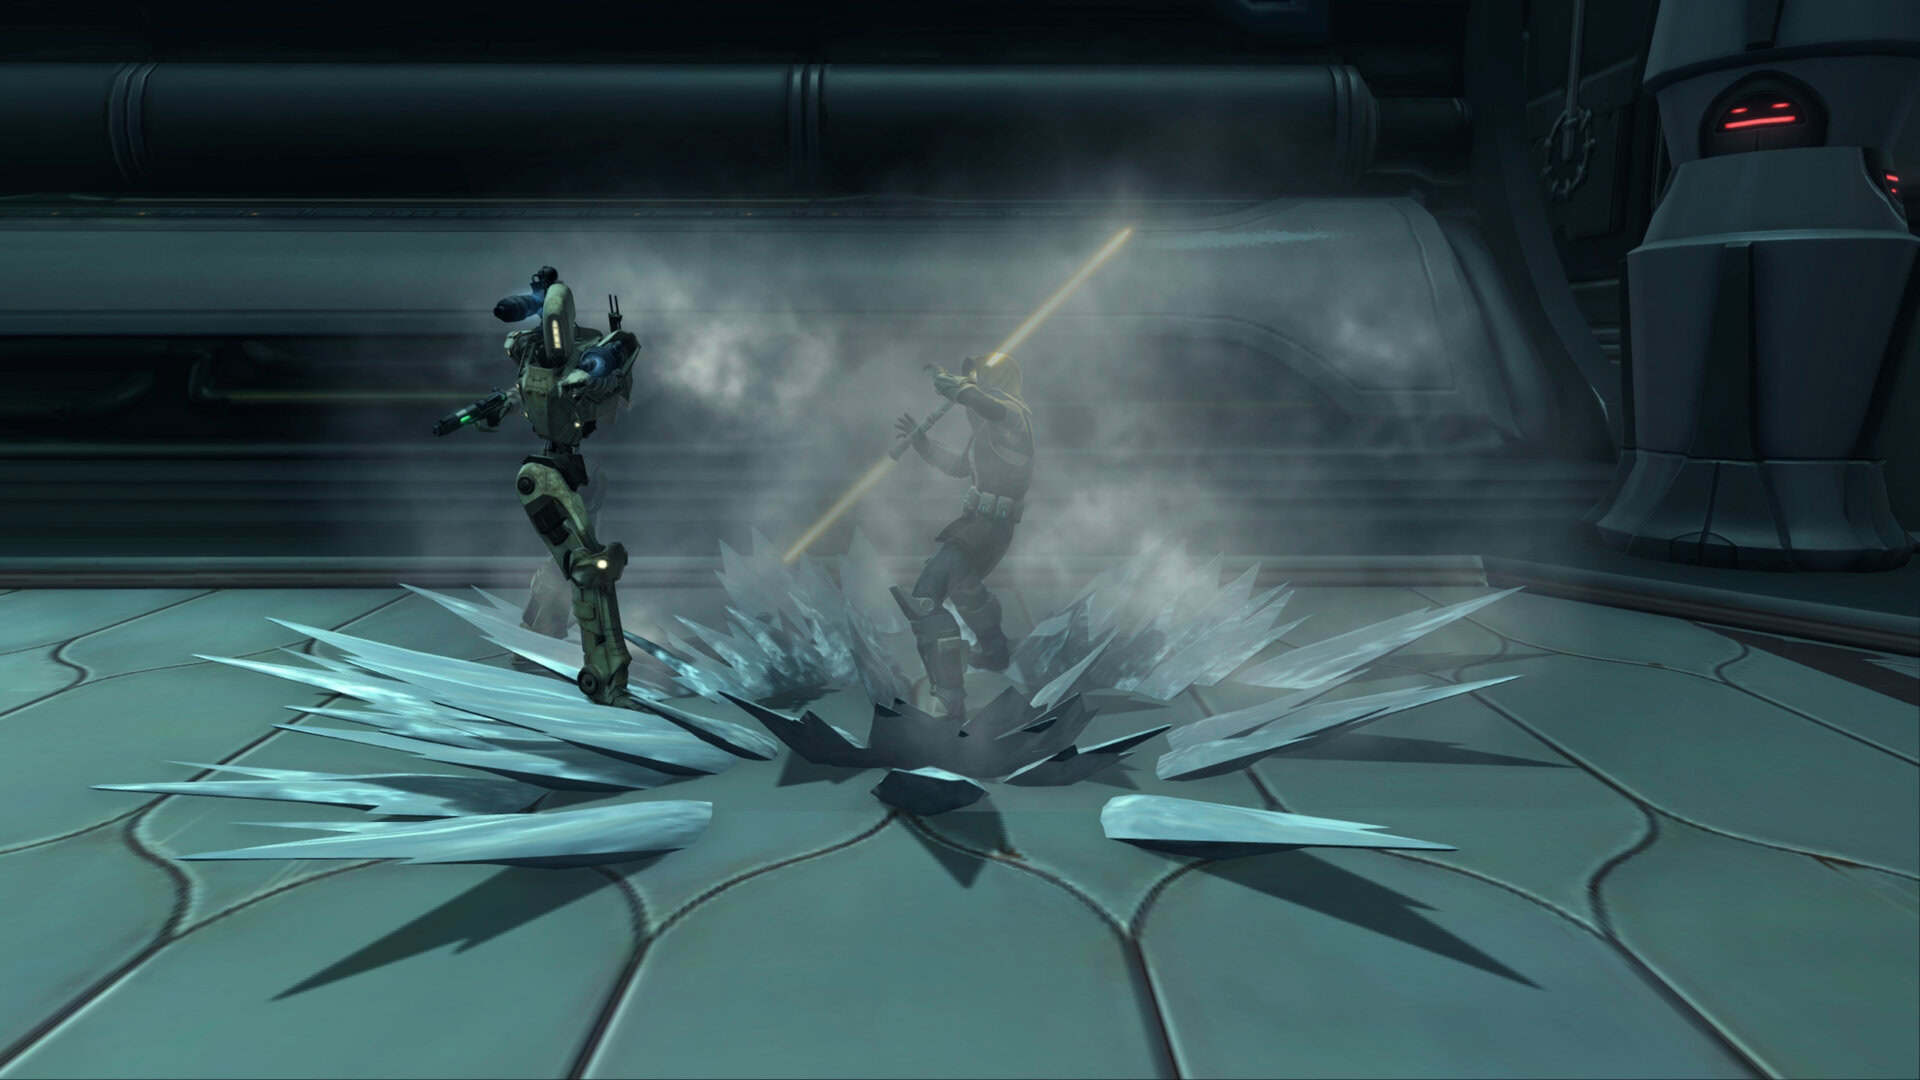
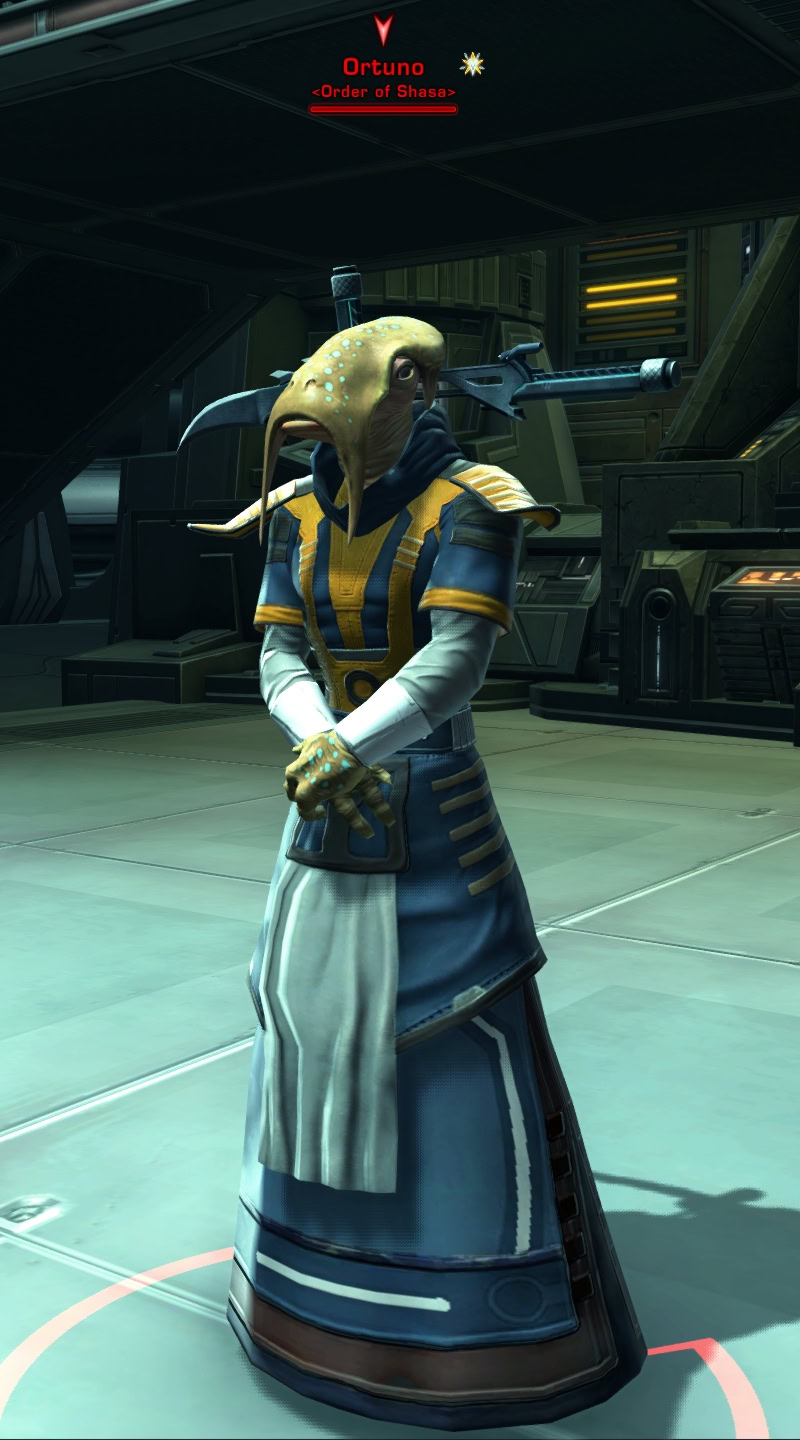
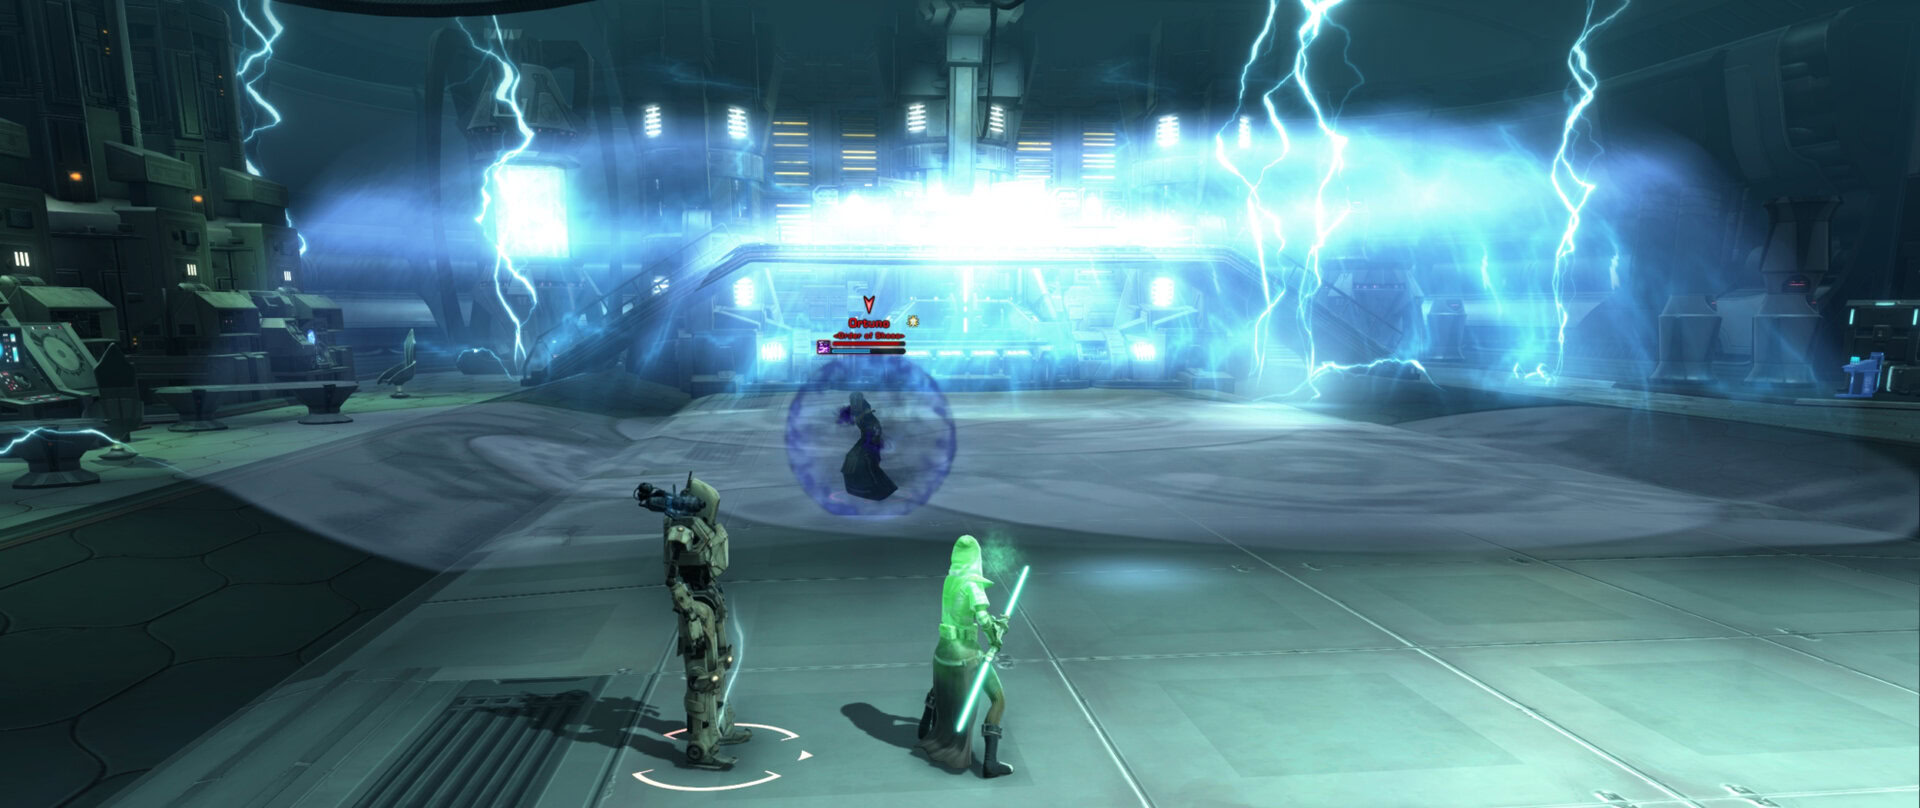
Second Boss: Ortuno
Ortuno is the leader of the Sha’sa adepts in the research facility. The fight he’ll provide will seem intimidating, but once you understand the mechanics it becomes very simple overall.
Ortuno attacks with his Fira swords and by casting Shock. His primary mechanic is his ability to use the Project ability. When he uses Project, a small pool of water will appear beneath his target. Taking any lightning damage while standing in a pool have 300% increased damage, it’ll ignore armor, and stun you for 2 seconds. Needless to say, you should stay out of the water. Keep the pools as tight-knit as possible and do not spread them out too far.
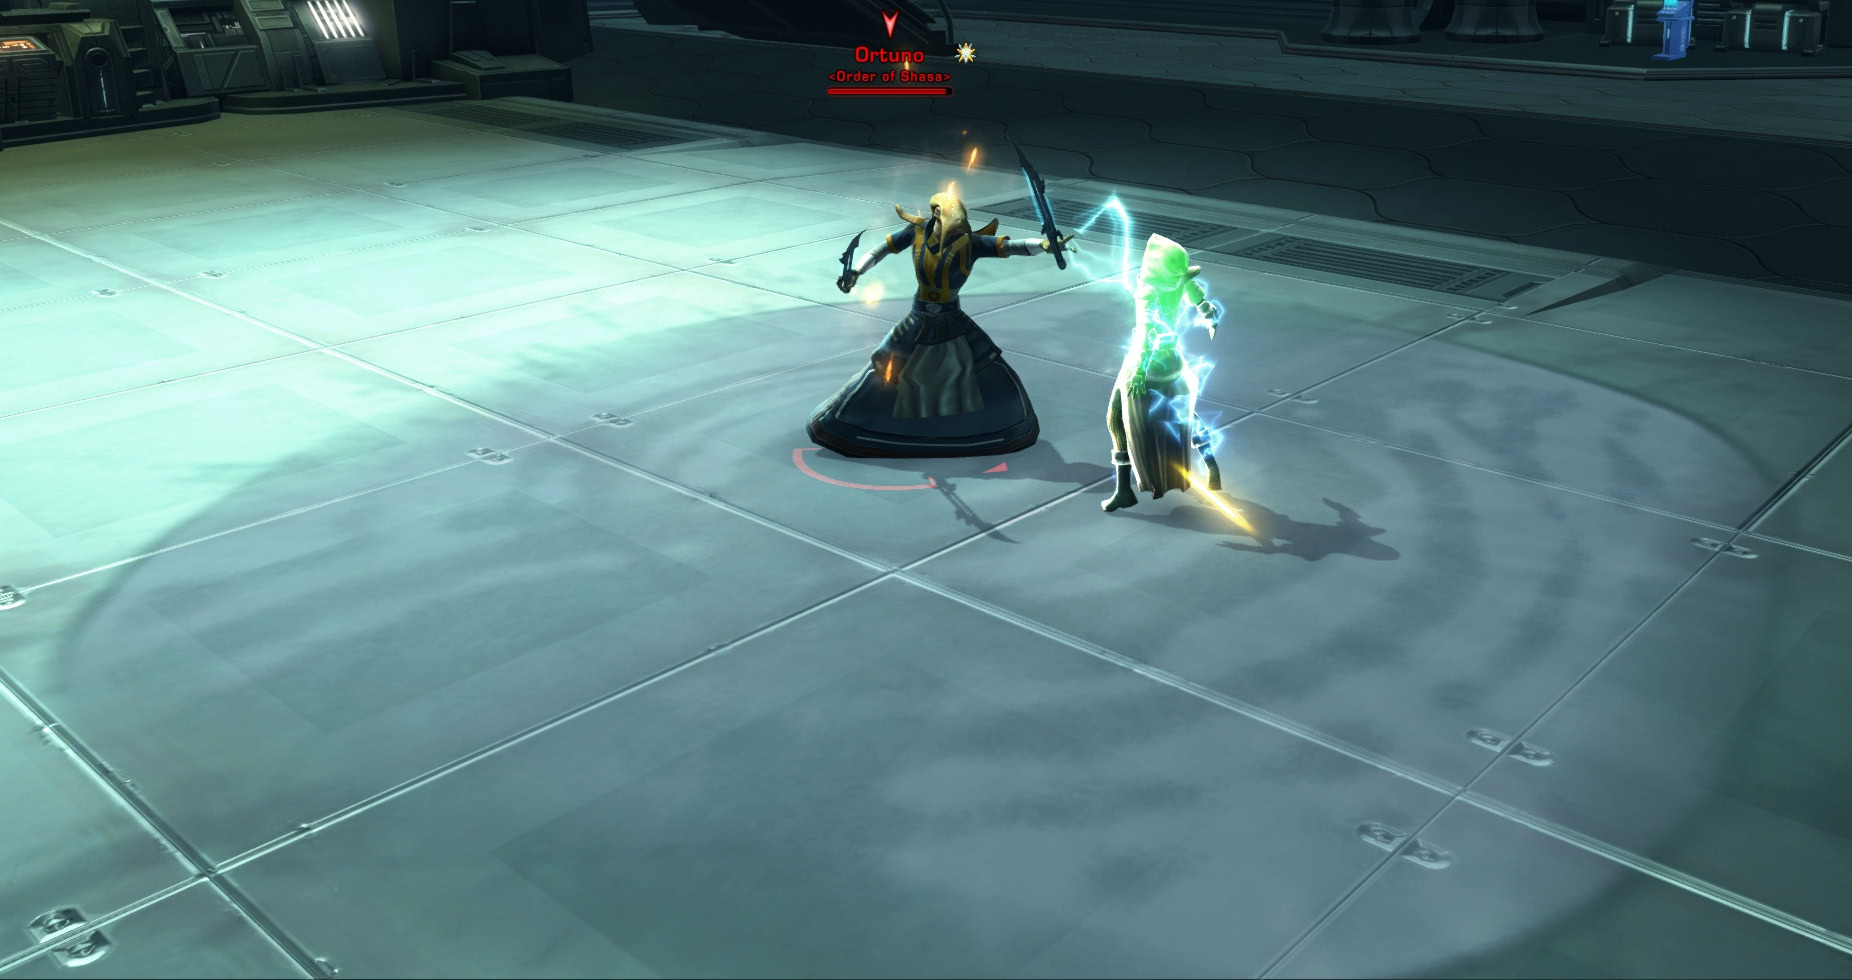
After several pools of water have been summoned, Ortuno will use the Flow ability. This greatly increases the size of the pools and he’ll gain a shield making him immune to damage. This is followed by him using Energy Disruption which will summon lightning all over the room. Pop a DCD during this ability if you need it and don’t get caught in the water.
Once Energy Disruption finishes, Ortuno will use Confluence to summon two Shasa adds. Defeat the adds and repeat this process until Ortuno is defeated.
Veteran Mode Differences
There are no mechanical differences in Veteran Mode.
Master Mode Differences
There are no mechanical differences in Master Mode.
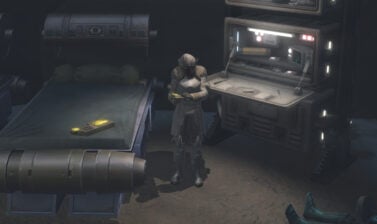
Light and Dark Side Choice: Gorima’s Fate
Once you enter the cutscene after defeating the second boss, you’ll have to make a choice of whether or not you let Jakarro kill Gorima. Gorima is a Selkath scientist that has been performing cybernetic experiments on living subjects. You have the following options:

- “Show Mercy” will spare Gorima and grant 100 Light Side points.
- “Go ahead and kill him” will kill Gorima and grant 100 Dark Side points.
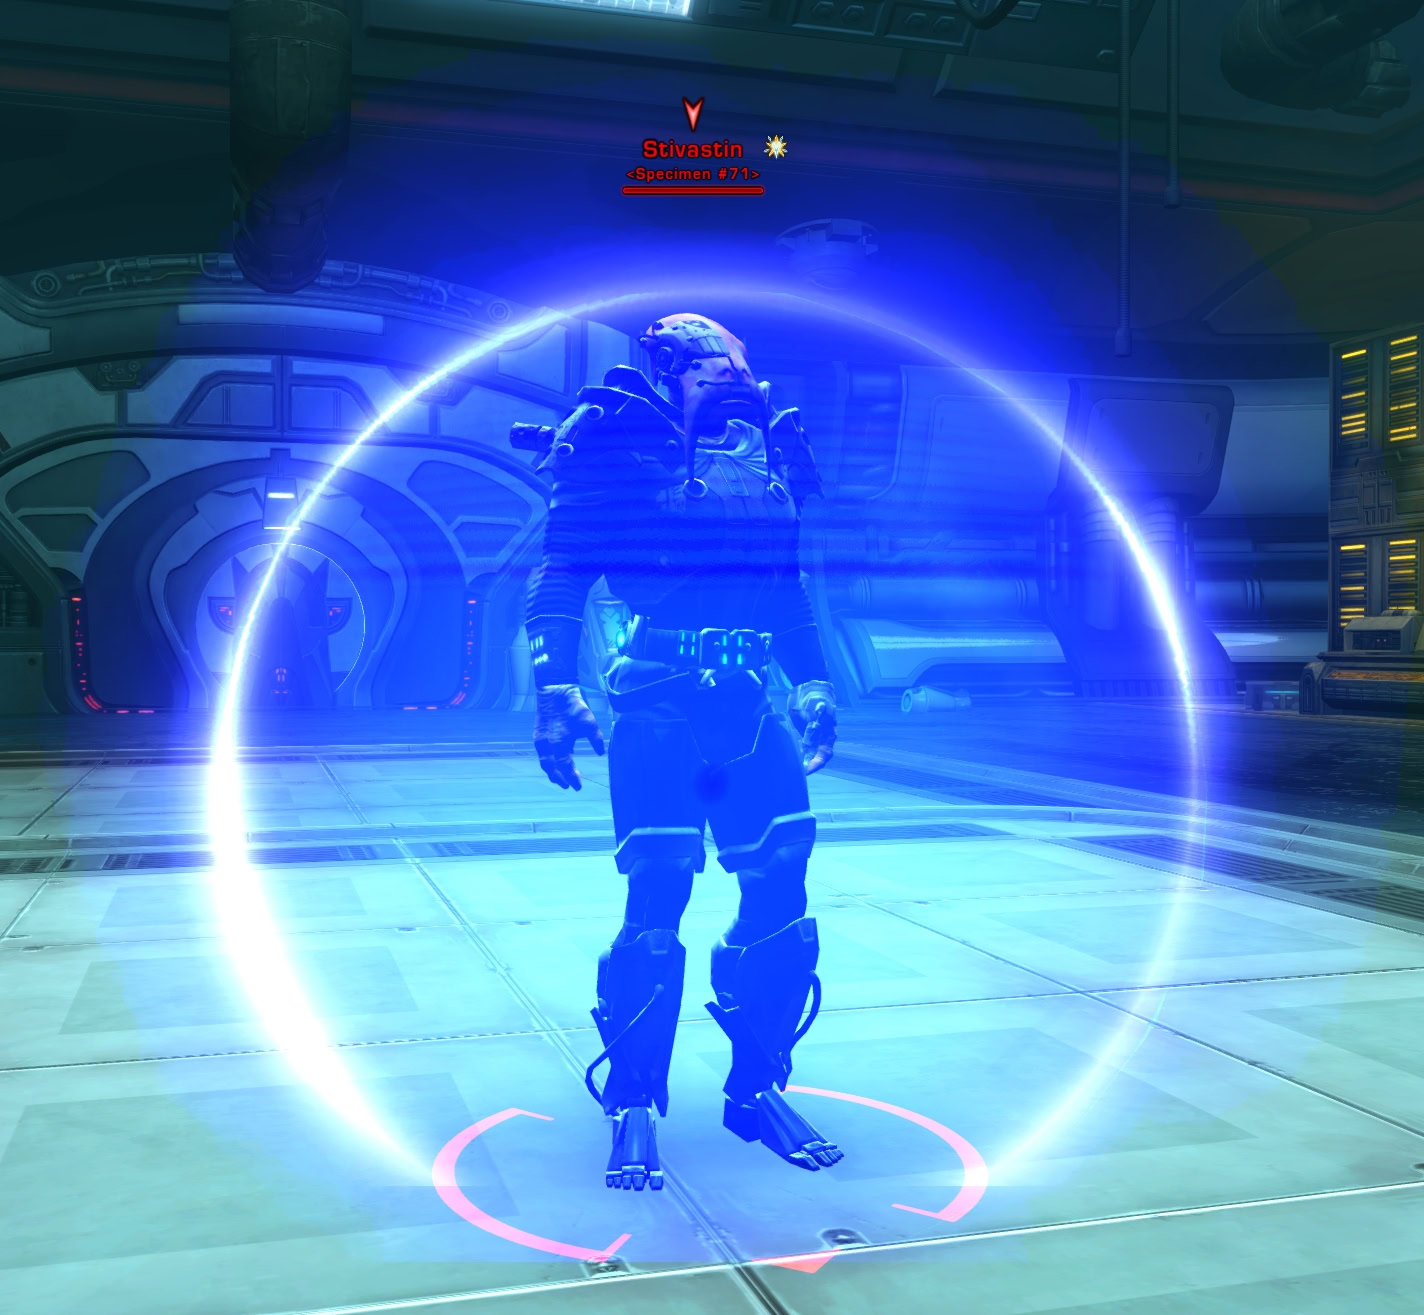
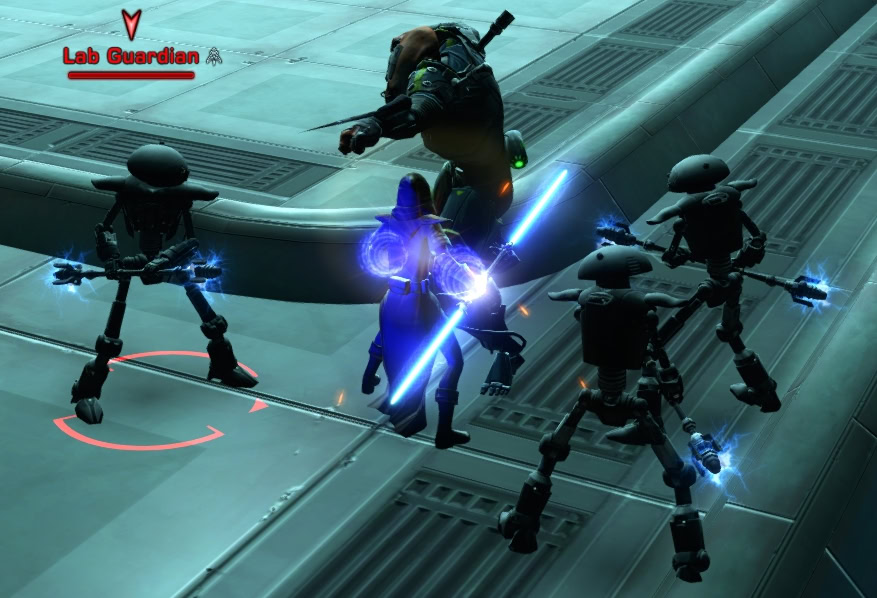
Final Boss: Stivastin
Stivastin is one of Gorima’s successful cyborg experiments. You’ll need to go all-out in this fight as you only have 5 minutes to defeat the boss. If you fail to defeat the boss within 5 minutes, the fight will reset and you’ll respawn in the hallway you came from.
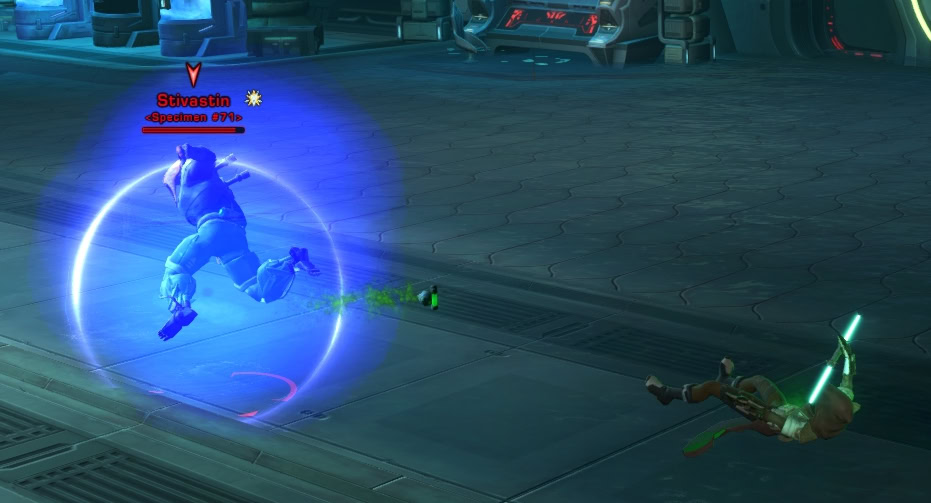
Stivastin attacks with a retractable blade and can spin kick his target away, which is followed by a charge to the same target or another target. If you get kicked away, you’ll get the Dizzy debuff. This reduces your movement speed and accuracy by 25%, reduces threat by 99%, and makes it impossible to hold threat over non-dizzy allies.
This effect lasts for 12 seconds, so if your tank gets kicked away, be prepared to tank Stivastin for a bit. If you’re the tank, save your taunt for when Dizzy wears off.
Stivastin is armed with a Biokinetic Deflection Shield that reduces all incoming damage by 50%. Attack Stivastin for the time being until some flames spew from a pipe on the ceiling.
If Stivastin is attacking you, lure him to the orange AoE underneath the fire and keep him there. Anyone underneath will take increasing damage from the flames, but enough flames will remove Stivastin’s shield.
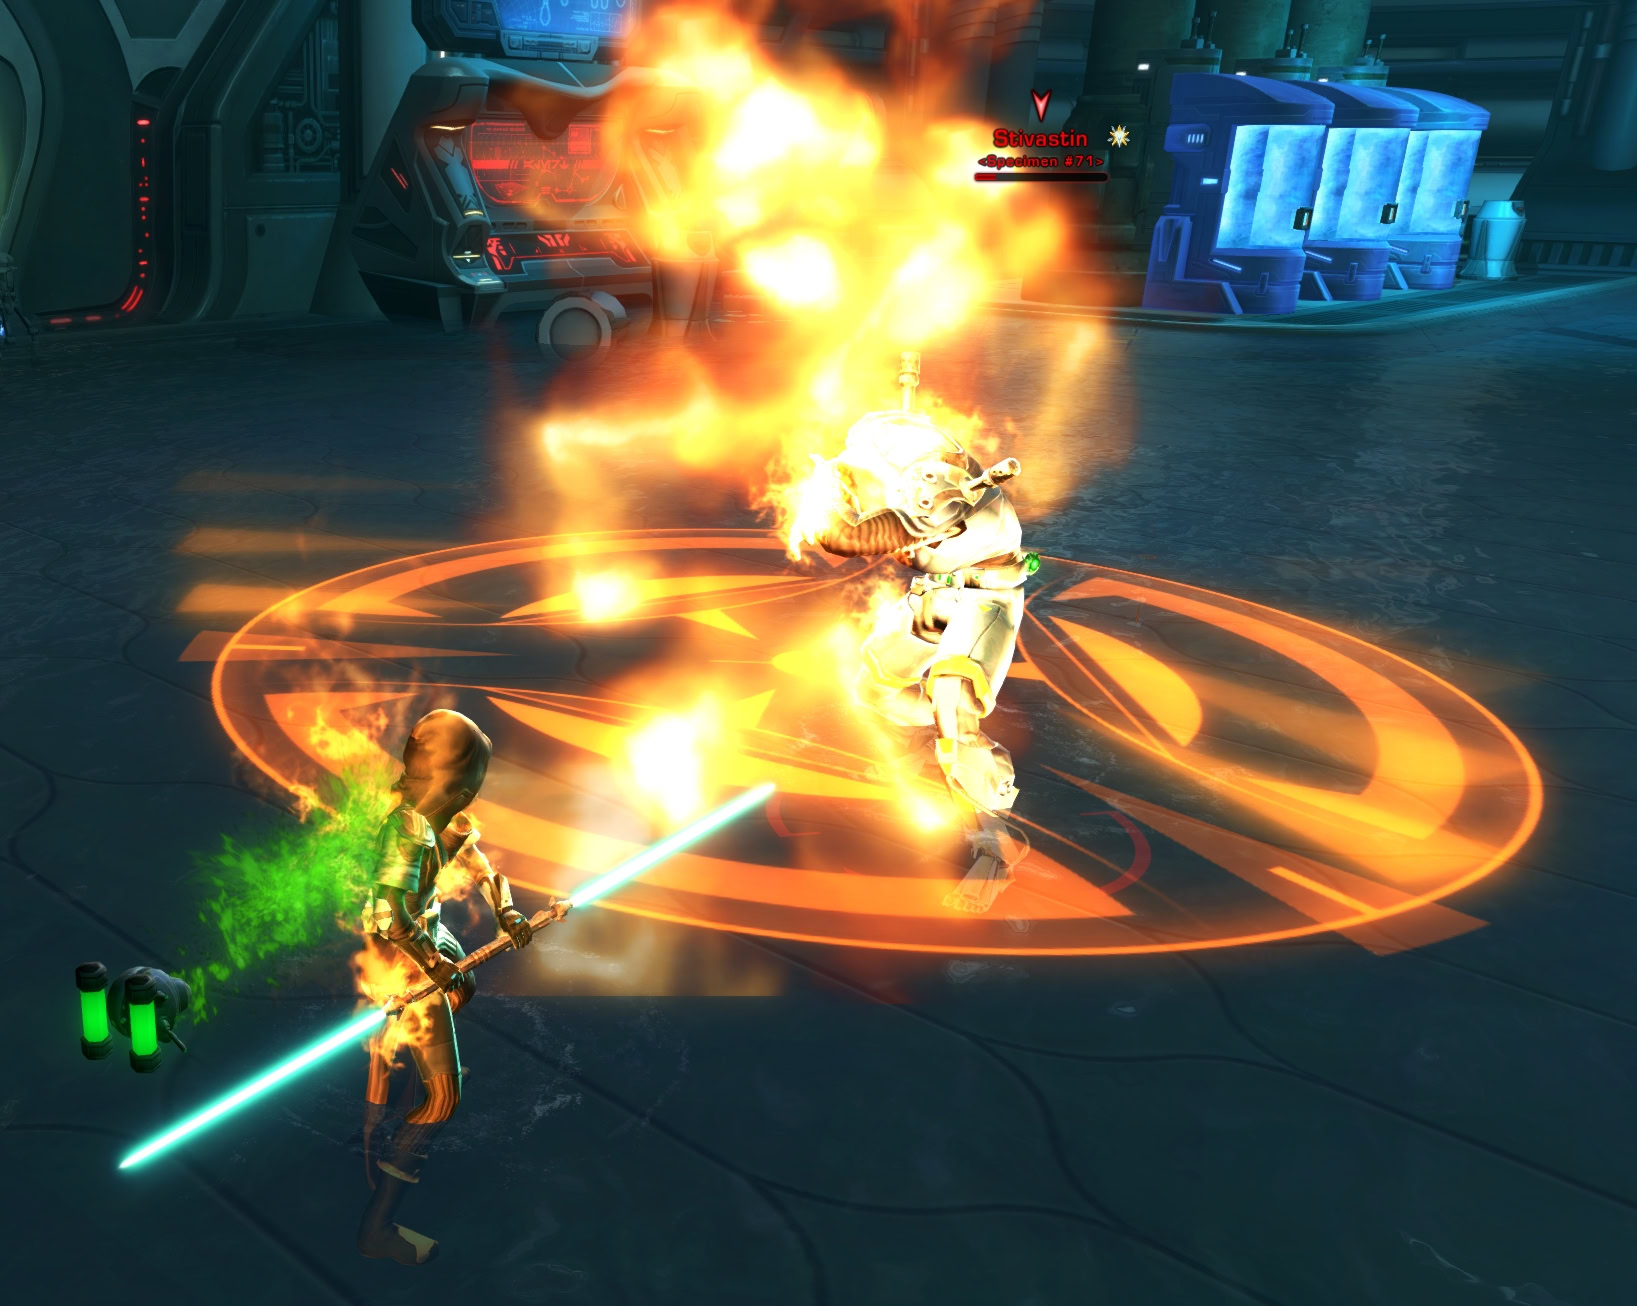
Put Stivastin under the fire whenever possible to deal additional damage and to keep his shield down. Droid adds may spawn, take them down so you have fewer annoyances to deal with.
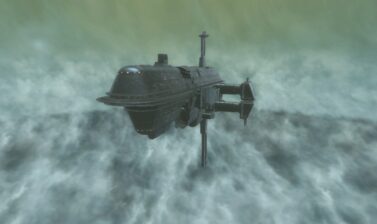
Repeat this process until Stivastin is defeated, then use the computer terminal to escape the facility before it reaches crushing depths. You’ll get your boss loot from a chest once you make it to the surface.
Veteran Mode Differences
There are no mechanical differences in Veteran Mode.
Master Mode Differences
Stivastin no longer has a shield that reduces damage. In its place, he’ll have a passive health regeneration buff. Like the shield, this regeneration buff can be stopped by placing him underneath the fire.
Stivastin’s retractable blade can now apply stacks of the Internal Bleeding debuff. This can stack up to 100 times and deals damage over time. These stacks last for 20 seconds and can be removed by waiting it out, or by using one of the nearby kolto stations.
The droid adds now have a stacking debuff when they hit someone. This is the Stunning Electrostaff debuff and it stacks up to 10 times. When it hits 10 stacks, the target will be stunned and once it wears off, the target becomes immune to this effect for 10 seconds. If you don’t clear the adds as fast as you can, this can get out of hand as they’ll be able to stun the group rather easily.
Achievements for Depths of Manaan
There are a good chunk of achievements that grant rewards for this flashpoint. This includes decorations, legacy titles, and Cartel Coins. These are the achievements that grant rewards:
Defeat Stivastin (Veteran Mode)
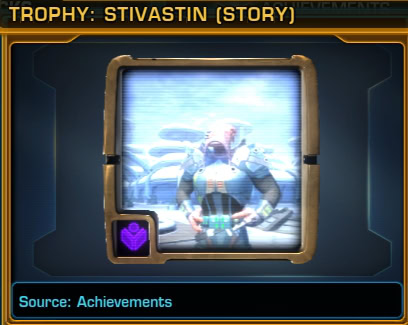
Defeated Stivastin in the “Depths of Manaan” flashpoint.
You’ll gain the Stivastin (Story) Trophy Decoration.
Some Like it Hot (Master)
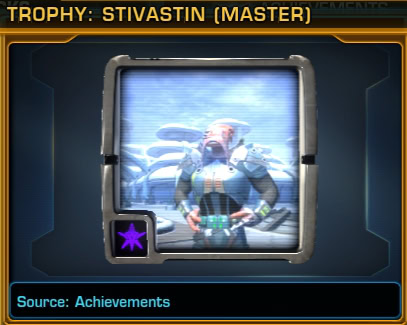
Defeated Stivastin in the “Depths of Manaan” flashpoint on master mode.
You’ll gain the Stivastin (Master) Trophy Decoration.
Manaan Anon (Veteran)
Defeated 2000 enemies in the “Depths of Manaan” flashpoint.
Completing this achievement will grant 20 Cartel Coins.
Elite: Defeat Sairisi (Veteran)
Defeated Security Commander Sairisi in the “Depths of Manaan” flashpoint 25 times.
Completing this achievement will grant 20 Cartel Coins.
Elite: Defeat Ortuno (Veteran)
Defeated Keeper Ortuno in the “Depths of Manaan” flashpoint 25 times.
Completing this achievement will grant 20 Cartel Coins.
Elite: Defeat Stivastin (Veteran)
Defeated Stivastin in the “Depths of Manaan” flashpoint 25 times.
Completing this achievement will grant 20 Cartel Coins.
Certified Organic (Veteran)
Broke 500 Unrefined Kolto barrels in the “Depths of Manaan” flashpoint.
Completing this achievement will grants the “All Natural” legacy title.
Manaan, Manaan (Veteran)
Completed all achievements relating to the “Depths of Manaan” flashpoint.
Completing this achievement will grant 20 Cartel Coins and the “Honored Air Breather” legacy title.
Grappling with Sairisi: Elite (Master)
Defeat Security Commander Sairisi in the “Depths of Manaan” flashpoint on master mode 25 times.
Completing this achievement will grant 20 Cartel Coins.
Against the Flow: Elite (Master)
Defeat Keeper Ortuno in the “Depths of Manaan” flashpoint on master mode 25 times.
Completing this achievement will grant 20 Cartel Coins.
Some Like it Hot: Elite (Master)
Defeat Stivastin in the “Depths of Manaan” flashpoint on master mode 25 times.
Completing this achievement will grant 20 Cartel Coins.
Logistics is Serious Business (Master)
Defeat the M2-AUX Foreman Droid in the “Depths of Manaan” flashpoint on master mode 25 times.
Completing this achievement will grant 20 Cartel Coins.
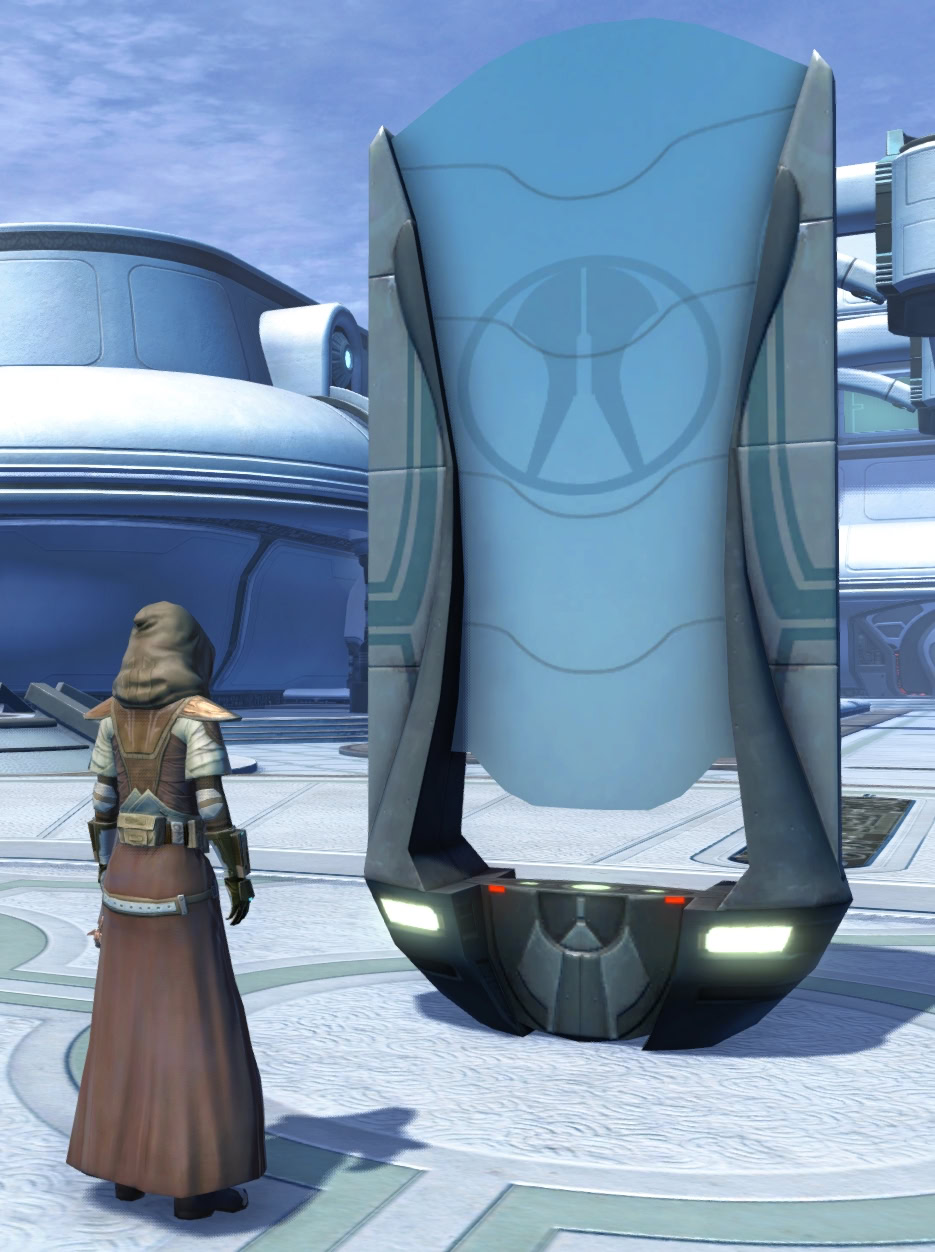
Decoration Drop
Bosses have a chance to drop the Selkath Solar Sculpture decoration. This decoration will fit onto Narrow or Medium sized hooks. Completing this flashpoint on Story Mode has a guaranteed chance to grant this decoration once you finish the flashpoint.