This guide will tell you everything you need to know about the Kuat Drive Yards Flashpoint in SWTOR. Includes all scenarios, bosses for both factions, achievements, decorations, and other loot.
This guide covers Veteran Mode
(the only mode available for this Flashpoint)
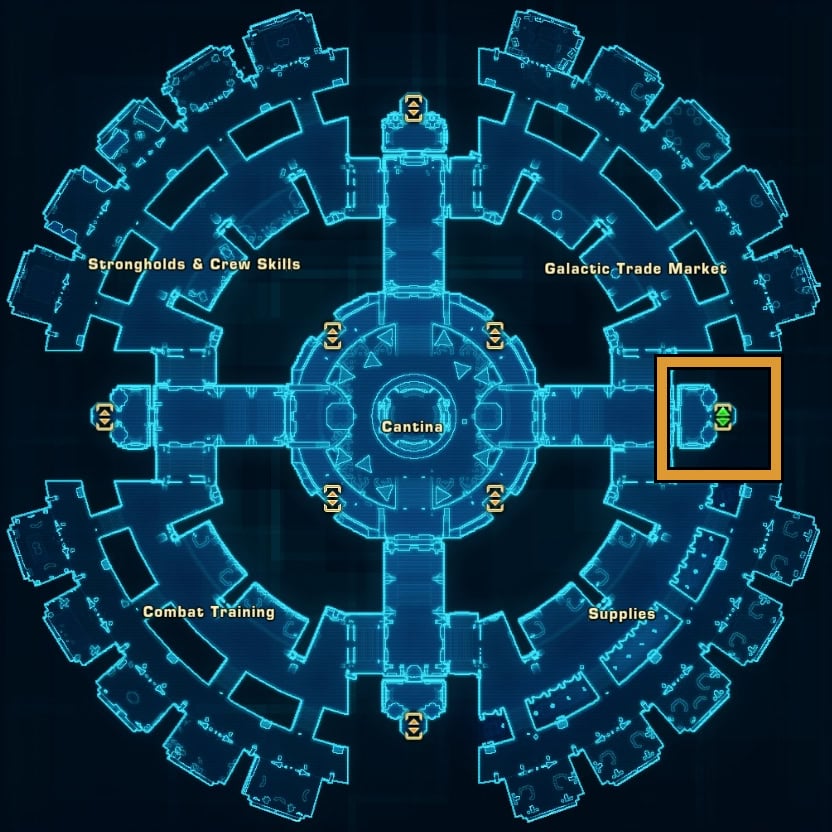
Table of contents
- How to Start the Flashpoint and its Story
- Random Scenarios and their Unique Bonus Missions
- Cannon Emplacement Scenario
- Central Armory Scenario
- Hangar Bay Scenario
- Holding Cells Scenario
- Ship Assembly Scenario
- Boss Fight: Lieutenant Krupp (Republic) / Major Benes (Empire)
- Boss Fight: Lord Modo (Republic) / Master Khoris (Empire)
- Boss Fight: Station Guardian One
- Achievements for Kuat Drive Yards
- Decoration Drop
- KDY Construction Kits and Reputation Vendor
- Kuat Drive Yards Easter Eggs
How to Start the Flashpoint and its Story
This story mission for Kuat Drive Yards becomes available to characters at level 15.
If you want to complete this in the proper order for SWTOR’s story progression, this would be after the defeat of the Dread Masters on Oricon during the Rise of the Hutt Cartel expansion.
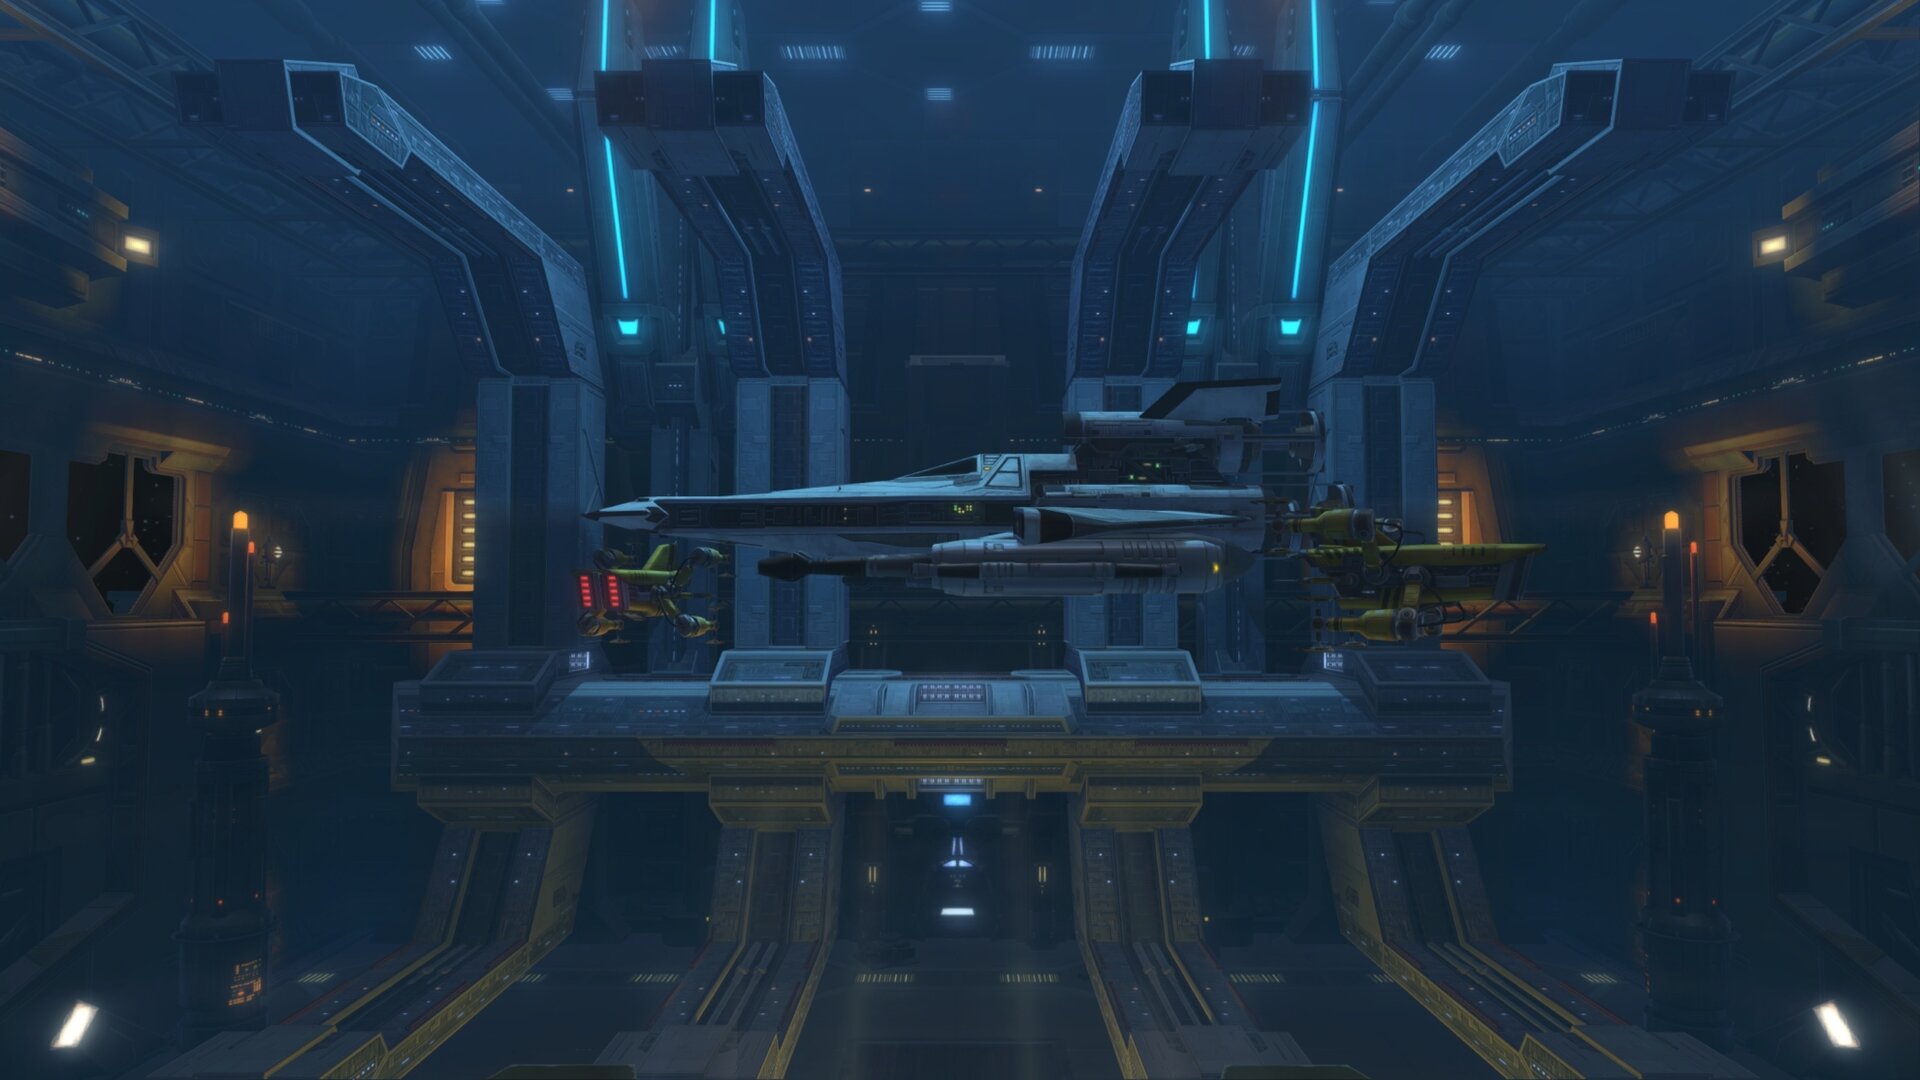
You’ll need to go to your faction’s fleet and take the Mission Departures Elevator to the Starfighter Launch Deck.
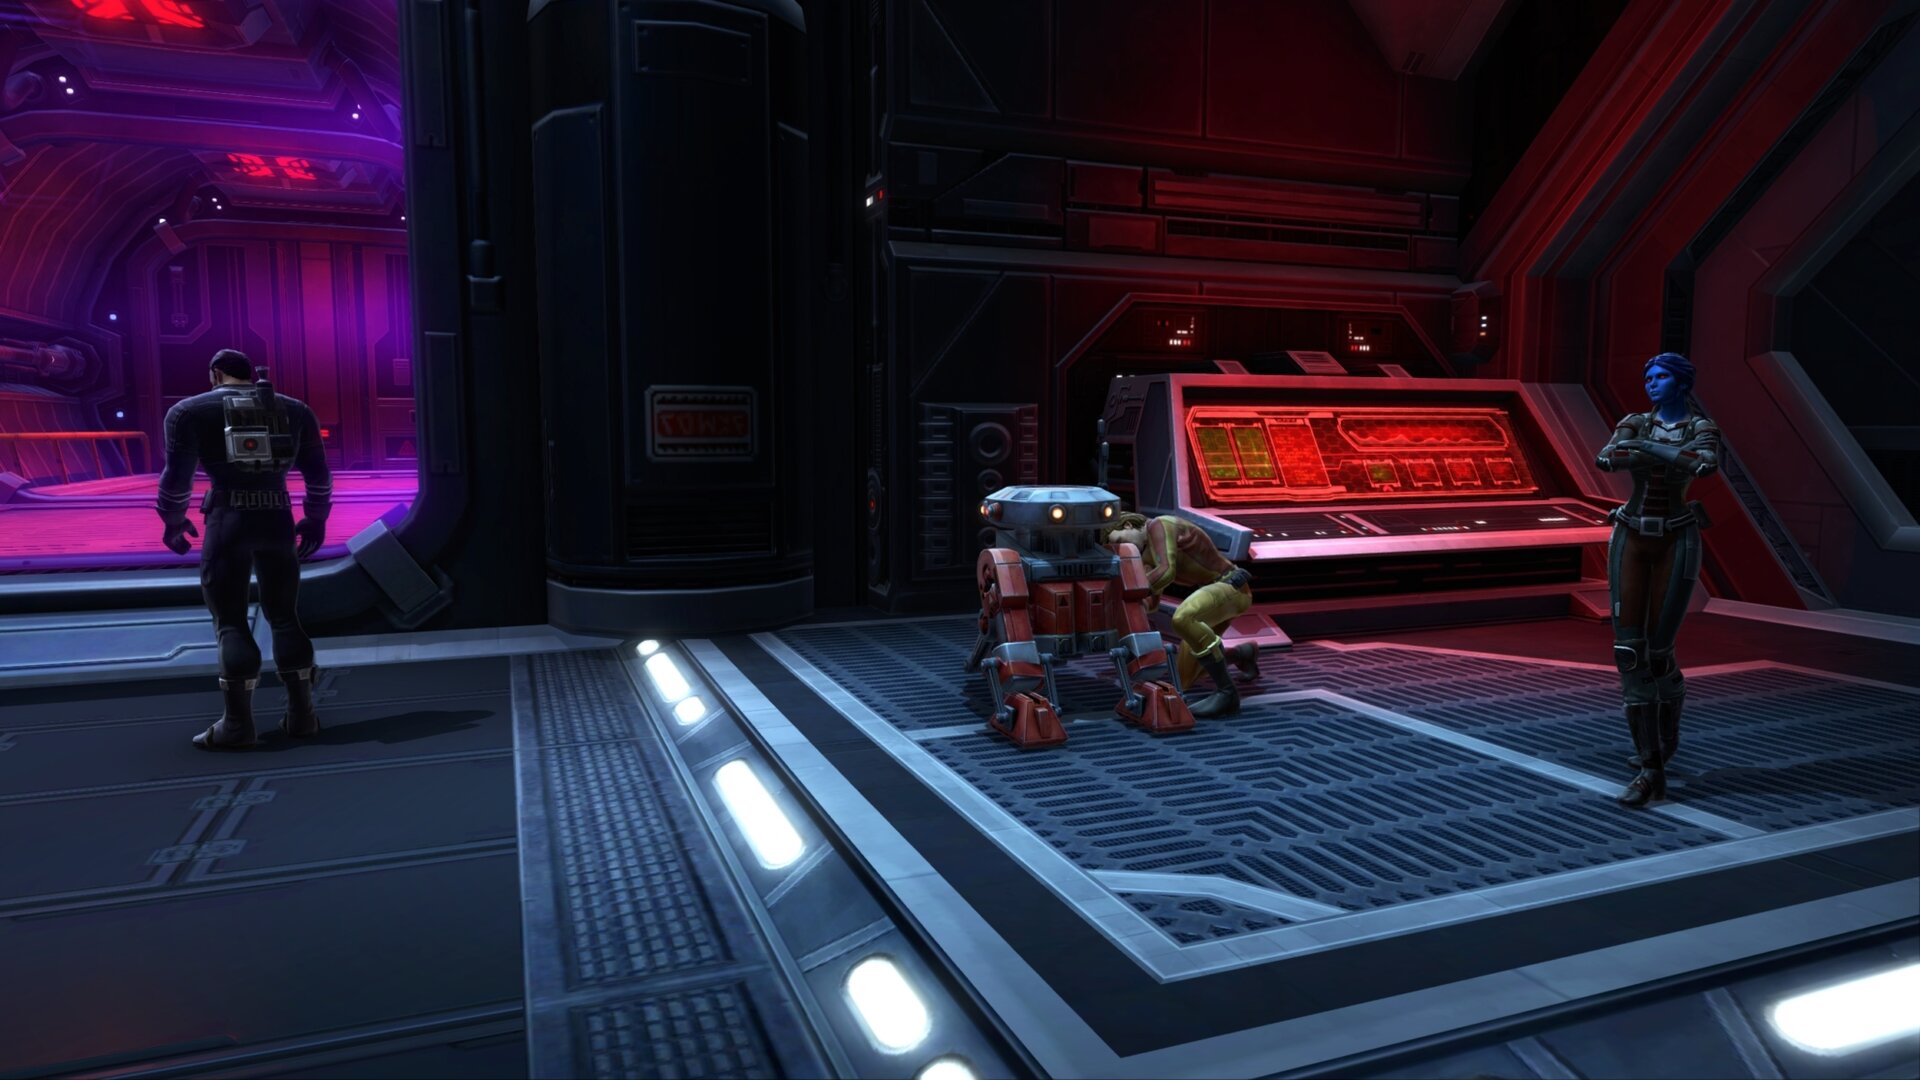
Once you’re at the Starfighter Launch Deck, head into the room to find a Malfunctioning Terminal for Republic characters, or Lord Grenthean for Imperial characters. Interact with them to start the story arc for this flashpoint.


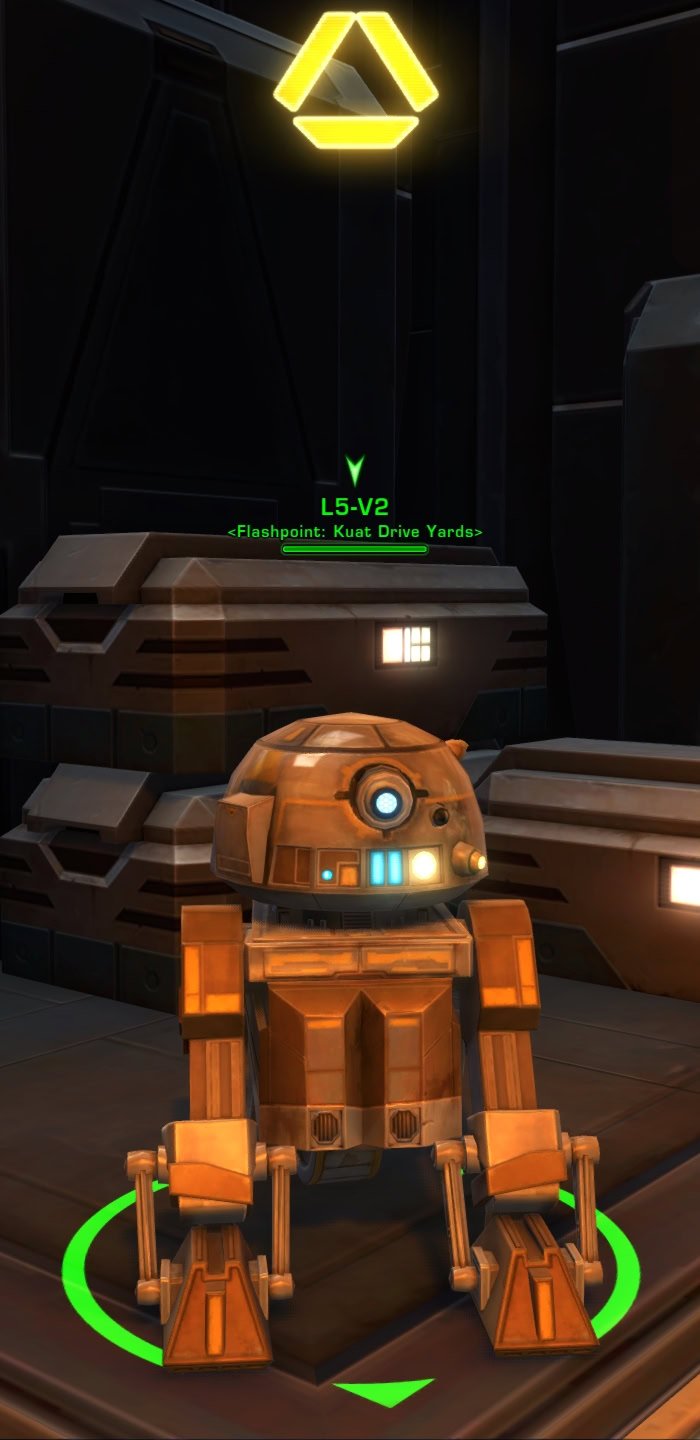
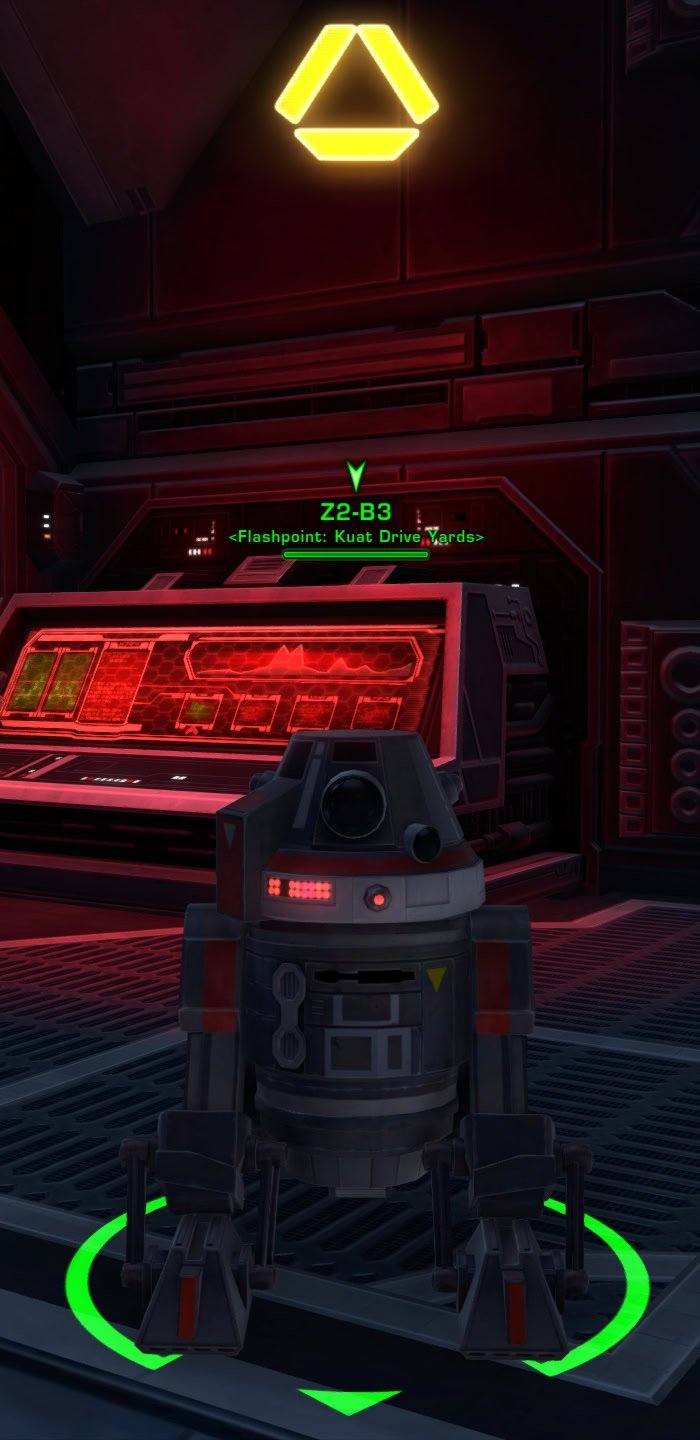
To gain access to the flashpoint itself, near the entrance of the Starfighter Launch Deck is an astromech that will provide the flashpoint mission.
This is L5-V2 for Republic characters and Z2-B3 for Imperial characters. They only offer this flashpoint on Veteran difficulty. This flashpoint is currently not available on the activity finder.
The planet Kuat is the Republic’s largest military ship manufacturer and is vital for keeping up the war effort against the Empire. The Empire, on the other hand, wishes to invade Kuat to take over the shipyards for use in the Empire to both strengthen their fleet and weaken the Republic fleet. Factions from both sides are sending their best warriors and soldiers to fight the opposition.
Random Scenarios and their Unique Bonus Missions
Kuat Drive Yards is a very unique flashpoint as it’s the only one in SWTOR that’s randomized. The way this works is that you’ll go through two scenarios, fight a boss, and then the flashpoint ends.
There are 5 scenarios and 3 bosses that are chosen randomly. While unique, it can be a frustrating flashpoint if you’re trying to complete its achievements as it’s all RNG based, there’s no guaranteed way to get a scenario or boss you want.
Bonus Missions are available for each scenario but none of them lead to a bonus boss and are rather simple in that they’re just “Defeat X amount of enemy forces and defeat an Elite Defender”. This is good for some extra experience points but serves no purpose for achievements or late-game players.
They are as follows:
Cannon Emplacement Scenario – Loose Cannon
- Defeat 50 Enemy Forces
- Defeat the Elite Defender
Central Armory Scenario – Total Disarmament
- Defeat 50 Enemy Forces
- Defeat the Elite Defender
Hangar Bay Scenario – Hangar Offensive
- Defeat 40 Enemy Forces
- Defeat the Elite Defender
Holding Cell Scenario – Cell Damage
- Defeat 50 Enemy Forces
- Defeat the Elite Defender
Ship Assembly Scenario – Disassembler
- Defeat 30 Enemy Forces
- Defeat the Elite Defender
Bonus Mission: Saboteur
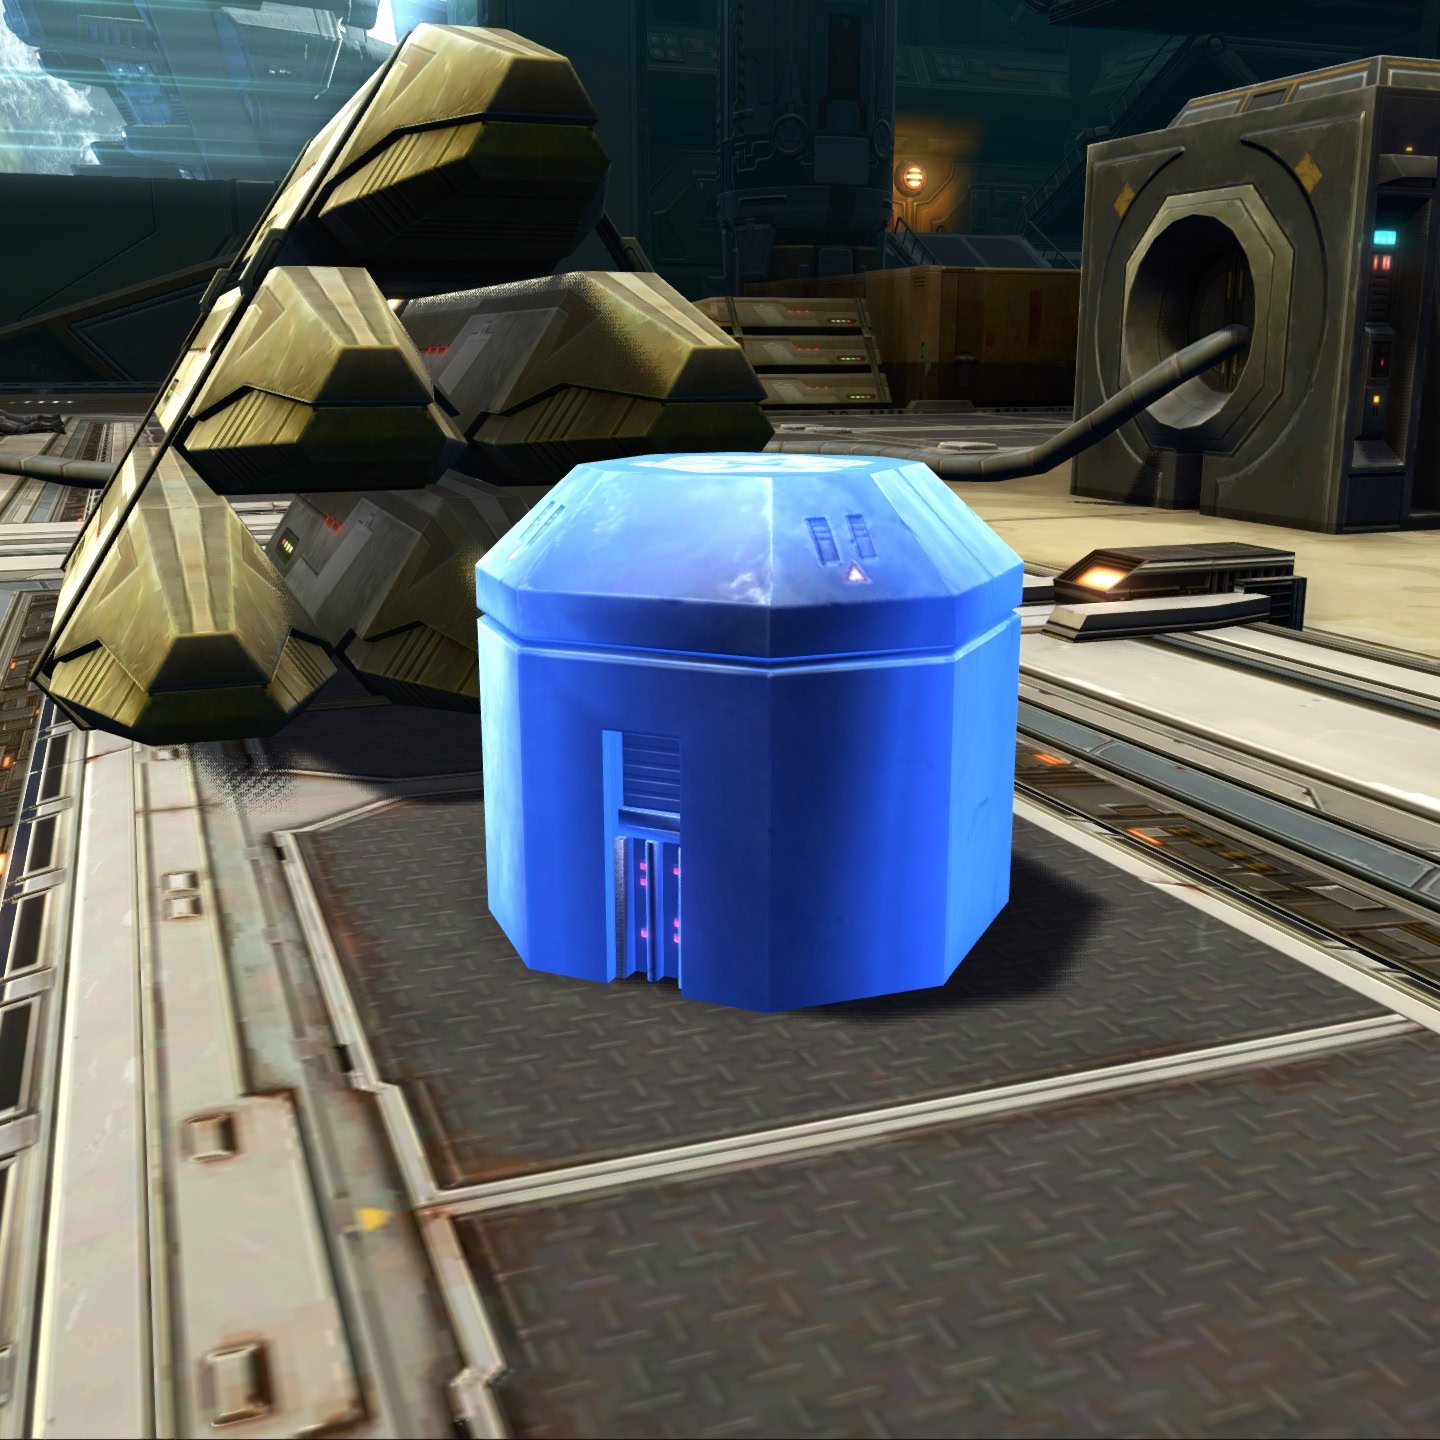
This bonus mission requires you to destroy Republic/Imperial Supply drops found throughout the various scenarios.
This is separate from the “Defeat X amount of enemies” bonus missions mentioned earlier, and this mission does not lead to any bonus boss either.
This is just some extra experience and does not do anything for achievements. Maps with Supply Drop locations will be shown in their respective scenario’s section.
Cannon Emplacement Scenario
In the Cannon Emplacement Scenario, you’ll find that most of this sector is blocked off by a forcefield. Disable 2 Forcefield Generators to open the path forward to Find a Way to Disable the Cannons.
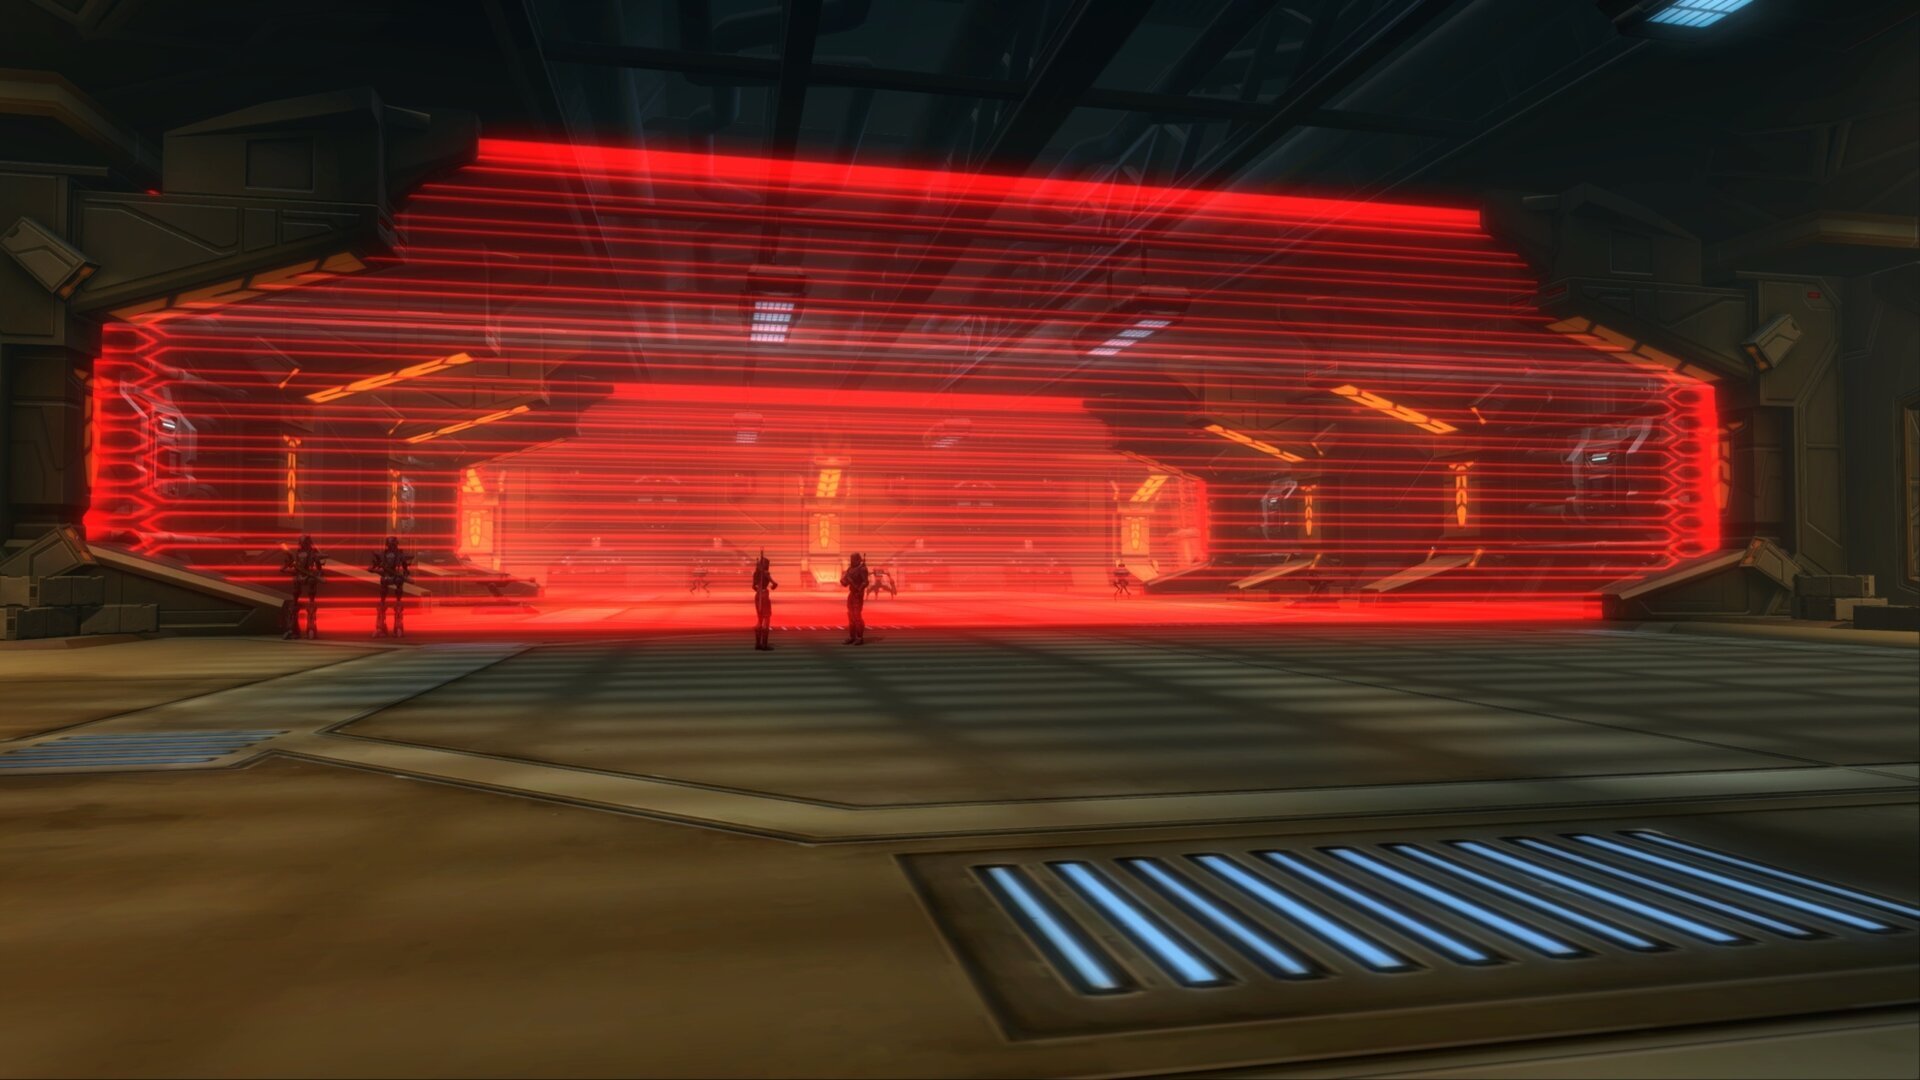
There are three sections at the southern side of this sector, each has a shielded control console and a stack of weapon stockpiles. Interact with one of the Weapon Stockpiles to gain the ability to disable the 3 Control Consoles. Walk up to a console after picking up the weapons to destroy it, then take the elevator out.
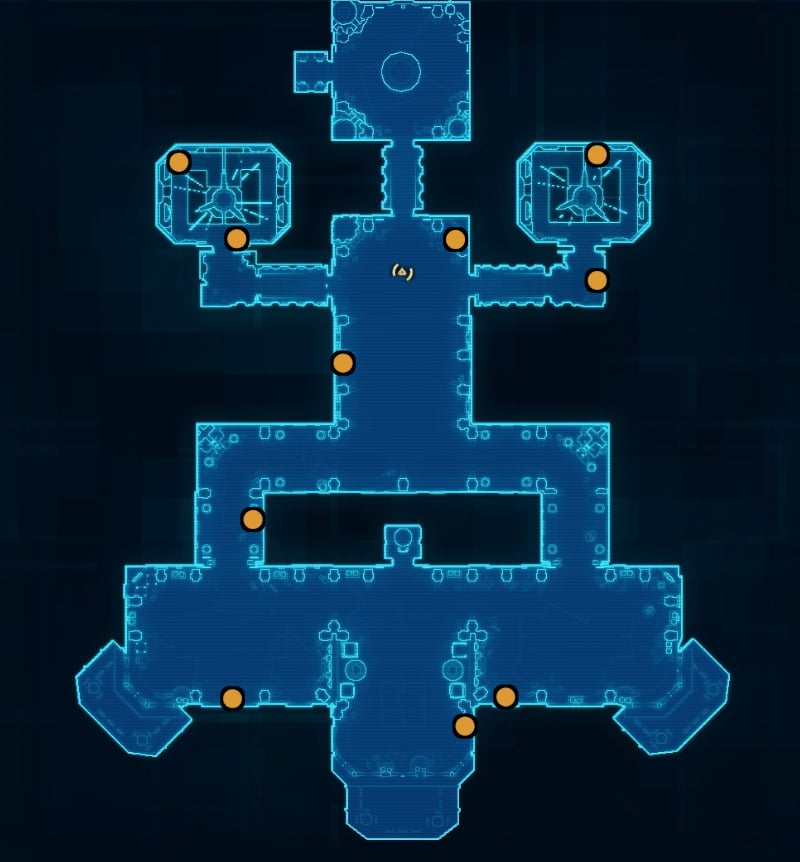
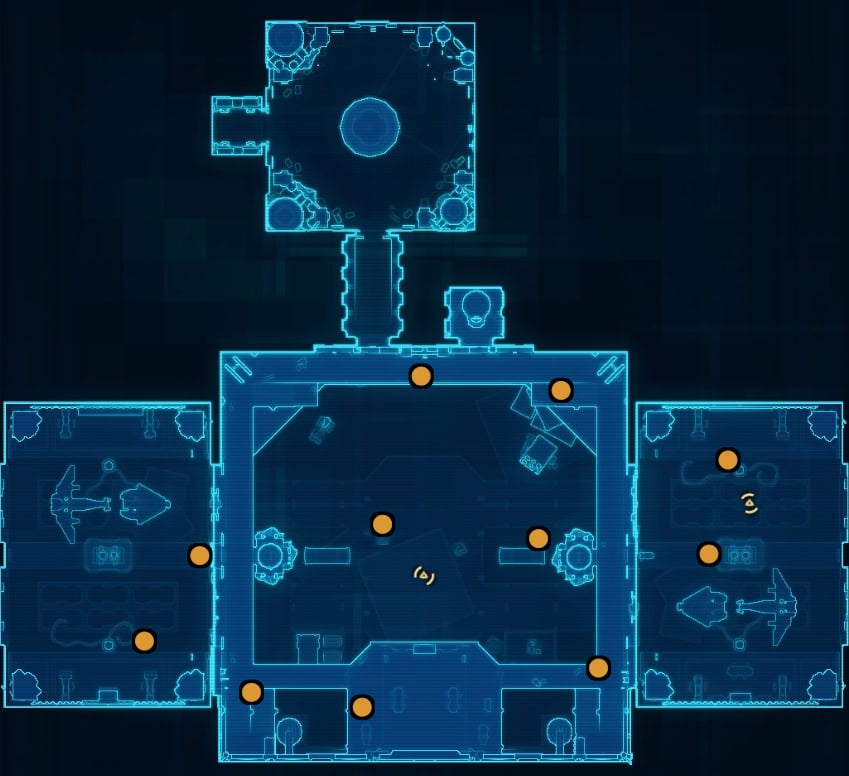
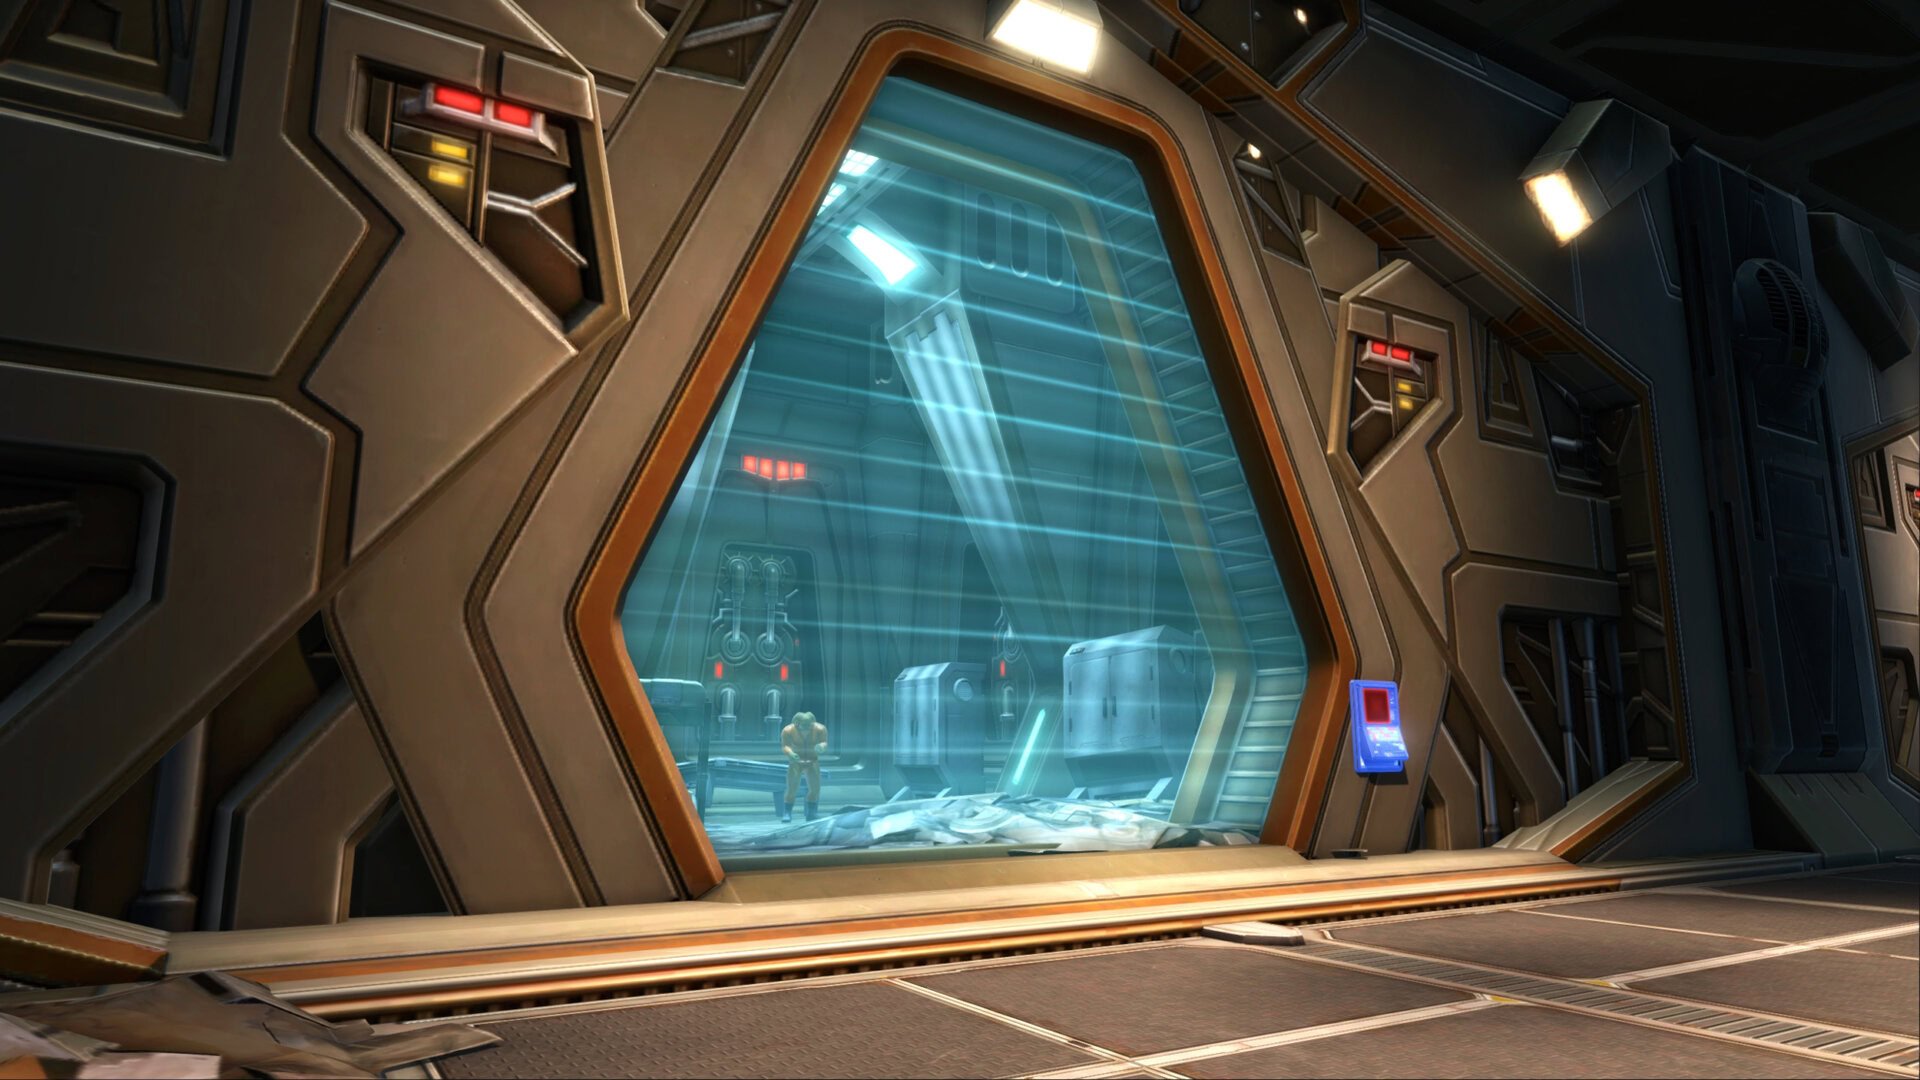
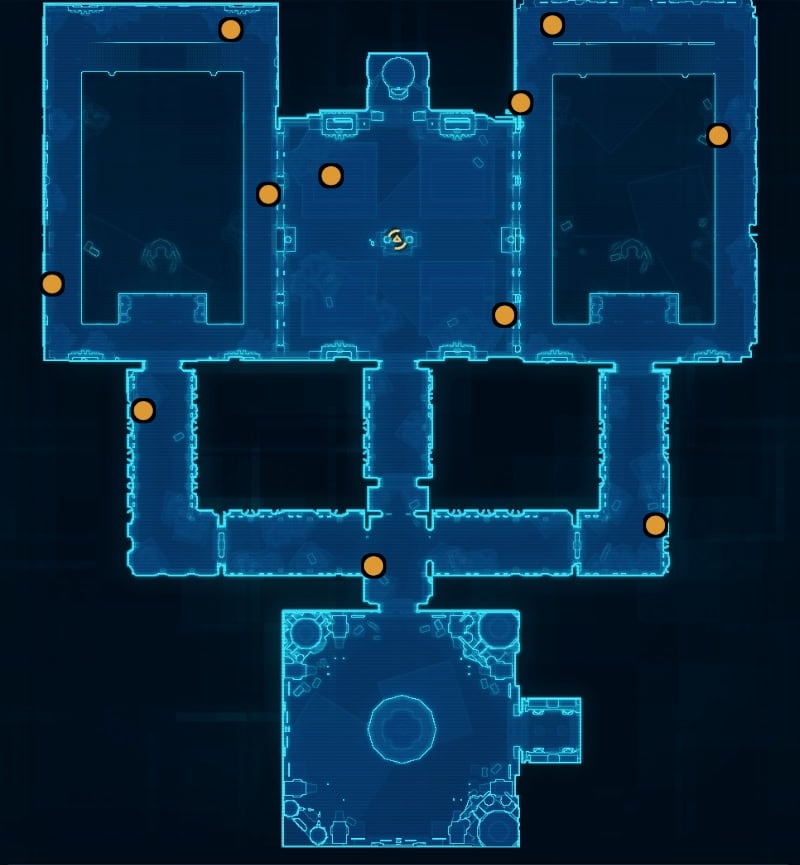
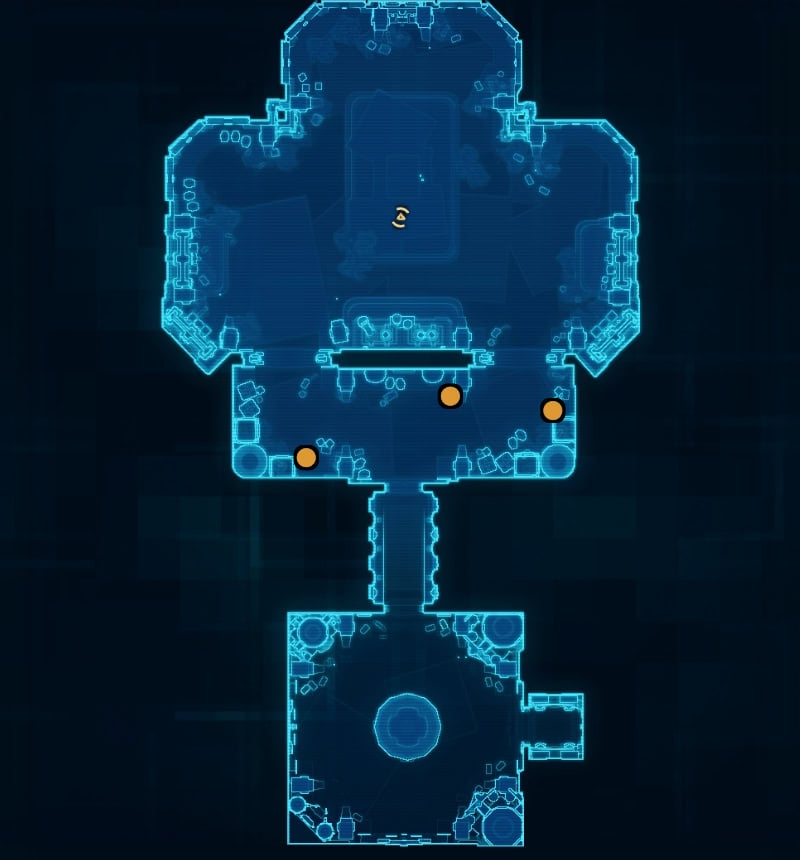
Bonus Mission: Saboteur – Supply Drop Locations
The Supply Drops for the Saboteur bonus mission can be found at the following locations in the Cannon Emplacement Scenario:
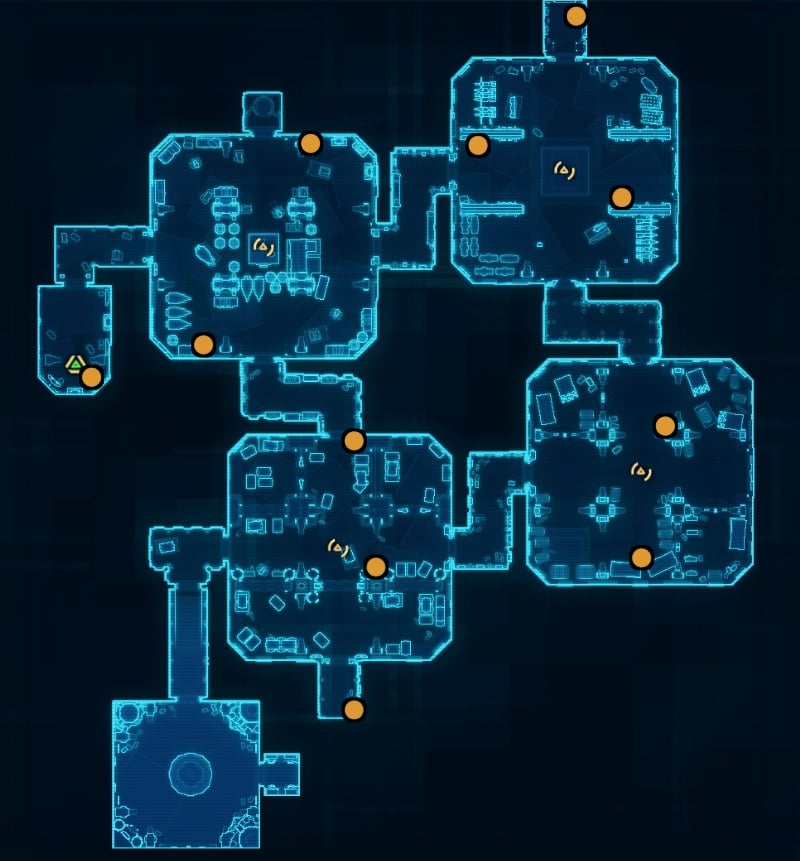
Central Armory Scenario
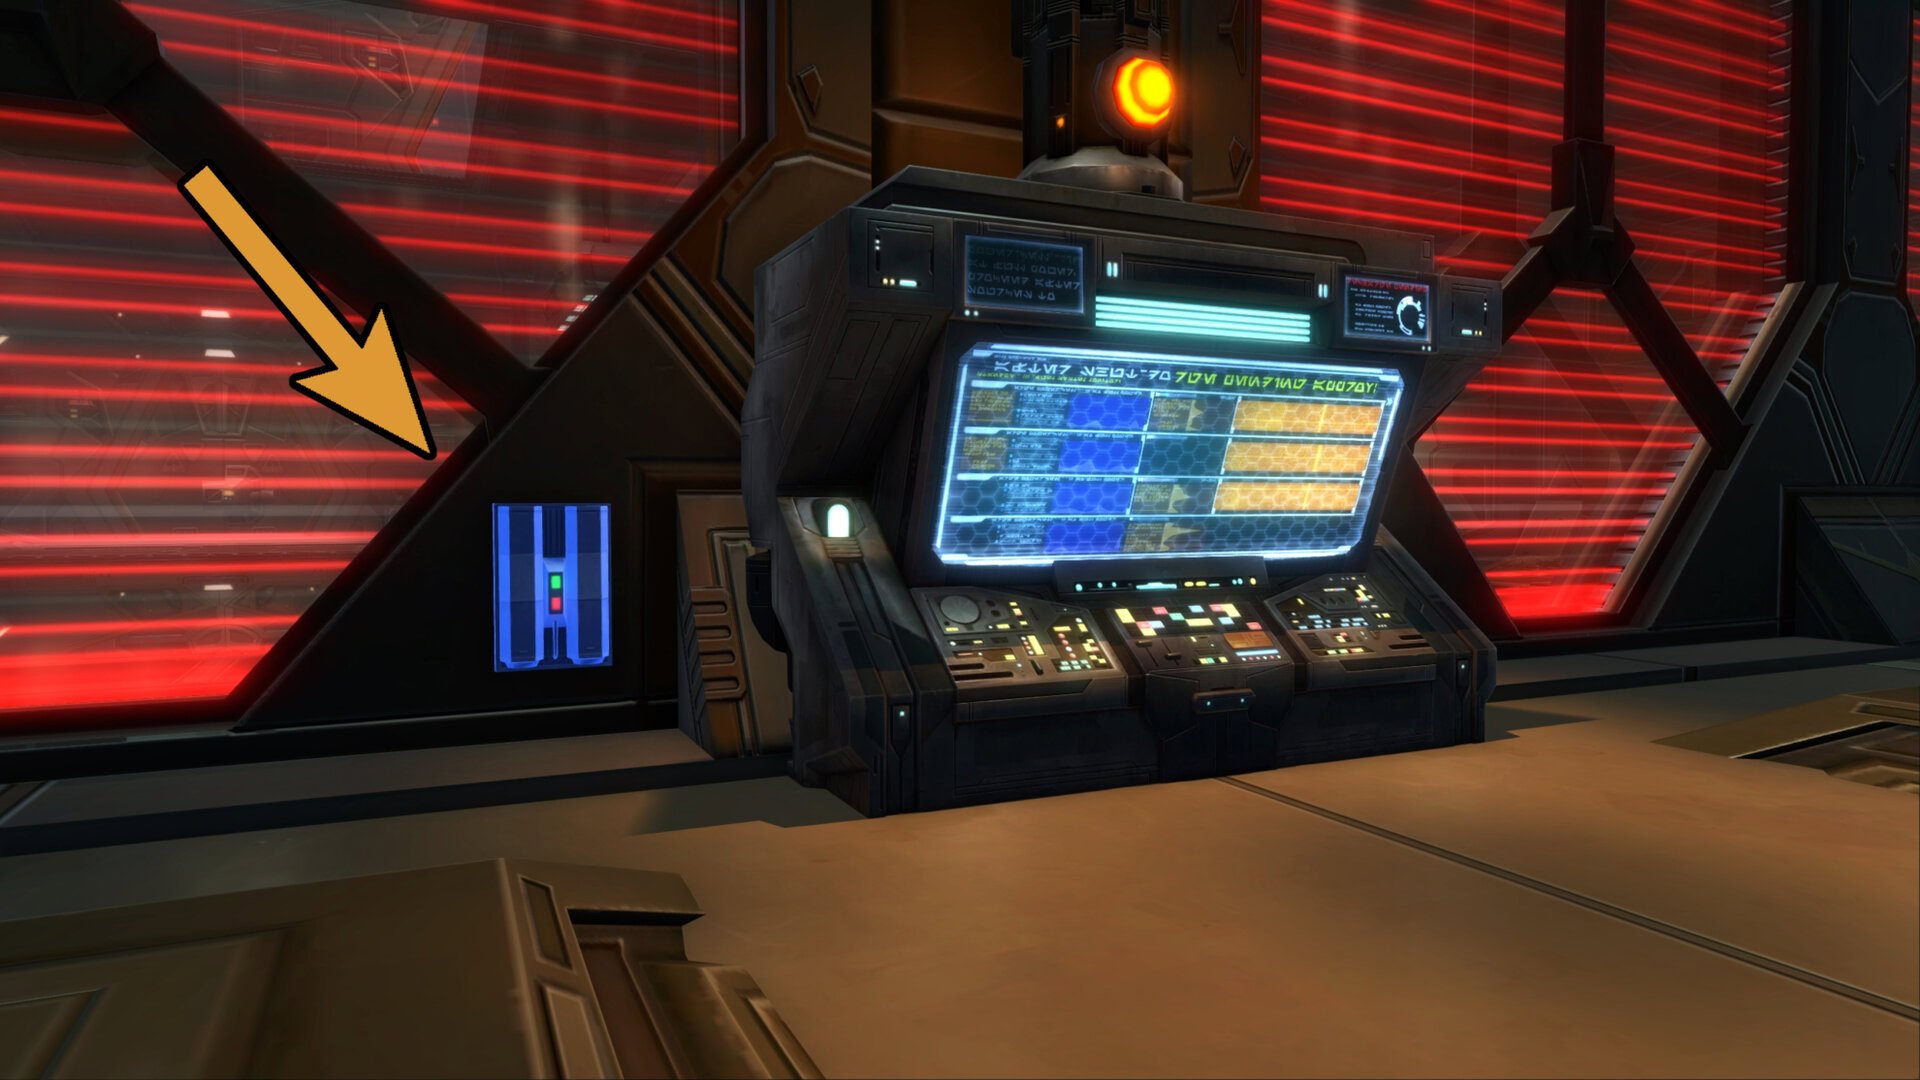
In the Central Armory Scenario, you’ll be going through four rooms to destroy various munitions. If it’s glowing blue and not a supply crate from the bonus mission, you’ll want to right click them. You’ll need to do the following to proceed:
- Destroy 3 Munitions Stockpiles
- Destroy 3 Warheads
- Destroy 3 Bombs and Rockets
- Destroy 3 Missile Stockpiles
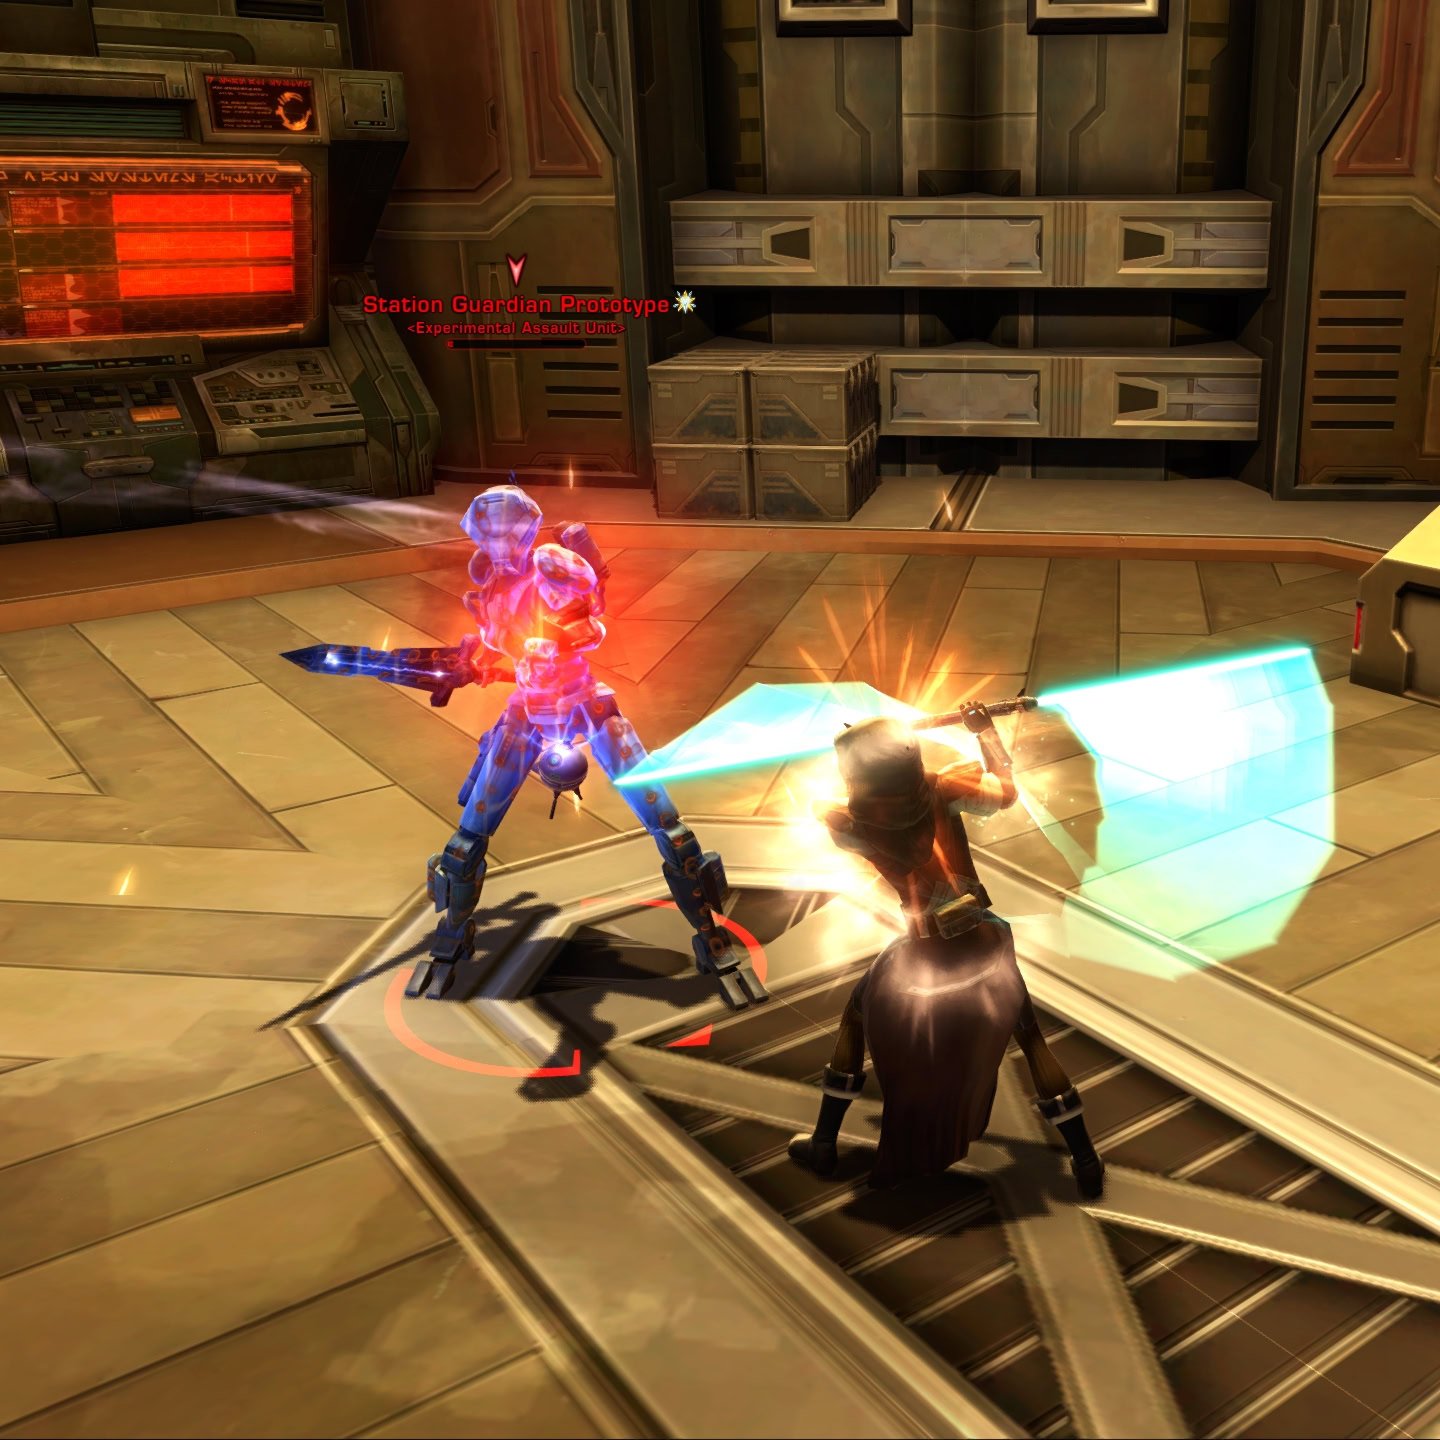
- Destroy the Station Guardian Prototype

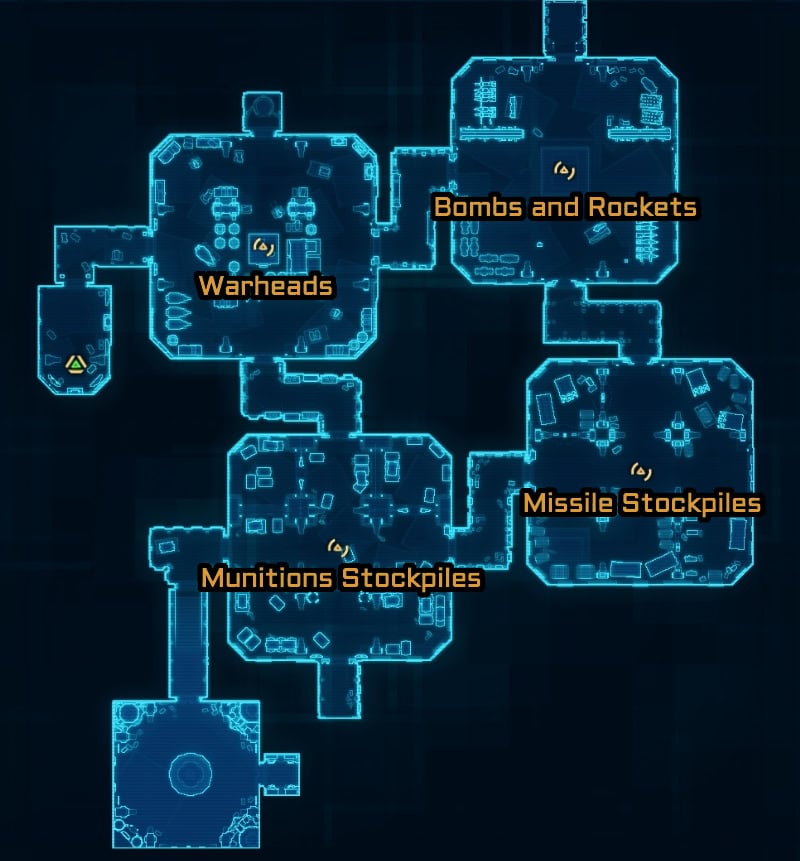
In the room to the left of the Warheads storage room, you’ll find the Prototype Station Guardian. This is a much weaker version of the boss, Station Guardian One, which can be found in this flashpoint. Once you destroy all the objectives, take the elevator out to reach the next scenario.
Bonus Mission: Saboteur – Supply Drop Locations
The Supply Drops for the Saboteur bonus mission can be found at the following locations in the Central Armory Scenario:
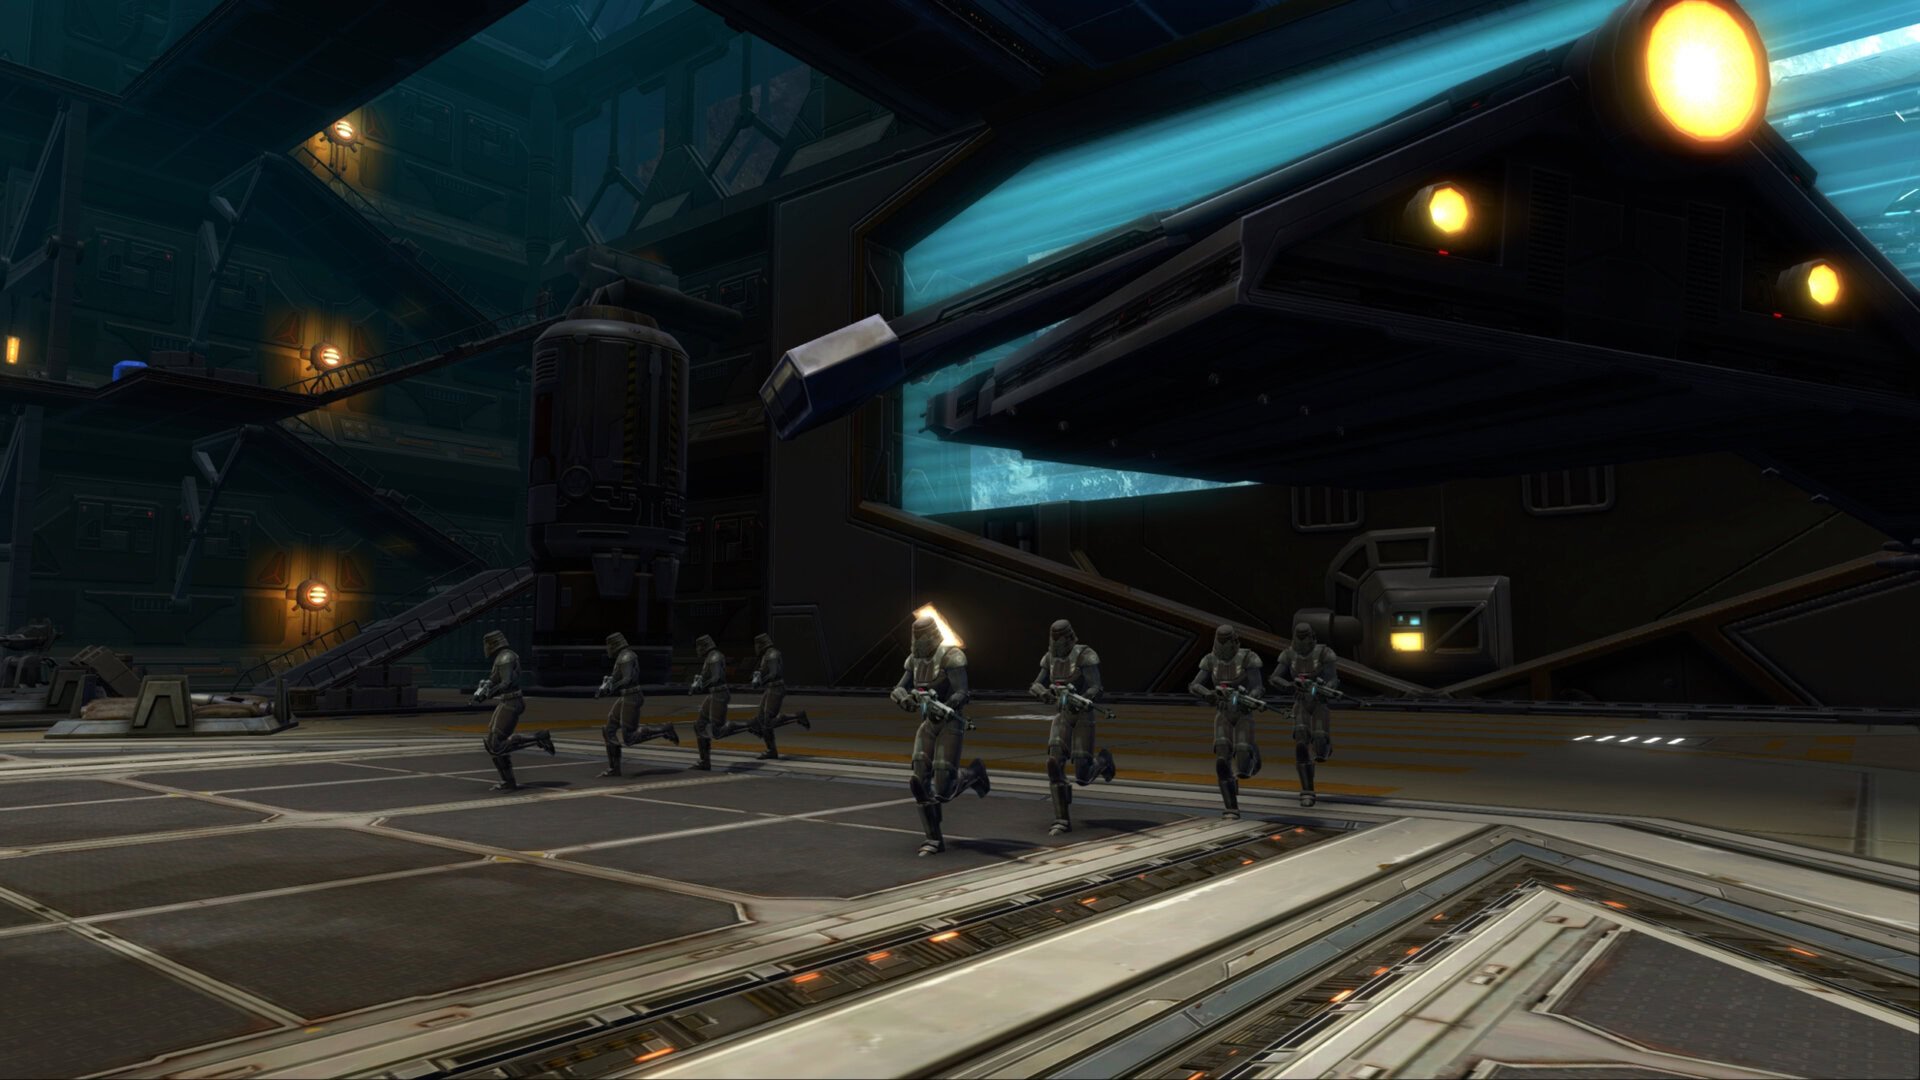
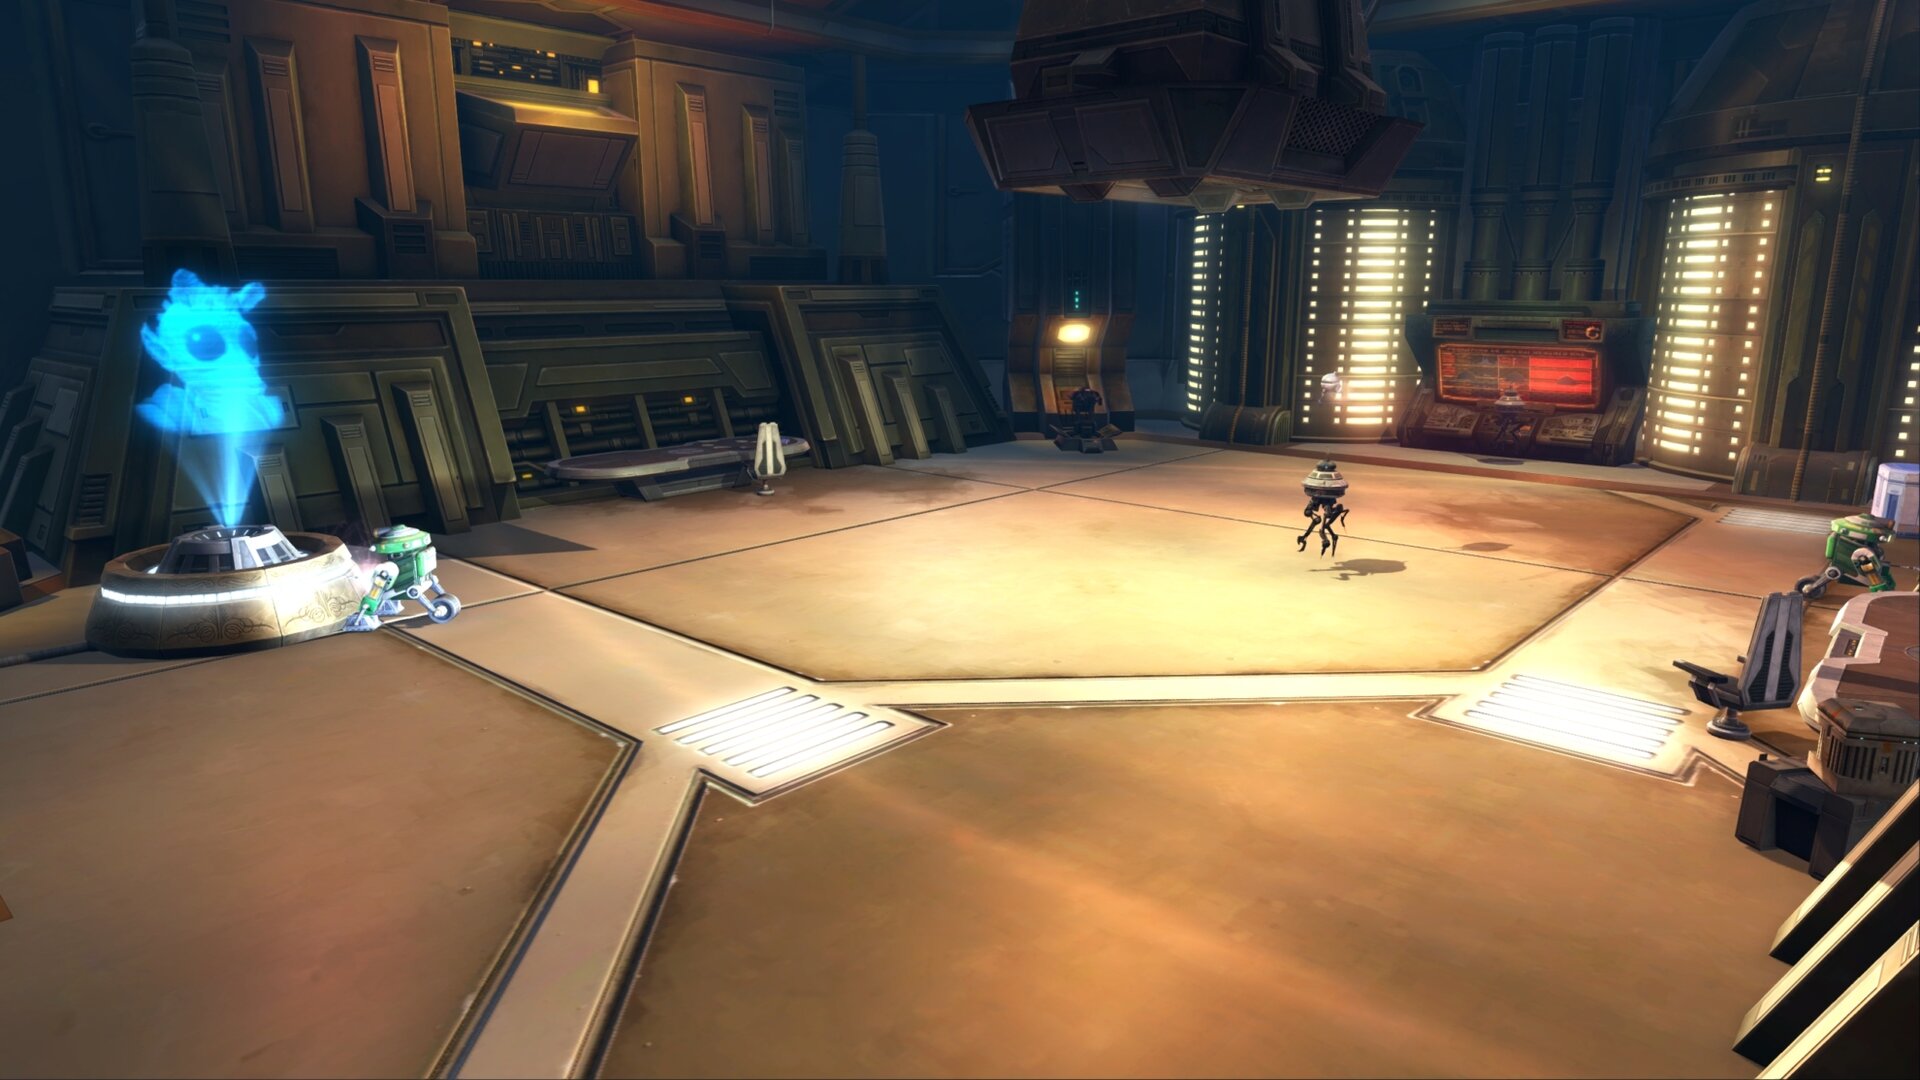
Hangar Bay Scenario
The Hangar Bay Scenario is the simplest of the scenarios. All you need to do is defeat enemy forces that spawn in. From there, you need to defeat a few elite NPCs to unlock the Hangar Control Console, activate the console, and then make your way out on the second-level elevator to reach the next scenario.
Bonus Mission: Saboteur – Supply Drop Locations
The Supply Drops for the Saboteur bonus mission can be found at the following locations in the Hangar Bay Scenario:
Holding Cells Scenario
In this scenario, you’ll need to free prisoners in the Holding Cells. Find a Way to Open the Outer Doors. In the middle room you’re led into, destroy the two Security Power Panels then interact with the Primary Control Console.
After opening the outer doors, the two hallways you passed on your way to the central room will now be open, allowing you to access the Western and Easter Cell Blocks.
This is a good point to split the group to cover both blocks at the same time so this scenario doesn’t take as long. Defeat any enemy forces and activate the Cell Block Security Console at the cell block entrance.
Once you’ve used the Cell Block Security Console, you’ll be able to unlock holding cells to Free 10 Prisoners.
There’ll be 5 prisoners in each cell block, and while they can get killed by enemy NPCs, you’ll still gain progress in the mission if they don’t survive as your only goal is to free them.
Once you have the prisoners, escort them to the elevator in the center control room and take the elevator to the next scenario.

Bonus Mission: Saboteur – Supply Drop Locations
The Supply Drops for the Saboteur bonus mission can be found at the following locations in the Holding Cells Scenario:
Ship Assembly Scenario
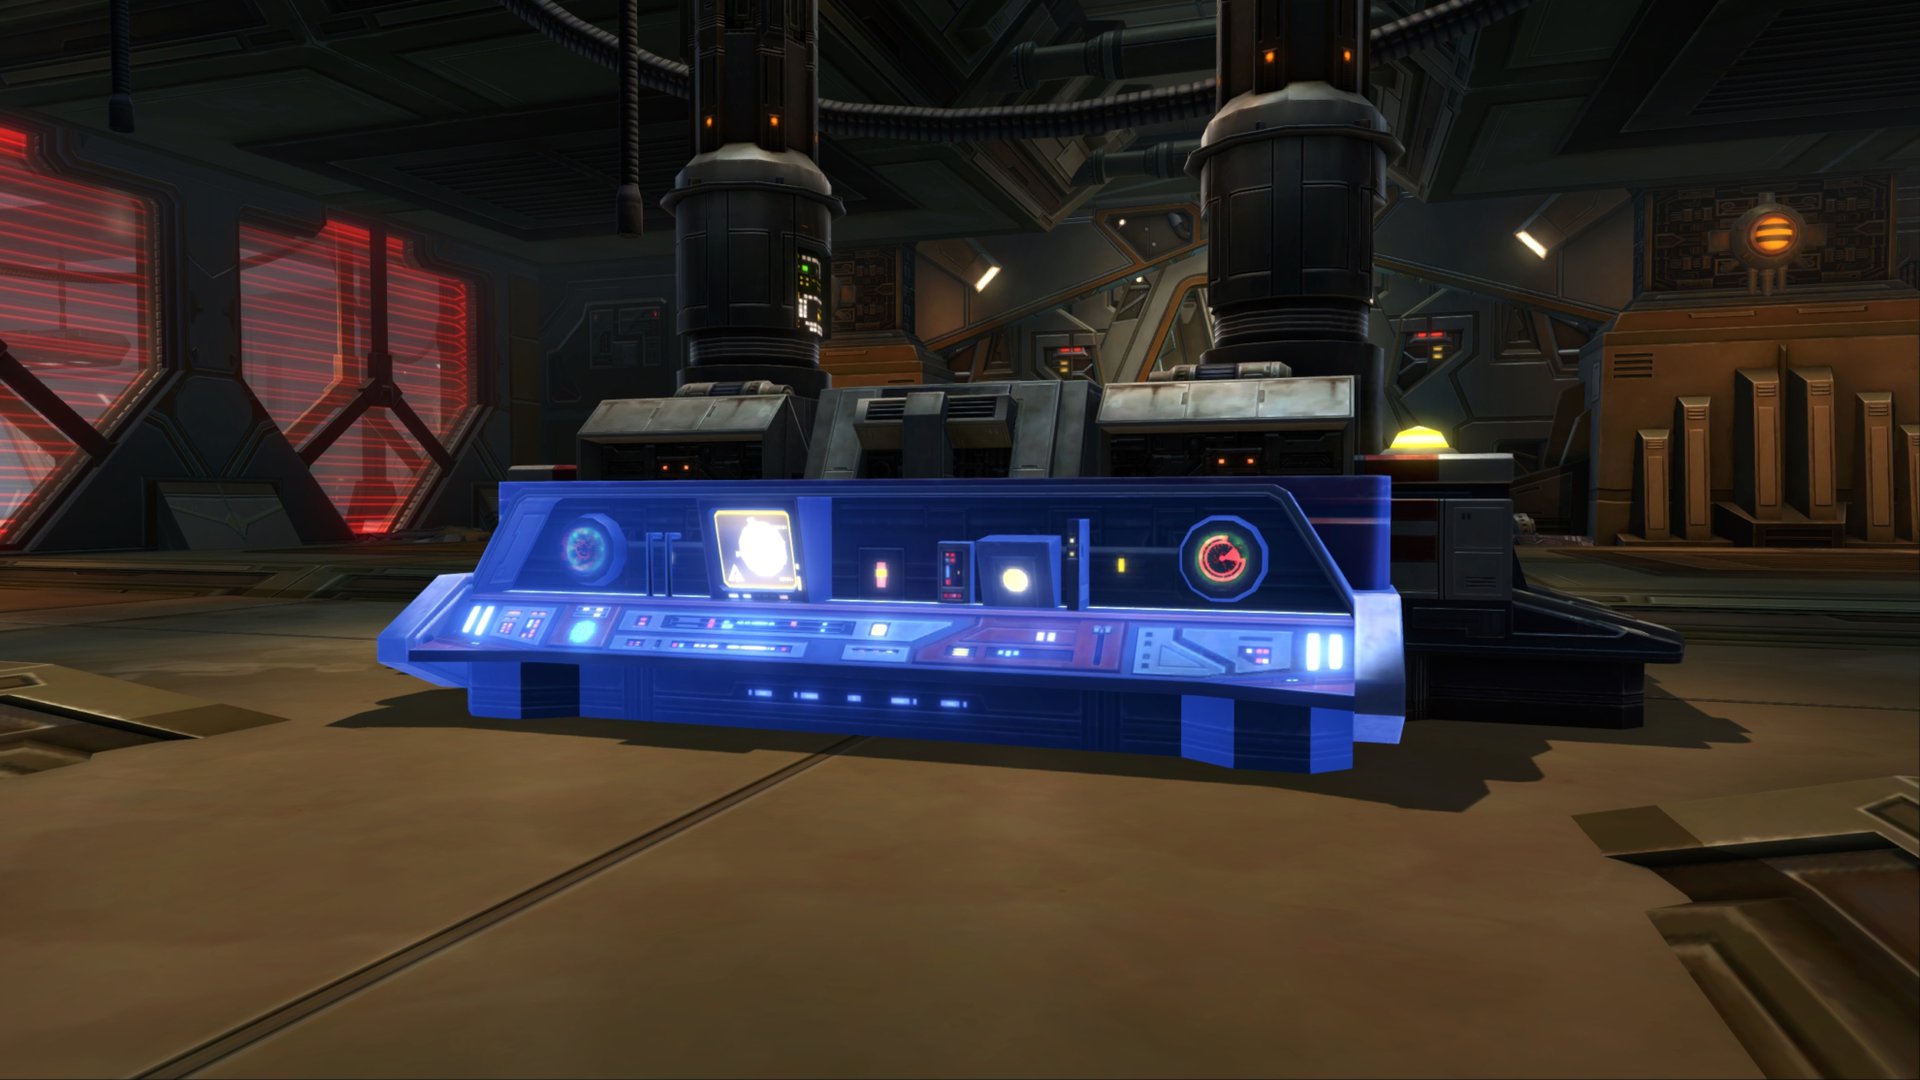
In this scenario, you’ll get to build a custom starfighter! Before you can do that, you’ll need need to find 3 datapads with Assembler Access Codes.
The Electronics Assembler Access Codes are in the middle room on top of a table with other datapads, while the Weapons and Propulsion Assembly Access Codes are in the east and west rooms at a random location.
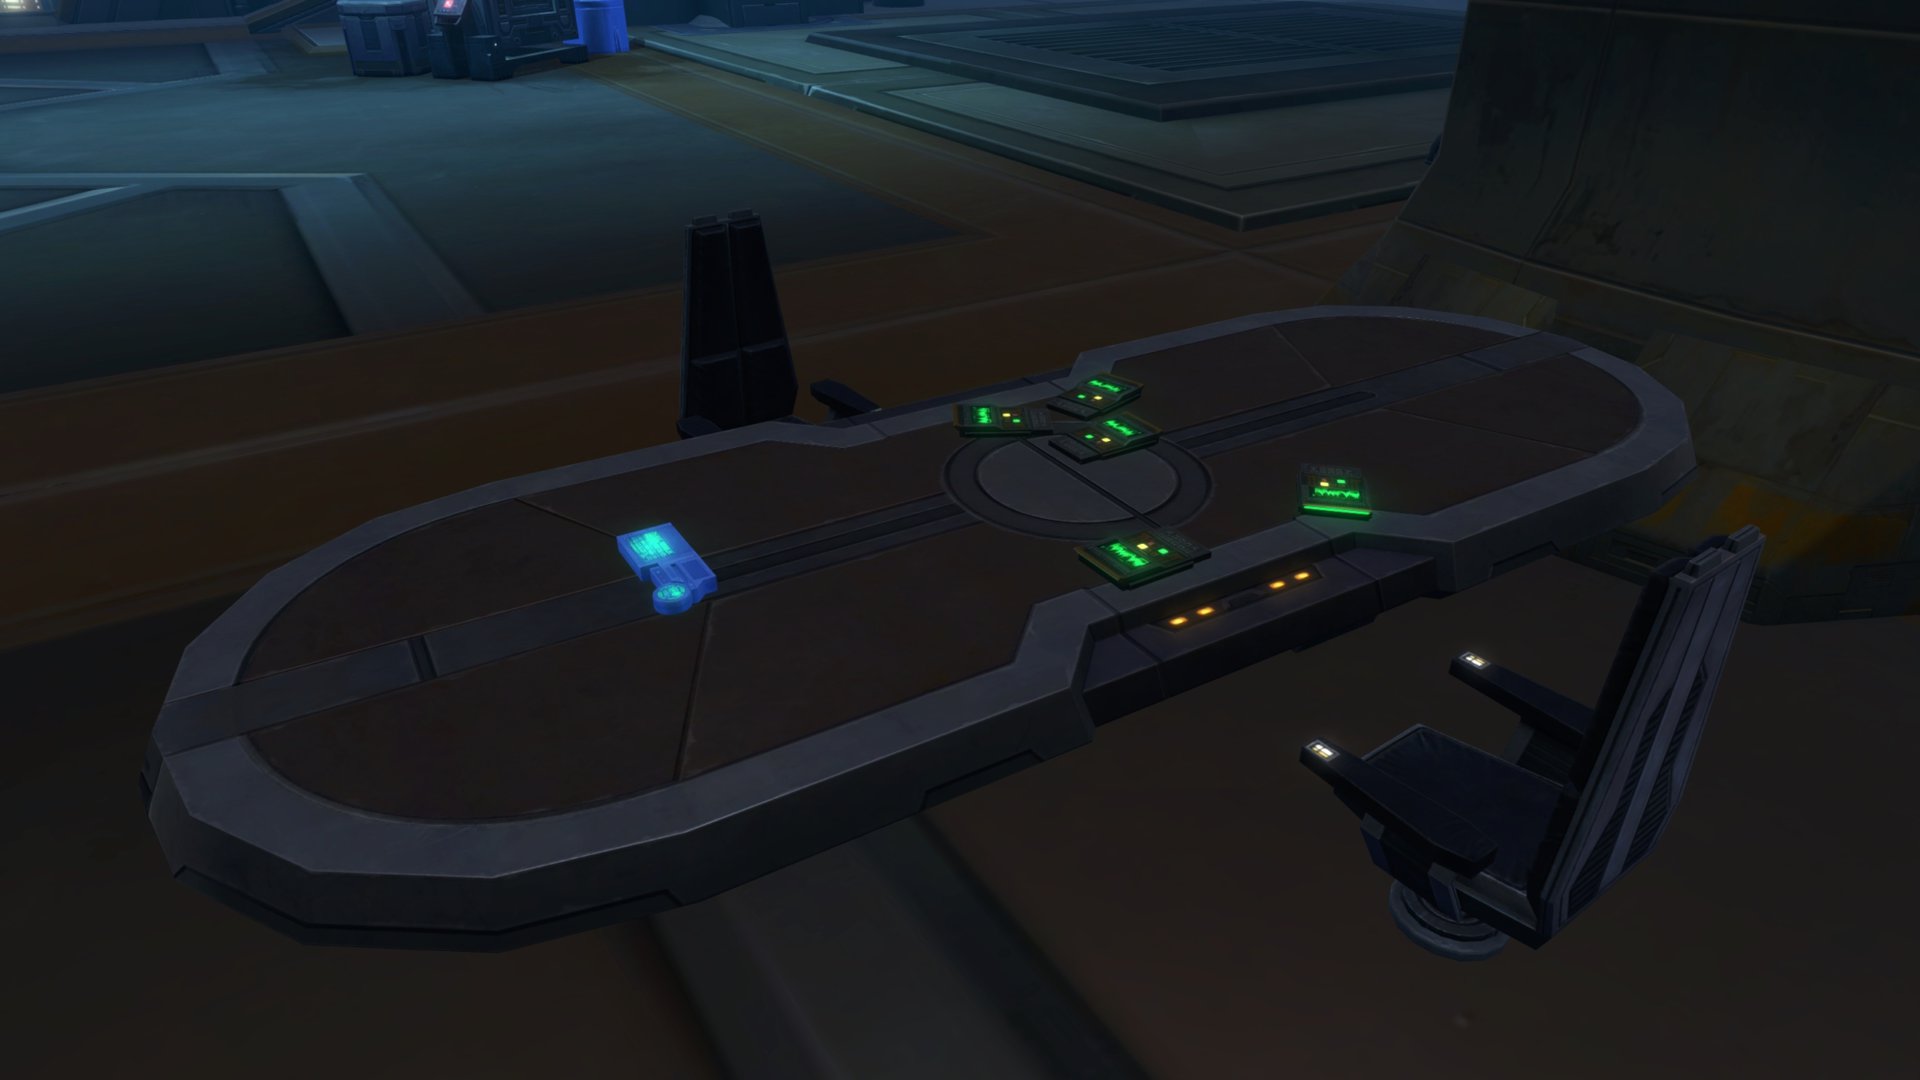
Once you have all the access codes, use the Assembly Control Station in the center of the middle room to unlock three other terminals.
Each of these terminals have 3 options to choose from and they are as follows:
Electronics Autoassembly Control
- Long Range Scout Package
- Rapid Recharge Package
- Prototype “Infiltrator” Package
Propulsion Autoassembly Control
- Vokoff-Strood STAR-94
- Celestial Industries Powerhouse
- Czerka K-57CE
Weapons Ausoassembly Control
- Primary: Merr-Sonn LCL-1 Light Las.
Secondary: None - Primary: BlasTech HMC-15 Laser
Secondary: Prototype Launcher v.4 - Primary: Prototype Heavy Laser v.6
Secondary: Thermite Torpedoes
You can select one of the options from each terminal and then use the Assembly Control Station to build and test the starfighter.
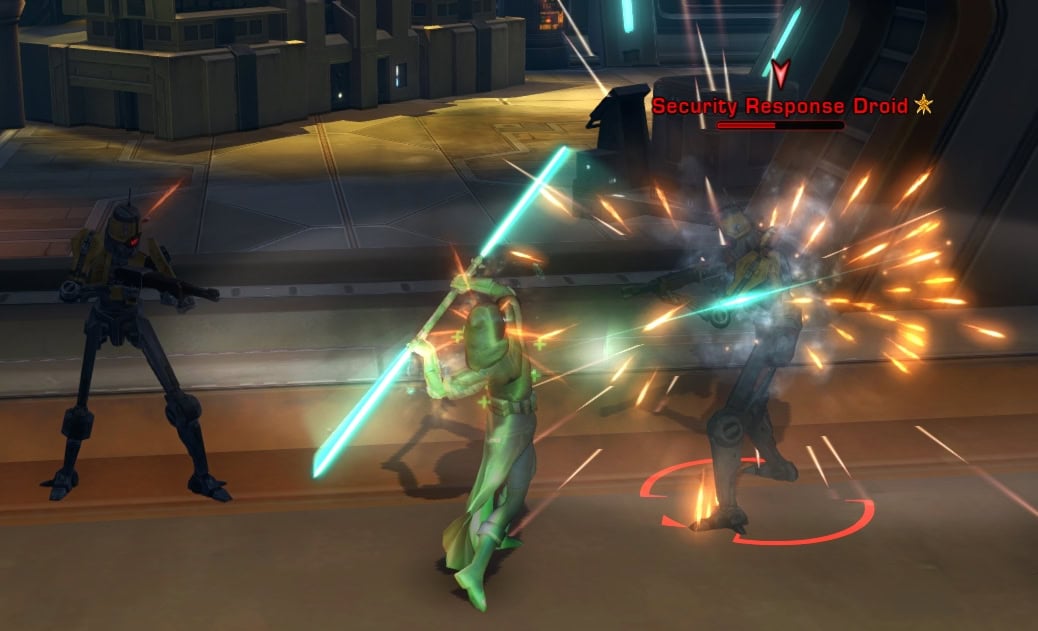
If the starfighter malfunctions, you’ll need to defeat 6 Security Response Droids before you can take the elevator to access the next scenario. Fortunately, there’s an often overlooked method to successfully test a starfighter and skip this fight.
On the same table you found the Electronics Assembly Access Codes, you’ll find 5-6 datapads. If you hover over these with your mouse, a tooltip will allow you to read the datapads. They will list functional and non-functional parts available with the control panels. You can use these to deduce which parts you need to use for success, or you can use the answers laid out below:
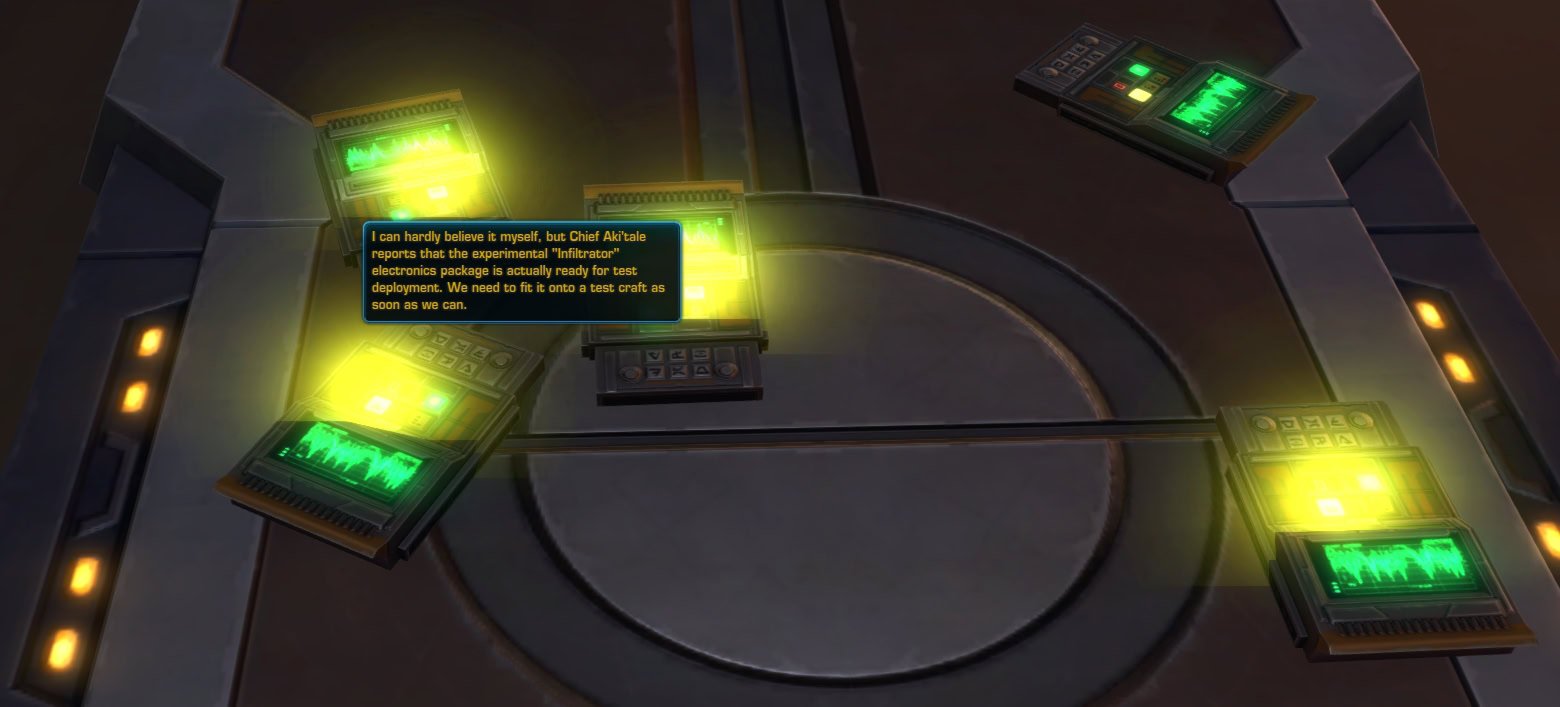
If there are 5 datapads on the table, use the following options:
- Electronics – Prototype “Infiltrator” Package
- Propulsion – Celestial Industries Powerhouse
- Weapons – Merr-Sonn LCL-1 Light Las.
If one of the datapads lists the Prototype Launcher v.4 as stable, use the following options:
- Electronics – Long Range Scout Package
- Propulsion – Czerka K-57CE
- Weapons – BlasTech HMC-15 Laser/Prototype Launcher v.4
If one of the datapads lists the Prototype Heavy Laser v.6 as stable, use the following options:
- Electronics – Rapid Recharge Package
- Propulsion – Vokoff-Strood STAR-94
- Weapons – Prototype Heavy Laser v.6/Thermite Torpedoes
After the successful test, you’ll skip the droid fight and be immediately able to use the elevator to start the next scenario.
Bonus Mission: Saboteur – Supply Drop Locations
The Supply Drops for the Saboteur bonus mission can be found at the following locations in the Starship Assembly Scenario:

Boss Fight: Lieutenant Krupp (Republic) / Major Benes (Empire)
This is one of three boss encounters you’ll face in Kuat Drive Yards. This boss fight will have you fight a soldier from your opposing faction in the Hangar Approach map. What they lack in creativity, they make up with numerous explosives! This is a fun one, so pay attention!

The primary mechanic to watch out for is when he lobs a handful of grenades at the party. They’ll stick onto you and detonate in 20 seconds, though you also have the “Slightly Panicked” buff during this time which increases your movement speed by 100%.

You can pop a DCD to lower or outright negate the damage, but if you want to do this the fun way, you can use one of the two Degaussing Arrays found in the room. Activate one of these and stand in the blue AoE it spawns. The grenades will fall off but still detonate after a few seconds, run away from the explosions and continue attacking the boss.
This boss can also fire a Mortar Volley at an area as seen by the yellow AoE, just run out of this AoE and you’ll be fine.

The last mechanic to be aware of are the adds that’ll spawn. They’ll constantly use Full Auto on your group. While their attacks are weak, but if you ignore them and more spawn in, their DPS may become overwhelming. Defeat them when they spawn to prevent being overwhelmed.
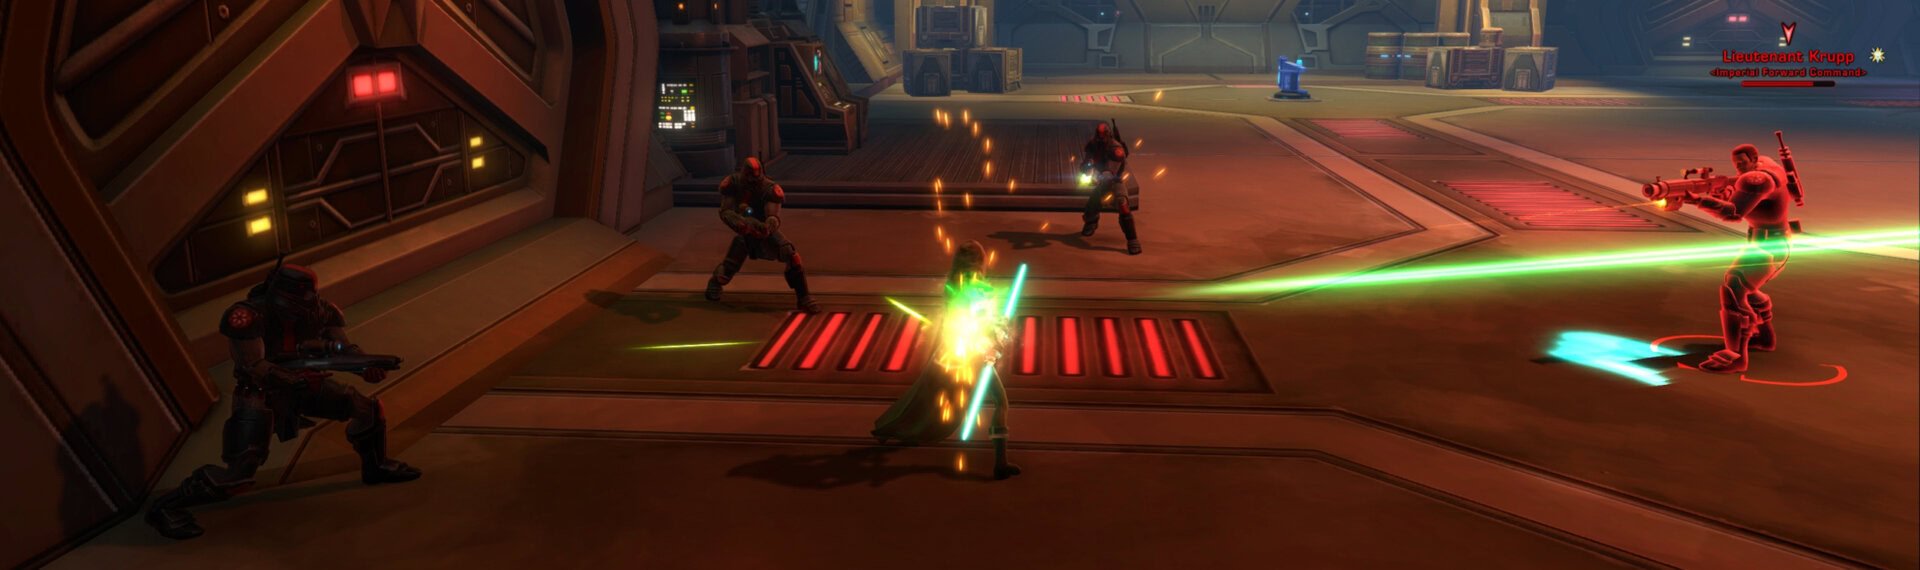
Work around these mechanics, defeat Lt. Krupp/Major Benes, and you’ll complete the flashpoint.
Bonus Mission: Saboteur – Supply Drop Locations
The Supply Drops for the Saboteur bonus mission can be found at the following locations in the Hangar Approach:
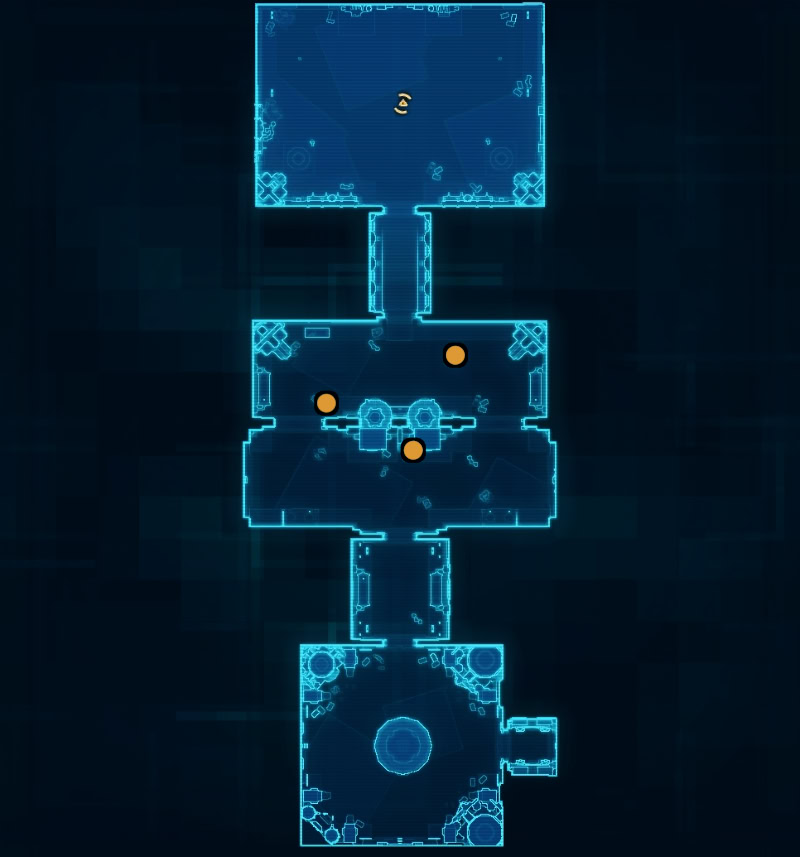
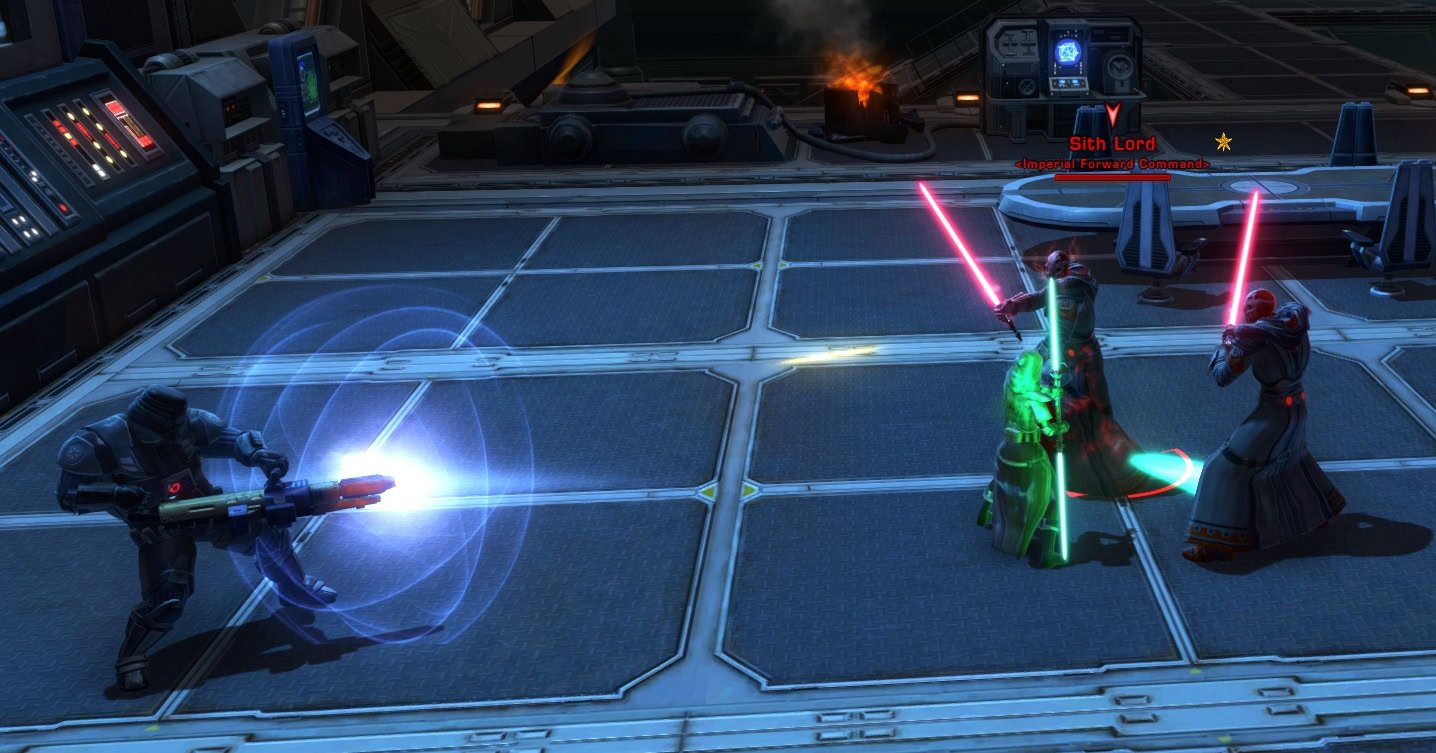
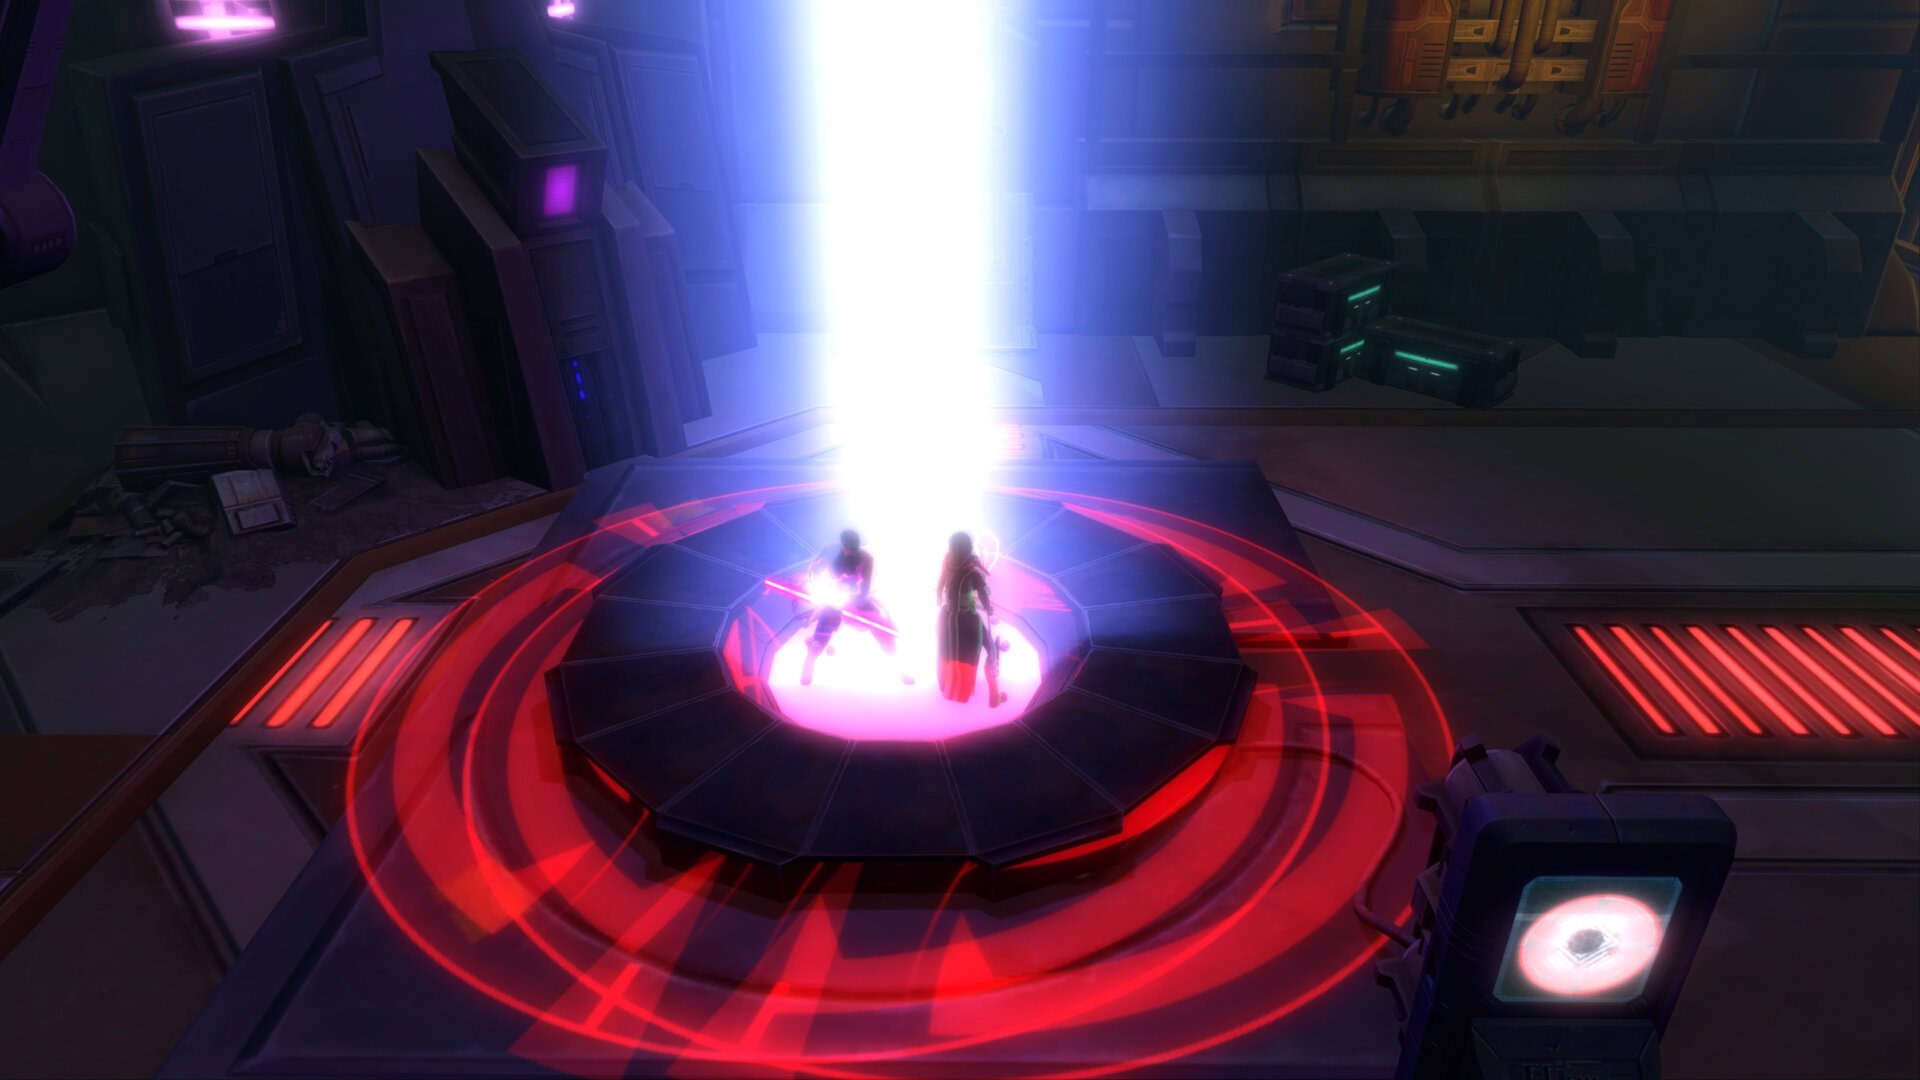
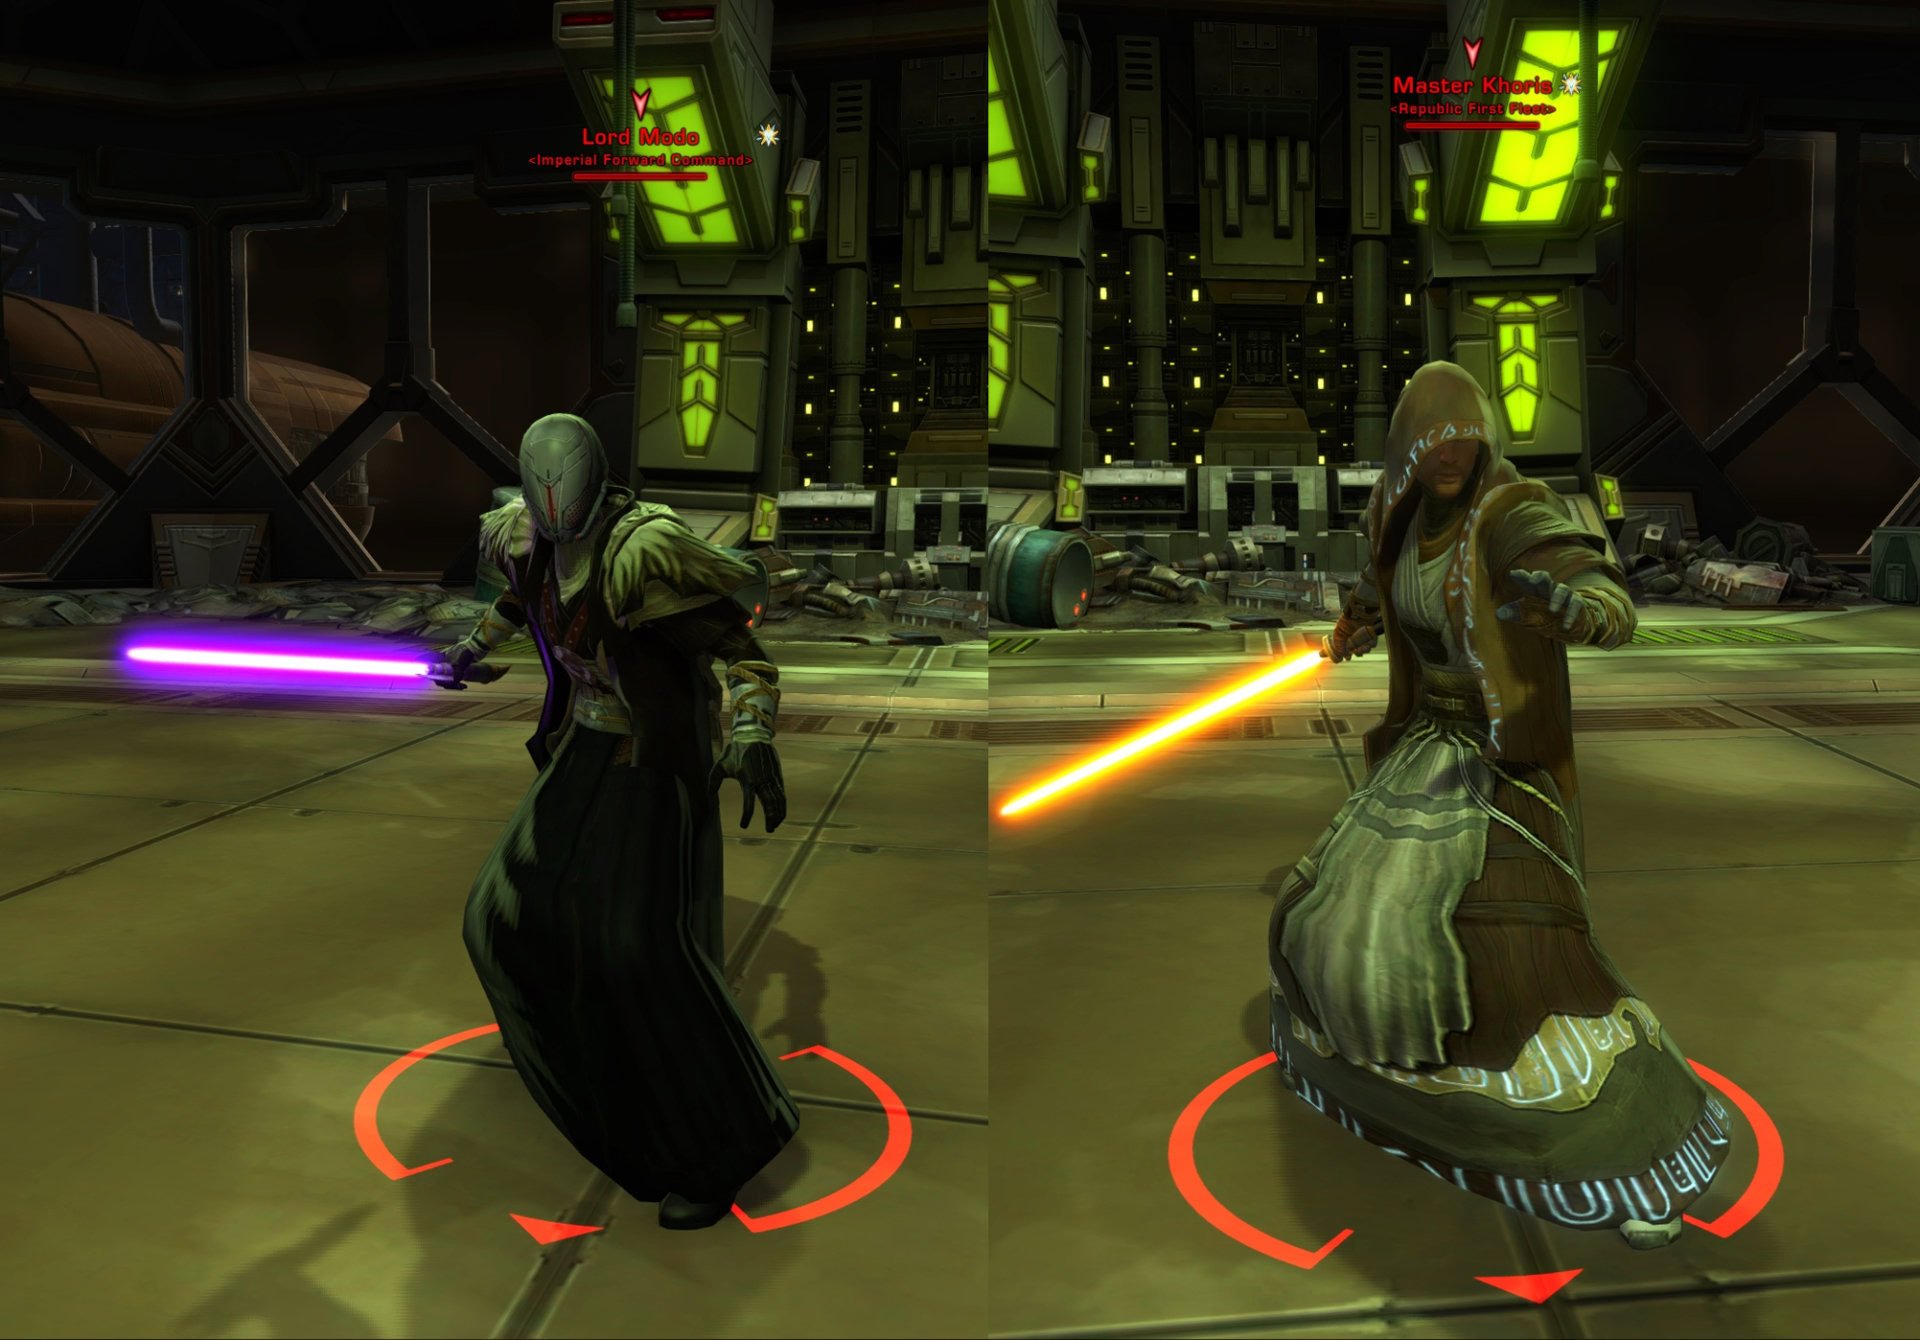
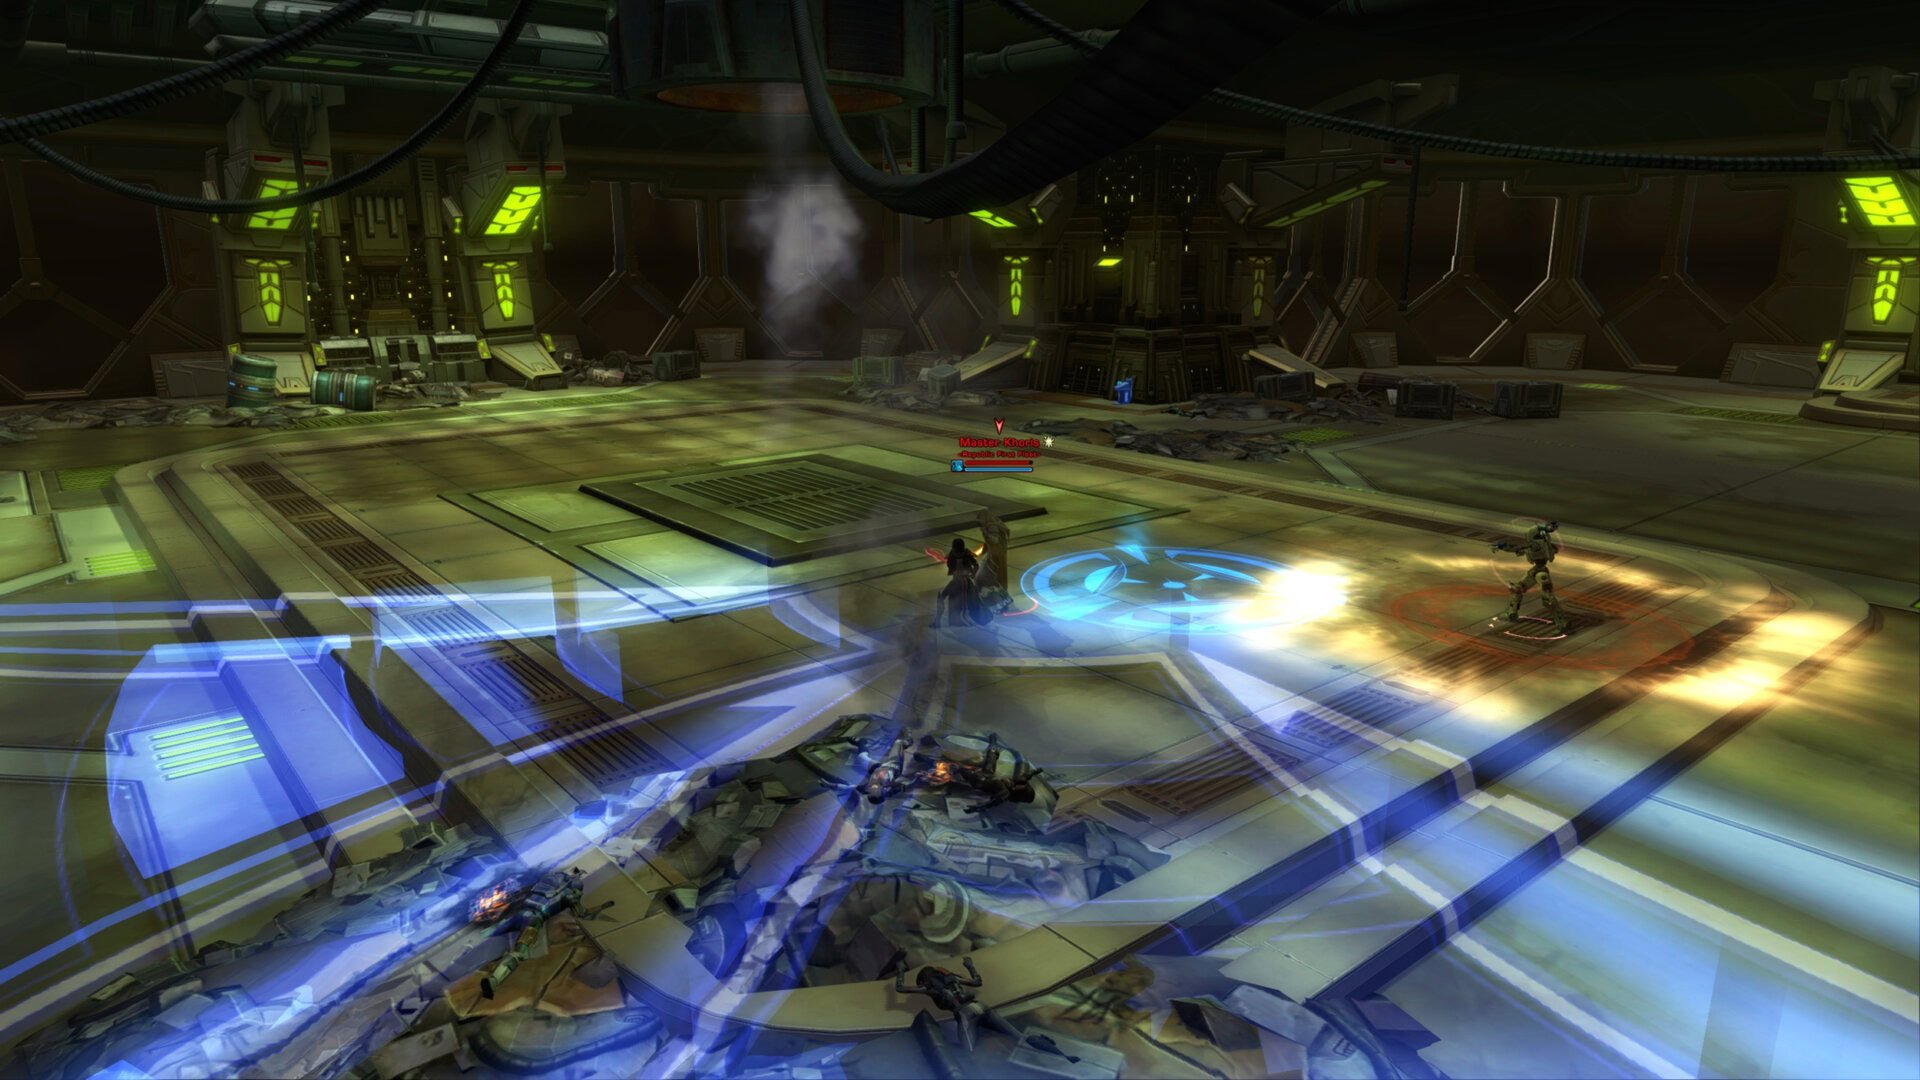
Boss Fight: Lord Modo (Republic) / Master Khoris (Empire)
This is one of three boss encounters you’ll face in Kuat Drive Yards. This boss fight will have you fight a Jedi/Sith in the Command Platform map. This fight has the weakest mechanics, making it the easiest boss fight.
The main thing to watch out for in this battle are the red or blue circle AoEs that spawn beneath you. If you stand in these when they activate, you’ll be lifted and/or choked, becoming incapacitated and unable to act for a few seconds.
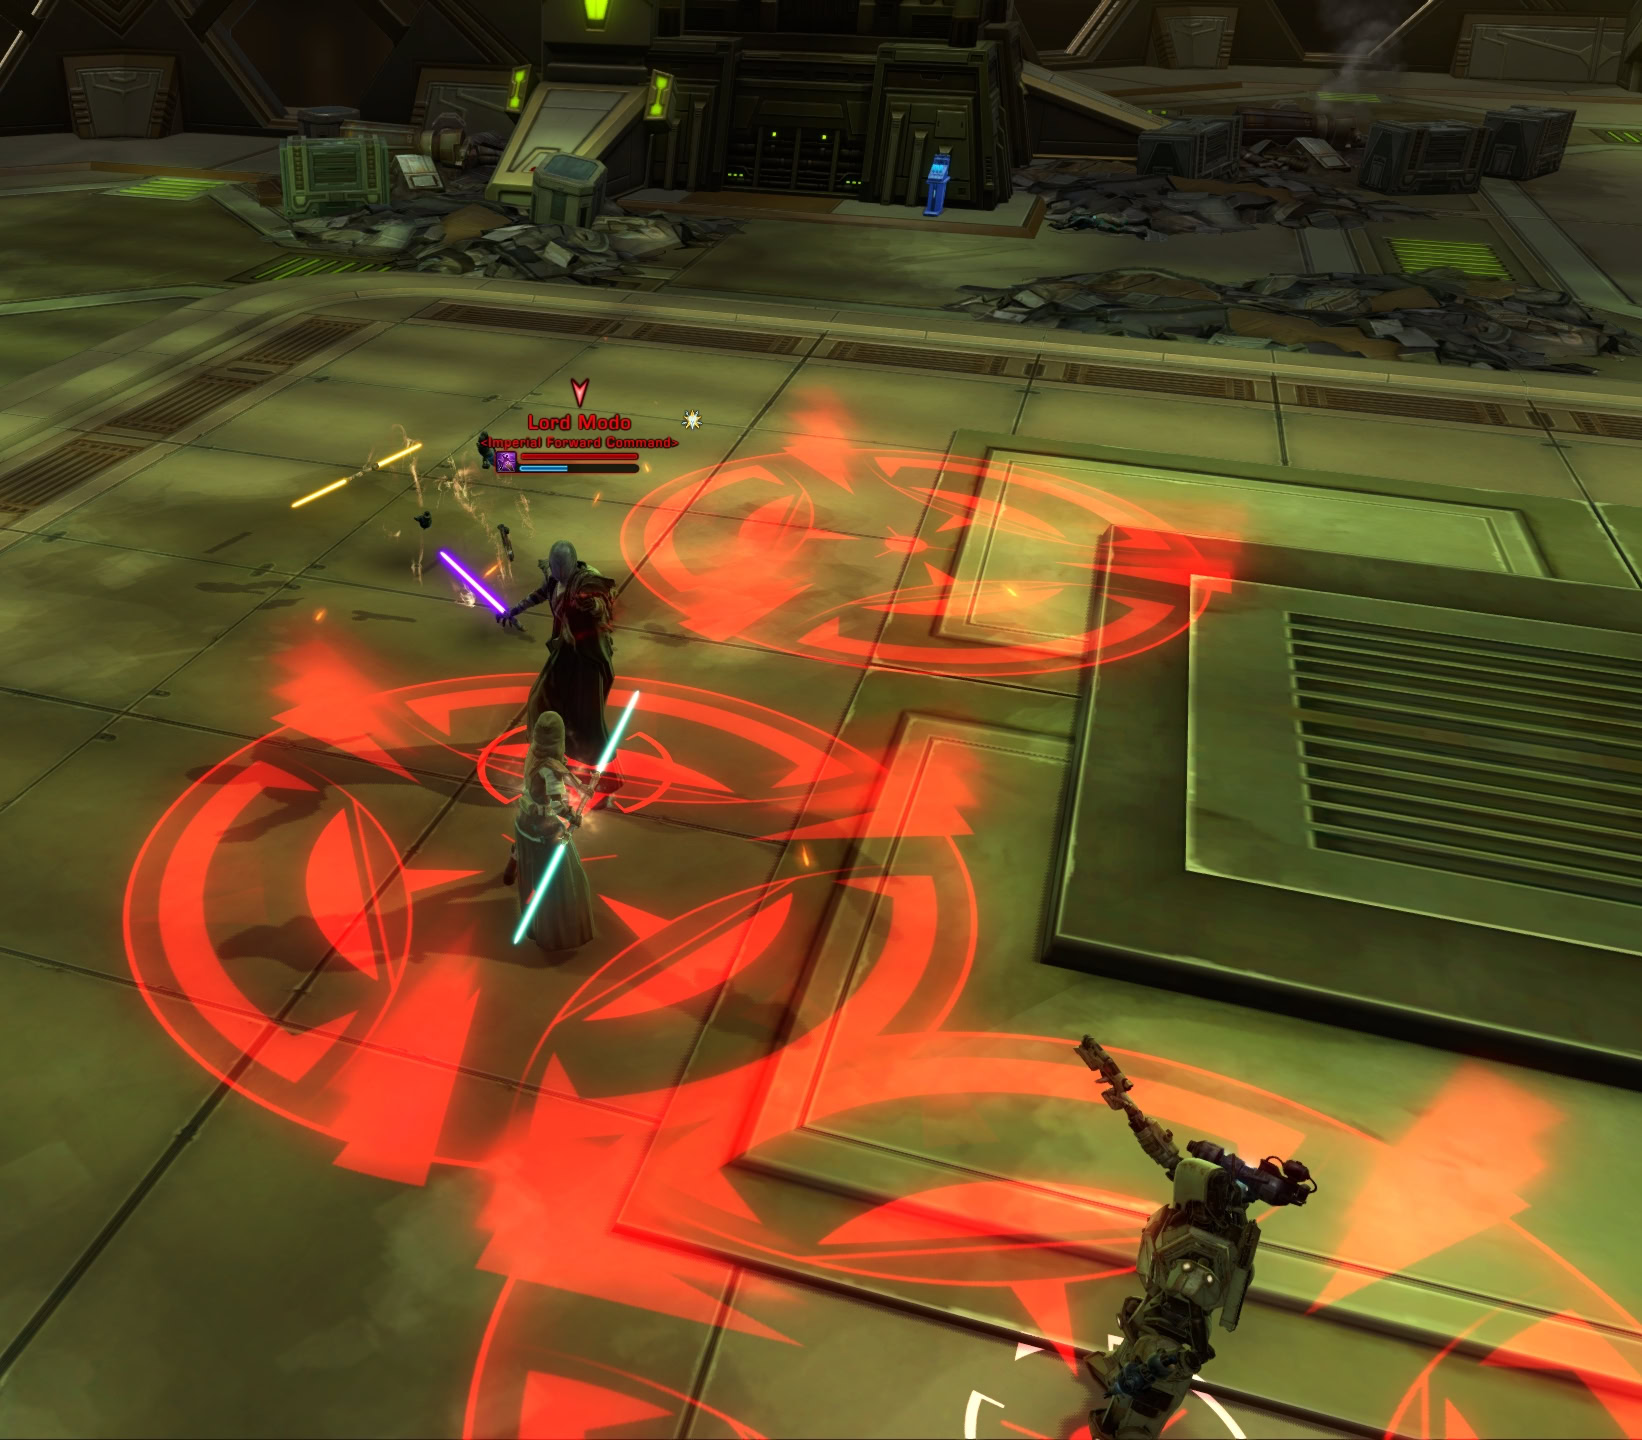
The boss’s primary target (the tank) will occasionally get hit by a large AoE. The tank needs to face this AoE away from their group to avoid unnecessary damage.
When the bosses reach 25% health, they’ll make a Force Barrier making them temporarily immune to damage for a few seconds.
Once the barrier is gone, they’ll become empowered and gain the ability to launch debris at you. This debris stuns you when it hits, making you an easy target for the AoEs.

These mechanics are easy to work with, once defeated you’ll complete the Kuat Drive Yards flashpoint!
Bonus Mission: Saboteur – Supply Drop Locations
The Supply Drops for the Saboteur bonus mission can be found at the following locations in the Command Platform:
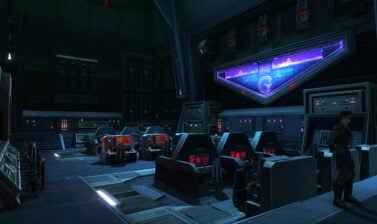
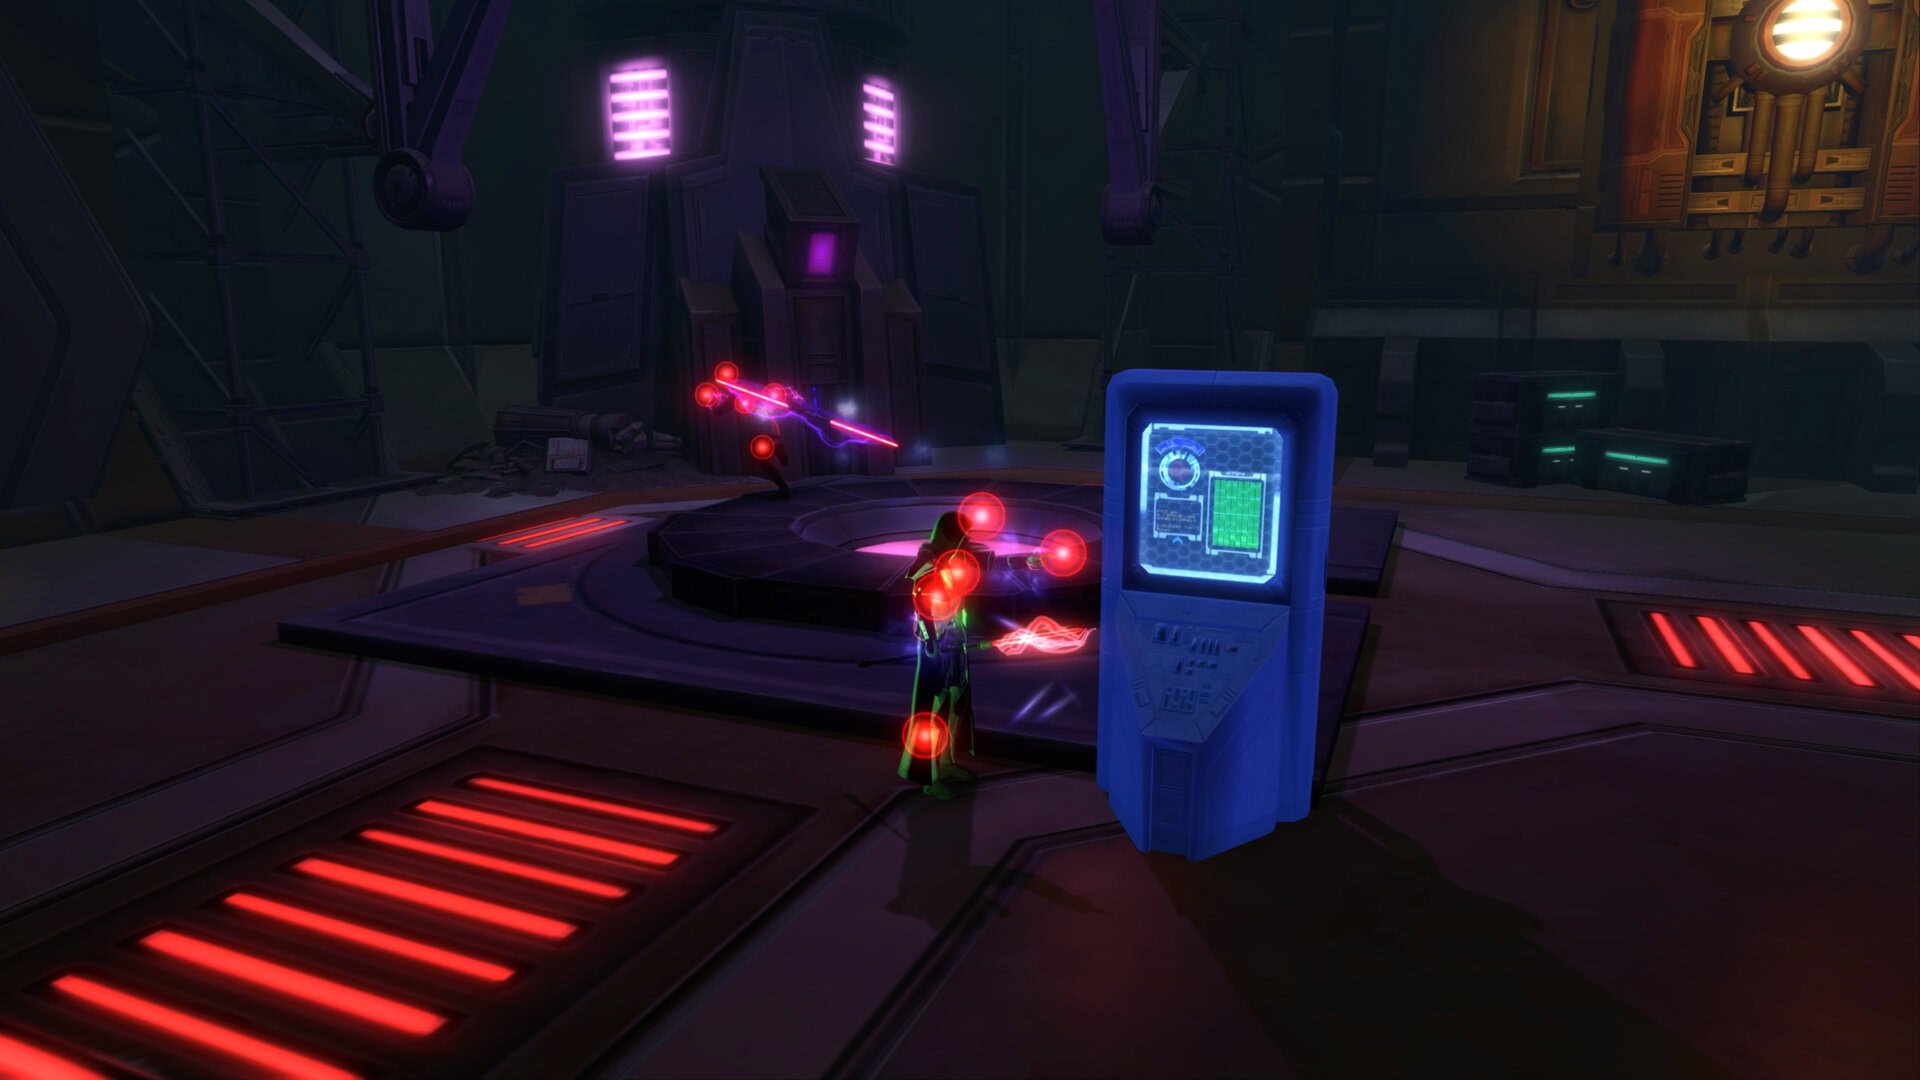
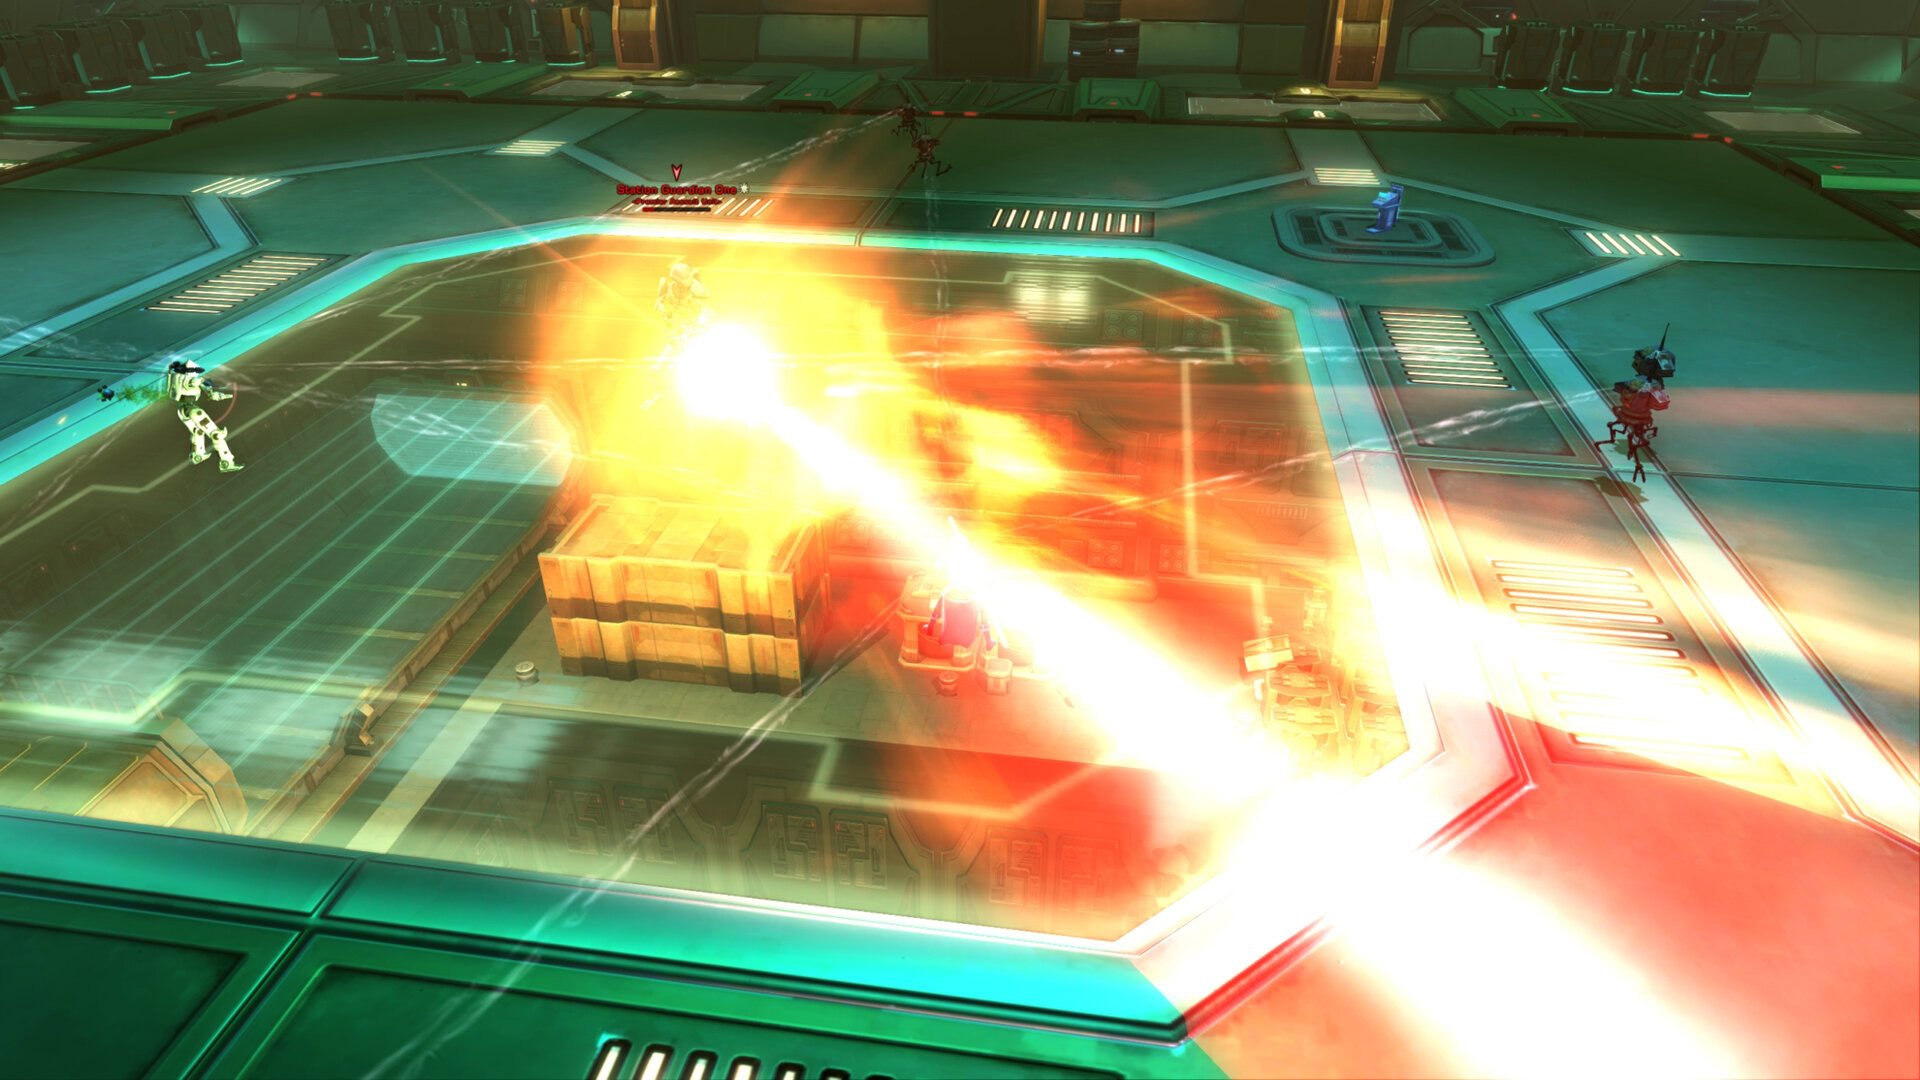
Boss Fight: Station Guardian One
This is one of three boss encounters you’ll face in Kuat Drive Yards. This boss fight will have you fight Station Guardian One on the Security Maintenance map. This fight is the most mechanically heavy fight and can make for a fun challenge.
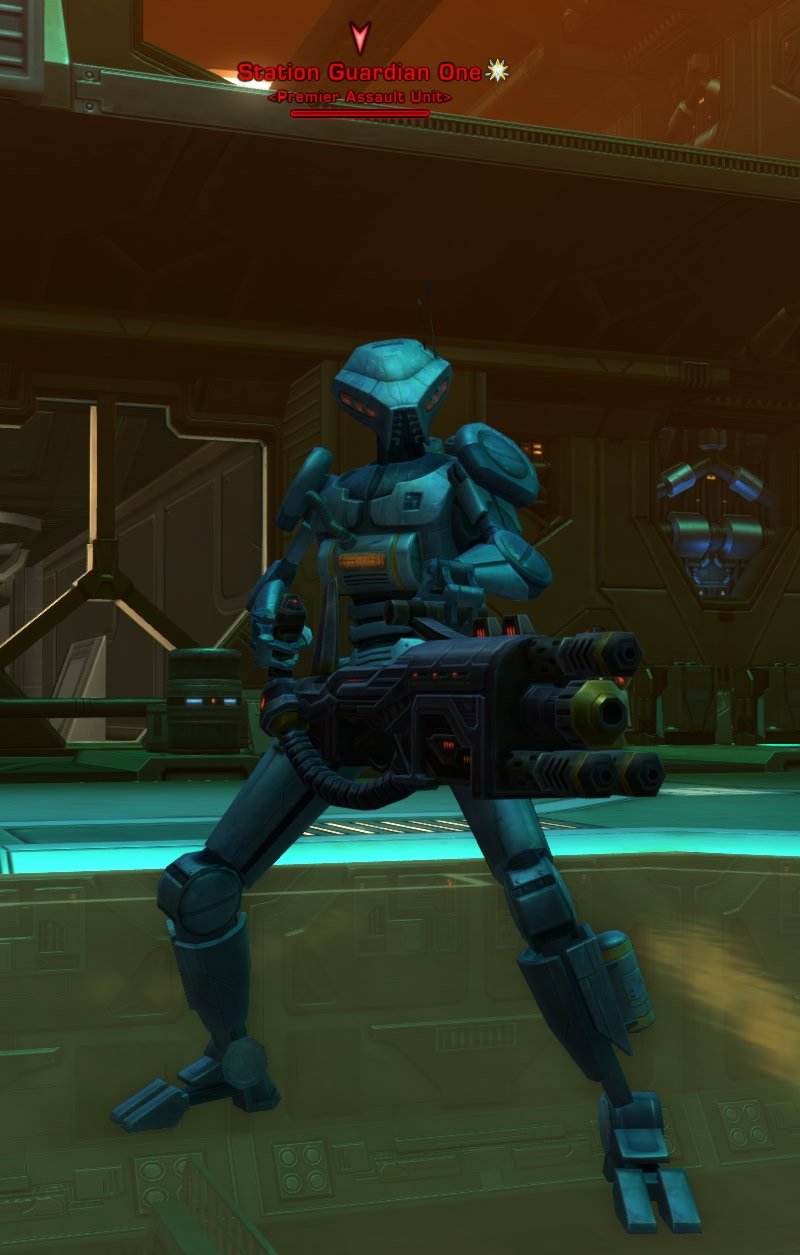
The boss has the ability Hail of Bolts. It’ll fire numerous blaster bolts in a cone area, so the tank needs to face this away from the rest of the group.
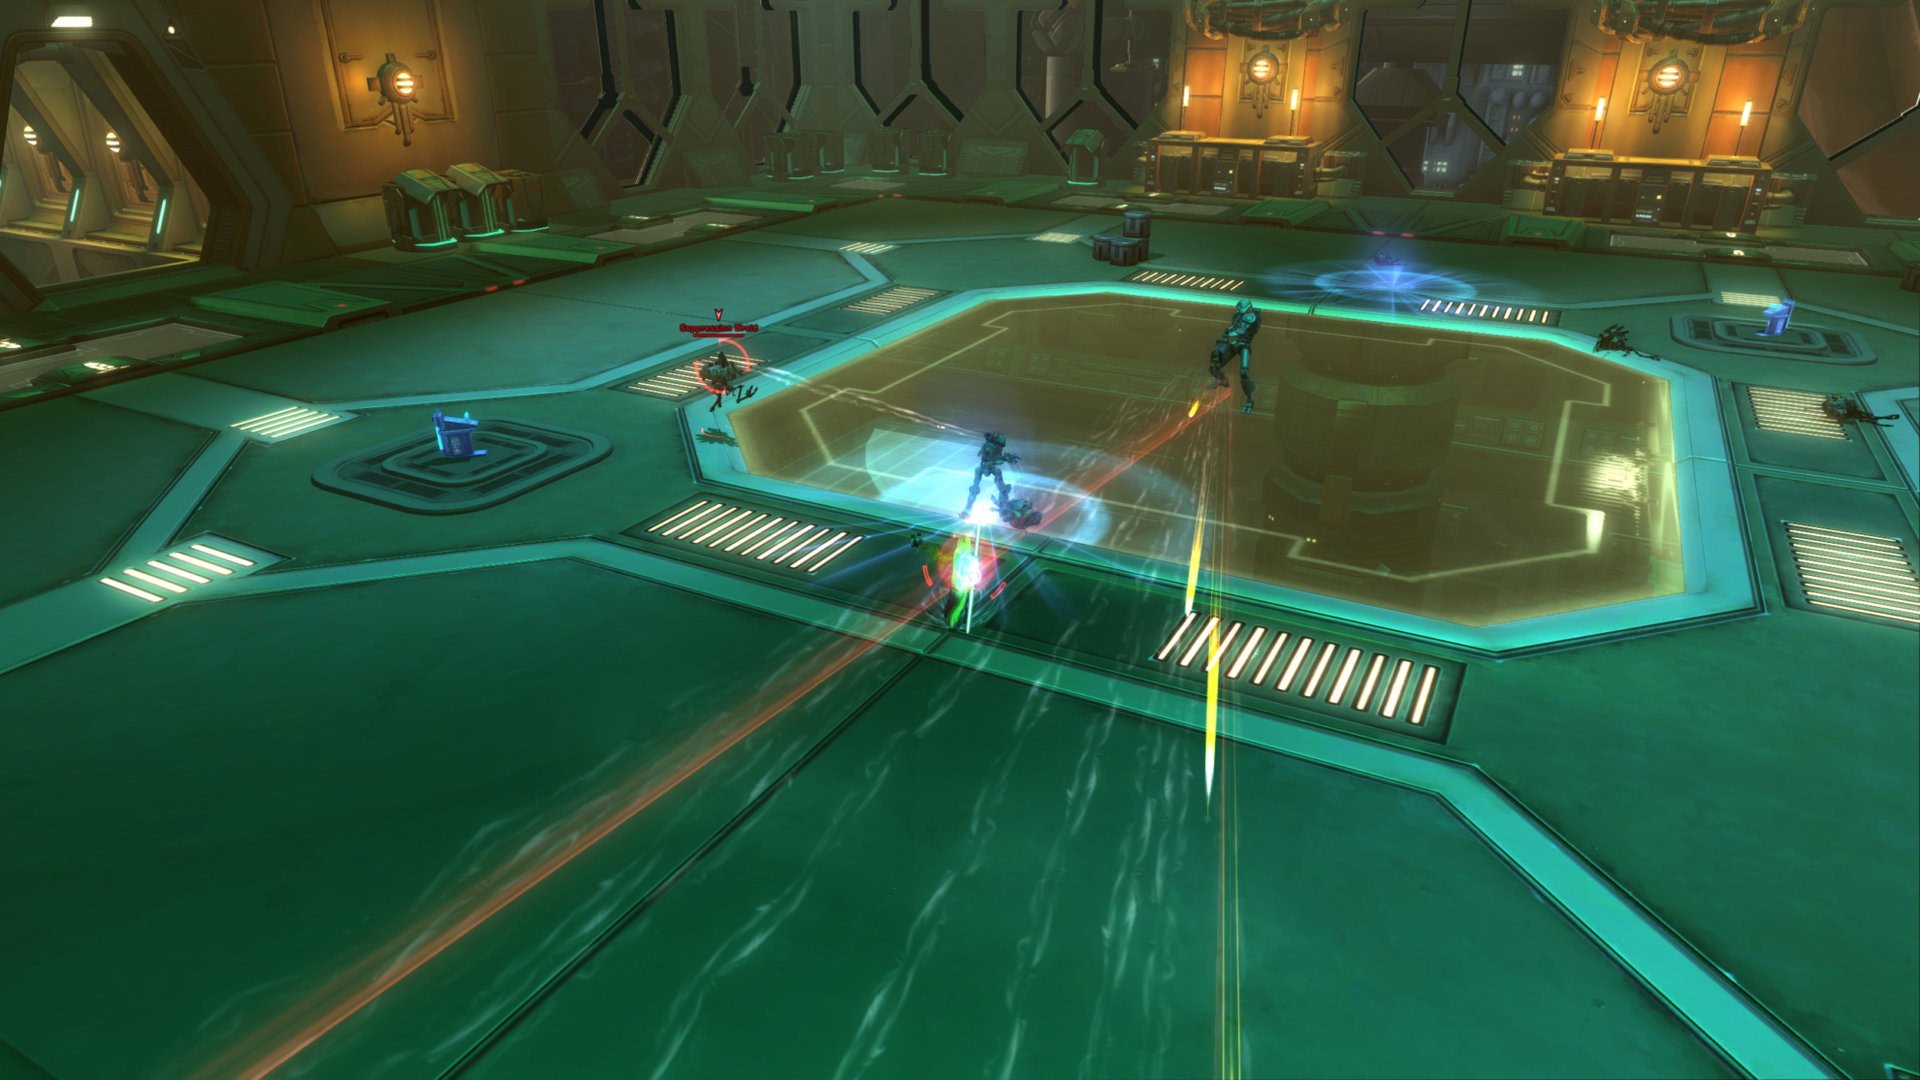
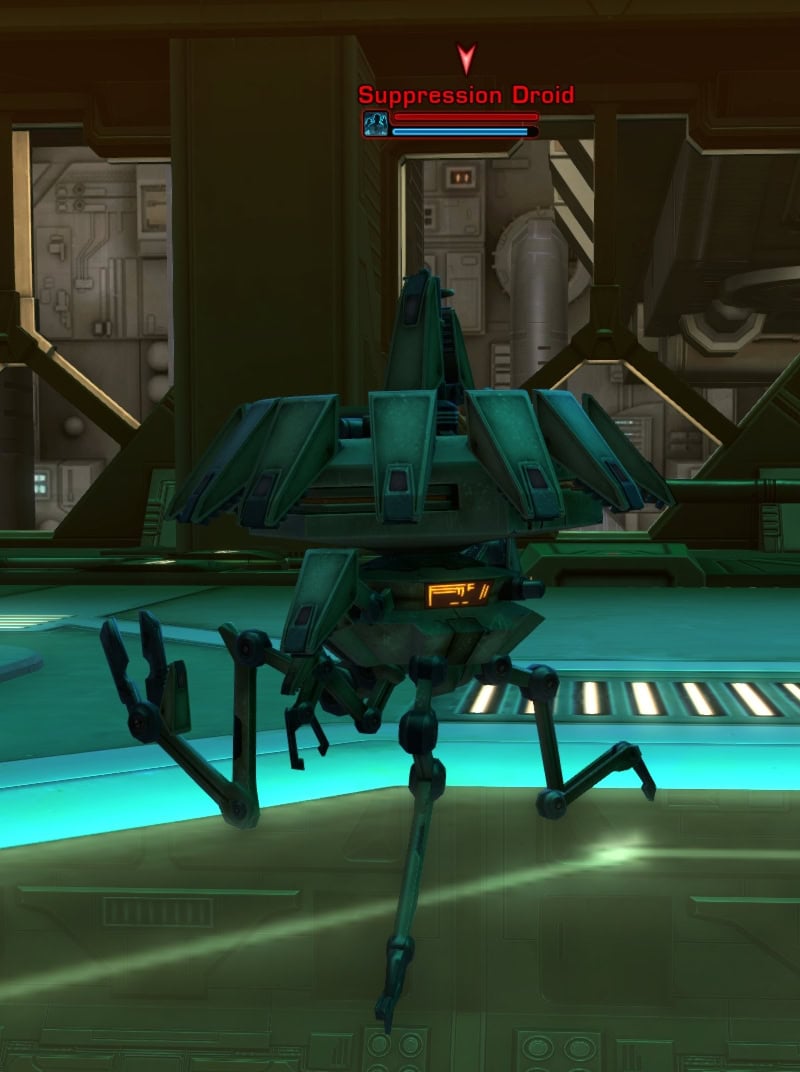
The main mechanic to watch out for is when the boss summons Support Droids. Four droids will spawn in and channel energy into the boss. If they do this, the boss gains stacks of Empowered.
At 100 stacks of Empowered, it’ll gain new abilities it’ll be able to use for a short time. The droids will also start attacking players with blaster bolts.
Be sure to destroy these droids and not ignore them, their numbers will stack with future waves and more quickly increase the boss’s Empowered stacks. Along with this, their DPS from blaster bolts very quickly adds up if there are too many of them.
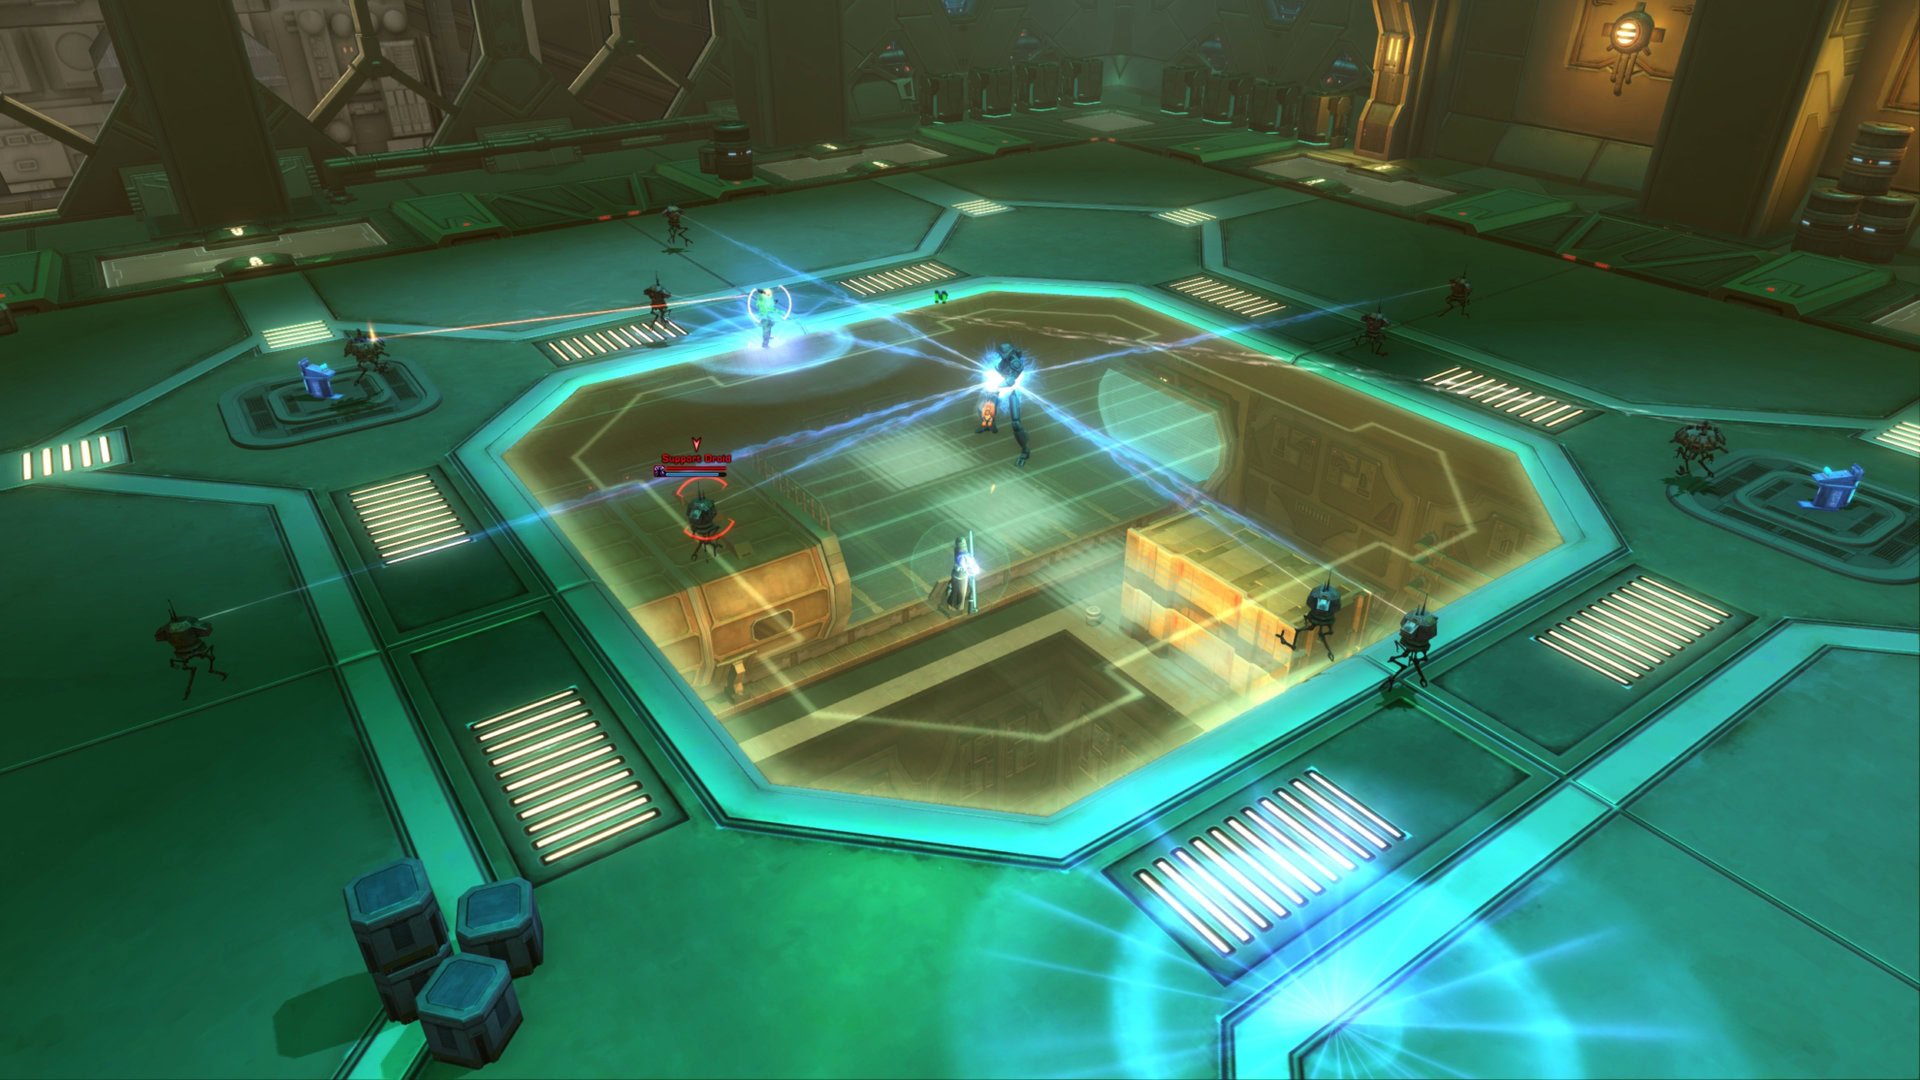
At 100 stacks, the boss can use Full Charge Volley. This is a wide, linear AoE where the boss will hit anything in this area with a large laser beam.
Step out of the red area before it fully charges and keep stepping out of it as it’ll be using this ability repeatedly.
It can also double up with Hail of Bolts for two AoEs in one, so be wary of a cone AoE within the rectangular AoE.
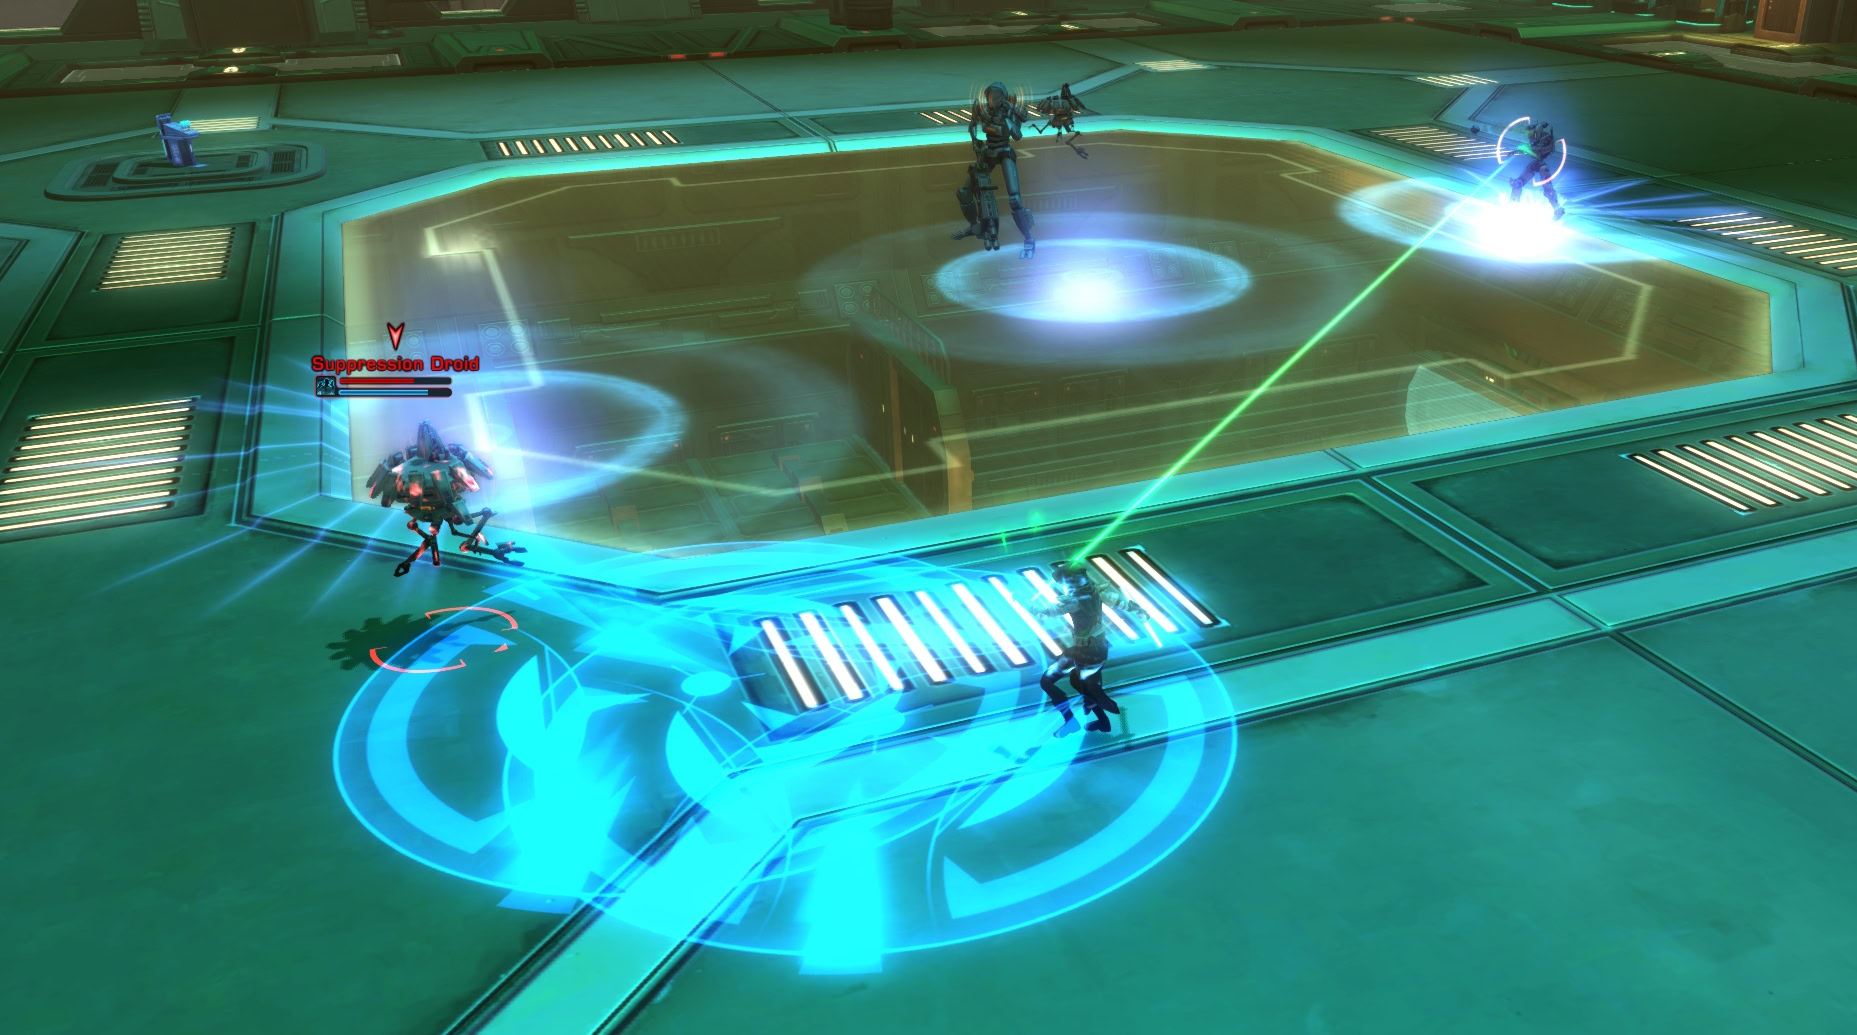
The most annoying mechanic of this boss fight is the boss’s ability to summon Suppression Droids. These droids will cause suppression fields to spawn beneath the group as seen by the blue AoEs on the ground.
If you stand in these when they’re active, you’ll be slowed and have reduced alacrity. Stay out of these fields and destroy the Suppression Droids as fast as you can or this arena will become impossible to traverse.
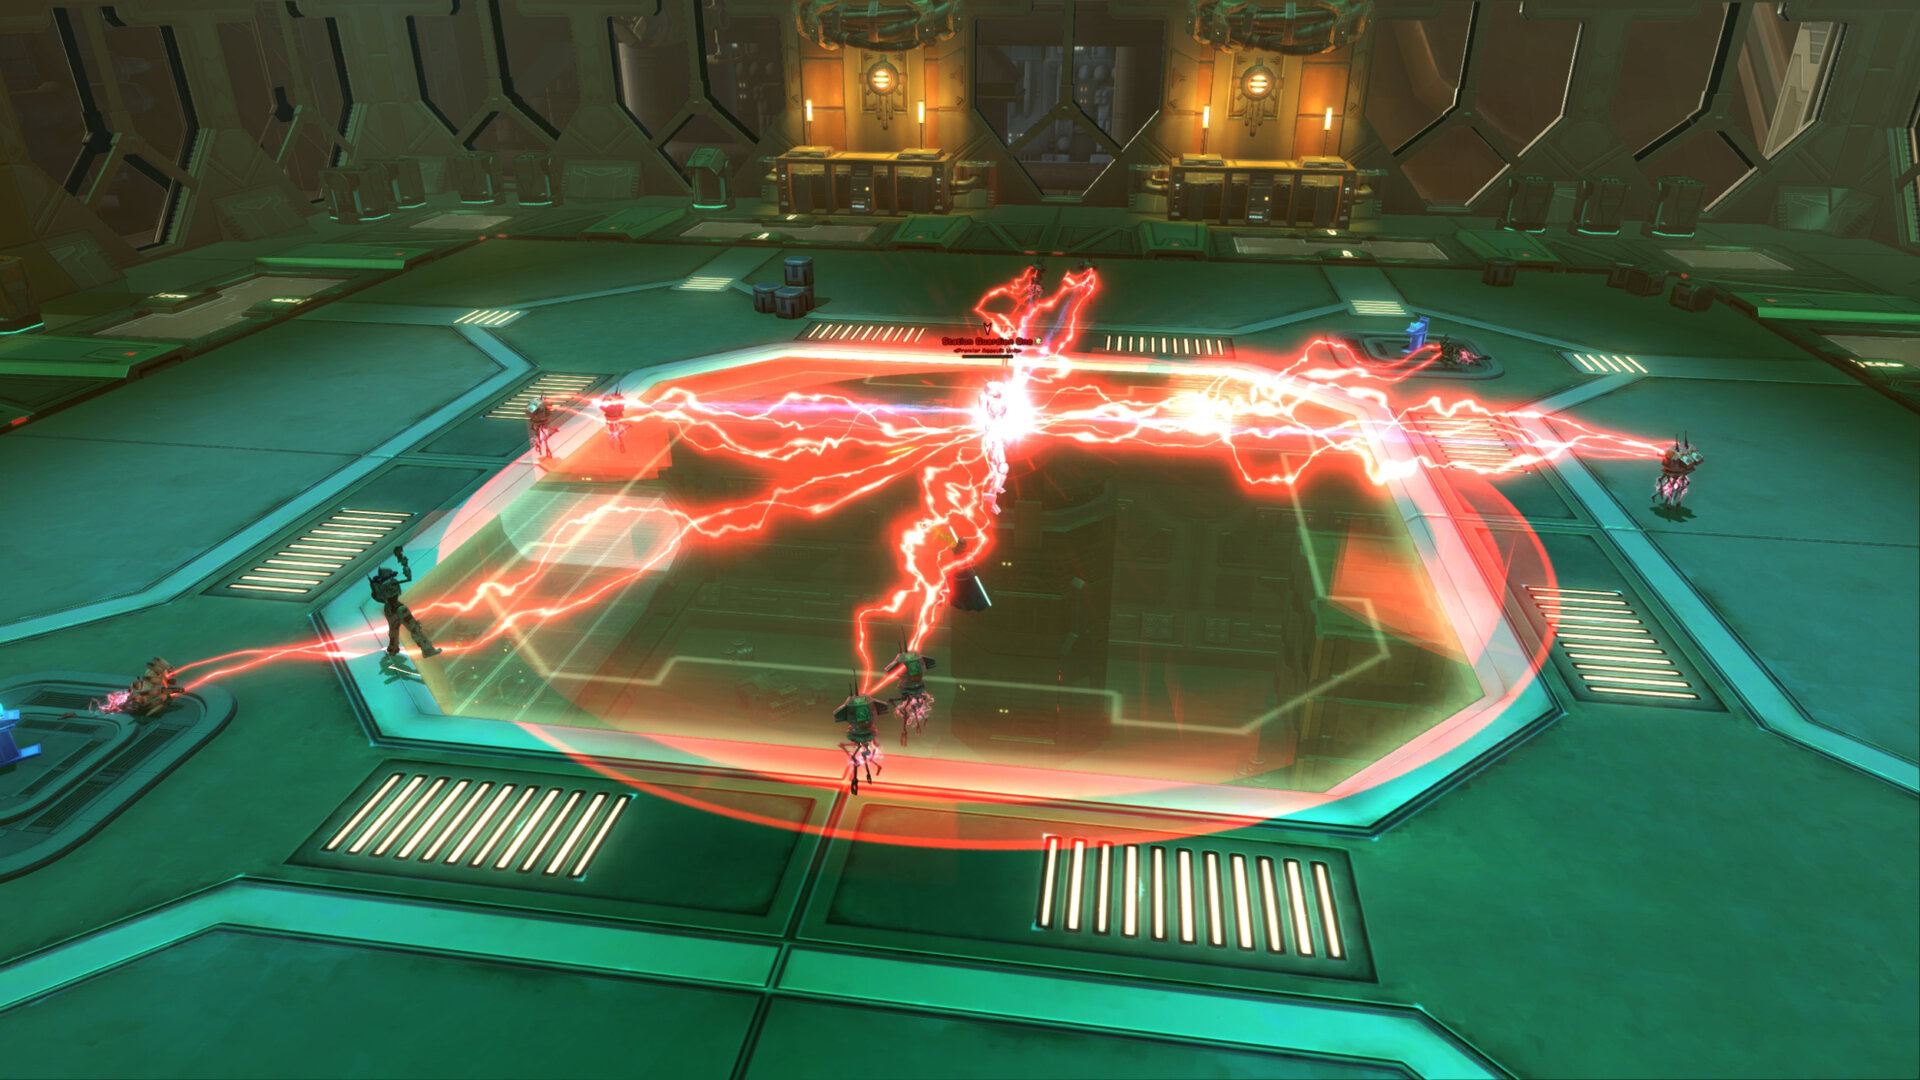
When the boss reaches 5% hit points, it’ll begin to self-destruct and draw in energy from any remaining adds as seen with the red electricity. Get out of the red circle AoE on the ground to avoid getting hit by the explosion. Once it explodes, you can loot it and end the flashpoint.
Achievements for Kuat Drive Yards
Only one achievement grants rewards for the Kuat Drive Yards flashpoint. To gain this achievement, you’ll have to complete all previous achievements which requires repeating specific content a certain amount of times. To fulfill 34 achievements, you’ll need to do the following:
- Defeat 2,500 enemies in Kuat Drive Yard
- Single-handedly rescued 1-4 prisoners during the Holding Cells scenario.
- Single-handedly rescued 5-9 prisoners during the Holding Cells scenario.
- Single-handedly rescued 10 prisoners during the Holding Cells scenario.
- Complete all scenarios 10 times.
- Defeat each boss on both Republic and Imperial sides 10 times.
Once you unlock the 34 achievements, you’ll gain the final achievement:
Kuat’s the Matter?
“Completed all achievements for Kuat Drive Yards.”
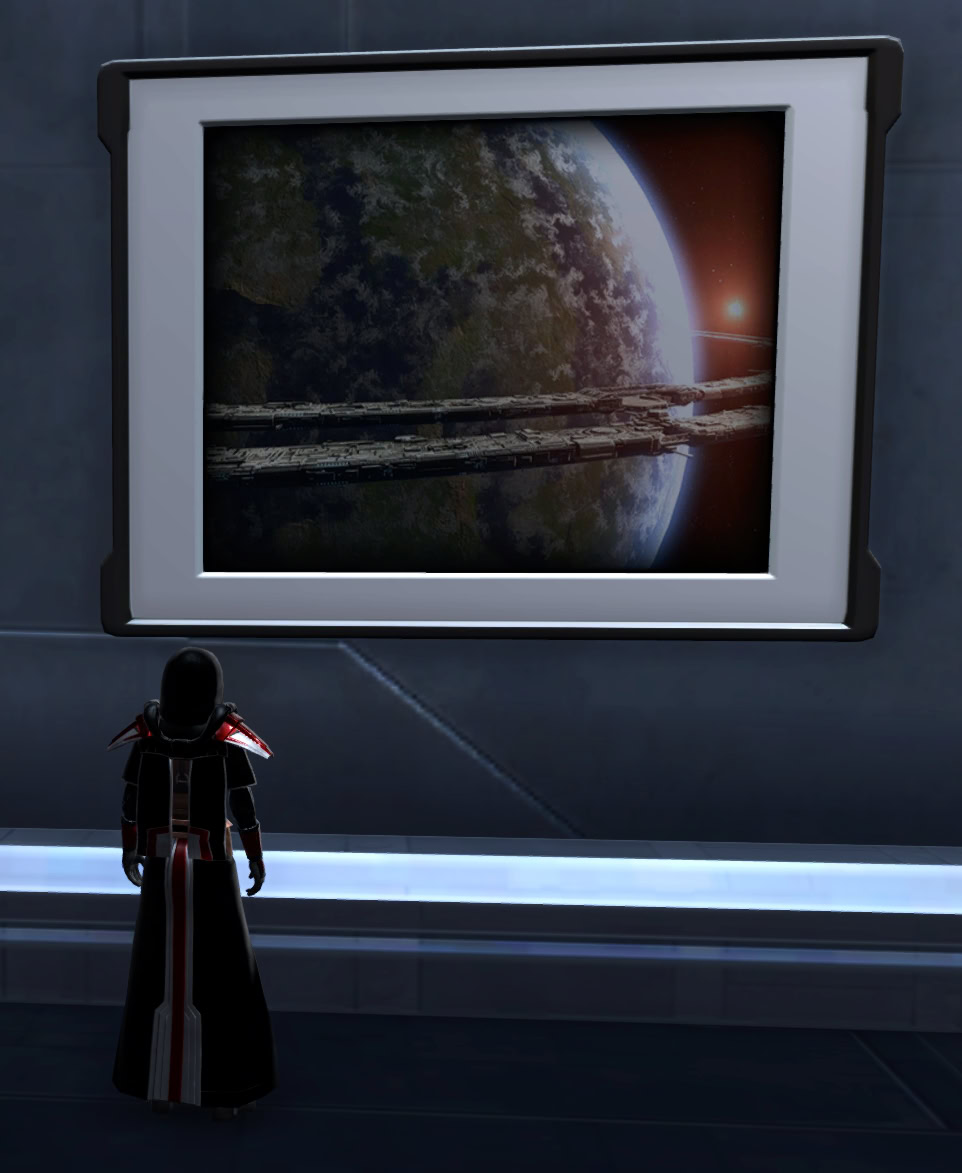
This achievement grants the Kuat Battle Marshal legacy title and the Trophy Art: Kuat Drive Yards decoration. This decoration will fit onto a medium or large wall hook.
Decoration Drop
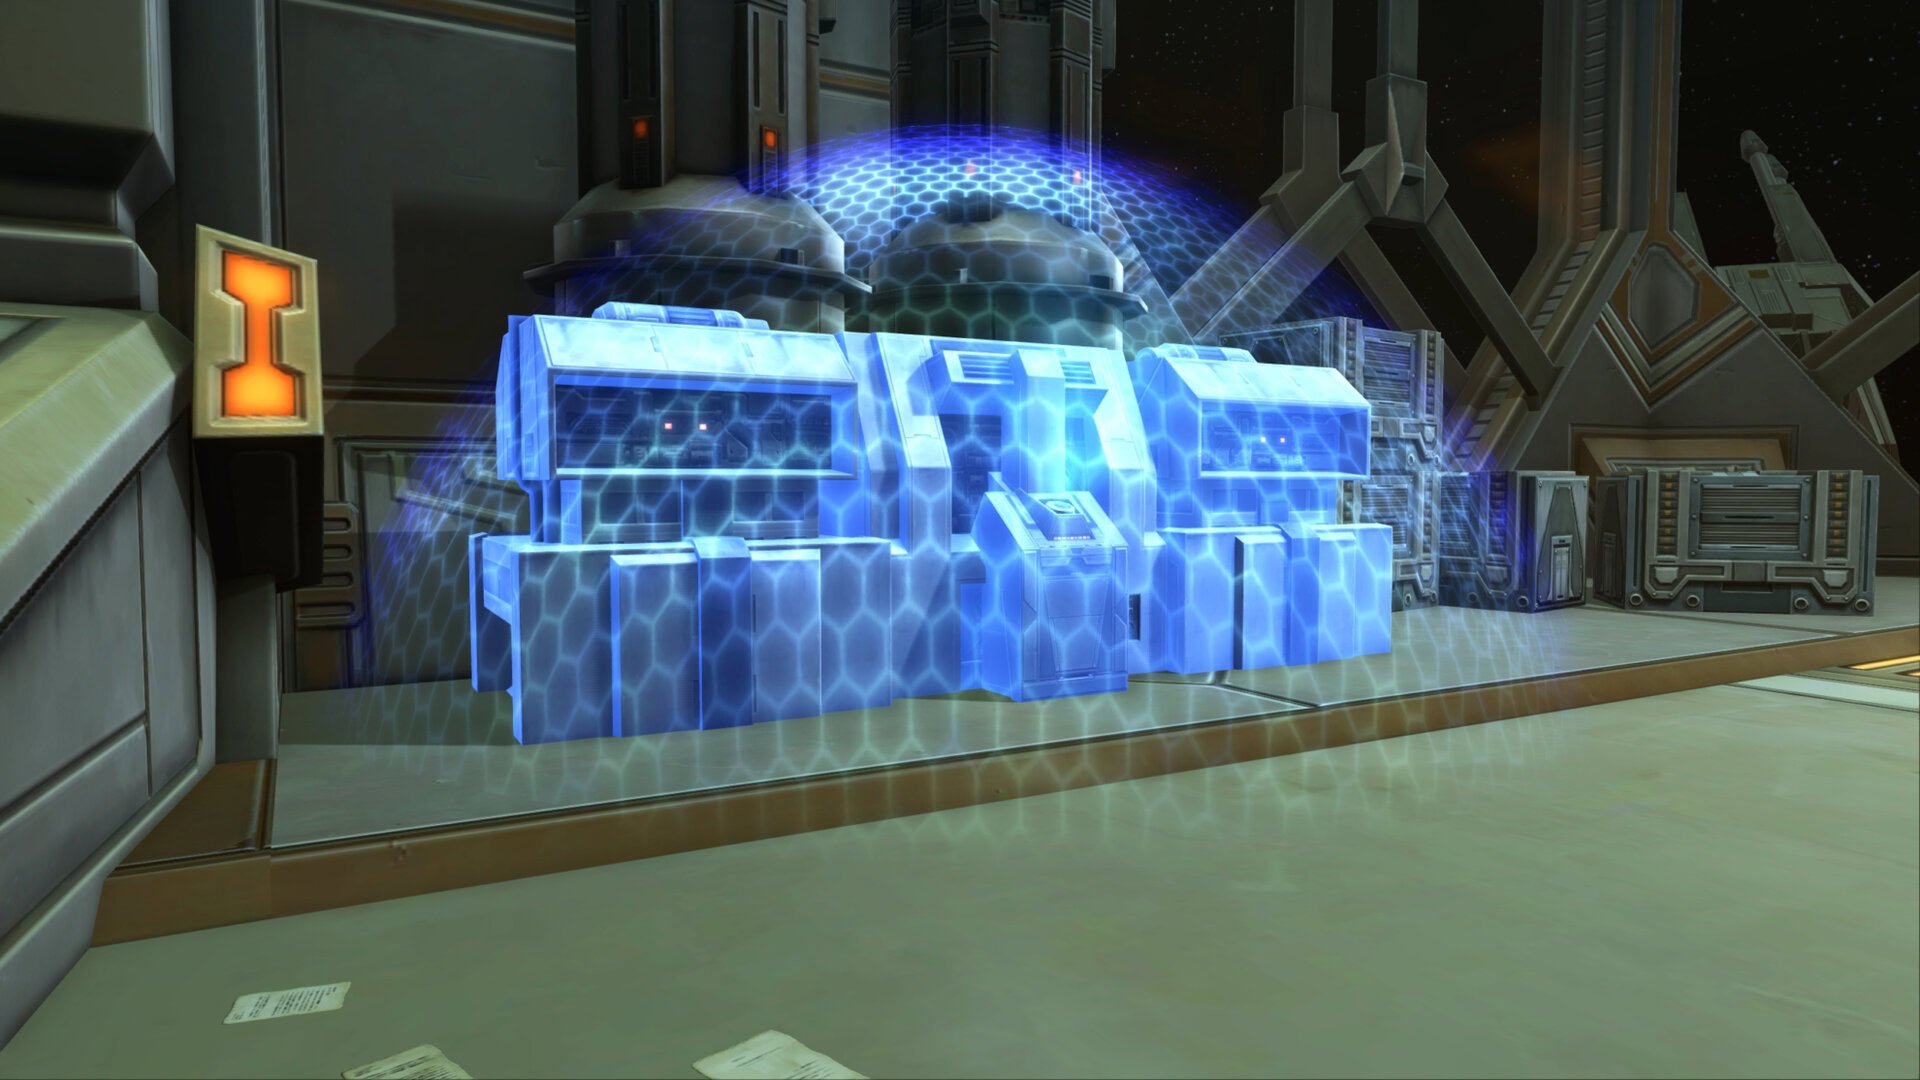
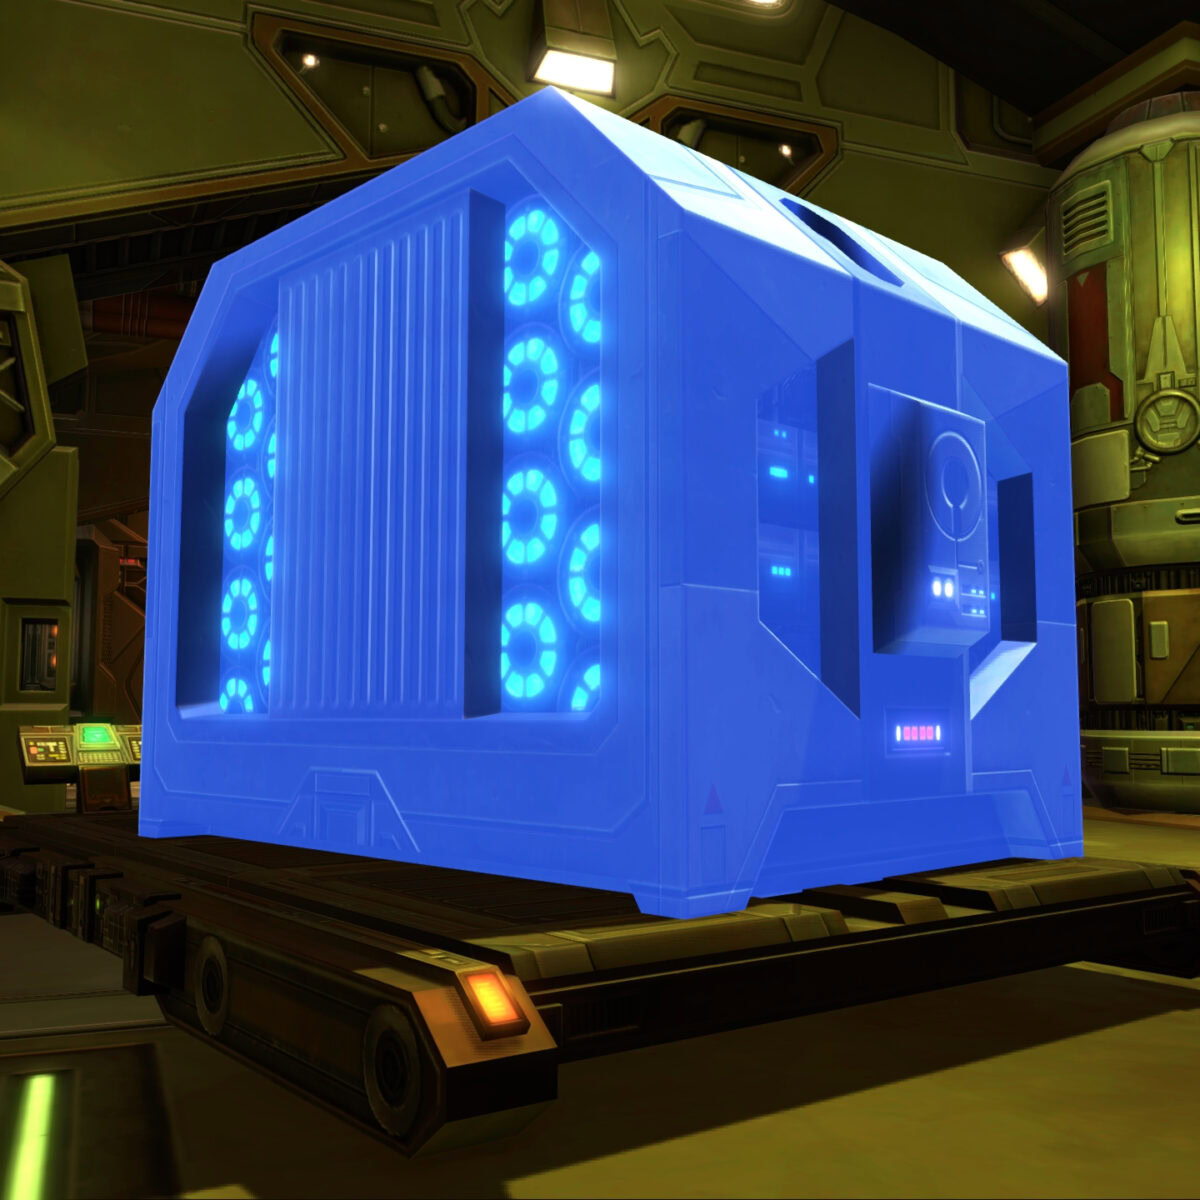
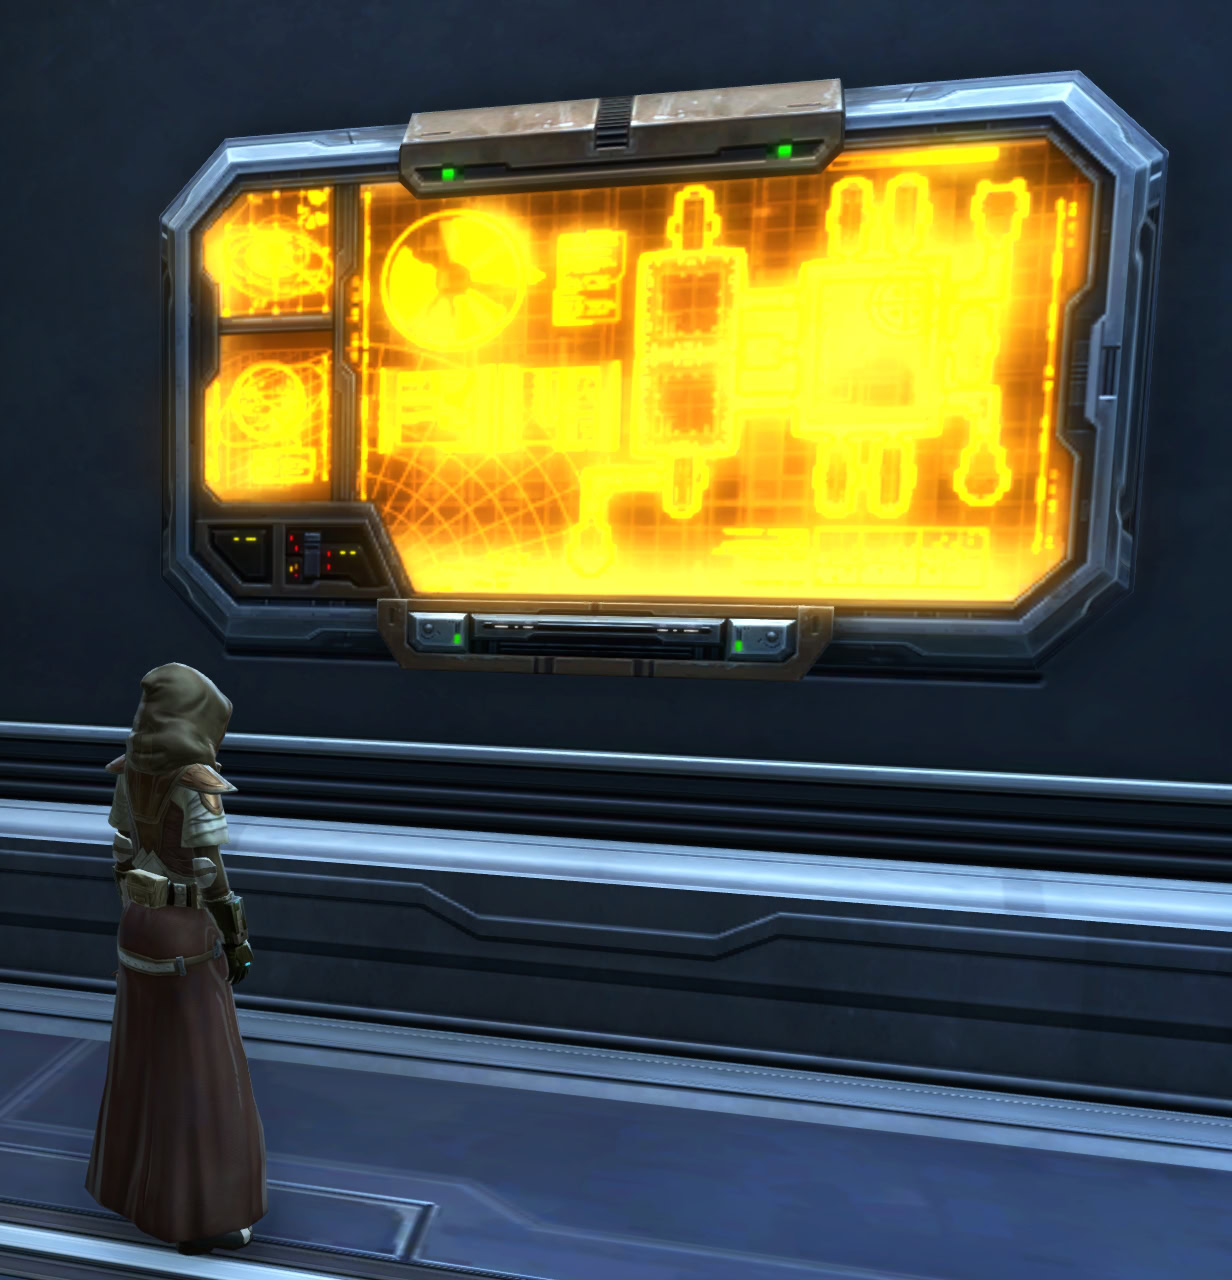
There is a chance for the Orbital Power Monitor decoration to drop during the Kuat Drive Yards flashpoint. This will fit a medium or large wall hook.
KDY Construction Kits and Reputation Vendor
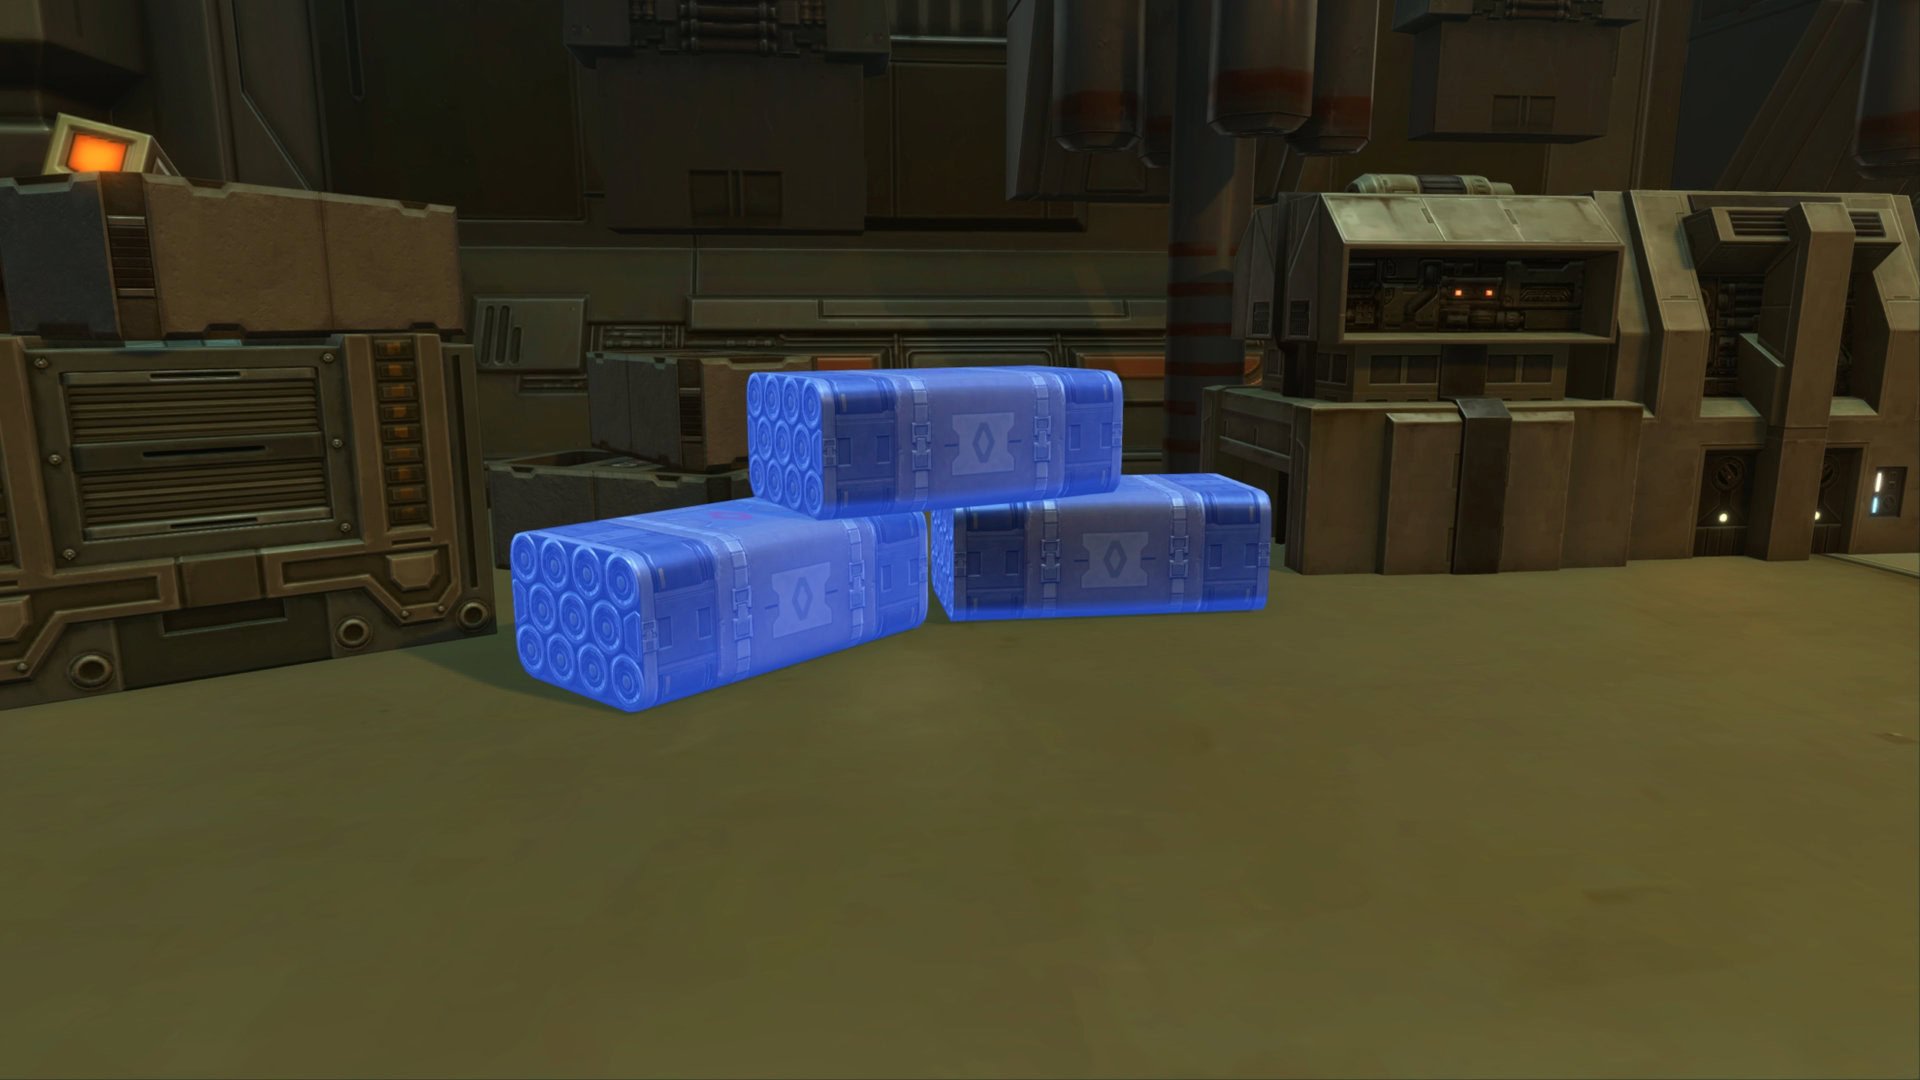
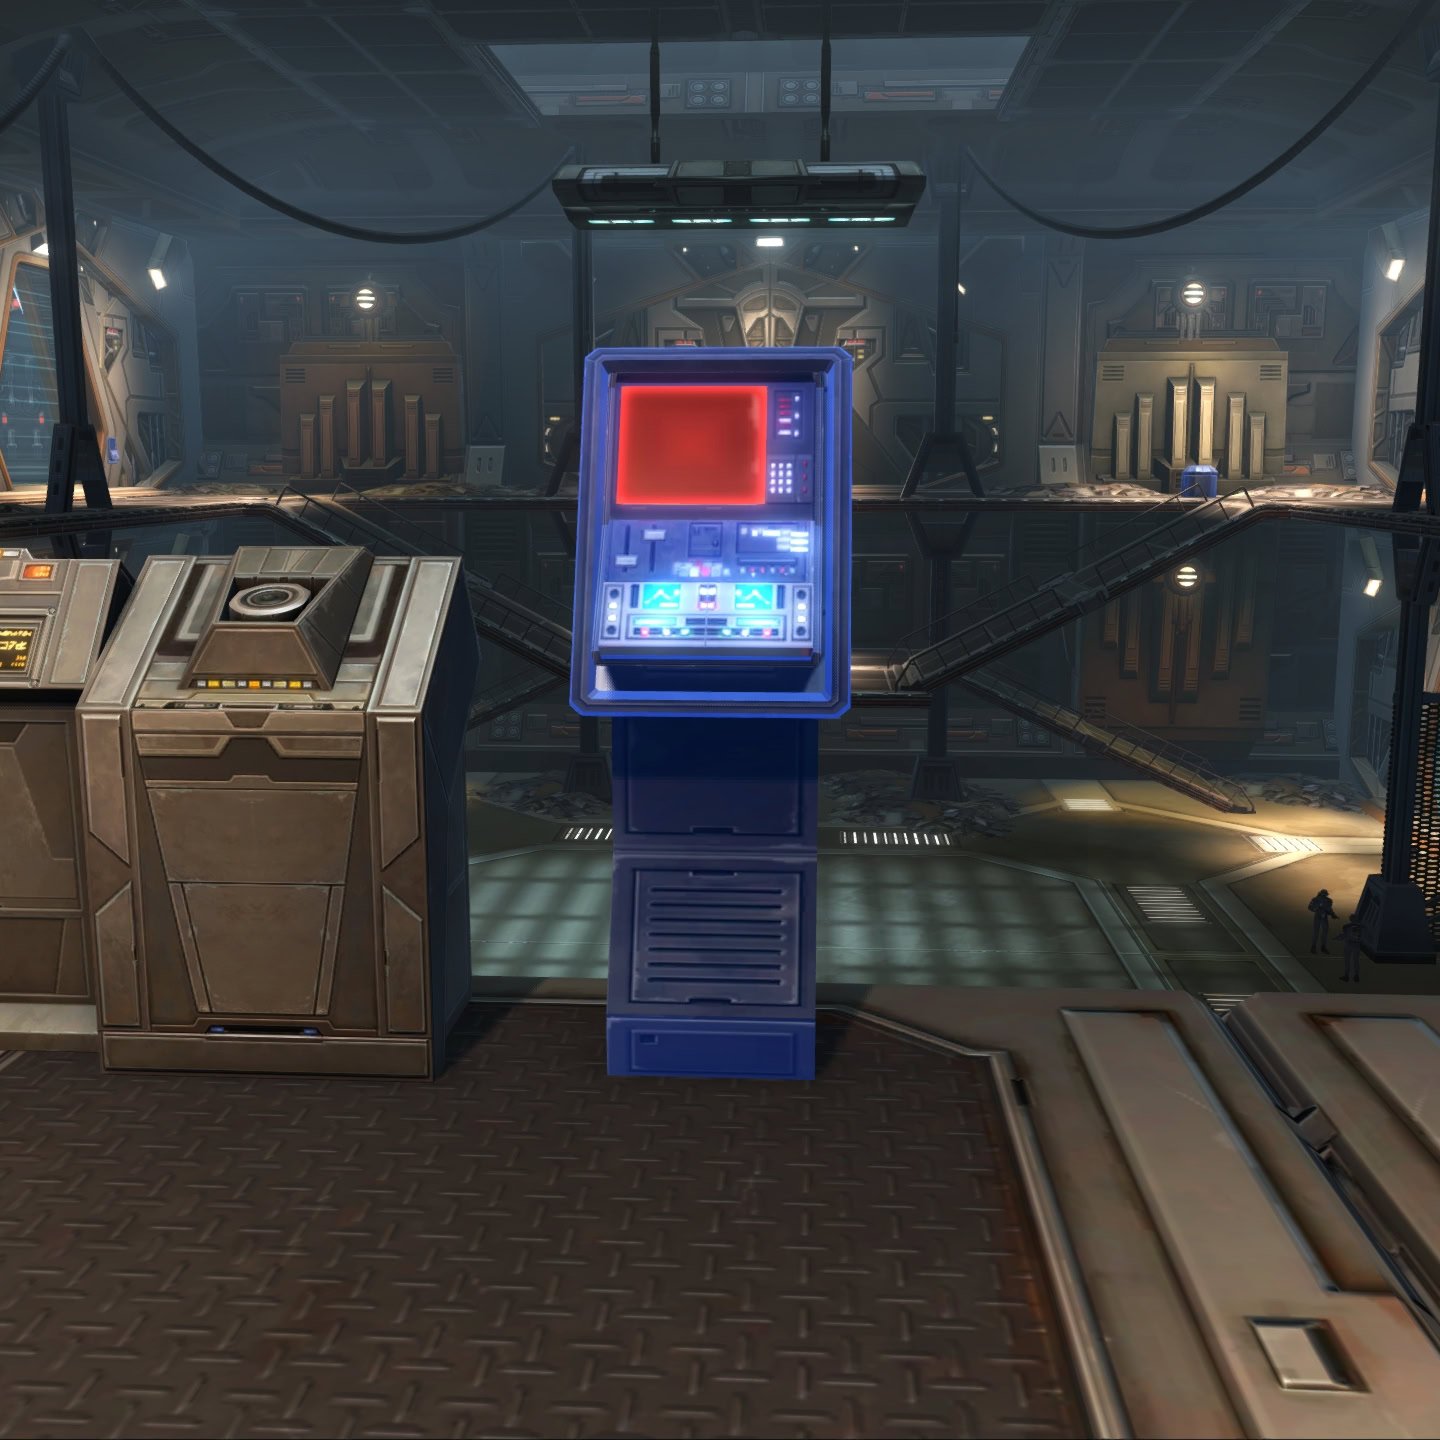
There’s a chance a defeated enemy can drop a ![]() KDY Construction Kit in the Kuat Drive Yards flashpoint. These are used with reputation vendors in the Starfighter Launch Decks. They represent the Republic First Fleet and Imperial Forward Command reputations.
KDY Construction Kit in the Kuat Drive Yards flashpoint. These are used with reputation vendors in the Starfighter Launch Decks. They represent the Republic First Fleet and Imperial Forward Command reputations.
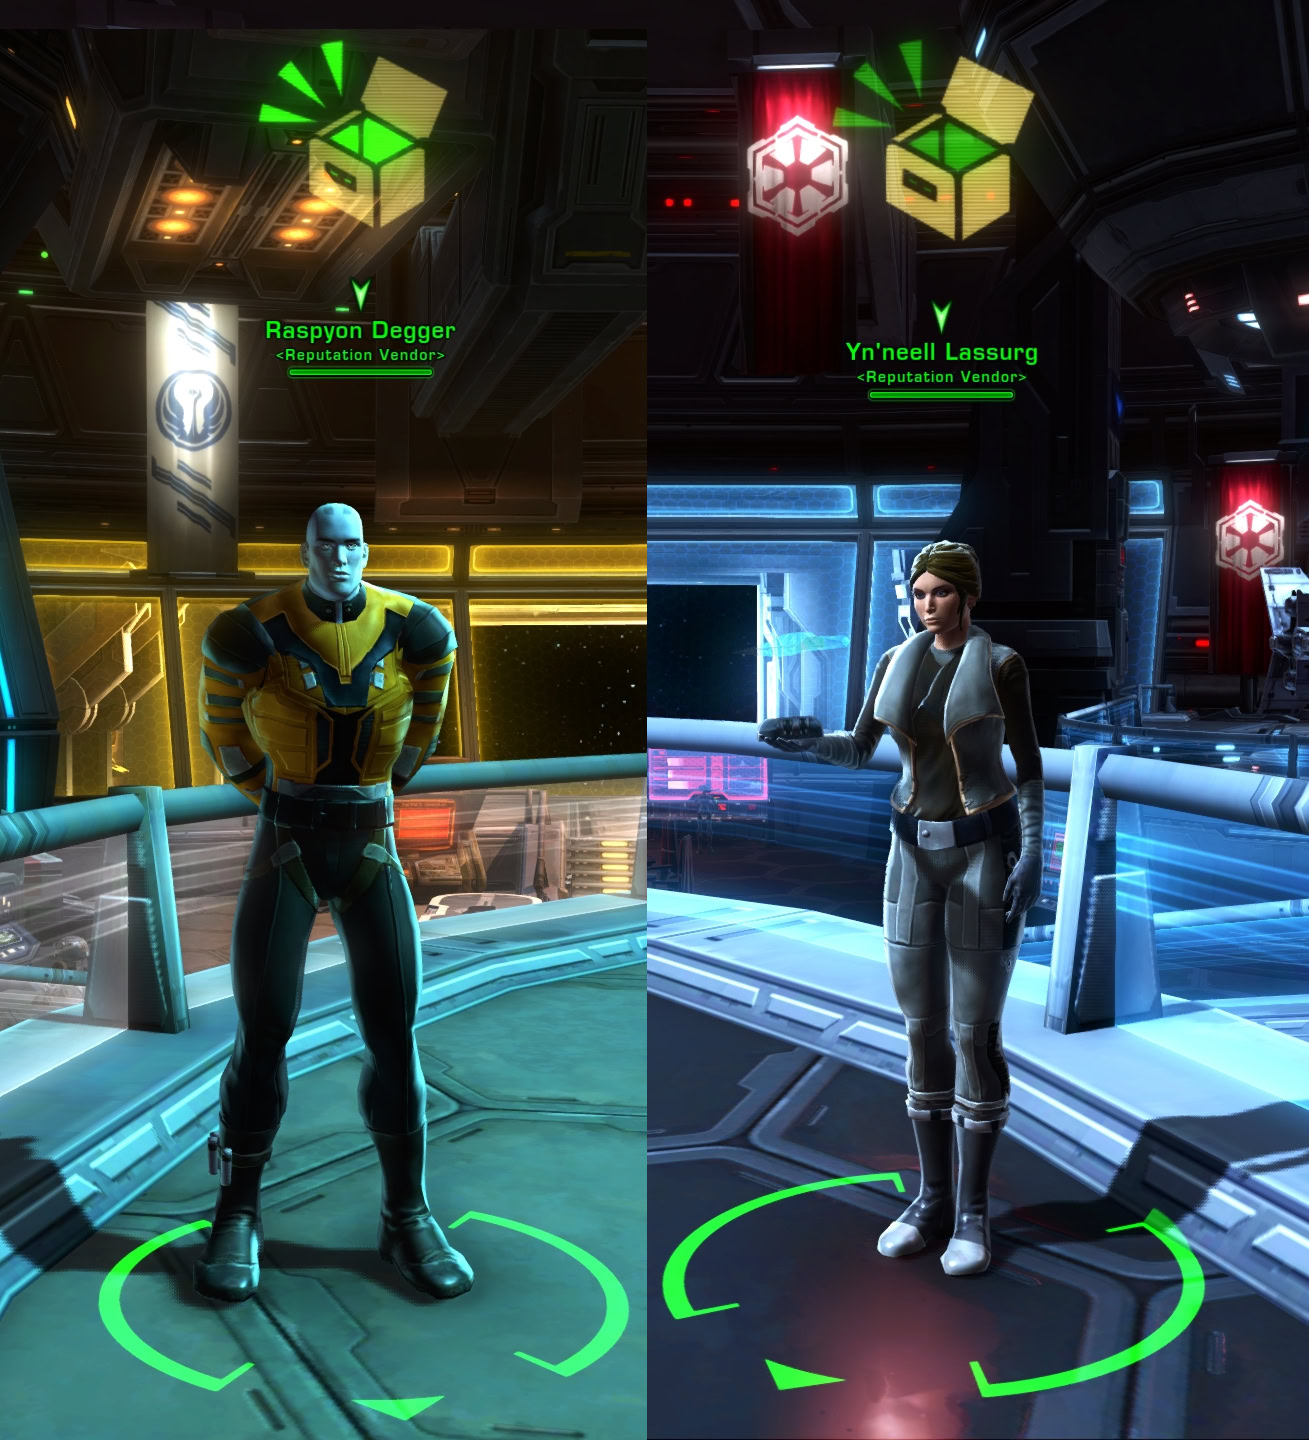
To increase your reputation with the Republic First Fleet or Imperial Forward command is to defeat and loot the boss at the end of Kuat Drive Yards with a character in their faction.
Another good way to farm the reputation is to start the story mission on alts, talk to Admiral Aygo/Admiral Ranken at the beginning of the flashpoint, and you’ll gain a purple reputation item. This can only occur once per character, which is why you do this on multiple alts.
The following are the various items sold by the reputation vendors and their required reputation rank:
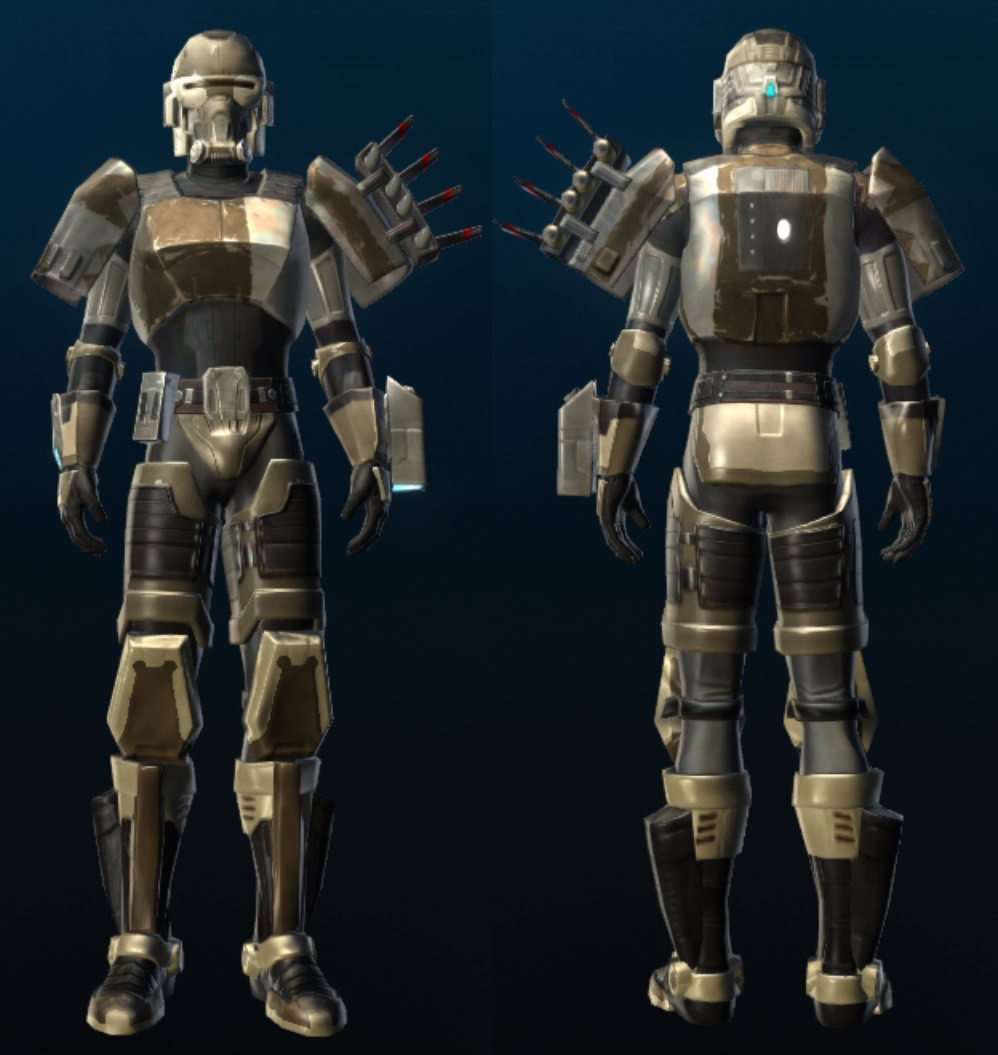
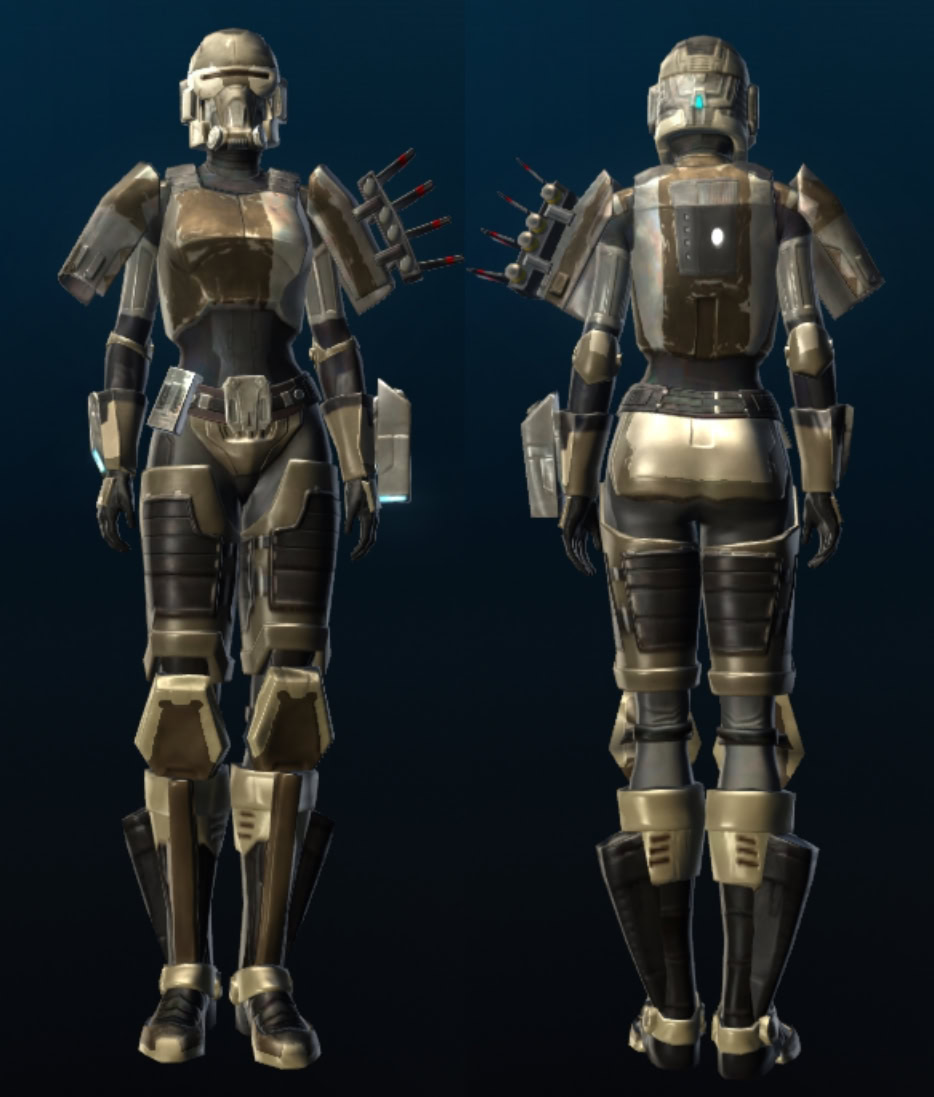
KDY Shipwright’s Armor Set
The entire KDY Shipwright’s Armor Set will cost you 325,000 credits and requires the Friend standing to purchase.
GSF Bomber Paint Jobs
Each vendor sells a paint job exclusive to Galactic Starfighter Bombers for their faction. The Republic vendor sells the BR-02 Republic Bomber Paint Job while the Imperial Vendor sells the BI-04 Bomber Paint Job. Each cost 1 KDY Construction Kit and requires the Newcomer standing to purchase.

KDY Orbital Lifter
The KDY Orbital Lifter mount is available for 12 KDY Construction Kits and requires the Legend standing to purchase.
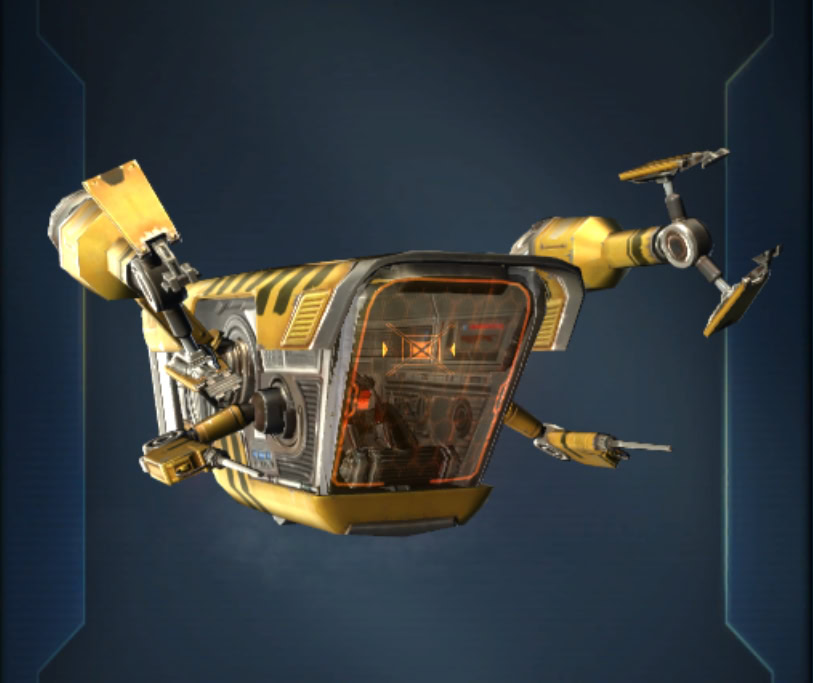
Model Space Mining Droid
The Model Space Mining Droid pet costs 4 KDY Construction Kits and requires the Hero standing to purchase.

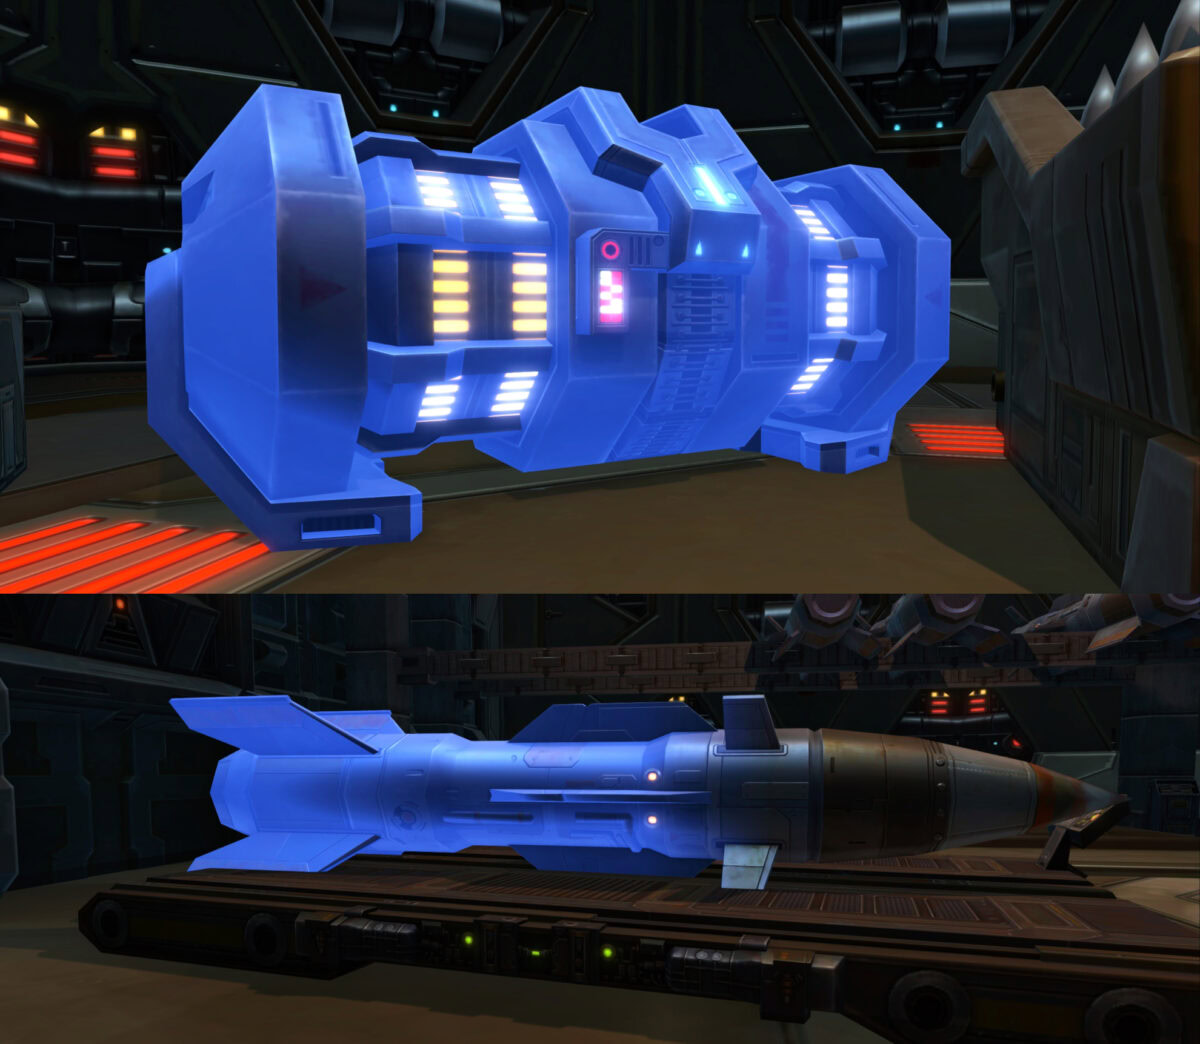
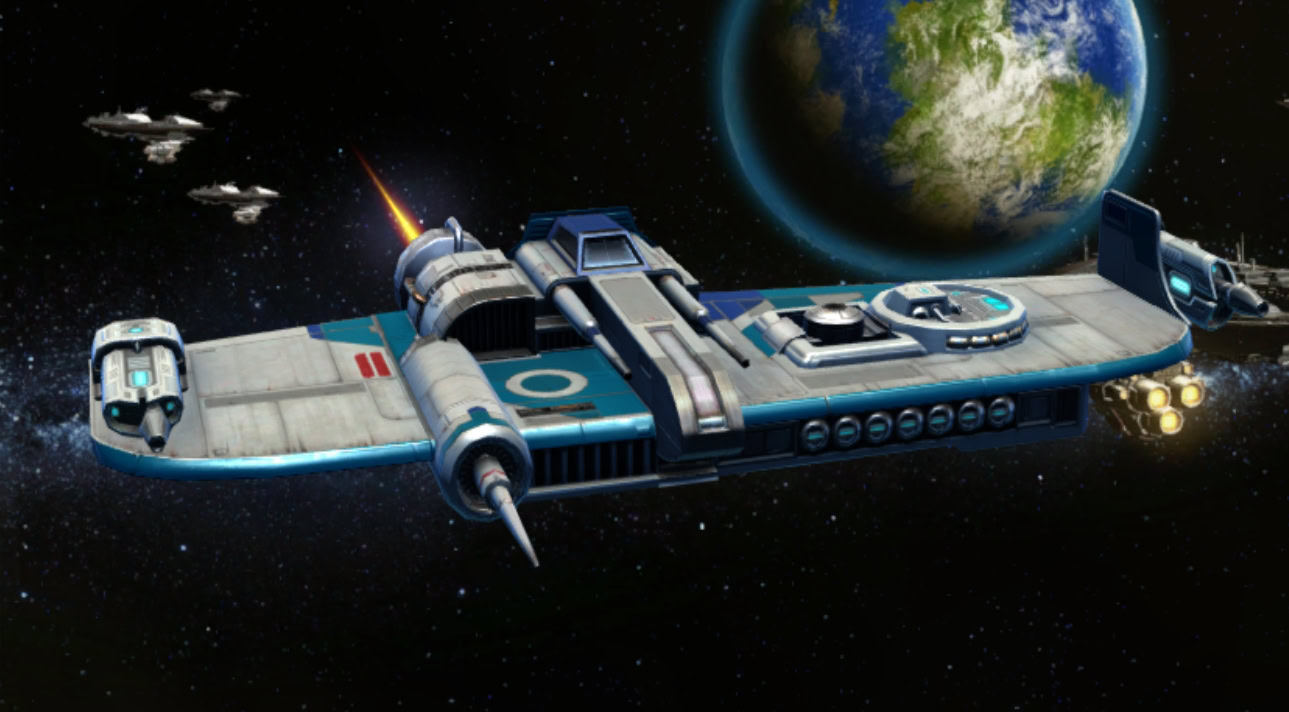
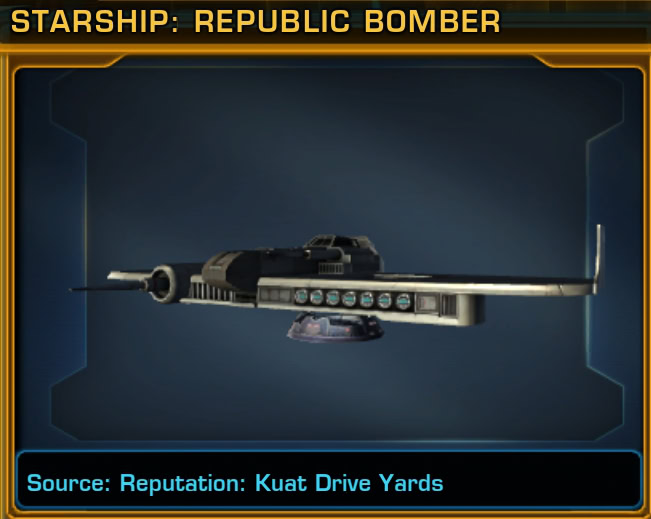
Starship: Republic Bomber
The Republic vendor sells the Starship: Republic Bomber decoration. This costs 20 KDY Construction Kits and 5 Universal Prefab MK-2’s. It requires the Legend standing to purchase. This decoration will fit a large floor hook.
Starship: Imperial Bomber
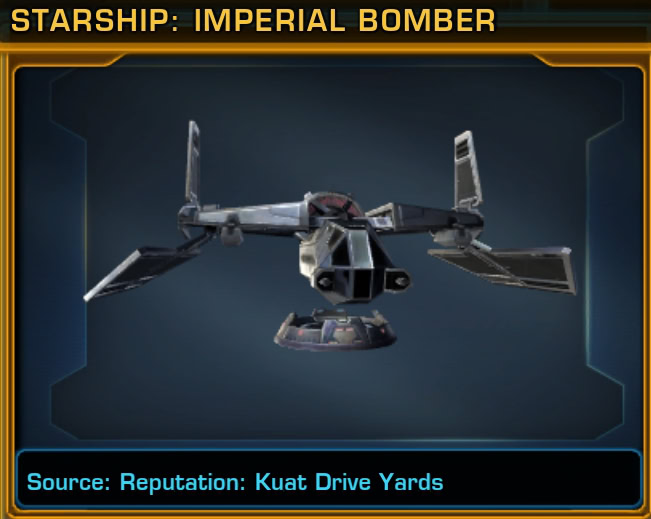
The Imperial vendor sells the Starship: Imperial Bomber decoration. This costs 20 KDY Construction Kits and 5 Universal Prefab MK-2’s. It requires the Legend standing to purchase. This decoration will fit a large floor hook.
Kuat Drive Yards Easter Eggs
Right outside the door that leads to the Kuat Drive Yards flashpoint, you’ll find a group of NPCs outside. They’ll talk to you during the story mission’s cutscene but these characters are actually Galactic Starfighter copilots!
They act as your co-pilots for specific buffs and abilities while you’re in a Galactic Starfighter PvP match.