This guide will tell you everything you need to know about the Maelstrom Prison Flashpoint in SWTOR, including all boss encounters, bonus boss, and achievements!
This flashpoint is only available for players within the Republic faction.
The guide covers Story Mode, Veteran Mode, and Master Mode
Table of contents
- How to Start the Flashpoint and its Story
- Bonus Mission: Painful Employment Phase 1
- Bonus Mission: Disrupting Defenses
- First Boss: X-37 Oppressor Droid
- Second Boss: Colonel Daksh
- Light and Dark Choice: Master Oteg’s Fate
- Bonus Mission: Painful Employment Phase 2 and 3
- Bonus Boss: Ancient Maelstrom Flayer
- Final Boss: Grand Moff Kilran
- Achievements for Maelstrom Prison
- Decoration Drop
How to Start the Flashpoint and its Story
Maelstrom was designed as a mid-level flashpoint during SWTOR’s initial release. It was designed for level 33 characters within the Republic. Despite this initial design choice, it is now available to a broader range of levels for players.
This flashpoint is closely tied to the Taral V flashpoint as Maelstrom Prison takes place after the events of Taral V.
After obtaining the Gree computer from the Imperials on Taral V, you can now safely traverse the Maelstrom Nebula to reach the Maelstrom Prison.
Seeing as this is the Emperor’s personal prison, this facility is heavily guarded and will provide a lot of resistance in your mission to free the Jedi prisoner.
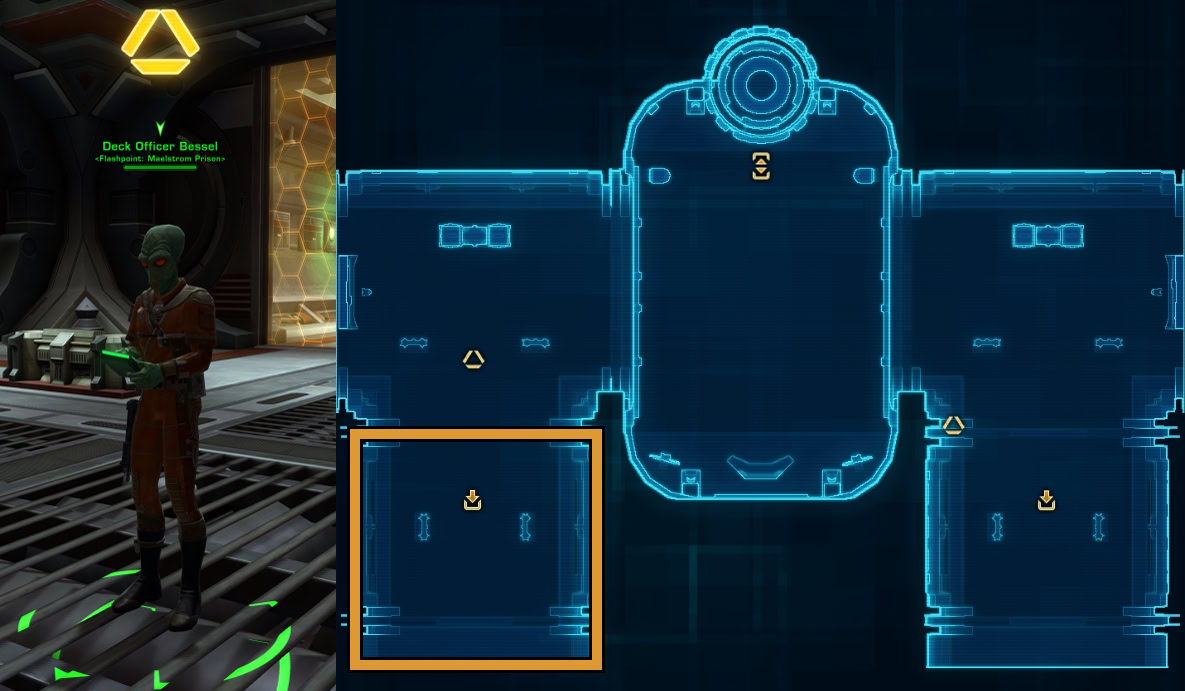
To get the story arc for Maelstrom, you’ll need to go to Carrick Station on the Republic Fleet. On the west of the map near the elevator, you’ll find a droid named MP-77. Talk to them and it’ll start you on your path to the Telos and you’ll be led to the flashpoint from there.
You’ll need to complete the story events on Taral V before you can start the story events of Maelstrom Prison.
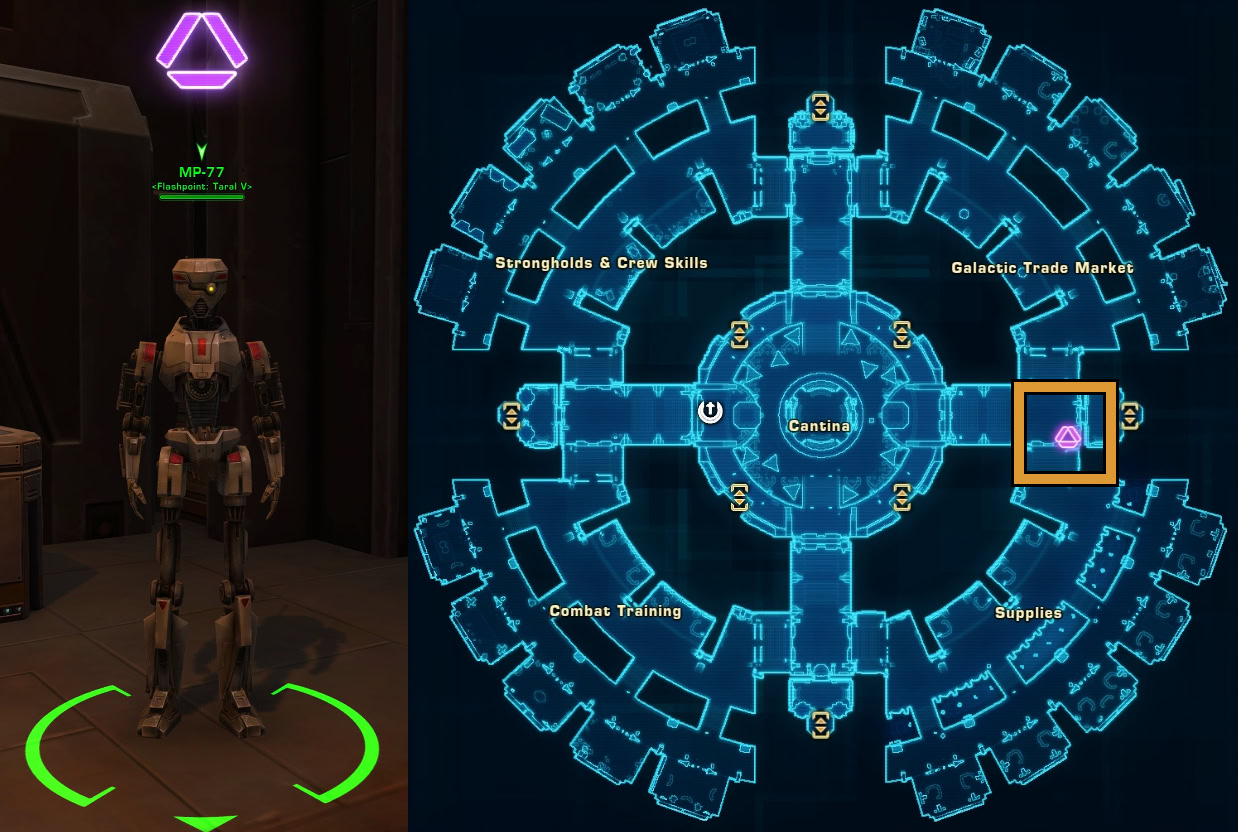
To start the Maelstrom Prison Flashpoint without the story arc, you can find the NPC, Deck Officer Bessel, that gives the quests in the Telos’s Hangar Deck. You can find the elevator for the hangar deck on the south end of the Telos’s Command Deck.
This flashpoint is also available in the Activity Finder under the Group tab. It’s available for Veteran and Master Mode, but you can find a Solo version in the Solo tab. The Solo version offers a guaranteed decoration drop from the flashpoint should you complete it.
Read our SWTOR Story Progression Guide to learn where this story fits in. The guide will help you experience the game’s narrative in the proper intended order of events and aid and assist you if you are not sure what to do and where to go next.
Bonus Mission: Painful Employment Phase 1
This bonus mission can start as soon as you defeat any Imperial NPC on the Maelstrom Prison. For the first phase, you’ll need to defeat 100 Imperial Forces.
It’s a rather large numbers of enemies to defeat, but there are plenty of Imperials and Imperial droids to dispatch.
You should be able to complete this a bit after defeating the second boss if you’re defeating every Imperial on your path.
Bonus Mission: Disrupting Defenses
This bonus mission does not lead to the optional bonus boss.
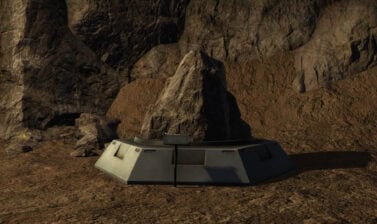
You’ll be able to start this mission when you find a Prison Defense Console or a Munitions Stockpile. Interacting with it will have your character destroy it and start the mission. You’ll need to destroy 8 Prison Defense Consoles and 12 Munitions Stockpiles.
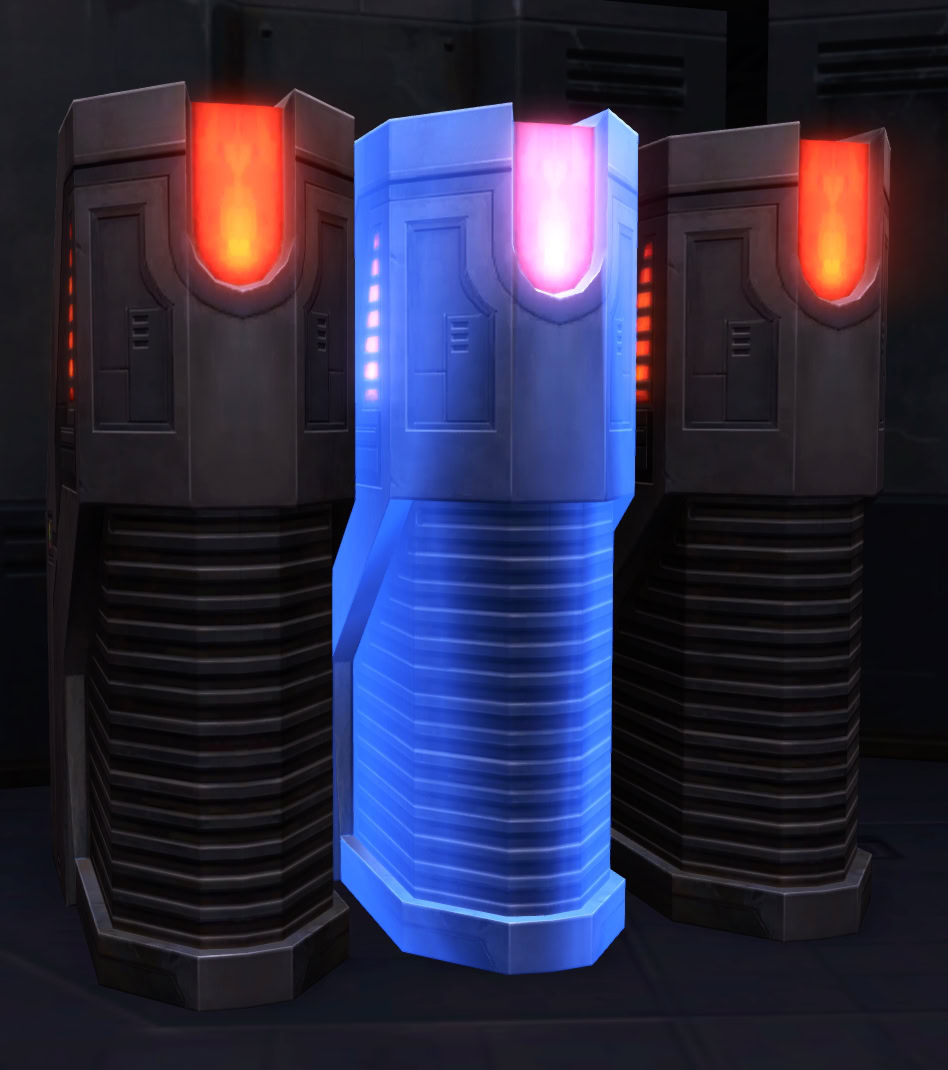
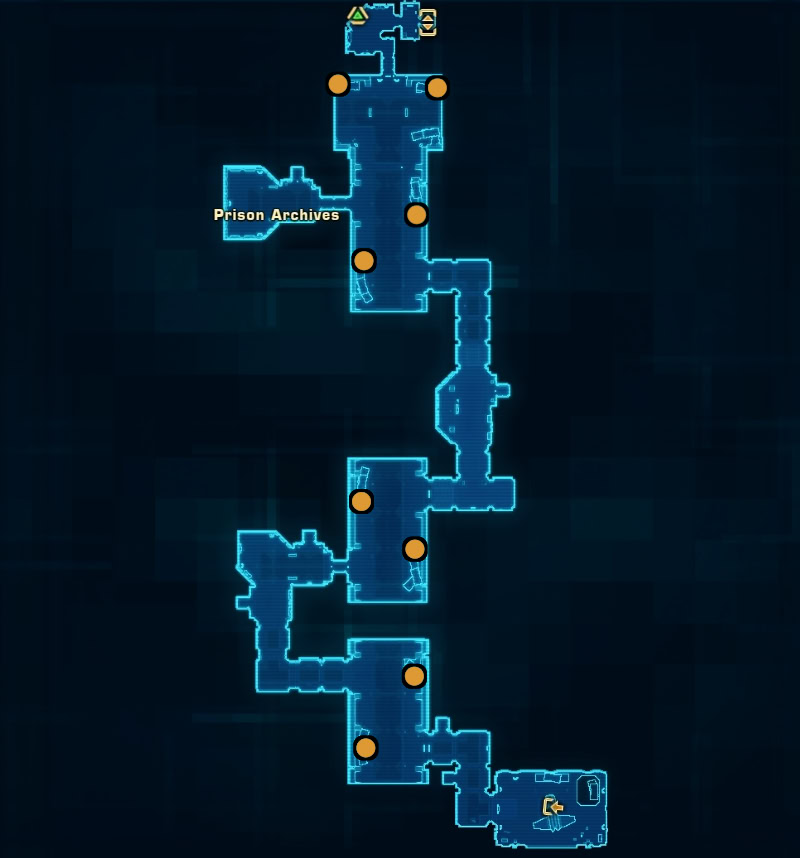
The Prison Defense Consoles are very hard to miss as they’re large, blue computer terminals. They can be found at the following locations:

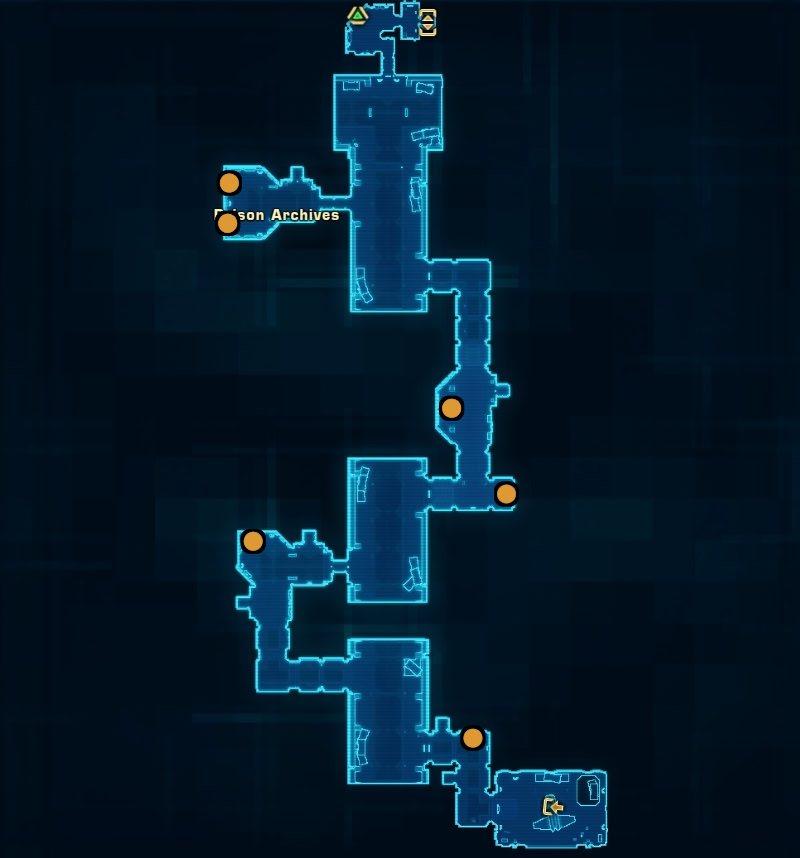

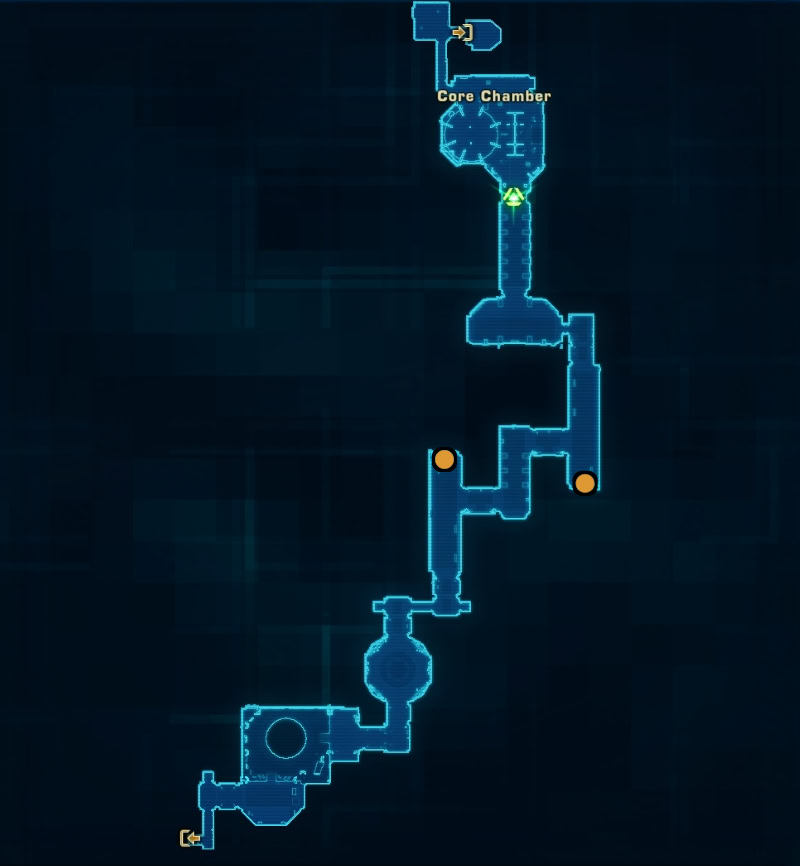
You’ll find your first Munitions Stockpile in the first large hallway you enter at the Security Control level. They can be found at the following locations:


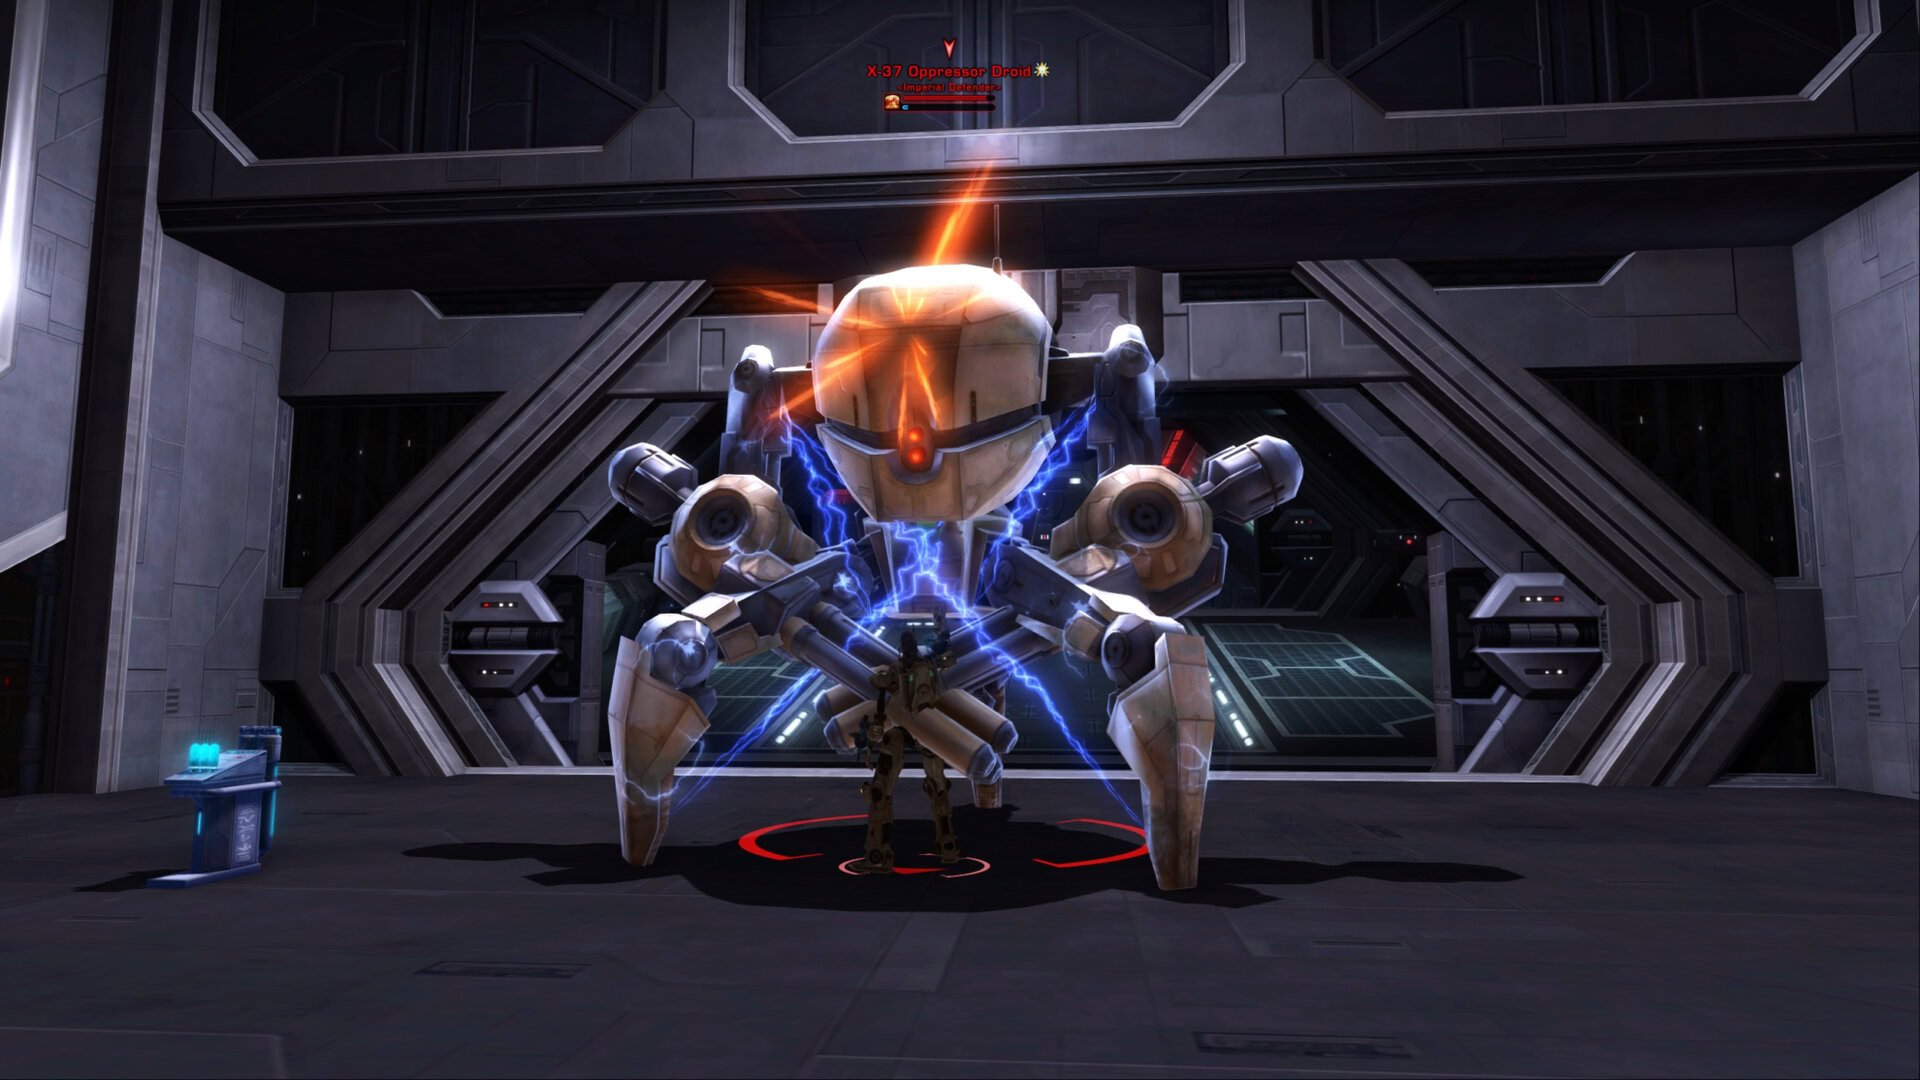
First Boss: X-37 Oppressor Droid
This droid may appear large and in charge, though it’s just a good old fashioned tank and spank. This thing is mildly annoying at best and you should be able to handle it just fine.
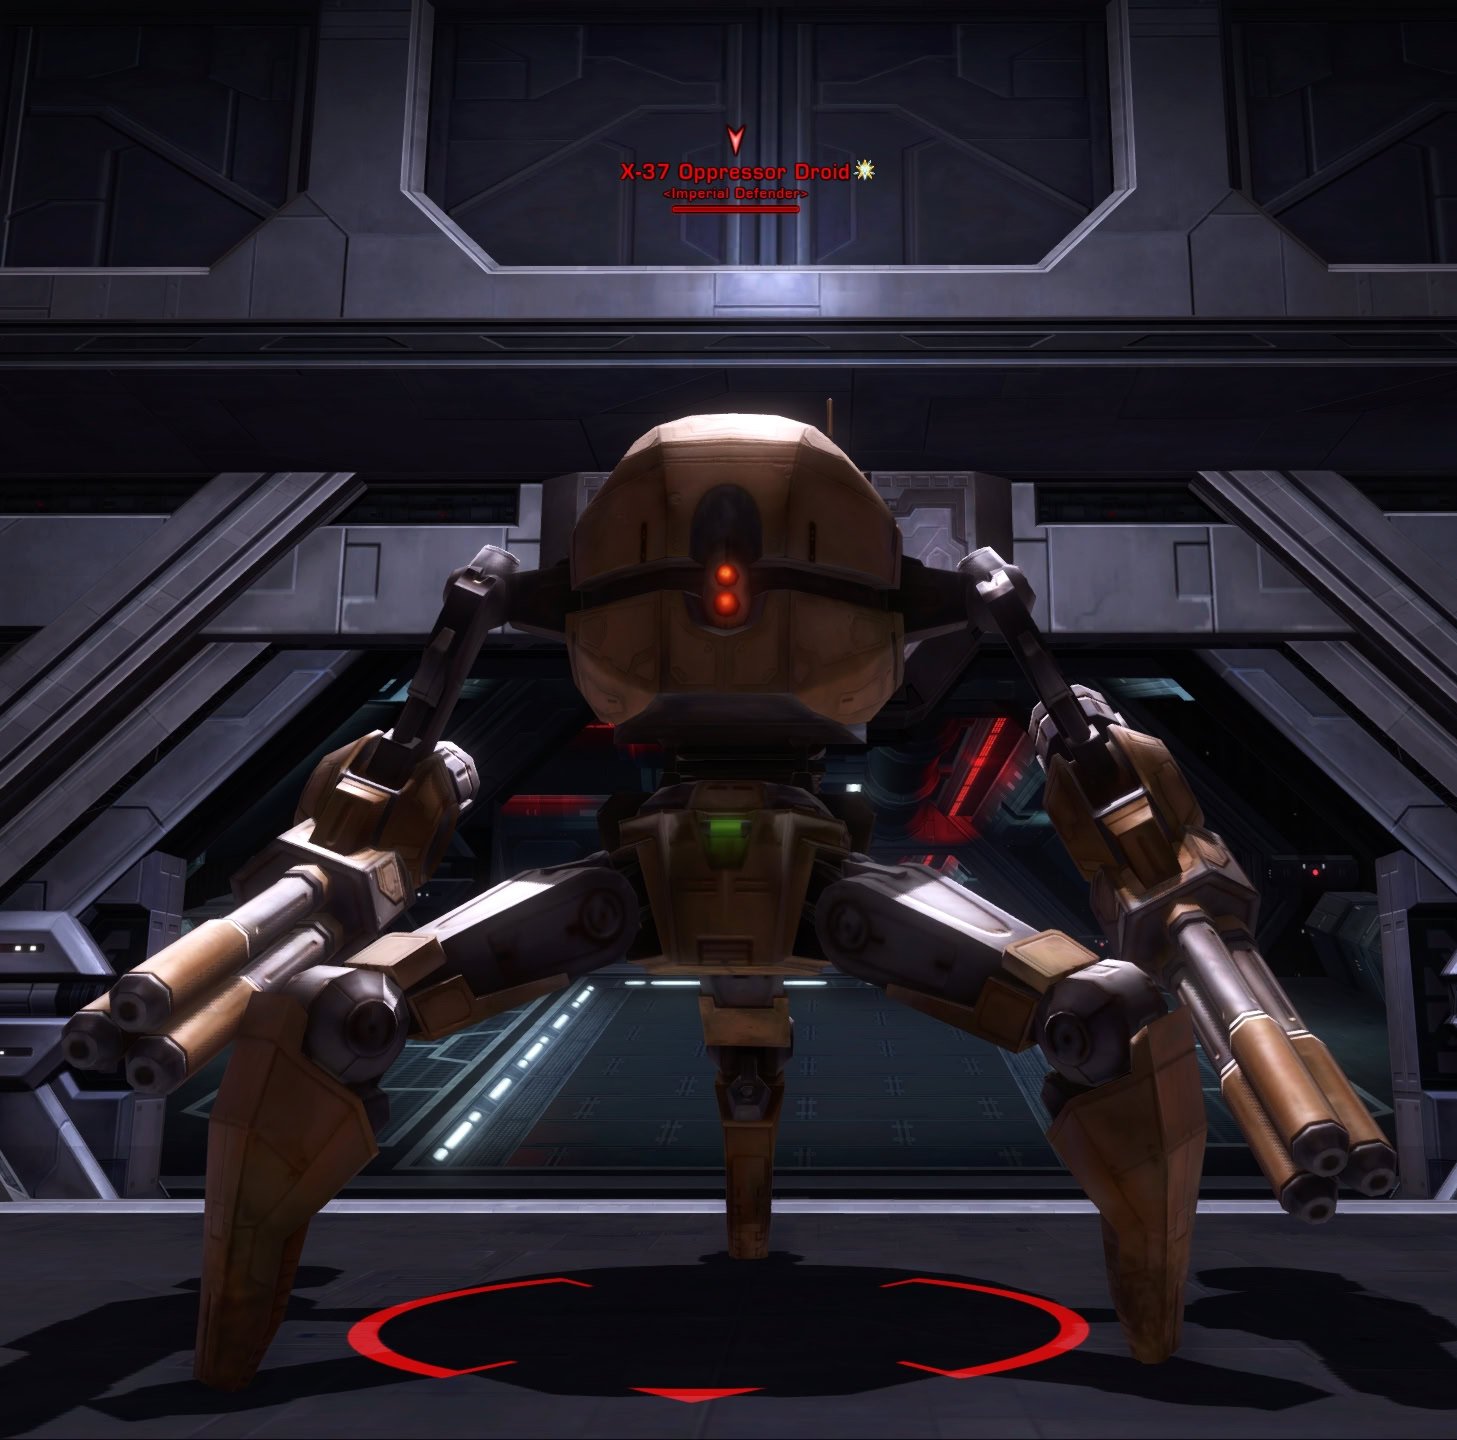
The droid will often use the ability Power Punch against its target. This will send the target far into the air and away from the boss where it’ll then reset its aggro and move its attention towards the rest of the team.
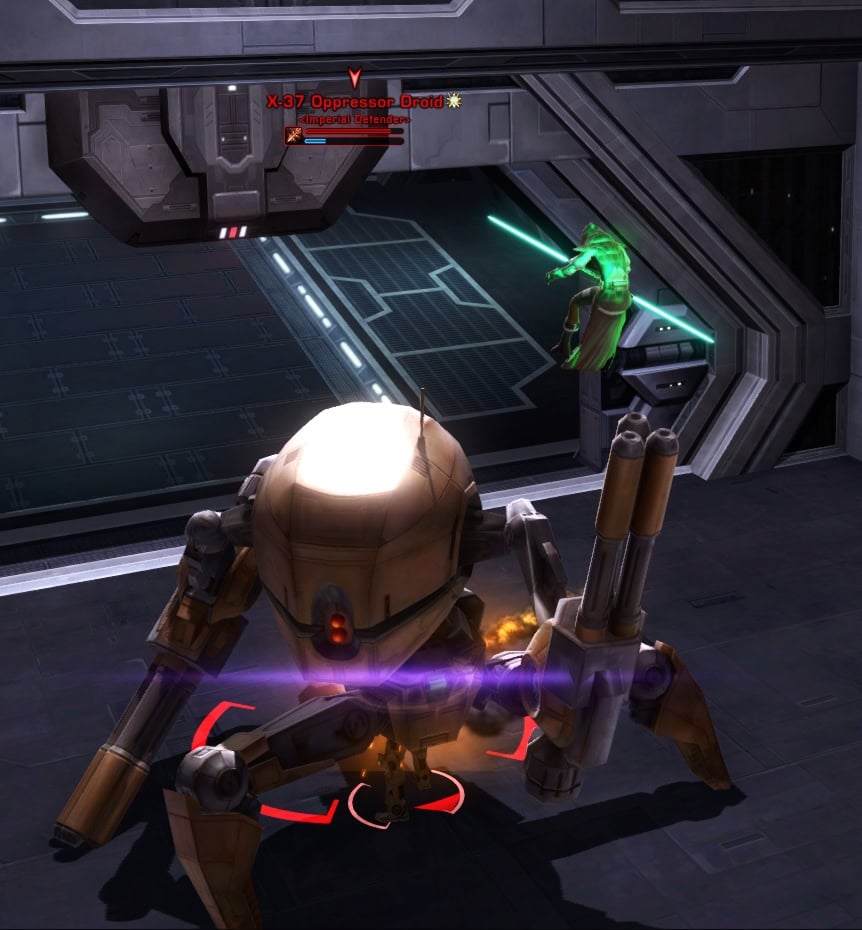
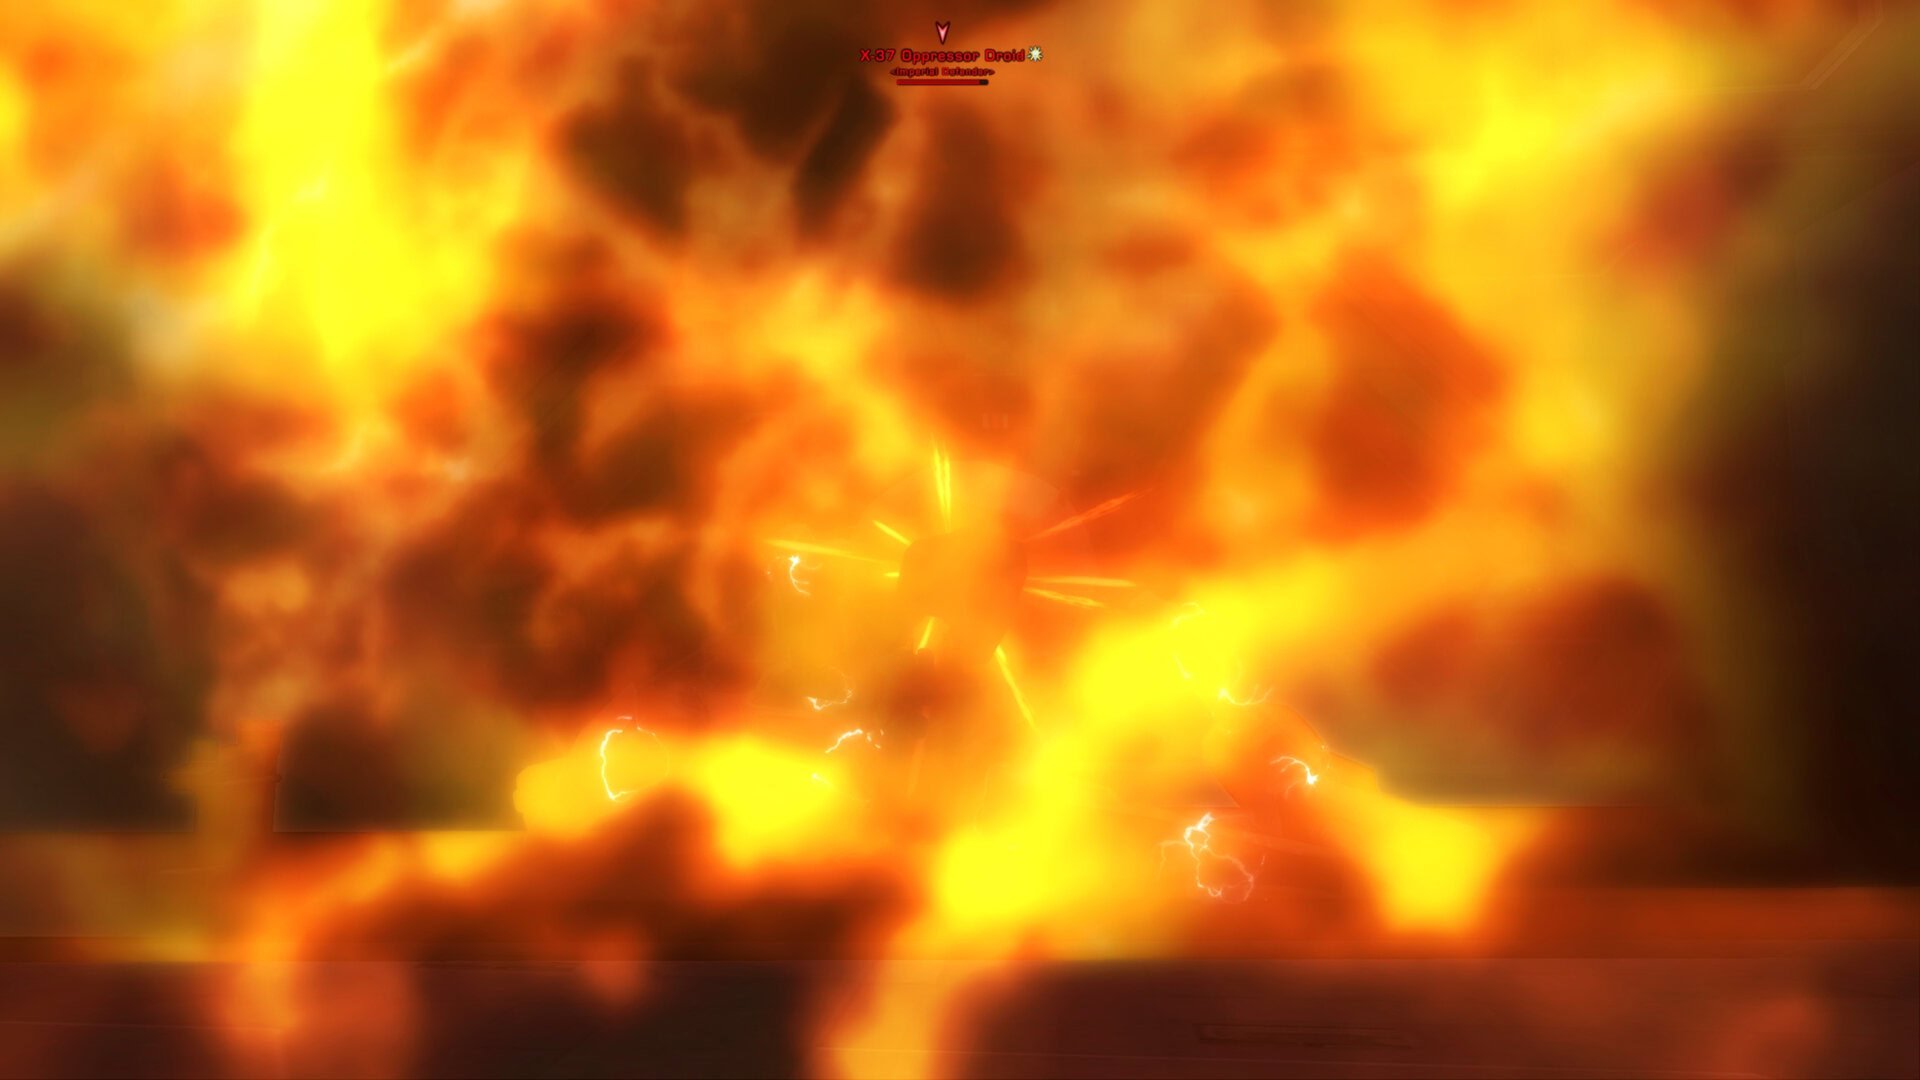
With the tank being knocked away, the droid will grapple everyone else and start charging some electricity. It’s about to use the Punishment ability where it’ll explode and damage anyone nearby. After being grappled to it, run away to avoid explosion damage.
Aside from these mechanics, the only other one is something the tank should worry about. The droid will use Power Blast to rapidly fire its blaster cannons at a single target. Defeat the droid and keep moving on.

Veteran Mode Differences
There are no mechanical differences on Veteran Mode.
Master Mode Differences
There are no mechanical differences on Master Mode, but Punishment will hurt a LOT more.
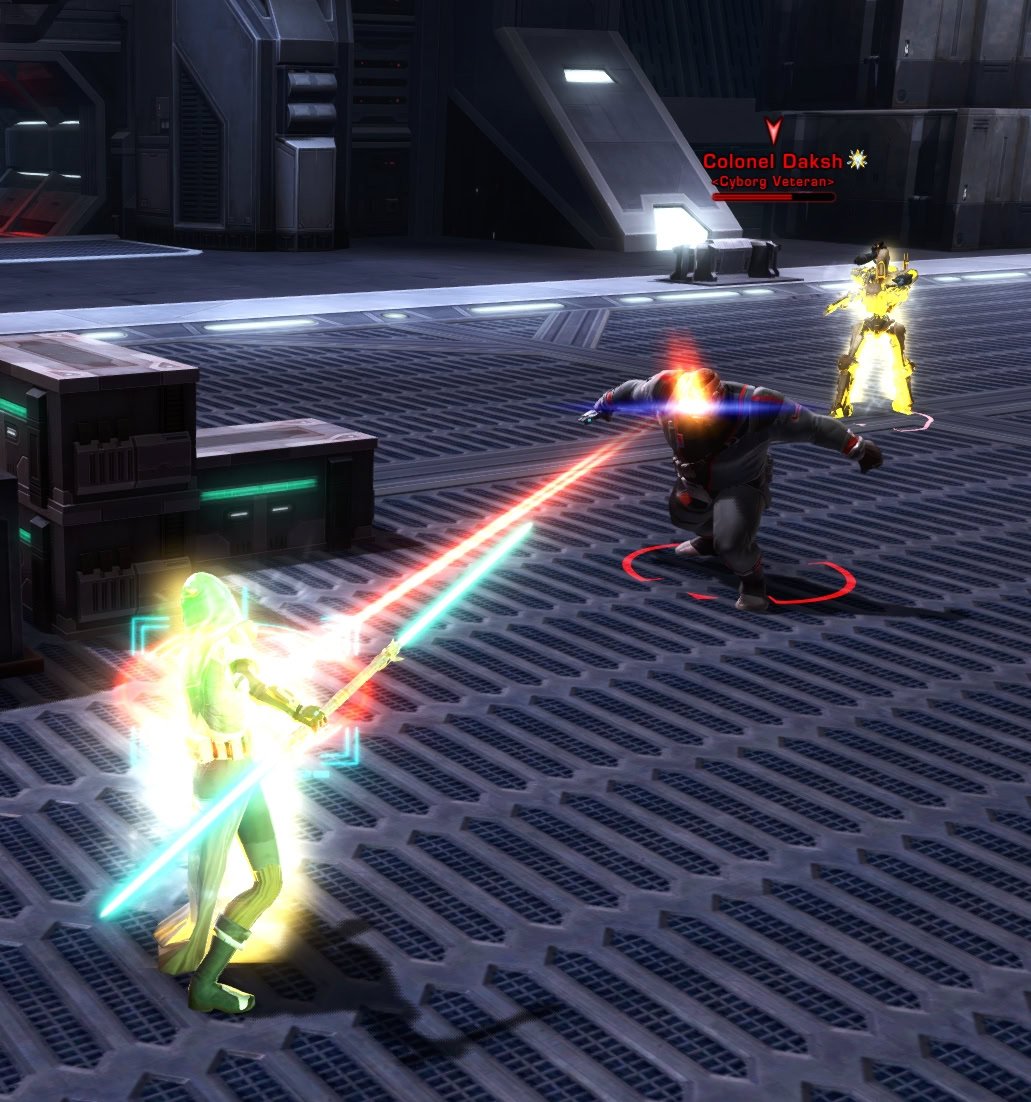
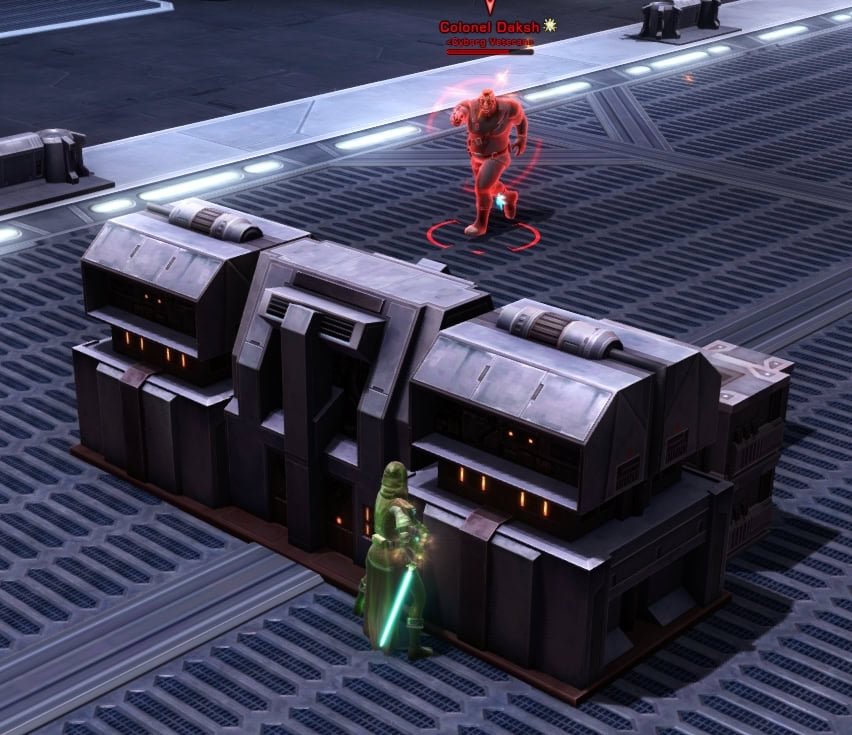
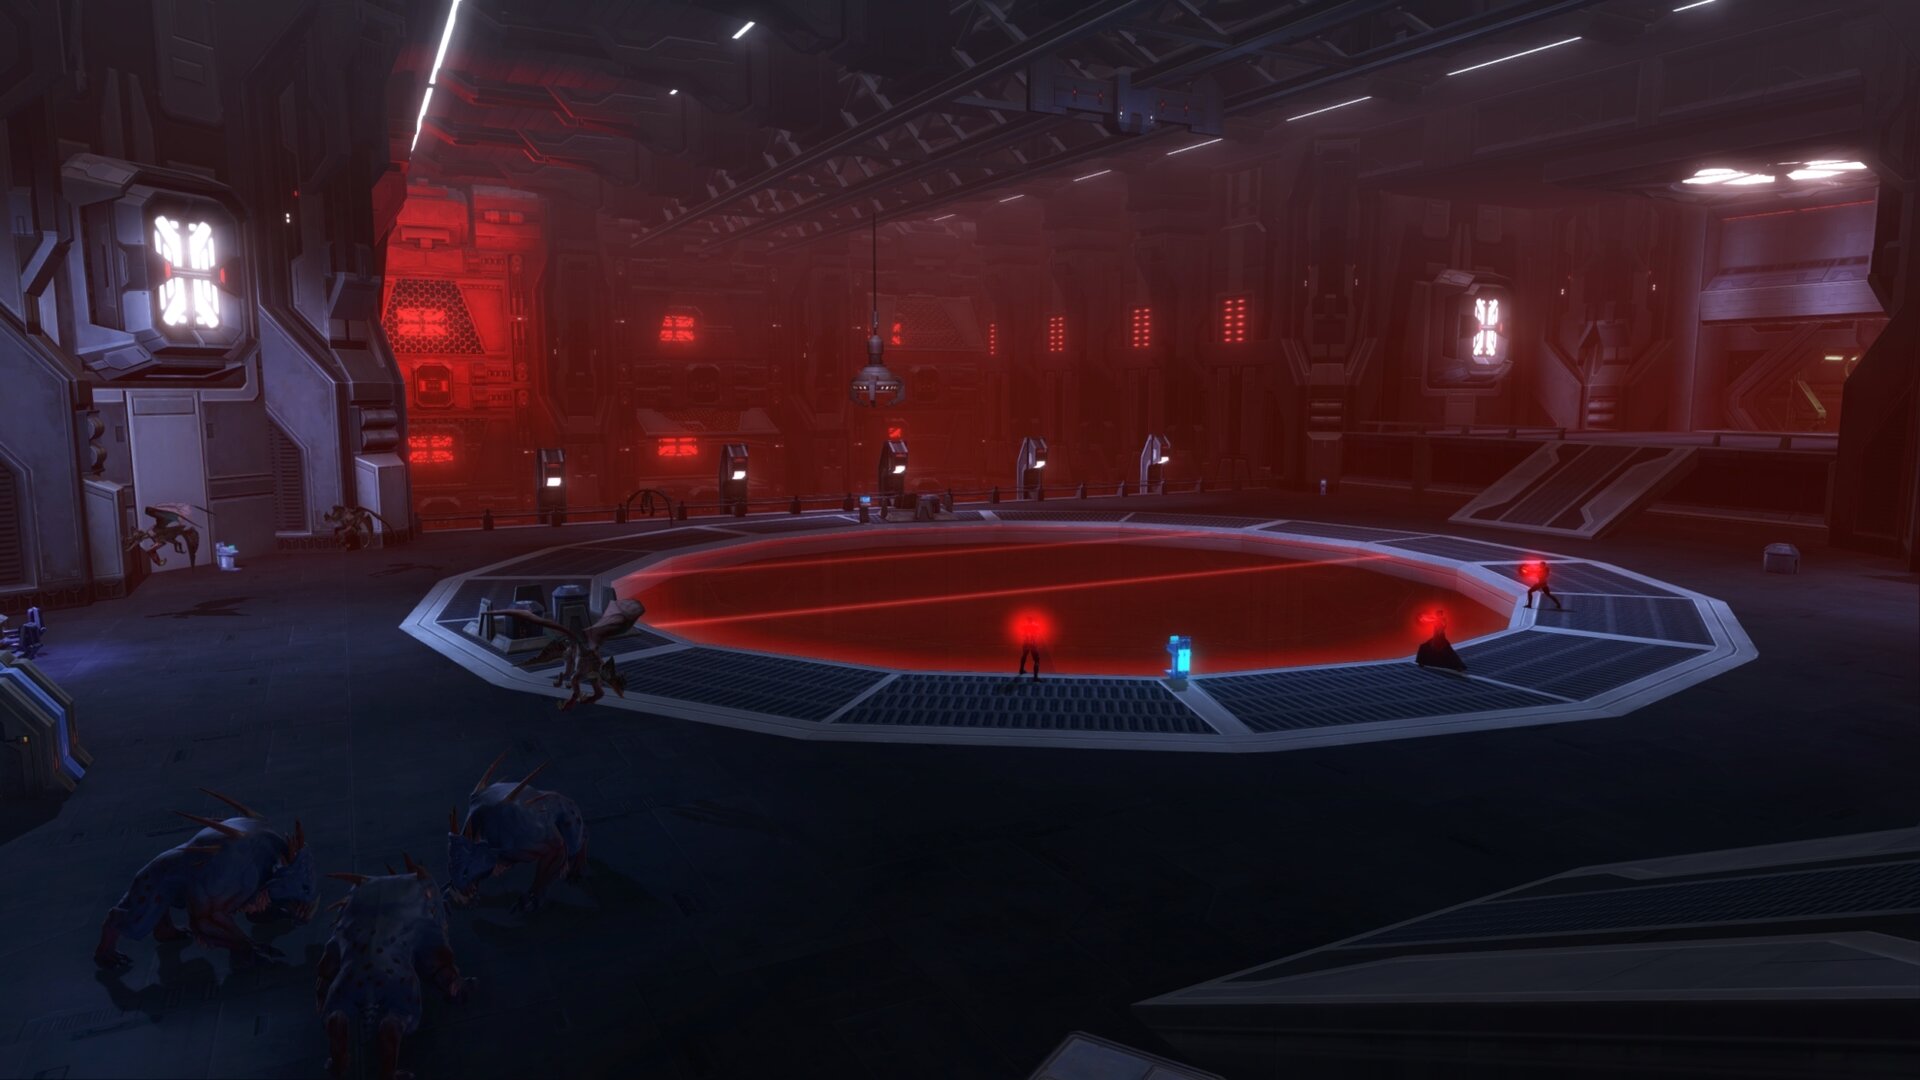
Second Boss: Colonel Daksh
Colonel Daksh is easily the most threatening of all the bosses in Maelstrom Prison. He’s initially accompanied by two combat droids, so take them out first before taking on Colonel Daksh.
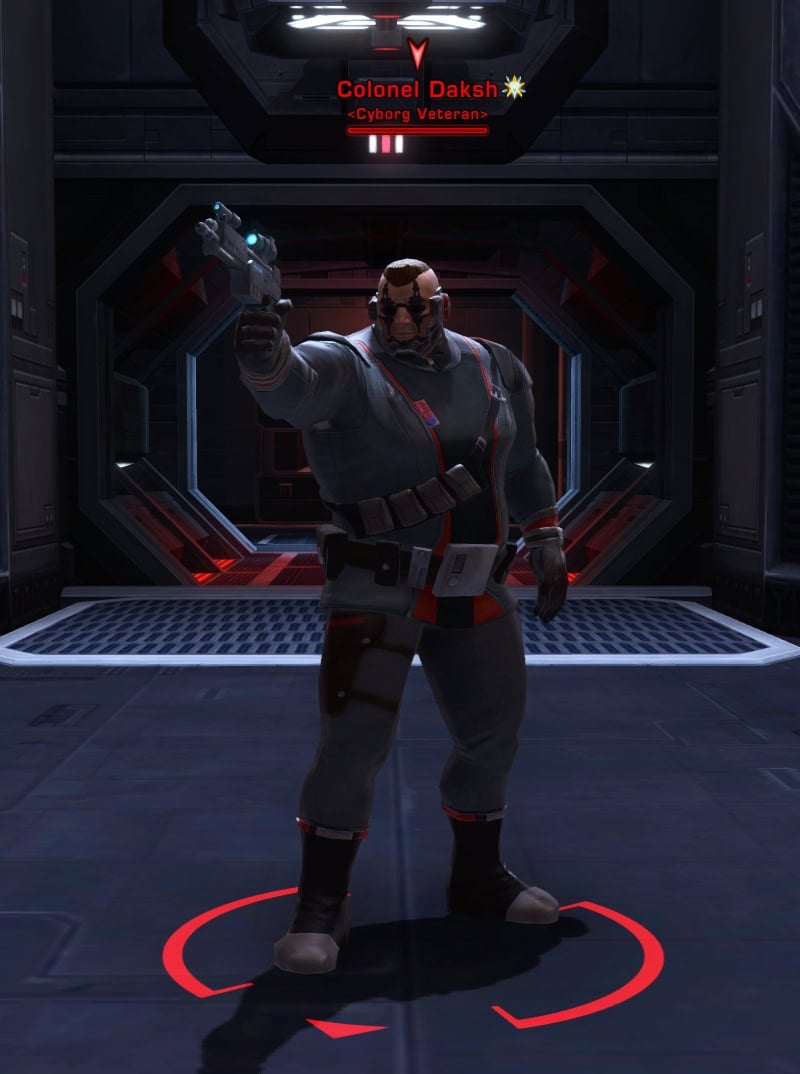
Daksh initially attacks with basic pistol attacks, a Wrist Laser Burst attack, and a Retractable Blade attack. He’ll only use his retractable blade against melee targets, but this also applies a short DoT that’ll hurt. When he reaches 75% and 25% hit points, he’ll use an AoE pushback and he’ll begin charging his Laser Eye.
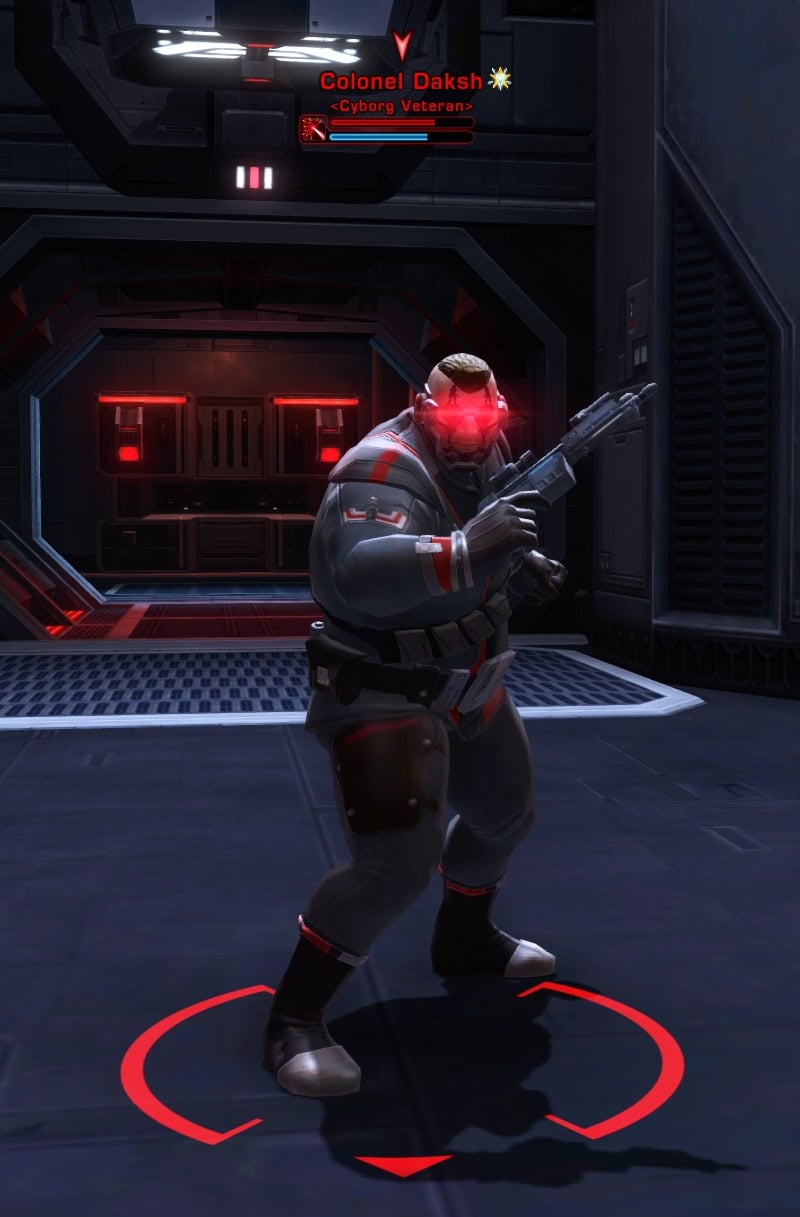
When fully charged, Daksh will be able to use his Eye Lasers for the next 20 seconds. These lasers hurt, even on story mode Even if you’re the tank, get in the habit of kiting him around some power transformers in the room.
He’ll keep chasing his first target and ignore others until he fires his eye lasers. So long as you block off his line of sight, you can wait out the eye lasers buff to continue attacking him until he is defeated.
Veteran Mode Differences
There are no mechanical differences, but his Retractable Blade and Eye Lasers are particularly nasty now.
Master Mode Differences
There are no mechanical differences, but if you’re not line-of-sighting him, you’re going to upset your teammates. The eye lasers will take out around 25% of the tank’s HP in one shot, and 50% of a DPS or healer’s.
Light and Dark Choice: Master Oteg’s Fate
You’ll reach a console you’ll need to interact with after defeating Colonel Daksh. You’ll talk with Master Oteg whose fleet is fighting outside. You can choose one of the following options:

- “You need to retreat” will grant you +100 Light Side Points.
- “Fight and die well, Oteg” will grant you +100 Dark Side Points.
Bonus Mission: Painful Employment Phase 2 and 3
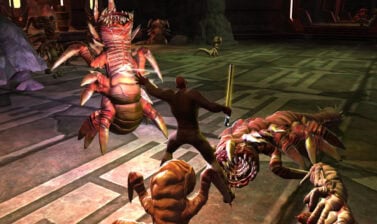
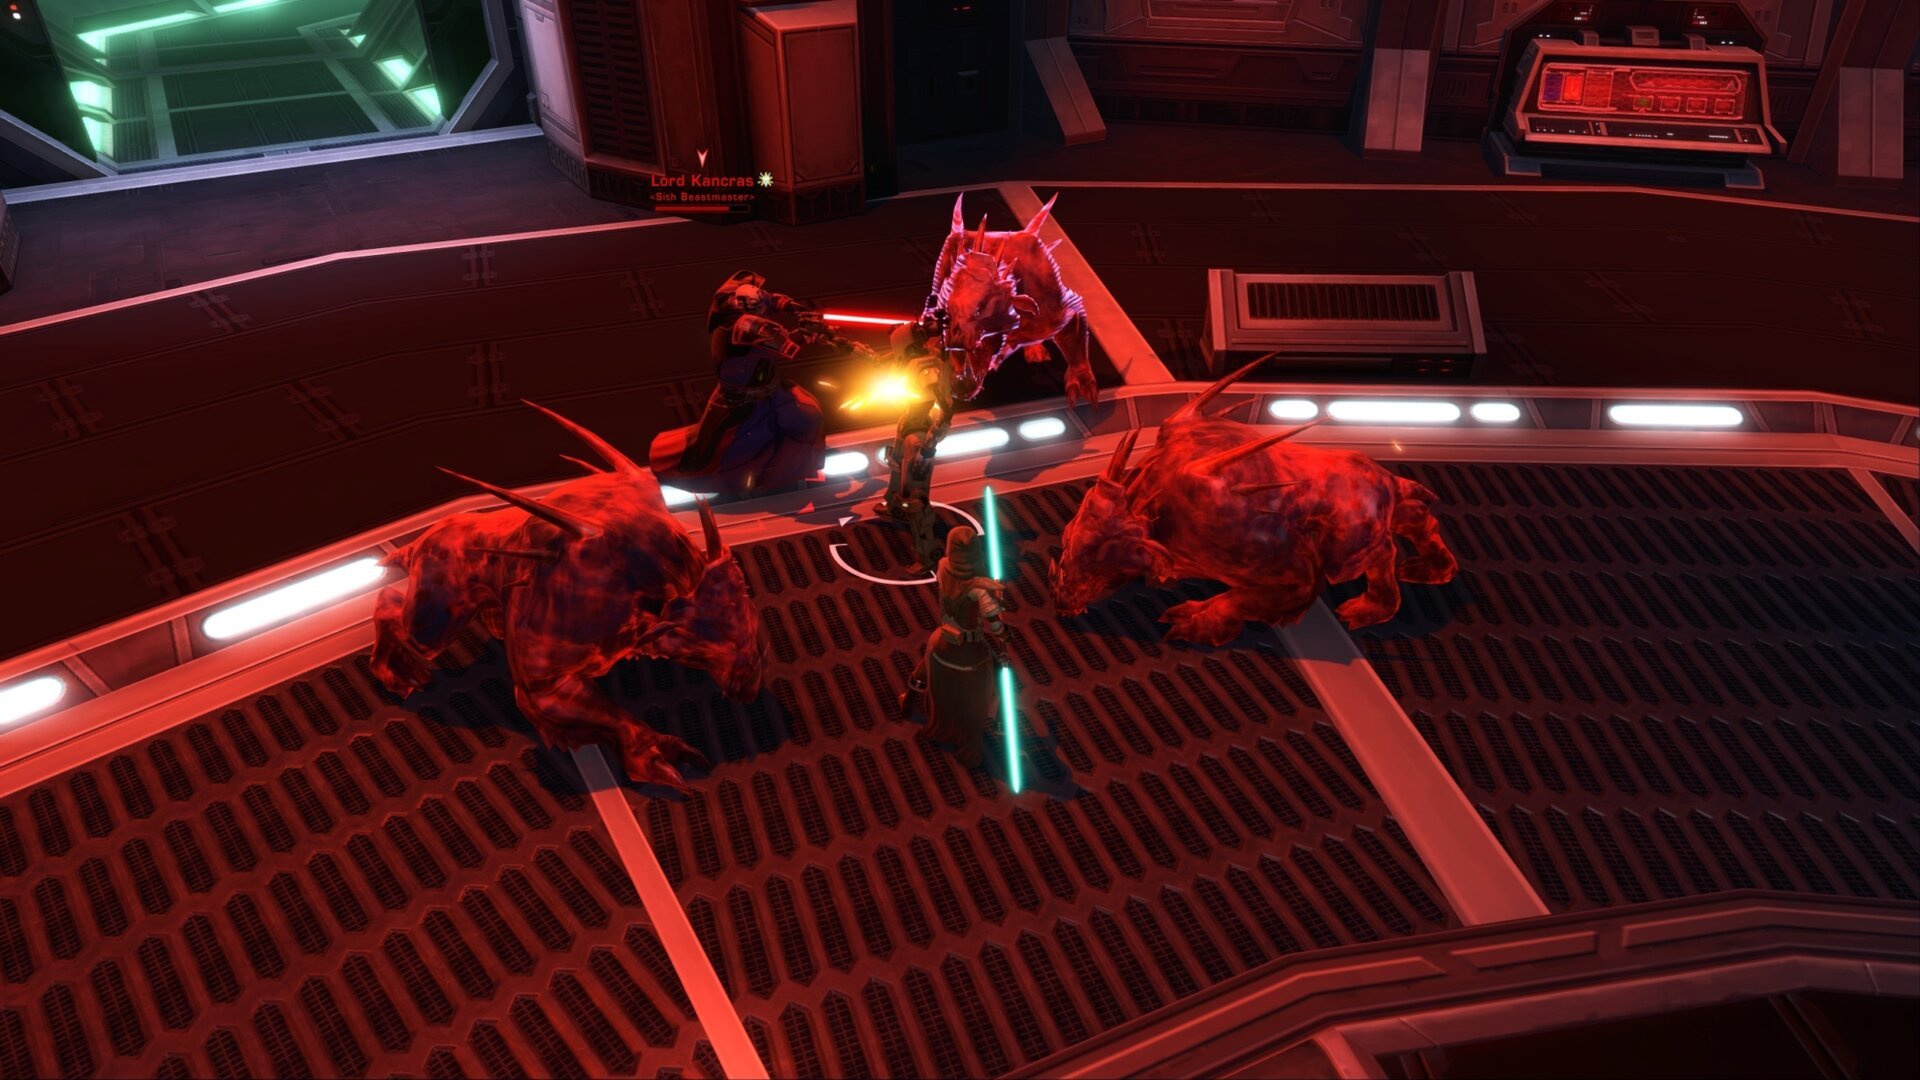
After defeating your 100th Imperial enemy, you’ll need to defeat 30 Unleashed Beasts. You’ll find the beasts around the Sith Asylum and at the start of the Station Core.
A good way to easily farm the unleashed beasts is to fight the bonus boss Lord Kancras. He’ll spawn an infinite number of beasts so long as he’s alive, so leave him alone in combat and keep defeating the beasts until you defeat 30.
Once you reach the Station Core, you’ll need to override 4 Containment Consoles. These consoles are easy to find as their location will be marked on your map. Be sure to clear out the enemies in the area to prepare yourself for the boss fight that’s coming up.
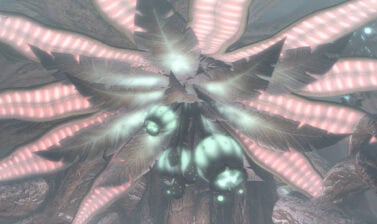
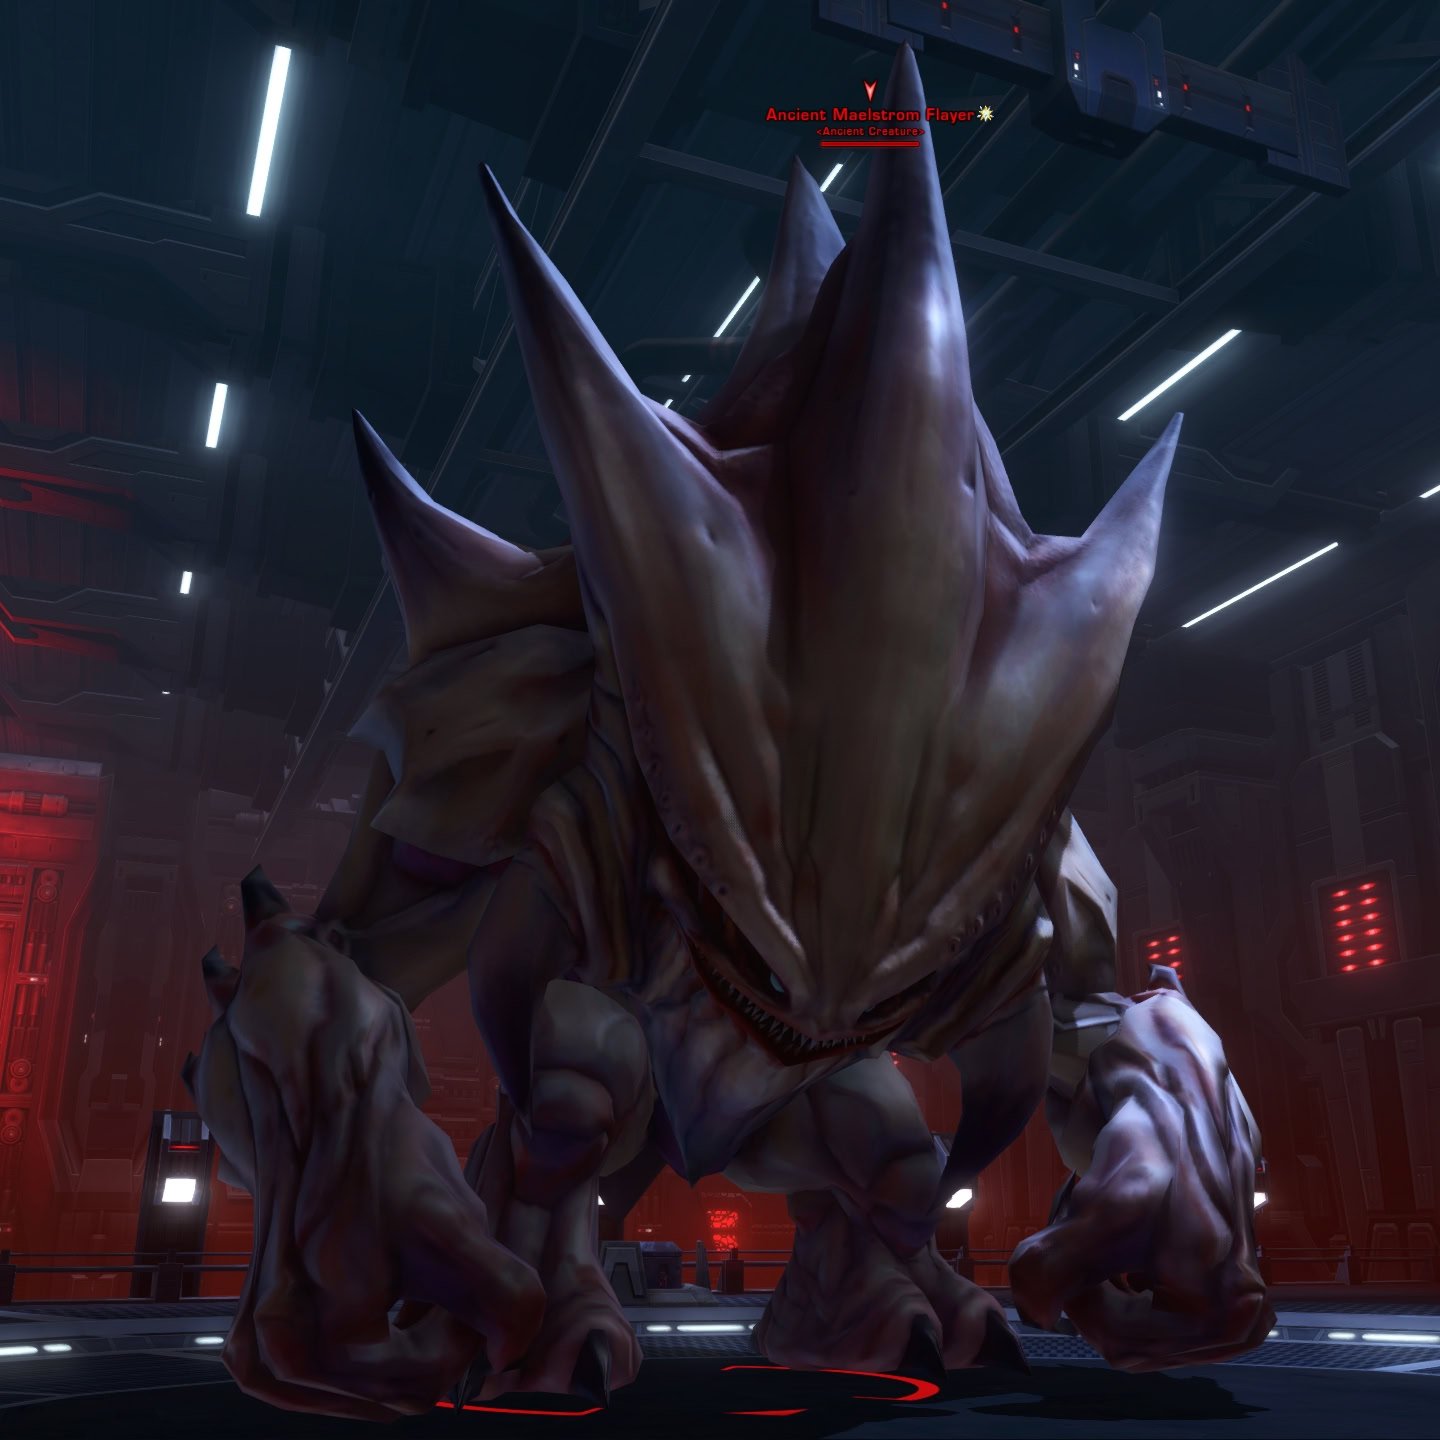
Bonus Boss: Ancient Maelstrom Flayer
The Ancient Maelstrom Flayer is an overgrown terentatek whose only defining feature is that he’s very big and beefy. At most he’ll knock up the group, so don’t fight close to the ledge.
Fortunately, the area you fight him in is very large so it’s very hard to mess this up. Tank and spank the boss then continue on to the final boss.
Veteran Mode Differences
There are no mechanical differences on Veteran Mode.
Master Mode Differences
There are no mechanical differences on Master Mode.
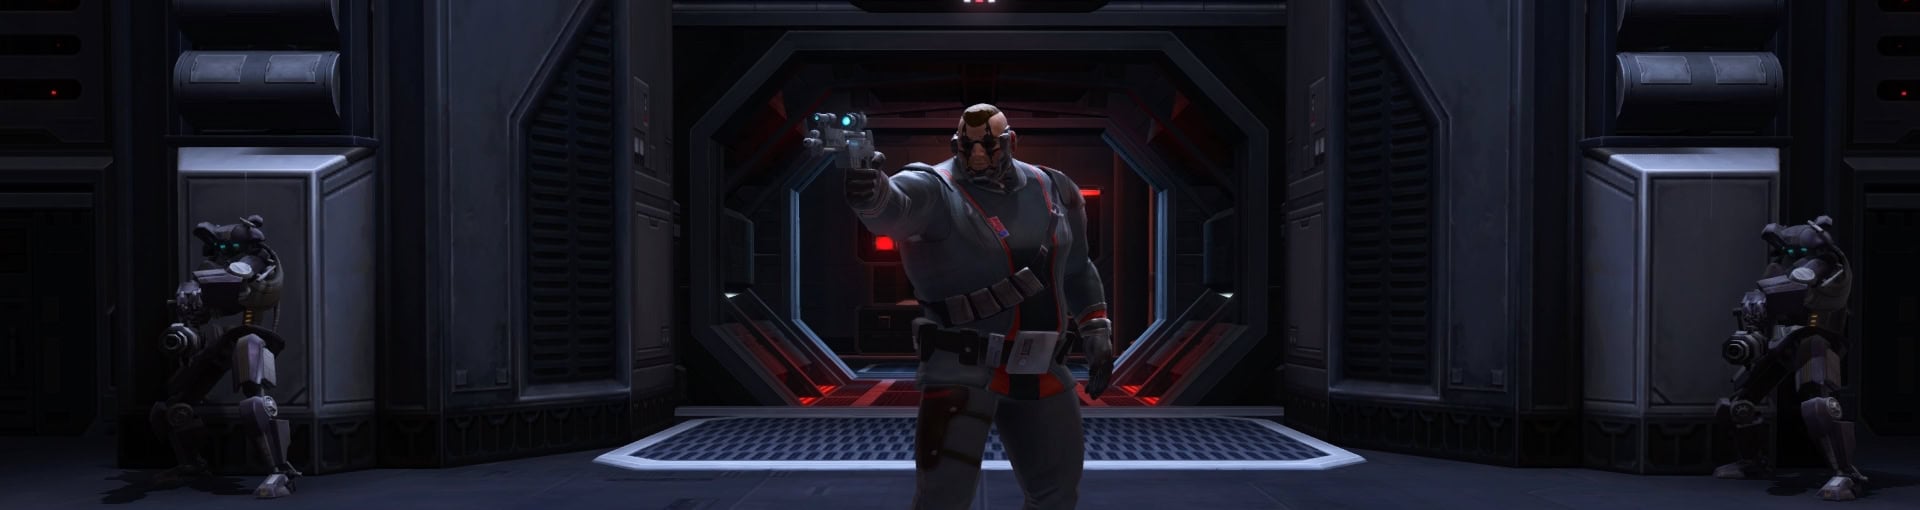
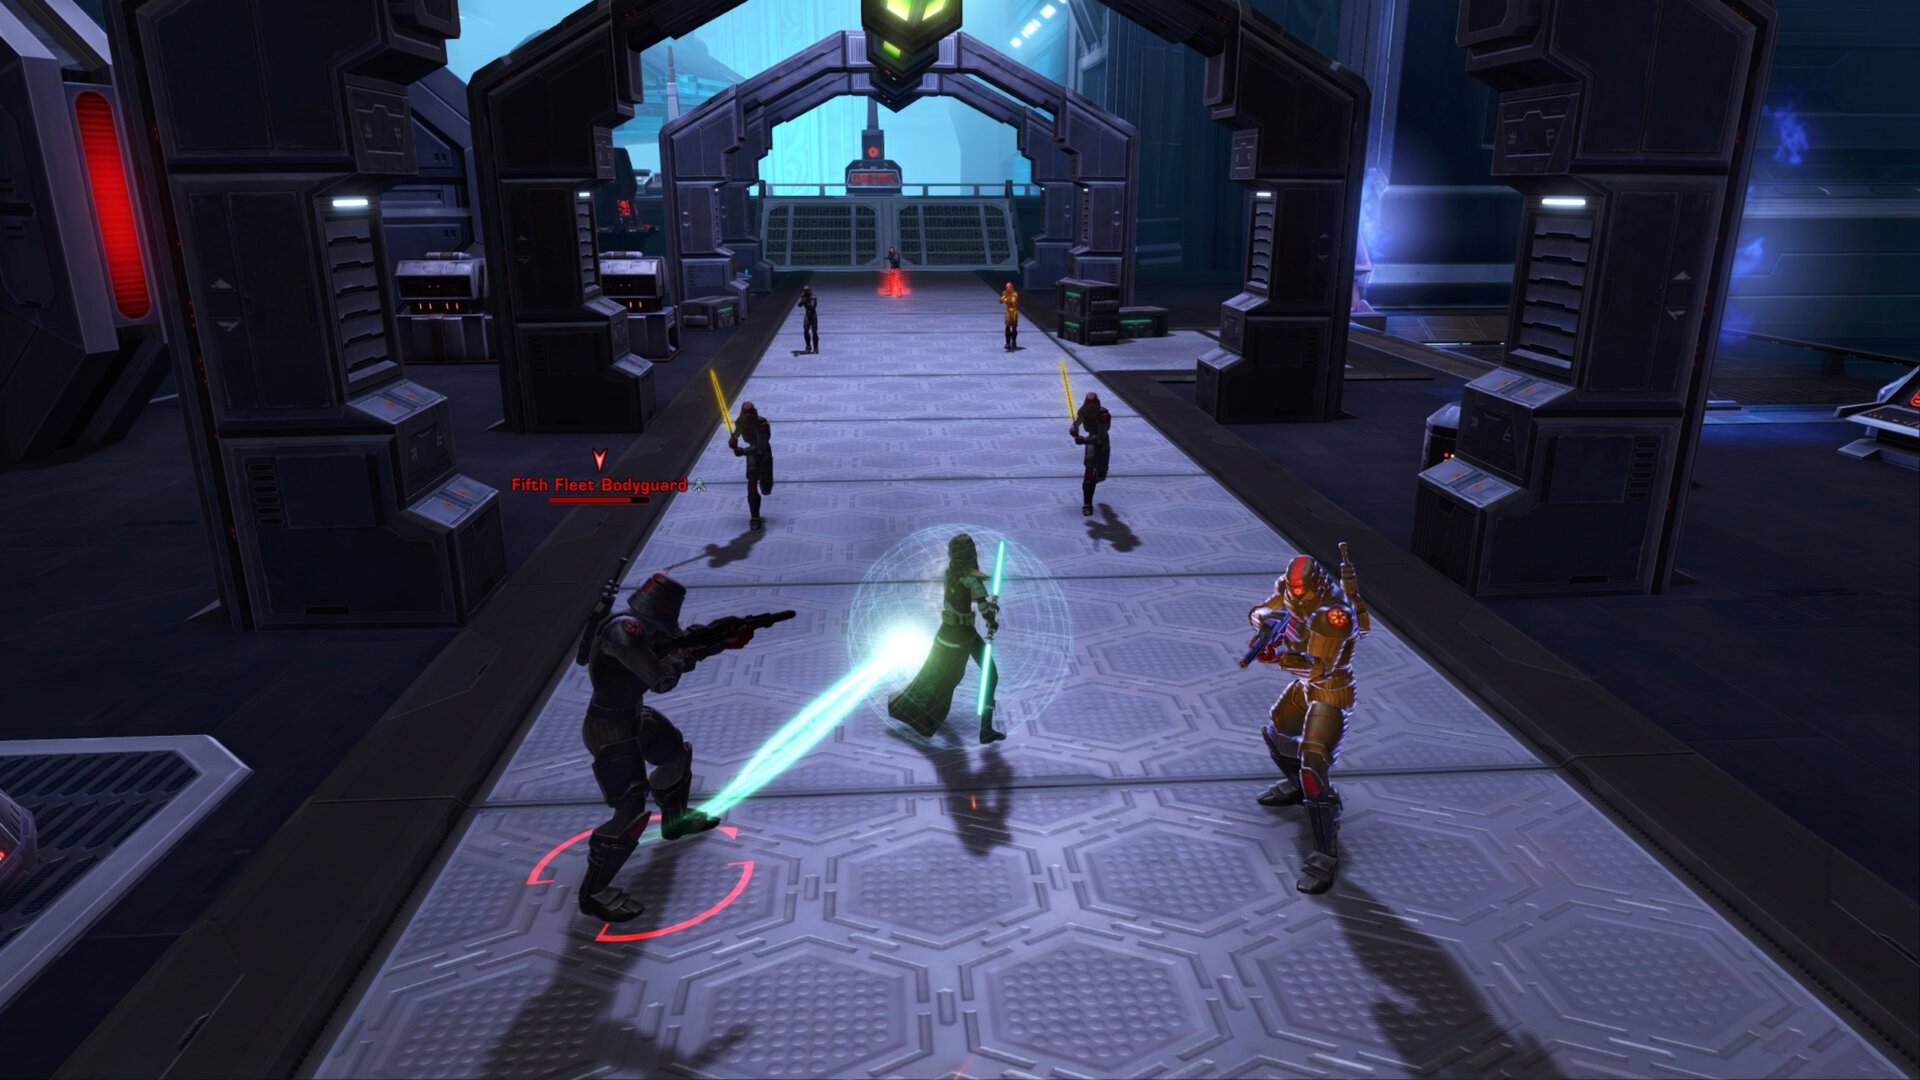
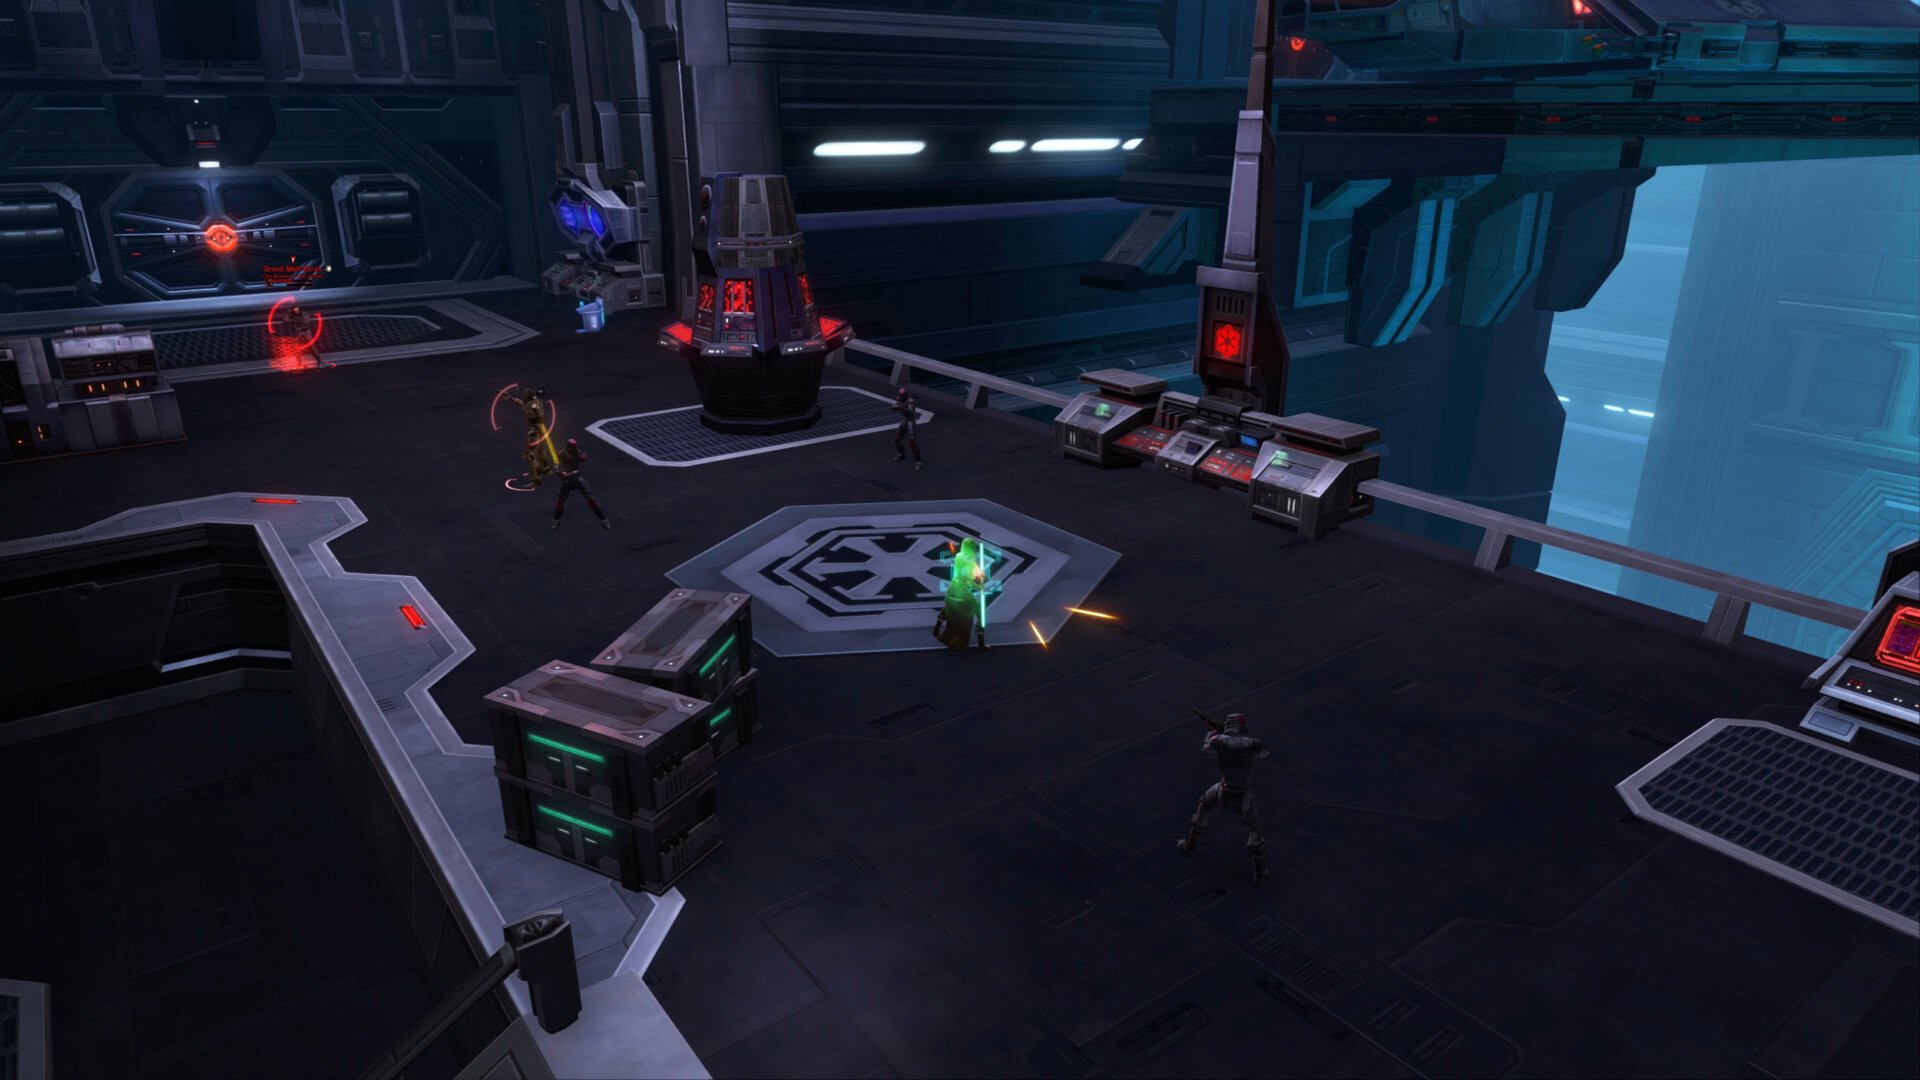
Final Boss: Grand Moff Kilran
The final boss fight is a familiar face, Grand Moff Kilran. This guy has been causing trouble for Republic characters since The Esseles flashpoint.
One can imagine that Imperial players would also want a go at Kilran after he coerced them to do his bidding in The Black Talon Flashpoint.

This fight is very simple as Kilran will use a flashbang to disappear and reposition down the path. He’s armed with a sniper rifle so he’ll be able to attack you while he sends adds your way. His shots are capable of reducing your movement speed by 50%, stunning you, or knocking you back, but never stop trying to get on top of him.
While Kilran has cover, he’ll be under the effects of the Defense Screen Projector buff. This allows him to reduce all incoming damage from ranged attacks, this includes ranged Force and Tech attacks. To pull him out of cover, get within melee range of him so he loses cover and he’ll fight without it for a bit.
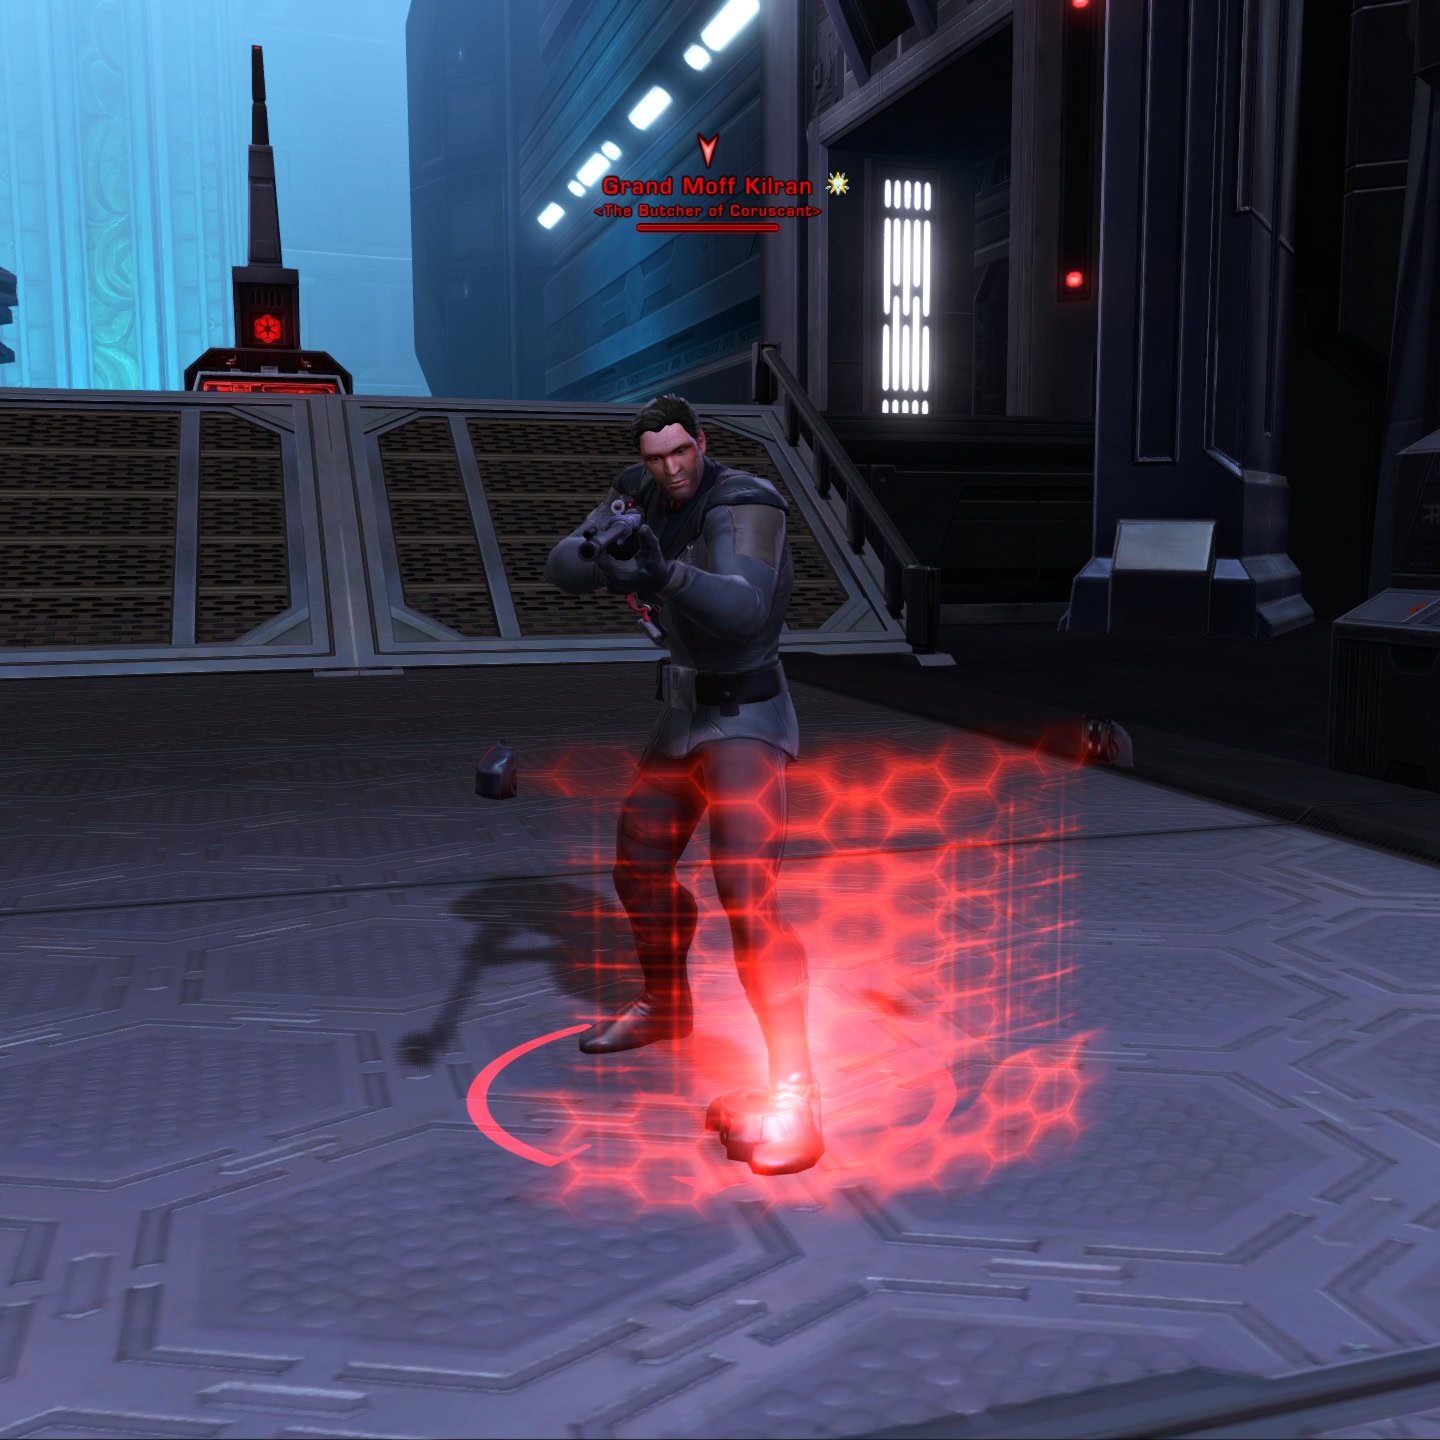
When Kilran hits 50% hit points, he’ll use another flashbang to disappear and reposition. Defeat the adds, get on top of Kilran to bring down his cover, and finish him off. Free the Jedi prisoner, watch a cutscene, and complete the flashpoint!
Veteran Mode Differences
There are no mechanical differences on Veteran Mode.
Master Mode Differences
There are no mechanical differences on Master Mode.
Achievements for Maelstrom Prison
The majority of the achievements for this flashpoint are for defeating the bosses 1 time, 10 times, and 25 times. Though here are two that grant item rewards:
Defeat Grand Moff Kilran (Veteran Mode)
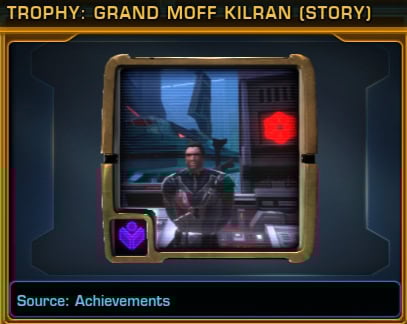
Defeated Grand Moff Kilran in the “Maelstrom Prison” flashpoint.
You’ll gain the Grand Moff Kilran (Story) Trophy Decoration.
Elite: Take No Prisoners (Master Mode)
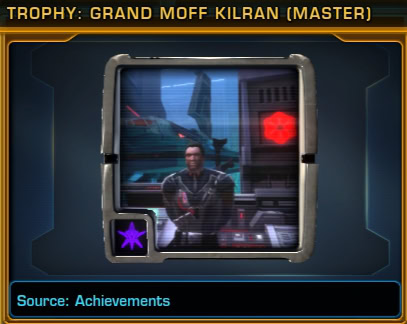
Defeated all bosses in the “Maelstrom Prison” flashpoint 25 times on master mode.
You’ll gain the Grand Moff Kilran (Master) Trophy Decoration.
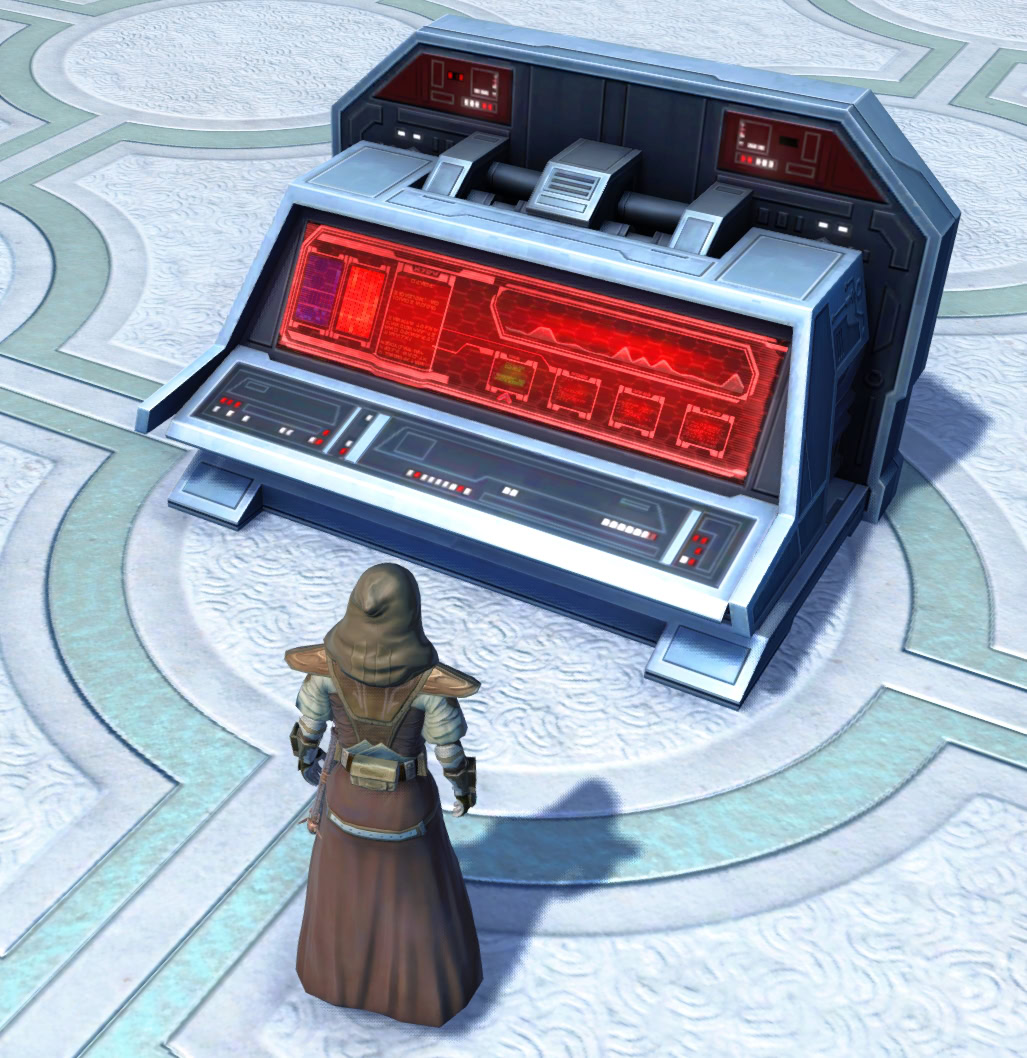
Decoration Drop
The bosses in Maelstrom Prison have a chance to drop the Computer Desk (Imperial) decoration. This will fit in a Medium or Narrow decoration hook.
Completing Maelstrom Prison on Story Mode guarantees this decoration upon completing the mission.