
SWTOR’s Game Update 7.6 comes with a new lair boss on Ilum called the Propagator Core XR-53. It’s available on the PTS right now in Story Mode, and after a thorough investigation, I’m sharing my findings and first impressions.
Our complete Propagator Core XR-53 Boss Guide is now available!
Table of contents
The new lair boss on Ilum coming with Game Update 7.6 “Galactic Threads”, is available to test on the PTS. Right now, it’s only available in Story Mode, but is currently scheduled to become available in Veteran Mode at the beginning of November.
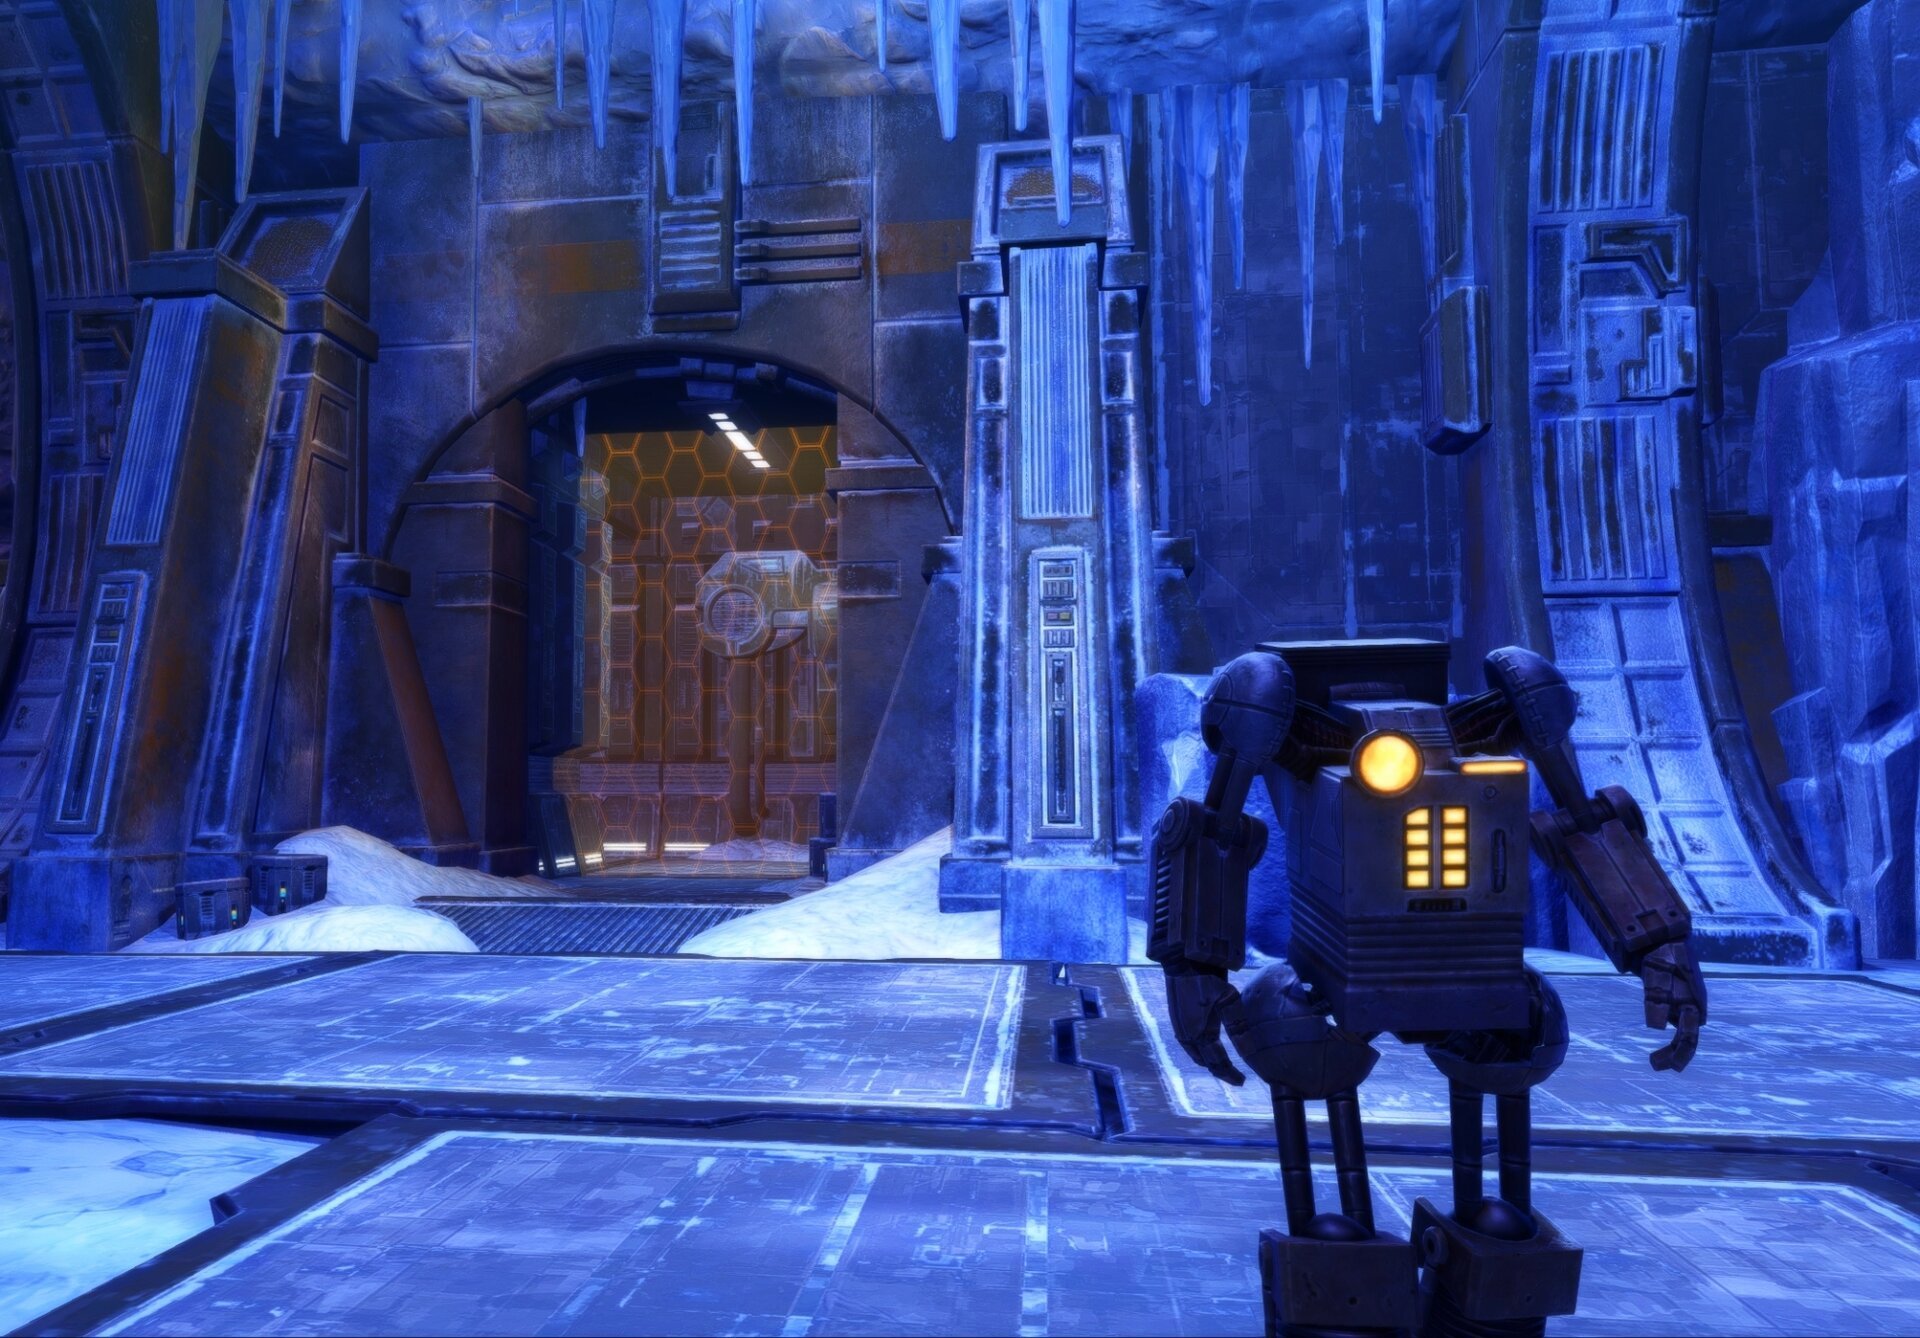
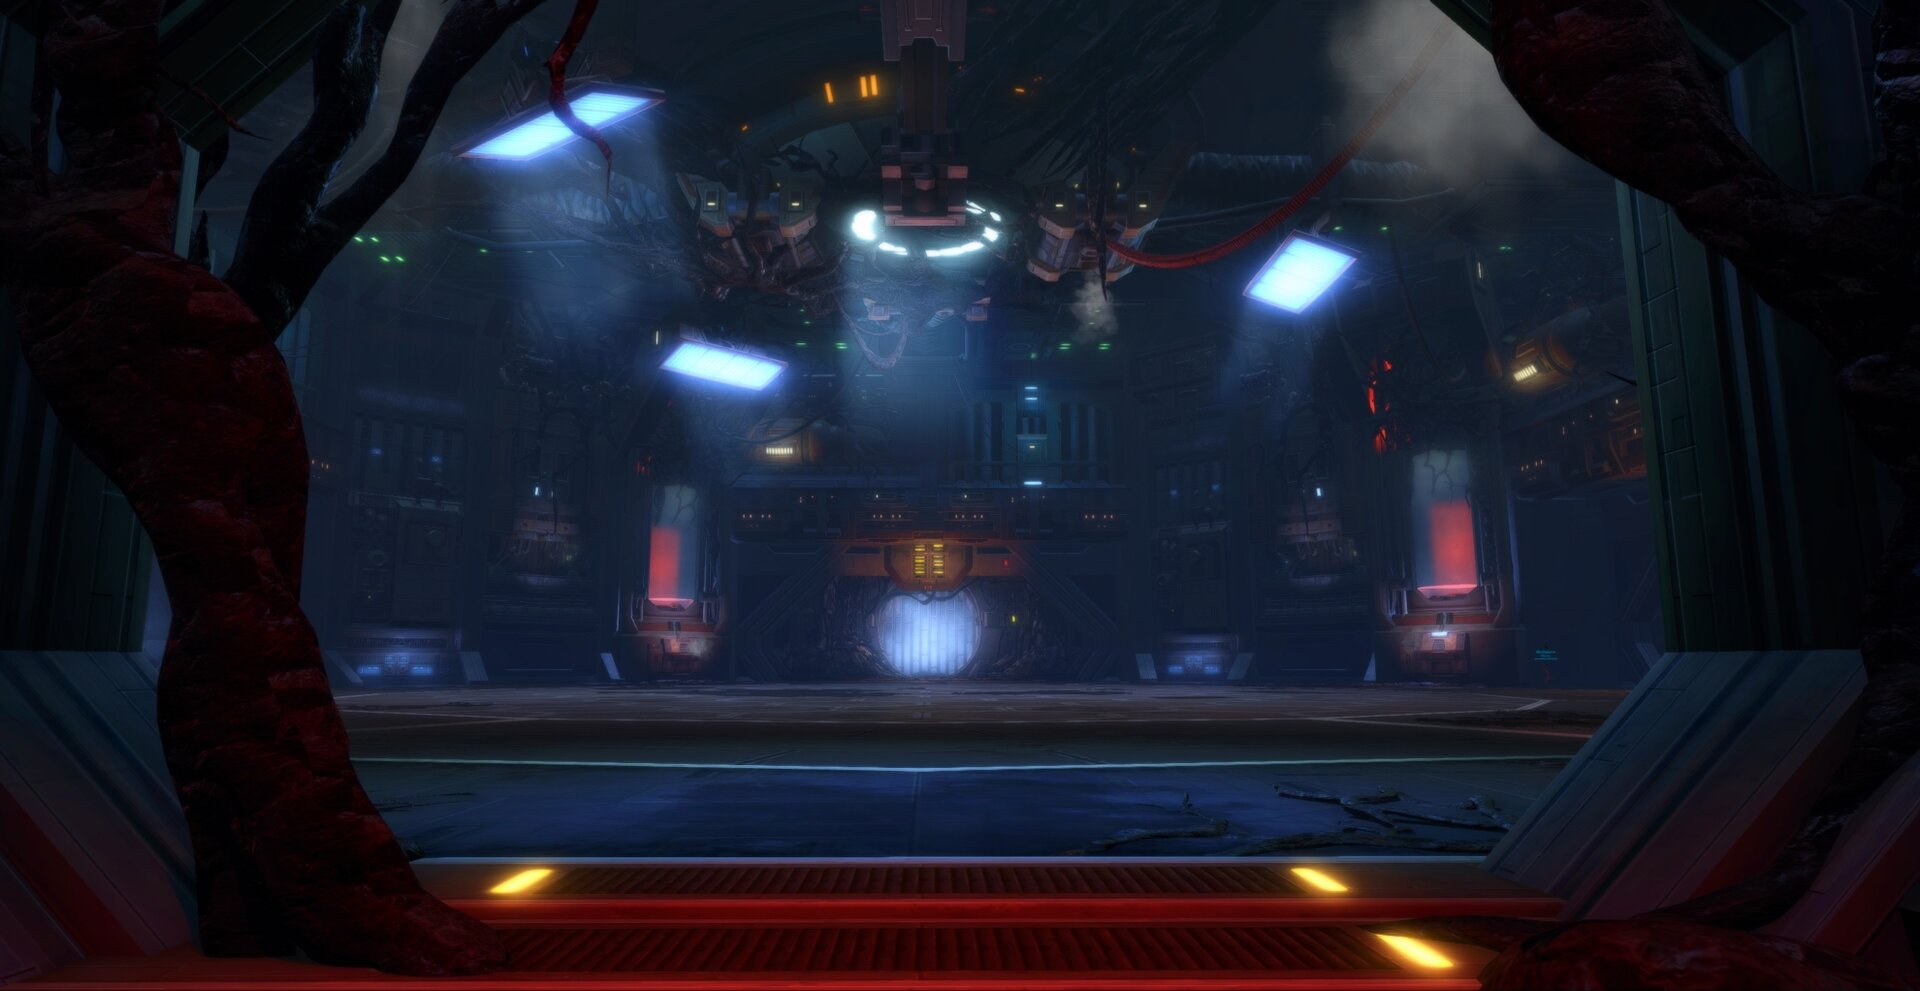
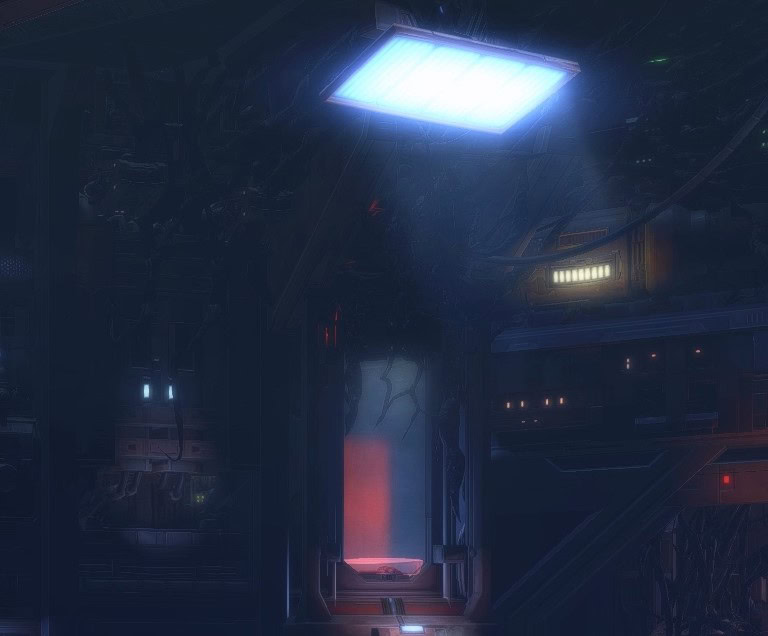
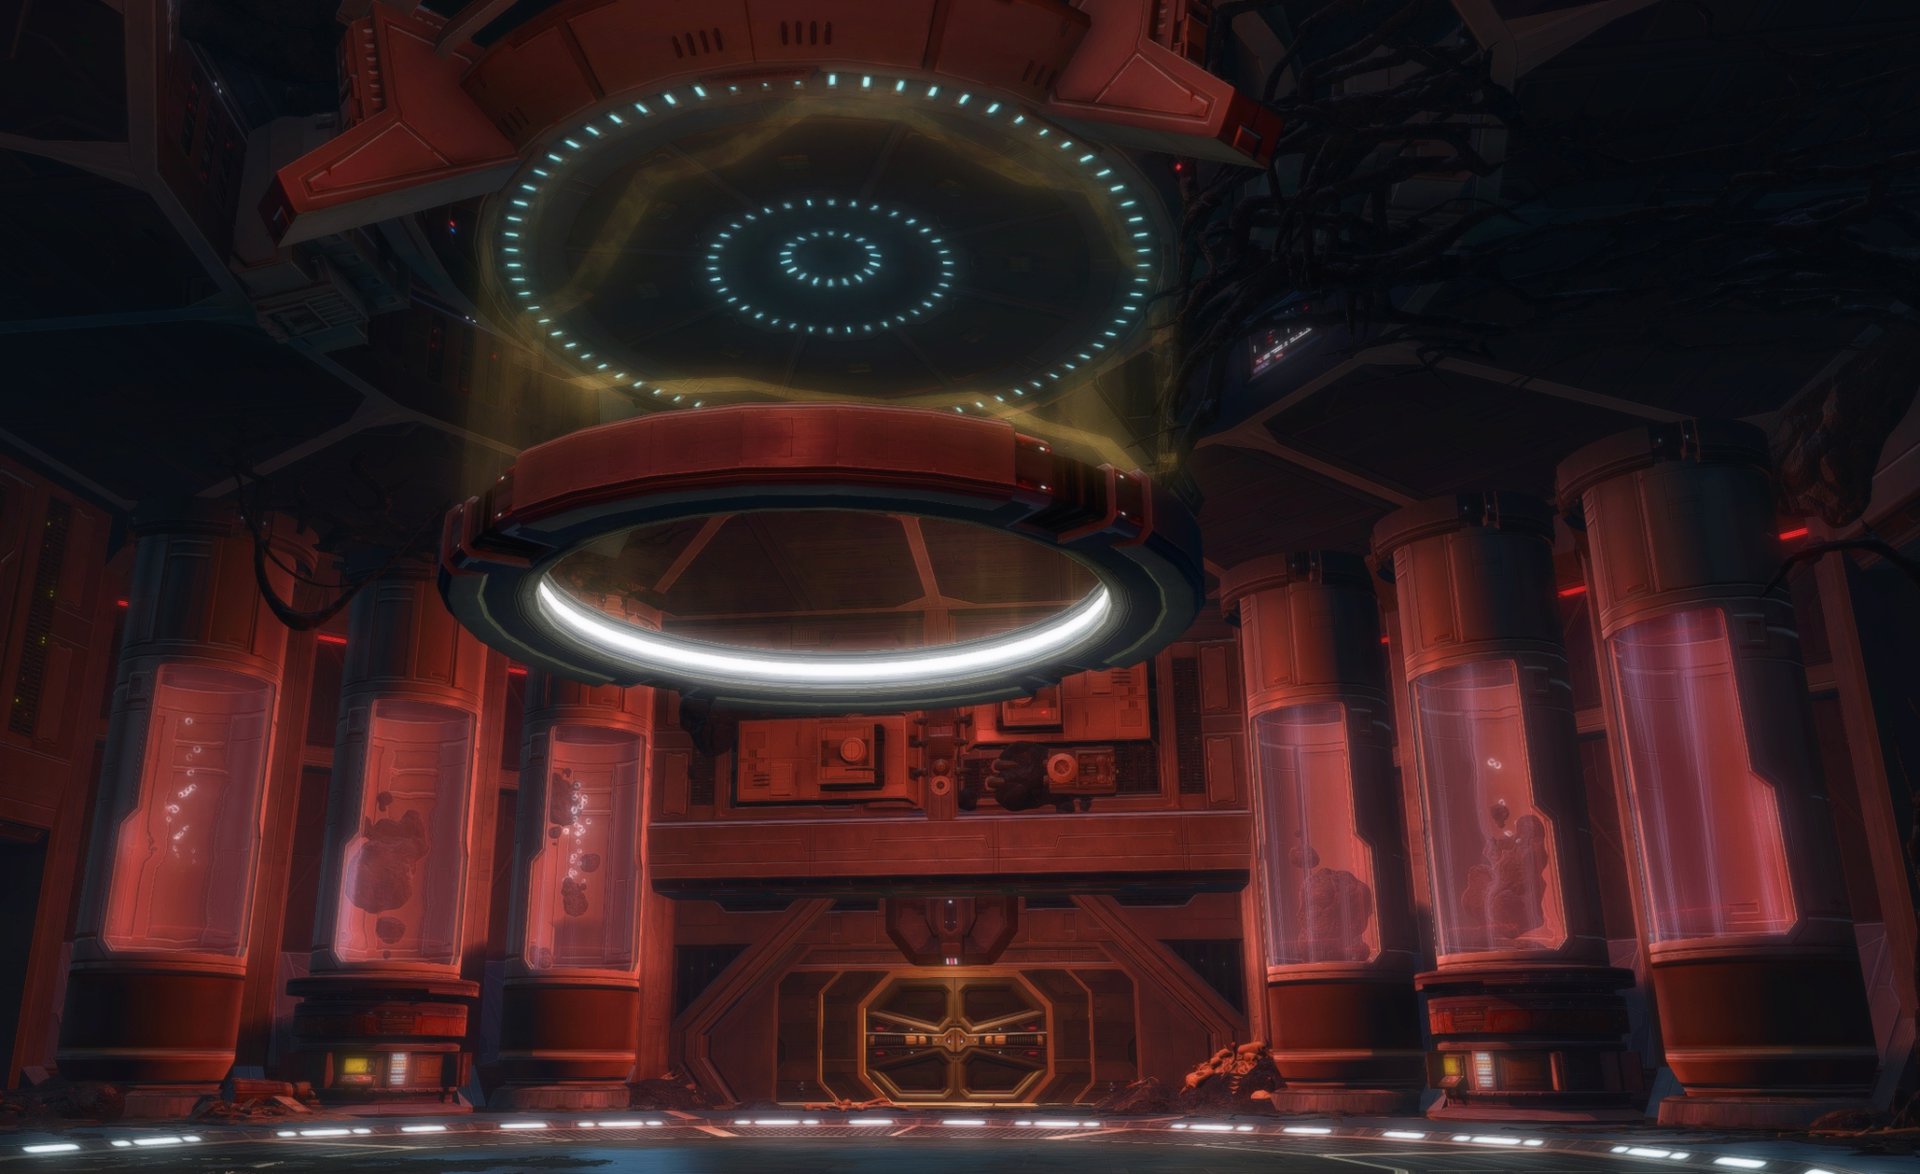
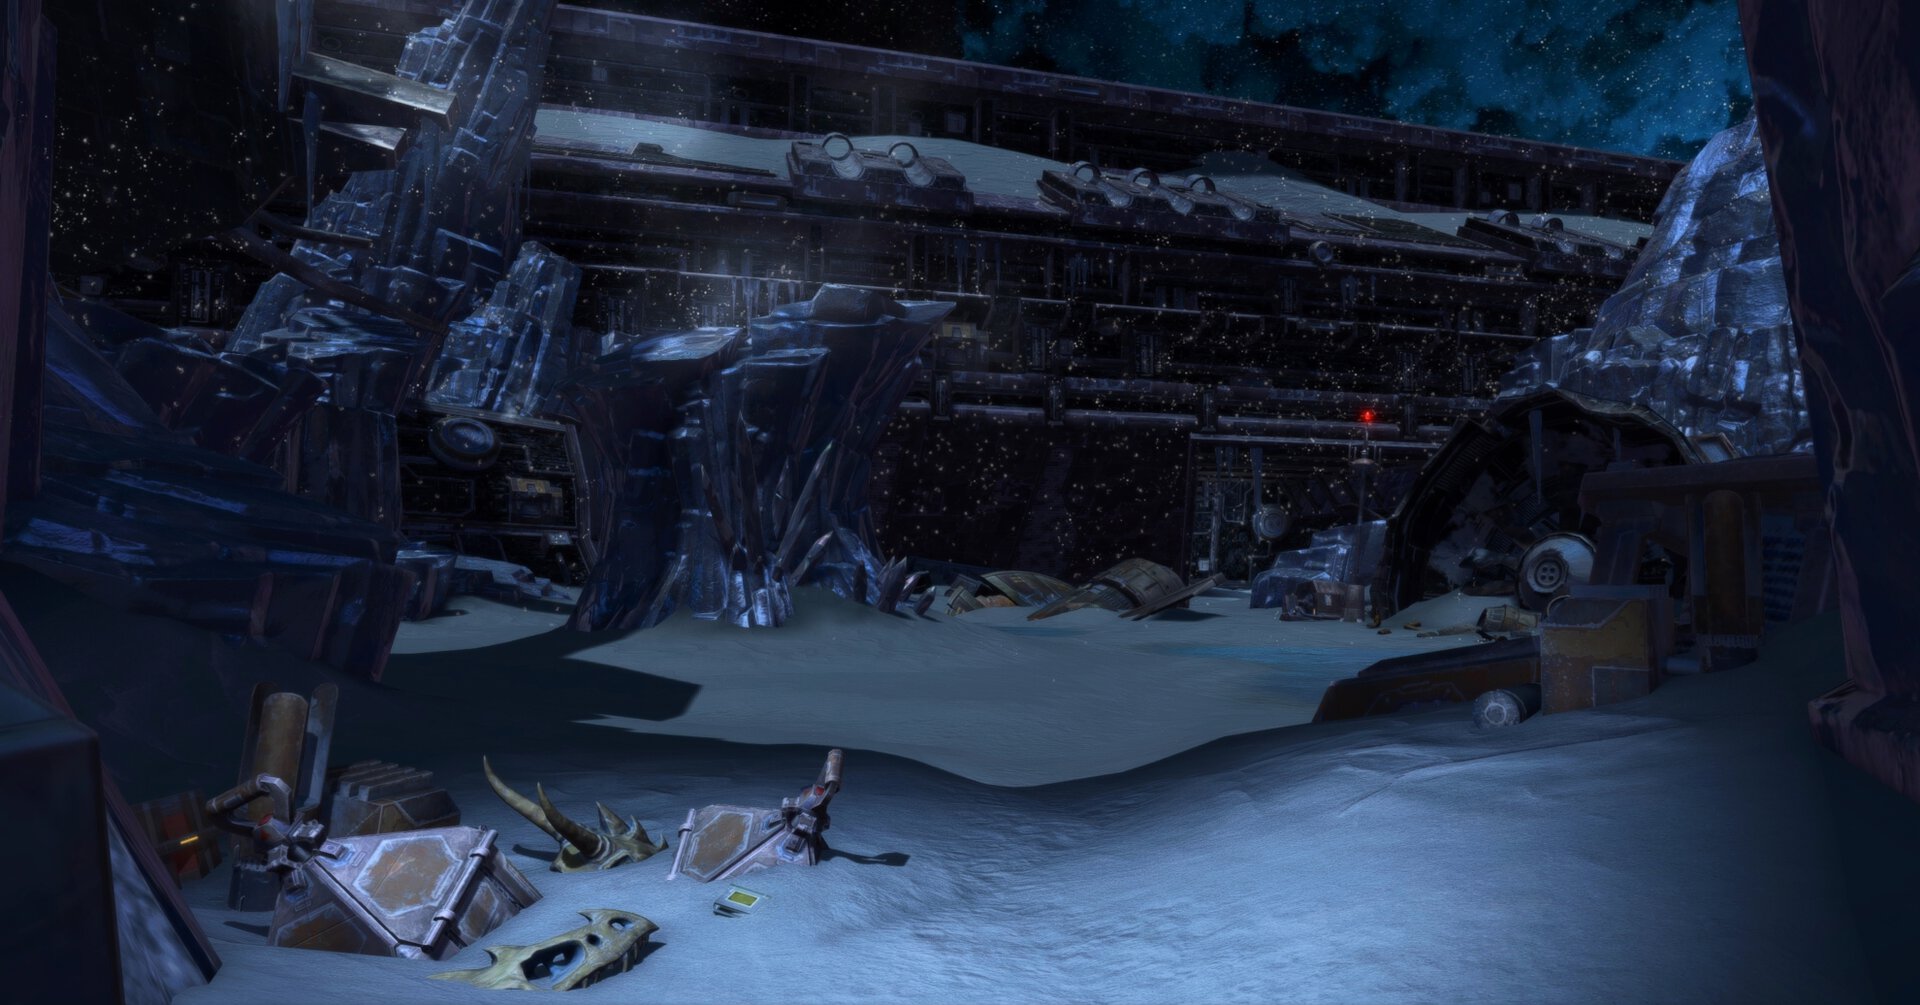
The Propagator Core XR-53 was installed inside a piece of the False Emperor’s space station that has become active again after crashing down on Ilum following Malgus’ failed coup all those years ago.
It’s a positioning-focused fight that combines a ton of familiar mechanics from the most played bosses in modern SWTOR. There are a ton of adds as well, but it doesn’t feel right to call it an add fight.
What Are Lair Bosses
For those who aren’t familiar, lair bosses are singular, instanced boss fights located on planted, basically a cross between an operations (raid) boss and a world boss. SWTOR’s lair bosses include:
- Xenoanalyst II (Gray Secant, Ilum)
- The Eyeless (Rakghoul Tunnels)
- Golden Fury (Toborro’s Courtyard, Makeb)
- Colossal Monolith (Ziost)
- Geonosian Hive Queen (Ossus)
- Propagator Core XR-53 (Ilum)
Lair bosses balanced to require 8 players in a standard composition of 2 tanks, 2 healers, and 4 DPS, though many groups prefer to use 1 tank and 5 DPS whenever possible in all 8m content.
They’re structurally no different from operations bosses, though they only ever exist in Story Mode (SM) and Veteran Mode (VM/HM), not Master Mode/Nightmare (MM/NiM). However, they tend to be more unforgiving than operations bosses at equivalent difficulties.
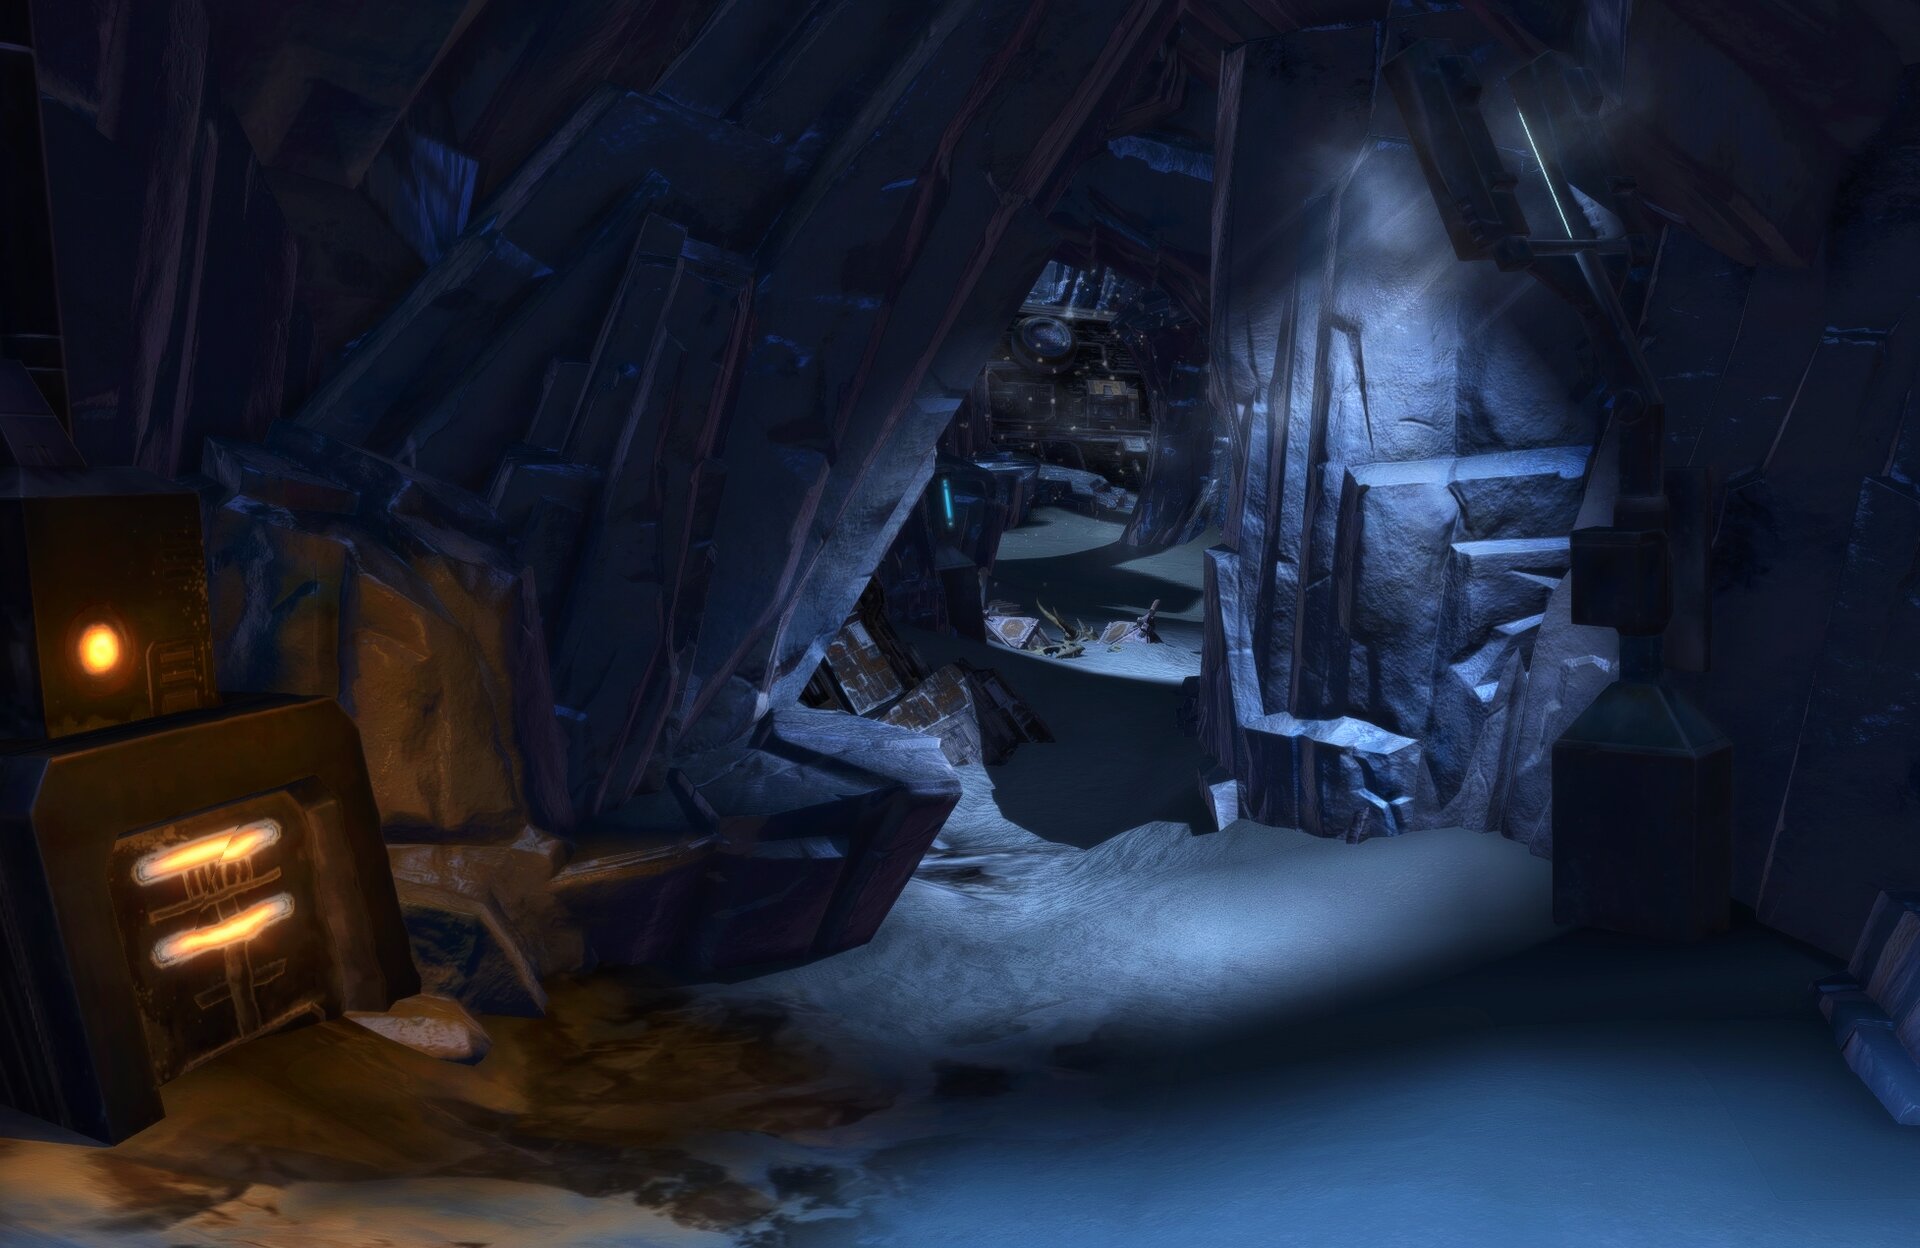
Propagator Core XR-53 Locations
The Propagator Core XR-53 entrance to the instance is located inside each faction’s Base Camp on Ilum. Since the entrance is fully integrated into each base, I am confident that this is the permanent entrance, not a temporary one only used for the PTS.
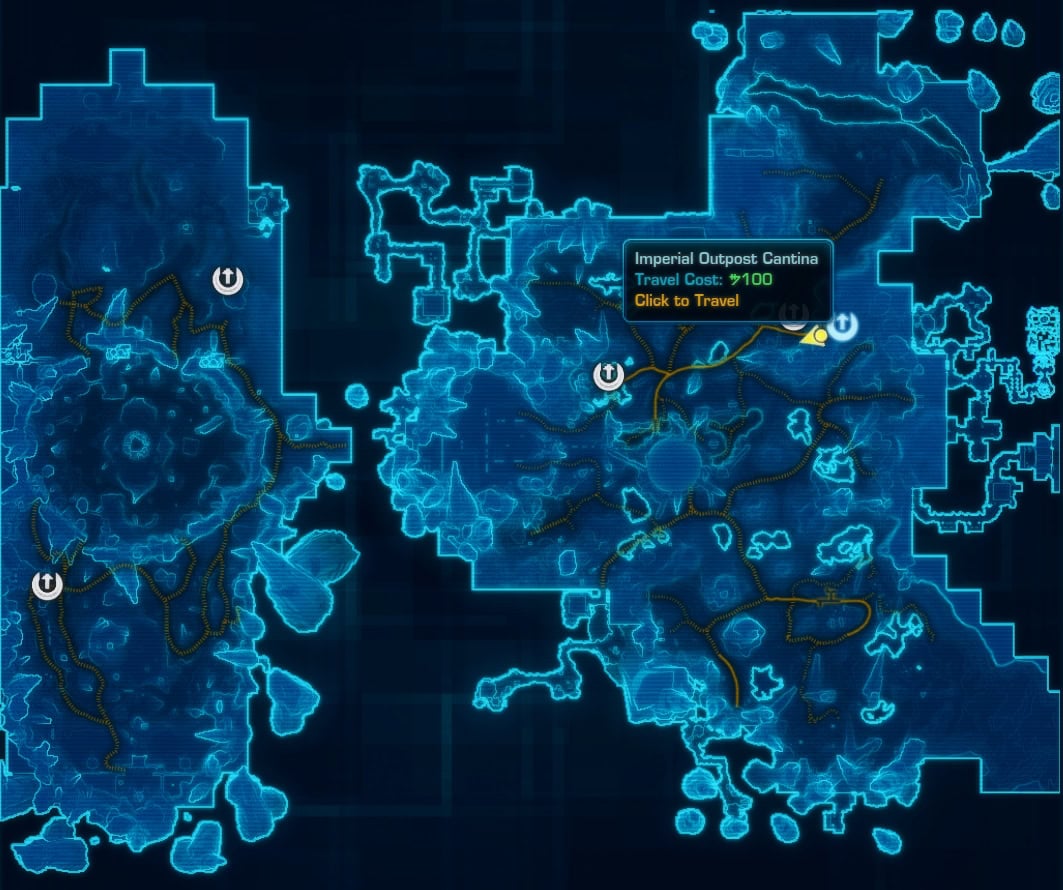
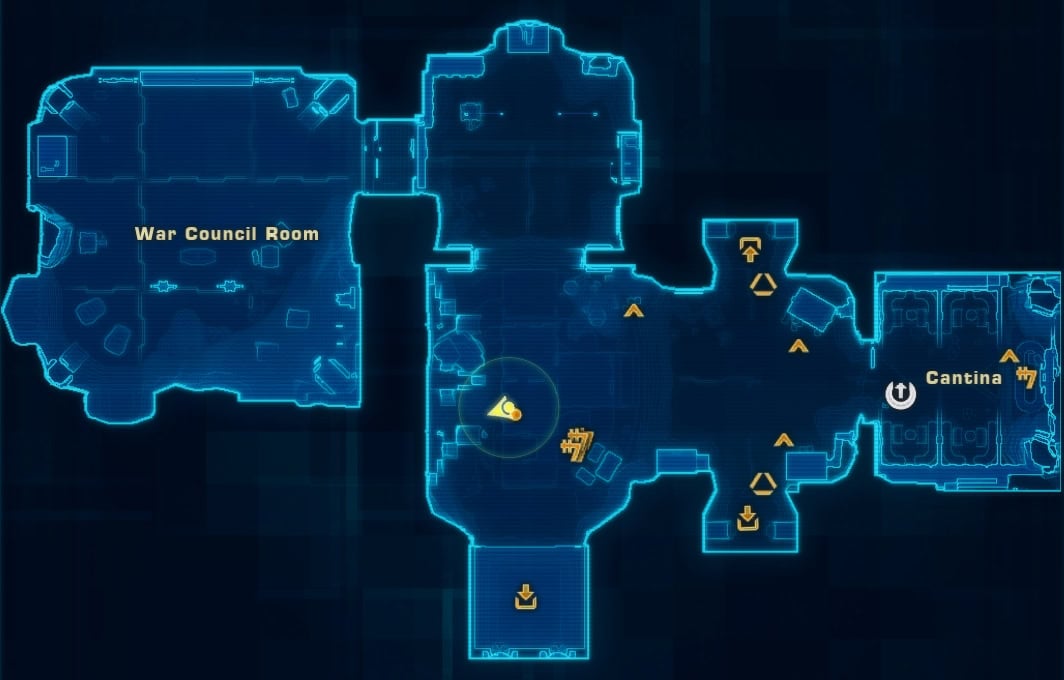
Imperial Location
The Imperial entrance to the Propagator Core XR-53’s lair is located next to the Mailbox on the underground level of the Imperial Outpost on the Eastern Ice Shelf on Ilum. The closest Quick Travel point is the Imperial Outpost Cantina.
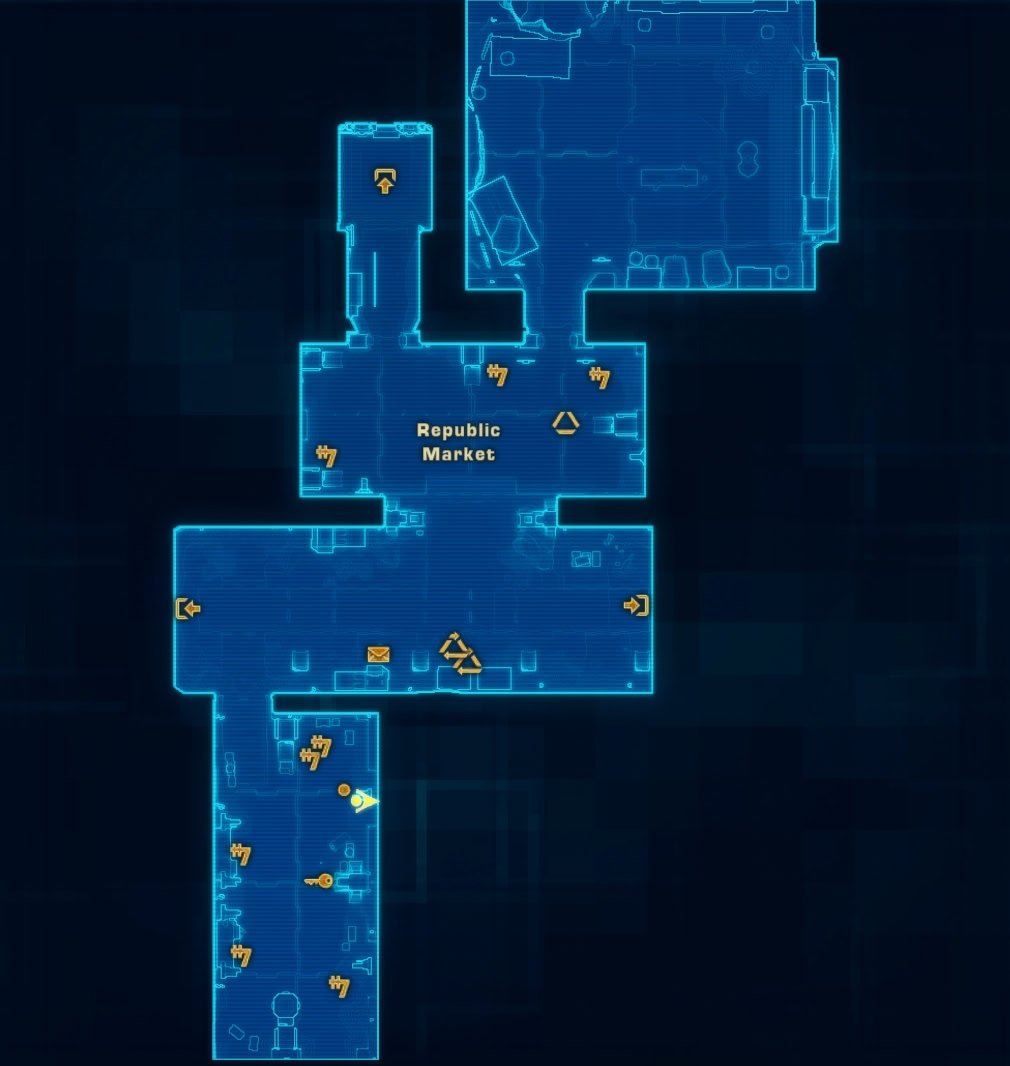
Republic Location
The Republic entrance to the Propagator Core XR-53 lair is located next to the Cargo Hold on the main level of the Republic Outpost on the Eastern Ice Shelf on Ilum. The closest Quick Travel point is the Republic Outpost (not Cantina).


Propagator Core XR-53 Mechanics
Propagator XR-53 is extremely similar to The Eyeless in every regard, including mechanics, fight structure, and pacing.
Every mechanic from VM Eyeless is present in SM Propagator Core in some capacity. However, the Rakghouls are far less dangerous and the green plague circles don’t stick around as the acid does. You also have to be more precise with kiting the Propagator Core in circles, as the boss frequently stops to cast.
The droid is designed to create new constructs using existing organic materials, though its art was incomplete and only made droids. I think they’re going for the fear behind a sentient swarm of robots, like the ones that devoured Earth before the events of Horizon: Forbidden West.
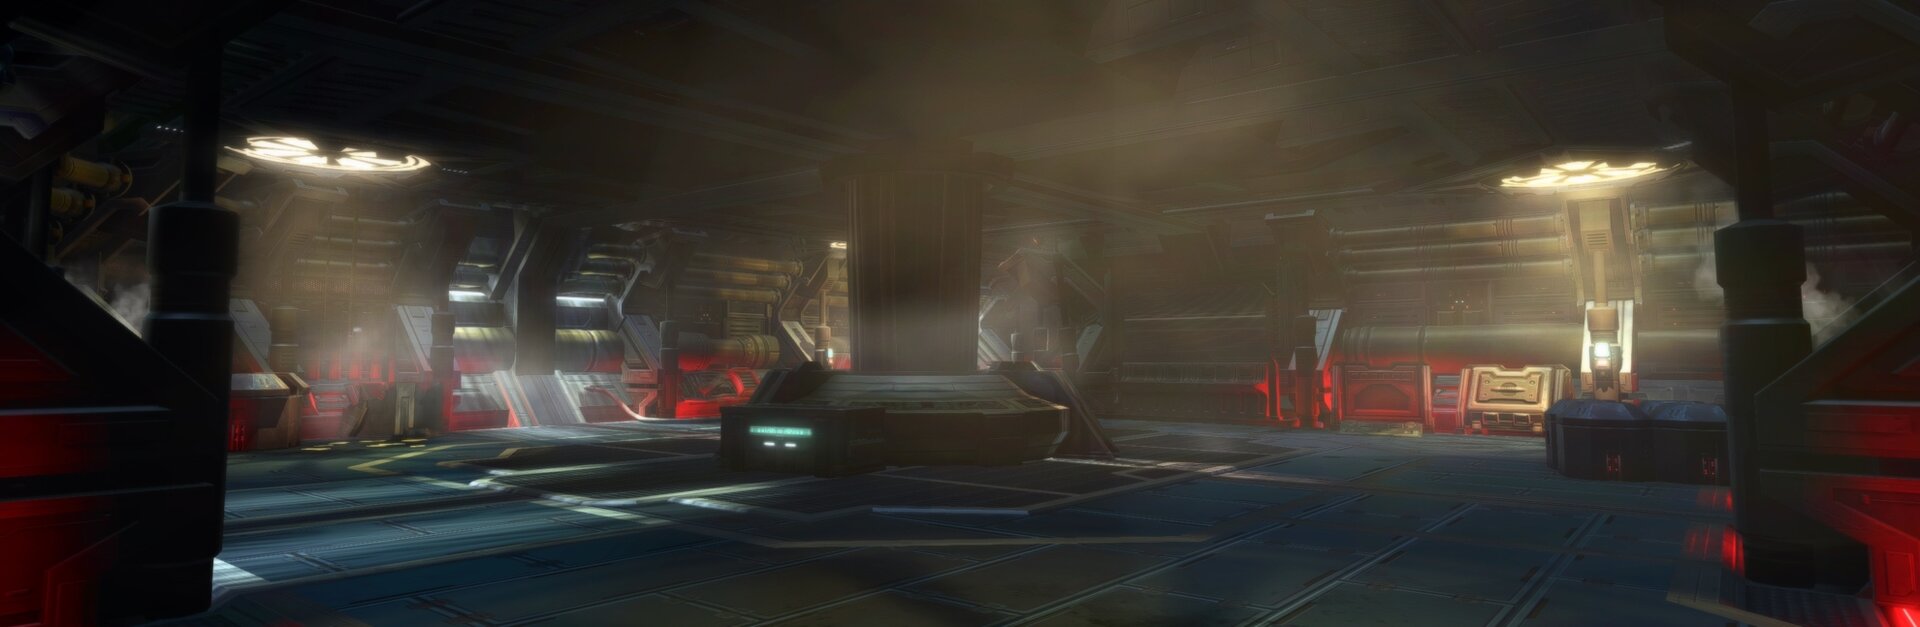
It’s thematically reminiscent of The Foundry as well, and while its technology was integrated into the space station, the interior shows no signs of Rakatan technology whatsoever. Given the Propagator Core XR-53 codename is Fleshdroid, I don’t think that’s what the devs are going for.
There currently isn’t any trash within the numerous rooms inside the instance on the PTS, though it’s built the same way as the Geonosian Hive Queen’s Lair, so there will be trash on the Live server.
Imperfect Creations and Acid Pools
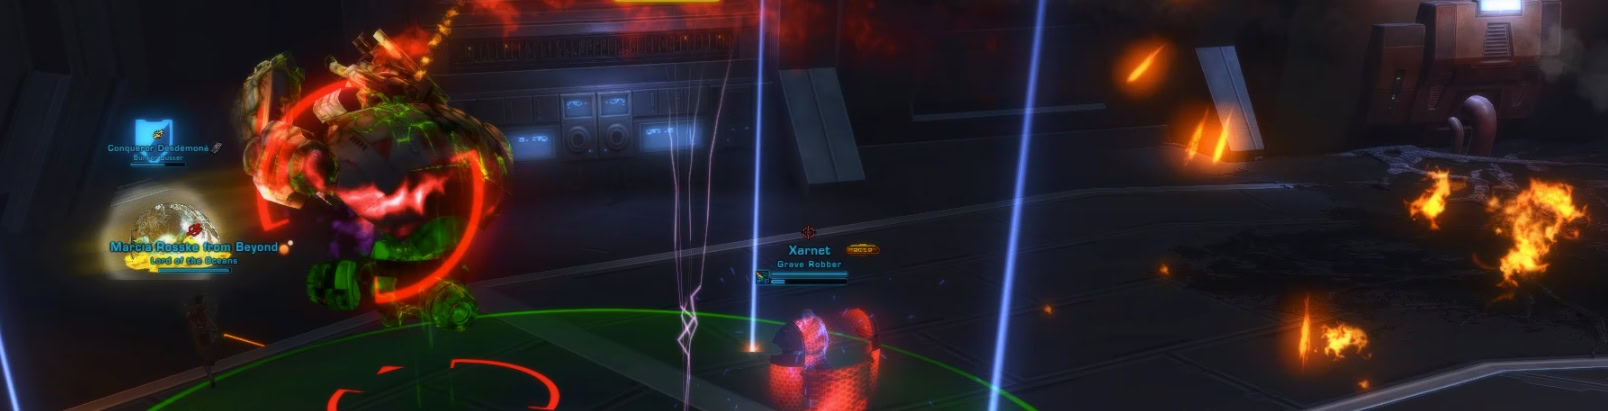
The most significant mechanic of the Propagator XR-53 are its Imperfect Creations, a stream of constantly spawning kamikaze adds a` la Nefra.
These adds spawn every ~8s, immediately leap to a random player, begin casting Imperfect Explosion, which detonates 15s later in a 10m radius and leaves behind a pool of acid, covering the entire blast radius. The acid they leave behind seems to be permanent.
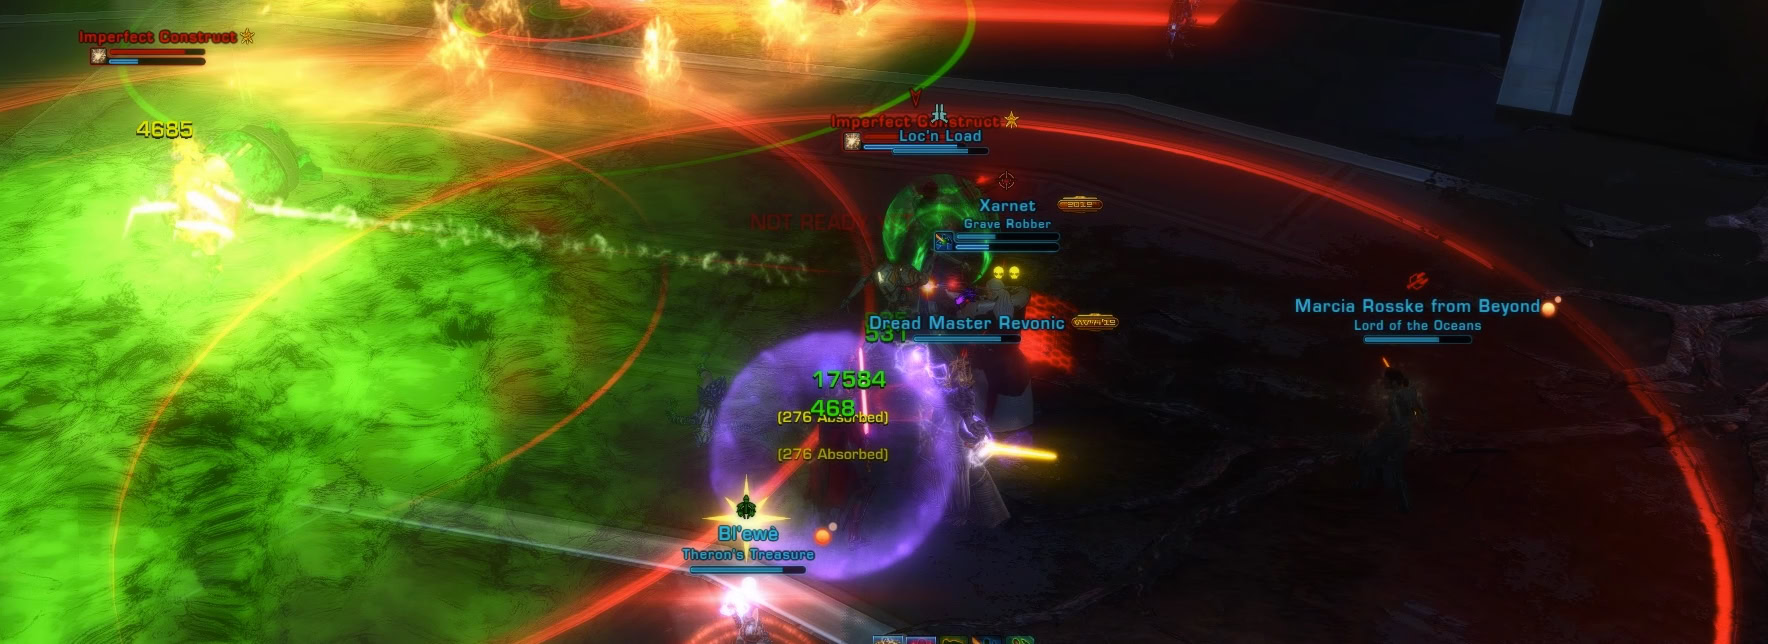
Standing in the acid applies a weak but high-stacking DoT debuff called Digestive Enzymes. You can run through it and even stand in it for a little bit, but it does start to hurt eventually. You have to be careful because once you feel the acid start to burn, it will remain burning.
Remember, the Empire does not abide by OSHA, so there are no eyewash stations or aboard the Emperor’s space station, as they are not required by law.
You can hurt the droids, and I’ve heard that some groups have managed to defeat them with insane amounts of DoT spread, but I don’t think this will be possible for most groups because they have a ton of health.
They also spawn from too far away and engage too quickly to reliably have someone sit out to aggro them. In other words, you can only stack them up and move the entire group away before they explode.
Dealing with these droids is the most challenging part of the fight, as the boss has a ton of HP and the acid doesn’t disappear, so you need to defeat the Propagator Core before you run out of space.

The trick is to always stand in the red circle of the droid that spawned most recently and move to the next droid’s circle as soon as it appears.
If everyone does this, the puddles will be sufficiently stacked up and you’ll have space for the end of the fight where the Propagator Core runs out of biomass and stops spawning Imperfect Constructs.
Harvesting Materials, Prime Directive, and Recovery Protocol
This mechanic is the most complicated. In a nutshell, the boss builds stacks that correspond to amount of fluid and biomass in the vats around the outside of the room. When the vats full up, the boss uses it to spawn a stronger add that you have to take down. The boss is immobile the entire time.
Now that you see the big picture, we can go through the individual components that make up this mechanic, including the vats, Harvesting Biomass, Prime Directive, Regeneration Protocol, and the add.
There are 4 vats around the outside of the room. Throughout the fight, these vats fill up with fluid in 25% increments and correspond to the number of Harvesting Materials buff stacks (1 stack = 25% full, 2 stacks =50% full, etc.).
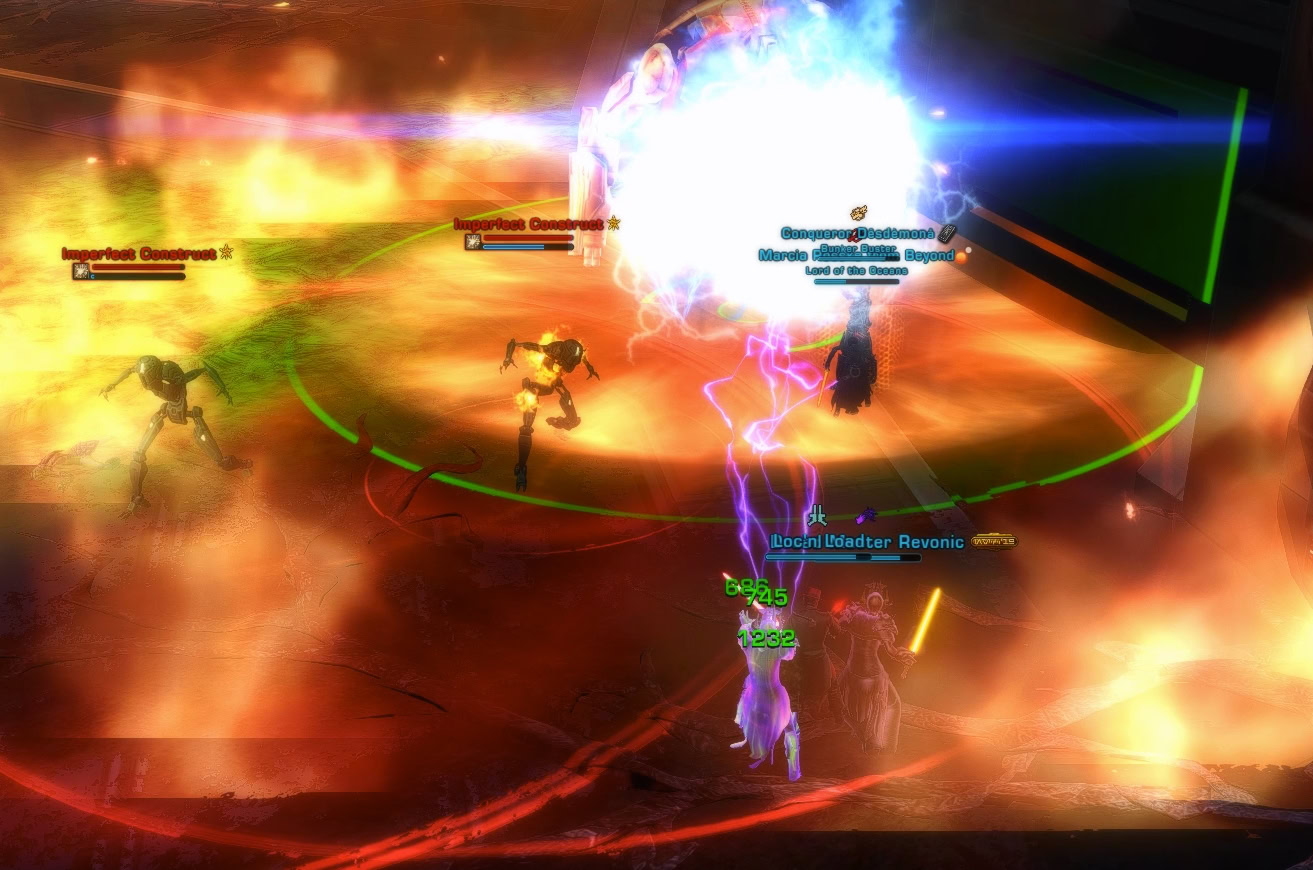
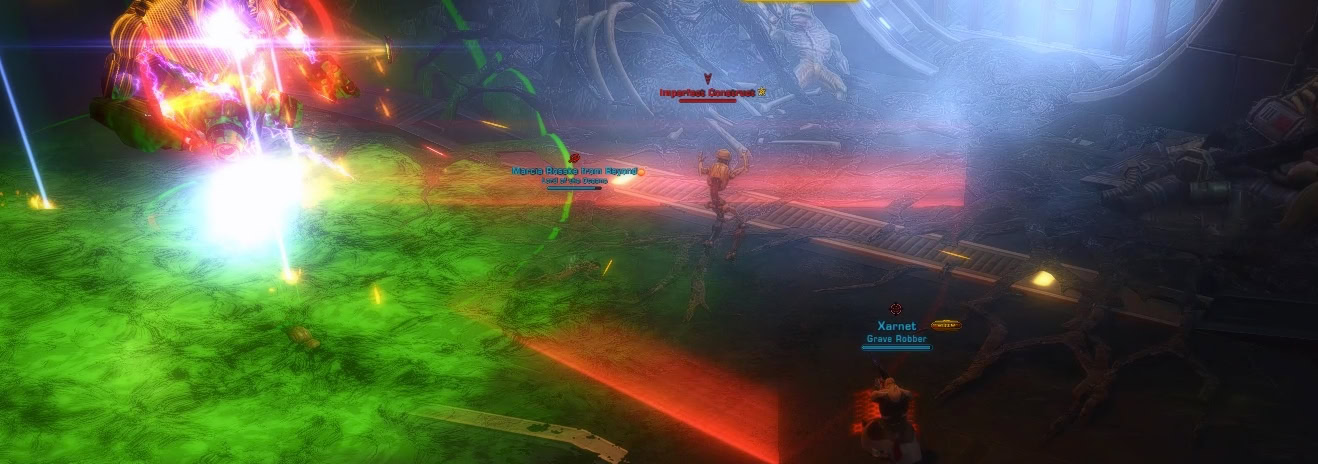
Once the vats are full and the boss reaches 4 stacks of the Harvesting Materials buff, the boss can fulfill its Prime Directive and build a proper new construct instead of the explosive Imperfect Constructs it typically sends out.
The boss gains a stack of Harvesting Materials every 30s, and Prime Directive has a 165s cooldown, so shortly after it would gain the 5th stack, it begins channeling Prime Directive for 10s.

There’s an 8m red circle that expands outwards over those 10s. It seems that the roles of the players standing inside that circle determines what type of add spawns. In SM, there are 2 different adds that can spawn, called the Powerful Construct and the Mistaken Construct.
The main add is the Powerful Construct and has some of the Propagator Core’s attacks alongside a few of its own. If you take too long to defeat it, the add will become immune and begin channeling Explosive Finality for 15s, which is a larger circle with a 15m blast radius that leaves behind a larger pool of acid.

The other add is a Mistaken Construct that channels a big AoE pulse that deals progressively more damage and will cause a wipe in short order if you don’t defeat it in time. Unlike the Powerful Constructs, the Mistaken Constructs do not move, so they will throw off your essential acid placement.

After the 4th Prime Directive cast, the boss will have depleted its resources, signified by a green buff called “Depleted”. I suspect that the vats are supposed to be full and the boss is meant to consume one by one rather than having them all fill up and drain simultaneously.
Shortly after this happens, the Imperfect Constructs will stop spawning. This may also be when the Mistaken Construct is meant to appear (alongside Final Directive), acting as a sort of final add, but it seems to spawn if there aren’t enough players near the boss.
Once the add spawns, the boss begins channeling Recovery Protocol for 30s. It does not heal the boss, but just resets the cooldowns on all its abilities. This mechanic is similar to what happens when the Geonosian Hive Queen summons in her Royal Guards and then calls for a bunch of other reinforcements for a while.

The boss is immobile, but the little kamikaze droids continue to spawn, wasting precious uptime if the tank doesn’t position the boss correctly.
Lethal Strike and the Softened Up Debuff
Lethal Strike heavy leap attack, like Raptus’ Driving Thrust. It knocks you down, deals a bunch of damage, and applies a stack of a debuff called Softened Up, which reduces damage and healing dealt by 20%, but increases threat generation by 40%.
The Softened Up debuff mostly seems to enforce that you need a tank, as you won’t be able to benefit from the damage output or reliable survivability by using a DPS with Taunt (DWT).
Defensive abilities that involve healing don’t work as well at high stacks, so it’s helpful to have a DWT hold the boss as you leave a Prime Directive and Recovery Protocol phase until the stacks fall off.
Acidic Rocketry
Every so often, the Propagator Core XR-53 will fire acidic missiles at each player’s feet as a red circle. If you’re standing in multiple, you’ll take damage from multiple. You have to move immediately, breaking your cast, or you’ll get hit.

The Acid doesn’t remain on the ground in SM like that of the kamikaze droids, but I suspect it will in VM.
Prey Seeker Droids
Prey Seekers are stun droids. You’ll find similar mechanics when fighting Jarg and Sorno, Soa (Mind Traps), and the final boss of Korriban Incursion. They target a random player and stun them until the other members of the group defeat them.

They don’t hurt directly, but with all the movement required in this fight, being stuck in place is quite dangerous. You can get chunked for 75% HP if you’re stacking when the entire group’s Acid Rocketry descends upon the entire group.

You take damage and get a stack of the Digestive Enzymes DoT for every circle you’re standing in when the missiles hit.
Extraneous Expulsion, Hungering Bite, and Prepare for Harvest
Extraneous Expulsion and Hungering Bite are frontal conals that apply a stack of Digestive Enzymes, the stacking DoT from the acid. Prepare for Harvest is a single-target attack that applies a stack of Digestive Enzymes and does some backend stuff.

Extraneous Expulsion is a 45o cone with 40m range (long, narrow cone) that tracks the target, so the target is guaranteed to get hit, but it can be avoided by everyone else. Only the tank should be in front of the boss. I believe Extraneous Expulsion also leaves a small pool of acid on the ground, but it might be Hungering Bite or Prepare for Harvest.

Hungering Bite is a 60o cone with 20m range (short, wide cone) that does not track the target, so no one has to get hit. It has a 4s cast, so the tank can go to the side or back out to avoid it.
My Impressions of the Fight on the PTS
Broadsword seems to have taken inspiration from the most played raid bosses in the modern era when designing the mechanics for the Propagator Core XR-53. A bunch of mechanics will feel quite familiar if you’ve done Fleet pugs in the past couple years.
I don’t mean to say that the fight is easy in its current form. There are a lot of mechanics, and as they happen quickly and constantly, everybody must move as a unit, practically as often as their and the boss’ rotations will allow.
Most people I’ve spoken to agree that the fight strongly favors ranged DPS as the floor becomes covered in green sludge. It’s hard for the melee to keep high uptime (and survive) while remaining outside of the acid, even the ones with 10m range like PTs/VGs and Lethality Operatives | Ruffian Scoundrels.
I suspect that the larger issue is the strictness of tanking and positioning. It seems that everyone, including the rDPS and healers, must stack up and follow close behind the boss as the tank leads it in concentric rings around the room.
Staying inside the most recent circle works, but the tank still has to position the boss according to the needs of the group, not the needs of the tank. It’s also downright unintuitive that players need to stand inside the red circles. It’s fine and fun once you know to do that, but I don’t think it’s appropriate to expect players to figure that out in SM.
I suggest that the color of the most recent droid’s circle should be white until the next droid spawns, and that standing in only the white circle, and not acid or a red circle, provide a small heal over time or damage boost to signal that players are doing what they’re supposed to do.

The DPS check also seems extreme for SM whereas the healer check is non-existent and only 1 tank is demanded. The Propagator Core has 86m HP + the add HP. With 5 DPS, ignoring the tank/healer damage contribution and add HP, the average requirement per DPS is ~22k single-target to defeat the boss in 13 mins.
Broadsword is probably balancing around the expectation that players are able to reach ~66% of their combat style’s max potential in 344 gear. It’s hard to pull those kinds of numbers if you aren’t adhering to the strict positioning requirements either.
Despite being perfectly doable, reasonable even, the expectation that everybody’s gotta lock in to do VM anything is not the norm these days, and here we are with an SM boss demanding more.
At the same time, the Propagator Core XR-53’s difficulty is in line with that of all post-KotFE operations bosses, including Gods from the Machine, Geonosian Hive Queen, Dxun, and the R-4 Anomaly.
Thus, much of what we’re seeing is ultimately just a difficulty divide between the more well-known legacy content people tend to farm, and the more modern content that requires coordinated progression. The broader issue is the complete absence of useful terms to explain game difficulty.
Is an 8.0 Expansion for SWTOR on the Horizon?
SWTOR’s update schedule has become more standardized in recent years, but the past two lair bosses were both released at the very end of their respective expansions, less than a year before the next expansion came out.
Other supporting evidence includes the recent 3-year expansion cycle we’ve experienced over the past two updates, our place in the Legacy of the Sith/Mandalorian Civil War storyline, and the encouraging state of Broadsword’s modernization efforts.
The impending release of Propagator Core XR-53 is yet another good omen that we’re due for a hypothetical 8.0 expansion sometime before the end of 2025.