Dragon’s Stone Chamber Ruins are home to one of Crimson Desert’s many hidden puzzles. Find out the exact location of these ruins and how to solve the puzzle within to claim an Abyss Artifact in this guide.
Where to find the Ruins
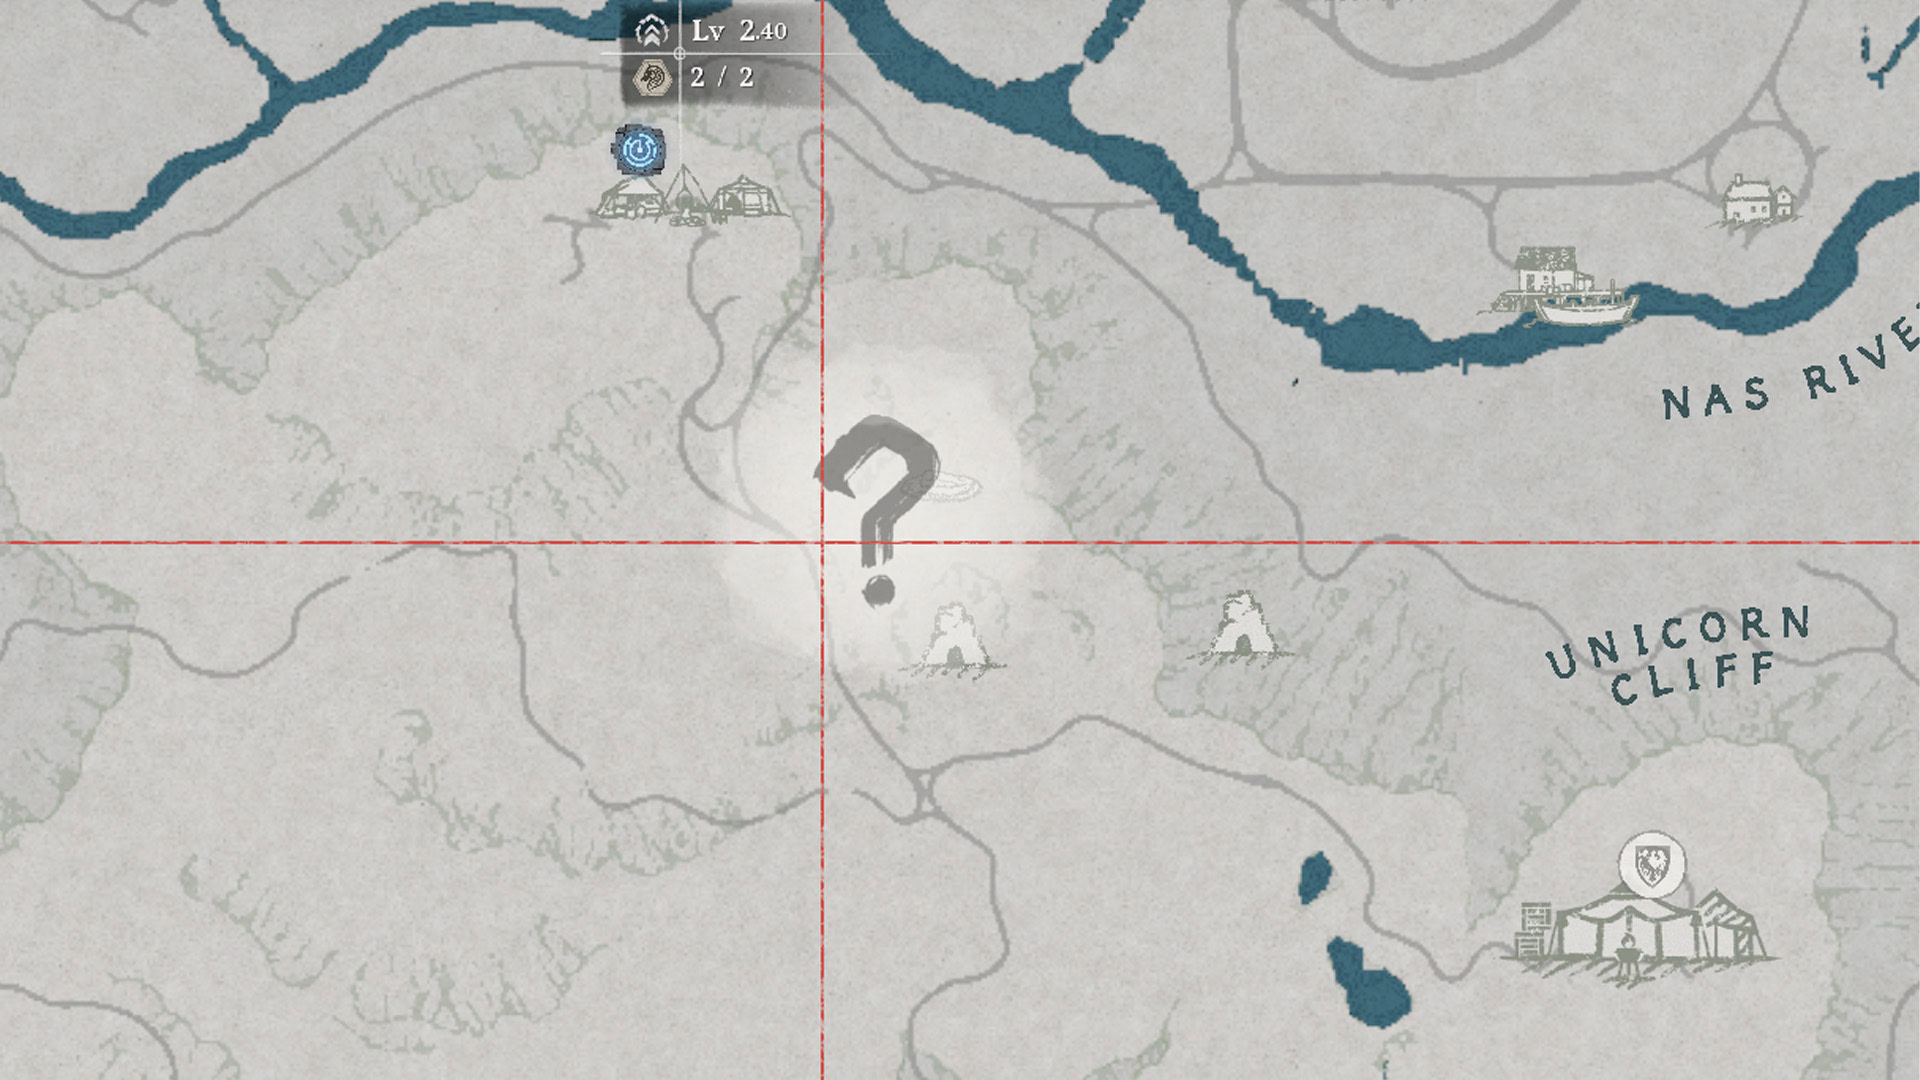
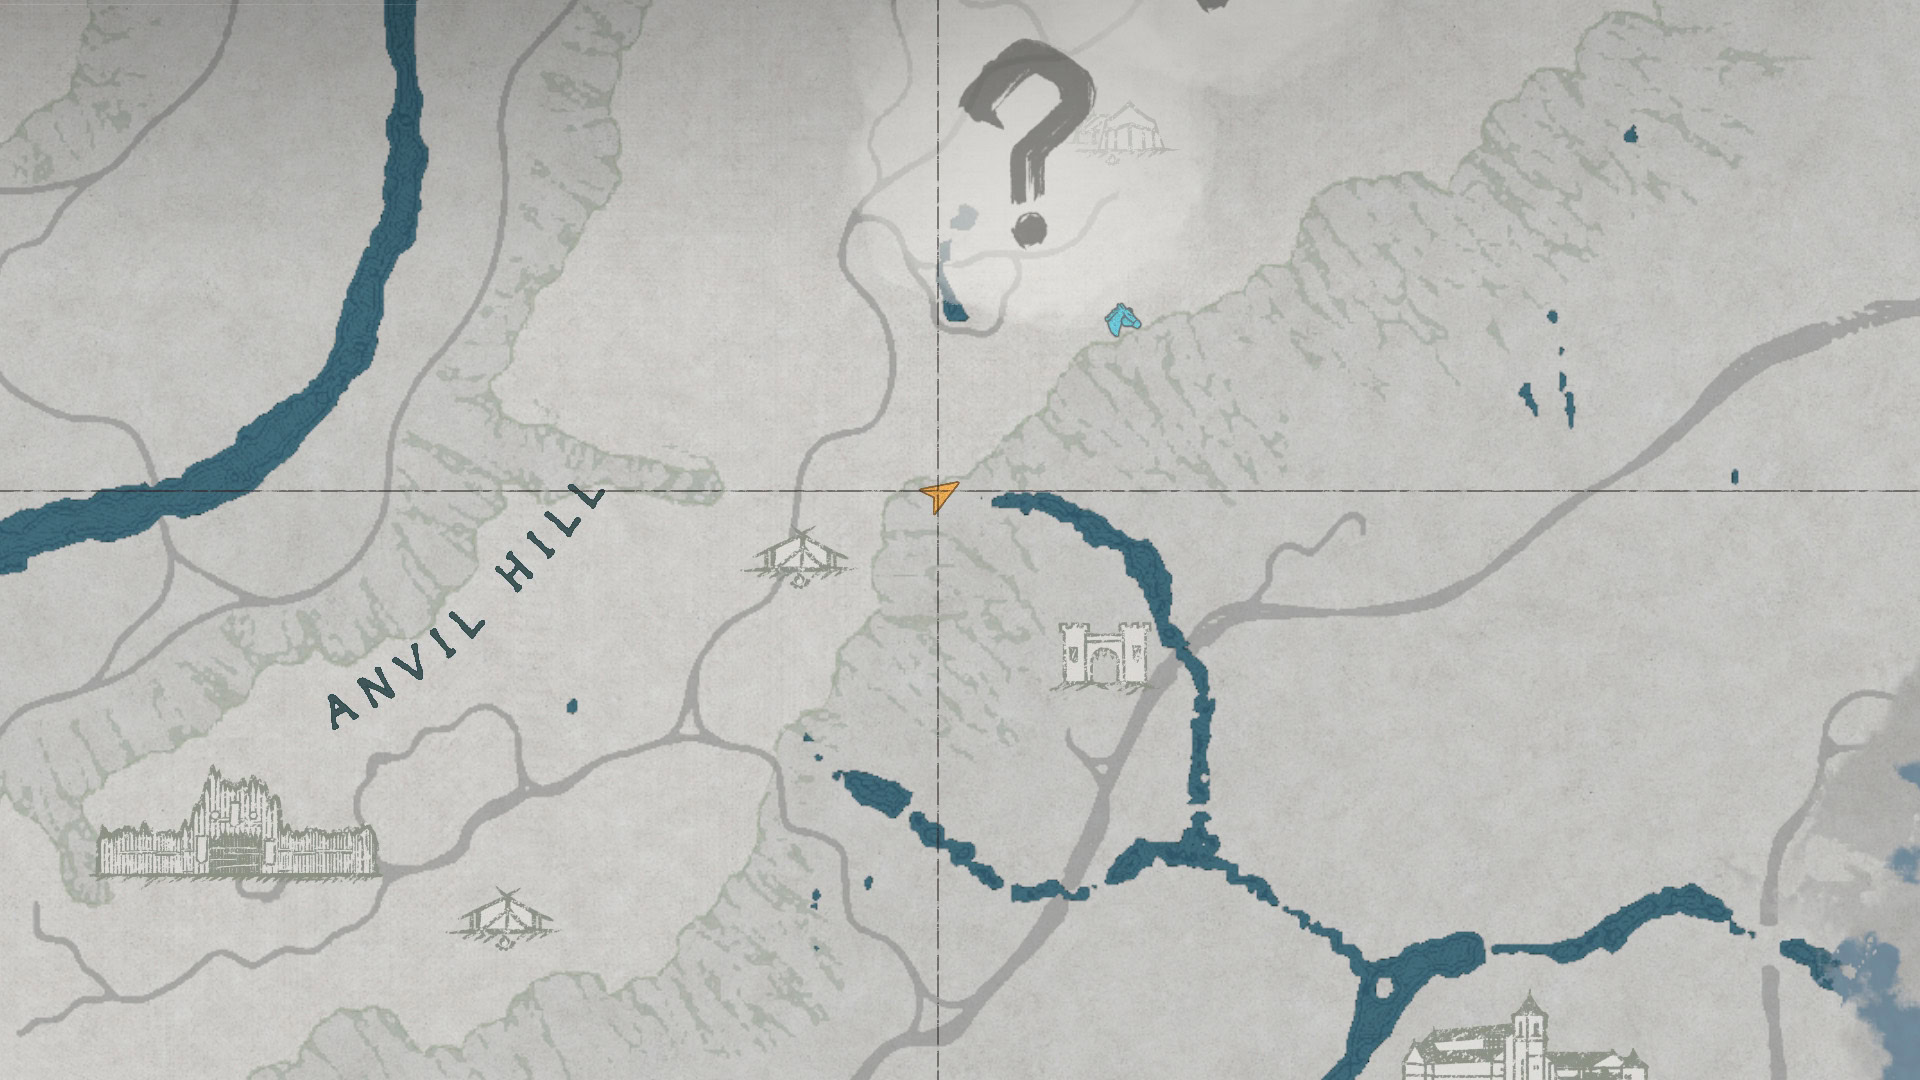
The Dragon’s Stone Chamber Ruins are located very near our post-Chapter II home in Howling Hill. You may have come across a big red mural door in a pit or seen the big question mark on your map near Unicorn Cliff or Nas River.
We just need to follow the road south and head off the path until we come across the giant pit it resides in.
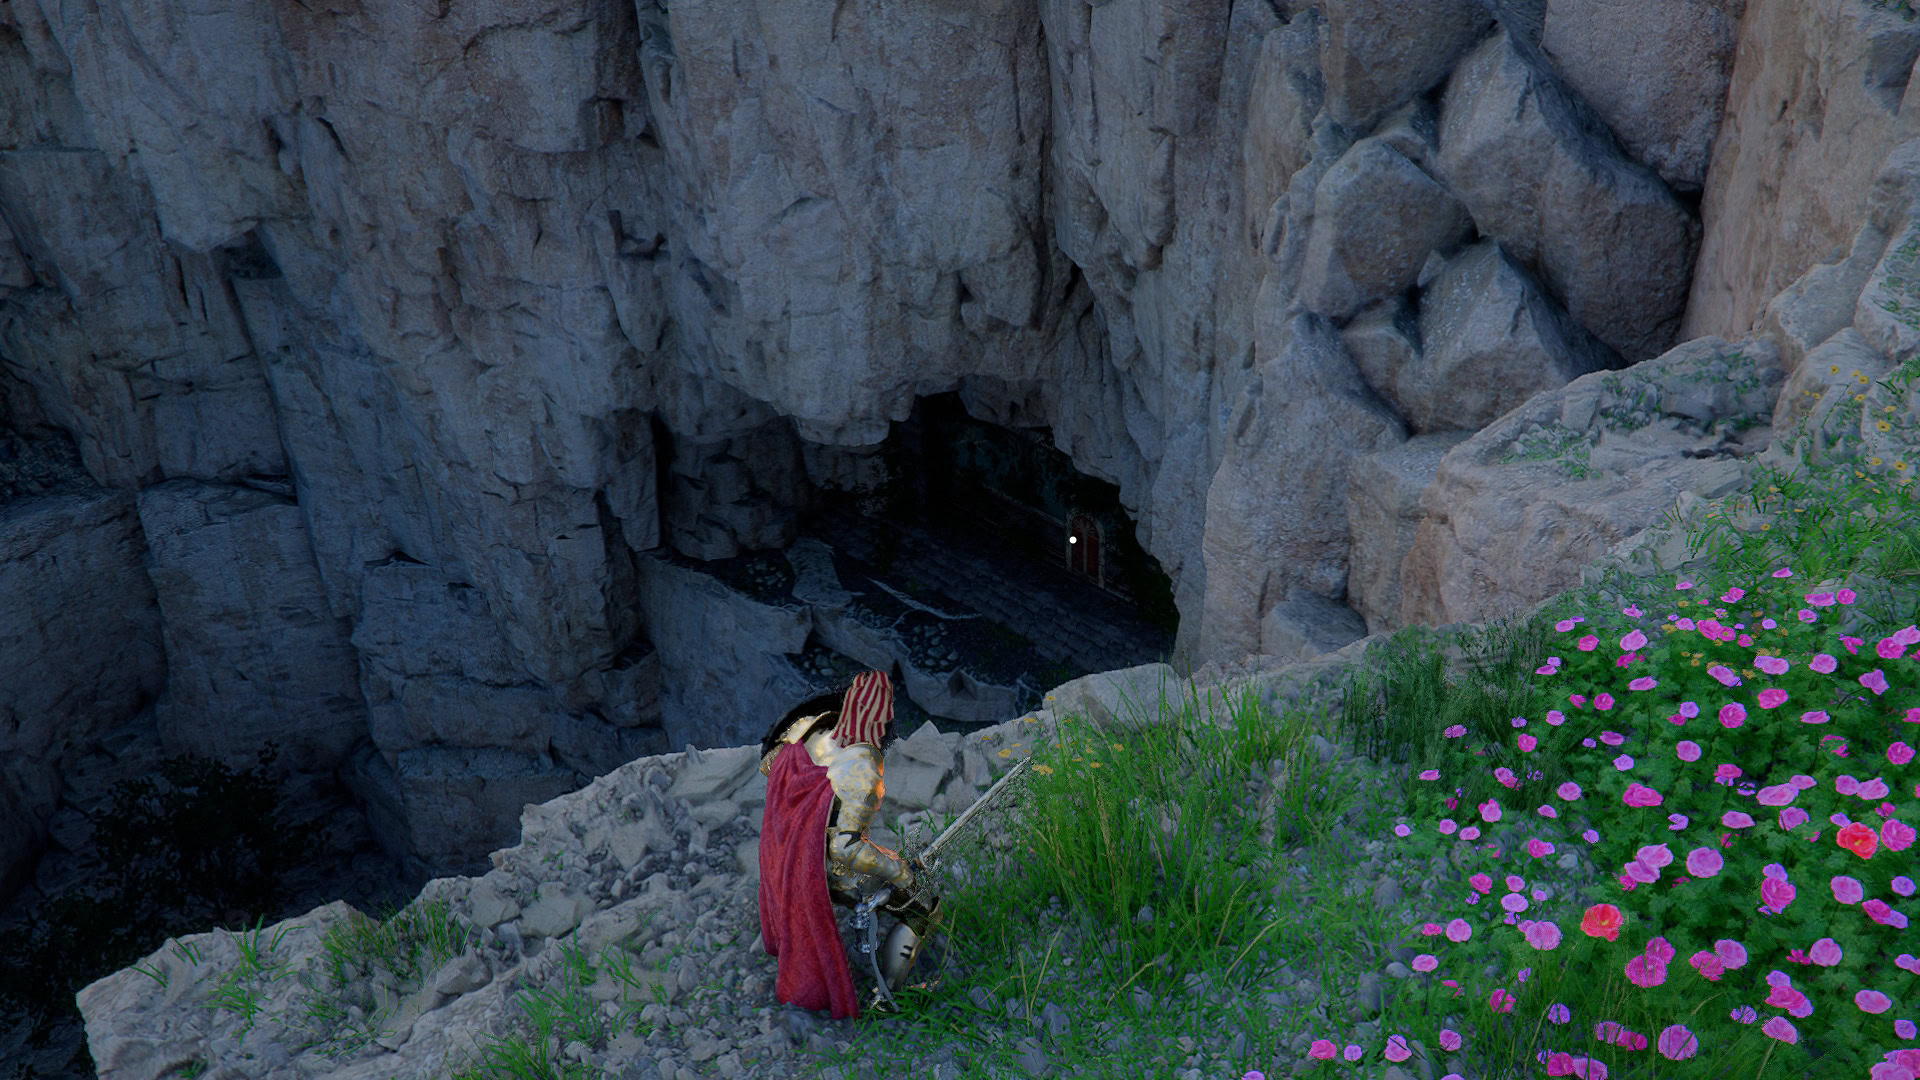
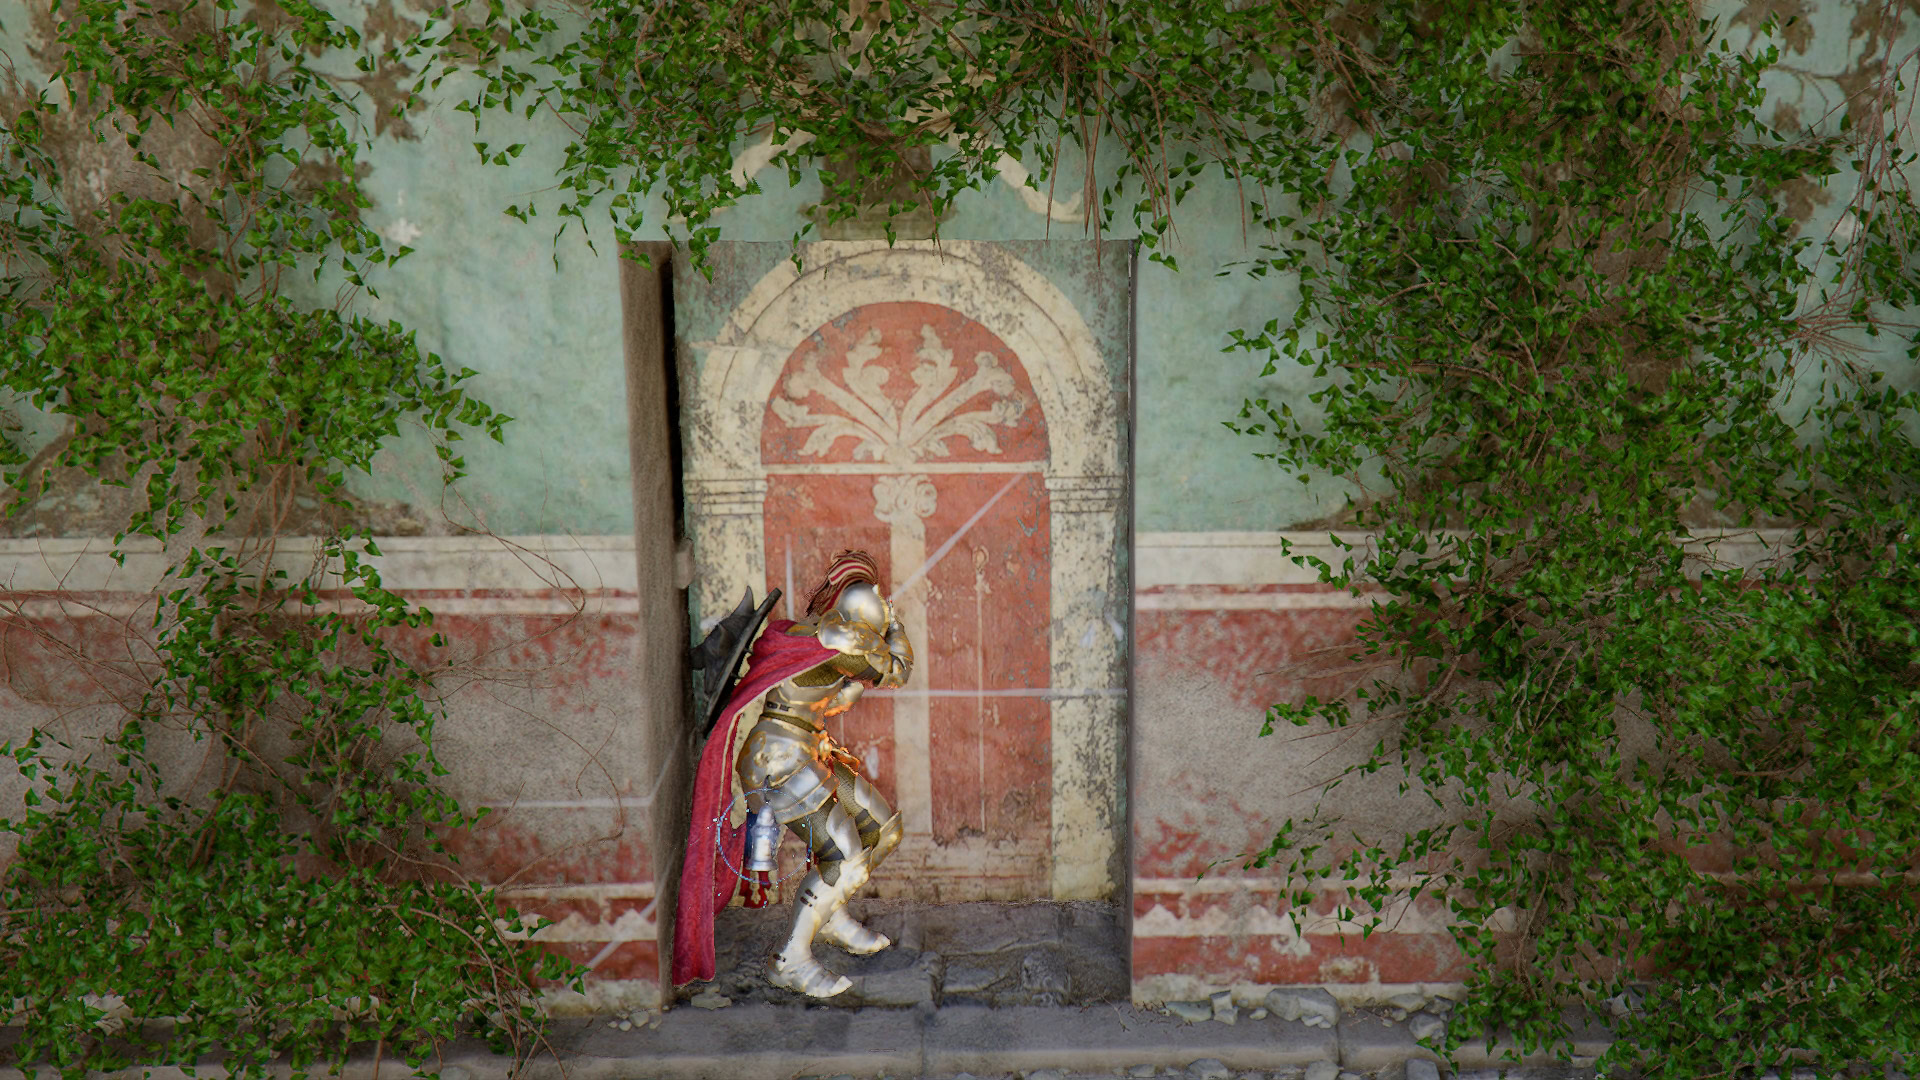
Glide down to the Door, making sure to get the Visione Memory Fragment here as well.
How to enter the Chamber
There’s no need to use Force Palm or anything fancy on the door, nor set fire to the vines. Just walk into the door and Kliff will start pushing automatically.
Puzzle Layout
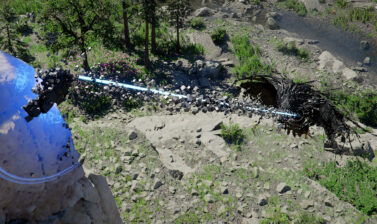
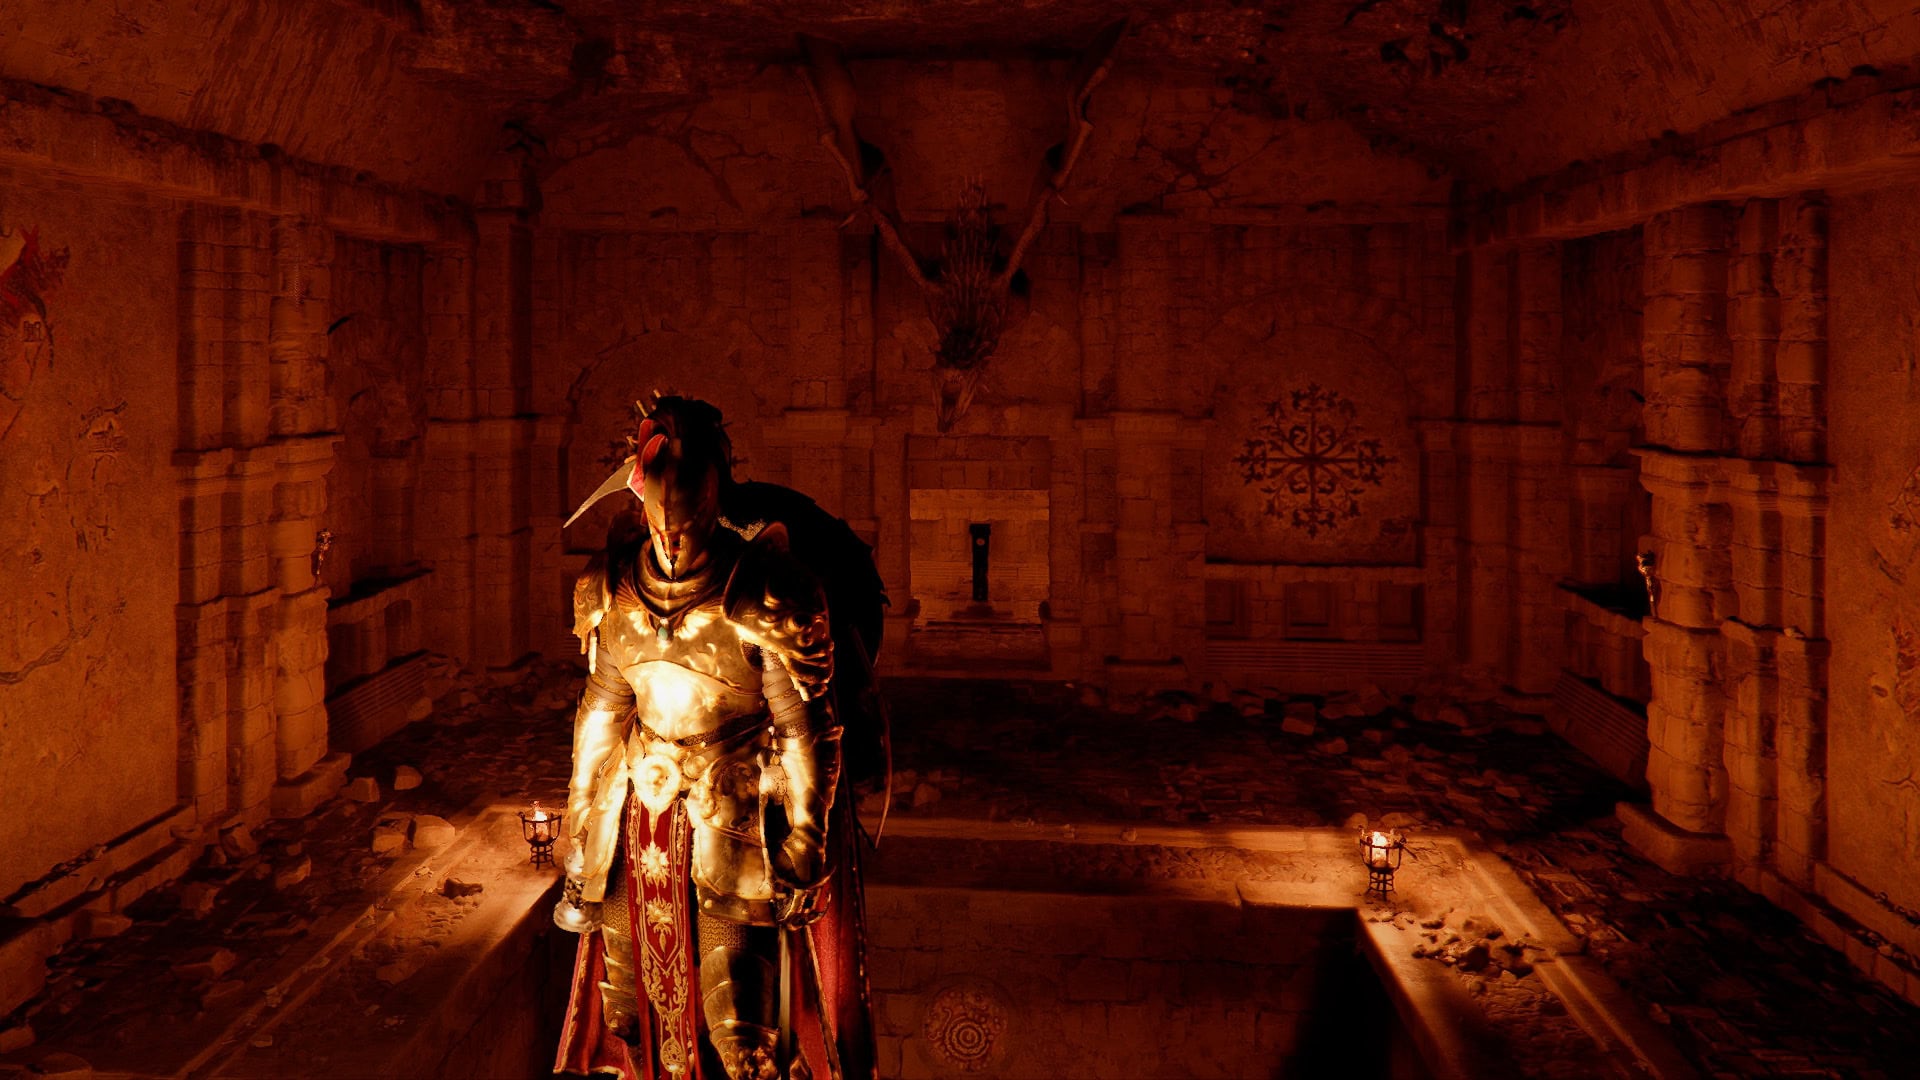
In the tiny room beyond this door lies a stone dragon overlooking a small pit.
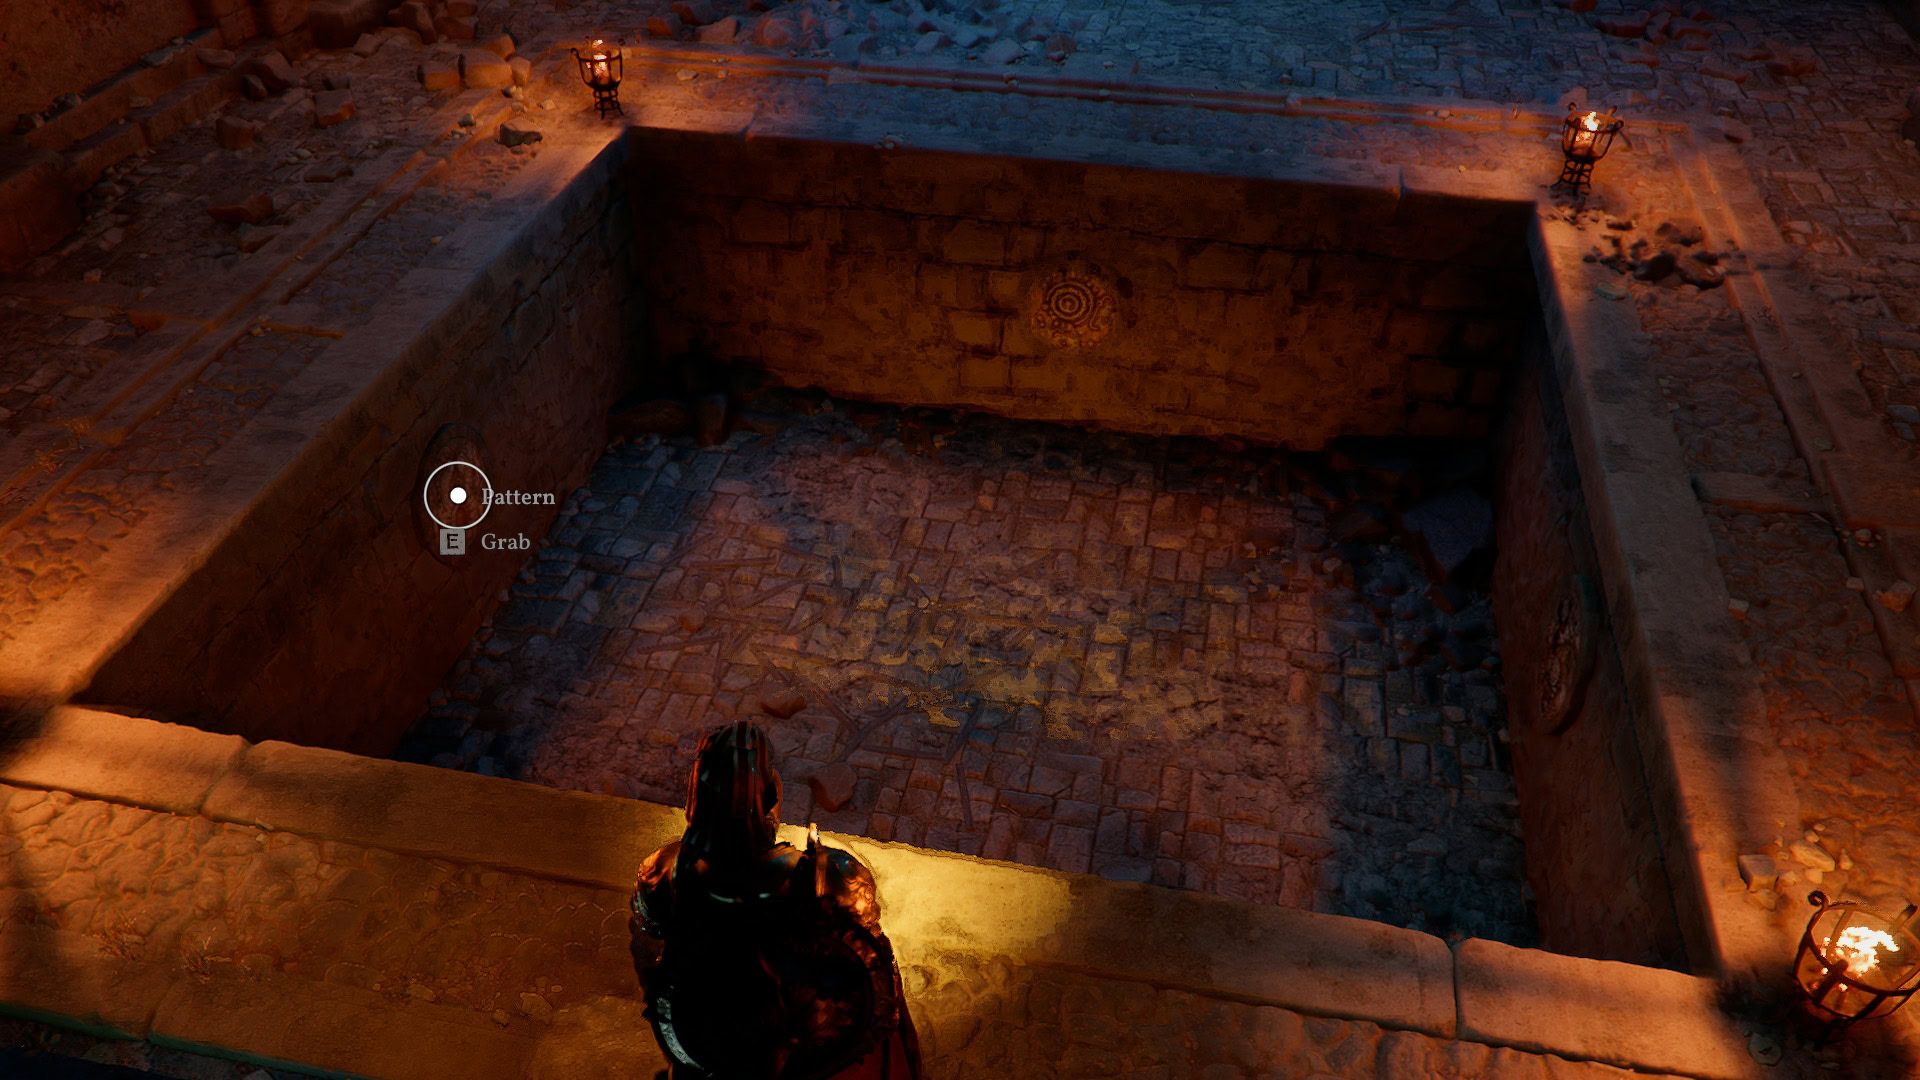
Within this pit are three discs with patterns on them, but how do we figure out what way each disc needs to face? Unlike some other puzzles, the solution here isn’t as obvious, or even fully in this room.
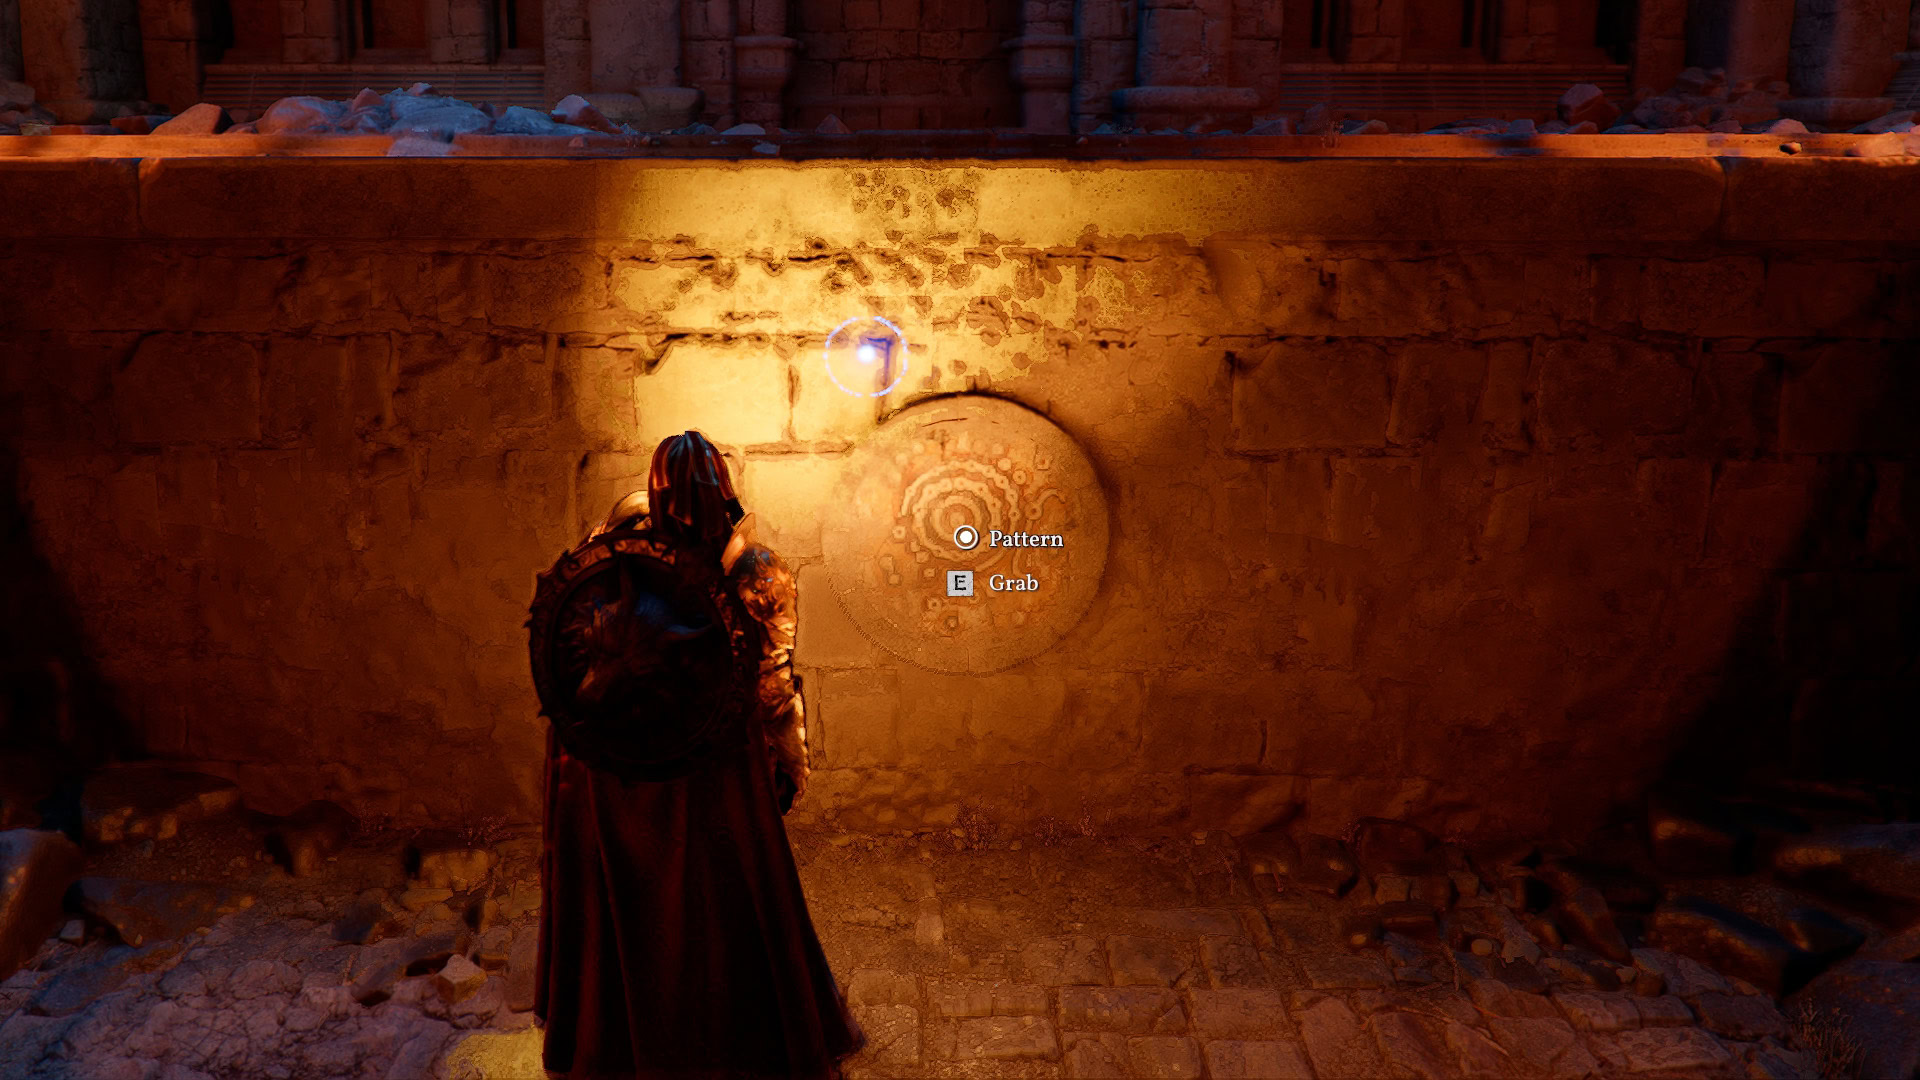
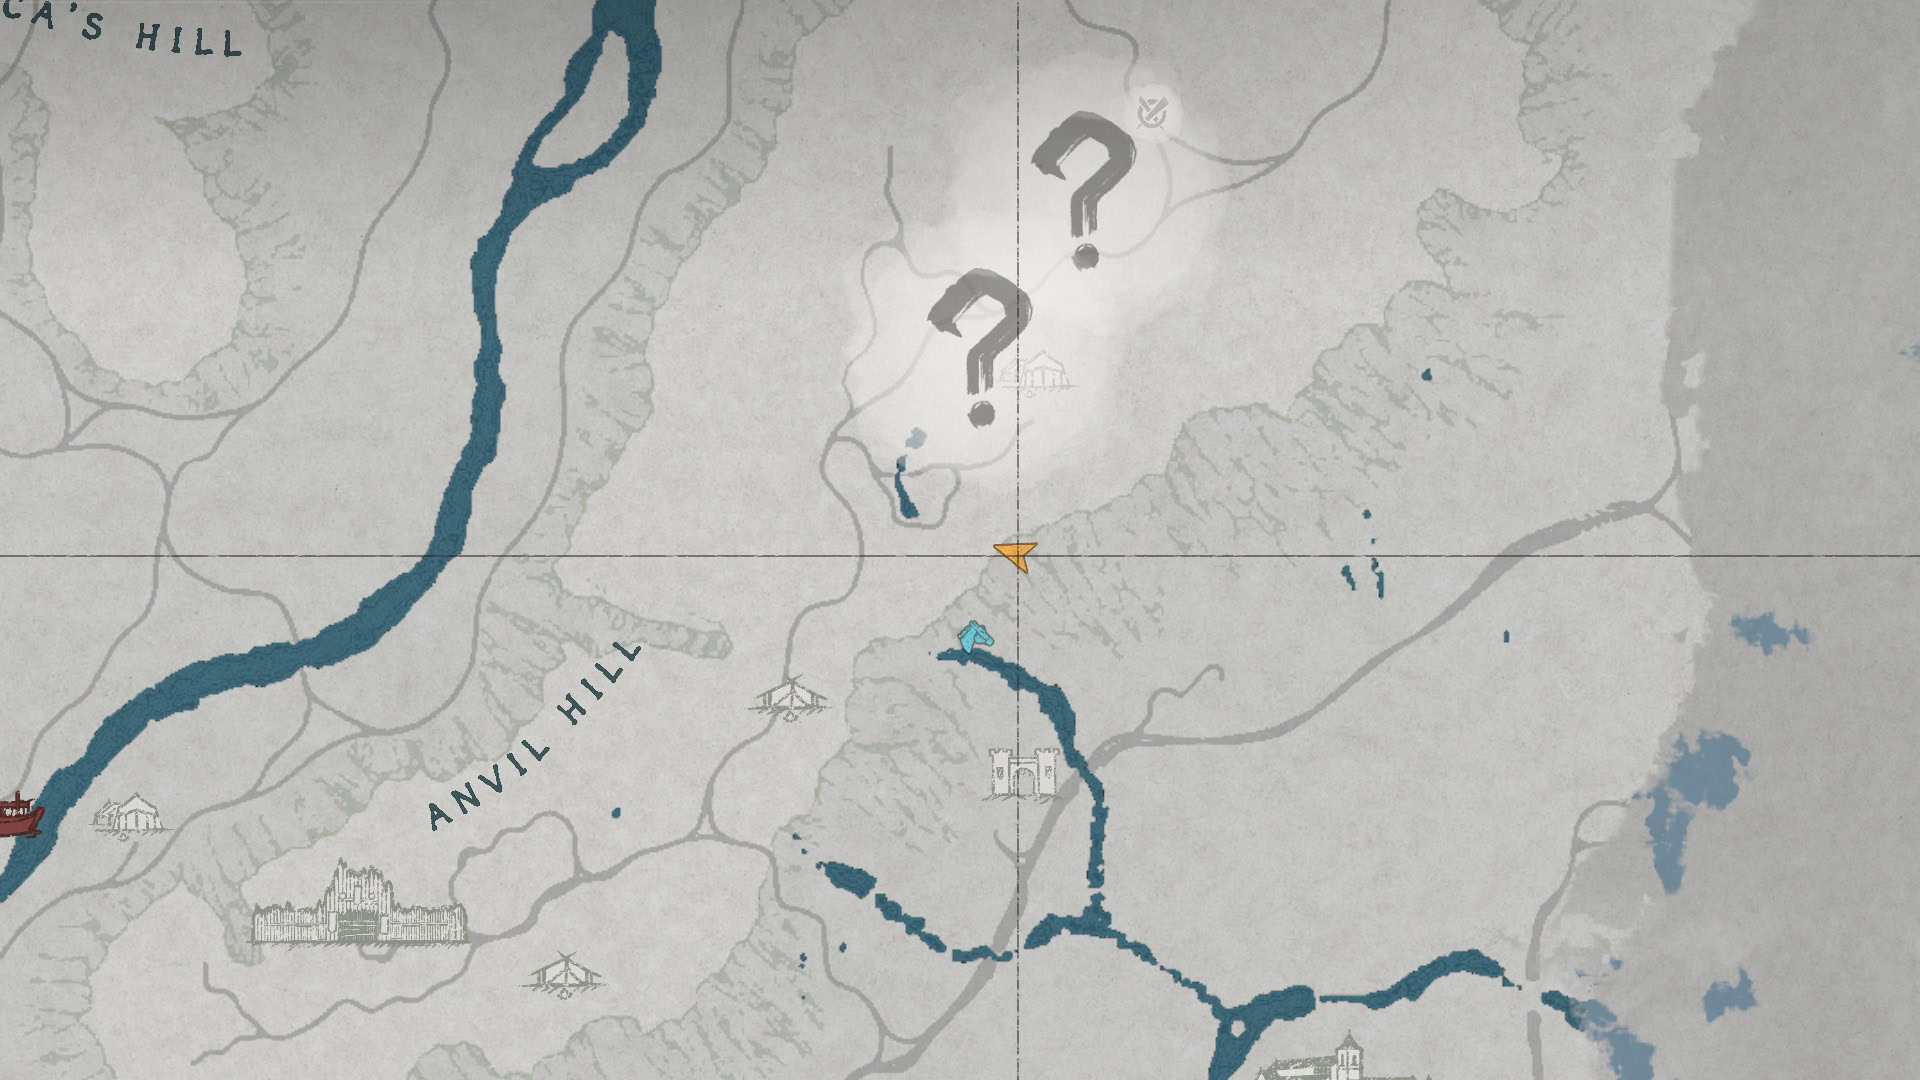
First, we need to look to the Walls on either side of the Chamber, and we’ll quickly realize, this is a map. Though with the dim lighting, it’s best to go around and light all the torches and braziers here to light up the room and the map properly.
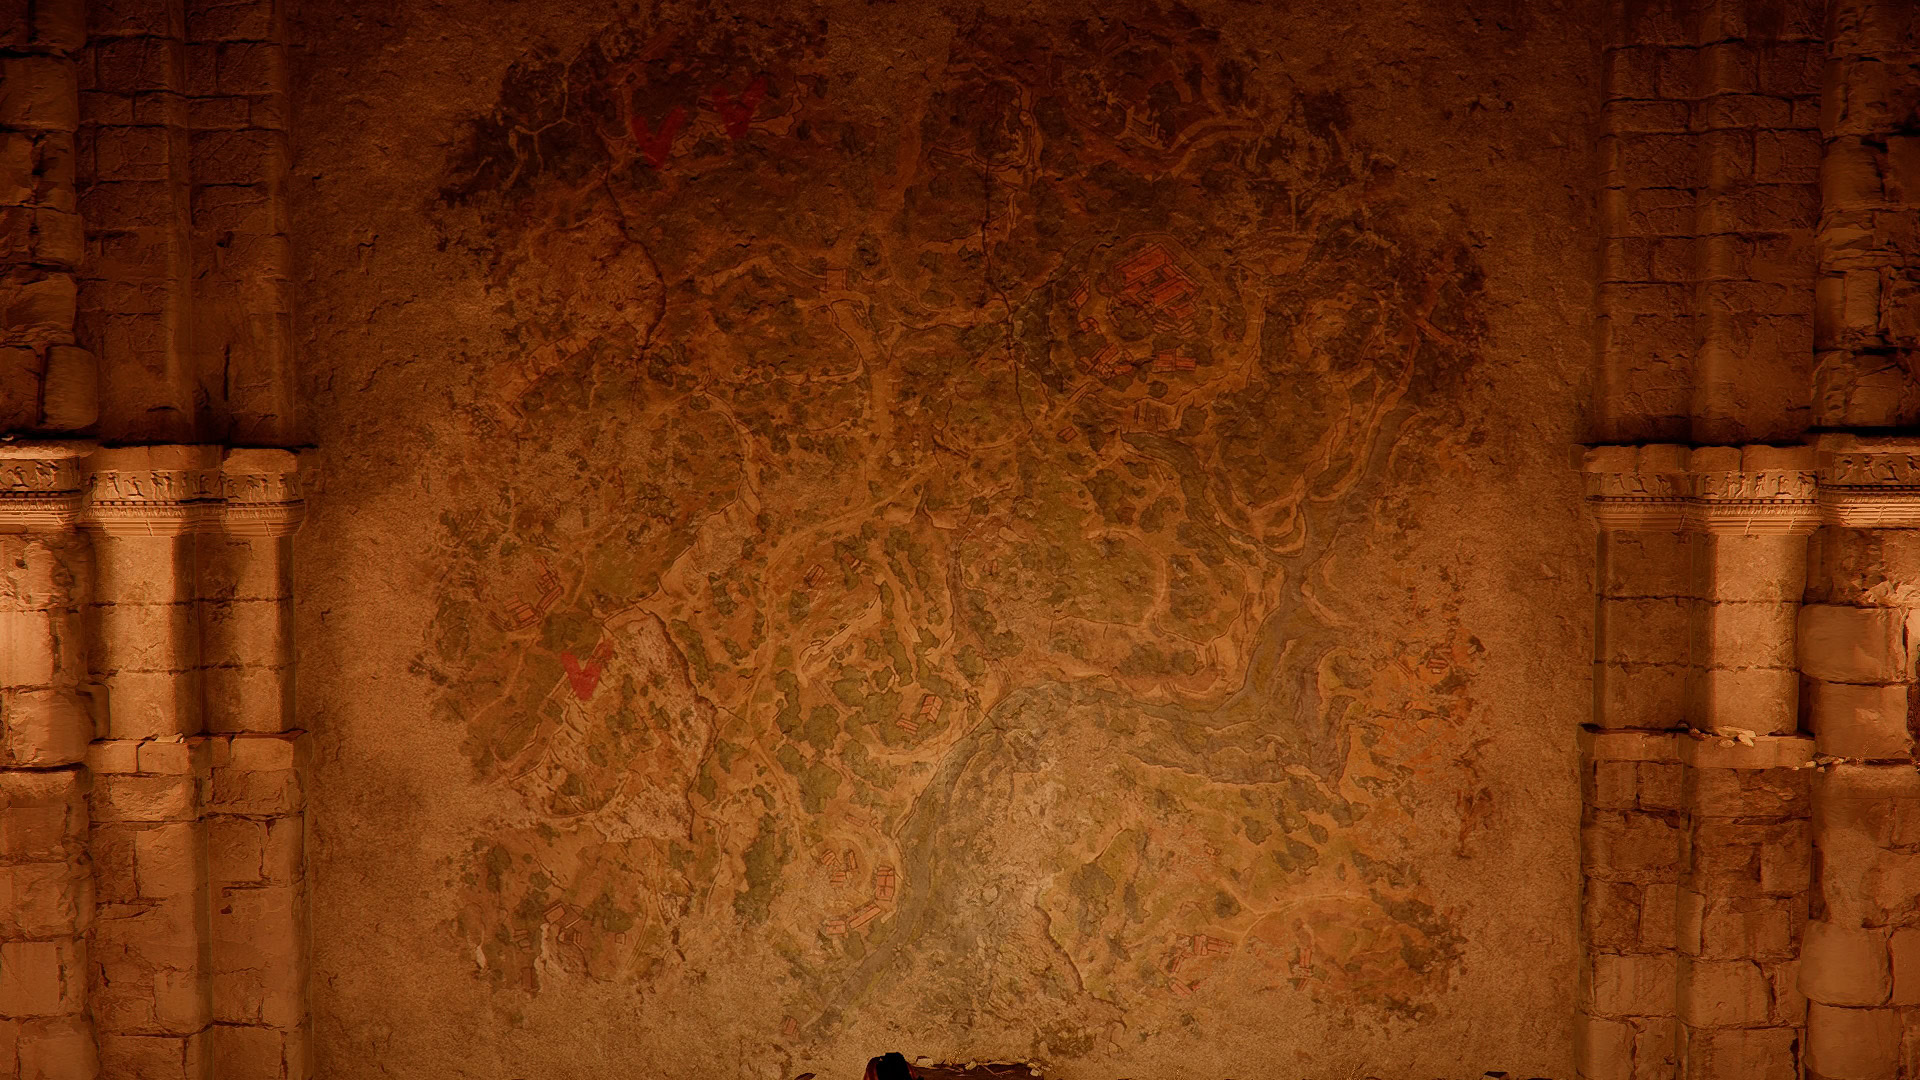
This map has three arrows, matching the three discs in the pit. Each one of arrows marks a location with one of our hints to solving the Puzzle. So where do we go to find our hints?
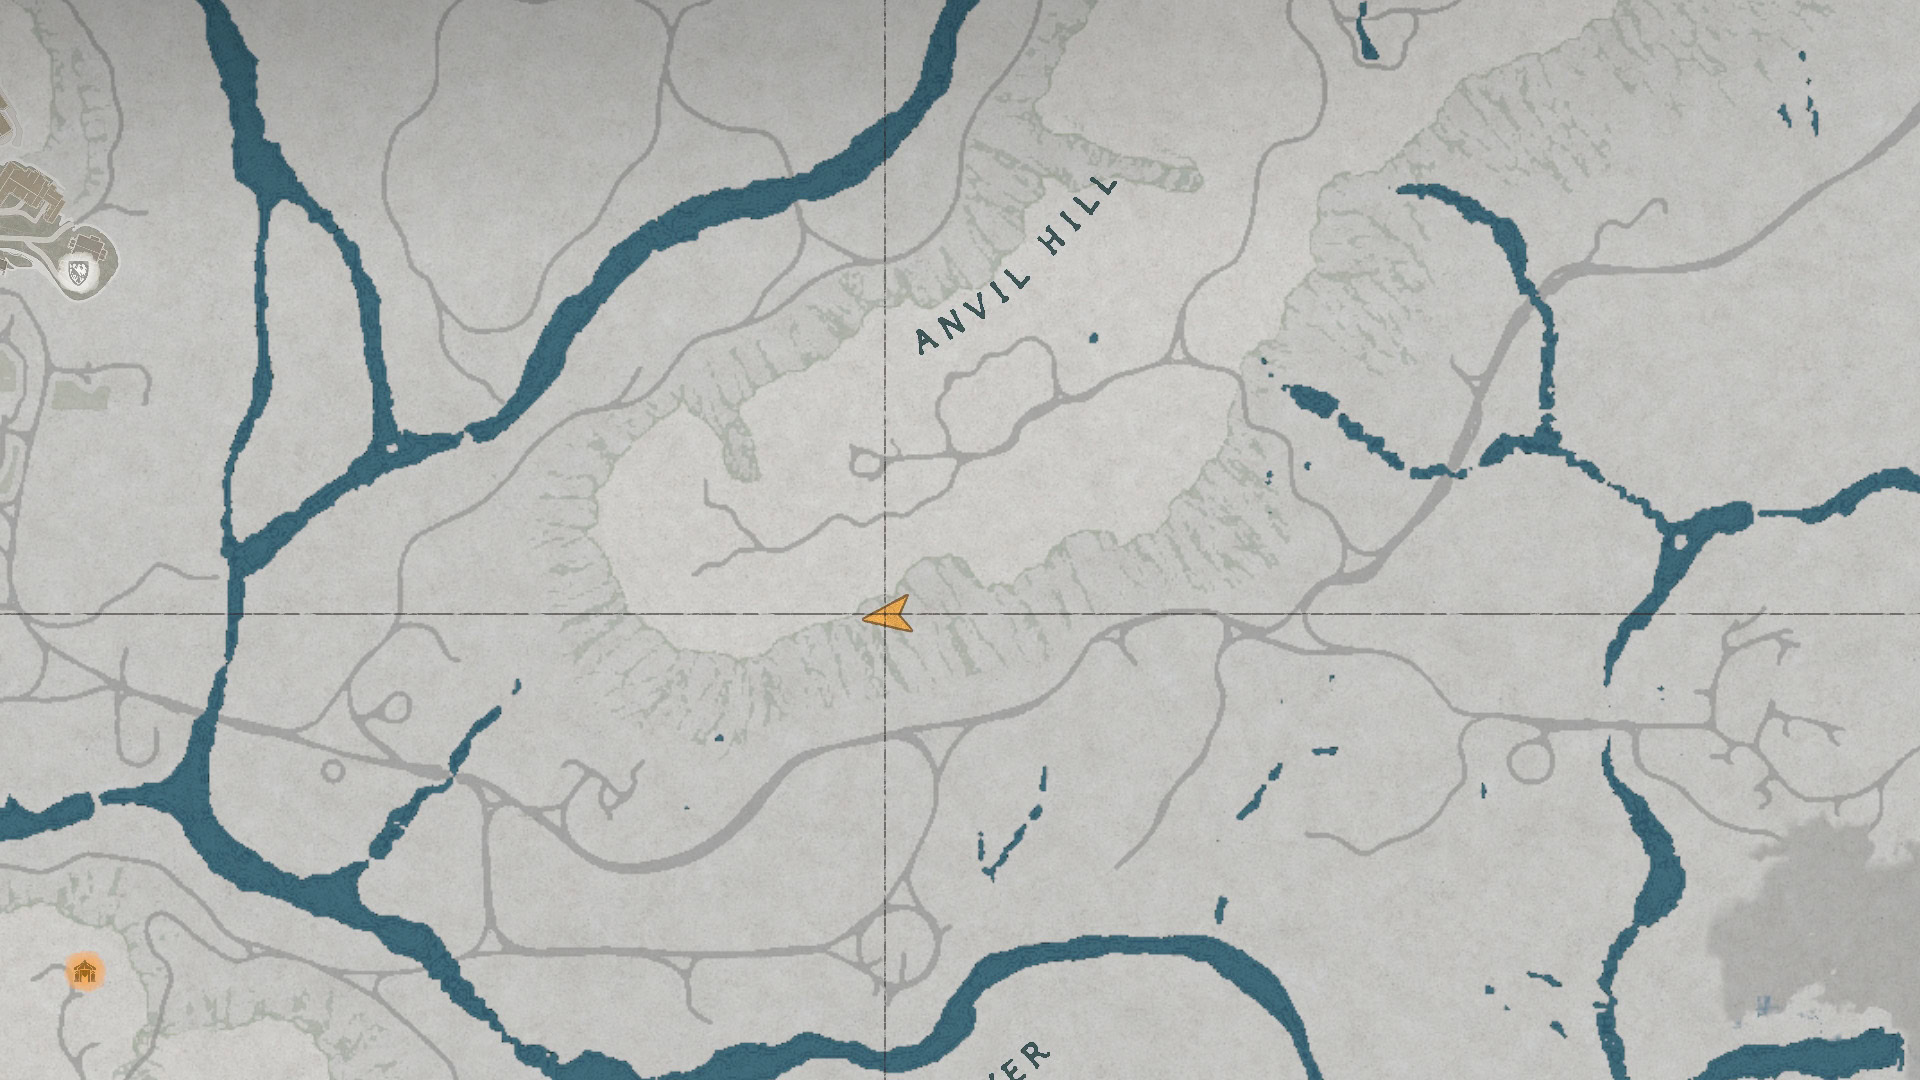
This map is a bit of a mess to read, but with careful observation, we can determine that the building in the upper left of the map is Halssius’ House of Healing, thanks to the fairly unique path of the roads there. The most prominent cliff in that area is Anvil Hill, so that’s where we’ll go.
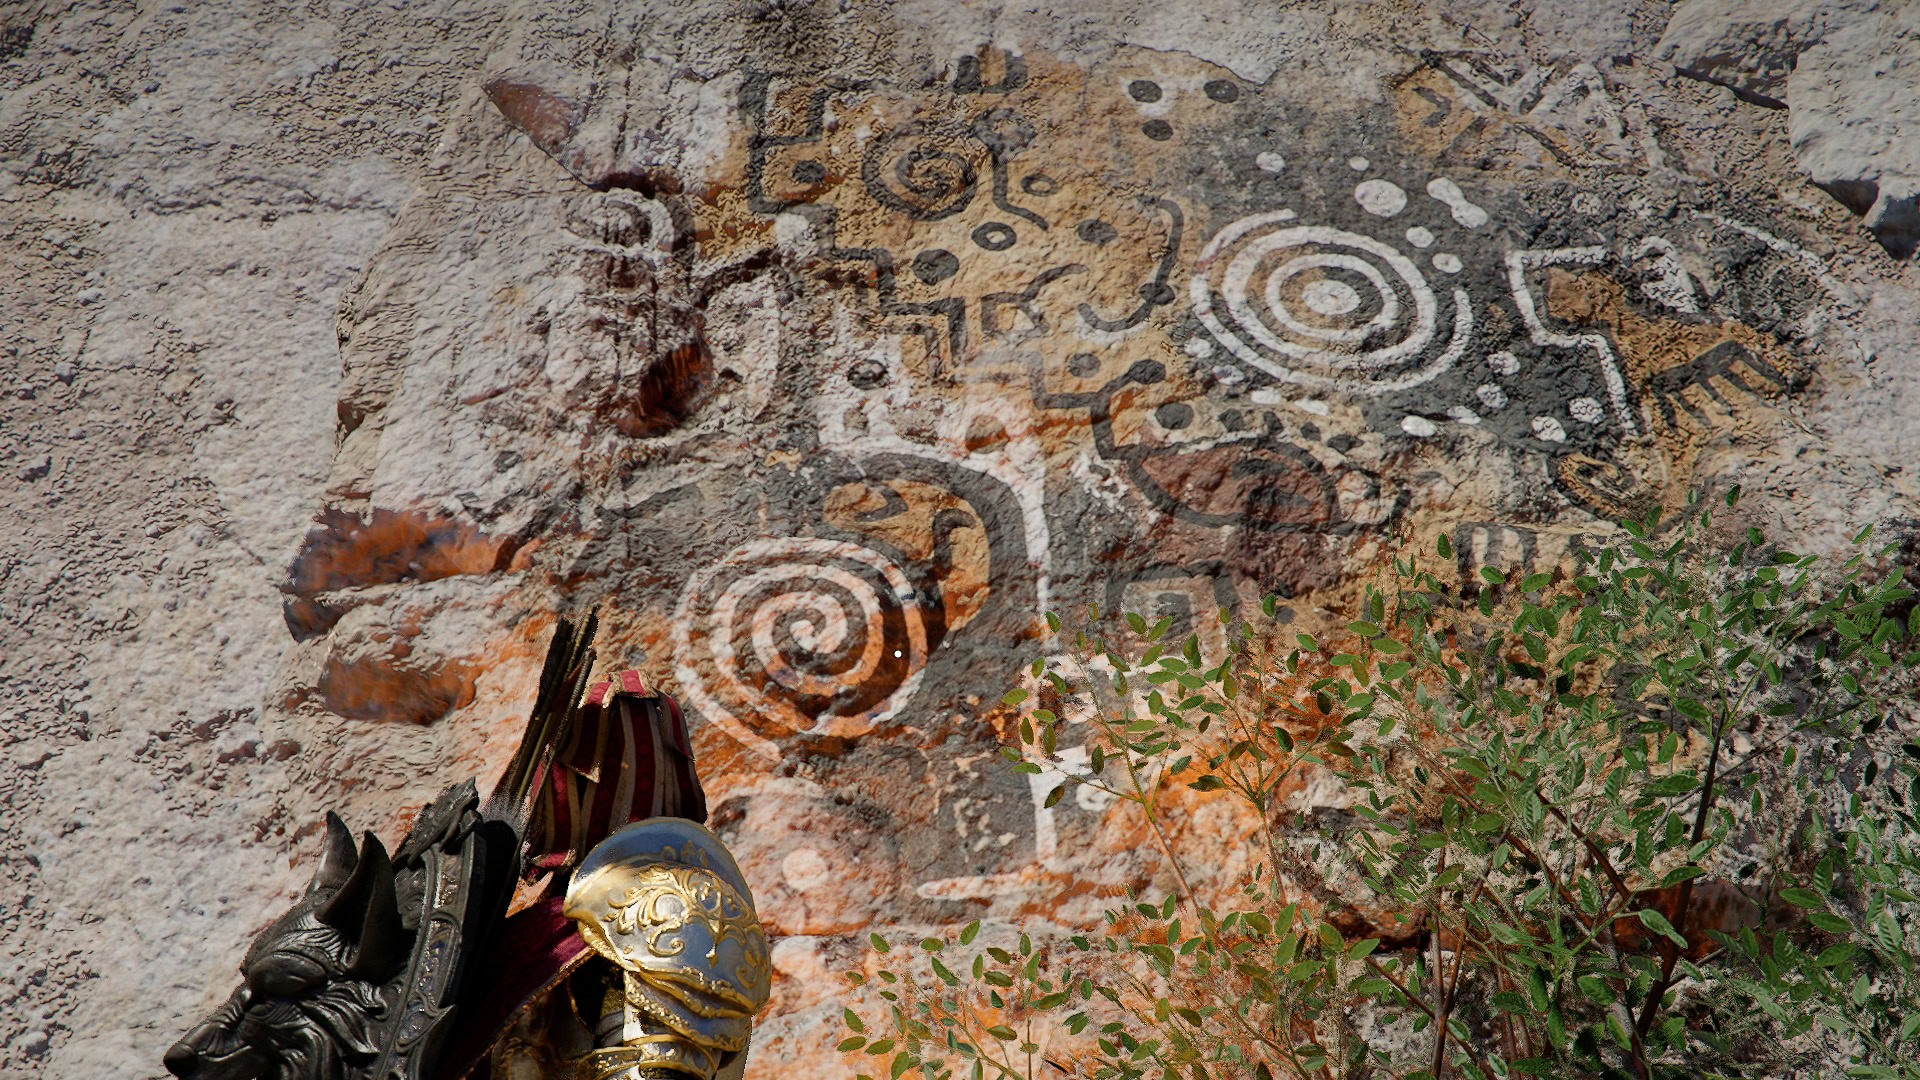
Mural Locations
With our hint location determined we’ll want to find the three murals scattered across Anvil Hill. Below are their locations. It’s easier to see them during the daytime, but you don’t have to bother going to each spot thanks to this handy-dandy guide.
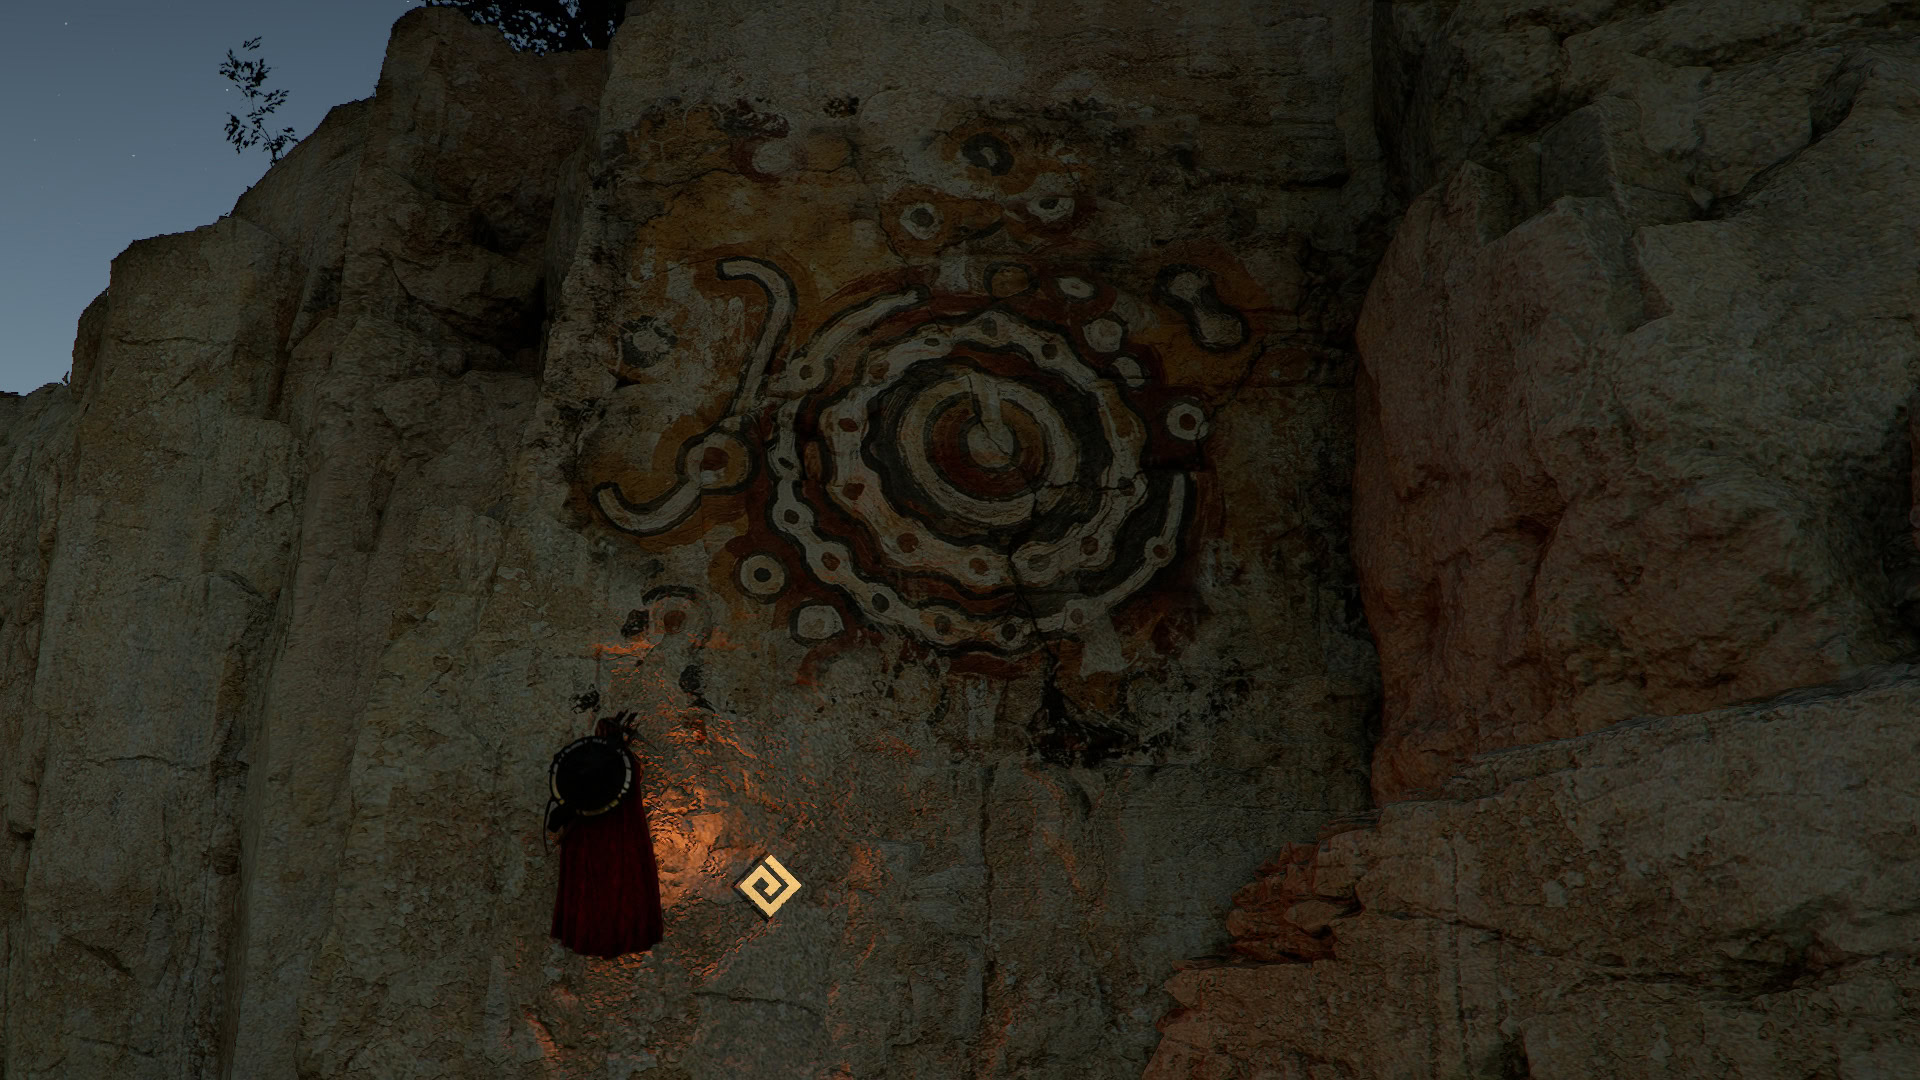
West Mural
The West Mural is located very high up the indicated cliff, such that climbing was necessary for a clean view of it.
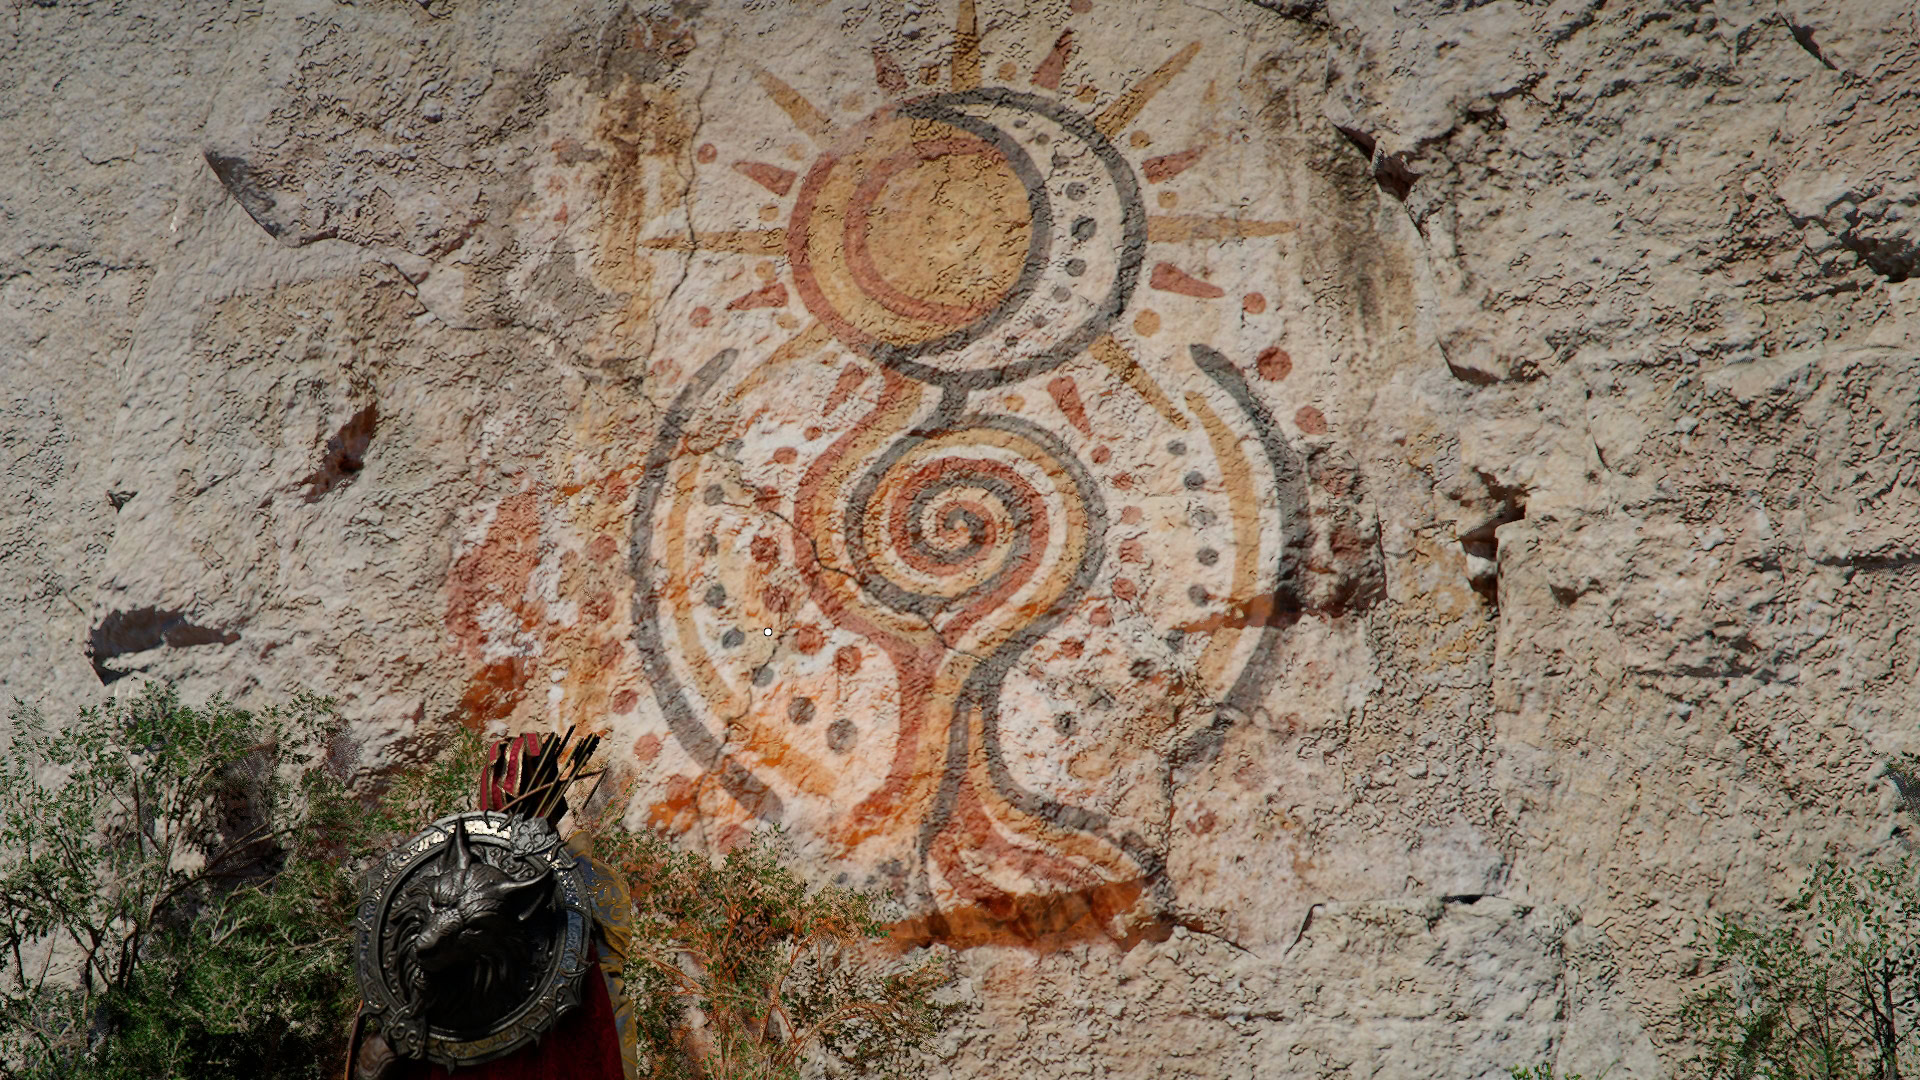
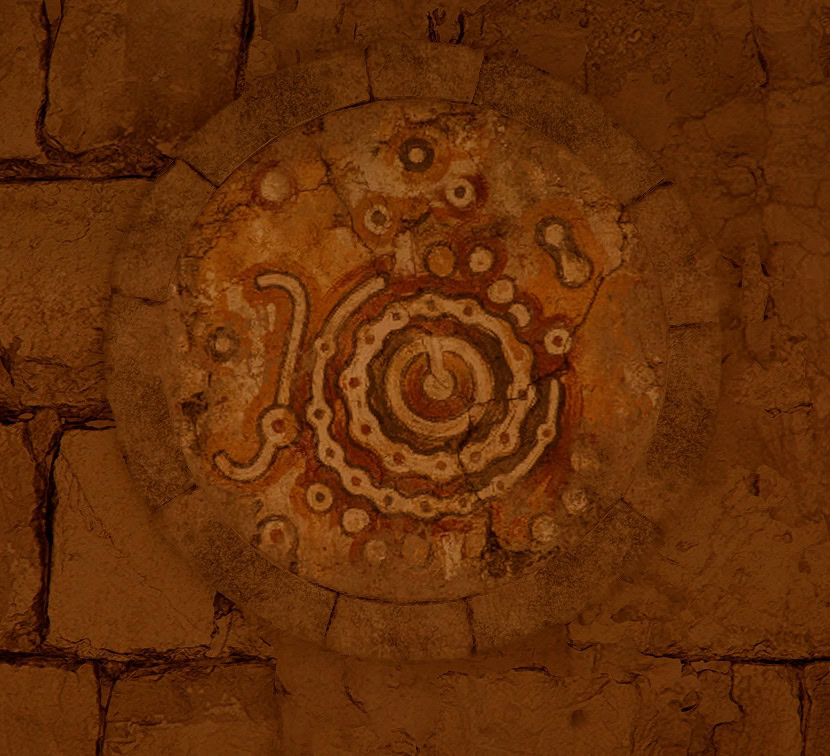
Central Mural
The Central Mural has a very convenient cliff we can stand on for easy viewing.
East Mural
The East Mural also have a cliff that makes it easier to view.
Puzzle Solution
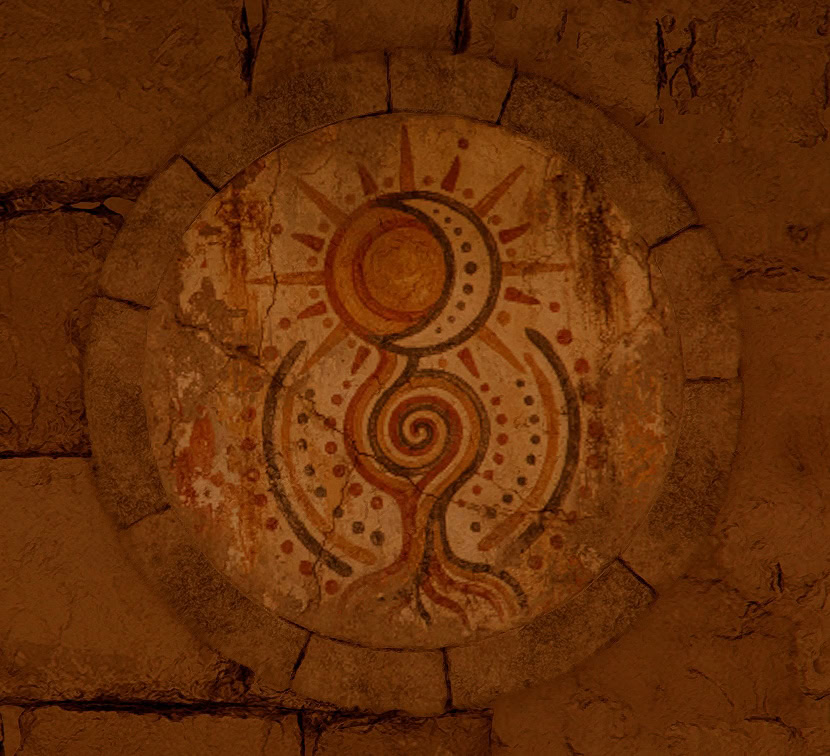
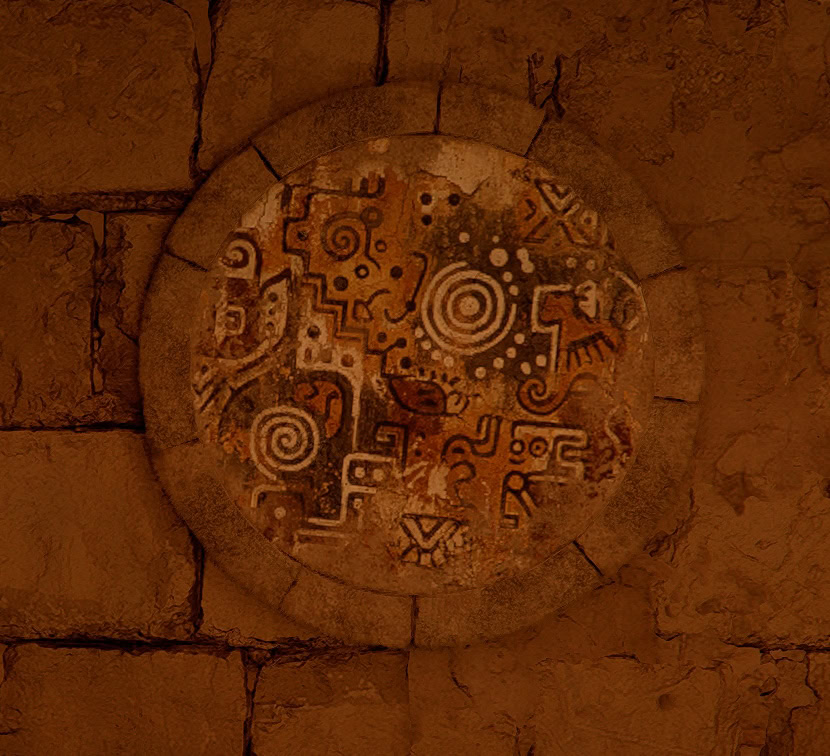
So, we have our hints, now we just need to turn the discs in the chamber to match their corresponding hints.
Note: These discs WILL NOT stop perfectly at their correct positions, though they do have the same quarter turn stops of similar puzzles. Keep this in mind while turning them and try to match them as closely as possible.
When properly turned, our discs will look like this on the walls of the pit:
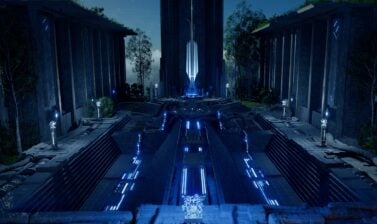
When the third disc is set in place, the door at the back of the chamber will open, revealing our prize, an Abyss Cresset, granting us an Abyss Artifact and Memories of Abundance.
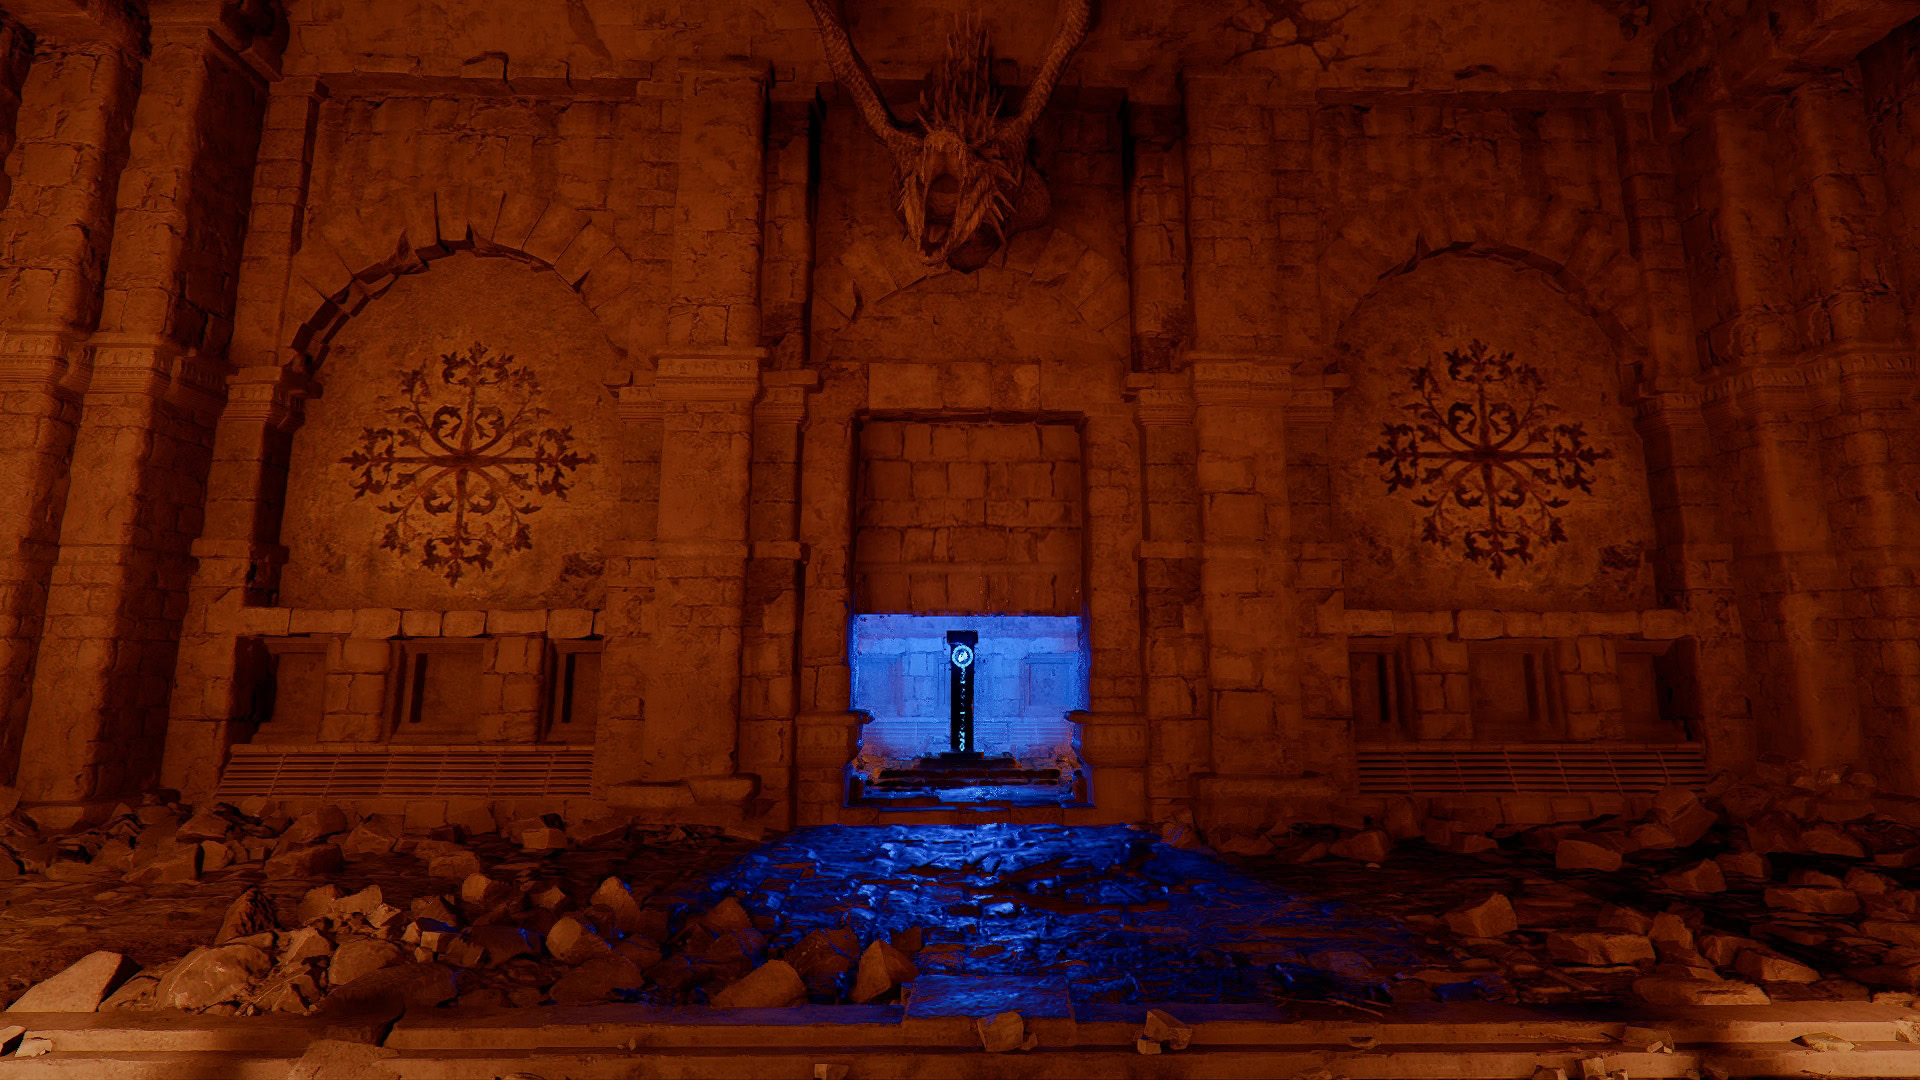
You’re probably familiar with Abyss Artifacts by now; they give skill points and are required to upgrade some equipment.
The Memories of Abundance gives you Knowledge about secret caves in Hernand including:
- Dawn Cave
- Cloudmist Cave
- Whispering Grotto
- Echoing Tunnel
- Shadowheart Grotto
- Blade Cave
- Azure Moon Labyrinth
This location is also included in our list of all Abyss Artifacts in Hernand. In that catalog, you will find many more locations that are off the beaten path, offering free skill points.
Video Walkthrough
If you enjoy this type of puzzles, you will find a similar one in Demeniss, for example. The Secret Chamber of the Golden Plains Ruins Puzzle will send you exploring the region looking for symbols to push the corresponding tiles on the wall inside the chamber. And, of course, we have a guide for it, if you prefer to just get to the solution.