Coming from a bona fide Truth Seeker and L.A.V.A. Suit owner/operator, this guide contains everything I’ve learned about the Trial By Fire Dynamic Encounter and everything you’ll need to do to get all achievements.
Table of contents
What is Trial By Fire
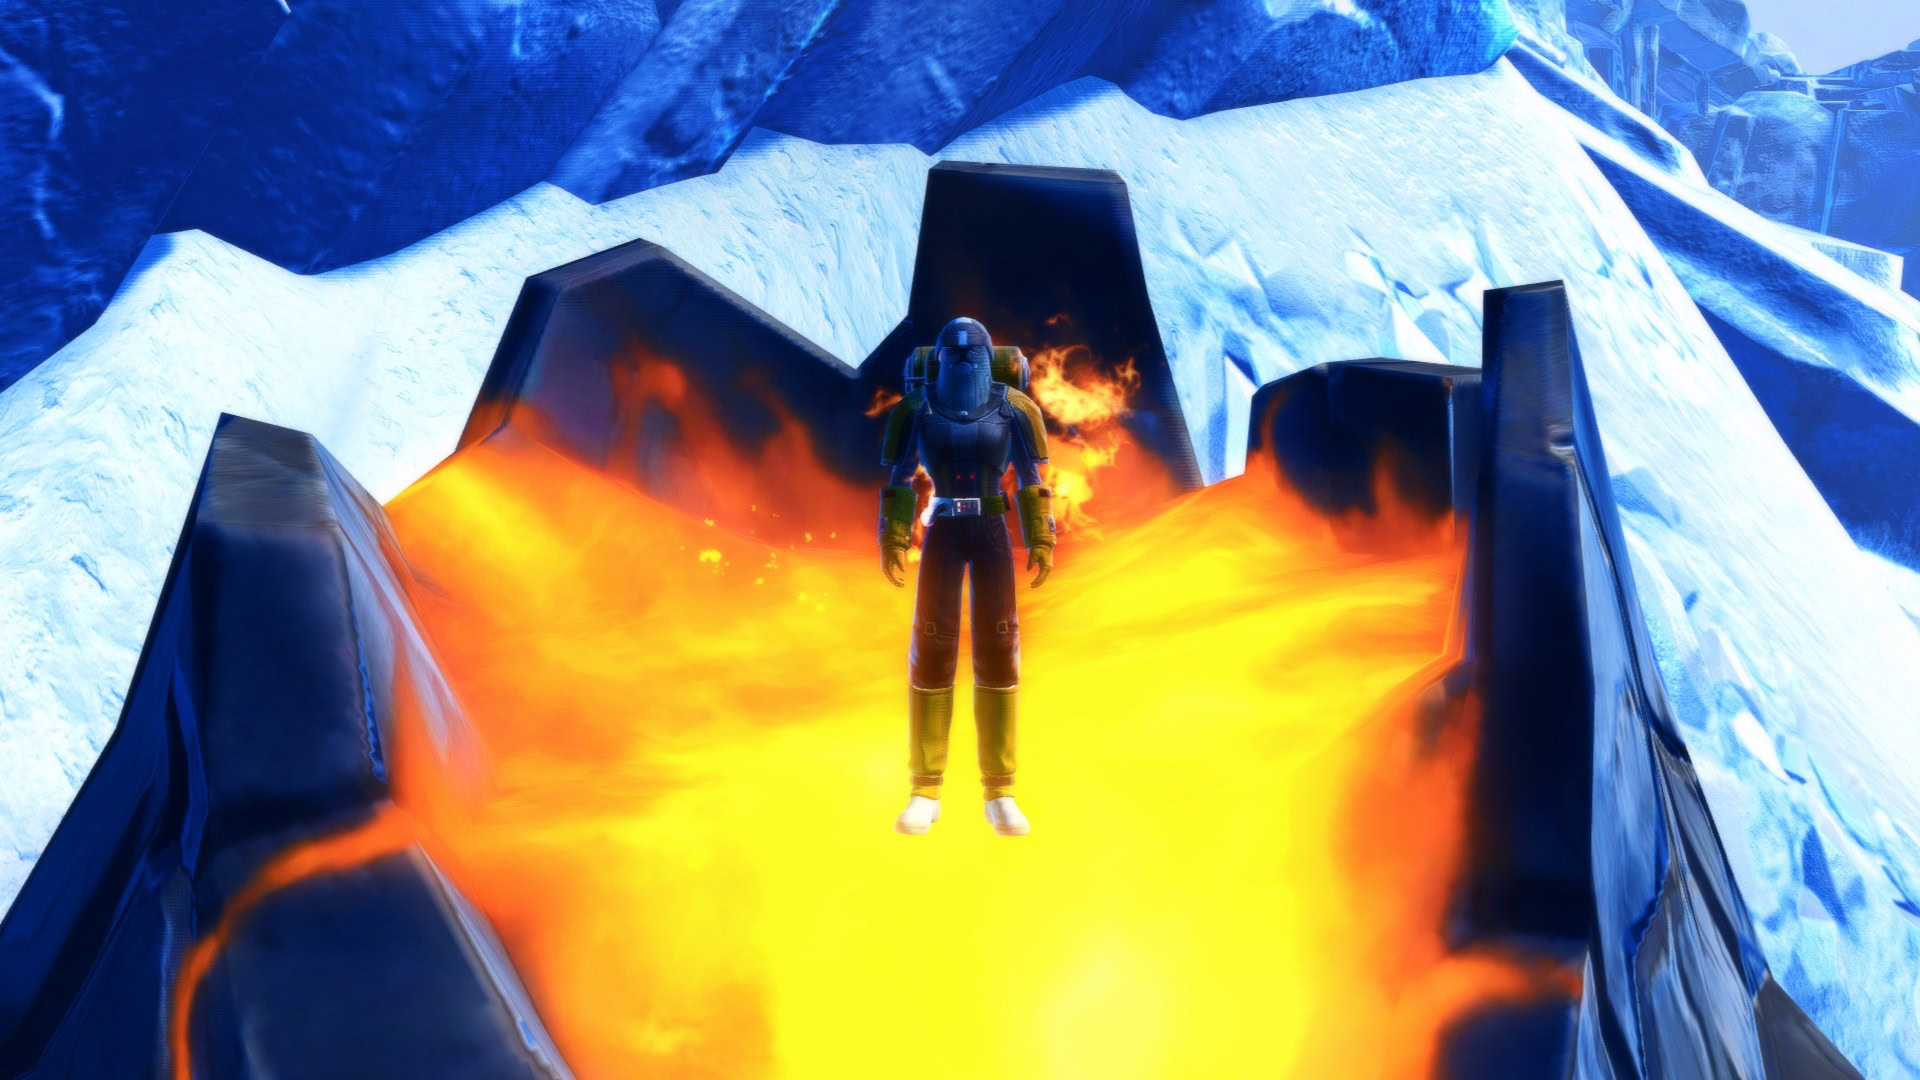
Trial by Fire is one of the most unique Dynamic Encounters in tSWTOR. You must don a special suit near a volcano in the Glacial Fissure on Hoth and use the suit’s abilities 20 times without dying. You put on the L.A.V.A. Suit and use its abilities via the temporary ability bar.
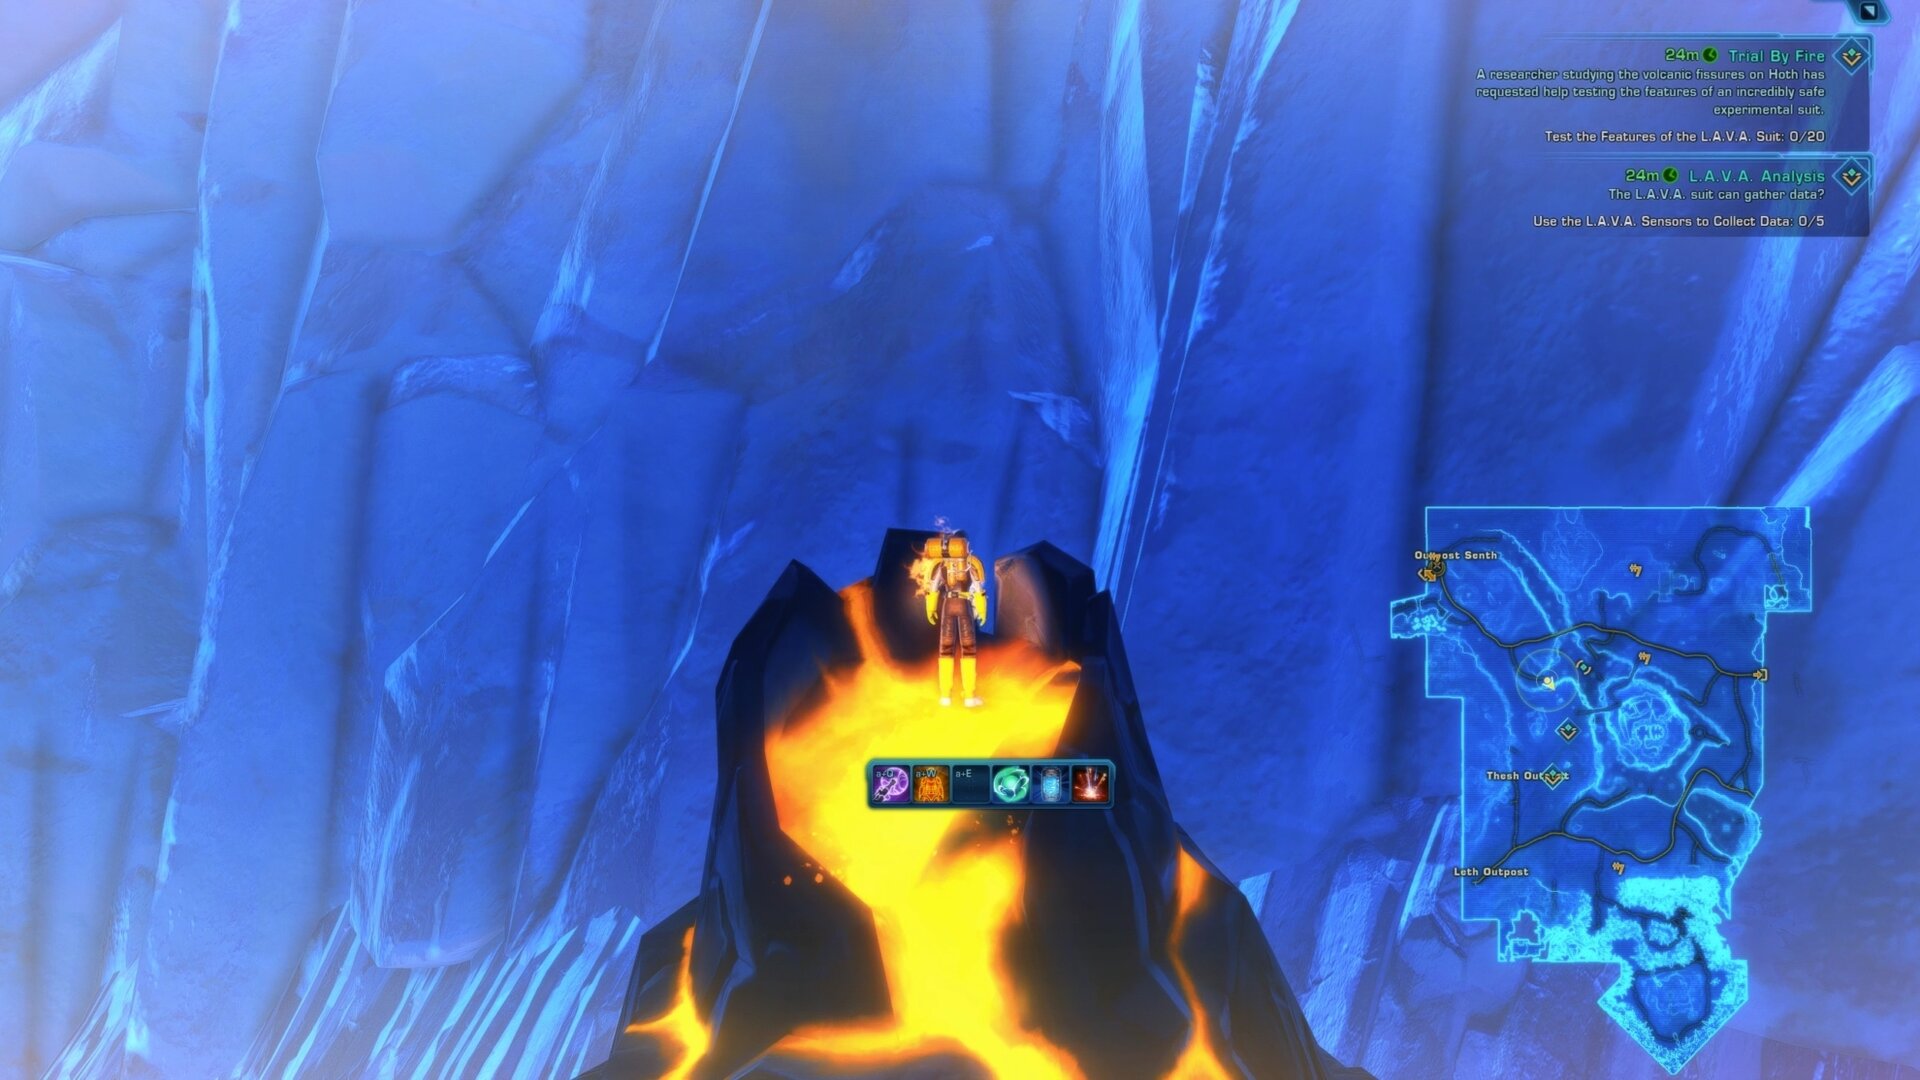
Your eventual goal is to collect Data using the built-in L.A.V.A. Suit Sensors and Collate it into Reports. Doing this efficaciously will eventually get you a bunch of achievements.
Suit Functions
The abilities of the suit come in 2 flavors: suit functions and instructions. The suit function abilities protect you or study the volcano, while the instruction abilities increase the effectiveness of the suit functions or allow you to use them.
| Base Instructions ▶ | Base Suit Functions |
|---|---|
| |
You’ll alternate between an instruction ability and a suit function ability. First you pick the instruction, then the suit function you want to apply it to. Each cycle, you’ll get to pick from a random pair of abilities from each category, so 2 instructions and 2 suit functions.
All suit function abilities benefit from being Charged or Calibrated, though it is unclear how the two are different beyond a given suit function having a greater affinity for one over the other. It seems there may be a couple other abilities you unlock later on as well.
| Icons | Suit Function | Description |
|---|---|---|
| Heat Shields | Protects you from damage you will take from standing in a volcano | |
| Kolto Tanks | Heals you from damage you’ve already taken from standing in a volcano | |
| Sensors | Gives out Sensor Data, which is what you need for the bonus mission and secret achievements | |
| Drill | Increases your Drill Depth and Heat Level (fire DoT) by 1. Deeper Drill Depths significantly improves your odds of getting useful Sensor Data, but can also make you take more damage from the fire DoT by increasing its stacks | |
| Activate | Applies and consumes associated Calibrated and Charged buffs and Activates the chosen suit function. | |
| Calibrate | Calibrates the subsequent chosen suit function or applies the Calibrated effect if the chosen suit function is already Calibrated without consuming the buff. | |
| Auto-Calibtrate | Permanently Calibrates the chosen suit function. Appears instead of Calibrate only if all 4 suit functions are currently Calibrated. You can only Auto-Calibrate 1 suit function per Trial. | |
| Charge | Charges the subsequent chosen suit function or Activates the Base effect if the chosen suit function is already Charged. There is no point in Recharging an ability. | |
| Hypercharge | Permanently Charges the chosen suit function. Appears instead of Charge only if all 4 suit functions are currently Charged. You can only Hypercharge 1 suit function per Trial. | |
 | Eject | Exit the volcano and remove the suit. |
Buffing Suit Functions
Each suit function has a base effect that occurs when you Activate it, but each gains unique benefits from Charging and/or Calibrating before Activating it. Each buff is consumed independently, so there aren’t any synergies from Charging AND Calibrating as opposed to just doing one or the other.
It is more efficient to wait until you have Charged and Calibrated a suit function before Activating it, but not all buff effects are equally important.
 Heat Shields
Keeping Heat Shields Calibrated is most valuable, but not as useful as it should be. Charge and Activate should only be used in emergencies or when there is no alternative.
| Heat Shields | Instruction | Effect |
|---|---|---|
| Calibrate | Next Heat Shields Activate reduces your Heat Level DoT stacks by 1 or immediately if Heat Shields is already Calibrated. | |
| Charge | Next Heat Shields Activate grants +15 Heat Shields (or +20 with Hypercharge). | |
| Activate | Applies 5 stacks of Heat Shields. Each stack absorbs the next tick of Heat Level. |
 Kolto Tanks
Kolto Tanks are the least useful suit function. Maintaining Calibration can allow you to get a bunch of HoT stacks.
| Kolto Tanks | Instruction | Effect |
|---|---|---|
| Calibrate | Next Kolto Tanks Activate applies and refreshes 1 stack of long-lasting HoT or immediately applies and refreshes HoT if already Calibrated. | |
| Charge | Next Kolto Tanks Activate has immediately heals for ~50% of max HP. | |
| Activate | Heals you for a negligible amount. |
 Sensors
Charging and Calibration are equally valuable. It isn’t worth it to Activate Sensors at low Drill Depths, but spam it if you have Auto-Calibrated and/or Hypercharged them. Activate Sensors and rebuff it rather than maintaining buffs with Charge and Calibrate.
| Sensors | Instruction | Effect |
|---|---|---|
| Calibrate | Next Sensors Activate has increased chance of getting precise Sensor Data (better rolls) and the Encrypted Commlink. | |
| Charge | Next Sensors Activate yields more Sensor Data (more rolls). | |
| Activate | Grants 1 Sensor Data. |
 Drill
Drill
Drill, Baby, Drill! Charging is far more important than Calibrating the Drill, and Calibration provides the same effective benefit to both Heat Shields and Drill.
| Drill Icons | Instruction | Effect |
|---|---|---|
| Calibrate | Next Drill Activate does not increase Heat Level DoT stacks. If already Calibrated and Charged, increases Drill Depth by 1 immediately without raising Heat Level. | |
| Charge | Next Drill Activate increases Drill Depth to 3 (up from 1). If already Charged, immediately increases Drill Depth and raises Heat Level by 1. Stacks with Hypercharge. | |
| Activate | Increases Drill Depth and Heat Level DoT stacks by 1 |
Recalibrating a Drill that hasn’t been Charged will Charge it instead. Since Charging also stacks with Hypercharge, it’s unclear if this is a bug or if this is related to the Drilling System Damage Report.
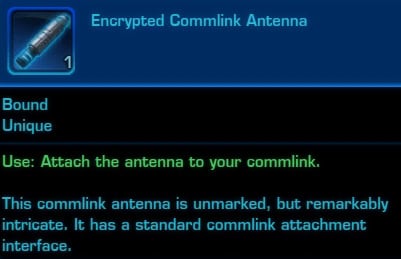
Encrypted Commlink Antenna
You have a chance to get the Encrypted Comlink Antenna whenever you Activate the Sensors alongside some Data. When consumed, it opens up a Commlink channel that lets you talk to an Unknown individual who knows about the suit.
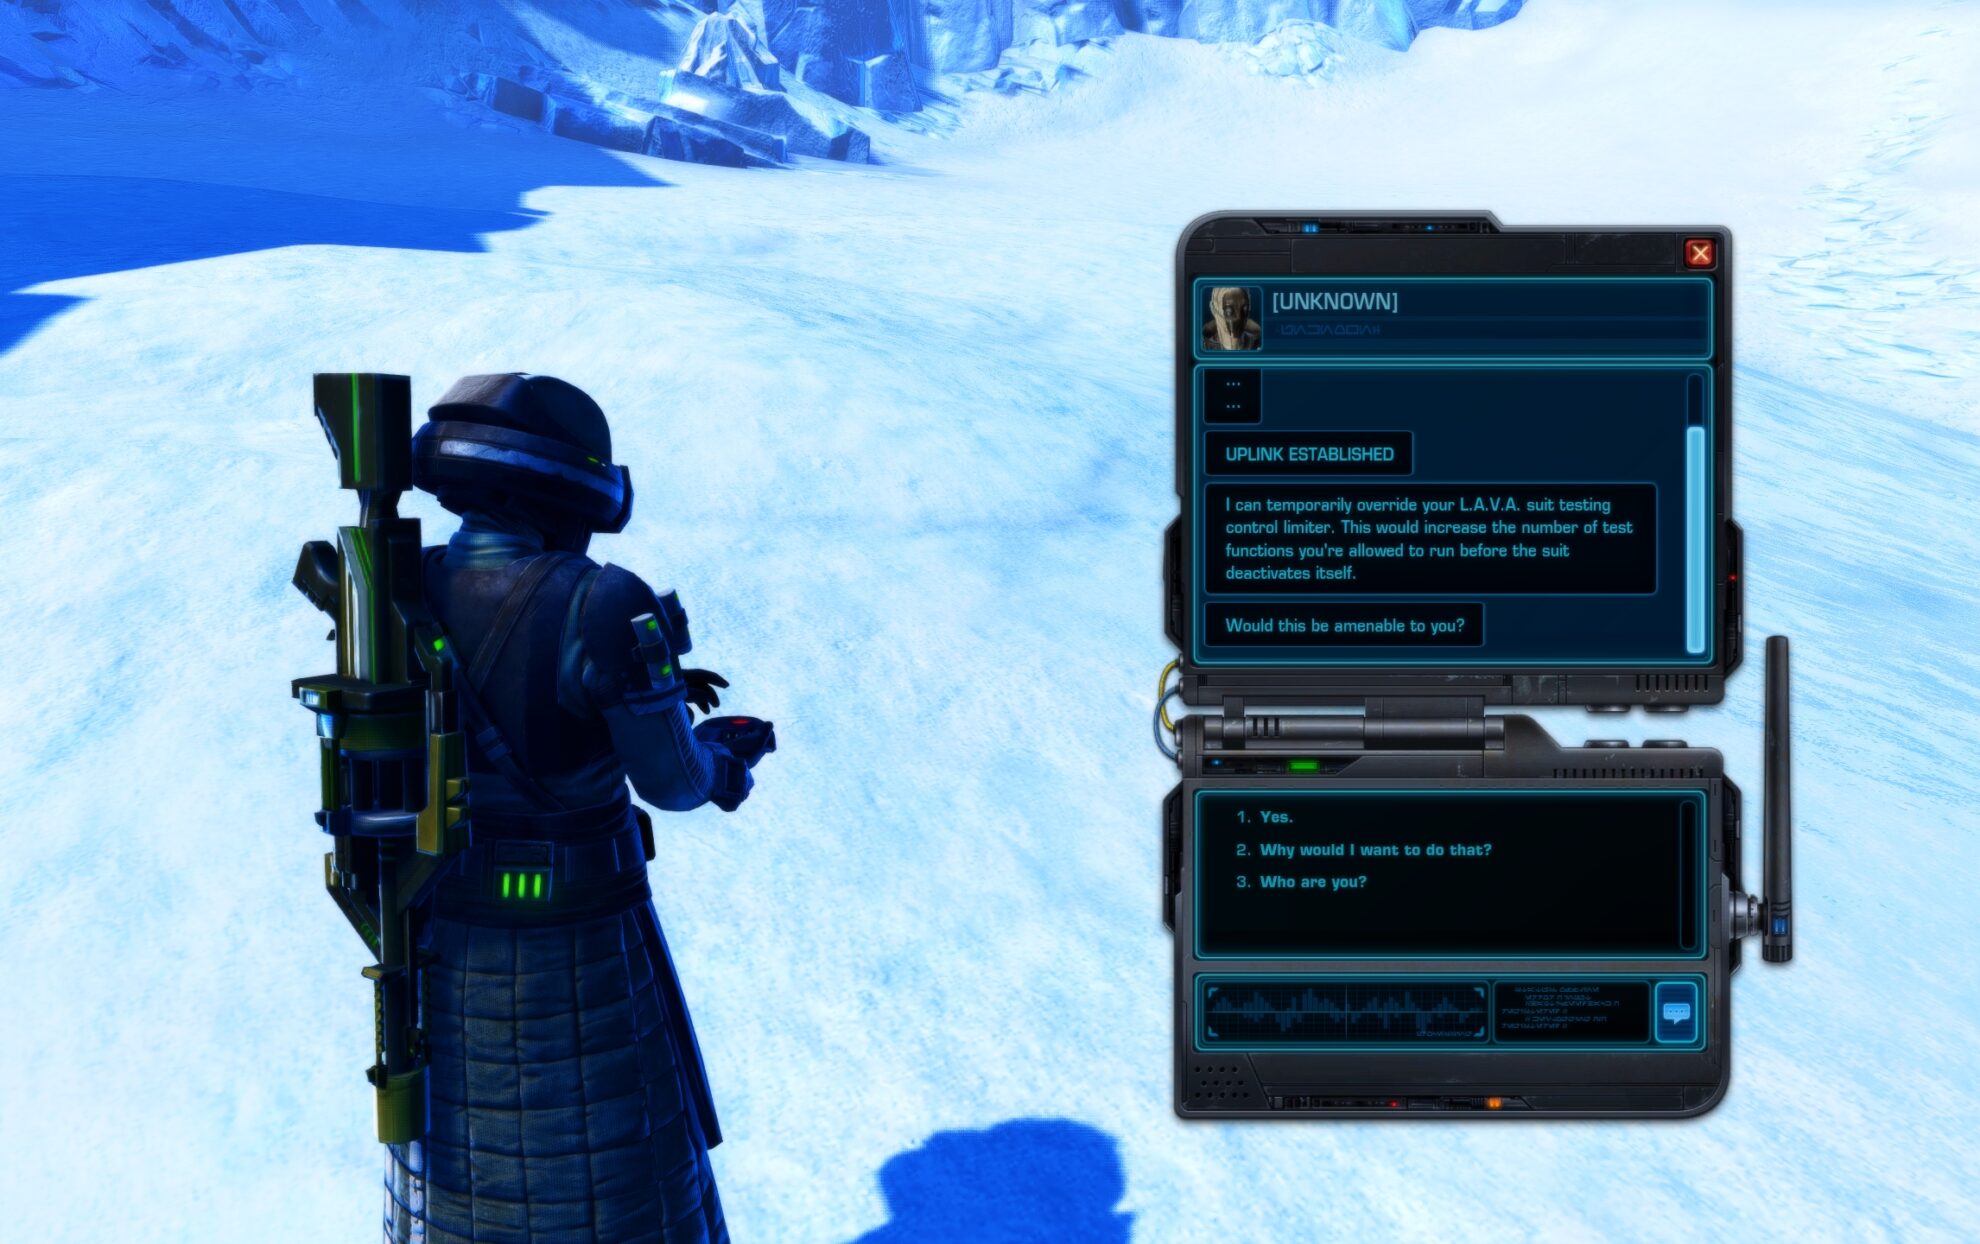
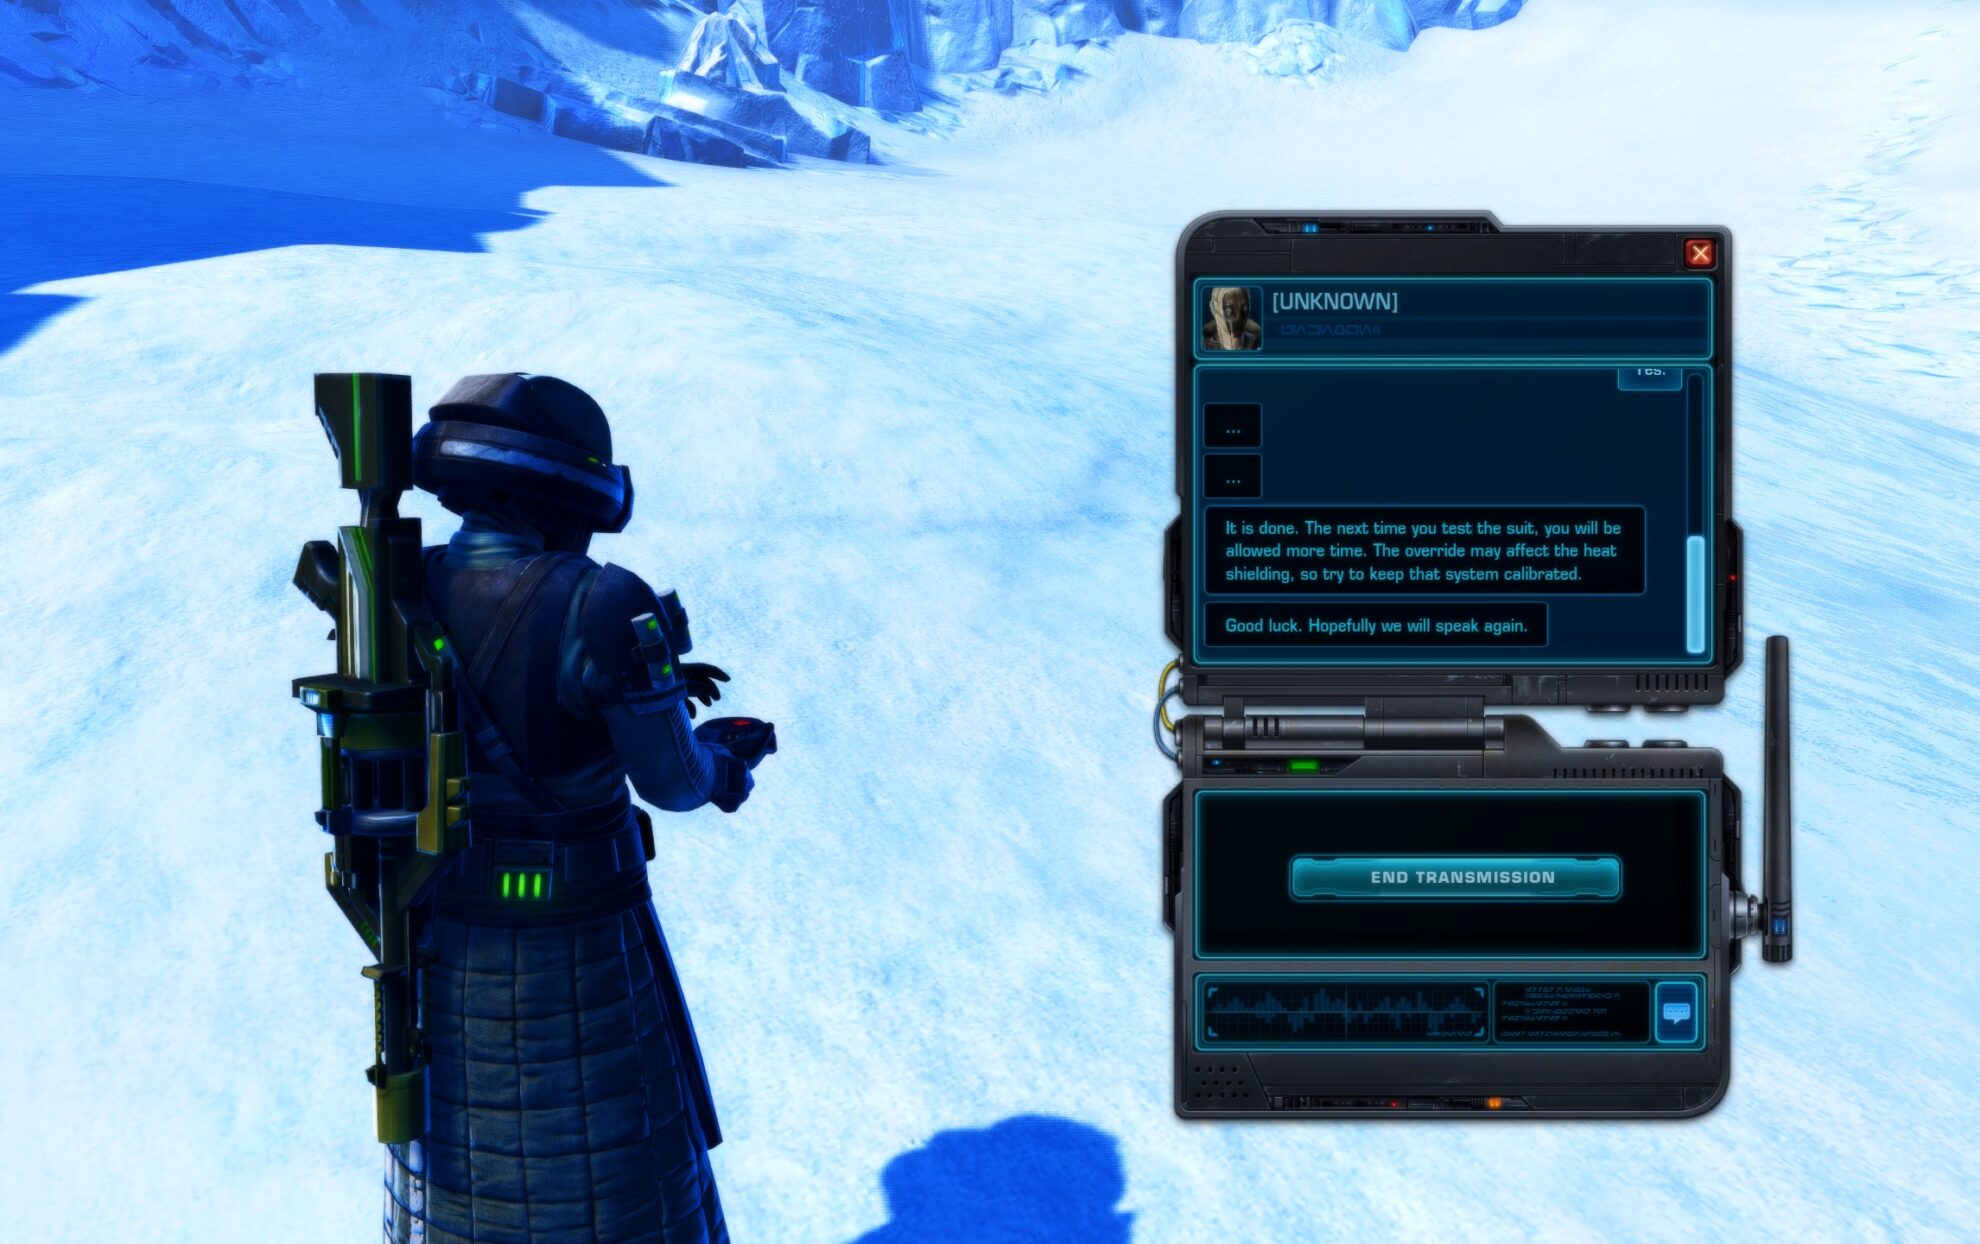
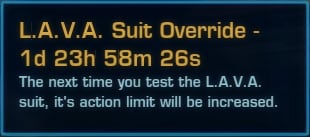
At the end of the conversation, you get a buff that lasts for 2 days and doubles the amount of time you can spend testing the suit from 20 actions to 40. This buff is essential for many of the achievements.
Since it’s a Unique item, you can’t ever have more than one on a given toon. Use Encrypted Commlink Antenna as soon as you get it. You should be able to get another one on your next run if you play your cards well enough.
Suit Instruction Priorities and Rotation
I like to get a Hypercharge and an Auto-Calibrate first, then focus on Charging Drilling as deep as I can while using Calibrated and Charged Sensors as often as possible. Never Activate an ability that isn’t Charged or Calibrated unless it’s the final action (19/20 or 39/40).
If you see that you aren’t gonna get both Auto-Calibrate and Hypercharge by action 10-11/20, just skip them. I would also consider going for an Activate if the choice is between Heat Shields and Kolto Tanks on a 40.
 Hypercharge Priority
You want to prioritize Hypercharging the Sensors, and if not that, the Drill. If the choice is between Heat Shields and Kolto Tanks, do the Heat Shields on 20 Trials, but skip and try again on 40 Trials.
- Sensors
- Drill
- Heat Shields (20 Trials only)
 Auto-Calibrate Priority
You want to prioritize Auto-Calibrating the Sensors, and if not that, the Drill. If the choice is between Heat Shields and Kolto Tanks, do the Heat Shields on 20 Trials, but skip and try again on 40 Trials.
- Sensors
- Drill
- Heat Shields (20 Trials only)
Calibrating the Drill and Heat Shields provides the same benefit, but for some reason, if you Recalibrate an Uncharged Drill, you’ll Charge it instead of Calibrating, so it’s more versatile. Neither is necessary with Refreshed and Sustained + the Dewback Steak Sandwich.
There’s a strong argument to be made for Hypercharging and Auto-Calibrating the Sensors at the same time. Hypercharging the Drill is nice for getting you down to 20 quickly, but there’s a ceiling to how many uses you can get and you really only need to Charge it.
Meanwhile, you want to use the Sensors while Charged and Calibrated as many times as possible and as deep a Drill Depth as possible.
If you don’t get Hypercharge on the Drill or Sensors and don’t get Auto-Calibrate on the Sensors, use the other button (typically Activate) and try to get it again. You get Auto-Calibrate or Hypercharge in lieu of their regular version whenever you have all suit functions buffed by that Instruction and haven’t applied the permanent version.
Suit Instruction and Function Priority Combos
Below, you’ll find my recommended priority for Calibrating, Charging, and Activating Suit Functions. The first icon is the Instruction followed by the blue arrow pointing to the current buff state of the suit function(s) you want to use.
- Procure Hypercharge and Auto-Calibrate

 Activate buffed Heat Shields or Kolto Tanks (ONLY if below 30% HP)
- Charge Drill (if <20 depth)
- Charge and/or Calibrate Sensors
- Activate Charged Drill (if <20 depth)
- Activate Charged and Calibrated Sensors
- Cailbrate Drill (if <20 depth)
- Recalibrate Drill (if <20 depth)
- Recharge Drill (if <20 depth)
- Recalibrate Active Kolto Tanks
- Calibrate Heat Shields
- Calibrate Kolto Tanks
- Recalibrate Heat Shields
- Recharge or Recalibrate Sensors
- Charge Kolto Tanks or Heat Shields
After you’ve procured Hypercharge and Auto-Calibrate, for the most part, you want to prioritize Charging the Drill and Activating the Charged Drill, followed by Charging and Calibrating Sensors, and then Activating fully buffed Sensors. The rest is optimizations for Recharging and Recalibrating.
Try to minimize the amount of time spent buffing and using Heat Shields and Kolto Tanks, but don’t hesitate to buff or use them if you must. It’s better than ejecting or dying.
Trial By Fire Hidden Achievements
There are a whopping 11 achievements associated with Trial By Fire, all of which are hidden! They are ordered according to where they appear when you unlock them. There are also unhidden achievements for completing Trial By Fire for the first time and for completing all Hoth Dynamic Encounters.
| Achievement Name | Objective | Reward |
|---|---|---|
| Terrible Tremors | Collate 10 Pinpoint Tremor Readings | – |
| Off the Charts | Collate 10 Verified Temperature Data | – |
| Magma Disturbance | Collate 10 Accurate Flow Data | – |
| Volcanic Researcher | Collate All 3 Types of L.A.V.A. Suit Data | – |
| Maximum Depth | Drilled to the deepest possible point (20) | – |
| Hypercharged!* | Hypercharge a L.A.V.A. Suit System | |
| Auto-Calibrated!* | Auto-Calibrate a L.A.V.A. Suit System | – |
| Junk Science | Collect all 21 unique pieces of Inaccurate Data | – |
| Truth Seeker | Find all 5 pieces of evidence for unique disturbances | – |
| Beneath the Surface | Collate All 3 Blue Data Reports into Synthesized L.A.V.A. Report | L.A.V.A. Suit Fitted Armor Set |
| Truth Seeker | Obtain all 5 blue Reports | Character Title: Truth Seeker |
Once you’ve completed Truth Seeker and Beneath the Surface, you’ll become unable to collect good data across your legacy, so it’s pointless to keep doing it on any toon. You can just sell all the data you’ve collected to a vendor.
Junk Science
There are 21 different types of bad data you can get. You’ll likely get this achievement while in pursuit of the others, but you should be able to get it more deliberately by spamming the Sensors at low drill depths.
Hypercharged
As soon as you have all suit functions Charged at the same time, your next Charge will be Hypercharge instead, which permanently Charges the chosen suit function, meaning you get the benefits of Charging on that function for the rest of the trial.
The first time you Hypercharge a suit function, you get the Hypercharged! achievement.
Auto-Calibrated
Once you have all suit functions Calibrated at the same time, your next Calibrate will be Auto-Calibrate instead, which permanently Calibrates the chosen suit function, meaning you get the benefits of Calibration on that function for the rest of the trial.
The first time you Auto-Calibrate a suit function, you get the Auto-Calibrated Achievement.
Maximum Depth
You get the Maximum Depth achievement for reaching a Drill Depth of 20. It is barely possible to do this in a regular 20 actions, but it’s much easier to do with the Encrypted Commlink Antenna in 40.
I highly recommend Hypercharging the Drill if you’re going for this achievement, and prioritize Charging, Calibrating, and Activating the Drill whenever possible.
Remember that the Heat Level DoT increases each time you drill deeper, but you can keep it in check with Heat Shields or a healer buddy.
Volcanic Researcher
Once you collect 10 of a single type of good Data on a single toon (Verified Temperature Data, Pinpoint Tremor Readings, Accurate Flow Data), you can right click on the stack to Collate it and get the associated achievement. Collate all 3 types of good data and get Volcanic Researcher.
Beneath the Surface
Beneath the Surface is the achievement you get for Collating all Data and Reports to get the Synthesized L.A.V.A. Report. This achievement also rewards you with the Fitted L.A.V.A. Suit.
- Gather 10 of each type of good Data on a single toon and Collate it:
- 10x Accurate Flow Data ▶ Collated Flow Data
- 10x Pinpoint Tremor Readings ▶ Collated Tremor Data
- 10x Verified Temperature Data ▶Collated Temperature Data
- Continue doing Trials by Fire. Each type of green Collated Data in your inventory enables you to find its associated blue Report from using Sensors, likely instead of the white Data.
- Collated Flow Data ▶ Report on Disrupted Magma Flow
- Collated Tremor Data ▶ Report on Unusual Tremor Patterns
- Collated Temperature Data ▶ Report on Cyclical Heat Disruption
- Once you have all 3 Reports, right-click on one of them to Collate all 3 into Synthesized L.A.V.A. Report
- Profit
Since all of this Data is Bound (BoP), you have to do it all on one toon. However, it’s still worthwhile to stick as many toons as you can into the volcanoes to improve your odds and give you time to practice.
Truth Seeker
You get Truth Seeker for Sensing all 5 of the blue Reports and get the Character Title: [Name], Truth Seeker.
You will get 3 of the blue reports from doing Beneath the Surface, and these shouldn’t need to be on the same toon for this achievement. The other 2 are Recording of Disturbing Sounds and Drilling System Damage Report, neither of which seems all that rare.
Recording of Disturbing Sounds seems to just have a chance to drop from using Sensors at deep Drill Depths, as in shoot for 20.
Drilling System Damage Report seems to drop when you lean hard into Drilling. It may require you to hit the maximum Drill Depth (20), or possibly involve Activating a Hypercharged + Regular Charged Drill. You may also need to obtain the regular Charge from Calibrating the Drill twice.
Trial By Fire Rewards
You can get 2 rewards for achievements related to Trial By Fire. Basically, you get them for doing every other achievement.
 L.A.V.A. Suit Fitted Armor Set
You receive the L.A.V.A. Suit for completing the Beneath the Surface achievement, requiring you to create a Synthesized L.A.V.A. Report by Collating all types of good Data on a single toon during Trial By Fire.
Since you can’t reclaim the L.A.V.A. Suit Fitted Armor Set from the achievement for some reason and cannotcollect any more good data once you’ve completed Truth Seeker and Beneath the Surface, you can only ever get one copy of the L.A.V.A. Suit Fitted Armor Set.
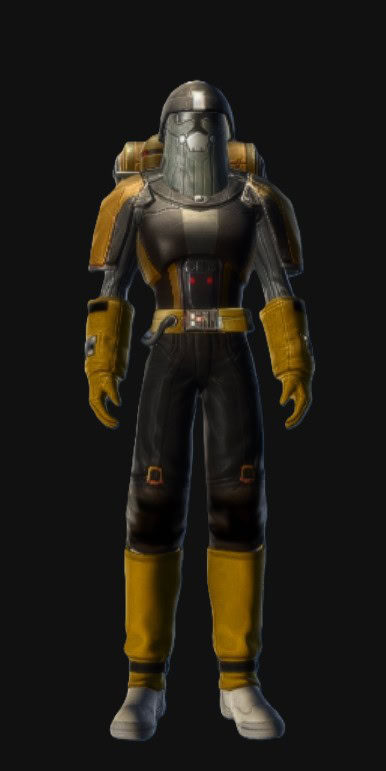
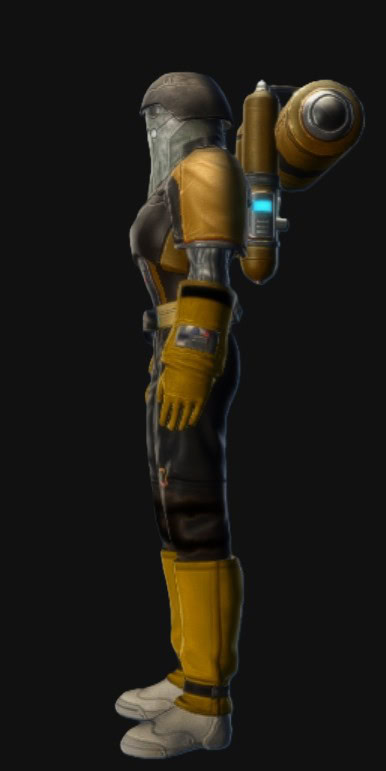
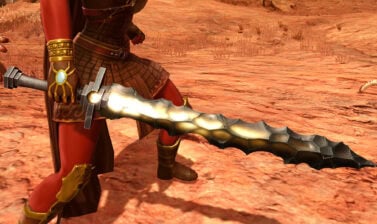
Below, you can see how it dyes using the high-contrast Light Blue and Deep Green Dye Module.
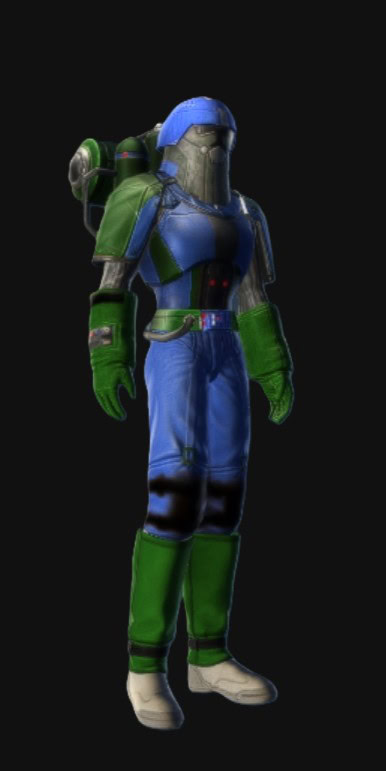
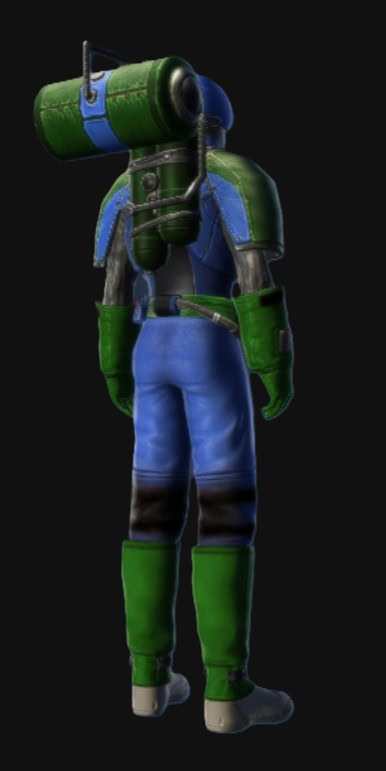
The blurry, undyeable black bits on the pants are the result of them hastily removing the kneepads from the Cybernetic Pauldron Pants but not the baked-in shadow beneath.
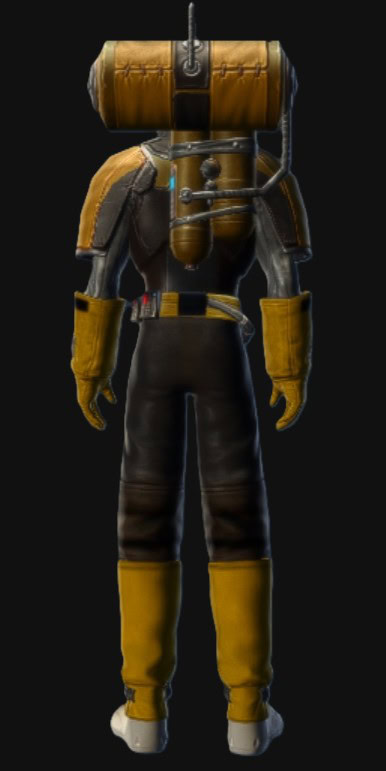
While it looks like what I imagine a volcano diving suit would be, sadly, all of the pieces are cobbled together from hastily edited existing assets including:
- Rakata Trooper Headgear (variant)
- BK-0 Combustion Chestplate
- Lab Technician’s Bracers
- Lab Technician’s Gauntlets
- Woad’s Instinct Belt
- Cybernetic Pauldron’s Greaves (kneepads removed)
- Lab Technician’s Boots
- Ceremonial Yellow Dye (inverted)
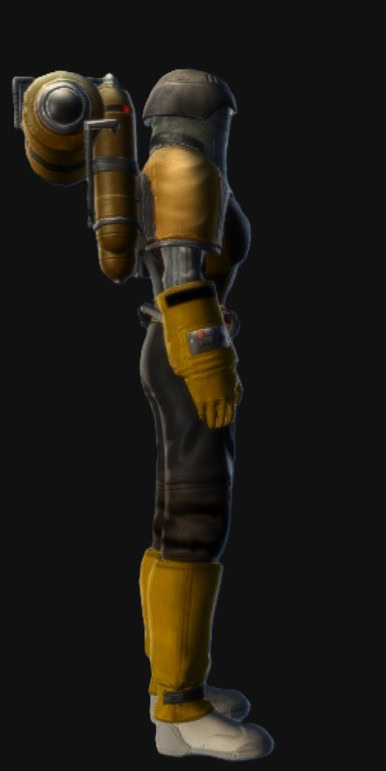
The inverted Ceremonial Yellow Dye and maybe the specific helmet version are the only “special” things about this set, and it’s distractingly old next to other Dynamic Encounter sets like Electric Gaze and Hidden Chain.
I get that they can’t spend a whole lot of effort on something so difficult to obtain, but is it too much to ask for something like Dxun armor shields? (We don’t have pink ones.)
 Character Title: [Name], Truth Seeker
You receive the Character Title: [Name], Truth Seeker for completing the Truth Seeker achievement, which requires that you find all 5 blue Reports from the Trial By Fire encounter.
Trial By Fire Tips and Cheese
There are a several buffs and items you can use that will massively increase your survivability, to the extent that you don’t need to bother using Heat Shields or Kolto Tanks at all.
- Get the Refreshed and Sustained buff from the Moisture Vaporators on Tatooine to dramatically reduce your damage taken from the lava.
- Eat Dewback Steak Sandwiches (or better) to massively improve your out of combat health regeneration, available from the Cantina vendors on the Fleet and highest level planets.
- Use the Czerka VZ-736 Injector (Womp Rat Fever vaccine) to boost your out of combat health regen by 10%, available exclusively from Medical Droids on Tatooine.
- Equip The Life Warden Tactical Item to protect yourself once if your health gets low.
- Convince a healer buddy to heal you so you don’t have to bother using Heat Shields or Kolto Tanks at all. The damage from the volcano is easily healable even at high stacks.
- Park as many toons as you can by the volcano (with Refreshed and Sustained, Vaccinated, and Dewback Steak Sandwiches!) so you can spend the entire half hour doing Trials by Fire.
It’s possible some of these things will get patched at some point since they make the encounter substantially easier.