Learn about which options you can adjust in The Legend of Zelda: Ocarina of Time for the Nintendo Switch 2. Includes information about adjusting the UI, adjusting camera control, and using external items and programs such as amiibo and Zelda Notes.
How to view the Options Menu
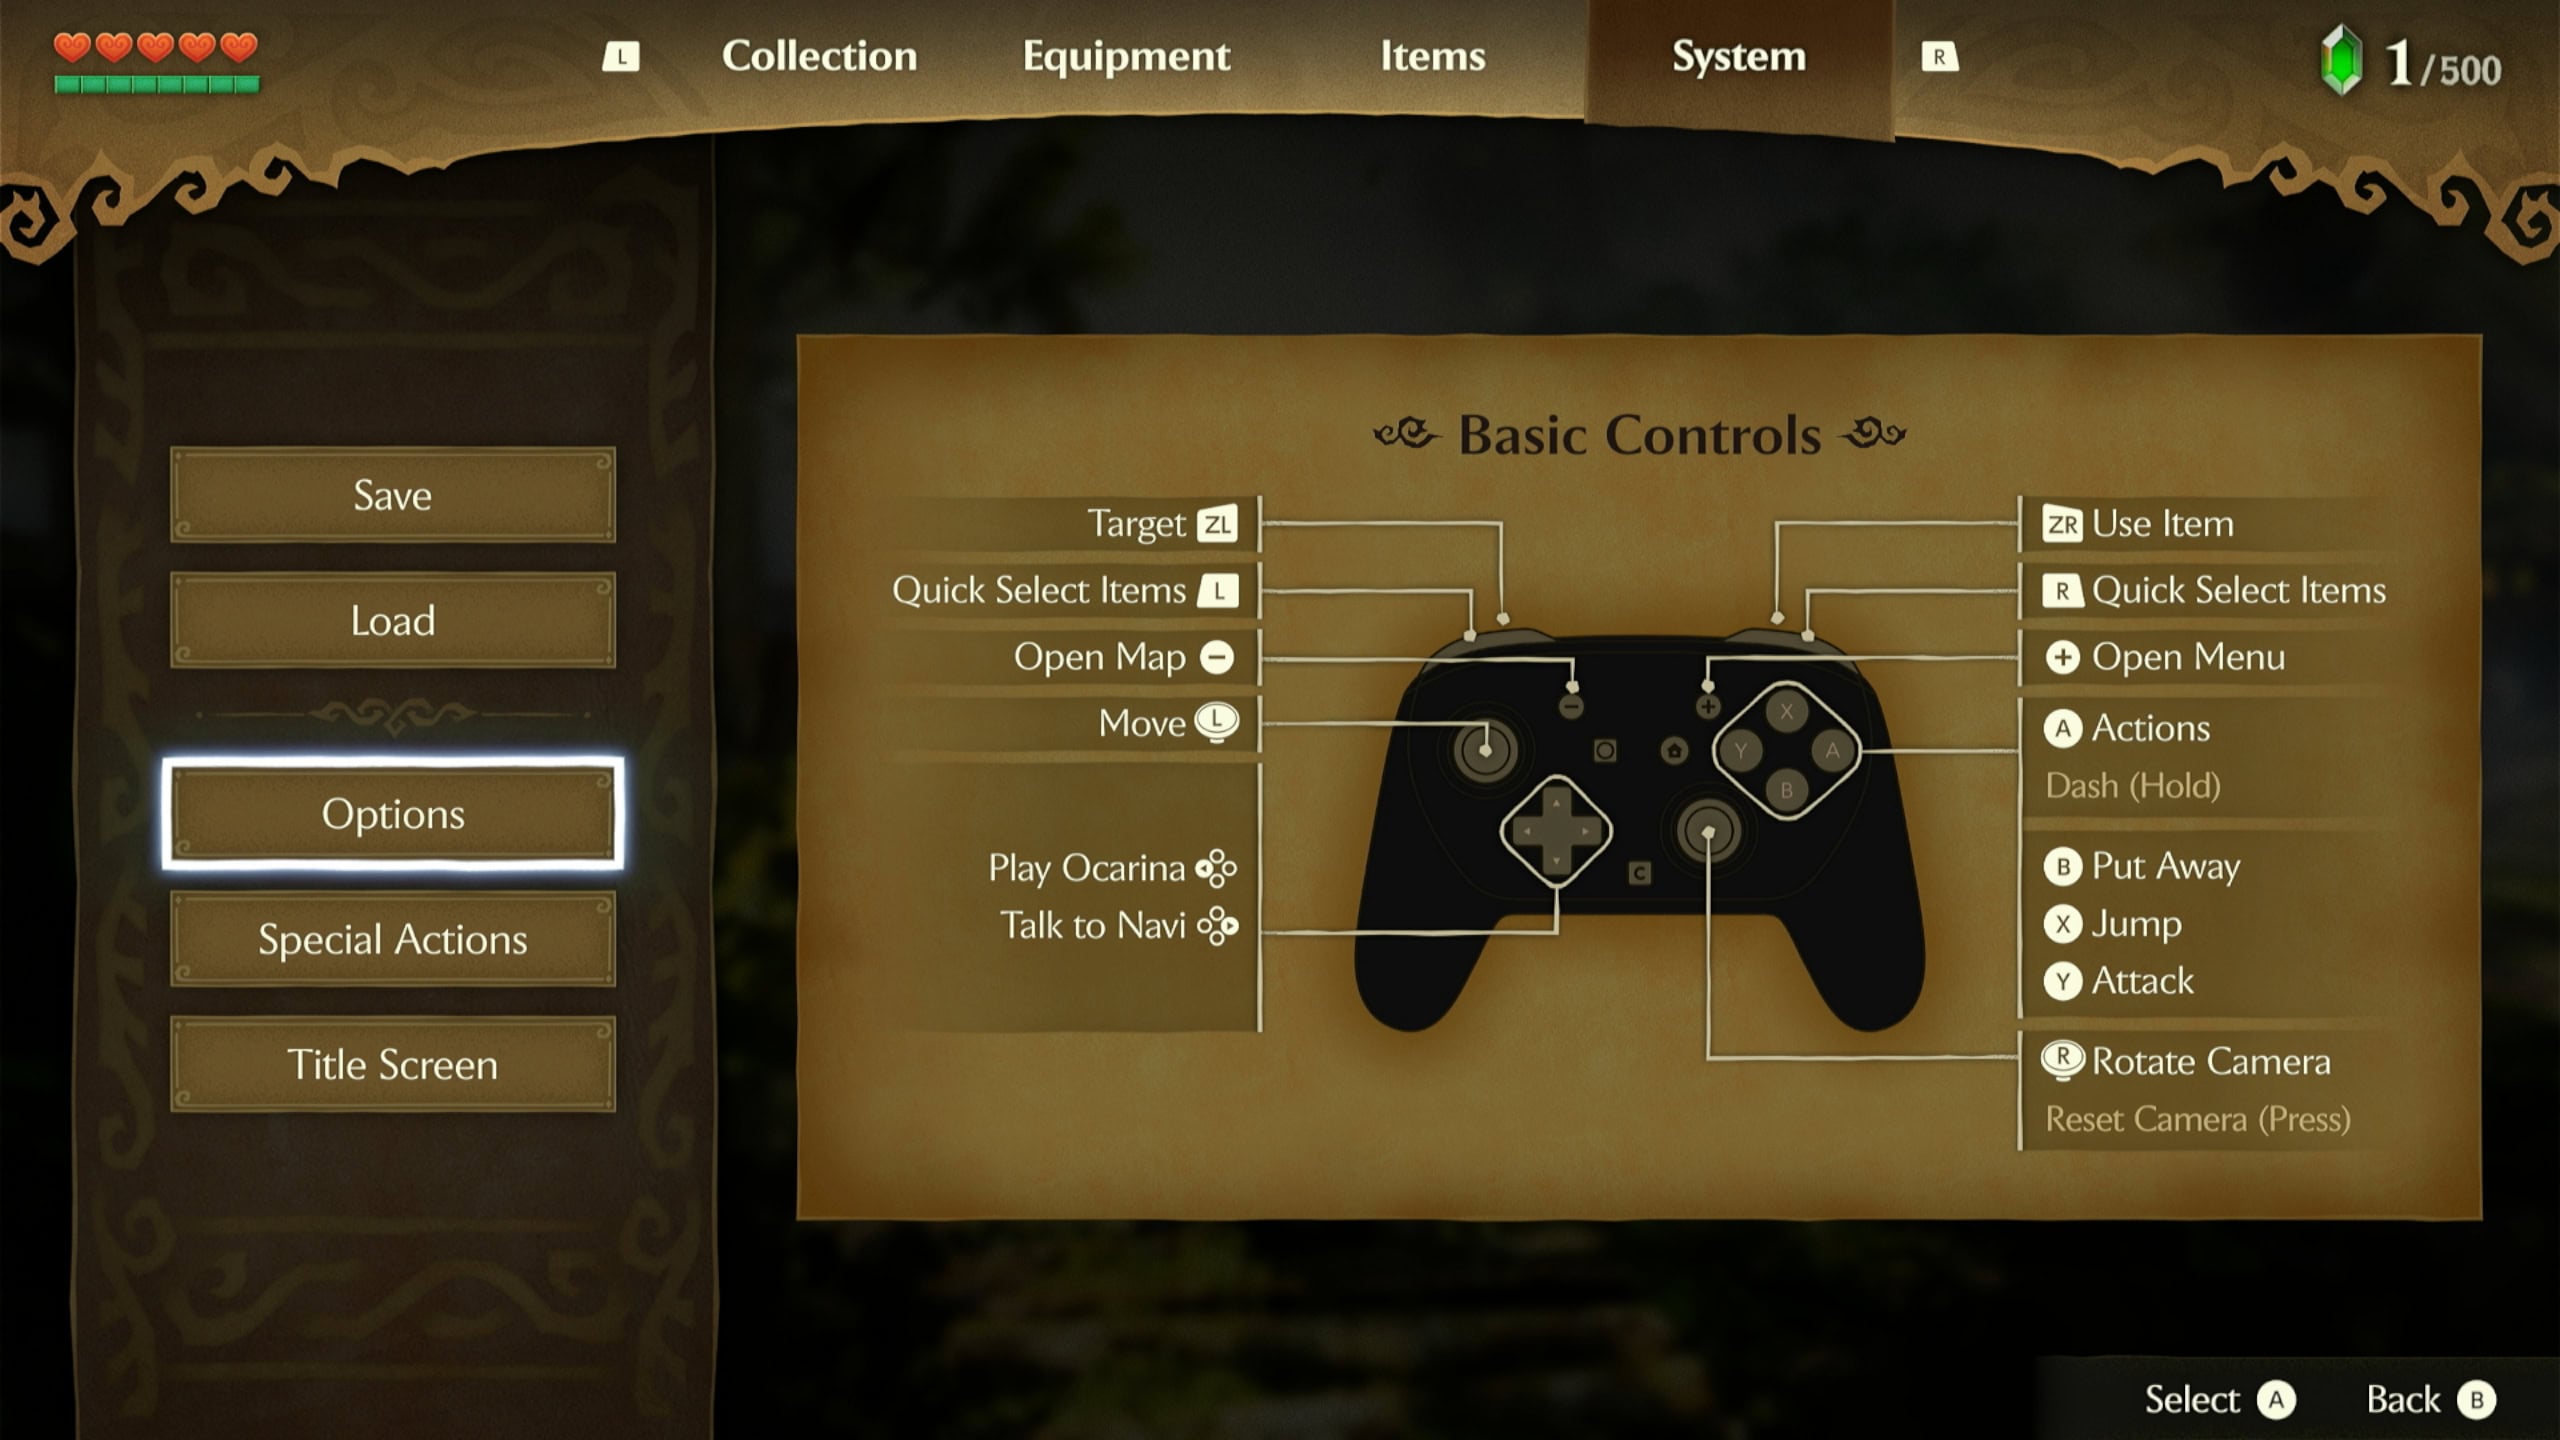
To view the Options Menu, simply press the + button then select Options. In this menu, you can adjust controller settings, gameplay settings, and toggle whether or not you want to use external features such as Ocarina Mic Input, amiibo, or Zelda Notes.
Amiibo and Zelda Notes
The very first options you can adjust are whether or not you wish to use amiibo or Zelda Notes.
Amiibo
Using amiibo, you can earn additional items in Ocarina of Time. The most notable are the newest figures of Young Ling and Young Zelda. These will give you masks that mimic the appearance of these characters from the Nintendo 64 version of the game.
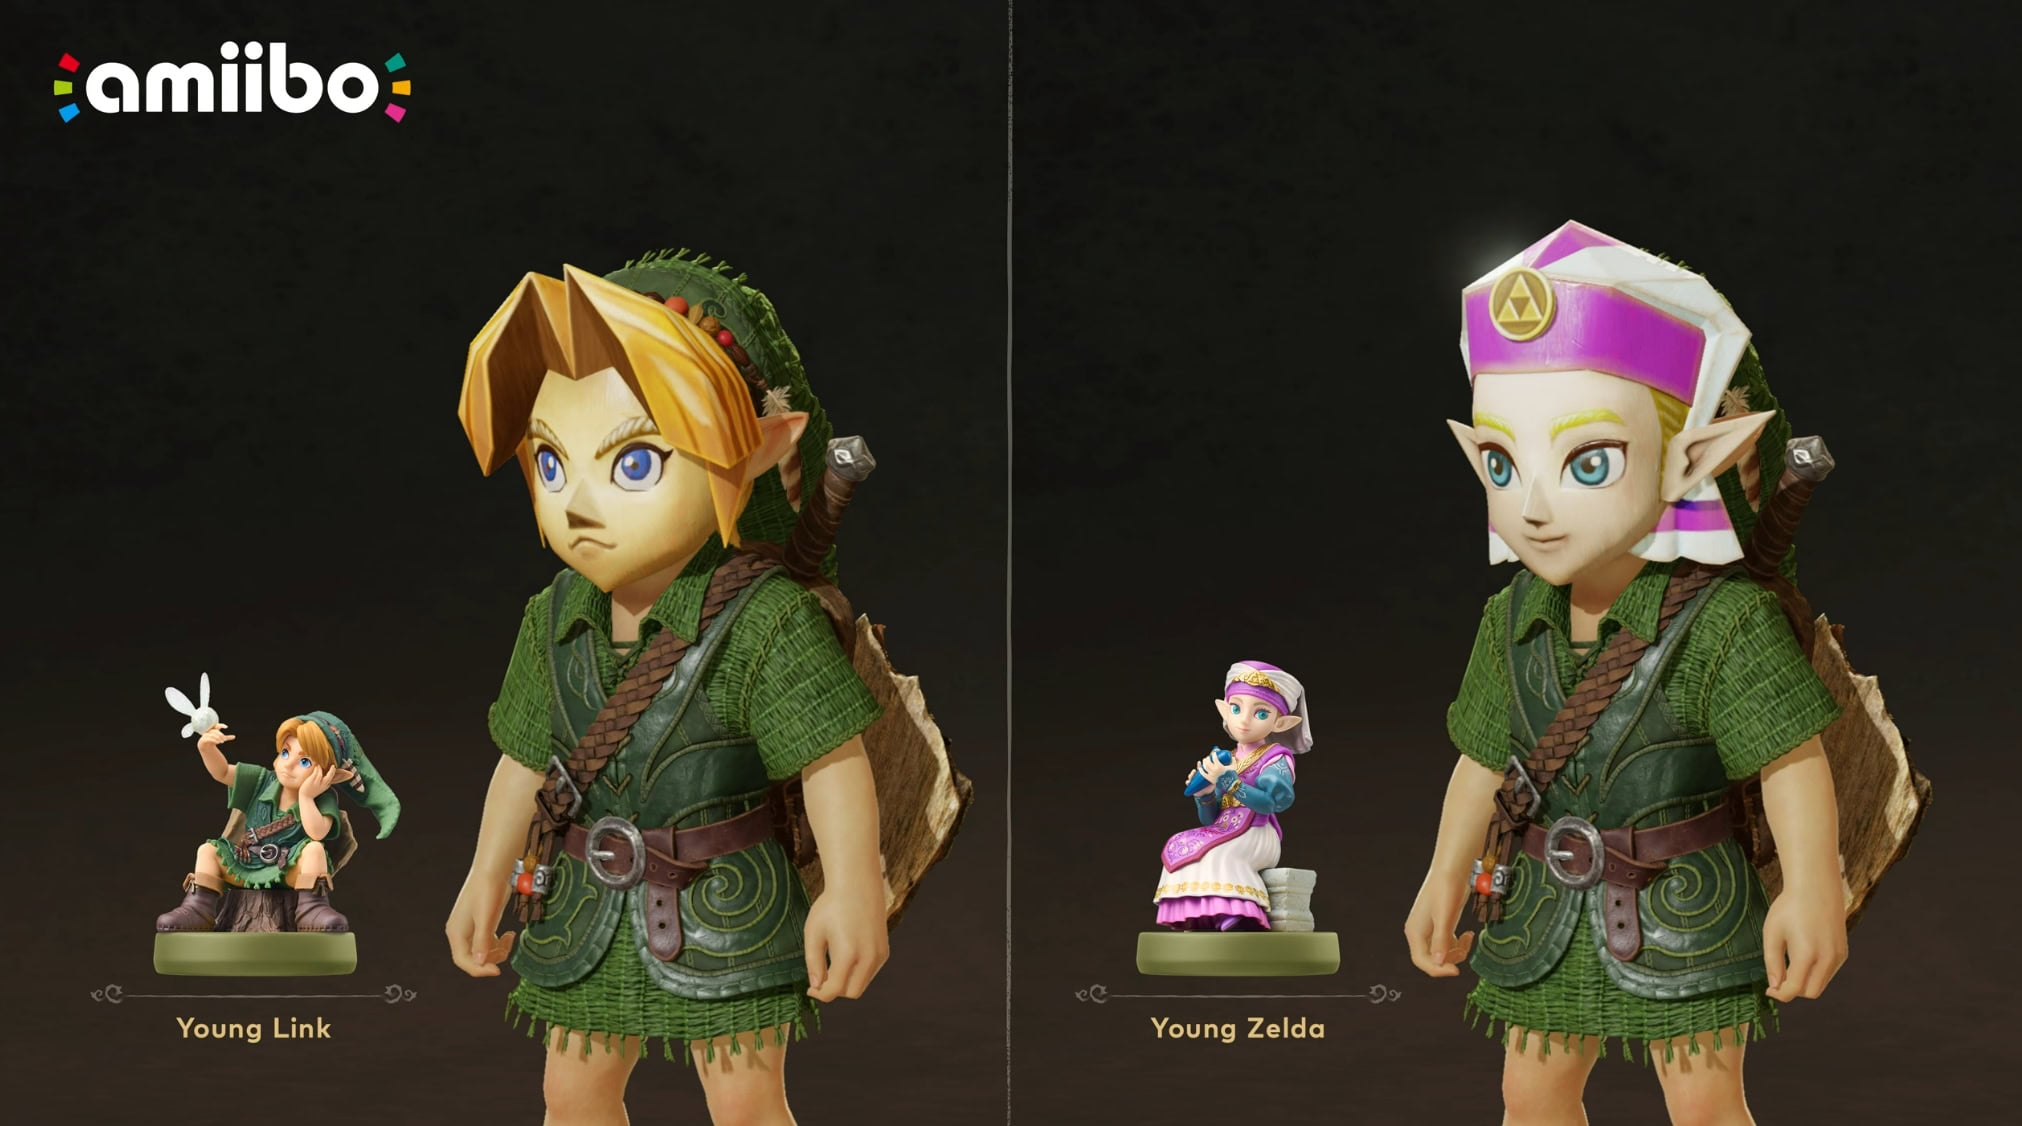
Using amiibo of other The Legend of Zelda characters will grant you consumable items such as Bombs, Recovery Hearts, Deku Sticks, or other items such as ammunition.
Zelda Notes
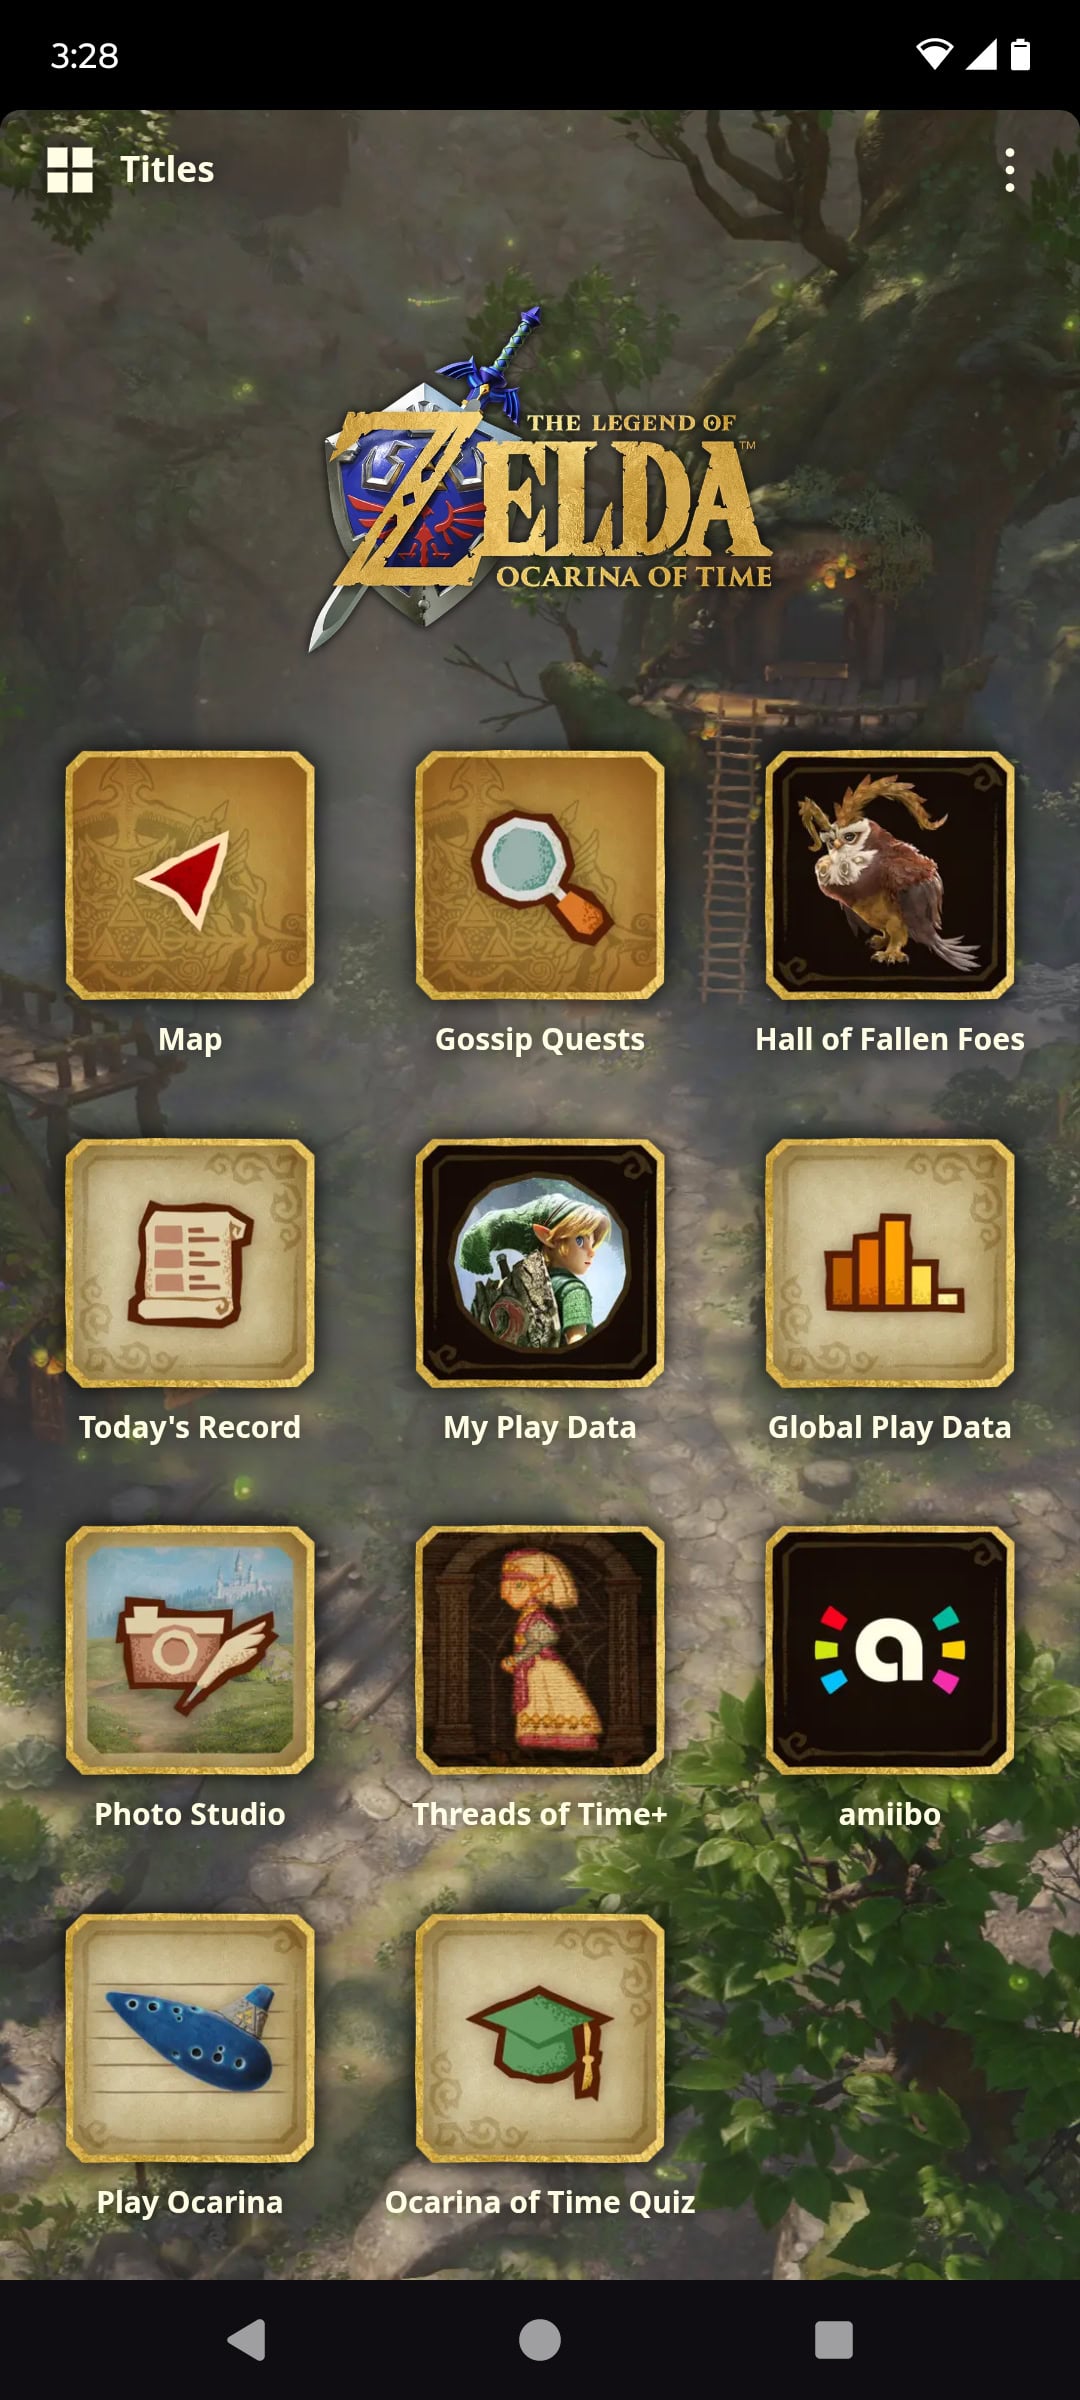
Zelda Notes can be found within the Nintendo Switch App for mobile devices. This allows you to keep track of milestones, get in-depth looks at the maps, and other things like seeing Global Play Data or keeping track of your Threads of Time.
Since your Nintendo Switch Online App is linked to your Nintendo account, enabling this feature will allow your progress in the game to be reflected in the app.
Camera Options
You’ll have the option to invert your Vertical and Horizontal Cameras, as well as being able to adjust your Camera-Rotation Speed. If you’re just coming back from playing the original Ocarina of Time, changing the Camera-Rotation Speed to “Slow” will make the transition easier.
Motion-Control Aiming, or Gyro Aiming, is a feature that can be toggled On or Off. It’s useful for fine-tuning your aim when targeting an enemy, especially if they’re small or far away.
Last is the Targeting Type option. This adjusts how you lock onto a target with ZL, whether it’s Hold or Toggle. On Toggle, you tap ZL to stay locked onto an enemy, then tap ZL again to unlock.
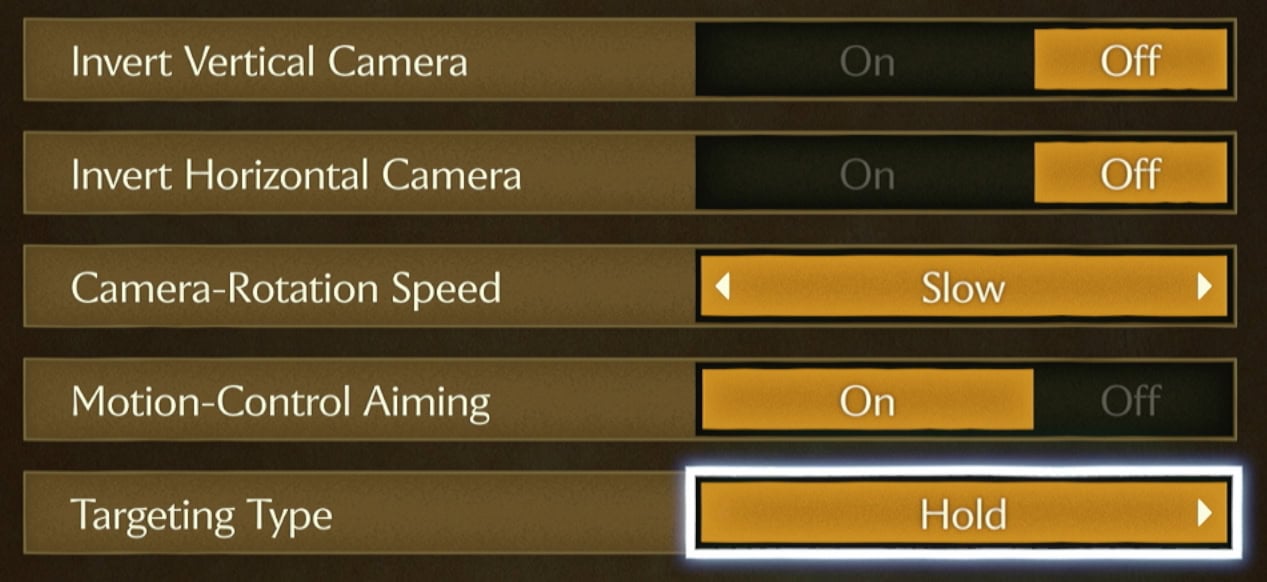
They say that players who select the “Hold” option for “Targeting Type” are the real “Zelda players!“
Input Options
For Input Options, you can swap your Jump Controls, adjust your Ocarina Mic Input, and choose which Ocarina-Playing Control scheme you want to use.
Swap Jump Controls
Swapping Jump Controls will assign Jump to B and other actions to X. This is one of the few ways you can adjust the default controls.
Ocarina Mic Input
With Ocarina Mic Input, you can choose to have the Nintendo Switch 2 listen in with its microphone while using the ocarina. This can be toggled to Instruments or Humming, but do note that the microphone is on the console itself. It might not hear you properly if you’re too far away when it’s docked.
Swap Ocarina-Playing Controls
By default, the game will be set to Normal (Two-handed). This mode uses the L, R, A, Y, and X buttons to play the ocarina.
The only other option is Classic (One-handed), which fans of the Nintendo 64 version will find more comfortable. This uses R, B, A, Y, and X to play the ocarina.
Interface Options
You can adjust how much information the In-Game Interface shows, as well as toggling Subtitles, and Subtitle Speaker-Name Display.
In-Game Interface
There are three options to choose from when selecting an interface: Normal, Pro, and Master.
Normal is the default setting where you can see your items, health, magic, and minimap at all times. Pro will remove the Interface when it’s not actively being used, creating for a clean and cinematic experience.
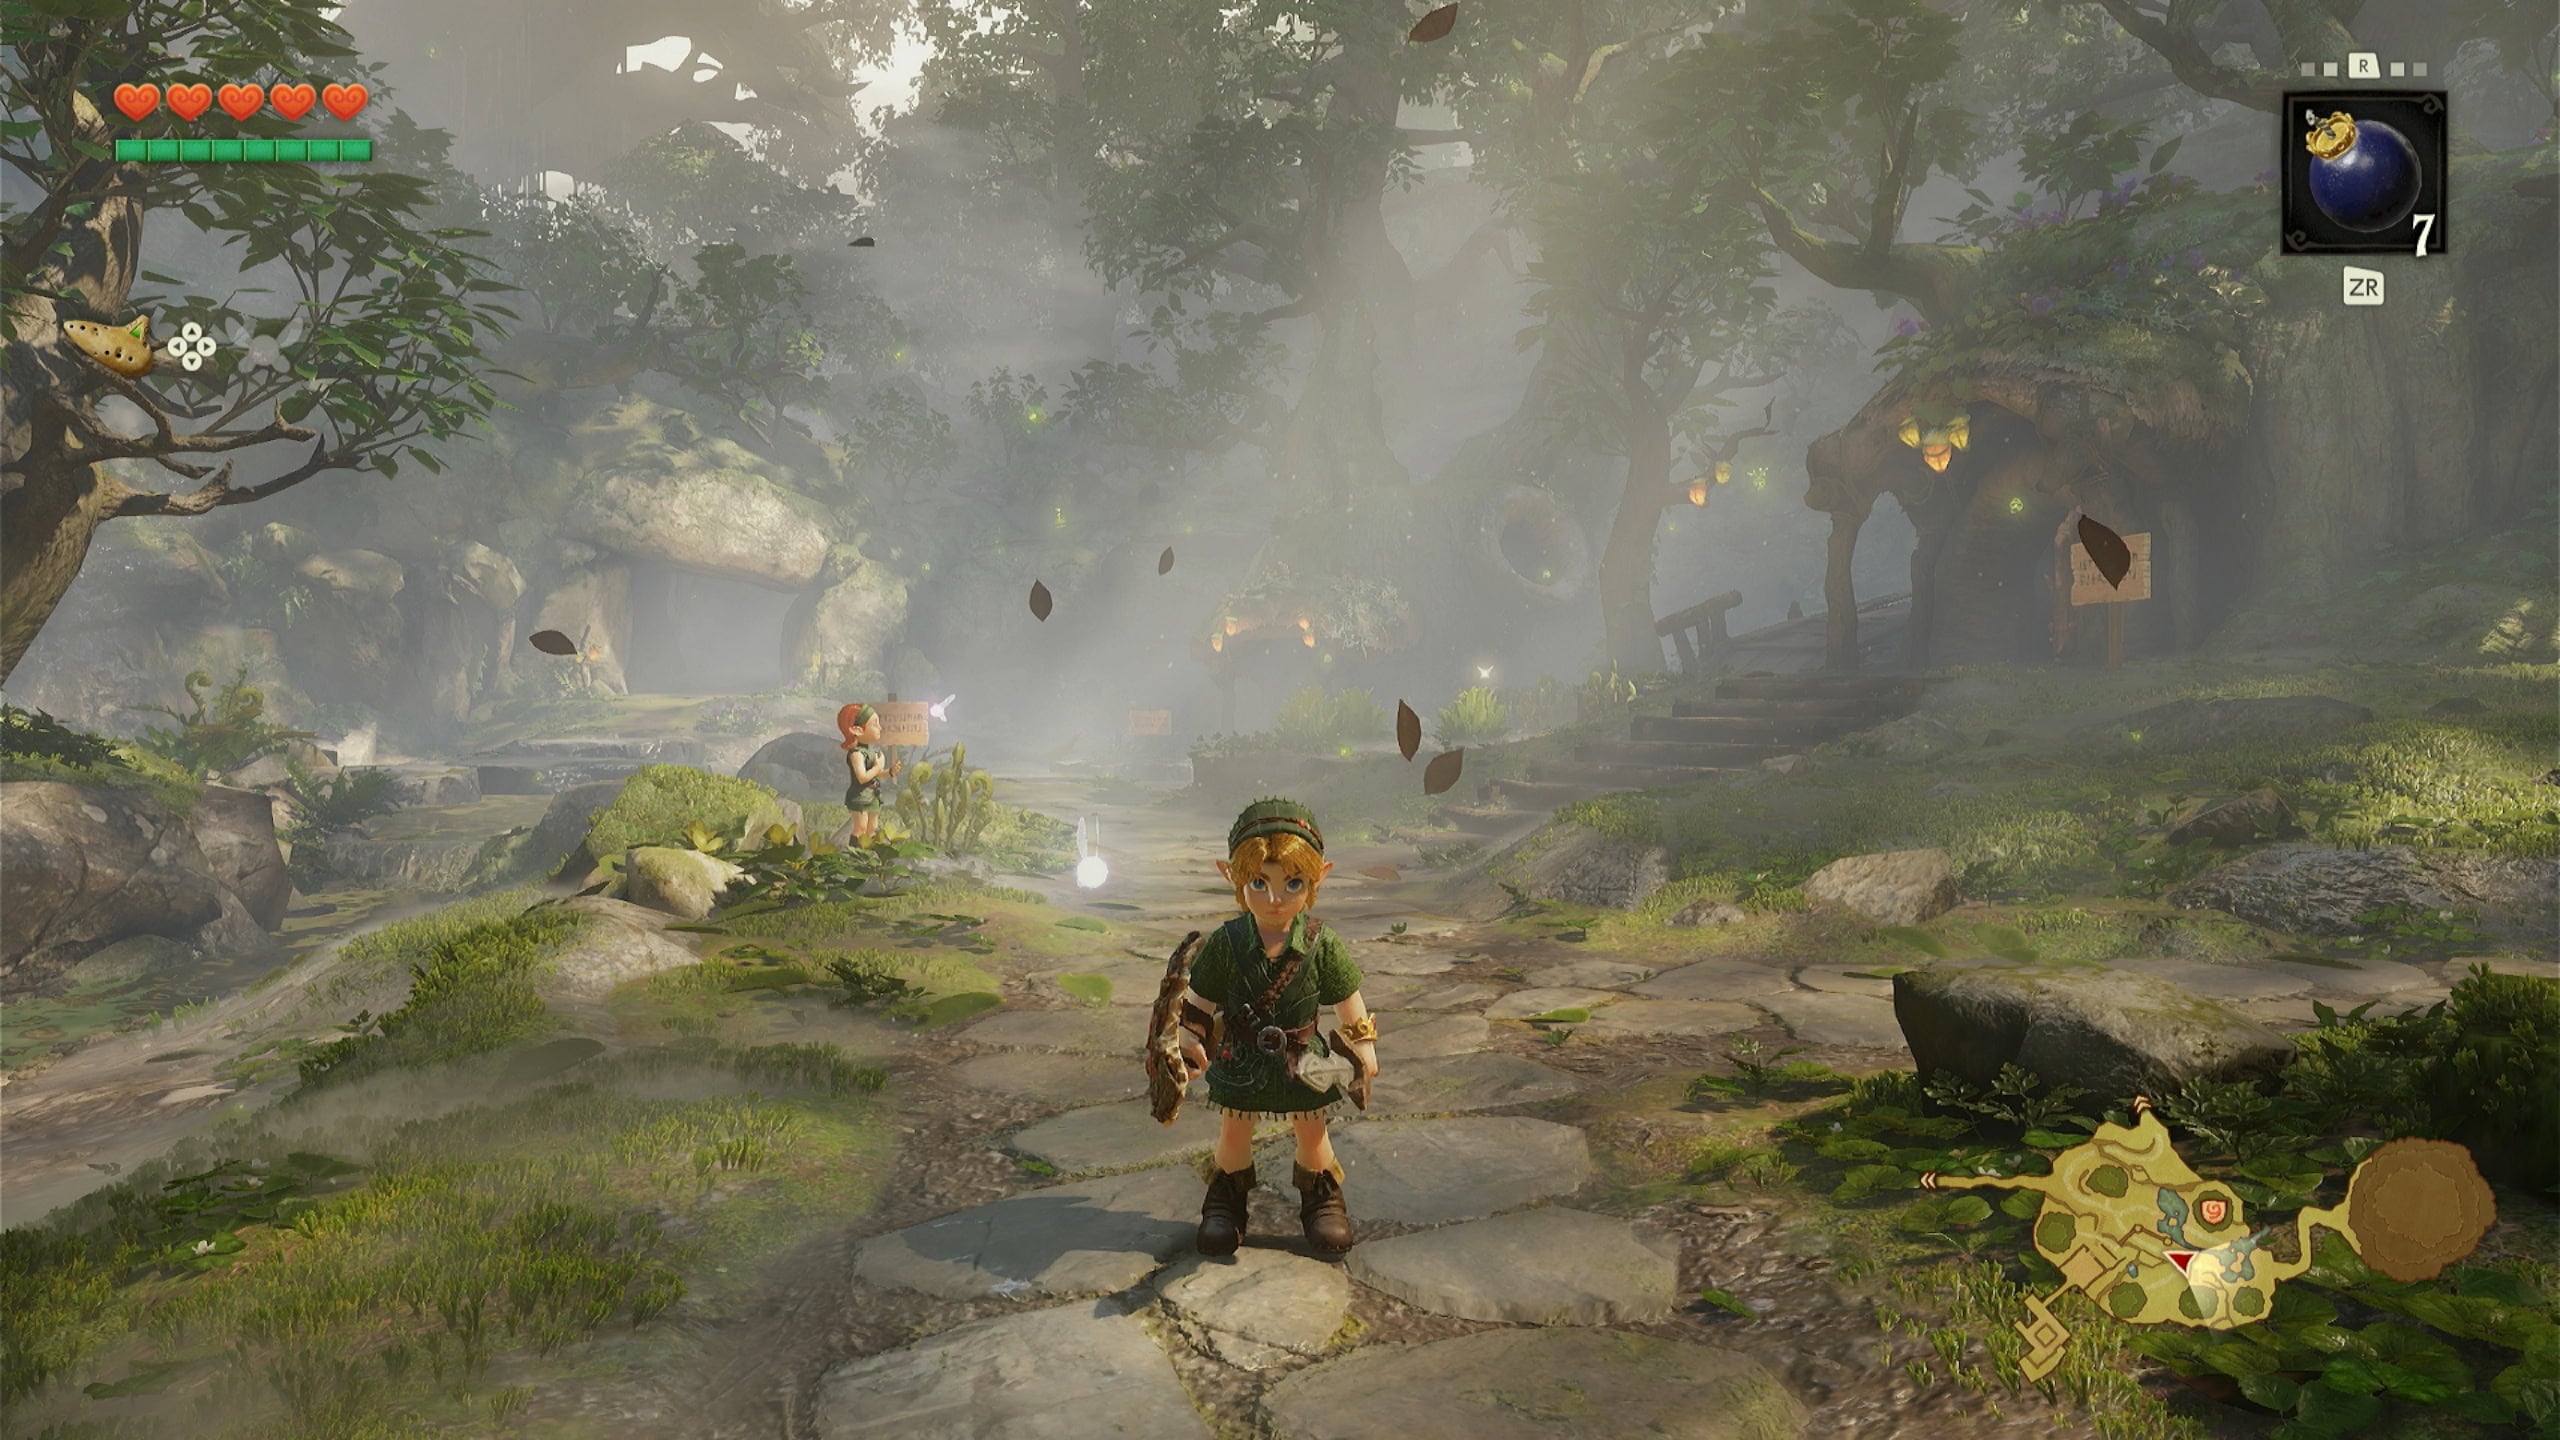
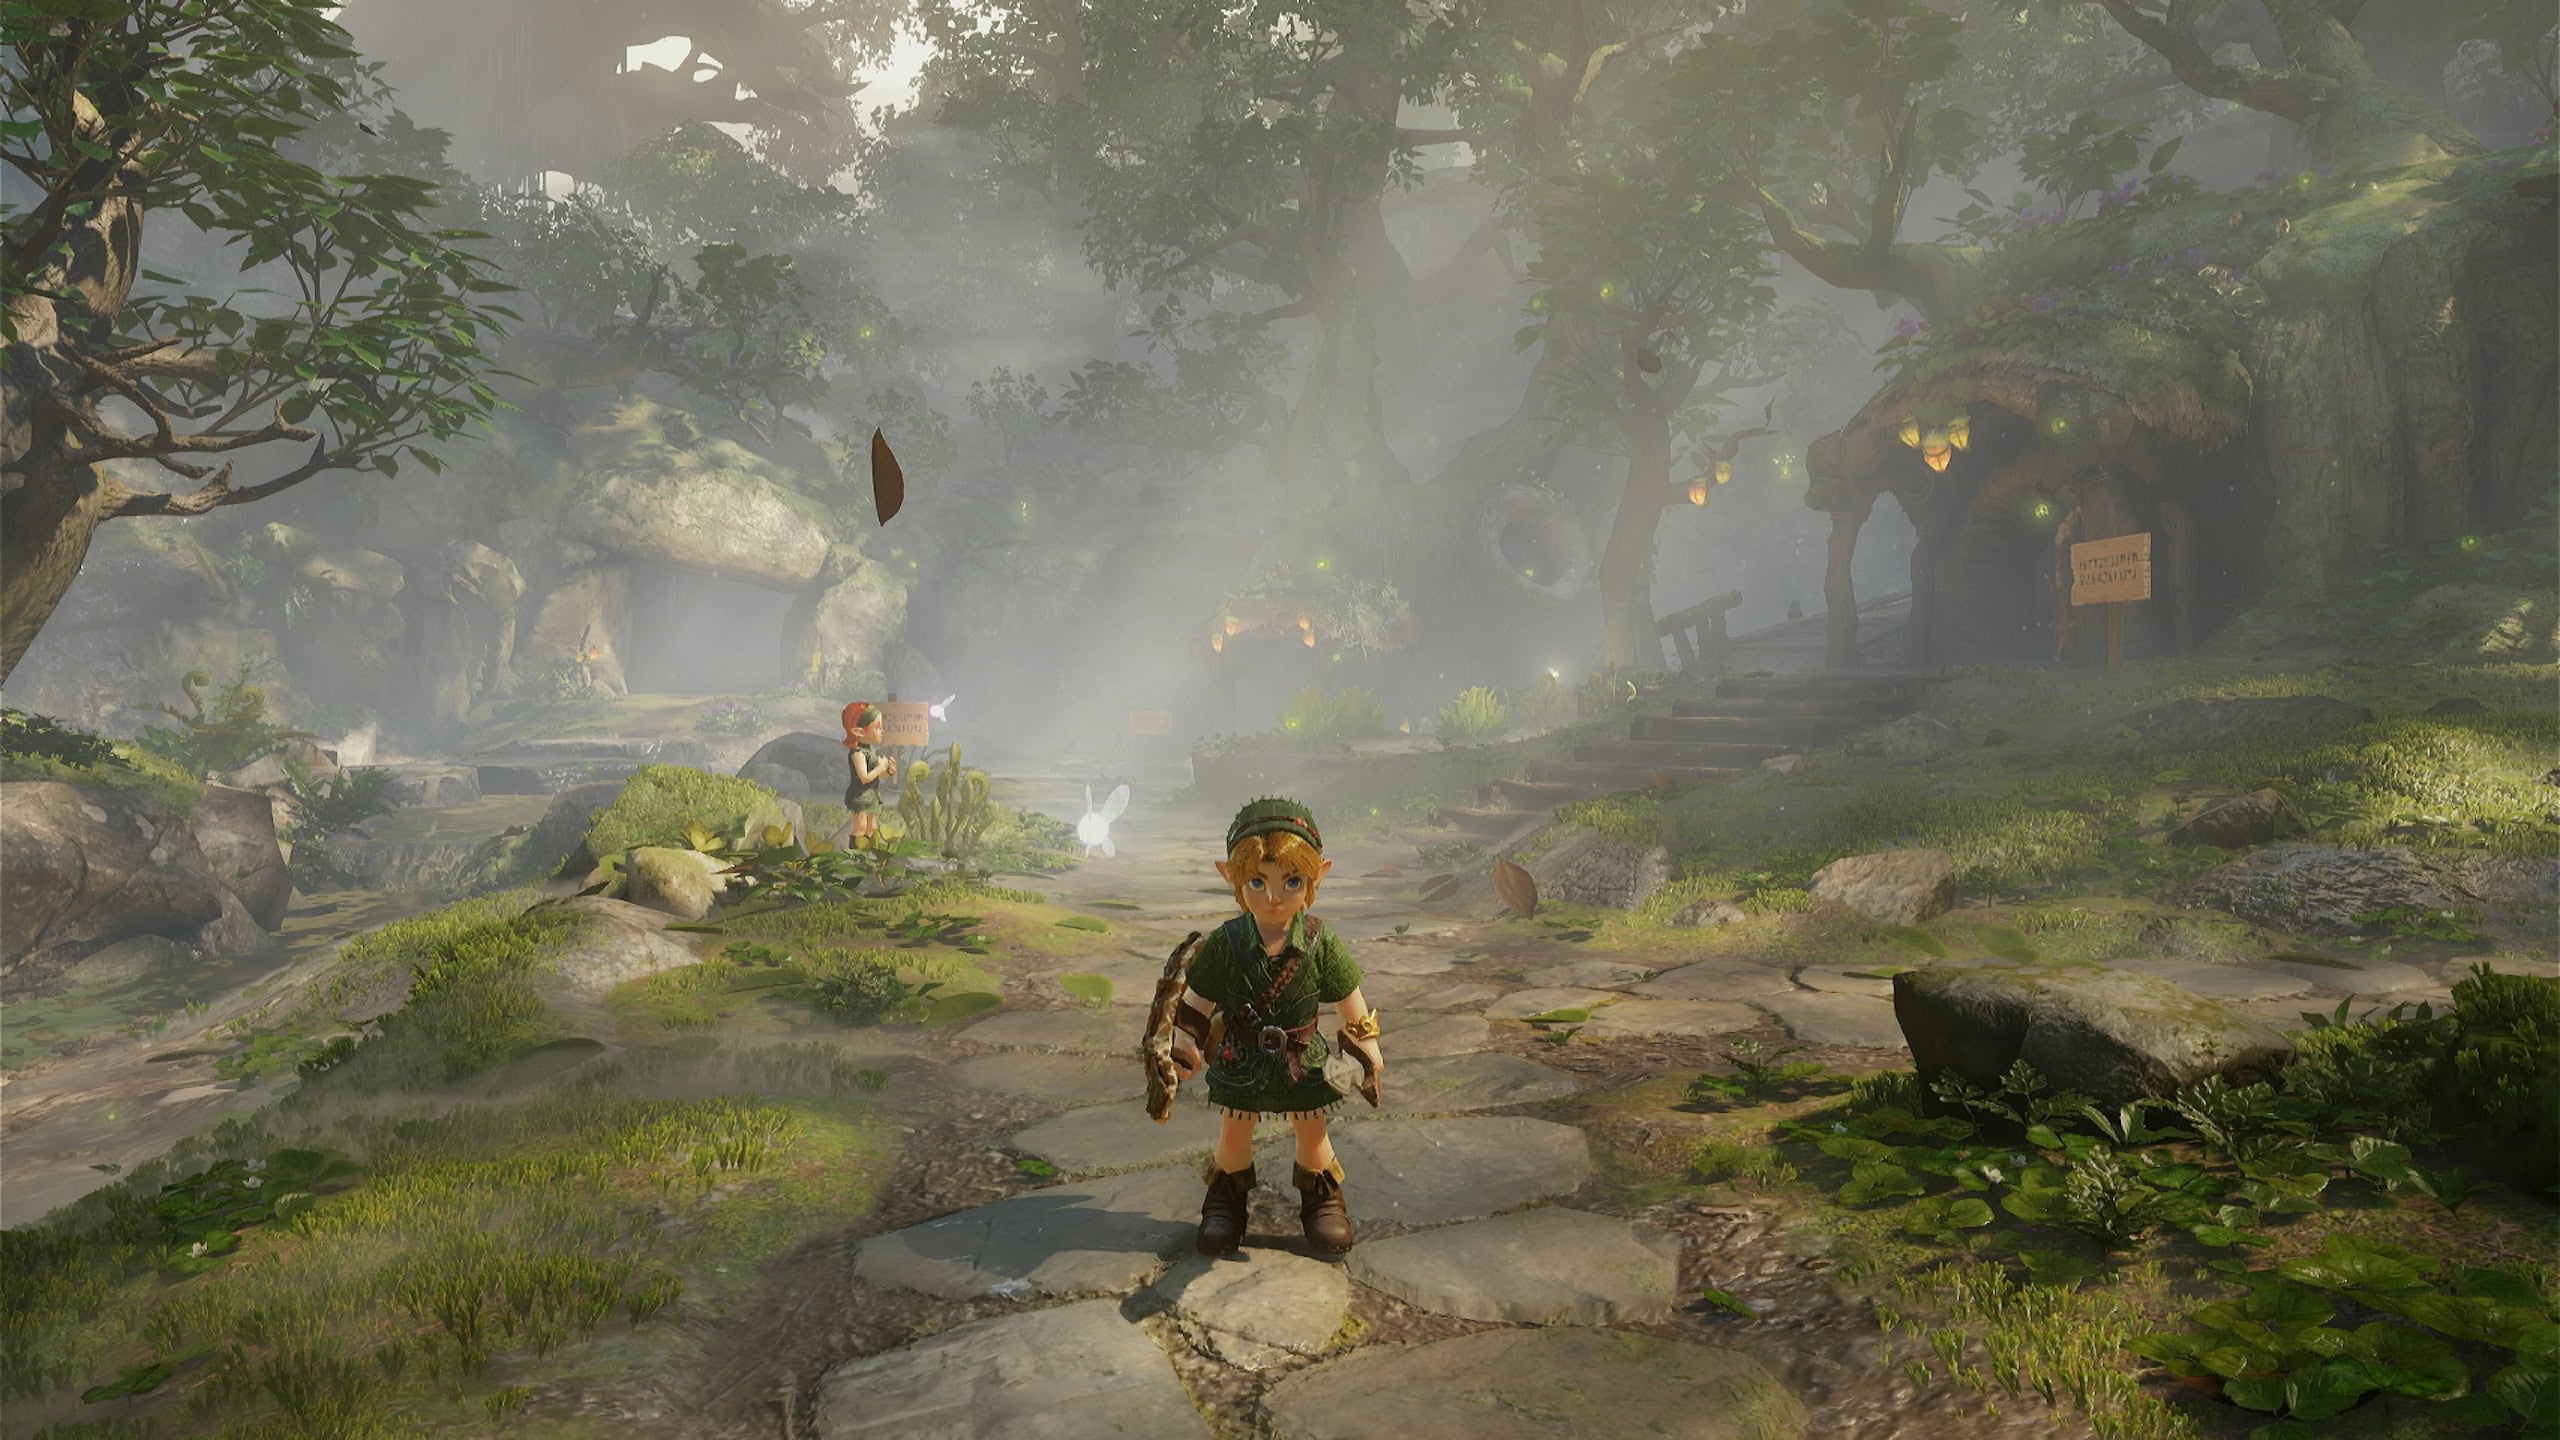
When you take damage in Pro mode, you’ll be able to see how much health you lost for a moment before the health bar disappears.
In Master mode, you cannot see live updates to your health and magic, nor can you see any interface options when near an object or person you can interact with. If you want to keep track of your health, magic, and consumable count in Master mode, you’ll need to view them in the Pause Menu.
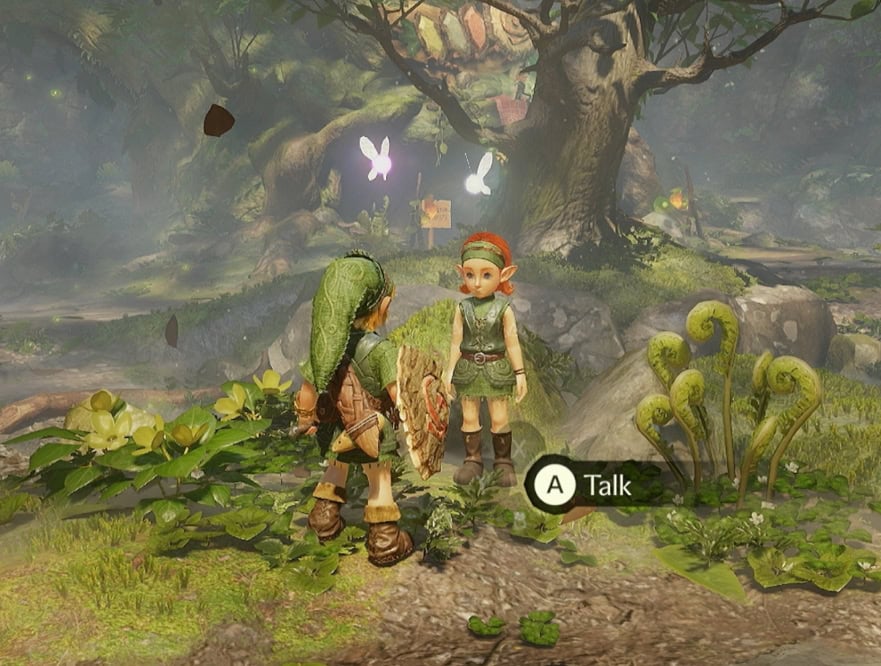
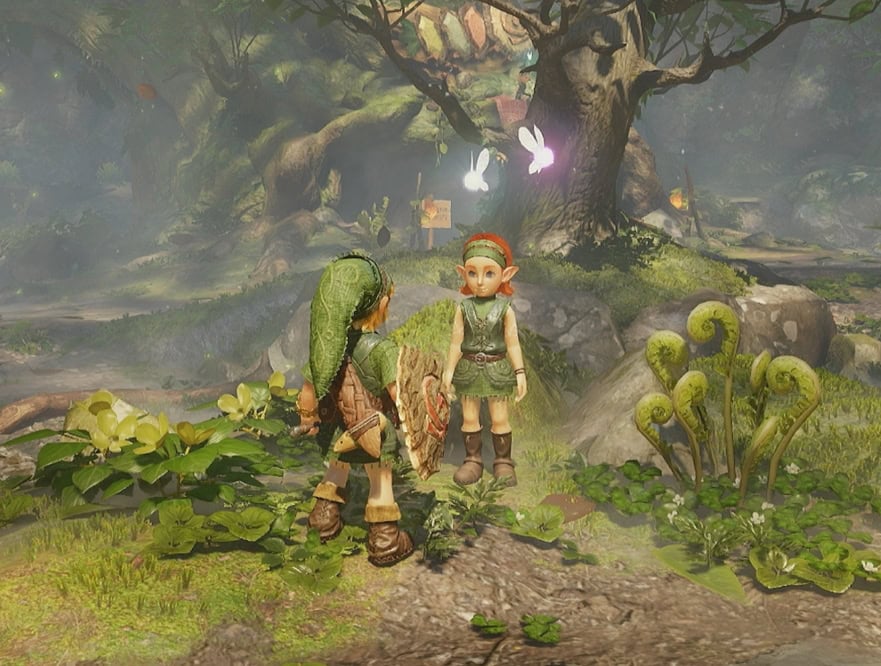
If you’re new to The Legend of Zelda: Ocarina of Time (or the series as a whole), Normal is a good choice for you.
If you want a more cinematic experience and/or have played any of the previous versions of the game, Pro mode is a great choice. If you don’t mind pausing often for the most immersive experience, go with Master.
Other Options
Last, you can adjust the Voice Language for cutscenes, and adjust the strength of your Controller Vibration. For Controller Vibration, it can be set to None, Mild, or Normal.
The following Voice Languages are available for The Legend of Zelda: Ocarina of Time (2026):
- Japanese
- English
- French (France)
- French (Canada)
- German
- Spanish (Spain)
- Spanish (Latin America)
- Italian
- Portuguese (Brazil)
Saving your Game
Unlike the Nintendo 64 and 3DS versions of Ocarina of Time, you do not have the option to have three saved games. You are granted 5 Auto-Saves and 1 Manual Save. You can Save or Load a game from the Pause Menu by pressing +.
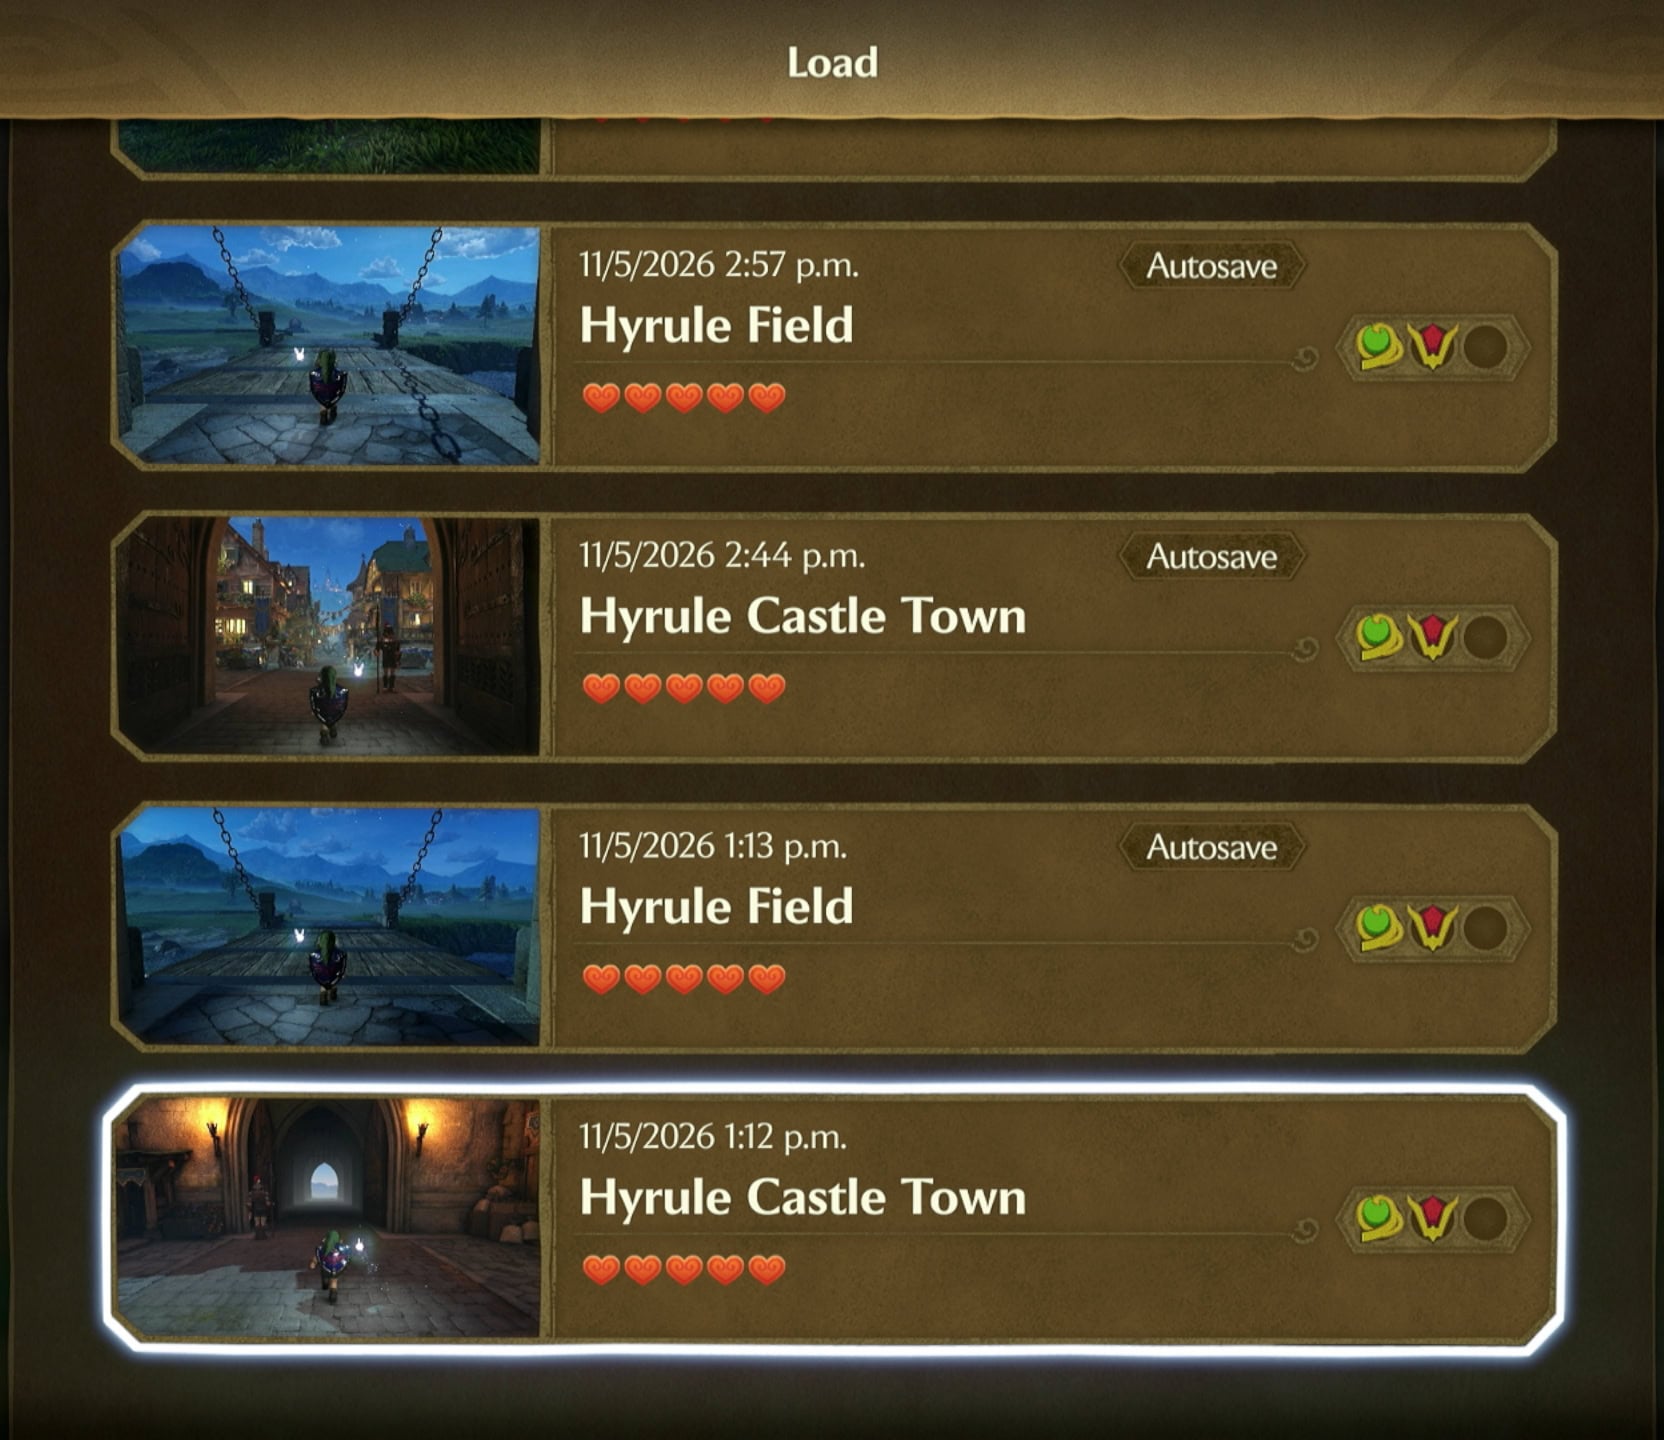
As you progress, your auto-saves will be overwritten automatically. Be sure to keep your Manual Save up to date so you don’t lose too much progress if you need to backtrack.
One feature that was tied to saving in the previous versions of the game was being able to change Link’s name to whatever you wanted (up to 8 characters). With the addition of voice-acted cutscenes, this is no longer an option and his name will be Link by default.