Learn how to control Link in The Legend of Zelda: Ocarina of Time for the Nintendo Switch 2! This guide includes information on the controls, how to use a real Ocarina to play the songs of Ocarina of Time, and if the Nintendo 64 or Gamecube Nintendo Switch Online controllers are compatible.
How to view the Controls and Special Actions
You can view the Controls by pressing the + button, then switching to the System tab in the Menu. You’ll also be able to select Special Actions for even more controls to perform unique actions, typically revolving around combat.
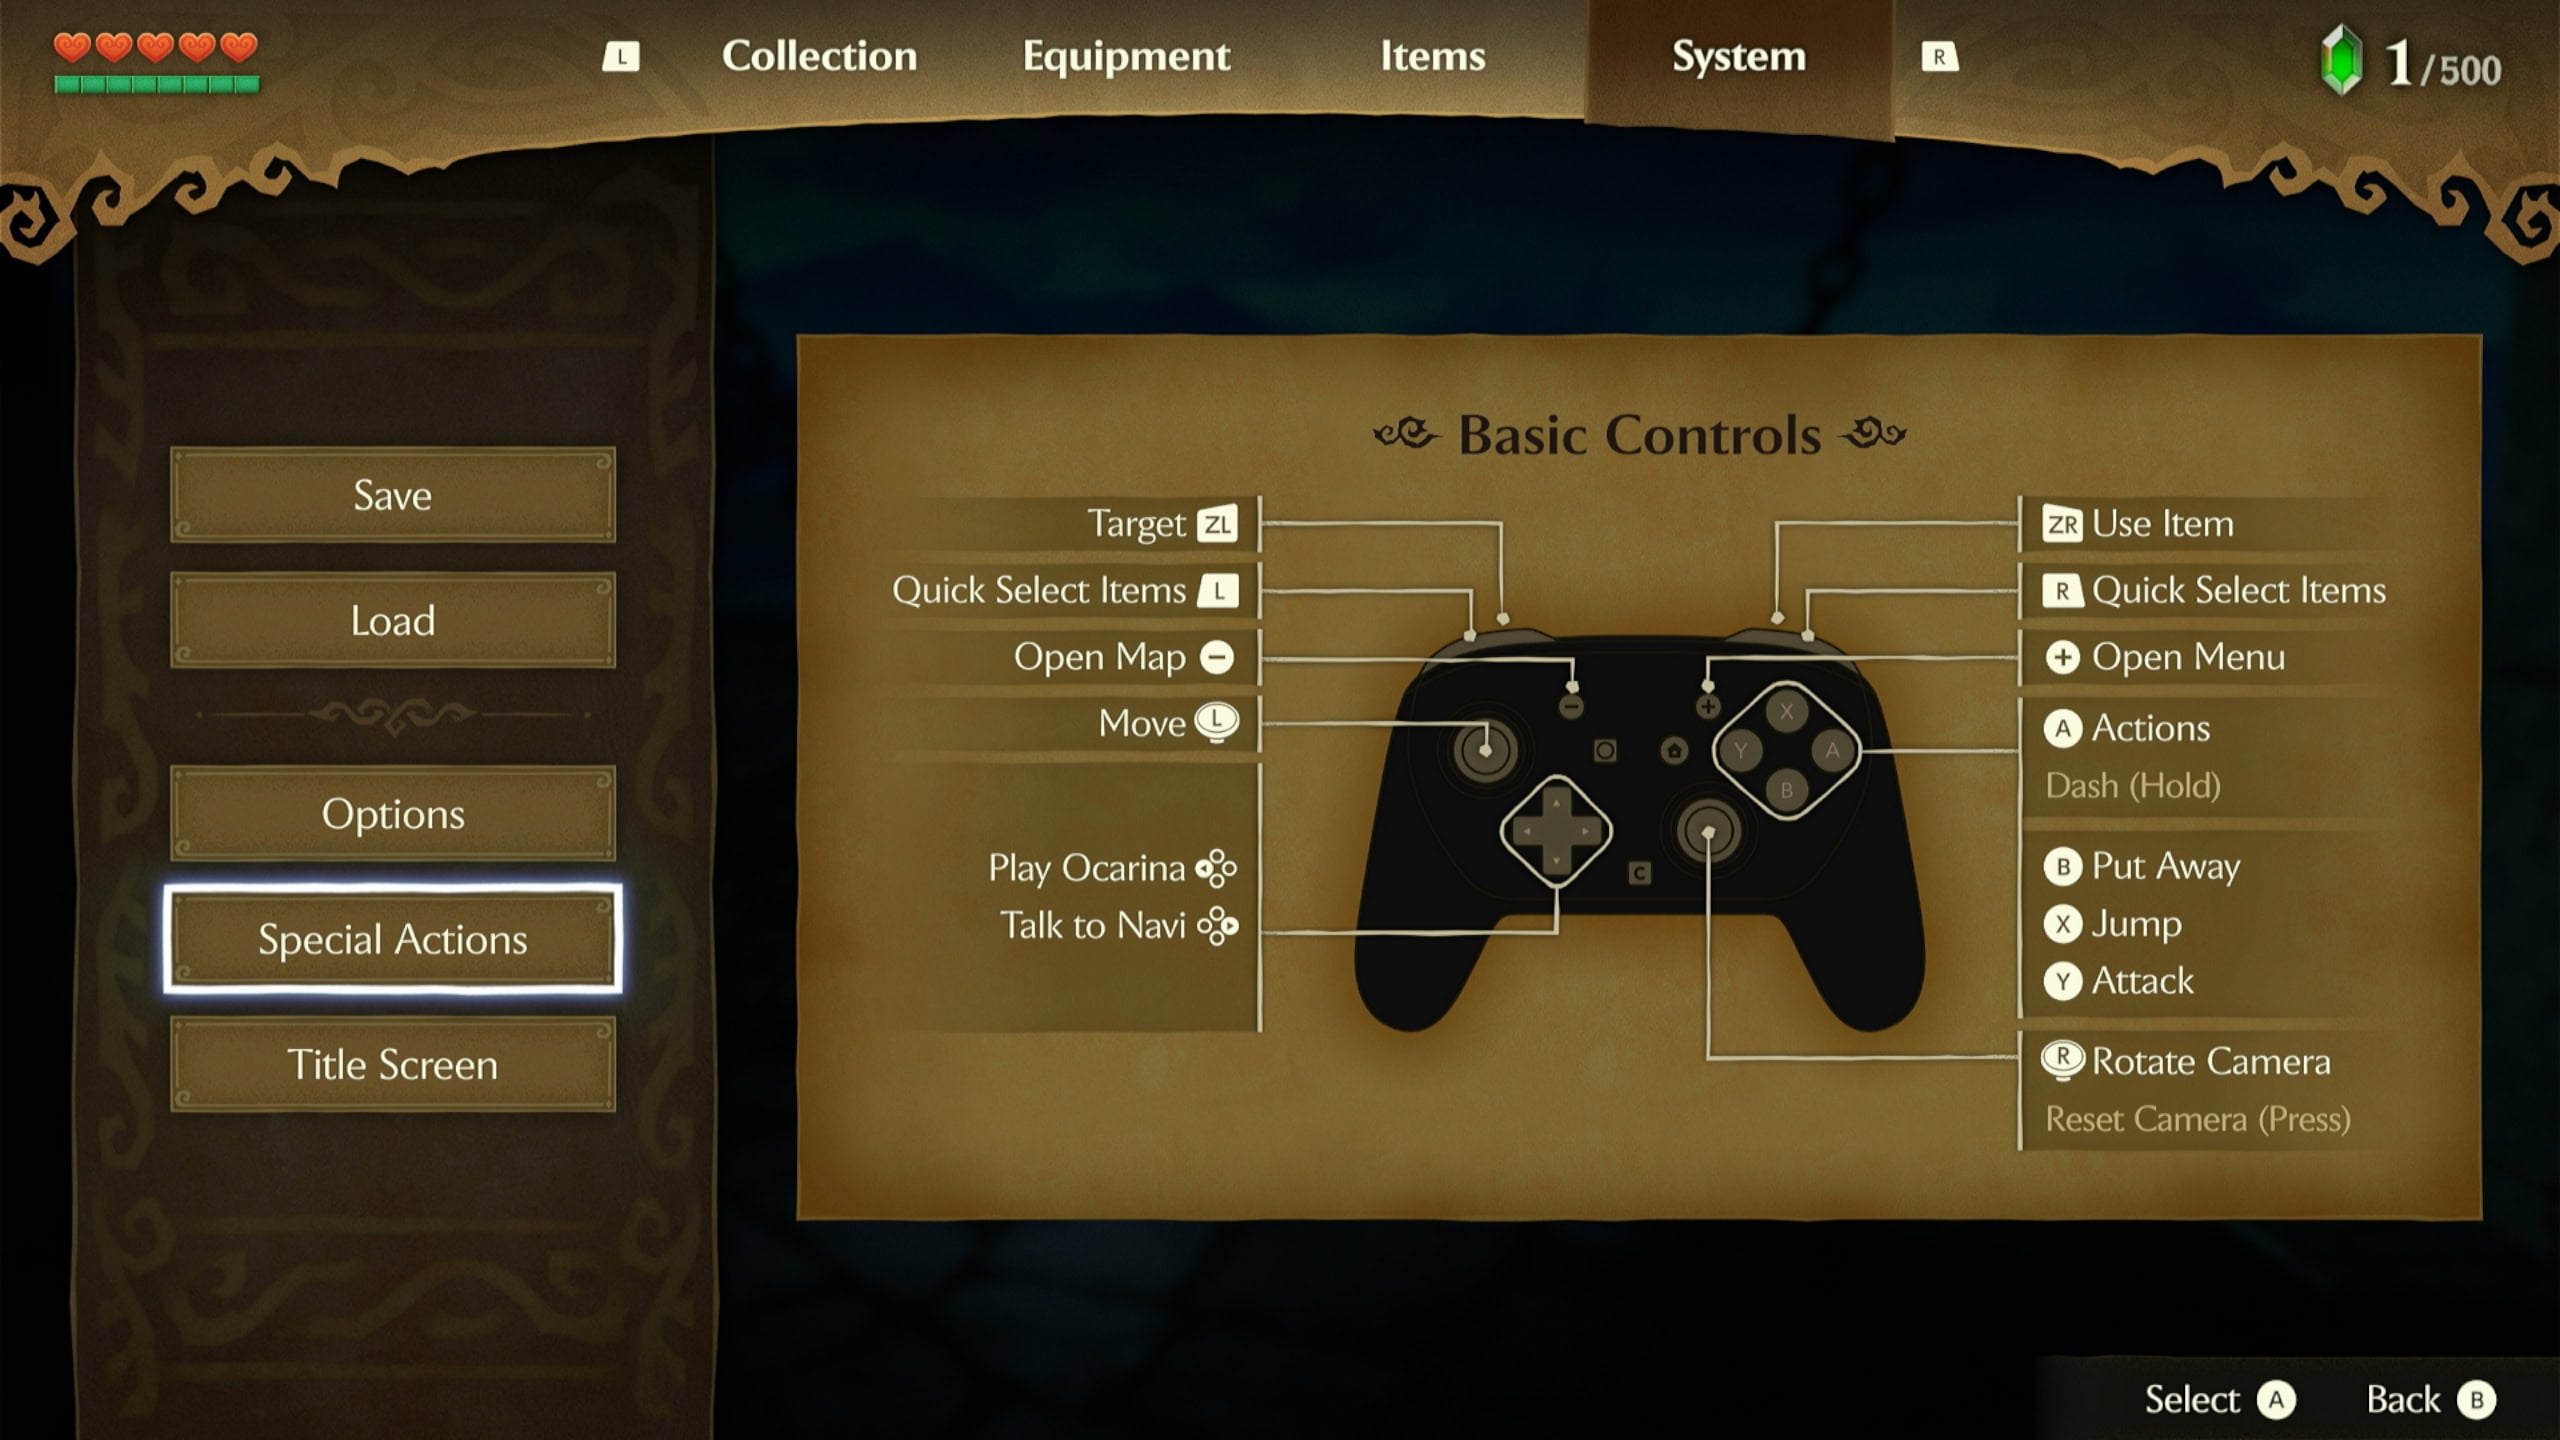
Controls
All of the following controls are preset and cannot be remapped to be fully customized. You can adjust some mappings in the Options menu.
Basic Controls
| Action | Button | Type | Control Type |
|---|---|---|---|
| Target | ZL | Hold | Basic Controls |
| Quick Select Items | L | Hold | Basic Controls |
| Open Map | – | Tap | Basic Controls |
| Move | Left Stick | Basic Controls | |
| Equip Accessory | ▲ | Tap | Basic Controls |
| Play Ocarina | ◀ | Tap | Basic Controls |
| Talk to Navi | ▶ | Tap | Basic Controls |
| Use Item | ZR | Tap/Hold | Basic Controls |
| Quick Select Items | R | Hold | Basic Controls |
| Open Menu | + | Tap | Basic Controls |
| Actions` | A | Tap | Basic Controls |
| Dash | A | Hold | Basic Controls |
| Put Away | B | Tap | Basic Controls |
| Jump | X | Tap | Basic Controls |
| Attack | Y | Tap | Basic Controls |
| Rotate Camera | Right Stick | Basic Controls | |
| Reset Camera | Right Stick | Press | Basic Controls |
Special Actions
| Action | Button | Type | Control Type |
|---|---|---|---|
| Roll Attack | Left Stick + A | Combo | Special Actions |
| Target Move | ZL + LS (Sideways) | Combo | Special Actions |
| Side Jump | ZL + LS (Sideways) + X | Combo | Special Actions |
| Side Jump | ZL + LS (Sideways) + A | Combo | Special Actions |
| Backflip | ZL + LS (Backward) + X | Combo | Special Actions |
| Backflip | ZL + LS (Backward) + A | Combo | Special Actions |
| Horizontal Swing | Y | Tap | Special Actions |
| Vertical Swing | LS (Forward) + Y | Combo | Special Actions |
| Thrust Attack | ZL + LS (Forward) + Y | Combo | Special Actions |
| Jump Attack | ZL + X + Y | Combo | Special Actions |
| Jump Attack | ZL + LS (Forward) + A | Combo | Special Actions |
| Spin Attack | Y | Hold and Release | Special Actions |
Ocarina-Playing Controls
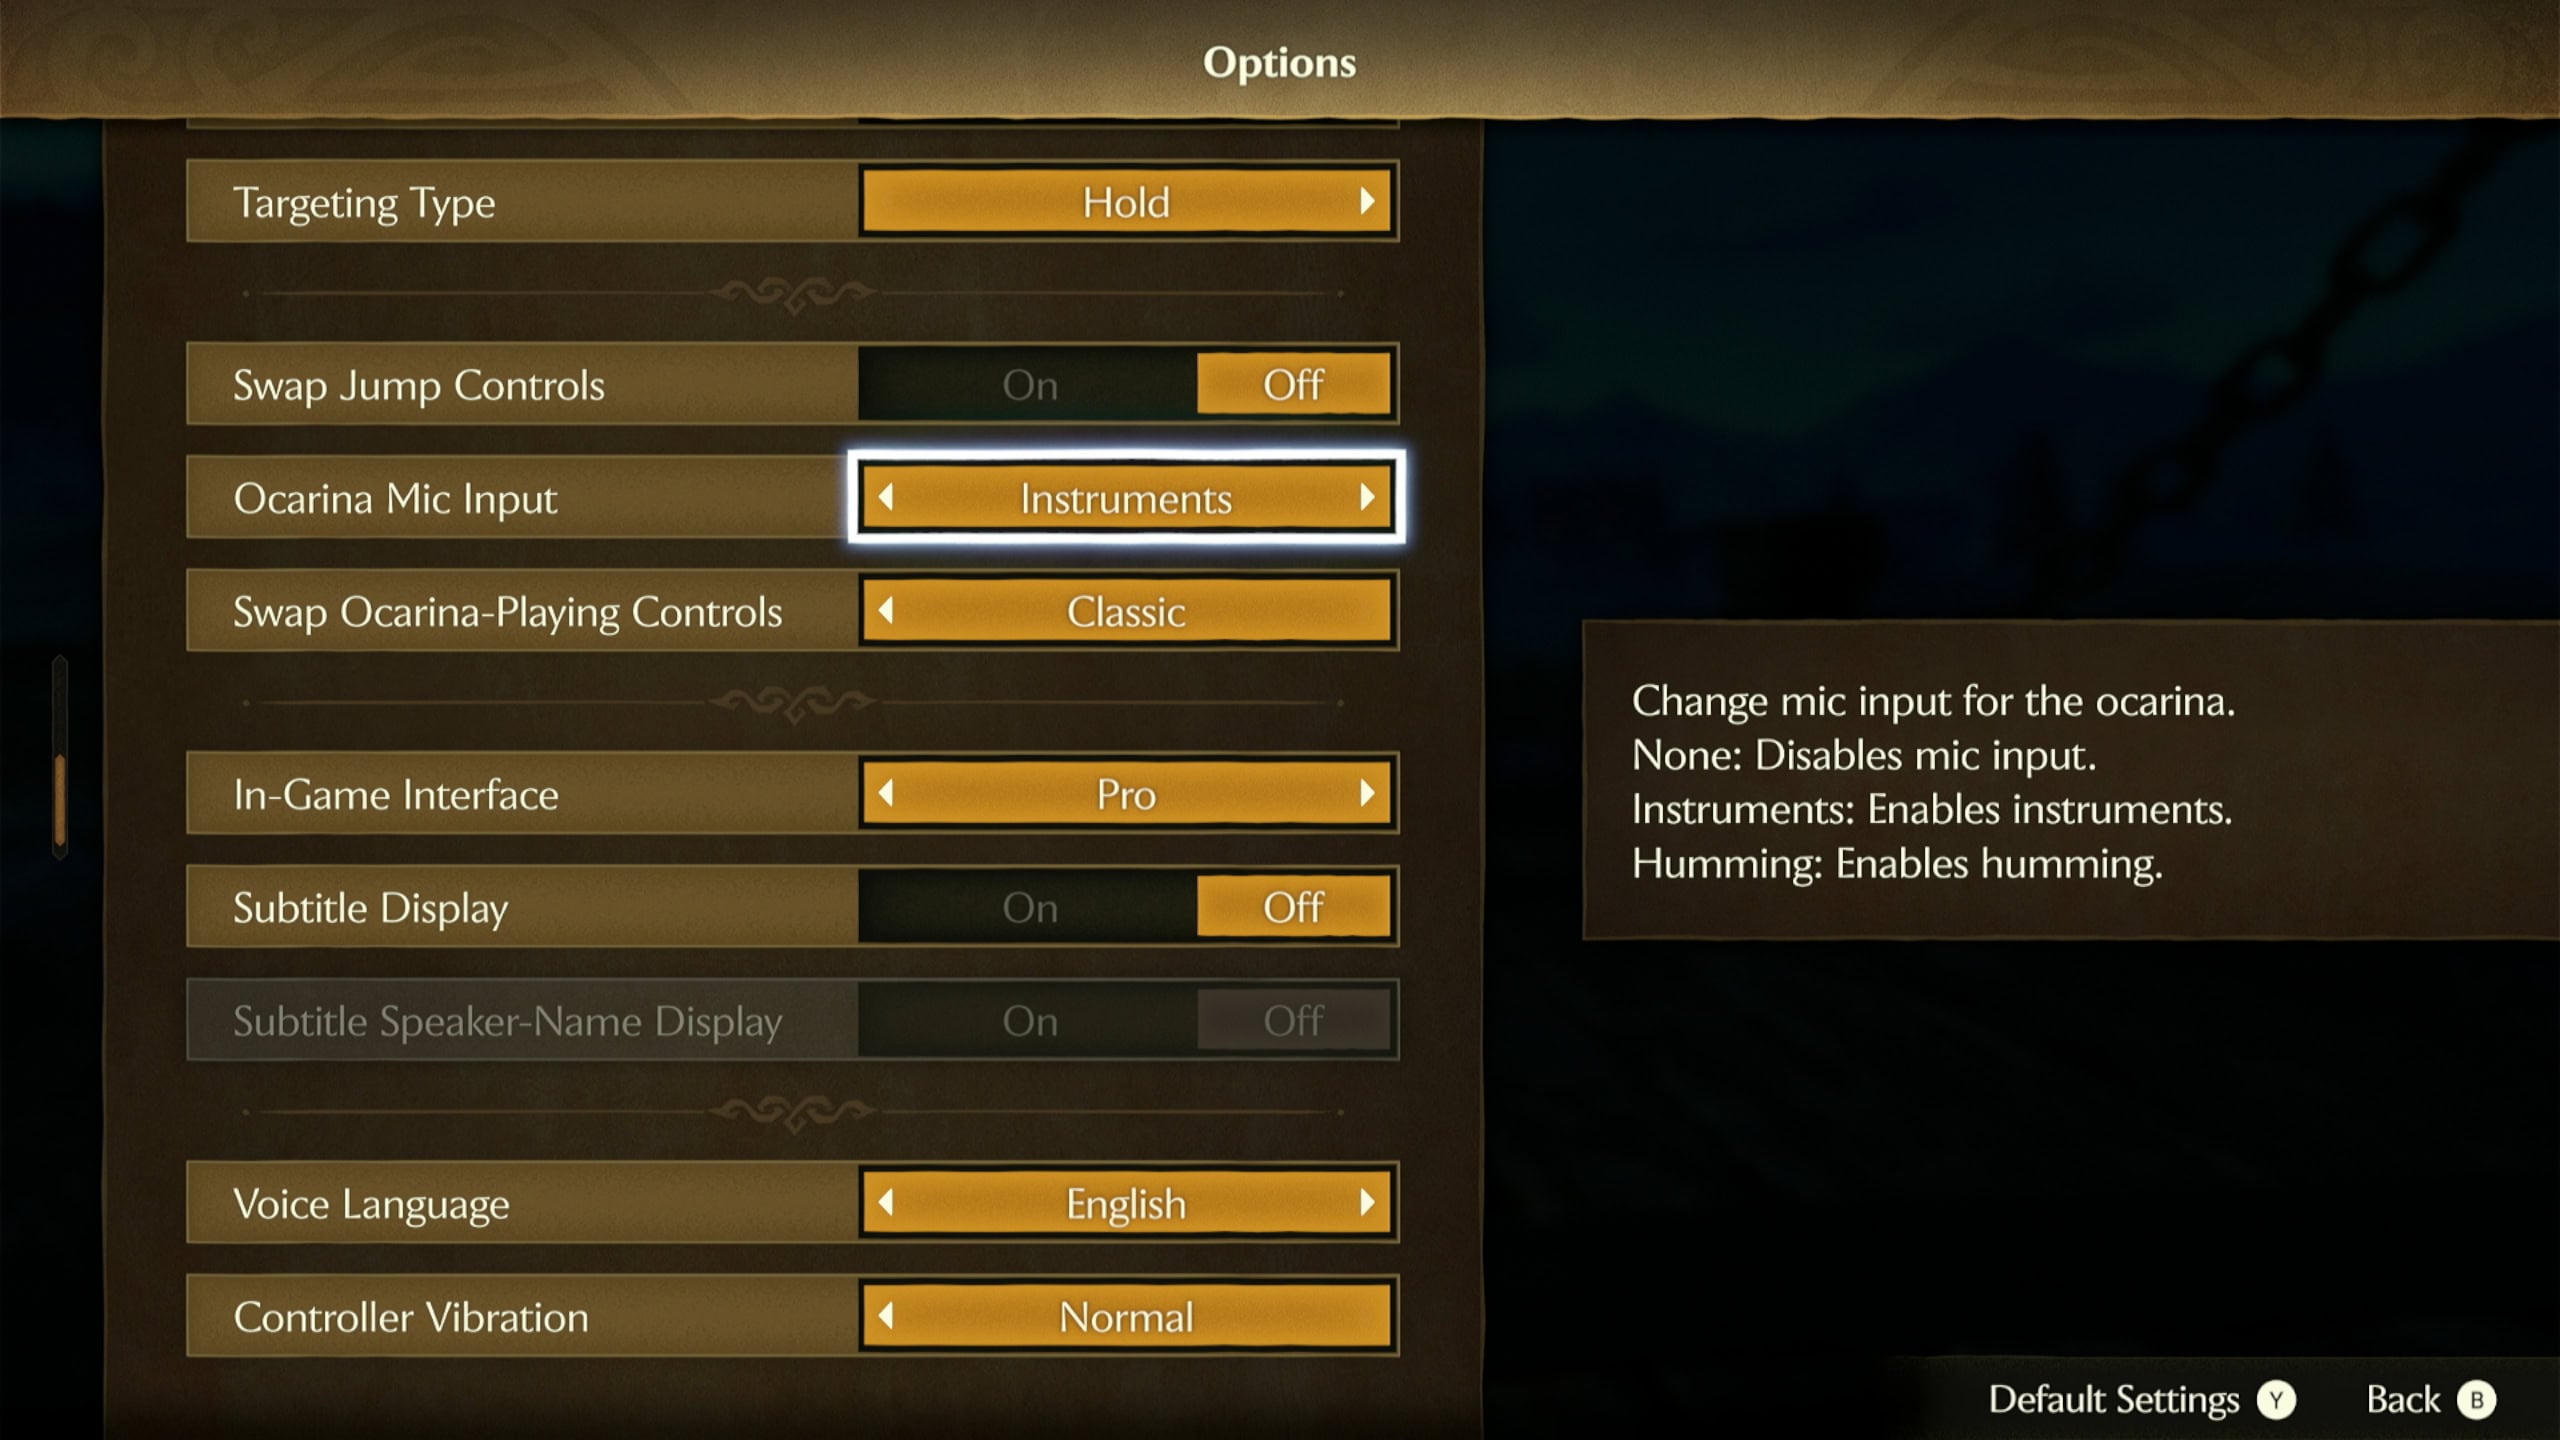
When you acquire an ocarina, you’ll be able to control it in one of three ways: Normal, Classic, or Mic Input. You can toggle these by adjusting your settings in the Option Menu. Look for Ocarina Mic Input and Swap Ocarina-Playing Controls.
You can also press the Right Directional Button while playing the ocarina to show all songs you have learned, and which notes you need to play them.
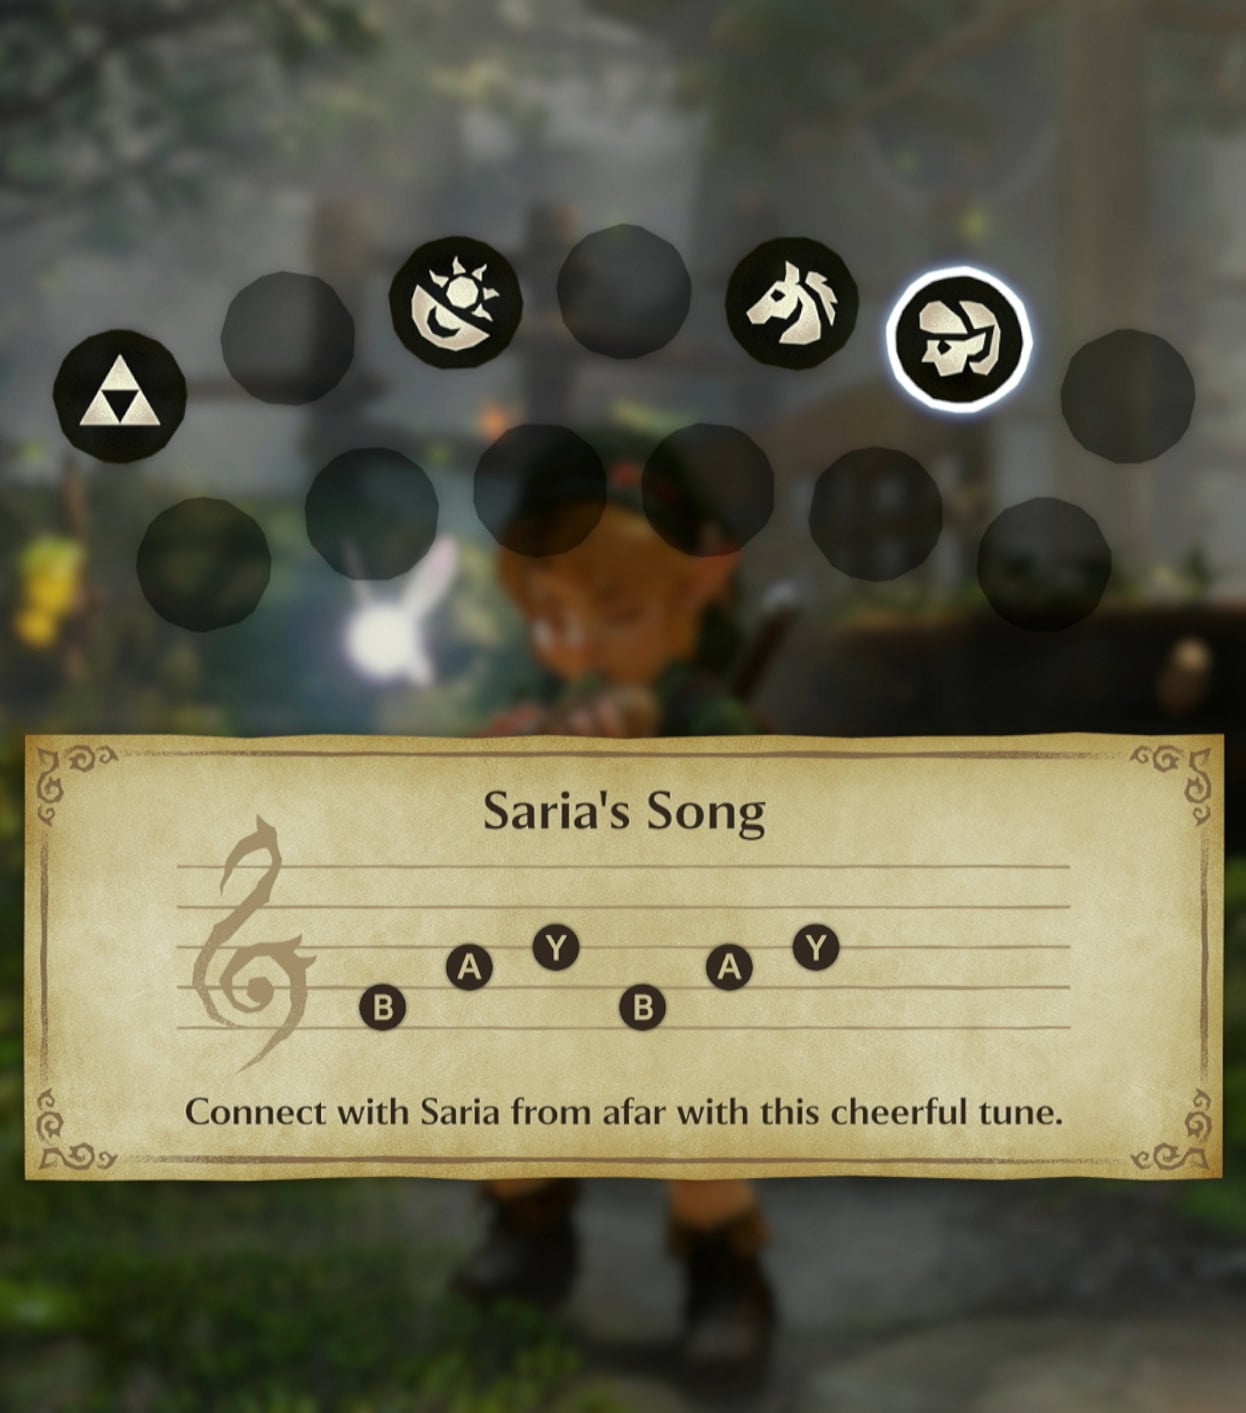
Normal (Two-handed)
This is the default layout for the game. Using two hands to play the ocarina, you’ll play the lowest to highest notes using these buttons: L, R, A, Y, X.
Classic (One-handed)
If you grew up playing the original Ocarina of Time on the Nintendo 64, this is the setting for you. This allows you to play the ocarina using the face buttons as if they were the C-Buttons from the original.
Instead of A being the lowest note, it’s now R. So from lowest to highest note, the buttons are: R, B, A, Y, X.
Mic Input
A fun feature with Ocarina of Time is that you can use the Switch 2’s microphone to input notes for ocarina songs in-game! While Nintendo sells official ocarinas, there’s nothing stopping you from using any instrument you’re proficient in.
As the microphone hears notes, you’ll see lines sweep across Link. These track the pitch of the notes relative to one another in order to input the commands to play.
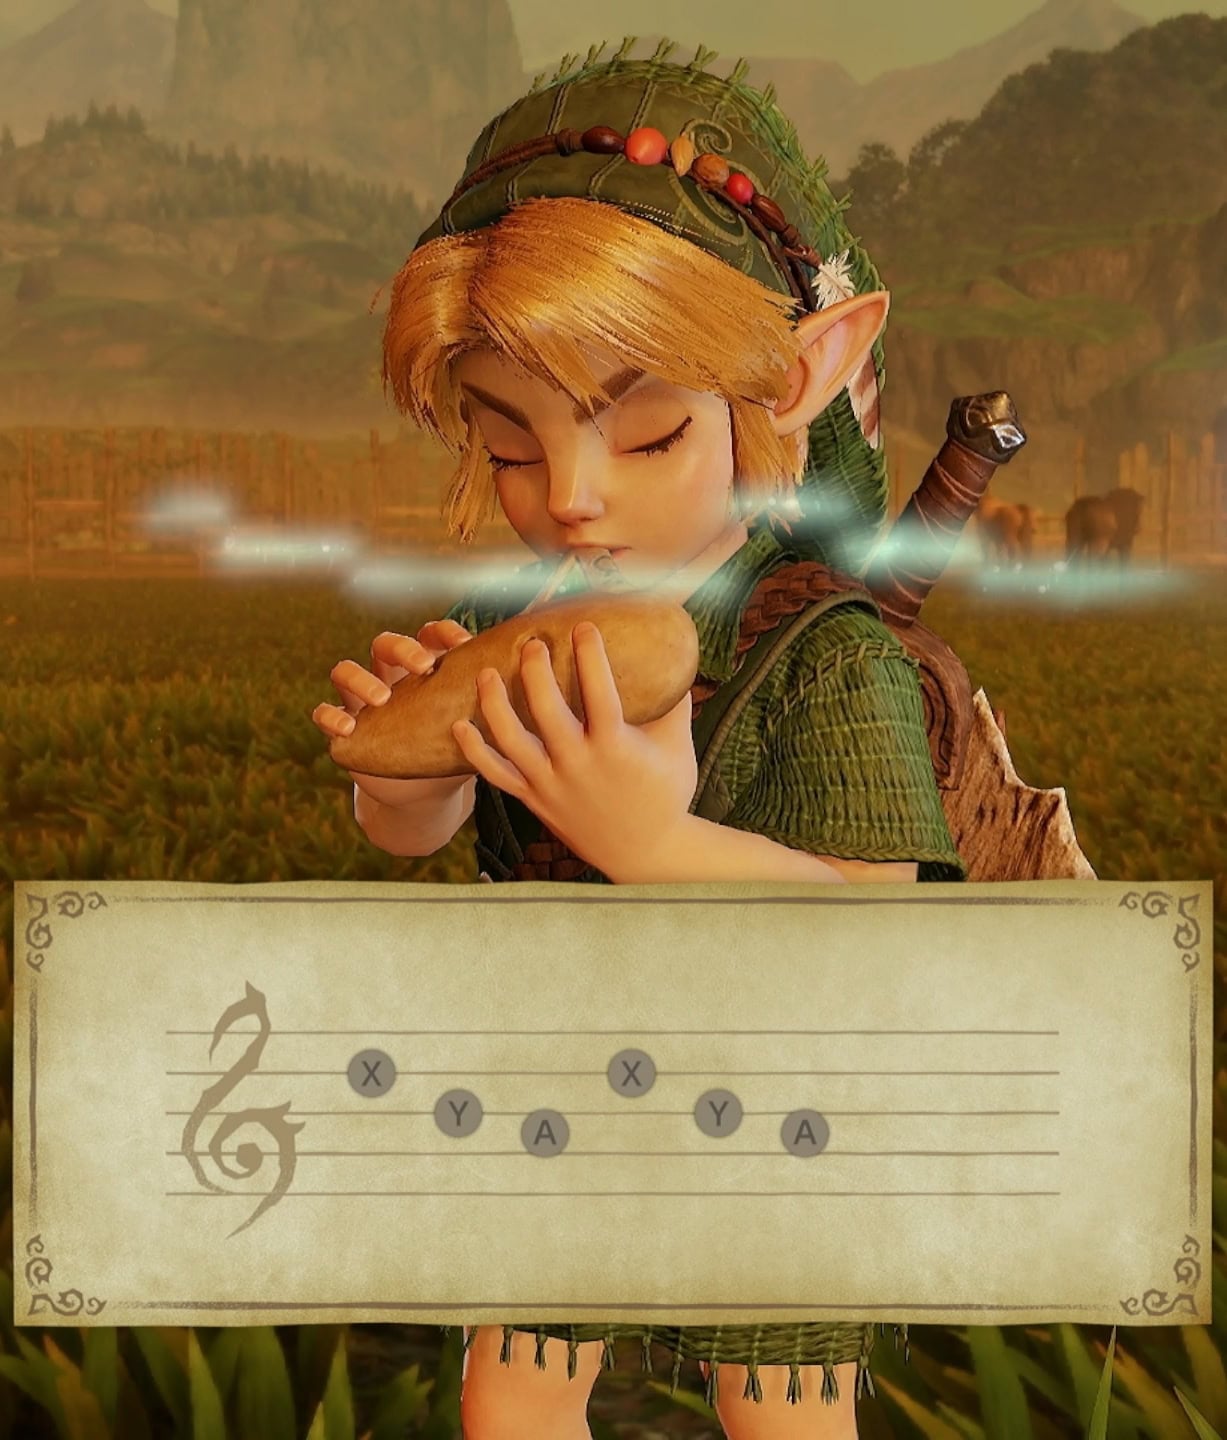
You can toggle this under Options, then look for Ocarina Mic Input to swap between None, Instrument, and Humming. Though, the most authentic way to use this feature is with a real ocarina.
The Nintendo Switch Pro Controllers do not have a built-in microphone. The Nintendo Switch 2’s microphone is built into the console itself.
Switch 2 Pro Controller – GL and GR Recommendations
If you’re using the Nintendo Switch 2 Pro Controller, then you can add some convenience by having these buttons perform the functions of others. To adjust this setting, press and hold the Home button and adjust your GL and GR buttons with this menu!
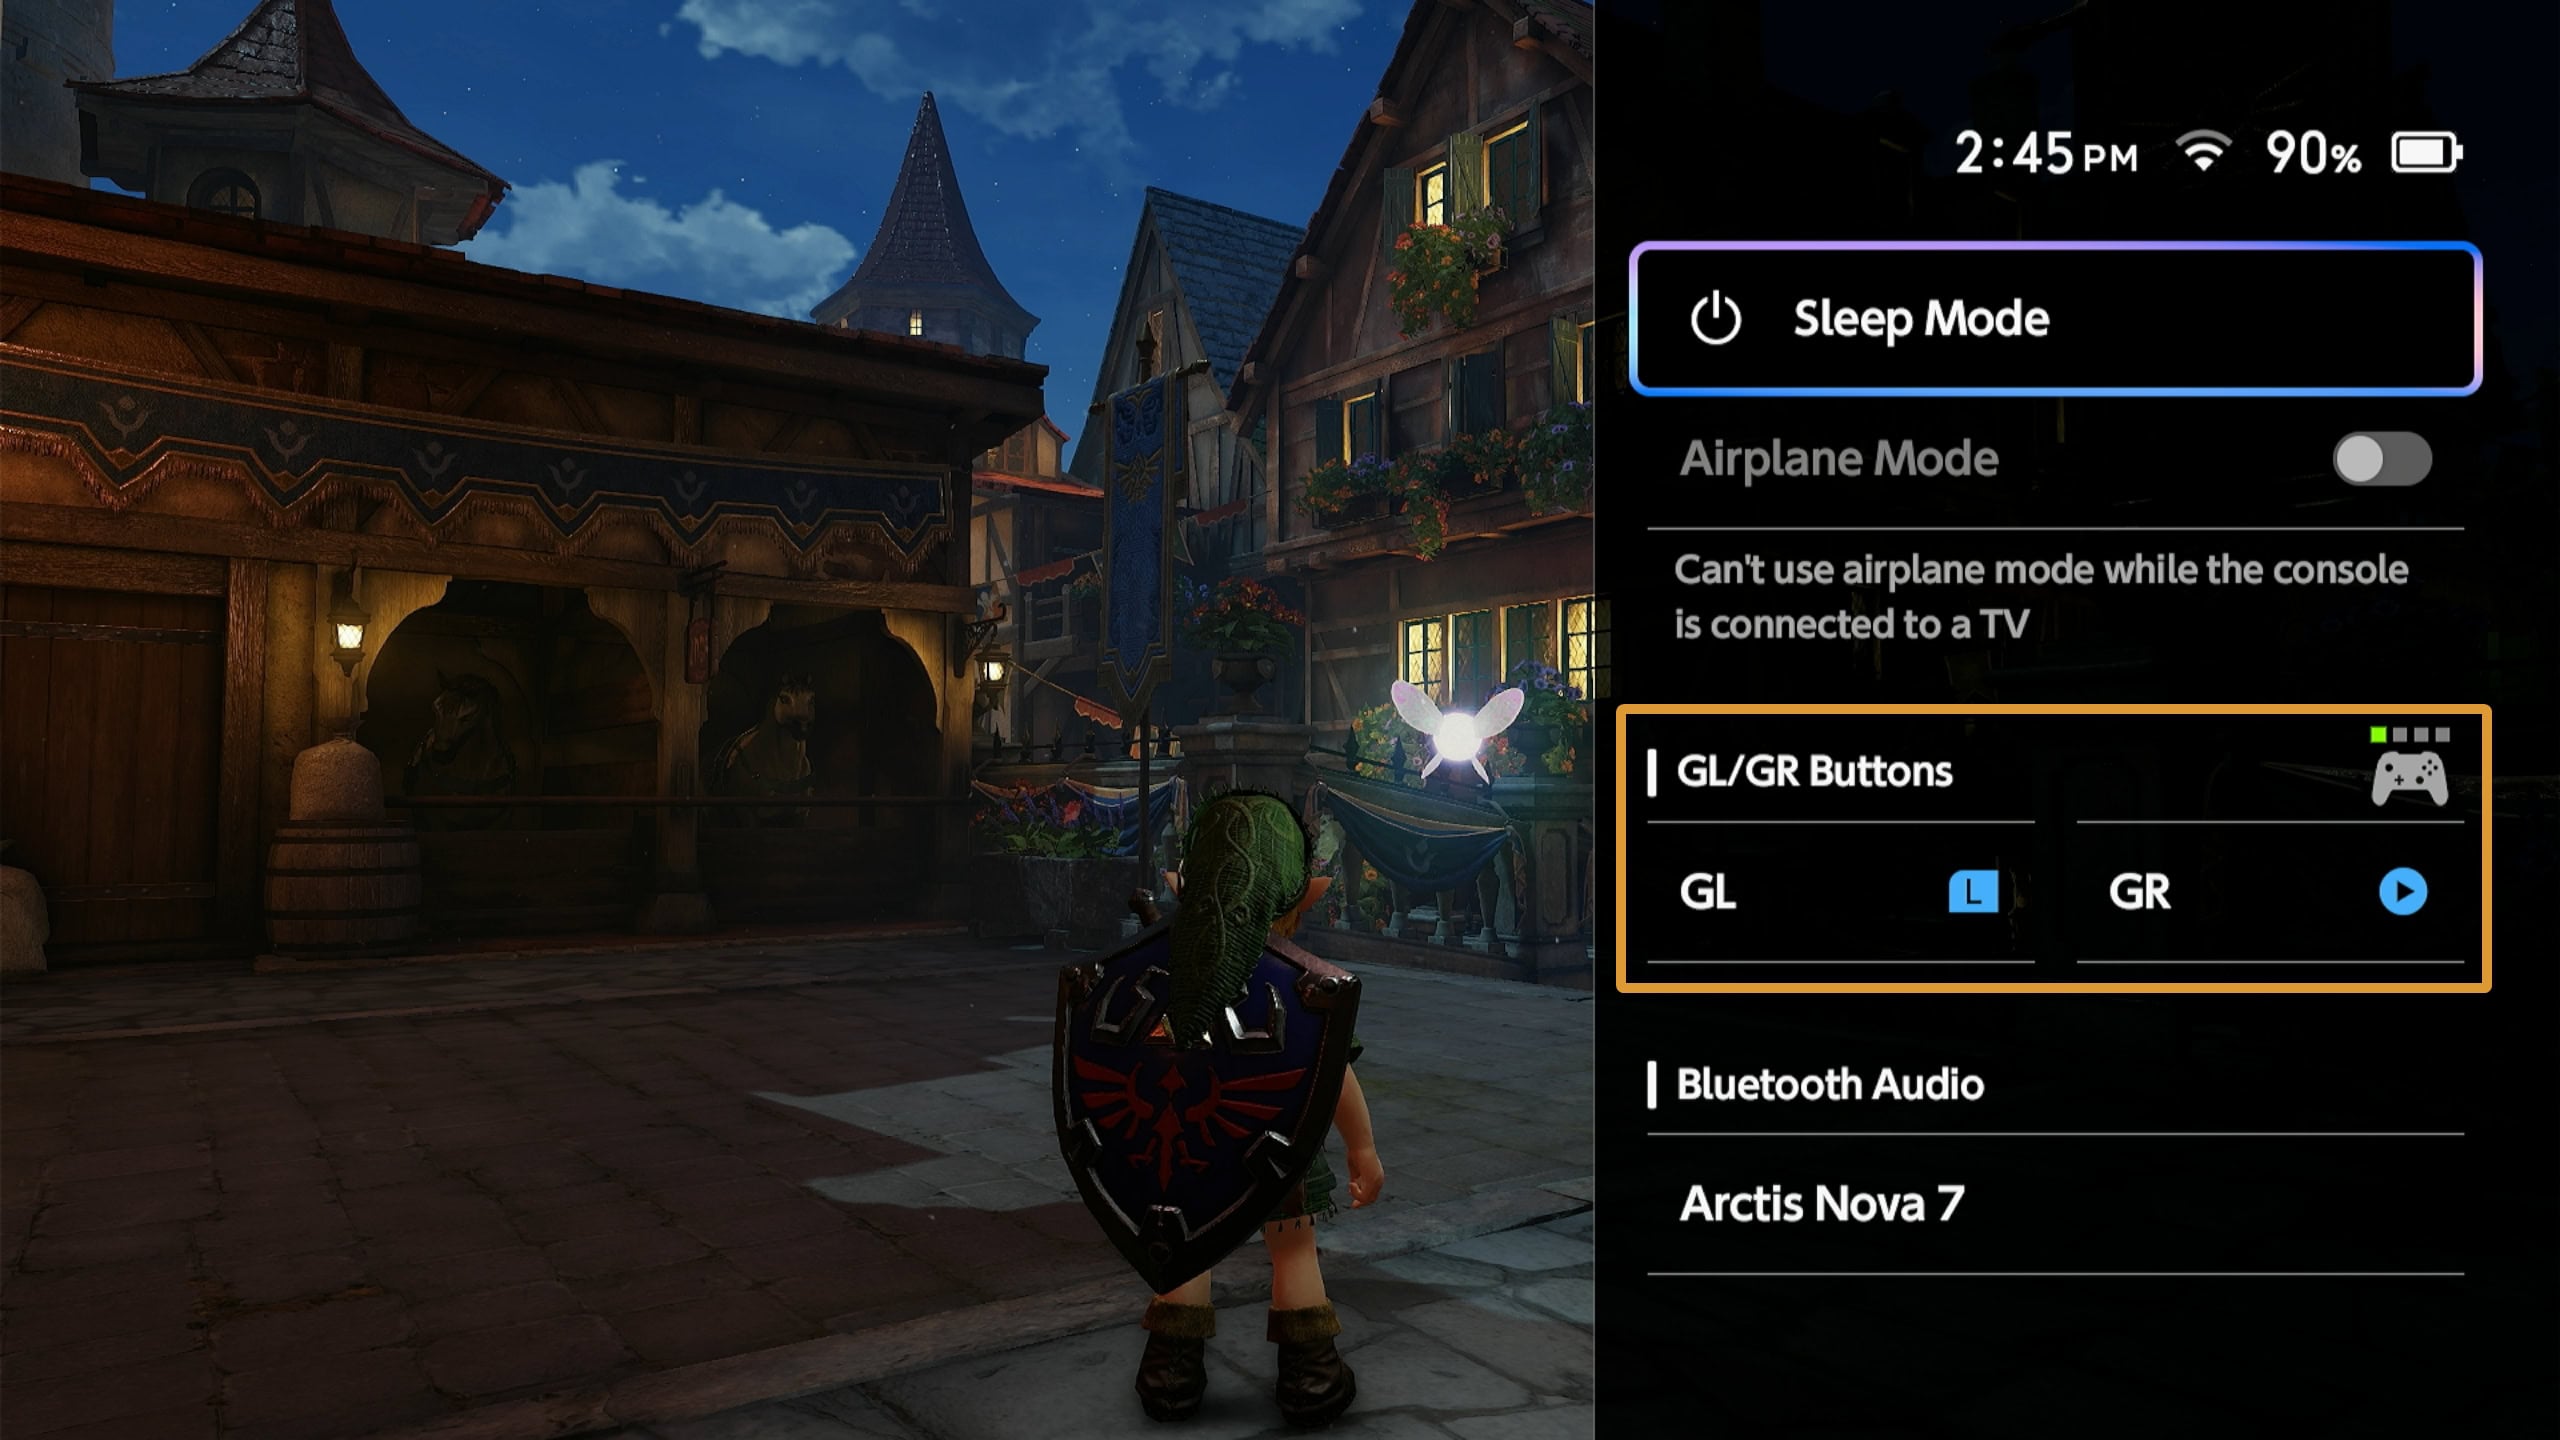
We recommend assigning GL to L or R, and GR to the Right Directional Button. You’ll be using ZL and ZR to block and use very often, so using GL to quick-swap between items helps streamline combat.
Meanwhile, using GR to summon Navi also helps improve combat so you don’t have to move your thumb off the Left Stick. Mobility helps immensely in combat, so this setup retains your mobility and combat functionality!
Can you use the Nintendo 64 or Gamecube Nintendo Switch Online Controllers?
Not very well I’m afraid. While you can “technically” play the Ocarina of Time remake with these controllers, you’re in for a limited and uncomfortable experience.
The Nintendo 64 controller simply lacks enough buttons and an additional stick to make full use of necessary game controls. It’s a bit of a shame, but not entirely unexpected.
The Gamecube controller can perform most functions, but the lack of a – button means you’ll be unable to pull up the menu for Key Items, Threads of Time, or the Map.
Being unable to remap any of the inputs also means using either controller will feel weird for combat, especially if you’re predisposed to certain controls from the original Ocarina of Time or The Wind Waker.
This leaves your only viable options being the Nintendo Switch 2 Joy-Cons, or the Nintendo Switch 1 or 2 Pro Controllers. Do note that the Switch 1 Pro Controller does not have the GL and GR buttons.