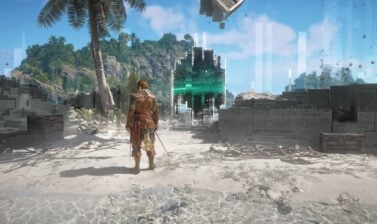
There are three different types of swords, multiple tools, and a wide assortment of ship weapons and abilities in Assassin’s Creed Black Flag. This guide will show you how to unlock and use all of them to be the ultimate pirate!
Use the Table of Contents, located in the left panel (top left button on the mobile menu) to navigate through this long guide more easily and quickly.
With the remake of Assassin’s Creed Black Flag, it brings Assassin’s Creed fans back to a simpler time. While the gear and weapons aren’t as diverse as the newer Assassin’s Creed Shadows, there’s plenty of ways to have fun suited to your playstyle whether it’s by land or sea!
All Weapon Types and Perks
You’ll have two weapon slots for Edward Kenway: the Sword and the Pistol. While pistols only differ with damage, draw speed, and maybe a perk (for Legendary tier), there are three different sword types to choose from.
Swords
You’ll have your choice of dual-wielding Cutlasses, Rapiers, or Pistol Swords. Each has their own pros and cons with how they play. You are unable to mix and match different sword types.
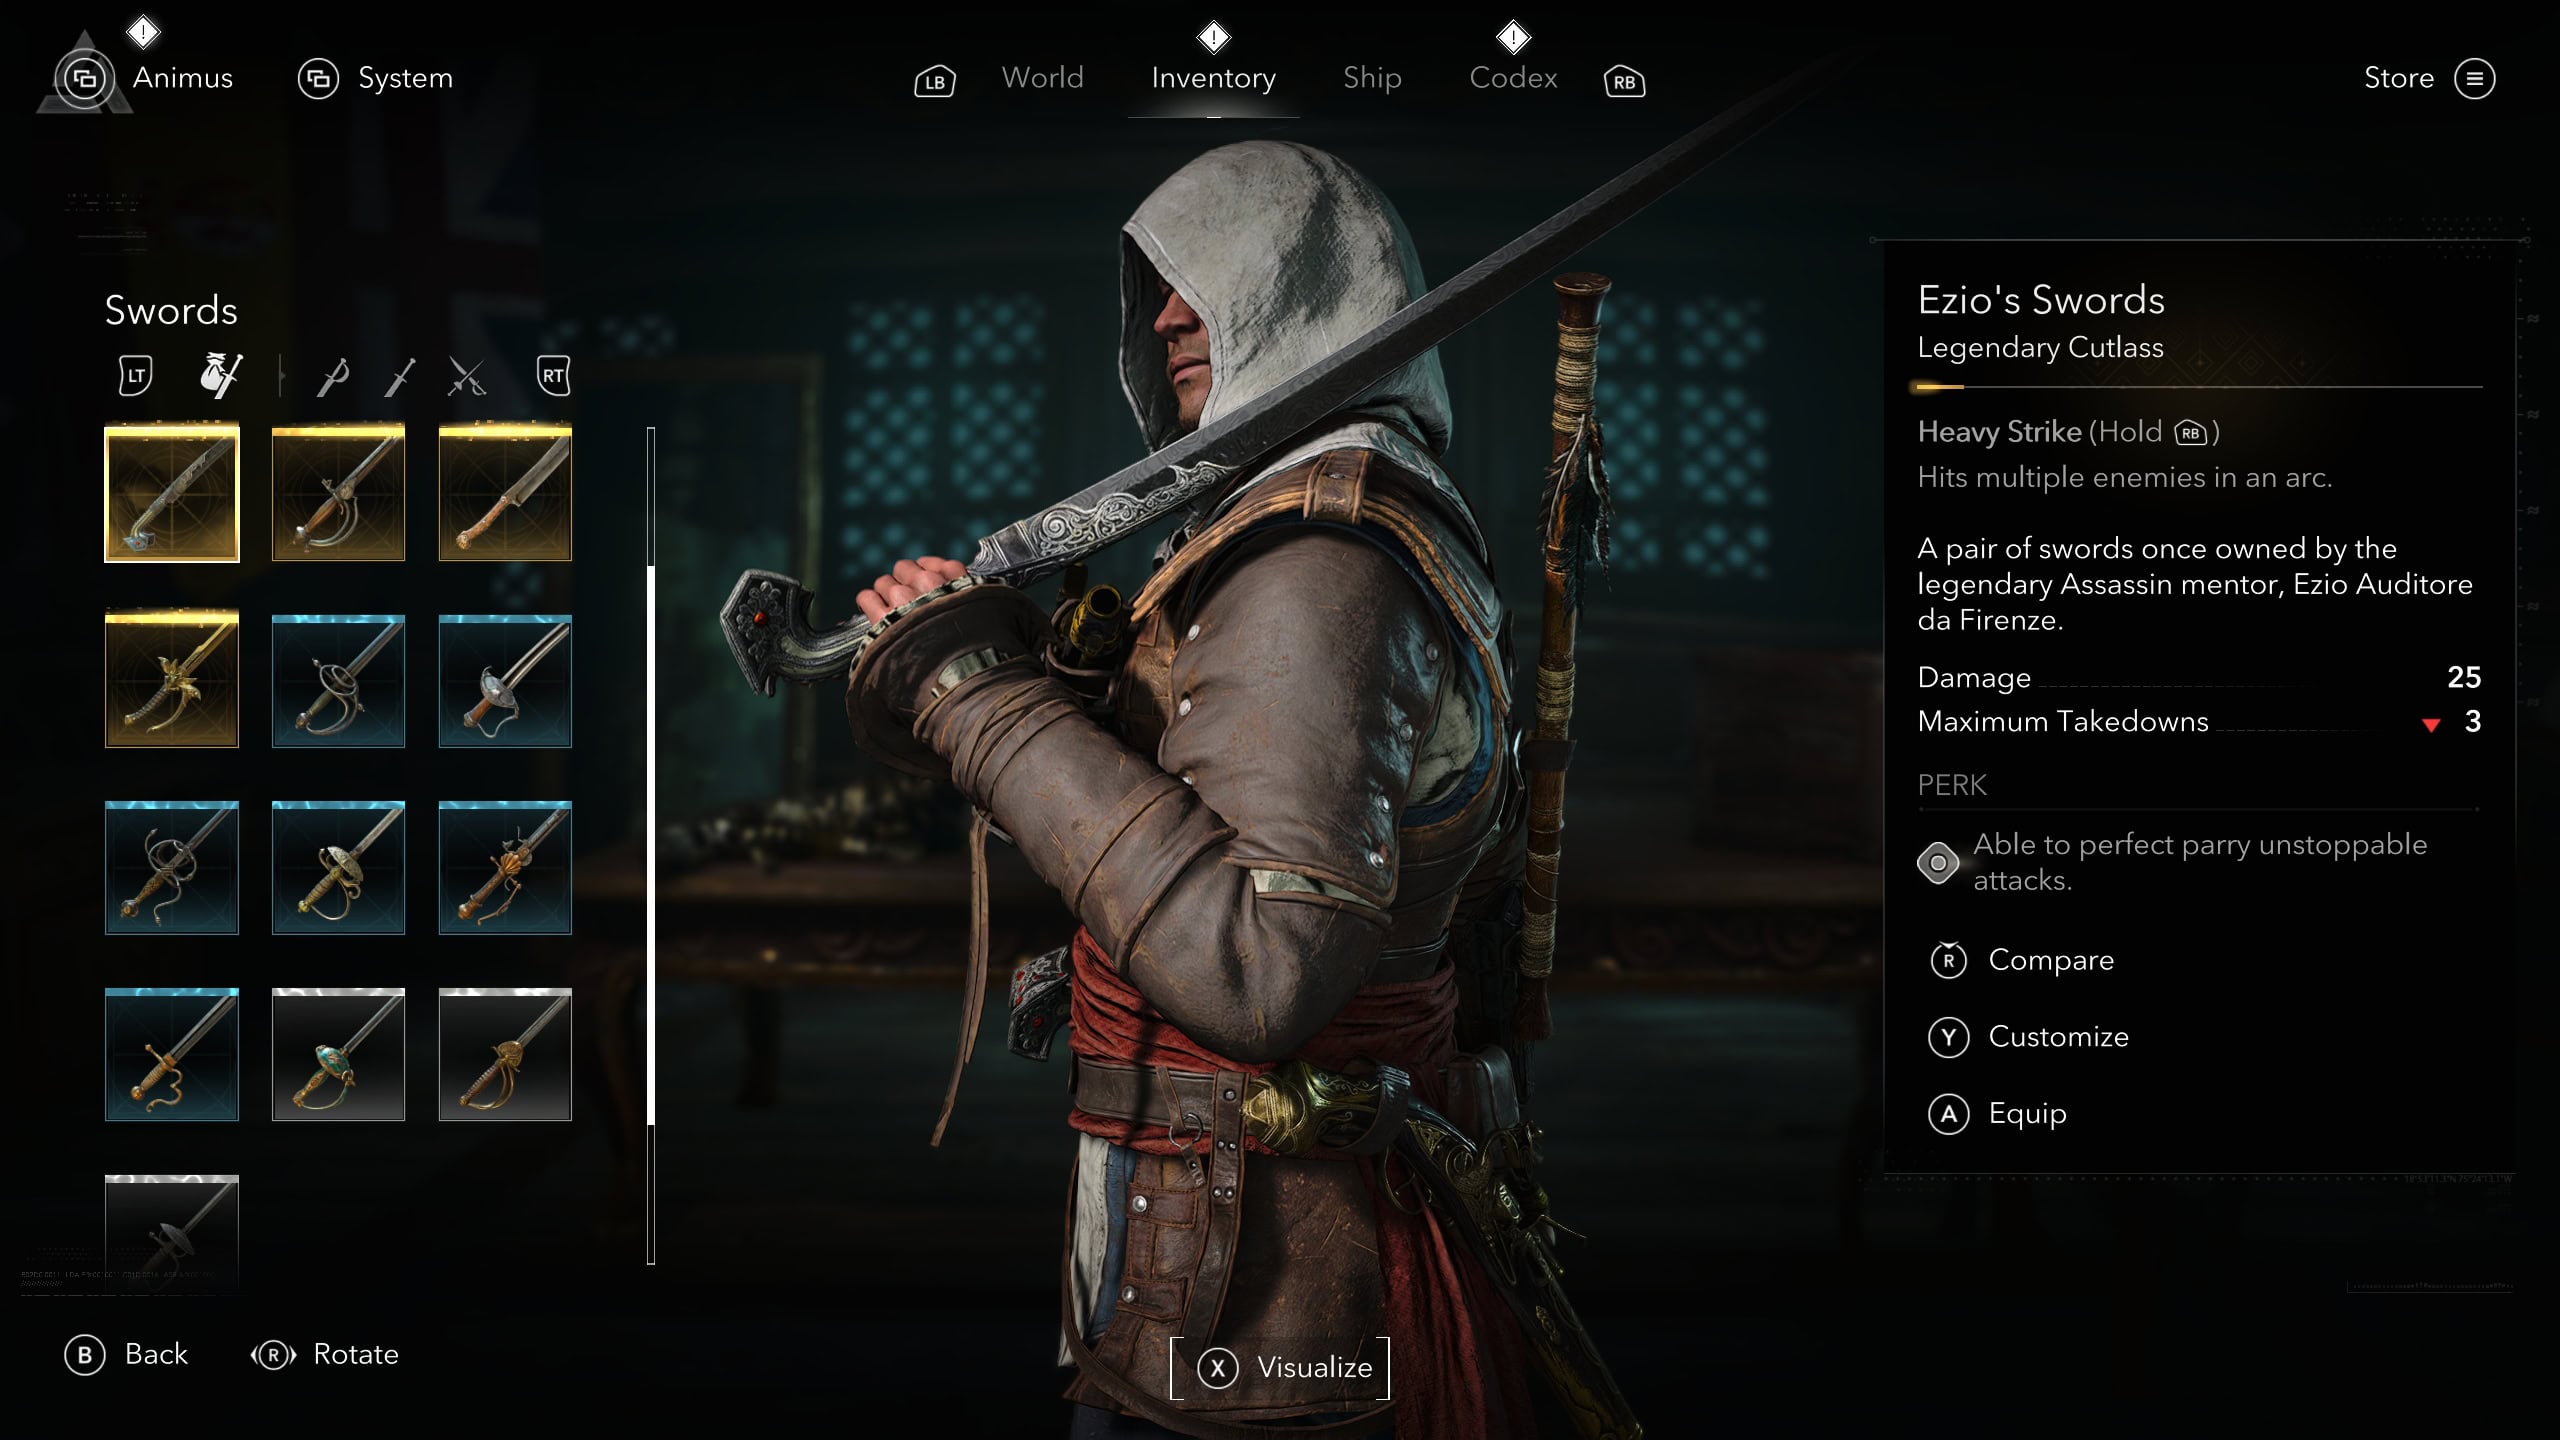
Swords will have three or four features that will differentiate them. These are the weapon’s Heavy Strike ability, Damage, Maximum Takedowns, and a Perk if it’s of Legendary quality.
The Heavy Strike variants will be explained in each of the sword’s own sections. The damage amount speaks for itself, but Maximum Takedowns can play an important part depending on your playstyle.
By depleting an enemy’s yellow bar with attacks, you can make them vulnerable to a Takedown where you can kill them instantly.
If you parry an attack, you open that enemy for a takedown. You can repeat this up to a number of times equal to your sword’s takedown number, this is known as a Chain Takedown.
| Icon | Item Name | Rarity | Source | Item Type |
|---|---|---|---|---|
 | Altaïr’s Swords | Legendary | Animus Exchange | Sword |
 | Blades of Toledo | Legendary | Level 3 General Store | Sword |
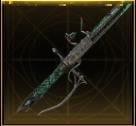 | Dark Animus Corsair Pistol Swords | Legendary | Complete all 4 Rifts | Sword |
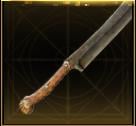 | Dual Cleavers | Legendary | Level 3 General Store | Sword |
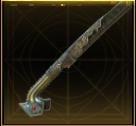 | Ezio’s Swords | Legendary | Animus Exchange | Sword |
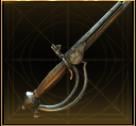 | Le Burgeoys Blades | Legendary | Art Lover Quest | Sword |
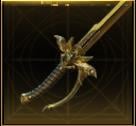 | Lightserver’s Blades | Legendary | Deluxe Edition/Master Assassin Character Pack | Sword |
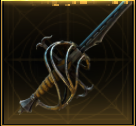 | Masterwork Blades | Legendary | Treasure Dealer | Sword |
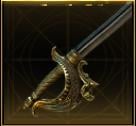 | Matched Golden Swords | Legendary | Treasure Dealer | Sword |
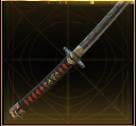 | Naoe’s Shadowblade | Legendary | Animus Exchange | Sword |
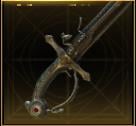 | Order of Gold | Legendary | Level 3 General Store | Sword |
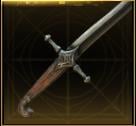 | Persian Scimitars | Legendary | Restore all 6 Weathered Maps | Sword |
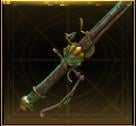 | Rustborne Swords | Legendary | Twitch Drop | Sword |
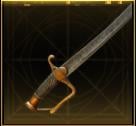 | Spring-Steel Swords | Legendary | Assassin Contracts | Sword |
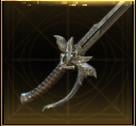 | The Fortune | Legendary | Collect all Character Portraits | Sword |
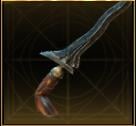 | Uncrowned Prince | Legendary | Treasure Chest | Sword |
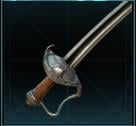 | British Colonial Cutlasses | Rare | Level 2 General Store | Sword |
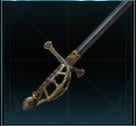 | Captain Drake’s Swords | Rare | Treasure Chest | Sword |
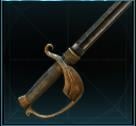 | Espada Ancha | Rare | Treasure Chest | Sword |
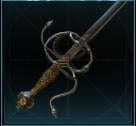 | Ferraro’s Rapiers | Rare | Unique Vendor | Sword |
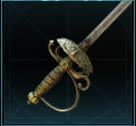 | French Court Swords | Rare | Level 2 General Store | Sword |
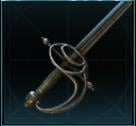 | Officer’s Rapiers | Rare | Level 2 General Store | Sword |
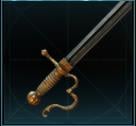 | Pirate Scimitars | Rare | Level 2 General Store | Sword |
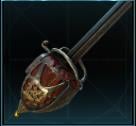 | Scottish Broadswords | Rare | Treasure Chest | Sword |
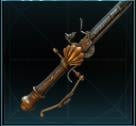 | Standard Pistol Swords | Rare | Level 2 General Store | Sword |
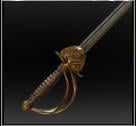 | British Cutlasses | Common | Level 1 General Store | Sword |
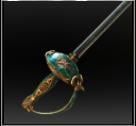 | French Dress Swords | Common | Level 1 General Store | Sword |
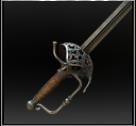 | German Rapiers | Common | Treasure Chest | Sword |
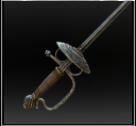 | Officer’s Smallswords | Common | Main Quest | Sword |
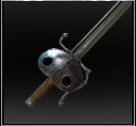 | Privateer’s Cutlasses | Common | Treasure Chest | Sword |
 | Spanish Cup-Hilt Rapiers | Common | Treasure Chest | Sword |
Cutlasses
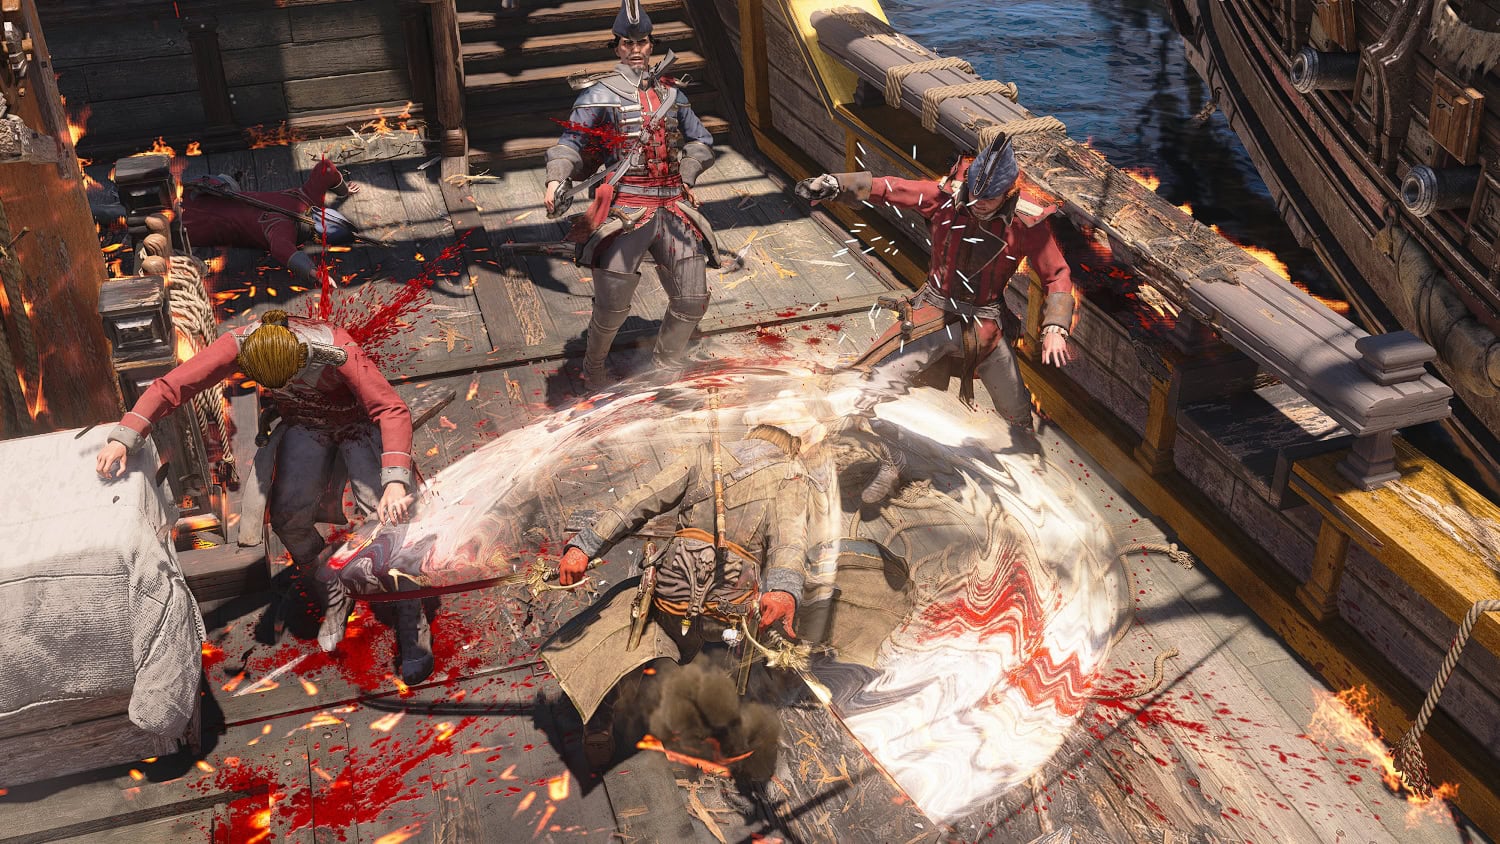
The Cutlass is well rounded weapon. Its Heavy Strike is made up of two wide slashes that attack in a wide arc. This makes it great for hitting multiple opponents in a tight area (such as when you’re boarding a ship).
Rapiers
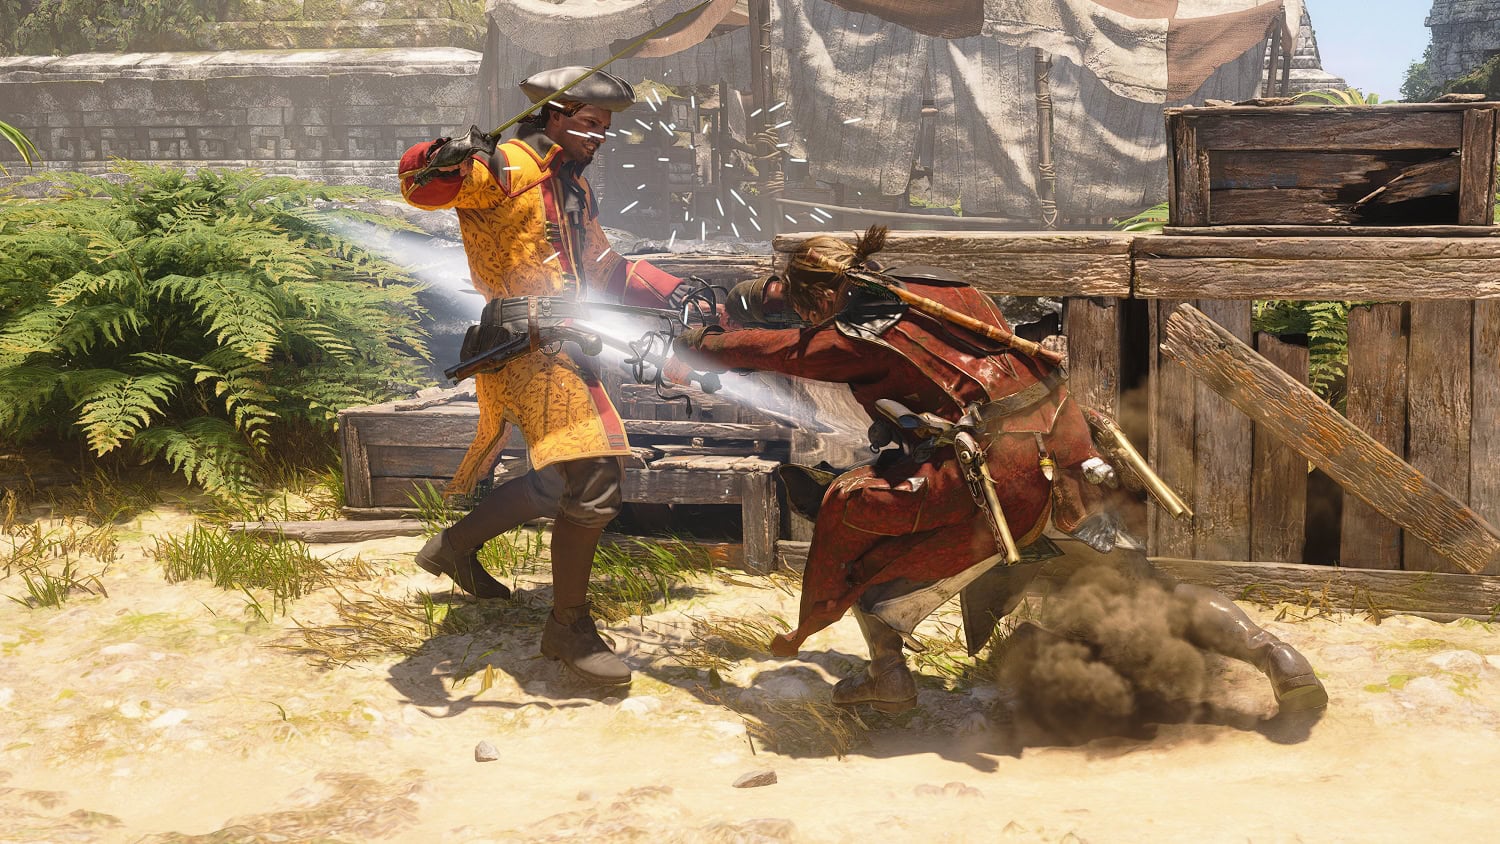
Rapiers are a swifter sword option that has a Heavy Strike ability where you thrust forward twice. This has a narrower area of effect and is better suited for closing a small gap against a single target.
The animation for the Heavy Strike is much faster than the Cutlass, making it ideal if you want to get a heavy hit in and be ready to parry or block attacks much sooner.
Pistol Swords
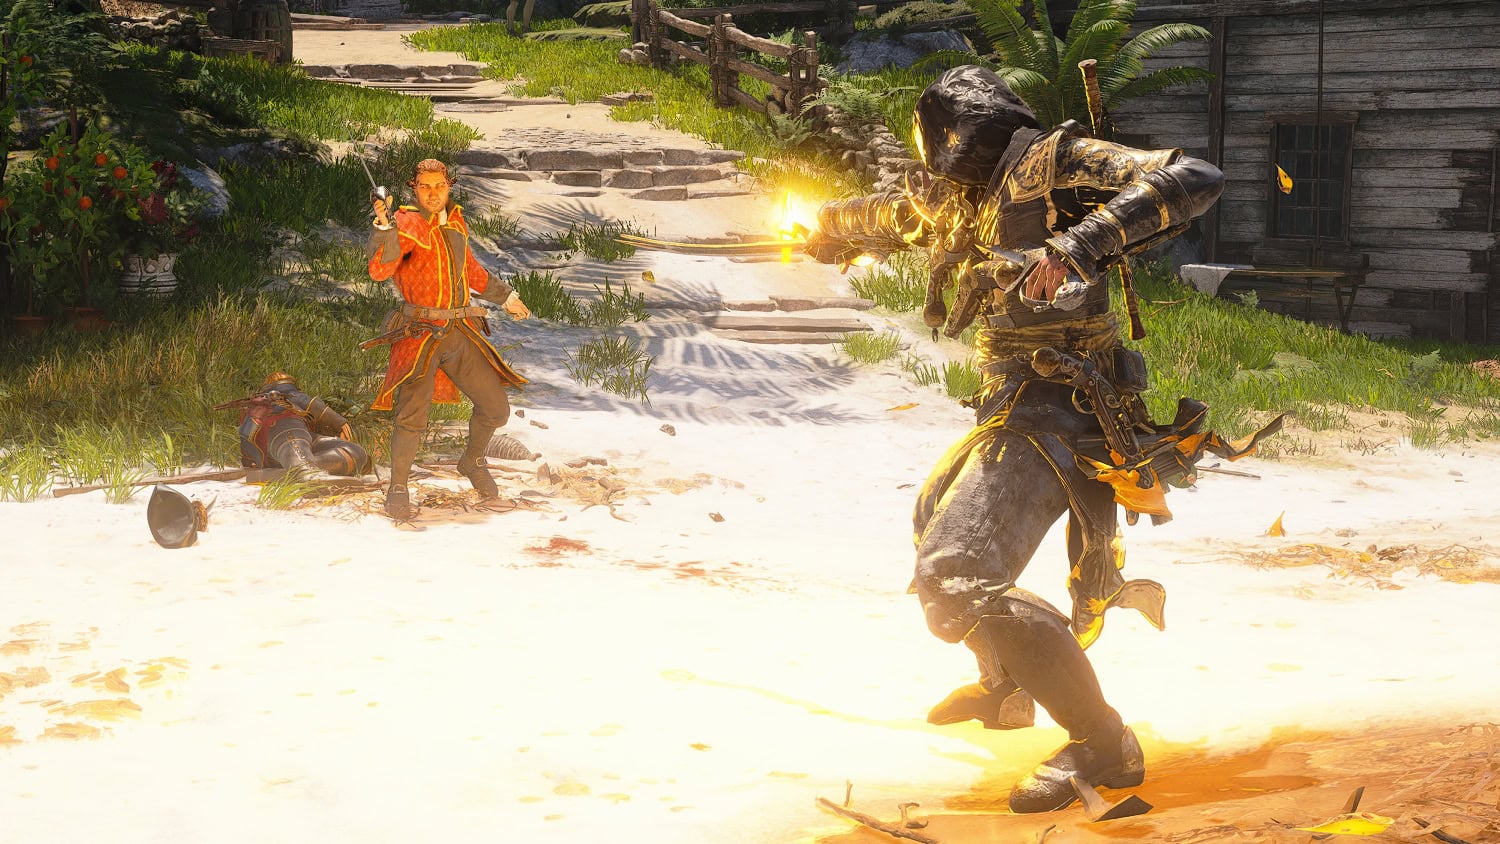
Pistol Swords are certainly a unique type of sword as their Heavy Strike fires two bullets from the swords themselves. These bullets do not consume your pistol ammunition, but in return they deal far less damage than your actual pistols.
These are good if you like guns and want to get some ranged attacks at a moment’s notice to deal with other ranged enemies.
Pistols
Your pistols are your secondary ranged weapons. Unlike swords, these don’t have variants outside of stats and perks offered. Pistol damage is the same across the board, what matters is their Range and Draw Speed.
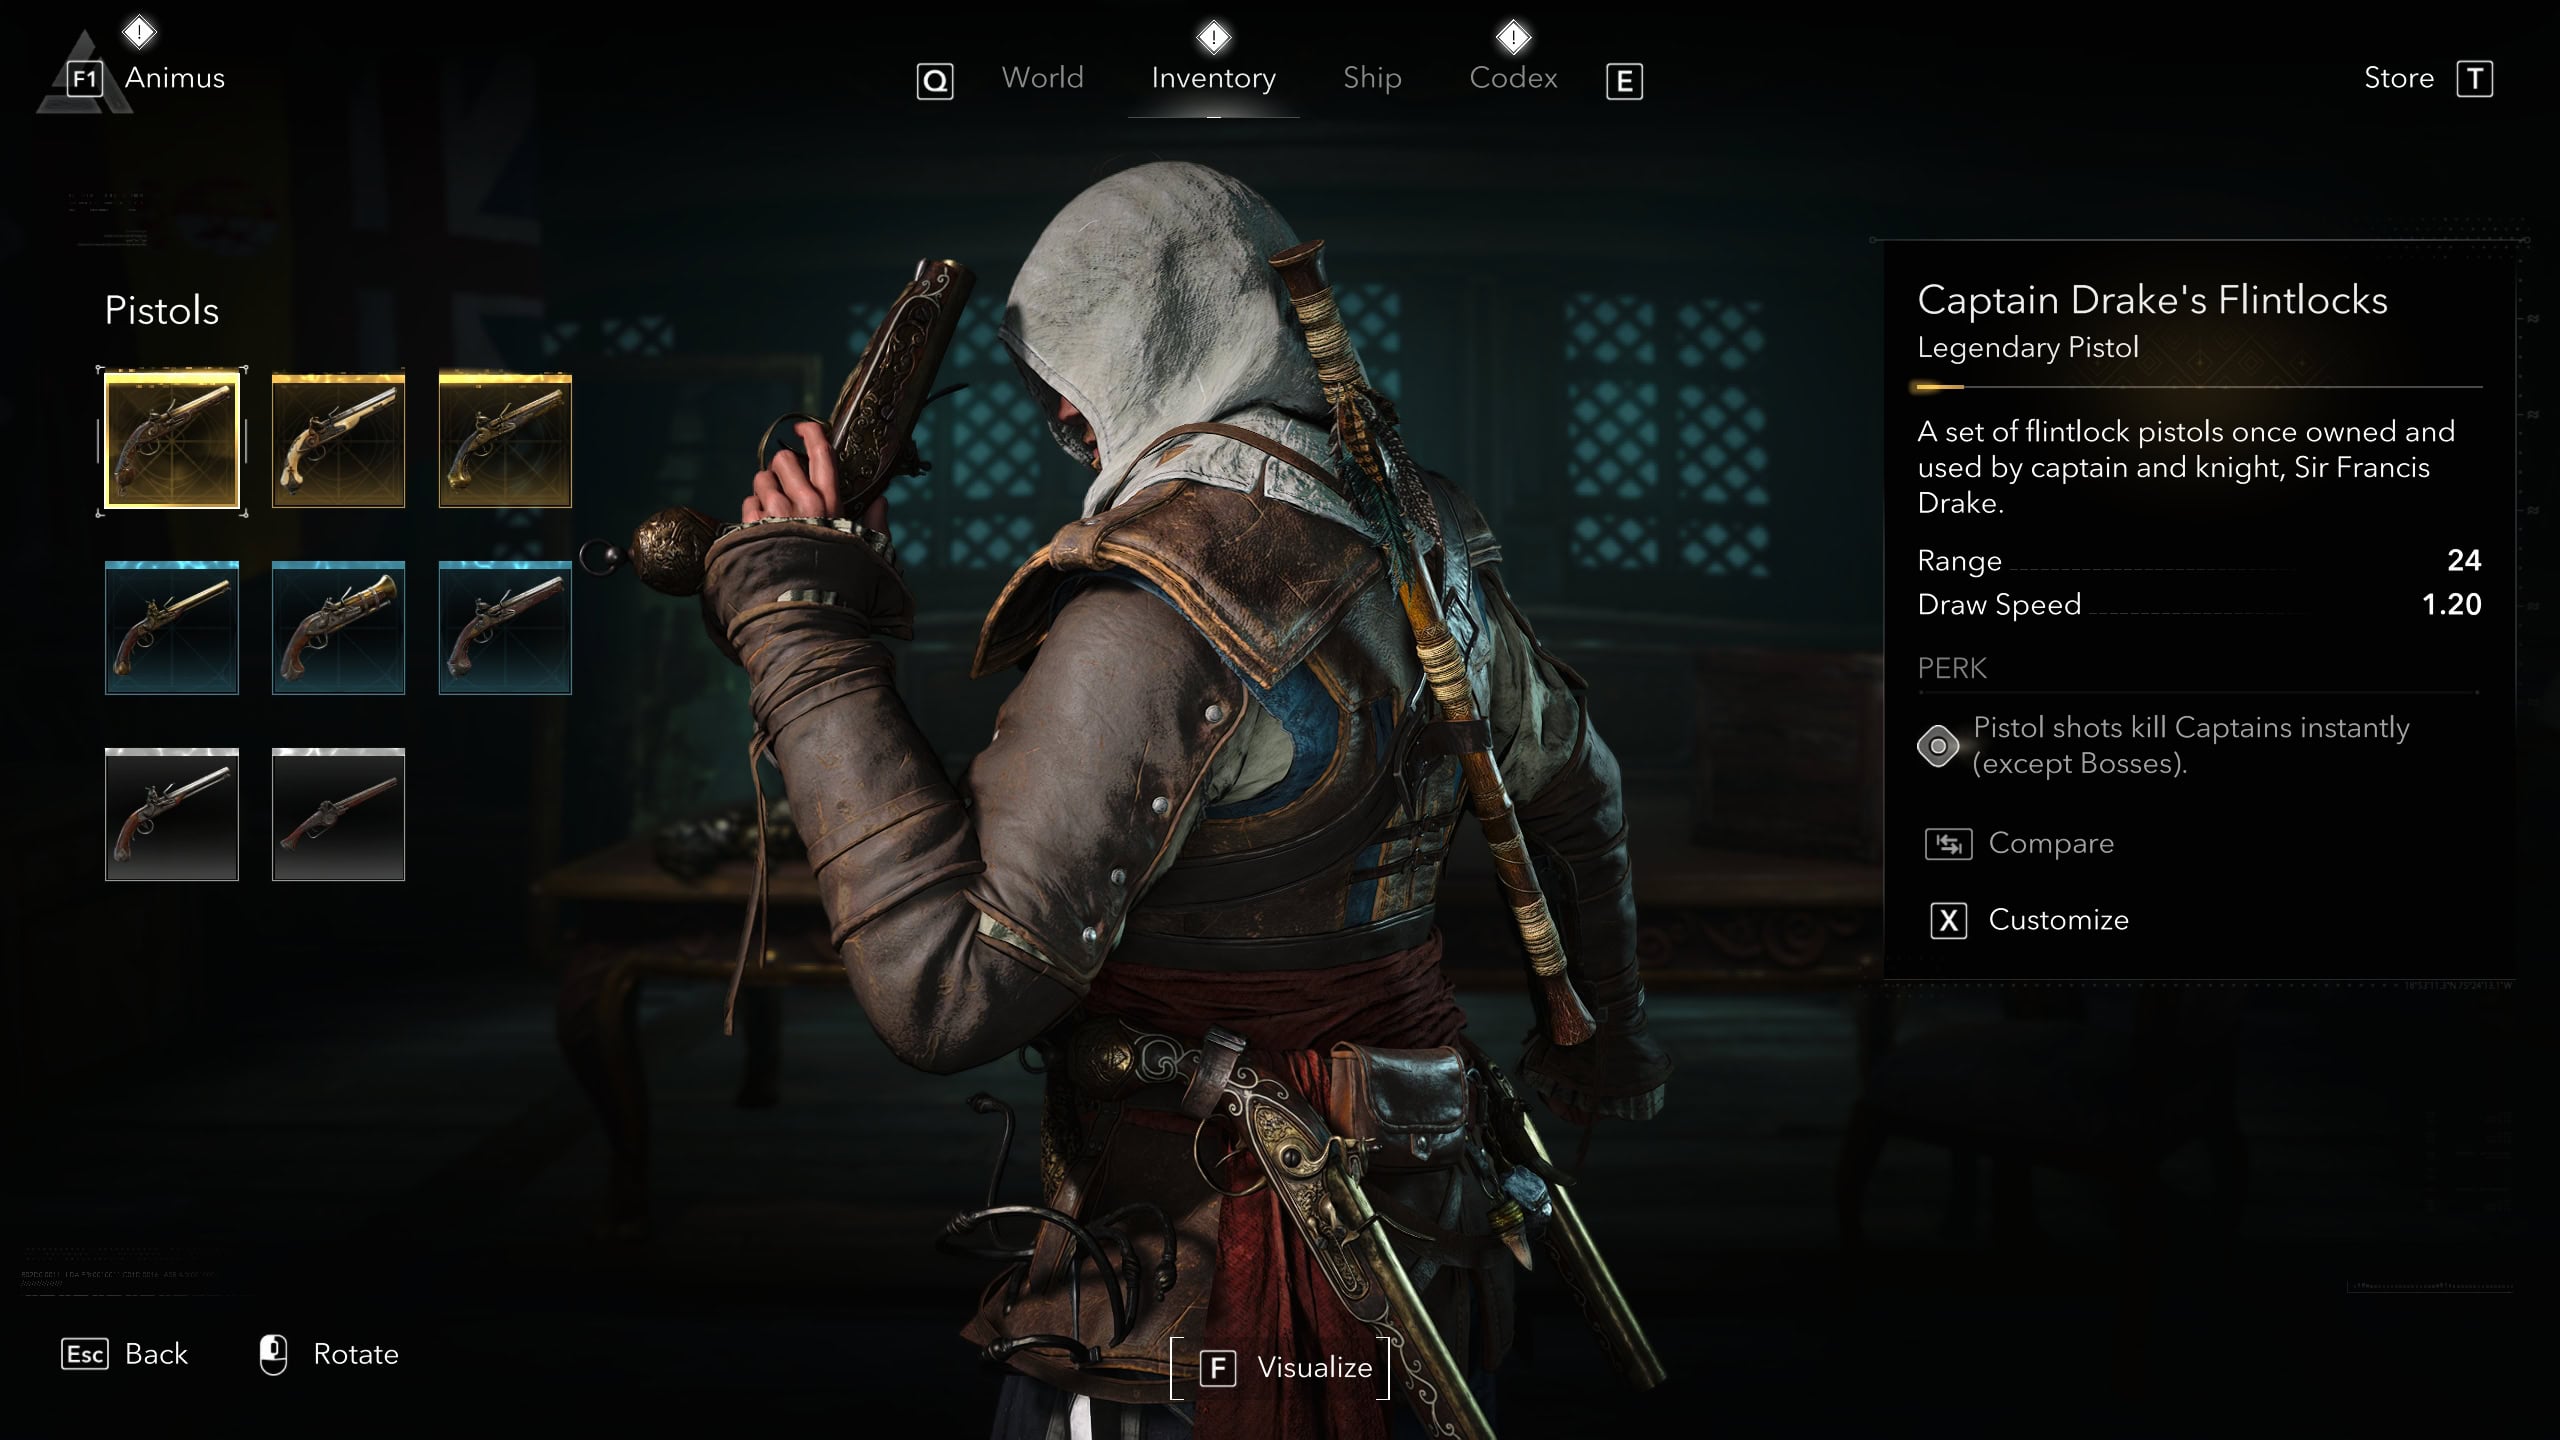
The Range aspect is fairly simple, a longer range means you can shoot enemies that are farther away. This is useful when shooting against riflemen that tend to be perched in watchtowers or crow’s nests.
The Draw Speed primarily affects how quickly you draw out your pistol when you want to aim yourself. It does not affect your rate of fire with Quick Shots, making it mostly irrelevant in the majority of combat scenarios. A longer range will be much better to have in combat whether you’re making quick shots or aiming manually.
| Icon | Item Name | Rarity | Source | Item Type |
|---|---|---|---|---|
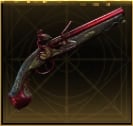 | Blackbeard’s Crimson Pistol | Legendary | Pre-Order Bonus | Pistol |
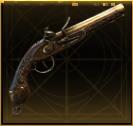 | Captain Drake’s Flintlocks | Legendary | Unique Vendor | Pistol |
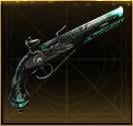 | Dark Animus Corsair Flintlocks | Legendary | Eye in the Dark Project | Pistol |
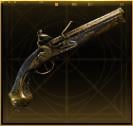 | Darkworker’s Pistols | Legendary | Deluxe Edition/Master Assassin Character Pack | Pistol |
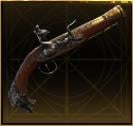 | Gargoyle’s Breath | Legendary | Restore all 6 Weathered Maps | Pistol |
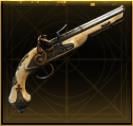 | Golden Flintlock Pistols | Legendary | Level 3 General Store | Pistol |
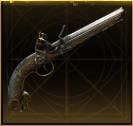 | Peaceful Means | Legendary | Treasure Dealer | Pistol |
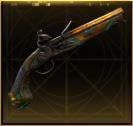 | Rustic Flintlocks | Legendary | Animus Store (free) | Pistol |
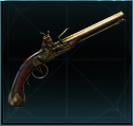 | Baldwin’s Golden Pistols | Rare | Lucy Baldwin’s questline | Pistol |
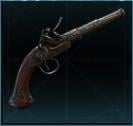 | Cannon-Barrel Pistols | Rare | Treasure Chest | Pistol |
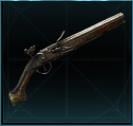 | Captain Morgan’s Pistols | Rare | Treasure Chest | Pistol |
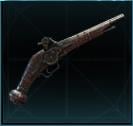 | Captain’s Wheellock Pistols | Rare | Treasure Chest | Pistol |
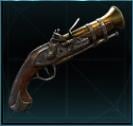 | Pirate Blunderbusses | Rare | Level 2 General Store | Pistol |
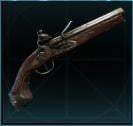 | Spanish Officer Pistols | Rare | Level 2 General Store | Pistol |
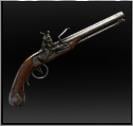 | Common Flintlock Pistols | Common | Main Quest | Pistol |
 | Standard Wheellock Pistols | Common | Level 1 General Store | Pistol |
Weapon Perks
Weapons of Legendary quality will come with a perk. These usefulness of these depends on your play style. For example, Ezio’s Swords can parry unblockable attacks. Another example are Captain Drake’s Flintlocks that can kill a captain in one shot.
There’s a large assortment of weapons to collect, be sure to get them all so you can try different playstyles and see which suits you! Be sure to find complimentary trinkets with perks that add to your weapon’s perks.
Abilities and Tools
You’ll start out with a small assortment of tools and abilities to start, but you’ll gain more as you make more progress in the story. Initially you’ll start with Remedies, Whistle, Hood Toggle, Kick, and Sweep.
Every single ability, tool, ship weapon, and ship ability has a default keybind for both keyboard and mouse and for controllers, which we have detailed in our Controls Guide.
Block and Parry
You can block or parry incoming melee attacks with blue glints. If you’re too slow, it’ll be a block and temporarily drop an enemy’s guard. If you block right before their blade hits, it becomes a parry and leaves them open to a takedown.
You cannot block or parry melee attacks with red glints. This will typically be from brutes or captains, but even standard enemies will use them from time to time.
Dodge and Perfect Dodge
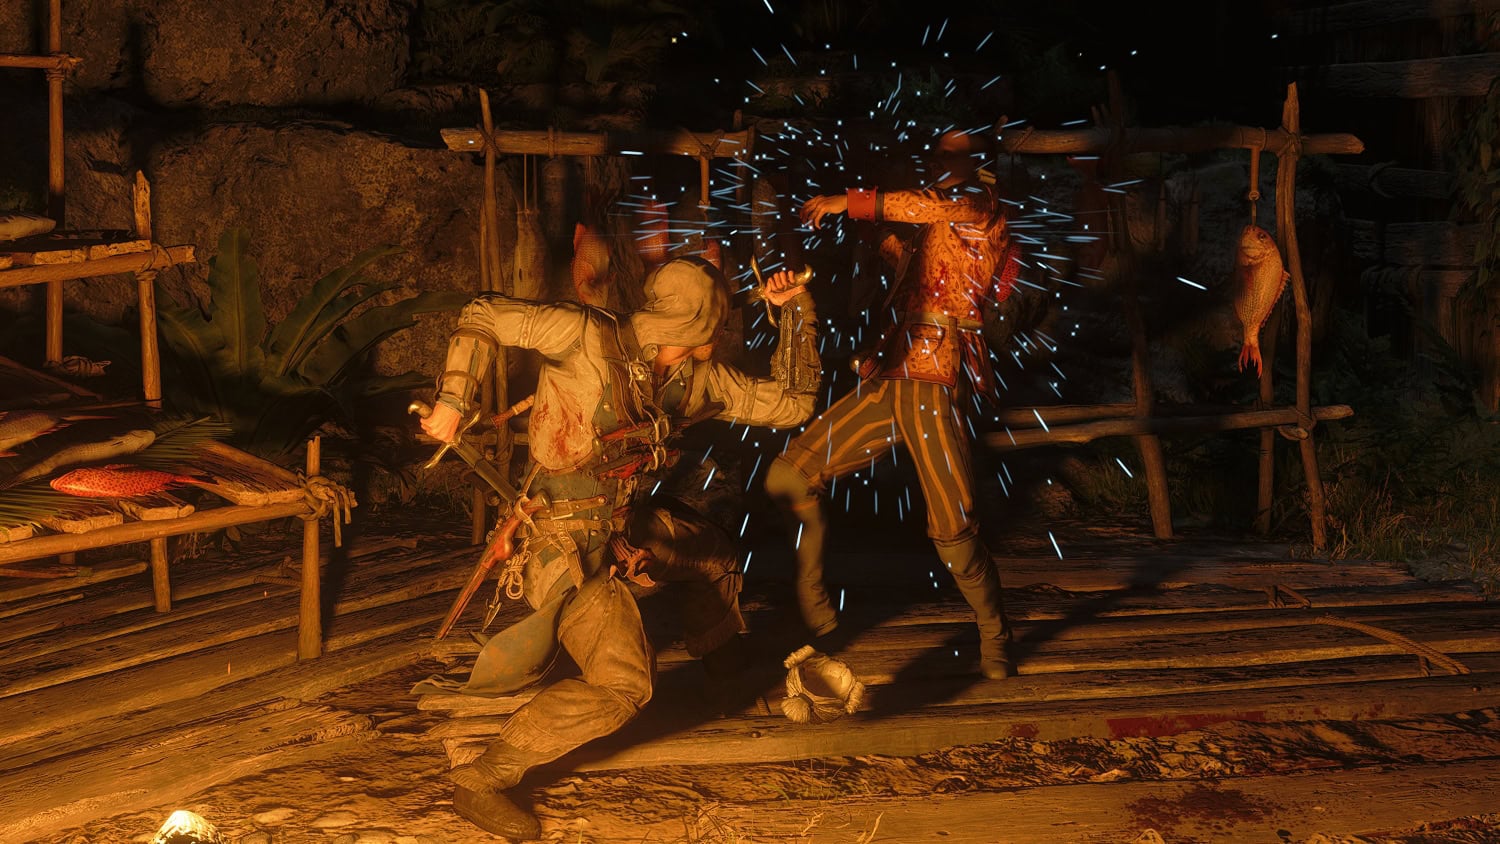
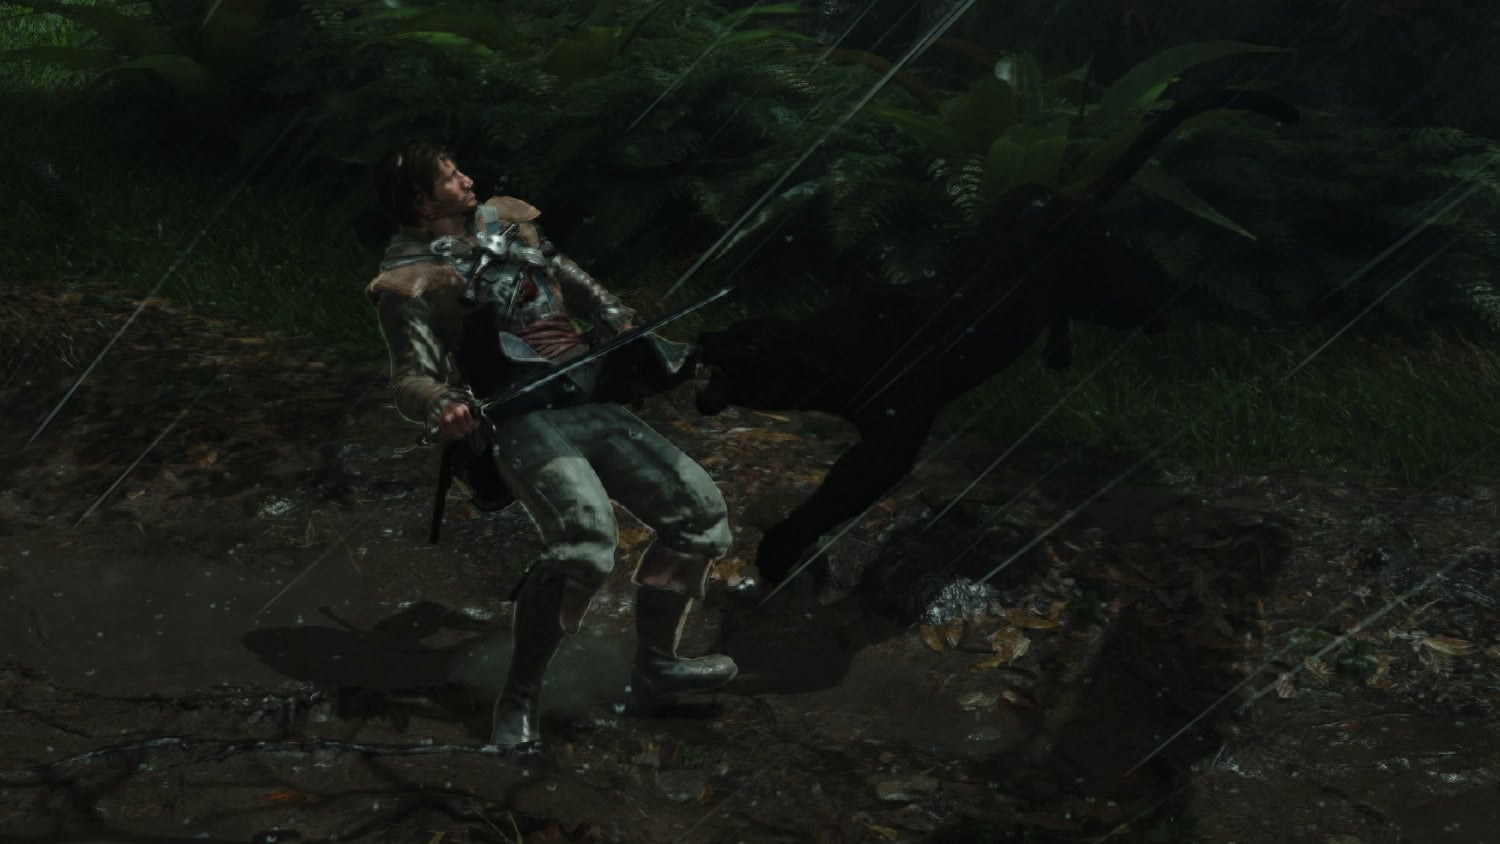
Dodging is a safer bet when on the defensive when compared to blocking or parrying. If you dodge right before a melee attack hits, it becomes a Perfect Dodge. Attack after a Perfect Dodge to hit an enemy while dropping their guard.
Remedies
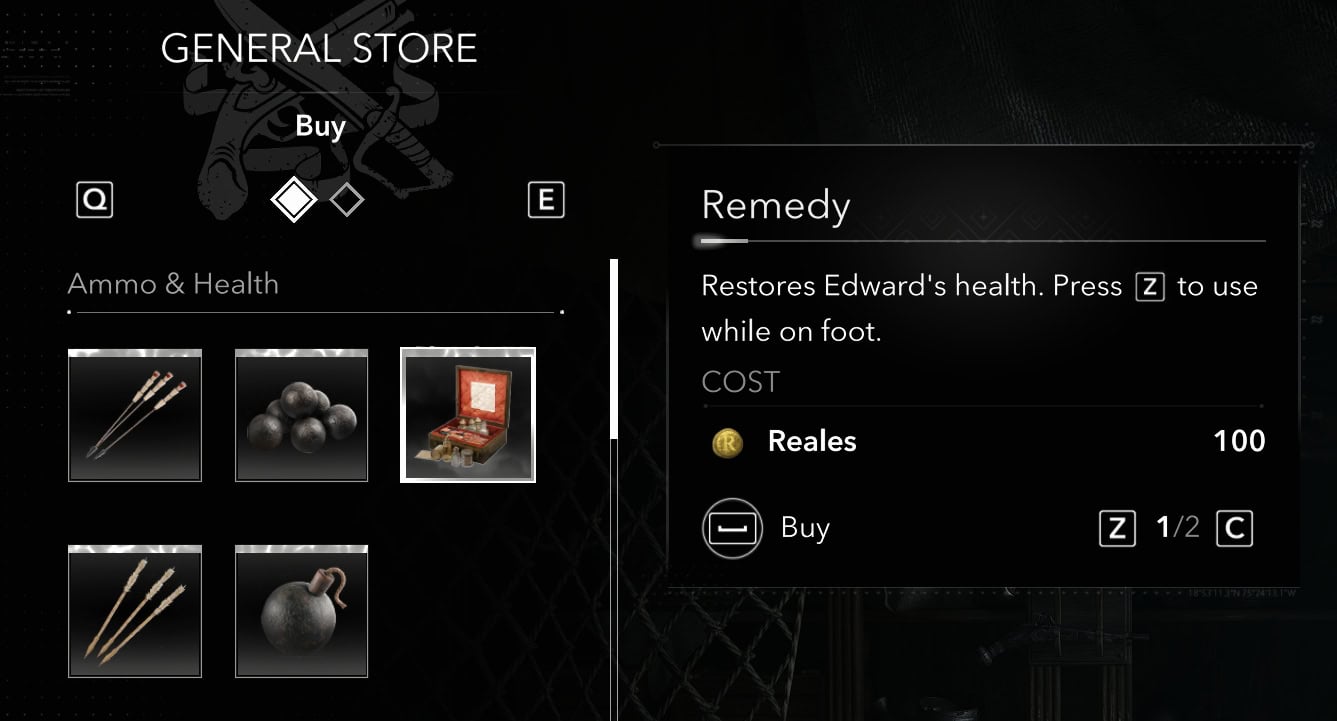
Remedies are used to fully restore your health when you’re injured. It’s a good idea to invest in maximum health upgrades so you can get more mileage out of these. You can never carry more than three remedies at a time.
You can acquire more Remedies by finding them in the world, looting them from enemies, or purchase them from General Stores for 100 reales a piece.
Pathfinder
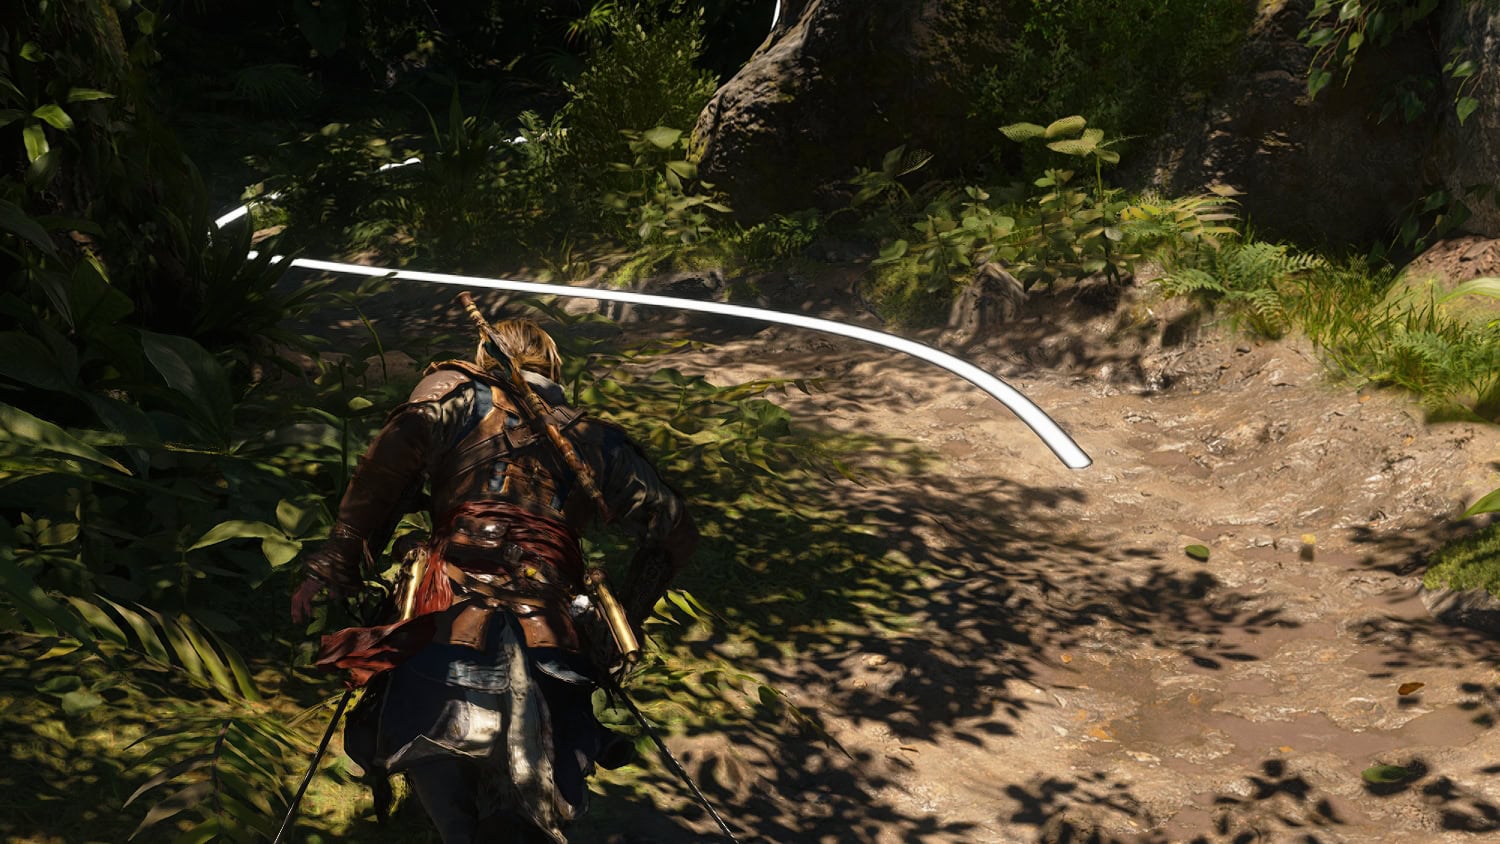
When you have a selected quest objective or a marker, you can activate the Pathfinder to lead you to your quest objective or most recently placed marker. If you’re steering your ship, you can activate Follow Sea to automatically follow your Pathfinder line.
Whistle
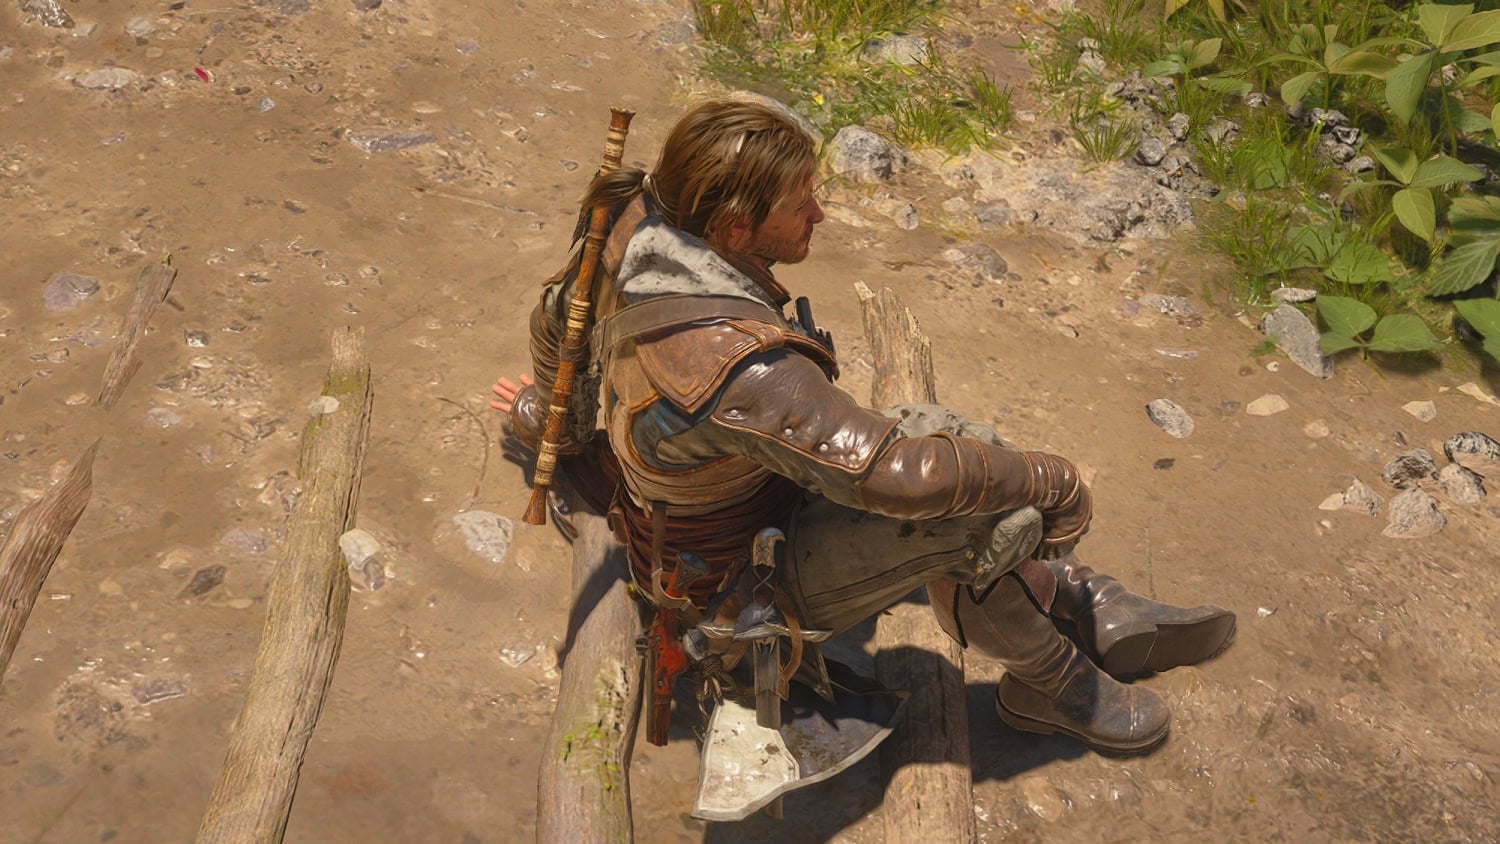
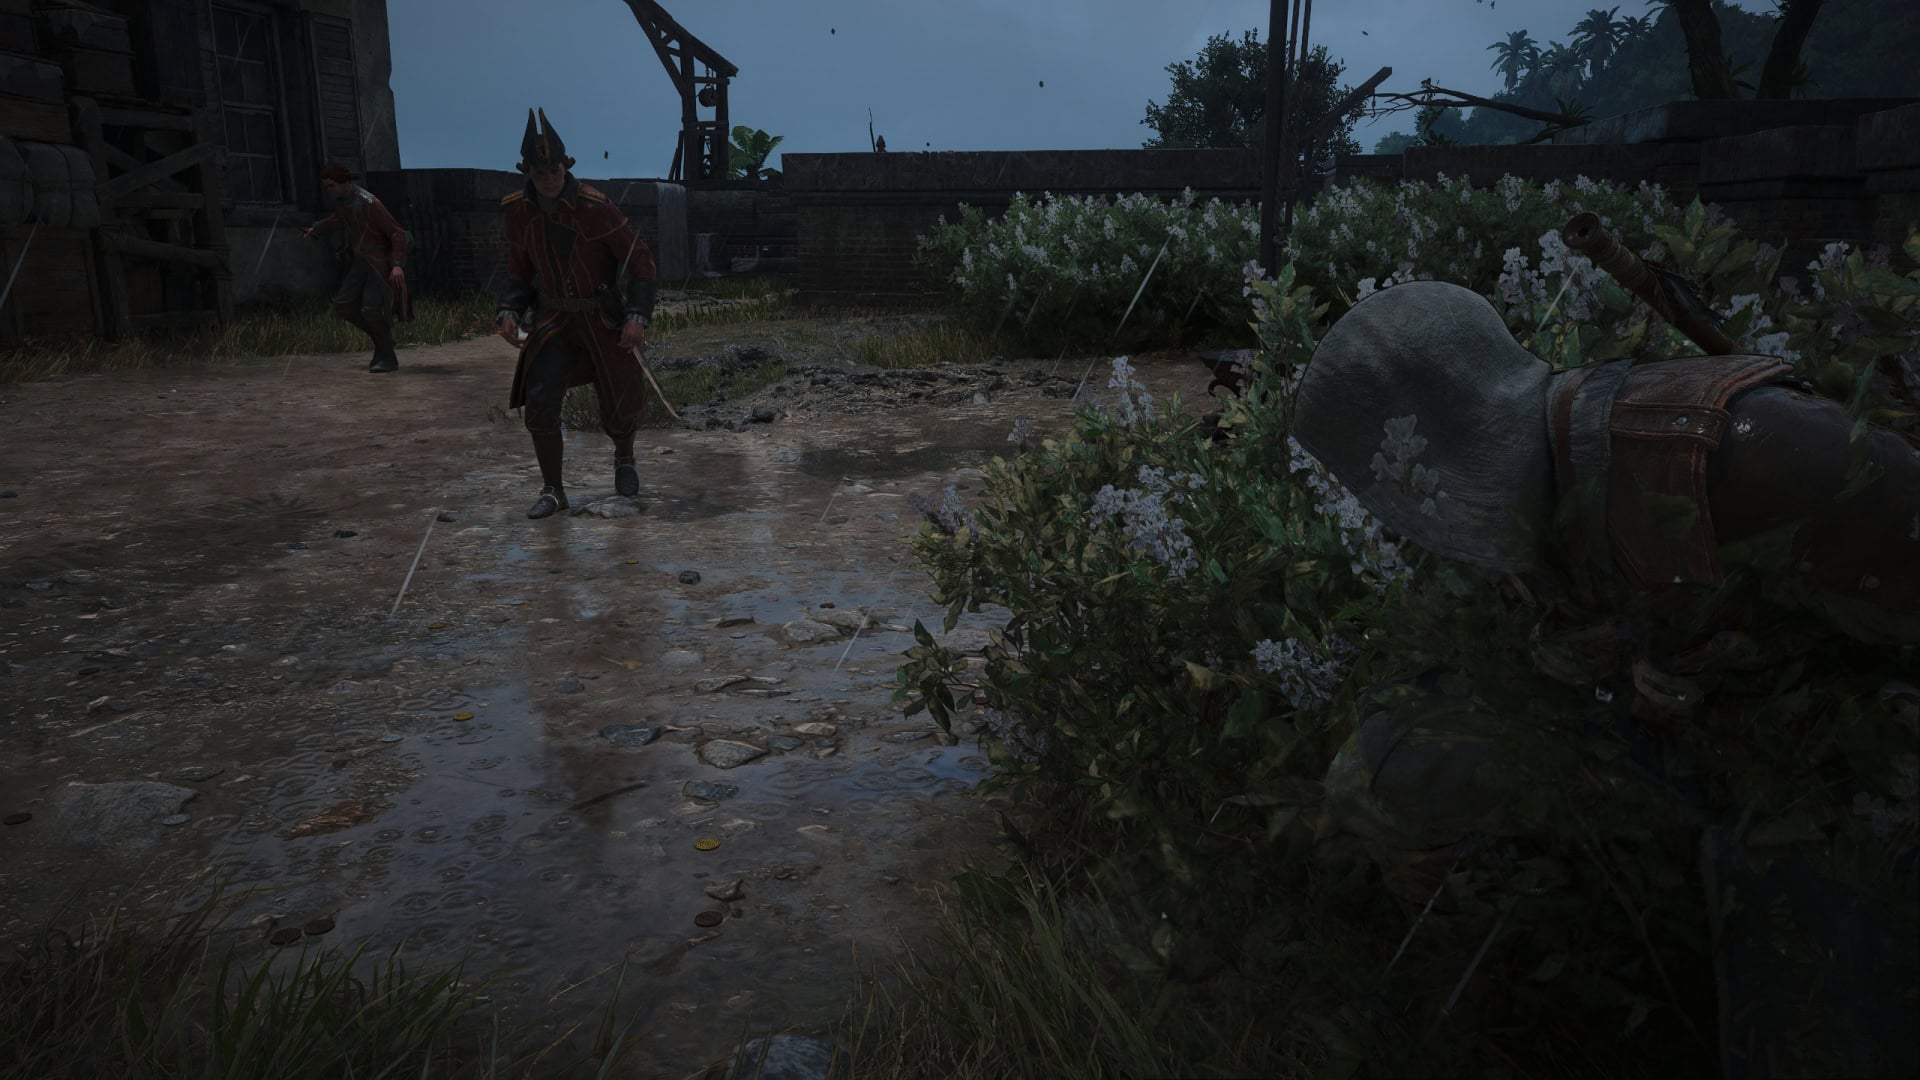
The Whistle ability is used to attract enemies to your location. This is best used if you’re hiding in a pile of hay, palm leaves, or in a bush. This allows you to assassinate them and hide their bodies in your cover.
Advance Time
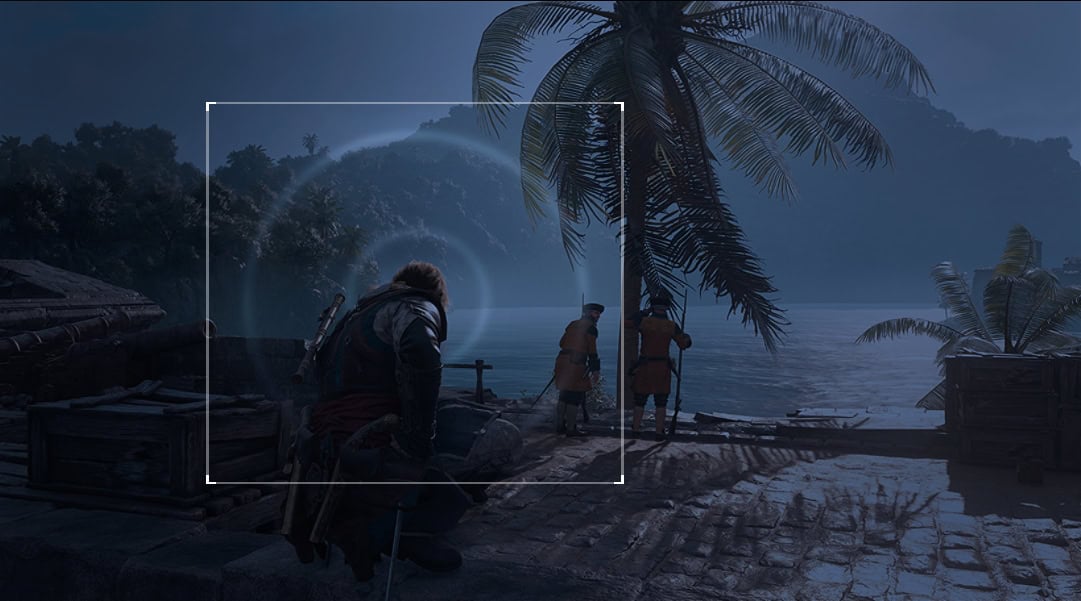
You can skip time to either the next morning or evening so long as you’re not in combat. You can only activate this while on solid land, making you unable to use this ability while on the Jackdaw or docks.
Smoke Bomb
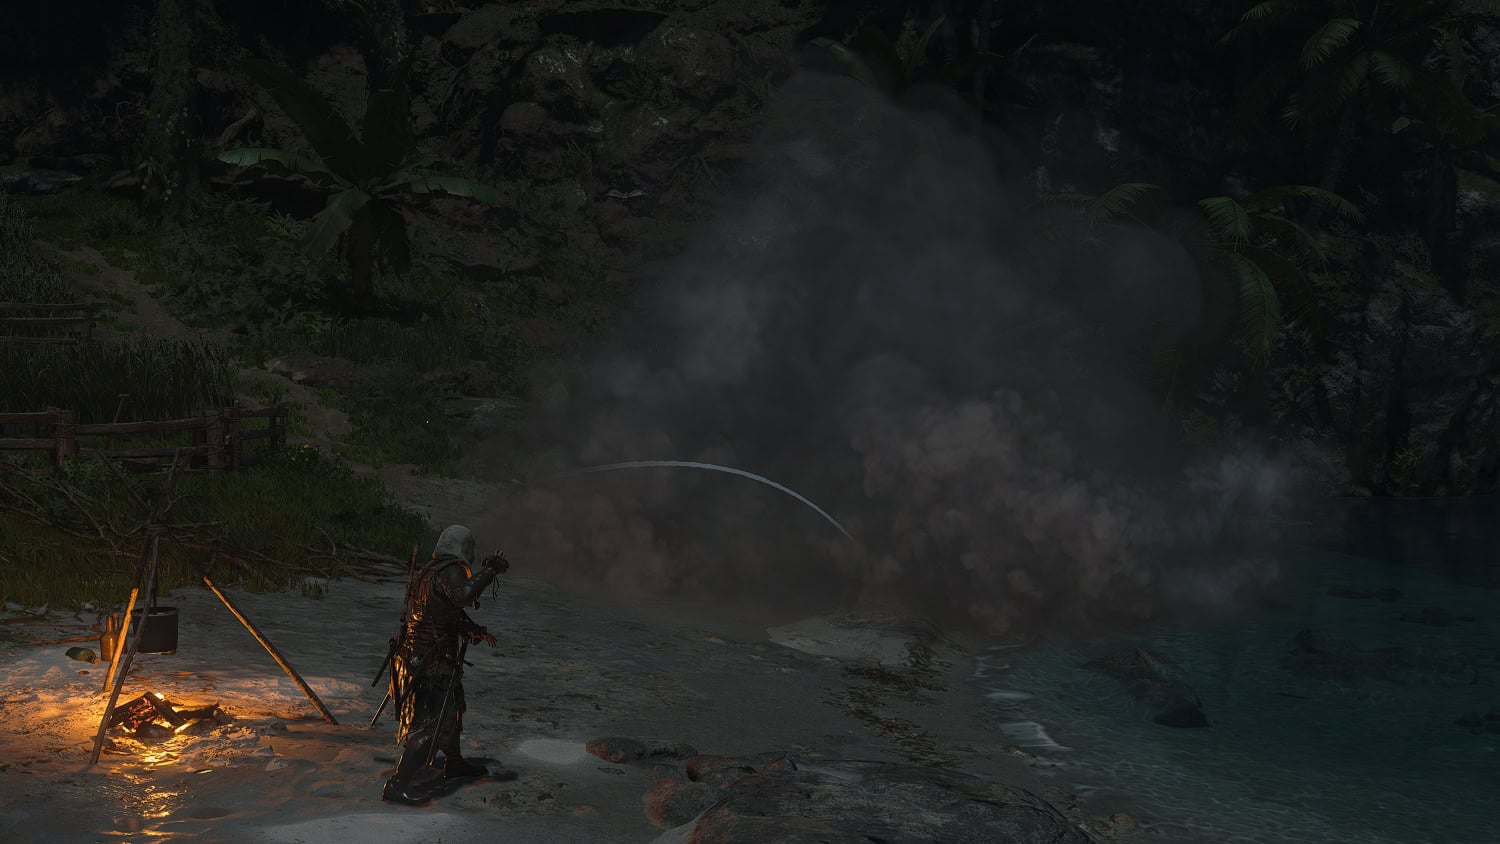
You’ll gain Smoke Bombs very early on in the story with the quest “…And My Sugar?“. These are used to obscure enemy vision in an area for a short time, allowing you to assassinate them from within the smoke or to get away.
You can choose to aim to throw these in an arc to hit a target area, or quick use them to use them right at your feet.
Throw Coins
Using this ability will remove 10 reales from your inventory. You can lure patrolling guards to a spot you’re hiding near, only to assassinate them as they draw close to pick up the coins.
Toggle Hood
This just toggles your hood assuming your current outfit has one. Despite toggling it on, Edward will just take it down for cutscenes or while swimming. This ability does nothing if you have no hood and served no real function outside of aesthetics.
Sheathe/Unsheathe Weapon
This is mostly for flavor, but unsheathing your weapons will make civilians nervous around you and walk away. Keeping your weapons unsheathed around soldiers can make them hostile if you keep them out for too long.
Kick
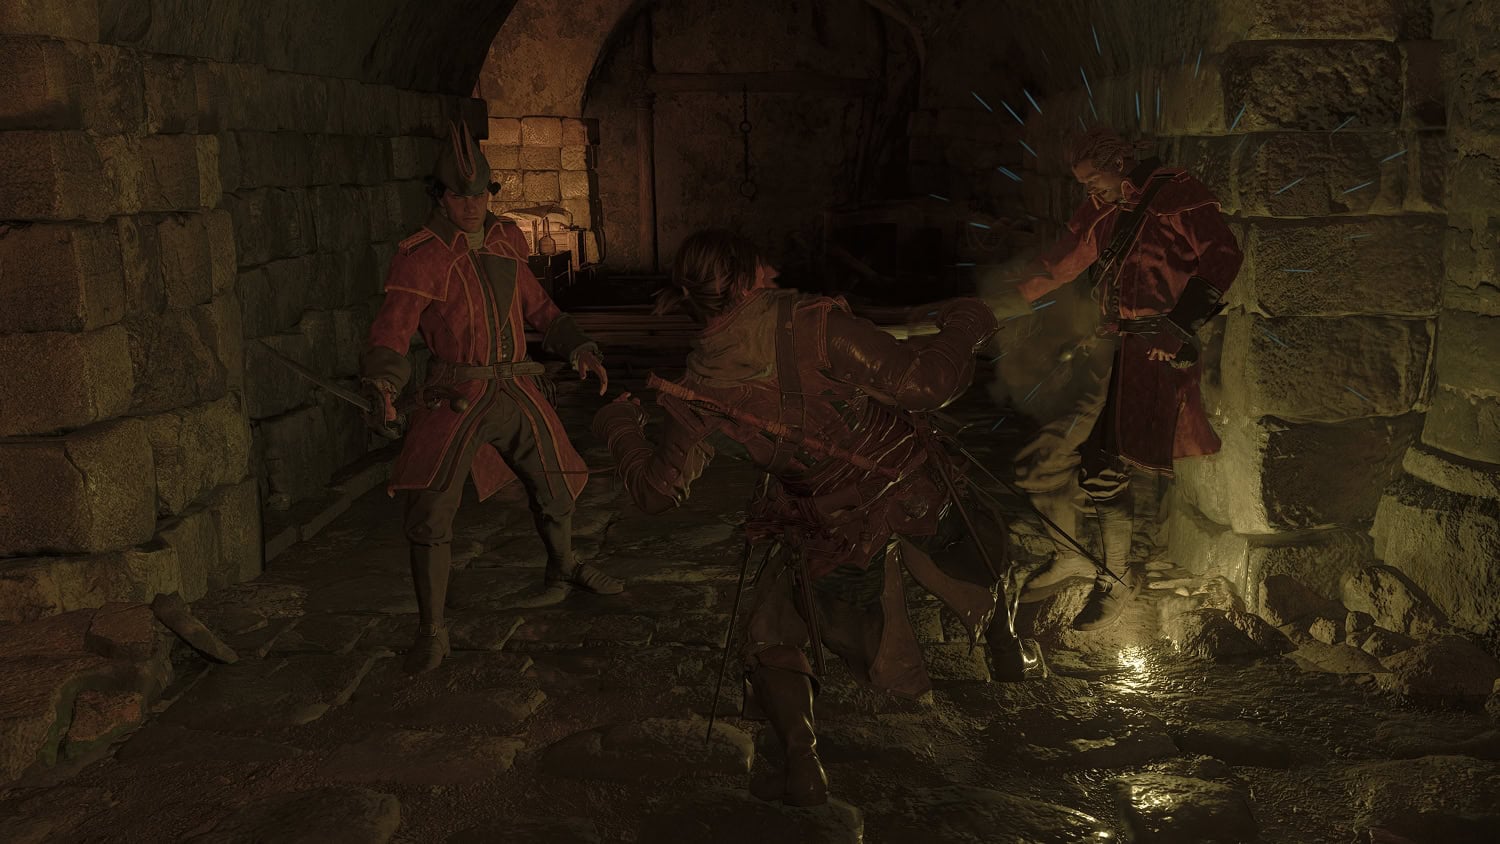
If you use your Kick on an enemy close to a wall, it’ll knock them into it and make them vulnerable to a Takedown. It’s best used if you’ve caught someone by surprise or after they’ve blocked an attack of yours.
Sweep
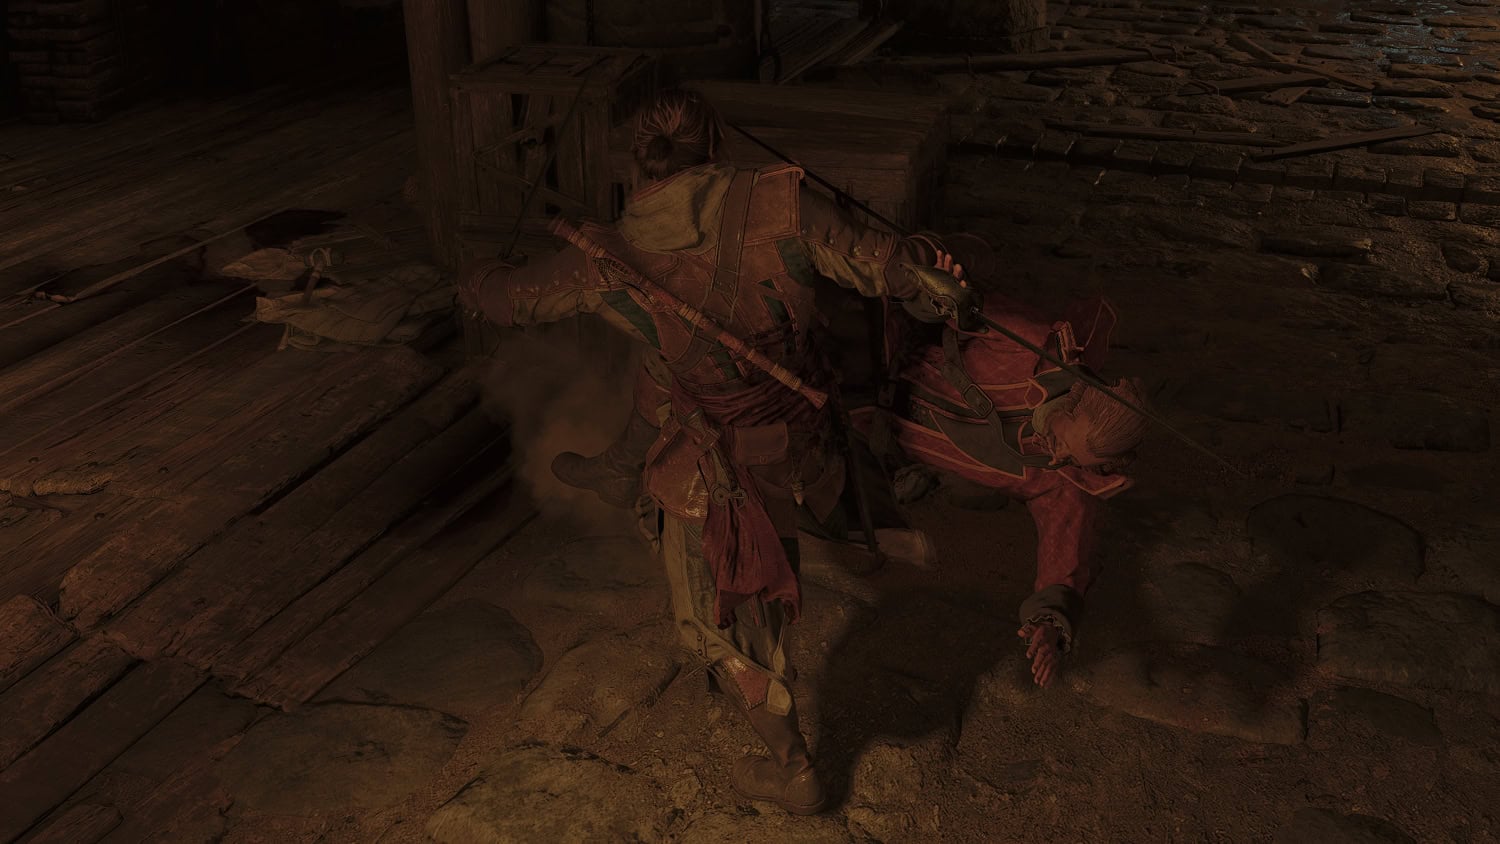
If you don’t have a wall available and you’re dealing with a blocking enemy, use the Sweep after they block an attack. This will knock them prone and leave them open to a ground takedown.
Pistol
You can manually aim your pistol to shoot select targets in the distance, typically riflemen or explosive barrels. Alternatively, use Quick Fire to shoot enemies in succession when in intense combat scenarios such as boarding ships.
Be sure to upgrade your Pistol Holster so you can Quick Fire up to four enemies in a row! It’s a very useful way to quickly clear out a ship when boarding it.
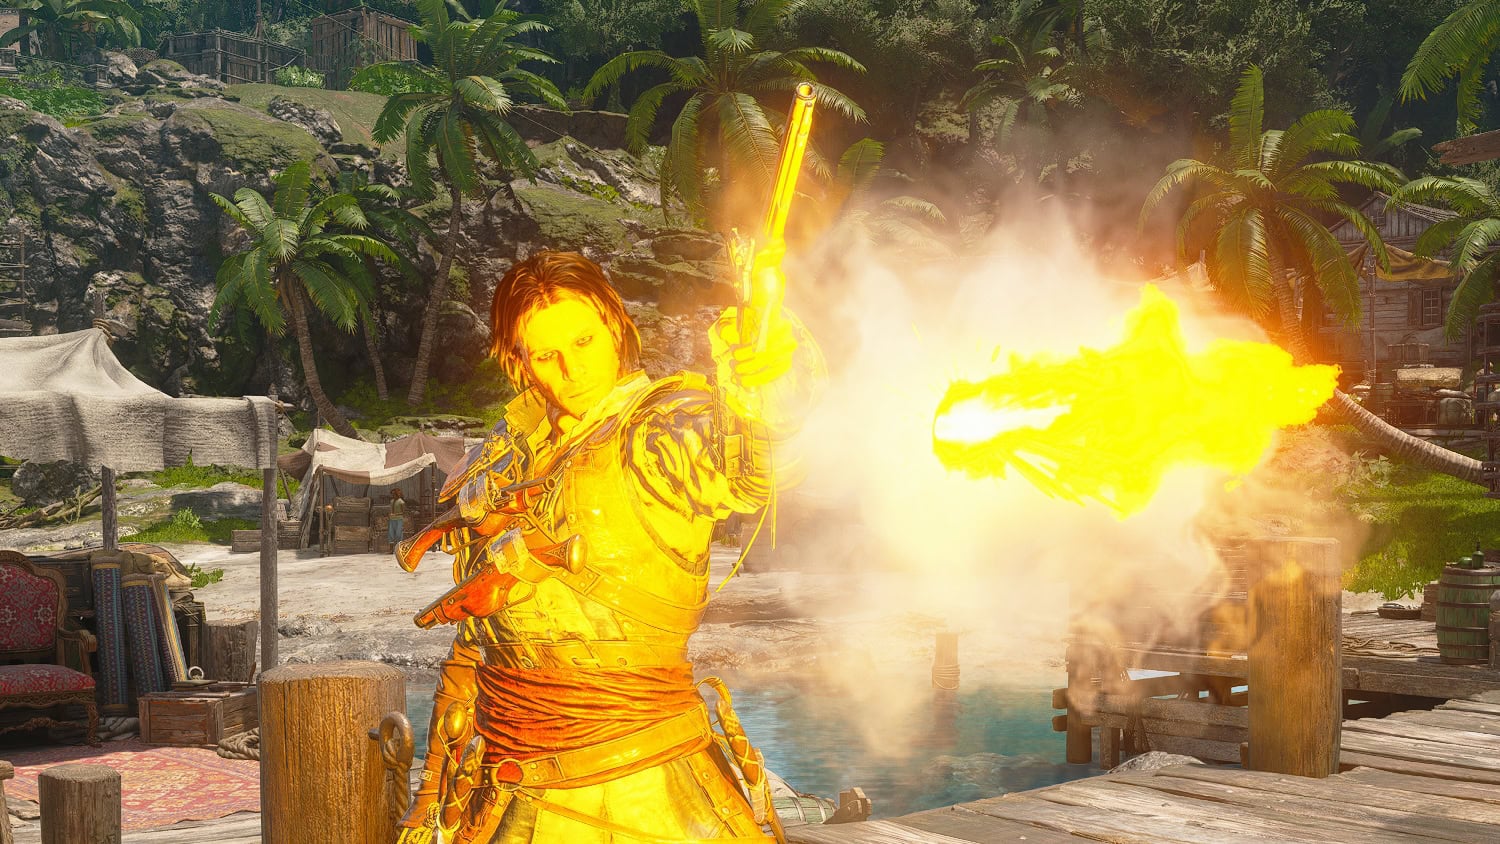
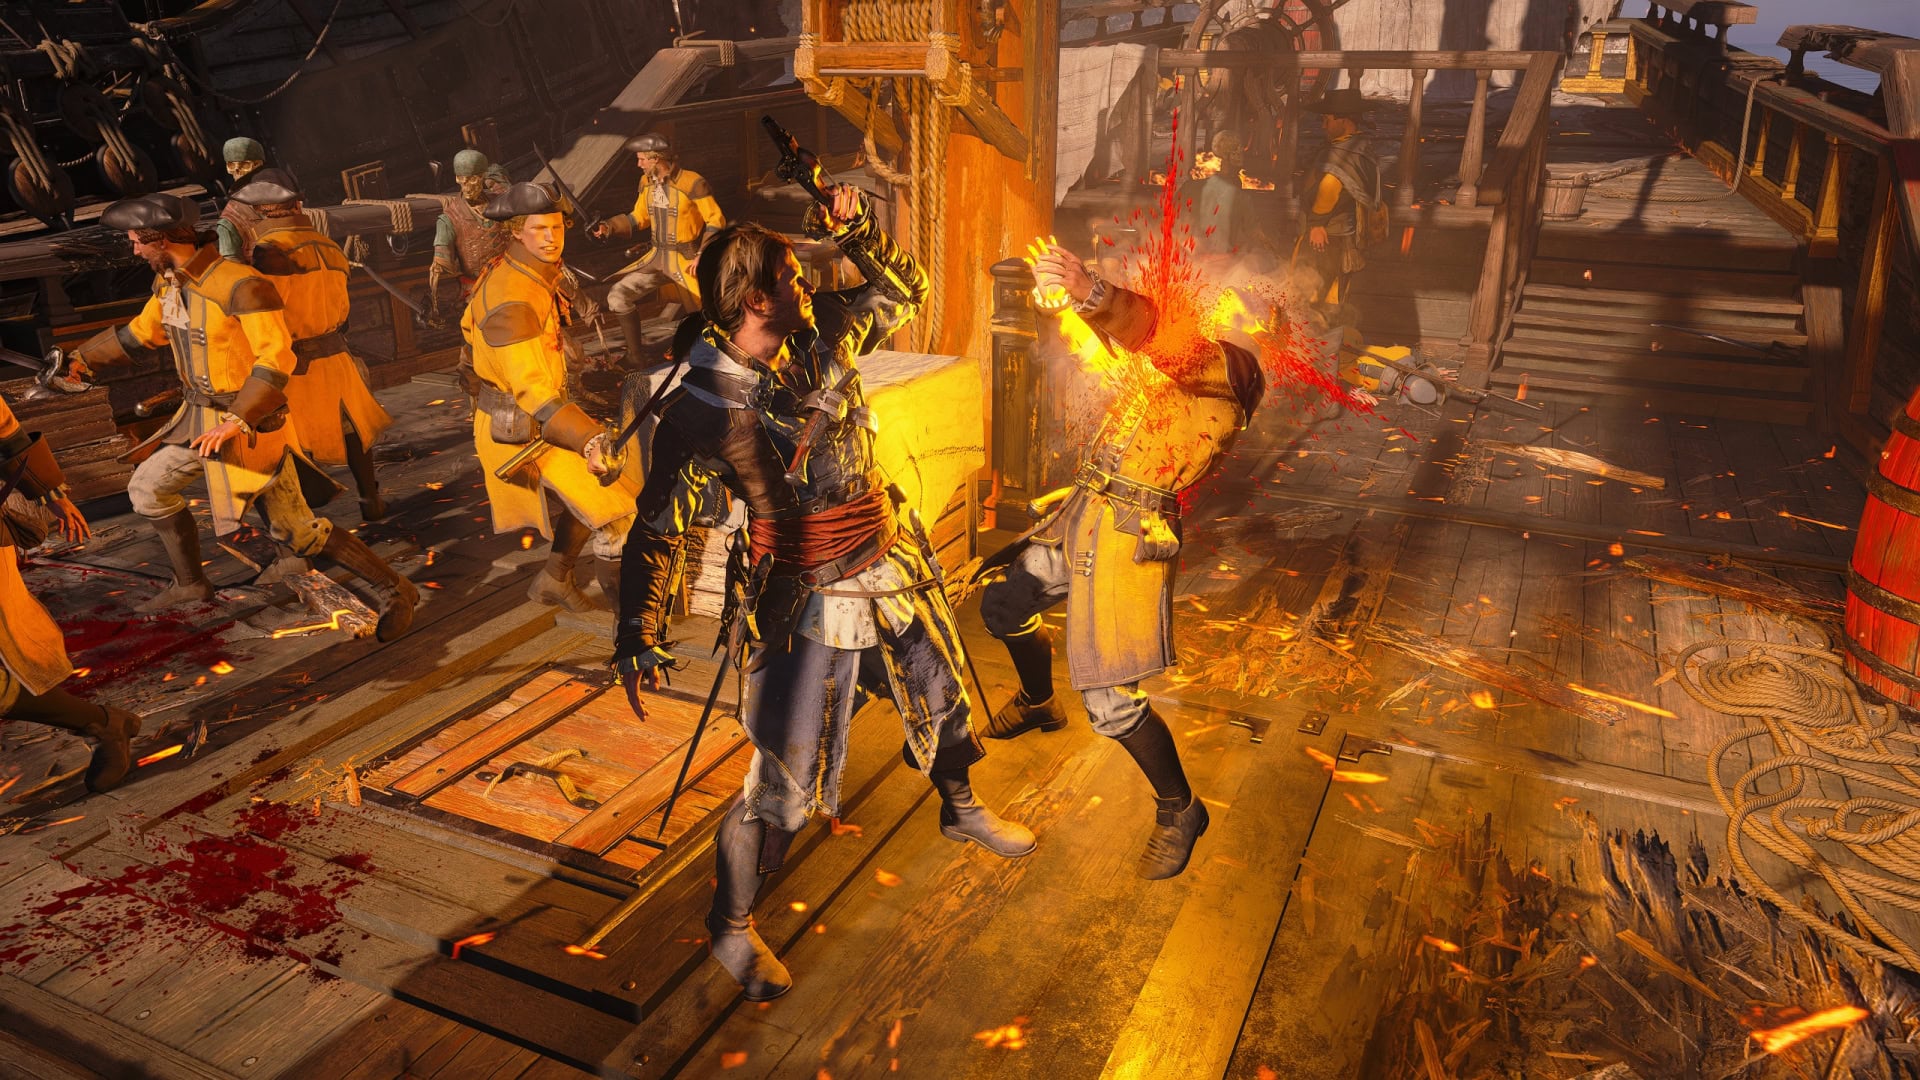
If you want to kill an opponent in a brutal manner, break their guard with basic weapon attacks. As soon as their guard is broken, use a quick shot with the pistol on them. There’s a good chance you’ll get a unique animation where Edward points the pistol at their throat before firing.
Rope Dart
You’ll unlock this tool during the story quest “Sugarcane and its Yields“. With this weapon, you can hang an unsuspecting enemy from above. More often than not, you’ll use it to pull an enemy to you mid combat to drop their guard and close the distance.
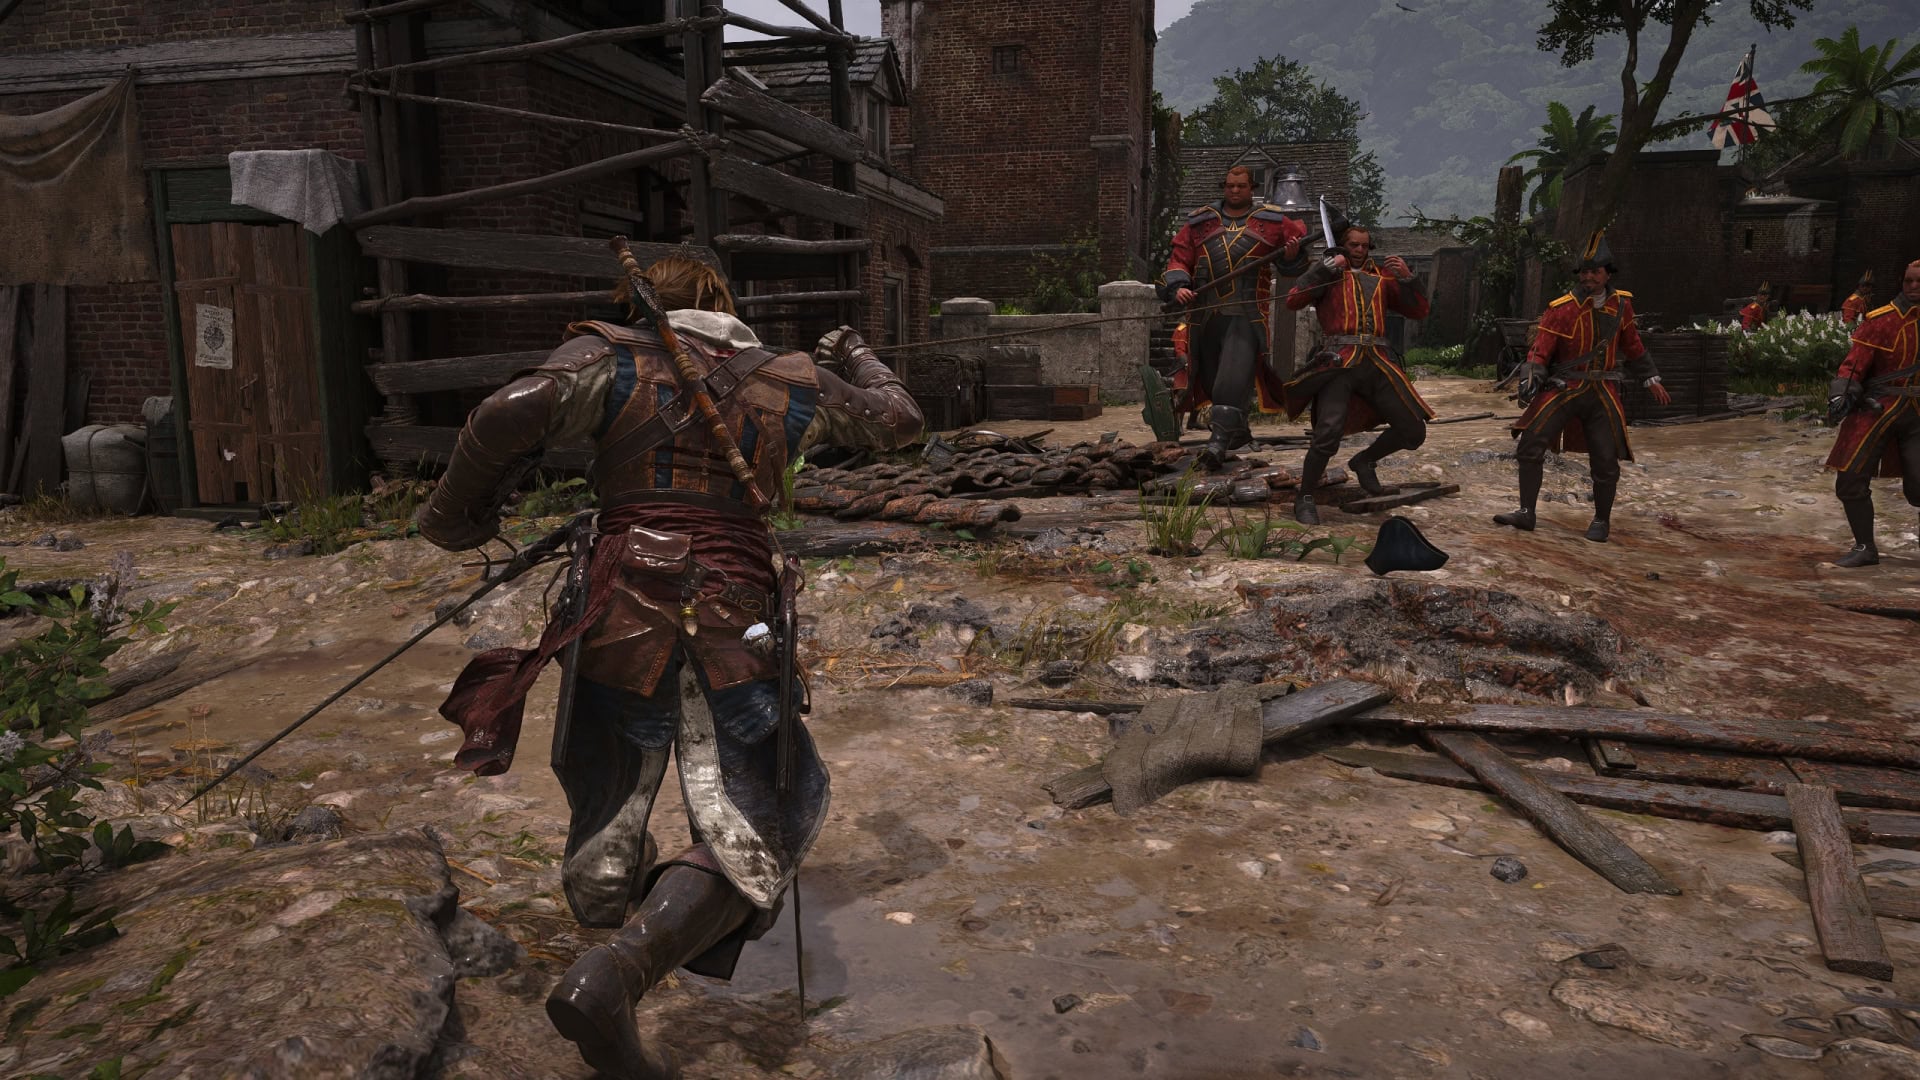
If an enemy is unaware of your presence, use the Rope Dart to draw them to your hiding spot and assassinate them before they can respond.
Blow Pipe
You’ll obtain the Blow Pipe during the story quest “Overrun and Outnumbered“. This will let you quietly shoot blow darts at enemies. You have two dart types available, Sleep Darts and Berserk Darts.
Sleep Darts will make a target fall asleep for a while. Use this to pass by an area without killing anyone, or to quietly clear out a path in the distance only to assassinate them on your way there.
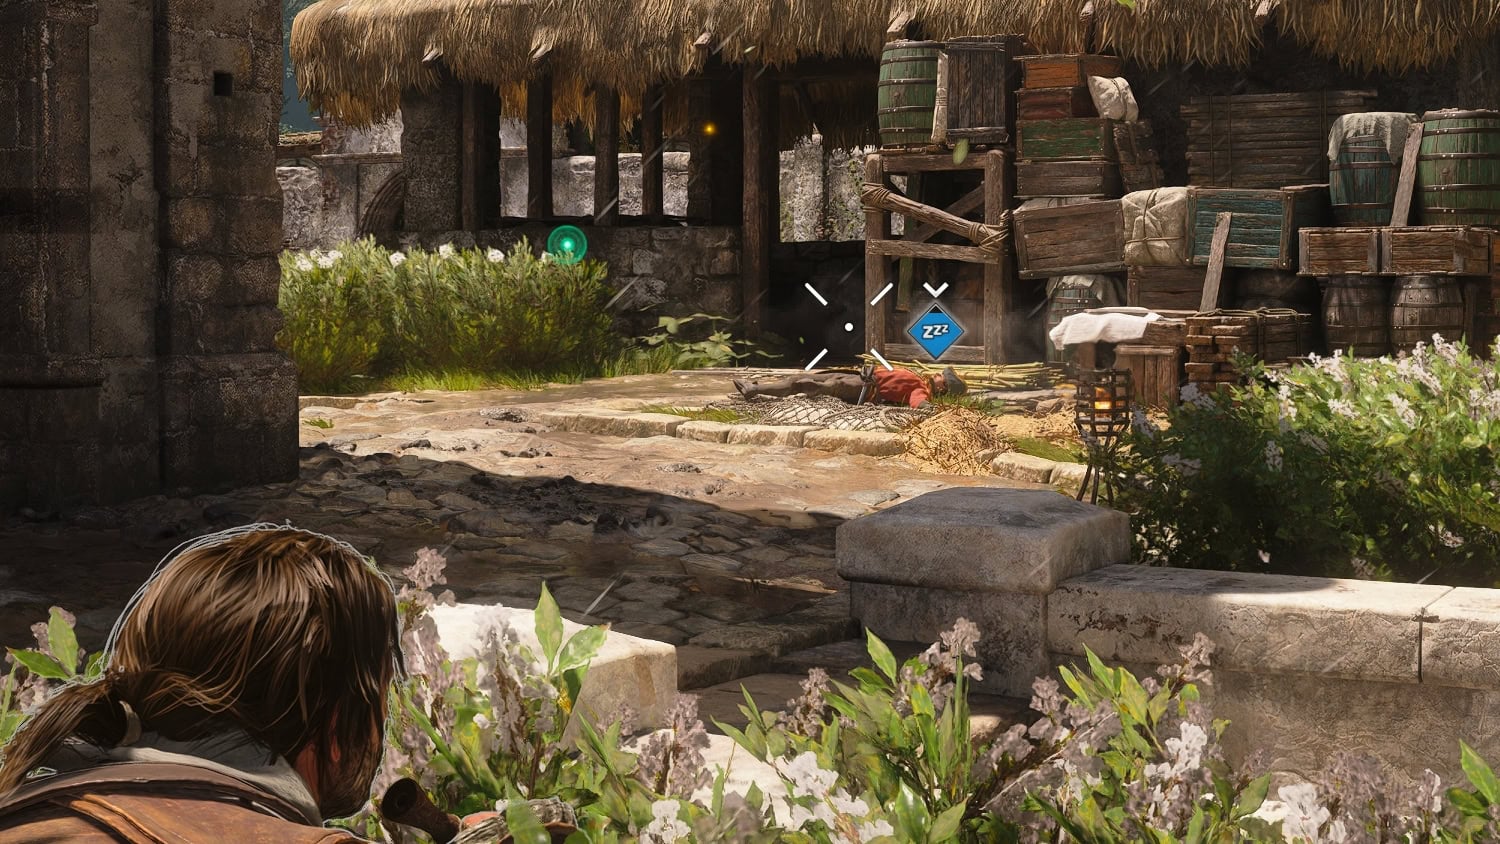
Berserk Darts will temporarily mess with the senses of targets, making them hostile towards anyone nearby. Use these to have enemies attack their allies to create a distraction or clear an area without alerting them to your presence.
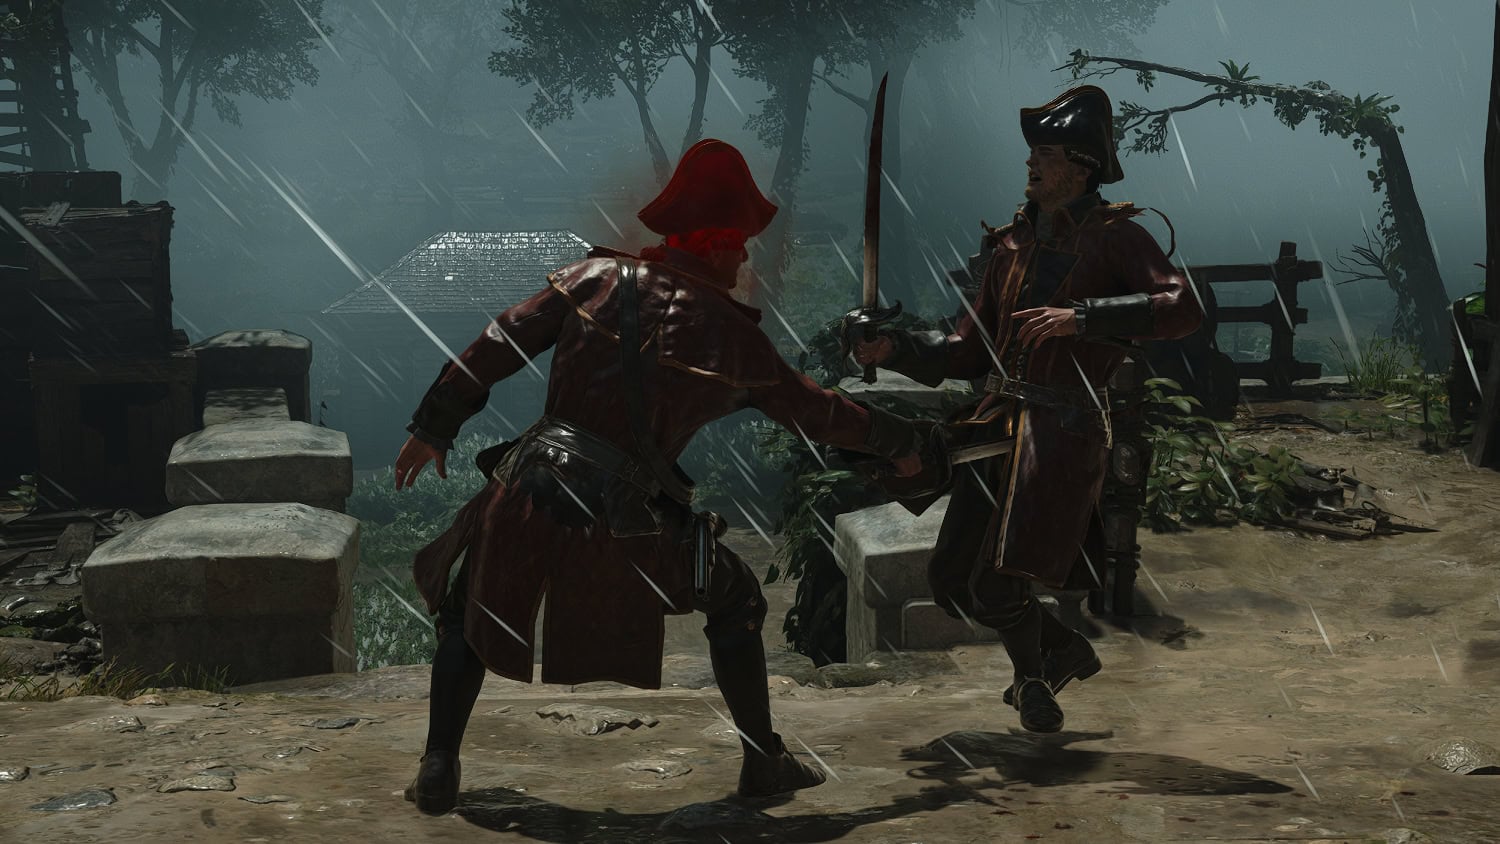
Patch 1.0.6 added a customization feature allowing you to hide the Blow Pipe from Edward’s back while you still get to keep it as a handy tool.
Eagle Vision
A staple ability for the franchise, Eagle Vision allows you to see enemies through walls and terrain, giving you the chance to mark them to know their location when Eagle Vision is deactivated.
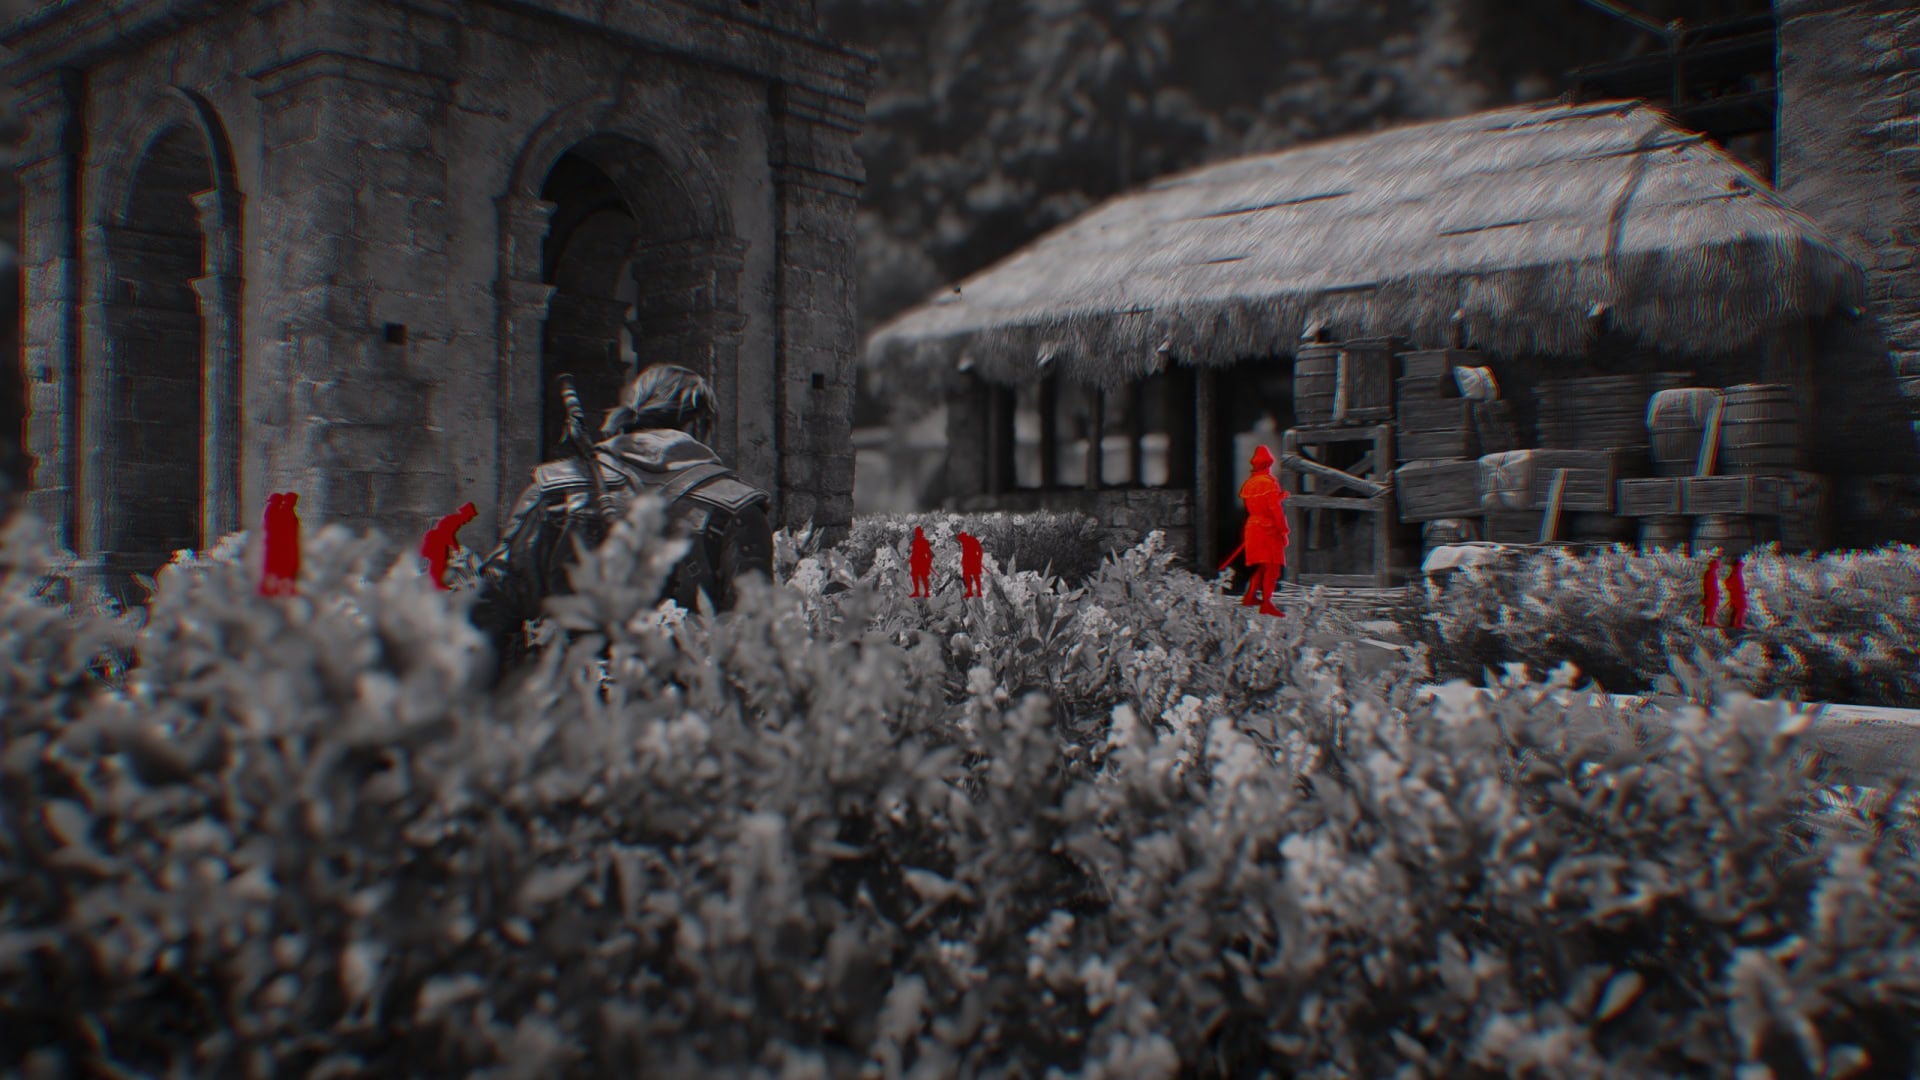
The distance at which you can see enemies isn’t terribly far, so you’ll need to use it every so often when you’re sneaking around an area to be aware of any enemies not previously in range.
Assassinate
Assassinating an enemy allows you to instantly kill an enemy unaware of your presence. You can perform a standard assassinate by being near an enemy, or you can use one of its variants.
If two enemies are close to one another, you can perform a Double Assassinate to take out both at the same time. If you’re running at someone, you can use a Running Assassinate when you reach them. If you’re above a target, you can perform an Air Assassination.
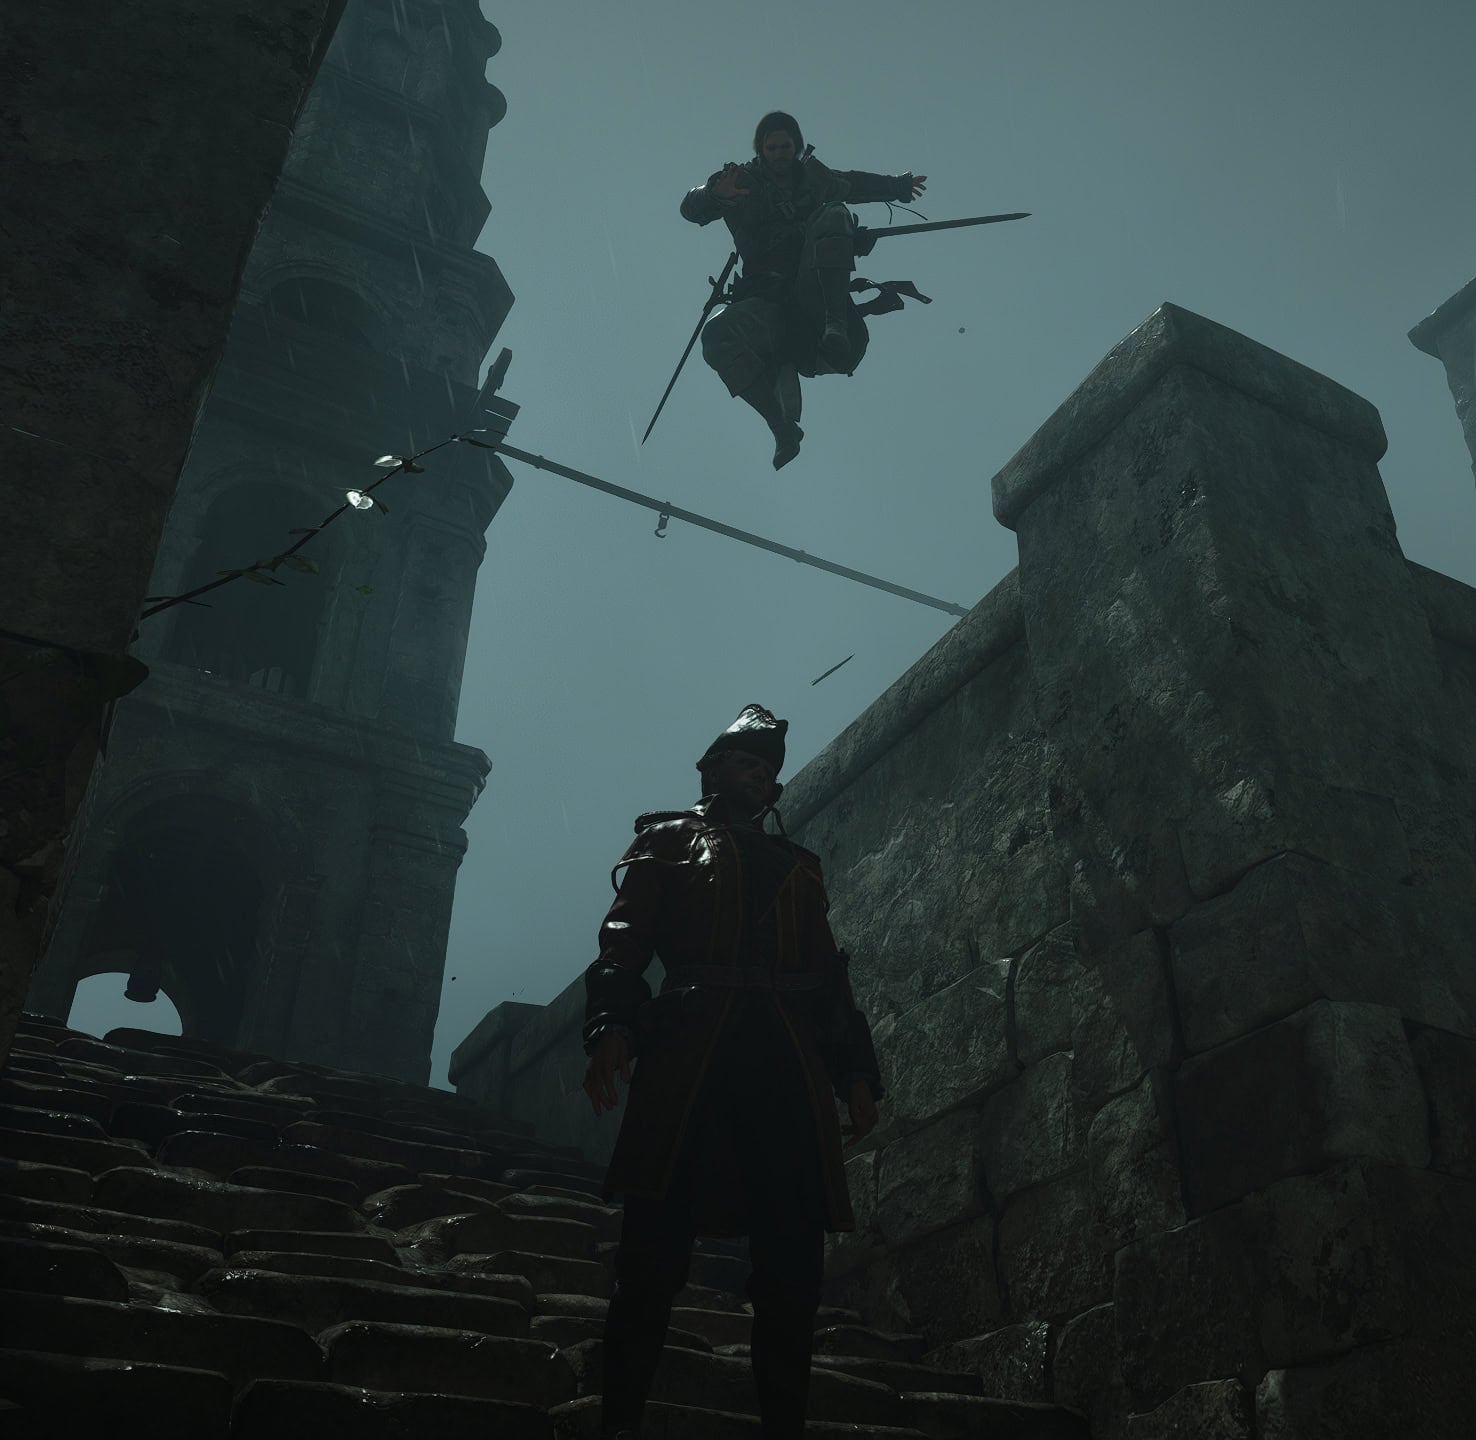
If the opportunity permits it, try assassinating targets from cover such as a bush or from a pile of hay/palm leaves. This will allow you to automatically hide the target in the foliage after performing an assassination.
Ship Weapons
You’ll have a wide variety of ship weapons at your disposal, each with their own purpose. Their damage varies depending on how much you upgrade them, so only their reload time and range will be listed here.
With so many options to choose from, it’s hard to choose which to acquire and upgrade first. You can’t go wrong with focusing on broadside cannons, but there are other good options available.
Chain Shot
The Chain Shot is a front cannon weapon for the ship. It doesn’t deal a lot of damage, but firing it at an enemy ship’s sails will slow them down. The Chain Shot has a reload time of 4 seconds and a range of 250 meters.
As you fire at an enemy ship’s sails with the Chain Shot, it’ll gain an anchor icon above it. This fills up with each Chain Shot until it’s full and grays out. When it’s gray, the ship will temporarily become immobile.
Double Shot
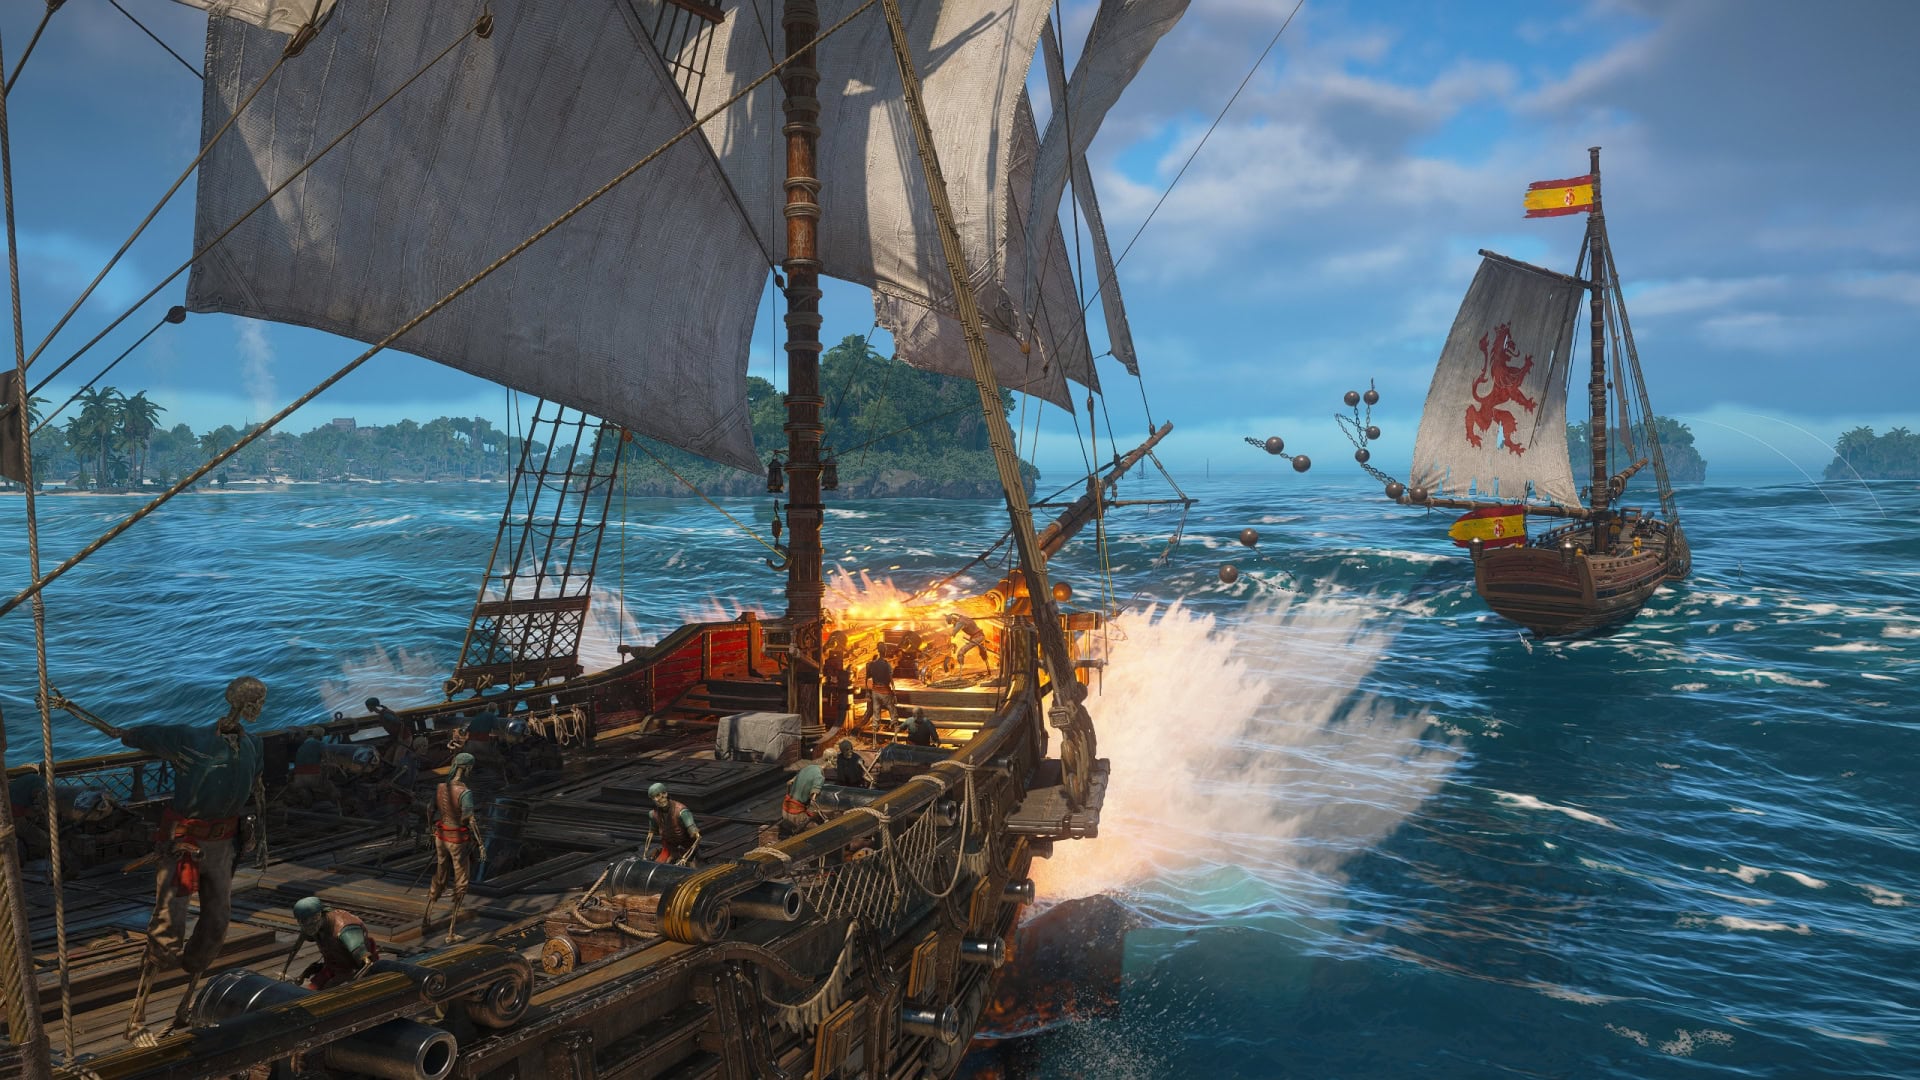
The Double Shot is a front cannon weapon you unlock by taking over Fort Dry Tortuga. This fires roundshots in a low arc, making it better for attacking hulls. It has a reload time of 10 seconds and a range of 300 meters. It is obtained after conquering Fort Dry Tortuga.
Round Shot
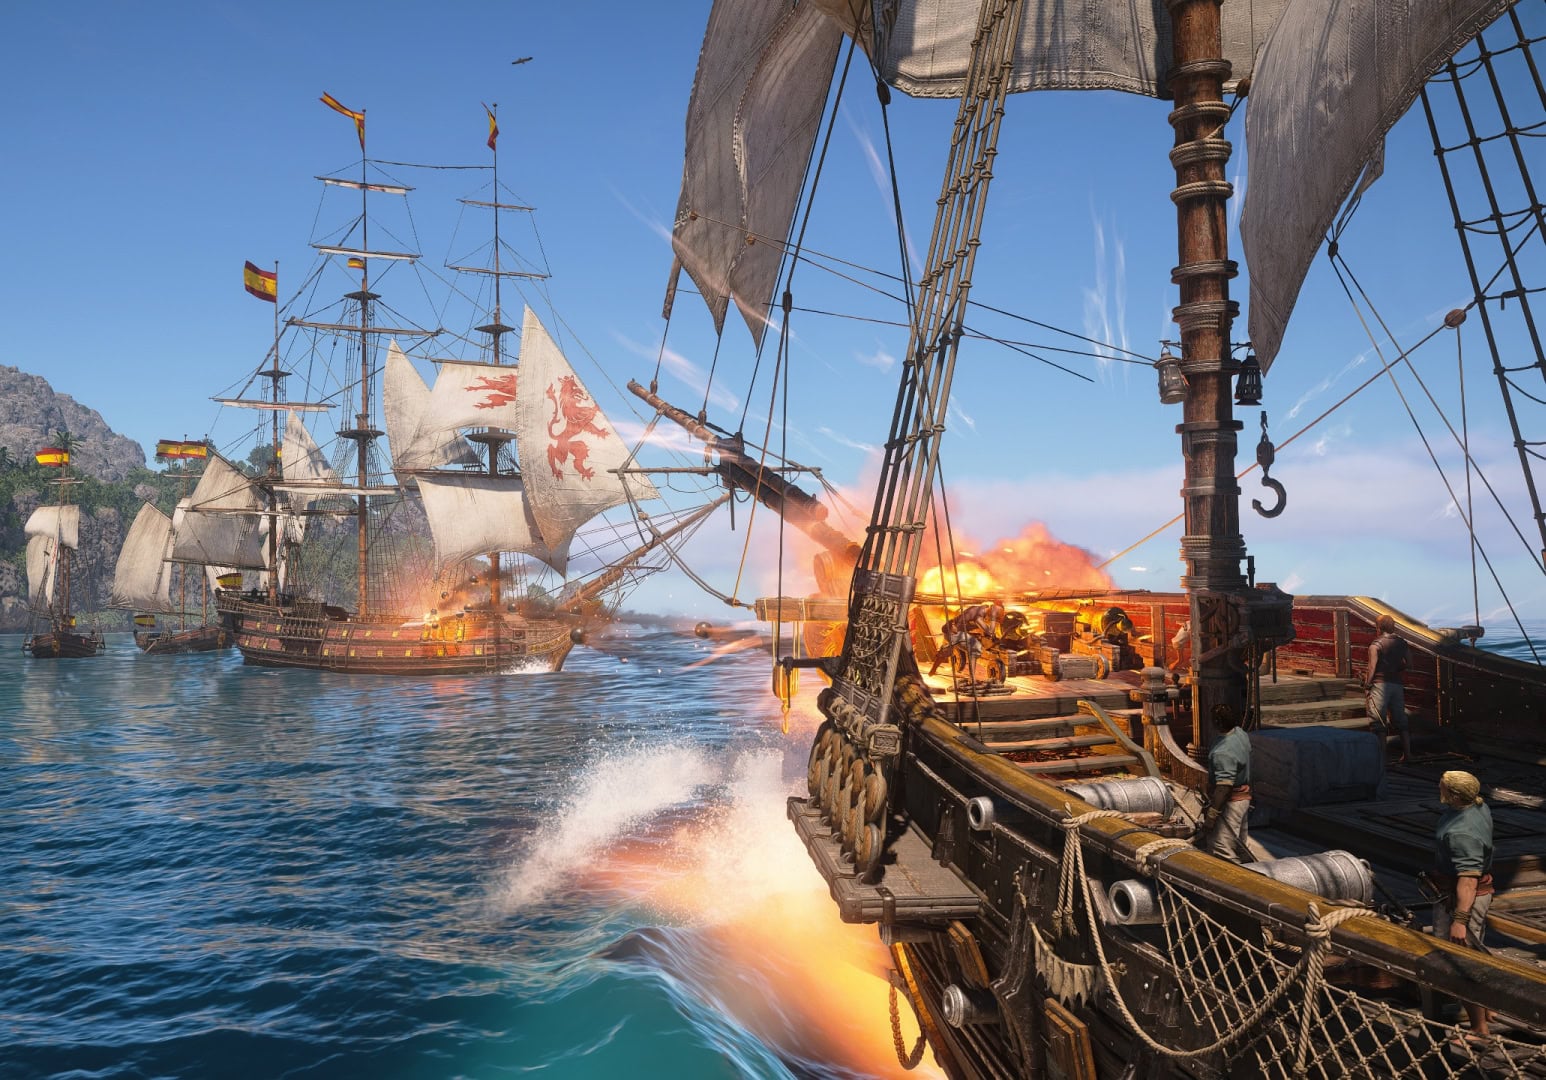
Round Shot is your basic cannon fire for your broadside cannons. It has a reload time of 4 seconds and a range of 270 meters.
Heated Shot
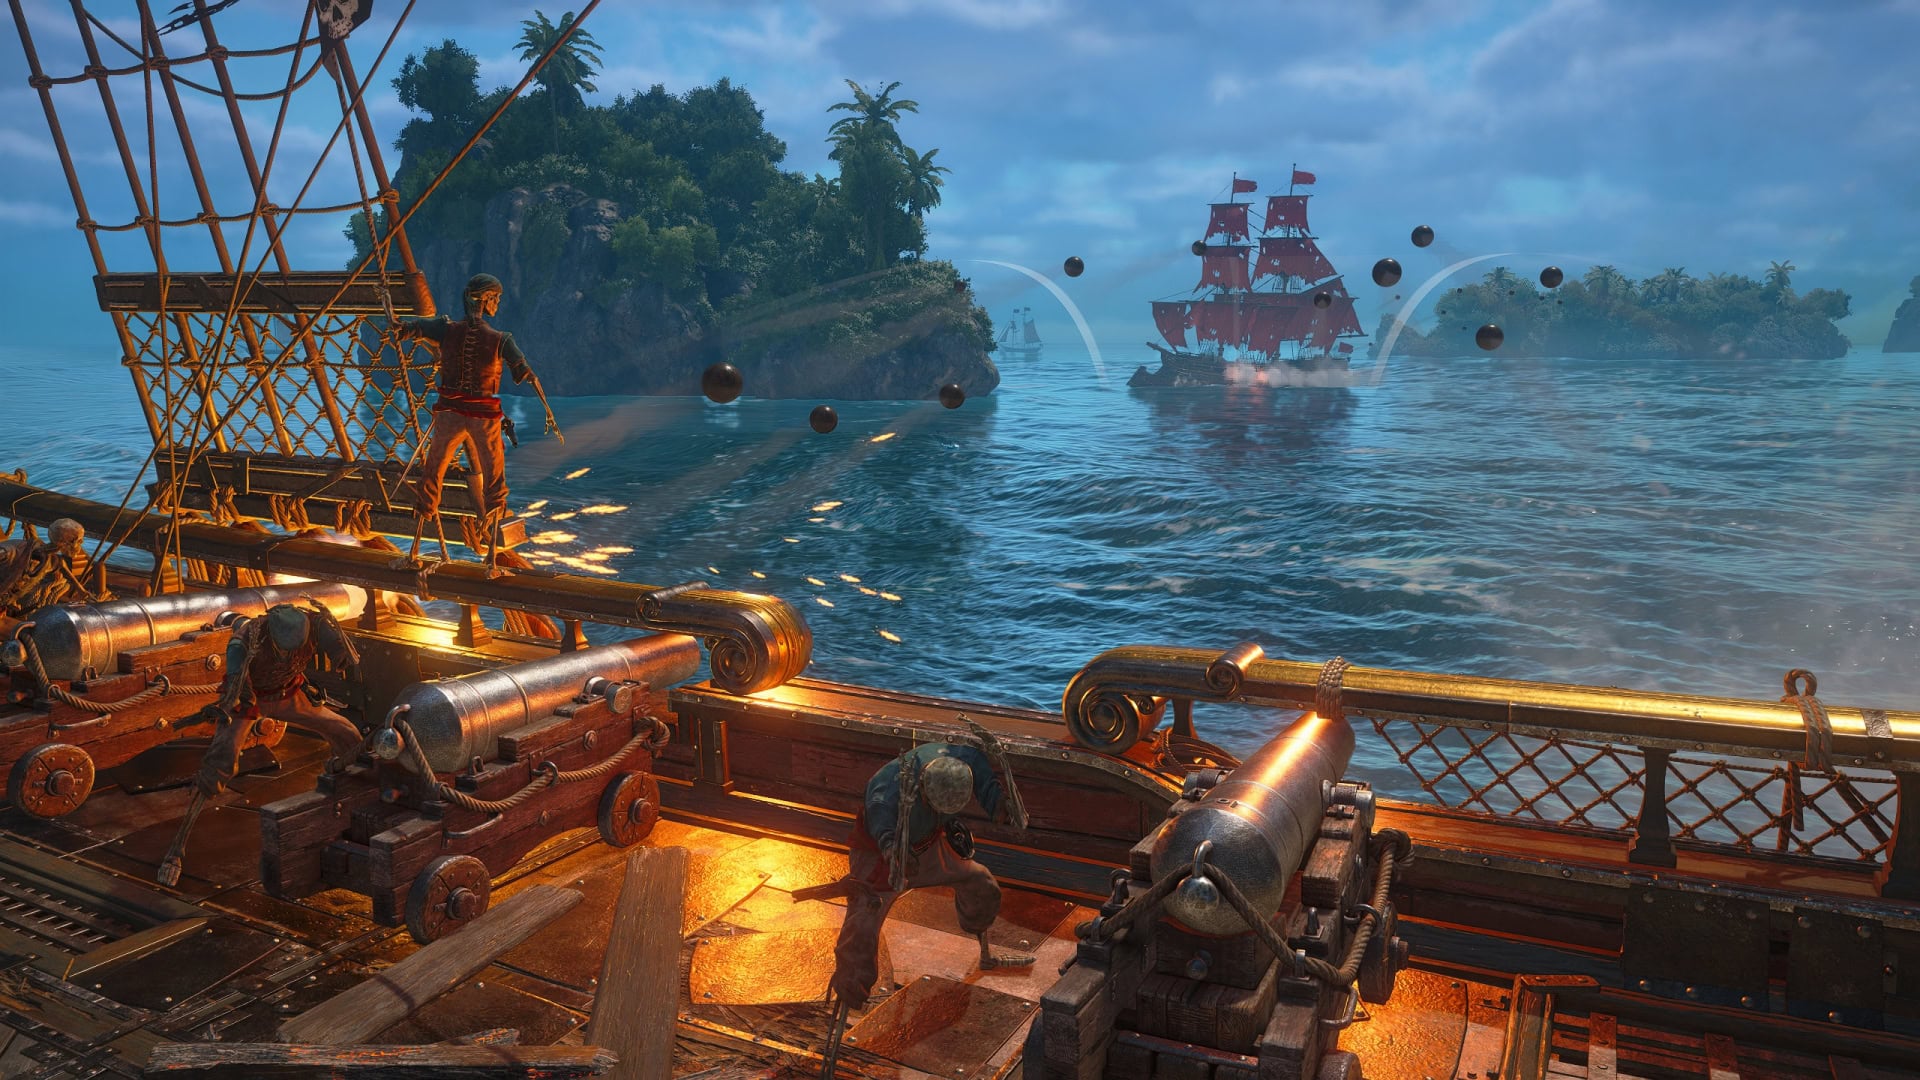
Unlocked during the “Proper Defenses” main story quest, the Heated Shot is a broadside weapon that fires multiple volleys of flaming cannonballs at a target. It’s better for damage than the round shot, but it comes at a reduced range.
Using the Heated Shot also opens up a lot of weak spots for your Swivel Gun to shoot at. It has a reload time of 4 seconds and a range of 175 meters.
Heavy Shot
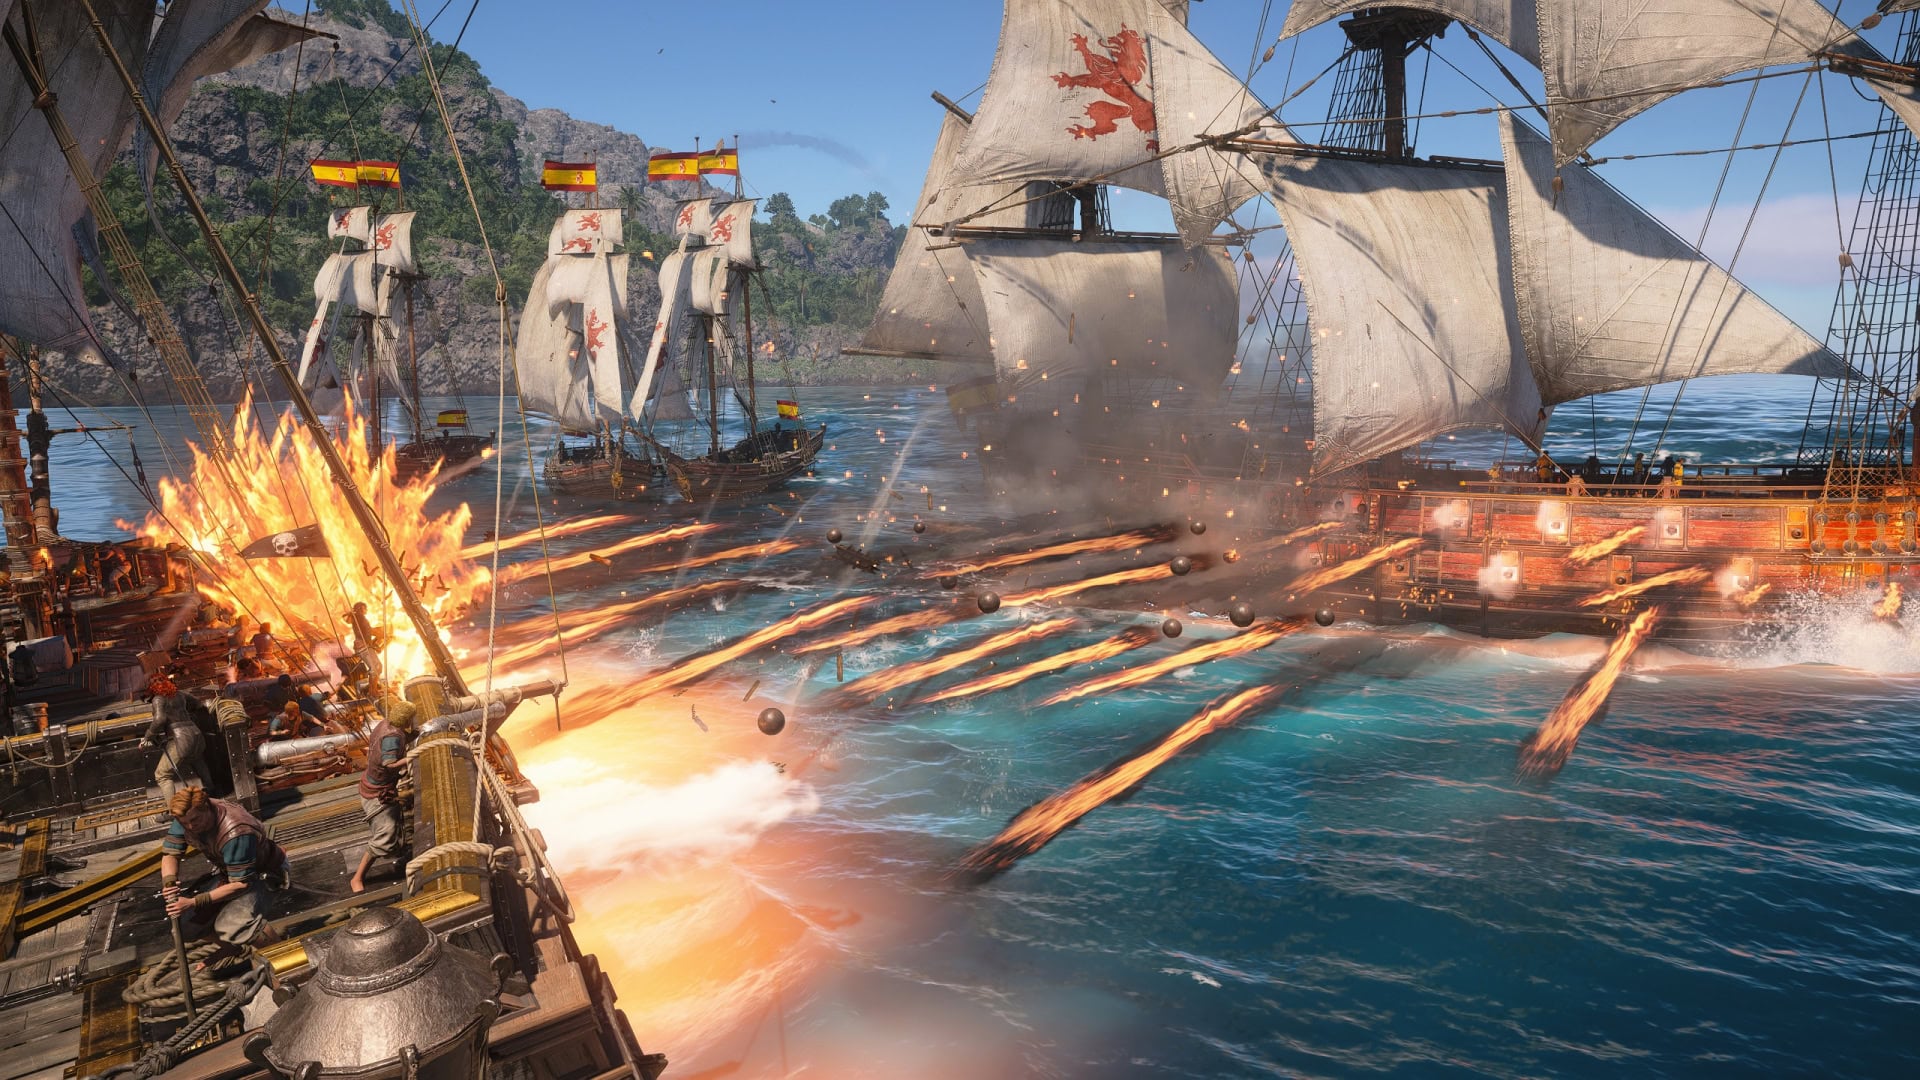
The Heavy Shot is a broadside weapon you can purchase. This is essentially the “shotgun” for the ship as it’s a blindfire weapon that deals damage to enemies in close range.
You cannot aim the heavy shot, but it’s great to use when you’re in a bind. It has a reload time of 4 seconds and a range of 80 meters.
Flame Barrel
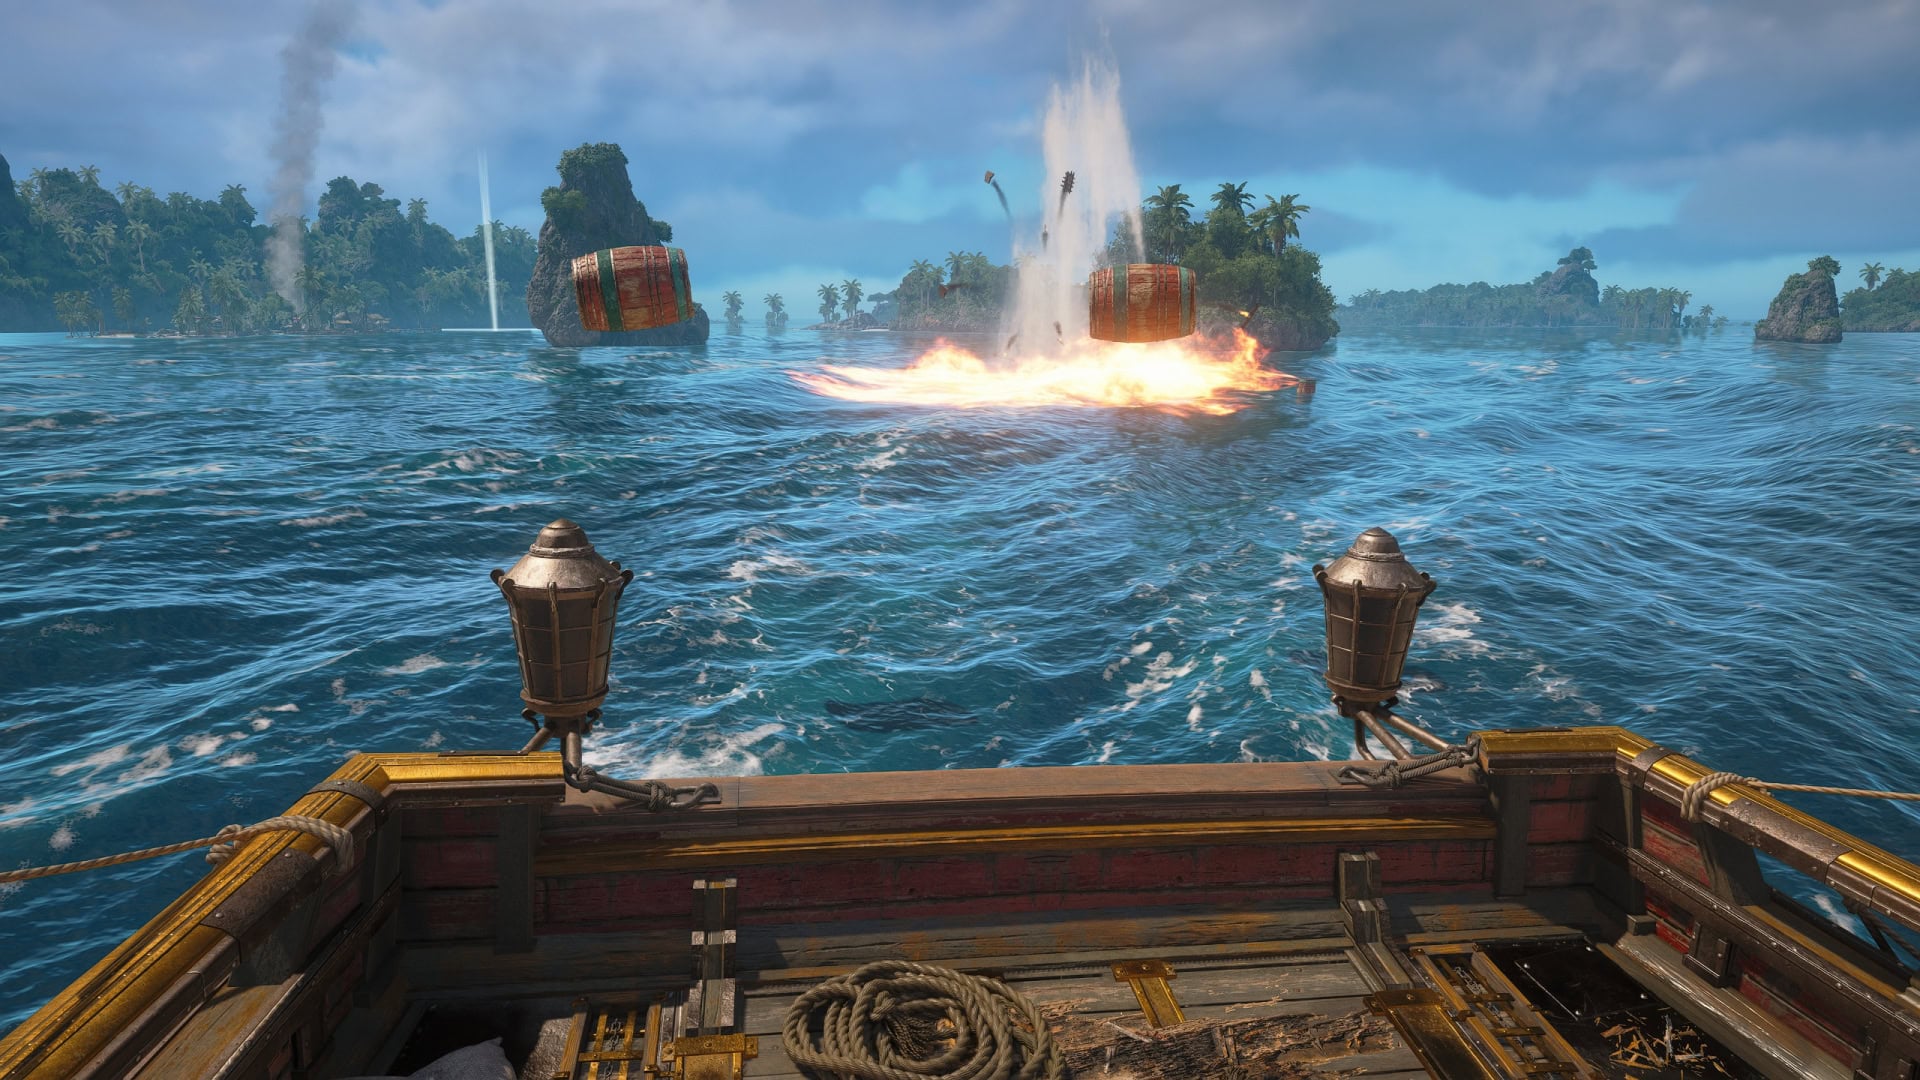
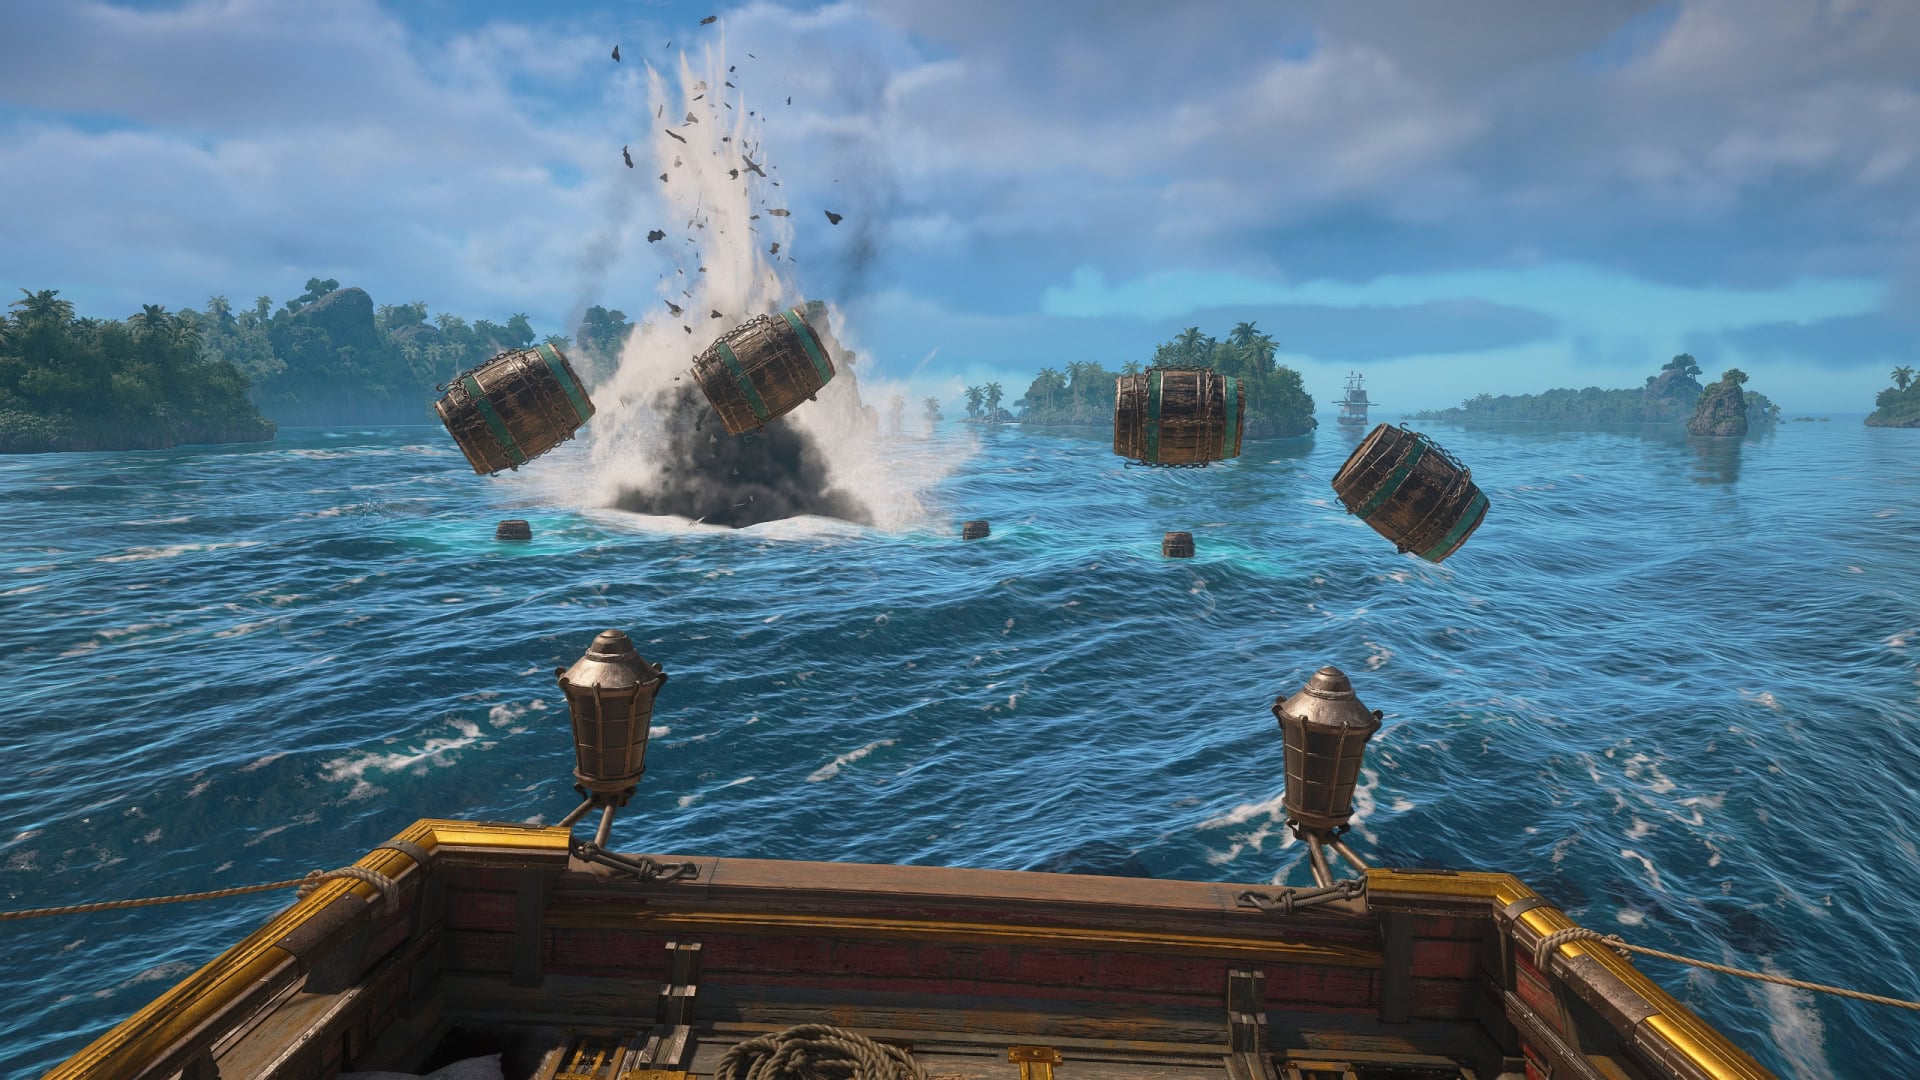
Flame Barrels are one of two rear weapons for your ship. You’ll launch two explosive barrels with it, triggering when a boat gets too close or when you shoot it with your Swivel Gun.
Shooting these barrels with your Swivel Gun will let the barrels deal extra damage. These have a reload time of 4 seconds and an area effect of 6.5 meters.
Shrapnel Barrel
You can unlock Shrapnel Barrels by taking over Fort Charlotte. While they deal less damage than the Fire Barrels, the Shrapnel Barrels launch four projectiles instead of two.
Shrapnel Barrels also deal more damage when detonated by the Swivel Gun. These have a reload time of 8 seconds and an area effect of 6.5 meters.
Mortar
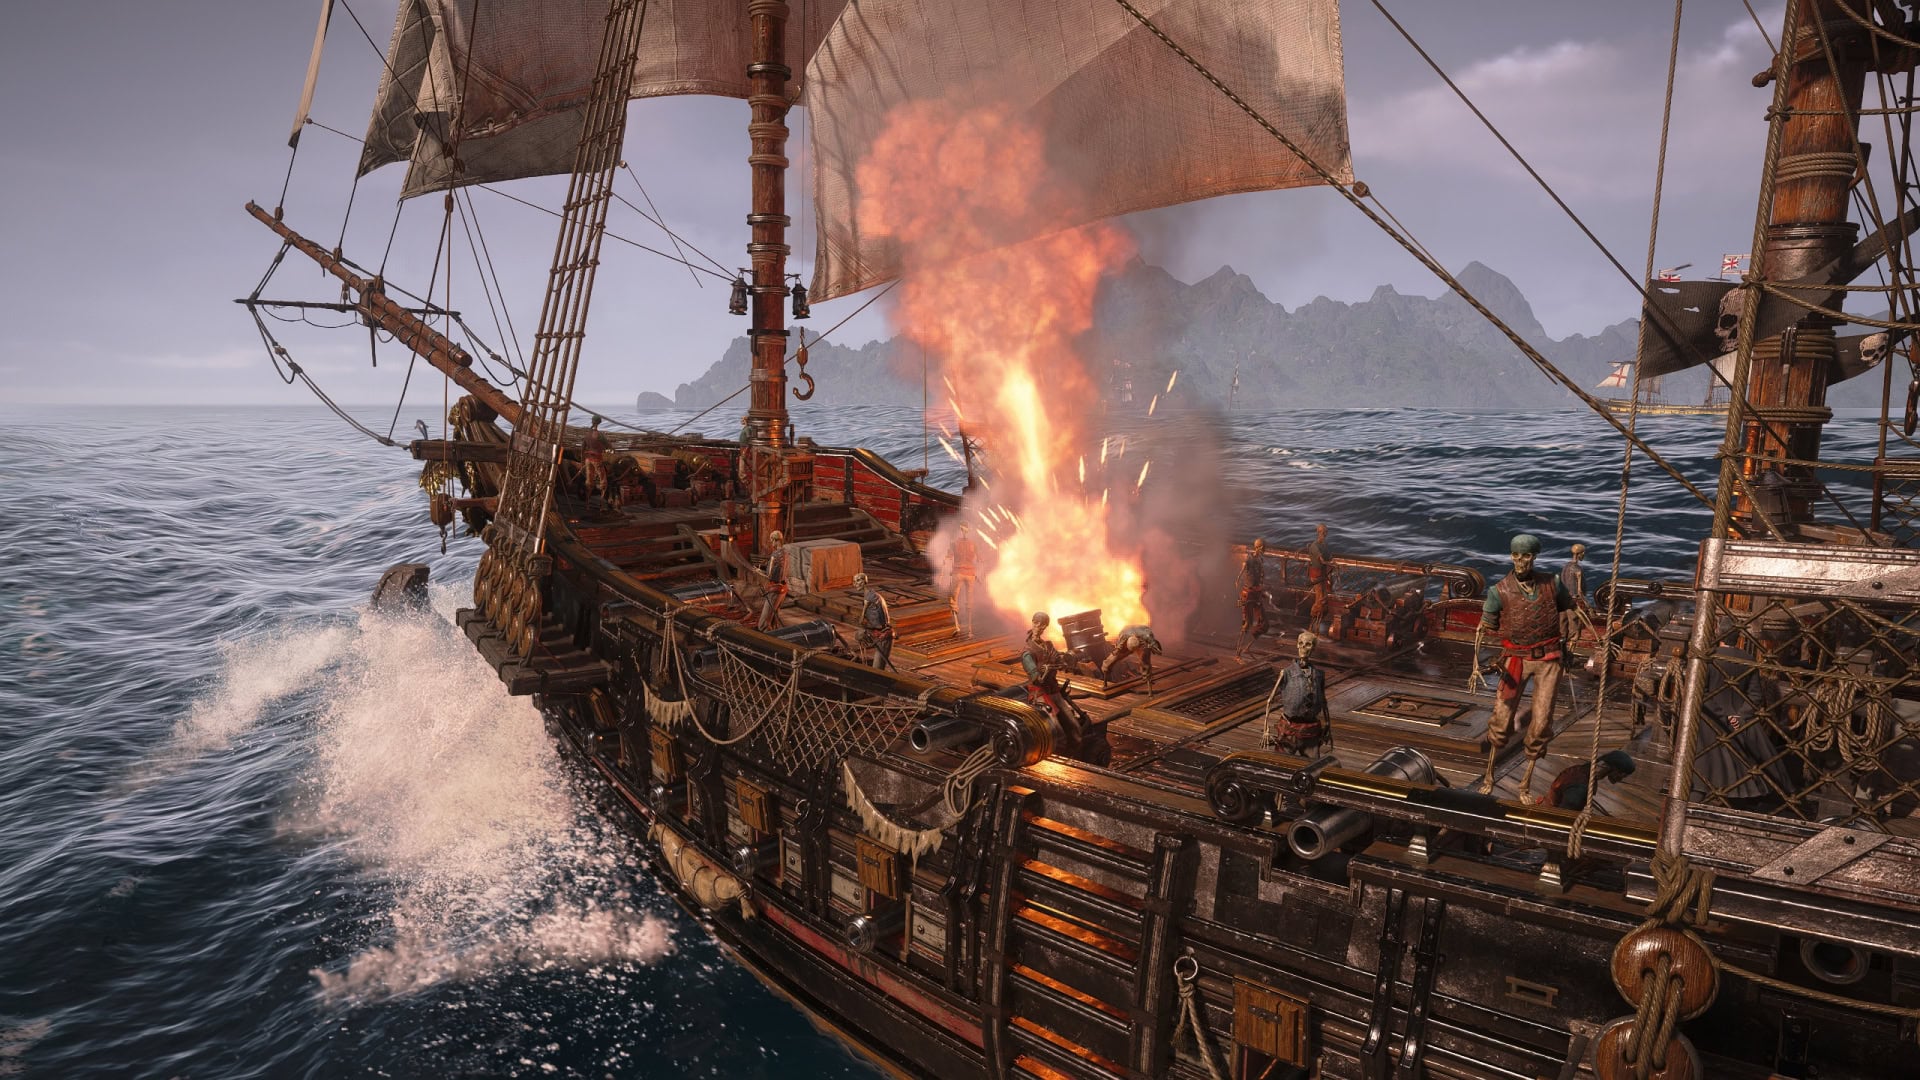
The Mortar is a long range weapon you can purchase from a Harbourmaster. It’s a great weapon to clear out schooners escorting a convoy, or to hit stationary targets such as the defenses of a fort.
It has a reload time of 6 seconds, an area effect range of 20 meters, and a minimum range of 125 meters with a maximum range of 500 meters. The mortars fired have a travel time of 4 seconds before they hit their target area, so you must account for any movement if you’re targeting ships.

Deadman’s Cohort Mortar
The Deadman’s Cohort Mortar is a weapon you can unlock after completing the “A World Without Gold” story arc. To unlock this arc, you’ll need to complete the story quest “…Everything is Permitted” and start the quest “That Bastard Maynard” on Great Inagua.
This mortar fires multiple smaller shots much more projectiles than the standard mortar and can create a trail of shots, making it better for hitting moving targets. It has a reload time of 12 seconds, an area effect range of 15 meters, and a minimum range of 125 meters with a maximum range of 500 meters
Ship Abilities
Lastly, you have several ship abilities you can use. Two of these abilities you’ll need to unlock by recruiting officers for the Jackdaw.
Spyglass
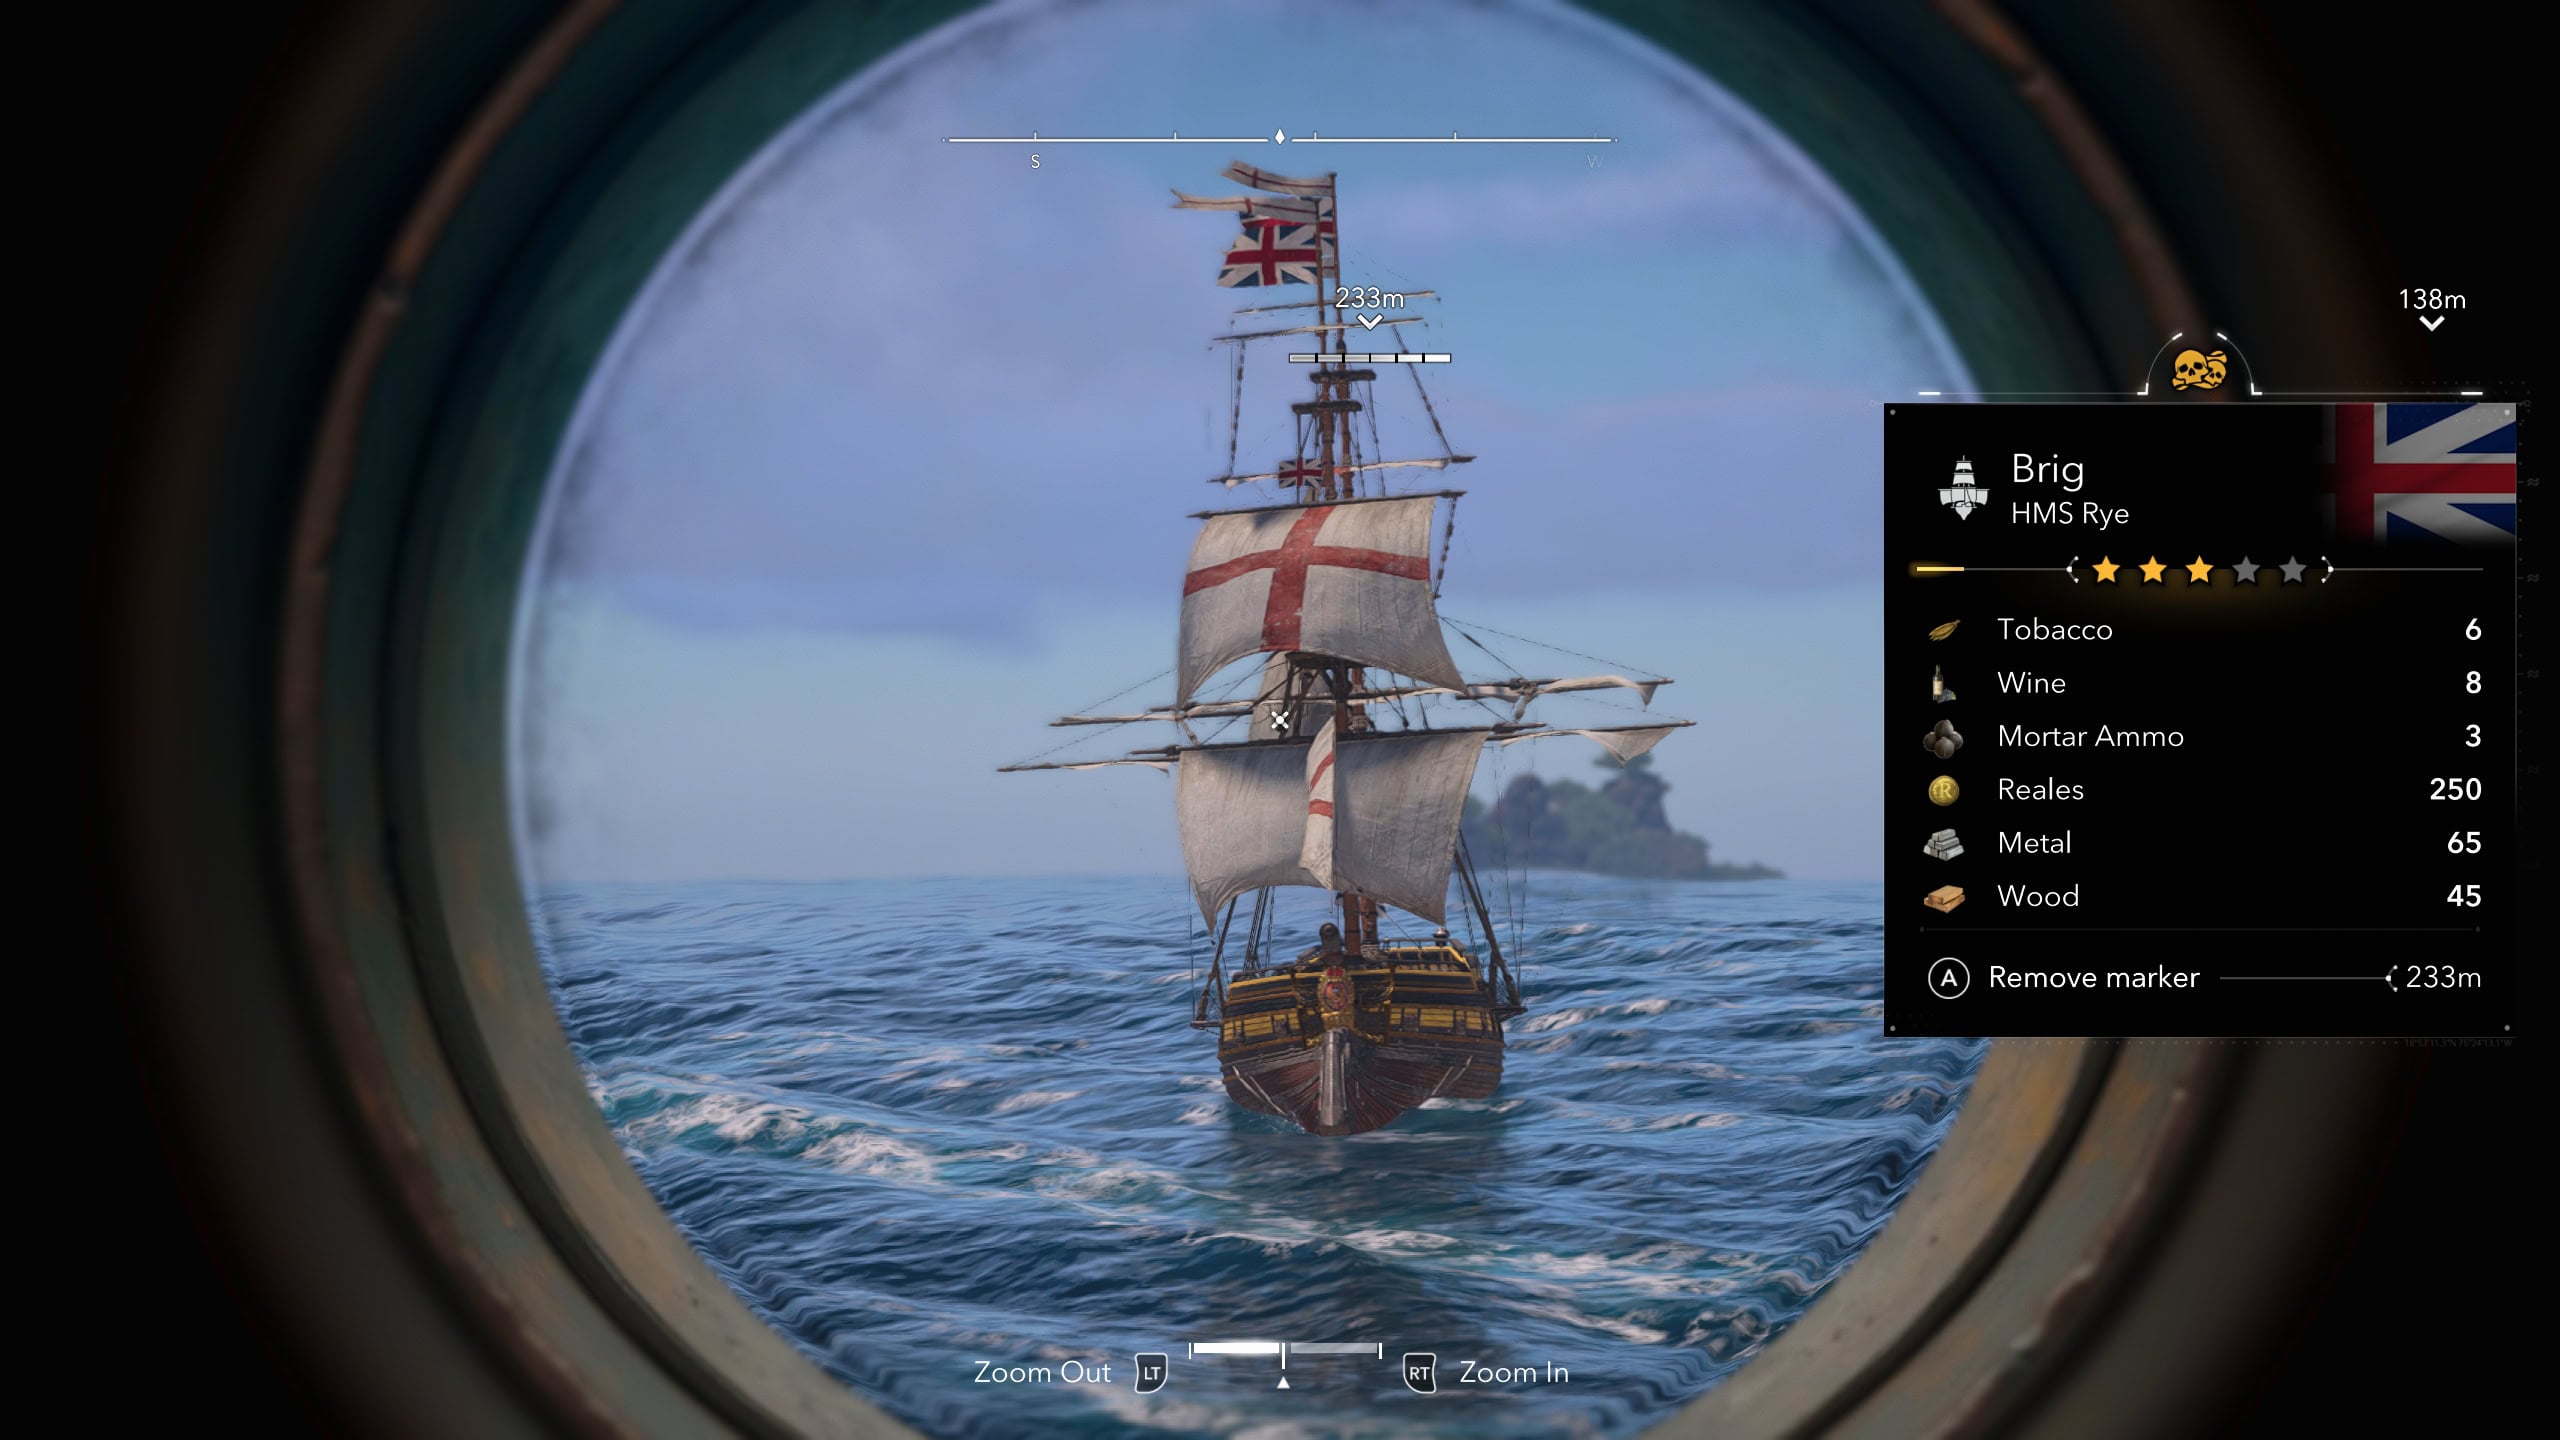
The Spyglass is what you’ll use to spot points of interest in the distance. This could be an island, shipwreck, lost loot, or most commonly an enemy ship. If aimed at an enemy ship, you’ll be able to see what loot it carries to determine if it’s worth your time.
Be sure to mark ships to monitor their health. You’ll often find British and Spanish ships attacking one another, so monitoring their health lets you know a good time to barge in to loot them. It also helps you with monitoring their range from you so you know which ship weapons to use.

Ram Dash
The Ram Dash ability is unlocked by recruiting Padre as your Master-at-Arms. This ability allows the Jackdaw to go at full speed for 5 seconds covering 200 meters, dealing increased collision damage to ships hit.
The Ram Dash has no set cooldown but the cooldown can only be reset by hitting enemy ships with your ship weapons.
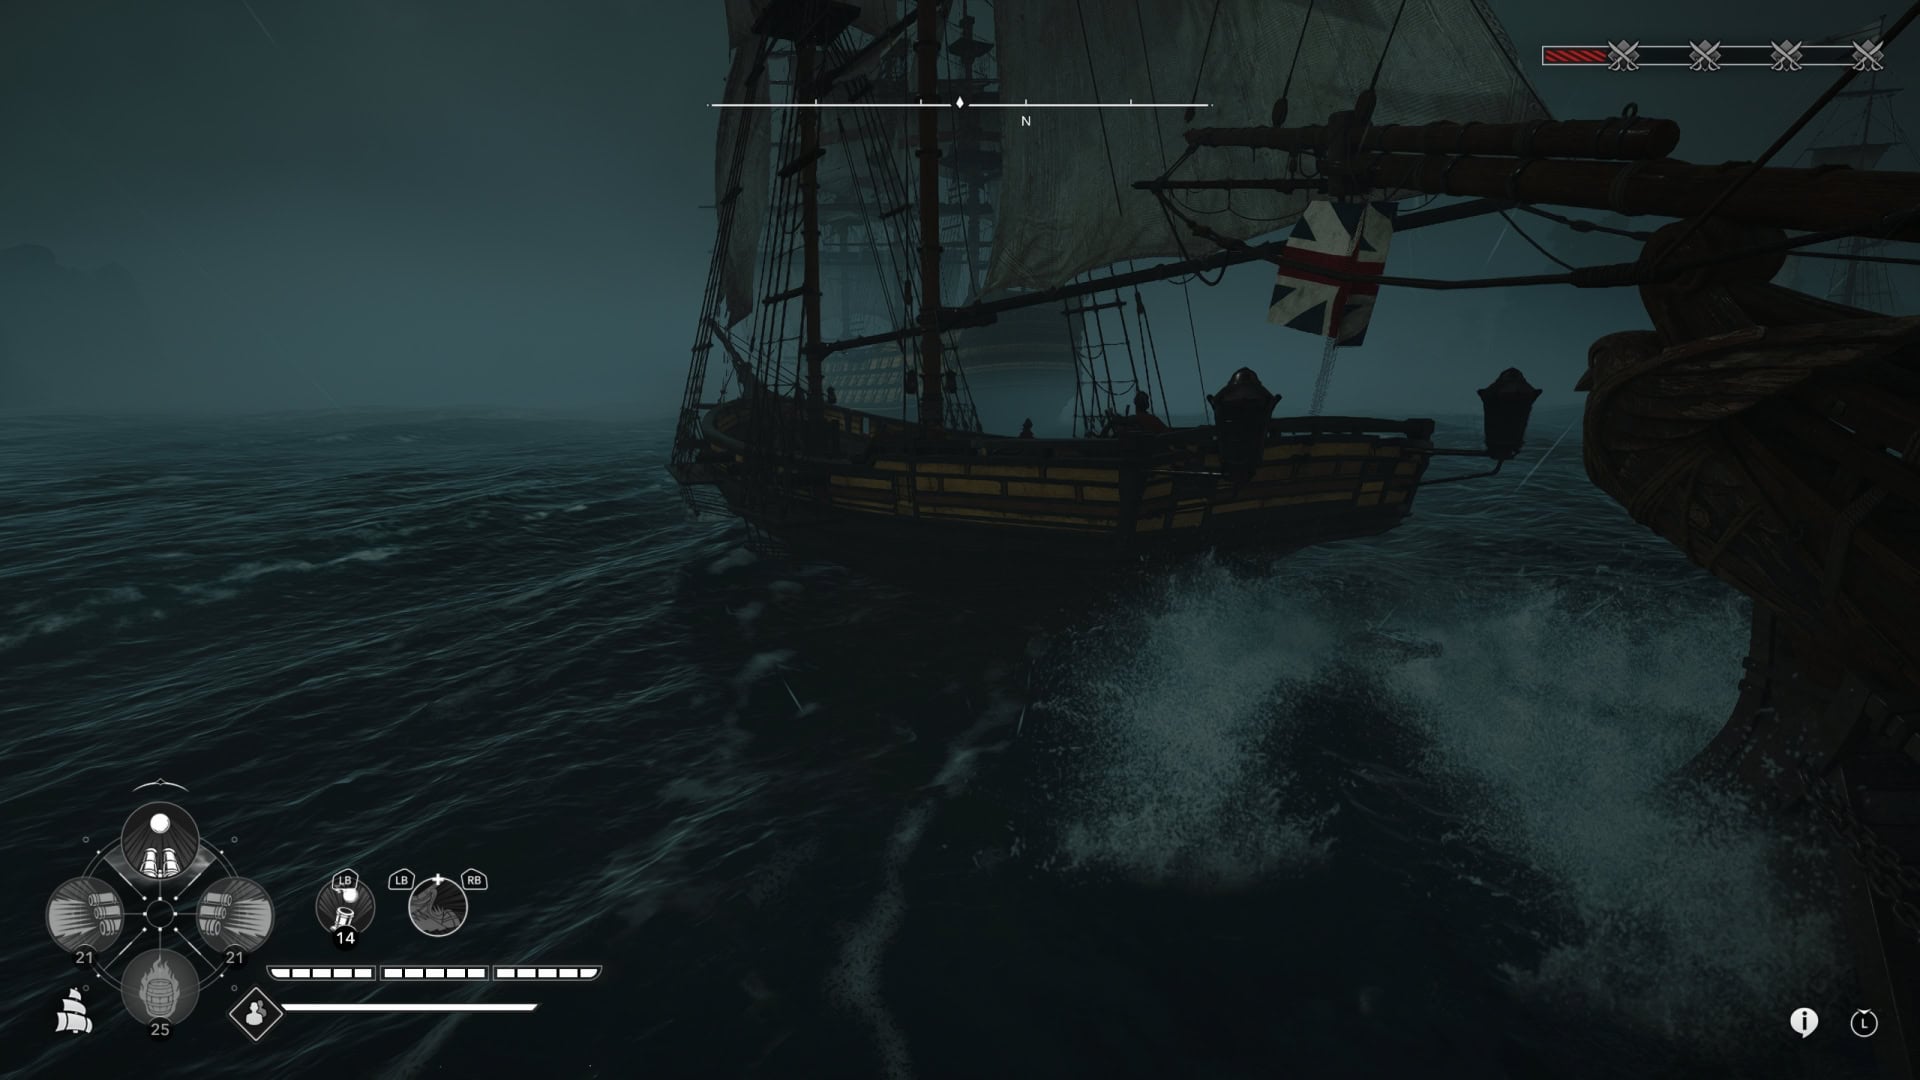
The Heated Shot is your best bet for reducing the cooldown of Ram Dash as soon as possible as it fires the most shots out of every weapon available. Be sure to use the Swivel Gun to pop weak spots for even more cooldown reduction.
Brace and Perfect Brace
Bracing is available from the intro mission “Edward Kenway“. Holding Brace will reduce incoming damage. To unlock the Perfect Brace, you’ll need to recruit Lucy Baldwin as a Shipwright.
You can perform a Perfect Brace by bracing right before receiving damage, allowing you to significantly reduce the damage received. If your ship’s health glows bright and you hear a metal impact sound, you’ve performed a perfect brace.
Shanties
As you sail around, your crew will automatically sing shanties. If this annoys you, you can toggle shanties on or off with the V key on KBM, or D-Pad Right on consoles. If you never want to deal with them ever again, you can toggle Sea Shanty volume in the Options.
If you like the sea shanties, you can pick and choose which shanty is being sung with the Shanty Wheel. Hold the C key for KBM or D-Pad Down for consoles. This allows you to pick any sea shanty currently unlocked.
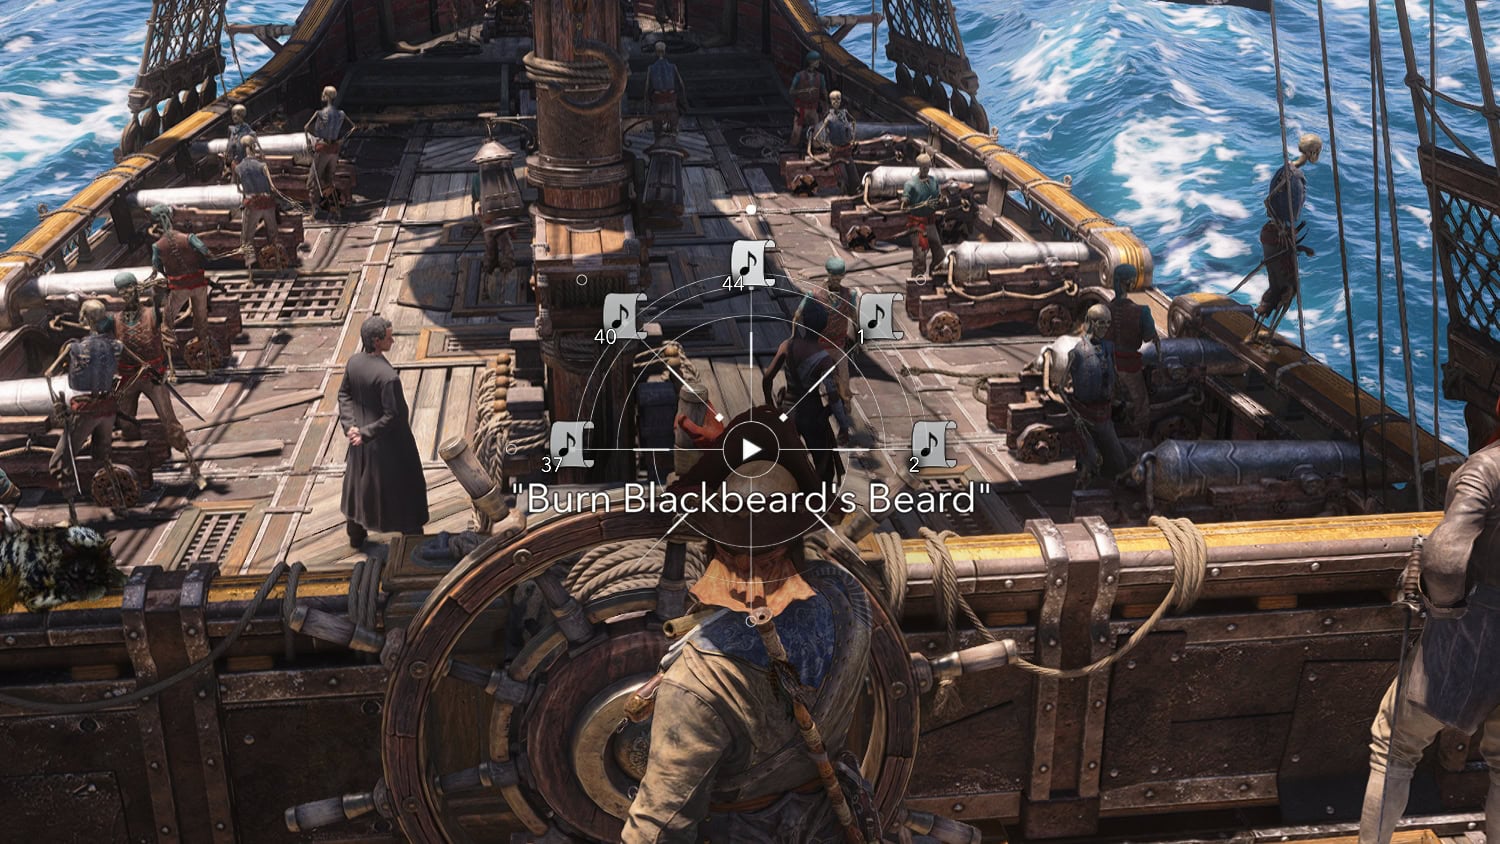
If you want to unlock more shanties, you’ll need to complete certain quests or find shanties floating about as magic parchment in the world. The first ten songs you have by default aren’t too well sung, but unlocked shanties will have the crew sing more in tune.
Naval Hints
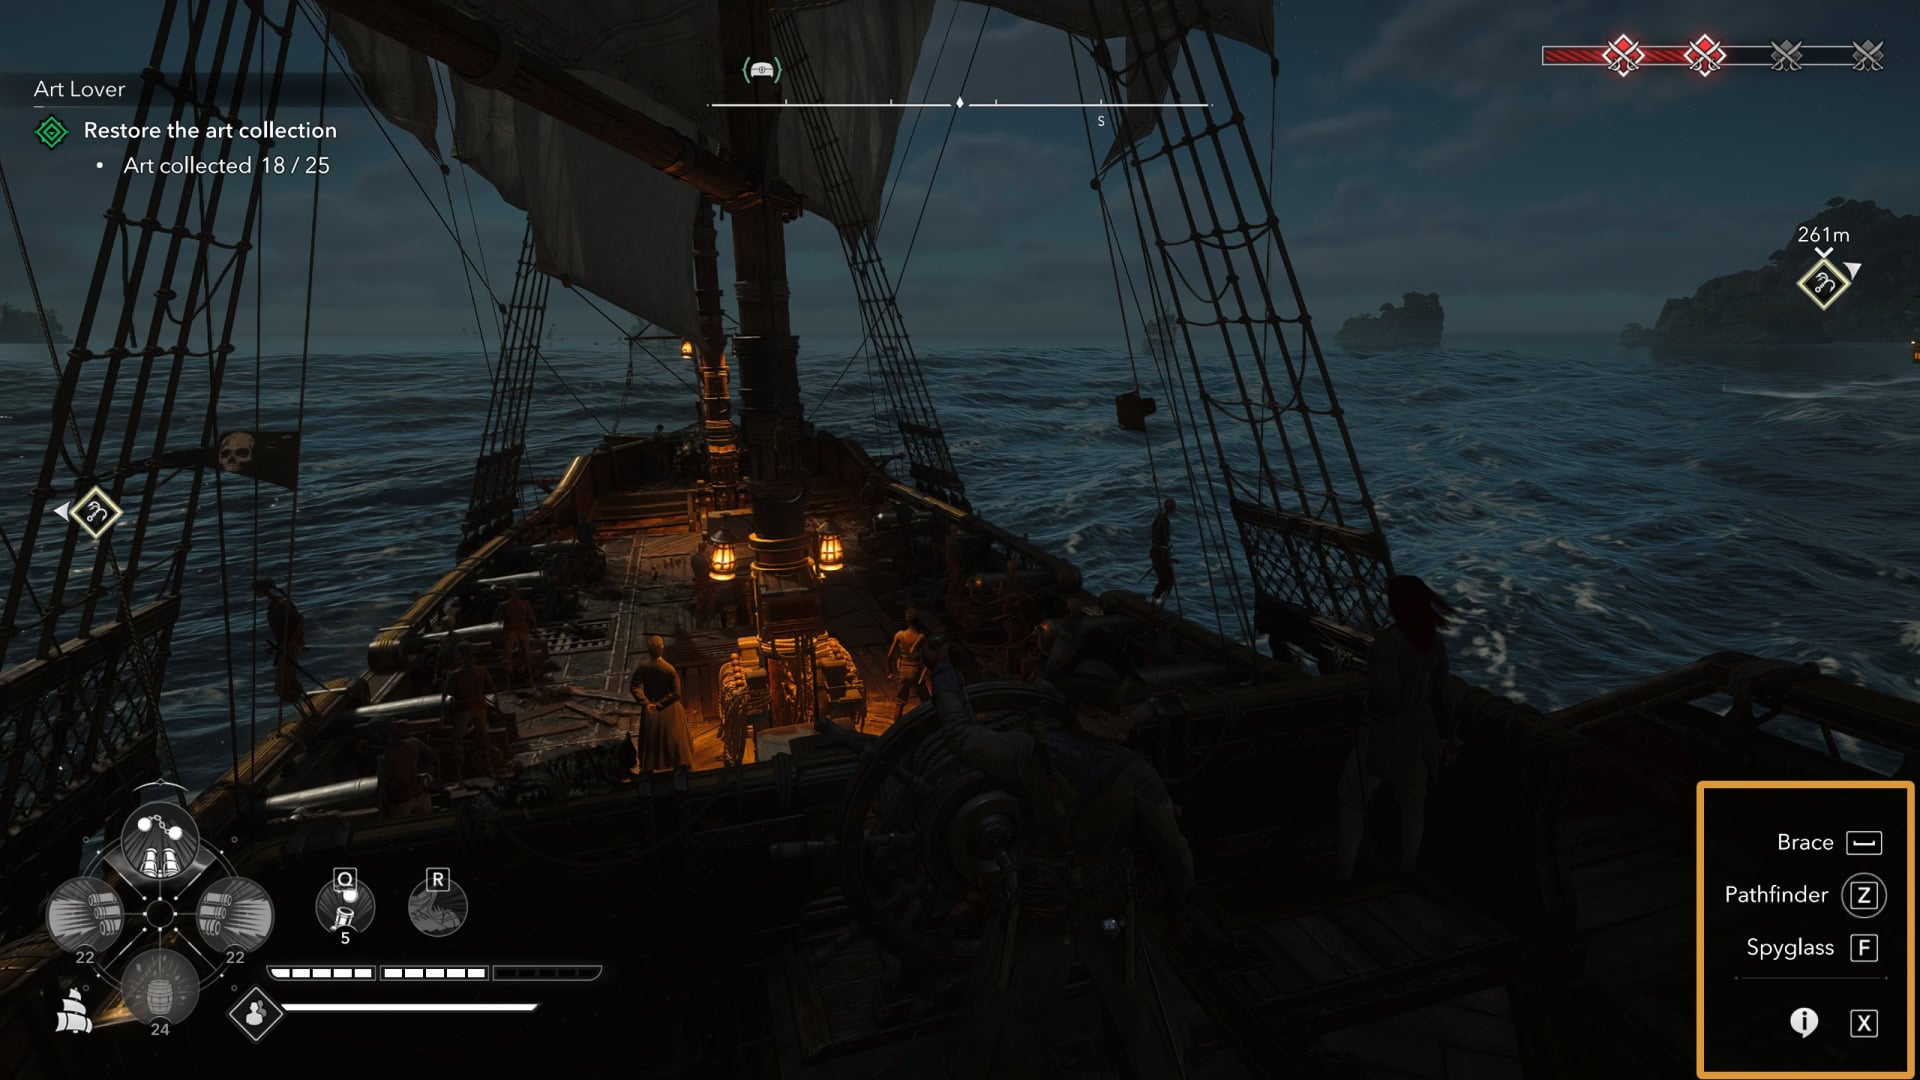
This is a simple utility that will display keys or buttons used for the Jackdaw in case you forget them. Press the X key on KBM or press in the Left Analog Stick for controllers to summon it.
Related Achievements
Clever and timely use of your abilities will unlock several achievements (trophies) for you. Some may happen randomly, while others will require precision and good timing.
- Backs To The Wall – Use your Kick ability on a target next to a wall. They’ll become vulnerable to a takedown.
- Caught ‘Em All – To catch 5 enemies into a Smoke Bomb, go into any city and cause some trouble to have soldiers chase you. Use Rope Dart to wrangle them in.
- Double Tap – Find an Ocelot and parry two of its attacks quickly.
- Gun-kata – Upgrade your Pistol Holster to Tier IV and shoot down 4 enemies in a row.
- Let Me Explain – After a perfect parry, perform a total of four takedowns. This can only be achieved with a weapon that allows this number of takedowns.
- Not So Little Friend – Unlock the secondary firing mode on a Jackdaw weapon. The Double Shot is the easiest one by far.
- Overdesign IV – Kick a berserk enemy caught in smoke off a ship. First use a berserk dart with your Blowpipe on an enemy that’s close to the edge, then throw a smoke bomb.
- Return The Favor – Recruit Padre as an officer and provoke any Brig you encounter. All Brigs will try to ram into you. When they do, use your Ram Dash ability before they make contact to unlock this achievement.