Capturing Forts in Assassin’s Creed Black Flag Resynced will help increase your knowledge, power, and influence in an area. This guide will show you the location of all Forts, recommended builds and upgrades and what rewards they yield.
Use the Table of Contents, located in the left panel (top left button on the mobile menu) to navigate through this long guide more easily and quickly.
What are Forts
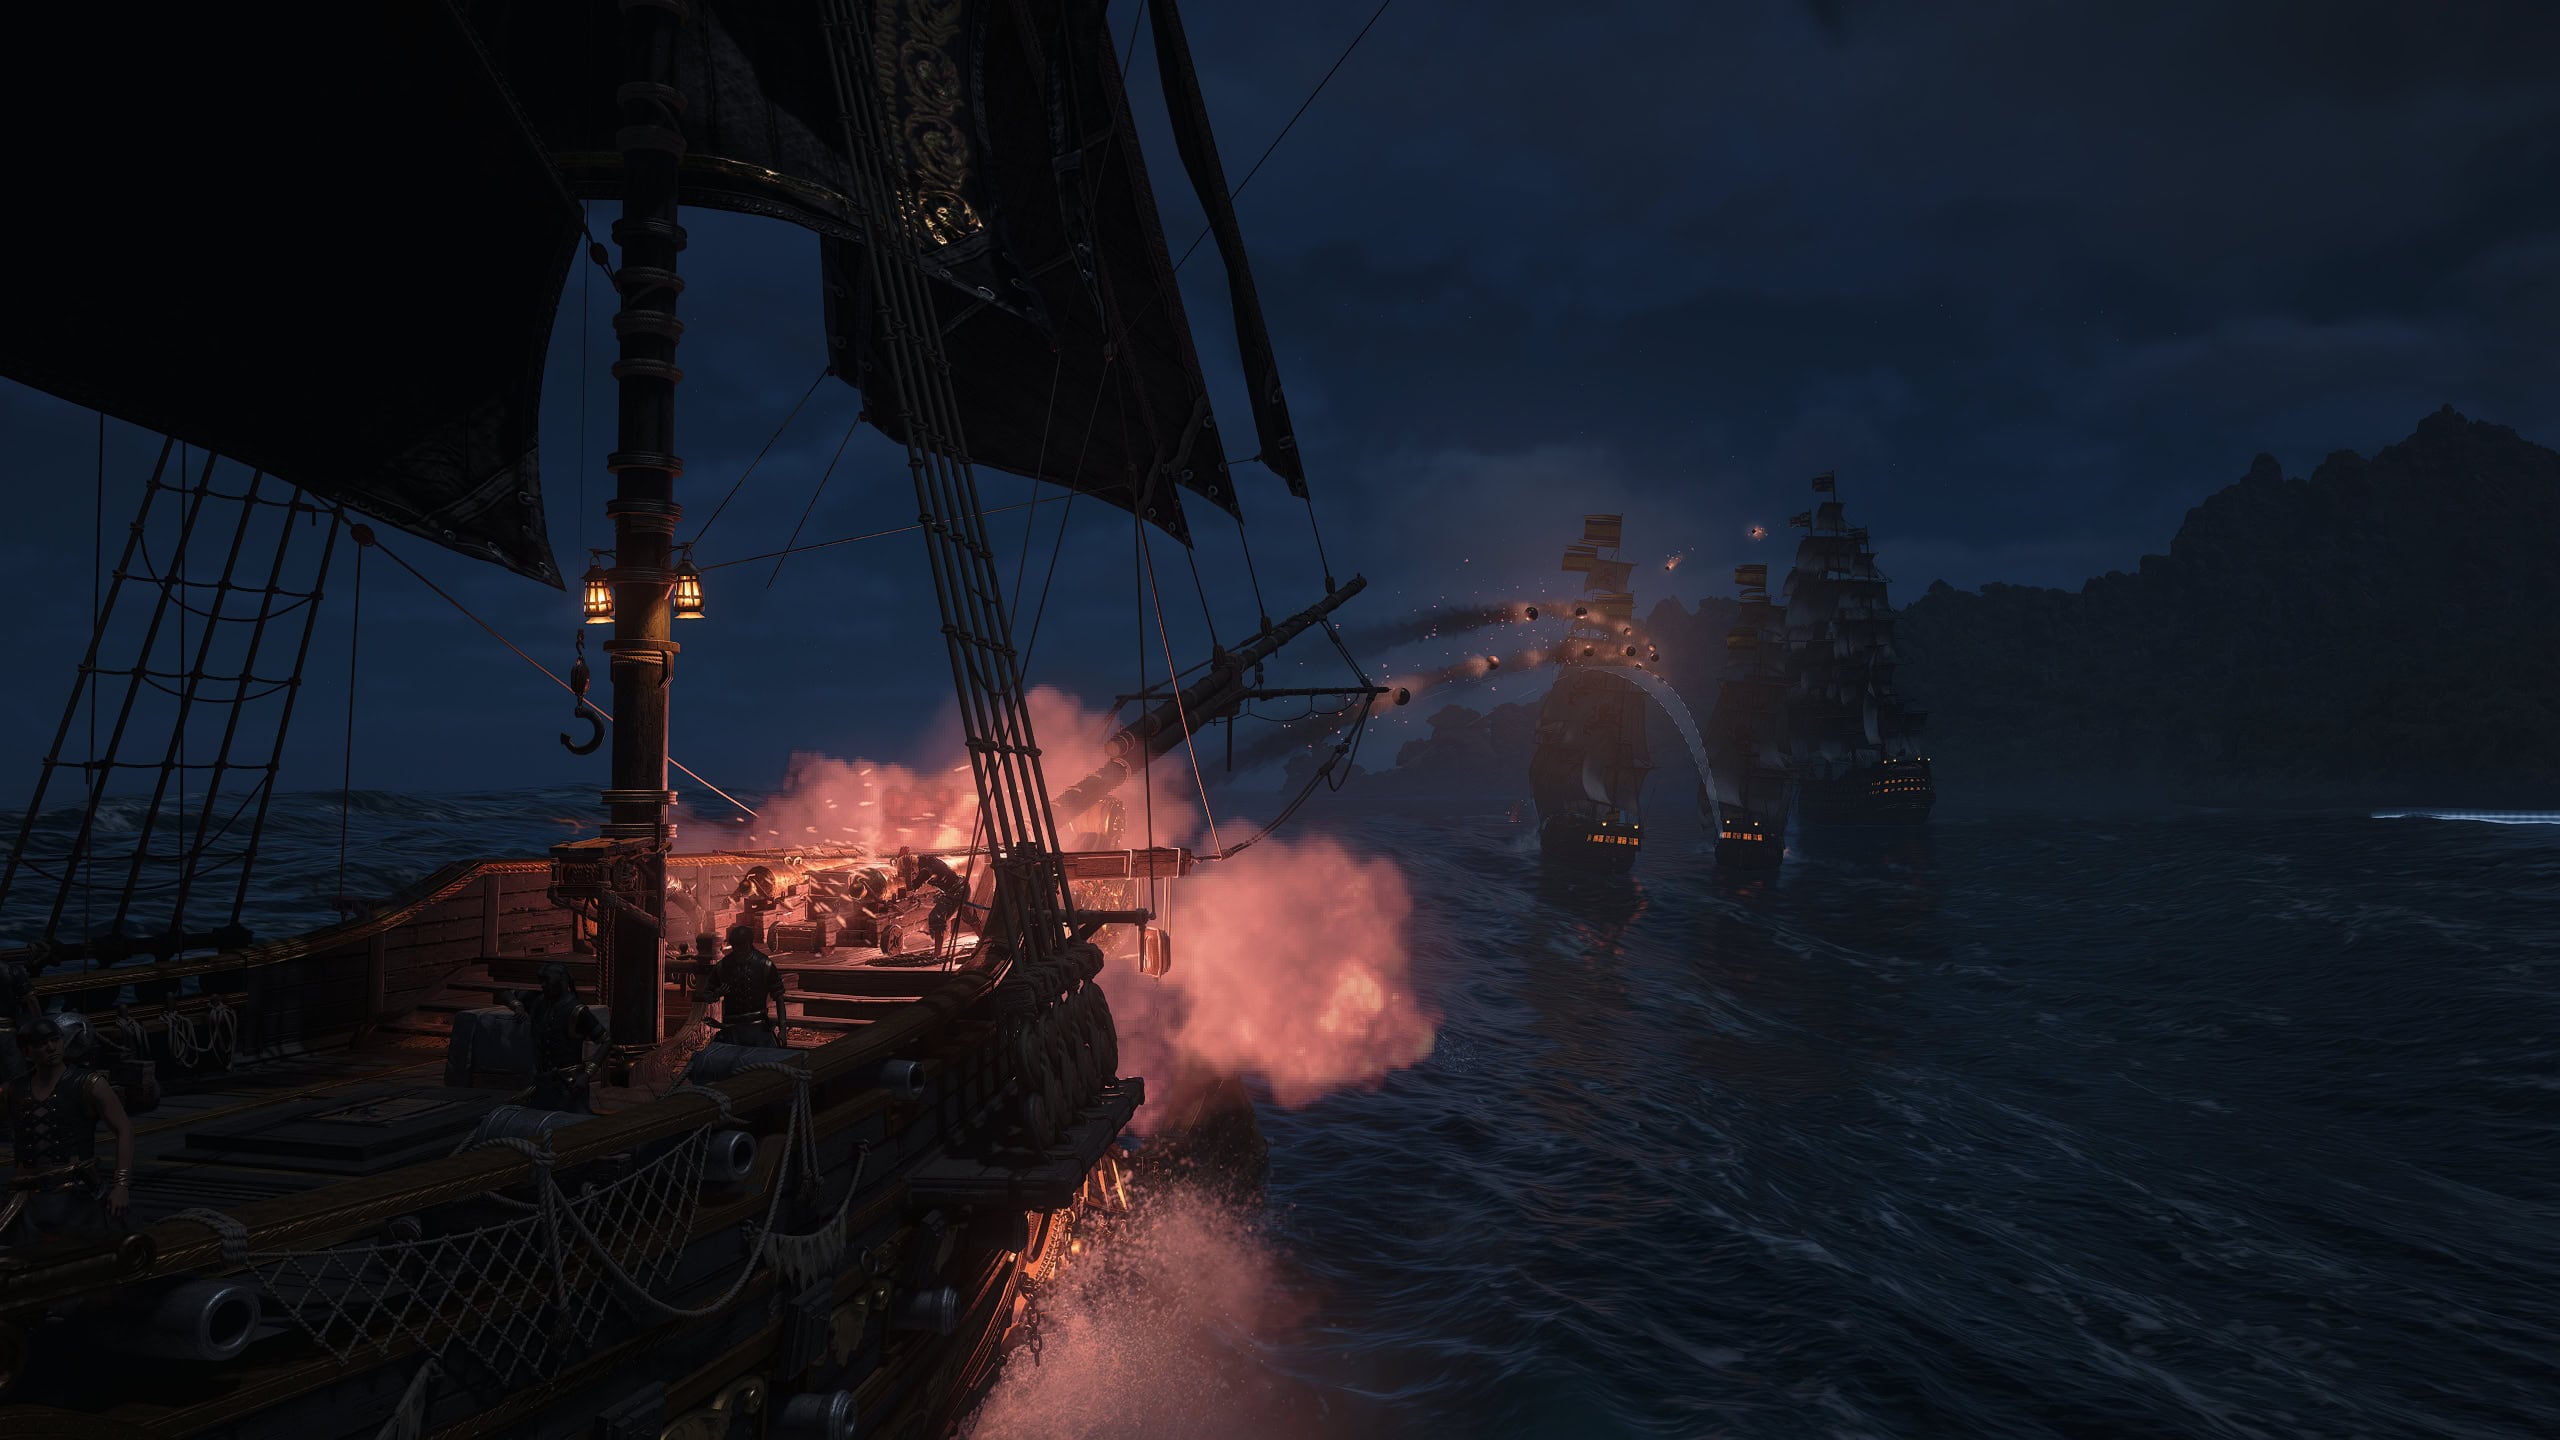
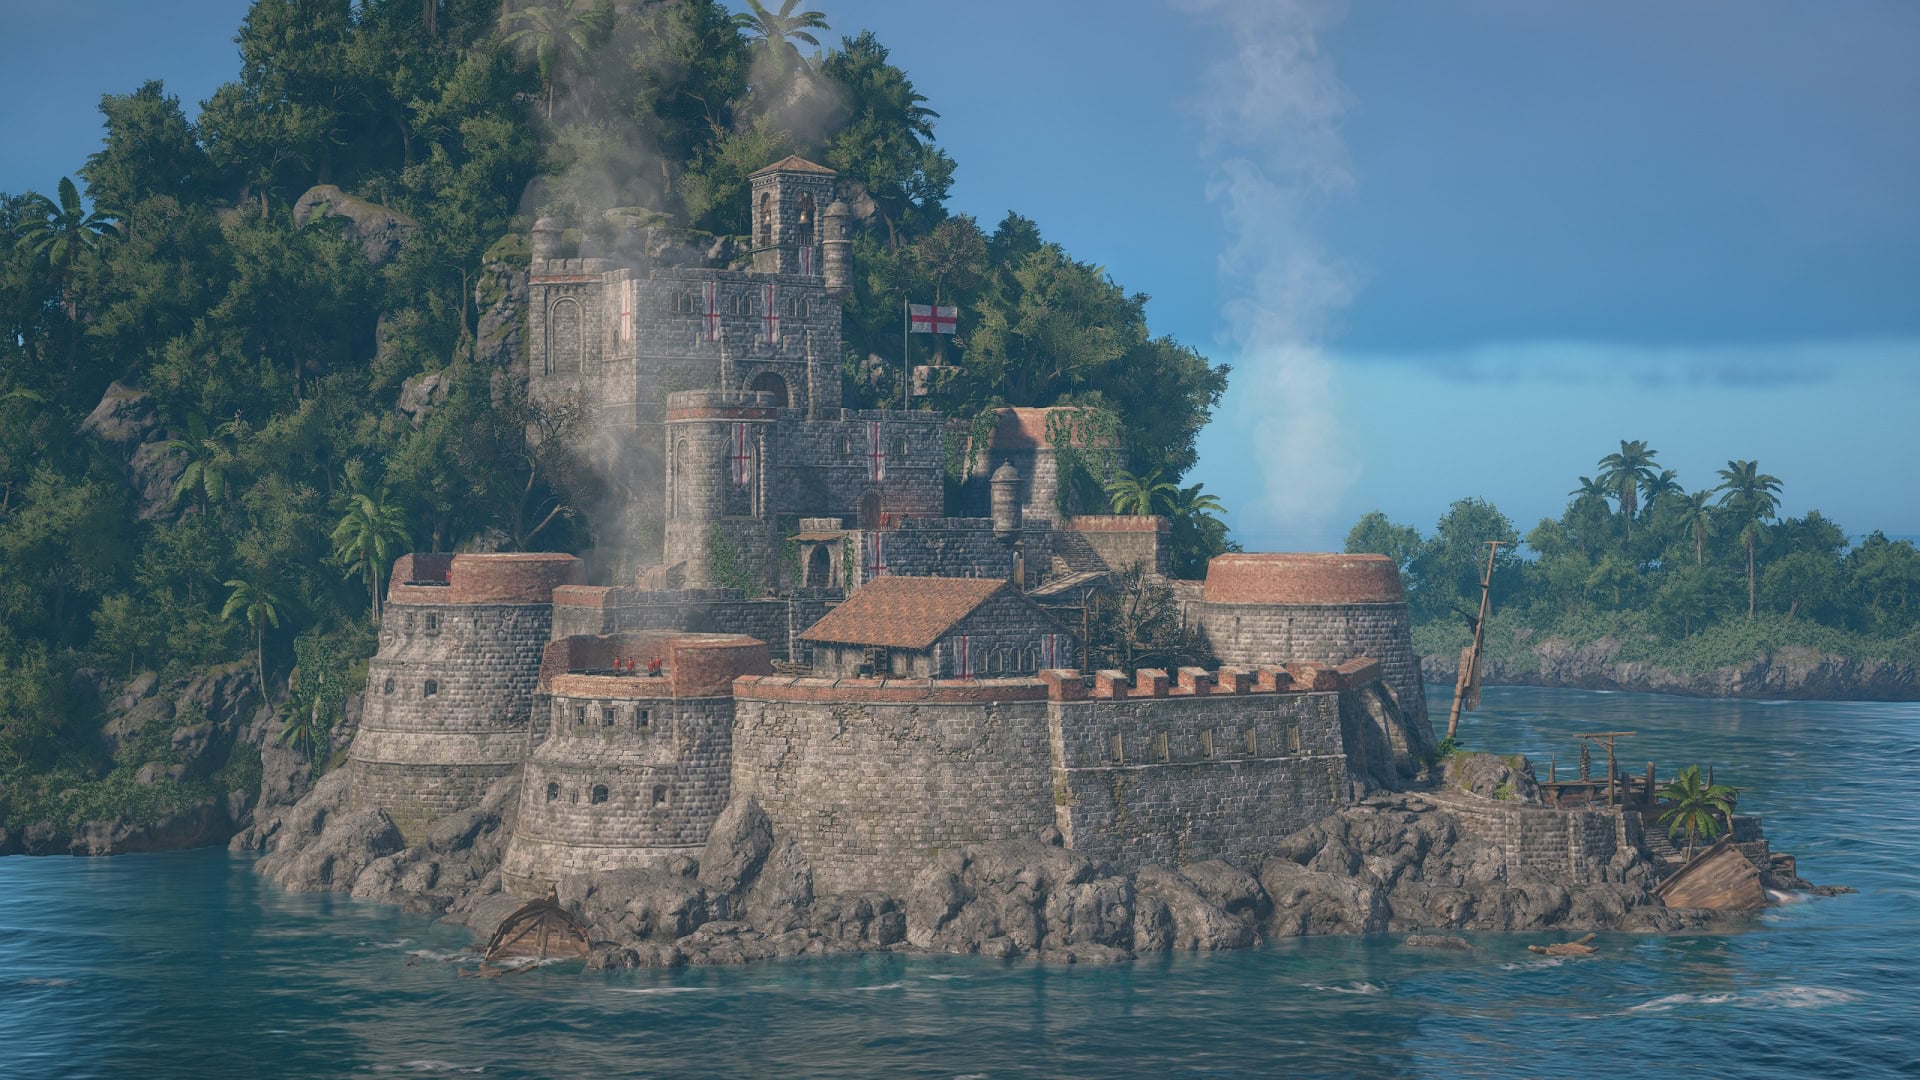
Forts are heavily fortified locations found throughout the map. Each of the eleven regions have a Fort within them, meaning there are eleven forts total. Getting too close to a Fort will cause them to become hostile, so it’s best to stay a good distance away if you’re not ready to take one on.
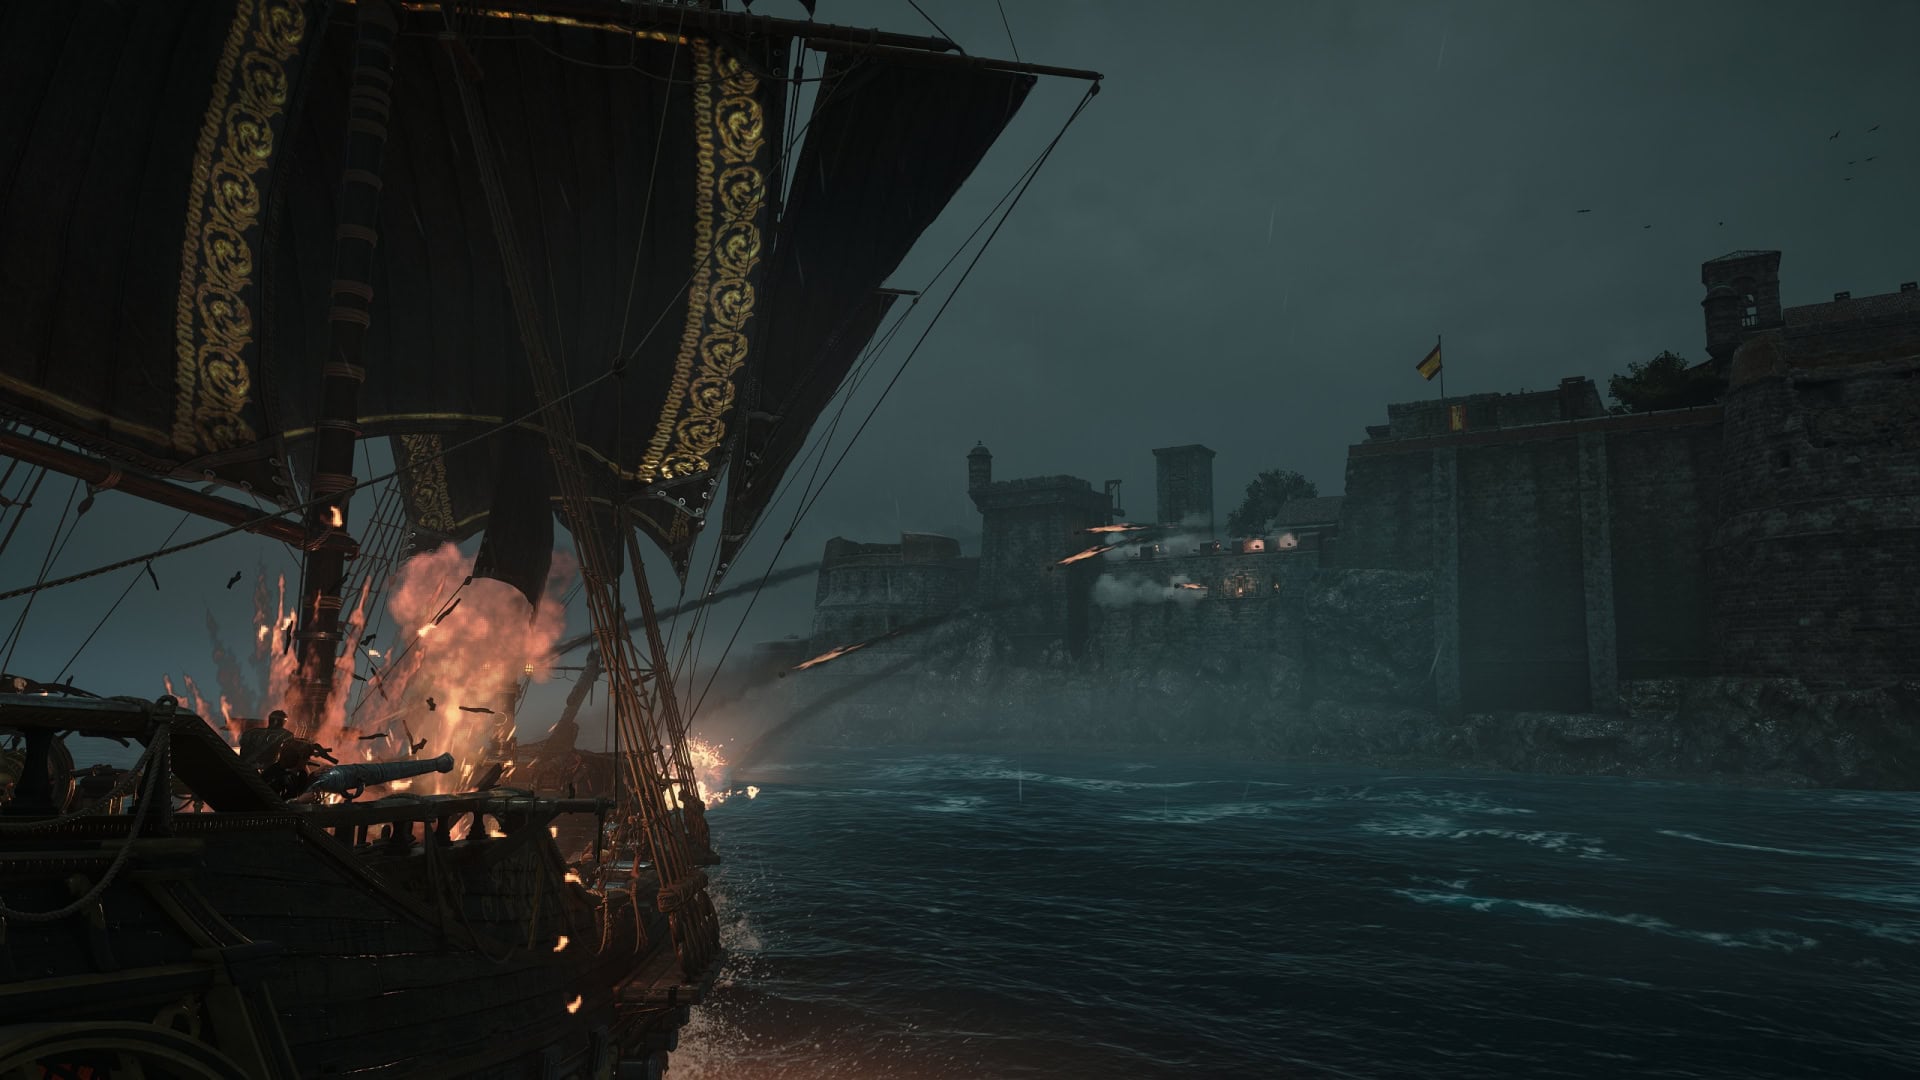
Each Fort has a set number of defenses, places where they have their cannons and mortars. These are your targets to destroy when you attack a Fort. Fleeing a battle against a Fort will cause that Fort to rebuild any lost defenses when you leave.
Why you should capture the Forts
By taking over Forts, you can earn a wide variety of rewards. This includes Reales, Ship Materials, Ship Vanity items, new Ship Weapons, and removing the fog on the map for the region you’re in.
Removing the fog in the region will also point out any significant places of interest on the map such as Camps, Temples, Islands, etc. These are often spots that contain Viewpoints which makes for good fast travel options.
As you take over a Fort, you’ll unlock money making opportunities by gaining access to Fleet Missions. And if you’re looking to take on the toughest naval battles Black Flag Resynced has to offer, taking over Forts unlocks the Legendary Ships.
Watch out for the Fort Territory Border
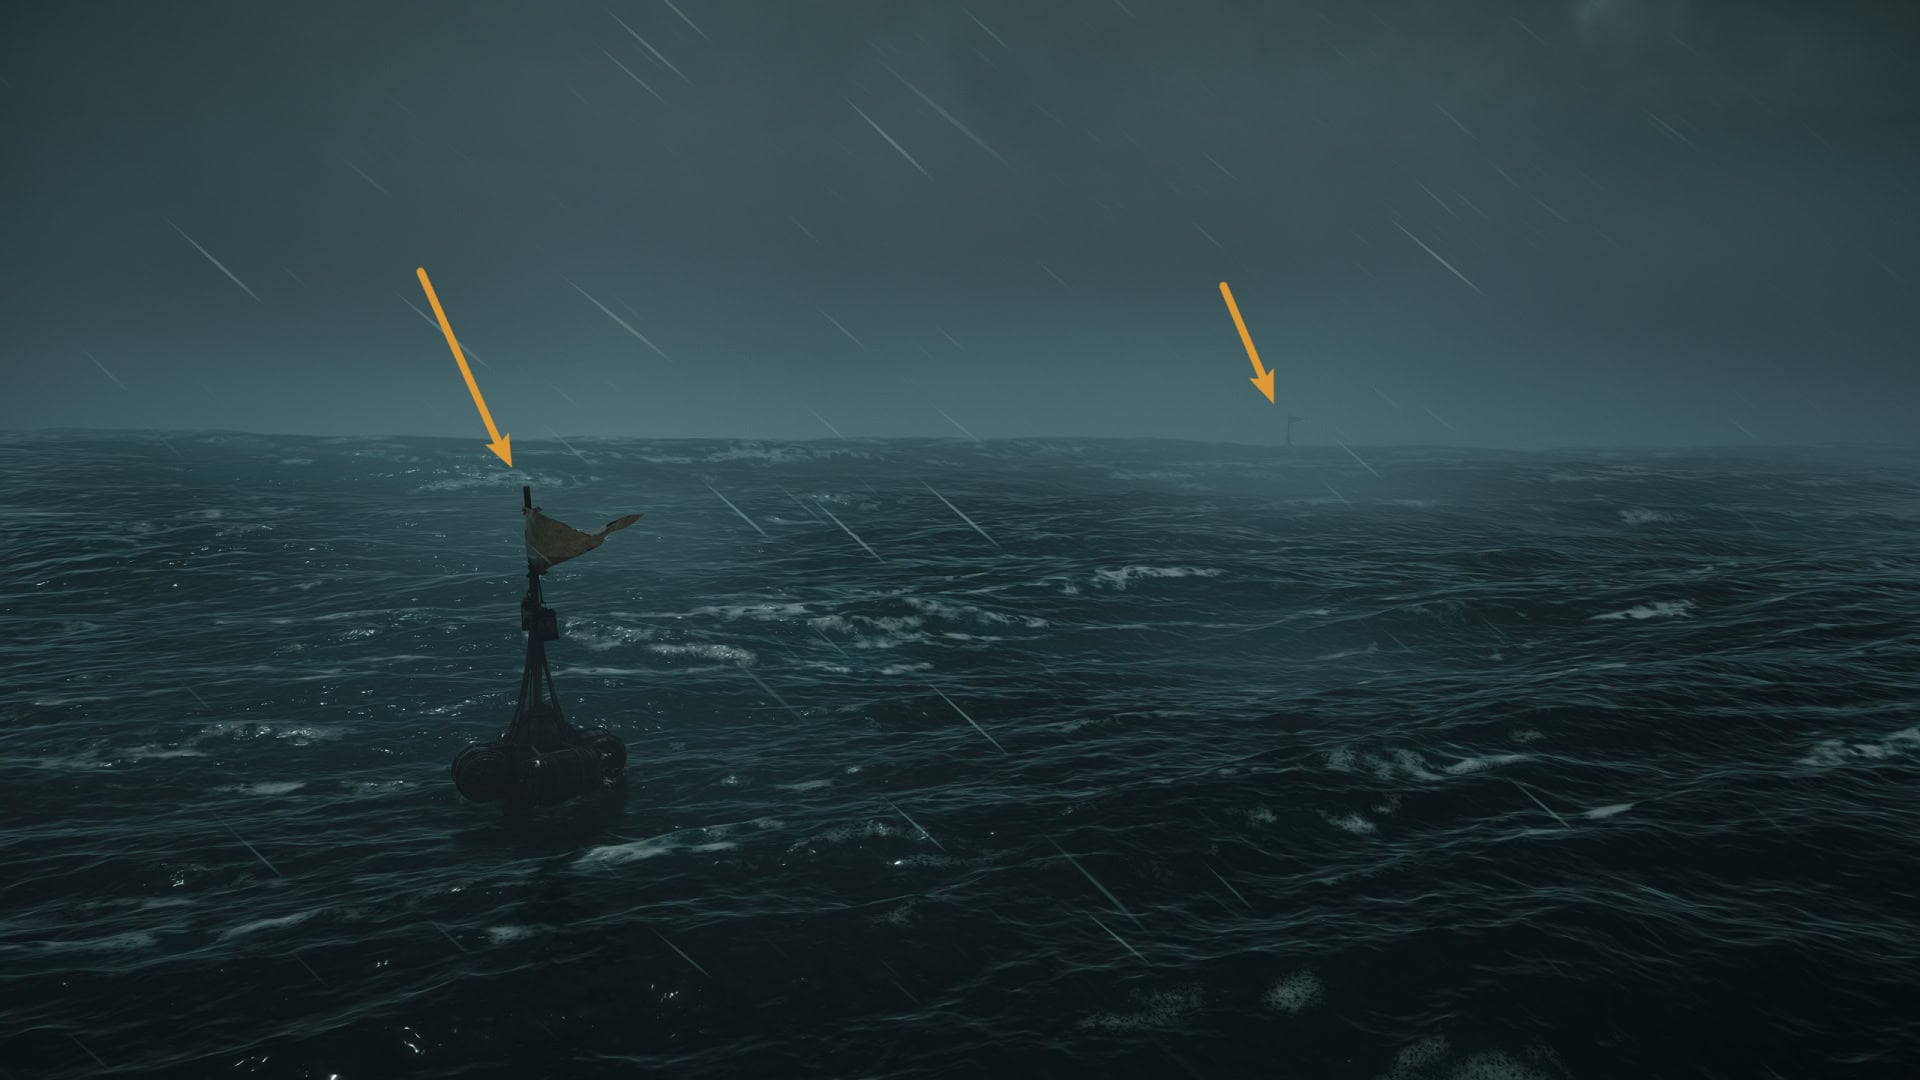
Each Fort has a perimeter around the water to show if you’re in their territory. The buoys with flags on the water indicates. If you see a blue glint coming from the Fort, then they got their eyes on you. You can sail around the border to avoid provoking them.
Recommended Build and Items
Taking over Forts will require a good ship and personal equipment as half the battle is in the sea, while the other half is on foot. If you’re looking to take on the Forts in the Hard waters, then you’ll need close to top tier upgrades. Upgrading the Jackdaw has priority for this process.
The Jackdaw
You can take on Forts early in the game, though these will be the ones in Dry Tortuga, Eleuthera, or Gibara. Make sure you focus on getting the essentials for the Jackdaw. By far, the most important weapon you can get for the Jackdaw is the Mortar.
Unlock Ship Officers
You’ll want to unlock two Ship Officers for Forts, Padre and Lucy Baldwin. Padre’s Ram Dash ability is good for damaging nearby ships or an emergency boost to avoid mortar fire. Lucy’s Perfect Brace is a necessity for surviving against the Fort’s cannons.
Prioritize the Mortar
As Forts are stationary targets, they’ll be sitting ducks when fighting a Mortar. Focus on getting damage and ammo upgrades for the Mortar.
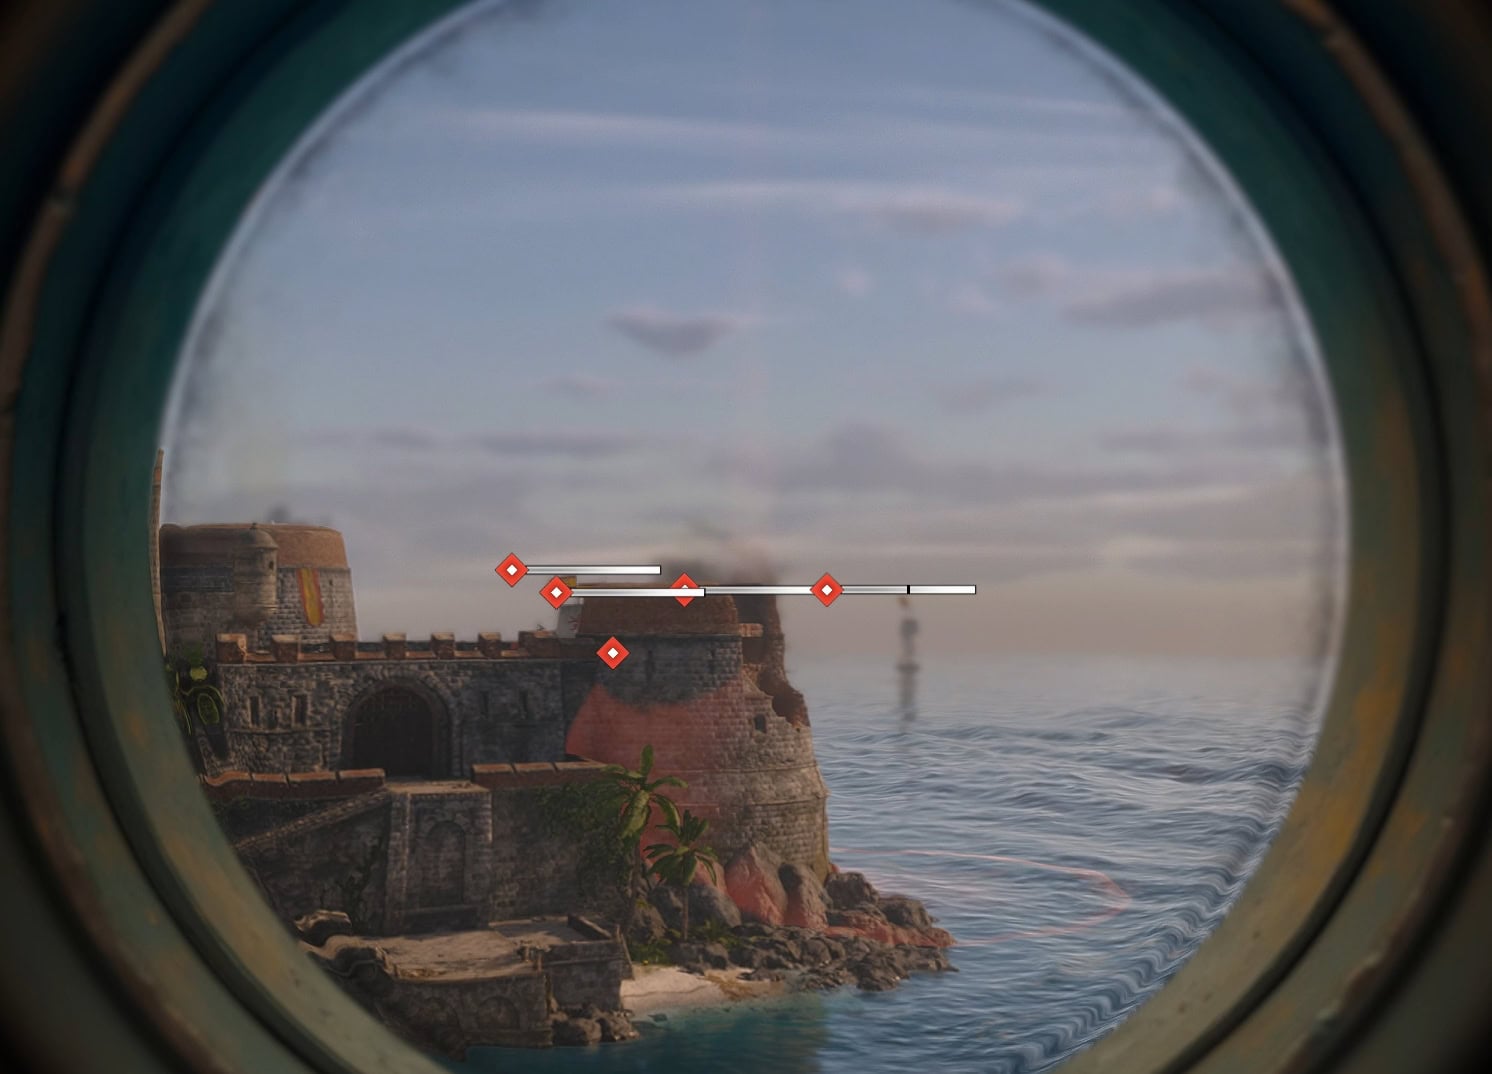
It’s better to use the standard Mortar over the Deadman’s Cohort Mortar for Forts. Forts hit hard, so the sooner they go down the better. The standard Mortar has a wider area and a shorter cooldown, making it ideal for hitting multiple defenses at once.
Upgrade Core Jackdaw Components
Forts will often have ships to aid them, so it’s good to invest in your broadside cannons and hull armor to survive being attacked by them and the Fort. Upgrades for Flame Barrels and Chain Shot are not terribly important for storming Forts.
Gearing up for the Late Game
You’ll need at least the second best tier of Jackdaw upgrades to take on the toughest Forts. Ideally, you should take the time to find all the Jackdaw’s Upgrade Plans and get the final tier of upgrades. They final Forts are ruthless and unforgiving, you must be even more ruthless to survive.
Edward Kenway
Your gear for Kenway isn’t as important as the upgrades for the Jackdaw as skill can balance out a lack of firepower. Regardless, it’s always good to invest in some core upgrades and acquiring some good weapons.
Crafting Upgrades
For the Crafting Upgrades menu, focus on upgrading your Pistol Holster, Pistol Ammo Pouch, and at least two Health Upgrades. The more pistols you have, the sooner you can reach the threshold to access the Commander’s Room.
Sword Recommendations
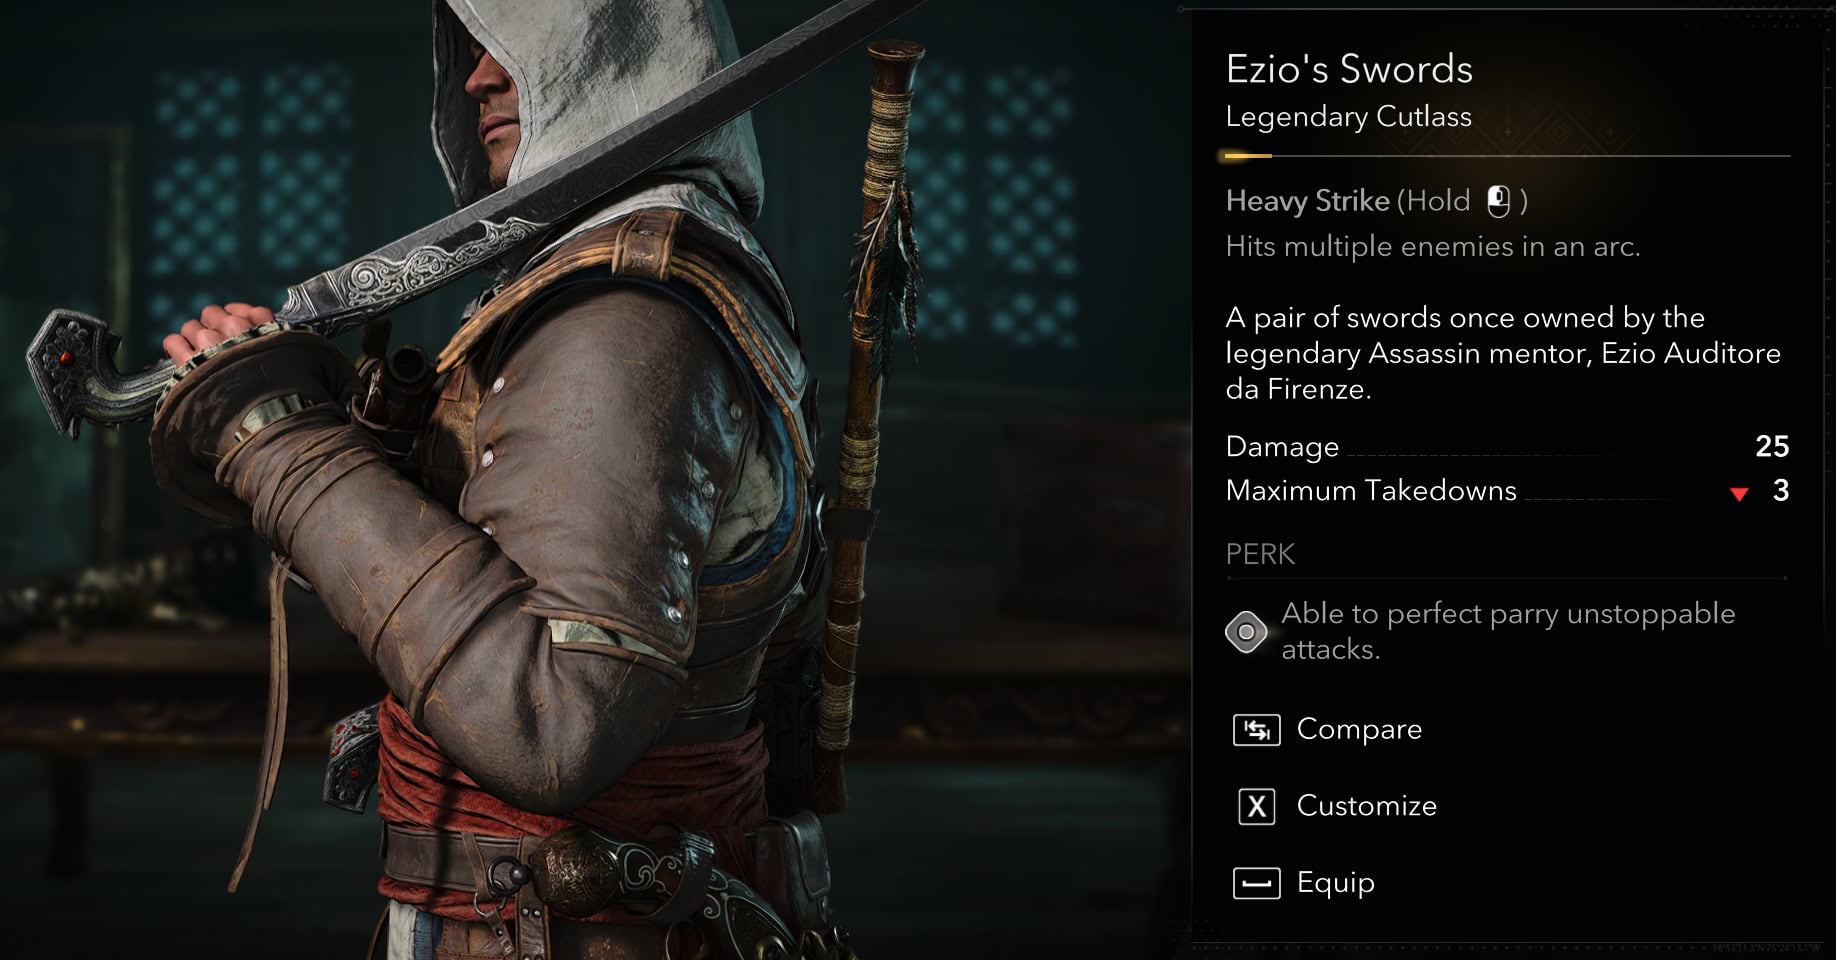
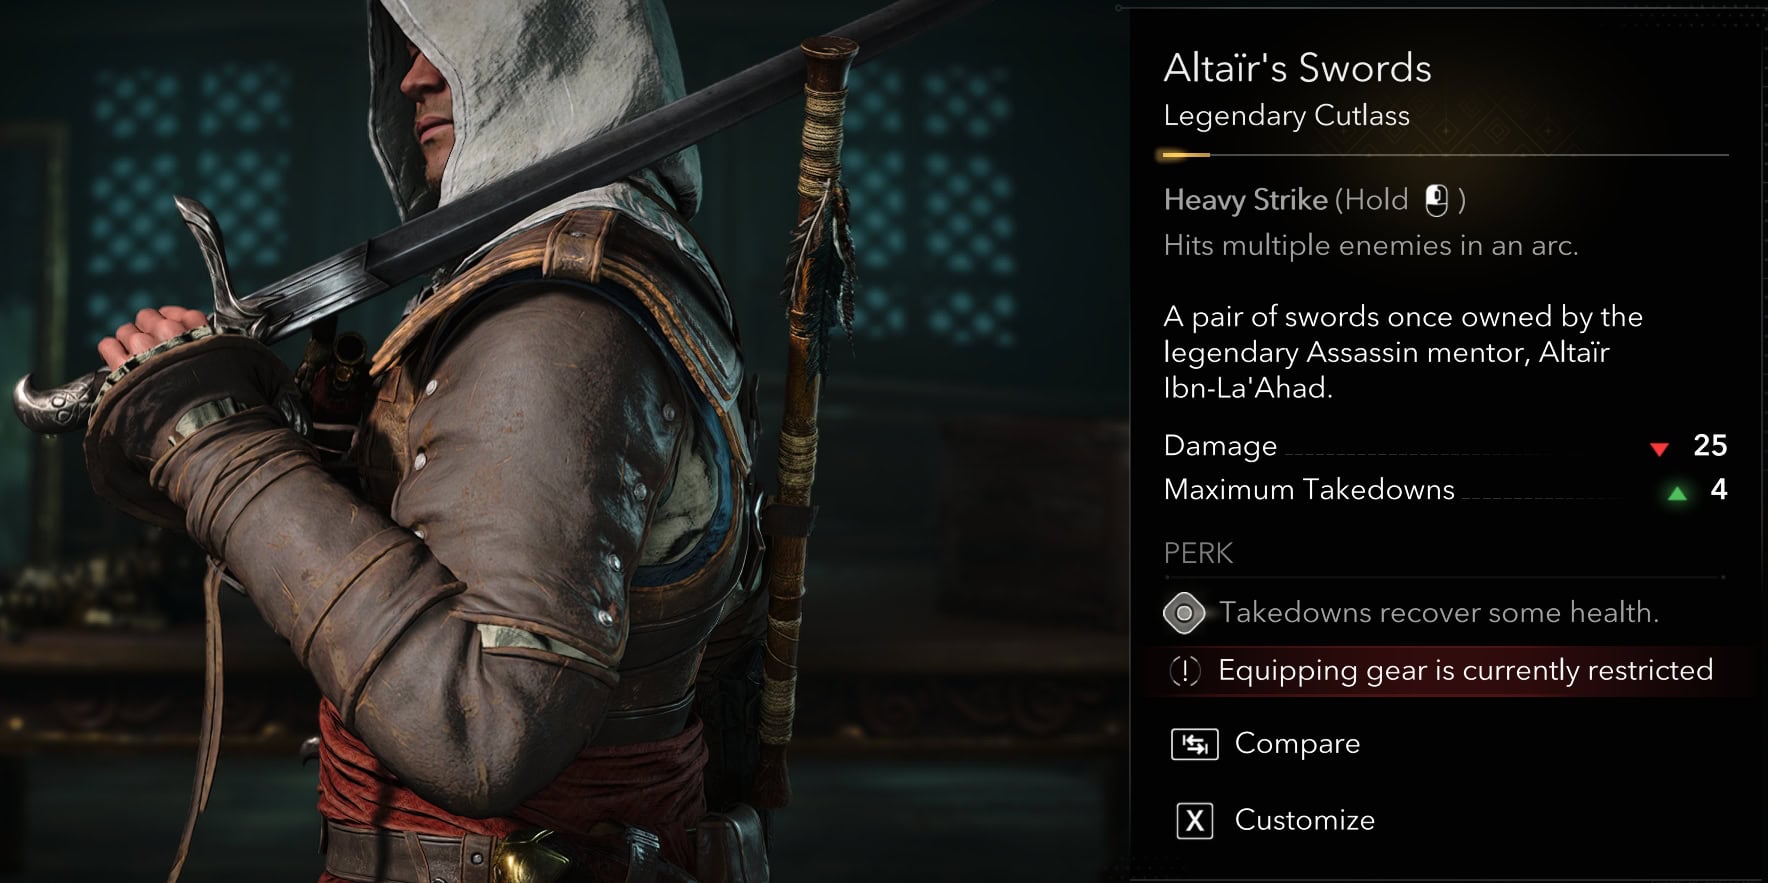
Ideally, you’ll want a sword with a maximum of three or four takedowns. You can’t go wrong with either Ezio’s or Altaïr’s Swords from the Animus Exchange. Ezio’s is great for dealing with Brutes while Altaïr’s has solid damage and four takedowns.
Pistol Recommendations
The Dark Animus Corsair Flintlocks or the Rustic Flintlocks are the ideal choices for storming a Fort. You can obtain these from the Eye in the Dark Project and in the Animus Store (for free) respectively.
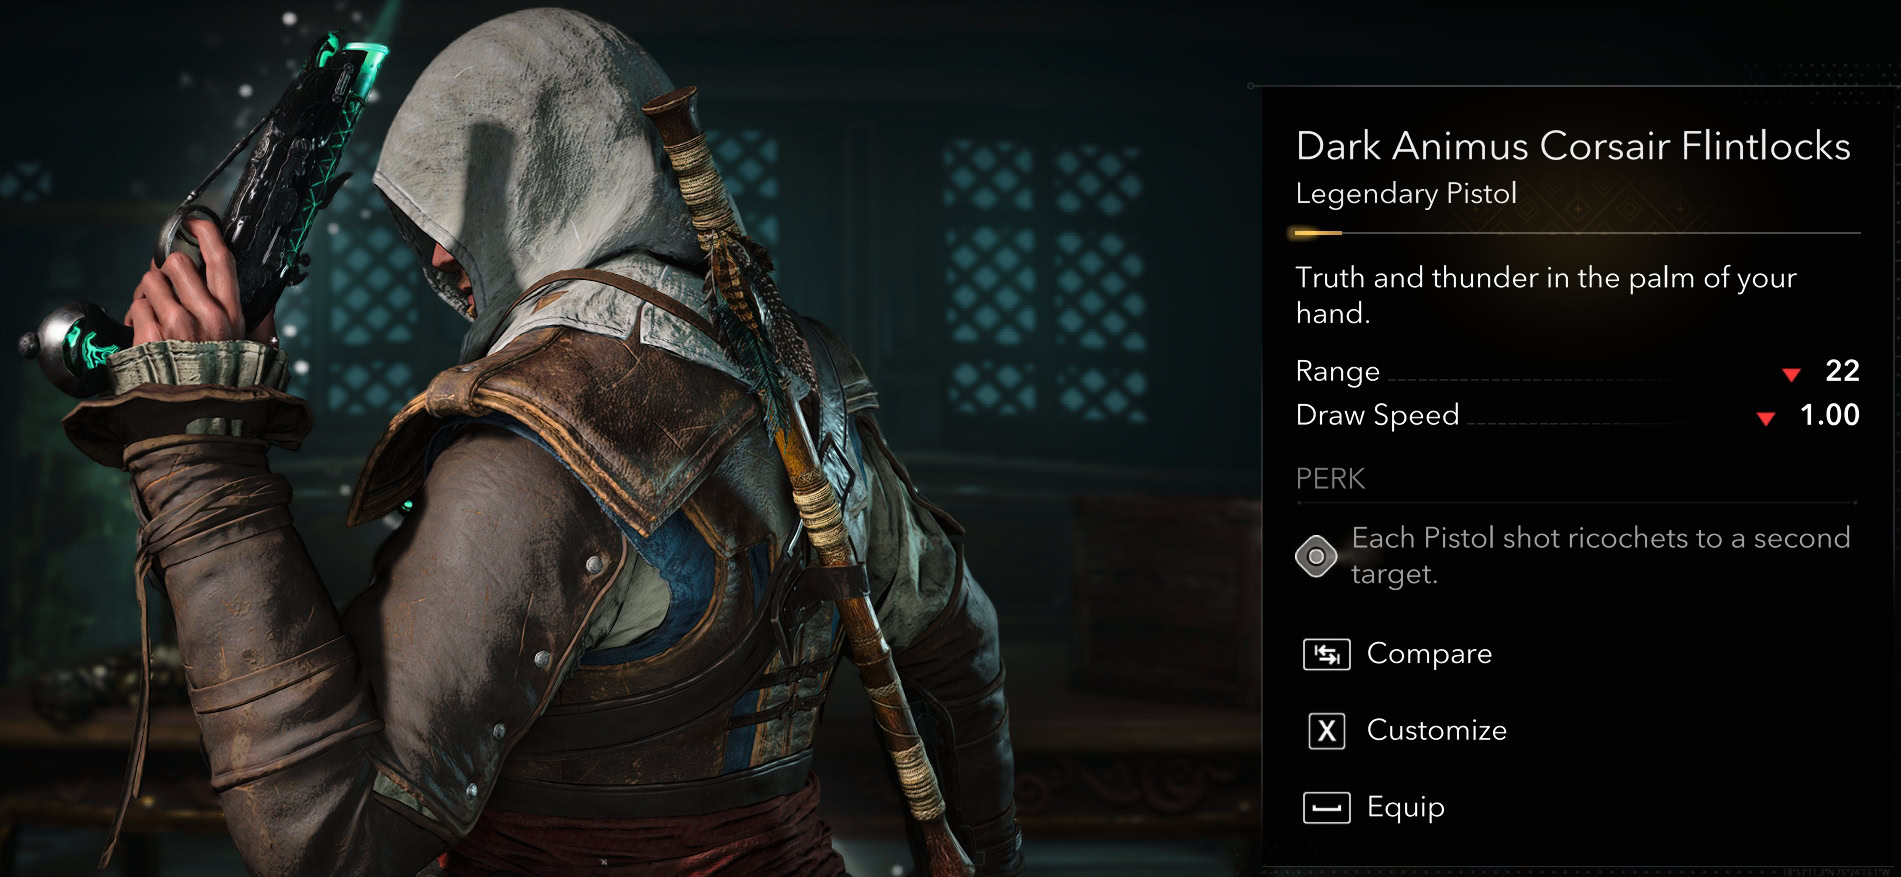
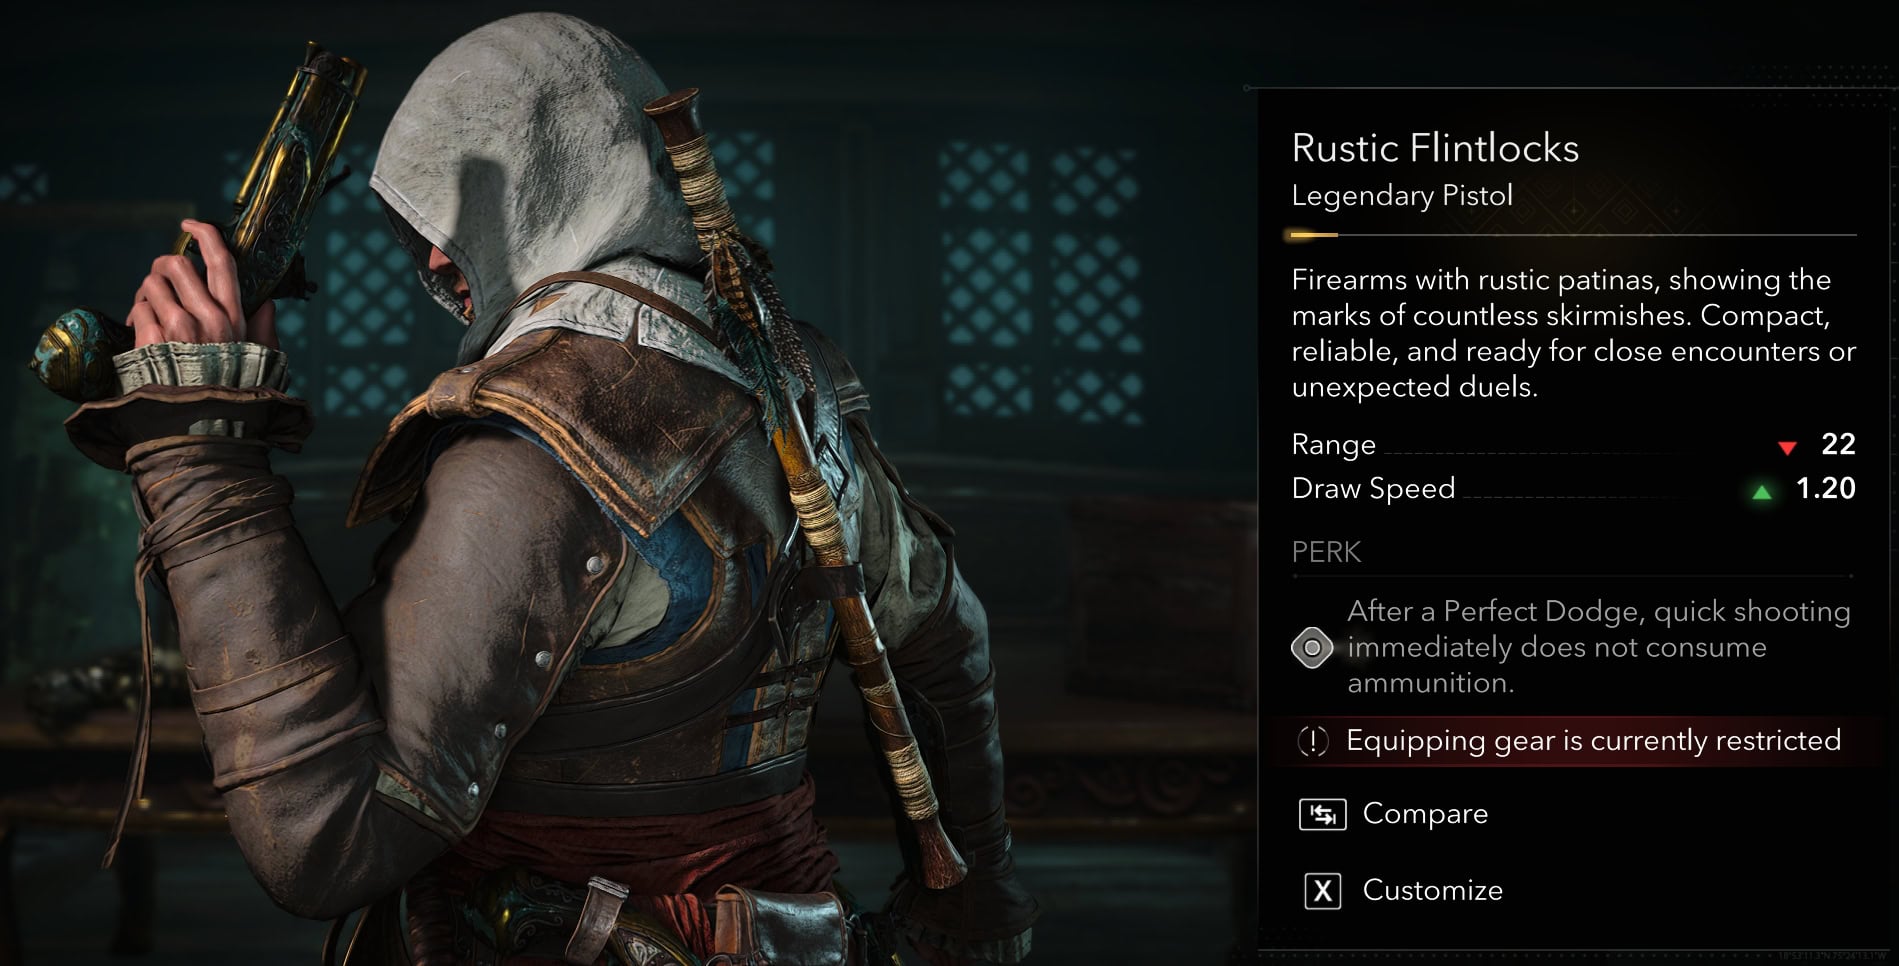
The Dark Animus Flintlocks are fantastic for taking down multiple enemies at once, it’s very useful in the majority of situations. If you’re good at performing Perfect Dodges, you can avoid any worries about no ammo with the Rustic Flintlocks.
Trinket Recommendations
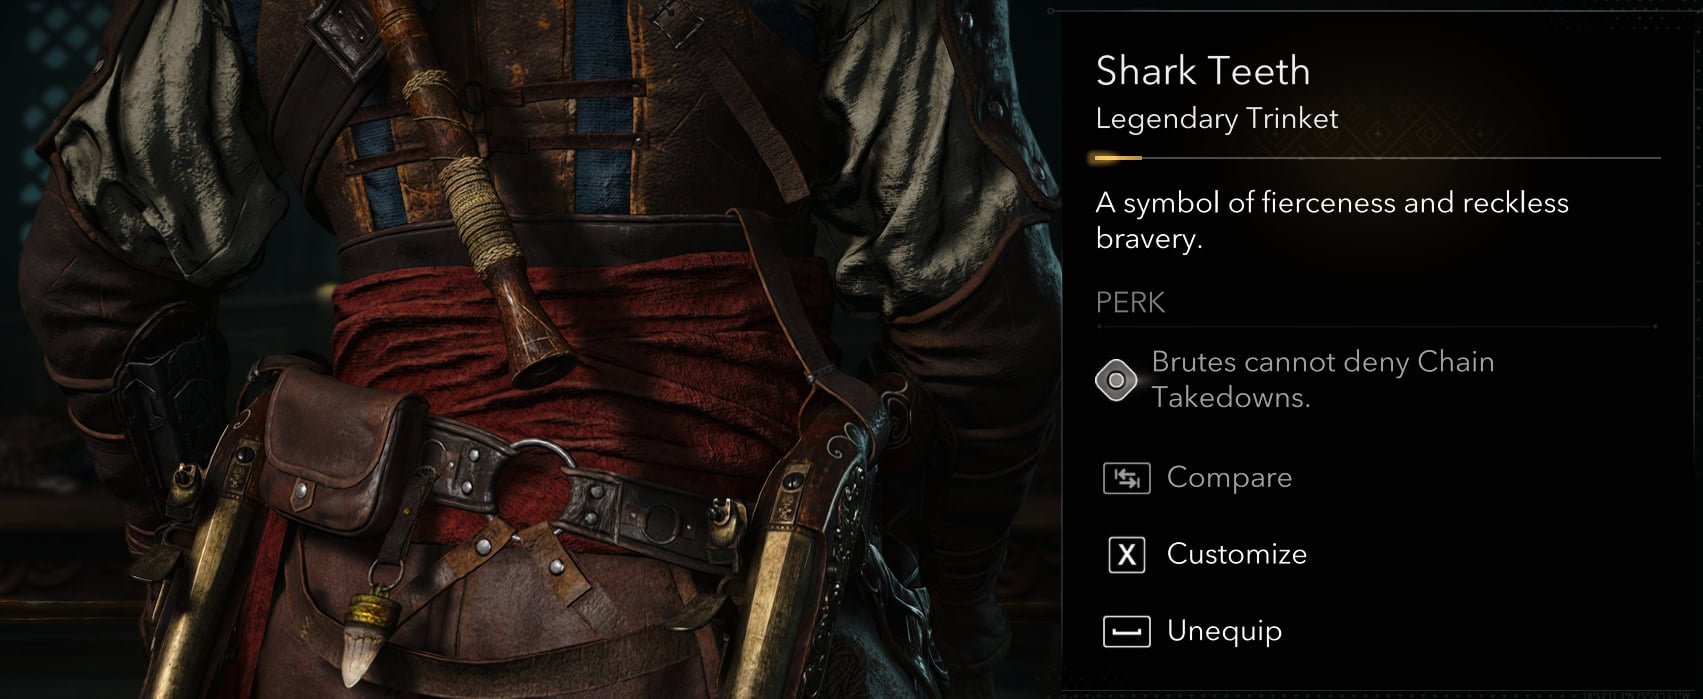
The Shark Teeth Trinket is great for taking down Brutes with Takedown Chains. This will have no effect on Captains, so try to aim for regular soldiers and Brutes with this.
As all the Forts are controlled by the British or Spanish, the Cross Pendant and Bloody Spanish Medal are good choices to reduce damage taken from them as you’re on foot. Just be sure to swap out which one you need before aggroing a Fort.
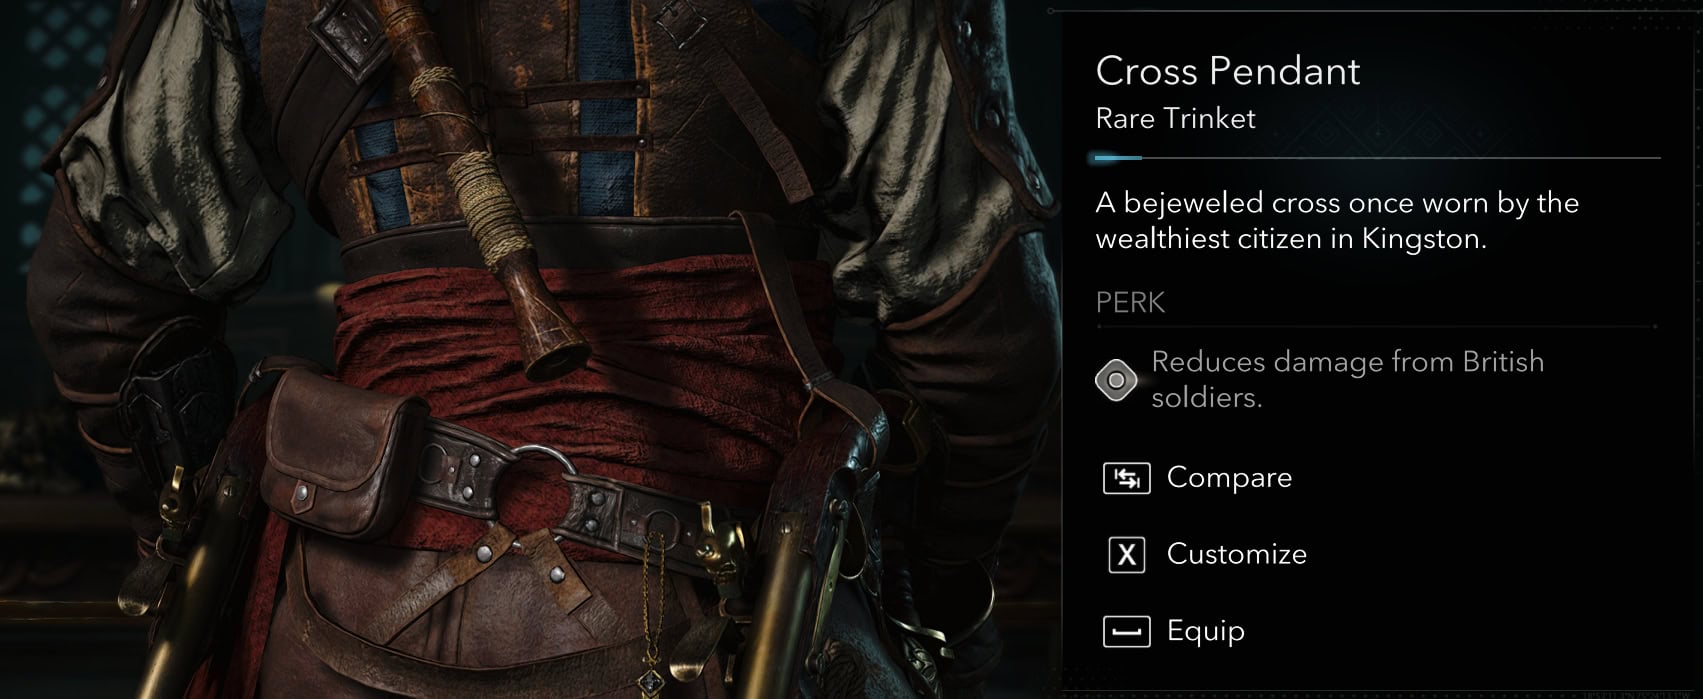
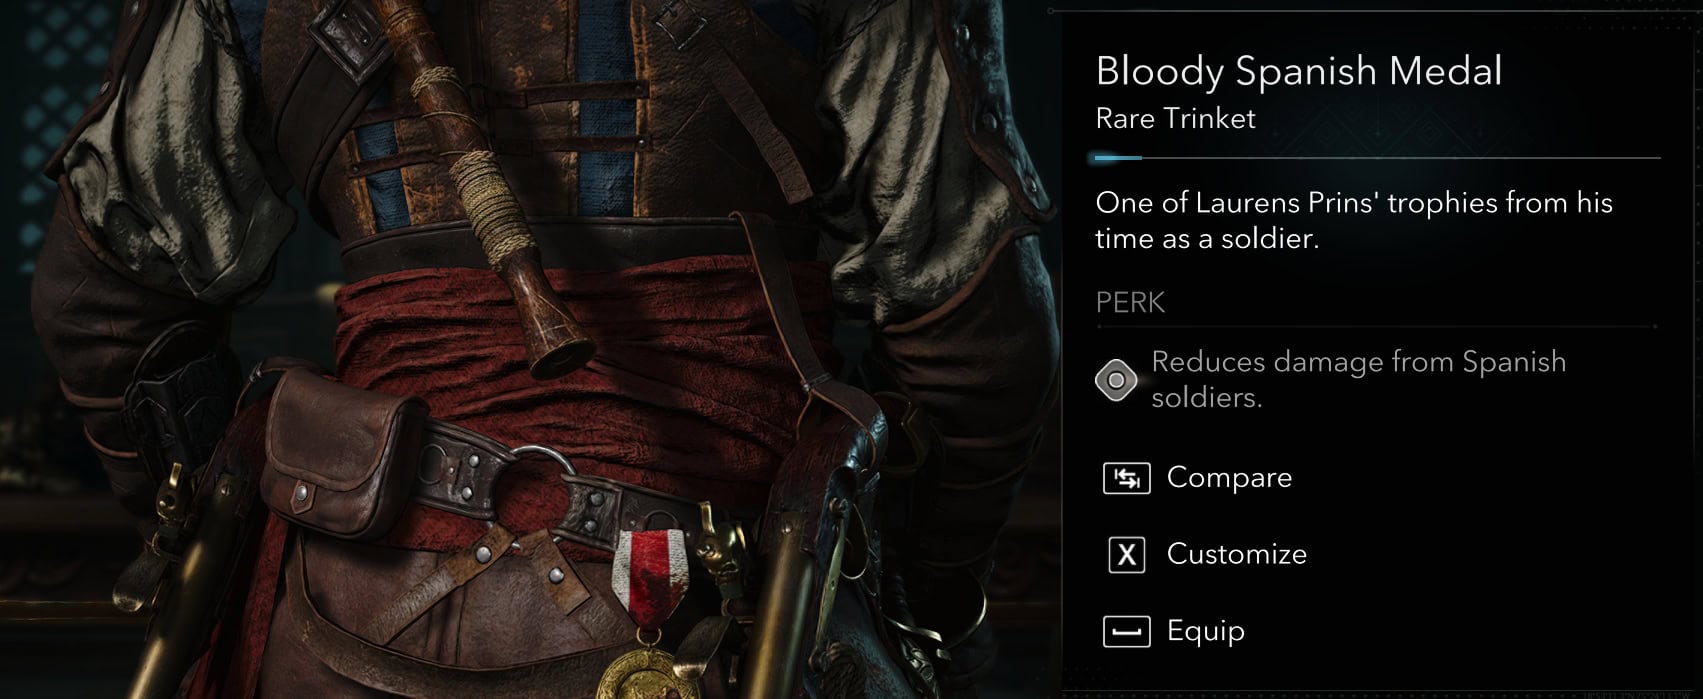
The Cross Pendant can be looted from a man in Kingston for the local event “Tithes Paid” in Kingston (616, 178). The Bloody Spanish Medal is also in Kingston in the same room you find Lauren Prins’ portrait (594,174).
Taking Over A Fort
When you’re properly equipped and have your confidence raised, it’s time to take on a Fort. As these are half naval battle and half ground battle, you must keep these key tips in mind if you want to survive and be efficient.
Take out Enemy Ships
If a Fort has ships to back it up, focus on incapacitating the ships first but do not sink them. Leave the ships disabled so you can use them for emergency repairs via boarding.
Focus Fire on Grouped Defenses
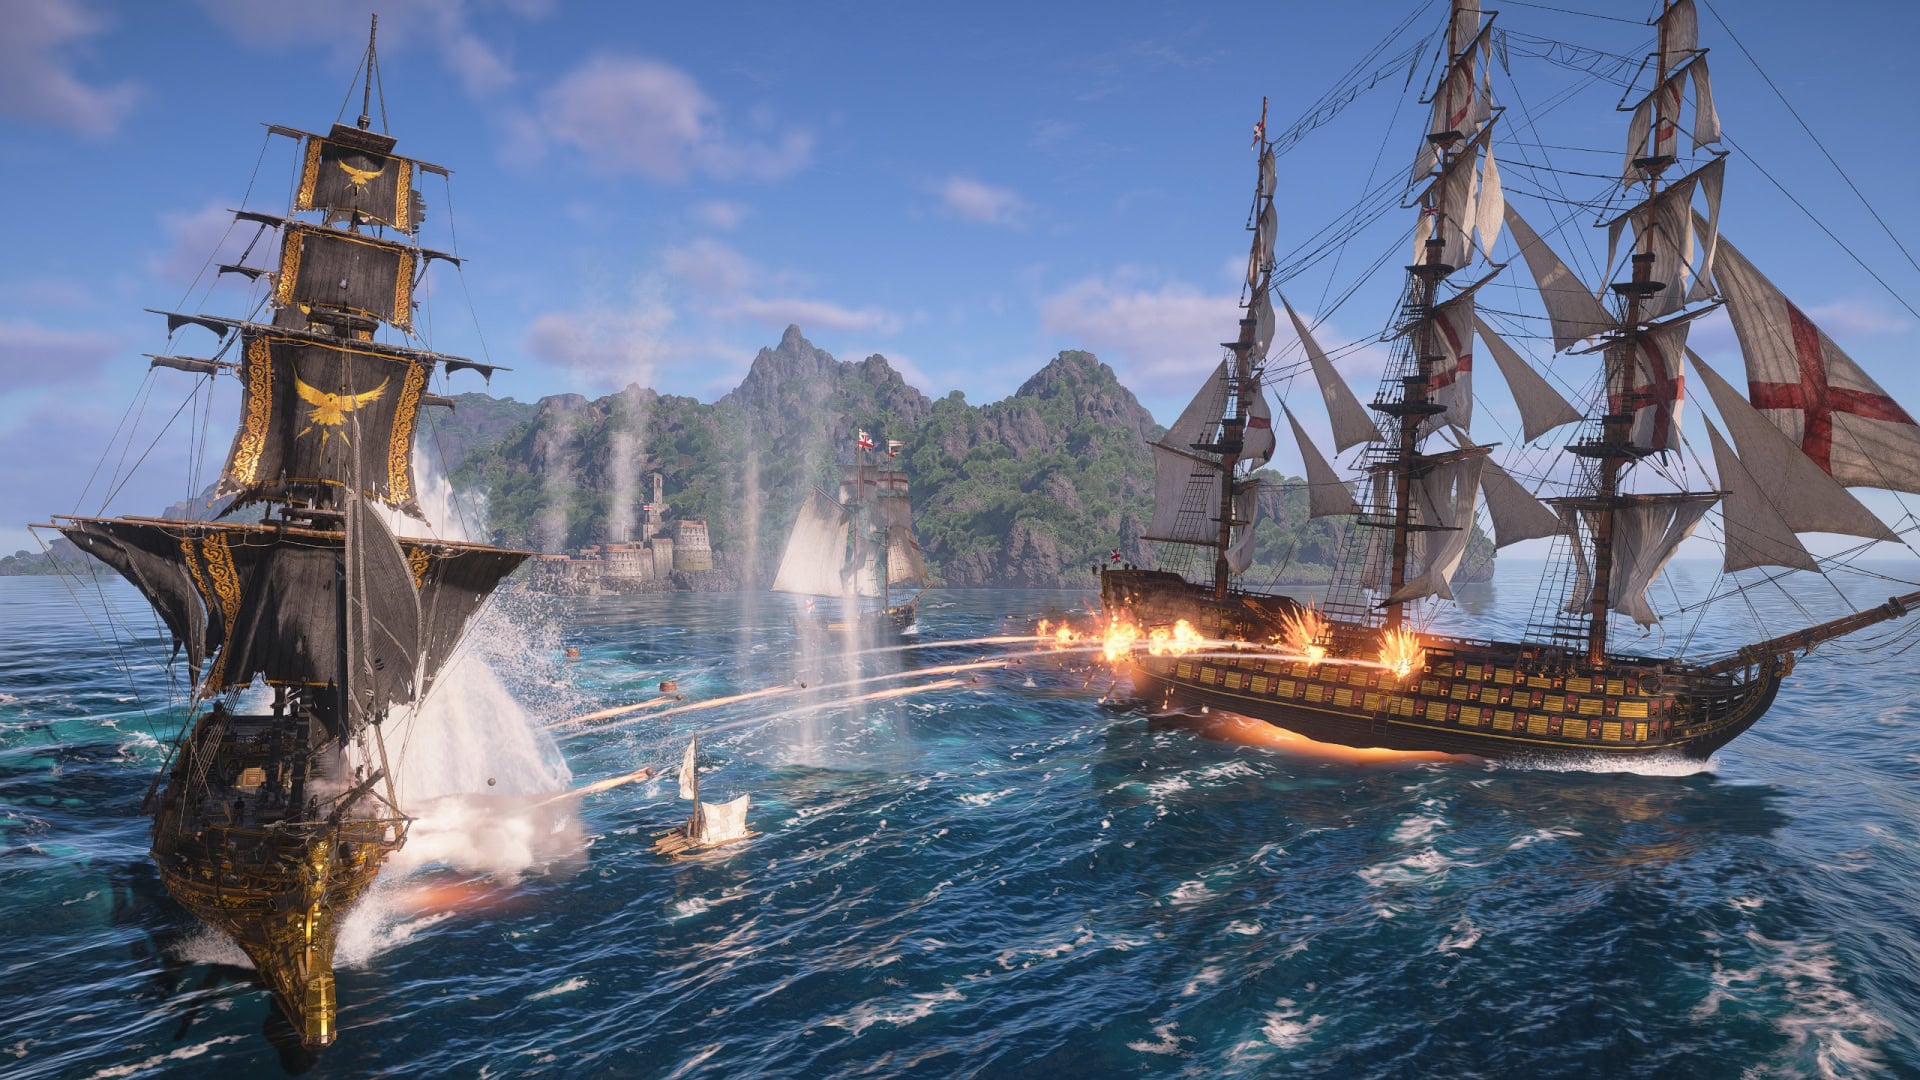
You only have so many Mortar shots, so make each one count. Focus your attention on defenses that are tightly grouped together so your Mortars them all. It’s better to take on stragglers with your Broadside Cannons if you run out of Mortar Ammo, rather than dealing with a bunch of defenses.
Maintain your Distance from the Fort
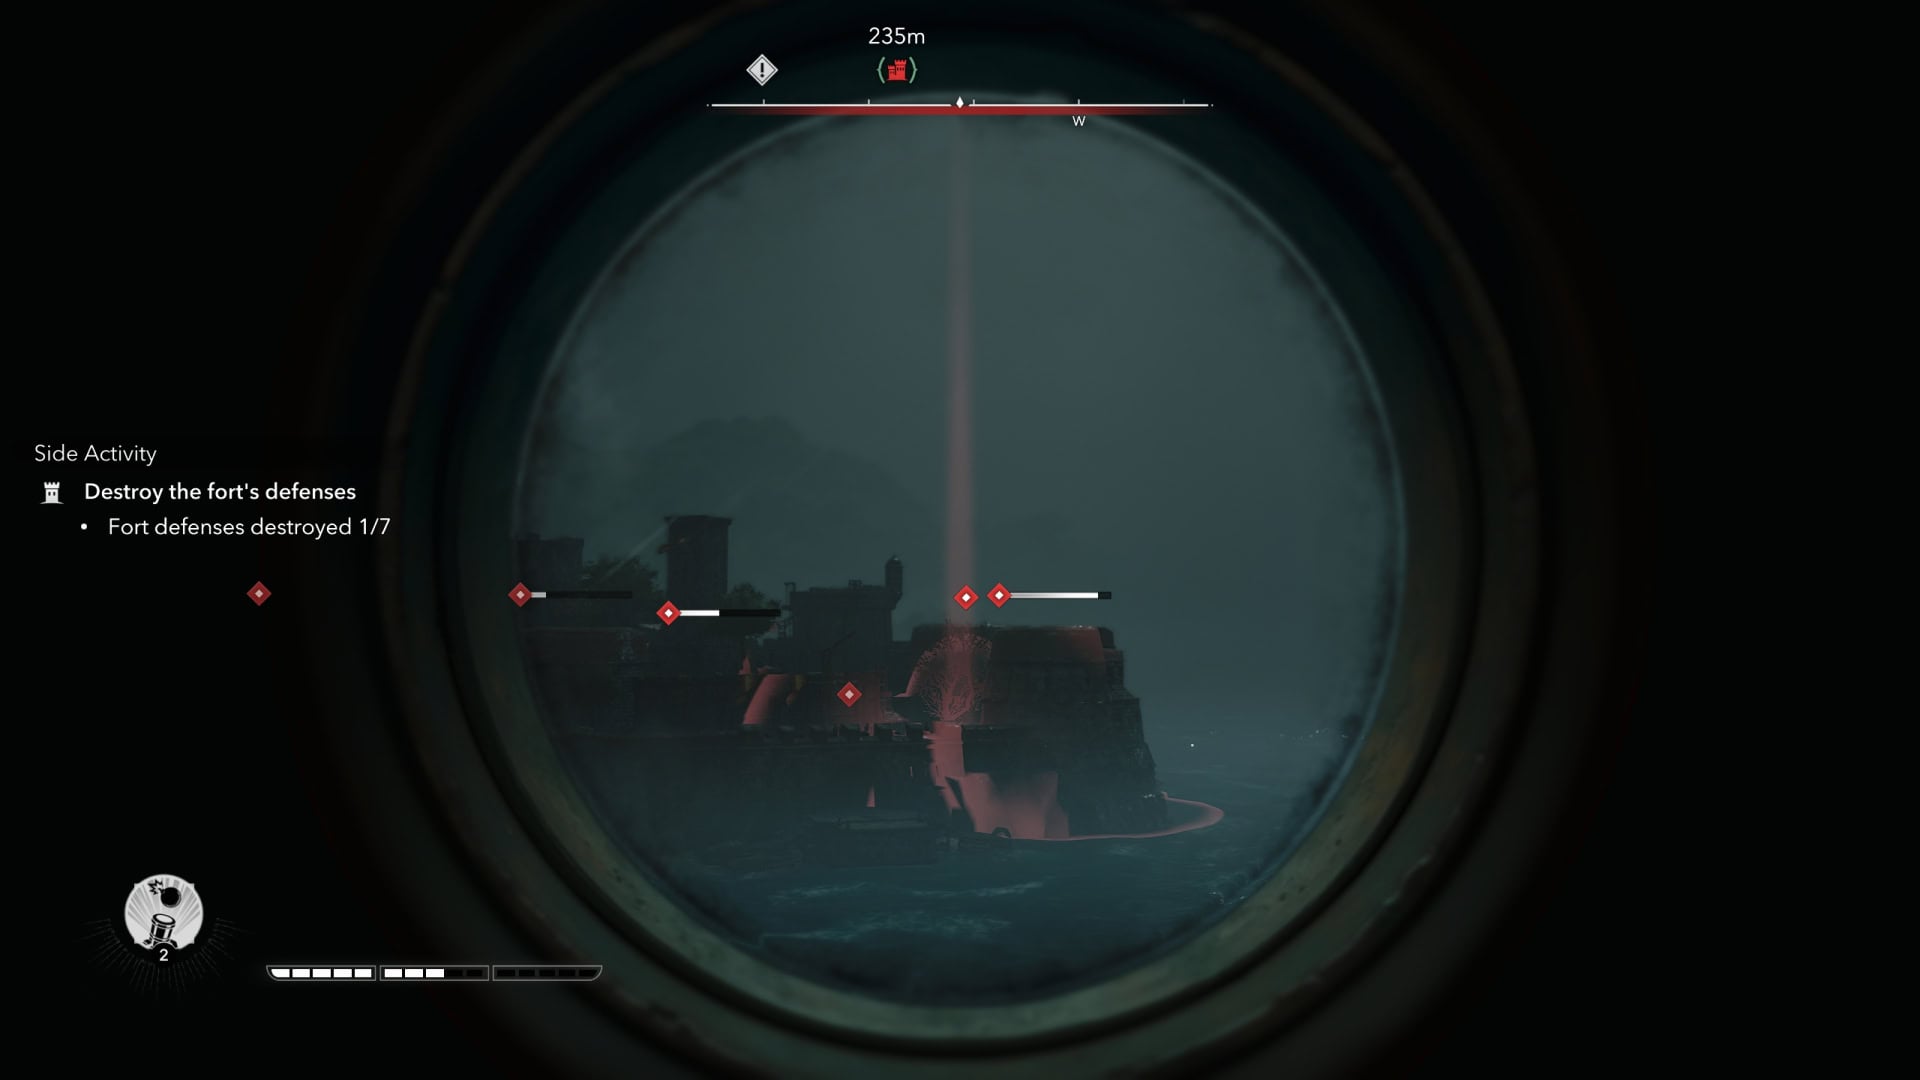
The Fort can hit up up to 500 meters away with its mortars and 350 meters away with its cannons. If you’re using Mortars, try to stay between 350 and 500 meters from the Fort. This forces both you and the Fort to use mortars against one another. Unlike the fort, you can move out of the way.
If you’re out of mortar rounds, you’ll need to rely on your Round and Heated Shots from your Broadside Cannons. Try to stay at least 250 meters away if you’re using the Round Shot, or 200 meters with the Heated Shot.
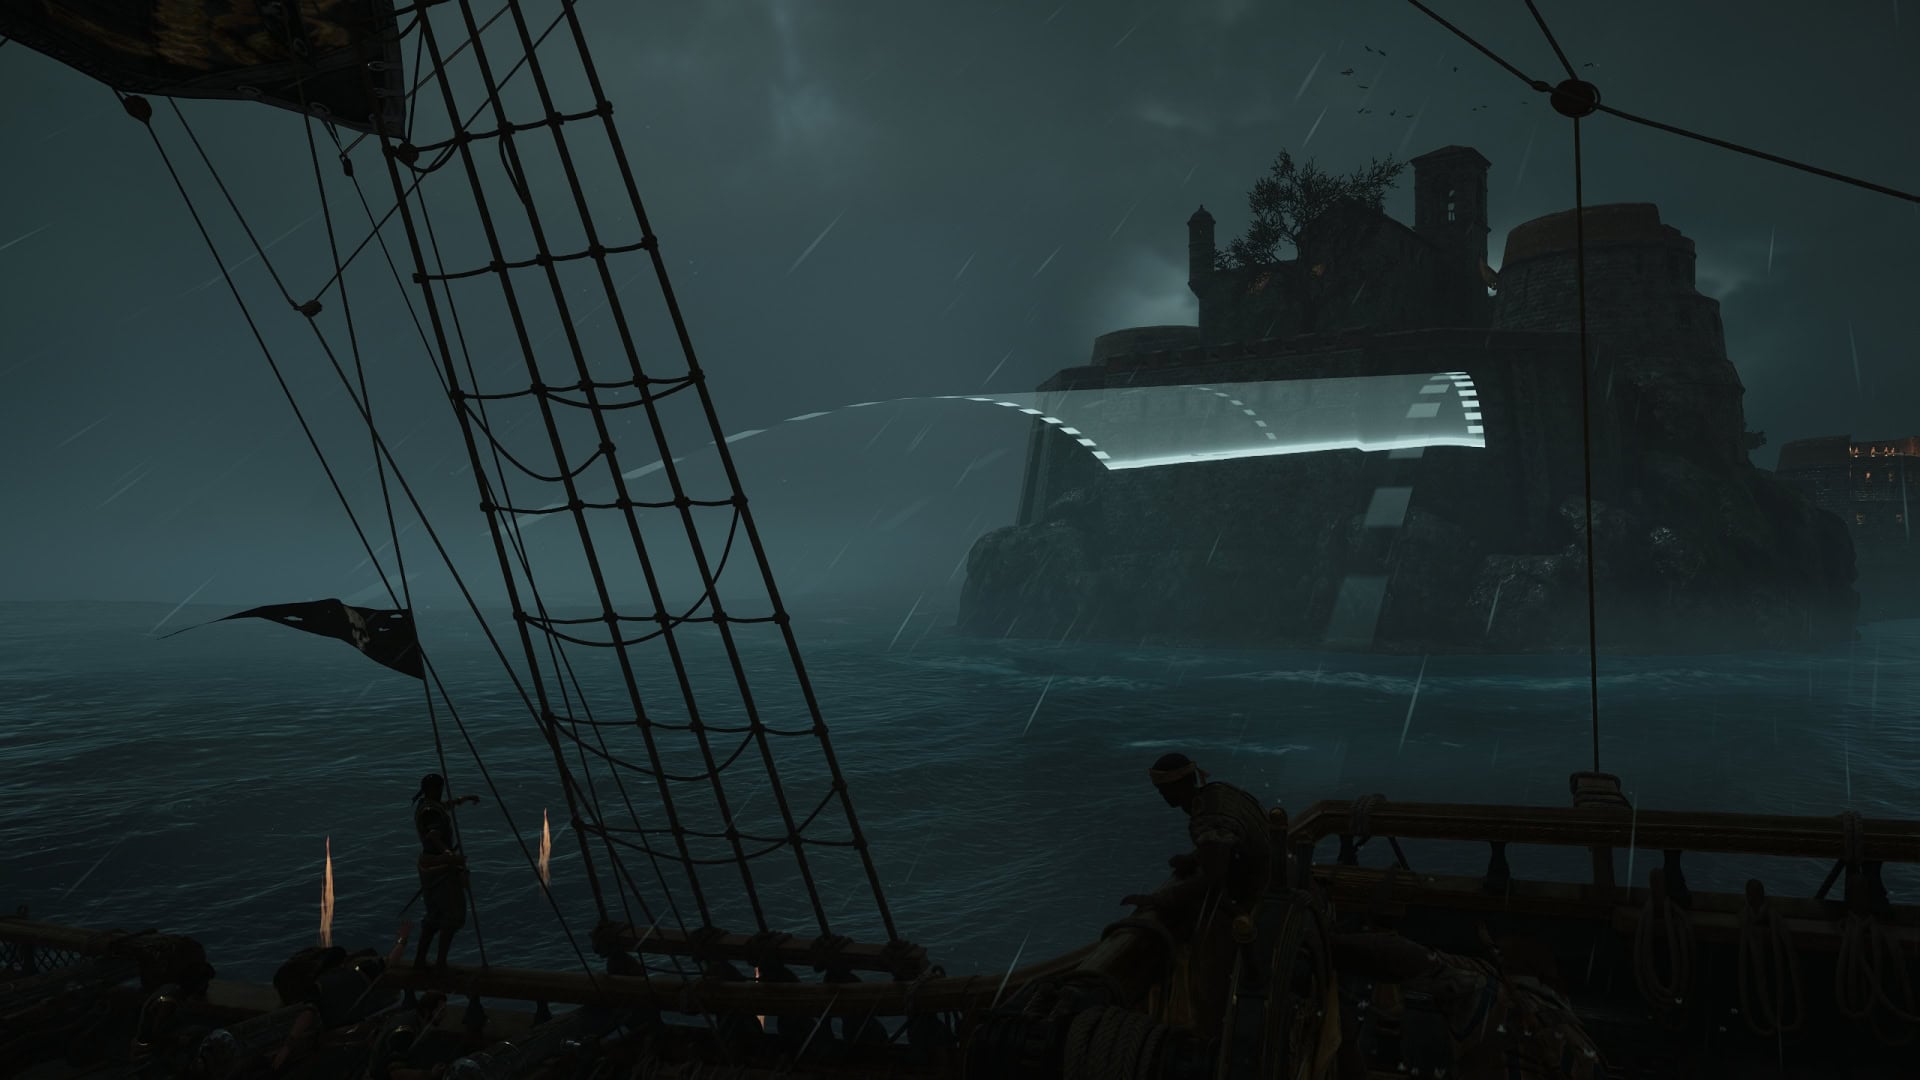
You don’t want to be super close to a Fort for two reasons. The first being is that the distance gives you time to prepare a Perfect Brace. The second reason is that an elevated Fort might not be able to be hit by your Broadside Cannons if you’re too close.
Storming the Fort
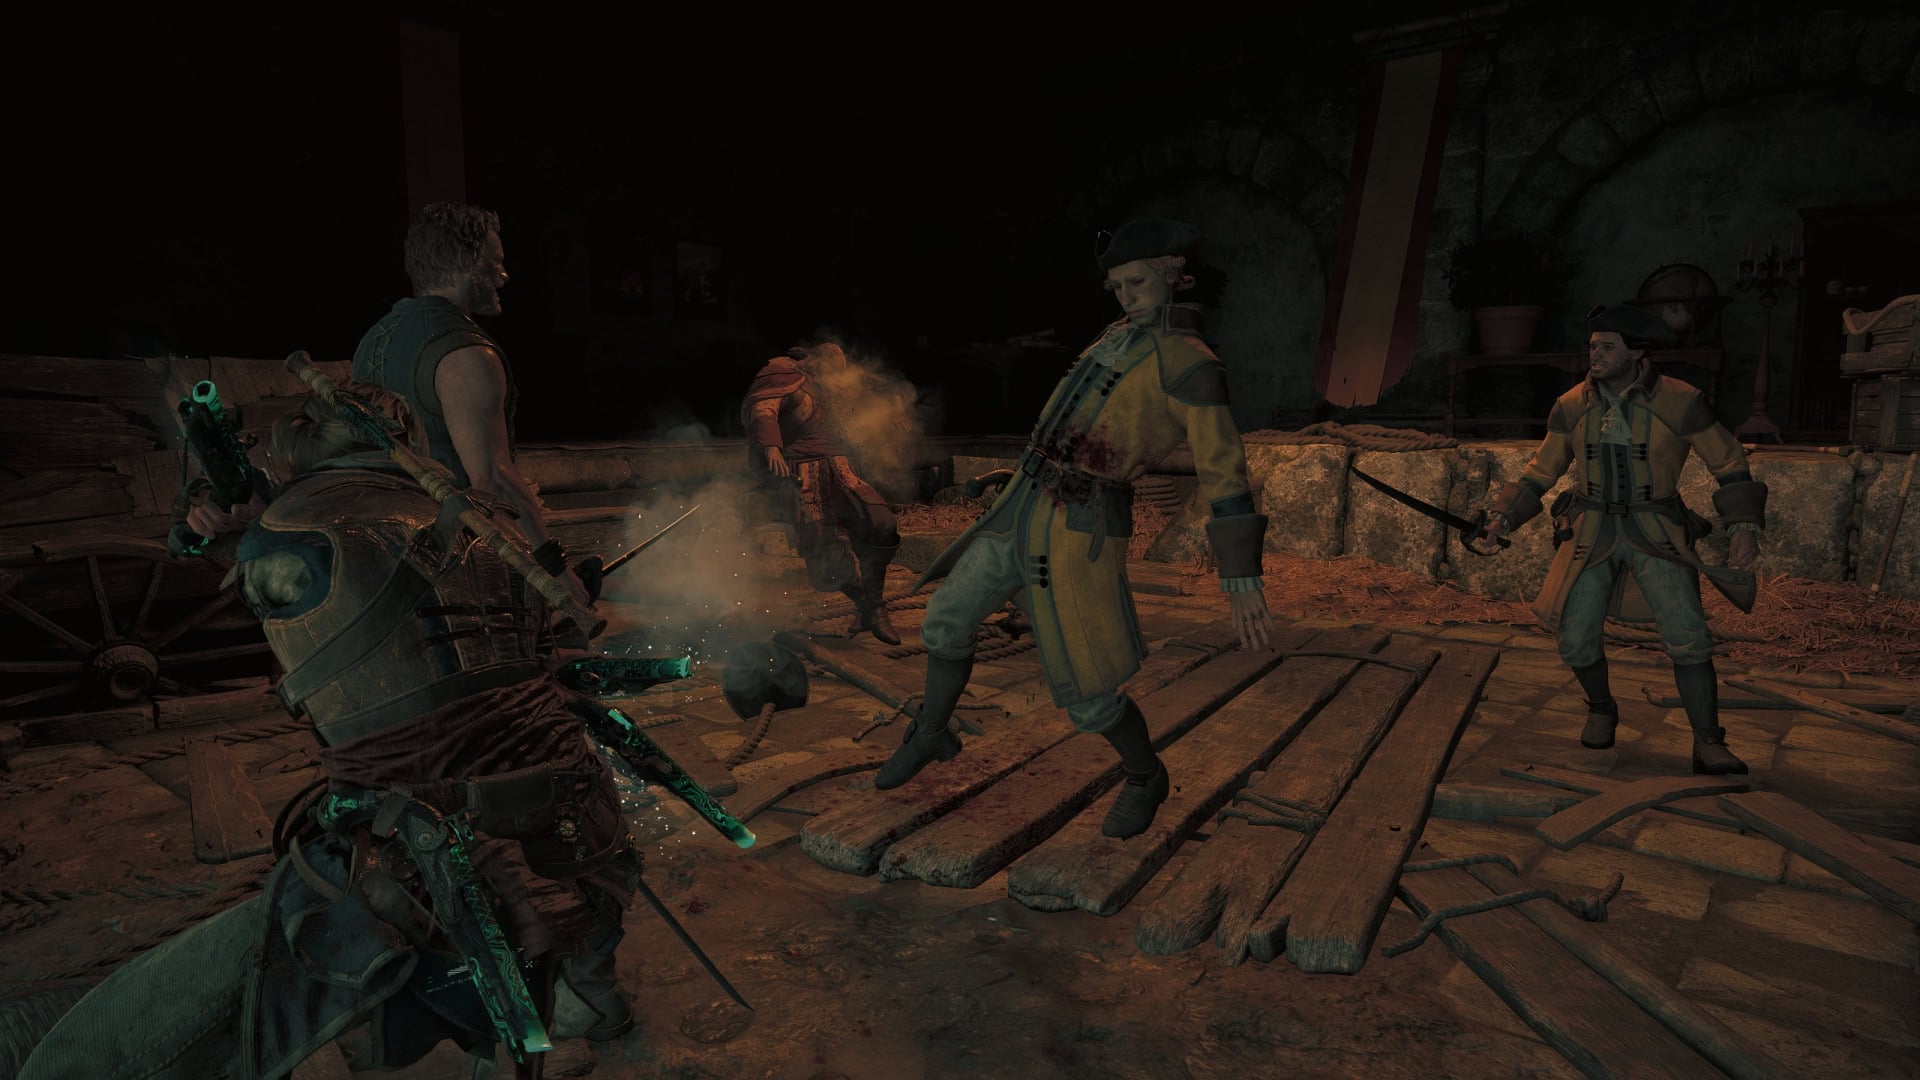
Storming a Fort on foot is like boarding a ship. You’ll need to defeat a certain amount of enemies before you can reach the final phase. In the case of Forts, killing enough soldiers will have them surrender and allow you to enter the Commander’s Room.
Takedown Chains are good for taking down multiple enemies in a short amount of time if you’re good at parrying. Pistols are also a great way to effectively whittle down their numbers quickly. Just be sure to save some bullets for the Commander.
Use Eagle Vision
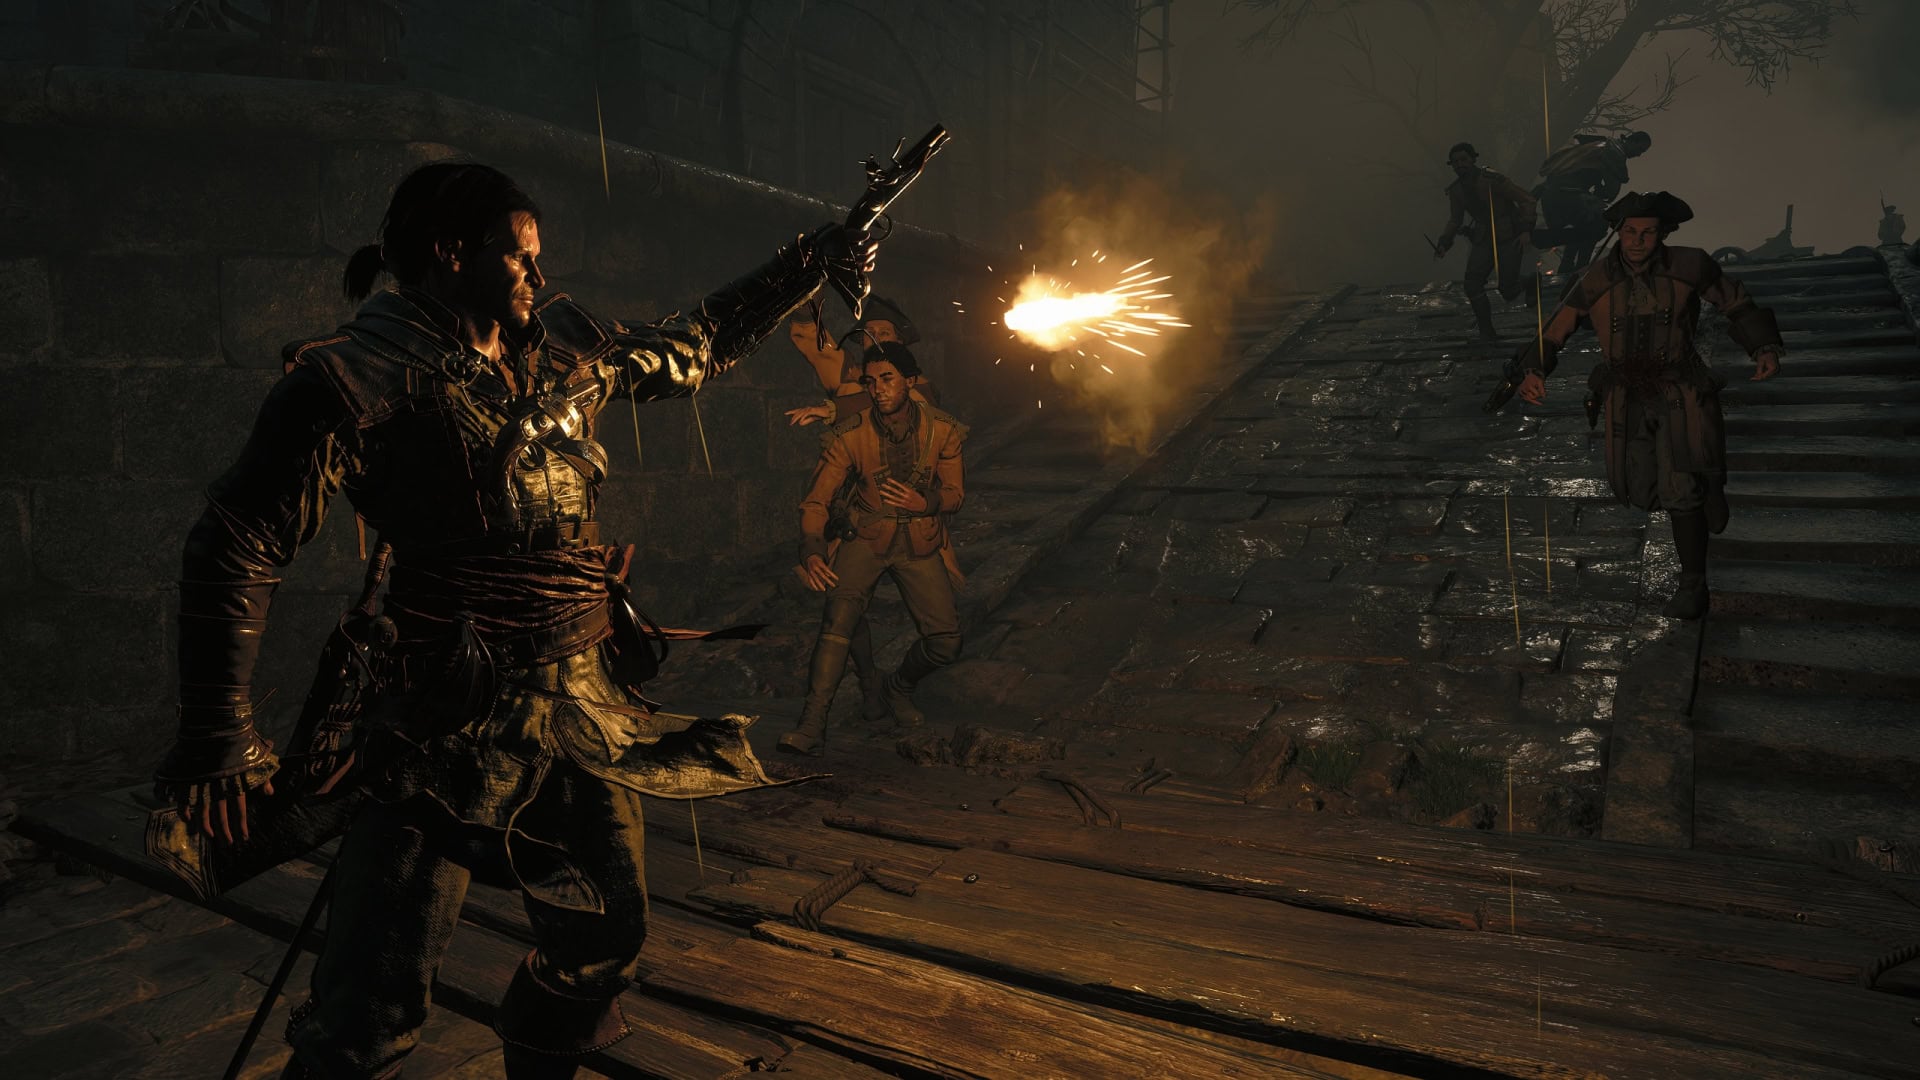
As you storm a Fort, you may run out of easily accessible soldiers to kill. Remember to use your Eagle Vision to find anyone who may be at a higher elevation or otherwise out of your field of view.
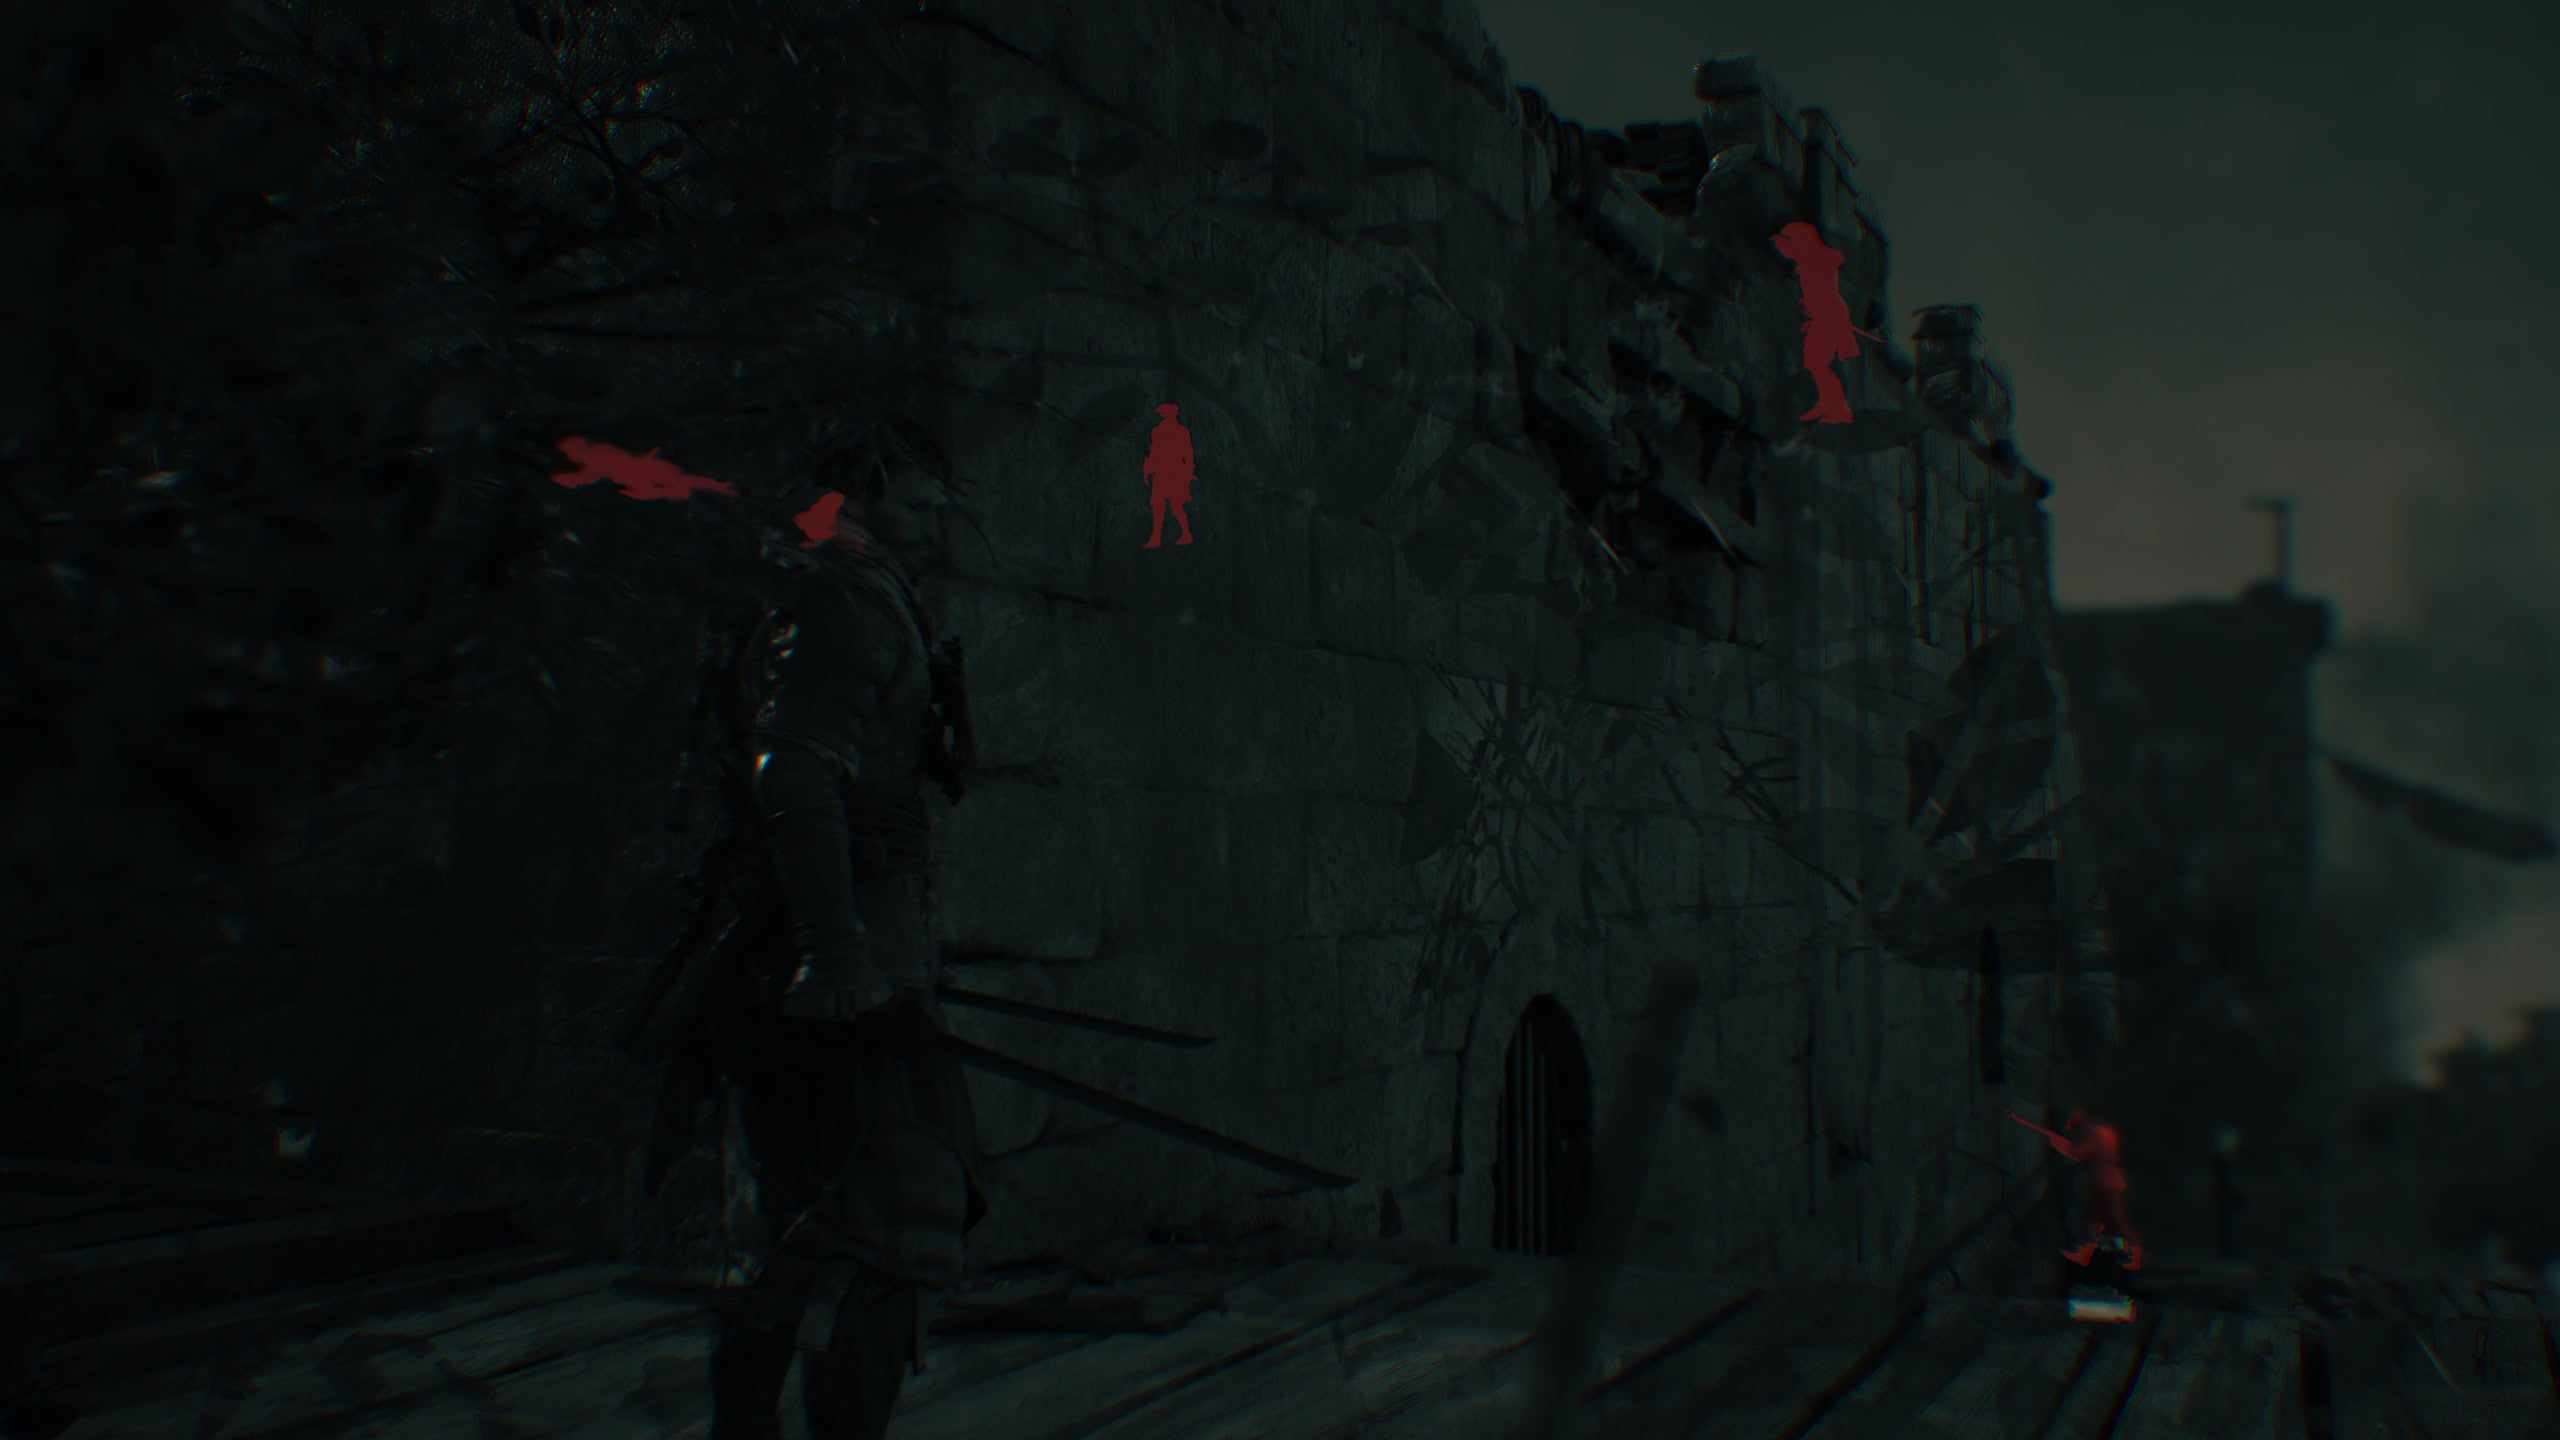
Save some bullets for the Commander
The sooner you can take over the Fort the better, so saving at least two bullets to kill the Commander is ideal. As soon as the Commander is dead, a short cutscene will place where you replace the Fort’s flag with a black one.
List of Forts and their Rewards
Now that you know the process for taking down a Fort, you’re likely curious about what exactly you’ll earn.
This section will tell you what rewards you’ll loot along with any extra goodies such as ship upgrades and vanity items.
| Icon | Tier | Difficulty |
|---|---|---|
 | Tier I | Easy |
 | Tier 2 | Medium |
 | Tier 3 | Difficult |
Fort Dry Tortuga (Tier 1)
Fort Dry Tortuga is found in the middle of Dry Tortuga (223,722) and only has a measly 3 defenses. This Fort is one of the easiest Forts to take over and offers a great reward, take over it as soon as you’re able.
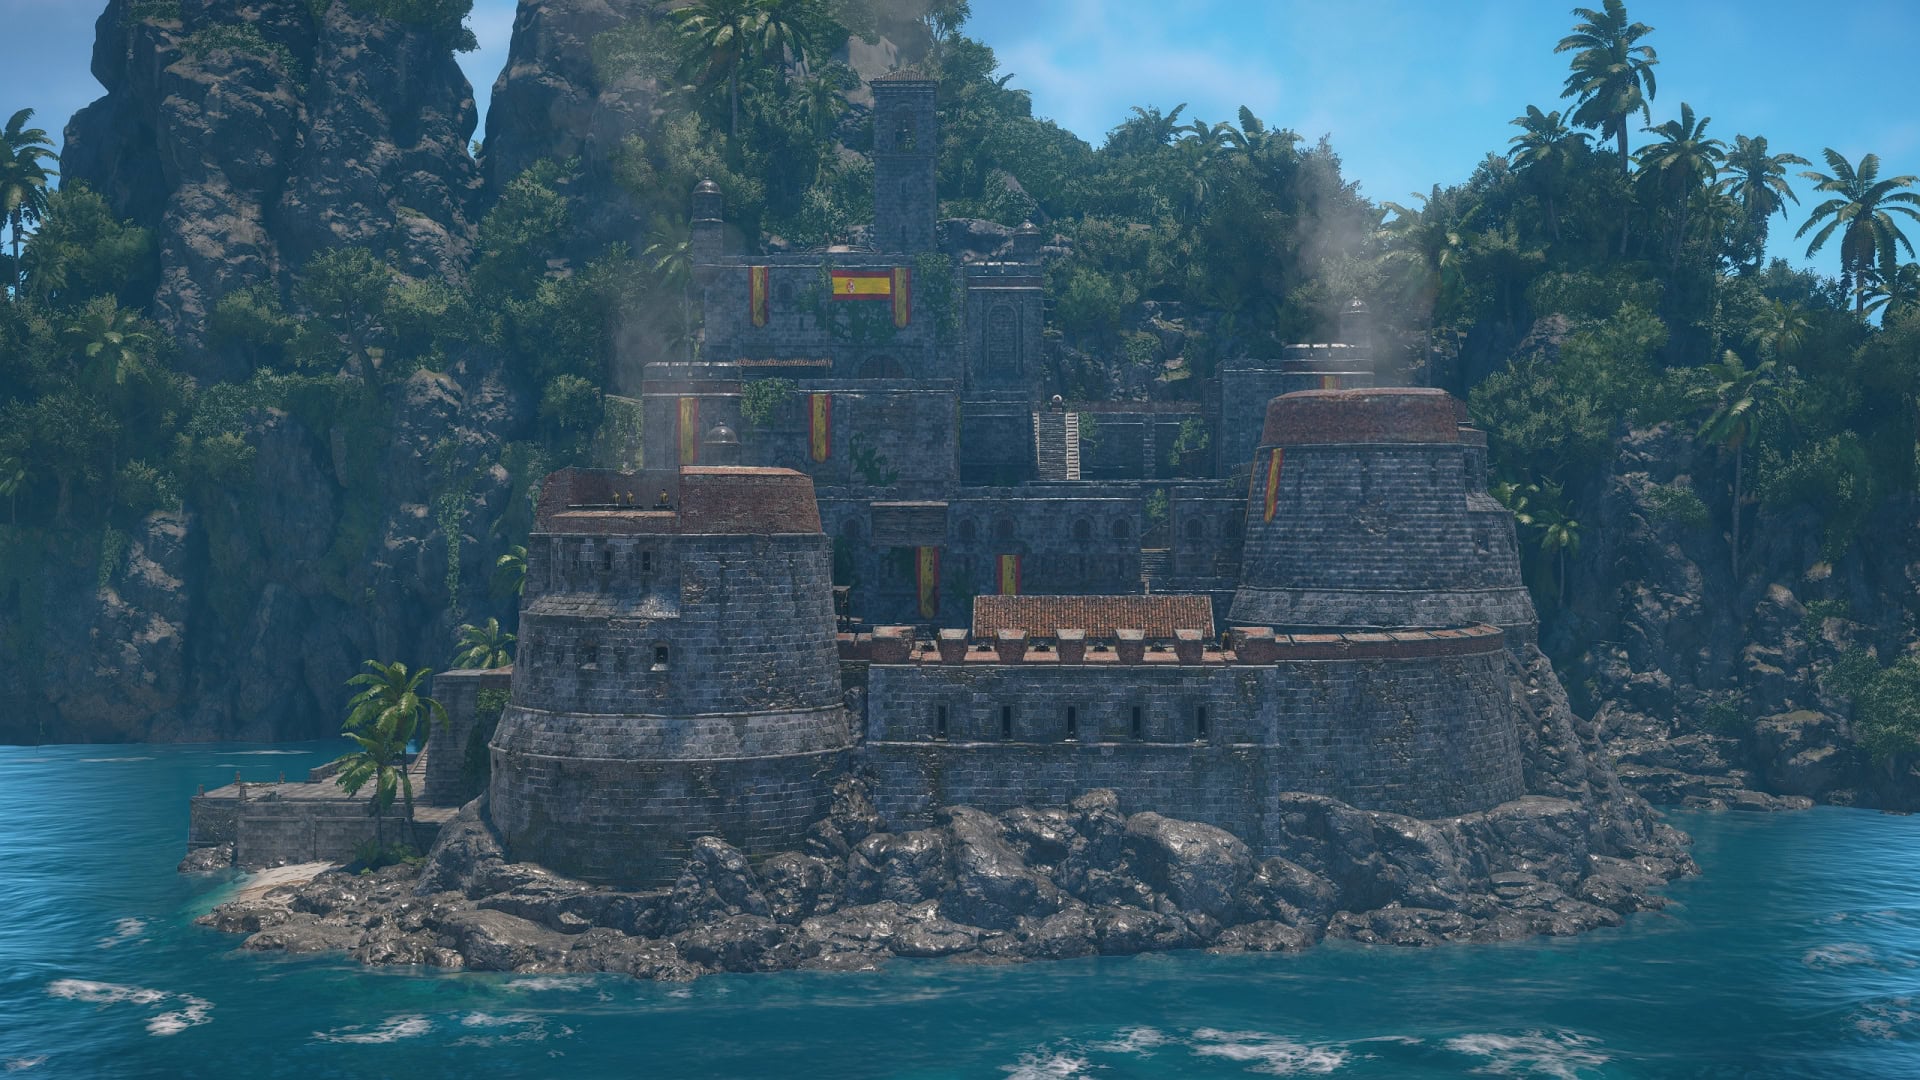
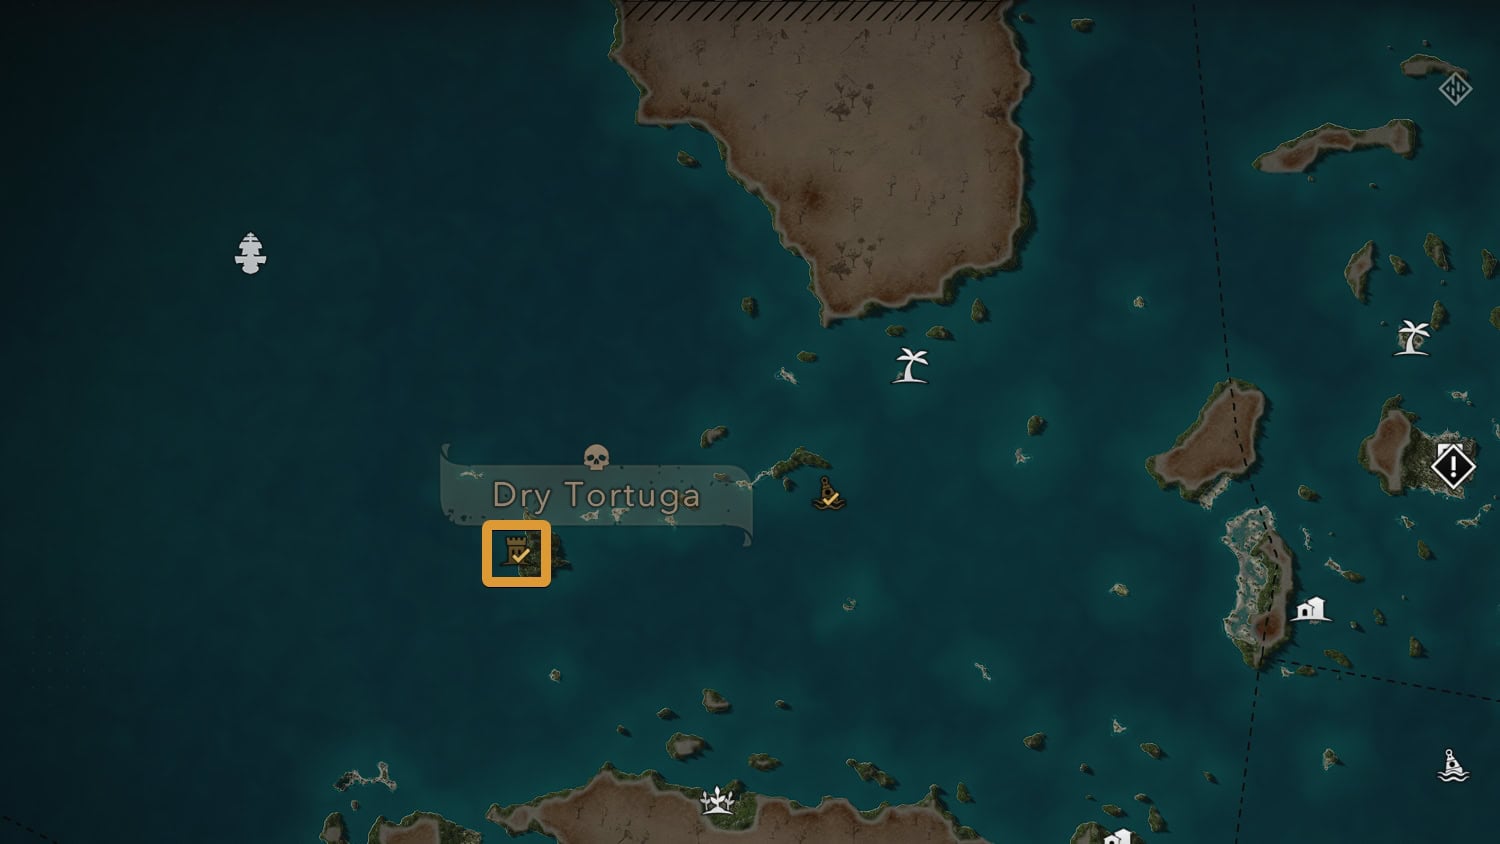
By taking over Fort Dry Tortuga, you’ll unlock the Double Shot Front Cannons. These are great for dealing more damage to a target in front of you when compared to the Chain Shot, which is more for Crowd Control.
You’ll also unlock the Legendary Ship, El Impoluto (The Immaculate One). If you took over this Fort in the early game, do not attempt to fight it. Return when the Jackdaw is fully upgraded.
| Item | Icon | Quantity |
|---|---|---|
| Reales |  | 3,000 |
| Wood |  | 100 |
| Metal |  | 250 |
| Cloth |  | 50 |
| Ship Ammo | Varies | |
| Crew | Varies | |
| Double Shot Upgrade |  | + |
Fort Eleuthera (Tier 1)
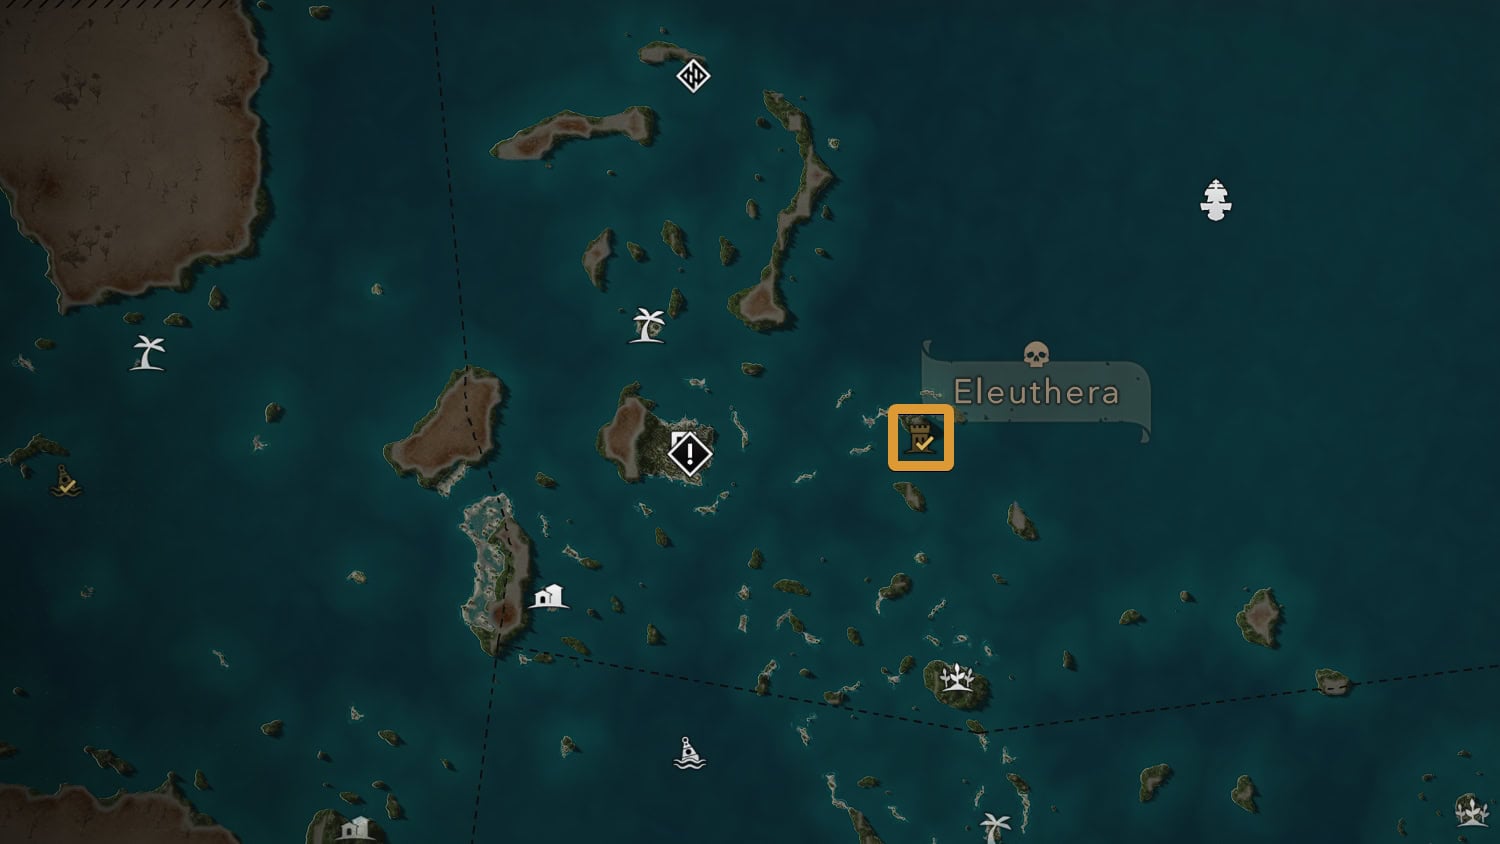
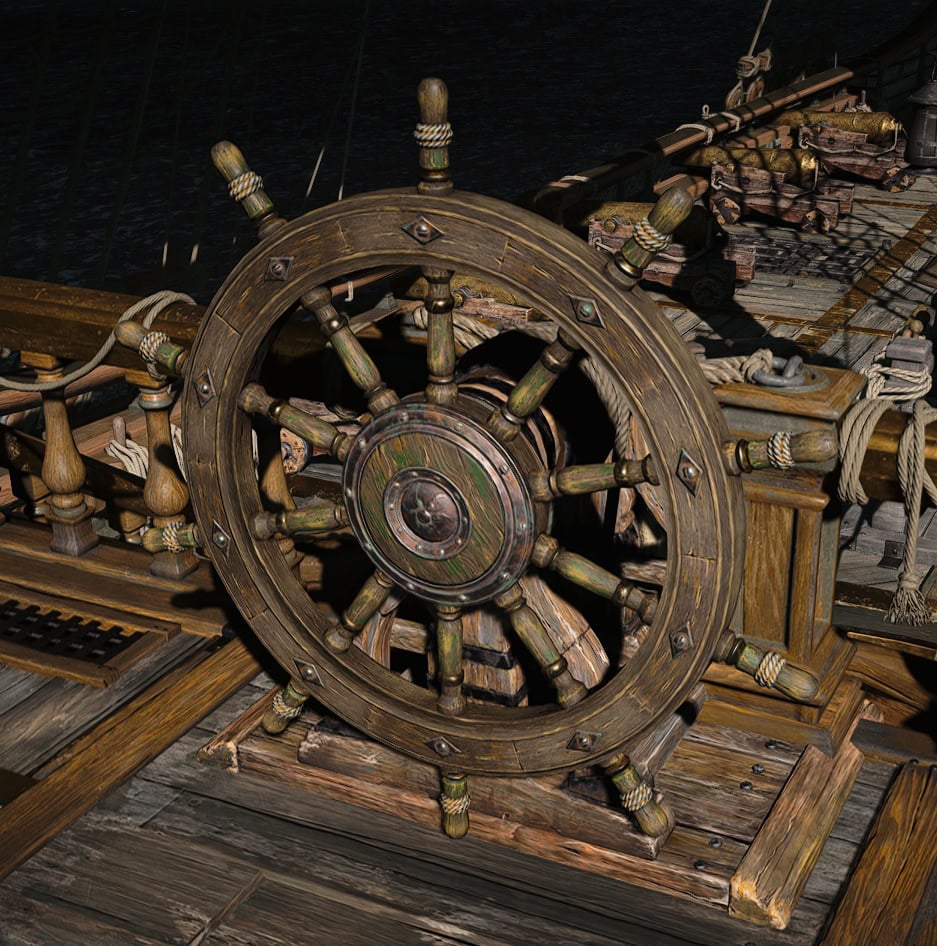
Fort Eleuthera is a straight shot east of Nassau at (692,762). Fort Eleuthera has a total of 4 defenses. By taking over this Fort, you’ll unlock the Legendary Ships, HMS Fearless & Royal Sovereign.
Fort Eleuthera gives the Eye of the Sea Wheel for the Jackdaw. It’s a humble wooden wheel with some bits of algae.
| Item | Icon | Quantity |
|---|---|---|
| Reales | | 3,000 |
| Wood | | 100 |
| Metal | | 250 |
| Cloth | | 50 |
| Ship Ammo | Varies | |
| Crew |  | Varies |
| Eye of the Sea Wheel | ▼ |
Fort Gibara (Tier 1)
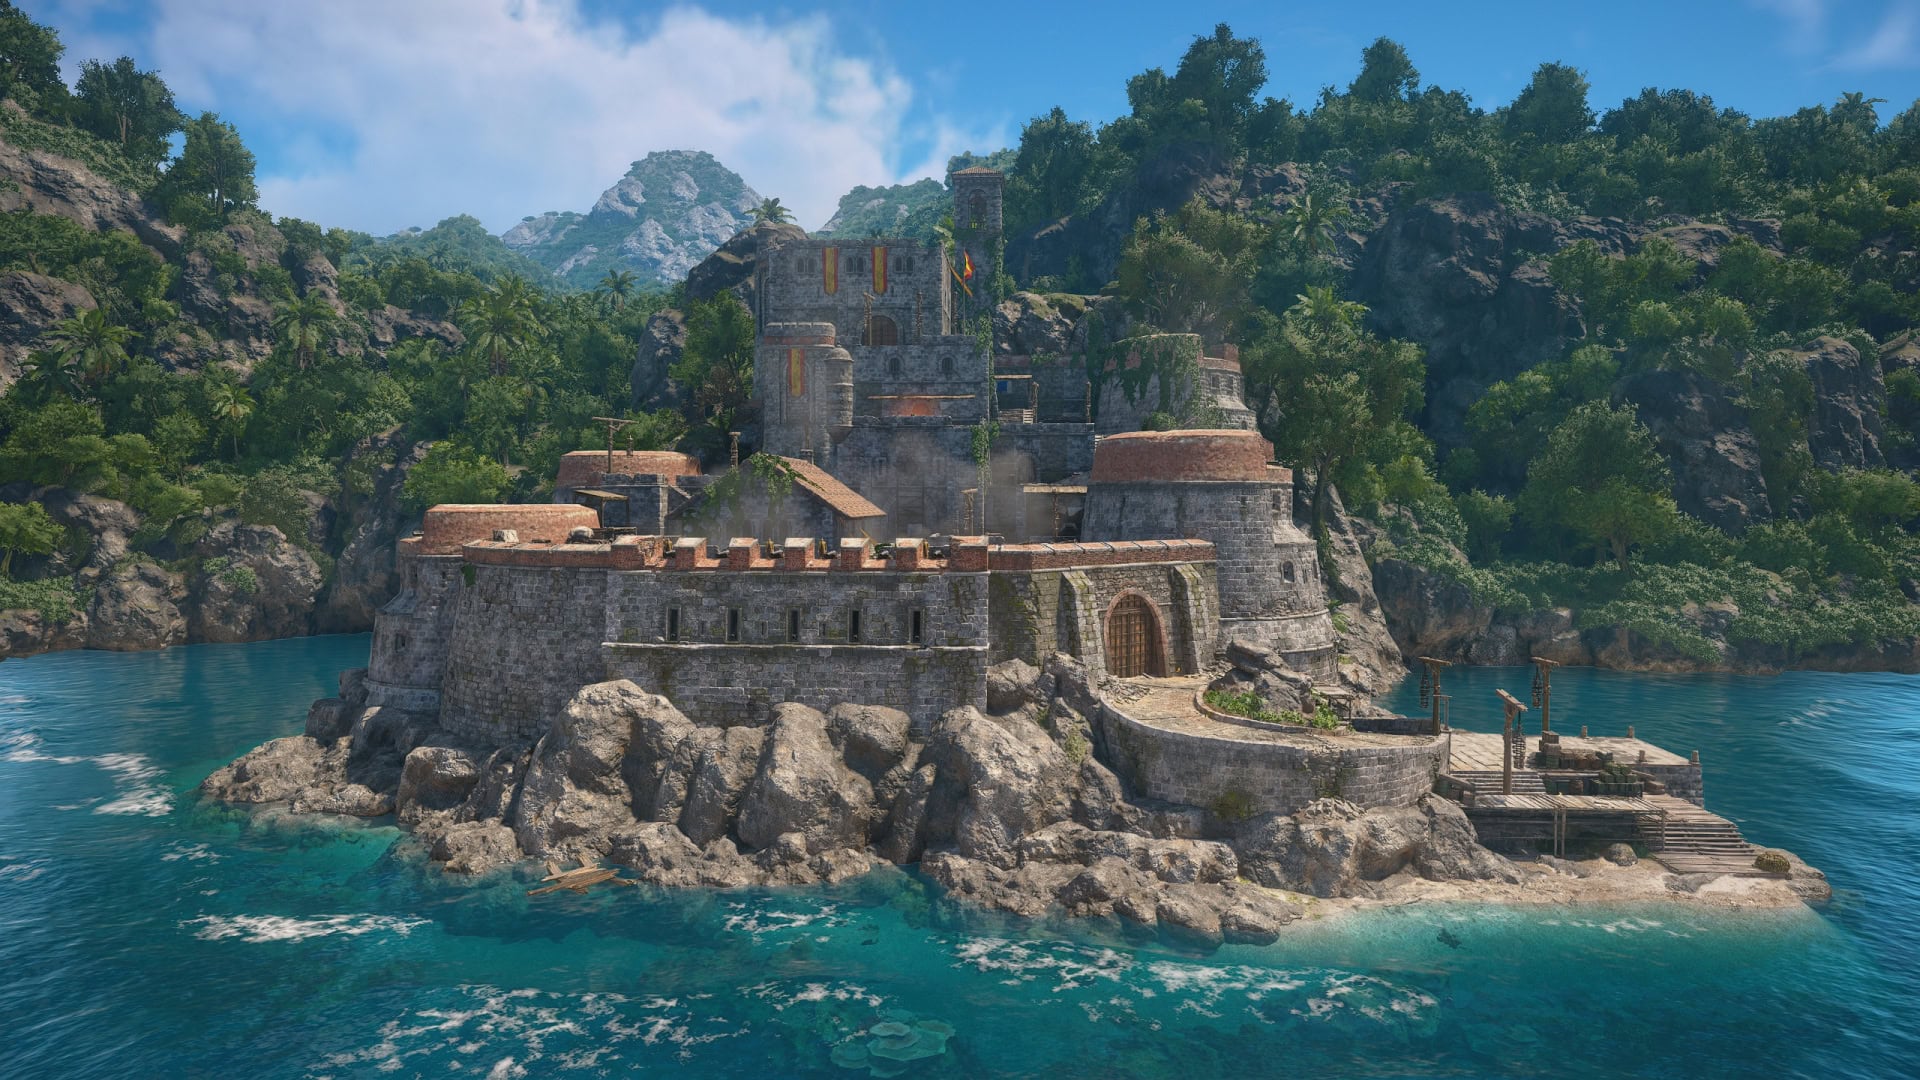
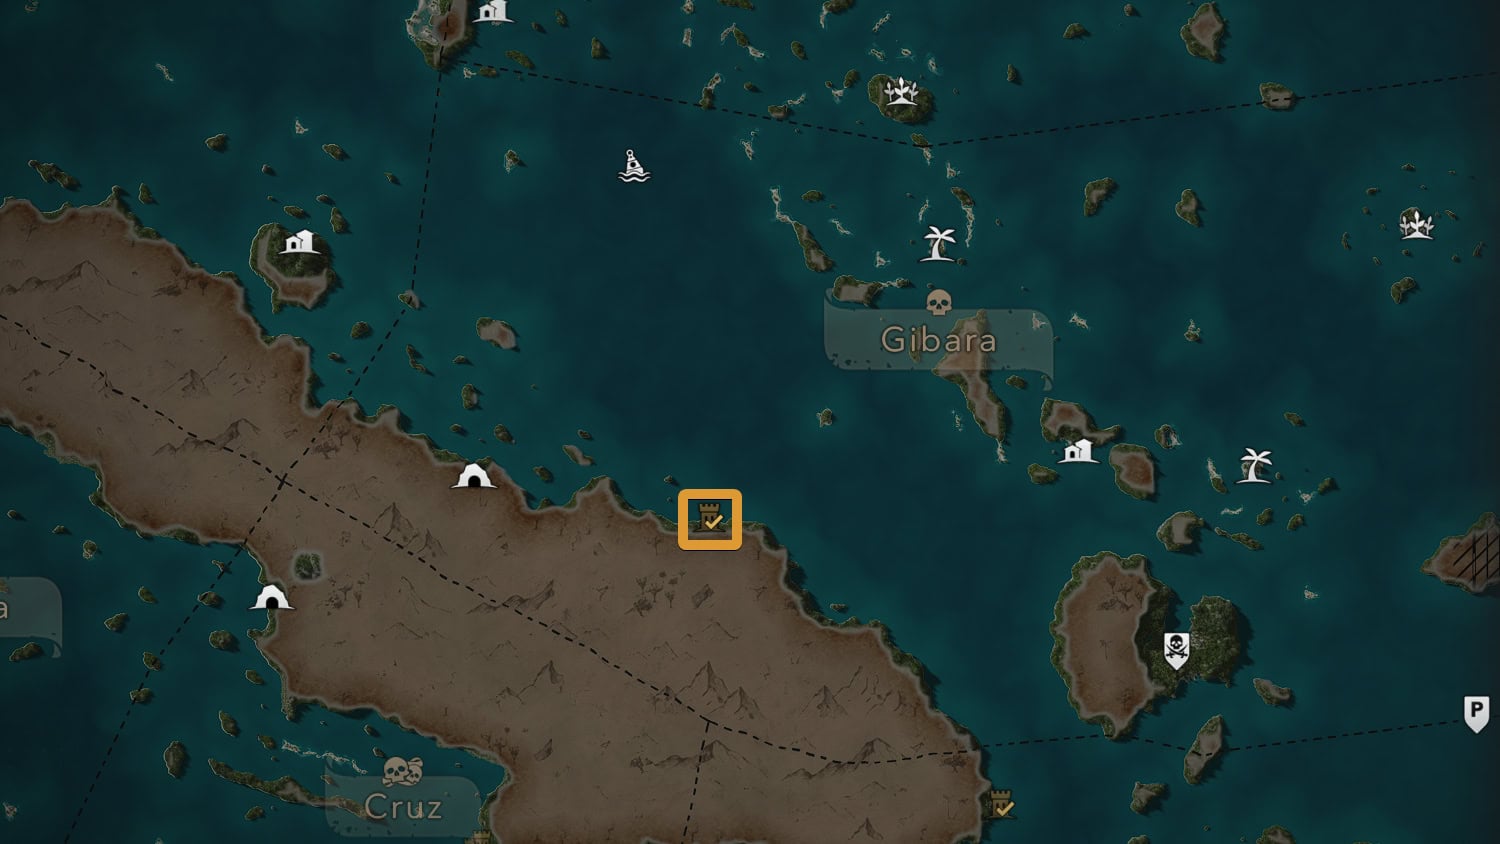
You’ll find Fort Gibara is a short trip west of Great Inagua at (630,494). It has 4 defenses that you’ll need to destroy before storming.
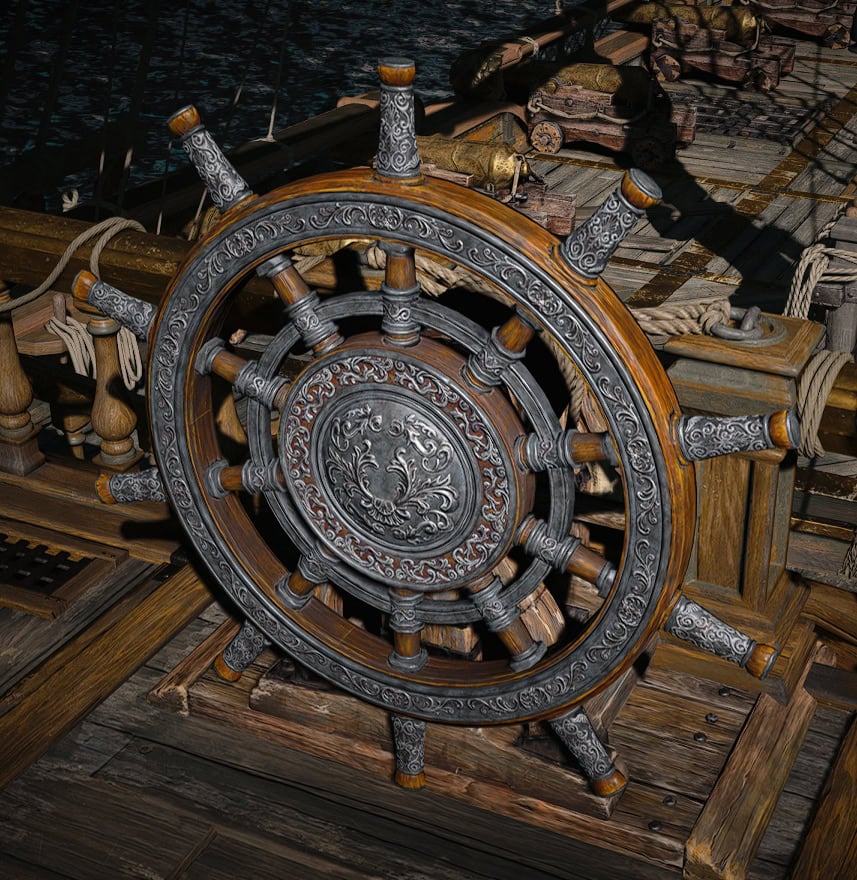
For your efforts, you’ll receive the Silver Wheel on top of the other rewards granted. This wheel evokes strength and beauty as the wheel becomes generously covered in silver and filigree.
| Item | Icon | Quantity |
|---|---|---|
| Reales | | 3,000 |
| Wood | | 100 |
| Metal | | 250 |
| Cloth | | 50 |
| Ship Ammo | Varies | |
| Crew | | Varies |
| Silver Wheel | ▼ |
Fort Punta Guarico (Tier 1)
This Fort will be inactive until you start the story mission, “The Forts”. It’s found at (747,379) and only houses 2 defenses. As it’s essentially the “Tutorial Fort”, it’s going to be the easiest one to take over despite being in Medium Waters.
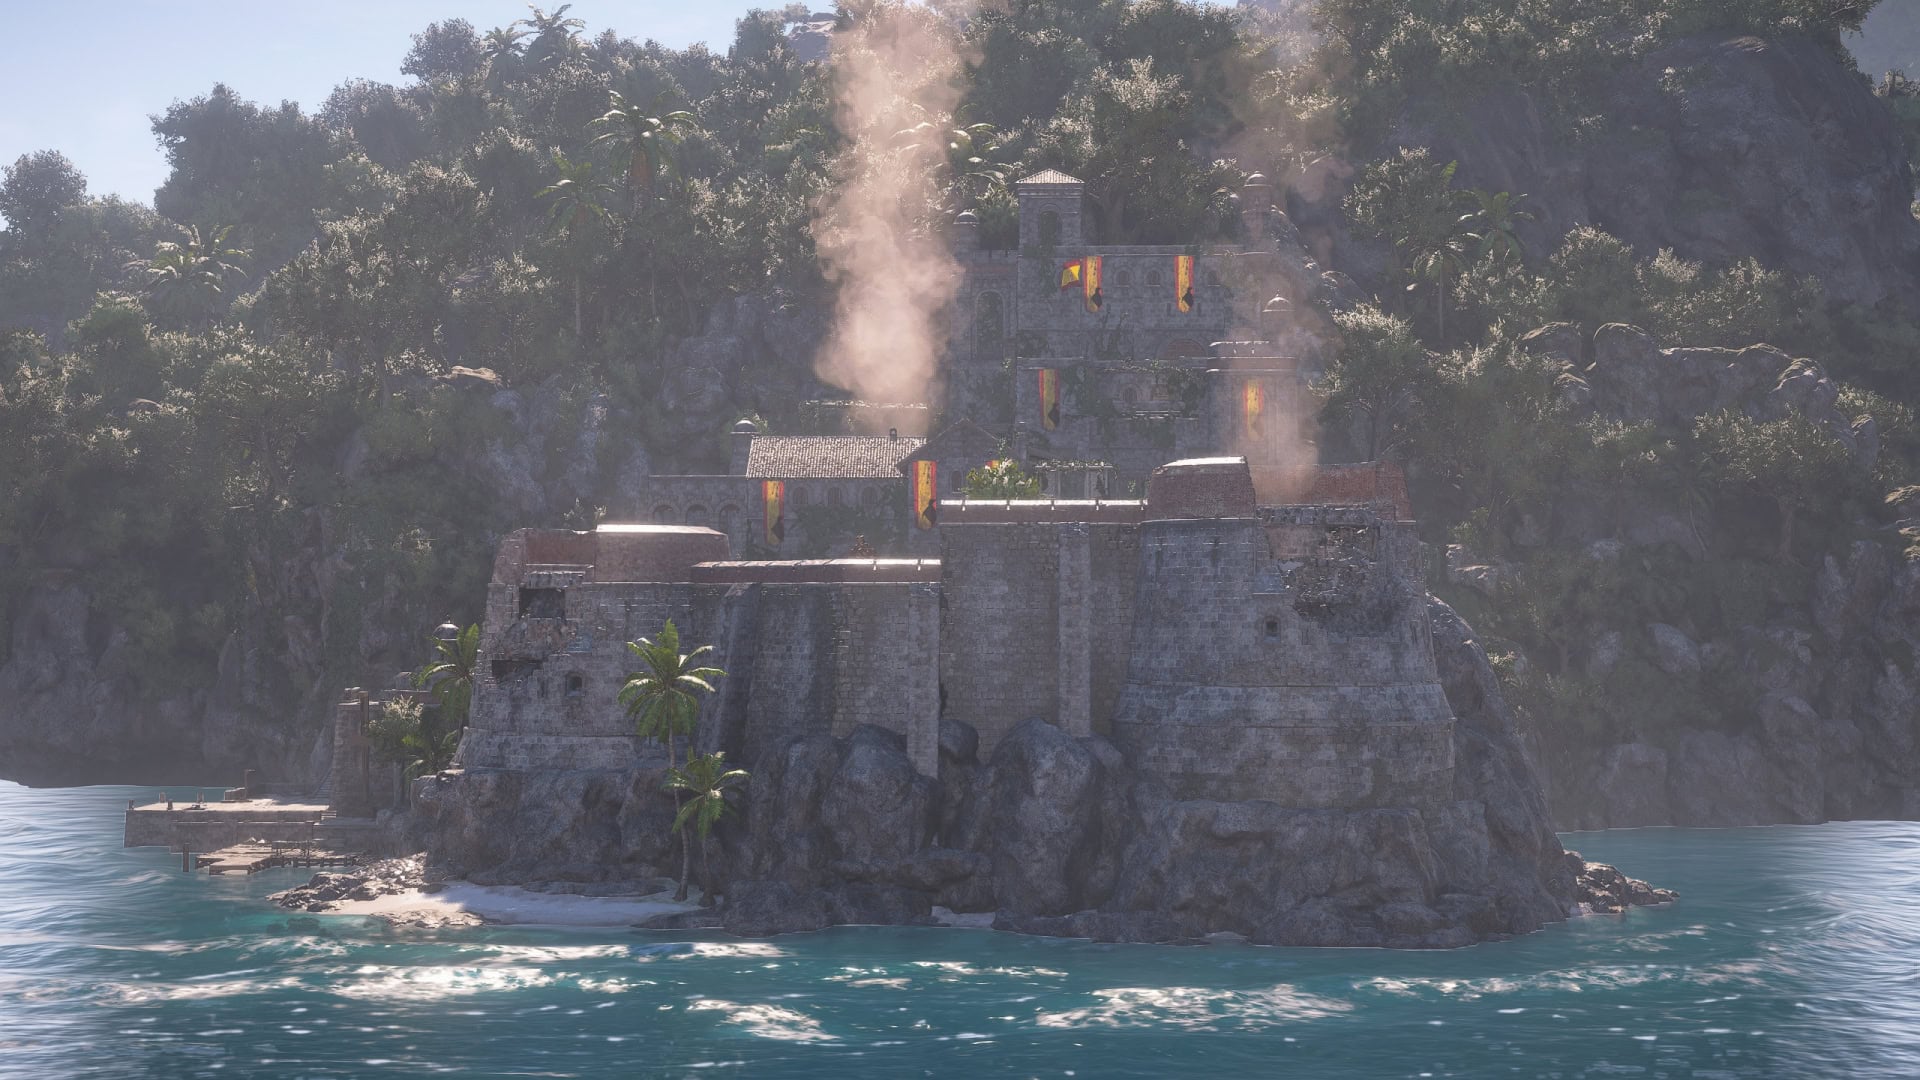
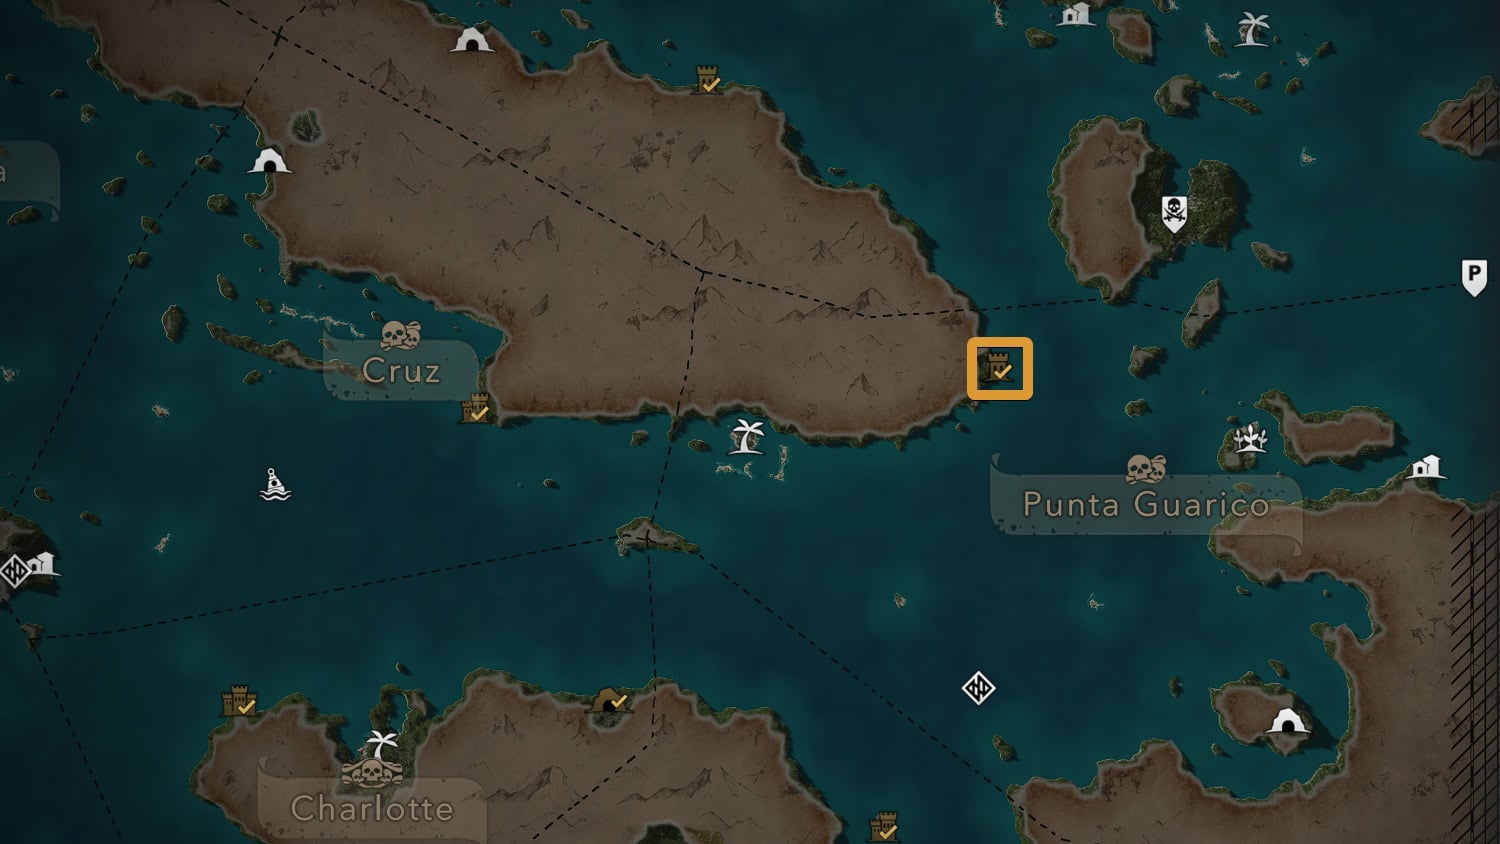
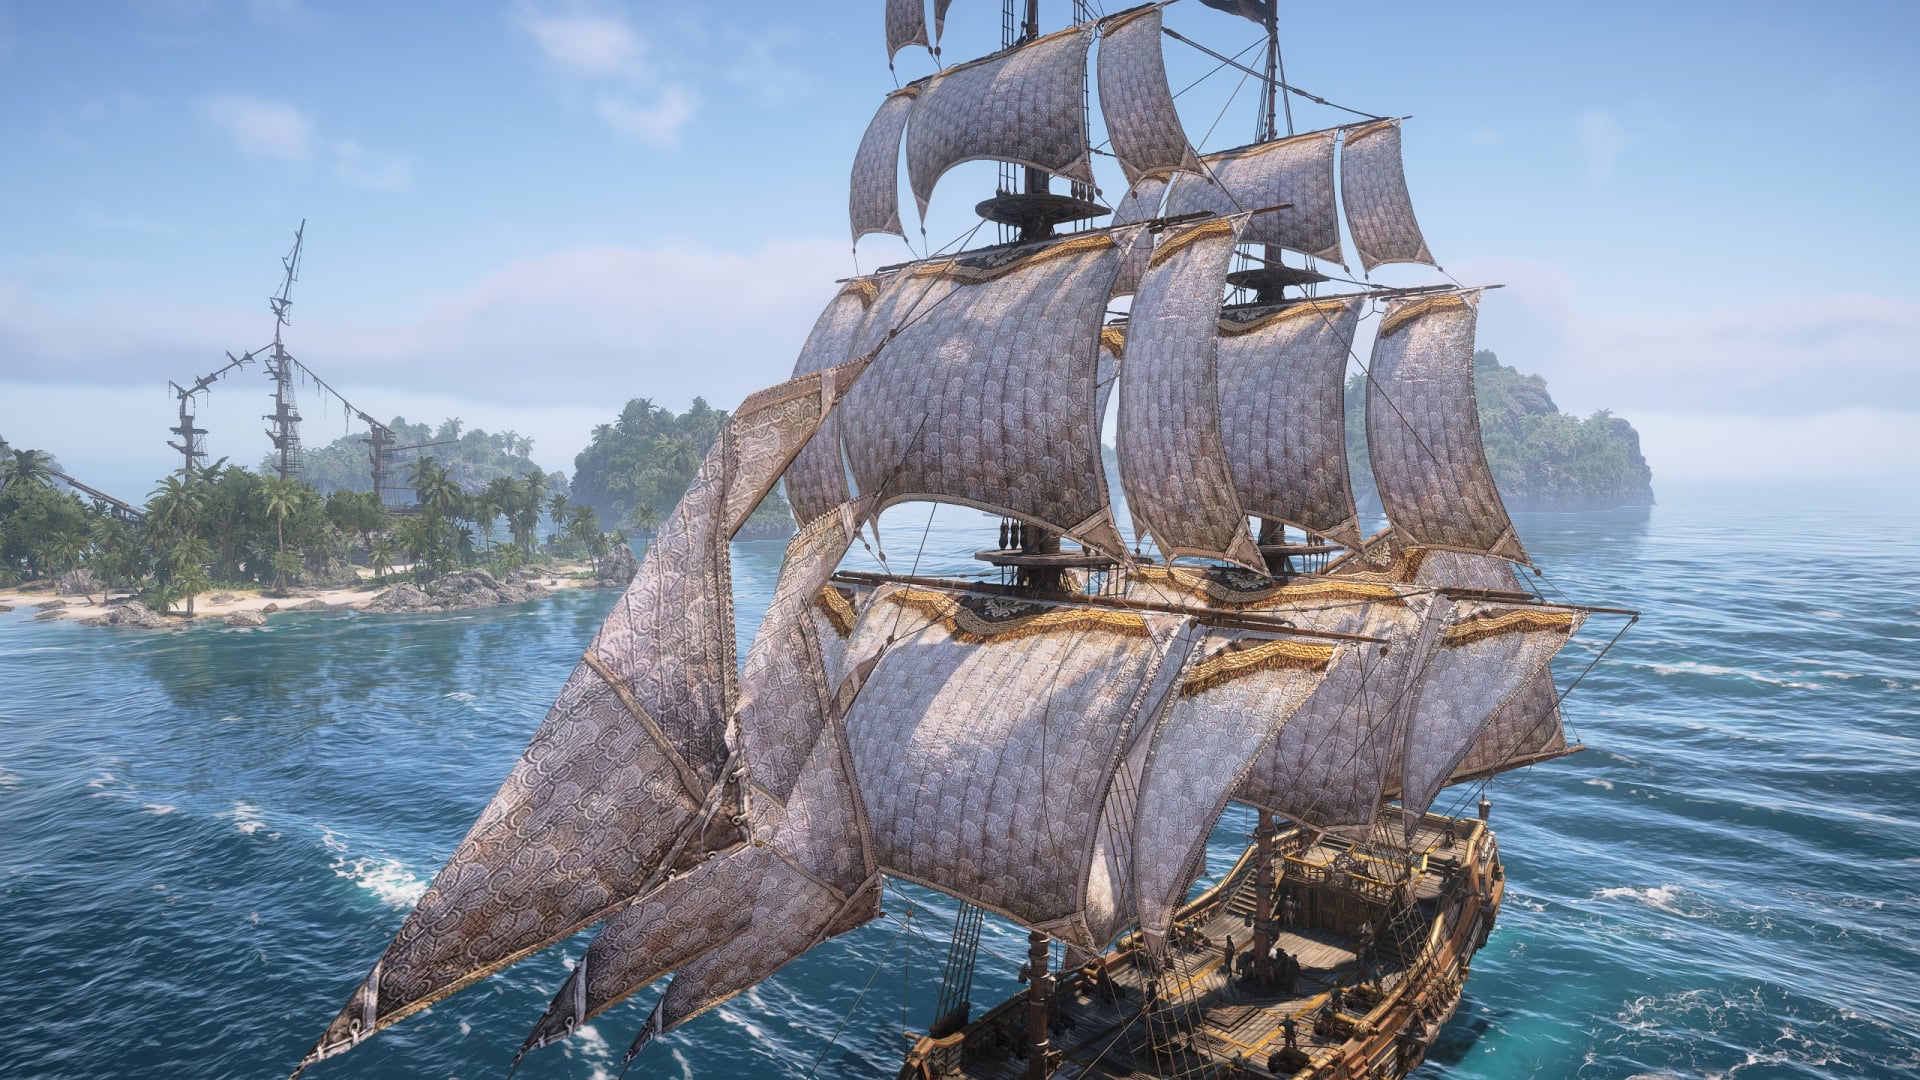
Fort Gibara will give you the Flower Sails on top of the other rewards. These elegant sails feature gold trims and tassles while the main portion of the sails feature floral embroidery.
| Item | Icon | Quantity |
|---|---|---|
| Reales | | 6,000 |
| Wood | | 150 |
| Metal | | 300 |
| Cloth | | 80 |
| Ship Ammo | Varies | |
| Crew | Varies | |
| Flower Sails | ▼ |
Fort Conttoyor (Tier 2)
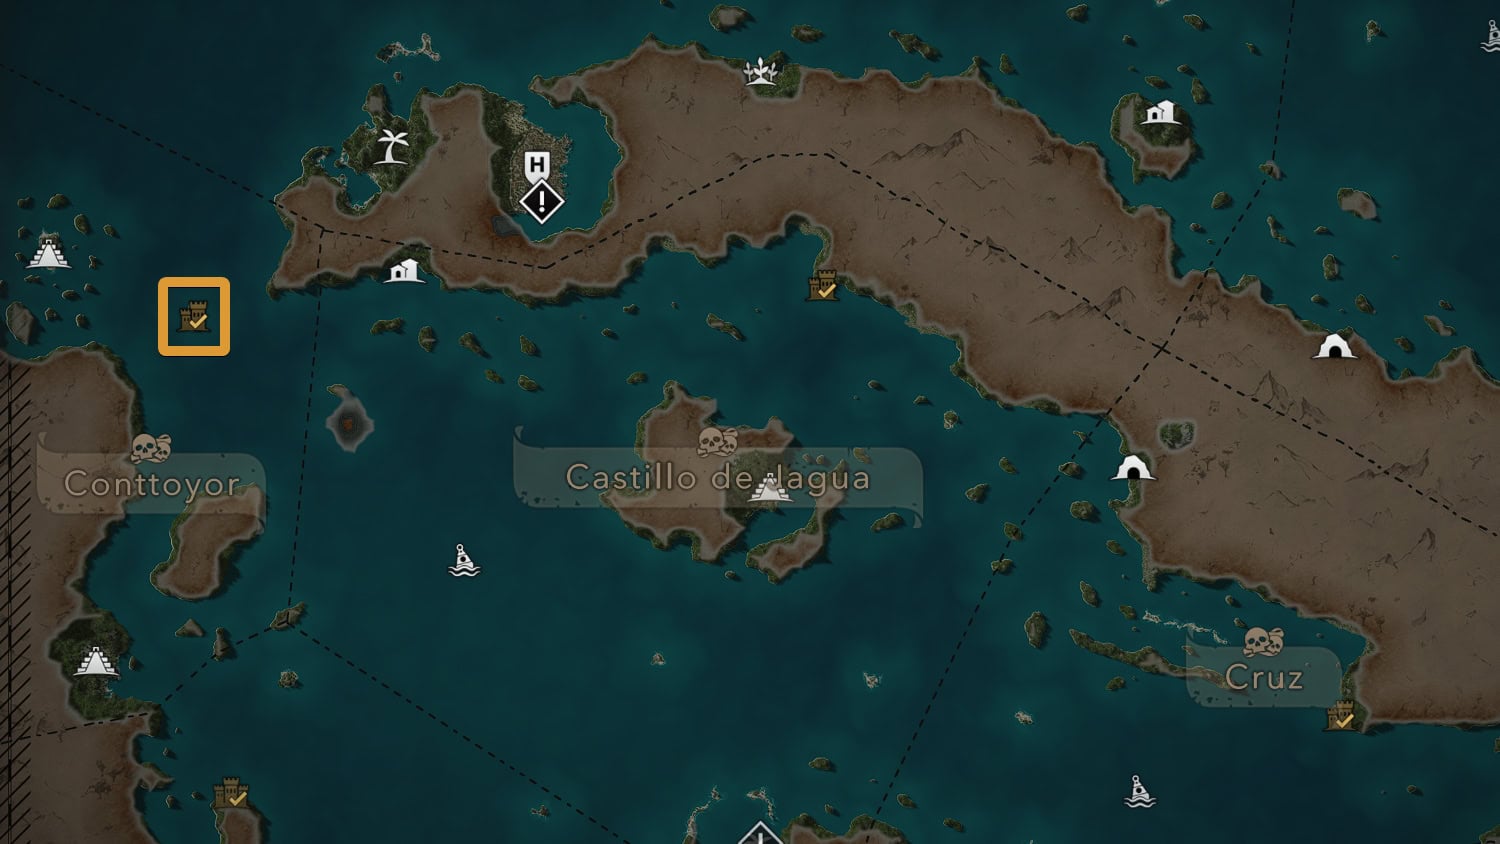
You’ll likely recognize Fort Conttoyor (75,523) if you sailed from Havana to Tulum during the story quest “Nothing is True…”. This Fort has 7 defenses and is surrounded by a storm until taken over.
This story will greatly inhibit your mobility as you cannot use your Travel Sails while near this Fort. Some solid hull upgrades and good positioning will be required to win against this Fort.
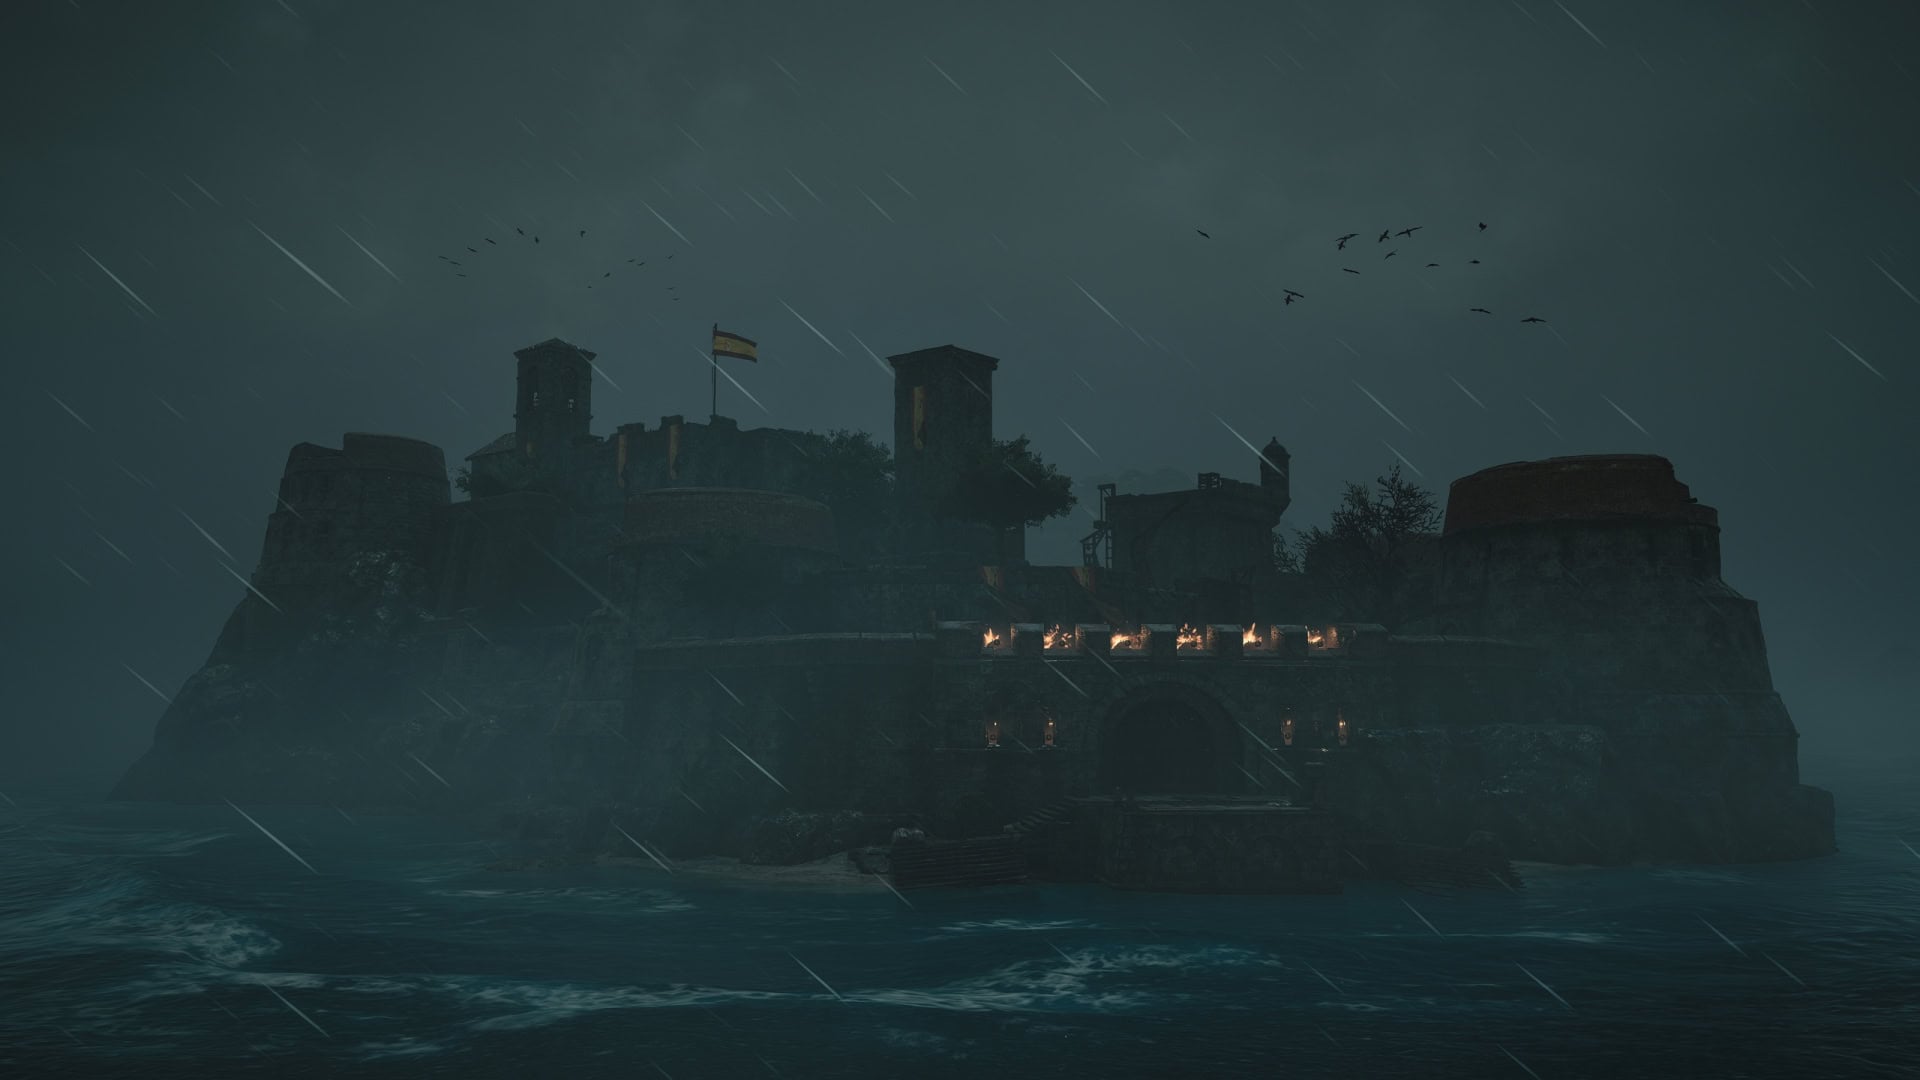
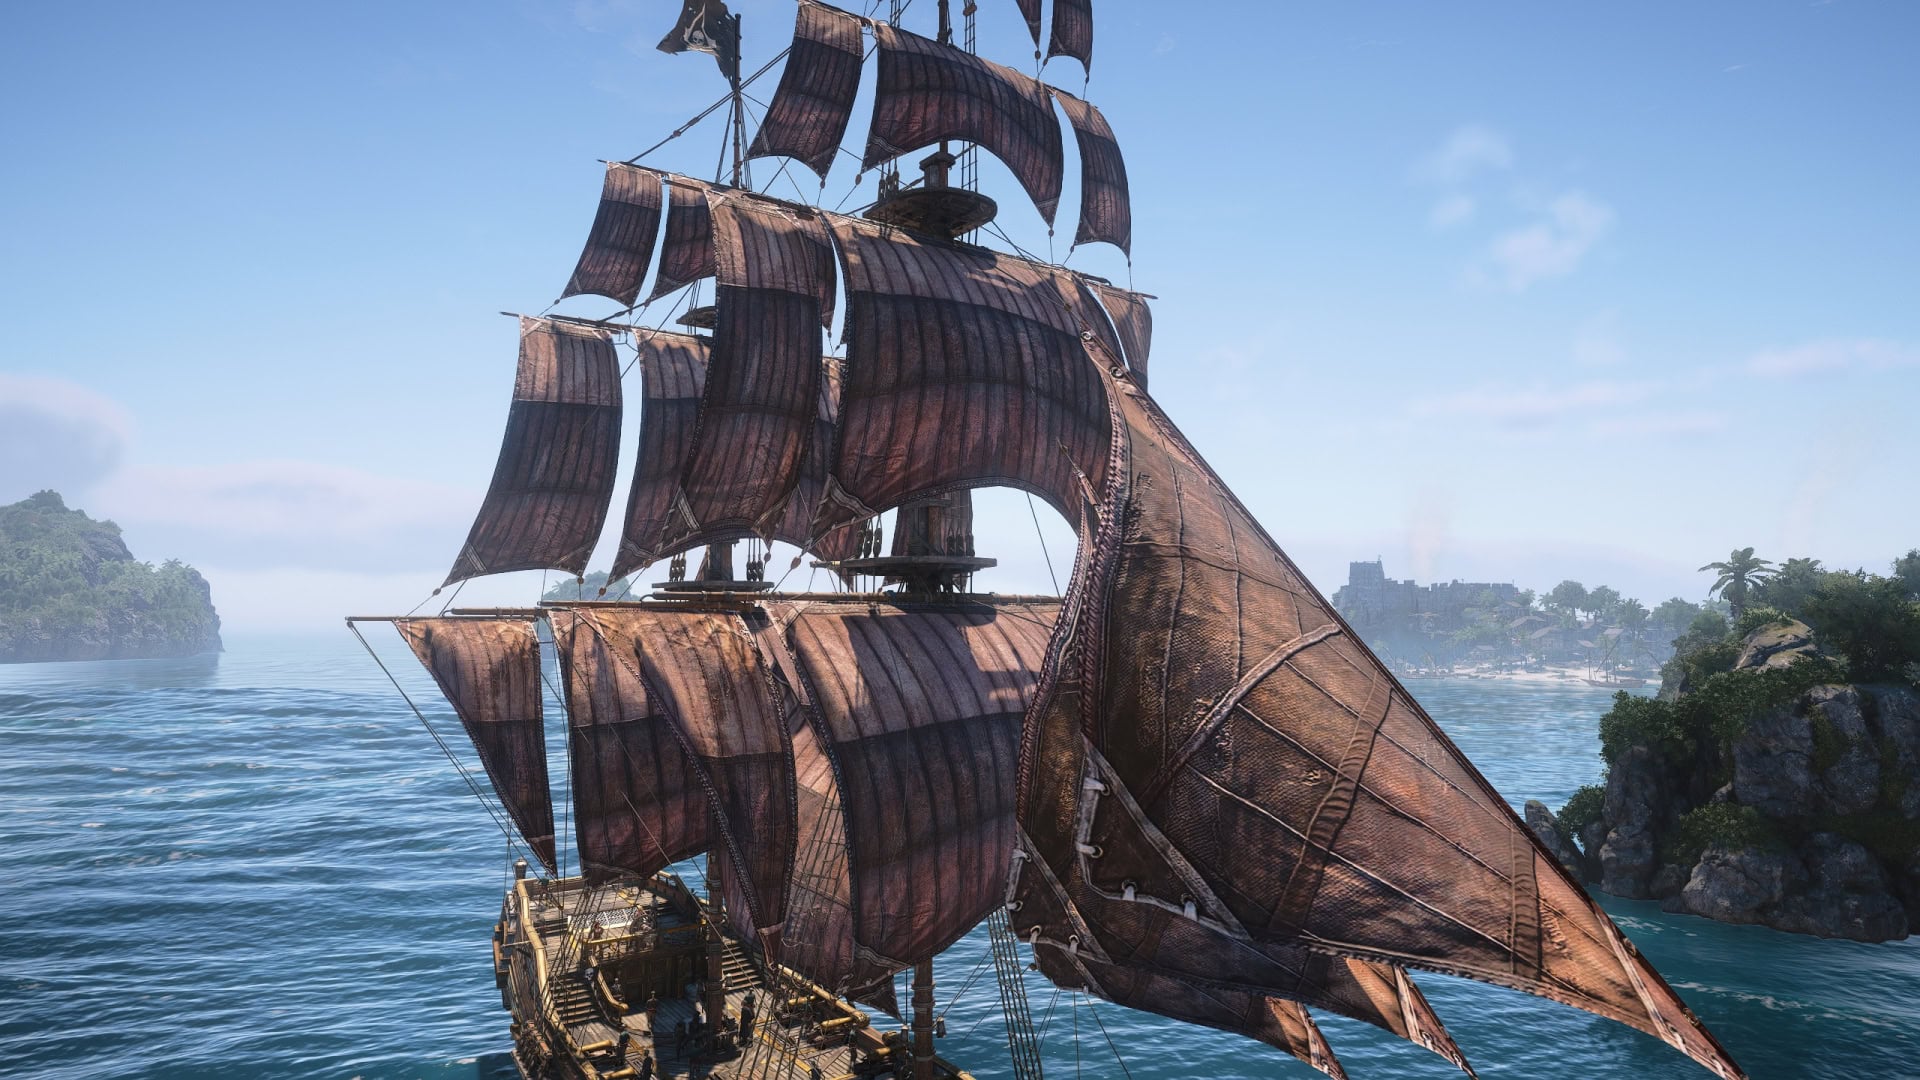
Fort Conttoyor will give you some ominous sails to match its ominous nature. The Leather Sails offer a unique look and texture, leaving one to wonder how many animals it took to make and how many more it’ll take to repair when damaged.
| Item | Icon | Quantity |
|---|---|---|
| Reales | | 6,000 |
| Wood | | 150 |
| Metal | | 300 |
| Cloth | | 80 |
| Ship Ammo | Varies | |
| Crew | | Varies |
| Leather Sails | ▼ |
Fort Castillo de Jagua (Tier 2)
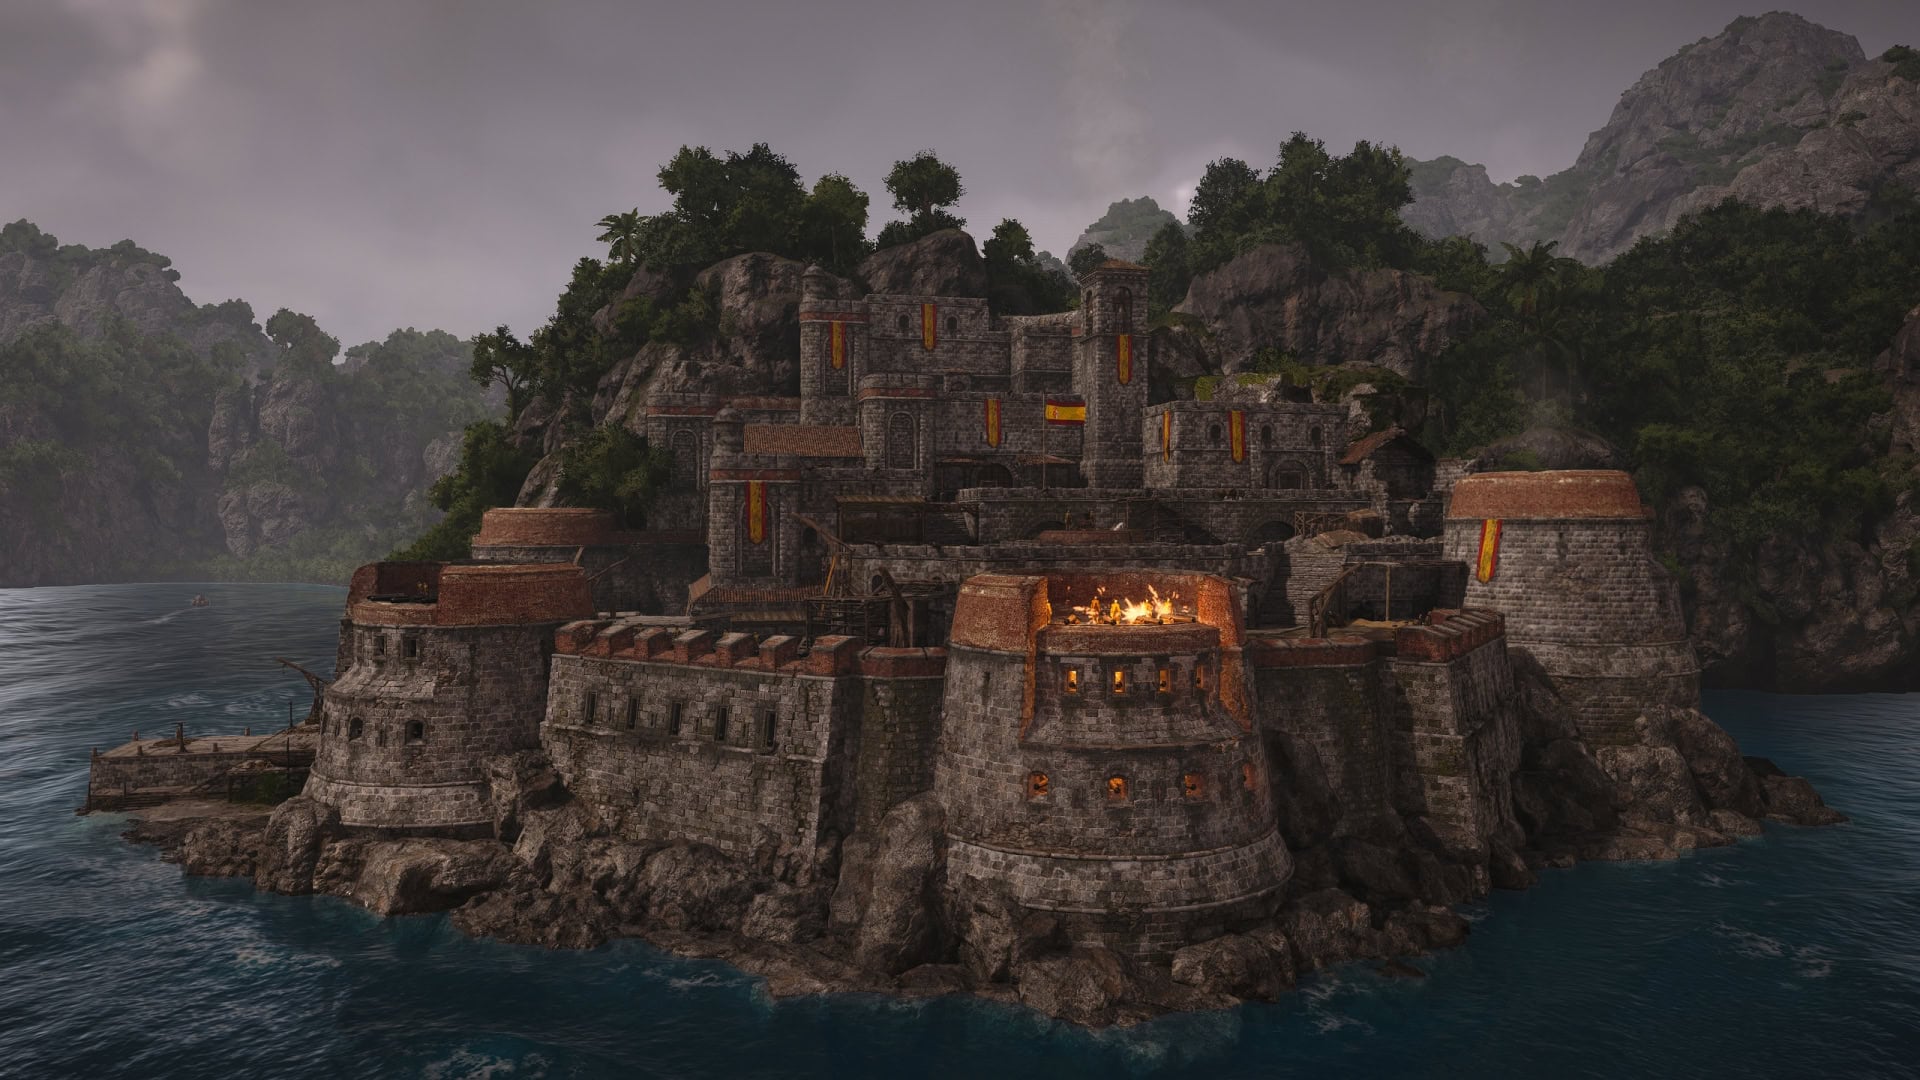
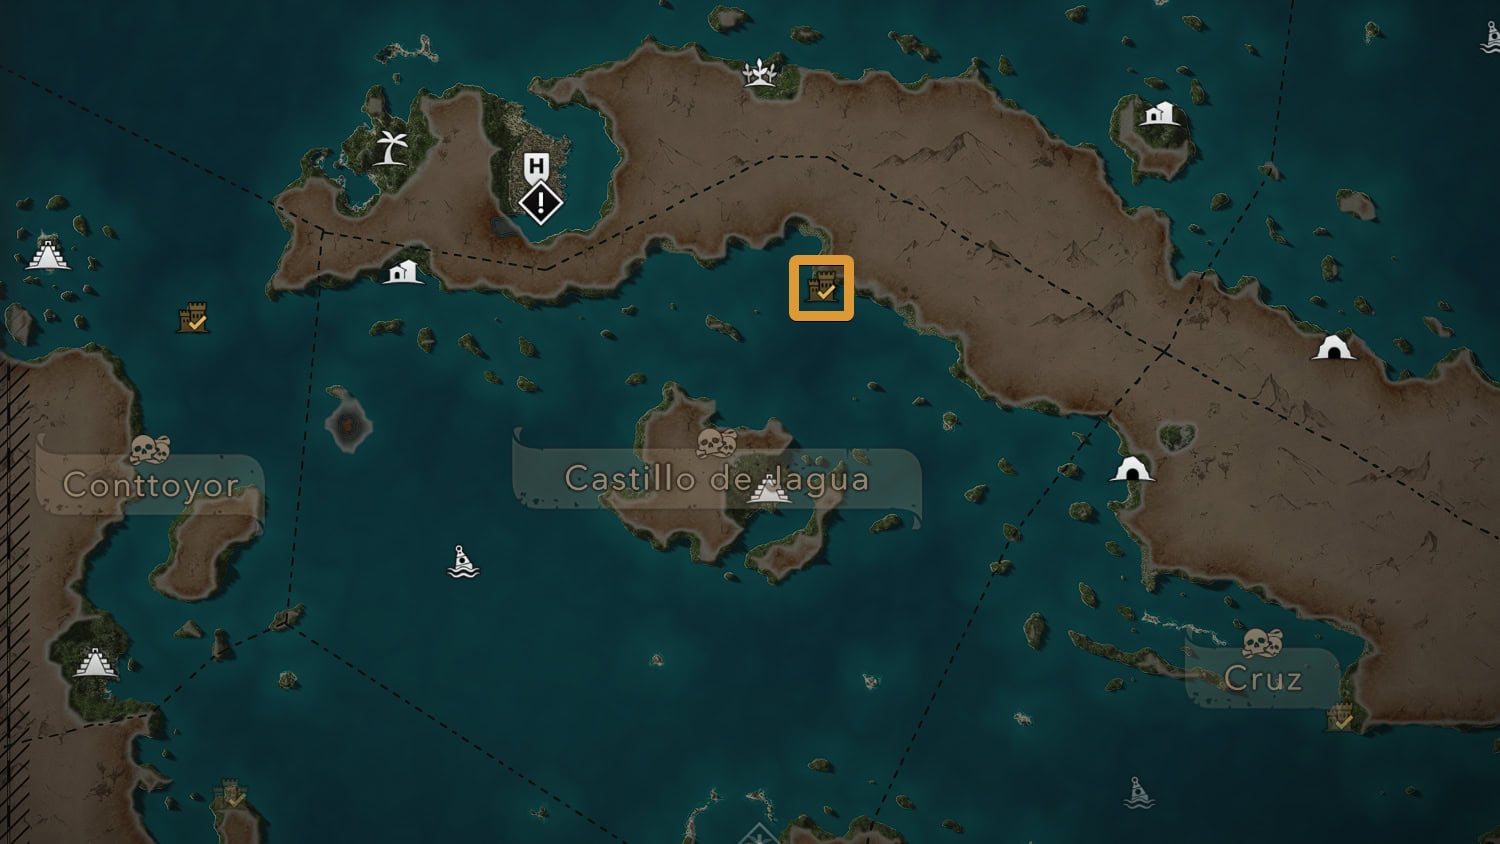
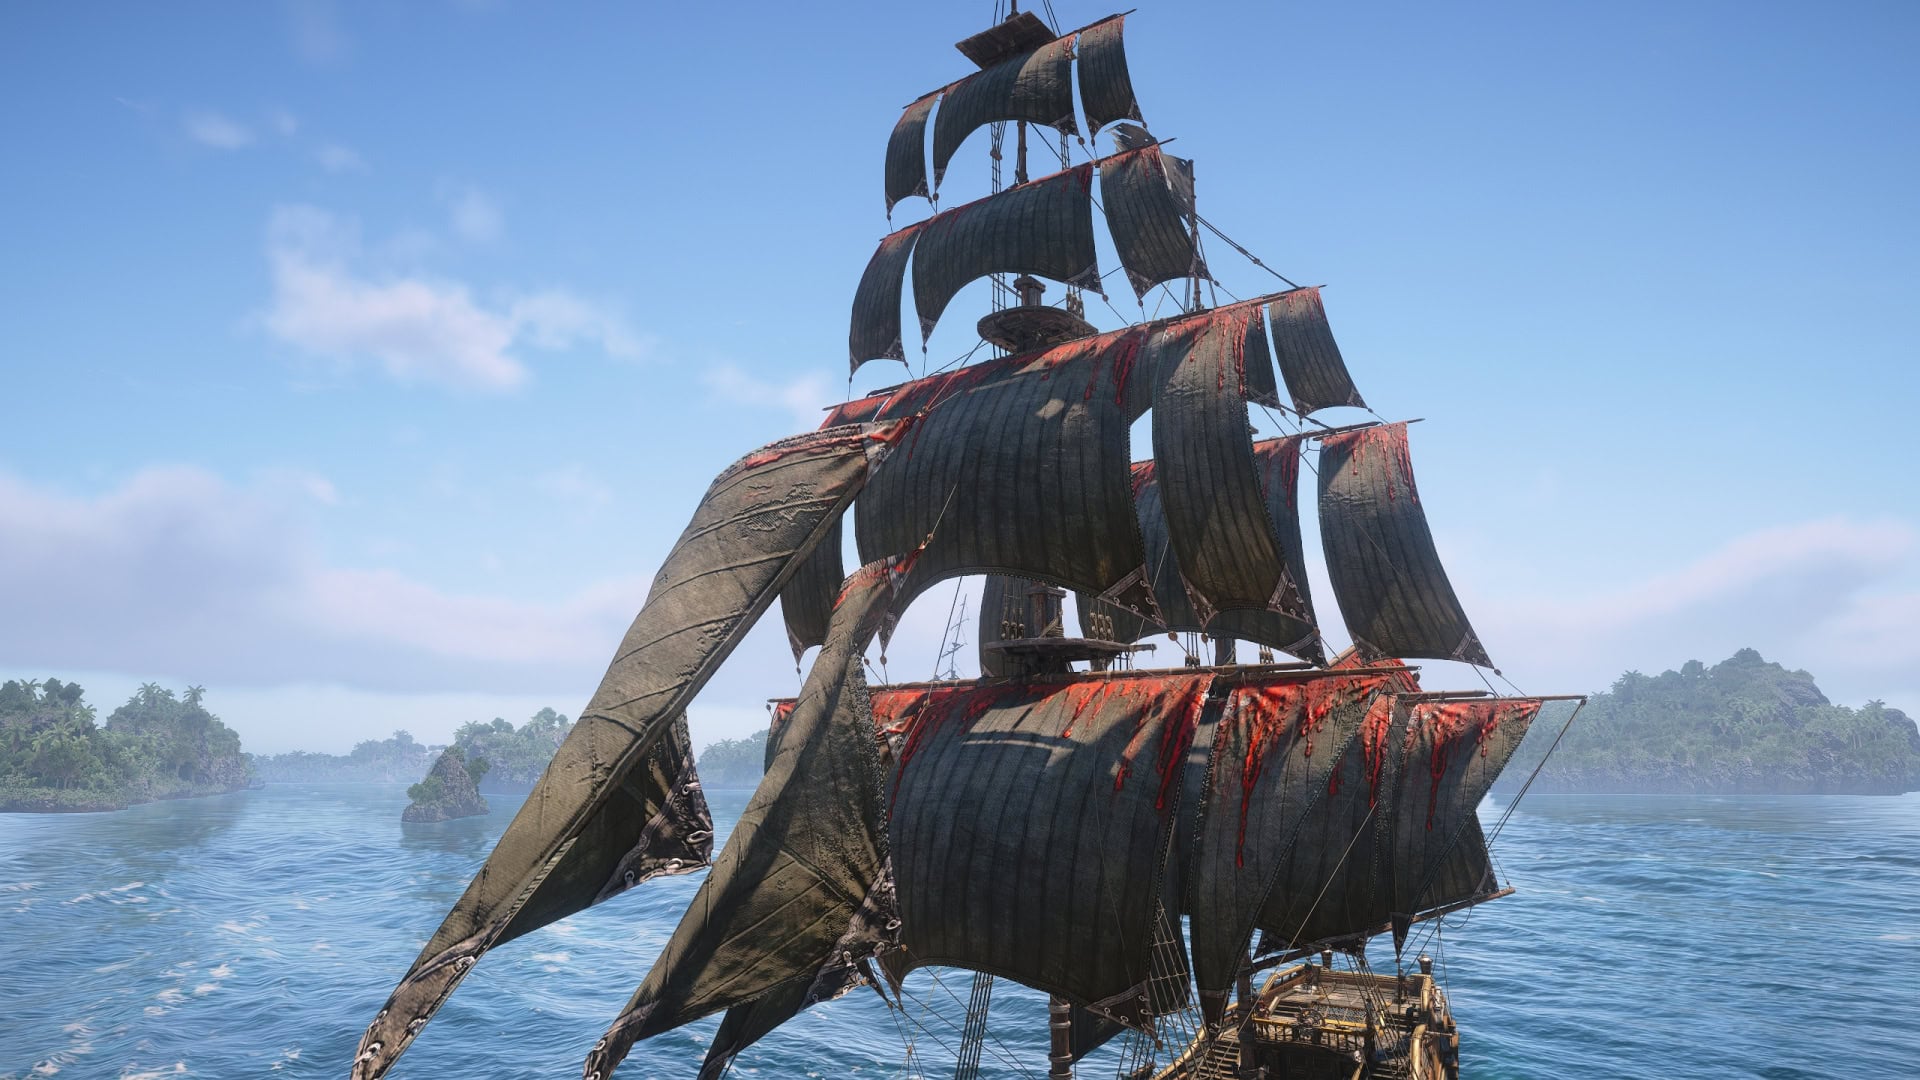
Fort Castillo de Jagua (328,535) lacks any special gimmicks and has 6 Defenses. Once completed, you’ll earn the Spilt Blood Sails.
The Split Blood Sails feature artichoke green sails with spilt blood on the sails (either that or it’s just red paint). It’s reminiscent of death and decay, a scary sight for anyone on the receiving end of it’s cannons.
| Item | Icon | Quantity |
|---|---|---|
| Reales | | 6,000 |
| Wood | | 150 |
| Metal | | 300 |
| Cloth | | 80 |
| Ship Ammo | Varies | |
| Crew | | Varies |
| Spilt Blood Sails | ▼ |
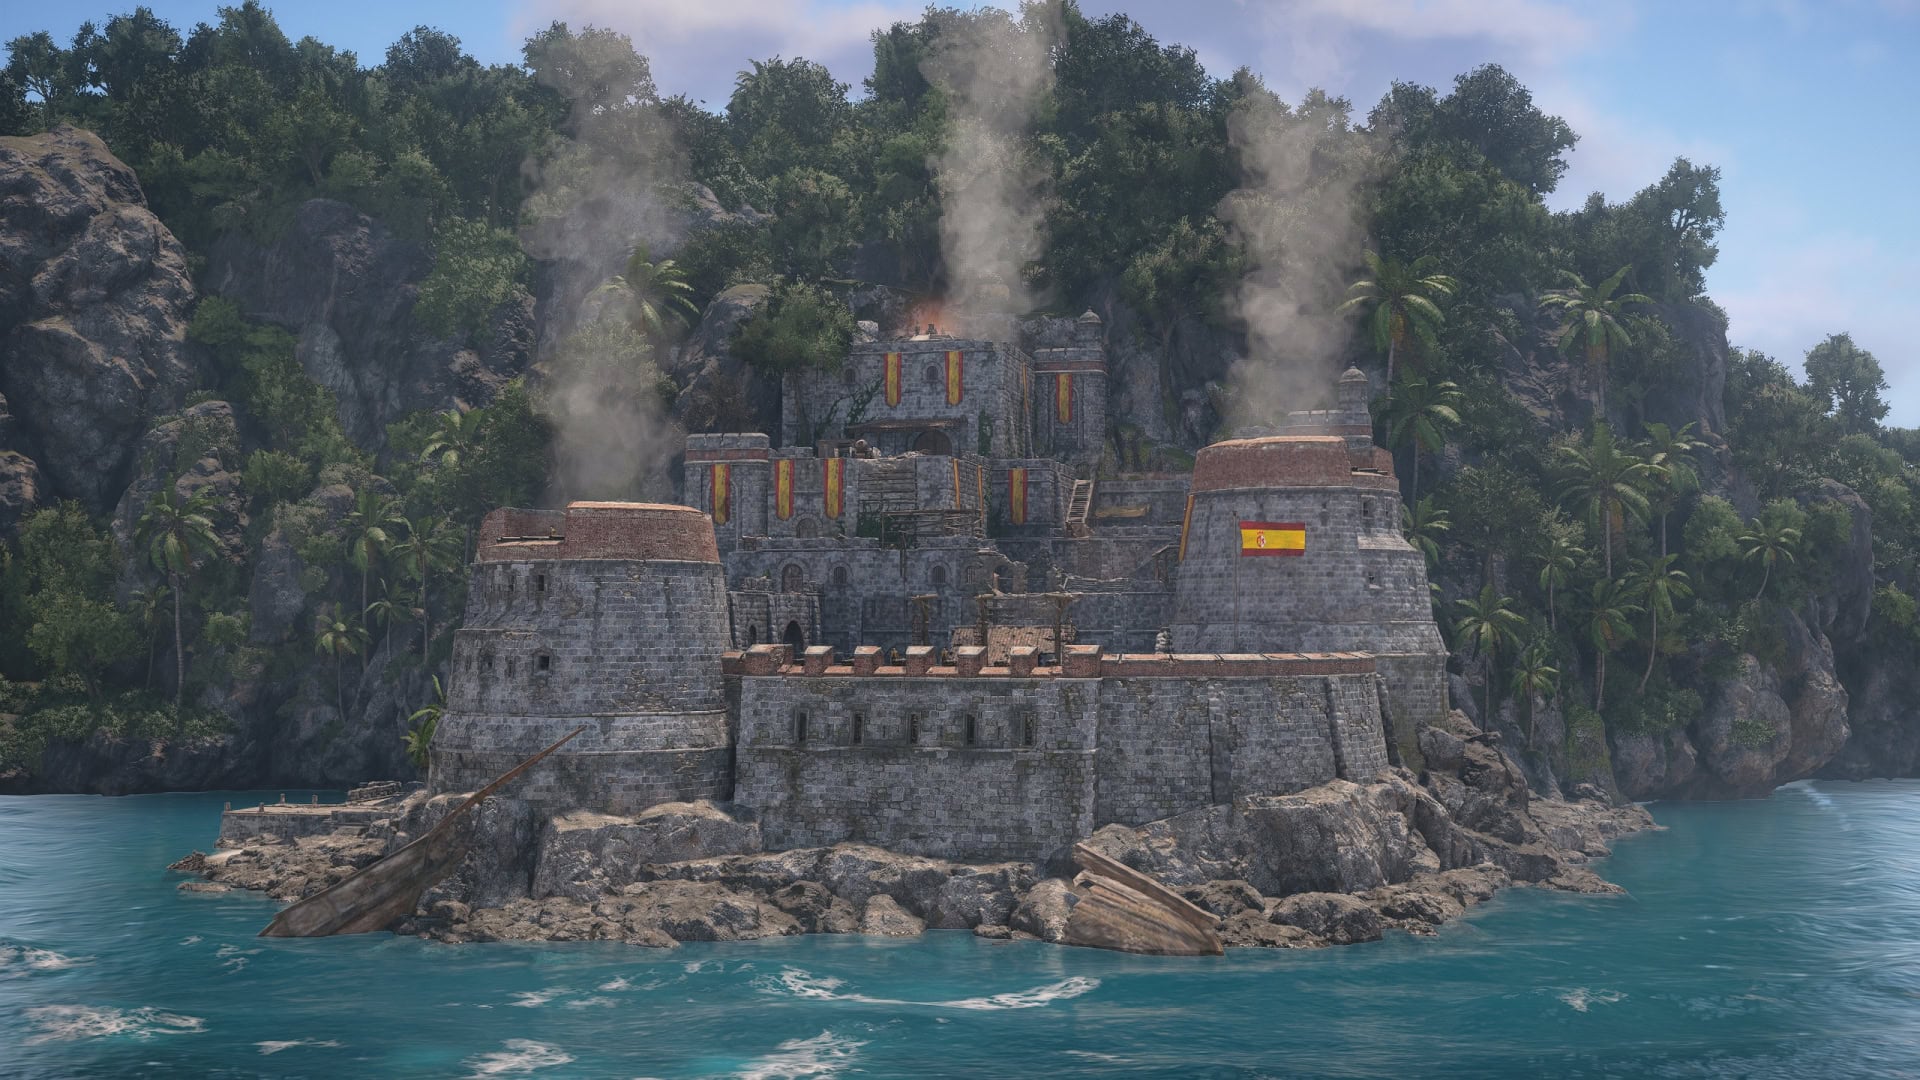
Fort Cabo de Cruz (Tier 2)
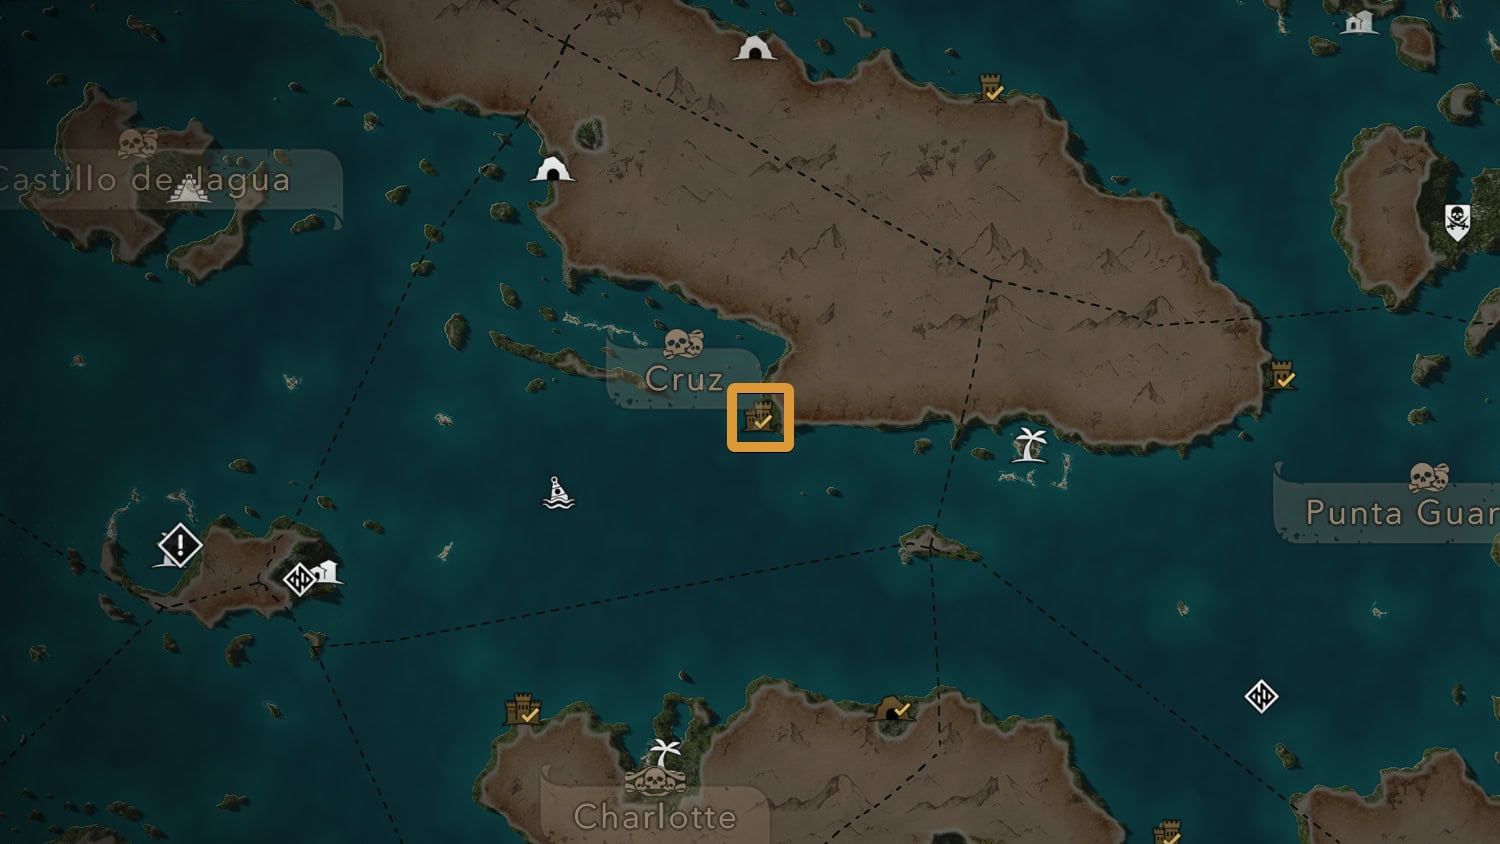
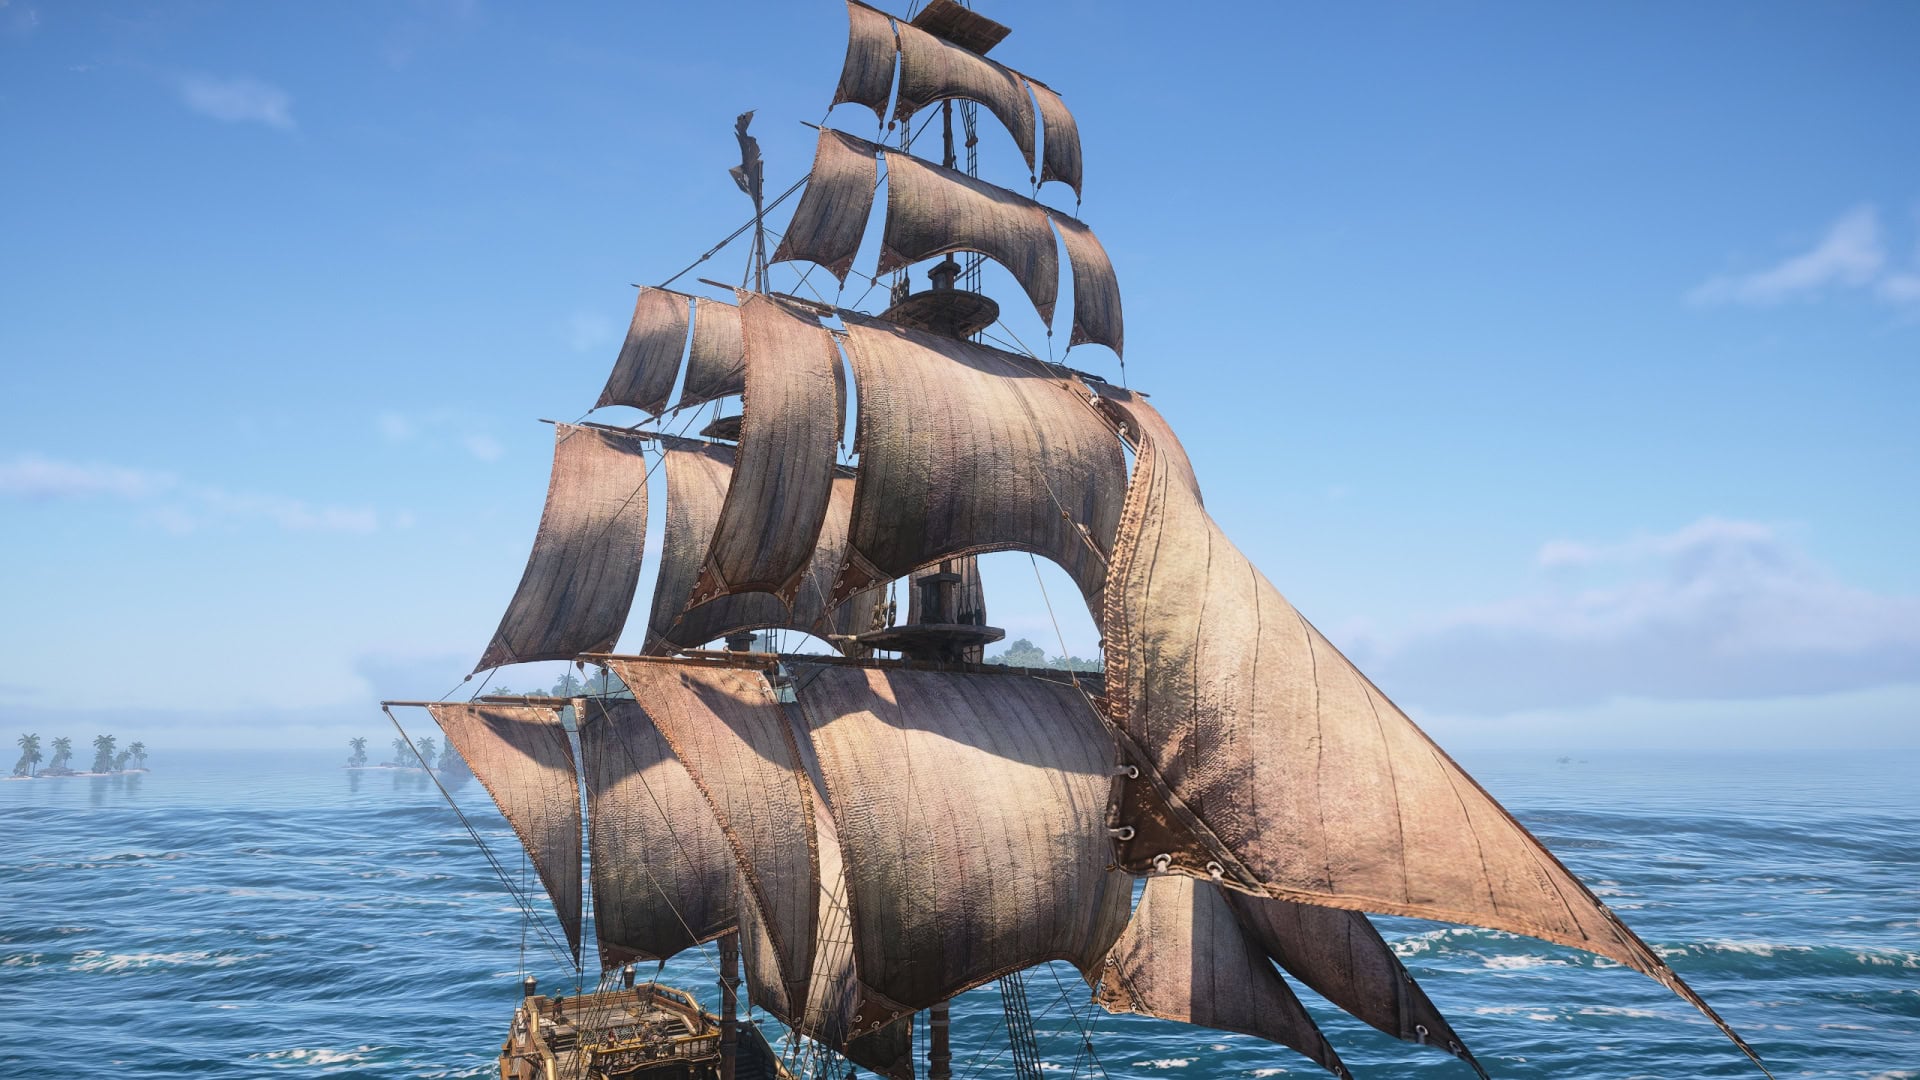
Fort Cabo de Cruz is found in the middle of the map at (537,362). It has 4 defenses, no special gimmick, and gives the Gray Sails when taken over.
Despite the name, the Gray Sails have the appearance of aged and discolored canvas. Faded streaks of color stain the various sails, evoking the thought of an indecisive artist that failed to make a painting.
| Item | Icon | Quantity |
|---|---|---|
| Reales | | 6,000 |
| Wood | | 150 |
| Metal | | 300 |
| Cloth | | 80 |
| Ship Ammo | Varies | |
| Crew | | Varies |
| Gray Sails | ▼ |
Fort Navassa (Tier 2)
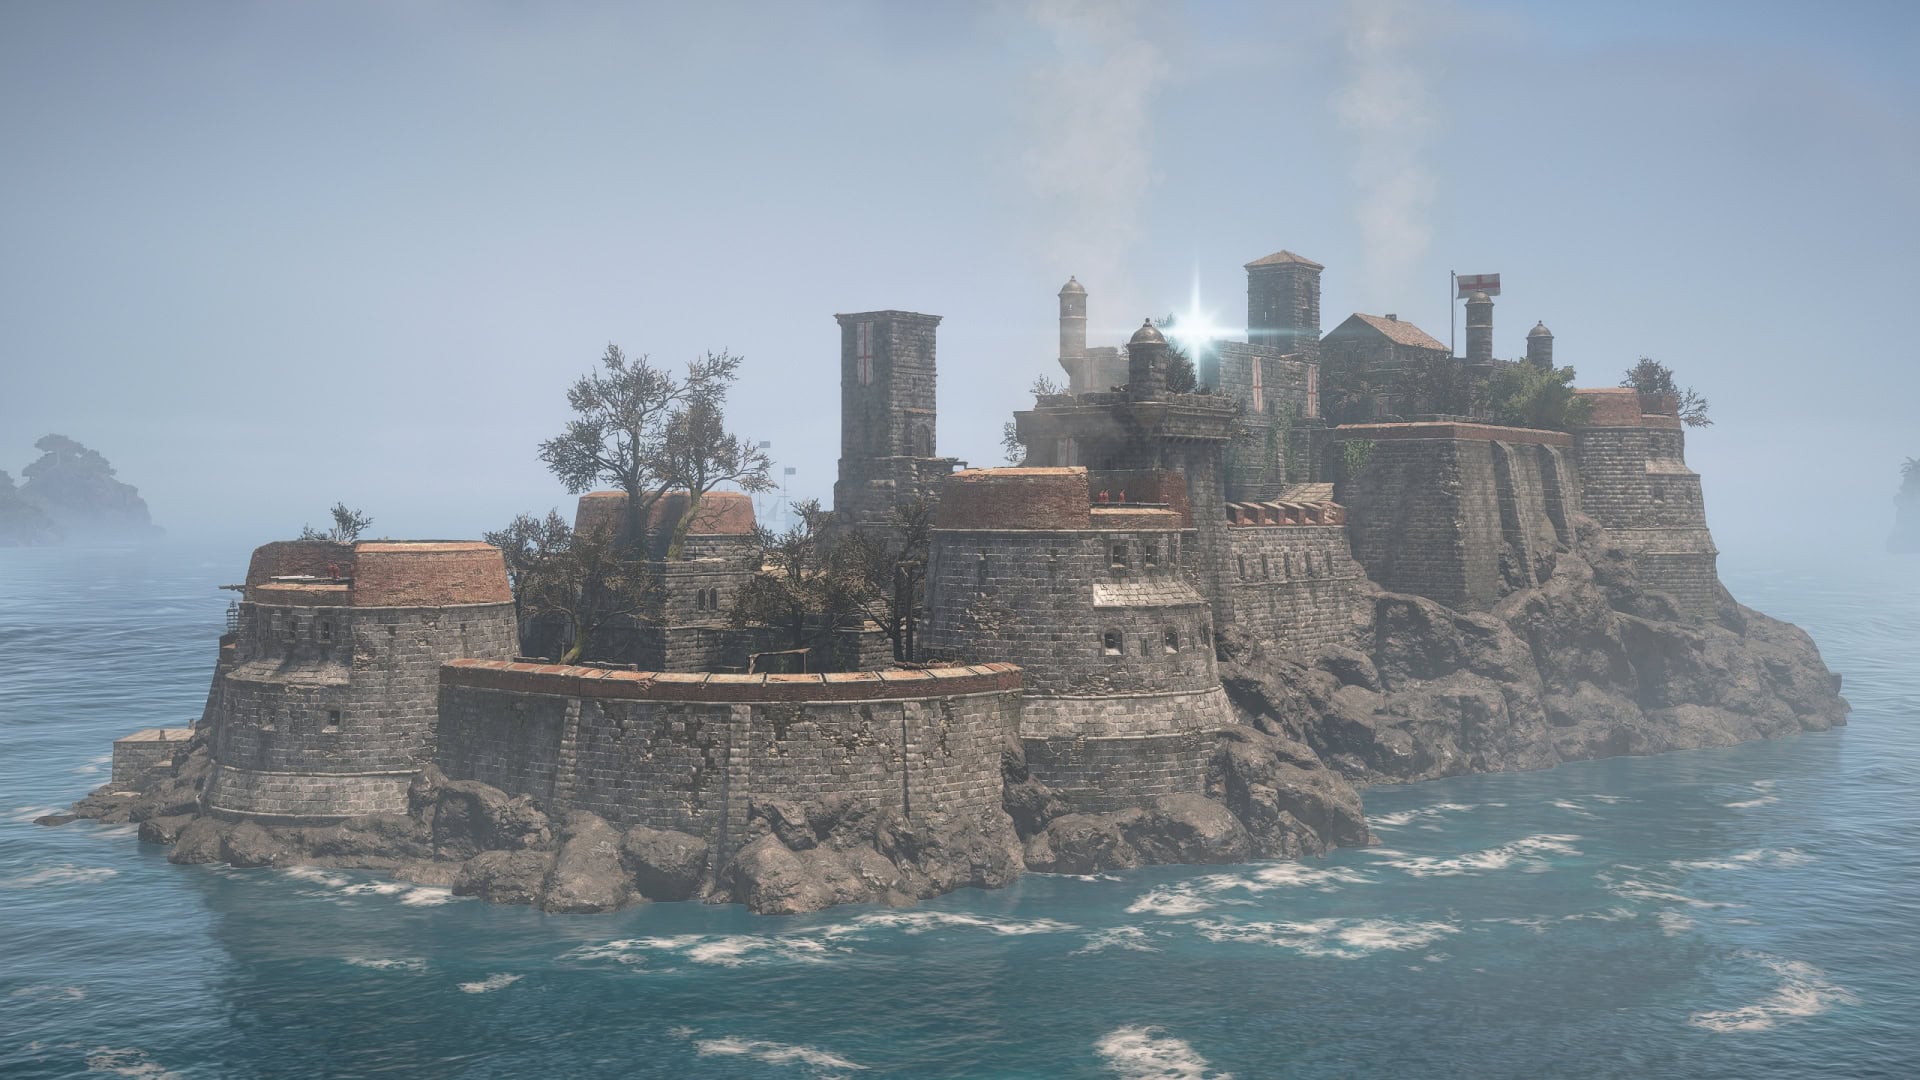
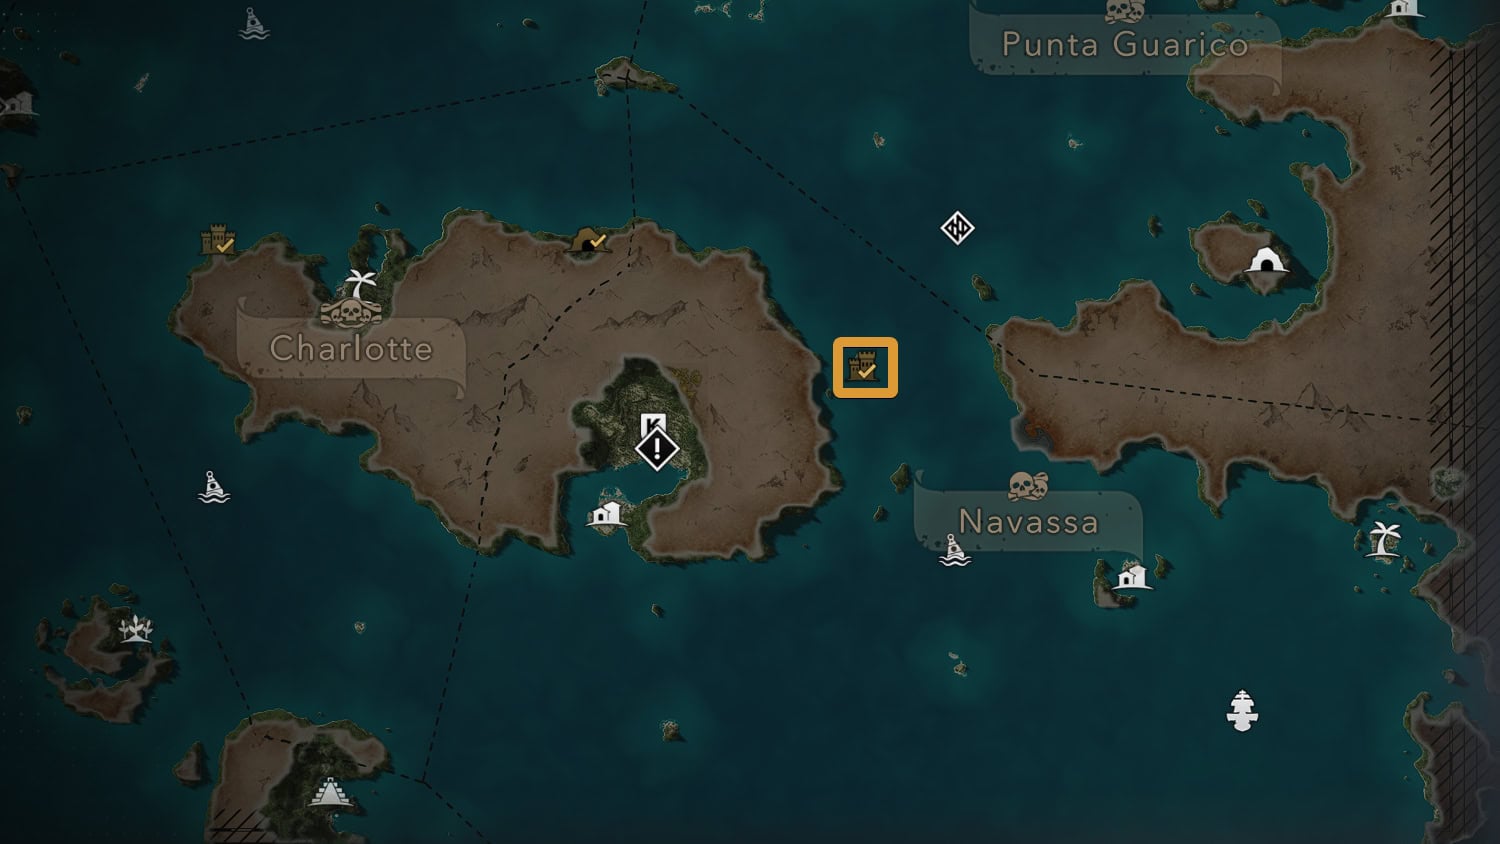
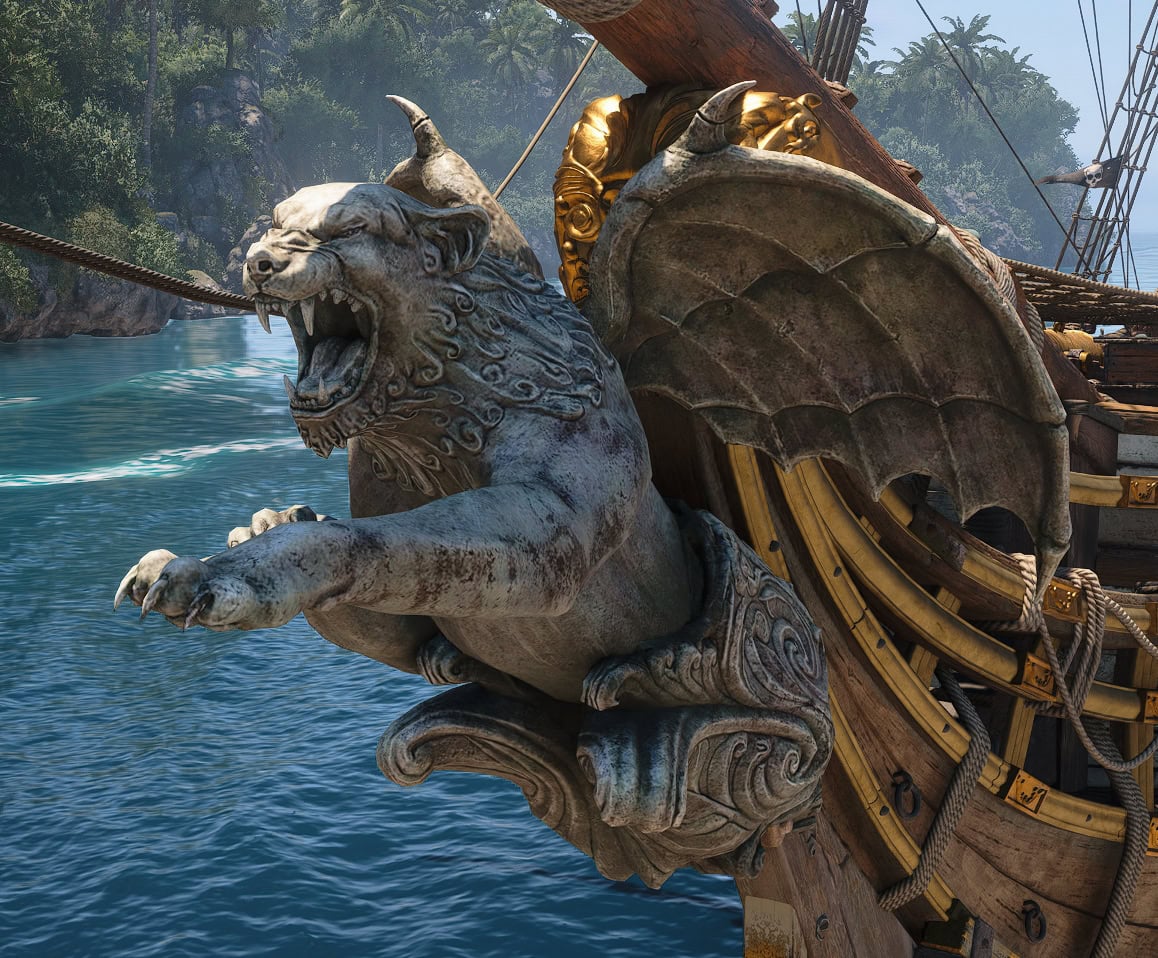
Your bonus reward for taking over Fort Navassa is the Gargoyle Figurehead. This figurehead appears as a fierce lion with demonic wings. To top it all off, it looks like it’s made of stone.
| Item | Icon | Quantity |
|---|---|---|
| Reales | | 6,000 |
| Wood | | 150 |
| Metal | | 300 |
| Cloth | | 80 |
| Ship Ammo | Varies | |
| Crew | | Varies |
| Gargoyle Figurehead | ▼ |
Fort Charlotte (Tier 3)
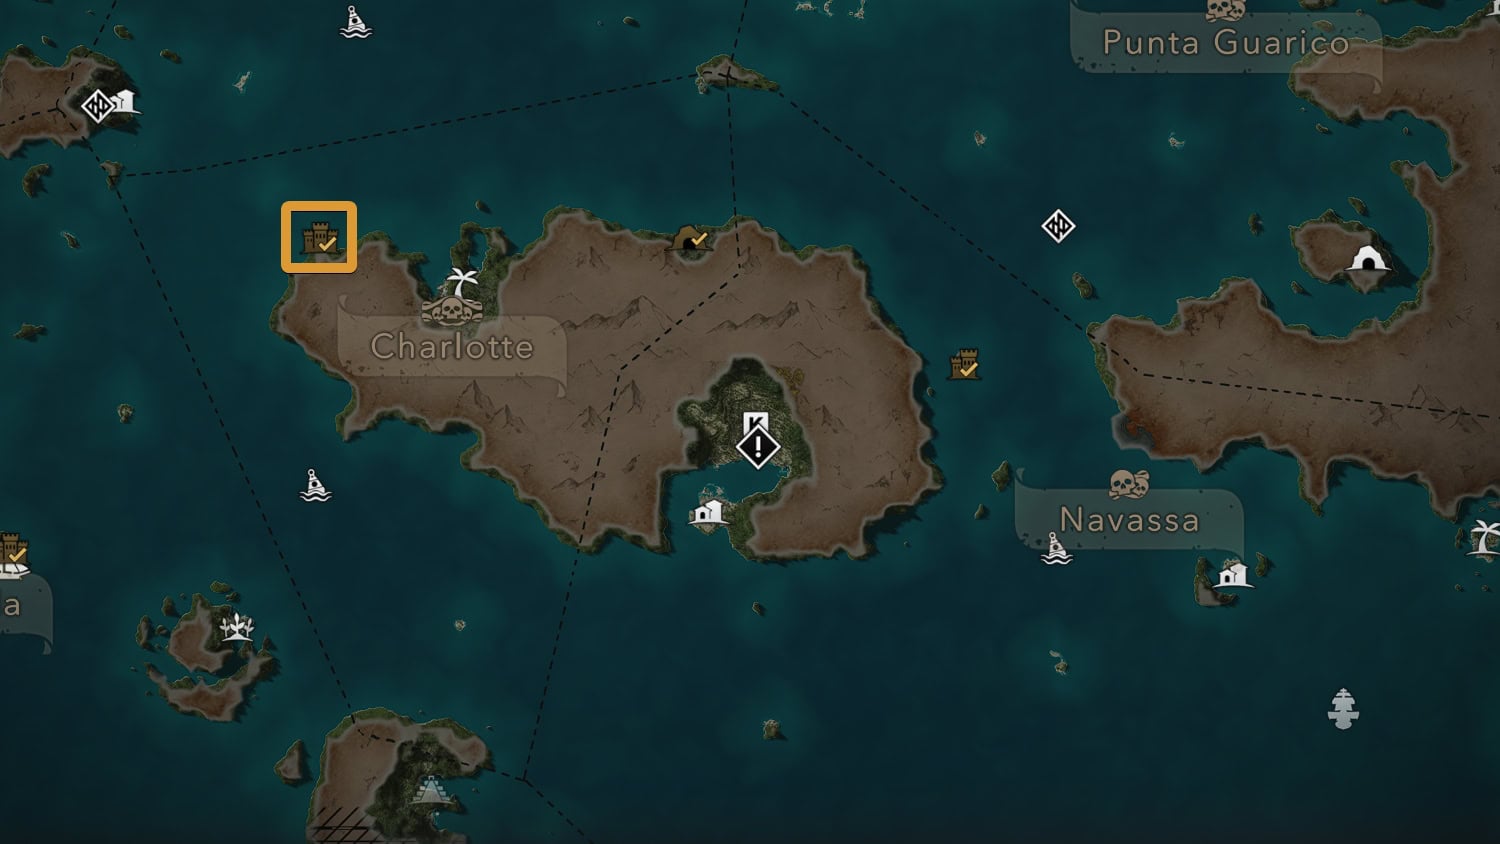
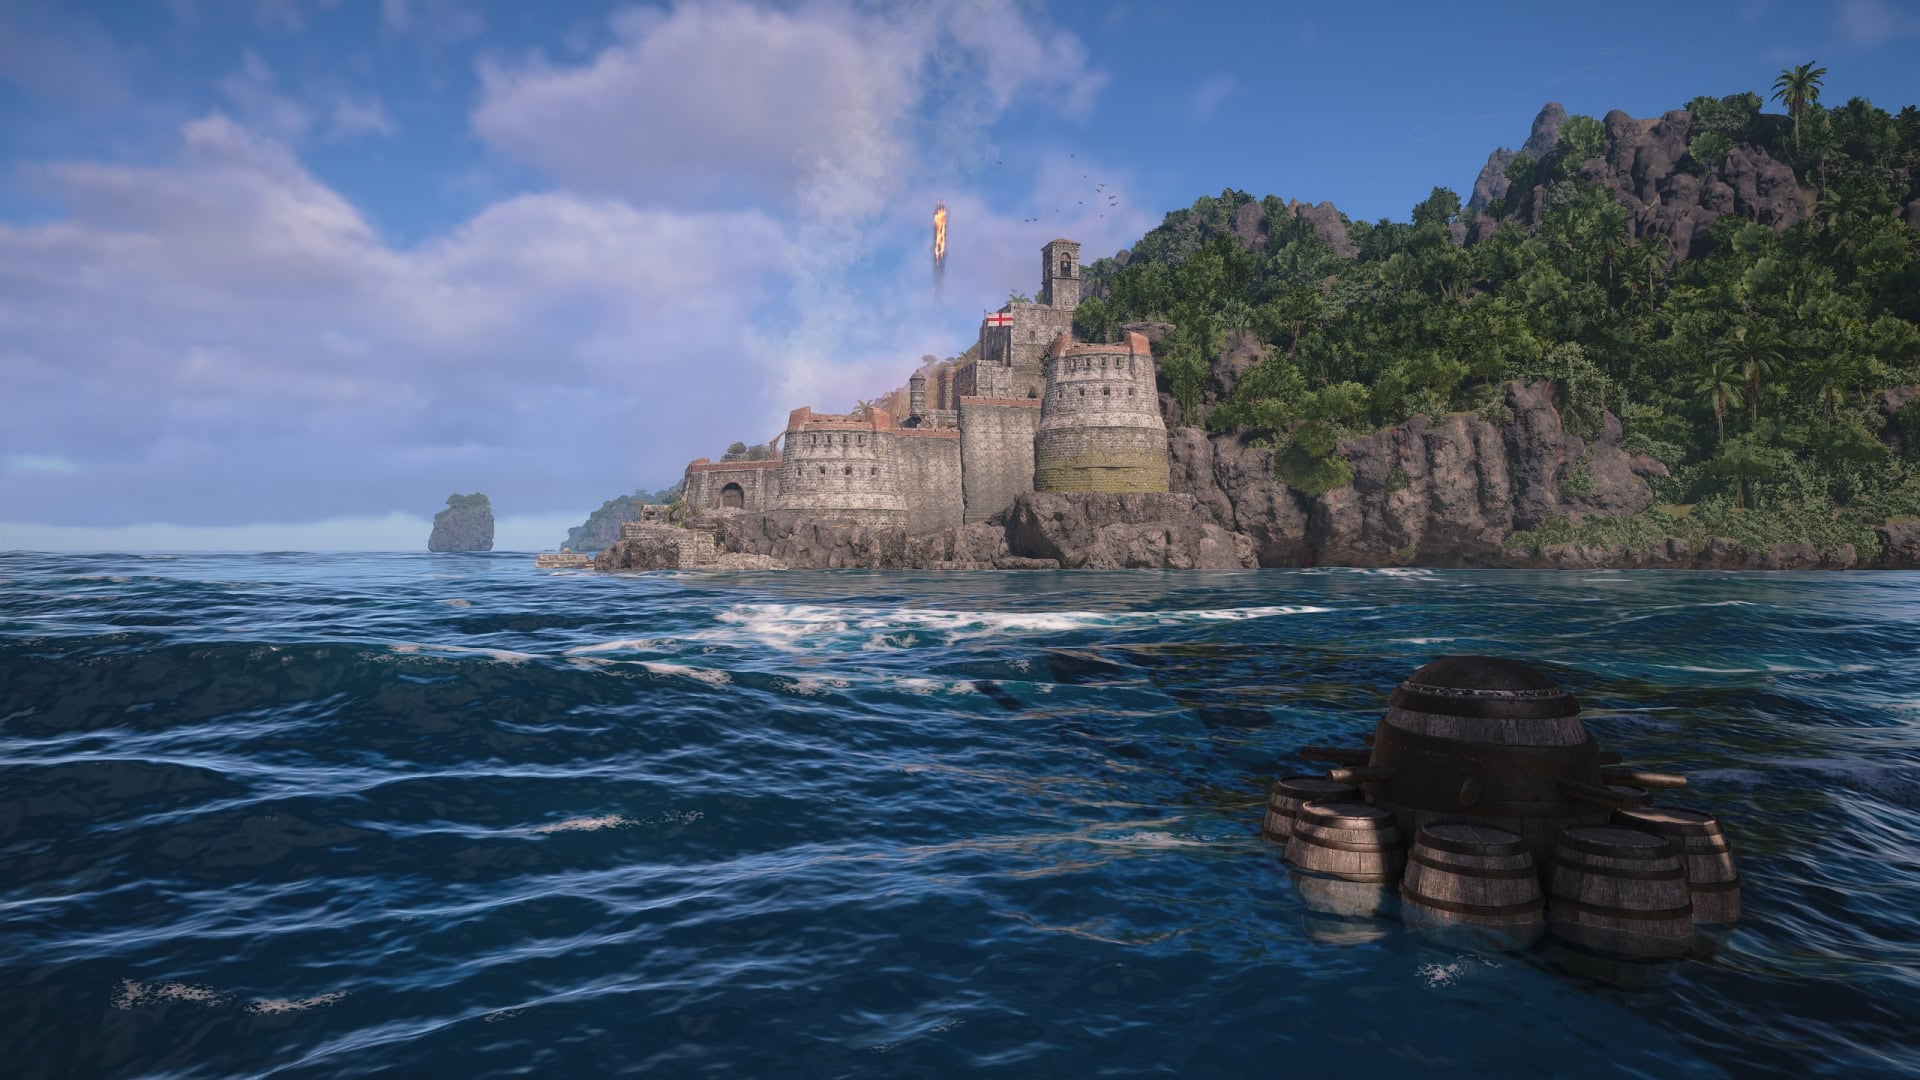
Fort Charlotte (442,245) is a noteworthy for as it unlocks the Shrapnel Barrels when defeated. It only has 5 defenses, but don’t let this drop your guard. It makes up for its small number of defenses with mines.
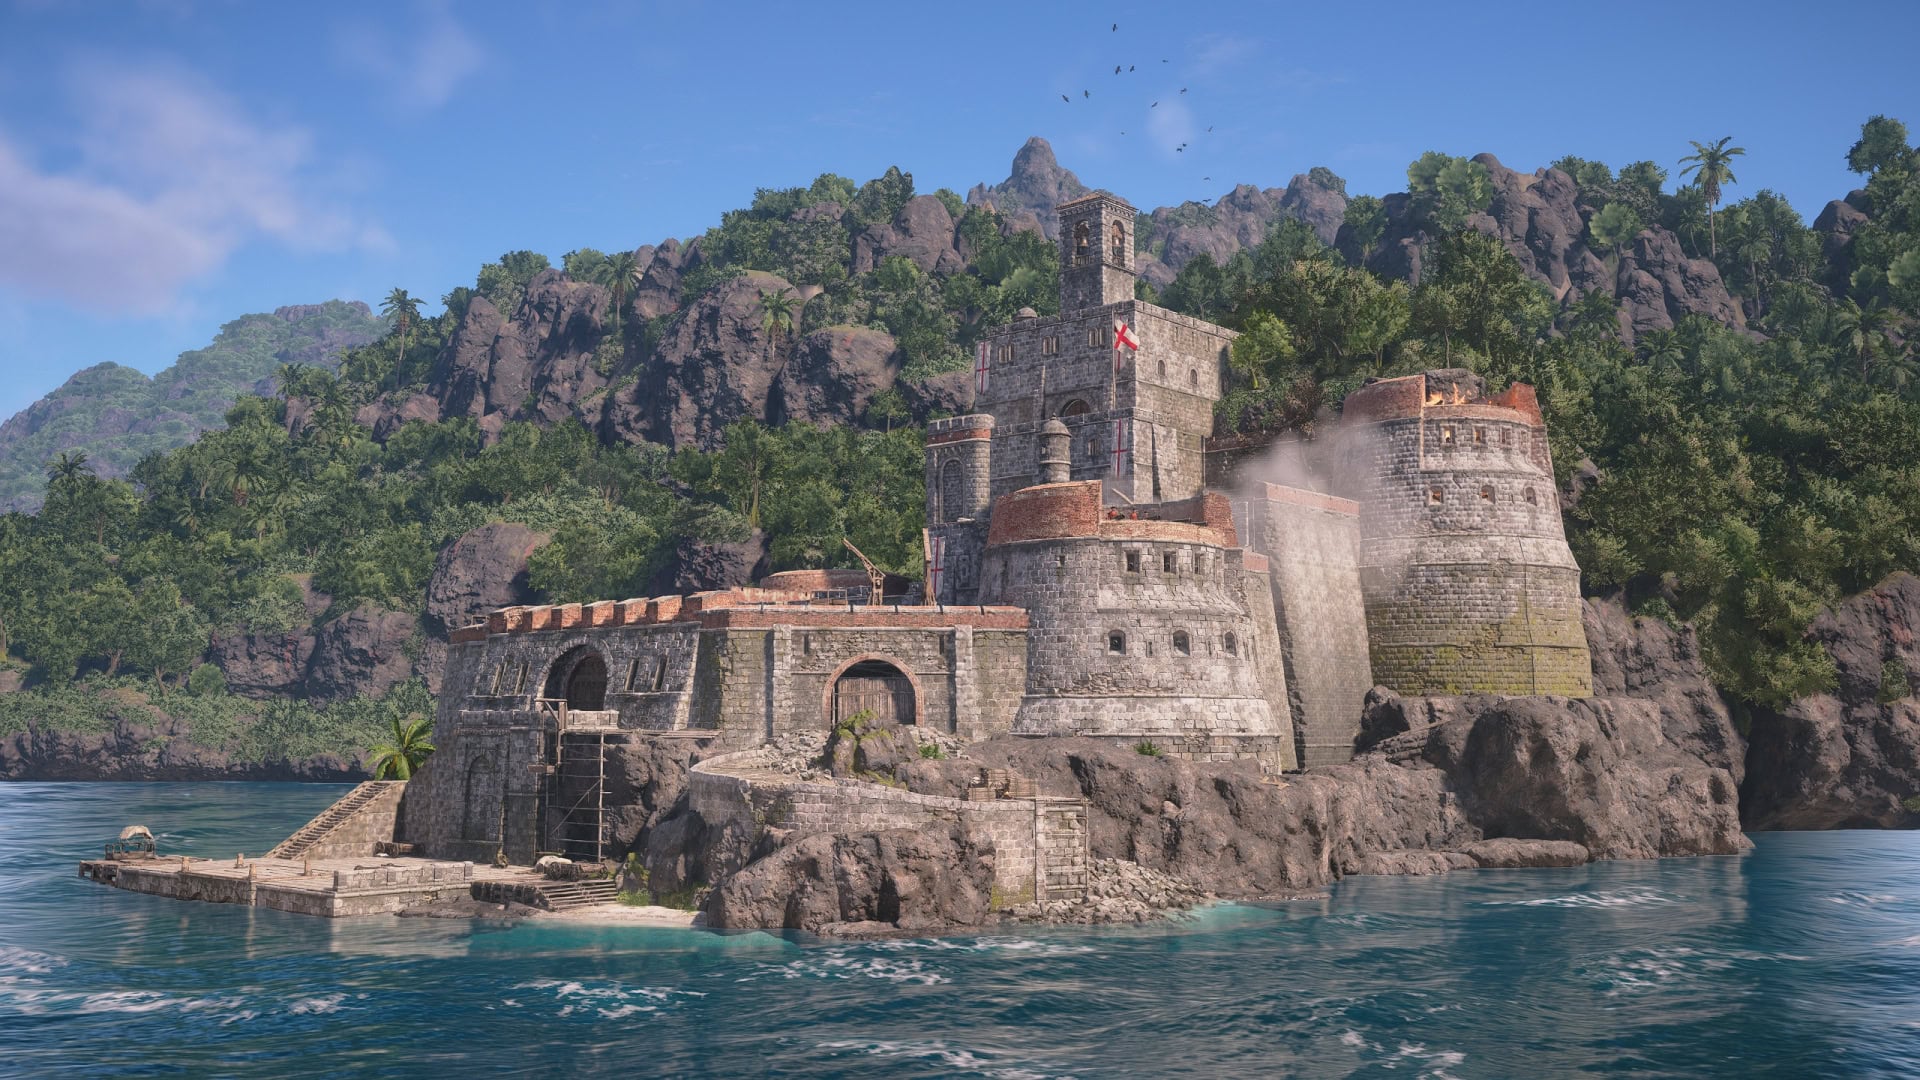
Surrounding the Fort are various mines made of barrels. Watch where you sail and destroy any mines in your path with the Swivel Gun.
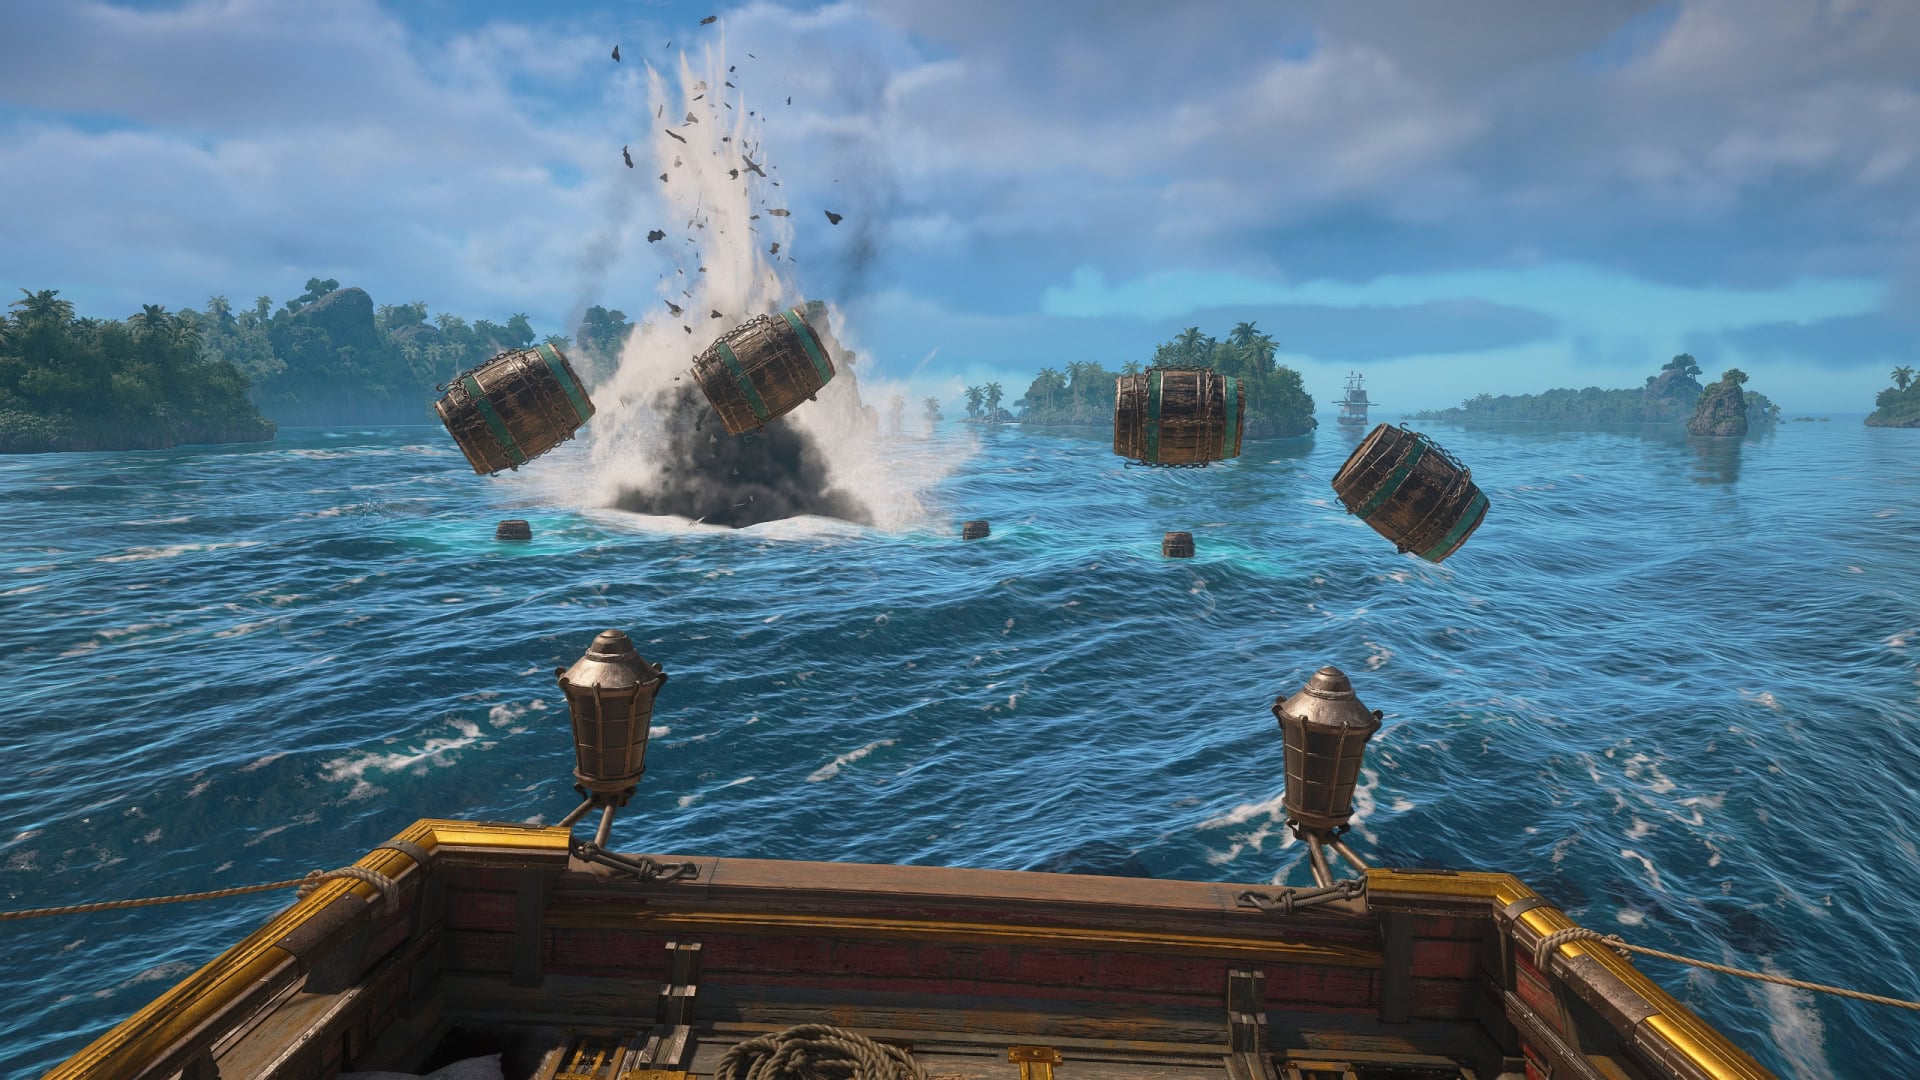
The Shrapnel Barrels you’ll unlock here fire more barrels with each shot, but at the cost of an increased cooldown. They deal less damage than the Flame Barrels, but are good for deterring ships chasing you at a moment’s notice.
| Item | Icon | Quantity |
|---|---|---|
| Reales | | 8,000 |
| Wood | | 200 |
| Metal | | 350 |
| Cloth | | 100 |
| Ship Ammo | Varies | |
| Crew | | Varies |
| Shrapnel Barrel |  | + |
Fort Chinchorro (Tier 3)
Don’t let the size and small amount of defenses fool you, Fort Chinchorro (91,331) is dangerous. If you have the second best Jackdaw upgrades, Fort Chinchorro will have skull icons. Take it seriously and take down its defenses as soon as possible.
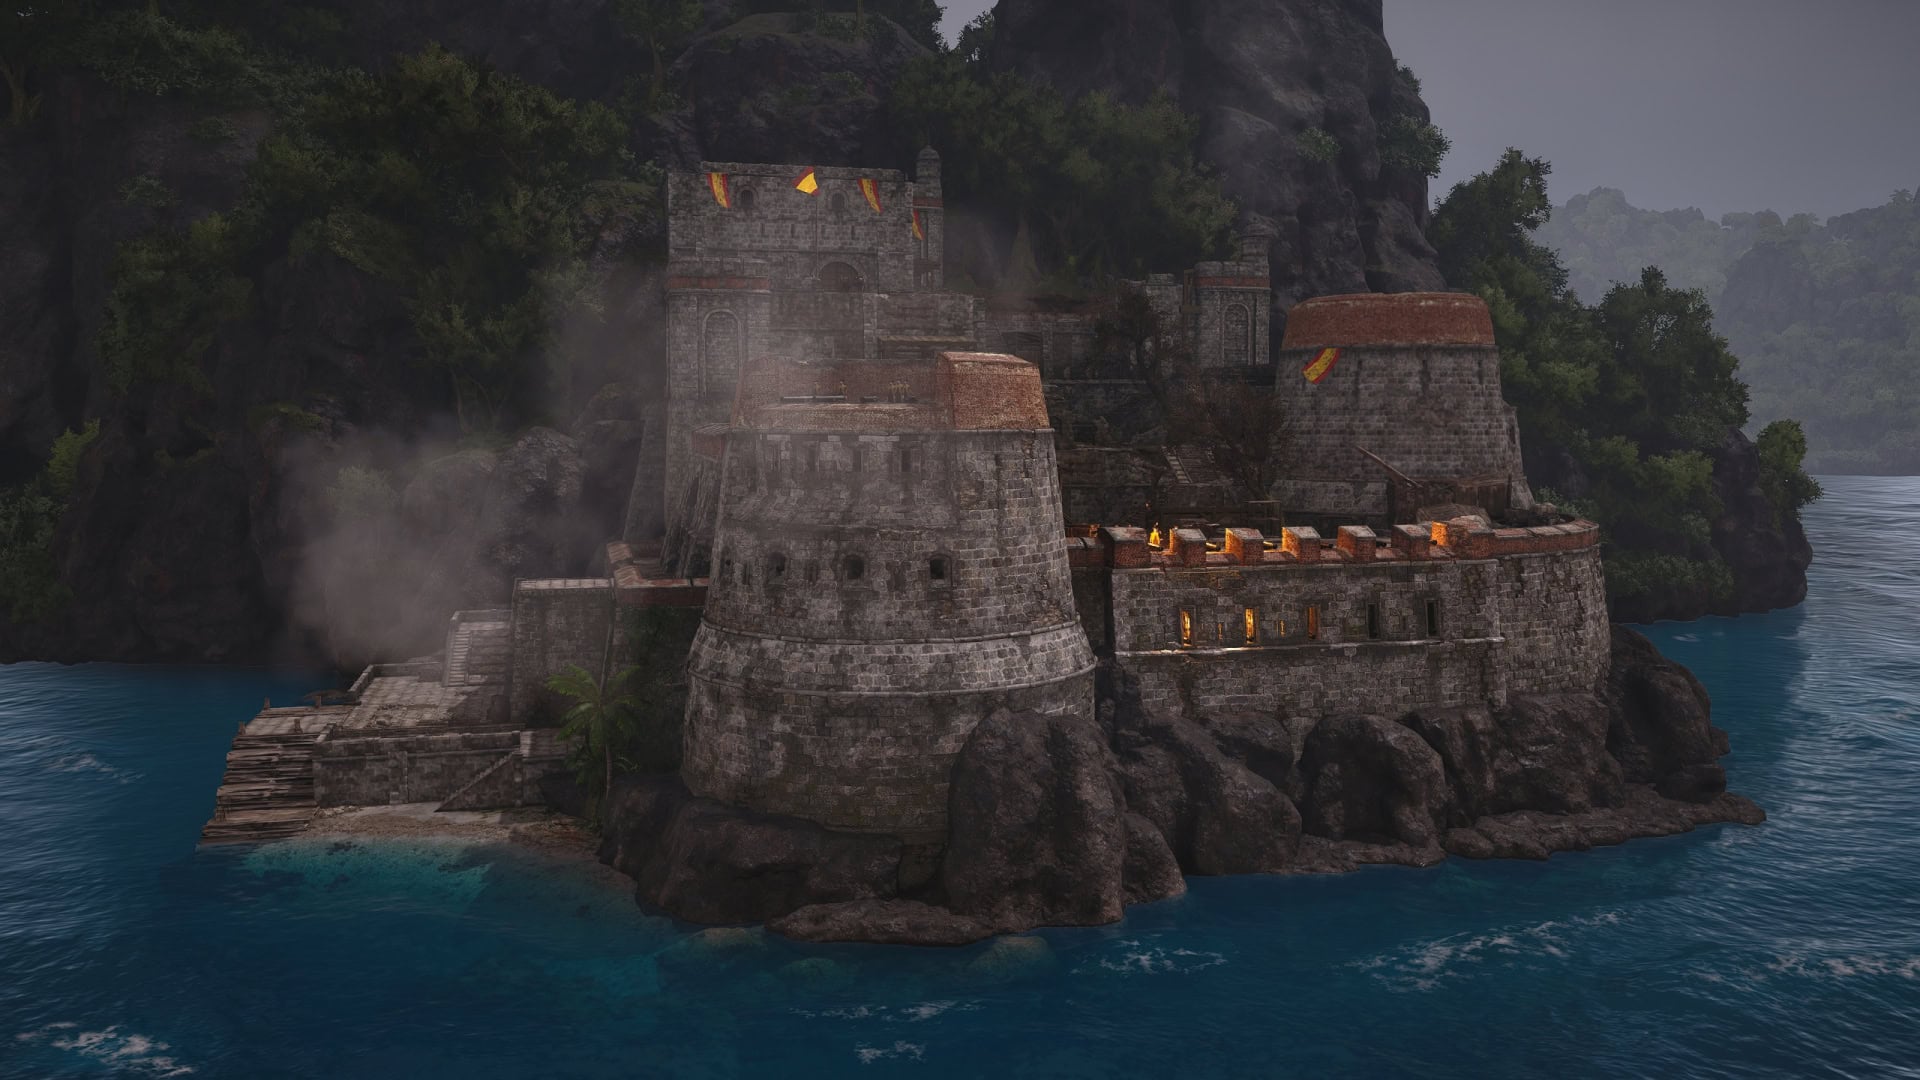
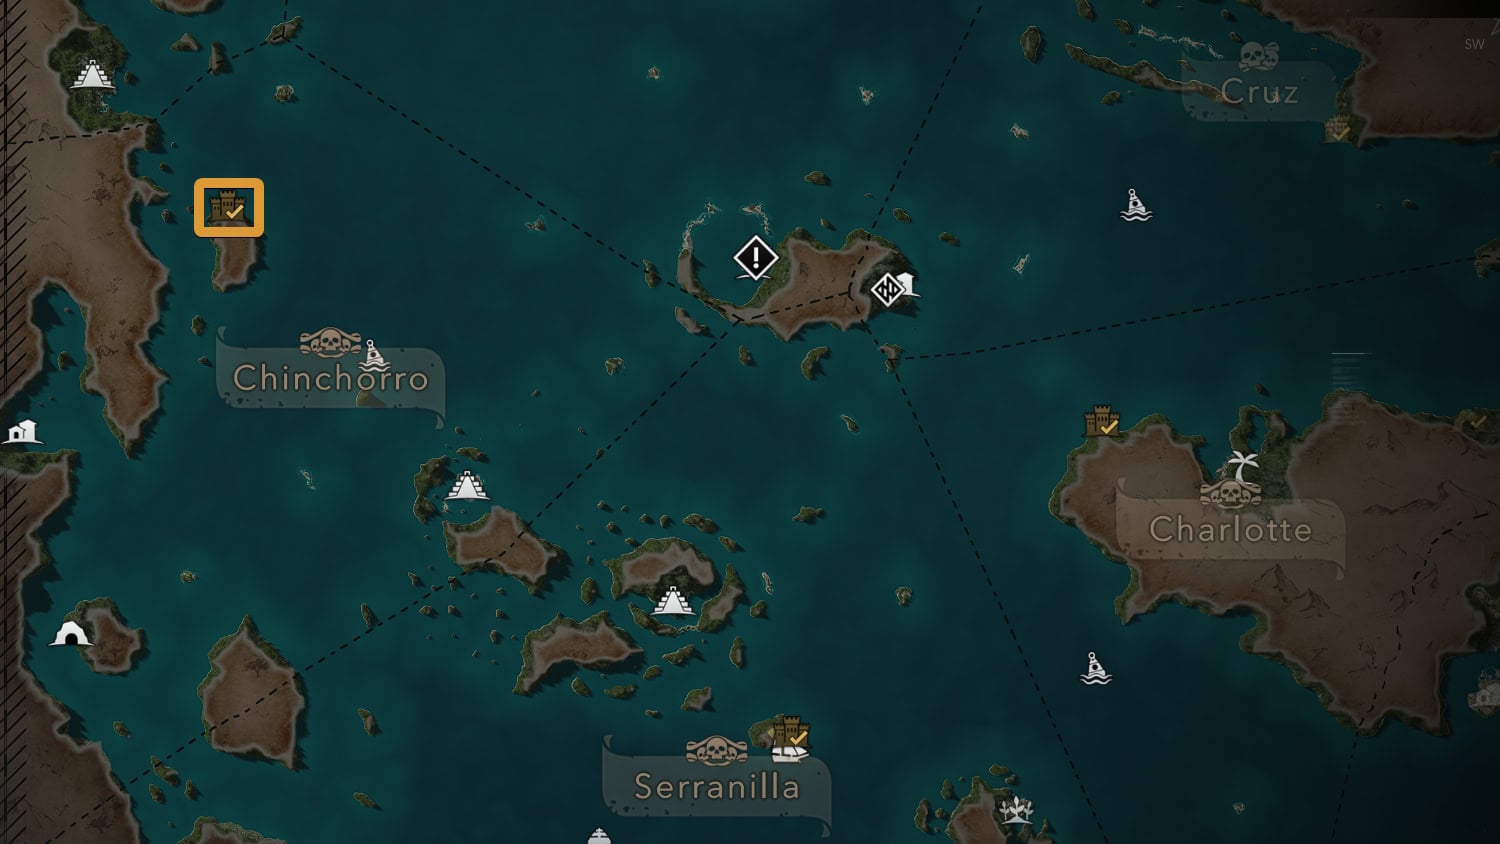
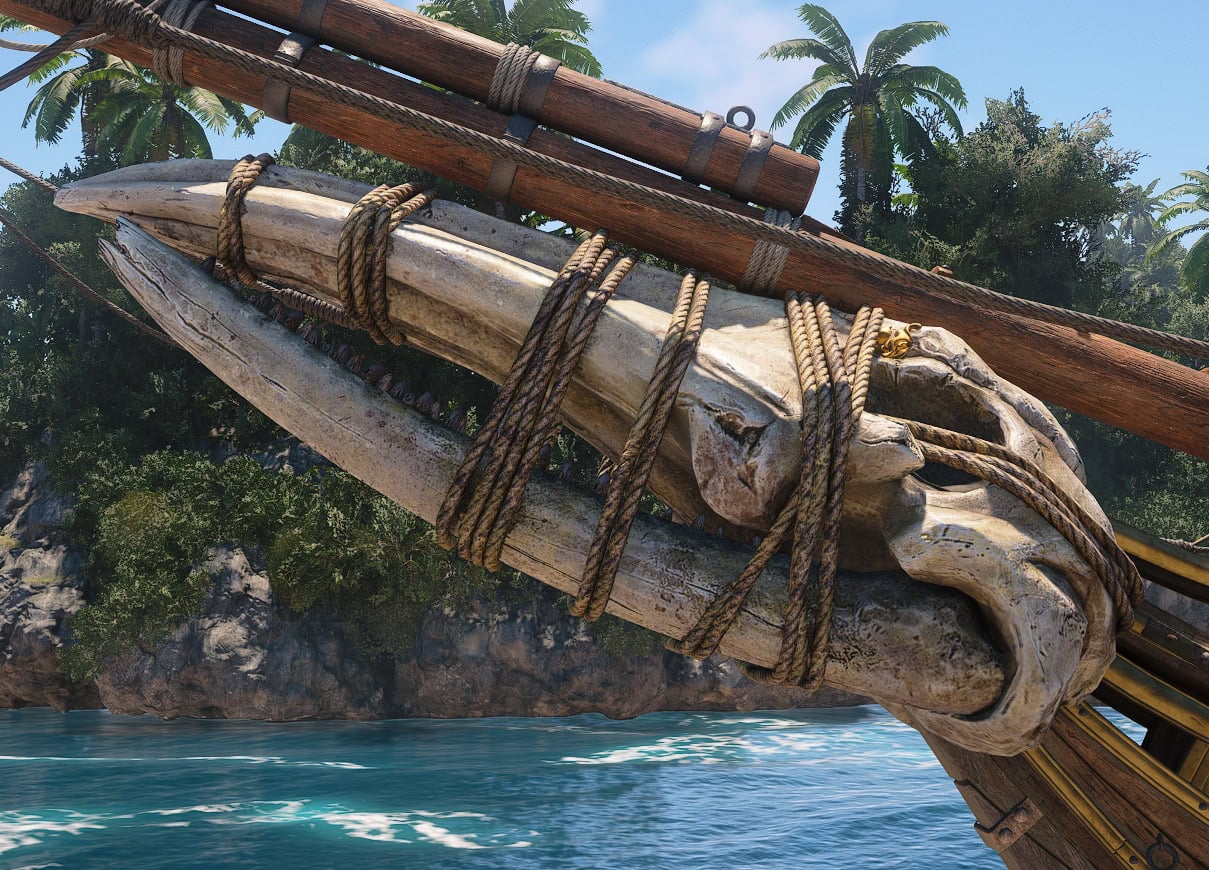
Once completed, Fort Chinchorro will give you the Ranger Figurehead. This figurehead is the skull of a whale that’s been tied to the bowsprit. This was the figurehead of Charles Vane’s ship, the Ranger.
| Item | Icon | Quantity |
|---|---|---|
| Reales | | 8,000 |
| Wood | | 200 |
| Metal | | 350 |
| Cloth | | 100 |
| Ship Ammo | Varies | |
| Crew | | Varies |
| Ranger Figurehead | ▼ |
Fort Serranilla (Tier 3)
Fort Serranilla (317,120) is the most deadly Fort of the lot. It packs 7 defenses and you’ll need second best upgrades with skill, or full upgrades and slightly less skill to take over.
Fort Serranilla will also unlock the final Legendary Ship, La Dama Negra (The Black Lady).
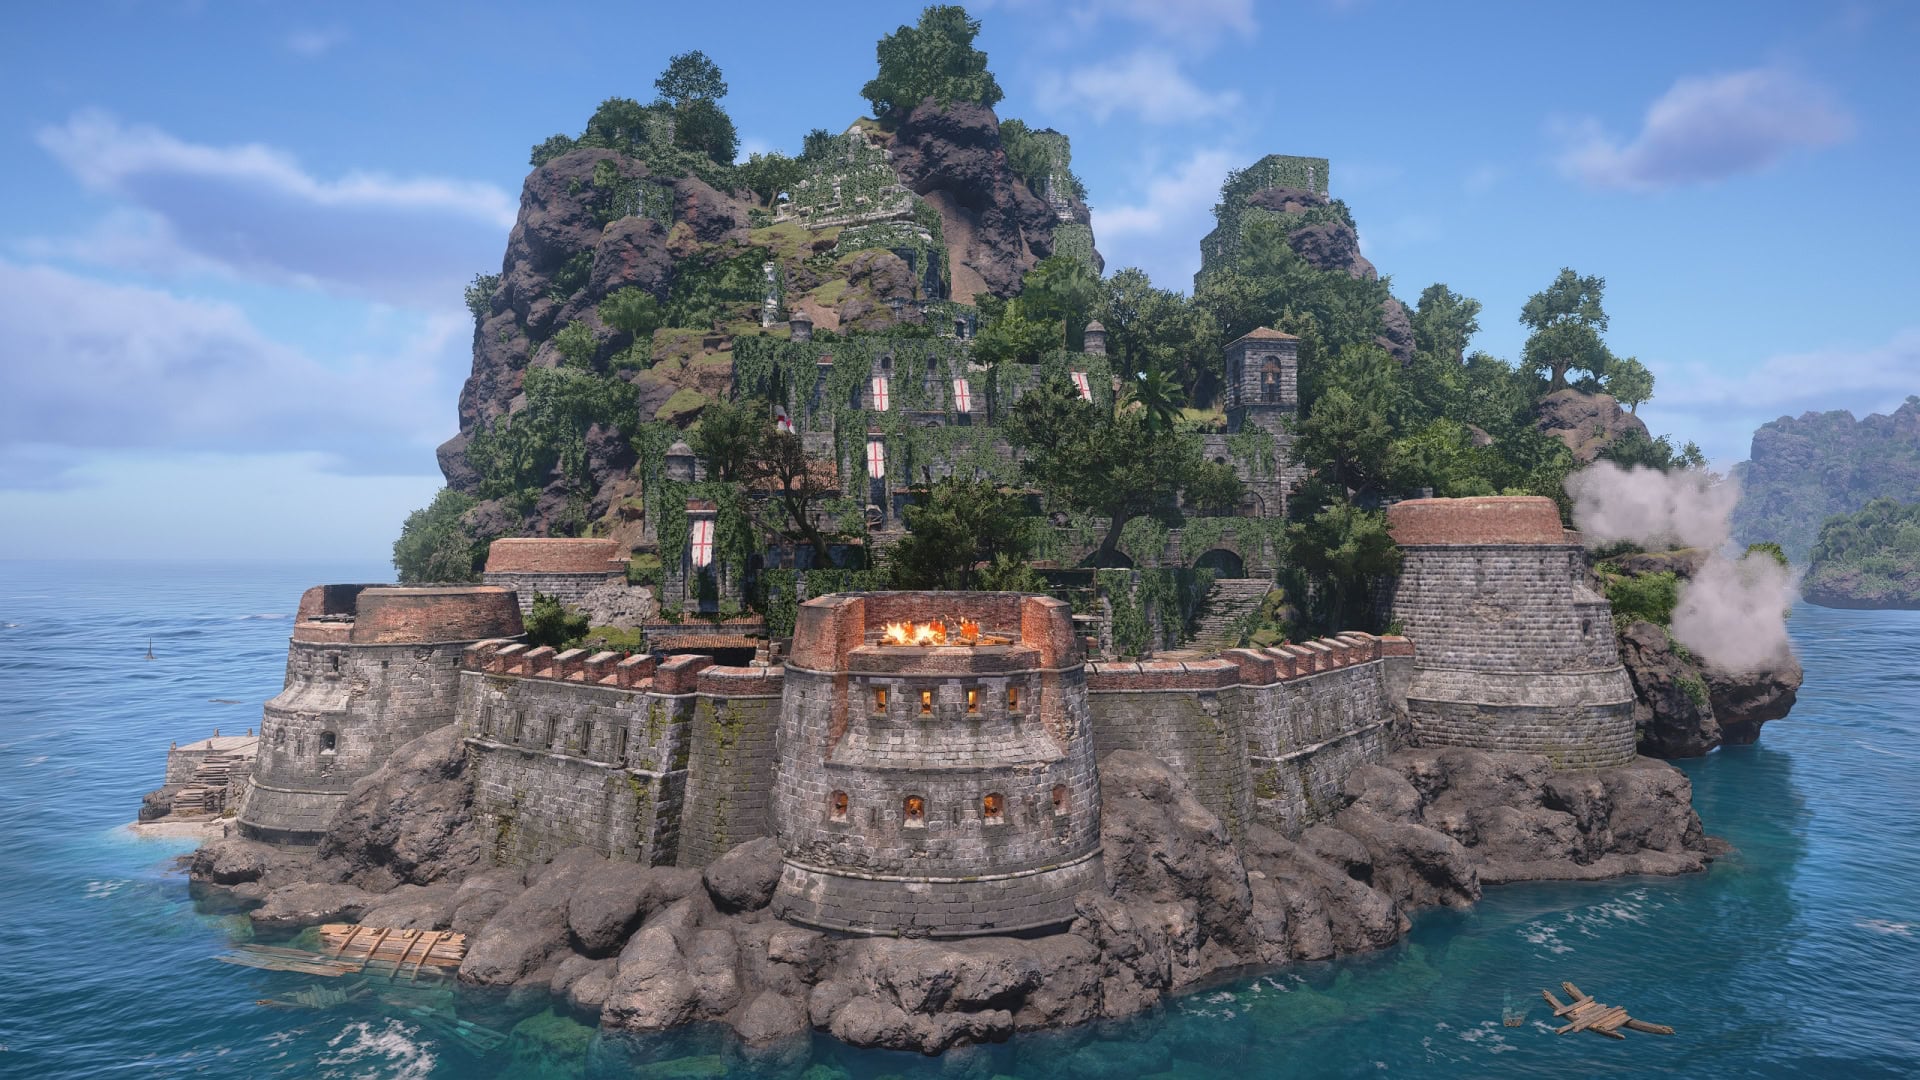
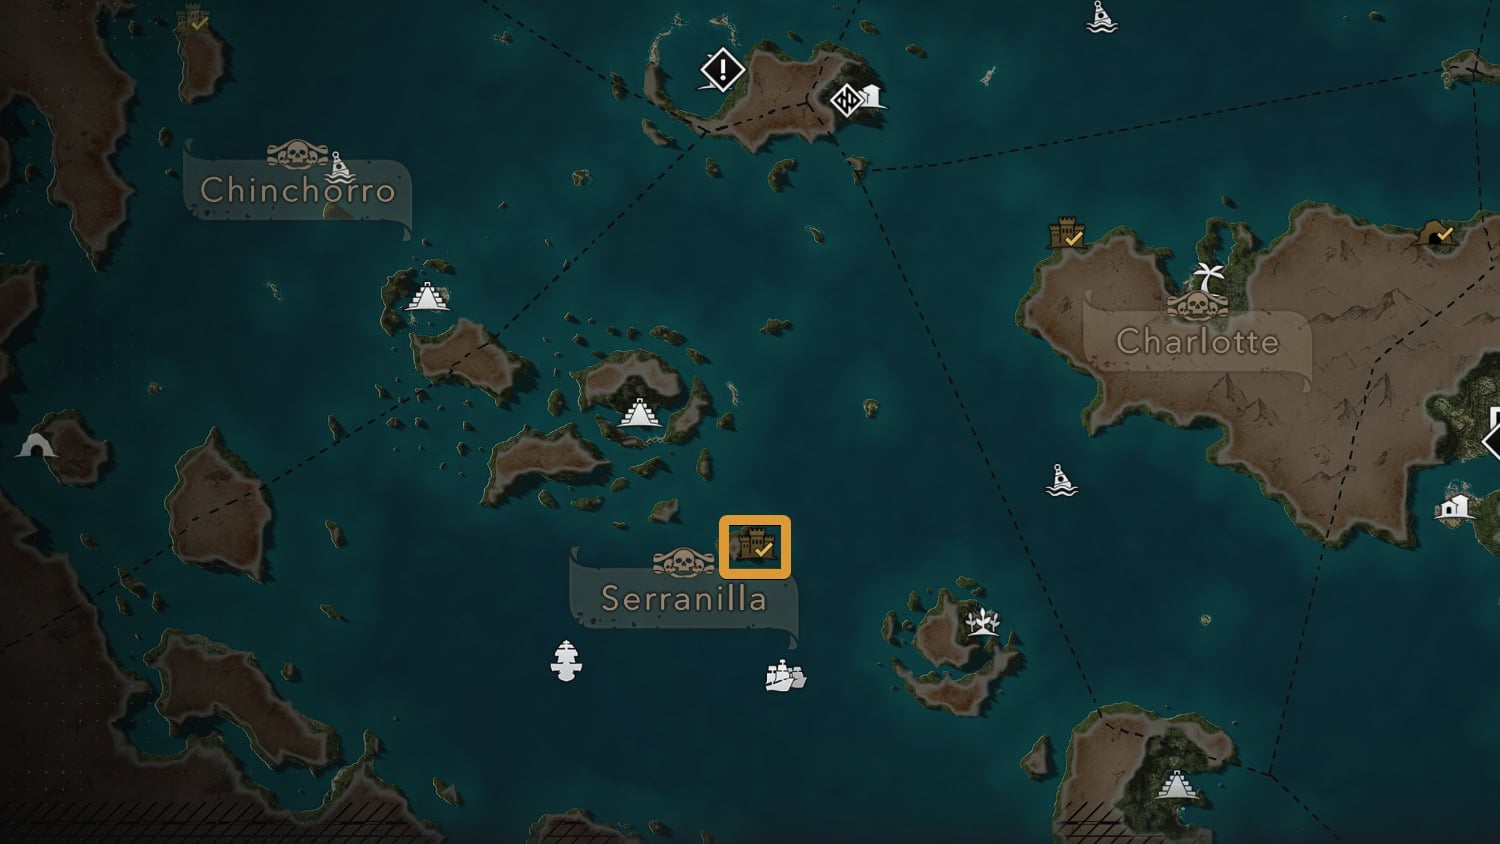
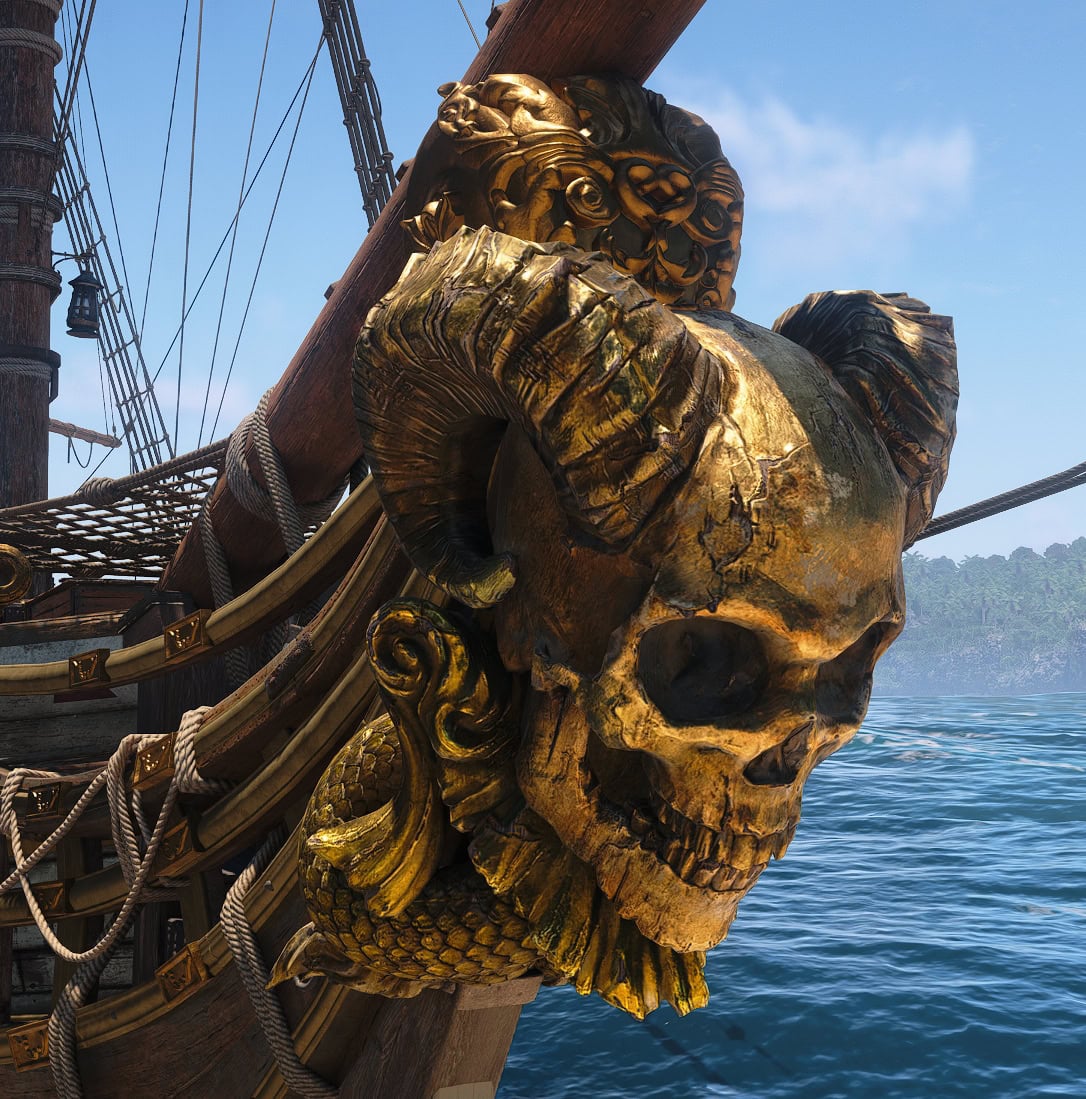
Fort Serranilla will give you the Elite Figurehead as a reward. This figurehead is a gilded human skull with horns, fish tails, and other decorative bits. A fitting decoration for defeating the most challenging Fort.
| Item | Icon | Quantity |
|---|---|---|
| Reales | | 5,000 |
| Wood | | 100 |
| Metal | | 250 |
| Cloth | | 50 |
| Ship Ammo | Varies | |
| Crew | | Varies |
| Elite Figurehead | ▼ |