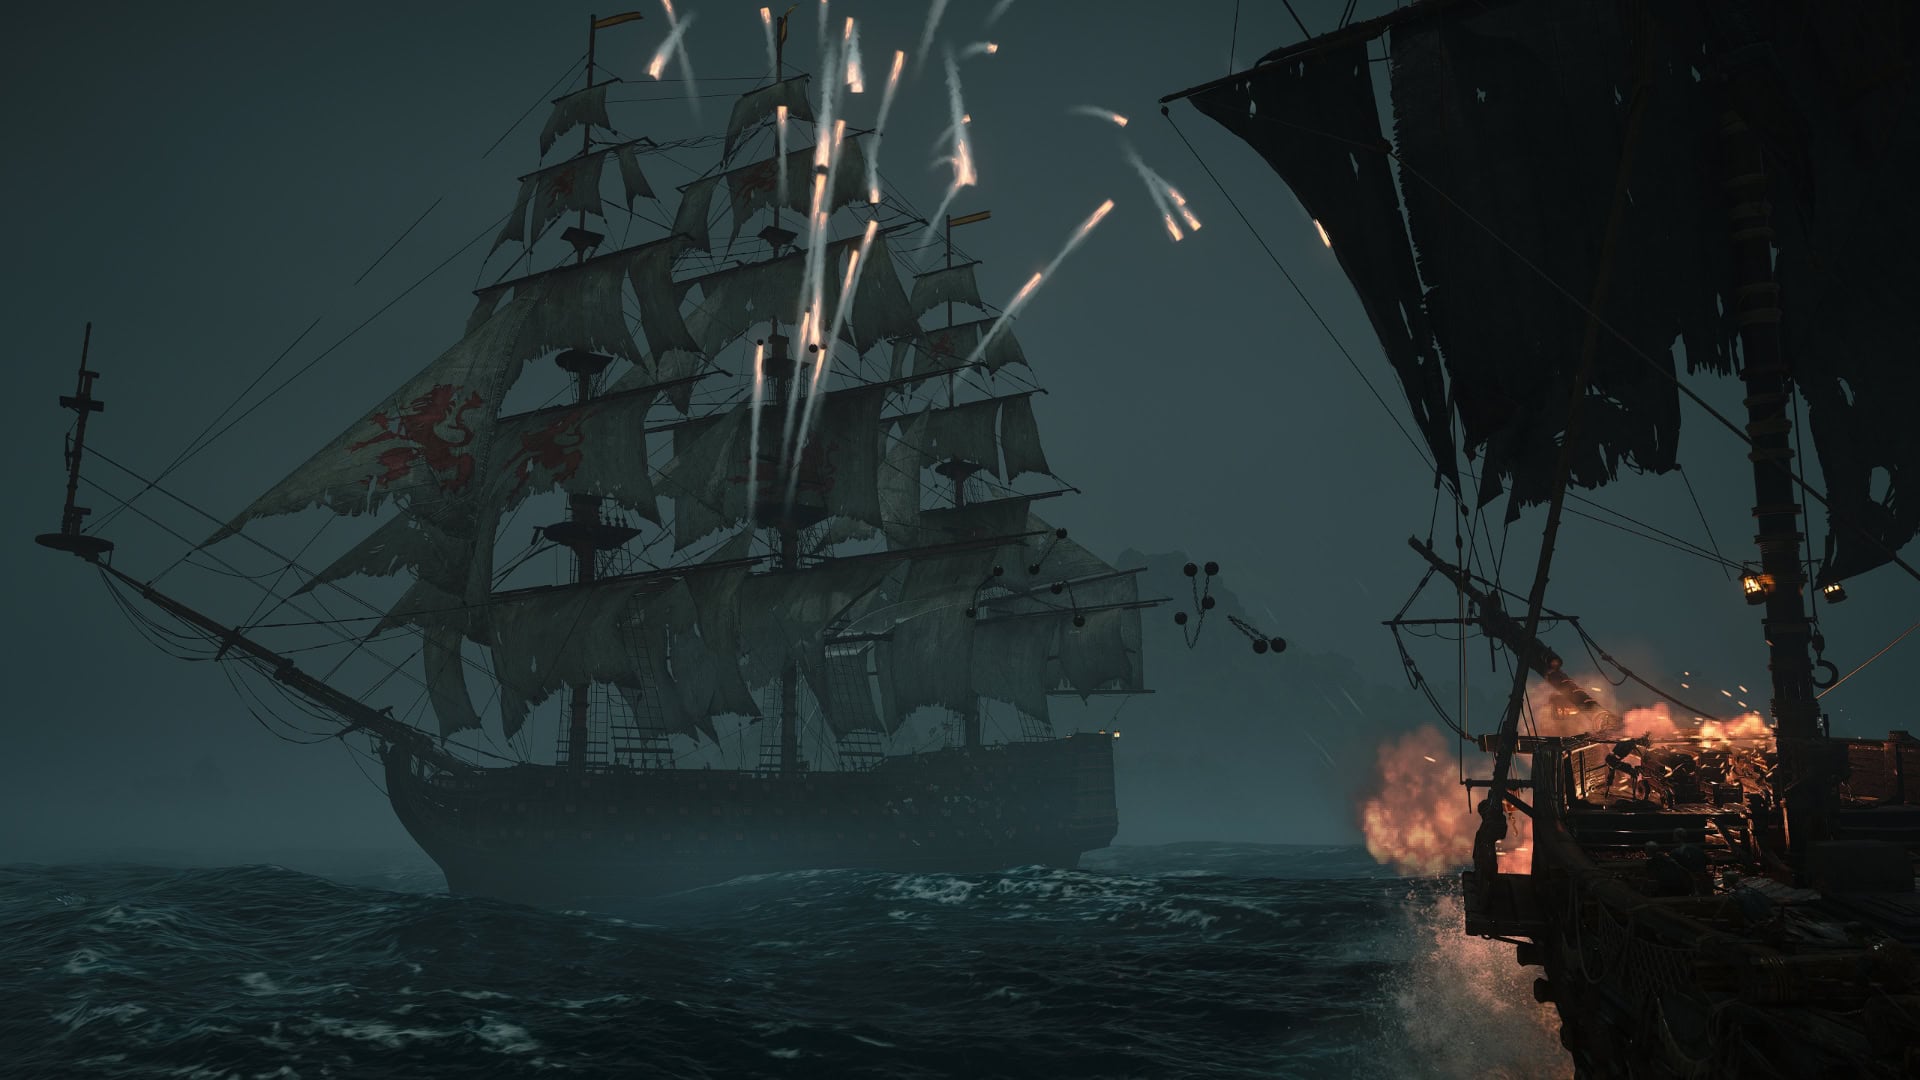
The Legendary Ship El Impoluto can be considered the most difficulty Legendary Ships to defeat in Assassin’s Creed Black Flag Resynced. We’ll show you how to prevent it from ramming into you and how to negate much of its firepower so you can claim its rewards.
What are Legendary Ships
Legendary Ships are the most difficult naval combat encounters that Black Flag Resynced offers. Each ship has their own unique gimmick or mechanic that you must work around (or with) in order to succeed.
It’s highly recommended that you fully upgrade the Jackdaw and unlock all of its weapons before attempting these fights. While you can unlock these rather early on, this is most definitely a late game activity.
Legendary Ships Guide – Assassin’s Creed Black Flag ResyncedHow to unlock El Impoluto
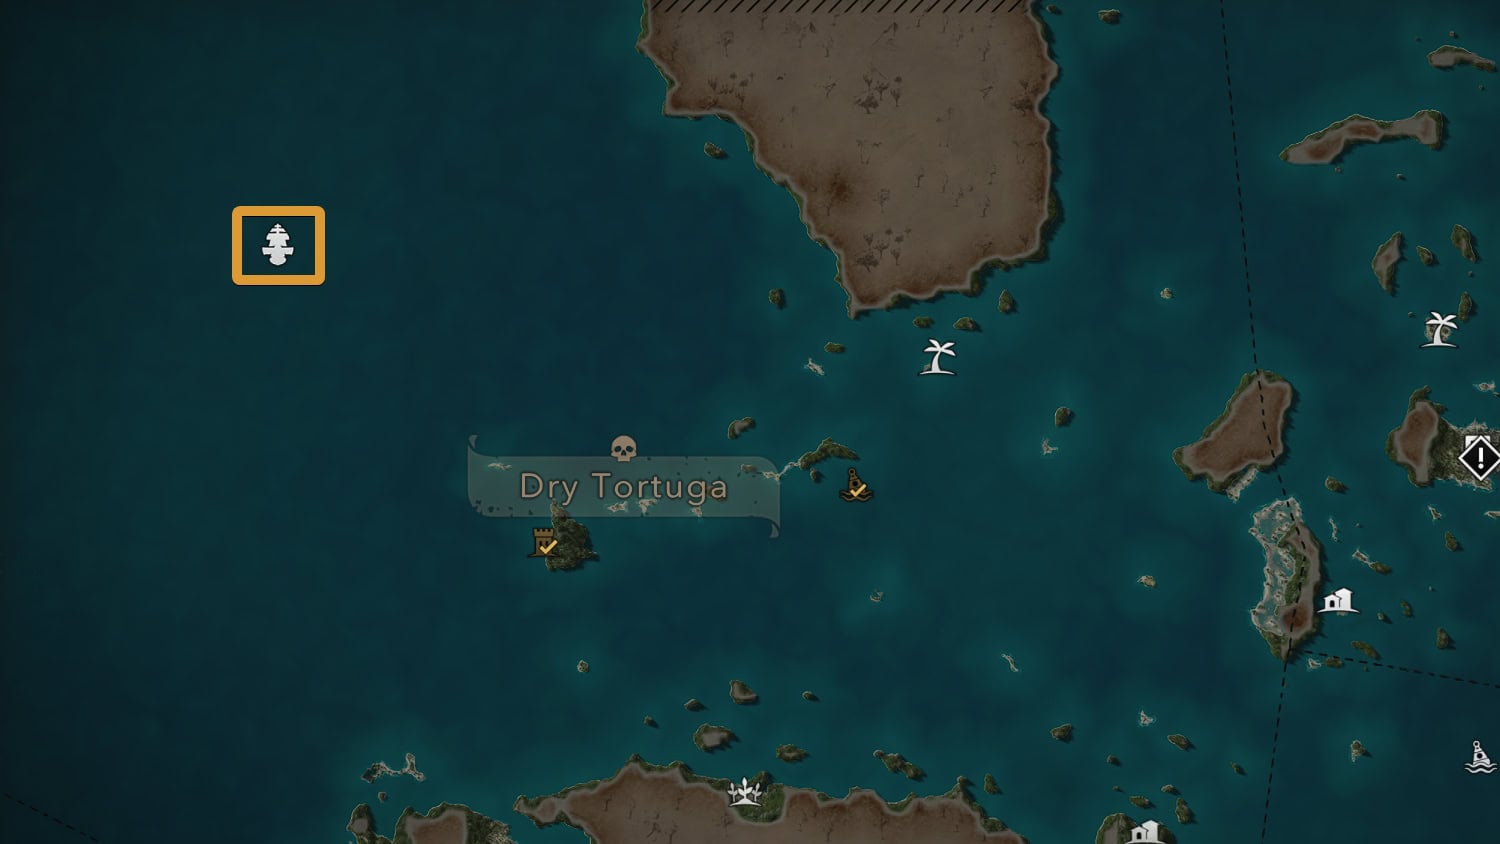
To unlock El Impoluto (The Immaculate One), you’ll need to take over Fort Dry Tortuga. Despite being in the starting region of the game, the Legendary Ship that spawns here is often viewed as the most difficult. It’ll be at the coordinates (115,842).
El Impoluto Basic Overview
El Impoluto’s primary method of attack is to ram you, run away, and ram you again. At the very start of the fight, it’ll ram into you followed by a broadside cannon shot. You cannot do anything about this other than Perfect Bracing to minimize the damage.
Don’t even steering left or right at the start, take it head on and brace right before impact. Do not try to outrun or catch up to El Impoluto, it is futile. El Impoluto’s default speed is faster than the Jackdaw’s Ram Dash speed, you’ll never catch up to it.
One annoying aspect of El Impoluto’s cannons is that they defy the laws of physics. It’s Broadside Cannons can hit you at long distances including 450 meters. To make matters worse, the shots can slightly adjust their trajectory to hit you.
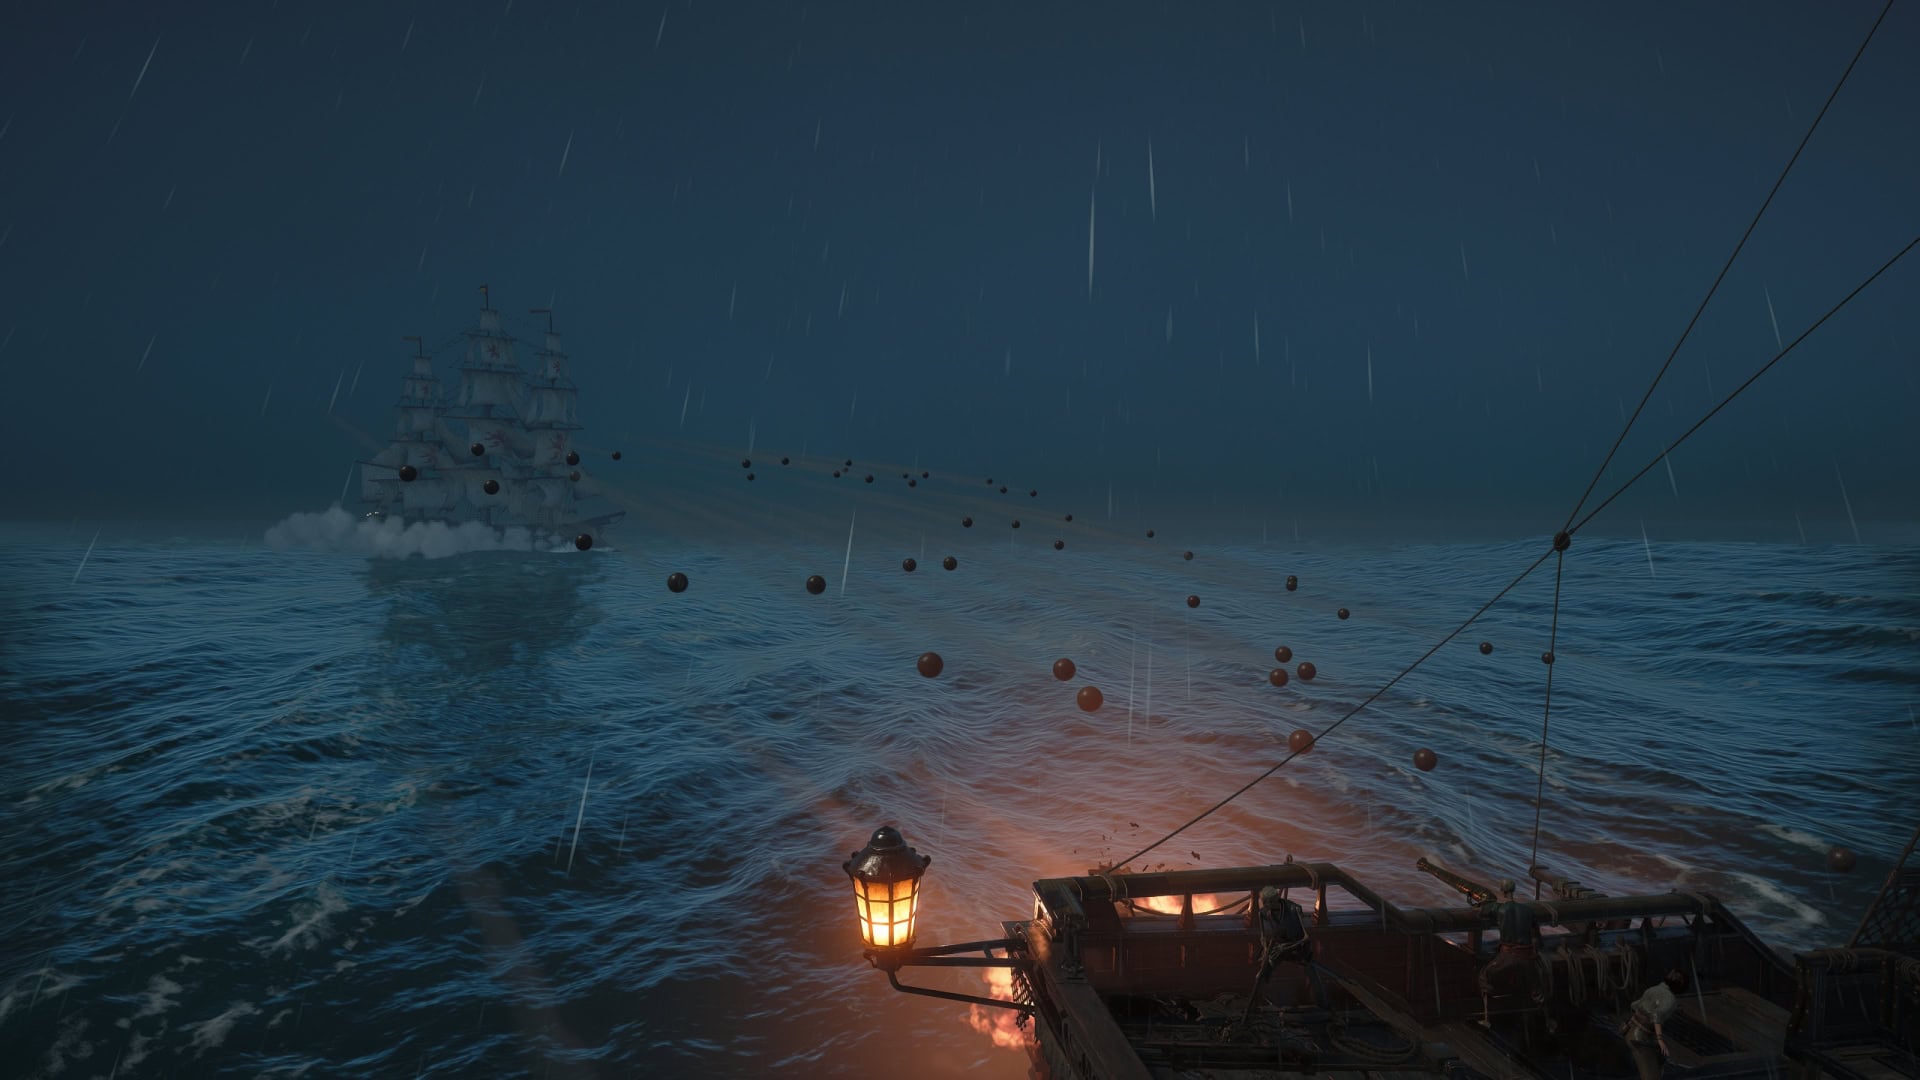
The name of the game is kiting El Impoluto, setting up traps for it using Shrapnel Barrels, and chipping away at it with Deadman’s Cohort Mortars. You’ll be doing all of this while praying you don’t run out of mortar ammo before the fight is over.
You must also get good at steering in reverse as you’ll be facing the camera behind you for most of the fight. So long as you keep El Impoluto’s bow facing the Jackdaw’s stern, you’ll only have to brace against its front cannons and not its broadsides, greatly reducing damage taken.
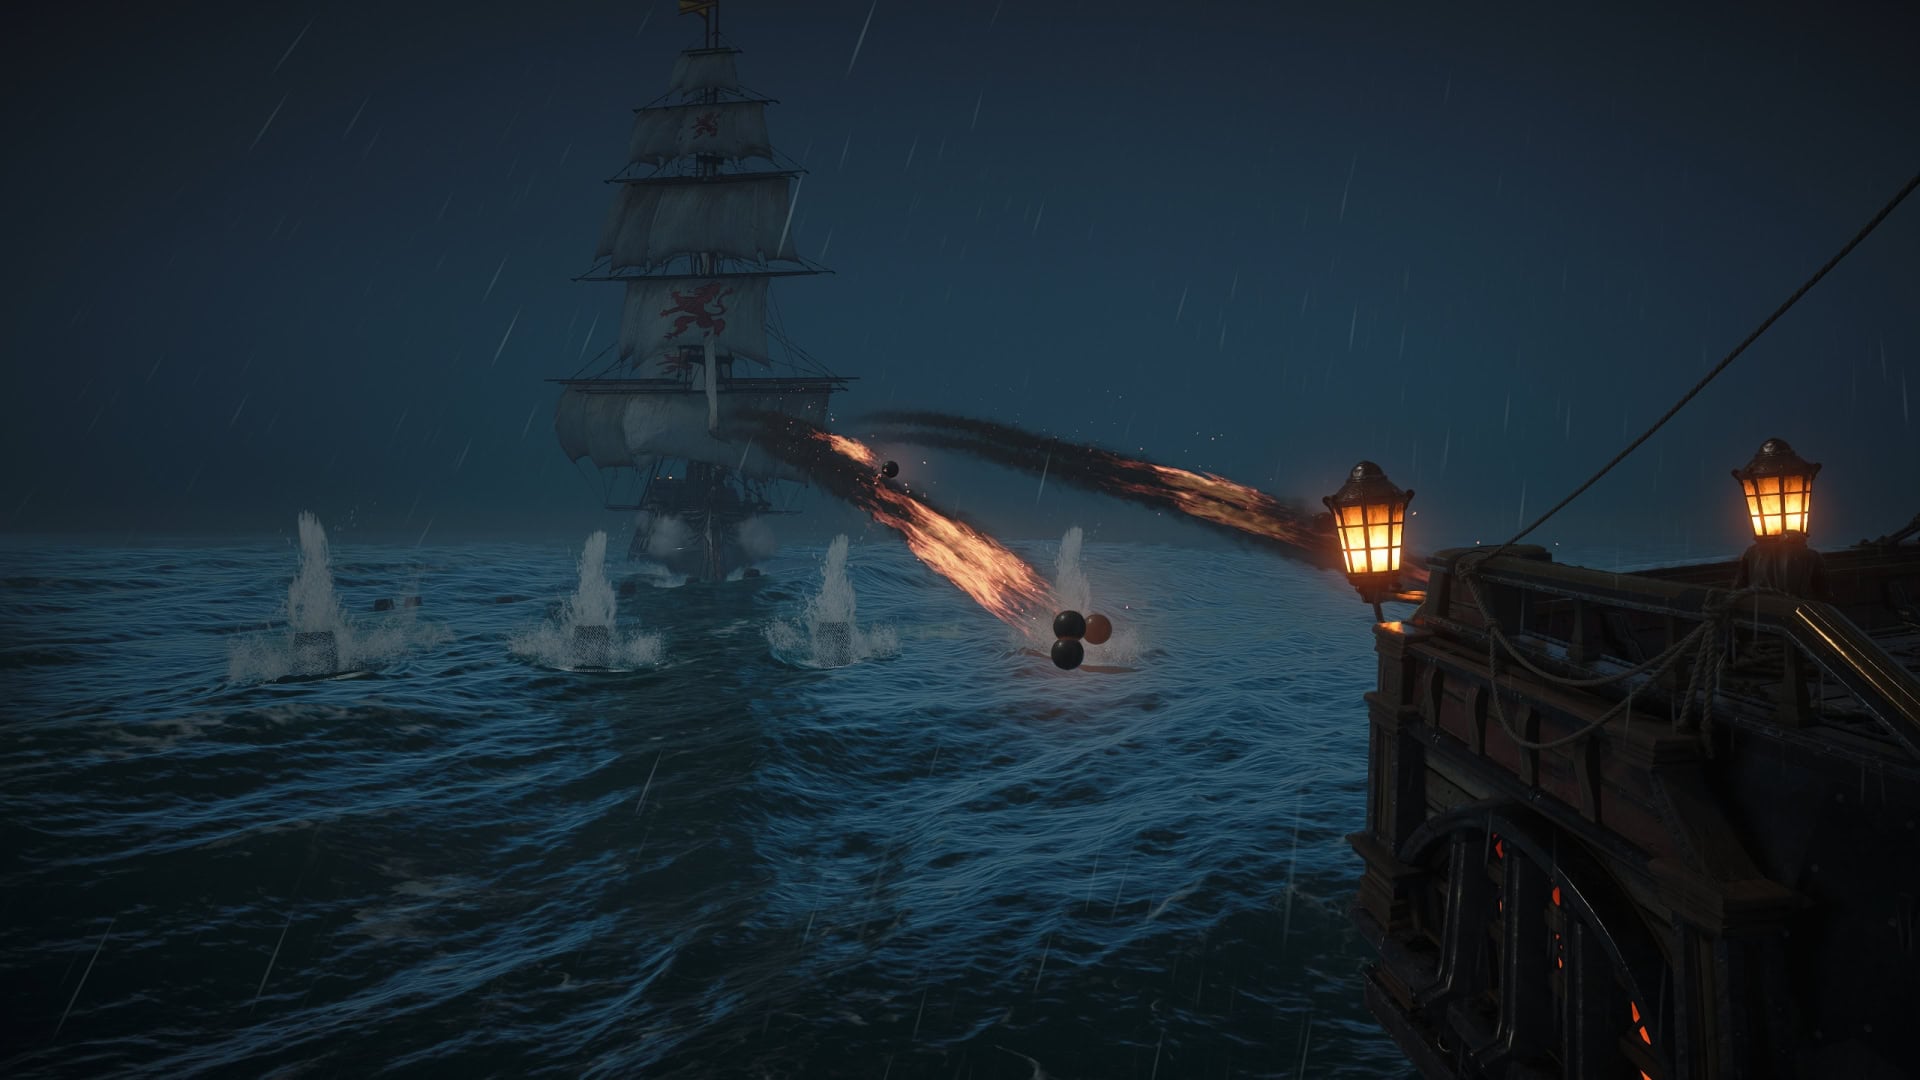
Once El Impoluto loses a third of its health, Phase 2 will begin. It’ll become a lot more aggressive and start using Heated Shots instead of Round Shots. It may come to a full stop to fire an onslaught of Heated Shot volleys for around 14 seconds straight.
So long as you keep moving and limit its broadsides ability to shoot at you, you’ll be able to chip away at it piece by piece until it’s sunk.
Which Weapons to Prioritize
Set your Front Cannons to Chain Shot, Mortars to Deadman’s Cohort Mortars, and your Barrel Launcher to Shrapnel Barrels. Be sure to pop every weak spot with your Swivel Guns.
Since this fight should mostly be you kiting El Impoluto, you’ll want to avoid using your Broadside Cannons. If you have it in your broadside’s sights, it can hit you with its own broadsides as well. Avoid getting hit by its broadside cannons whenever possible.
If El Impoluto ever manages to pull off a ram or if it ever gets within range, the Chain Shot is great to use. El Impoluto’s defining characteristic is speed, so immobilizing it will temporarily negate its ram and flee strategy. The Shrapnel Barrels can provide the same immobilizing effect.
Whether El Impoluto is moving or immobile, use the Deadman’s Cohort Mortars. You’ll want to use these over the standard mortars when El Impoluto is immobile as it recovers in a few seconds. Deadman’s Mortars will hit it before it can move again due to the projectile’s shorter travel time.
El Impoluto Video Guide
Strategy for stopping El Impoluto’s Ram Attack
Brace El Impoluto’s initial ram and broadside cannon attacks and the start. Immediately turn around and go full sail to get some distance, mark El Impoluto with your spyglass, and face your camera behind you.
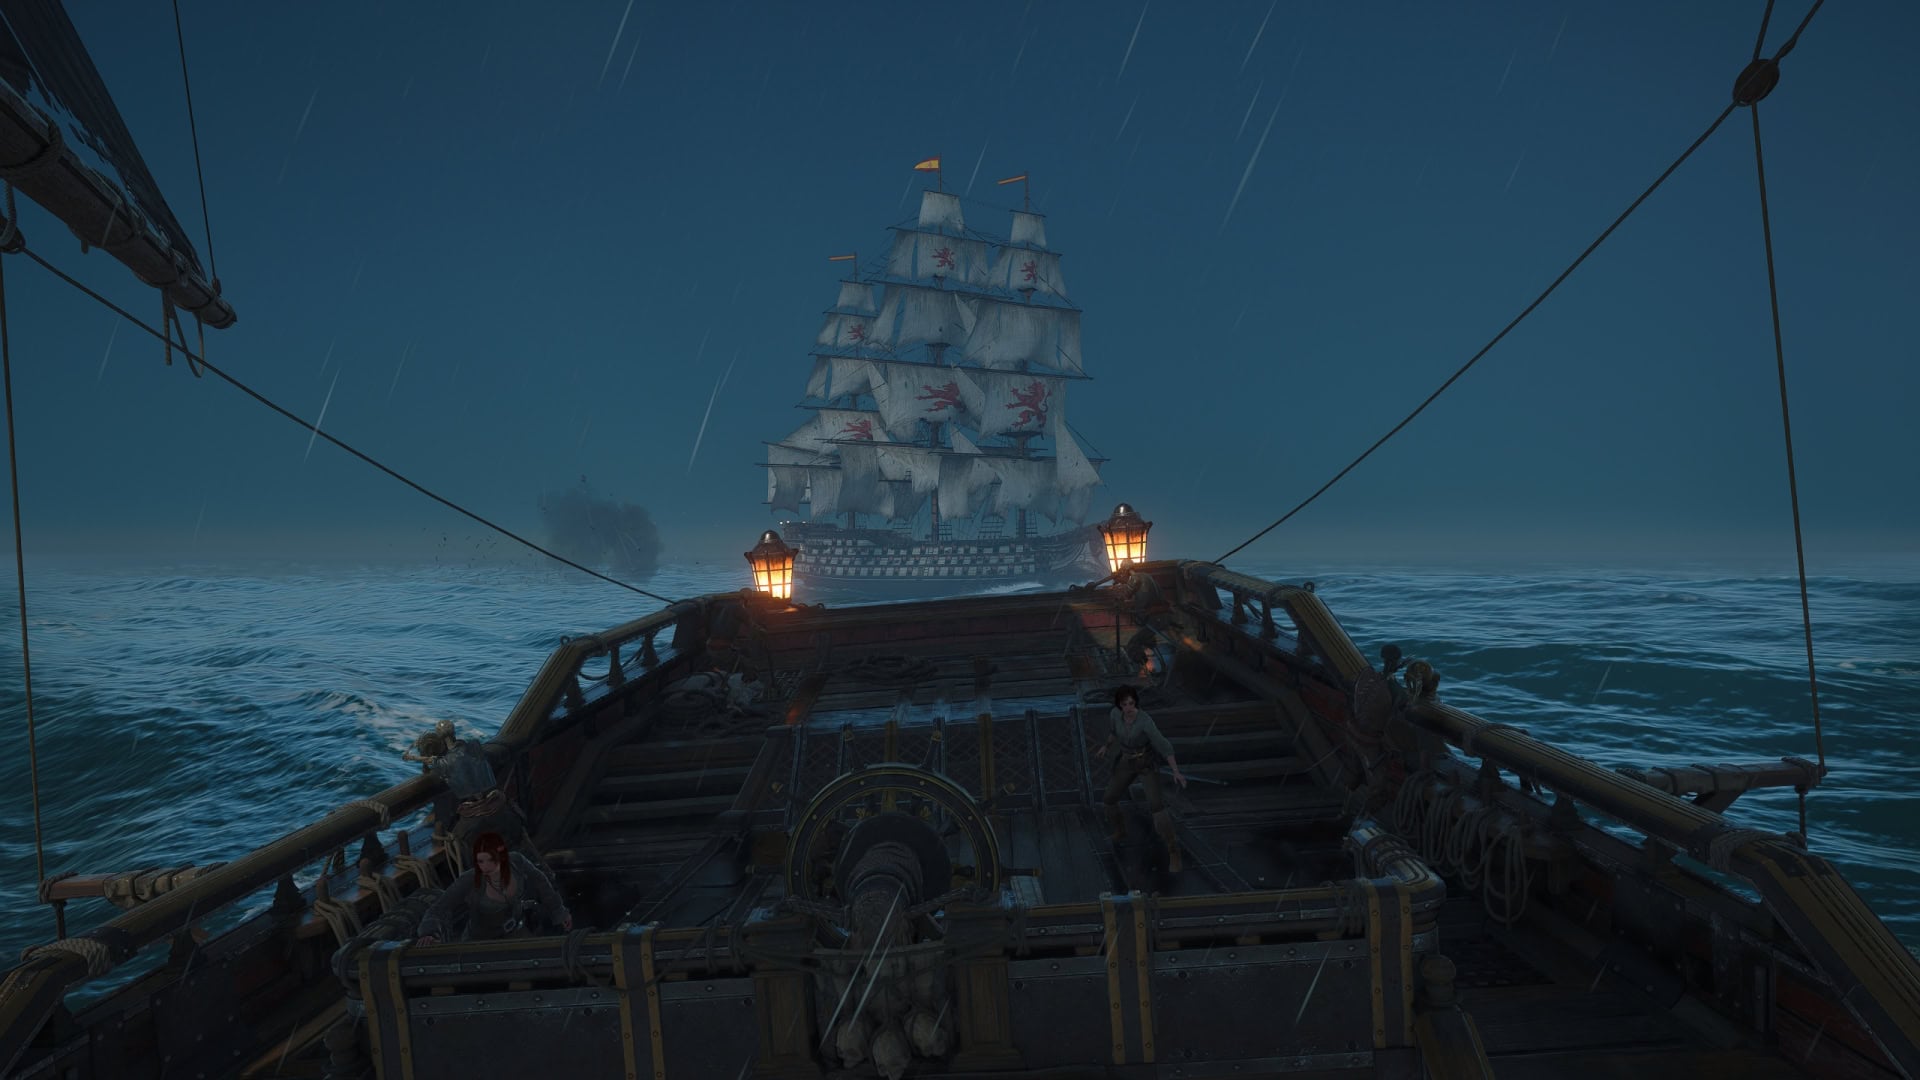
You’ll want to line up the two lanterns on the back of the Jackdaw so that El Impoluto is in the center. When it starts coming your way, place down one wave Shrapnel Barrels.
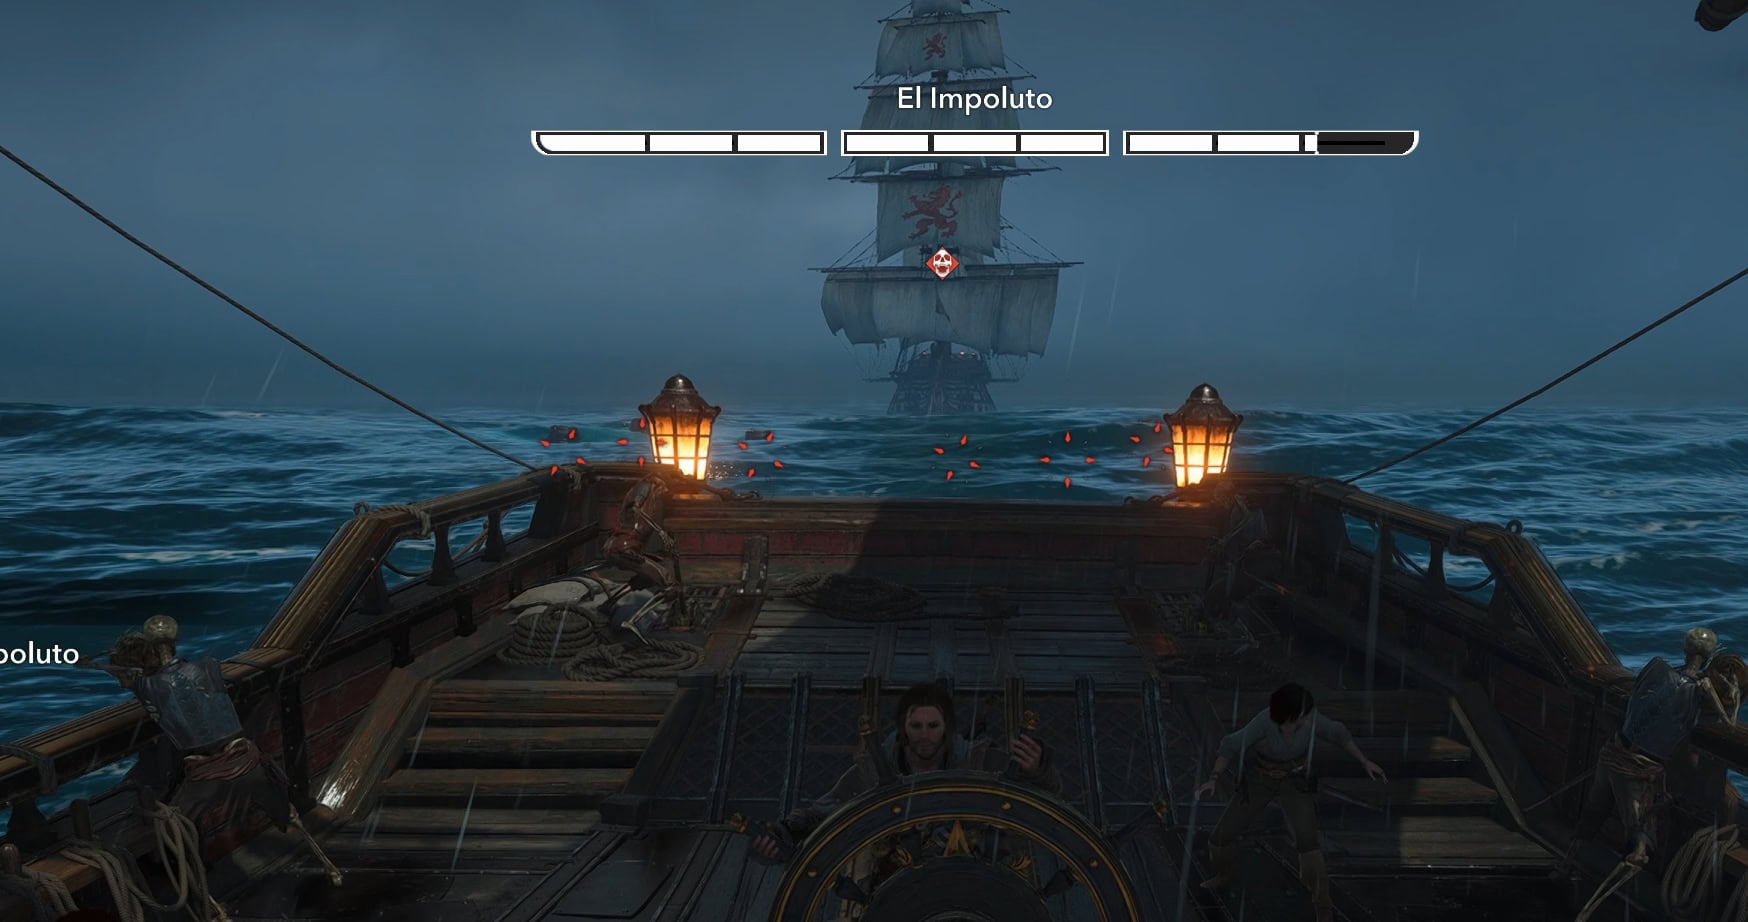
Move up a little bit and place down another wave of Shrapnel Barrels. You’ll want these Shrapnel Barrels close to one another. You should be able to place down two waves of Shrapnel Barrels before El Impoluto gets too close.
As El Impoluto gets within mortar range, fire your Deadman’s Cohort Mortars ahead of El Impoluto. With its speed, you’ll need to fire a bit ahead of its bow to ensure all shots land.
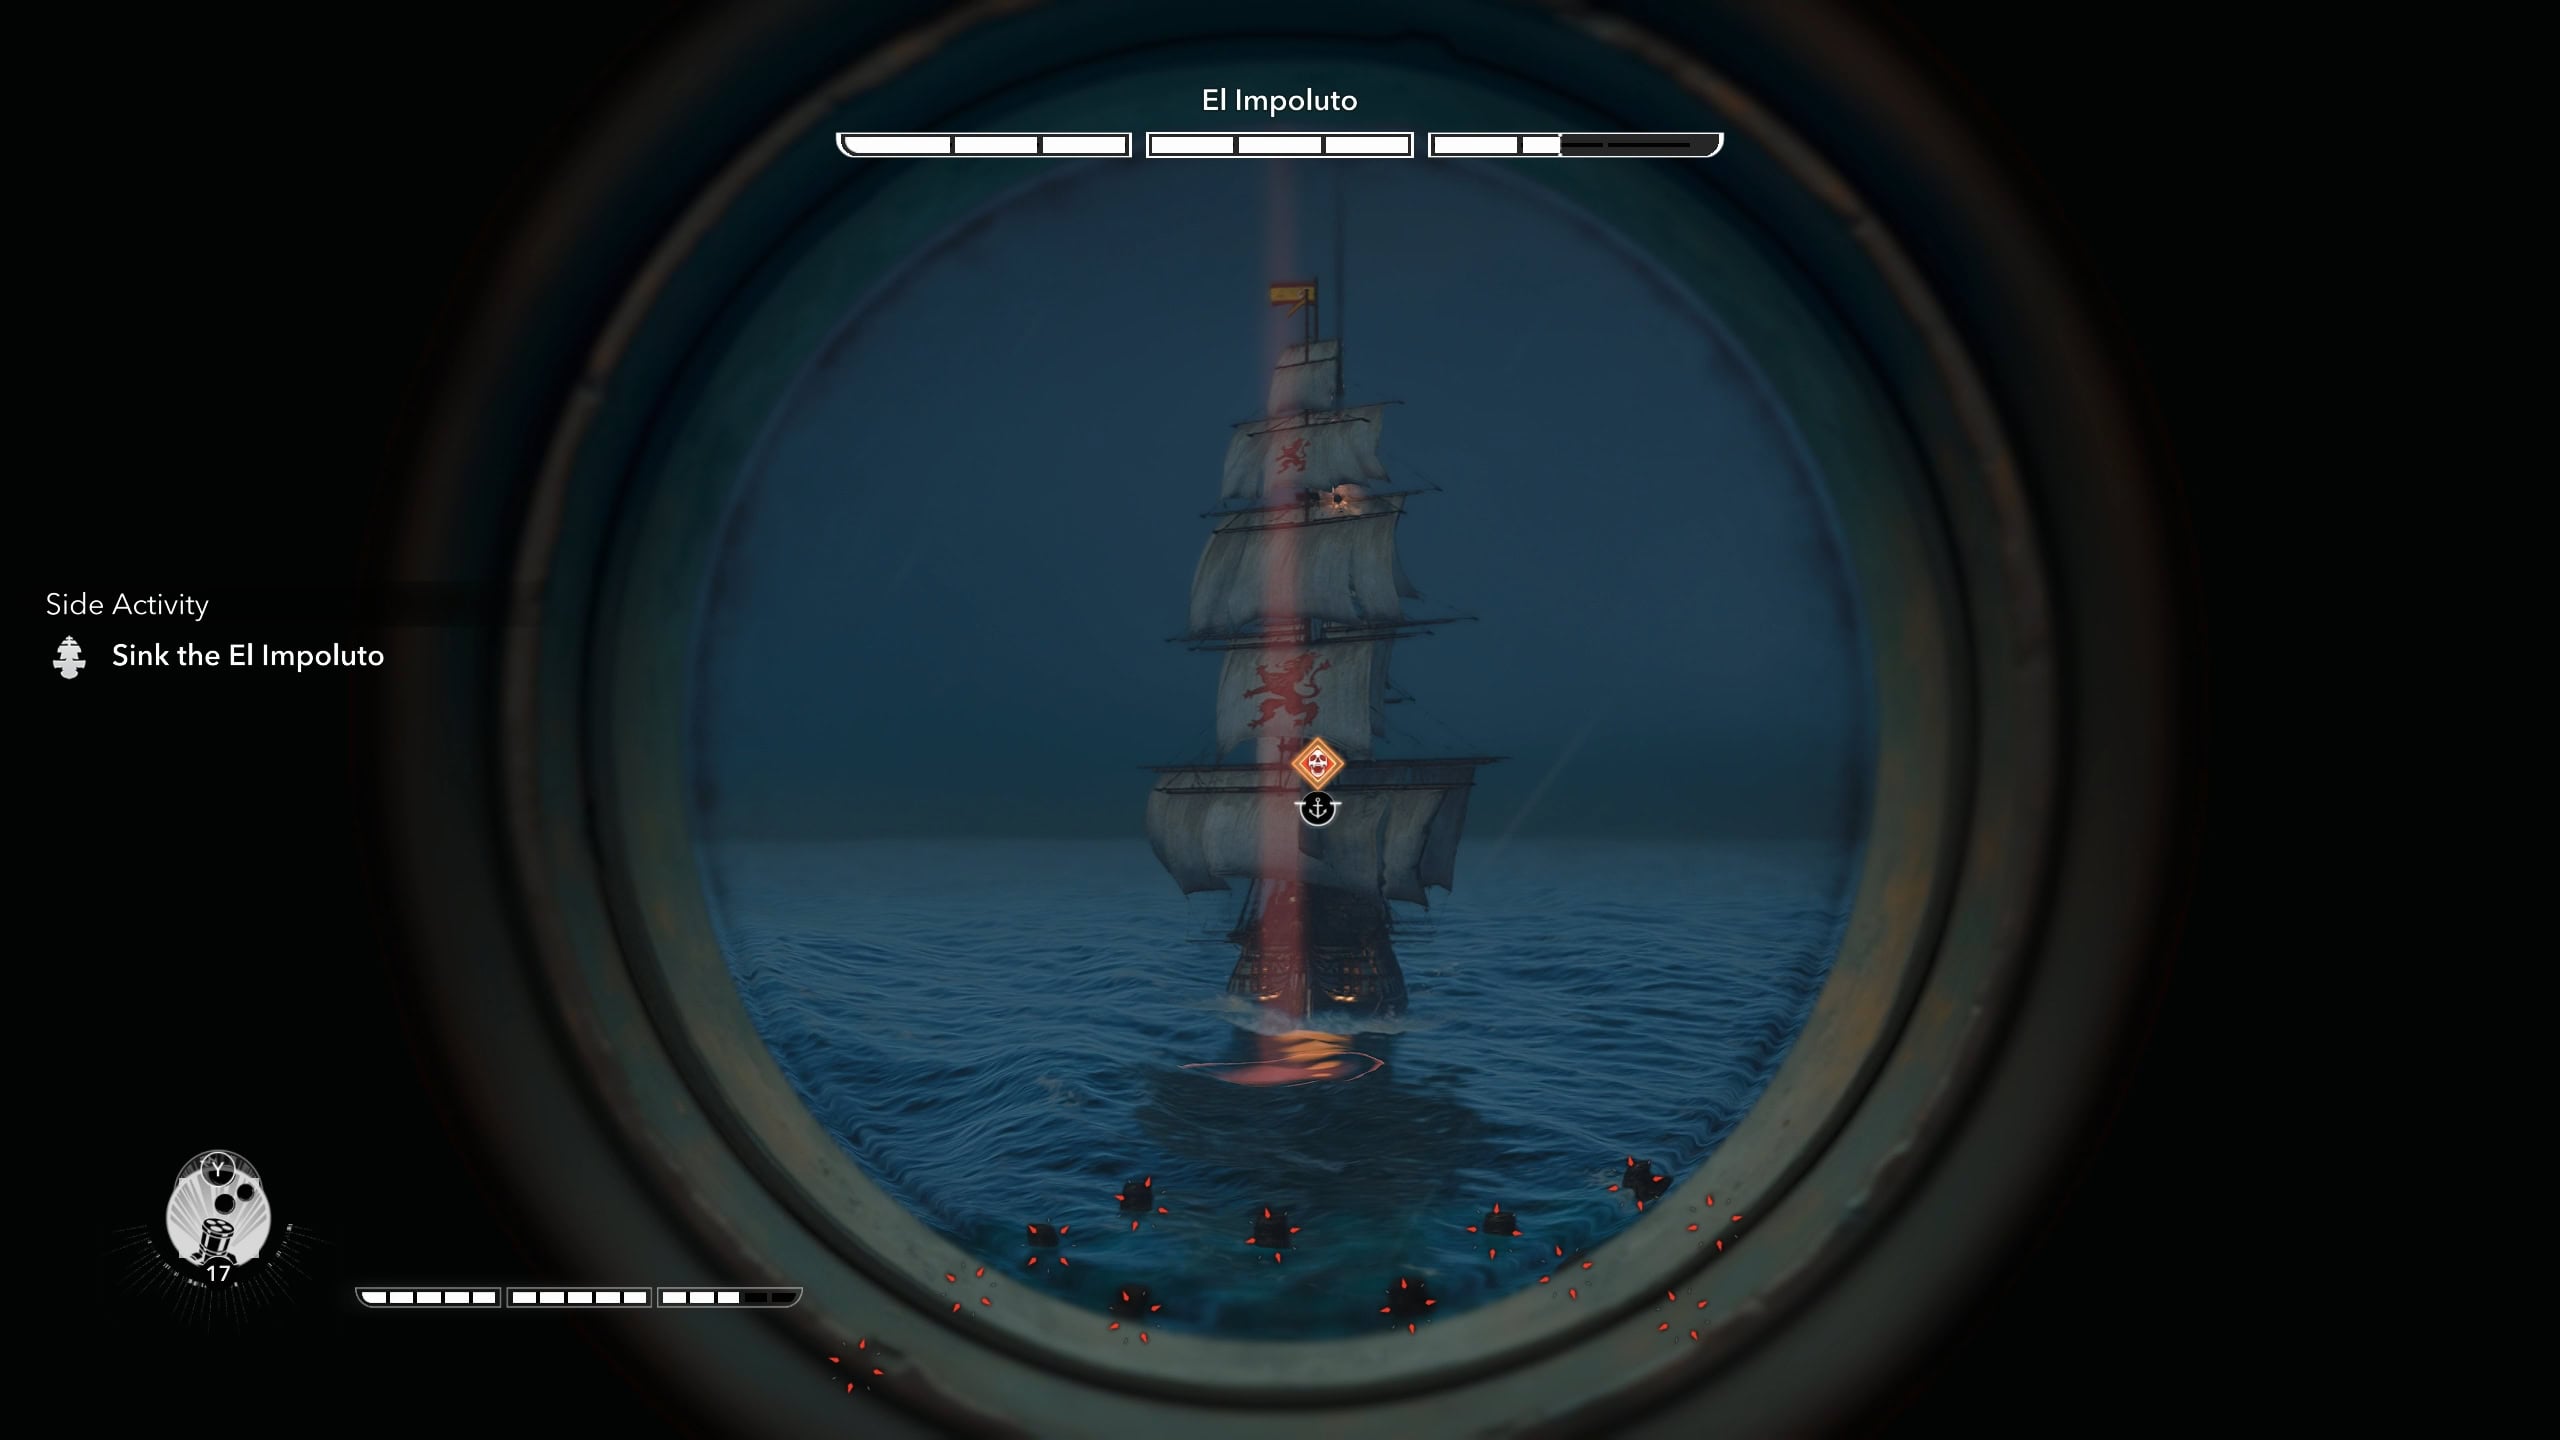
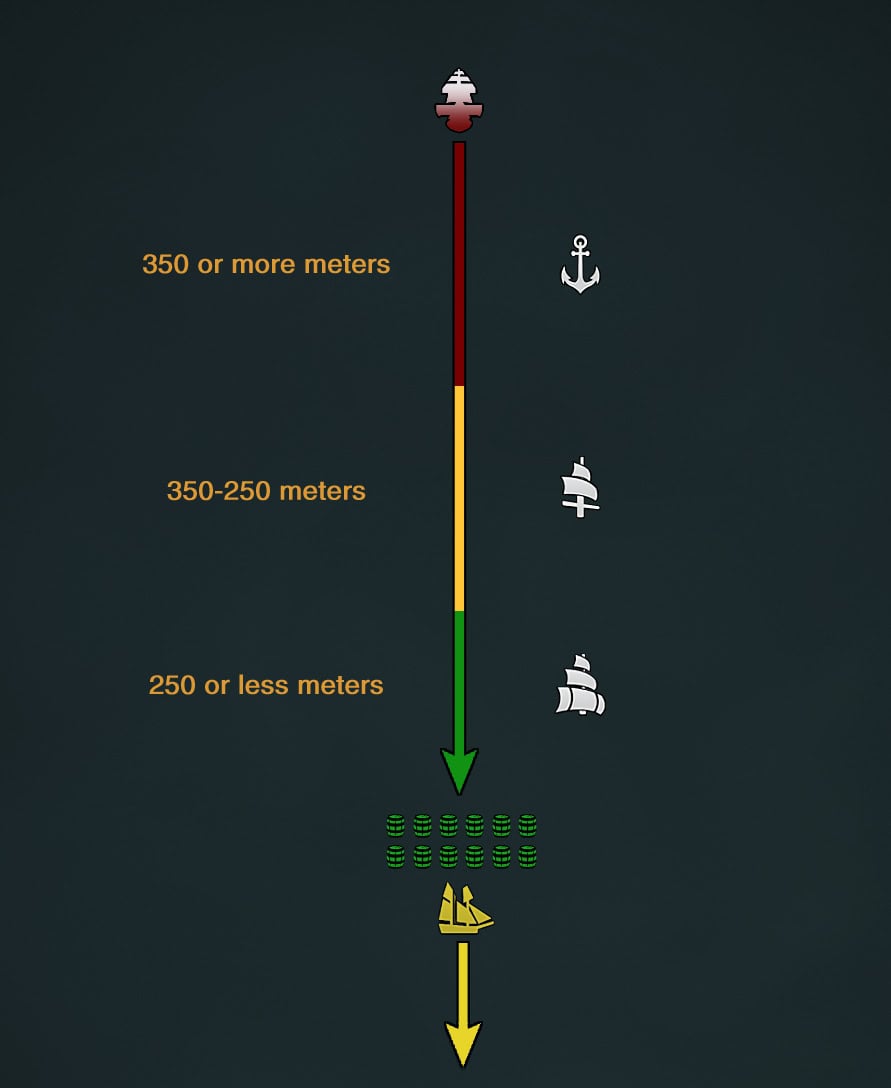
Keep your distance by going Reduced Sail when El Impoluto is 350 meters away, then Full Sail when it’s 250 meters away. Use your Swivel Gun on Barrels for additional damage and to apply the barrel’s immobilizing effect.
By dealing enough damage to El Impoluto with your Shrapnel Barrels, it will give up on its ram attack in order to turn around and try again. Shoot it with your Deadman Mortars as it’s fleeing. Repeat this process until the second phase starts.
When the barrels are kept close together, you can more easily pop them quickly with your Swivel Gun to better ensure El Impoluto is either scared off by the barrels. In the best case scenario, you immobilize it and hit it your Deadman Mortars while getting some distance.
Kiting El Impoluto in the Second Phase
The second phase is where the fight can get painful. After losing a third of its health, a horn will sound and El Impoluto will start using Heated Shots instead of Round Shots from its cannons. It can either fire one volley of Heated Shots, or a continuous wave of Heated Shots that continues for around 14 seconds.
This 14 second wave will gradually increase in range over time. Your best bet is to sail away as fast as you can and Perfect Bracing any shots that will hit you. If you’re too close, you’ll end up taking all of the hits.
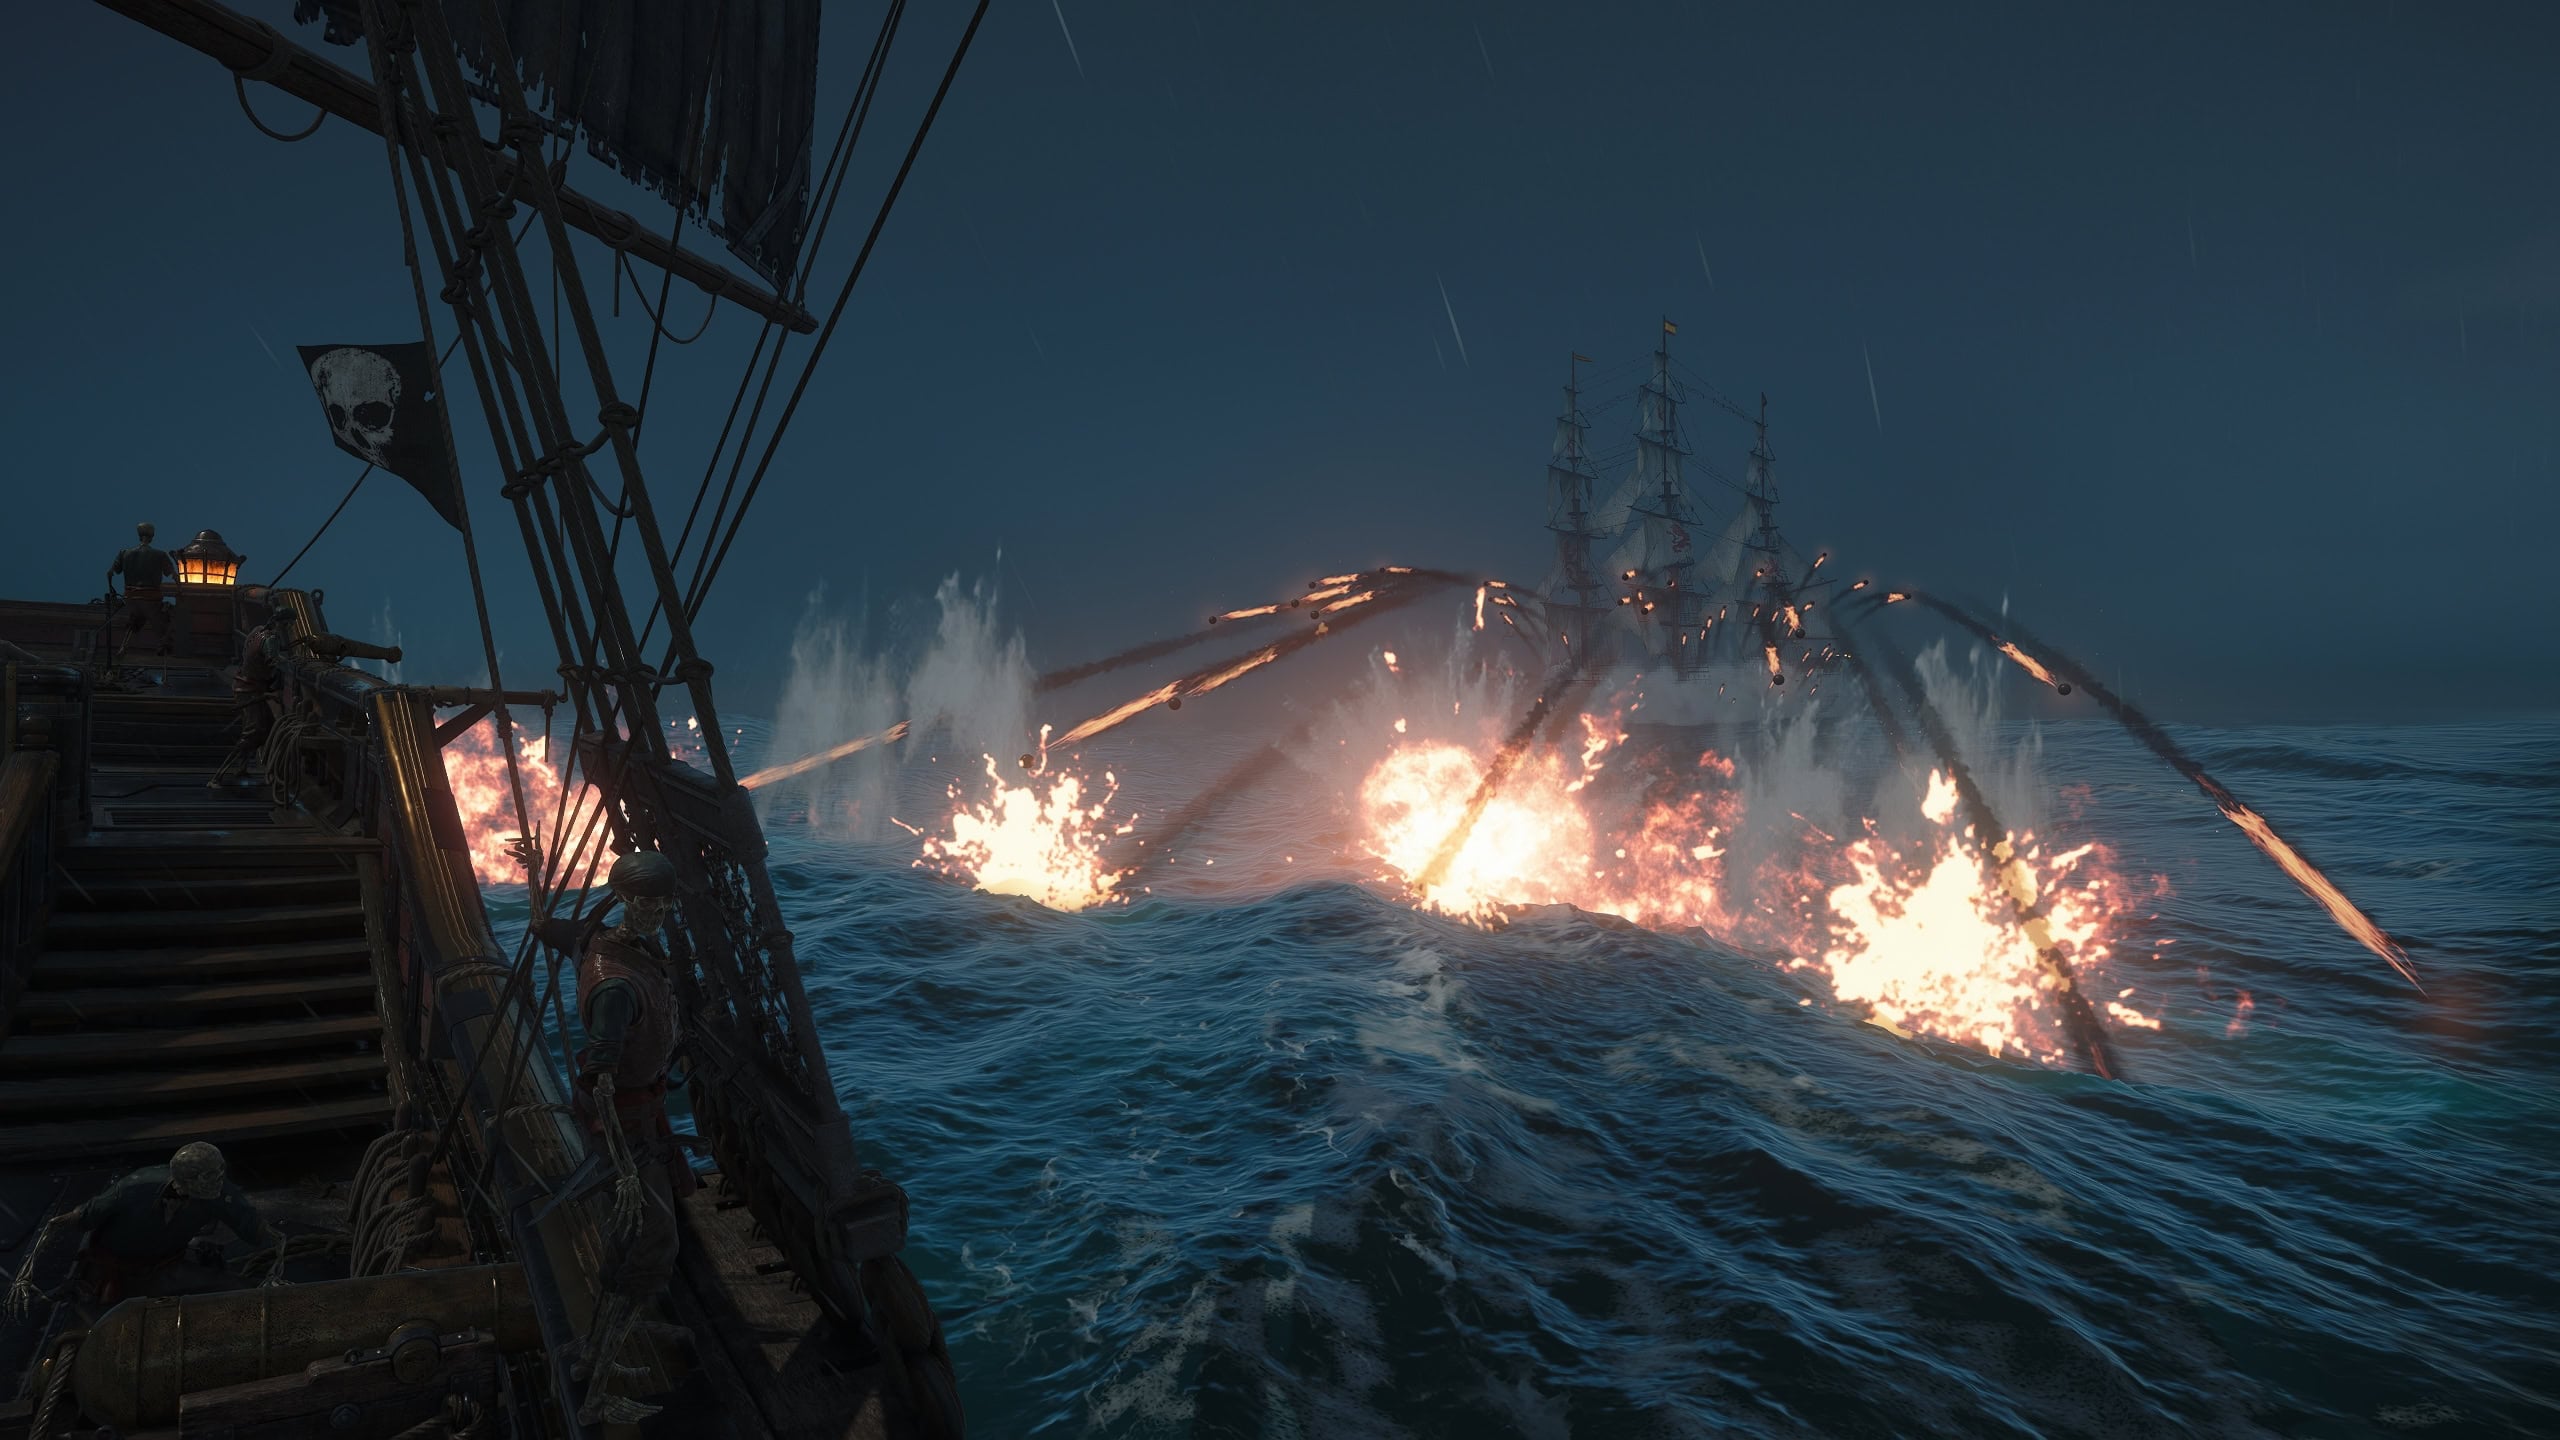
To prevent El Impoluto from using this attack, you must kite it at Full Sail while turning. To keep a good turning rate, keep El Impoluto between your lanterns. Fire Deadman Mortars at it until the third phase starts.
If you do this properly, El Impoluto will not be able to fire off its Broadside or Front Cannons as it’s too busy chasing and turning.
Don’t bother using your Barrel Launcher during the second phase, you’ll need them for when you’re low or out of mortar shots. Only use them if for whatever reason, El Impoluto is lining up for a ram. If you’re doing this right, this shouldn’t happen.
Be careful of not sailing out of the fight zone. Getting too close to the border will have El Impoluto turn around to reset its positioning in the center.
If it does reposition back at the center, it’ll likely try to ram you once you get close enough to it. Repeat your the Shrapnel Barrel trap process again.
Finishing off El Impoluto in the Third Phase
With two thirds of its health gone, another horn will sound. El Impoluto will get far more aggressive but your plan of kiting remains the same. The third phase is the same as the second, but it’ll fire off more shots with its front cannons.
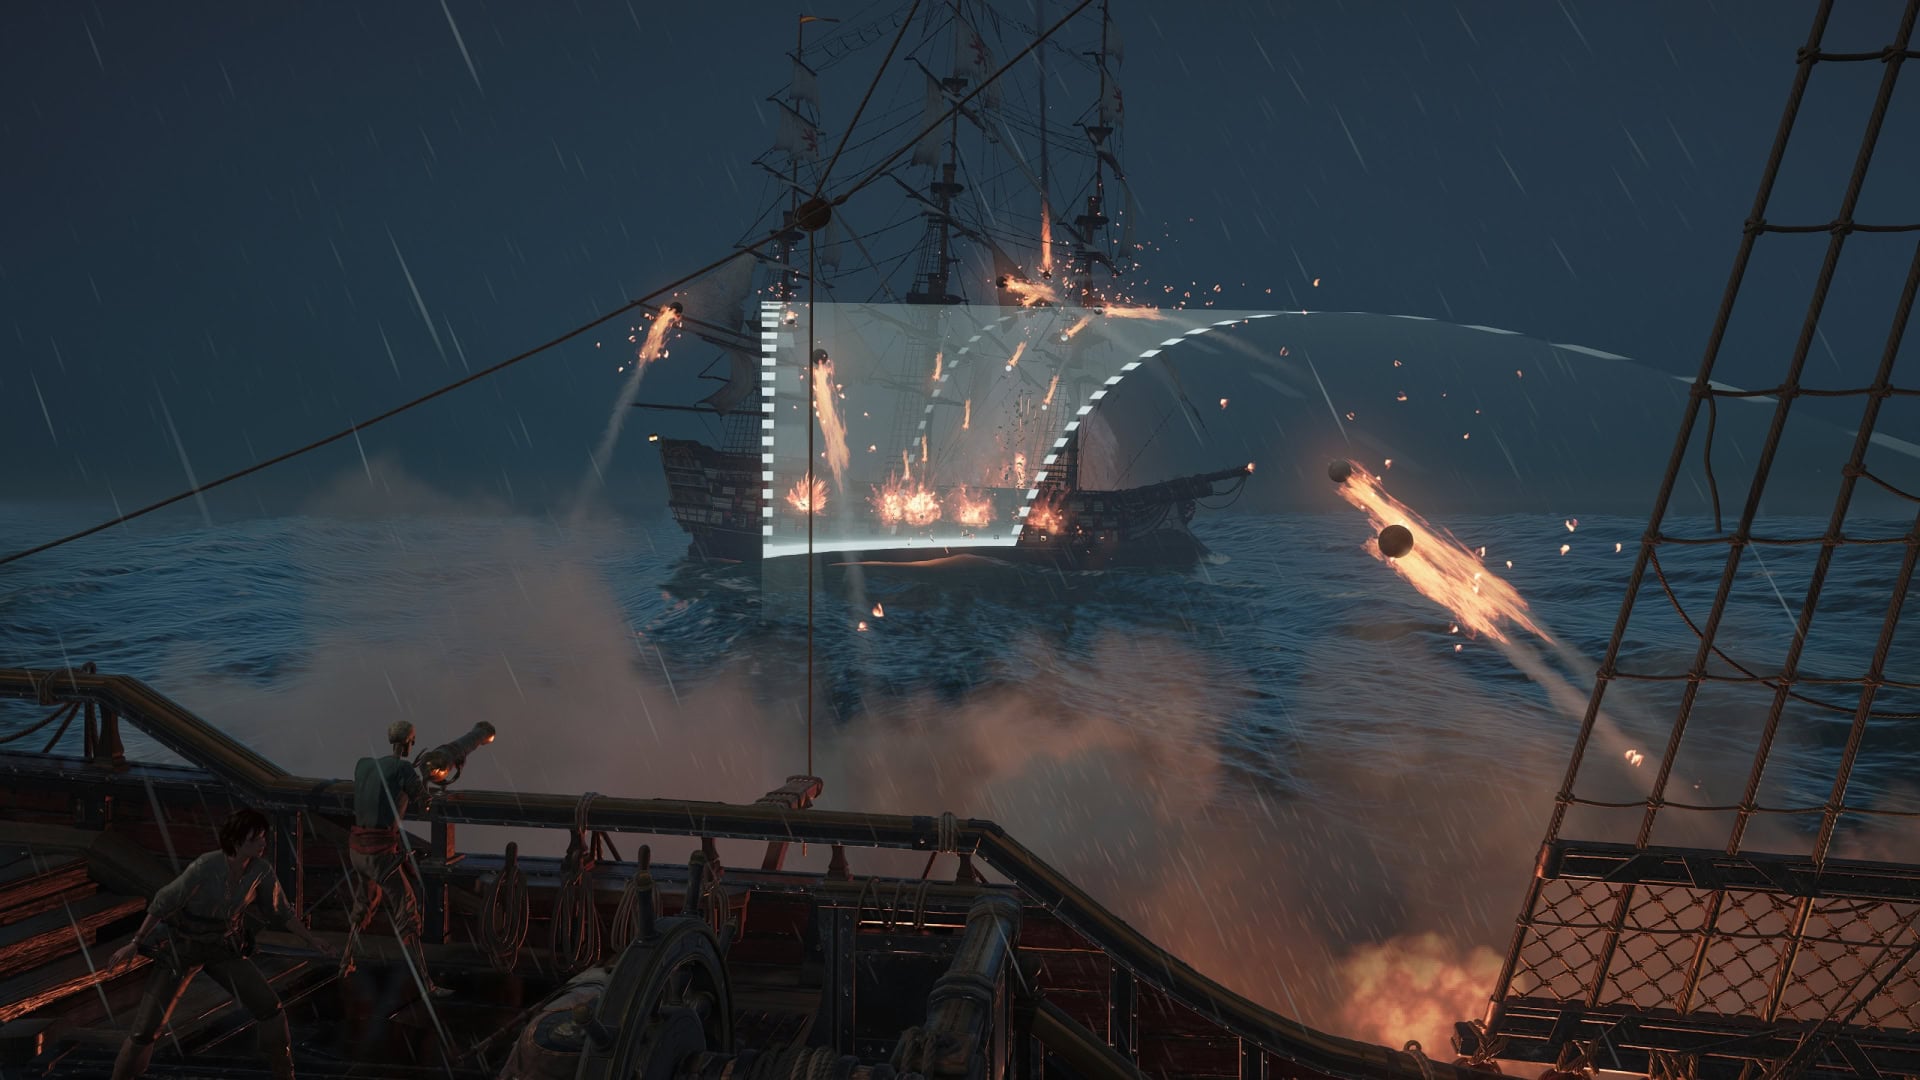
If it’s still being kited like it was in Phase 2 and you’re out of mortar ammo, you’ll need to provoke its Broadside Cannons. Align your broadside with El Impoluto’s to force it to fire off Heated Shots. Brace yourself against the damage, and El Impoluto will set up a ram. This then allows you to start planting barrels again.
El Impoluto will also take a shorter trip to get some distance to turn around for a ram. Braking may not be something you can pull off anymore, so remain mobile and plant those barrels.
El Impoluto is far less likely to be scared off by receiving barrel damage, so make sure to pop every barrel with the Swivel Gun to immobilize it.
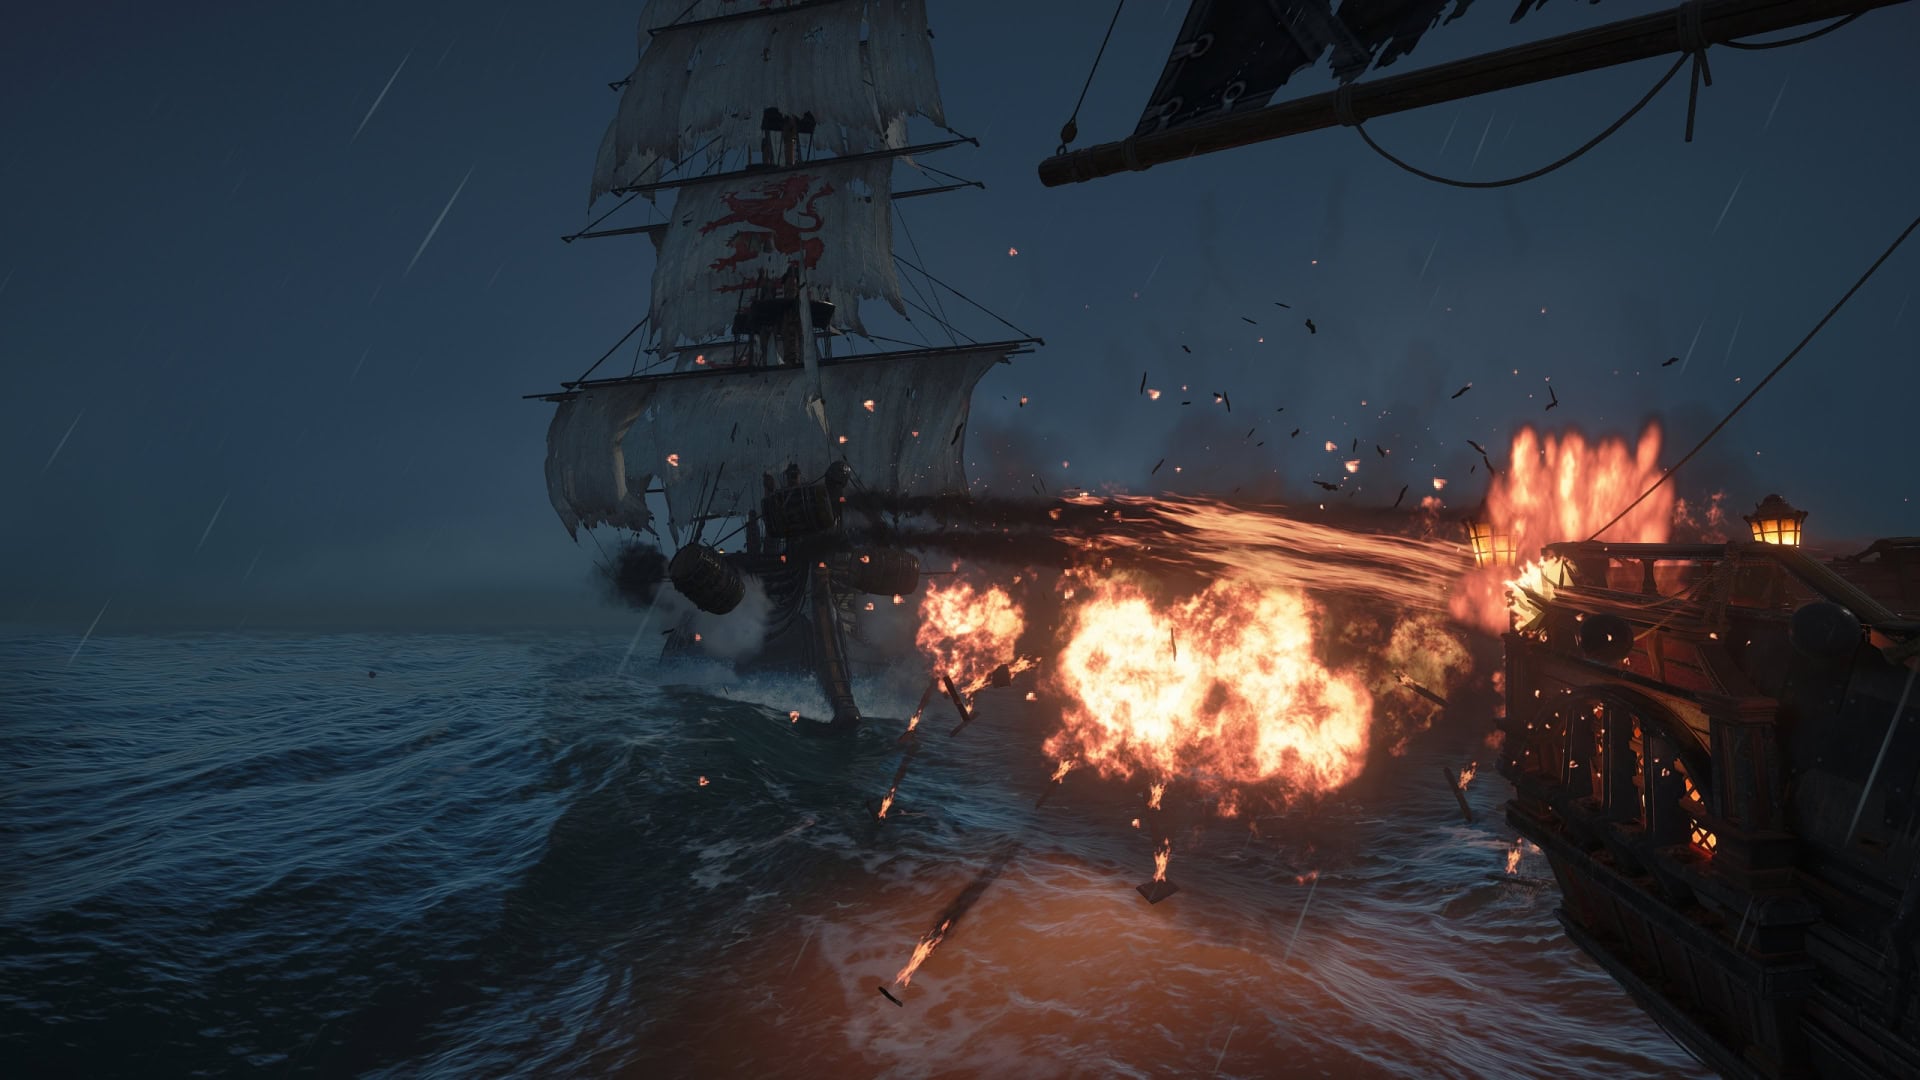
If you get hit by a ram, it’s a good opportunity to fire your Heated Shot and pop weak points while it’s close. Otherwise, finish El Impoluto off with your mortar shots and barrels.
Rewards
After defeating El Impoluto, you’ll receive 12,000 Reales and the following rewards:
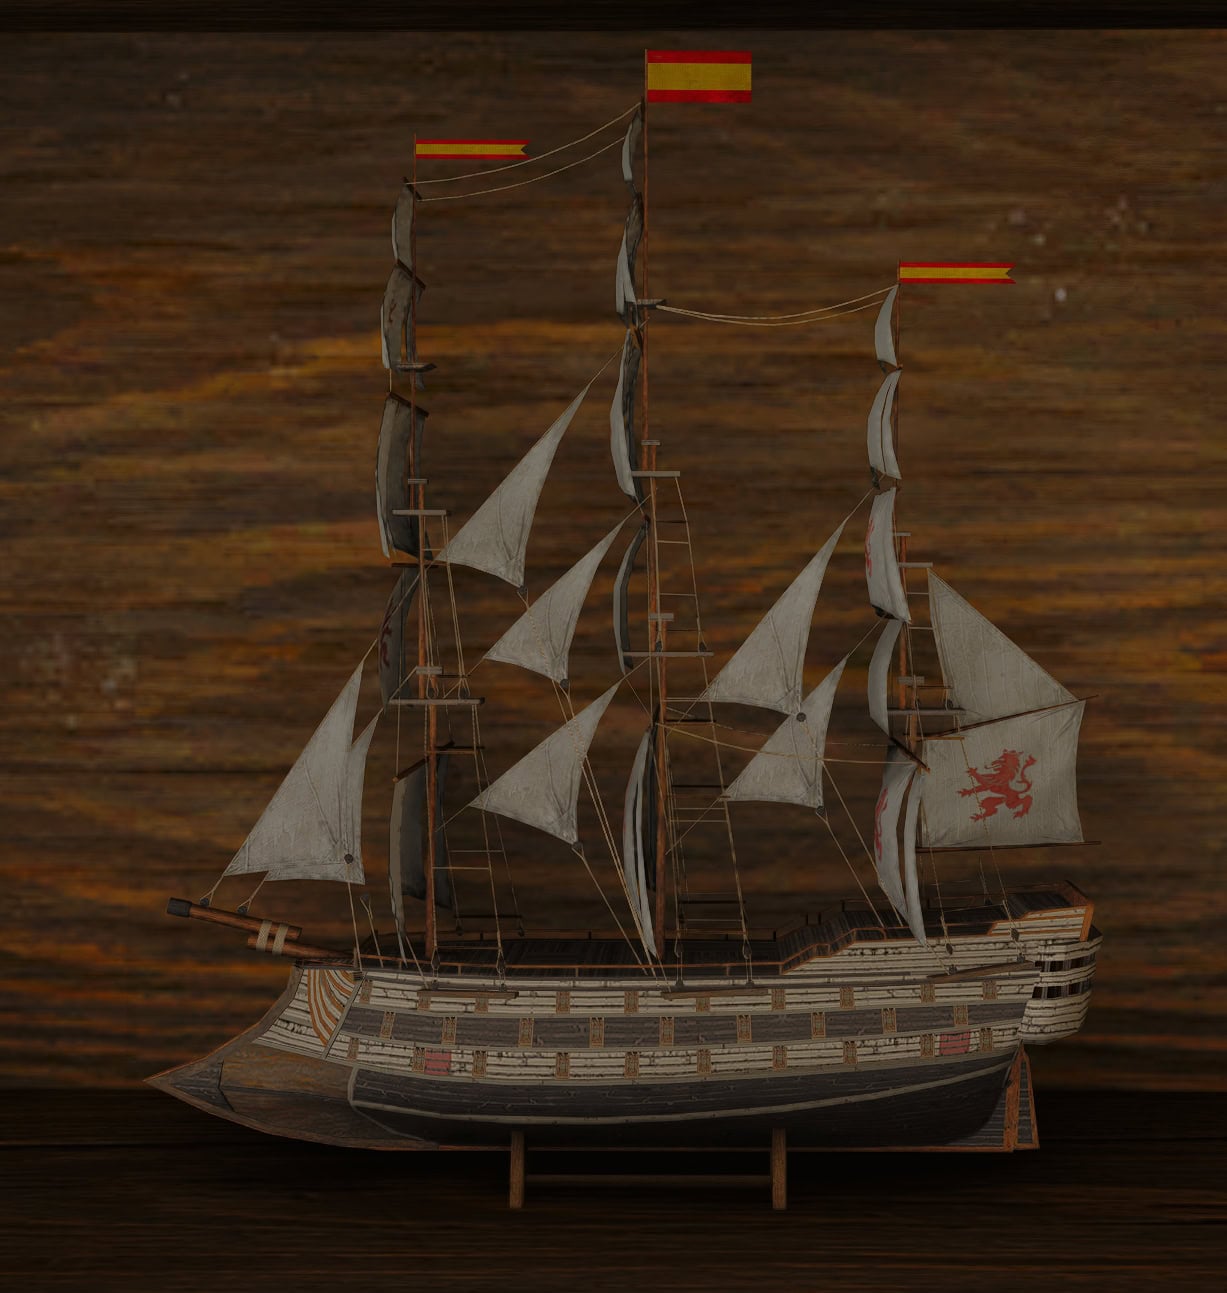
El Impoluto Ship Model
El Impoluto’s ship model can be placed inside the Study Room of the manor where you have access to the Fleet Planning table. It’s a colorful piece with its red, white, and black hull and makes for a fine addition to your collection.
El Impoluto Sails
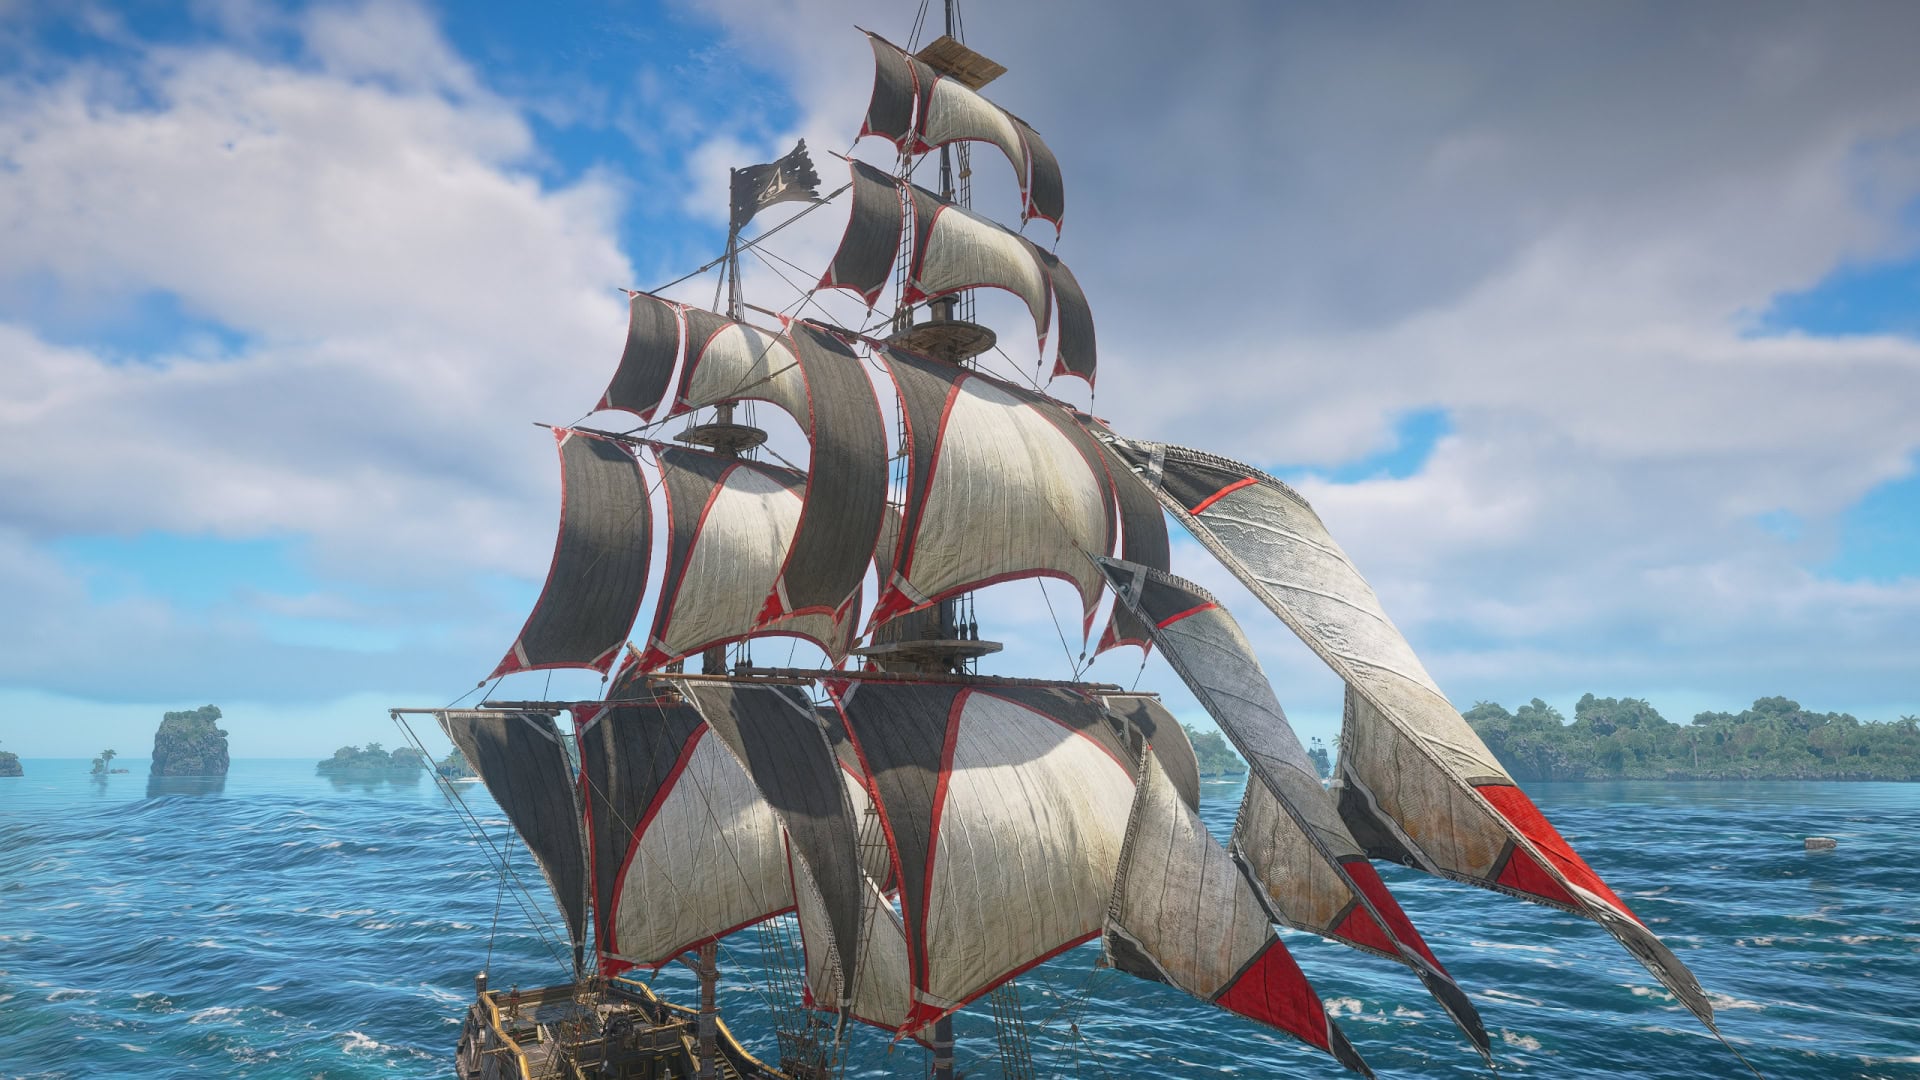
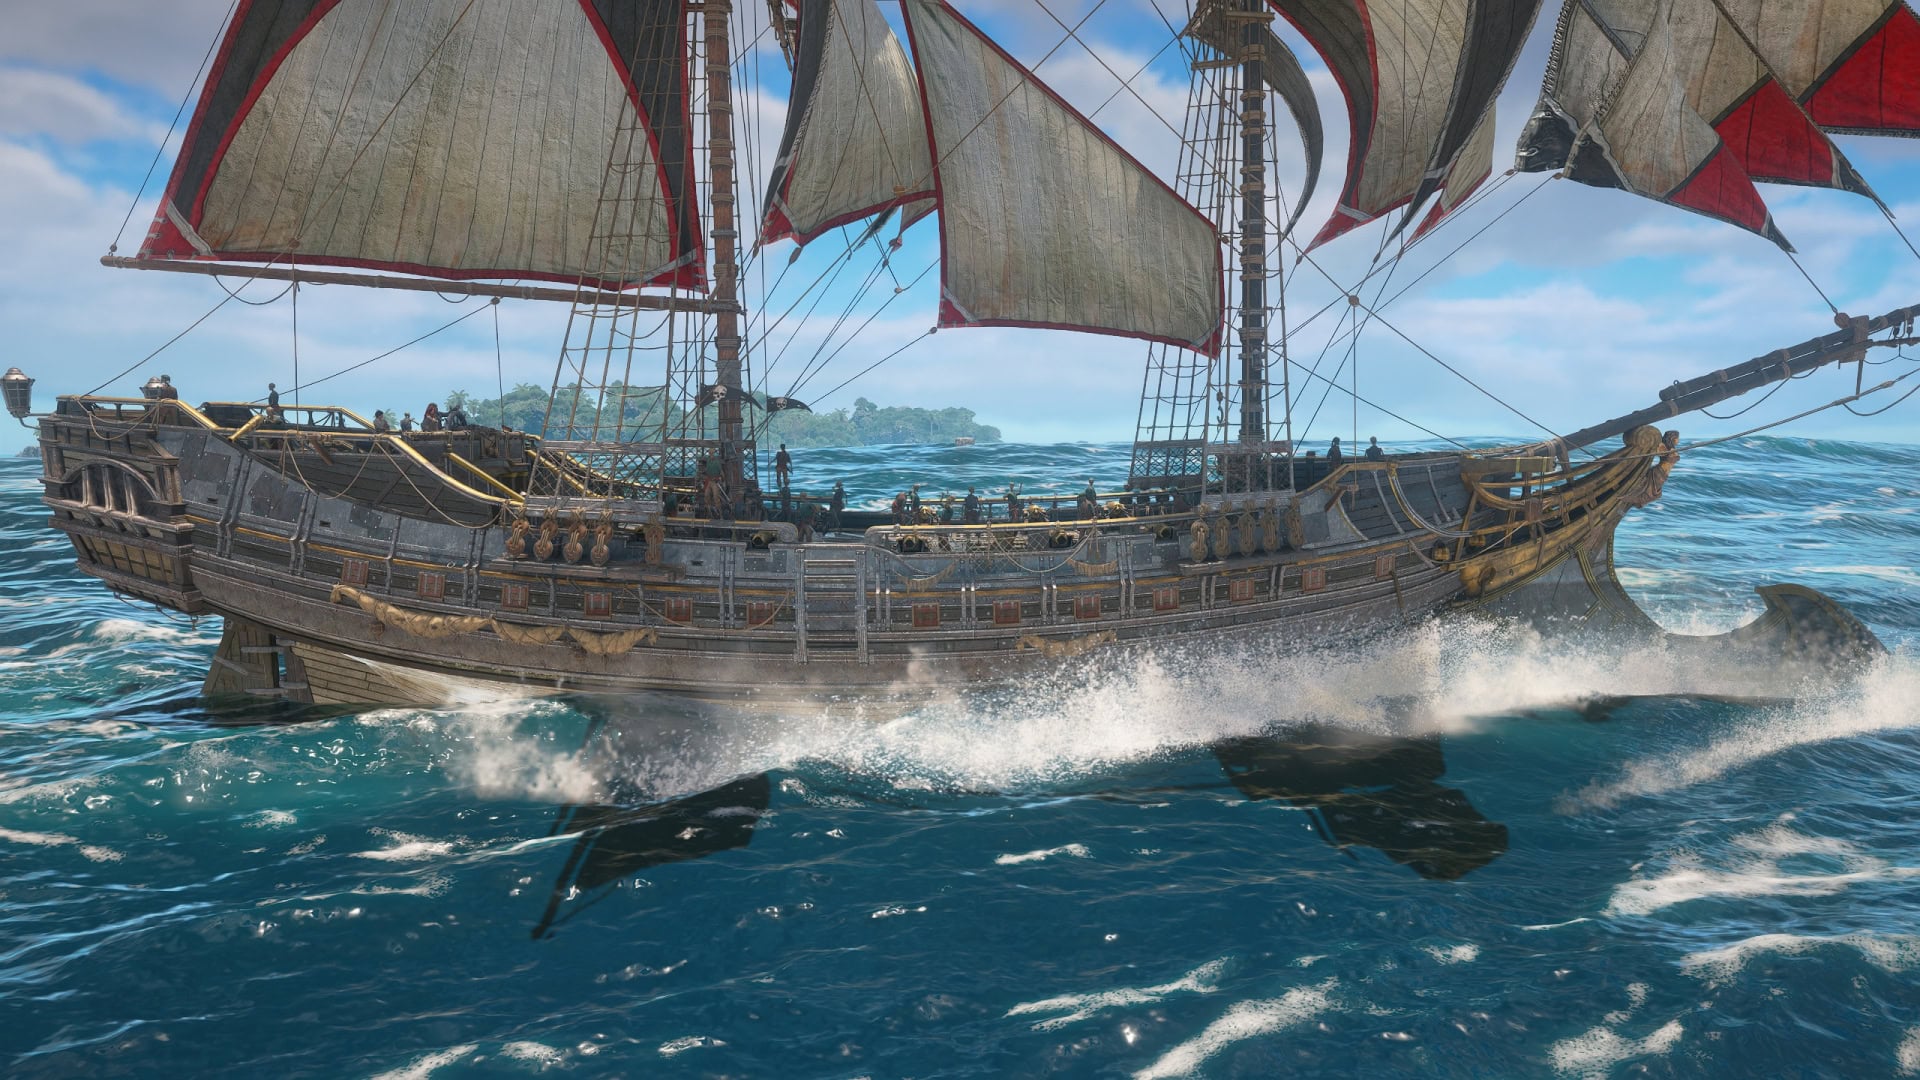
El Impoluto’s Sails offers a striking color and pattern scheme with its red, white, and black colors.
El Impoluto Hull
El Impoluto’s Hull has a desaturated gray color to it. Alongside the hull, you’ll find metal patchwork that’s been bolted into the hull of the ship.
El Impoluto Figurehead
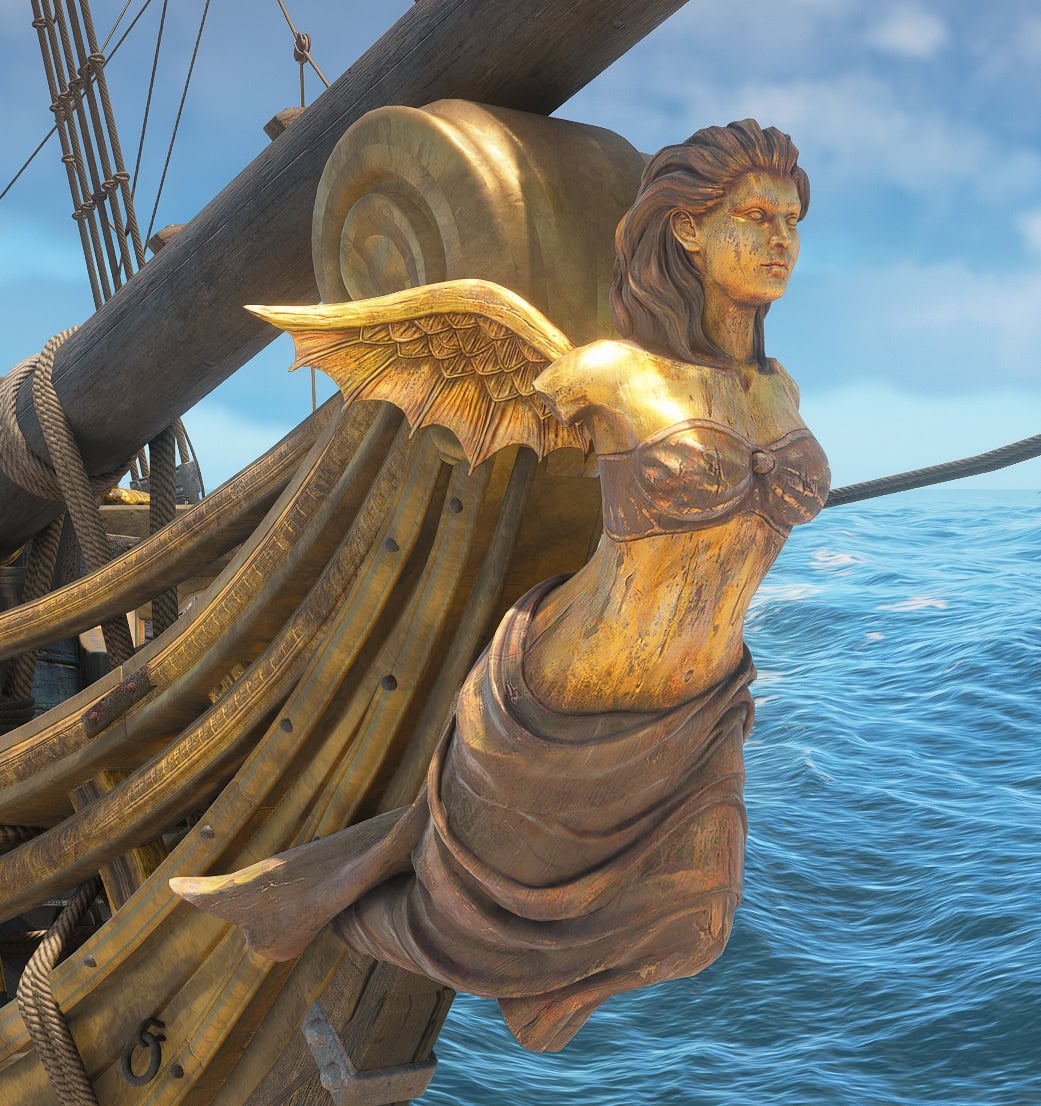
El Impoluto’s Figurehead is a gilded wooden sculpture of a woman with wings. One change added to Resynced is that this figurehead now wears more clothing compared to its original design. You can take a good guess as to where clothing was added.
El Impoluto’s Wheel
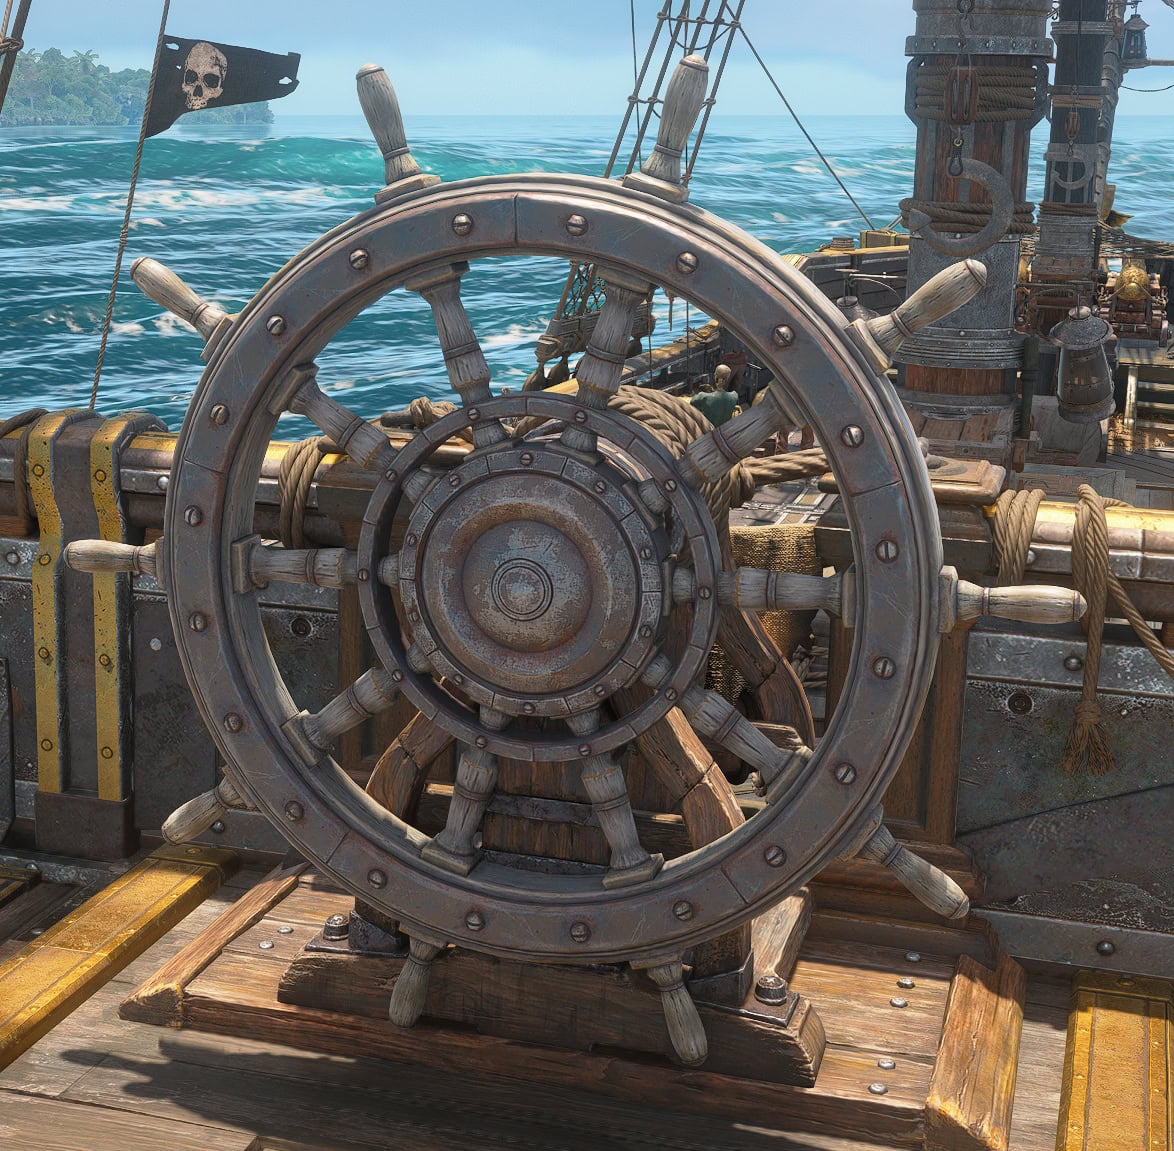
El Impoluto’s Wheel has the appearance of sun-bleached wood with aged metal. It’s not the prettiest wheel available for the Jackdaw, but it’s great if you’re looking to give your ship a worn and weathered look.
El Impoluto Fight Summary
Often seen as the most difficult of the Legendary Ship fights, El Impoluto should be doable so long as you follow these tips:
- Mark El Impoluto to monitor its distance from you.
- Fire Deadman’s Cohort Mortars if it’s coming to or away from you.
- Set up Shrapnel Barrel traps as it’s fleeing to turn around.
- Keep El Impoluto between the Jackdaw’s lanterns for correct positioning.
- When placing barrels, go Reduced Sail when it’s 350m away and Full Sail when 250 meters away.
- In the second phase, keep El Impoluto between your lanterns to ensure it doesn’t fire off any Front or Broadside Cannon shots.
- If you’re out of mortar ammo in the third phase, align your broadsides with El Impoluto’s to force it to fire its cannons and set up a ram. Repeat the barrel trap process.
Achievements
- Devil of the Caribbean – Defeat all Legendary Ships
- Dilettante – Fill all Art Collection and Equipment slots in the Great Inagua manor. These items are also found in quests, sold by vendors, or obtained when defeating a new ship for the first time.
How to beat the other Legendary Ships
There are a total of four Legendary Ship encounters you can unlock (five if you count the HMS Ipswich from A World Without Gold). You must be prepared to take on these as well and adapt to their fighting styles to succeed.
HMS Fearless and Royal Sovereign
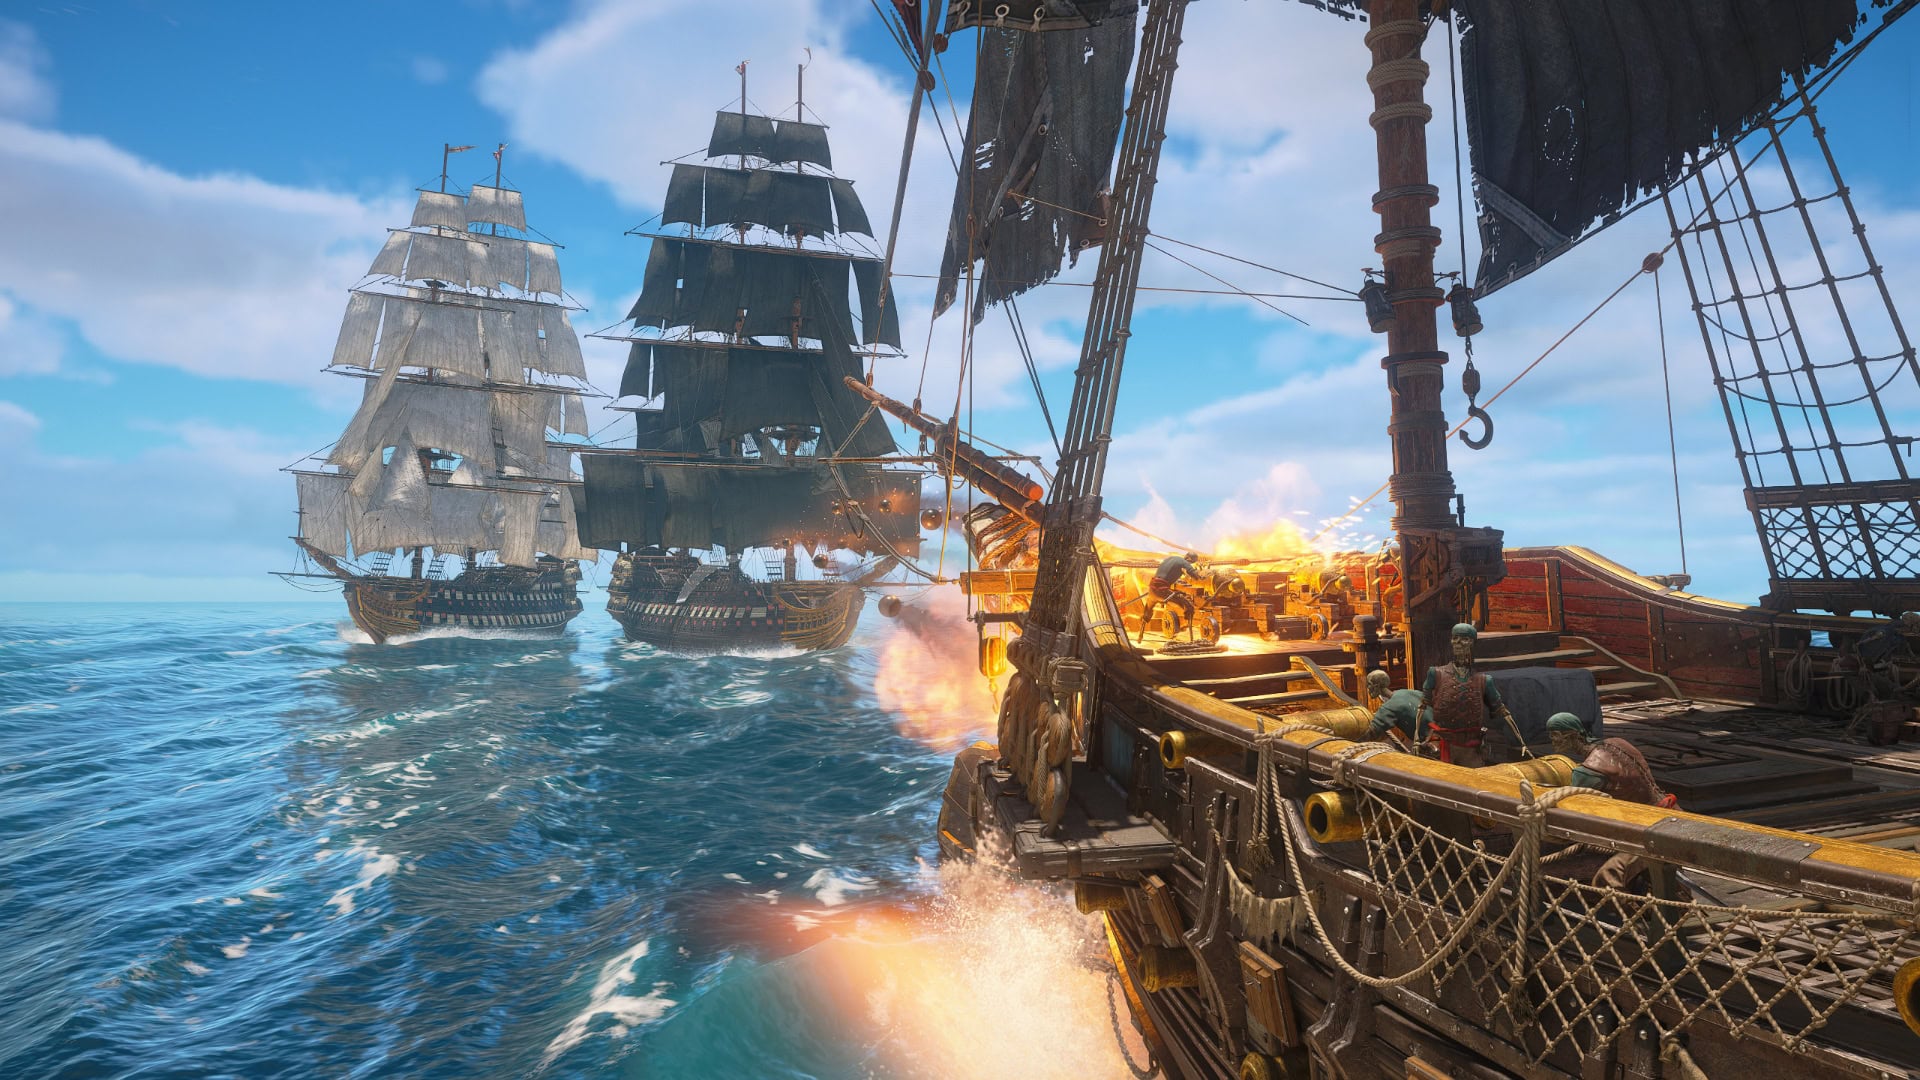
The HMS Fearless and Royal Sovereign work as a pair to sail by, sandwiching you while unloading their broadside cannons on you at the same time. They are as spiteful as they are cooperative as sinking one before the other will cause the other to enrage.
HMS Prince
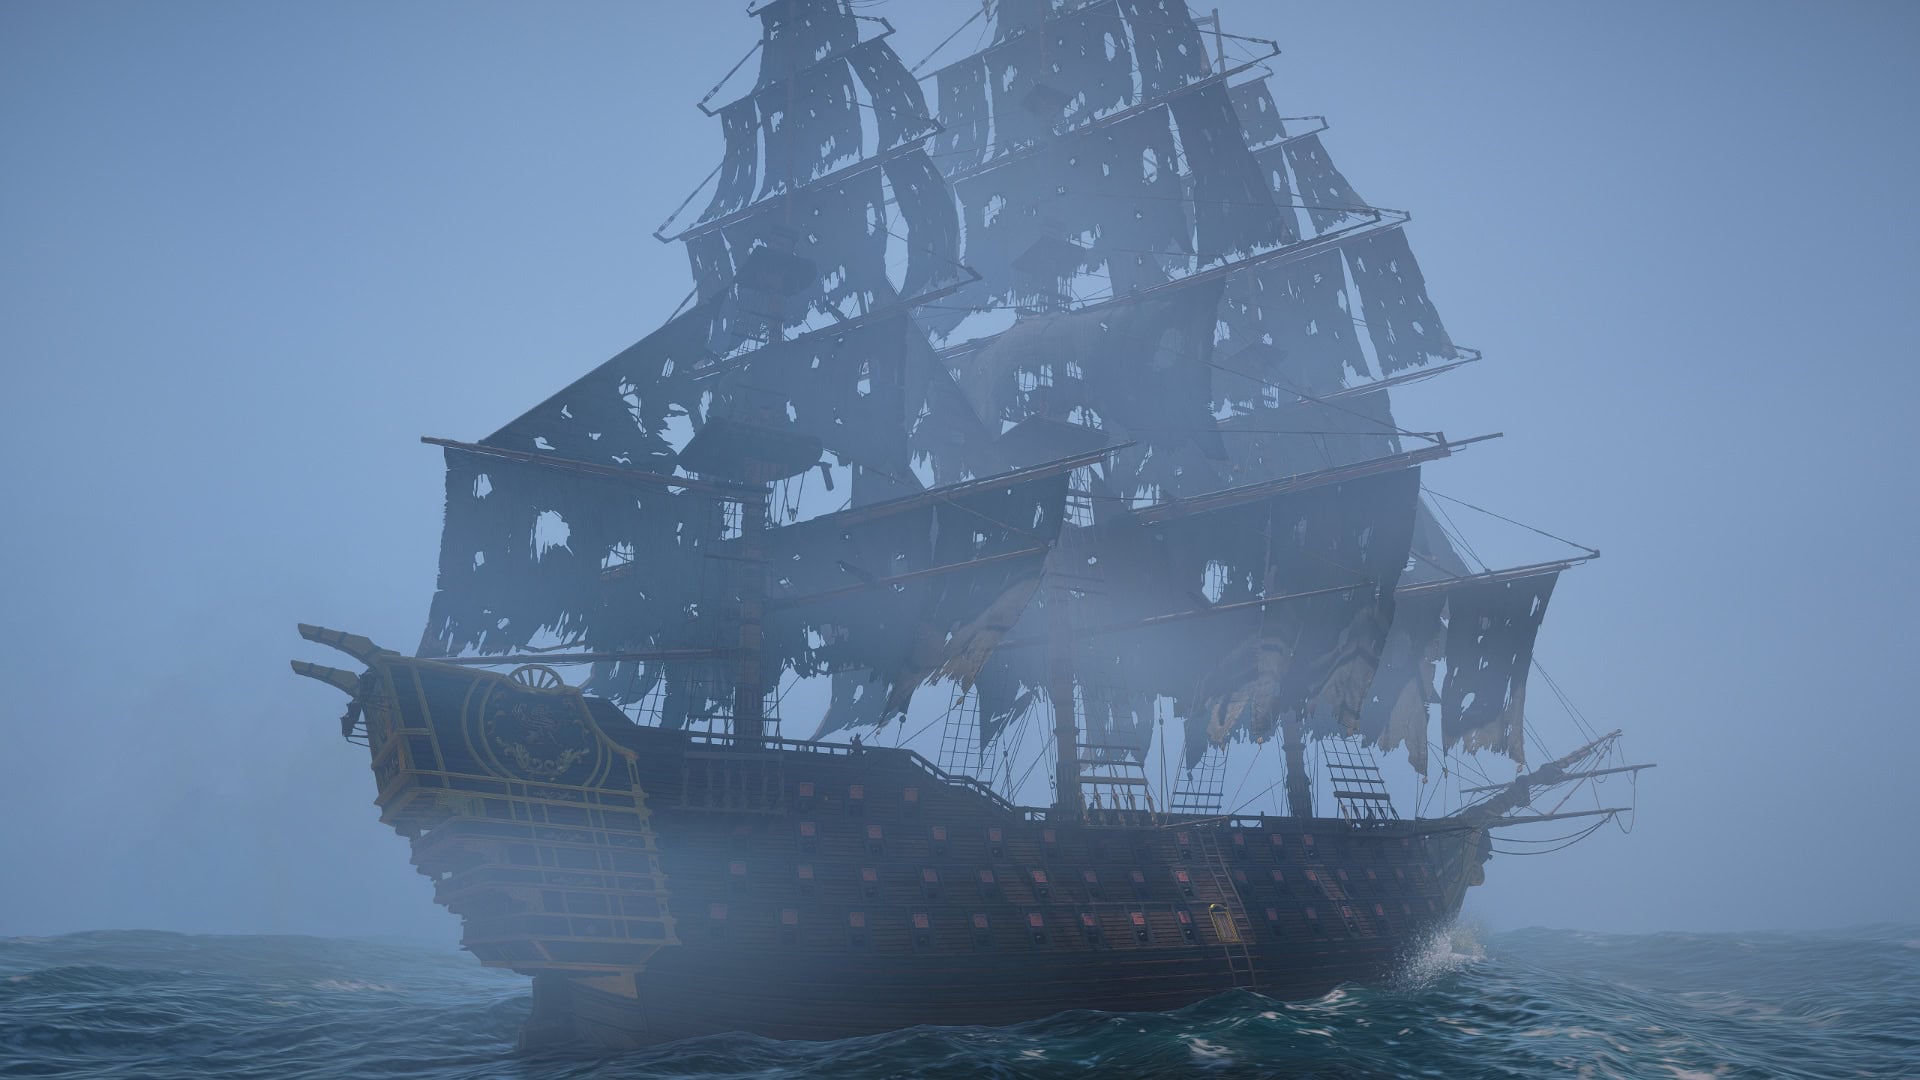
The HMS Prince is the most elusive of the Legendary Ships. It’ll use the cover of fog to launch mortars at you. You’ll only survive if you have keen eyes to spot its mortar fire or see its silhouette when lightning strikes.
La Dama Negra
La Dama Negra is the most durable of the Legendary Ships. Damage against her broadsides will do almost nothing, so careful shot placement is key to survive against her. Despite her remaining stationary for half the fight, she’s hardly a sitting duck.