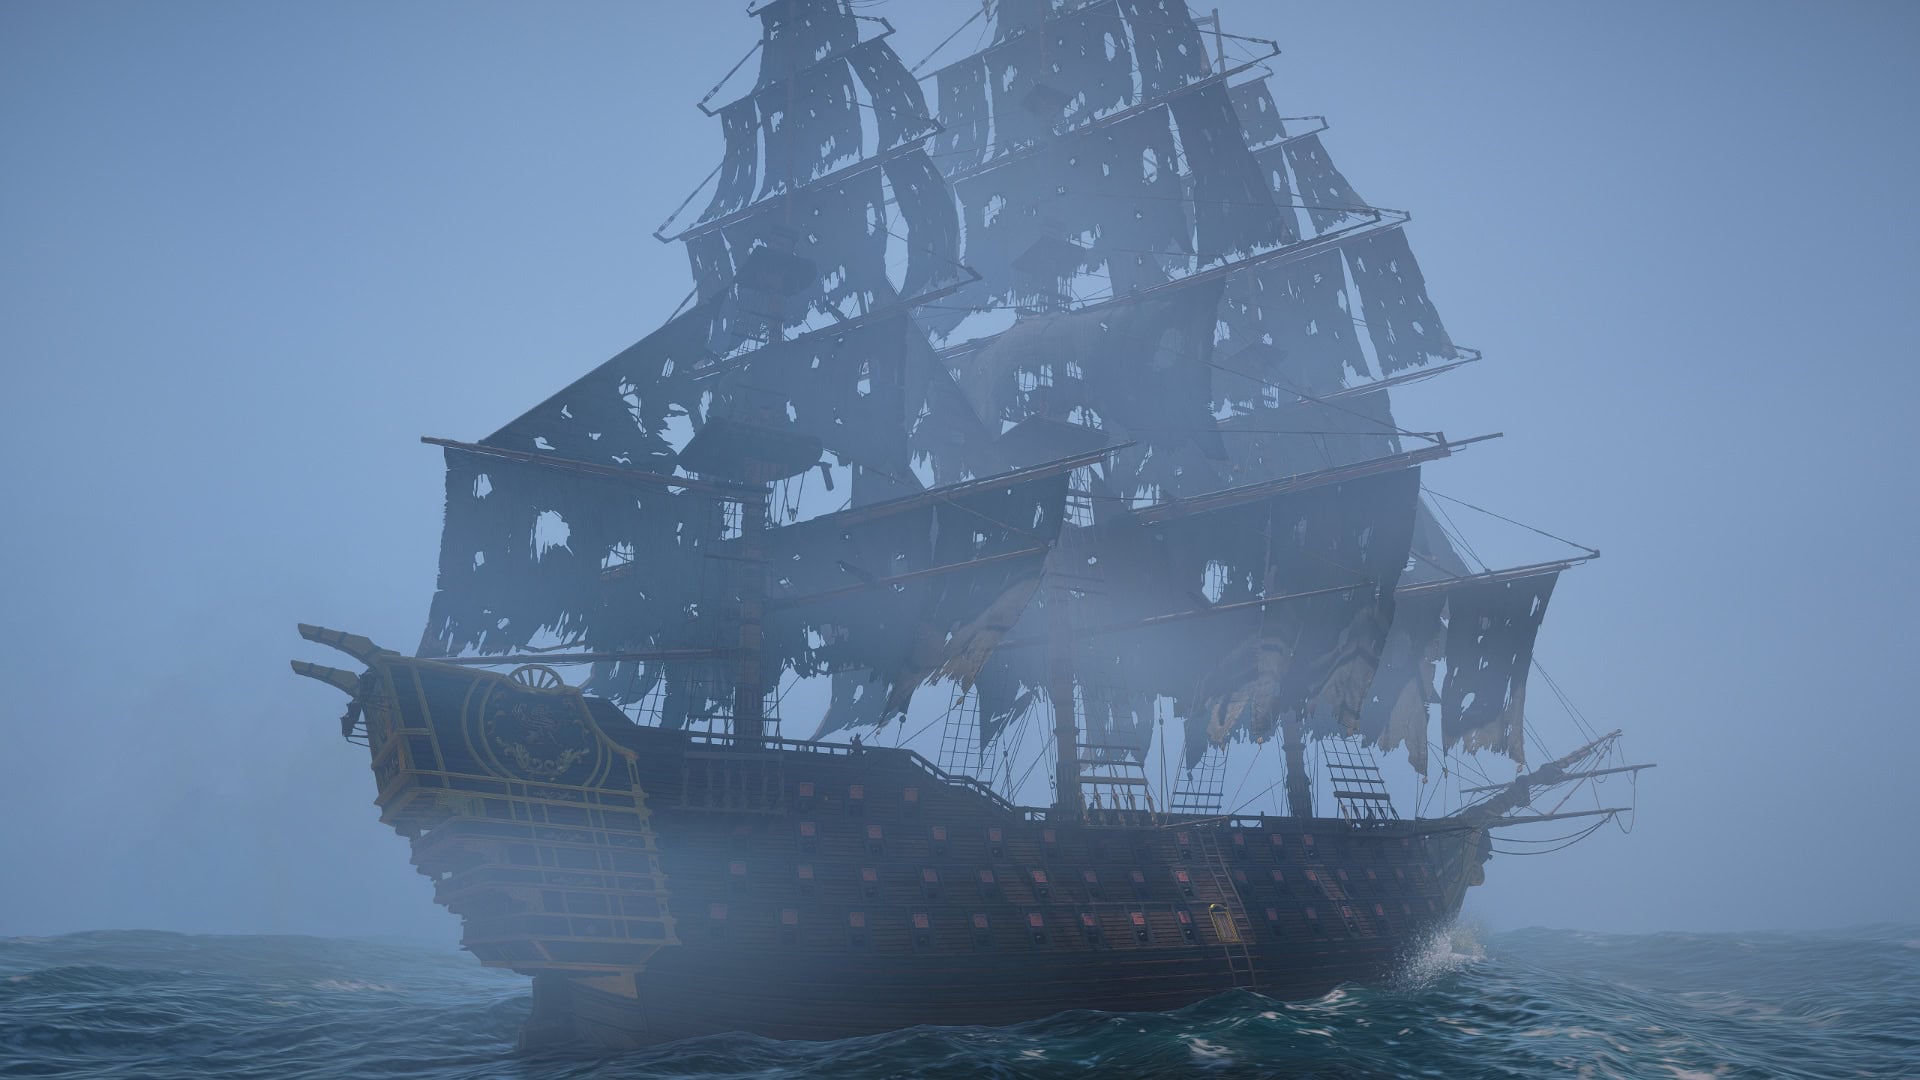
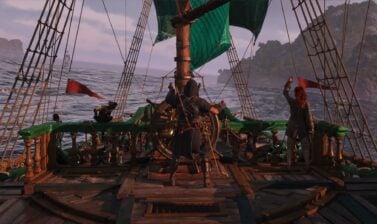
The Legendary Ship La Dama Negra can feel impenetrable with her thick armor in Assassin’s Creed Black Flag Resynced. We’ll show you how to maneuver and attack to get out as much damage as possible through diagrams. Once you crack open this ship, you’ll earn all of her Ships Vanity rewards.
What are Legendary Ships
Legendary Ships are the most difficult naval combat encounters that Black Flag Resynced offers. Each ship has their own unique gimmick or mechanic that you must work around (or with) in order to succeed.
It’s highly recommended that you fully upgrade the Jackdaw and unlock all of its weapons before attempting these fights. While you can unlock these rather early on, this is most definitely a late game activity.
Legendary Ships Guide – Assassin’s Creed Black Flag ResyncedHow to unlock La Dama Negra
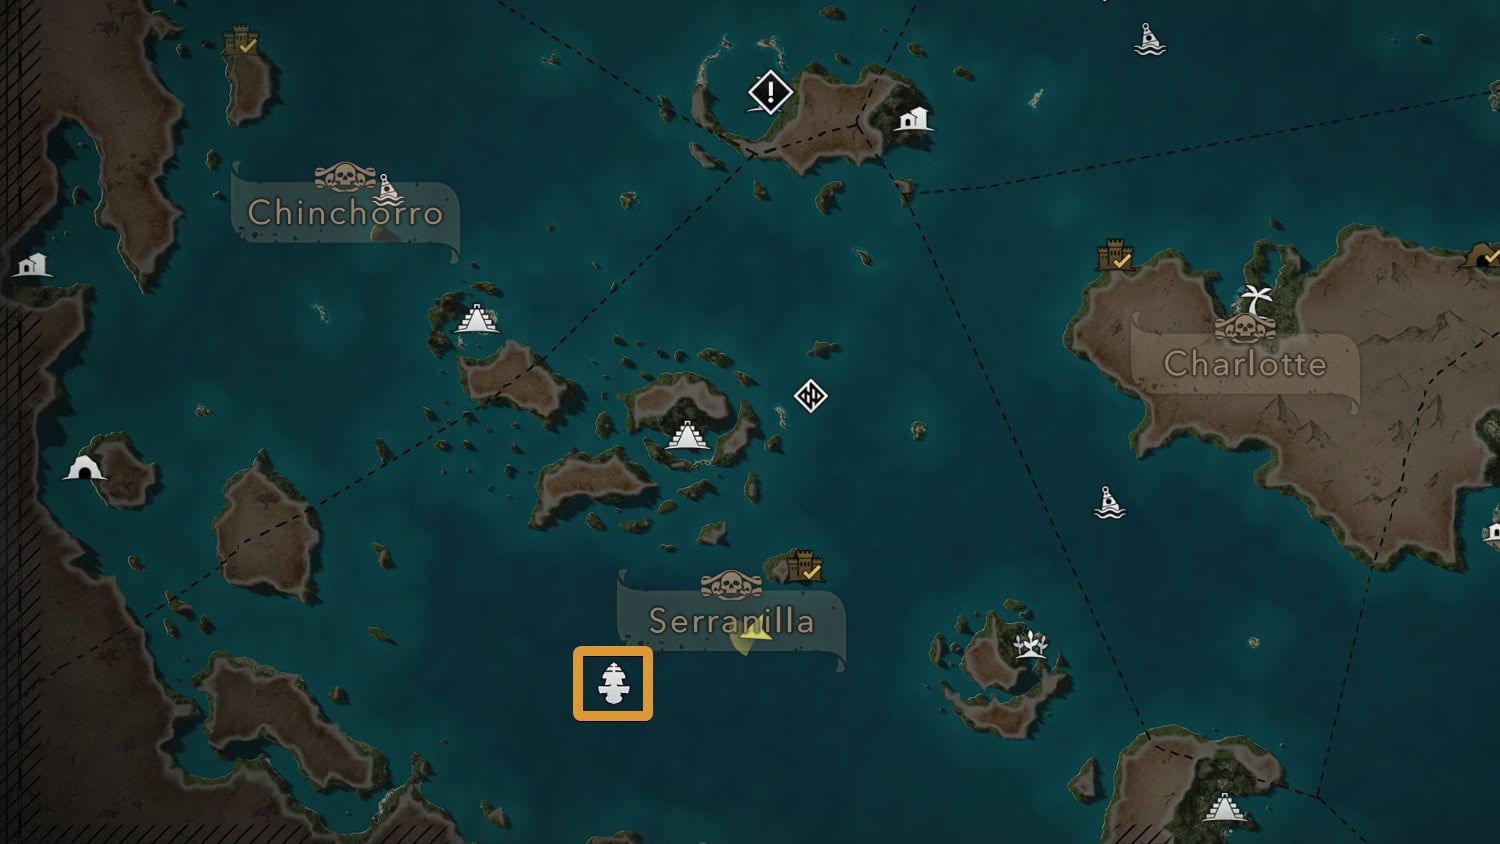
La Dama Negra (The Black Lady) is unlocked when you take over Fort Serranilla. Once this is done, La Dama Negra will be at the coordinates (240, 72).
La Dama Negra Basic Overview
La Dama Negra’s defining feature is that she’s the most well armored vessel in the game. Her hull is covered in plate armoring positioned between her gun ports. This allows her to take significantly reduced damage from a wide variety of weapons.
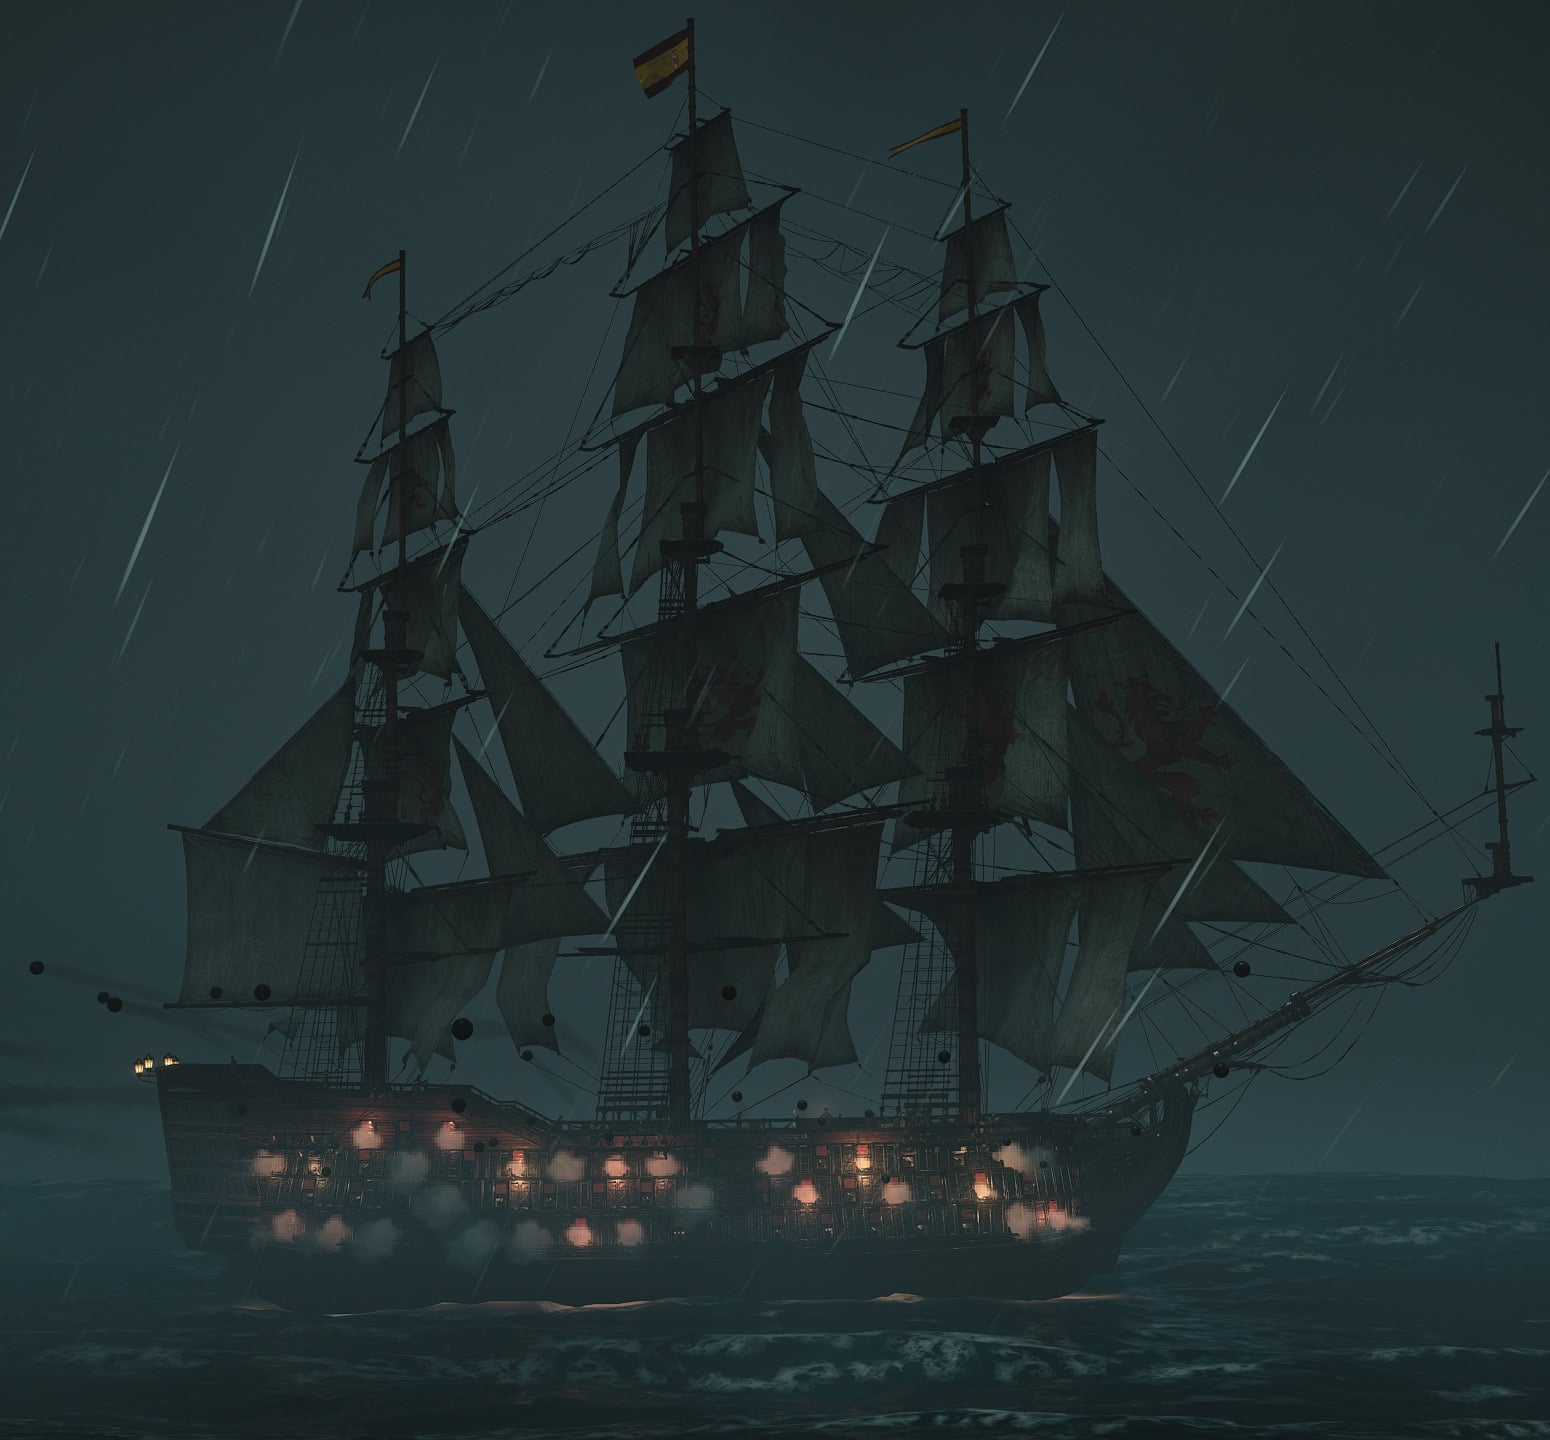
On each of her broadsides, La Dama Negra is armed with 50 cannons. Needless to say, you’ll want to Perfect Brace or avoid her broadside shots whenever possible. To make matters worse, she fires large waves of mortars with around a 12 second cooldown.
These mortar shots don’t deal a lot of damage so long as you Perfect Brace against them, but any slip up might mean you’ll be at a severe disadvantage for the remainder of the fight.
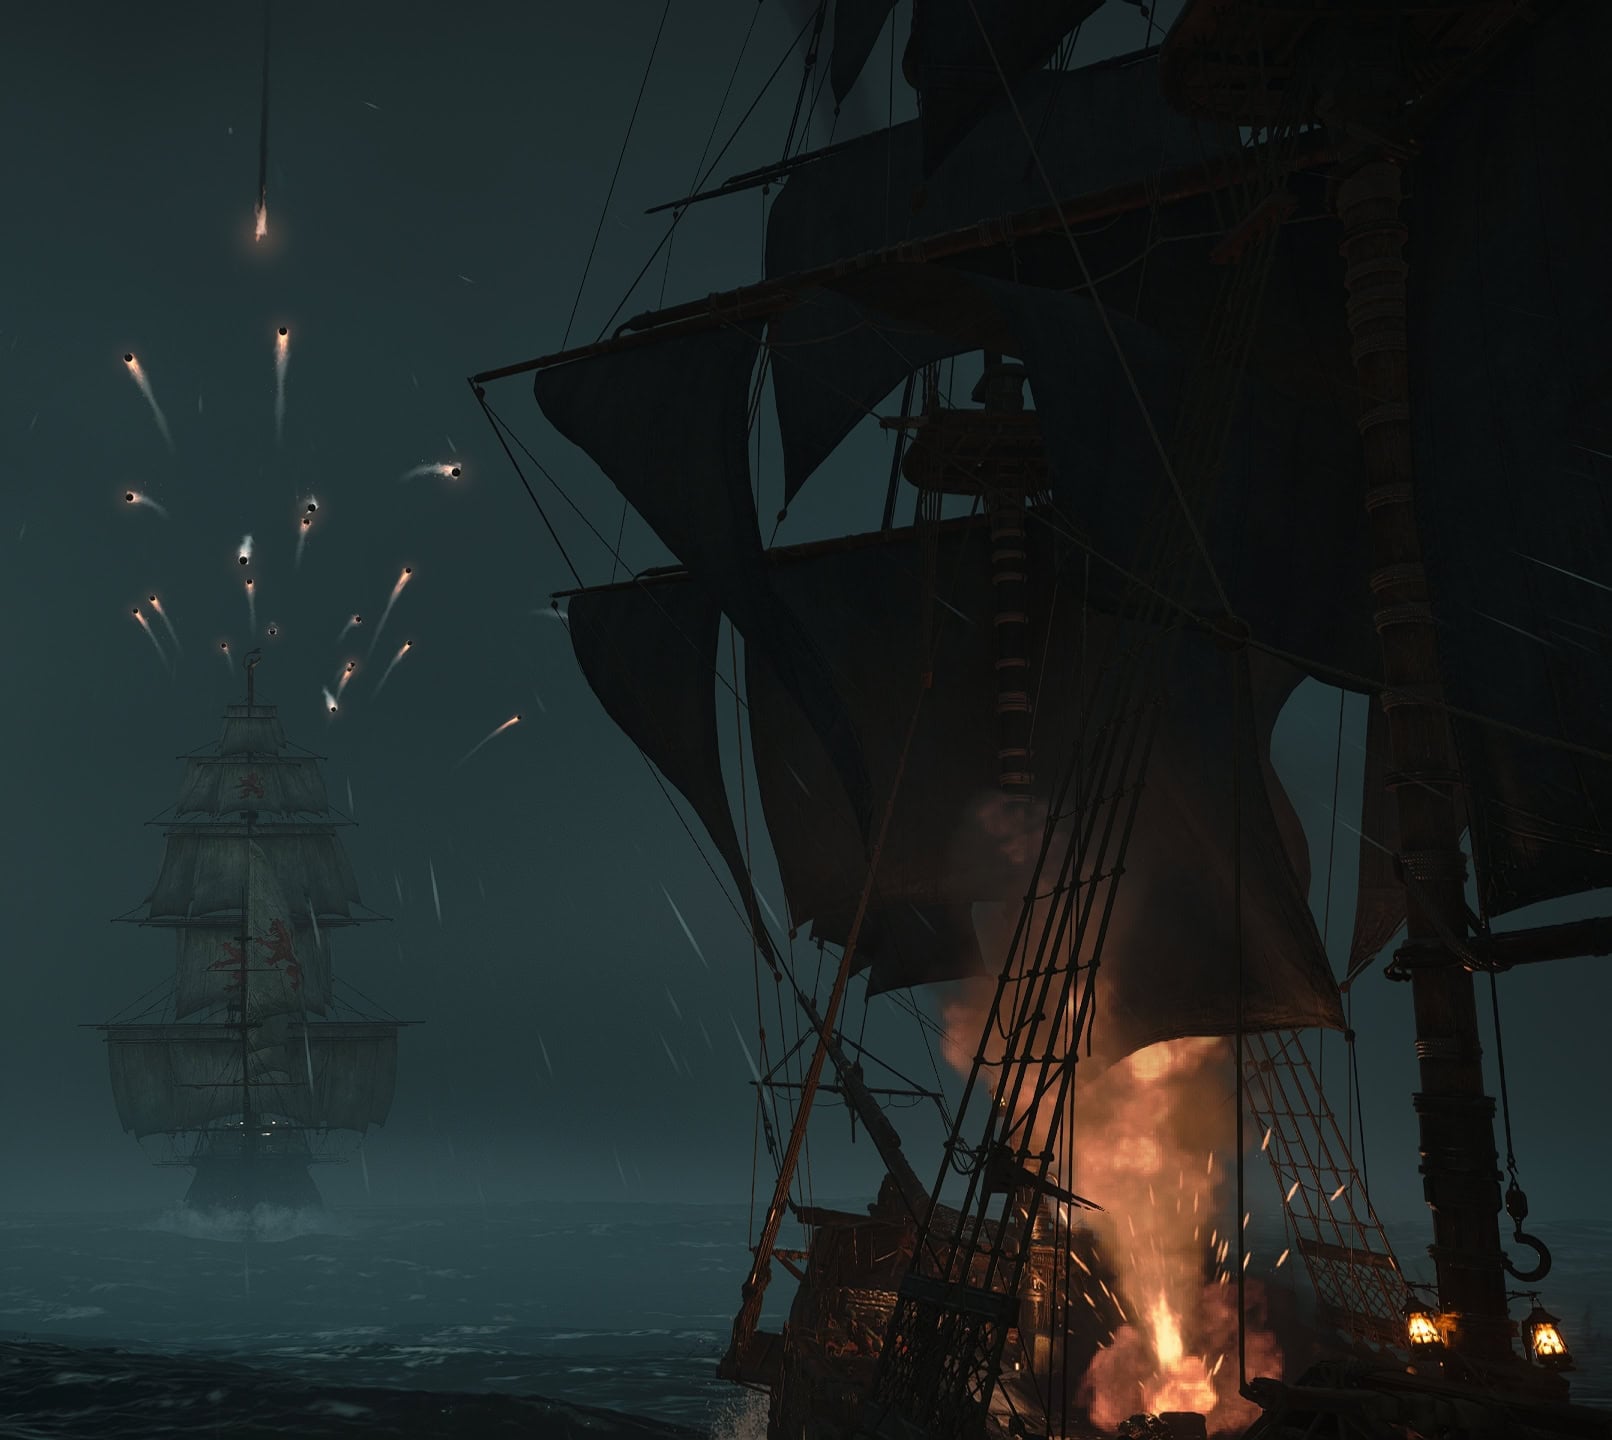
La Dama Negra will switch between being stationary and moving to reposition. You’ll want to get most of your damage off on her while she’s stationary during the first phase.
The second phase starts when she loses a third of her health. She’ll sail far away to reposition while shooting mortars. You’ll be avoiding her mortar fire while shooting her with your own mortars as she flees, then going all out while she’s stationary.
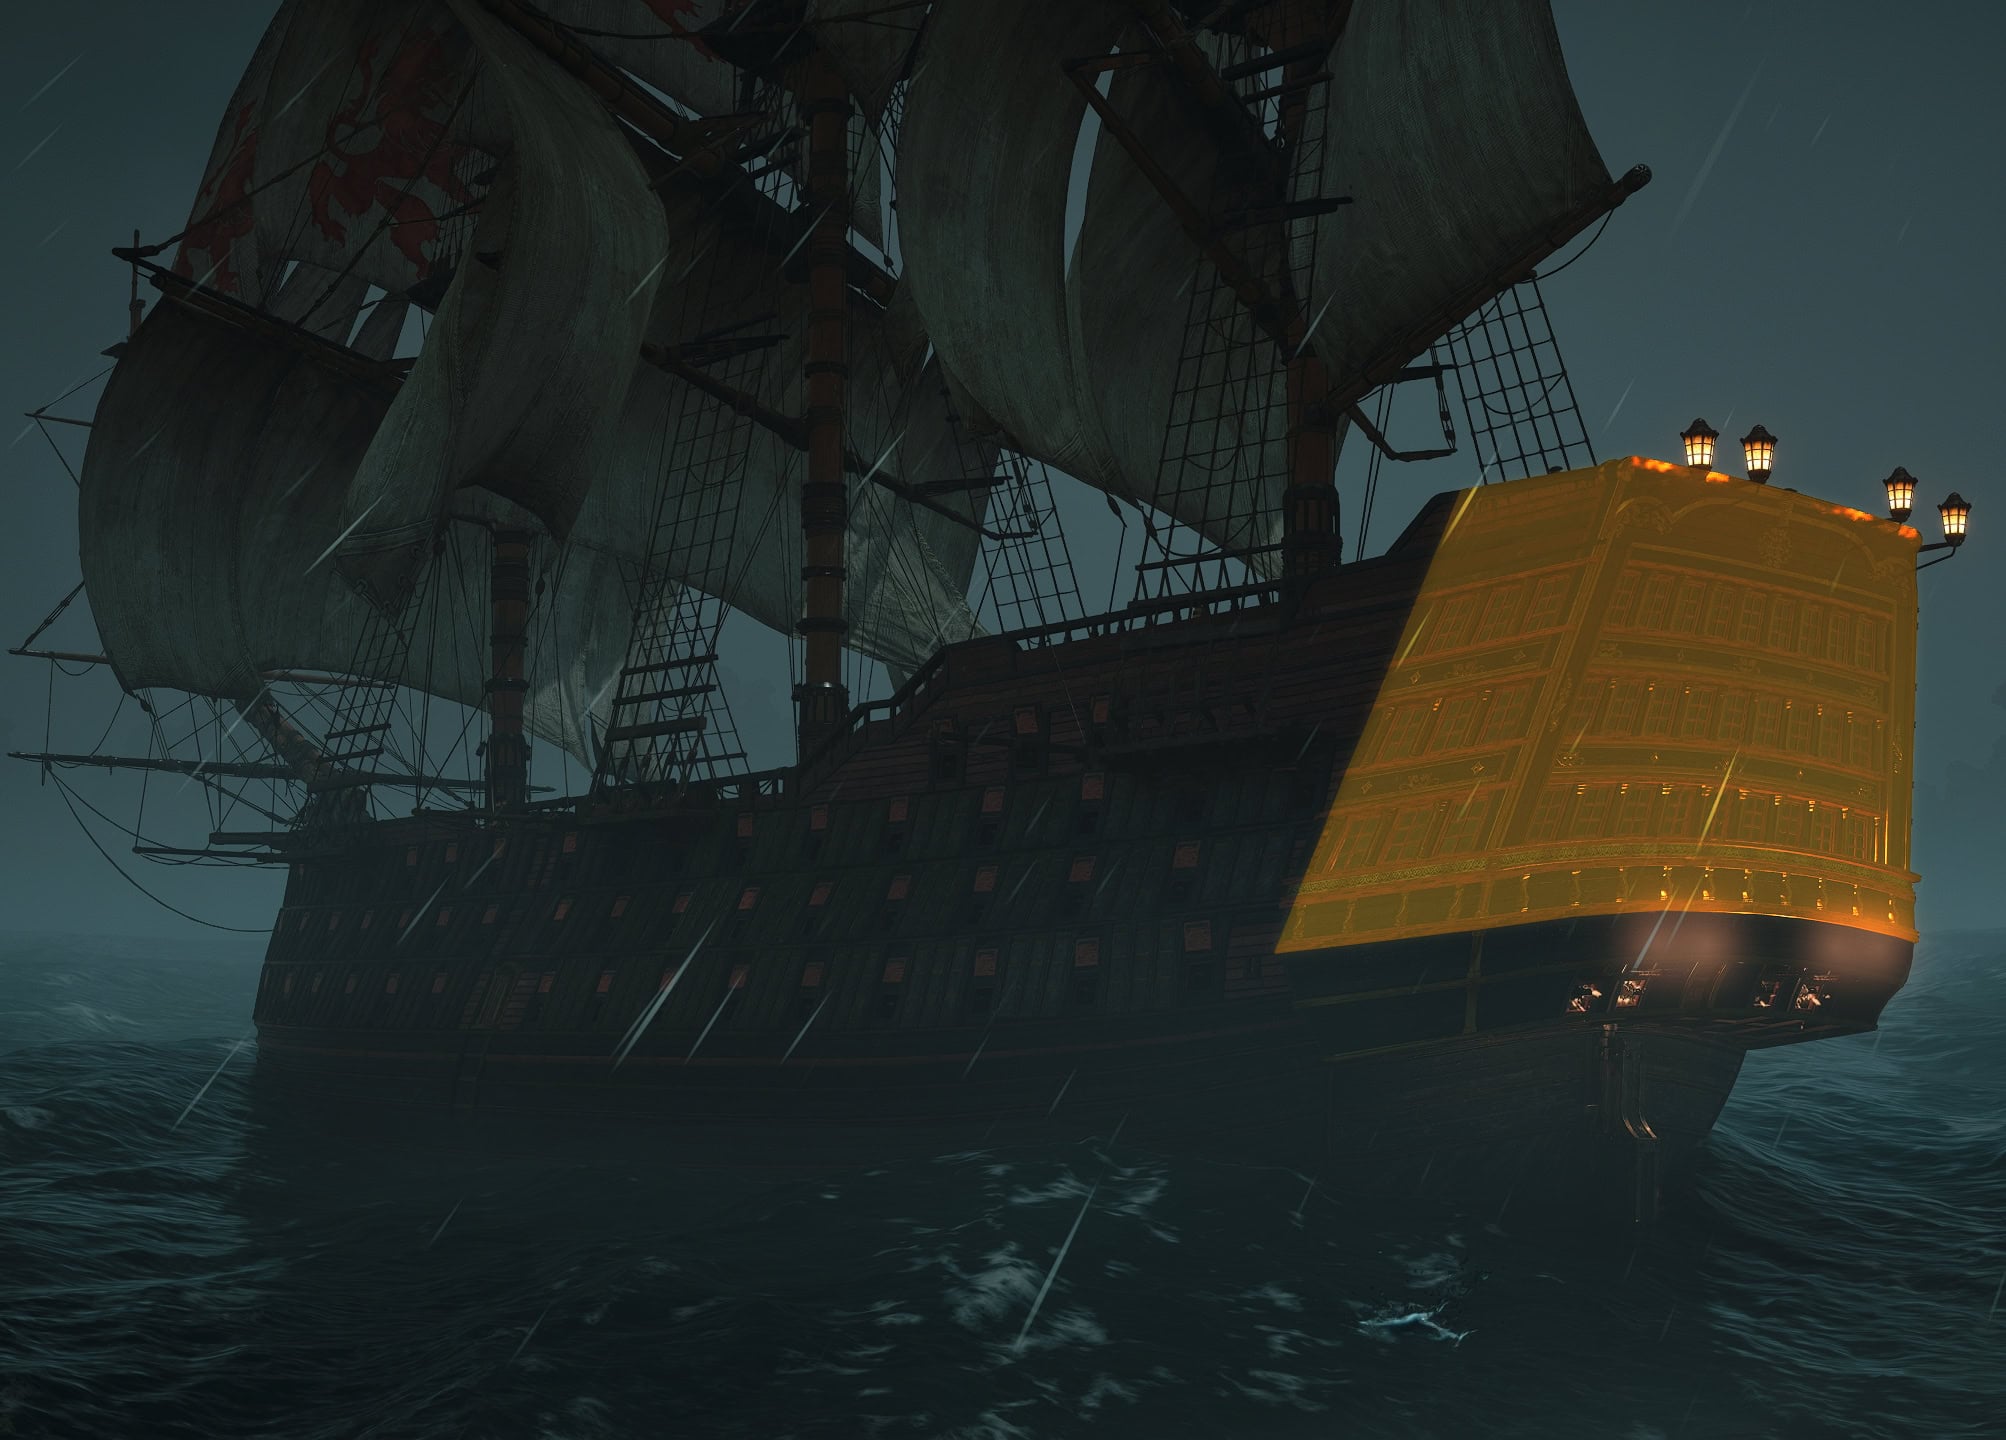
La Dama Negra has one fatal weakness, her stern. This area has a lot of windows for the Captain’s Quarters, leaving it without armor and vulnerable. Attacking this spot will allow you to easily create weak points to pop with your Swivel Gun.
La Dama Negra Video Guide
Which Weapons to Prioritize
Set your Front Cannons to Double Shot, Mortars to Deadman’s Cohort Mortars, Broadside Cannons to Heat Shot, and Barrel Launcher to Shrapnel Barrels. You’ll also be using the Heavy Shot a lot in this fight.
Since La Dama Negra is stationary for a large portion of the fight, you should be more concerned with getting out as much damage as possible. When she begins to run away from Phase 2 onwards, you’ll still want to use your Double Shot to hit her instead of the Chain Shot.
Strategy for damaging La Dama Negra
Perfect Brace her initial wave of mortars then sail your way behind her. As your broadsides face each other, fire a Heavy Shot and brace her Round Shots. The Heavy Shot will put a good dent in her armor.
Stay close to her as you sail by and fire some Shrapnel Barrels, popping them with the Swivel Gun. When you reach her stern, don’t get too close as she’ll release some Fire Barrels. You don’t want these landing on top of your ship.
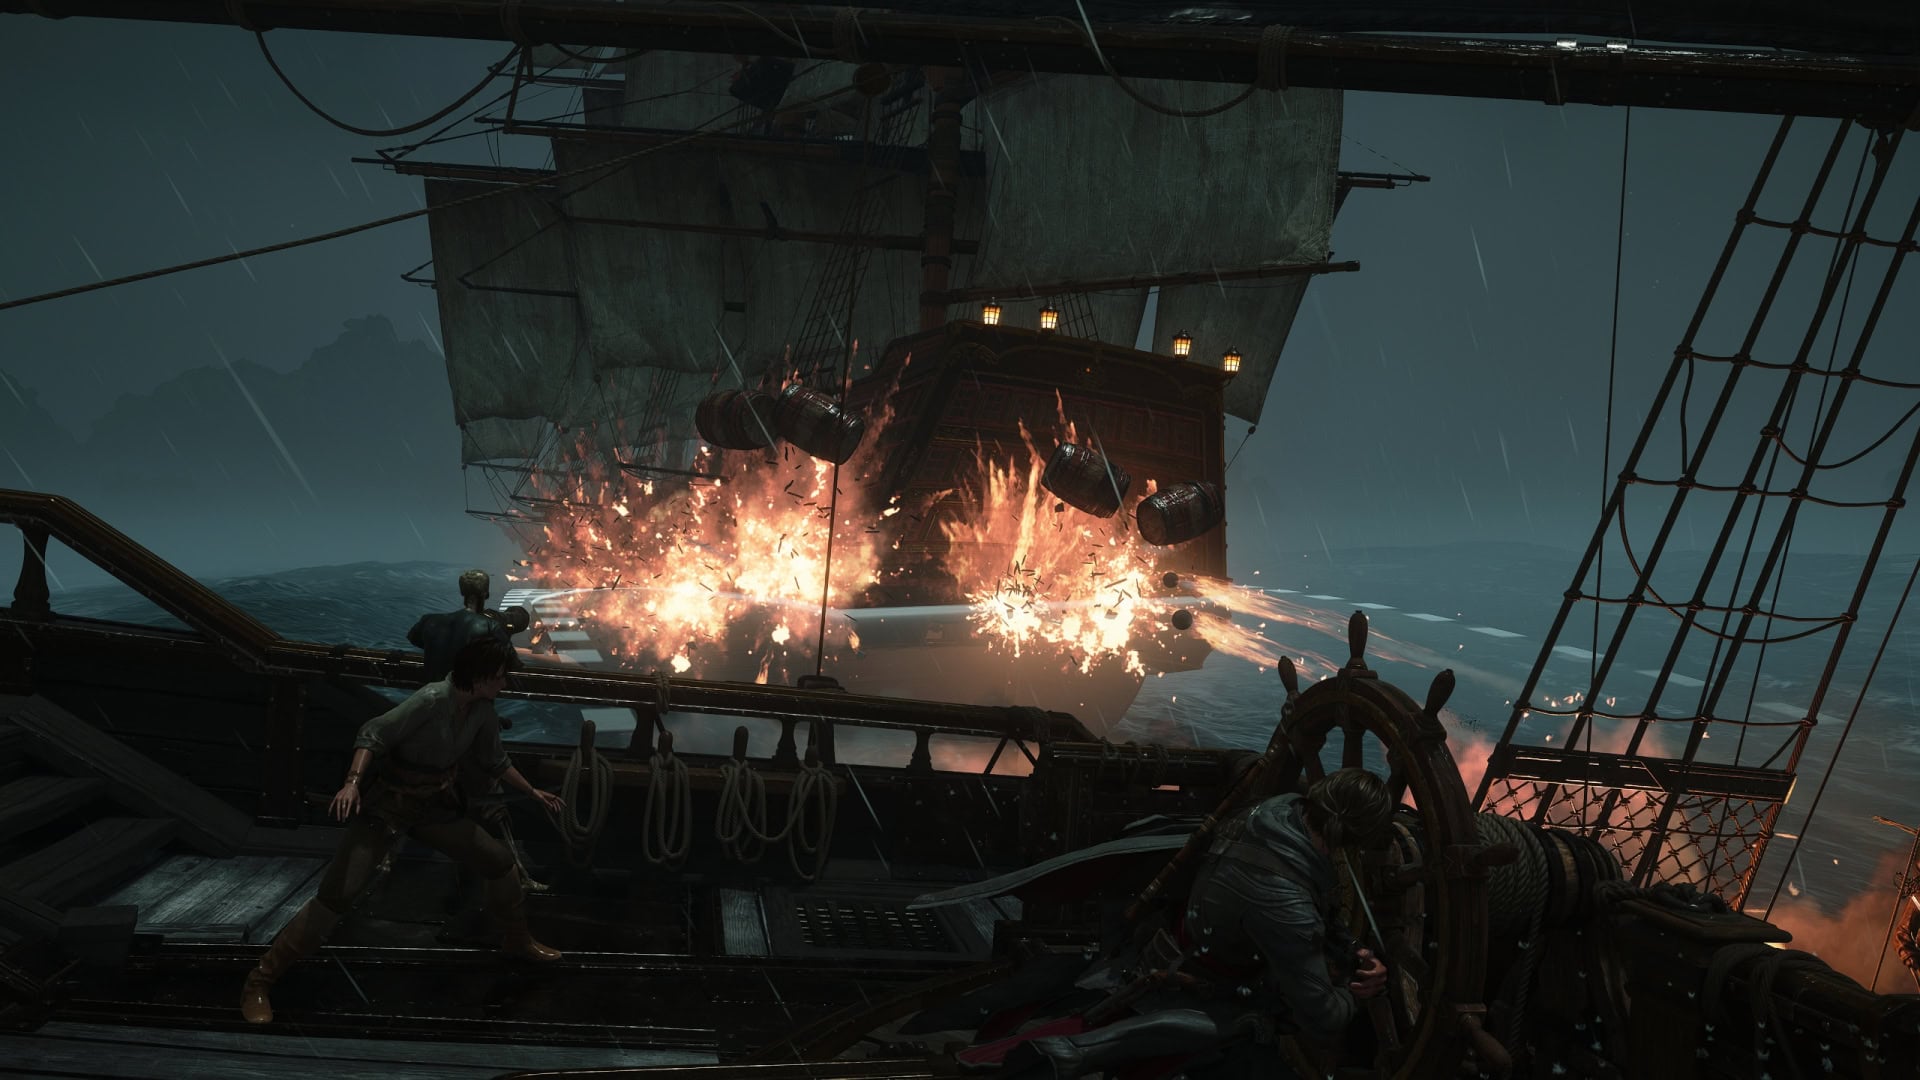
Use your Heated Shot on her stern and pop any weak spots that appear. Assuming you’re not too close, pop her Fire Barrels as well. You’ll notice that despite her armor, she’s weak to explosive damage. She’ll then reposition after doing some damage to her this way.
Your goal is to repeat this method of attack whenever she’s stationary. After the initial combo, your go-to combo will be as follows (bracing when needed):
- Fire a Double Shot at her stern and pop weak spots with Swivel Gun.
- Ram towards her stern using Ram Dash or just sailing into her.
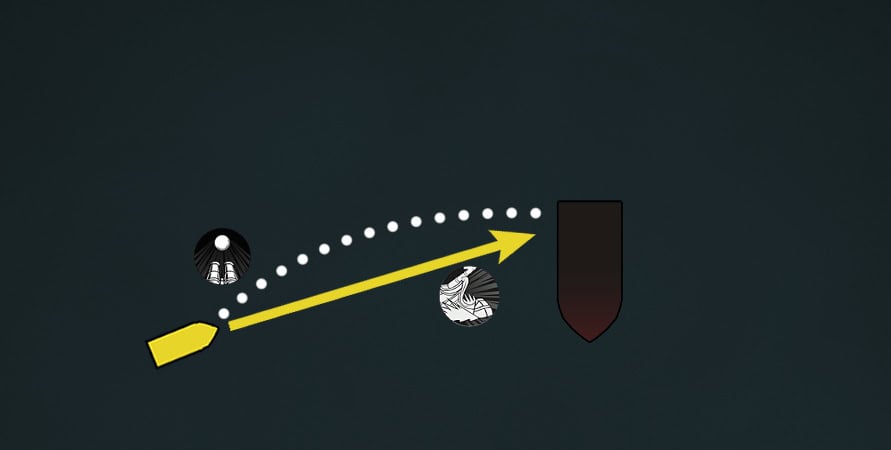
- Turn towards her stern and face your broadside against hers.
- Fire off a Heavy Shot on her broadsides.
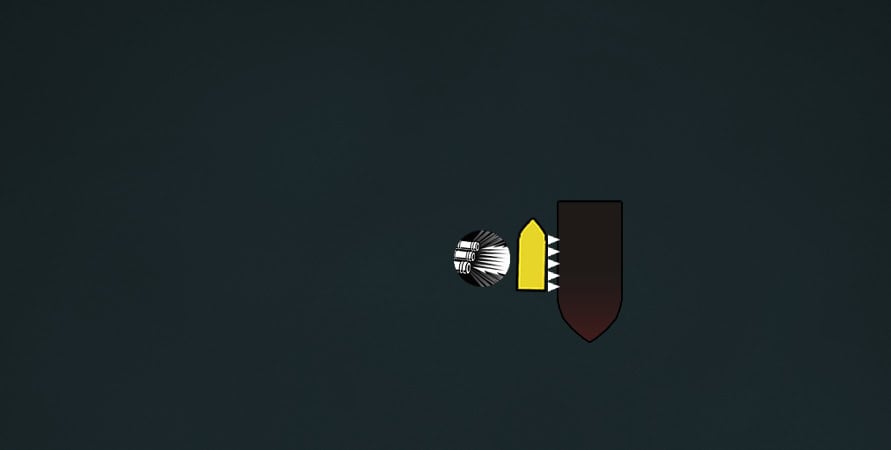
- As you’re sailing towards her stern, launch some Shrapnel Barrels and pop them with the Swivel Gun.
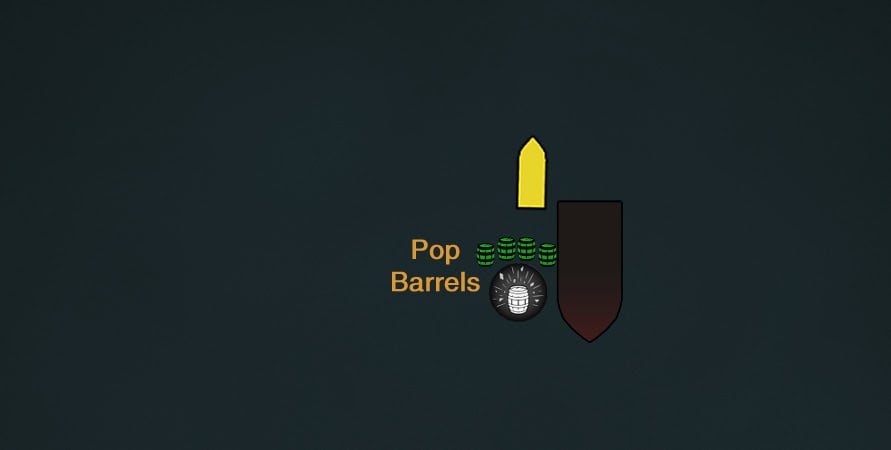
- Fire Heated Shots at her stern and pop weak spots.
- If you’re at a safe distance, pop her Fire Barrels.
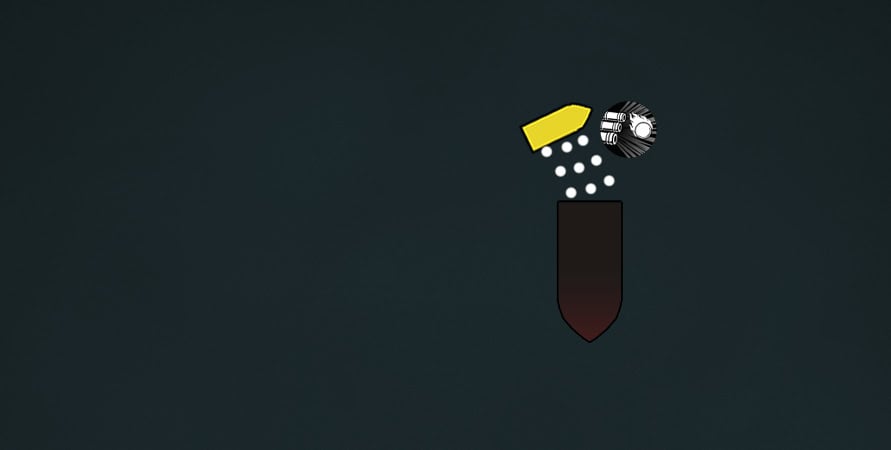
- When she moves to reposition, fire your Deadman’s Cohort Mortars at her.
- Reduce Sail or Weigh Anchor to sharp turn to face her stern. Return to Full Sail when properly oriented.
- Repeat combo from Step 1.
When ramming into La Dama Negra, be sure to not be perpendicular. Instead you should go at an angle with your bow pointing towards her stern.
Doing this will allow you to spend less time turning to line up your Heavy Shot. You can then more quickly sail towards her back while releasing your barrels. Efficiency is key to this fight, so make this combo as fast as you reasonably can.
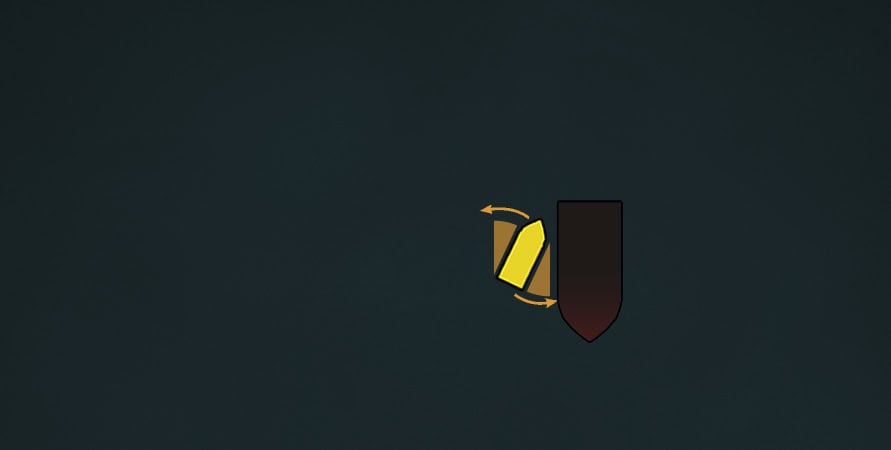
If you go perpendicular and T-Bone her, you’re going to spend more time turning. This also means you’re going to get shot more by her broadside cannons.
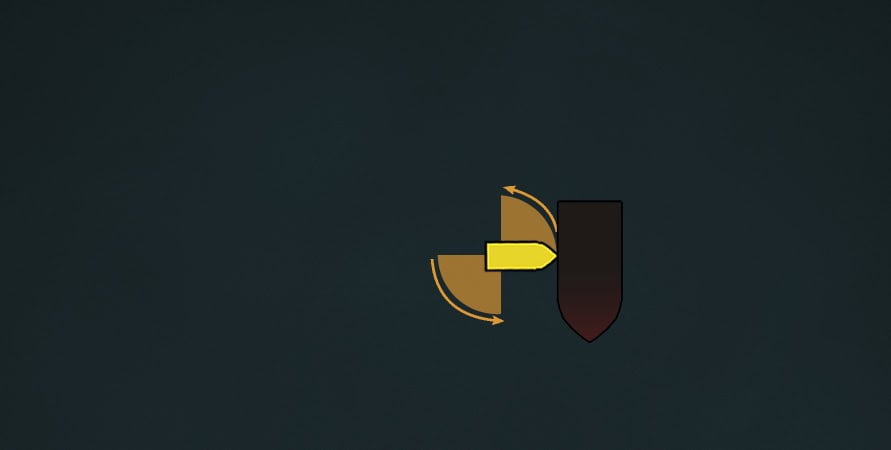
Perfectly lining your angles may not always be an option due to circumstance. Do your best to minimize your turning angle regardless for maximum efficiency. If you can’t get a good angle, just ram her stern and focus on hitting it from the back with your Heated Shots.
Fighting La Dama Negra in the Second Phase
When La Dama Negra loses one third of her health, a horn will sound and she’ll sail away at full speed. Hit her stern with your Double Shot as she’s sailing away and pop any weak spots.
She’ll start using a new type of mortar attack. This one sweeps in a small arc from the outside in. It’ll eventually come your way, so you’ll need to sail diagonally opposite of the arc’s initial direction.
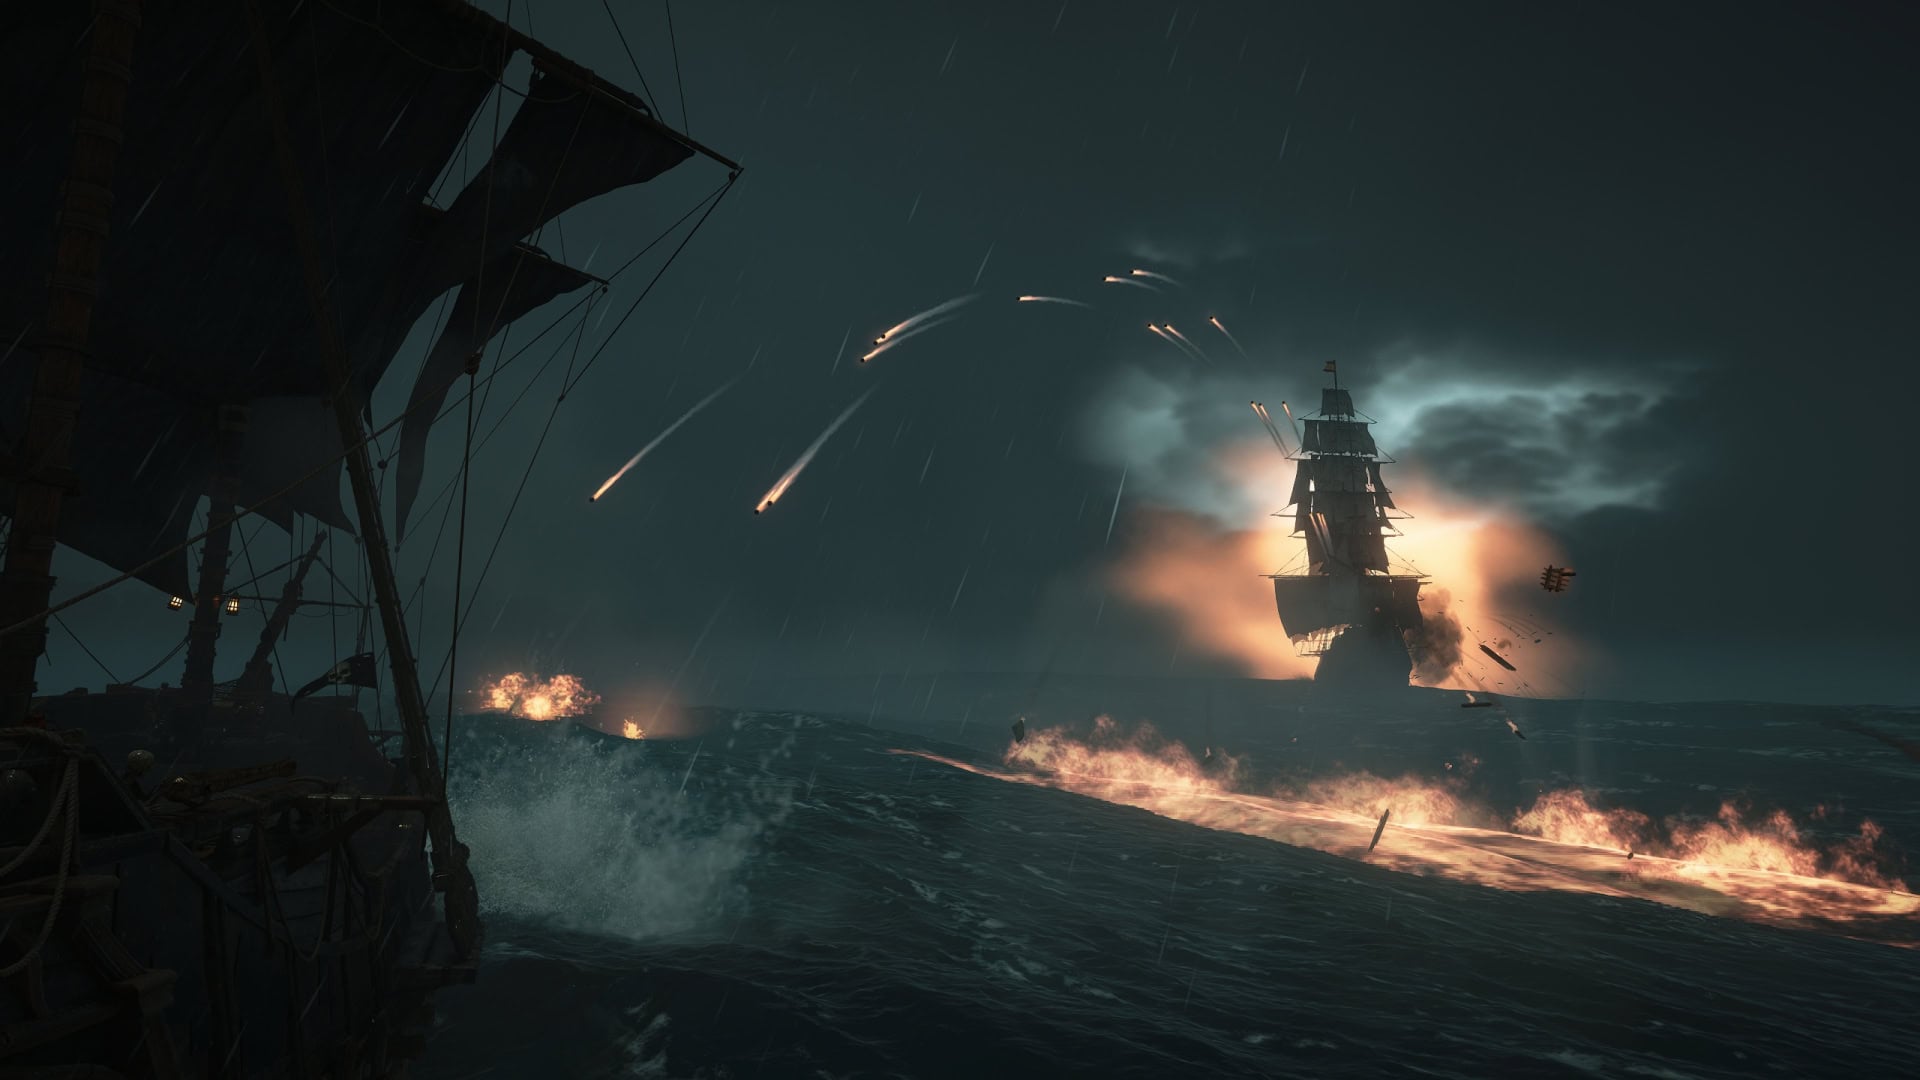
If the sweep starts on the left, sail right. If it starts on the right, sail left. With how high the projectile’s arc is, it can be tricky to determine when to brace. It doesn’t hurt to brace if they feel a little too close for comfort.
You should be able to avoid all of the shots by sailing opposite of the initial direction. Once avoided, point your bow back towards La Dama Negra and keep chasing her. Use your Deadman Mortars if she’s in range.
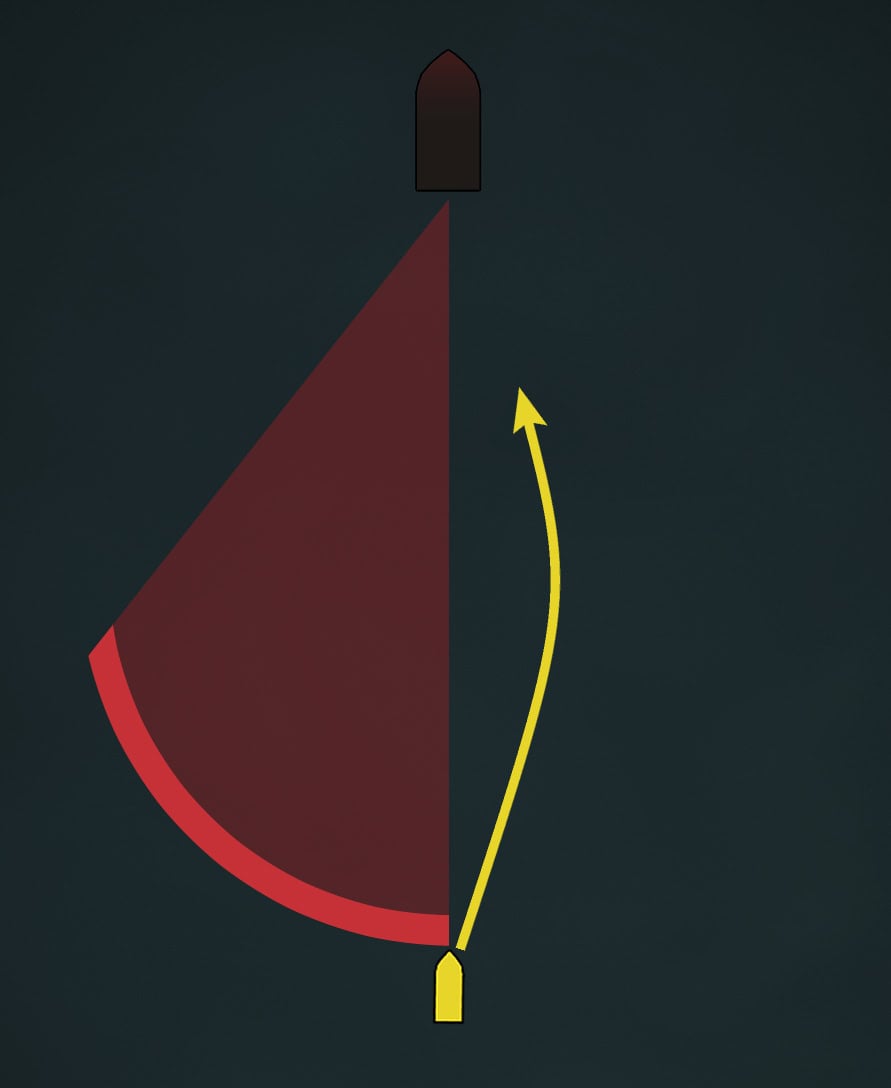
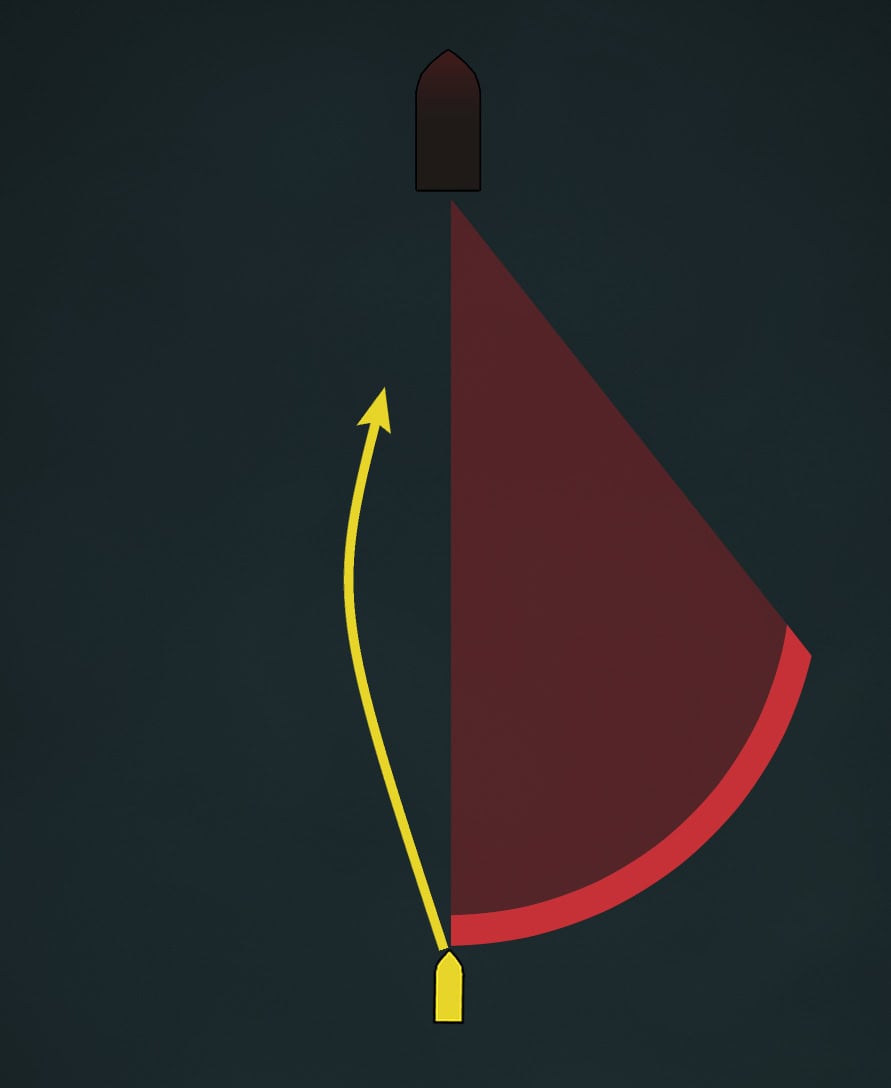
You’ll want to point your bow towards her every time you dodge an arc as you might have to dodge them multiple times. The less time you spend turning as you zigzag around, the higher the chance you can avoid the mortar sweeps entirely.
When you catch up to her, you’ll be repeating your primary combo while she’s stationary. Repeat this process if she runs away again, shooting her stern with the Double Shot or using the Deadman’s Cohort Mortar on her as she flees.
Her initial mortar wave attack will last a bit longer now, so brace a bit longer to account for the additional damage.
Fighting La Dama Negra in the Third Phase
When La Dama Negra loses two thirds of her health, the third phase begins. It’s more or less the same as the second phase, but now her broadside cannons shoot Heated Shots, she launches twice as many barrels, and is generally more aggressive.
Repeat what you’ve been doing in the second phase. Shoot her with your Deadman Mortars or Double Shot depending on the range, and use your primary combo. Keep up this combo and the Perfect Braces, and you’ll turn La Dama Negra into La Dama Muerta (The Dead Lady).
Rewards
After defeating La Dama Negra, you’ll receive 12,000 Reales and the following rewards:
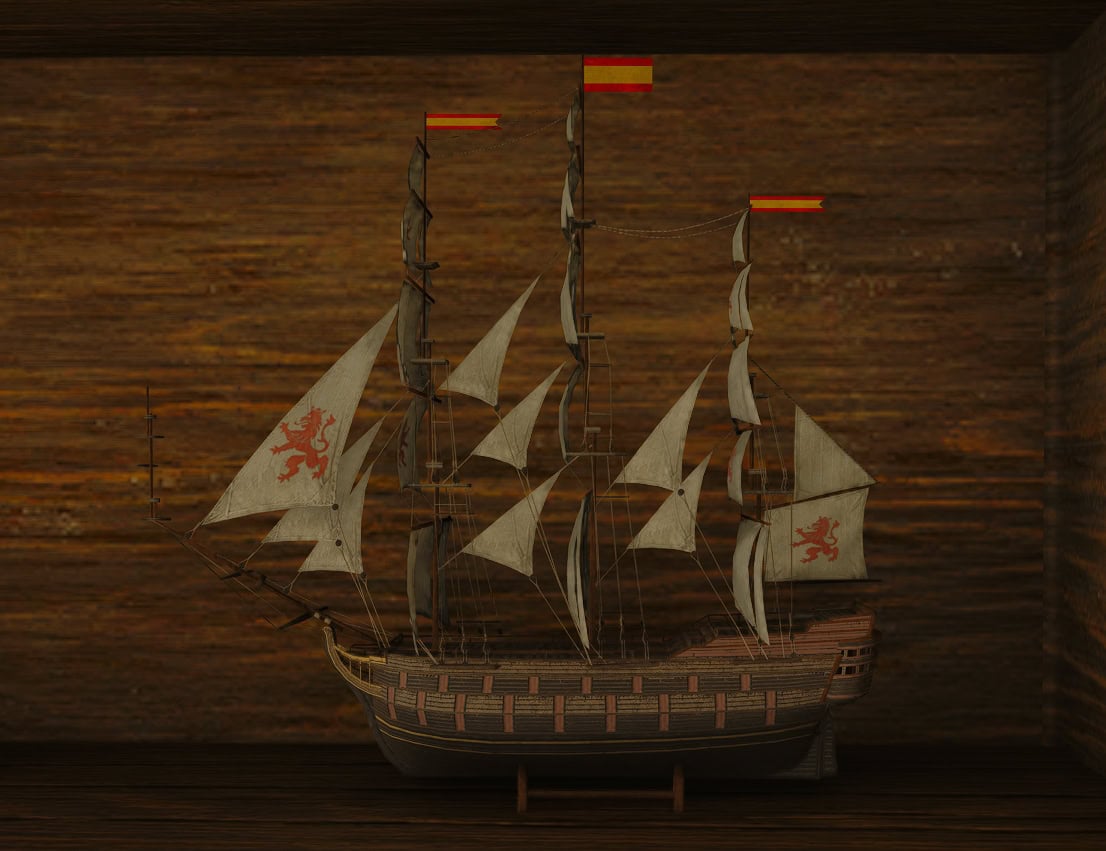
La Dama Negra Ship Model
La Dama Negra’s Ship Model doesn’t appear too different from a standard Spanish Man O’ War. It’s main difference is the paint job on the hull. It can be placed inside the Study Room of the manor where you have access to the Fleet Planning table.
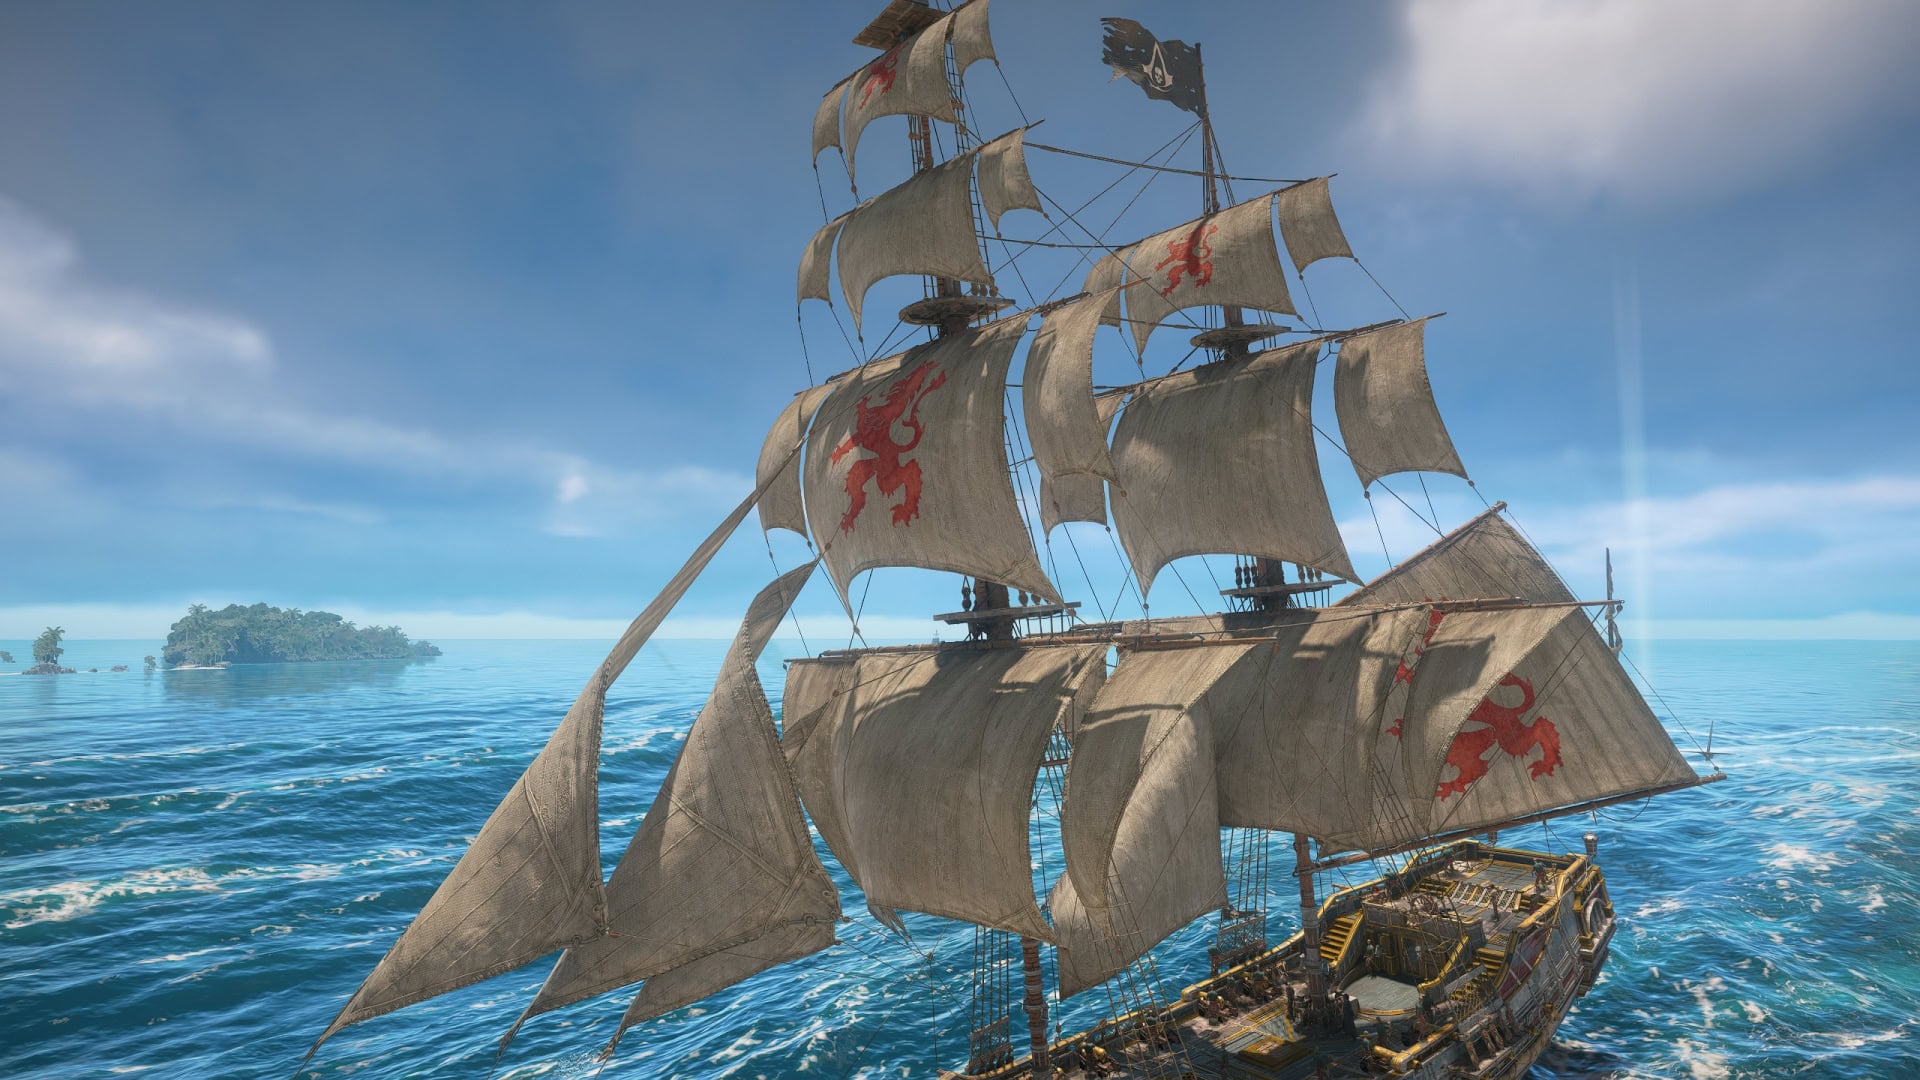
La Dama Negra Sails
If you’ve been jealous of the Spanish with their Heraldry of León sails, then you’re in for some good news. La Dama Negra’s Sails feature the Heraldry of León if you want to give the Jackdaw some Spanish flair.
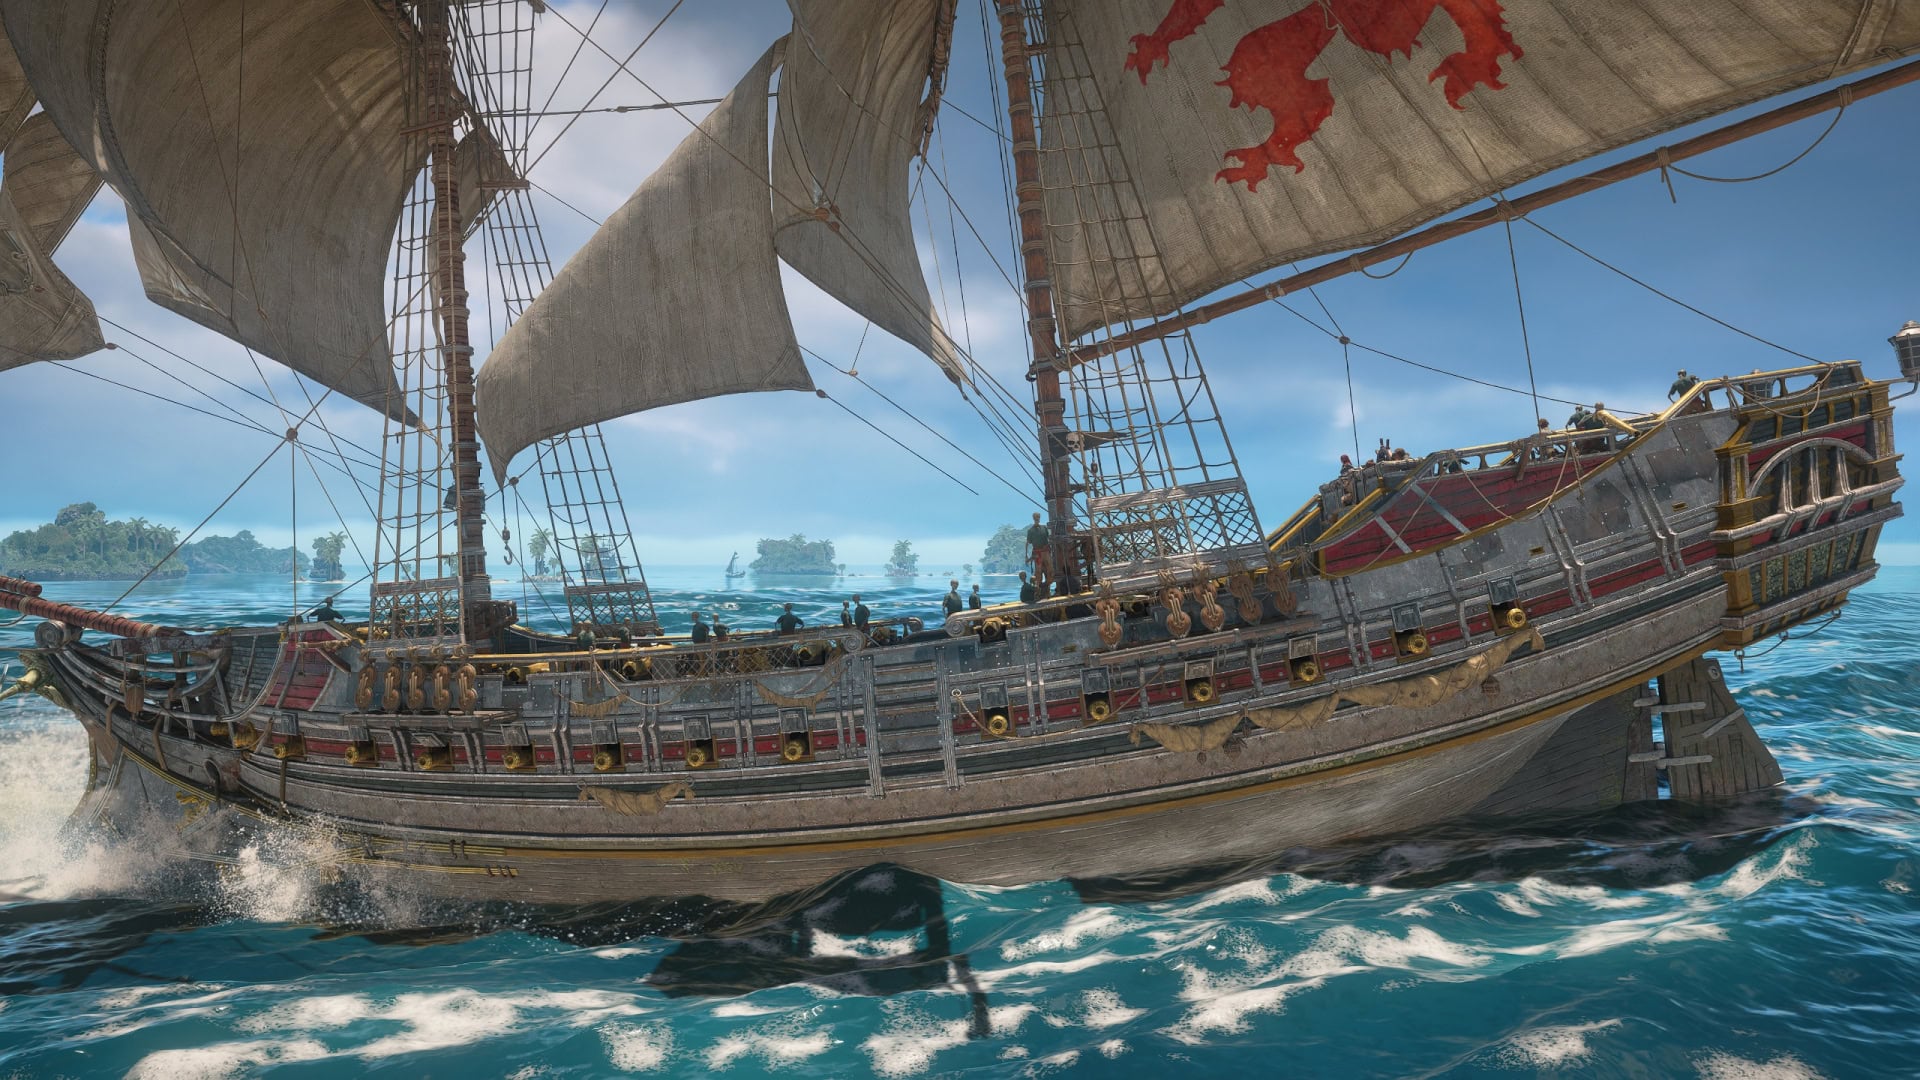
La Dama Negra Hull
La Dama Negra’s Hull looks almost exactly like the Jackdaw’s hull design. The main difference being that it looks more well kept and with a fresher paint job. This makes sense given how the Jackdaw was from the Spanish Treasure Fleet.
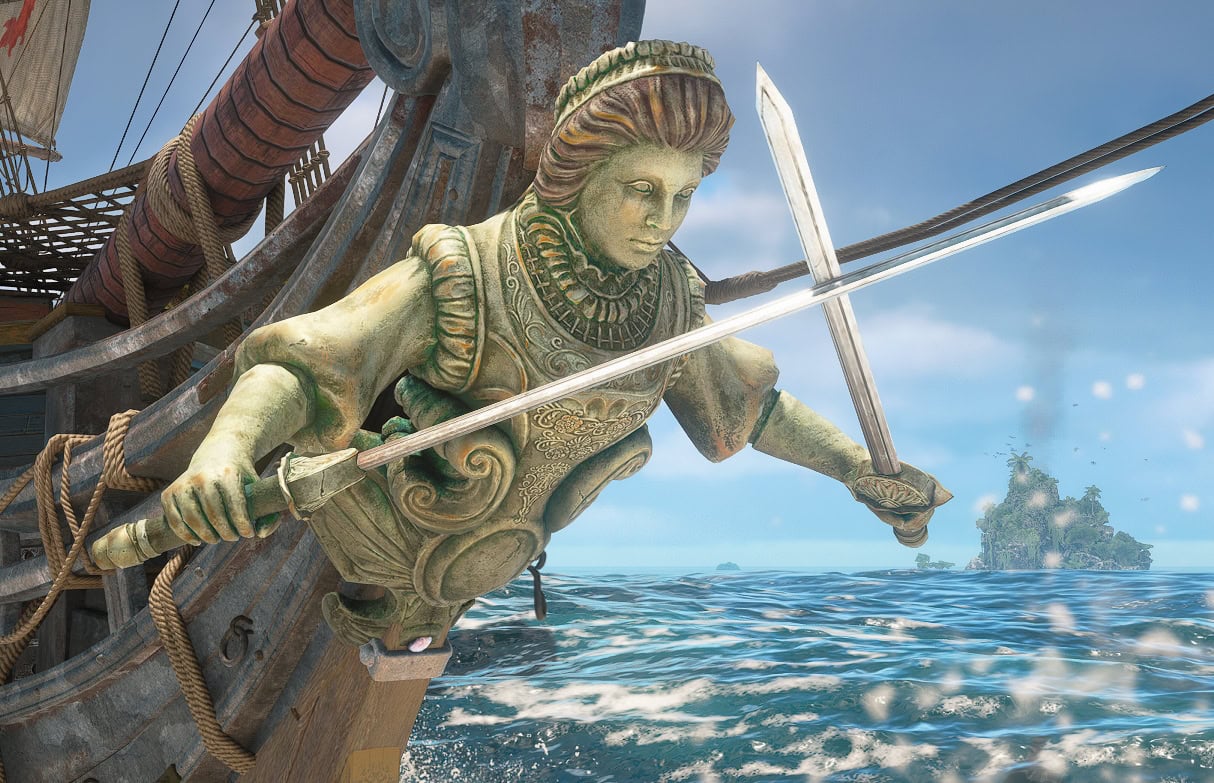
La Dama Negra Figurehead
La Dama Negra’s Figurehead features a maiden with crossed swords. It symbolizes death in the glory of battle. You gave them a glorious death and in return, you get this cool figurehead.
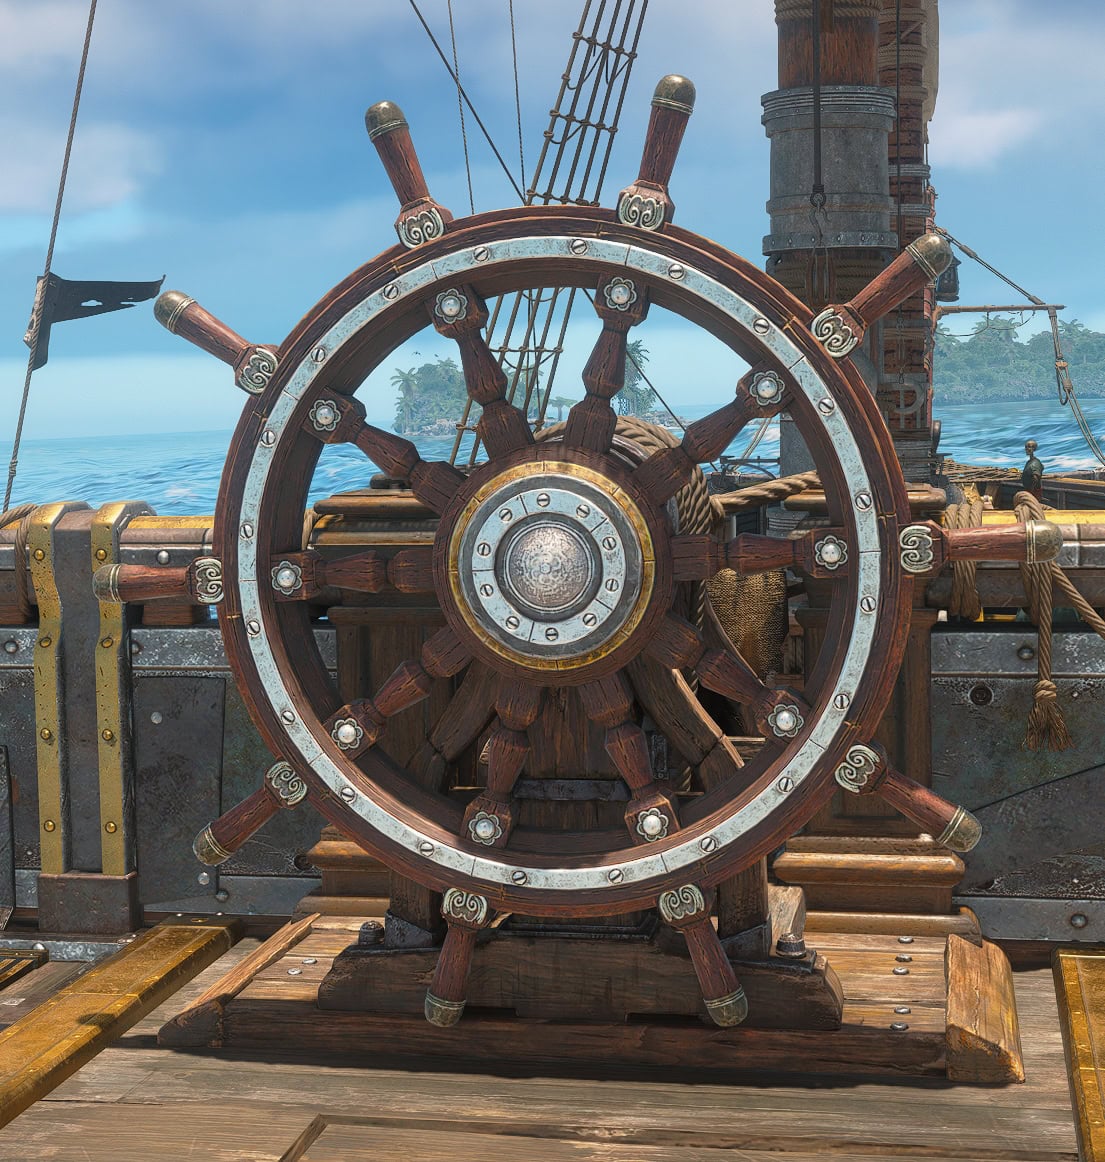
La Dama Negra Wheel
La Dama Negra’s Wheel features polished metal reinforcements to give it a well kept and study look. It contrasts well with the reddish wood of the wheel.
La Dama Negra Fight Summary
To succeed in this fight, you’ll have to maneuver unconventionally against a ship that’s stationary half the time. You must meet its strong defenses with an even stronger offense. Be sure to remember the following:
- When stationary, ram into La Dama Negra at an angle where you can easily sail towards her stern without turning that much.
- Fire off a Heavy Shot if you’re close enough and pop Shrapnel Barrels near her.
- Heated Shot against her stern and pop weak points, avoiding her barrels while shooting them to damage her further.
- Use Deadman’s Cohort Mortar whenever possible, especially if she’s fleeting.
- Shoot her in the stern with the Double Shot if she’s fleeing.
- Zigzag away from the Sweeping Mortar Shots she uses in the second phase onward.
- Perfect Brace every attack, she hits like a truck armed with 50 cannons on each side.
- Shoot her stern whenever possible as weak spots in that area deal a good chunk of damage when popped by the Swivel Gun.
Achievements
- Devil of the Caribbean – Defeat all Legendary Ships
- Dilettante – Fill all Art Collection and Equipment slots in the Great Inagua manor. These items are also found in quests, sold by vendors, or obtained when defeating a new ship for the first time.
How to beat the other Legendary Ships
There are a total of four Legendary Ship encounters you can unlock (five if you count the HMS Ipswich from A World Without Gold). You must be prepared to take on these as well and adapt to their fighting styles to succeed.
El Impoluto
El Impoluto is the fastest of the Legendary Ships. It’ll use this speed to repeatedly ram into you, sail away, and repeat the process. There is no way for you to catch up to it as its default speed is faster than your Ram Dash speed.
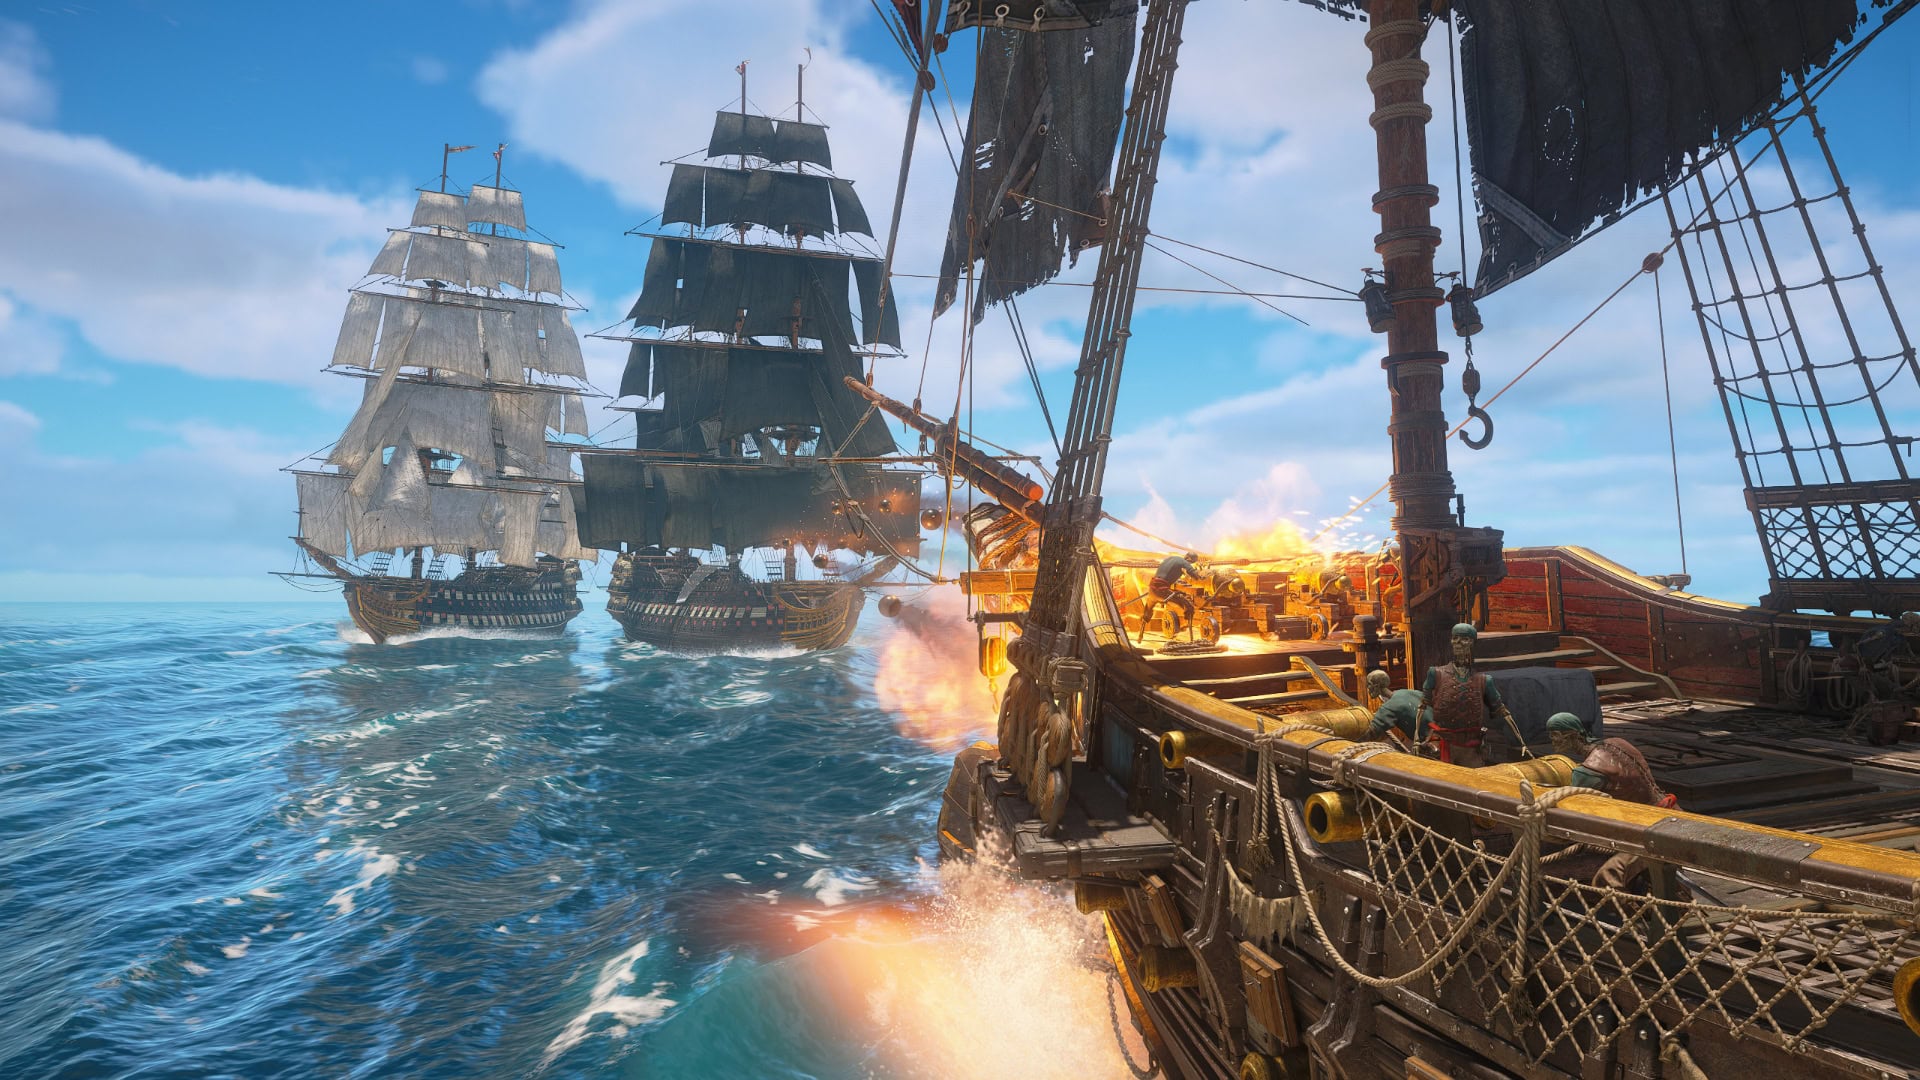
HMS Fearless and Royal Sovereign
The HMS Fearless and Royal Sovereign work as a pair to sail by, sandwiching you while unloading their broadside cannons on you at the same time. They are as spiteful as they are cooperative as sinking one before the other will cause the other to enrage.
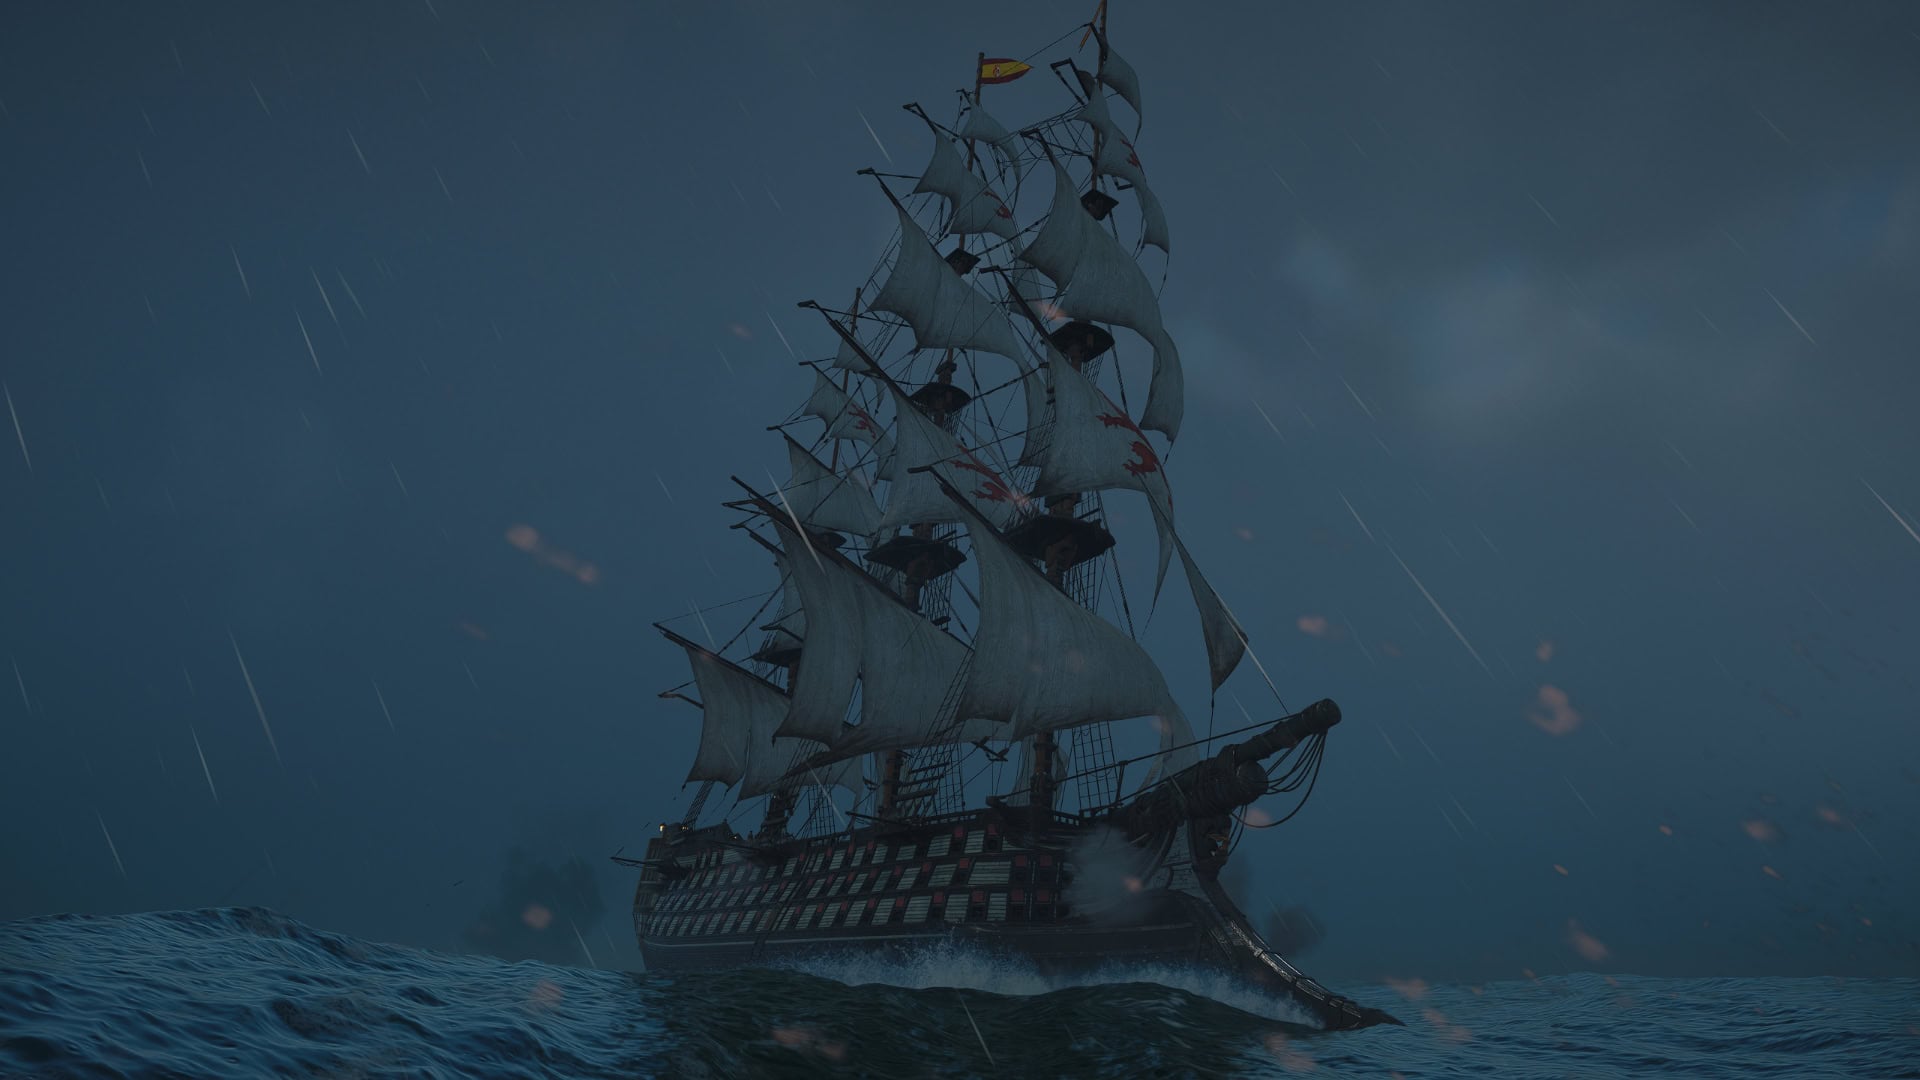
HMS Prince
The HMS Prince is the most elusive of the Legendary Ships. It’ll use the cover of fog to launch mortars at you. You’ll only survive if you have keen eyes to spot its mortar fire or see its silhouette when lightning strikes.