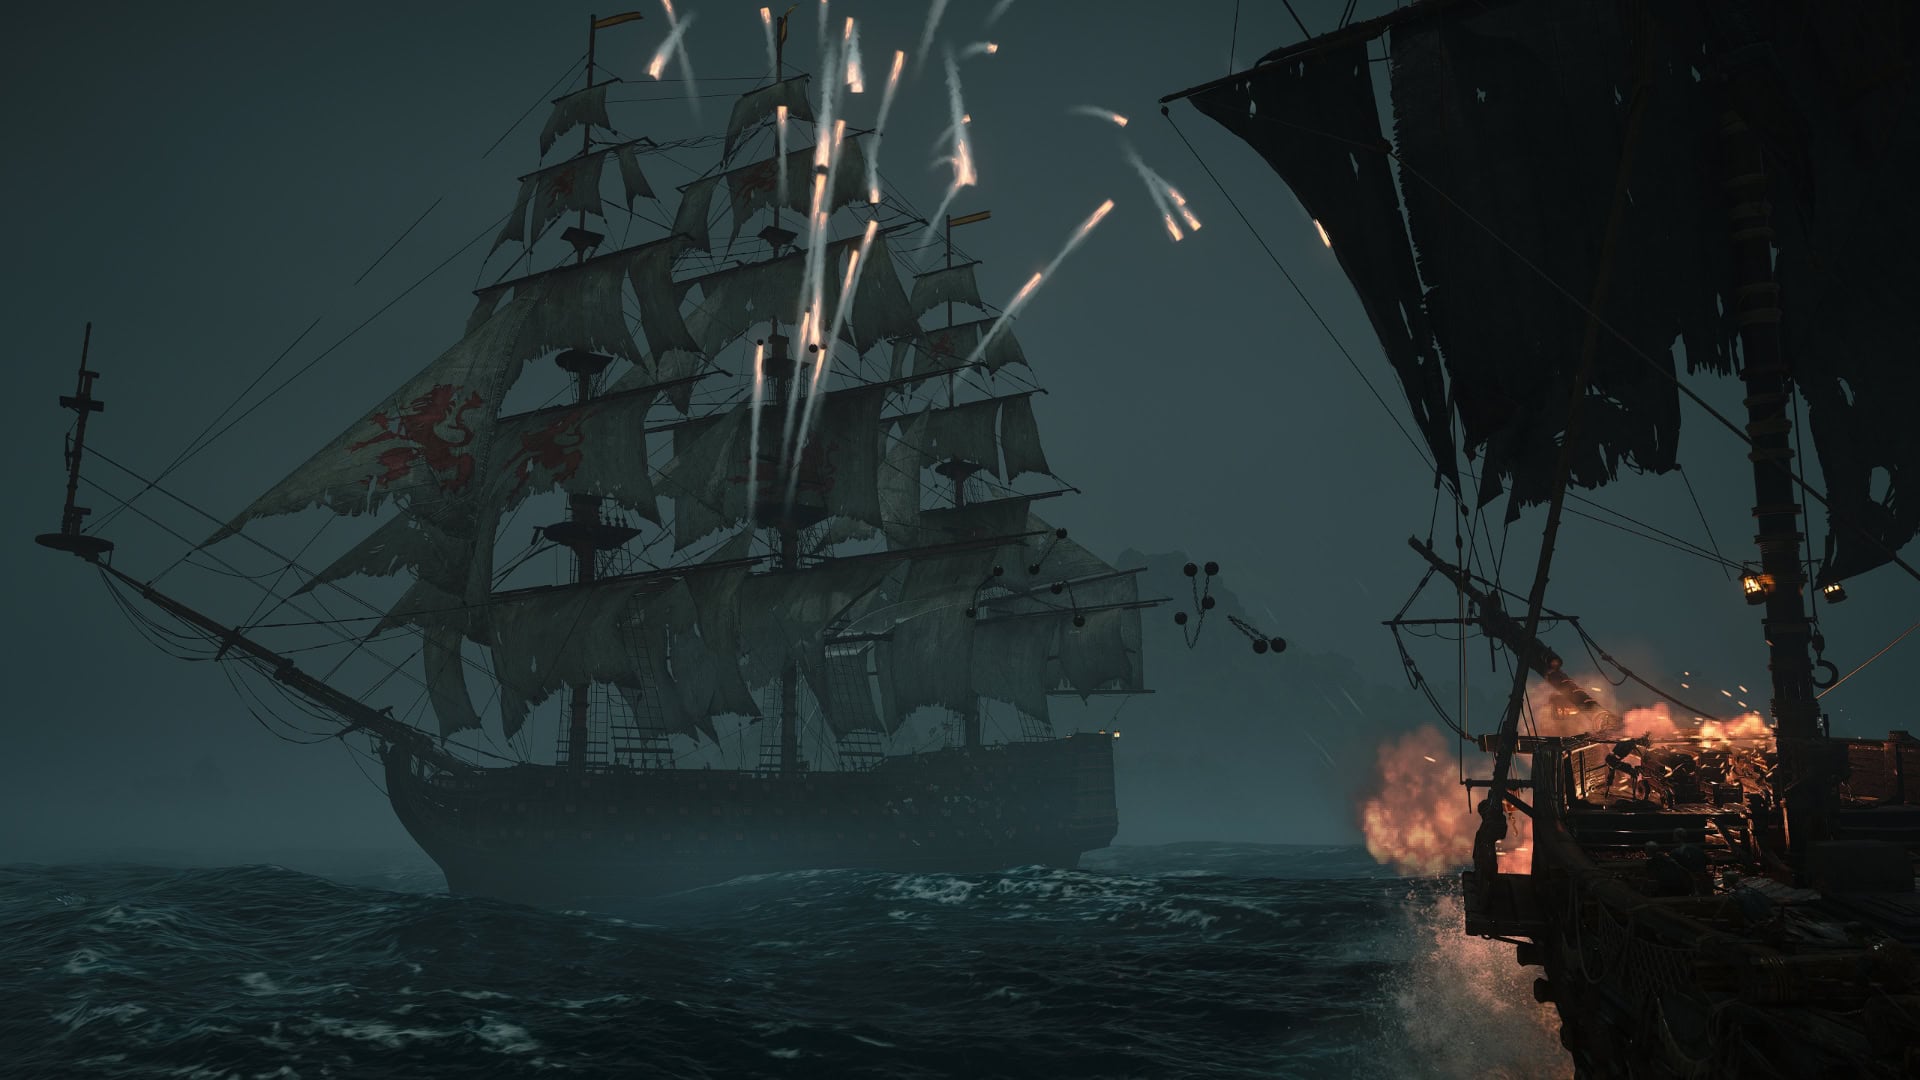
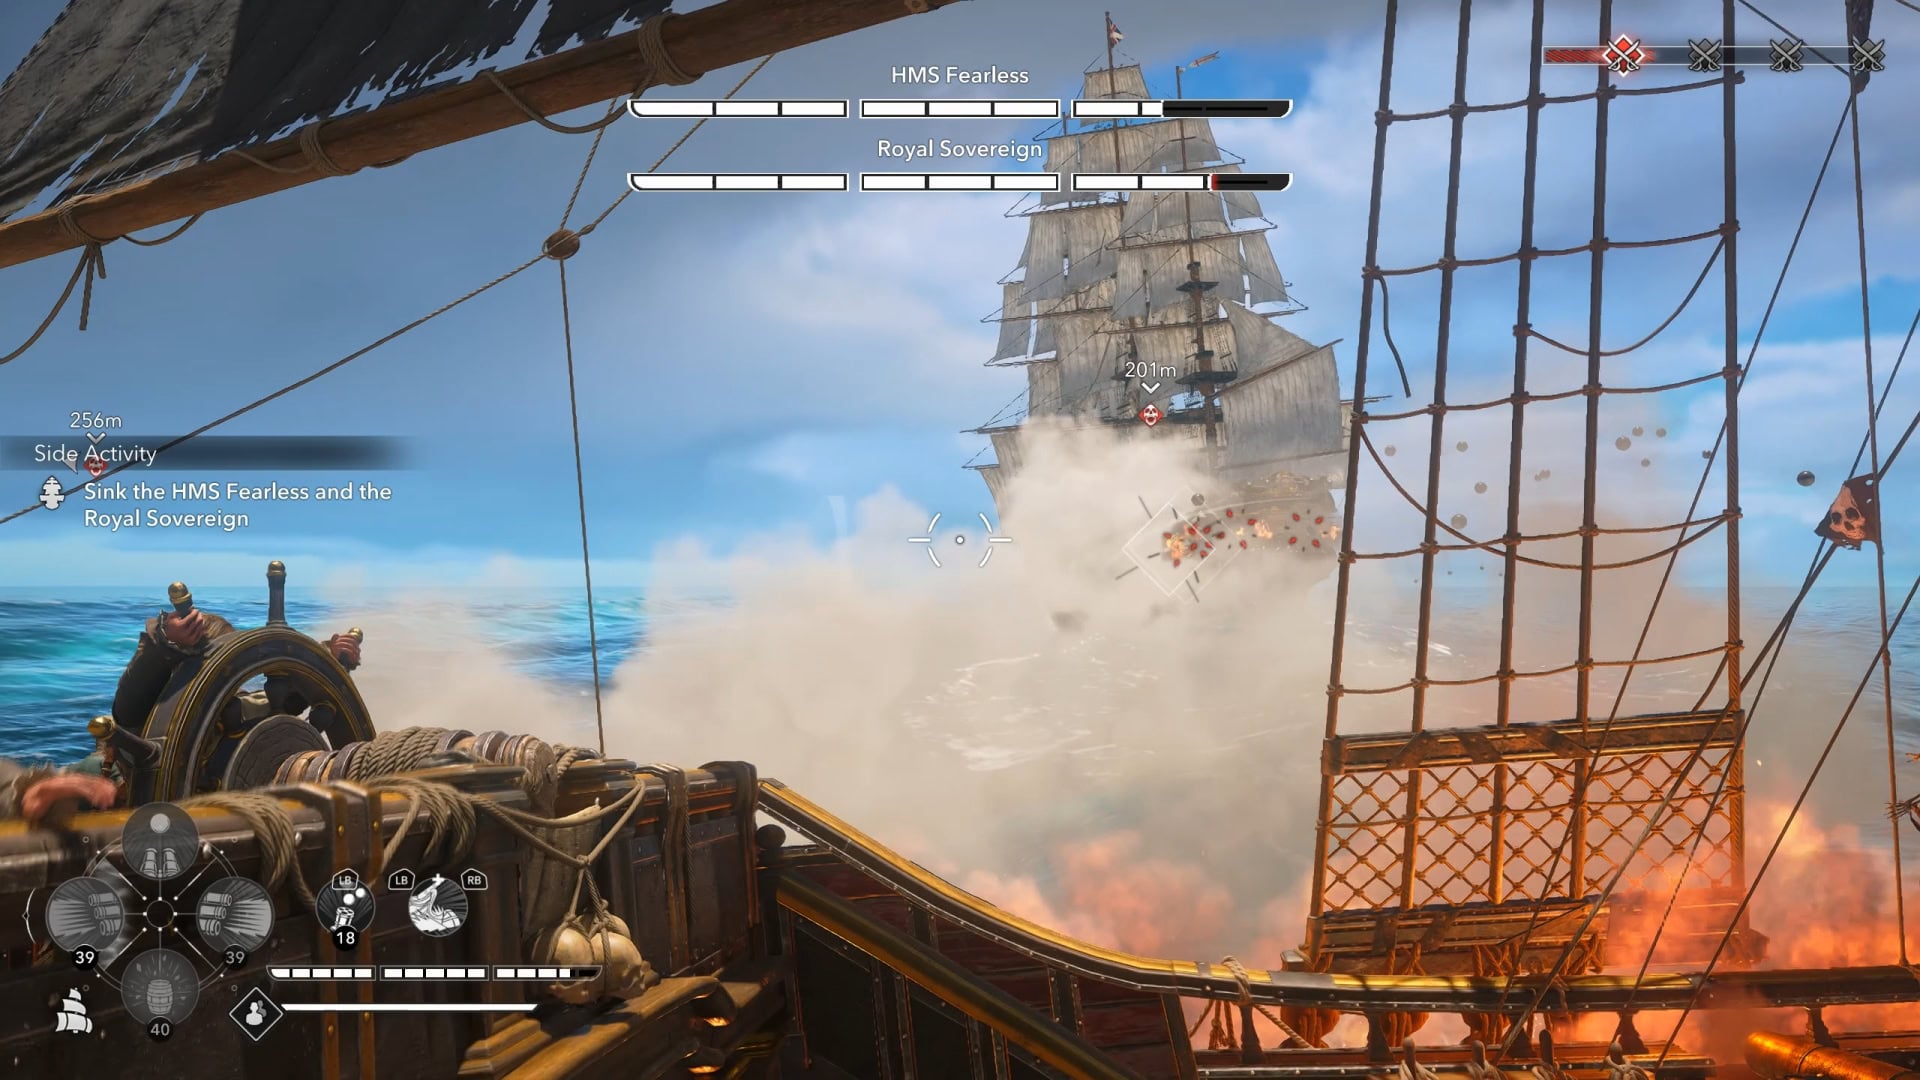
Defeating the two Legendary Ships HMS Fearless and Royal Sovereign at once can seem an impossible feat in Assassin’s Creed Black Flag Resynced. We explain the movement patterns of the HMS Fearless and Royal Sovereign, provide strategies to minimize damage taken, and show you how to defeat them to earn multiple ship vanity rewards.
What are Legendary Ships
Legendary Ships are the most difficult naval combat encounters that Black Flag Resynced offers. Each ship has their own unique gimmick or mechanic that you must work around (or with) in order to succeed.
It’s highly recommended that you fully upgrade the Jackdaw and unlock all of its weapons before attempting these fights. While you can unlock these rather early on, this is most definitely a late game activity.
Legendary Ships Guide – Assassin’s Creed Black Flag ResyncedHow to unlock the HMS Fearless and Royal Sovereign
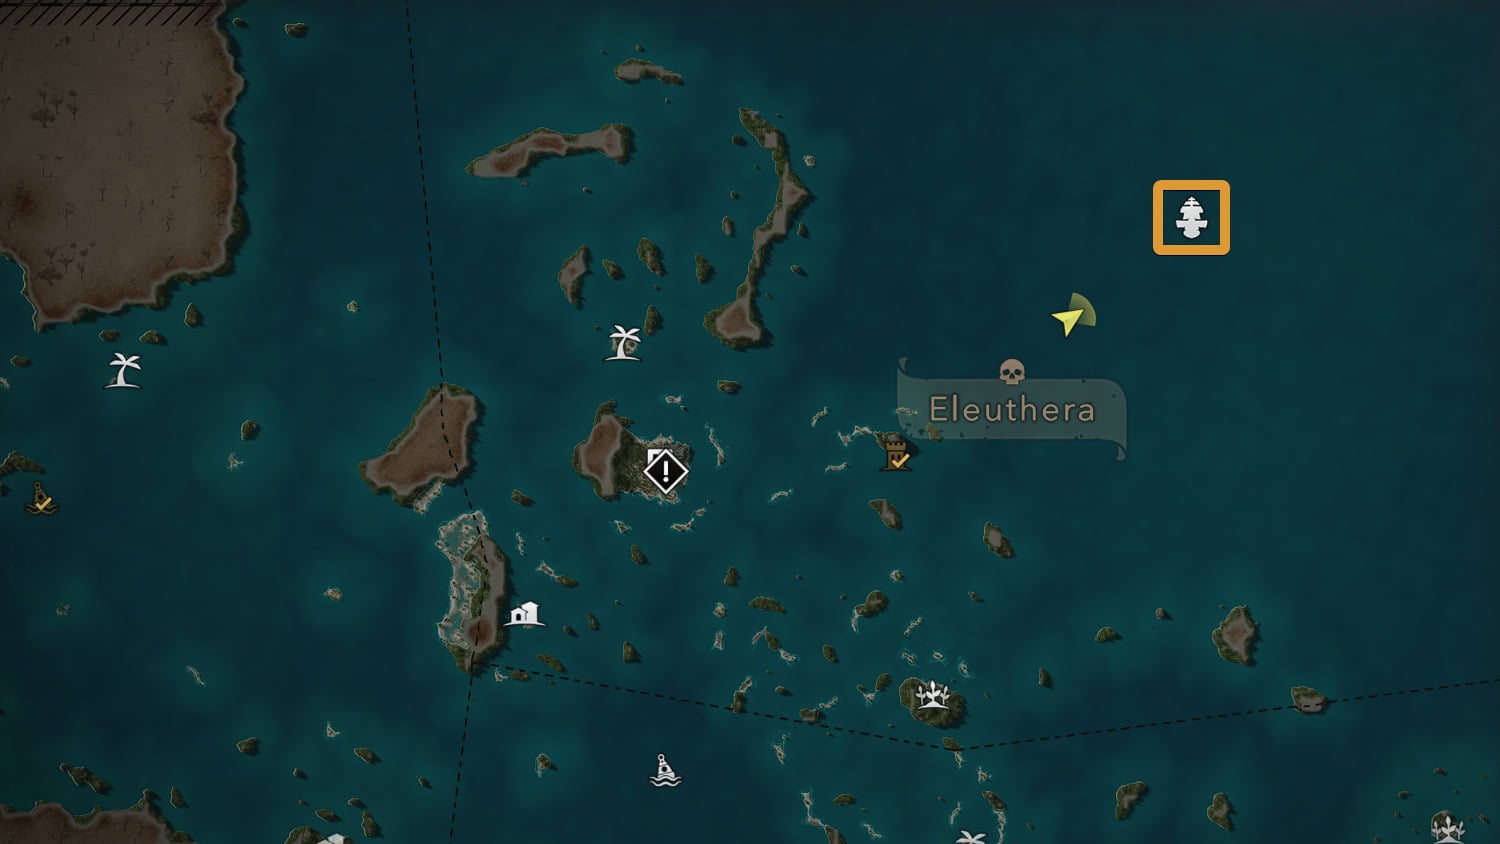
Before you can attempt to fight these Legendary Ships, you’ll need to take over Fort Eleuthera. Once this is done, you’ll find the ships in the northeast corner of the map at (812, 858).
HMS Fearless and Royal Sovereign Basic Overview
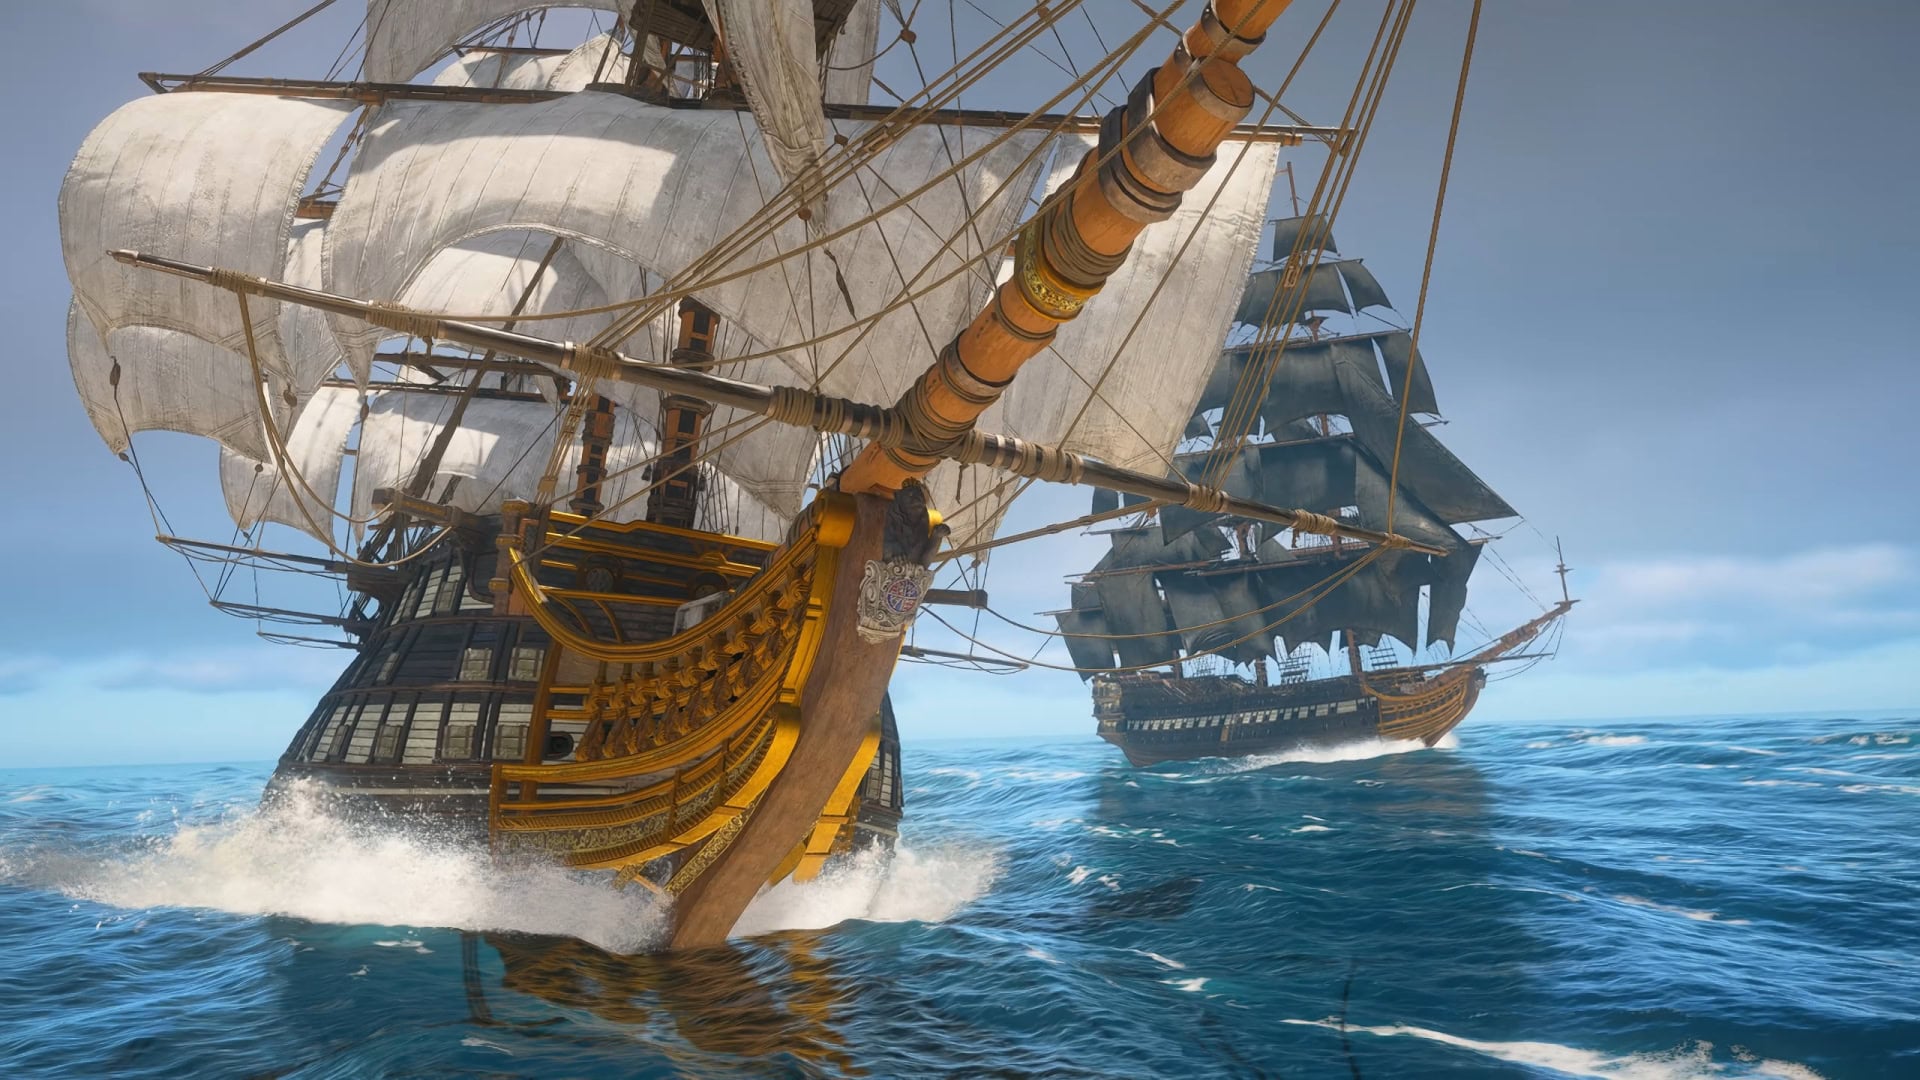
The HMS Fearless and Royal Sovereign are twin ships that work in tandem to fight their enemies. Their go-to method of attack is to flank you on both sides while unloading their broadside cannons.
They sport black and white color schemes with the HMS Fearless being the black ship, and the Royal Sovereign being the white ship. This fight tests your spatial awareness as you’ll be looking all over the place to keep up with these ships and their hazards.
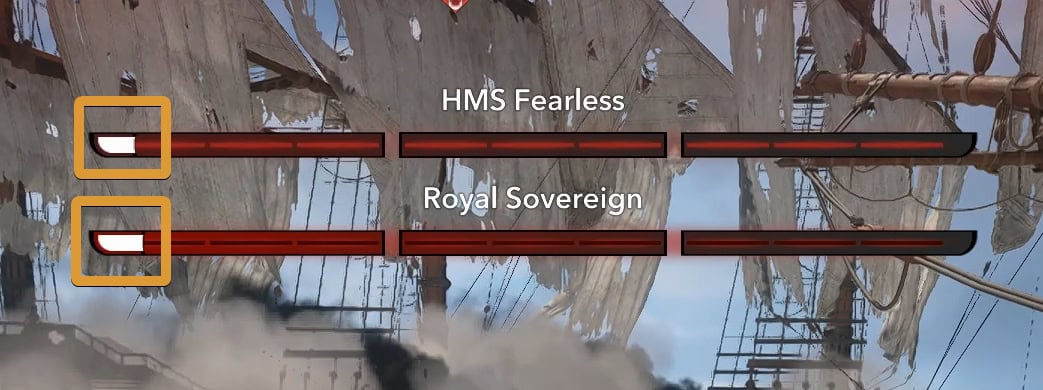
This fight has a total of three phases. Phase 2 starts when one of the ship’s health is reduced by a third. The third phase starts when one of the ships is destroyed.
Video Guide
Strategy for Damaging Both Ships
The most important thing to keep in mind is to apply equal damage to both ships. When you defeat one of the ships, the surviving ship will become enraged.
The surviving ship will set itself on fire, start firing front and broadside Heated Shots at-will, and it will begin to ram you. It stops following its former movement patterns during the enraged state, making its attacks less predictable.
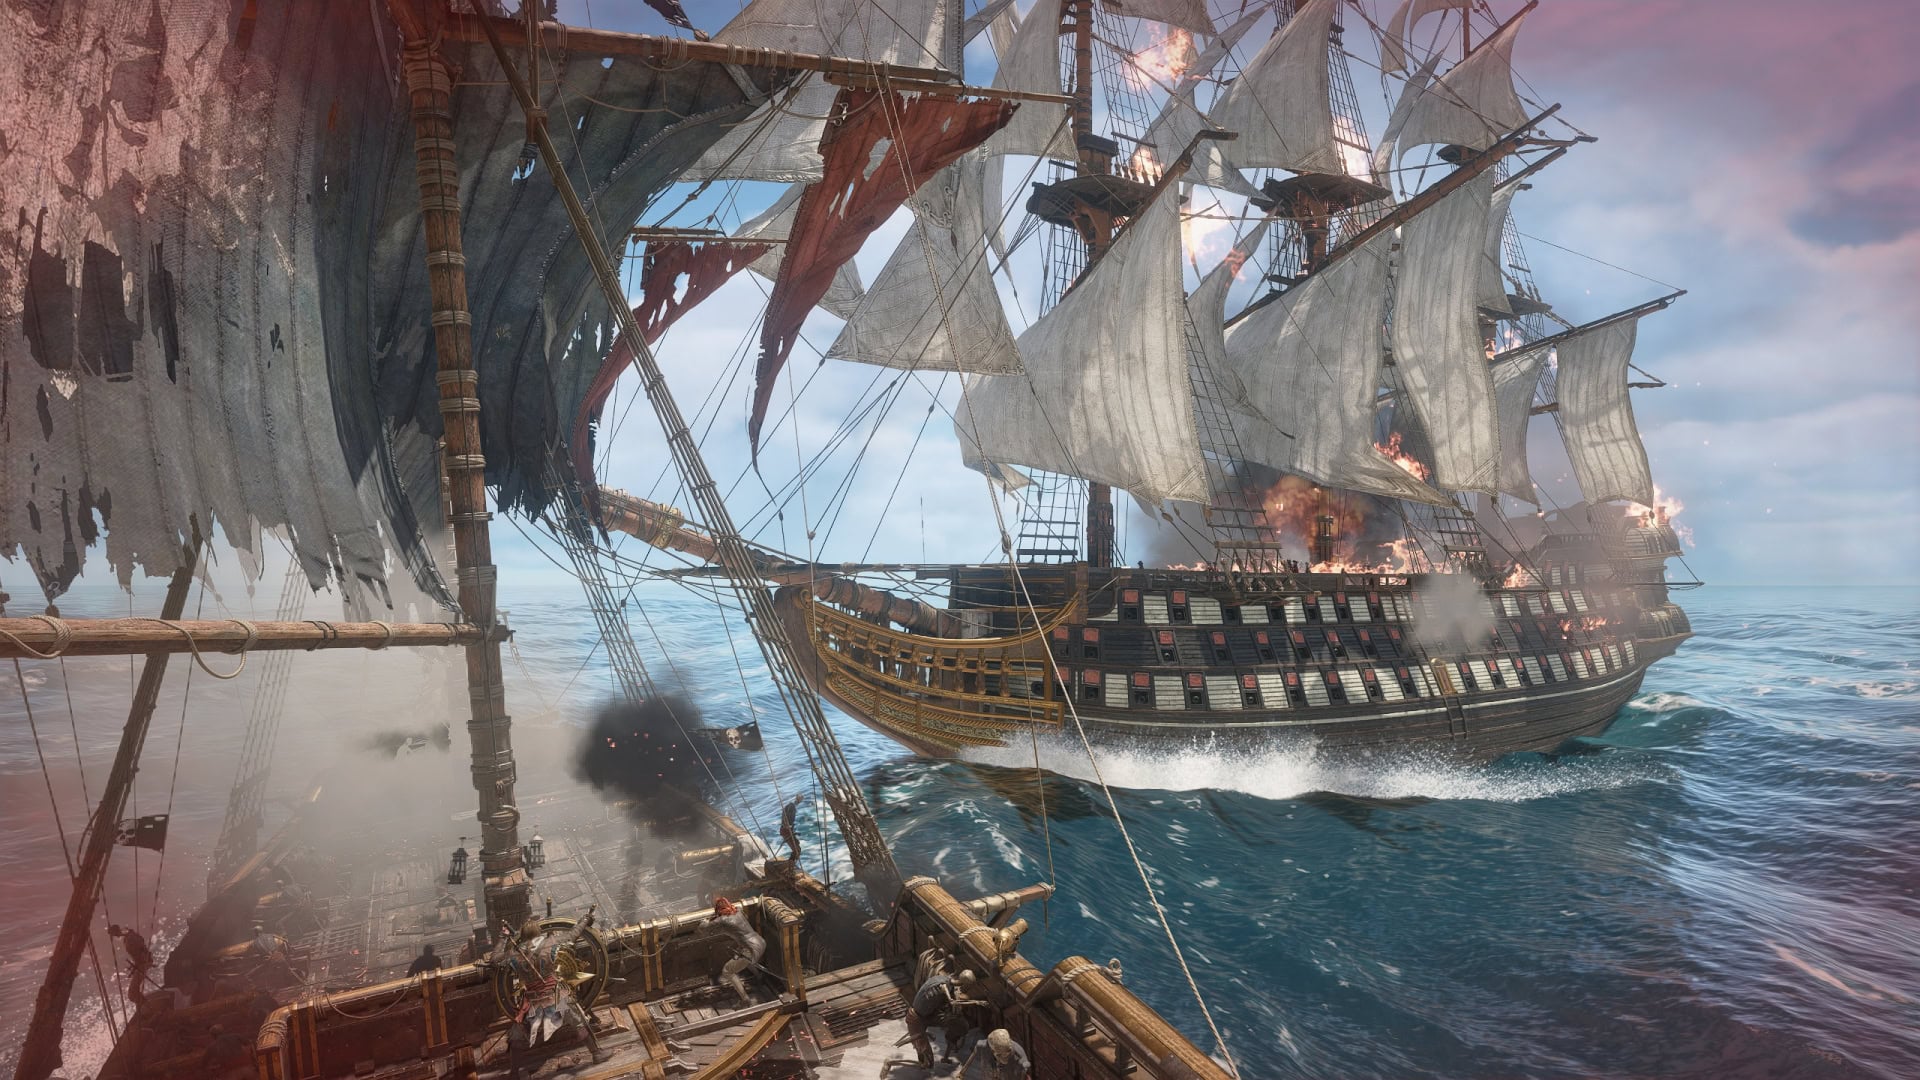
If you’re keeping their health equal, you’ll be able to quickly sink the other so you don’t have to fight the surviving ship’s enraged state for too long.
Which Weapons to Prioritize
For this fight, you’ll want to rely on the Deadman’s Cohort Mortar, Heavy Shot, and Double Shot. Set your Broadside Cannons to Round Shot. Their range will help you chip away at the ships as you’re both turning at weird angles.
Avoid placing down Flame or Shrapnel Barrels as this greatly limits your mobility in this fight. The two ships will eventually start placing down a lot of their own Fire Barrels. Adding your own barrels to the mix will cause problems as you’re having to avoid their barrels and yours.
HMS Fearless and Royal Sovereign Movement Pattern
While both ships are alive, these two ships will follow the same basic pattern throughout the entire fight. They’ll sail past you with, unload two volleys each when you’re between them, then do a U-Turn to repeat the process.
As they pass you, you’ll need to turn around as soon as possible. Fire your mortar at one of the ships while you turn and they turn. The ships will now be on opposite sides of their initial run.
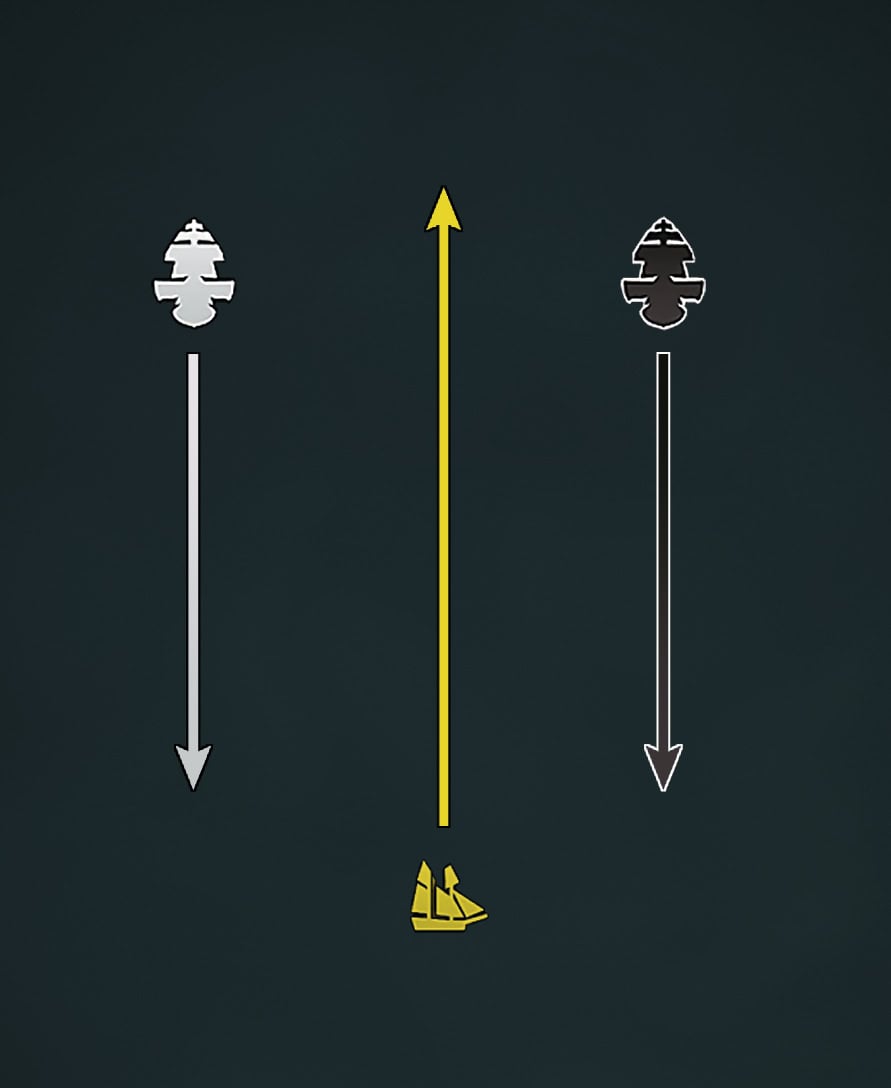
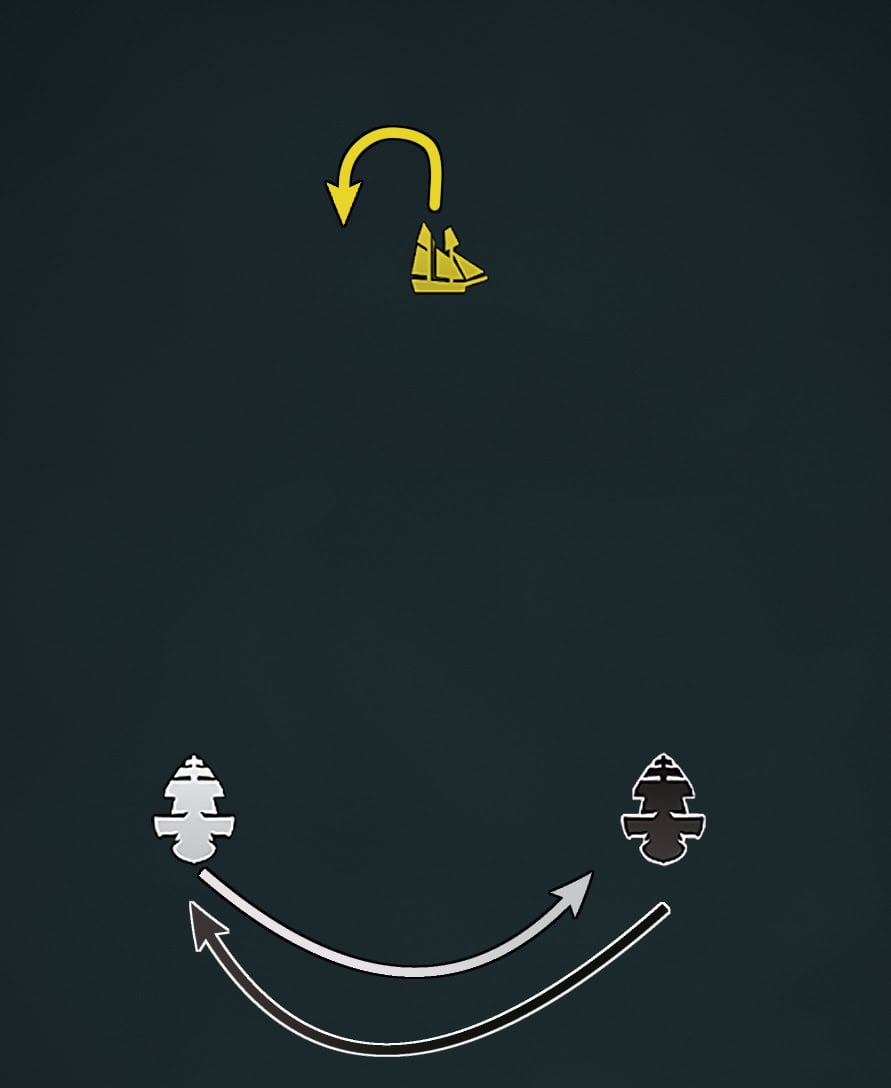
Just go straight between them, fire off a Heavy Shot on one side, and Perfect Brace their attacks. So long as you’re going in a straight line between them, you can minimize the amount of volleys they get on you.
Both ships fire two volleys of Round Shot each, totaling to four volleys per run. By making a straight line between them, you’ll only need to brace two or three volleys and reduce your incoming damage.
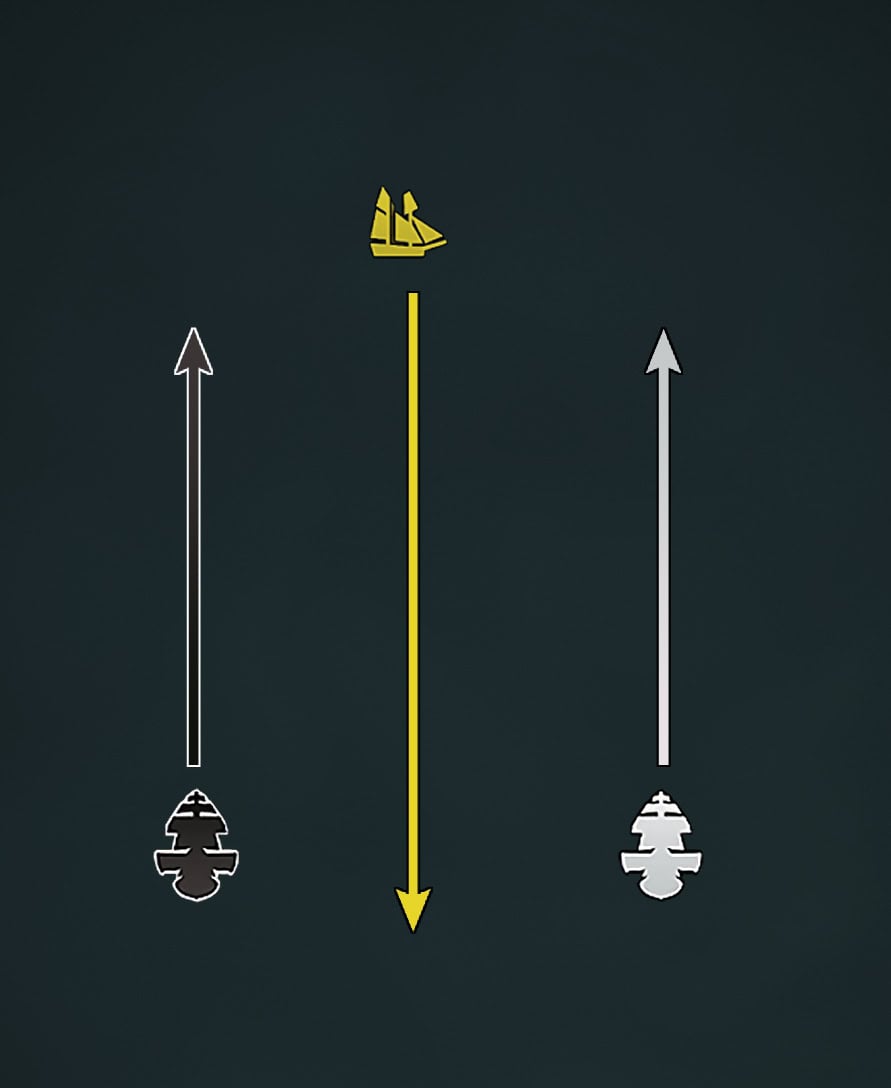
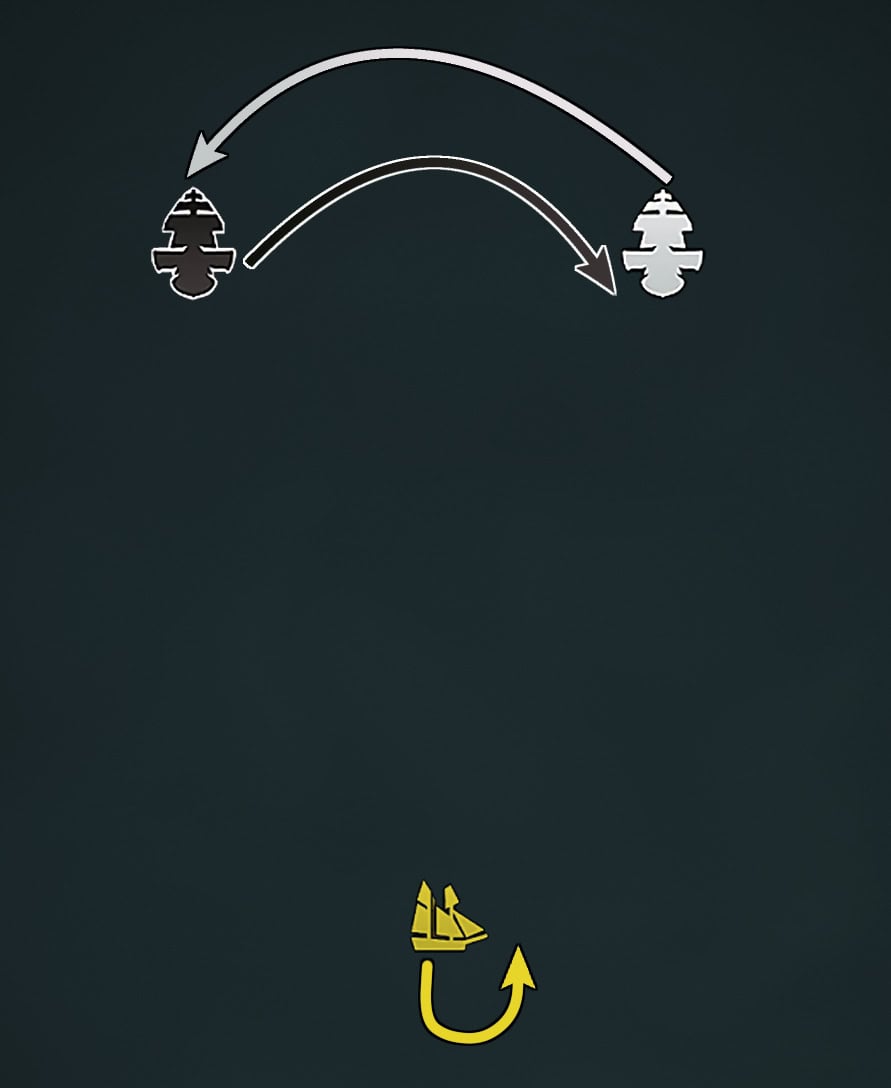
Never sail alongside the two ships. This will maximize the damage they do on you as they’ll get every volley on you. Ship health cannot be restored until either party is dead, make every bit of health count.
Balancing Turn Rate and Speed
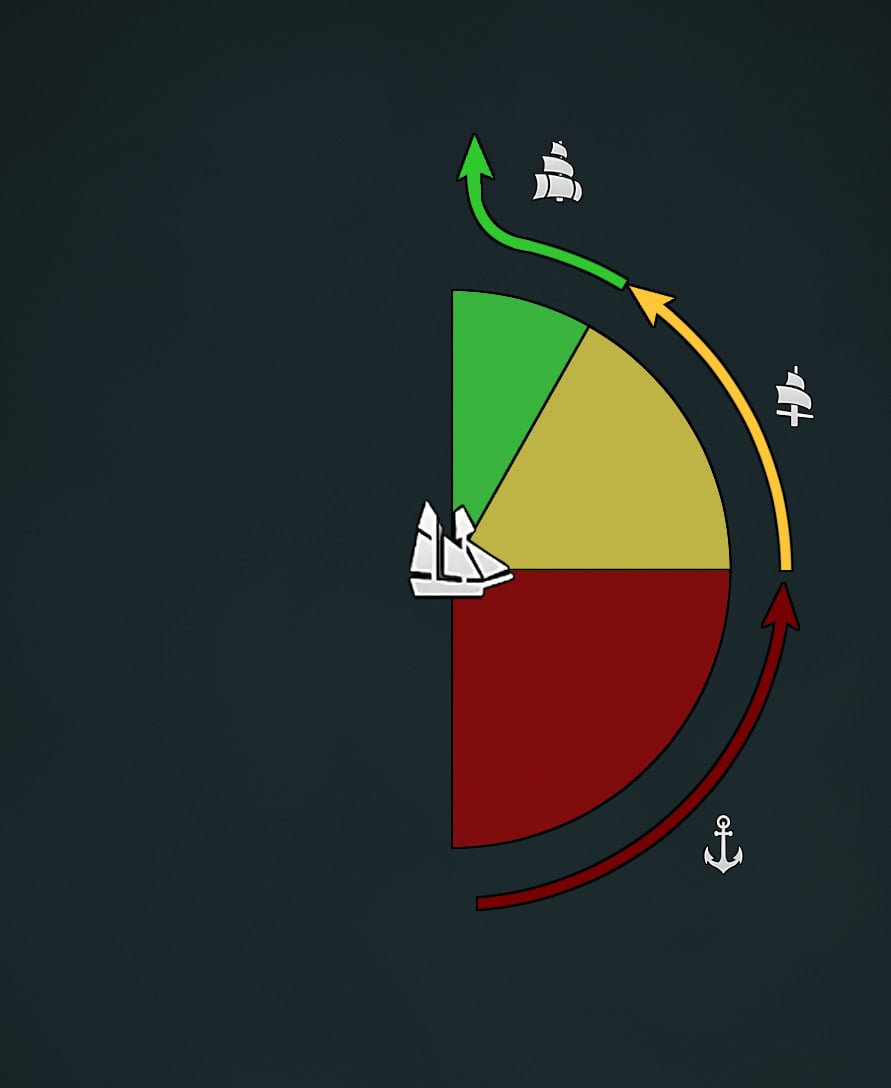
Whenever the two ships pass you, you’ll want to perform a U-Turn as soon as possible. The best way to do this is to Weigh Anchor and turn 90 degrees in either direction.
Go at Reduced Sail for another 60 degrees, then Full Sail at the final 30 degrees. Remember to fire your mortars as you’re turning, and don’t stop turning as you’re firing the mortars.
Take Advantage of Every Opening
You’ll need to squeeze out every bit of damage (equally) wherever you can. If they’re coming to or going away from you, hit them with a Double Shot. If they are sailing away and you’re still in the middle of turning, fire Round Shots at them (Heated Shots may lack the range in this scenario).
You want to hit them with whatever cannon fire you can so expose weak spots. These two ships aren’t as durable as other Legendary Ships, so even a few Swivel Gun shots will do good damage. Make those openings for the Swivel Gun!
Do Not Sail Perpendicular To The Ships
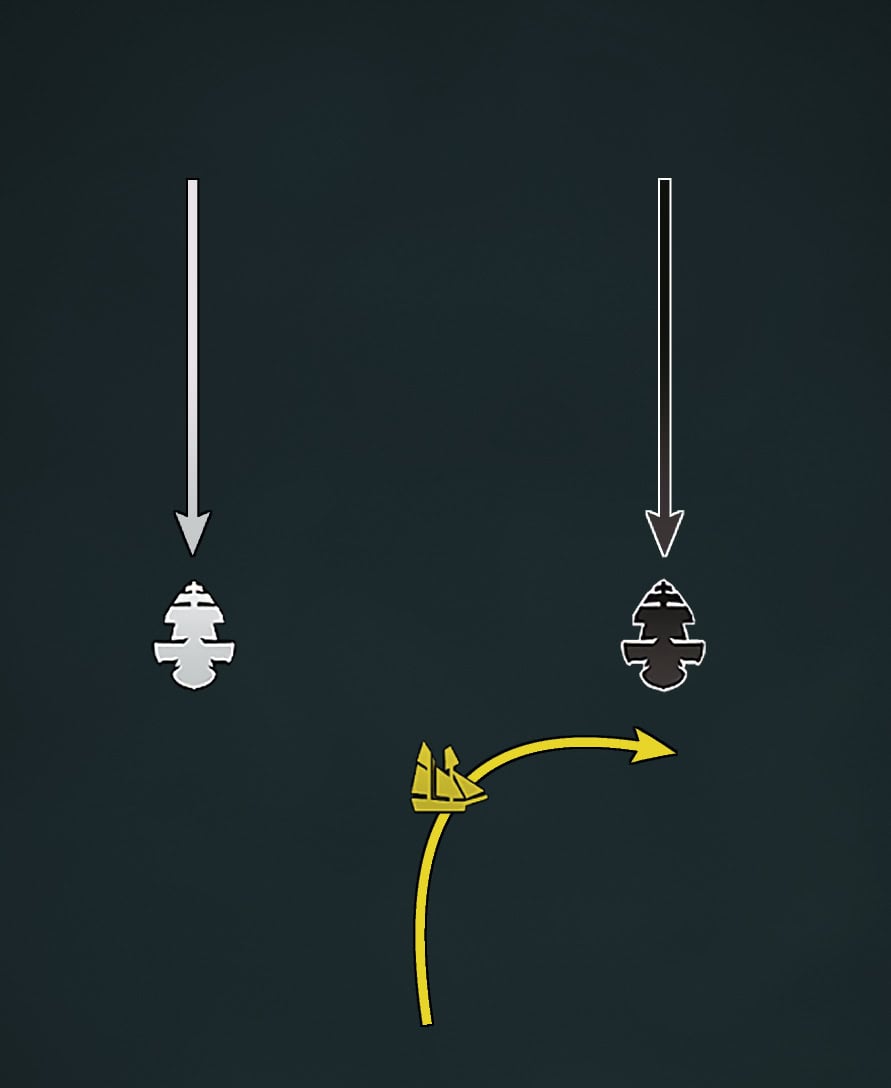
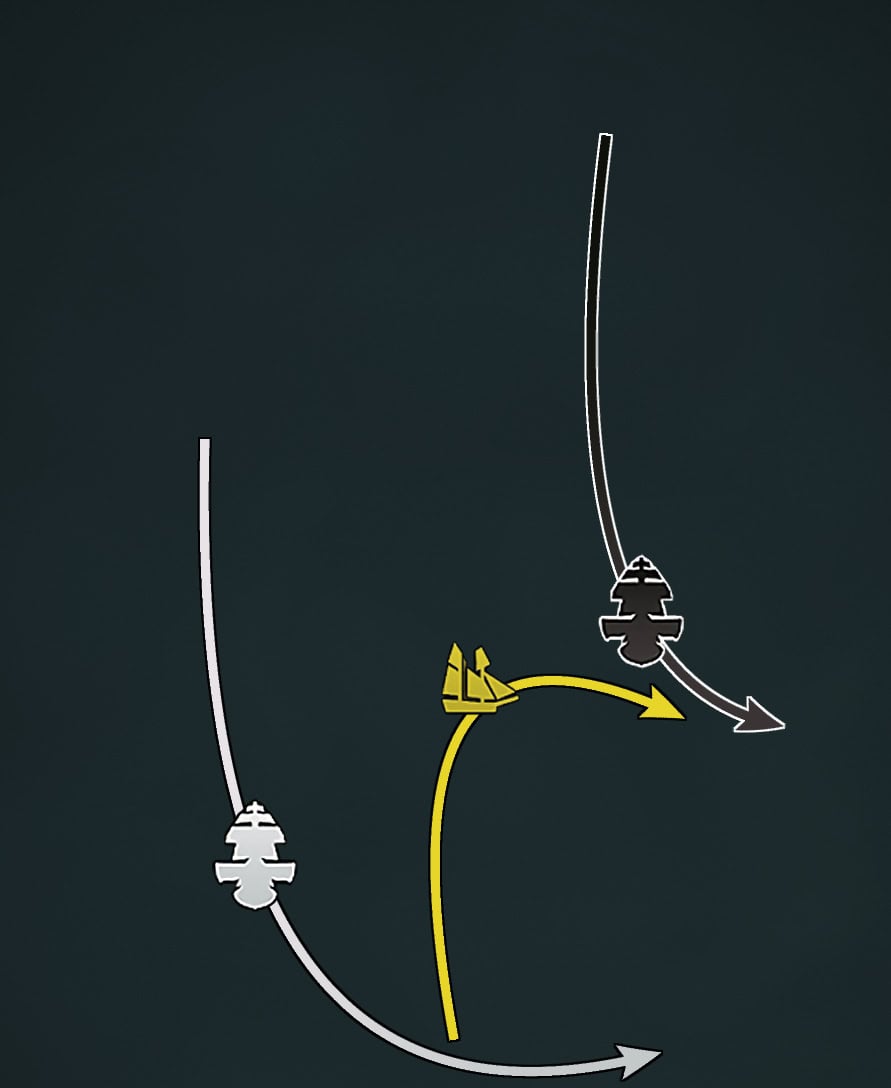
You might be tempted to sail perpendicular to one of the ships to get around on one side. While this is possible, it is very difficult to pull off and it is not worth the effort.
What will most likely happen is that these ships will cut you off with their superior speed. While one cuts off your exit, the other will make a wide turn. Due to your now reduced speed, they’ll fire all their cannons at you.
Do Not Ram Between The Ships
You might be thinking that you can Ram Dash between the ships to avoid all of their volleys. This will not work and is in fact worse as you’re unable to brace while Ram Dashing.
Clear Out Fire Barrels
Phase 2 will start when one of the ships loses a third of their health. A horn will sound and the two ships will now start releasing 4 Fire Barrels a piece. Do your best to keep your U-Turns perfect.
The greater you change your angle, the more spread out the Fire Barrels become. While their barrels are laid out linearly at first, it can spread out over time by slight changes in angles when the two ships try to put you between them.
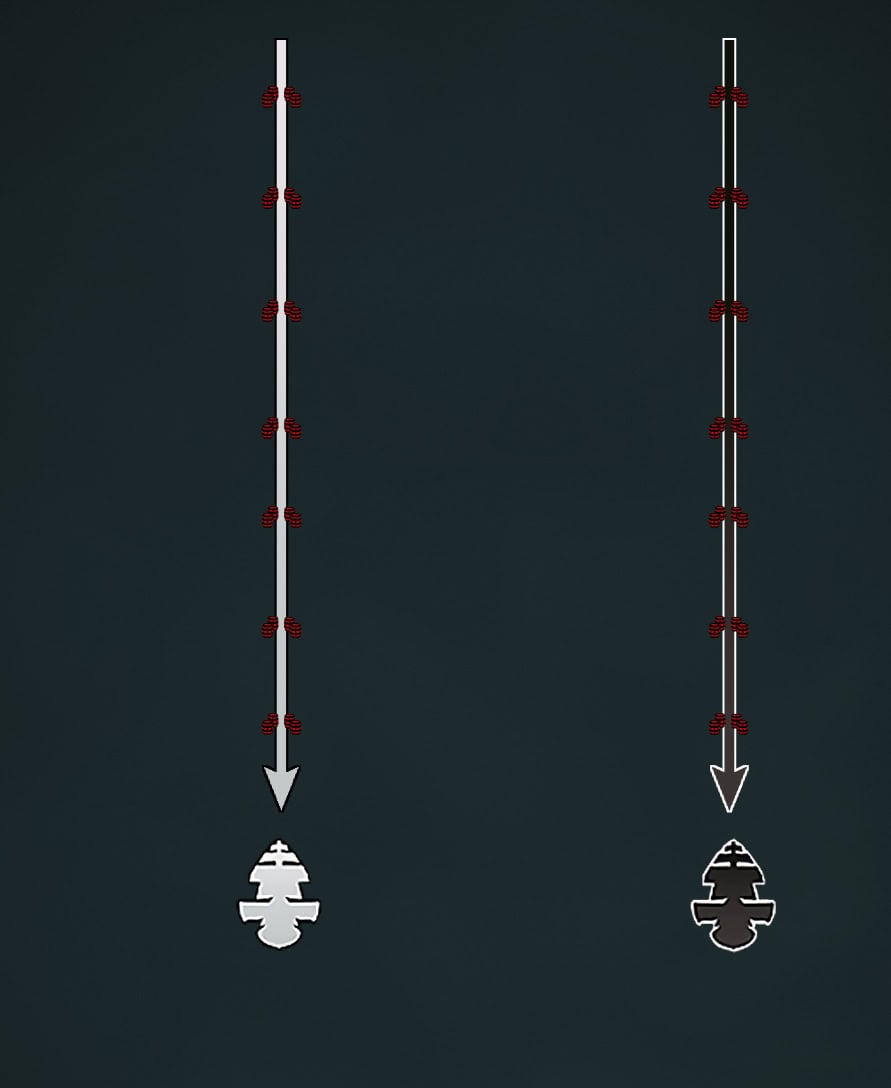
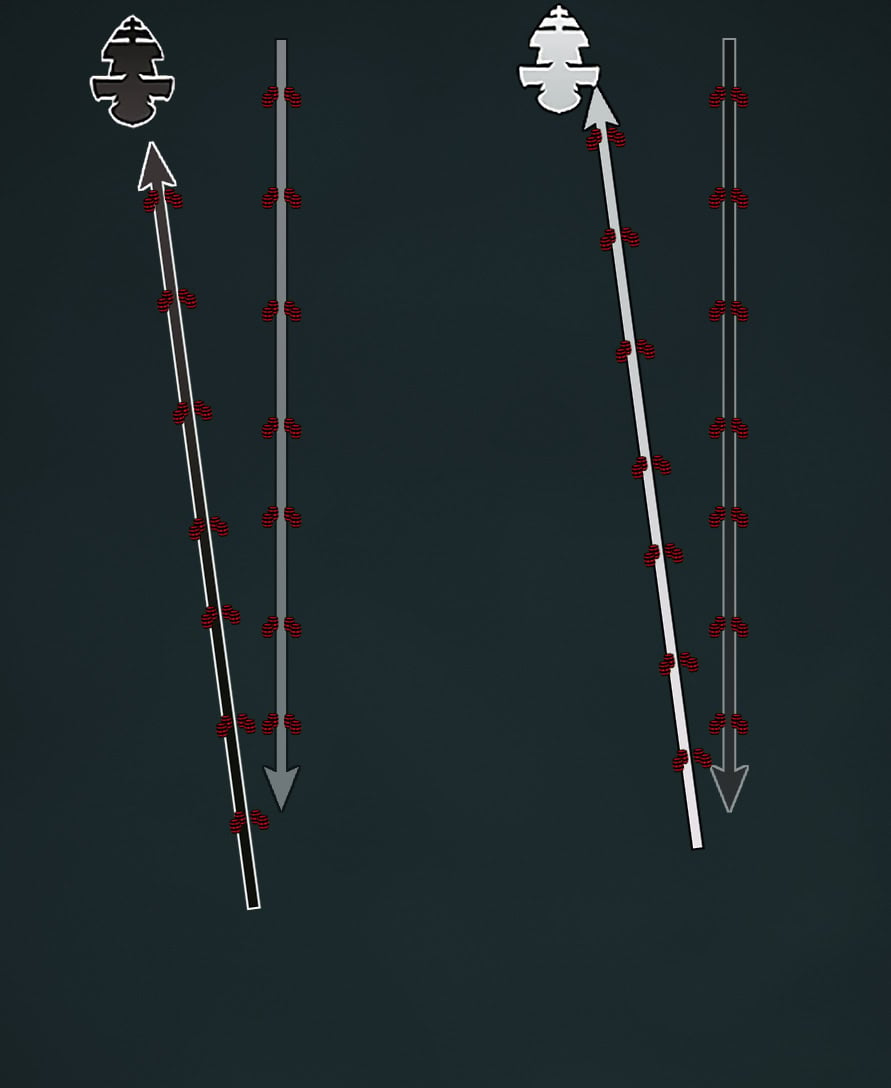
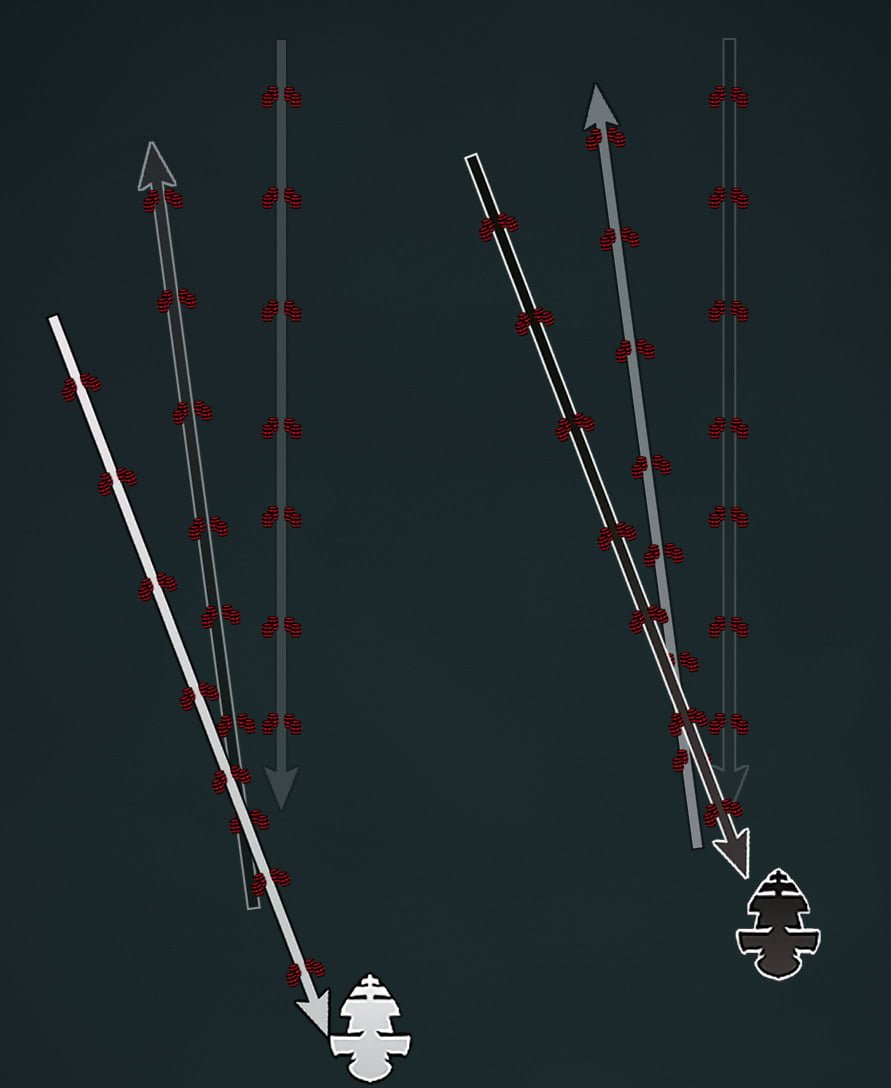
Use your Swivel Gun on the Fire Barrels to clear out space or as the ships are coming towards their barrels. Do not bother trying to shoot the barrels they just released, they’ll outrun the blast radius.
Focus on clearing out enough barrels to make a safe path for yourself. If you’re focusing on the barrels too much, they’ll get an attack on you while you’re distracted.
When both ships have around half of a health segment left, get aggressive and end the fight as soon as possible. Now would be a good time to use a Ram Dash, then finish off the other ship in whatever way you can before it rams into you.
Rewards
After defeating the HMS Fearless and Royal Sovereign, you’ll receive 12,000 Reales and the following rewards:
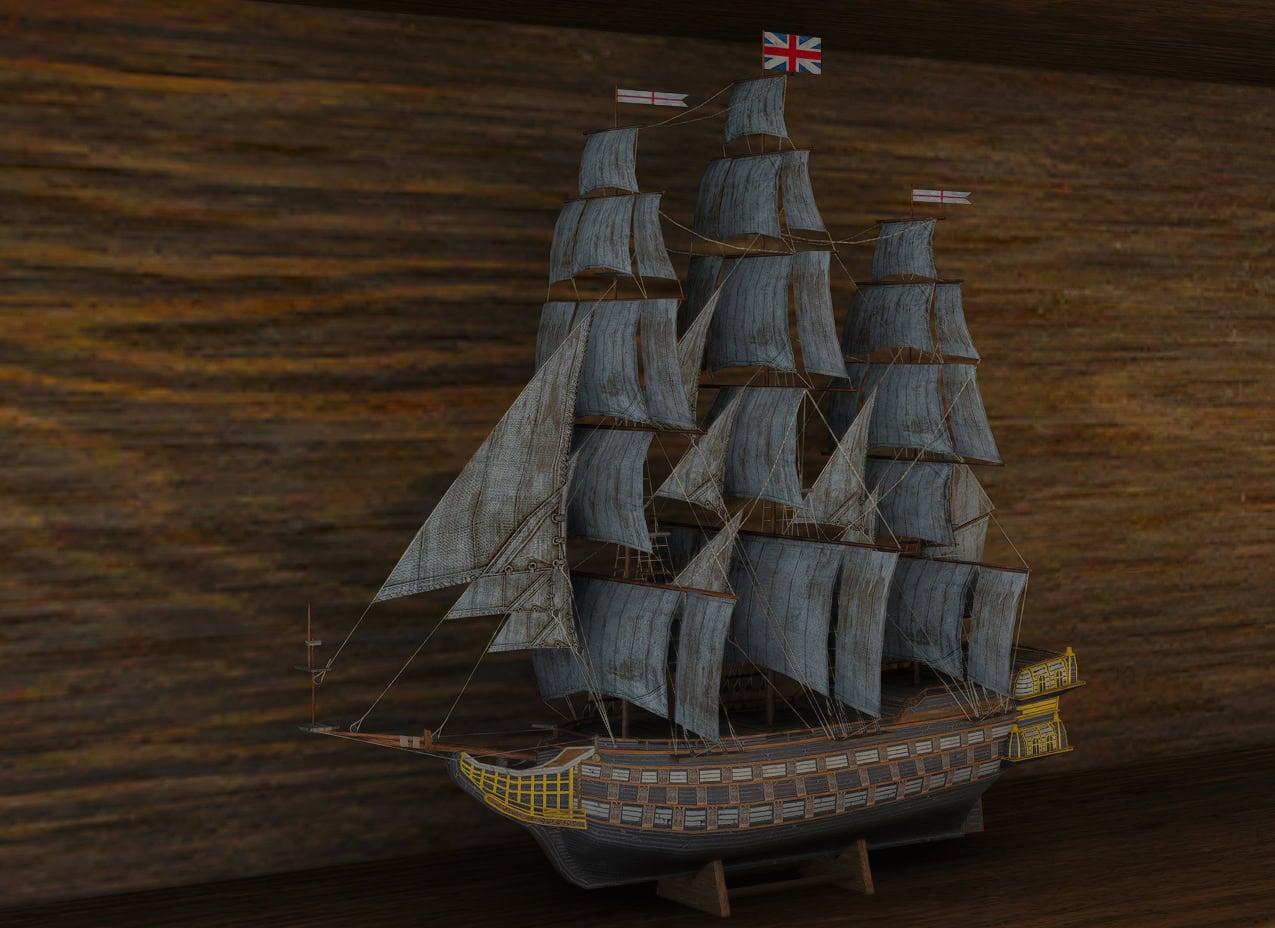
Brothers in Arms Ship Model
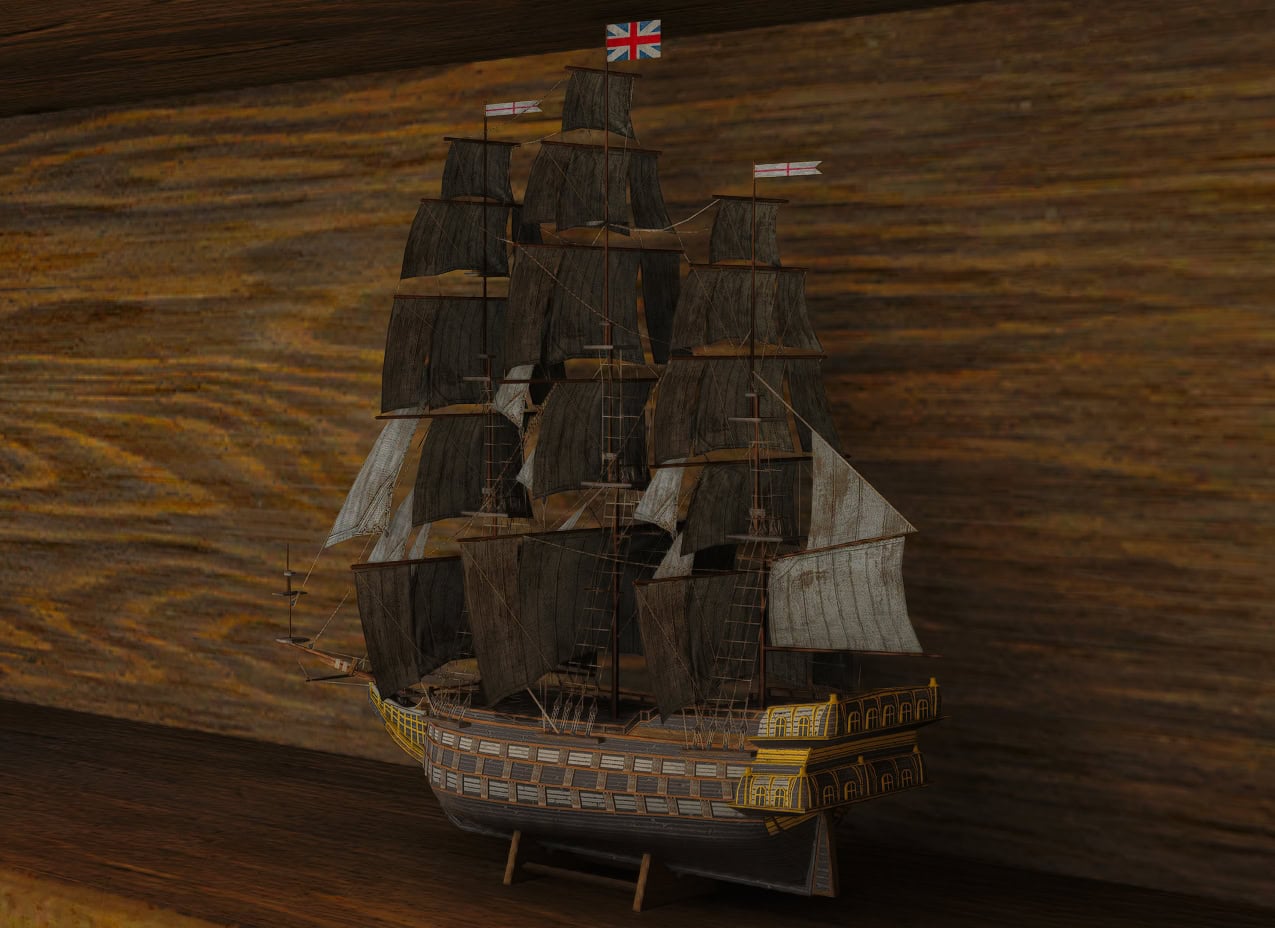
The Brothers in Arms Ship Model combines elements of the HMS Fearless and Royal Sovereign. Its hull is black and white striped and the sails have a fun touch. The front of the sails are white, while the backs are black.
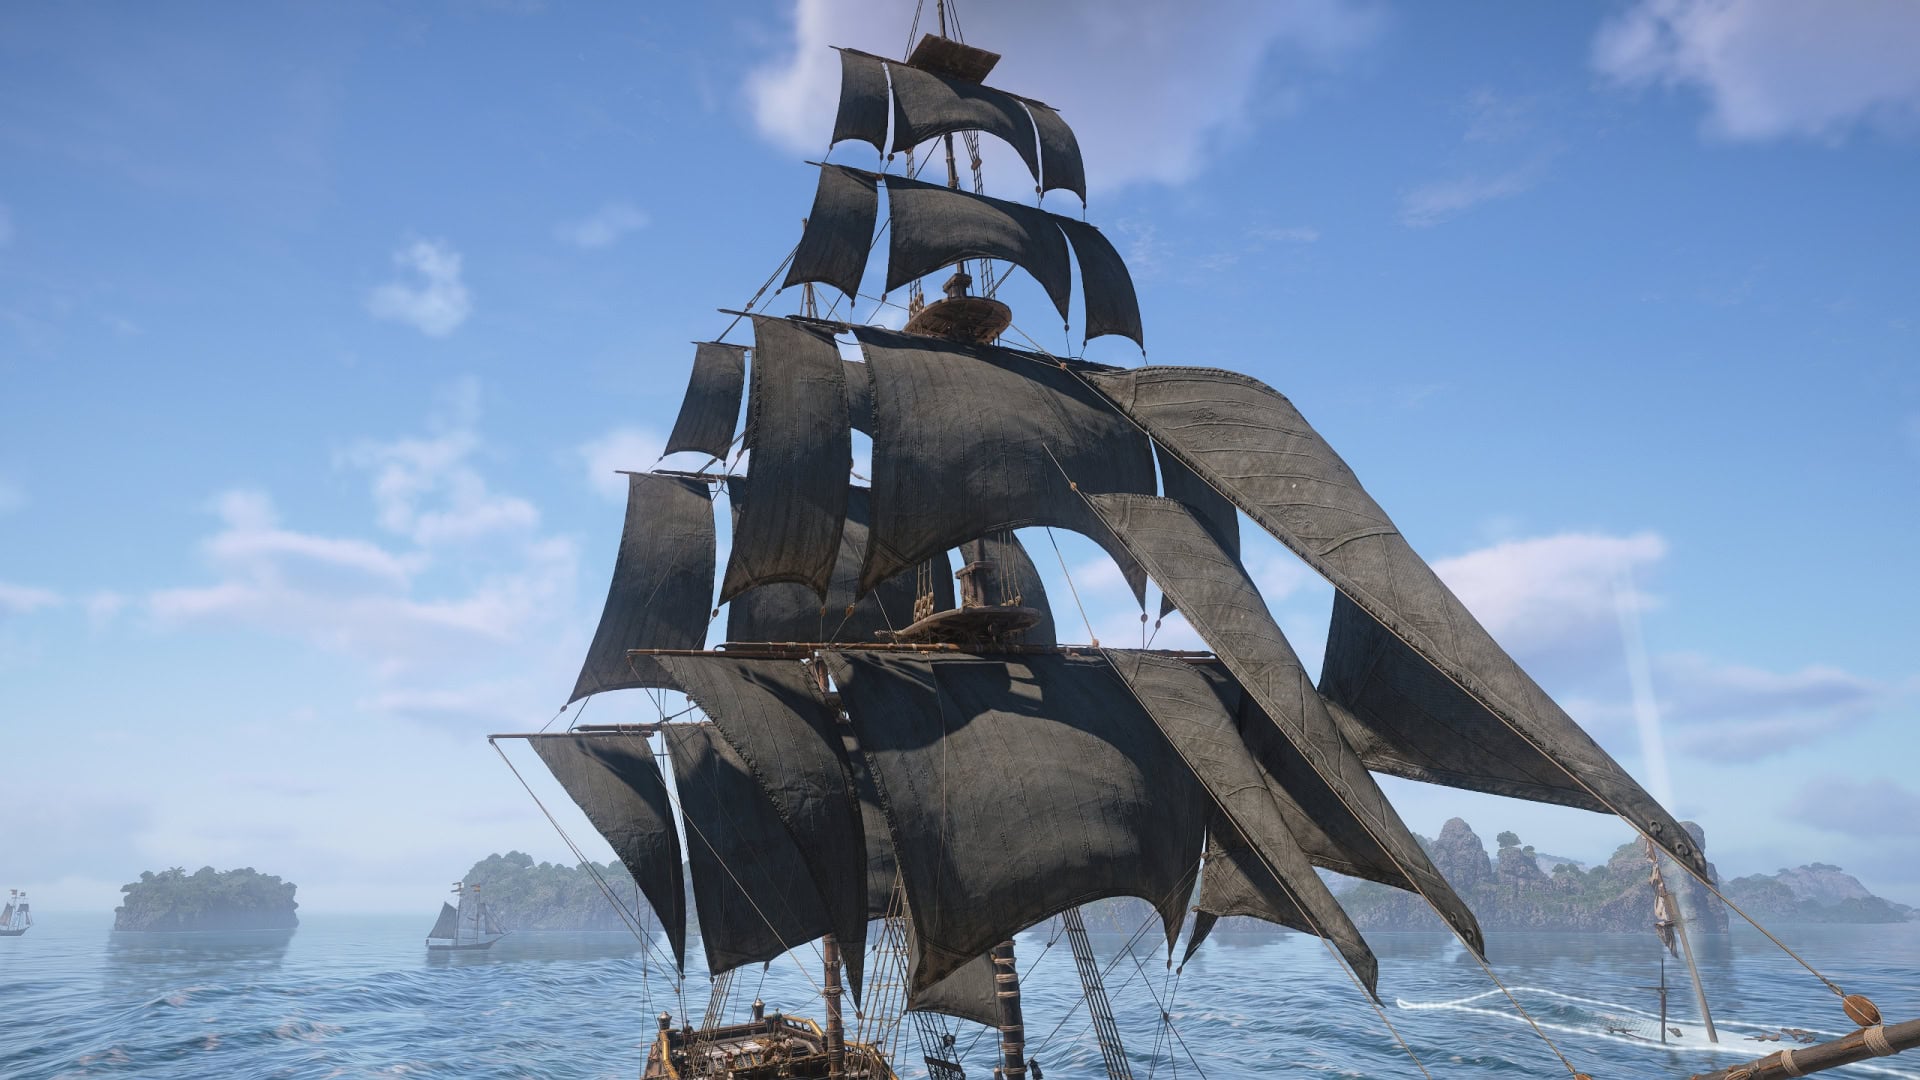
HMS Fearless Sails
The HMS Fearless Sails is just a simple set of clean, black sails. It’s good for a classy yet intimidating look for the Jackdaw.
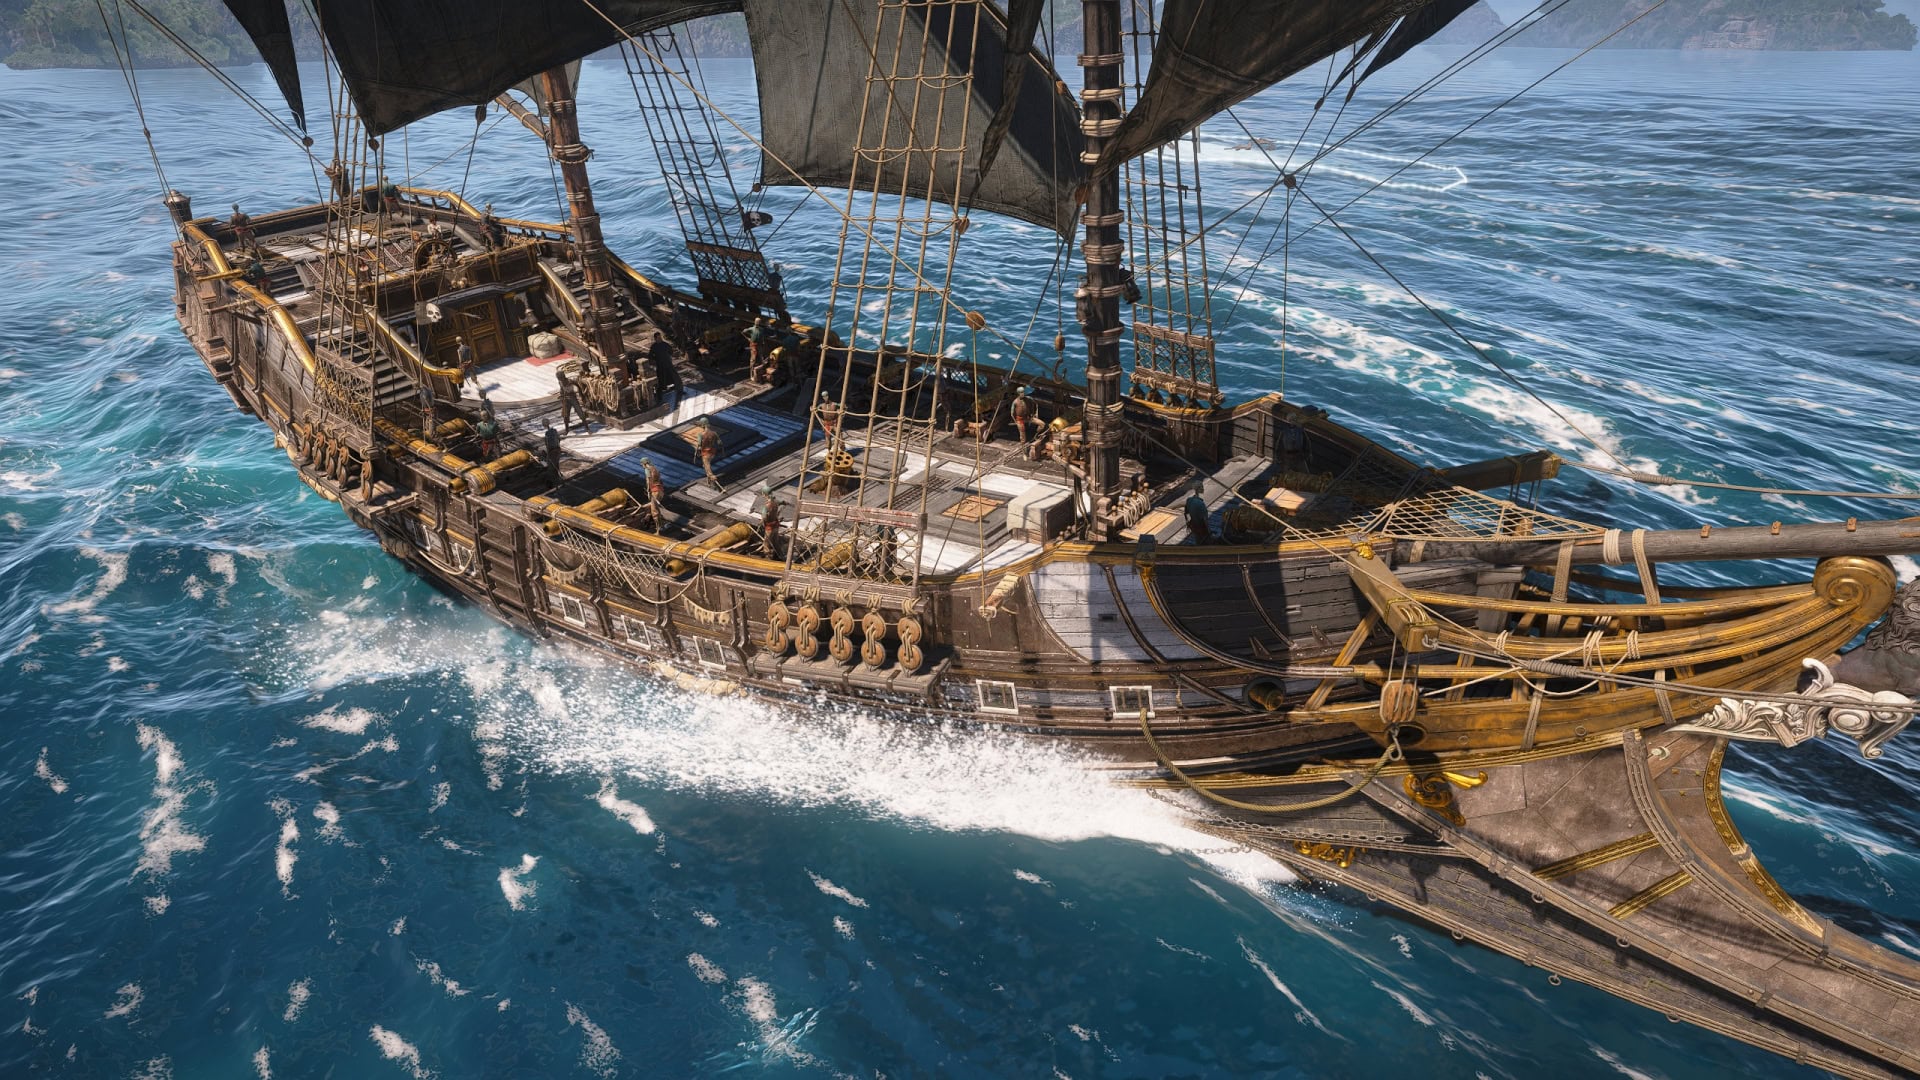
HMS Fearless Hull
The HMS Fearless Hull mixes white and black portions for a dynamic look that pops out. The broadsides are made with a mixture of wood and armored metal patchwork.
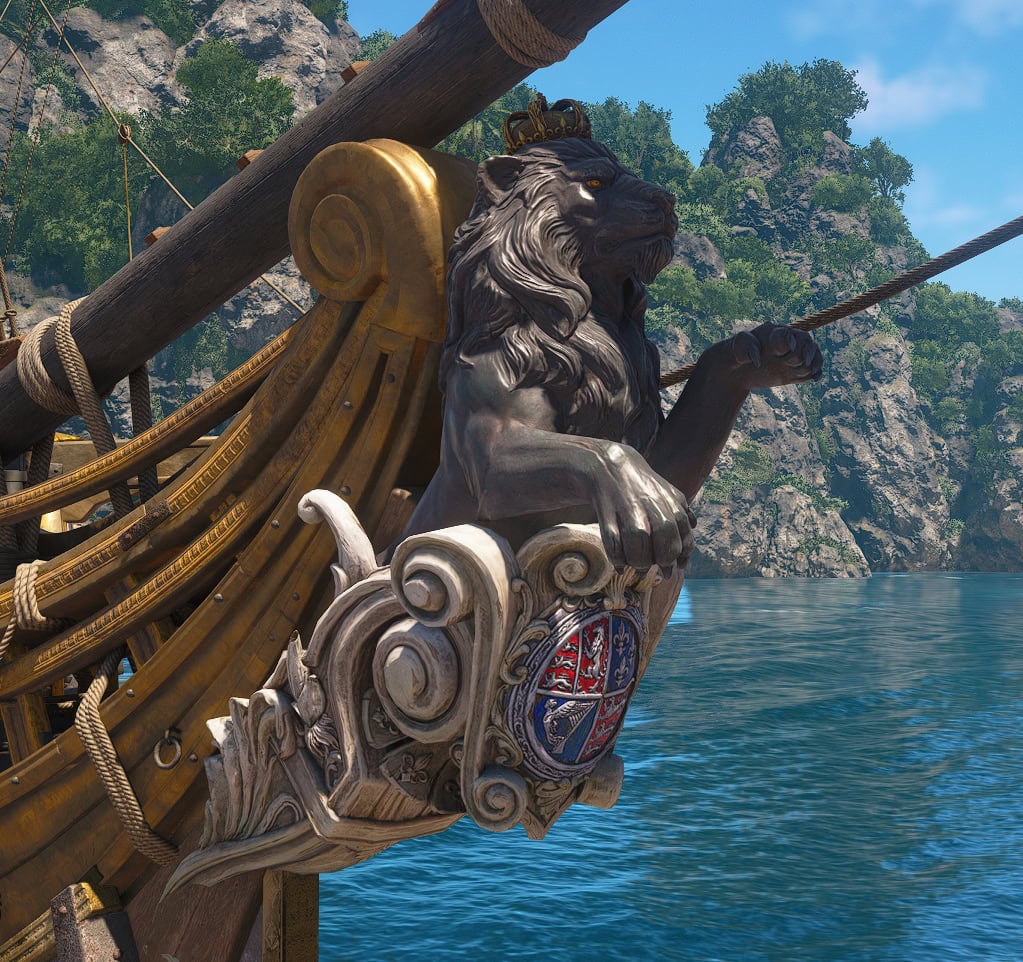
HMS Fearless Figurehead
The HMS Fearless Figurehead is a Black Lion wearing a gold crown atop a white base. This adds some royal charm seeing as these ships were some of the best of the British Royal Navy.
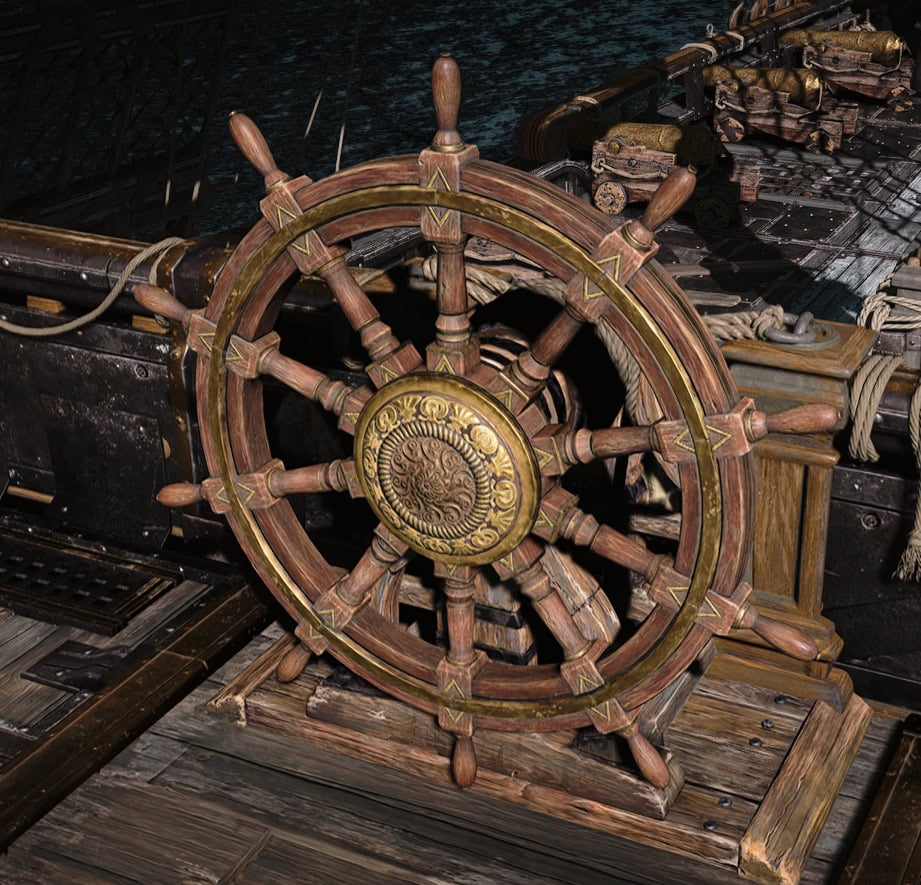
HMS Fearless Wheel
The HMS Fearless Wheel is rather subtle compared to the rest of the Fearless vanity items. It’s a simple wood wheel with decorative gold bits, lacking the black and white coloration.
HMS Fearless & Royal Sovereign Fight Summary
This is one of the more difficult Legendary Ship fights to deal with. So long as you follow this guide, you’ll live to tell the tail. Just remember the following tips:
- Set Broadside Cannons to Round Shot, Front Cannons to Double Shot, and use Deadman’s Cohort Mortars.
- Sail between the ships and pop a Heavy Shot before Perfect Bracing their attacks.
- Damage both ships equally!!!
- Shoot your Deadman Mortars at them as you’re turning around.
- Never sail alongside them or try to cut them off (T-boning).
- Do not try to Dash Ram between them in an attempt to avoid their cannons.
- Try to make perfect U-Turns especially at Phase 2 to minimize barrel spread.
- Clear out enough Fire Barrels to make a safe path for yourself.
- Shoot at their barrels as they come towards them, not away from them.
- Once they have around half a health segment, go aggressive and take them down ASAP.
Achievements
- Devil of the Caribbean – Defeat all Legendary Ships
- Dilettante – Fill all Art Collection and Equipment slots in the Great Inagua manor. These items are also found in quests, sold by vendors, or obtained when defeating a new ship for the first time.
How to beat the other Legendary Ships
There are a total of four Legendary Ship encounters you can unlock (five if you count the HMS Ipswich from A World Without Gold). You must be prepared to take on these as well and adapt to their fighting styles to succeed.
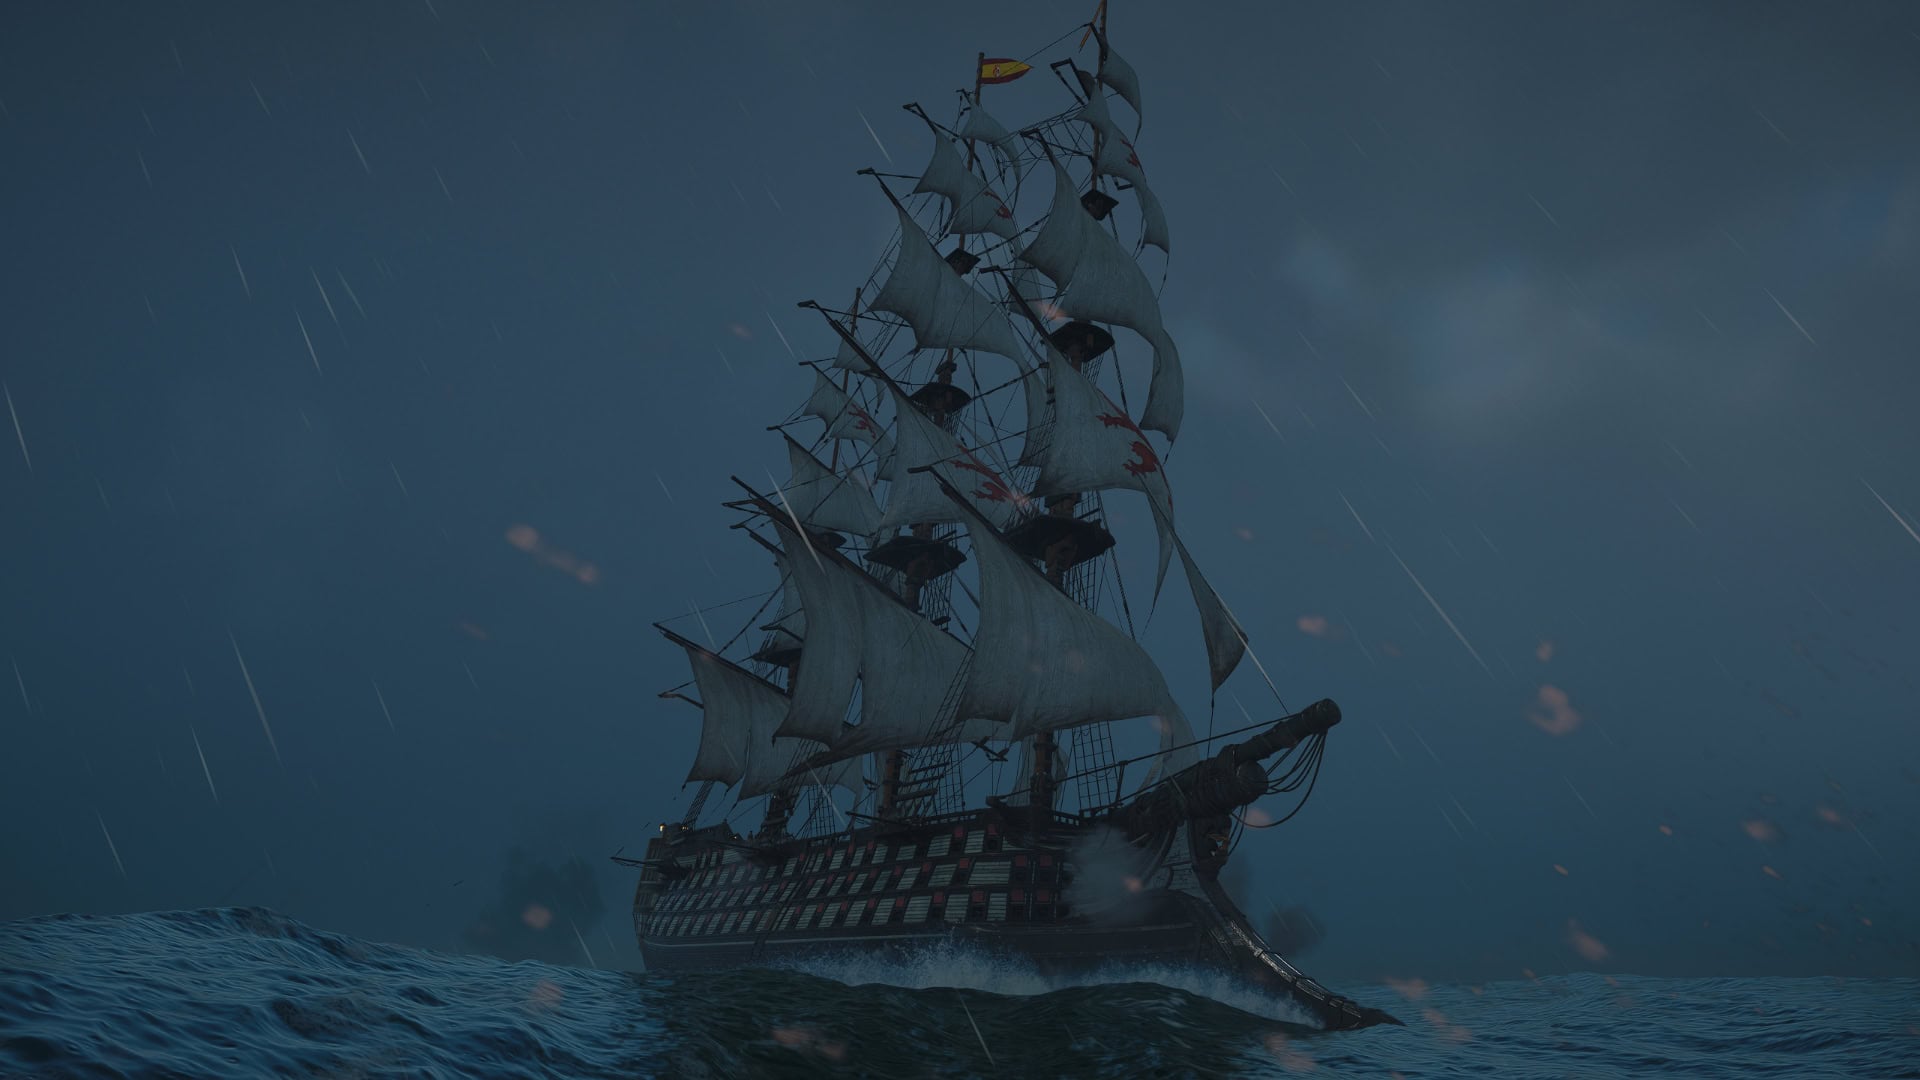
El Impoluto
El Impoluto is the fastest of the Legendary Ships. It’ll use this speed to repeatedly ram into you, sail away, and repeat the process. There is no way for you to catch up to it as its default speed is faster than your Ram Dash speed.
HMS Prince
The HMS Prince is the most elusive of the Legendary Ships. It’ll use the cover of fog to launch mortars at you. You’ll only survive if you have keen eyes to spot its mortar fire or see its silhouette when lightning strikes.
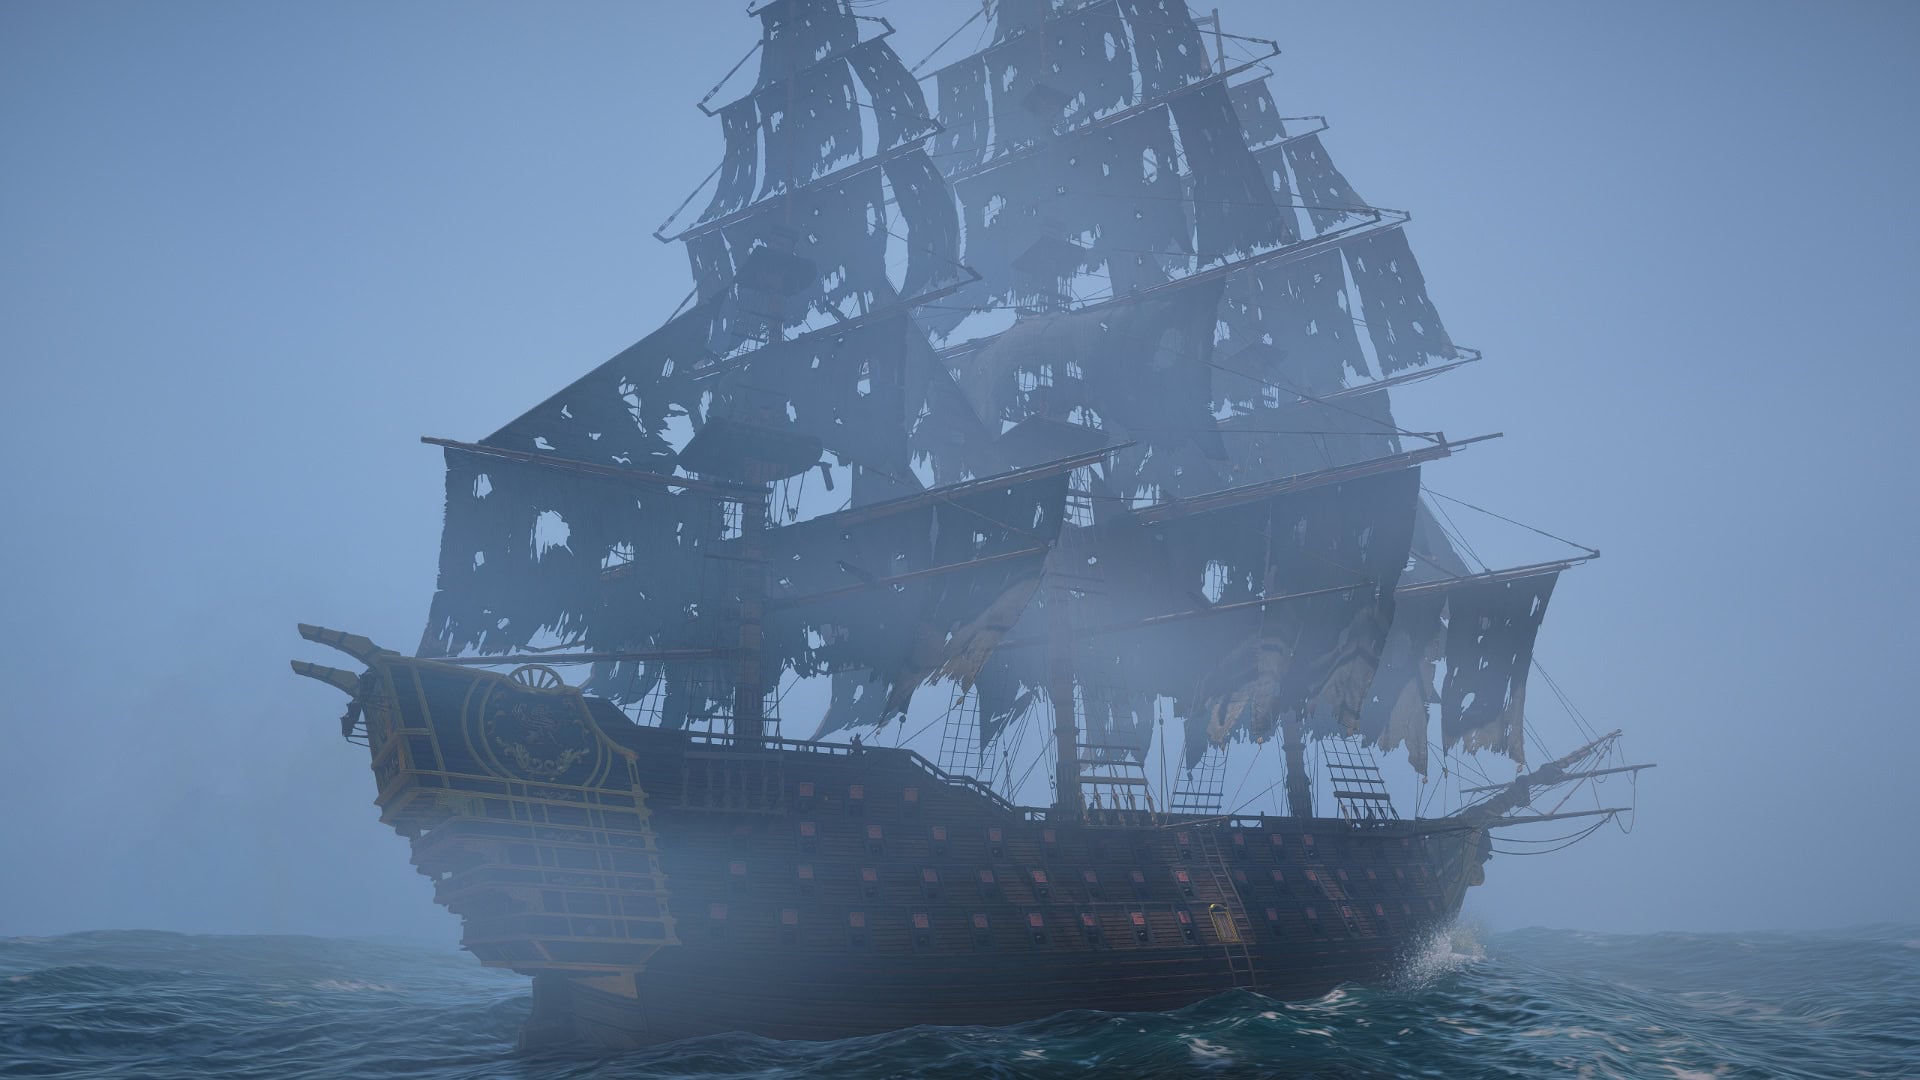
La Dama Negra
La Dama Negra is the most durable of the Legendary Ships. Damage against her broadsides will do almost nothing, so careful shot placement is key to survive against her. Despite her remaining stationary for half the fight, she’s hardly a sitting duck.