Learn how to unlock and upgrade the Jackdaw in Assassin’s Creed Black Flag Resynced. Includes the full list of upgrades, the cost of each upgrade, and tips on unlocking hidden weapons.
Whether you’re returning to Black Flag or this is your first time playing it, you should know that a pirate captain is only as good as his ship. Investing in ship upgrades will only add to the fun you have while playing Assassin’s Creed Black Flag Resynced.
How to get resources for the Jackdaw
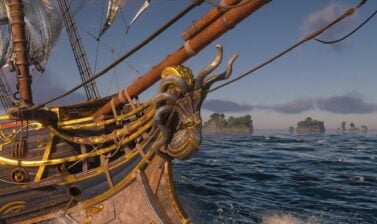
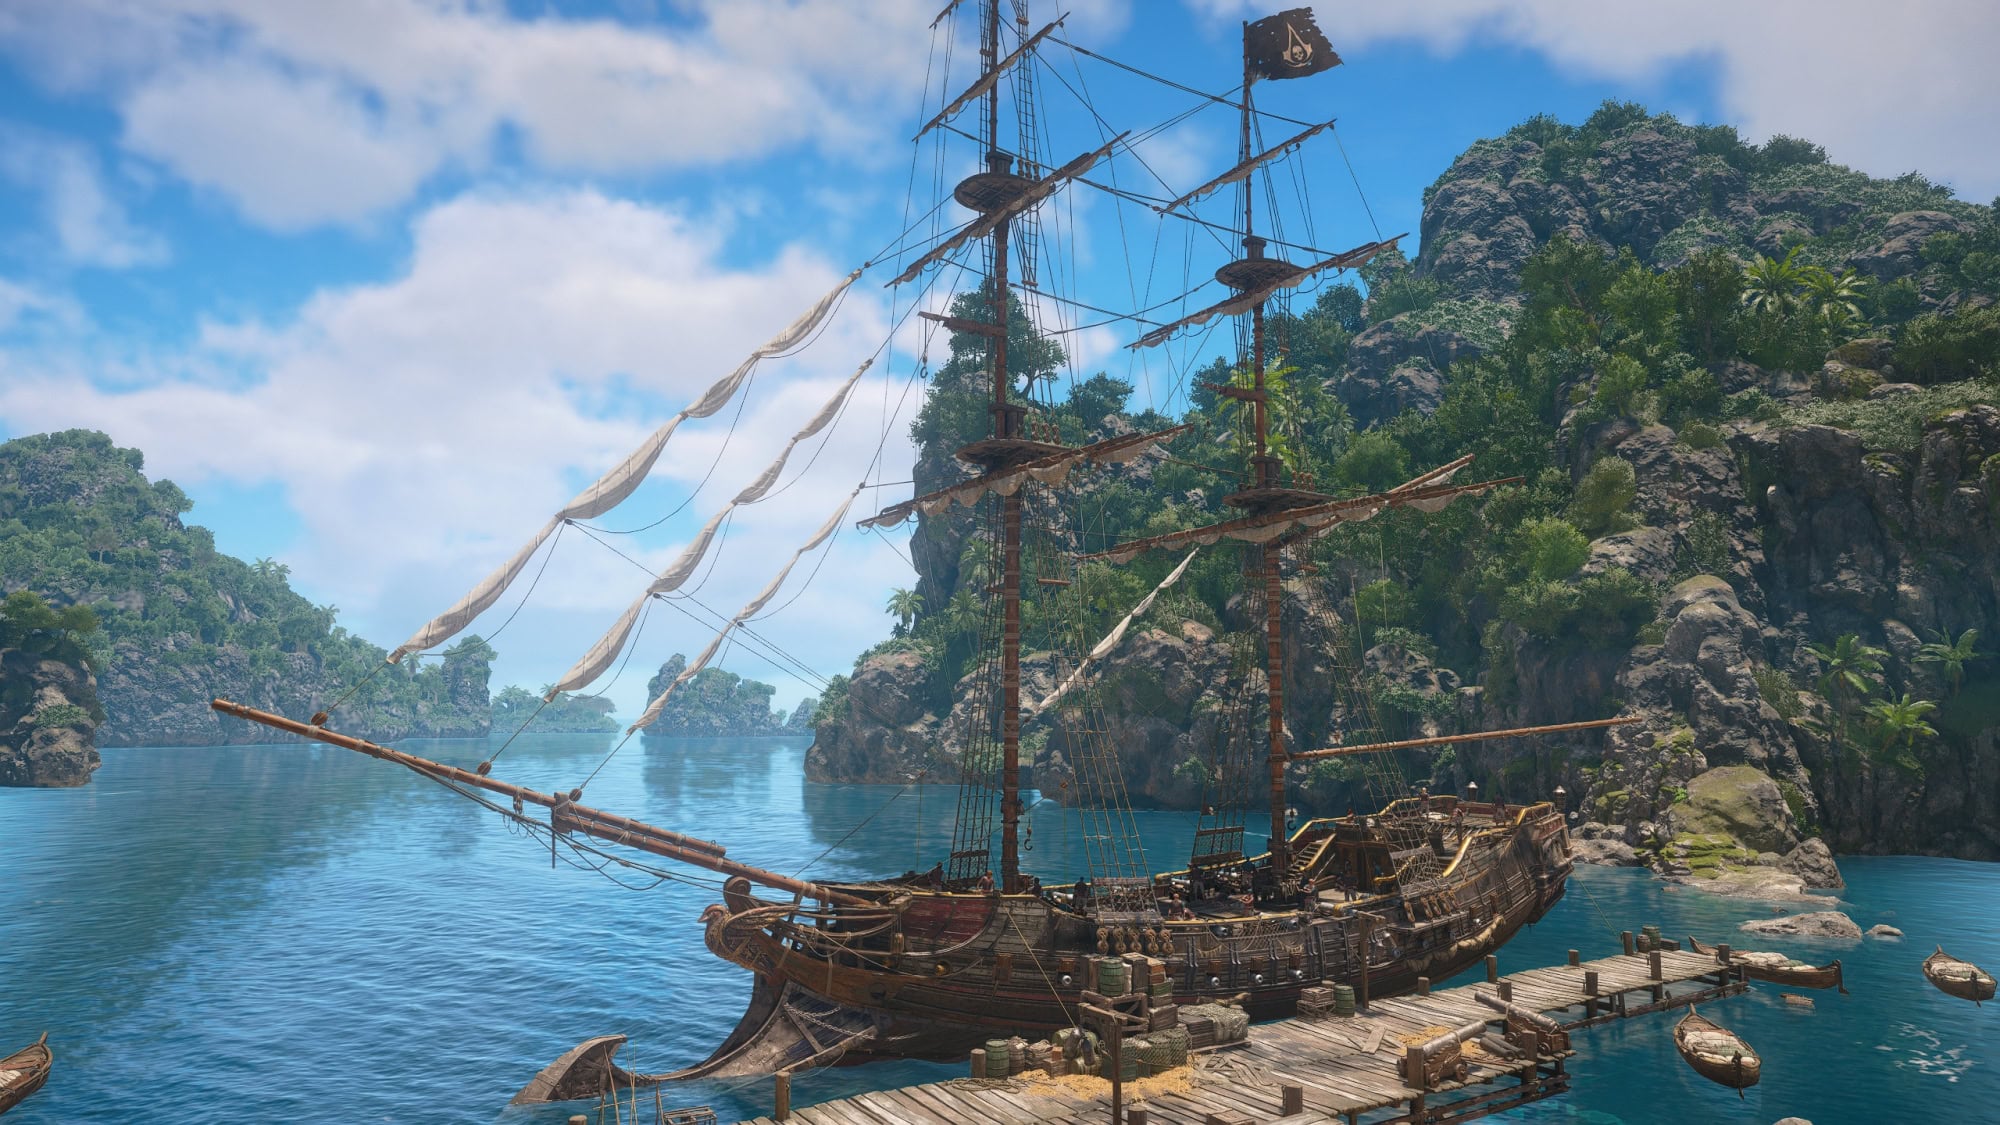
The Jackdaw is the Brig that Edward Kenway acquires during the events of the main story. You get this early on so it doesn’t take too long to start sailing the high seas.
Following the story will also have you upgrade the broadside cannons and hull armor early on, but you’ll want to start upgrading it even more as soon as possible.
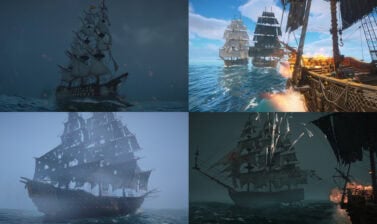
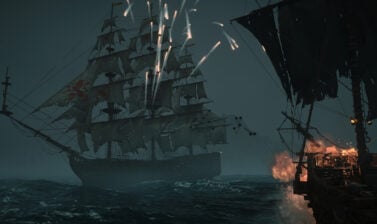
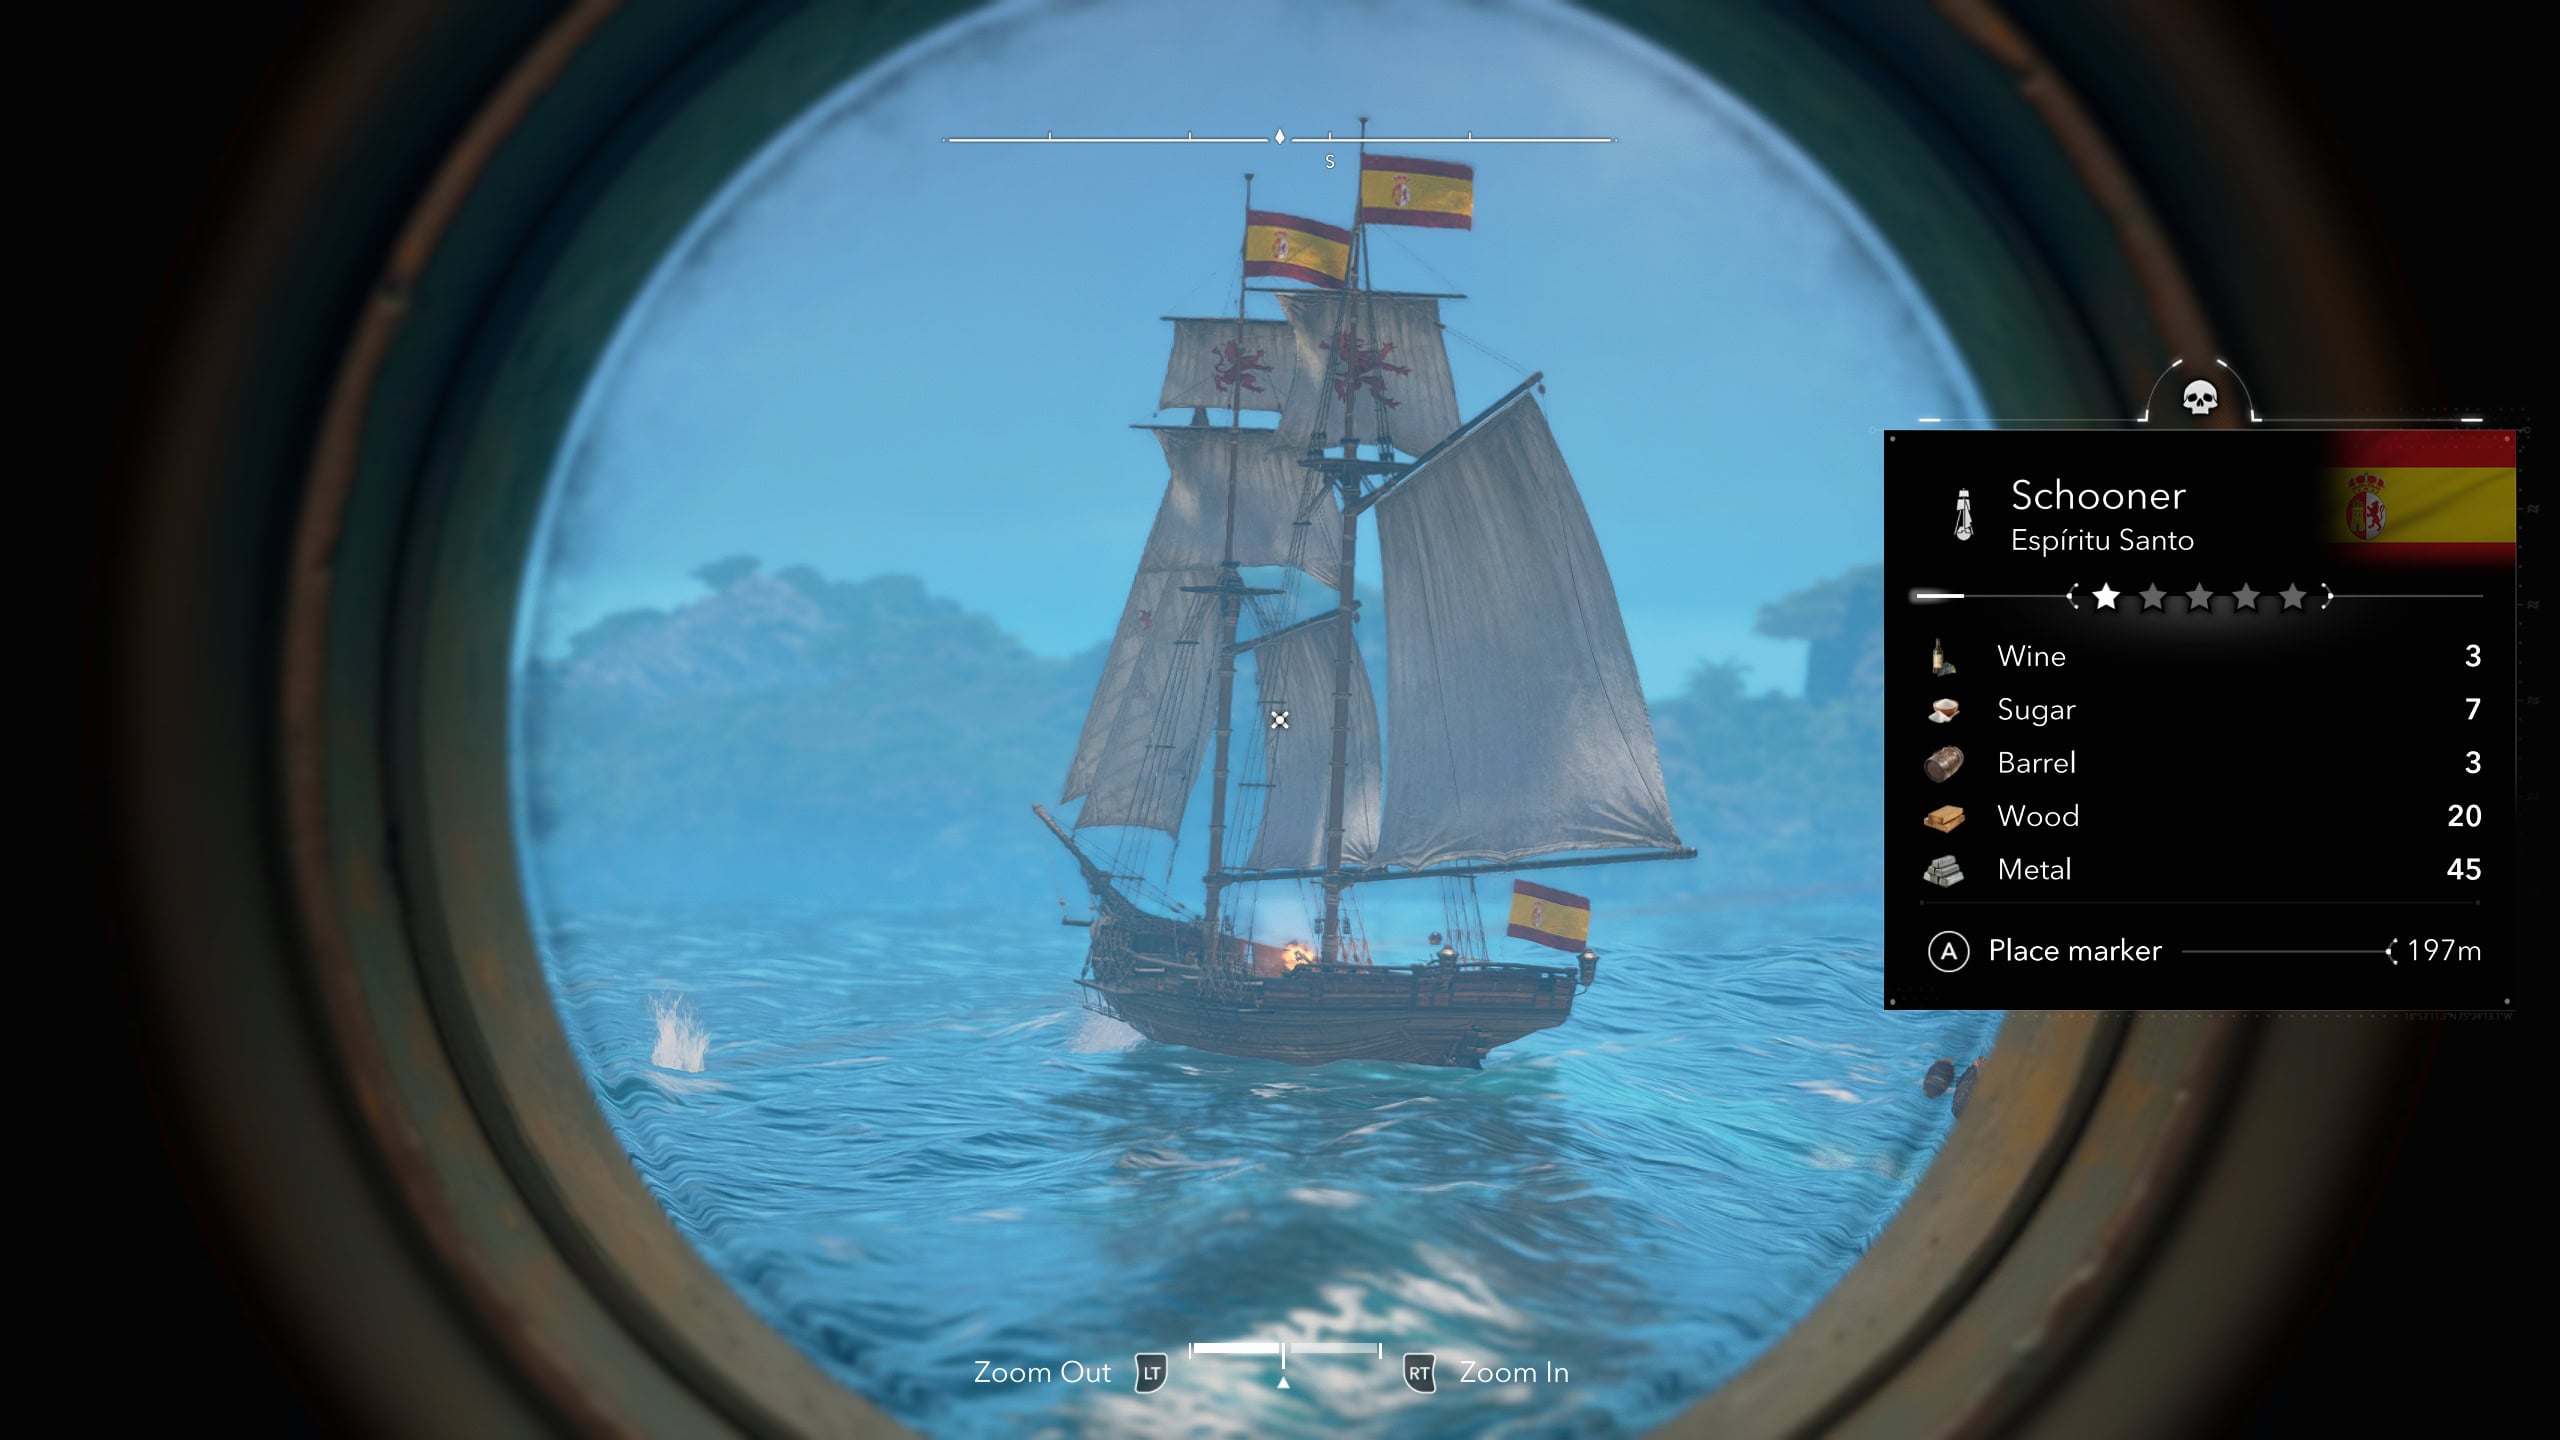
When it comes to getting the resources needed to upgrade the Jackdaw, the best way is through piracy! While you’ll start out attacking Cutters and Schooners, eventually you can start raiding Brigs, Frigates, and even Man O’ Wars for even more resources!
When sailing, use the spyglass to look at ships in the distance. The Jackdaw requires reales, metal, wood, and cloth to upgrade. Be sure to incapacitate and board a ship for its resources as just sinking it only gives you a tiny fraction of resources.
As you gather resources, you’re going to acquire notoriety and gain a wanted status. If you want a more peaceful time harvesting resources, select the “Lower Wanted Level” after successfully boarding a ship so you don’t attract pirate hunters.
Upgrade the Harbourmaster
As you’ll learn in the tutorial questss, you can visit any Harbourmaster at a dock to purchase upgrades for the Jackdaw. As you upgrade, you’ll get the notification that you must “Upgrade the Harbourmaster at Great Inagua”.
Towards the end of the quest “This Old Cove”, you’ll gain the ability to unlock and upgrade the Harbourmaster. Talk to this man at the docks and pay him 500 reales to build the Harbourmaster at Great Inagua.
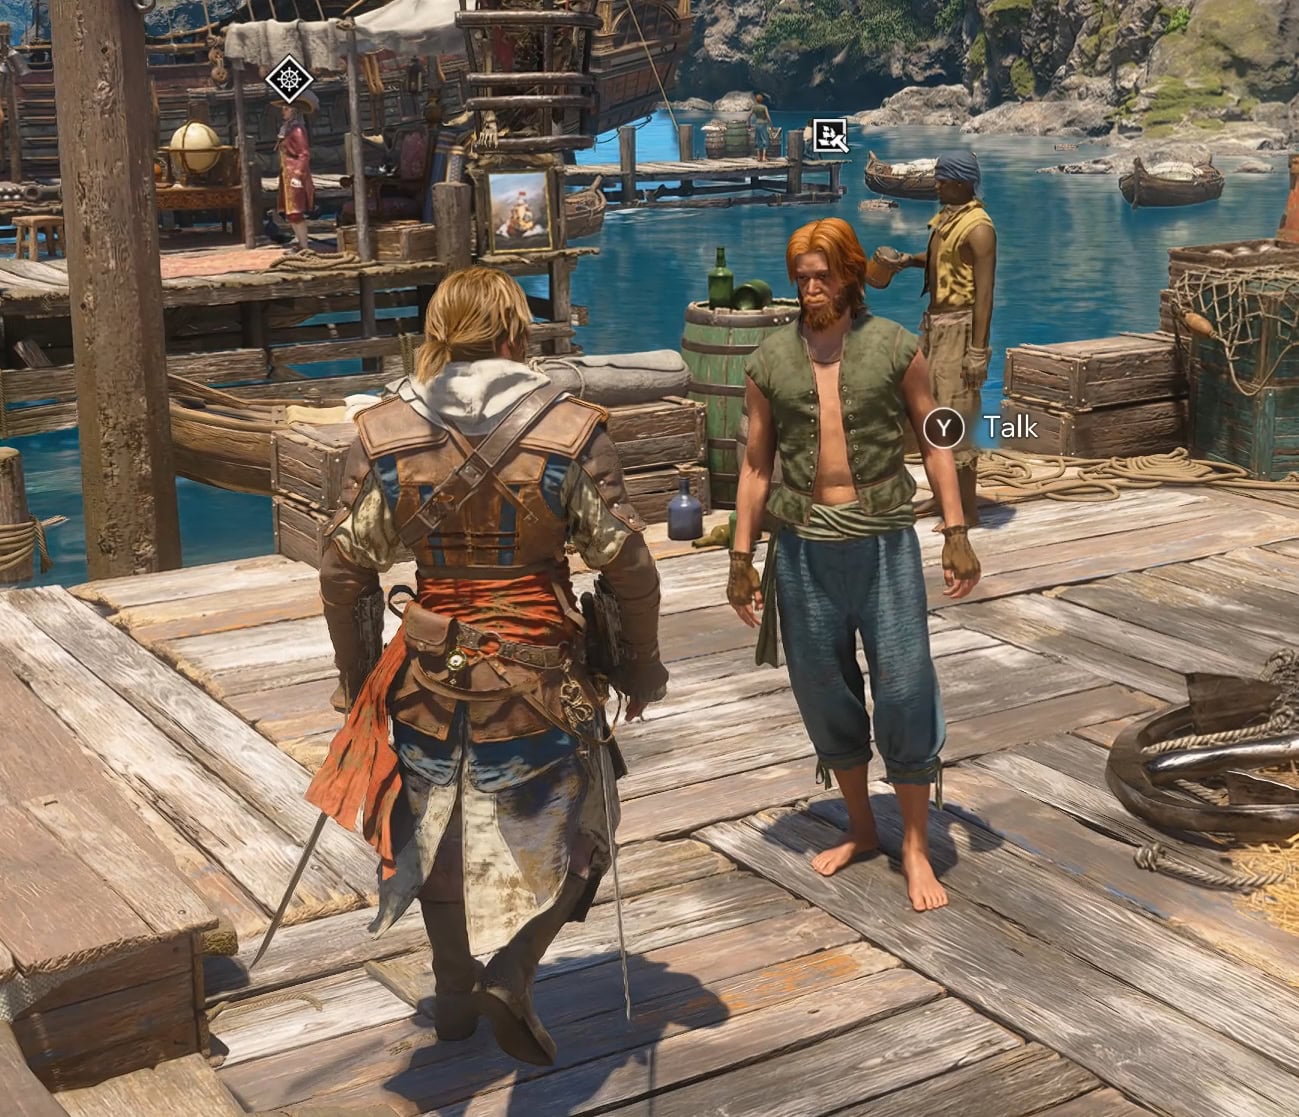
Once rebuilt, you can find this man outside the Harbourmaster where he’ll ask for reales to further upgrade the vendor.
- It costs 2,500 reales to upgrade the Harbourmaster to level II
- It costs 5,000 reales to upgrade the Harbourmaster to level III
This can be pricey early game, so upgrade the Harbourmaster when you’ve already acquired the previous upgrades. At level III, you’ll be able to acquire all upgrades. Though the majority of final upgrades will require you to find the Ultimate Plans for the parts. You’ll acquire these by looting treasure chests found throughout the world.
Locations of all Ultimate Plans for the Jackdaw’s Top Tier UpgradesJackdaw Full List of Upgrades and Perks
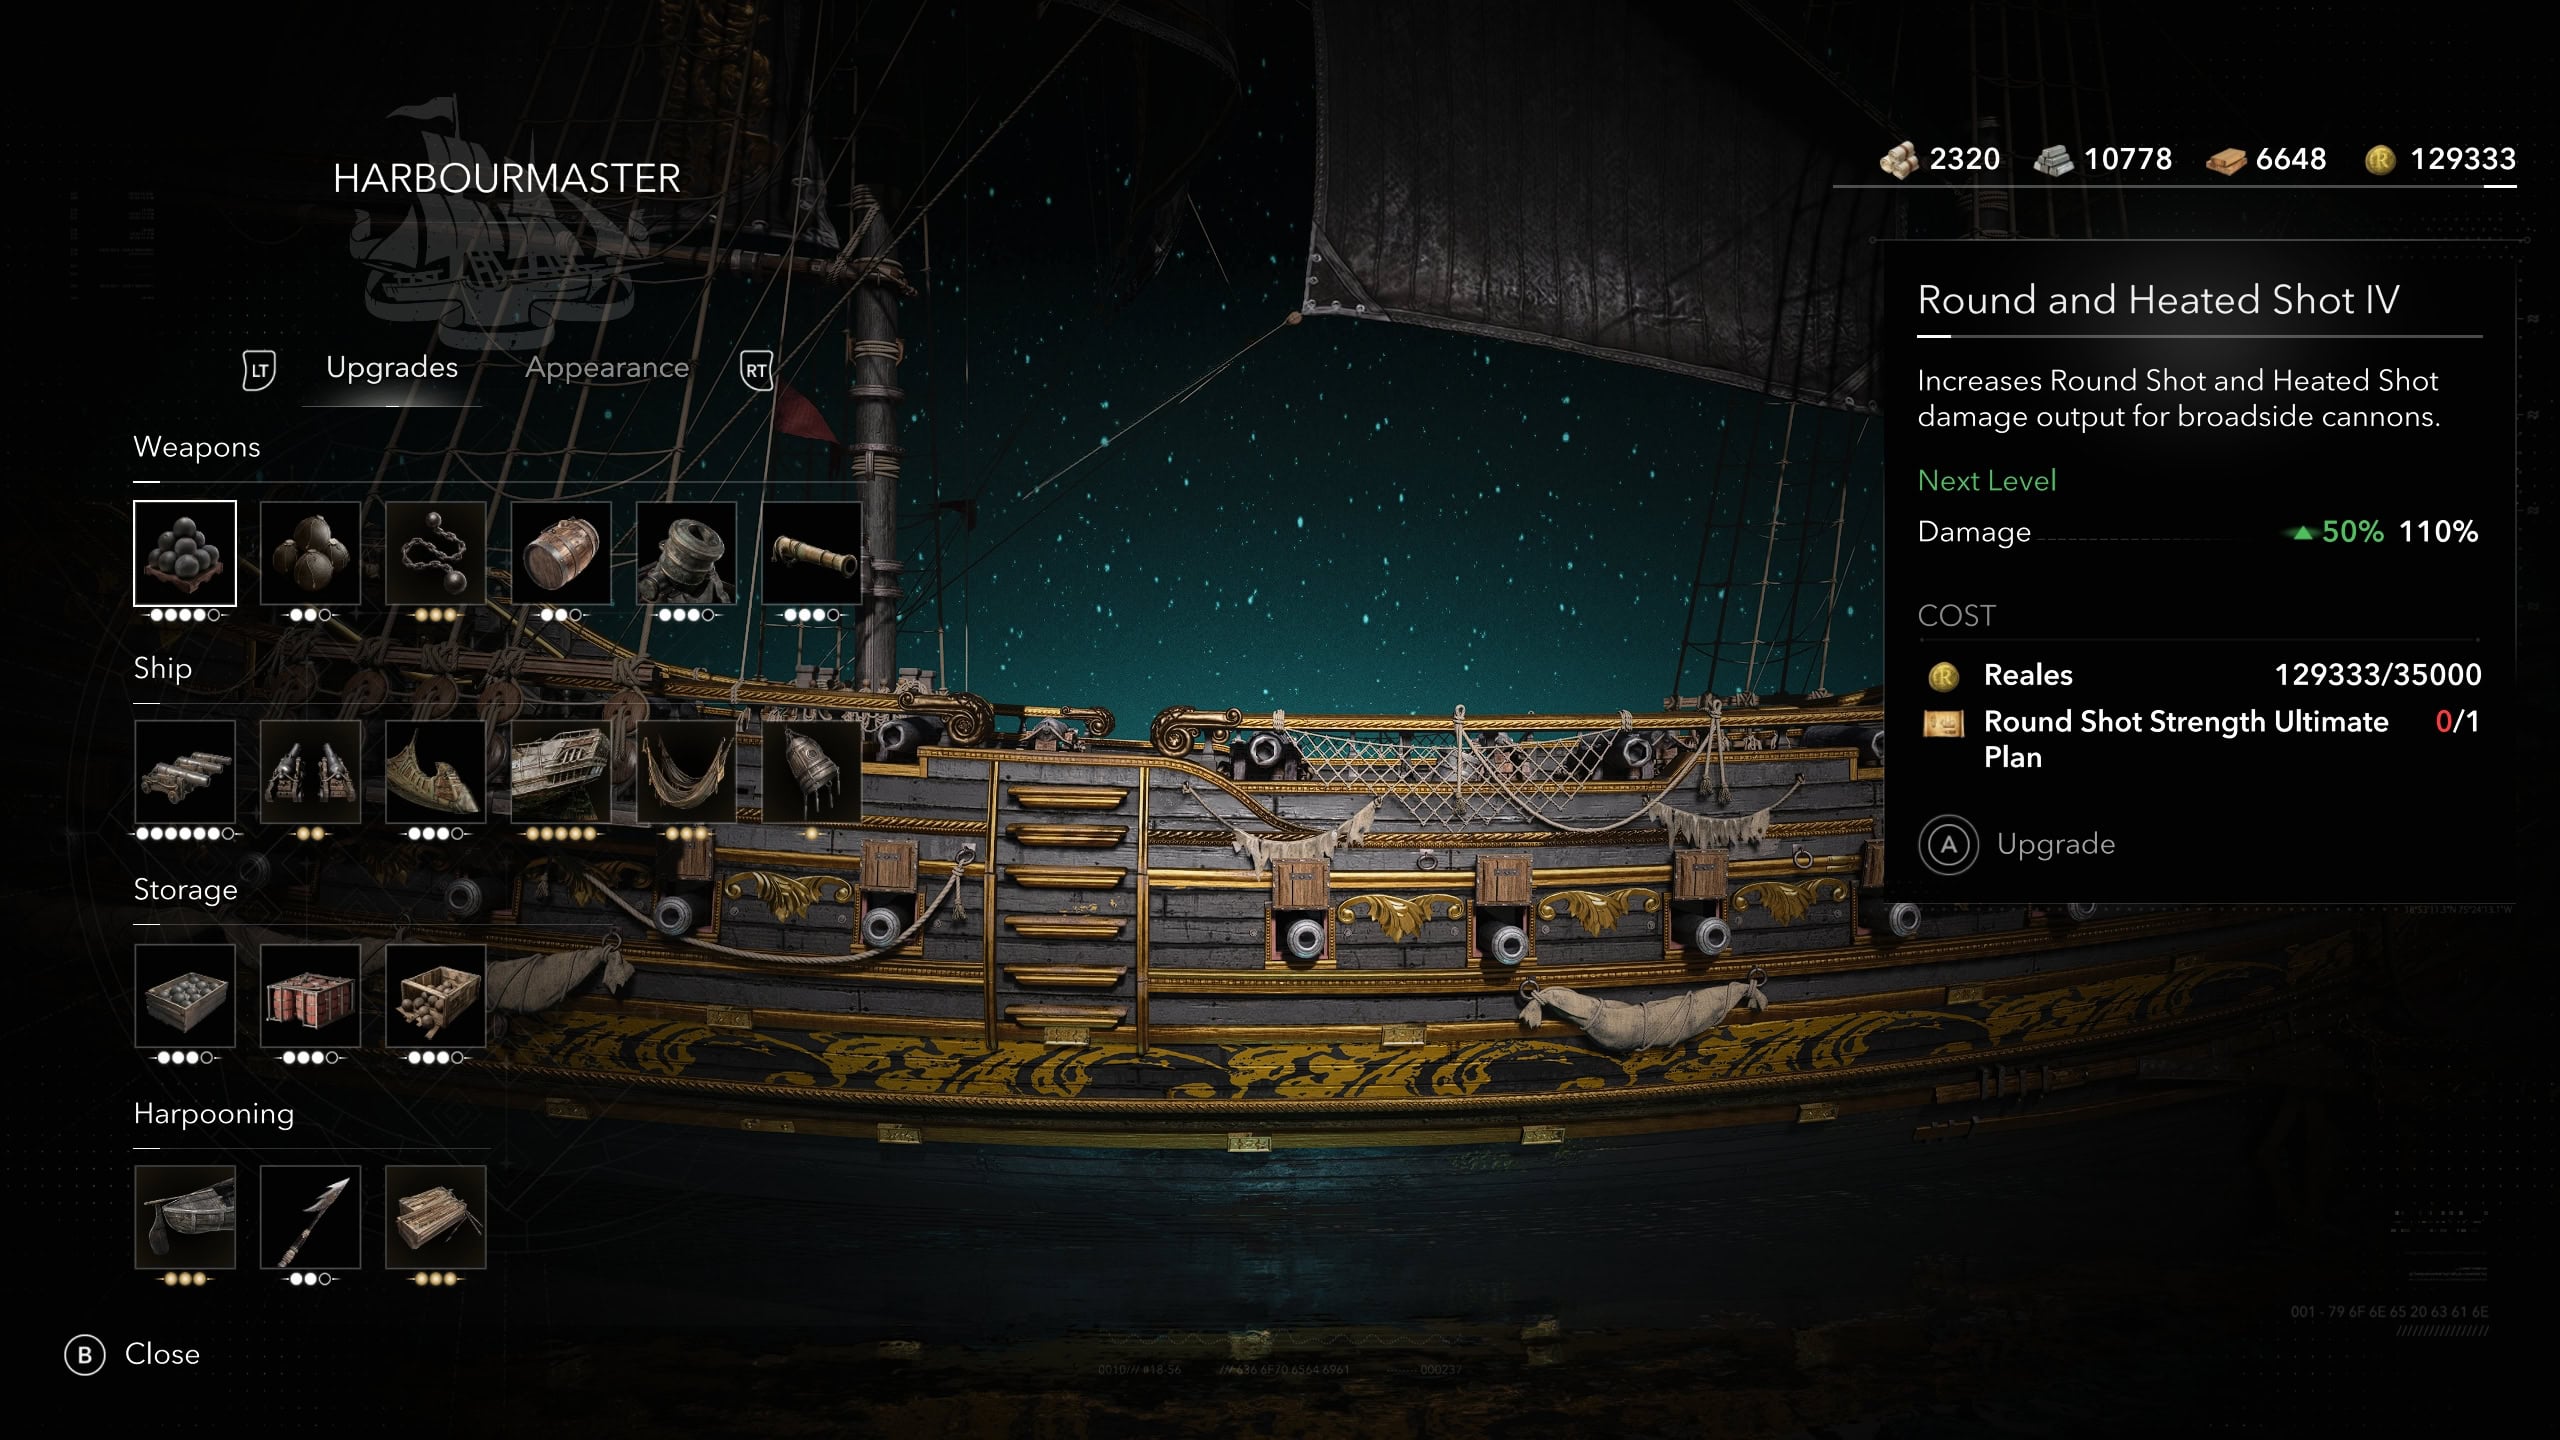
The list of upgrades for the Jackdaw are divided into four categories: Weapons, Ship, Storage, and Harpooning. For the sake of brevity, the Harbourmaster’s Level in the following tables will be shortened to “HML”.
Weapons
The weapons category allows you to increase the damage done by your ship’s weapons. All damage is good damage, so the sooner you incapacitate an enemy ship the better.
Round and Heated Shot
| Tier | Effect |  |  | HML |
|---|---|---|---|---|
| I | Base | I | ||
| II | +30% Damage, 30% Total | 900 | I | |
| III | +40% Damage, 70% Total | 4,000 | II | |
| IV | +40% Damage, 110% Total | 12,000 | III | |
| V | +50% Damage, 160% Total | 35,000 | Map | III |
Heavy Shot
| Tier | Effect | | | HML |
|---|---|---|---|---|
| I | Unlocks Access | 900 | I | |
| II | +53% Damage, 53% Total | 6,000 | II | |
| III | +67% damage, 120% Total | 25,000 | Map | III |
Bow Chasers
| Tier | Effect | | | HML |
|---|---|---|---|---|
| I | Base | I | ||
| II | +33% Damage, 33% Total | 2,500 | II | |
| III | +34% Damage, 67% Total | 6,000 | III |
Barrel Launcher
| Tier | Effect | | | HML |
|---|---|---|---|---|
| I | Base | I | ||
| II | +100% Damage, 100% Total | 3,000 | II | |
| III | +100% Damage, 200% Total | 8,000 | Map | III |
Mortar
| Tier | Effect | |  | | HML |
|---|---|---|---|---|---|
| I | Unlocks Access | 800 | I | ||
| II | +100% Damage, 100% Total | 3,500 | 200 | I | |
| III | +100% Damage, 200% Total | 8,000 | 300 | II | |
| IV | +100% Damage, 300% Total | 25,000 | 650 | Map | III |
Swivel Guns
| Tier | Effect | | | | HML |
|---|---|---|---|---|---|
| I | Base | I | |||
| II | +50% Damage, 50% Total | 700 | 25 | I | |
| III | +50% Damage, 100% Total | 5,000 | 200 | II | |
| IV | +50% Damage, 150% Total | 15,000 | 400 | Map | III |
Ship
The ship upgrades offer useful features such as the amount of cannons you fire at once, how much armor you take or increase crew capacity. It also provides useful tools such as the ram to increase collision damage and the diving bell to allow deep sea diving.
Broadside Cannons
| Tier | Effect | | | | HML |
|---|---|---|---|---|---|
| I | Base, Capacity 6 | I | |||
| II | Capacity 8 | 70 | I | ||
| III | Capacity 10 | 2,000 | 150 | I | |
| IV | Capacity 12 | 4,000 | 300 | II | |
| V | Capacity 14 | 8,000 | 350 | II | |
| VI | Capacity 16 | 12,000 | 500 | III | |
| VII | Capacity 18 | 20,000 | 650 | Map | III |
Front Cannons
| Tier | Effect | |  | | HML |
|---|---|---|---|---|---|
| I | Base, Capacity 4 | I | |||
| II | Capacity 6 | 3,000 | 100 | 60 | II |
Ram
| Tier | Effect | | | | HML |
|---|---|---|---|---|---|
| I | Unlocks Access, +600 Damage, 600 Total | 500 | 25 | I | |
| II | +600 Damage, 1,200 Total | 2,000 | 75 | I | |
| III | +800 Damage, 2,000 Total | 5,000 | 250 | II | |
| IV | +2,000 Damage, 4,000 Total | 15,000 | 600 | Map | III |
Armored Hull
| Tier | Effect | | | | | HML |
|---|---|---|---|---|---|---|
| I | Base, 600 Armor | I | ||||
| II | 1,200 Armor | 1,000 | I | |||
| III | 2,000 Armor | 4,000 | 200 | 100 | I | |
| IV | 3,200 Armor | 15,000 | 500 | 200 | II | |
| V | 5,000 Armor | 30,000 | 750 | 400 | Map | III |
Crew Quarters
| Tier | Effect | |  | HML |
|---|---|---|---|---|
| I | Base, Capacity 20 | I | ||
| II | Capacity 30 | 800 | 100 | II |
| III | Capacity 40 | 3,500 | 450 | III |
Diving Bell
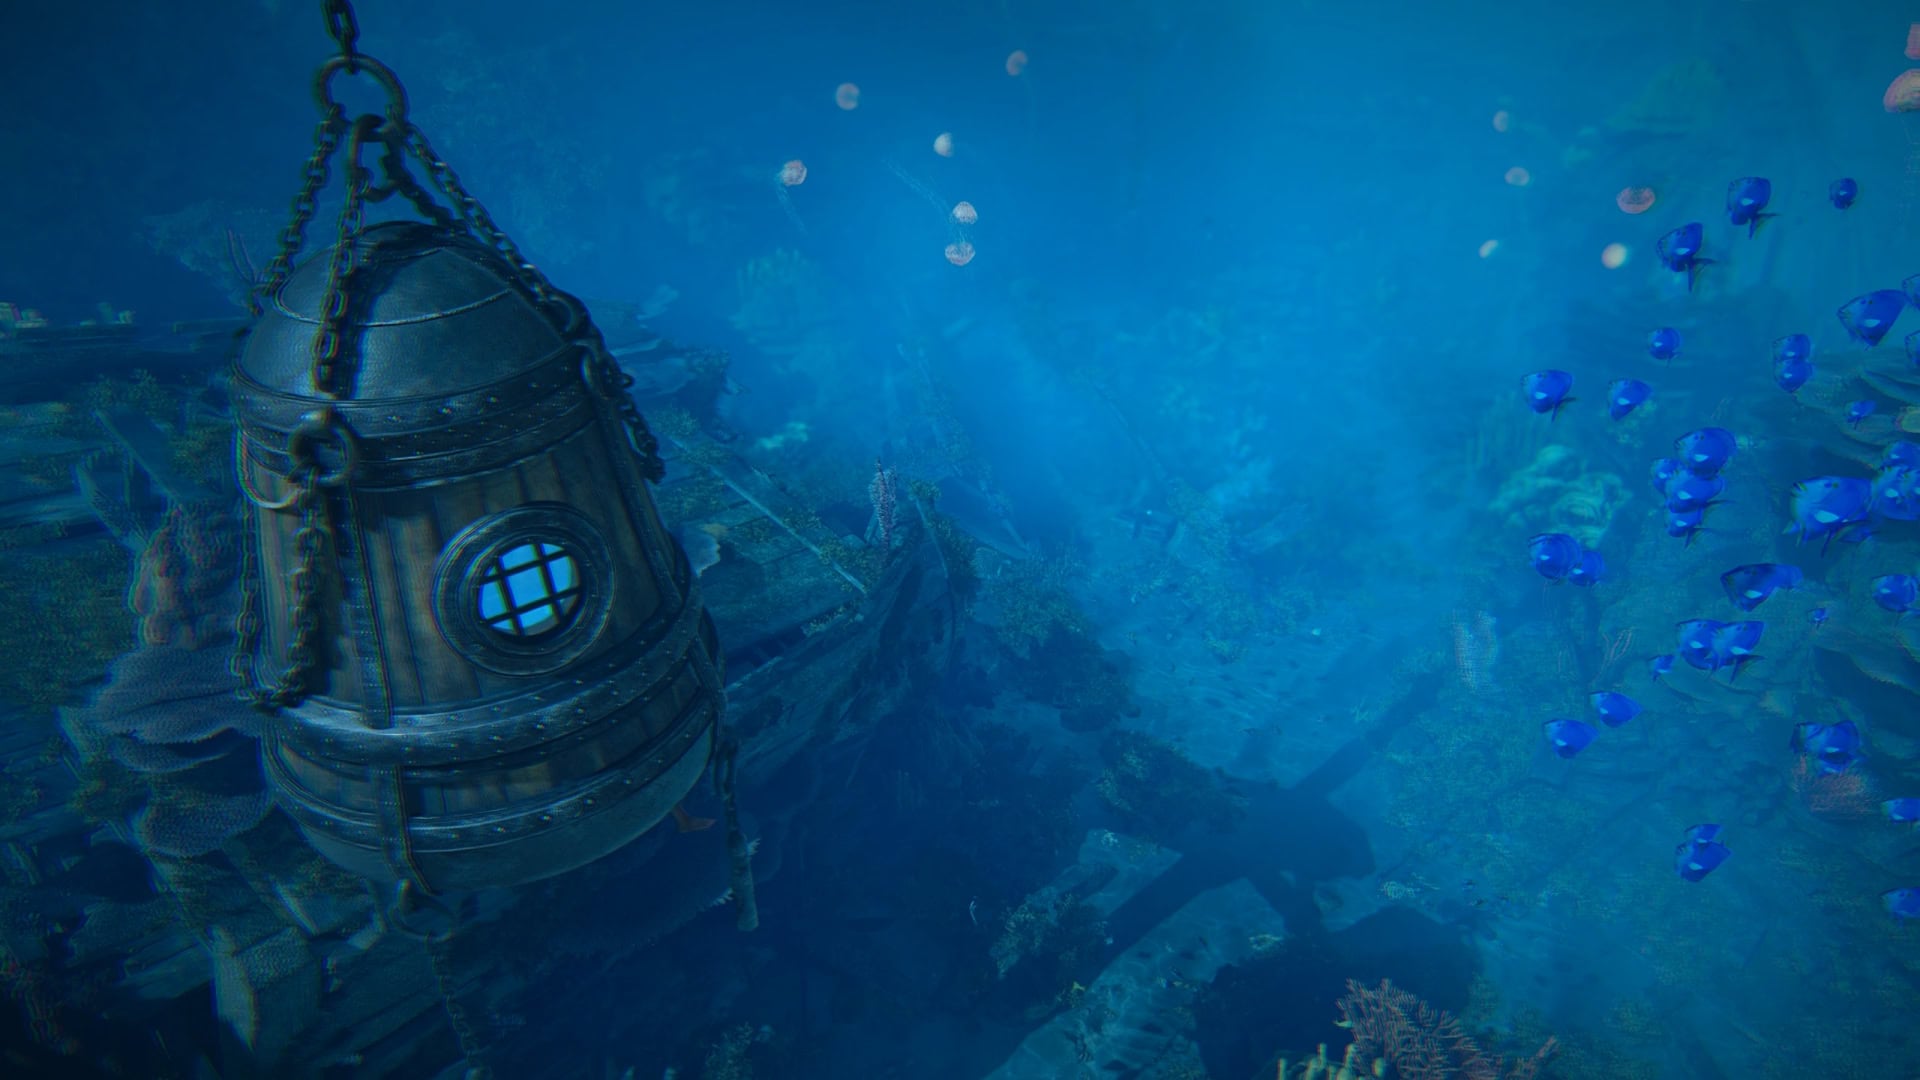
The diving bell will grant you the ability to make plunges underwater at shipwrecks. This allows you to find long lost treasures underwater so long as you can avoid the sharks and not drown.
You’ll be able to purchase this during the main story quest “Diving for Medicines”. It costs 5,000 reales to purchase, but there are other means of acquiring it.
Storage
The Storage category expands the amount of ammo for certain weapons. Your Round and Heated Shots, Front Cannons, and Swivel Guns have unlimited ammo. You’ll need to acquire more ammunition from enemy ships or Harbourmasters to resupply.
Heavy Shot Storage
| Tier | Effect | | | HML |
|---|---|---|---|---|
| I | Base, Max Ammo 15 | I | ||
| II | Max Ammo 20 | 500 | I | |
| III | Max Ammo 25 | 1,500 | II | |
| IV | Max Ammo 40 | 4,000 | Map | III |
Barrel Storage
| Tier | Effect | | | HML |
|---|---|---|---|---|
| I | Base, Max Ammo 10 | I | ||
| II | Max Ammo 15 | 500 | I | |
| III | Max Ammo 25 | 1,500 | II | |
| IV | Max Ammo 40 | 4,000 | Map | III |
Mortar Storage
| Tier | Effect | | | HML |
|---|---|---|---|---|
| I | Base, Max Ammo 5 | I | ||
| II | Max Ammo 10 | 800 | I | |
| III | Max Ammo 15 | 2,000 | II | |
| IV | Max Ammo 20 | 5,000 | Map | III |
Harpooning
The Harpooning category will increase your harpoon fishing capabilities. The various sharks and whales tend to fight back, so being able to protect yourself from them and take them down quickly is important for gathering resources to upgrade Edward’s personal gear.
Comprehensive guide to Harpooning in Black Flag ResyncedRowboat Armor
| Tier | Effect | | | HML |
|---|---|---|---|---|
| I | Base, Armor 100 | I | ||
| II | Armor 200 | 600 | 50 | II |
| III | Armor 300 | 1,800 | 200 | III |
Harpoon
| Tier | Effect | | | HML |
|---|---|---|---|---|
| I | Base, Damage 10 | I | ||
| II | Damage 20 | 1,000 | II | |
| III | Damage 30 | 4,000 | Map | III |
Harpoon Storage
| Tier | Effect | | HML |
|---|---|---|---|
| I | Base, Max Ammo 15 | I | |
| II | Max Ammo 20 | 500 | II |
| III | Max Ammo 30 | 1,500 | III |
Find the Three Hidden Weapons
You may notice that on your ship menu, there are some locked icons beneath your ship’s weapons. While you can unlock and purchase the Heated Shot and Heavy Shot, the other three cannot be purchased from the Harbourmaster.
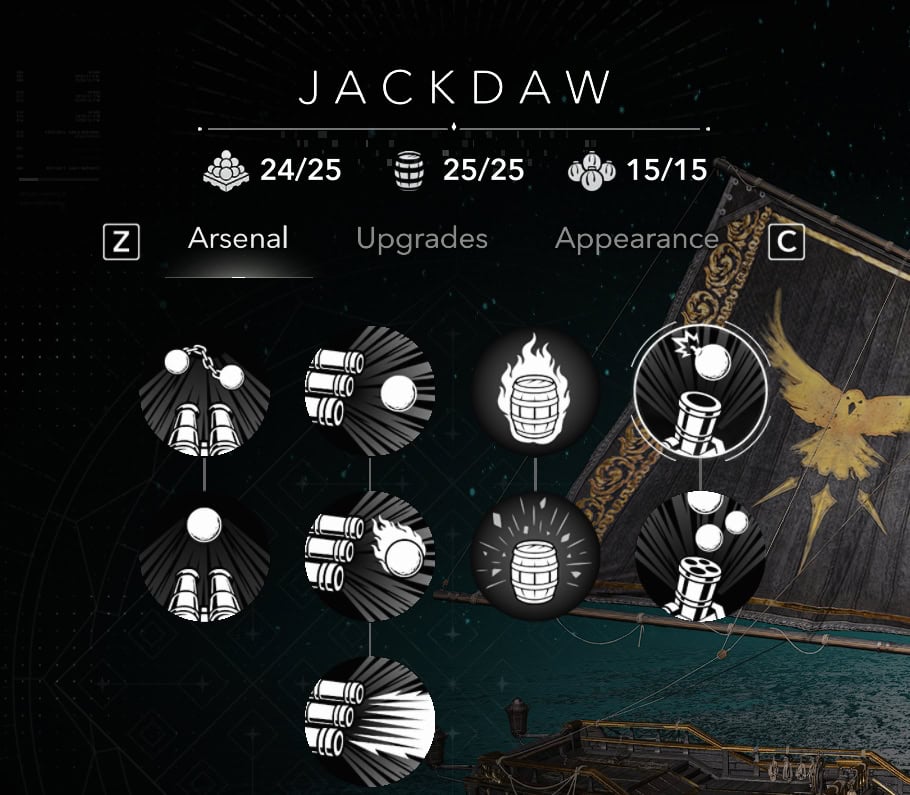
These three alternate weapons will require you to fight them out in the world. One of these you can get very early on while the other two you’re going to get late game.
Double Shot
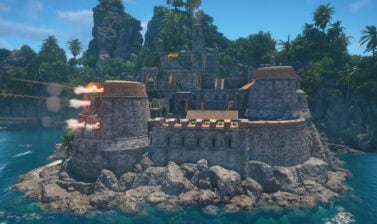
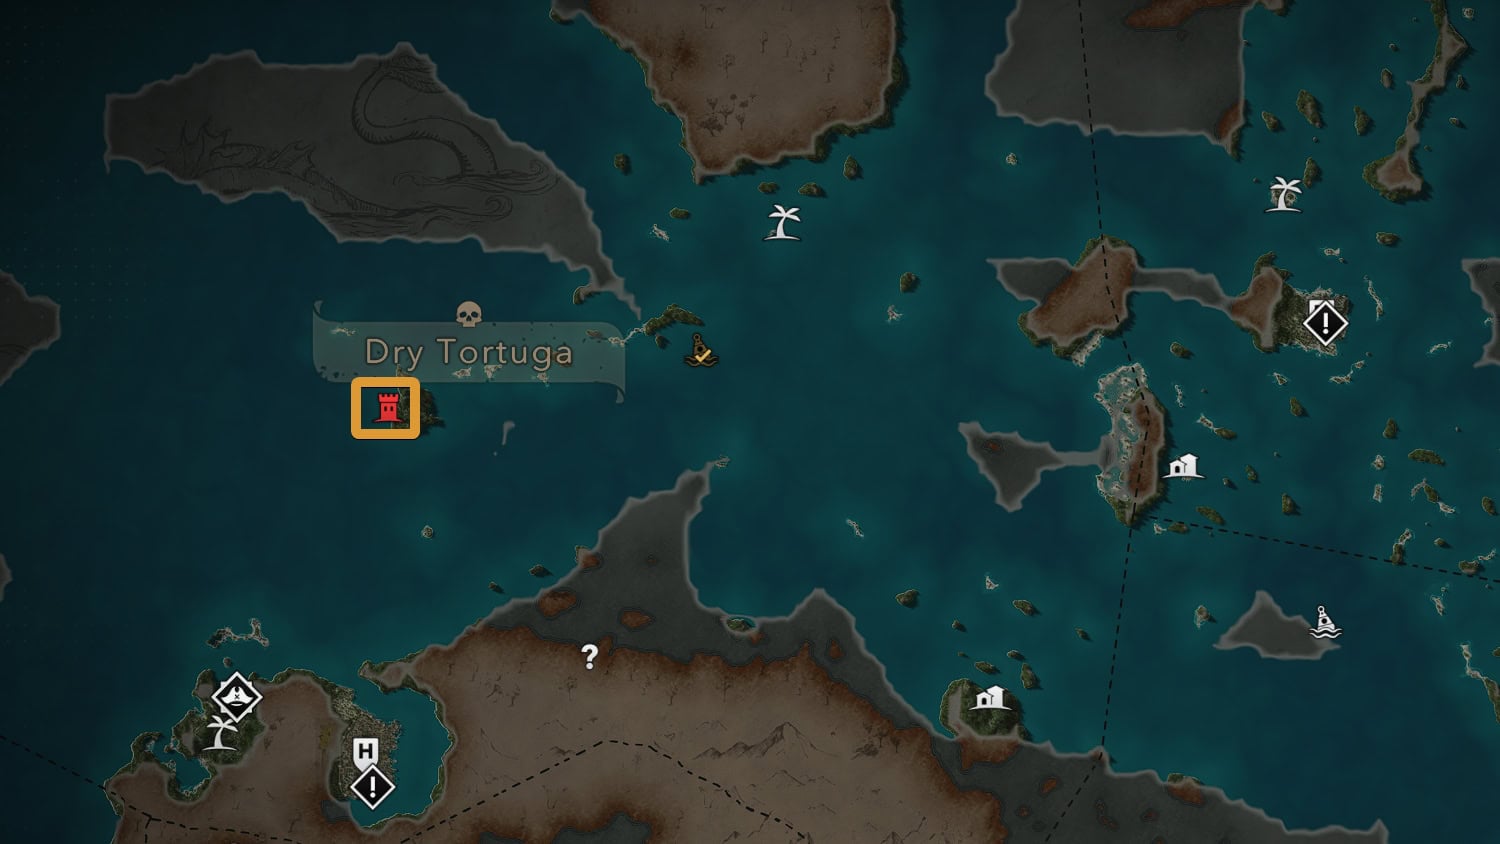
To unlock the Double Shot, you need to storm Fort Dry Tortuga in the northwest corner of the map. It’s one of the easier forts to take over as it has three defensive positions you’ll need to destroy. The mortar will make short work of them, allowing you to raid the fort on foot.
The Double Shot is a Front Cannon alternate weapon that rapidly fires a lot of round shots to a target in front of you. It has a low target arc yet has a surprisingly good range.
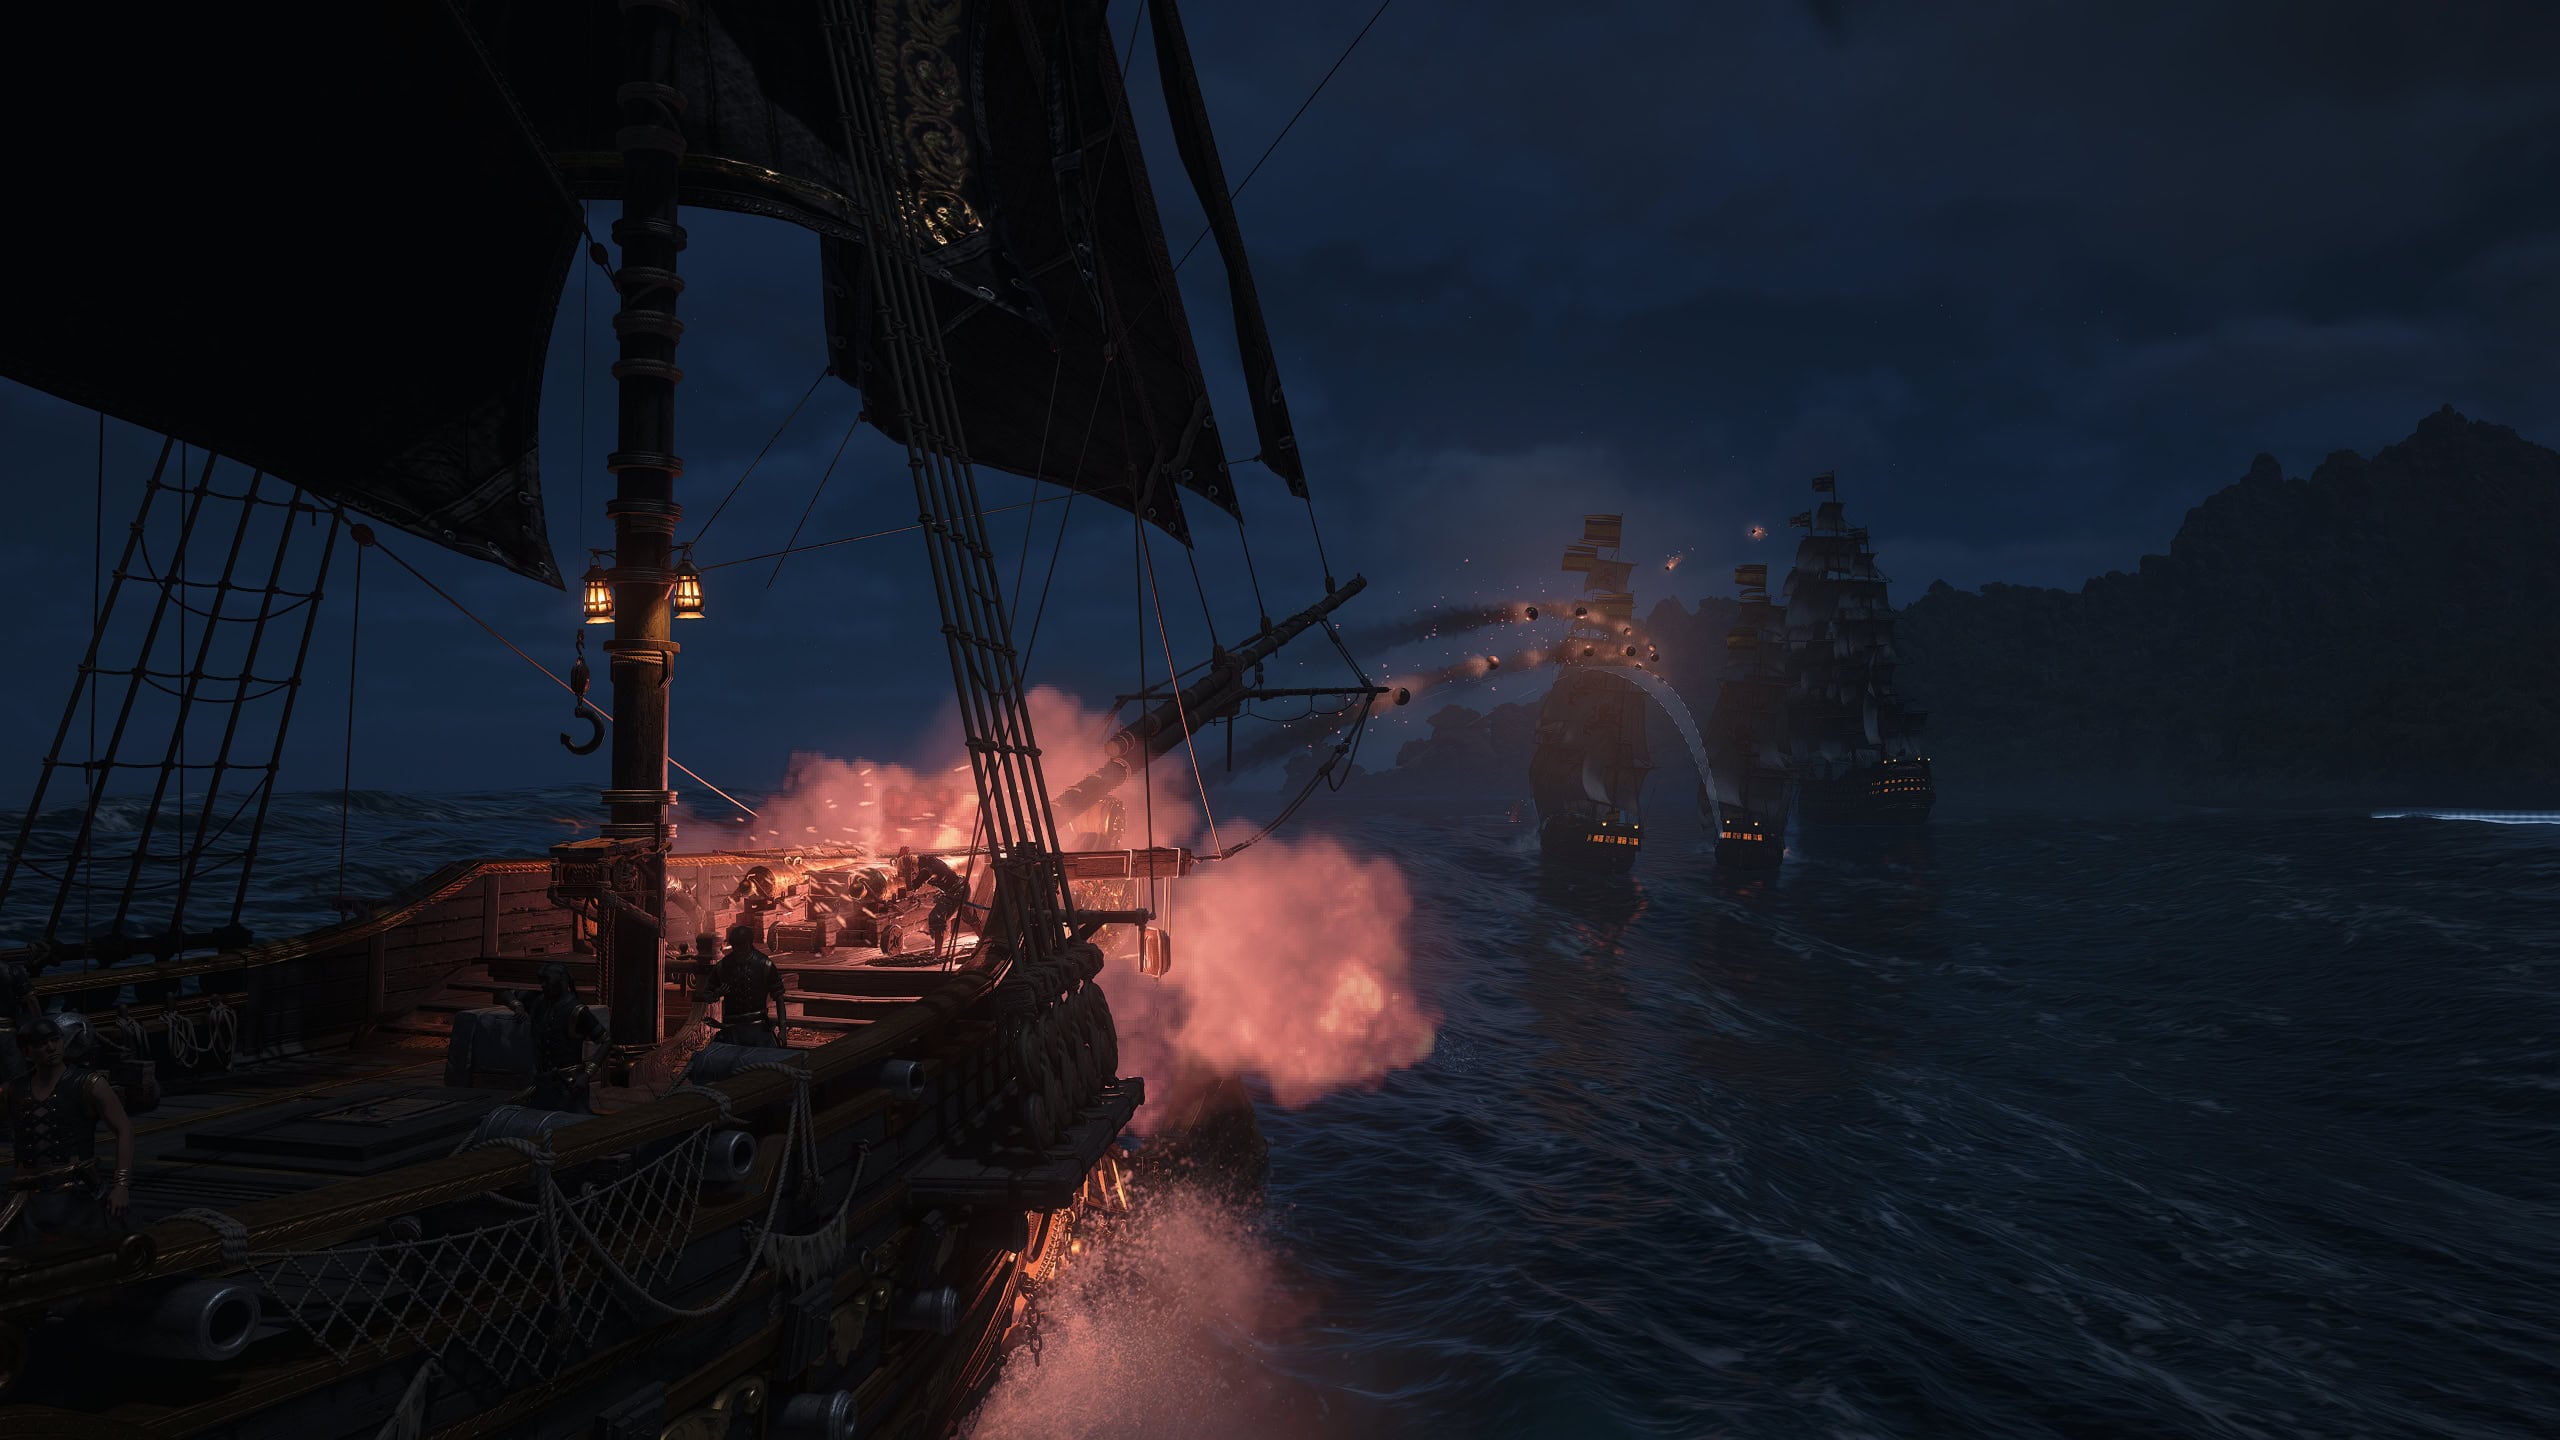
While the Chain Shot is better for hitting the sails and mast of a ship, the Double Shot is great for attacking an enemy’s hull. It’s main disadvantage when compared to the Chain Shot is its longer cooldown.
Shrapnel Barrels
The Shrapnel Barrels are unlocked by capturing Fort Charlotte in the bottom middle of the map. This is a Hard area, so you’ll need a good amount of upgrades before even attempting this fort.
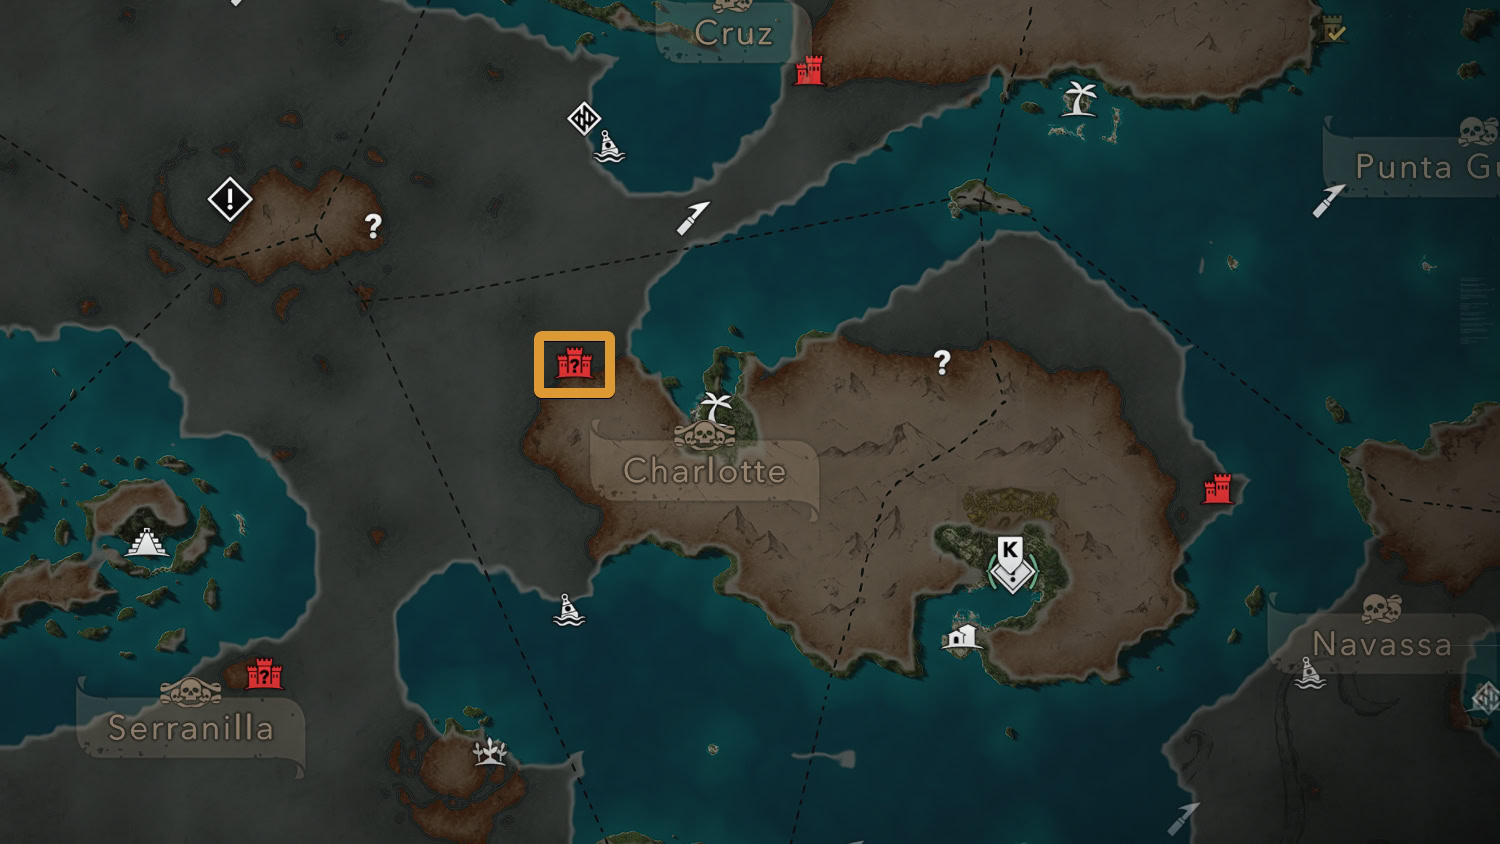
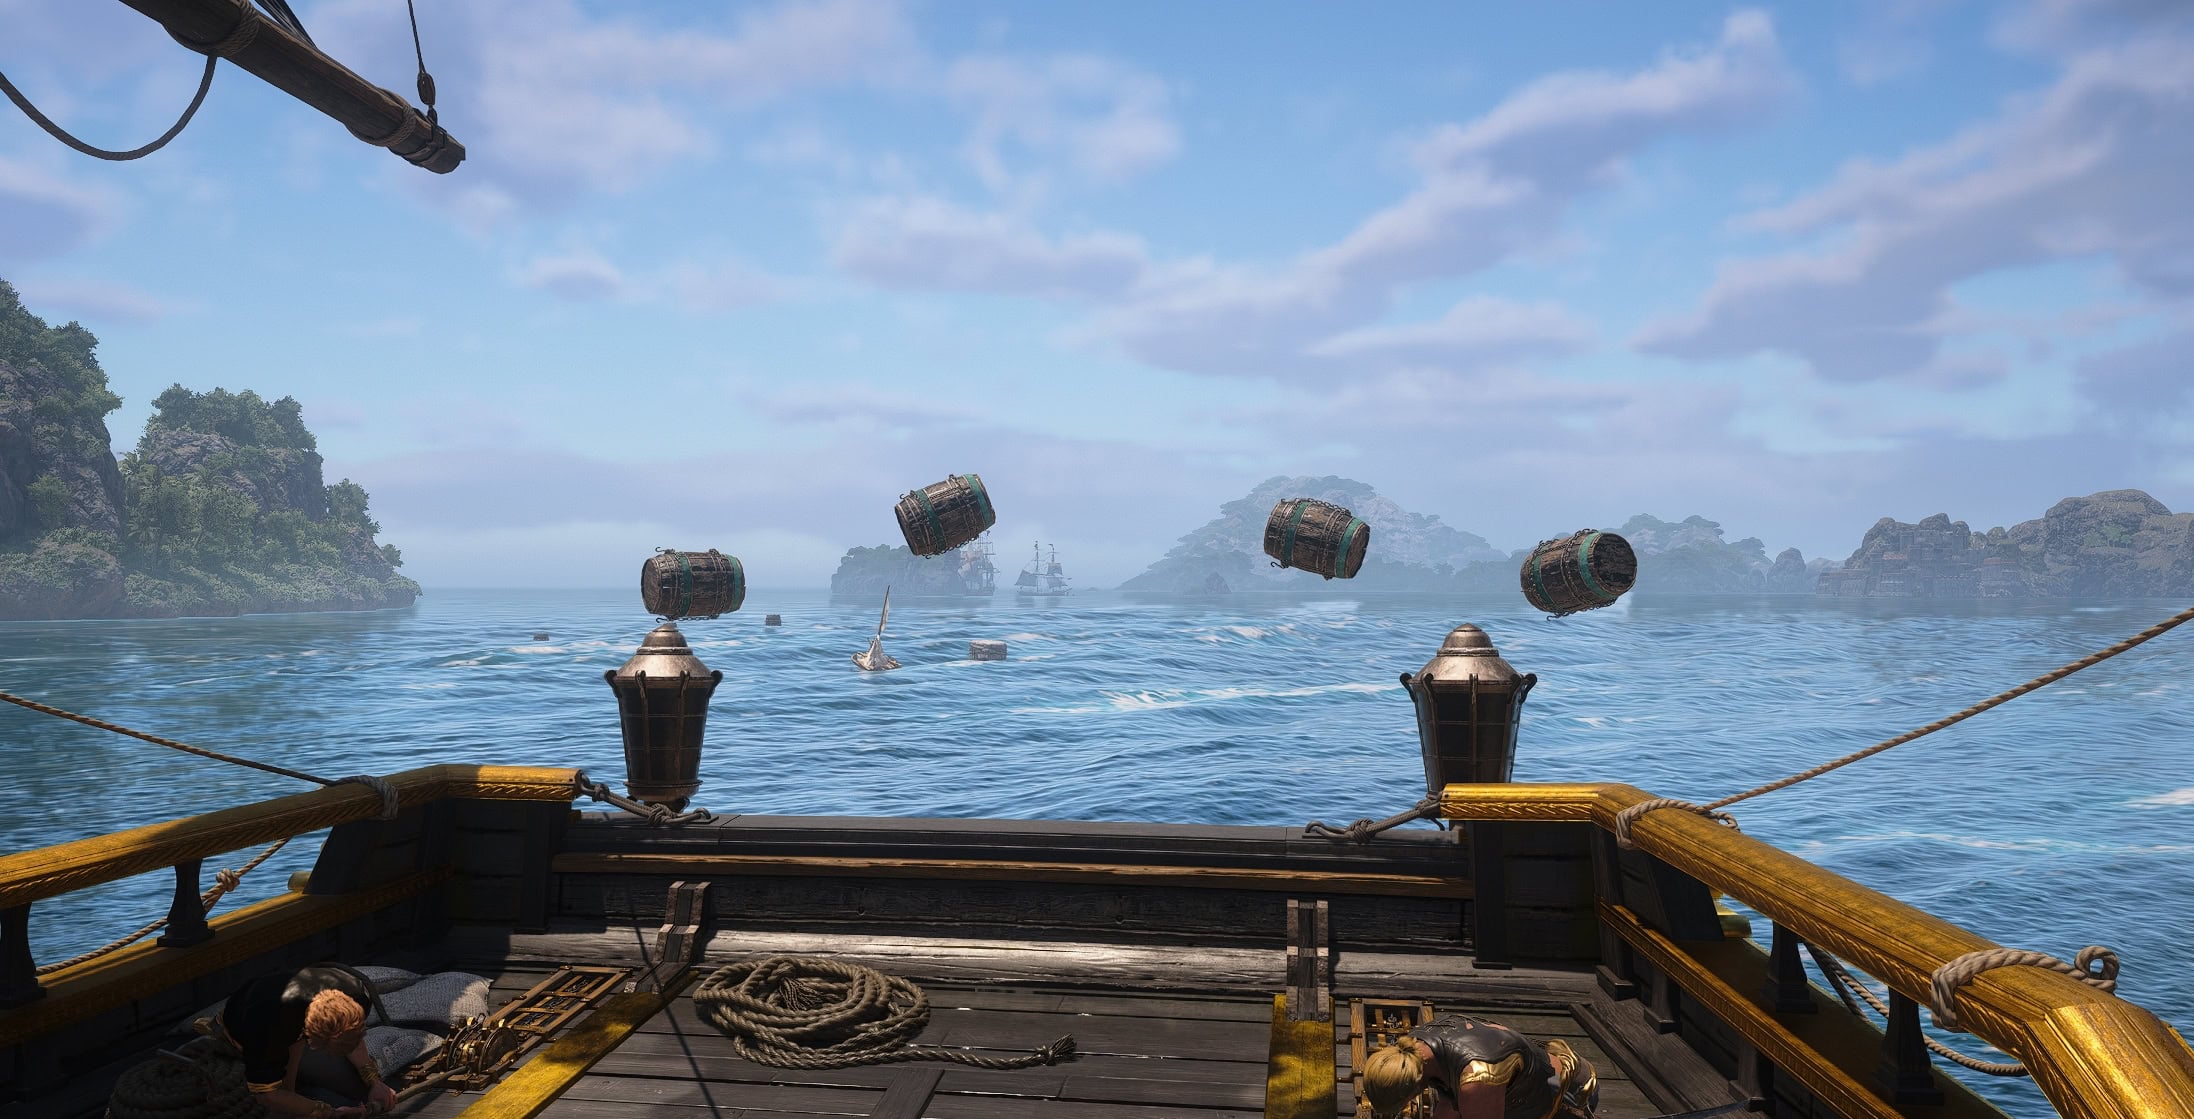
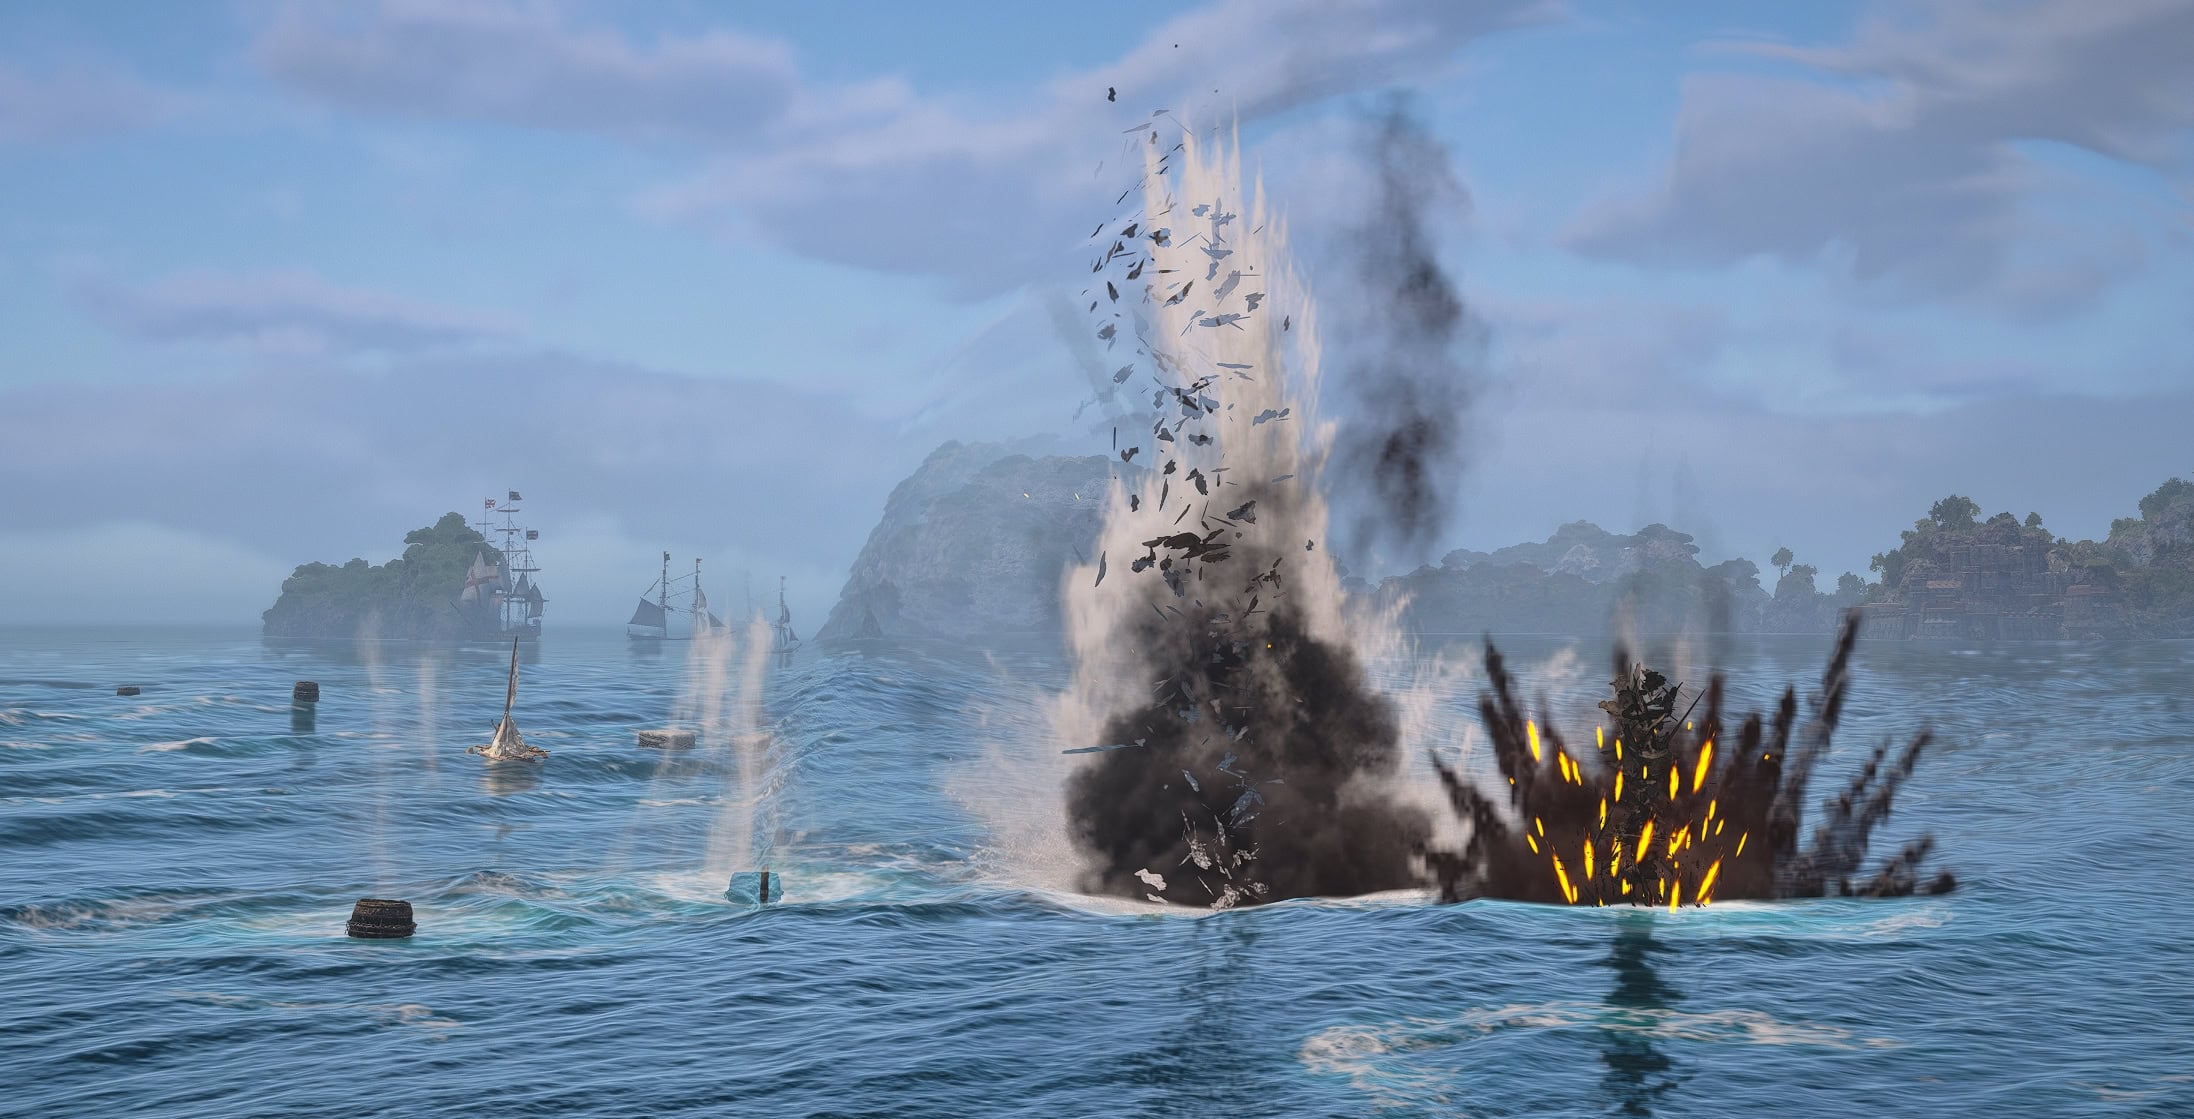
It’s surrounded by mines that you’ll need to remove before getting too close. Take down its five defenses, capture it, and you’ll unlock the Shrapnel Barrels. These launch four barrels at a time to create more hazards, but have a longer cooldown than the Fire Barrel.
Deadman’s Cohort Mortar
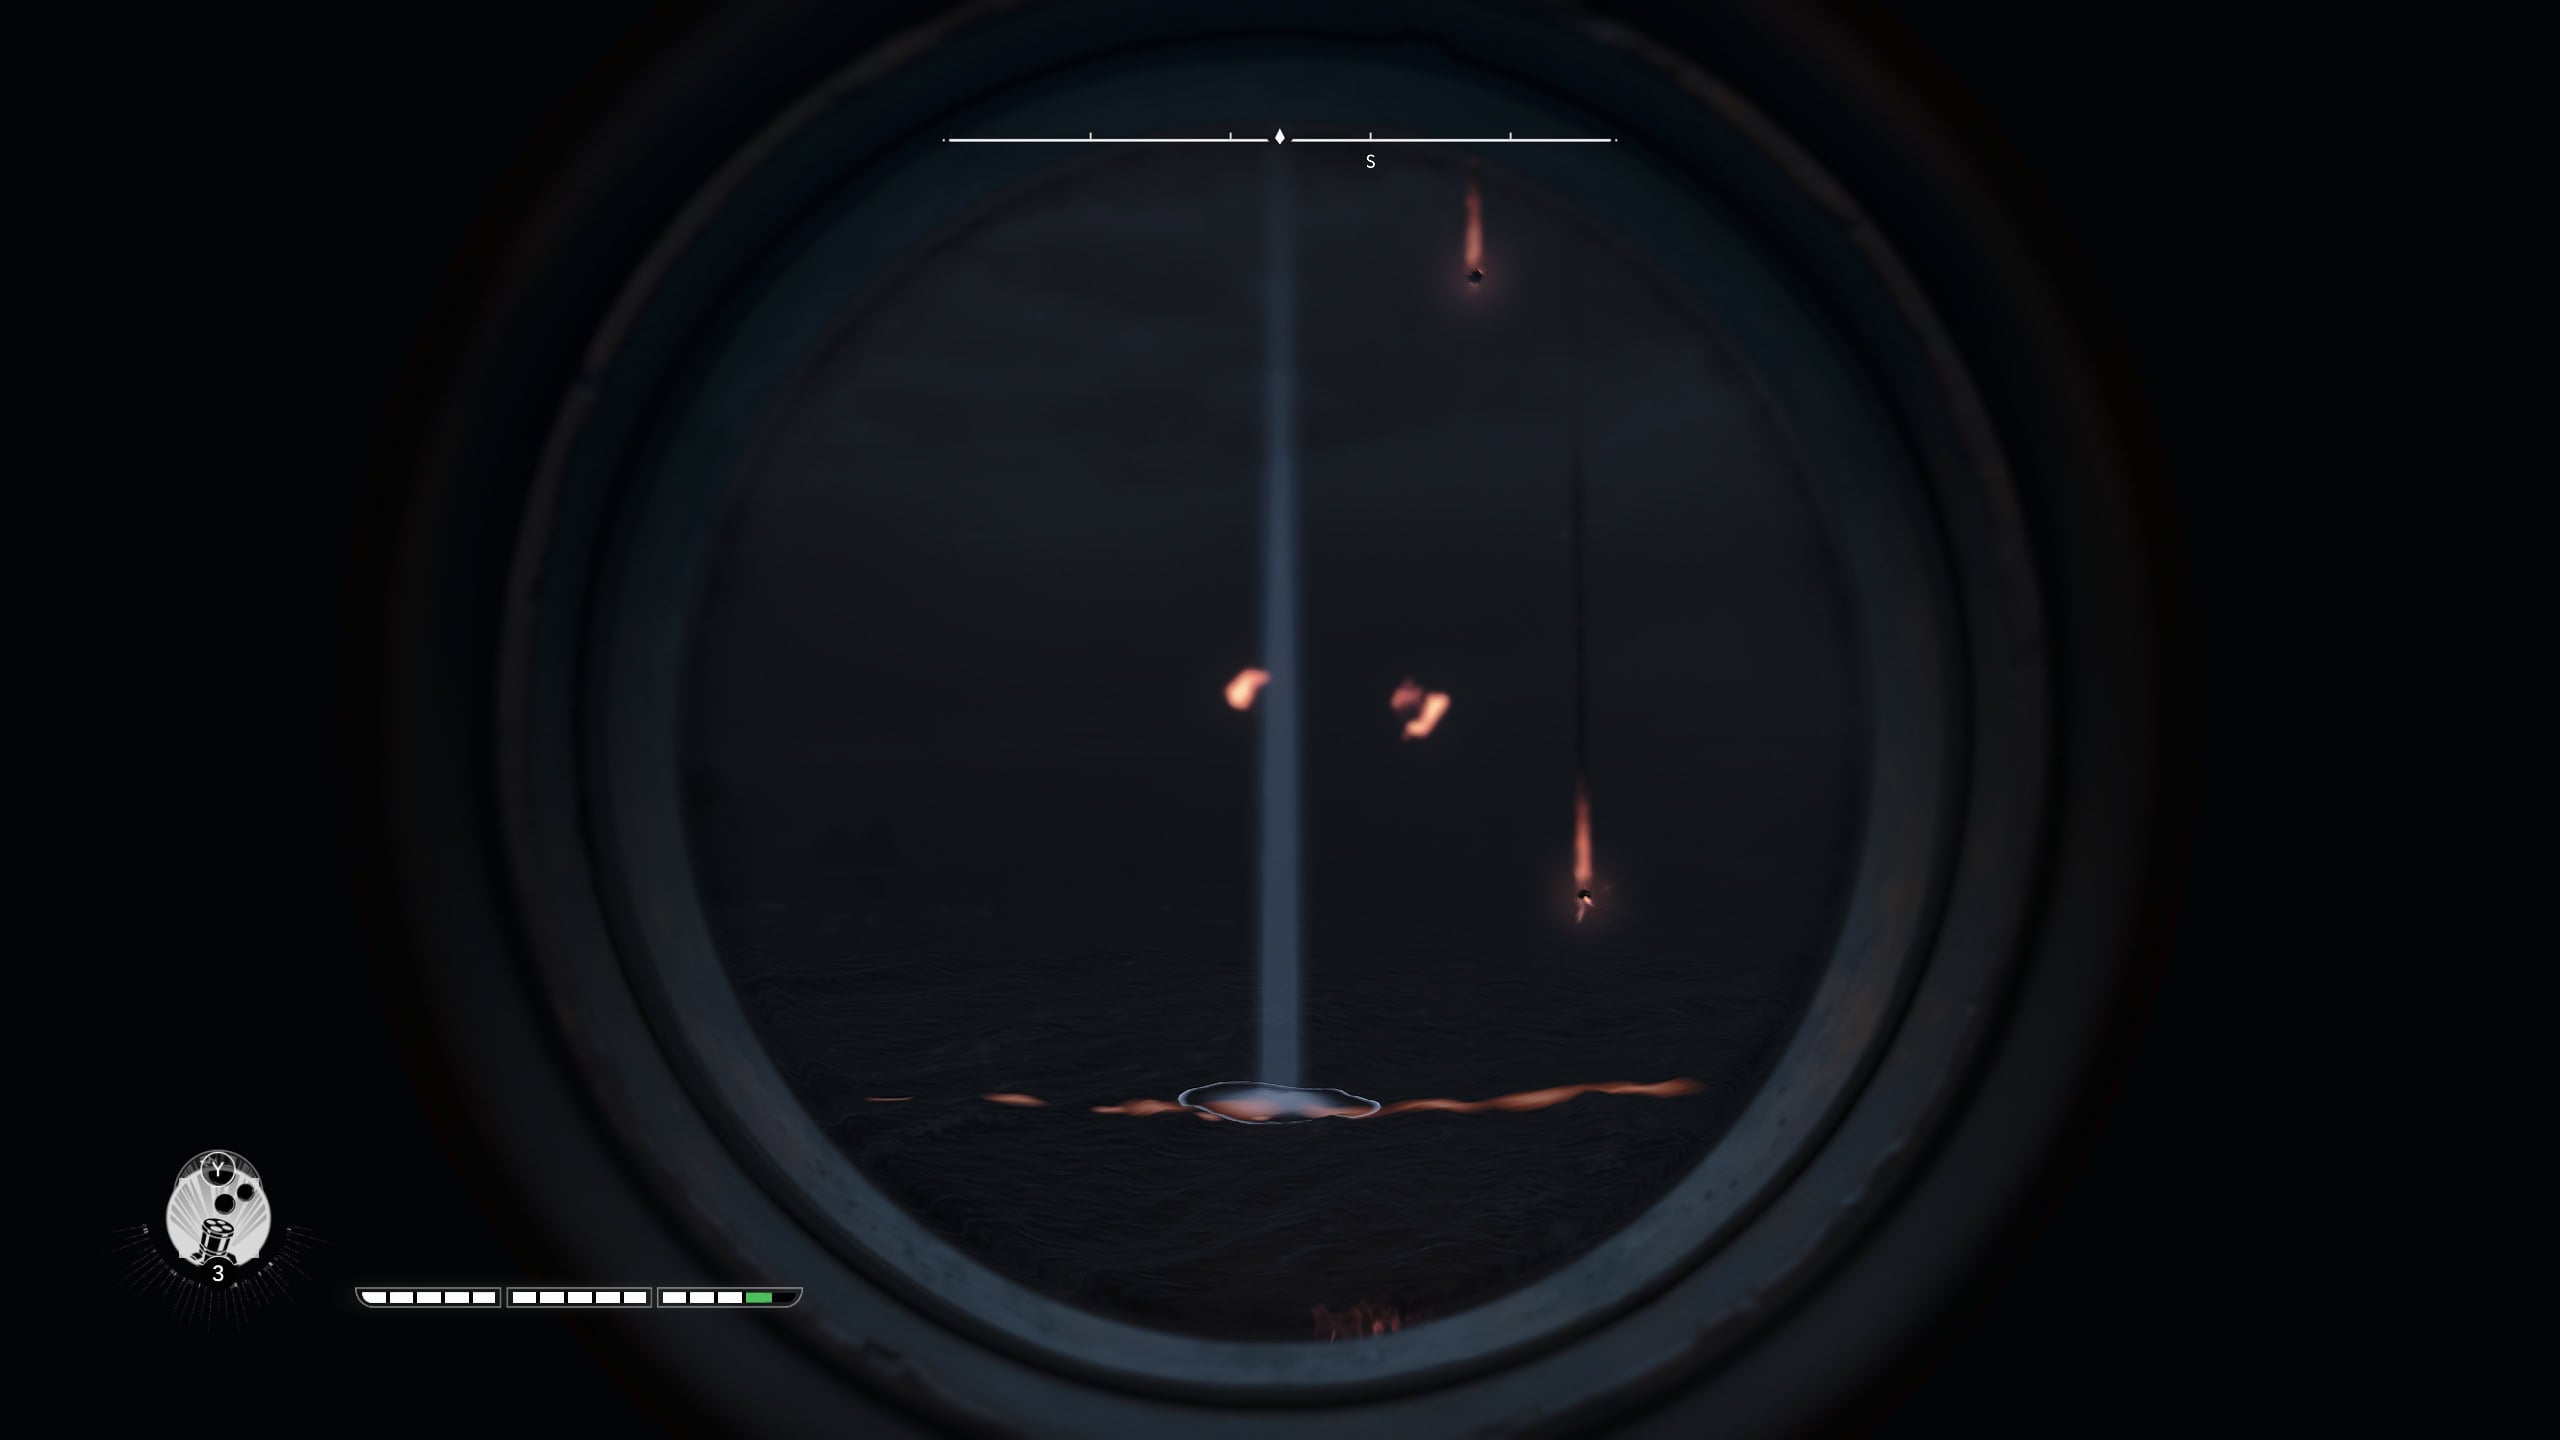
The Deadman’s Cohort Mortar is a weapon unique to the Resynced edition of Black Flag. It’s a mortar variant that fires a lot more shorter mortars that have a reduced area of effect, but much faster travel time.
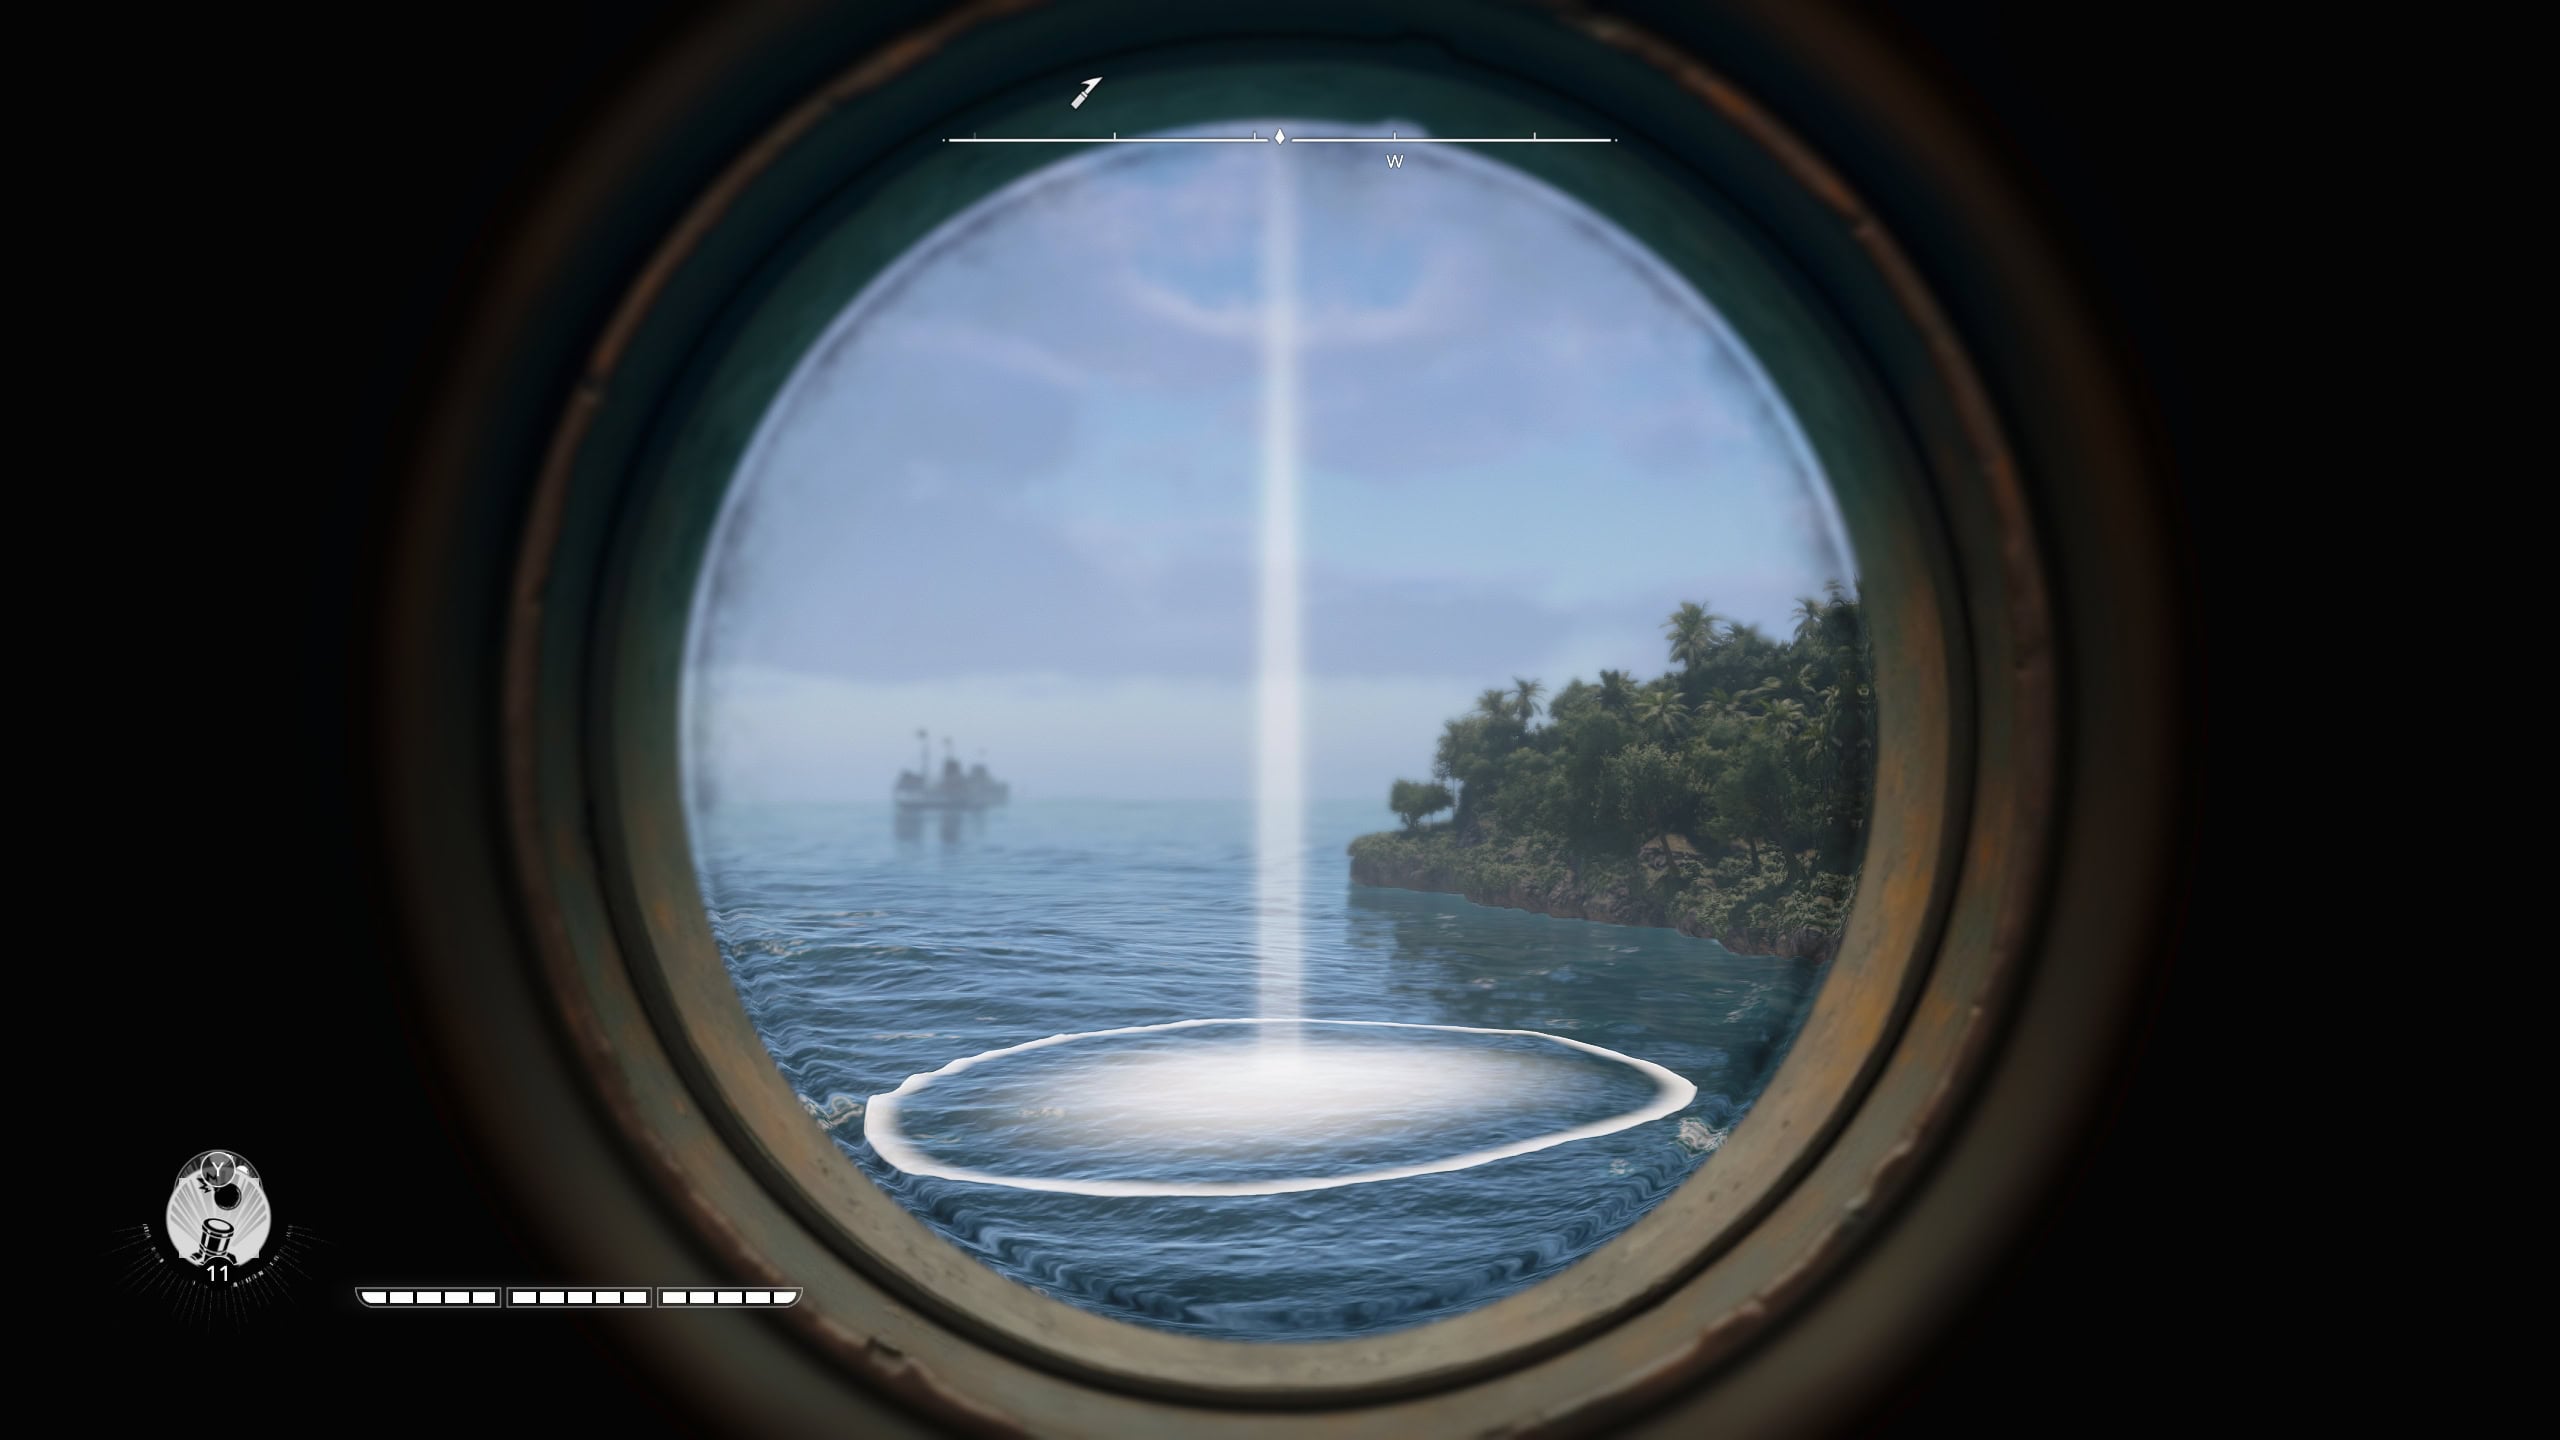
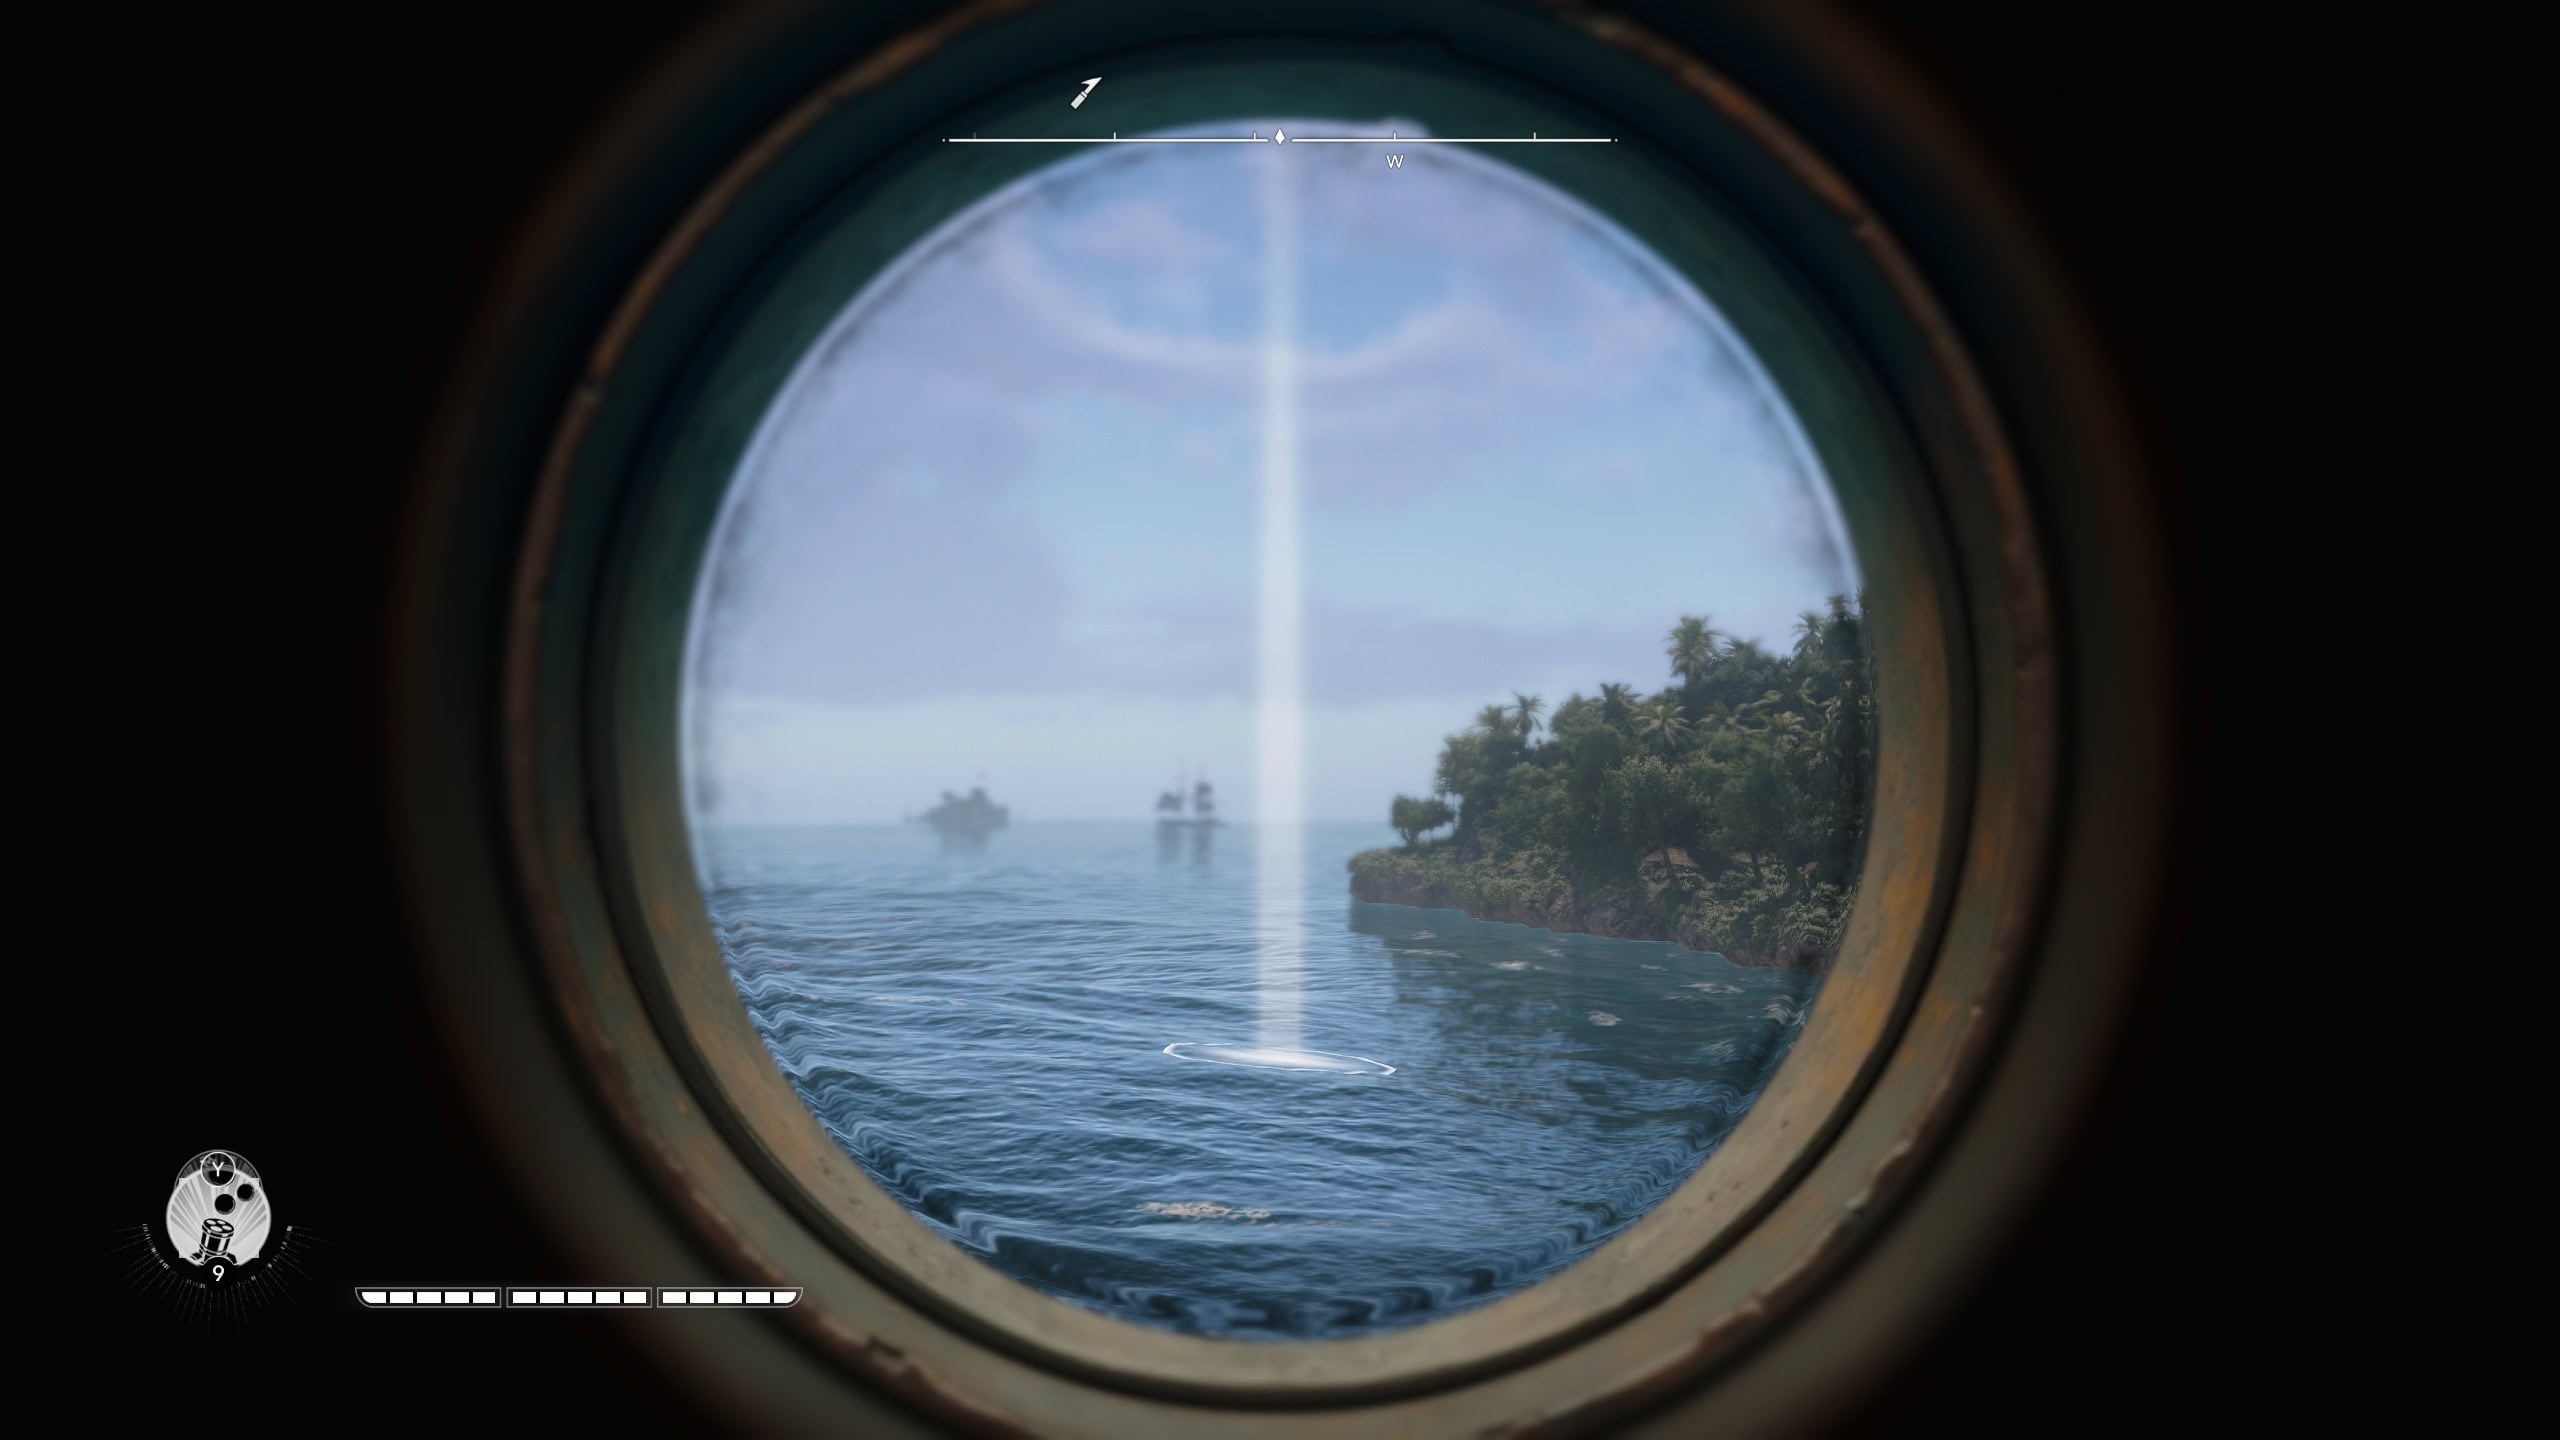
This is better for high intensity combat scenarios and is great for picking apart Frigates and Man O’ Wars. Like the other weapon variants, it has a longer cooldown. As the multiple shots fire, you can make a trail of mortars whereas the standard mortar only gathers in one spot.
To acquire this weapon, you’ll need to complete the late game story arc, A World Without Gold. The first quest of this arc is “That Bastard Maynard” you get after completing the main story quest “…Everything is Permitted”.
This is an entirely new story arc that was not in the original and will also get you a third officer that adds a second volley of shots to your broadside cannons. It’s worth playing for the story, perk, and new mortar.
Sail with Swagger
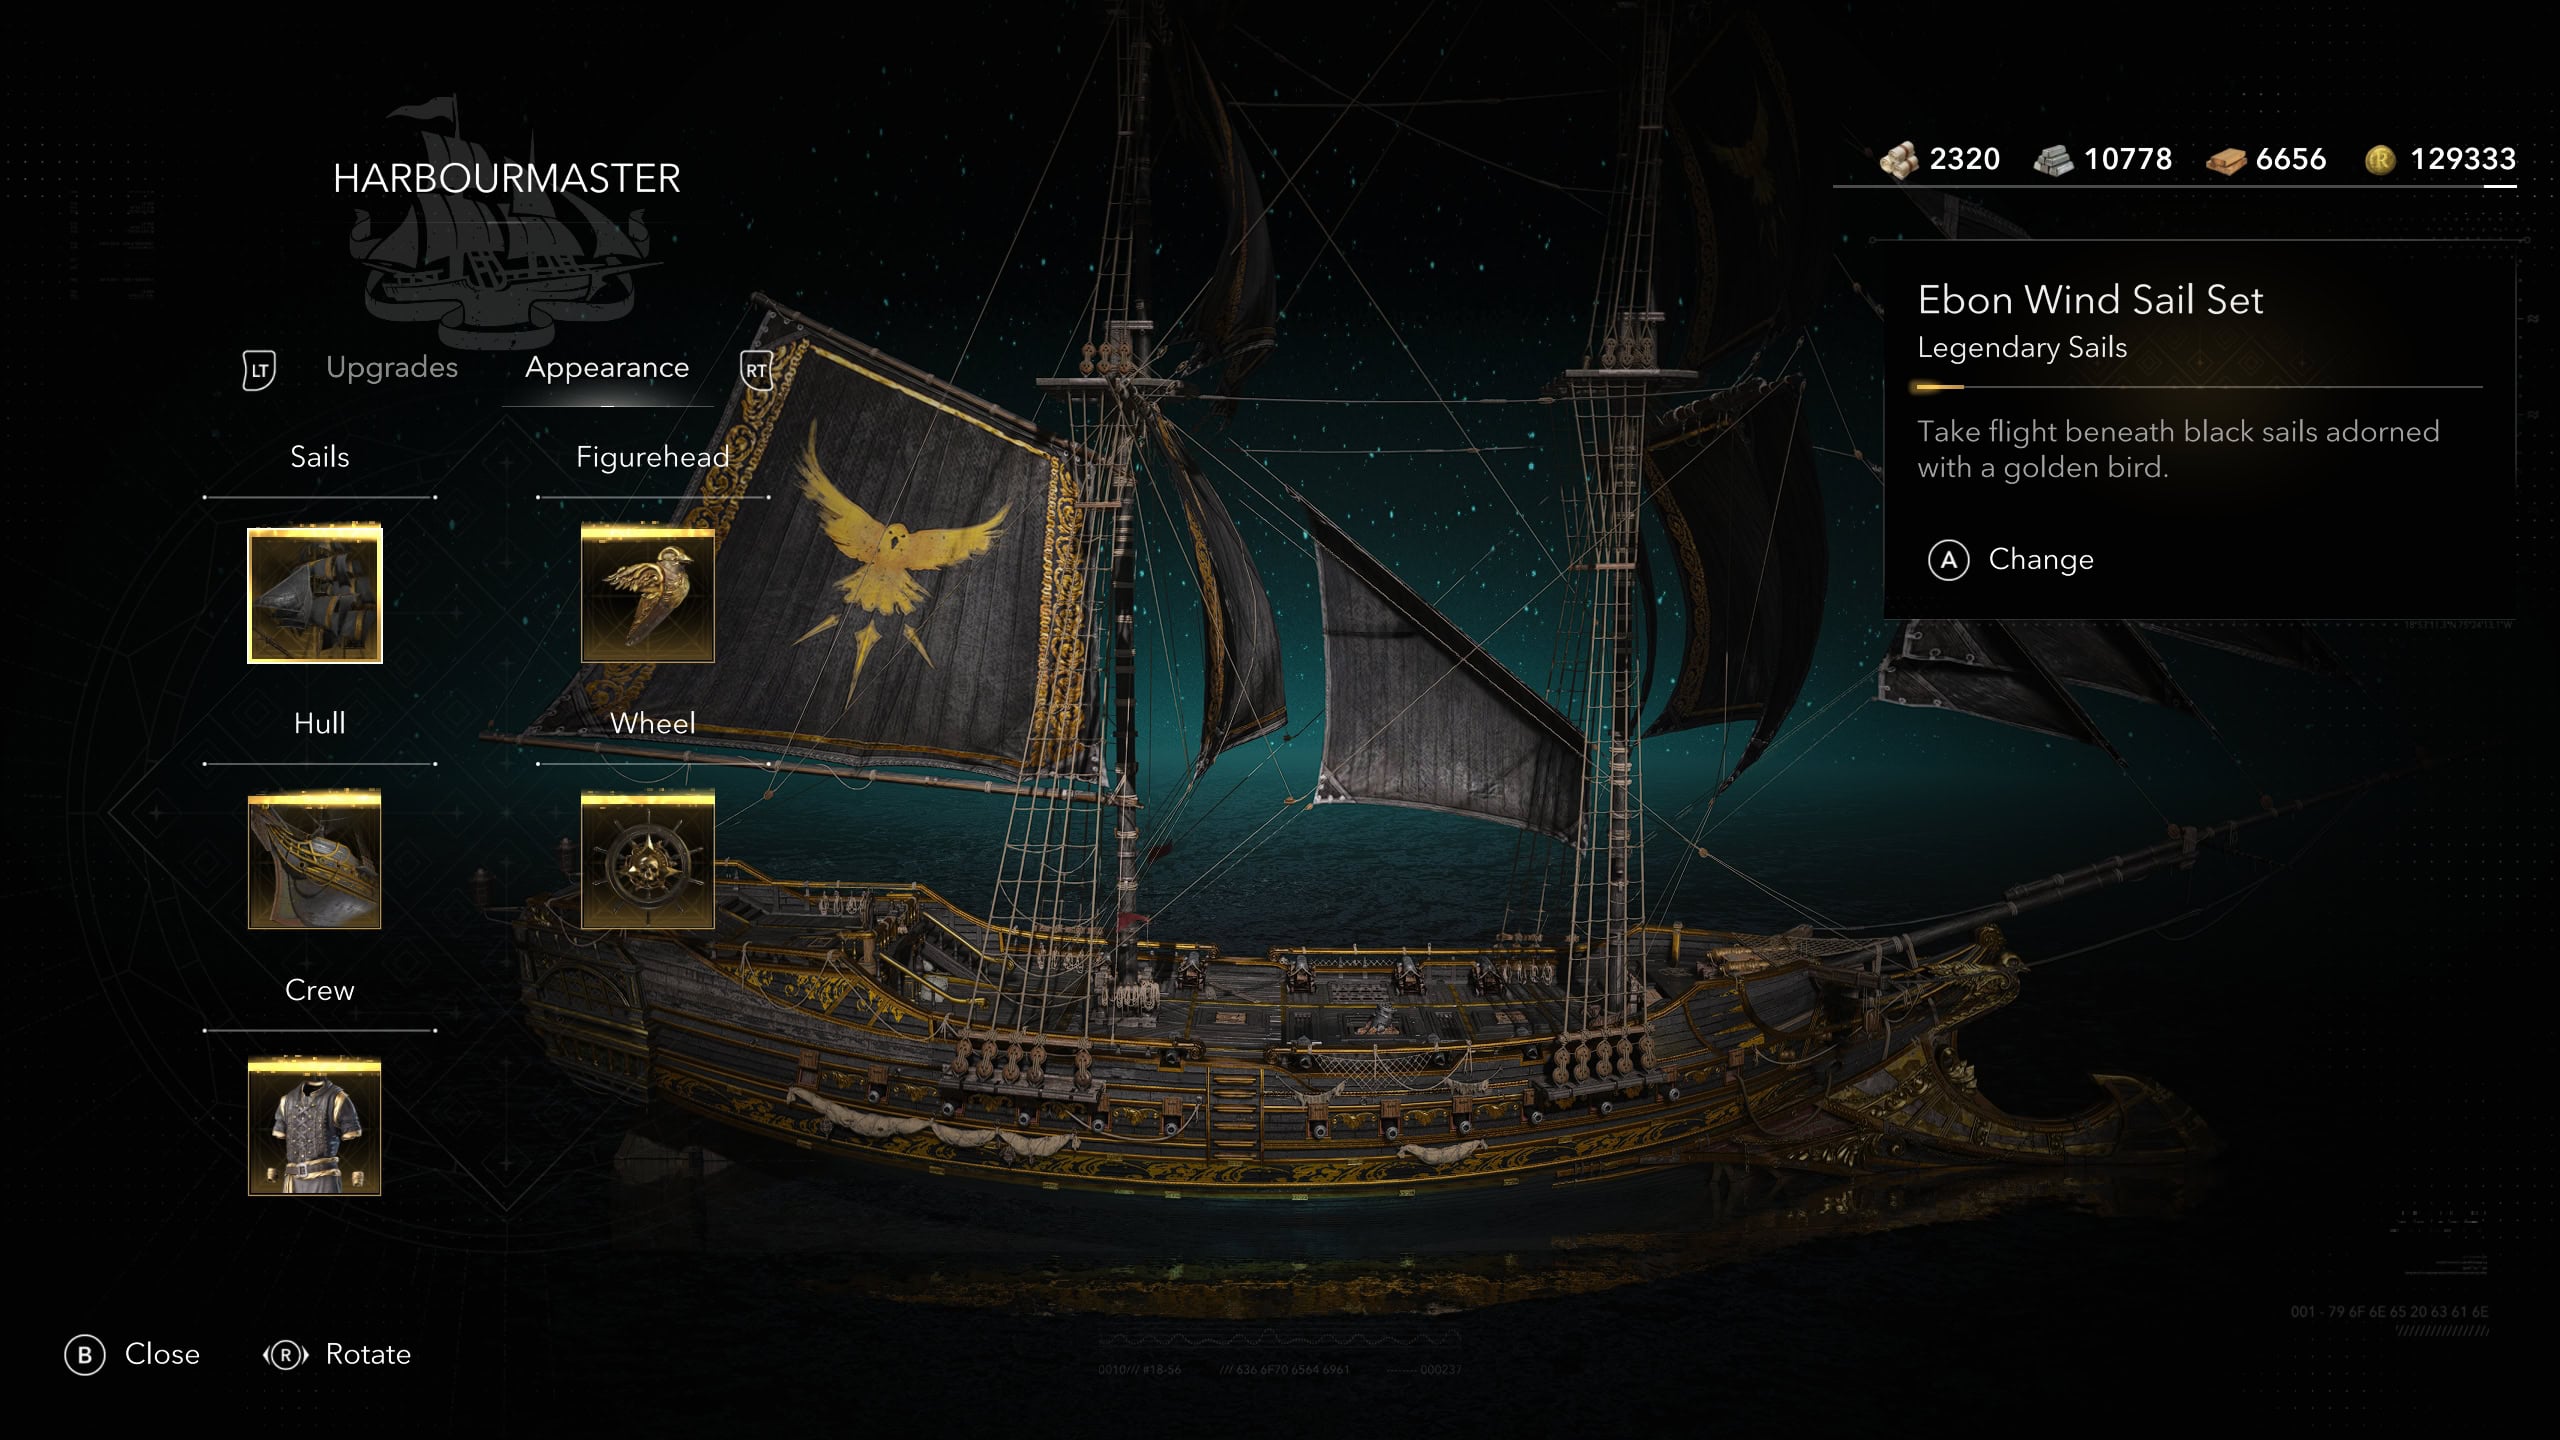
Pillaging ships and plantations with the best cannons money can buy is one thing, looking good while doing it is another. The Harbourmaster can not only upgrade ships, but can customize the Jackdaw as well!
You can purchase more and rarer customizations when you upgrade the Harbourmaster. You can also find them from treasure chests or in some cases, purchasing the Deluxe Edition of Black Flag Resynced.
Essential Upgrades to Unlock First
With so many options to choose from, it can be hard to choose which upgrades to focus on first. We recommend you to focus on Round and Heated Shot, Broadside Cannons, and Armored Hull. But there are several others you would greatly benefit from.
Related Achievements
Many of this game’s achievements are related to either upgrading the Jackdaw or completing challenging tasks with it. Here is a list of the ones directly involved with upgrading and sailing the ship to earn them:
- Devil of the Caribbean – You’ll need to defeat all Legendary Ship encounters: El Impoluto, HMS Fearless & Royal Sovereign, HMS Prince, and La Dama Negra.
- Dressing Overall – Equip new cosmetics in each of the Jackdaw’s vanity slots. You can buy the cheapest ones sold by the Harbourmaster or those available in the Animus Exchange.
- Hunter Hunted – Defeat a Pirate Hunter while at maximum Wanted Level
- King of the Castle – Capture all 11 forts.
- Not So Little Friend – Unlock the secondary firing mode on a Jackdaw weapon. The Double Shot is the easiest one by far. It is obtained after conquering Fort Dry Tortuga.
- Old Ironsides – Perform three Perfect Braces.
- Return The Favor – Use your Ram Dash ability against other ships that are ramming you.
- Ship This – Fully upgrade the Jackdaw – this guide explains everything you need to know to unlock it.
- Strike The Colors – Board a Lead Convoy ship.
- Unsinkable – Survive a rogue wave taken from the side.