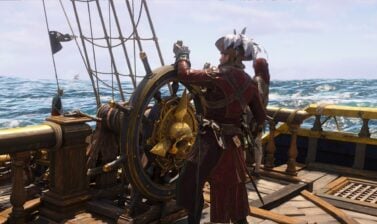
A complete main story walkthrough for Assassin’s Creed Black Flag Resynced. Includes step-by-step quests guide, tips, and Sequence breakdowns.
Use the Table of Contents, located in the left panel (top left button on the mobile menu) to navigate through this long guide more easily and quickly.
Intro: (Re)visiting the Caribbean in 2026
Assassin’s Creed Black Flag was originally released in October, 2013. With the Resynced remake launching 13 years later, you can explore and pillage the seas as Edward Kenway once more!
A lot has changed and has been improved since the last time Assassin’s Creed fans have been here. If you’re new to the series, it’ll be good to looking into tips to help you along the main story.
Spoiler Warning: This guide will feature spoilers for the Black Flag Resynced main story. Even though this game is 13 years old at the time of the remake’s release, spoilers will be kept to a minimum for the sake of those first witnessing the story of Edward Kenway.
In addition to finding long forgotten treasure, raiding store houses, and of course taking part in fun naval battles, Edward Kenway will be introduced into the conflict between the Assassins and the Templars.
To make this walkthrough easier for you to consume, we will focus only on the important parts, like locations you need to visit and NPCs you need to discover.
As this is a remake of an older Assassin’s Creed game, its quest structure is far more linear when compared to a newer release such as Assassin’s Creed Shadows. There are no dialogue options that give you different story outcomes.
The game is split into Sequences, which we list and detail at the end of this guide. Now, to the fun part, the first quest:
Edward Kenway
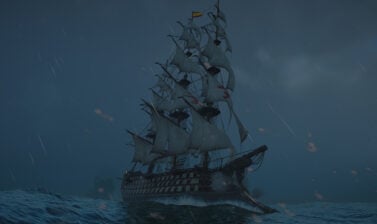
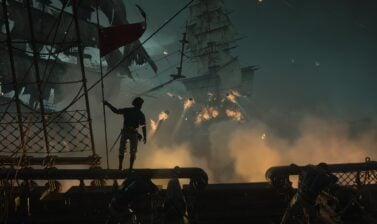
At the start, you’re immediately thrown into a naval combat scenario where you as Edward Kenway must sink enemy ships. This provides a quick introduction into Naval Combat as well as providing some backstory for Edward.
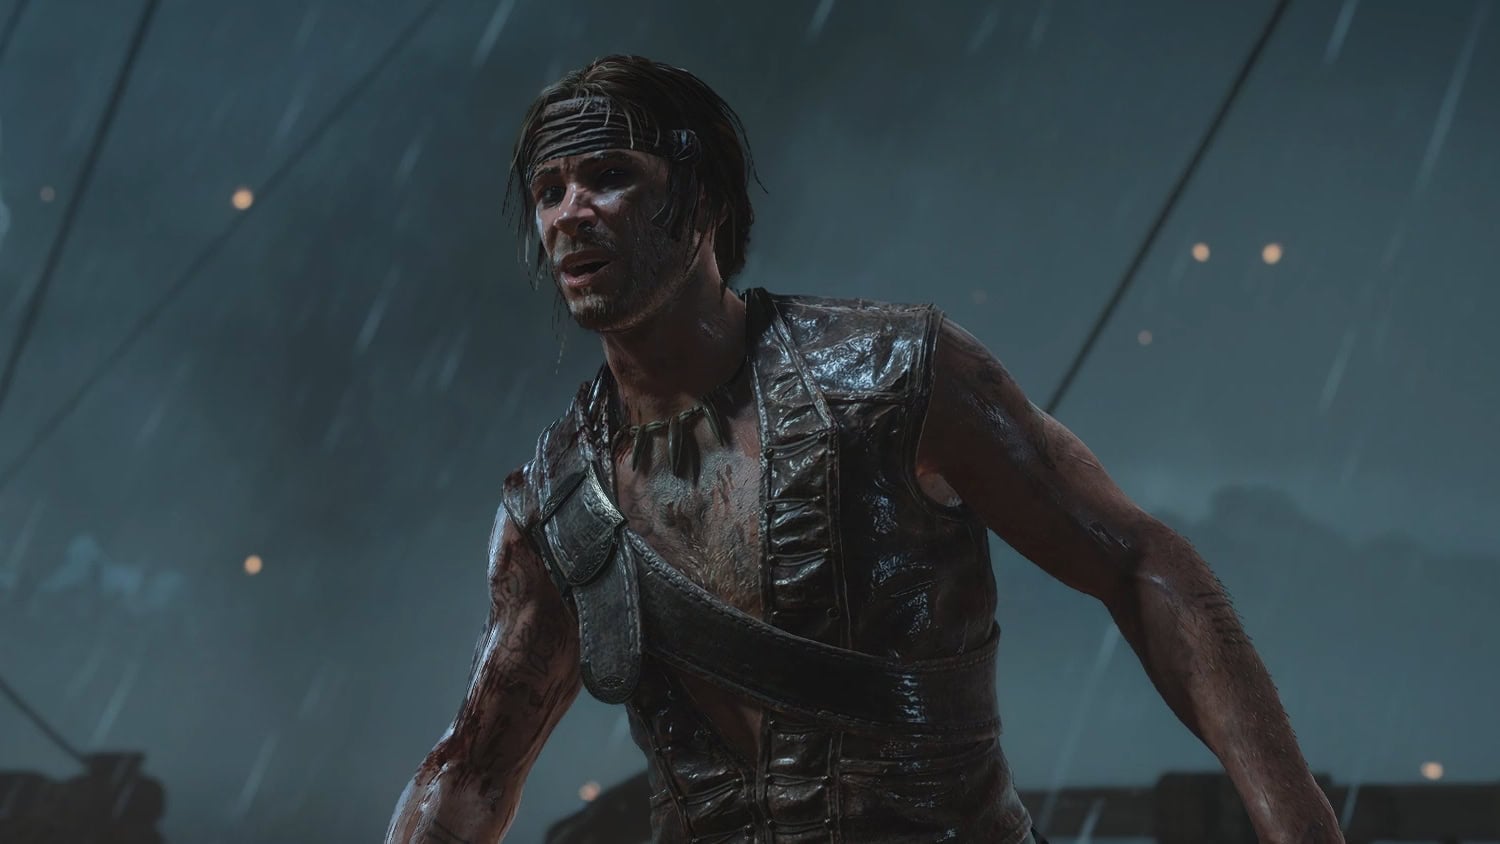
Shipwrecked and washed ashore on an island, Edward chases down a man trying to reach Havana. After acquiring a note and a mysterious glass cube, Edward decides to pose as Duncan Walpole in order to claim a reward for turning it in. Fortunately, he’s able to get a ride thanks to a trader named Stede Bonnet.
Lively Havana
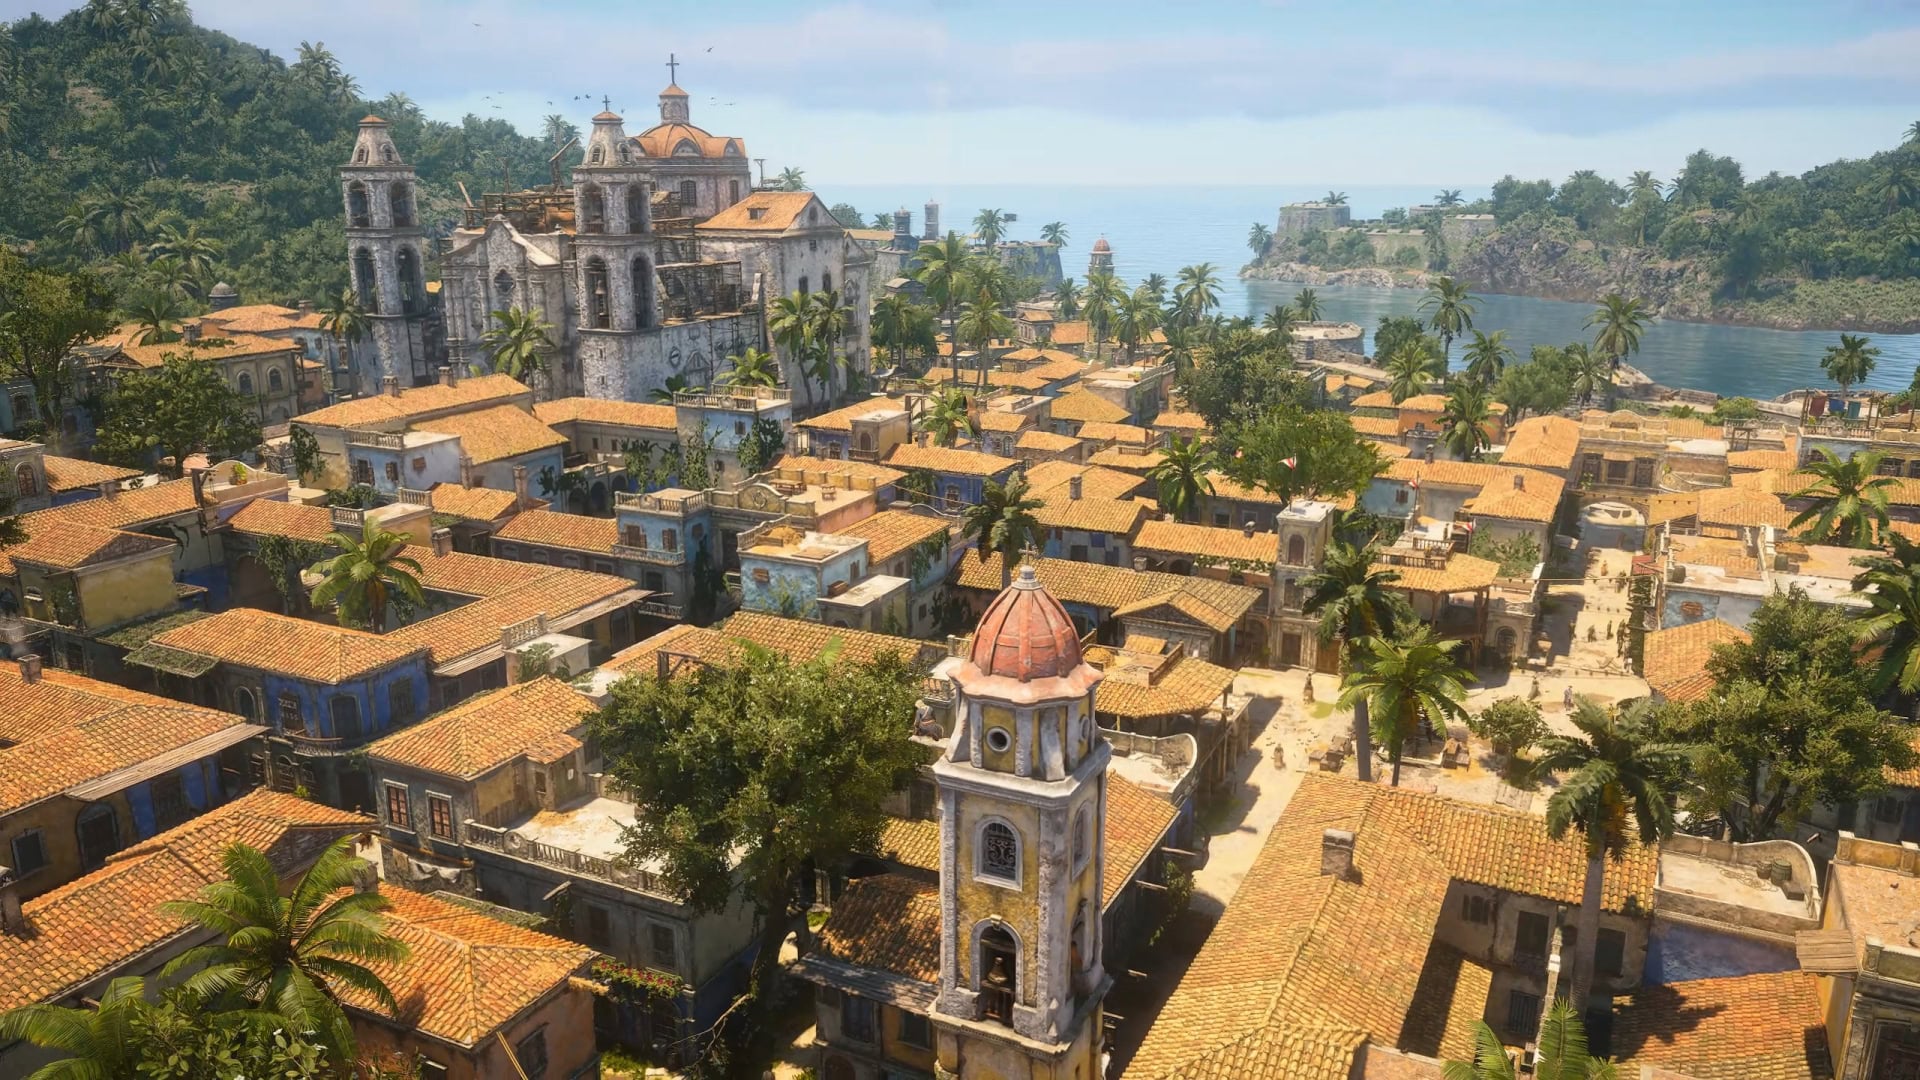
Edward and Stede dock at Havana to look for a local tavern. This level serves as a tutorial for purchasing gear from shops, using viewpoints to see your surroundings, and chasing down enemies.
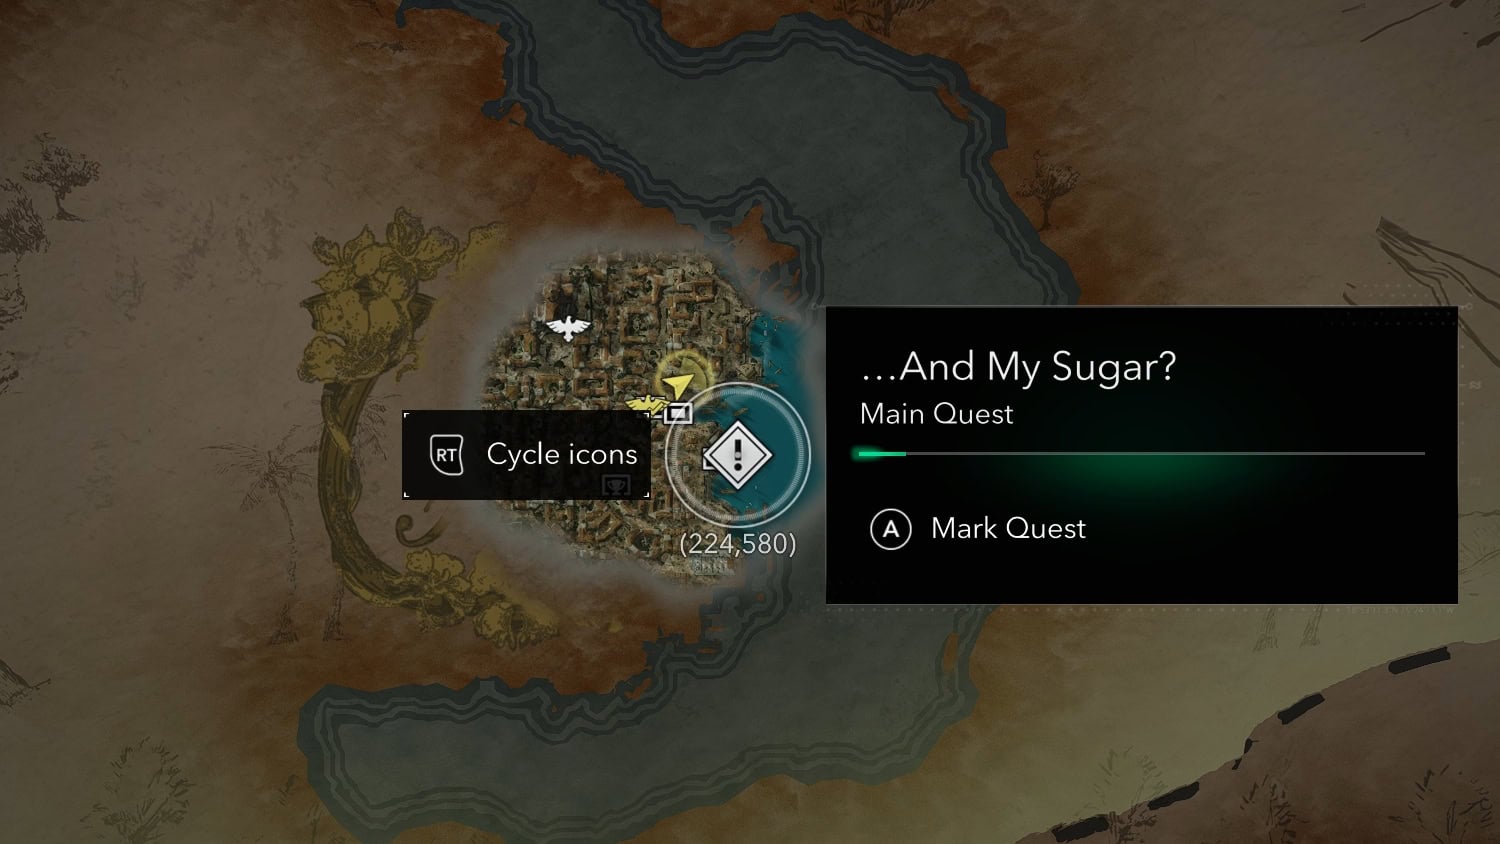
…And my Sugar?
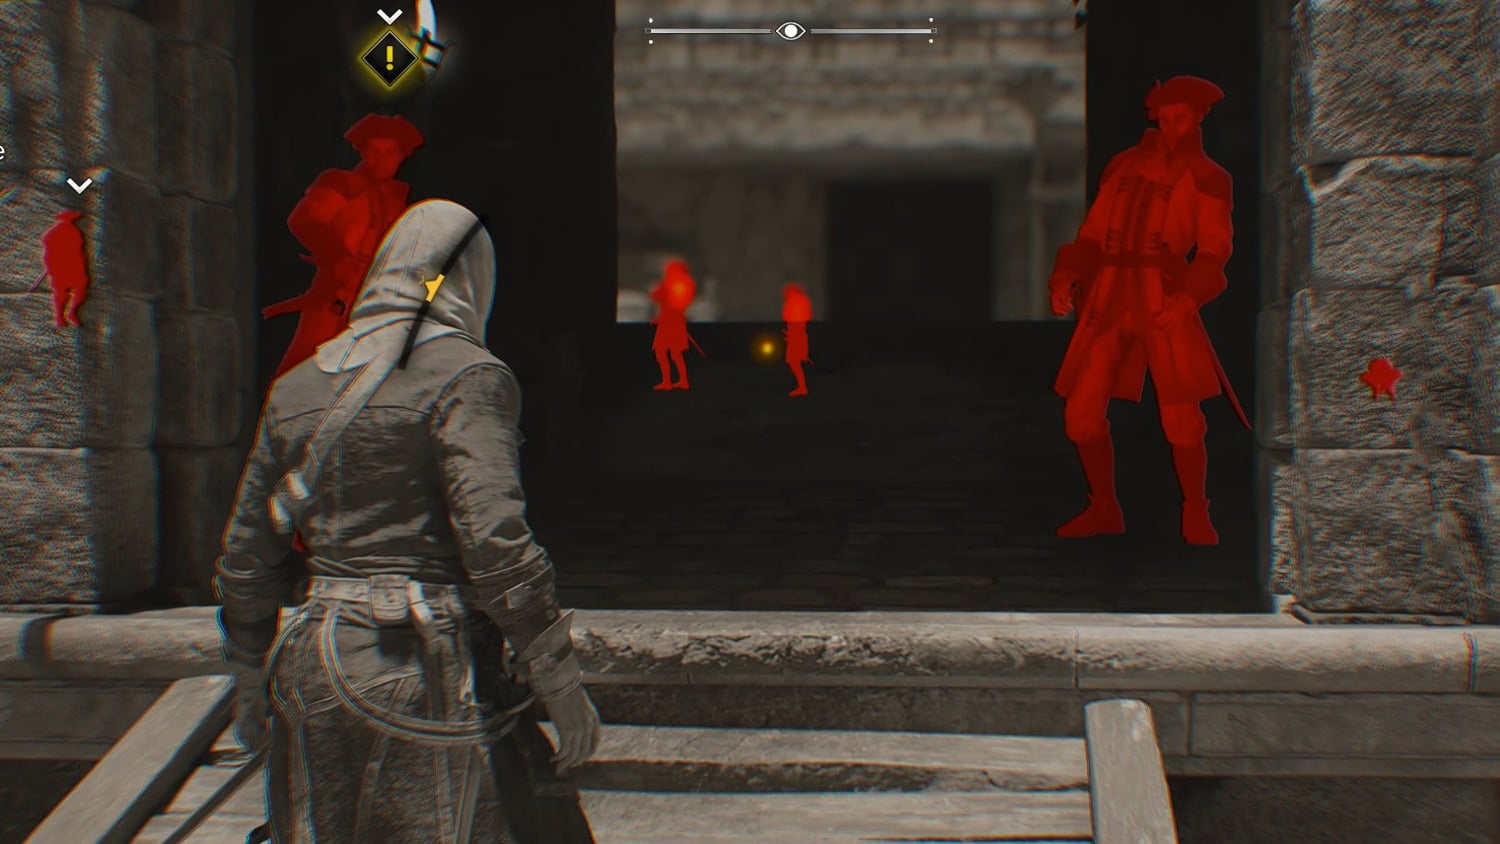
After Stede has his sugar confiscated by the Spanish, Edward seeks out to learn where the sugar (and more importantly, his own goods) are. This is a tutorial for eavesdropping and sneaking into heavily guarded areas.
Using your Eagle Vision will be very important in this quest if you want to safely navigate the Castillo. Use various hiding spots in the environment to avoid too much trouble.
Mister Walpole, I Presume?
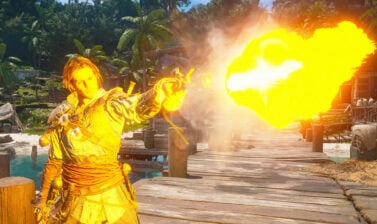
Edward seeks to turn in the mysterious cube for its reward. Here you’ll learn how to use pistols and the Assassin’s Hidden Blade.
In his search for wealth, Edward ends up getting mixed up in something far bigger than he could imagine at the time. But what really catches his attention is some great device known as “The Observatory”.
A Man They Call Sage
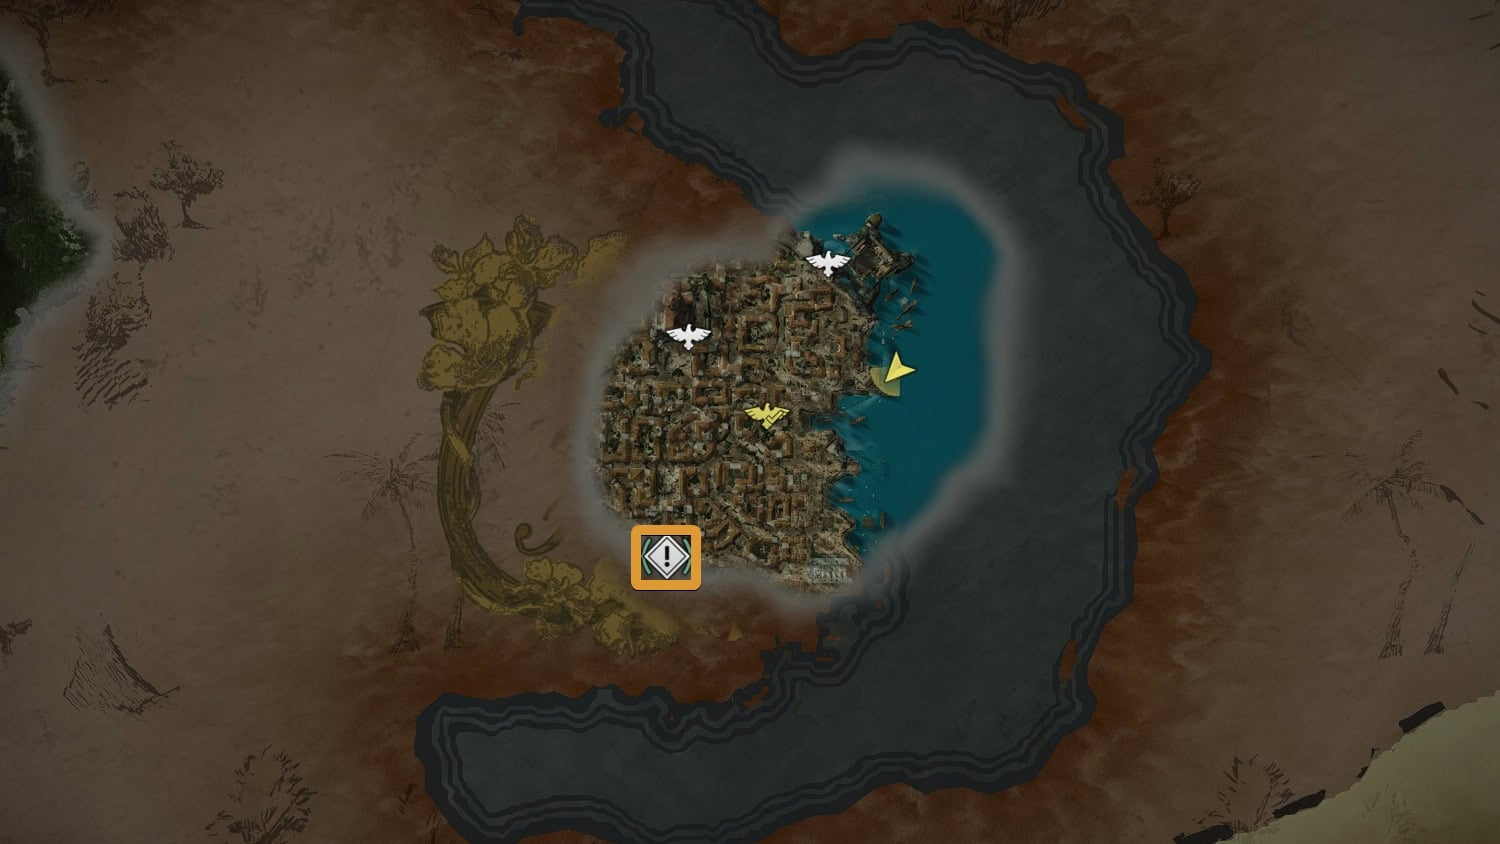
Edward and the Templars look for a man named Roberts, a Sage. Supposedly, the Sage is the key needed to enter the Observatory. Wherever the Templars are, the Assassins are likely to be around the corner waiting for their moment.
Claiming What’s Due
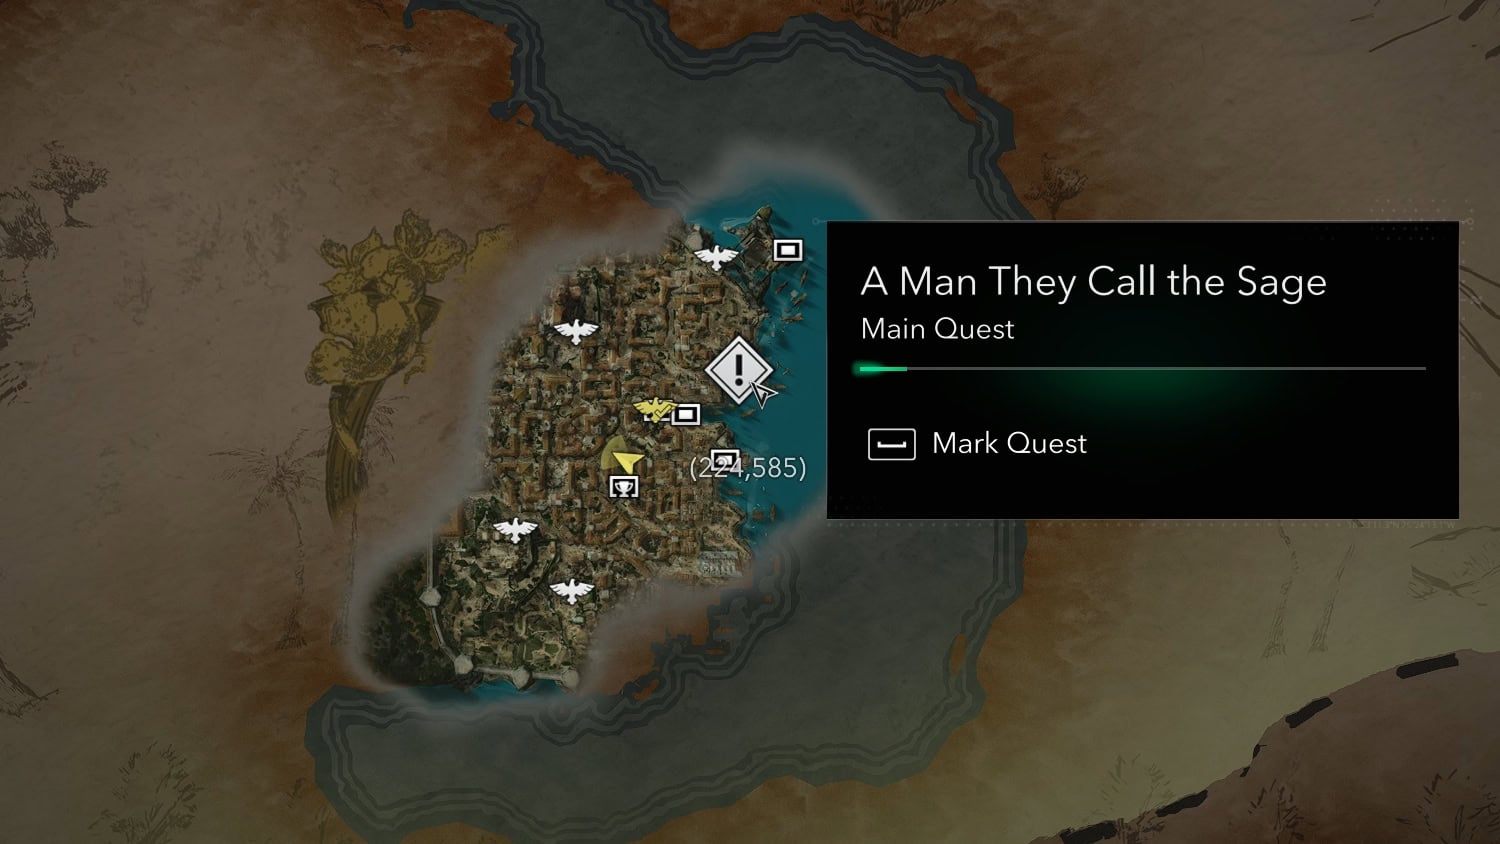
Feeling the reward was not worth the effort, Edward seeks to free the Sage from the Templars so he can claim the Observatory for himself to sell to the highest bidder.
This is another stealth tutorial with an emphasis on finding a key to unlock a door, as can be the case for raiding secured areas in the future.
The Treasure Fleet
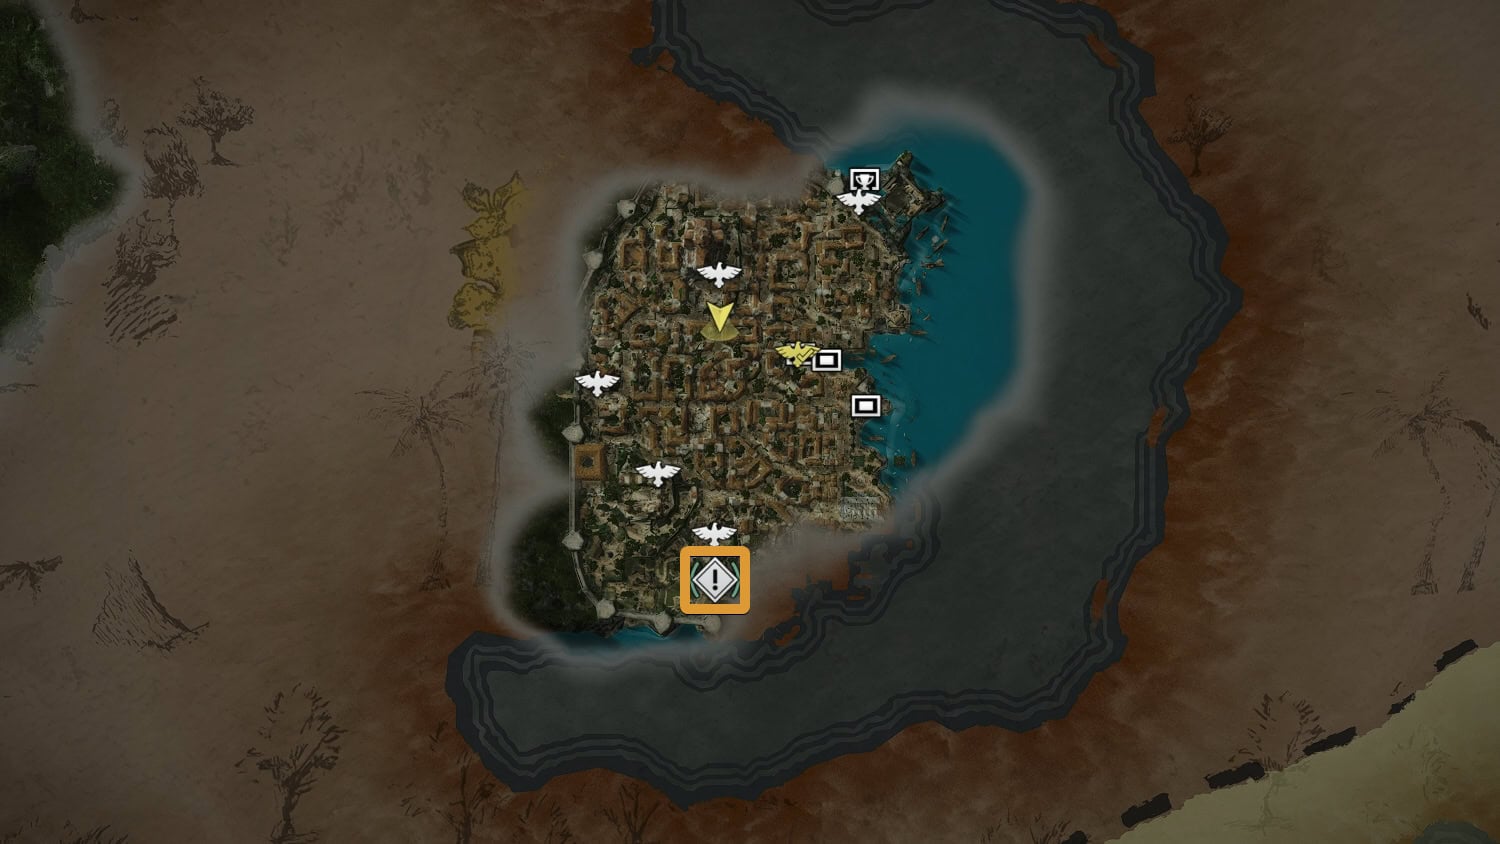
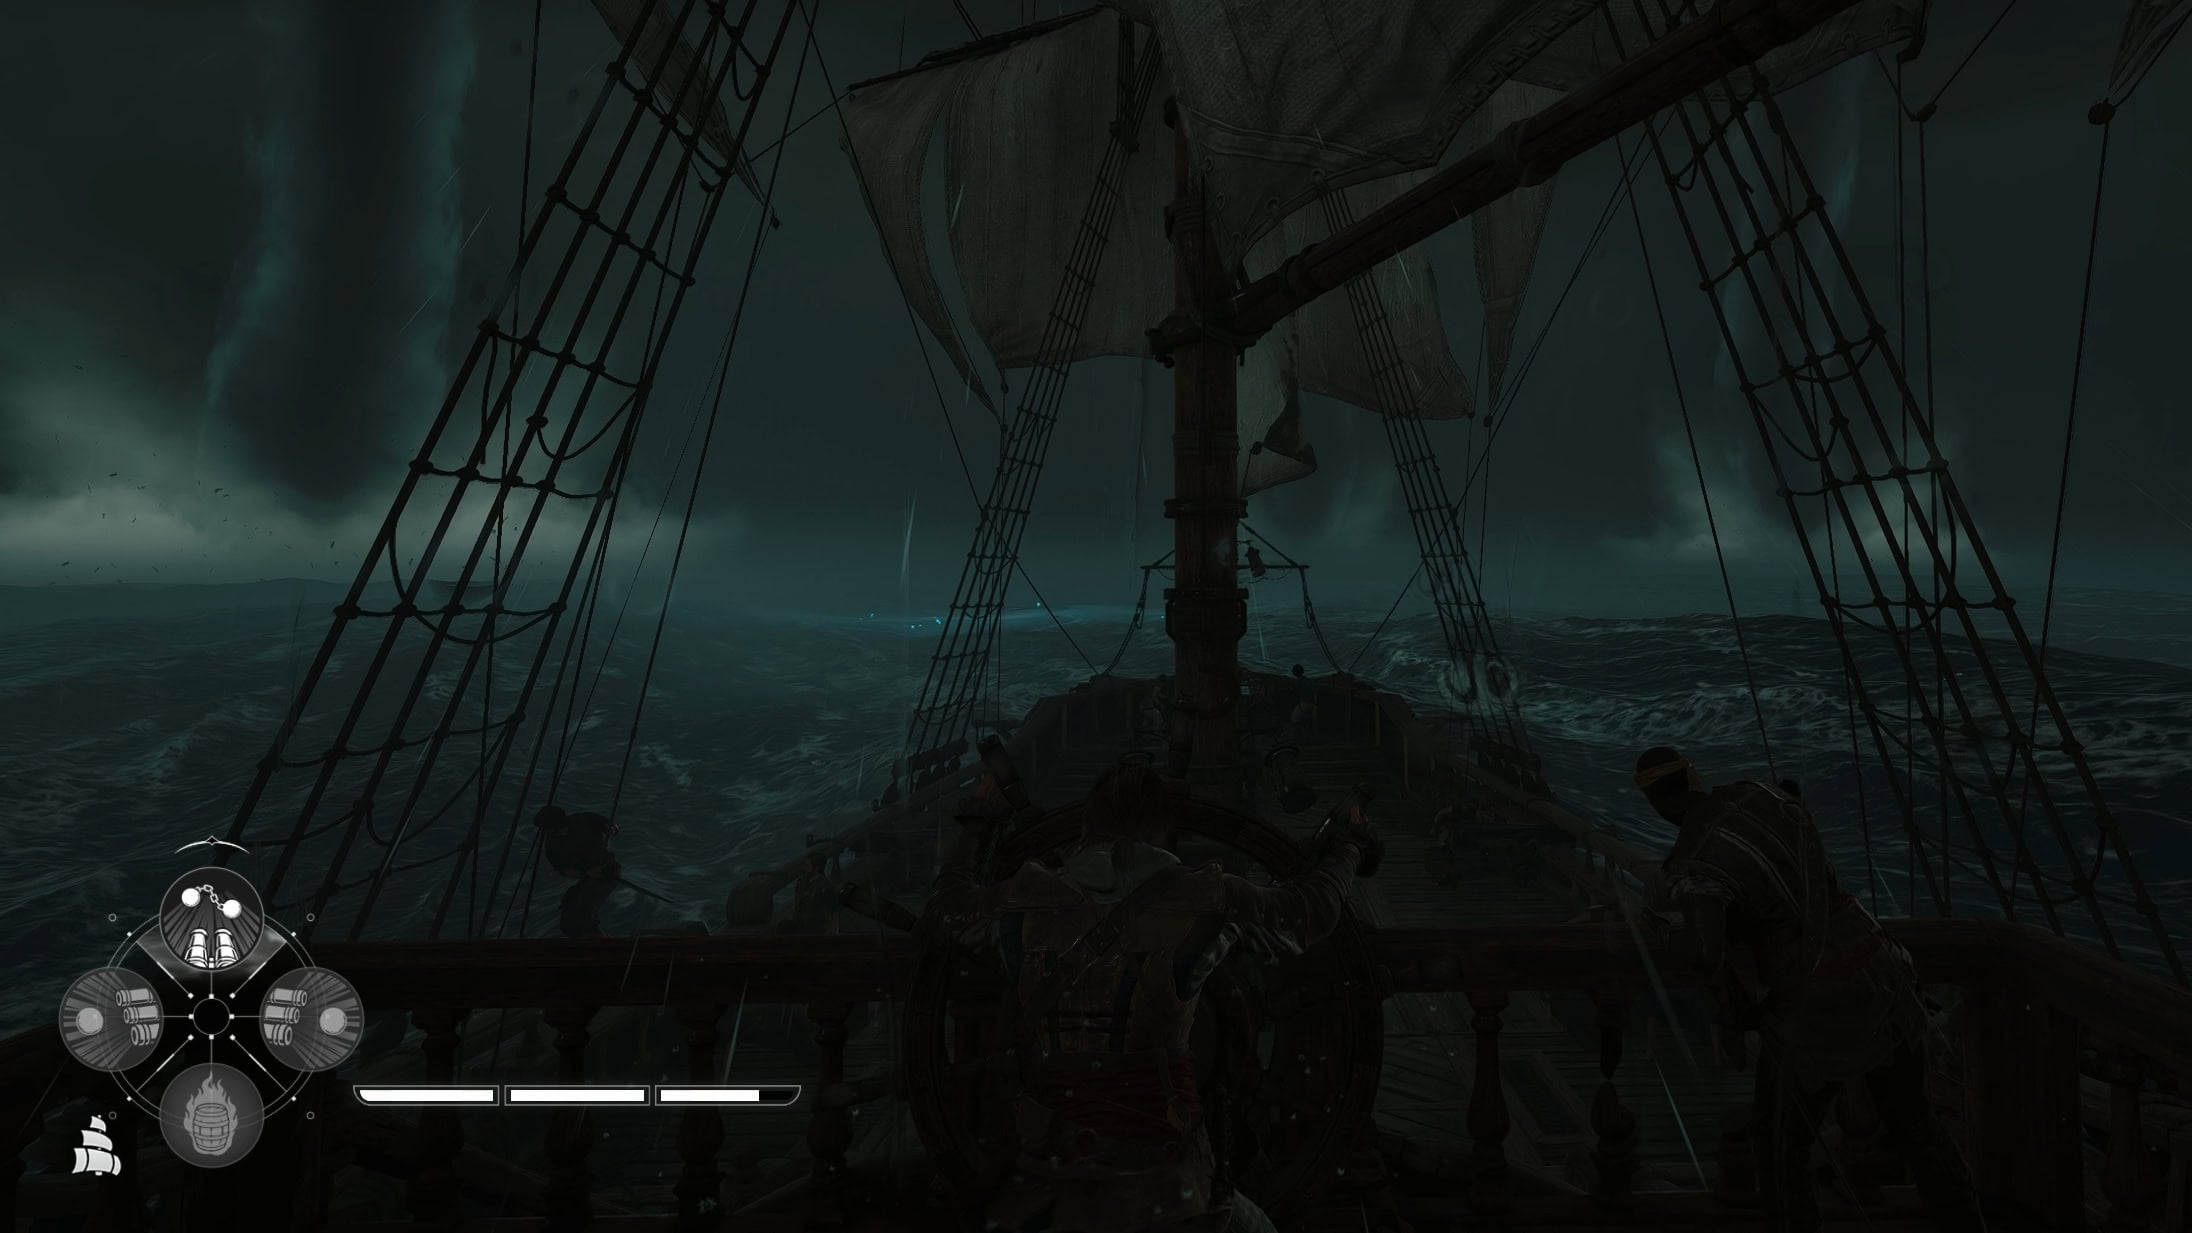
Things did not go as planned, so Edward must escape the Treasure Fleet with his prison mate. Together they take out the soldiers on the ship, free imprisoned pirates, and attempt to commandeer the Brig.
Here you’ll learn why you should never get too comfortable in the sea as Mother Nature can be unforgiving.
Avoid water spouts (water tornadoes), lightning that strikes bright blue circle areas, and take rogue waves head on by facing them as they come.
This Tyro Captain
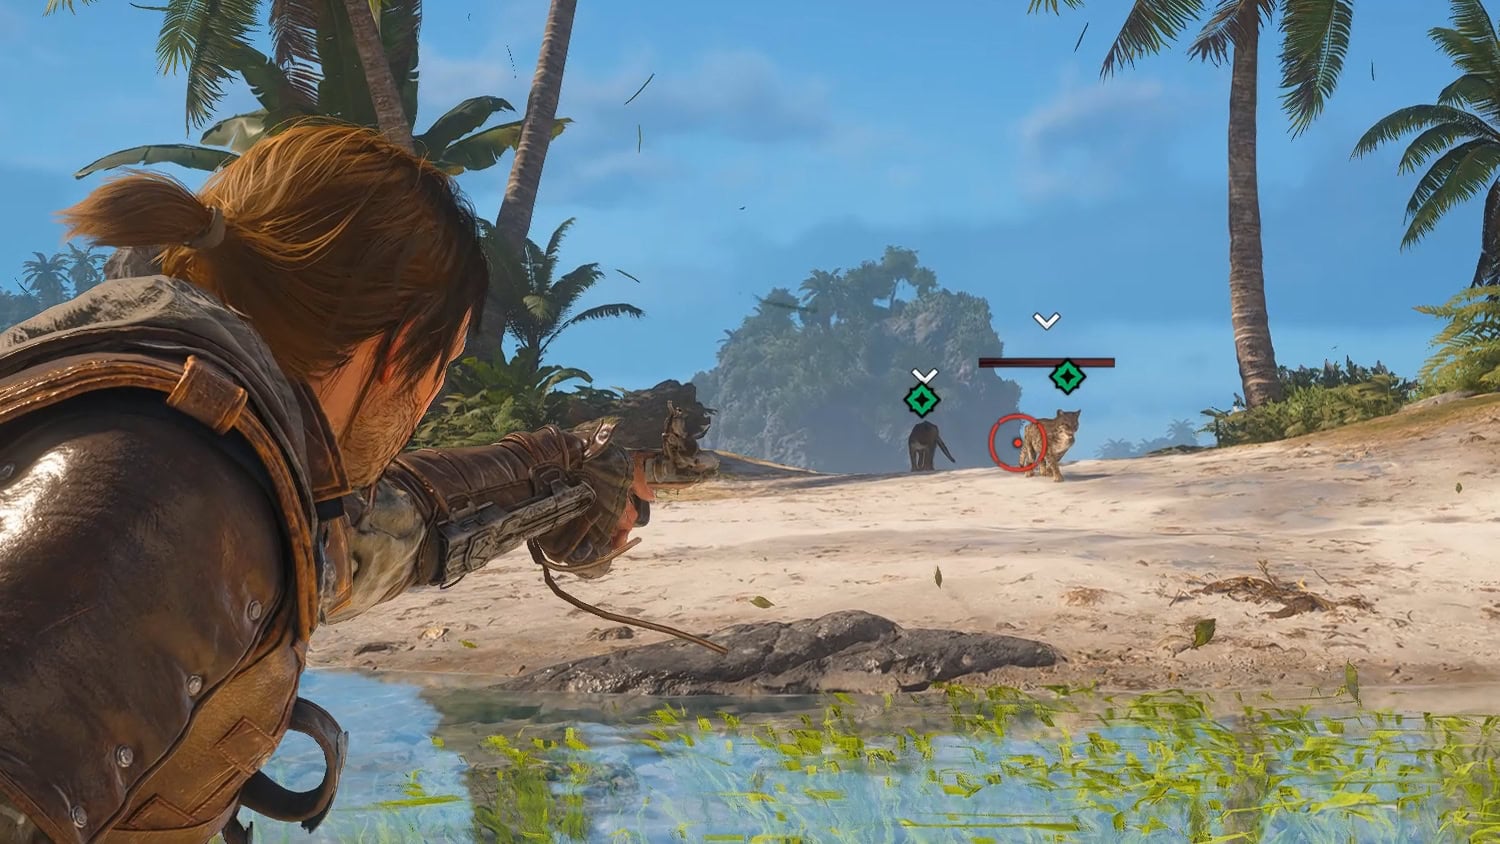
Having escaped the Treasure Fleet, Edward, Adéwalé, and the crew seek respite on Abaco Island. This level introduces Hunting, an activity you’ll need to do in order to upgrade your personal gear.
Now Hiring
Edward sails to Nassau, a haven for pirates, to reunite with some friends. You’ll be introduced to one crew recruitment strategy in this quest, by freeing prisoners.
Prizes and Plunder
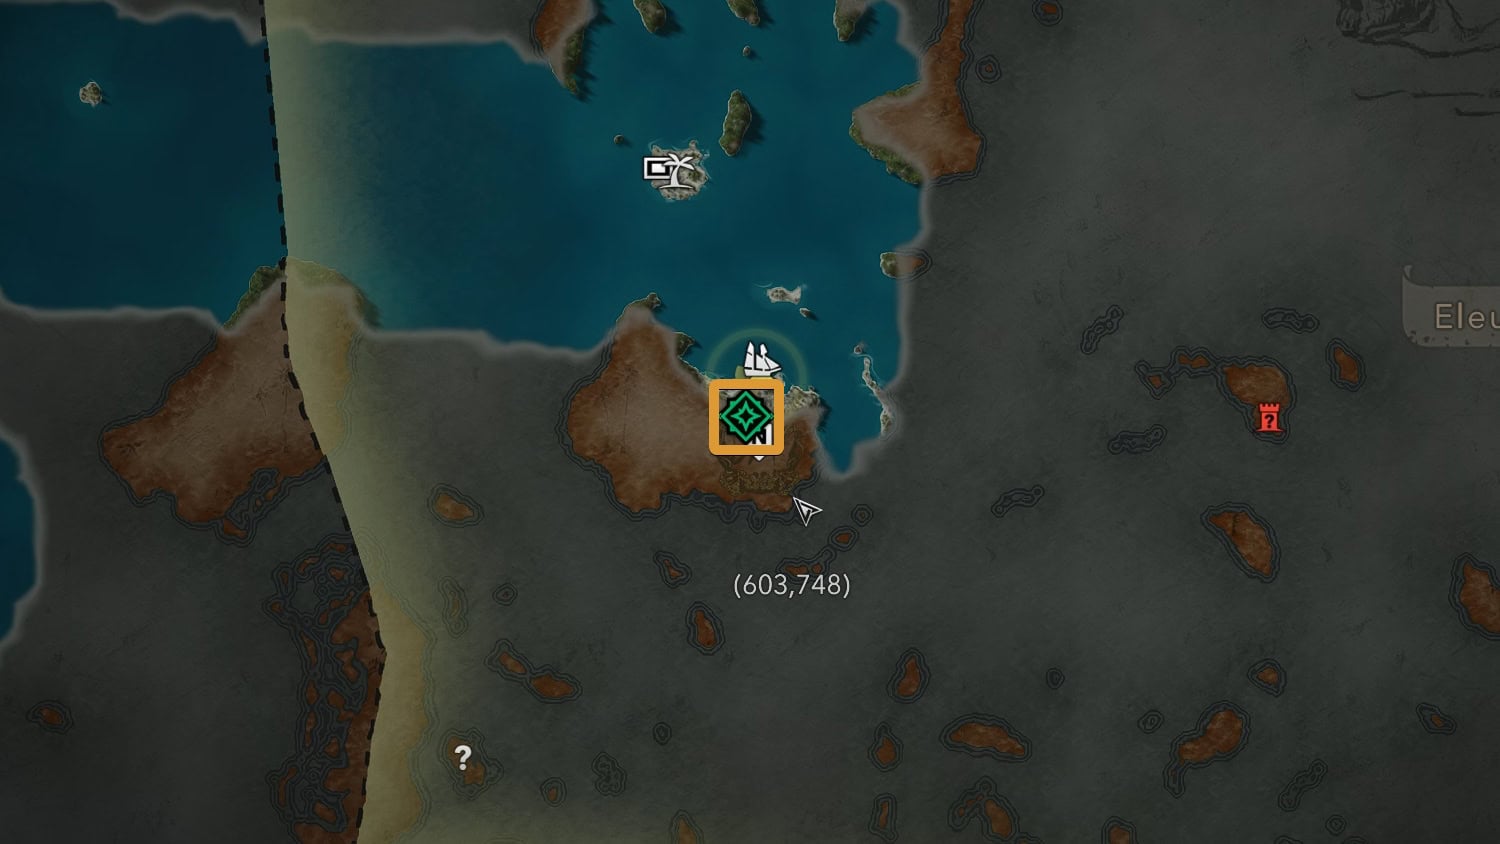
Edward and Hornigold decide it would be a good idea to plunder a ship. This quest teaches you how to incapacitate and board an enemy ship.
By boarding and capturing an enemy ship instead of sinking it, you can reap in far more loot. You’ll also learn how to upgrade ship components at a Harbourmaster vendor.
Raise the Black Flag
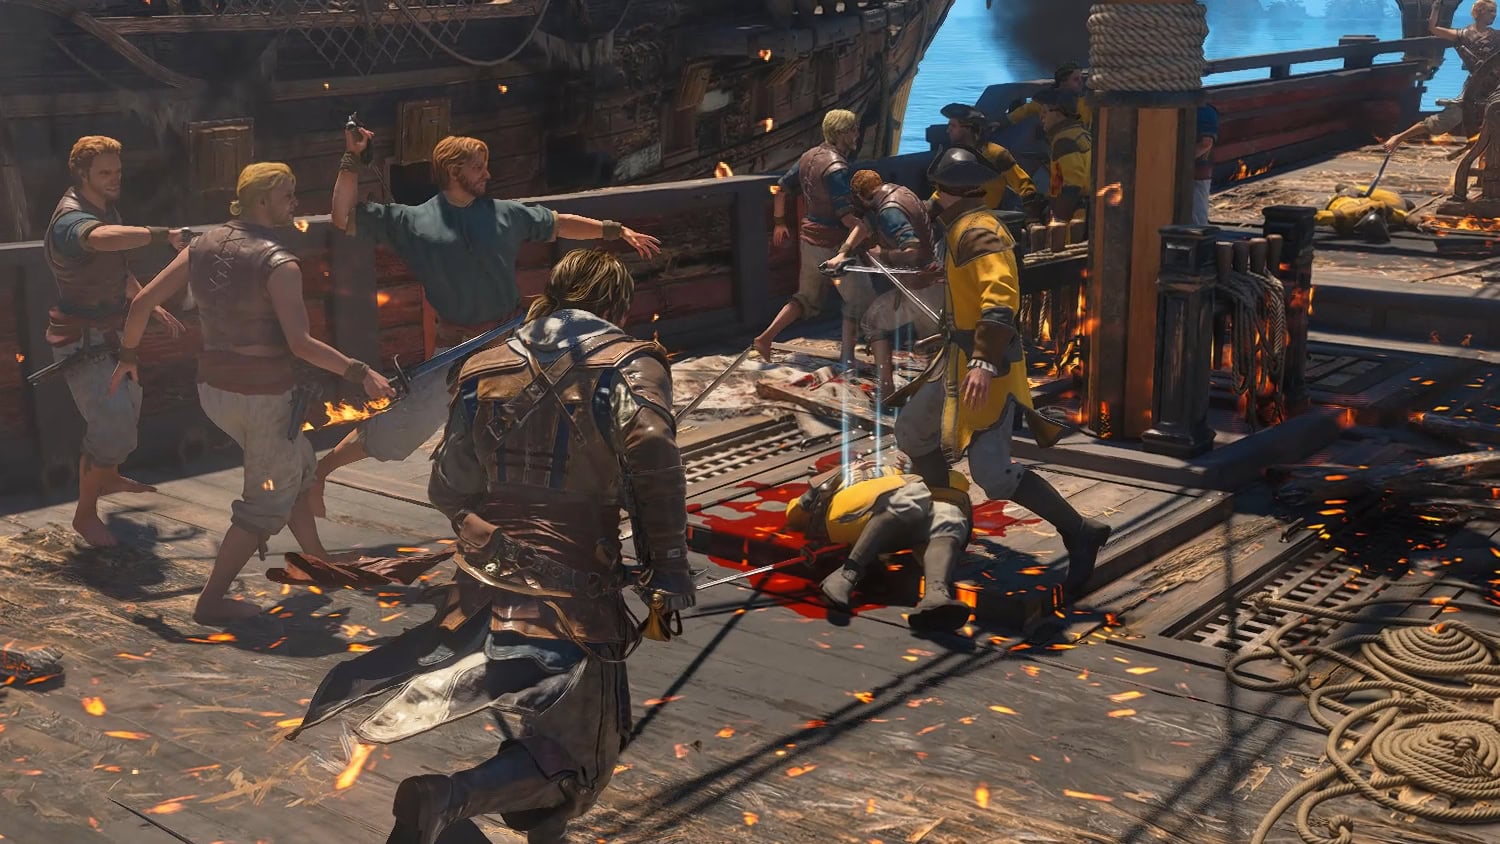
This quest is more of the same, getting some more practice in on boarding enemy ships for loot. You’ll also learn about the Wanted System and how gathering too much attention can attract Pirate Hunters to you. The higher your wanted status, the more dangerous the hunters.
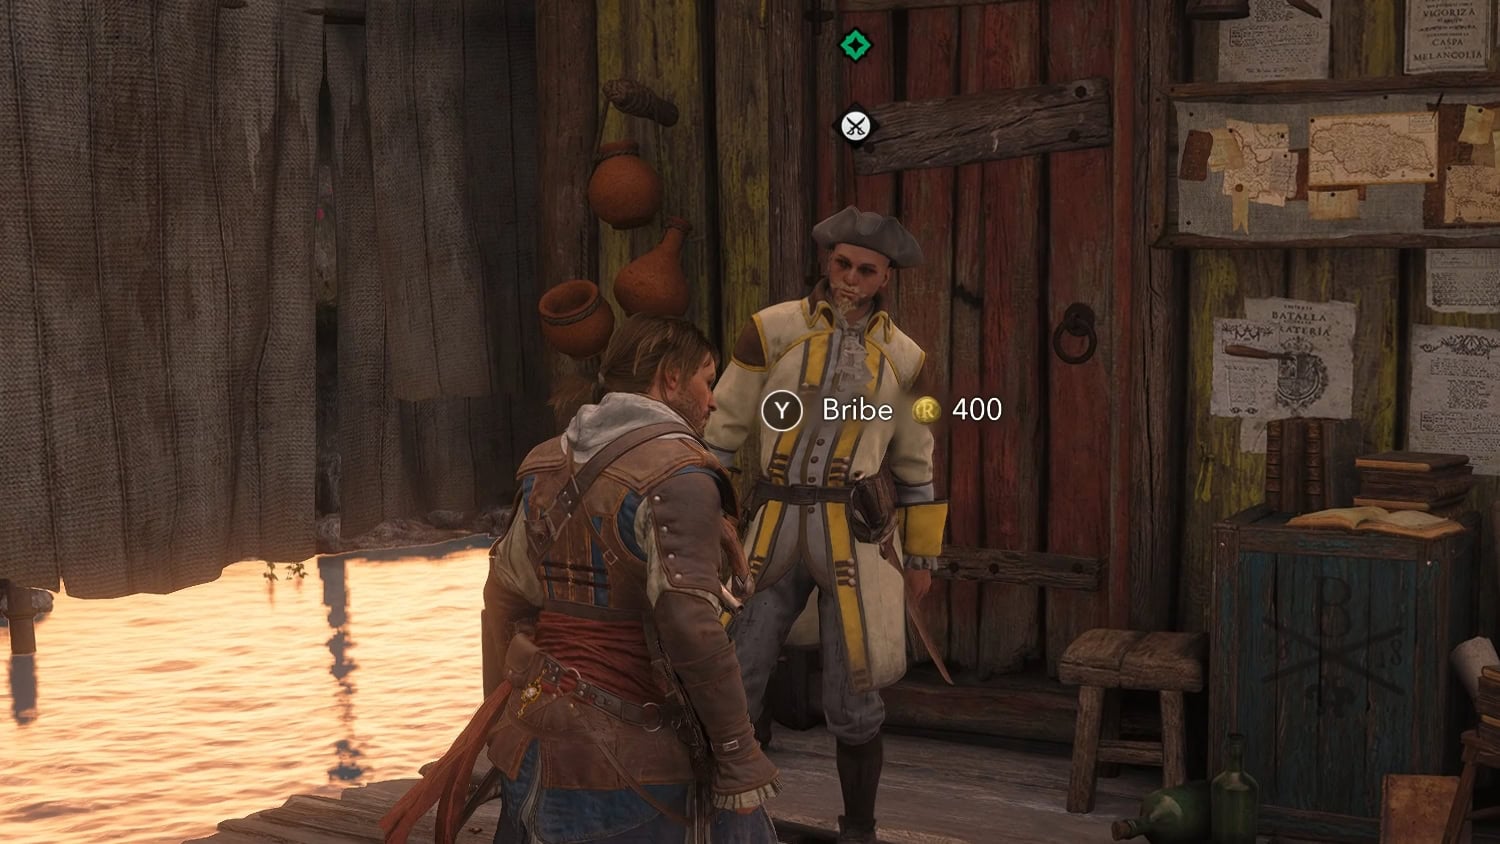
One way you can lower your wanted status is to bribe an officer. Though the more you’re wanted, the more this bribe will cost you.
Sugarcane and Its Yields
Edward and James Kidd seek to raid a plantation’s store house. In this quest, you’ll acquire the Rope Dart. This useful device can let you quietly hang someone from above, or pull someone towards you in combat scenarios.
It’s also good for interrupting ranged enemies as they take aim at you. Don’t ignore this tool as it’s by far one of the most useful!
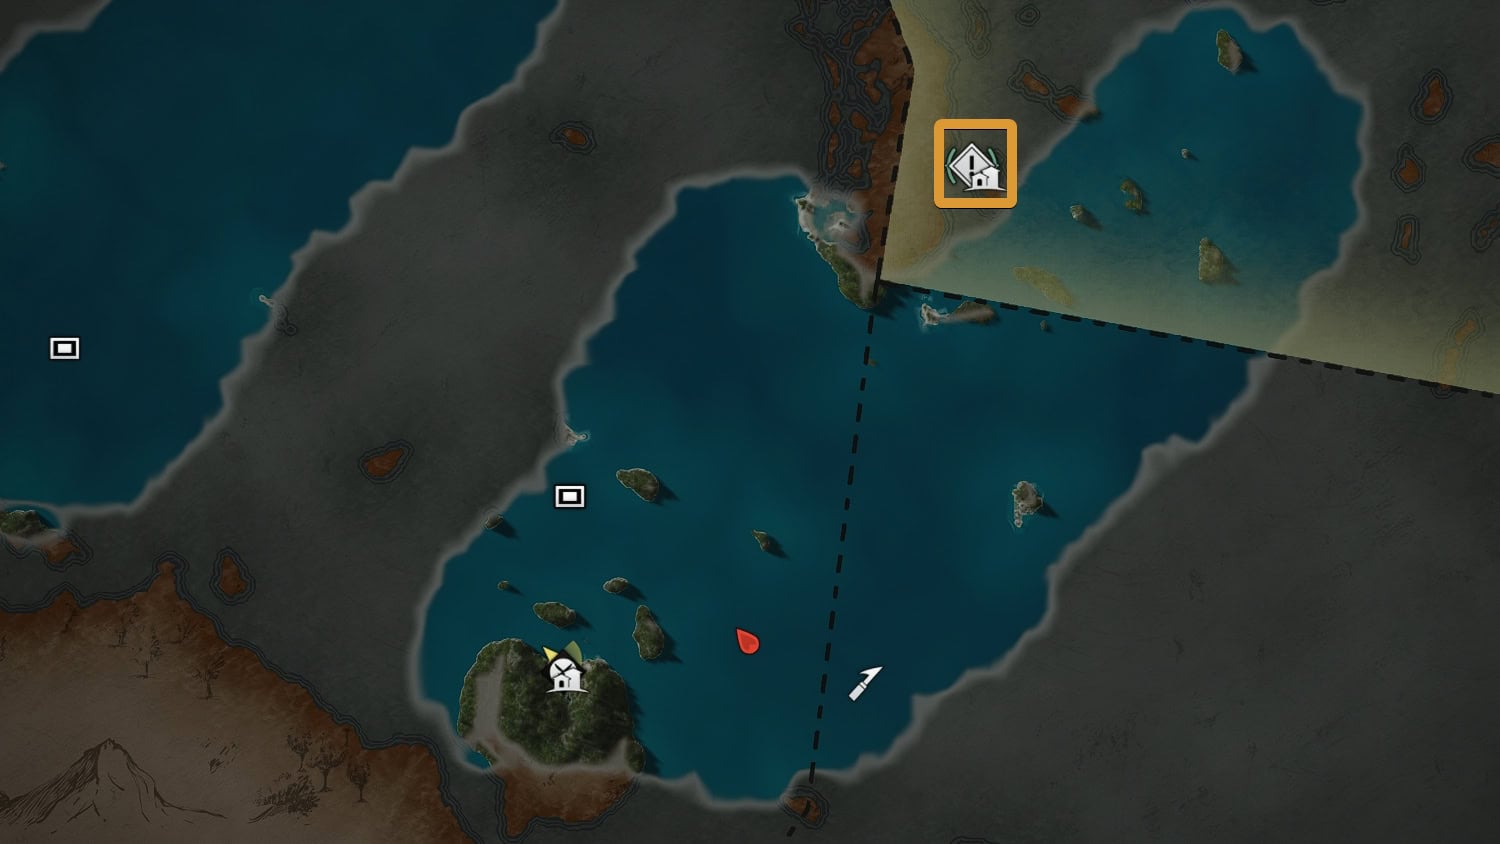
Raiding the store house of a plantation is a good way to loot trade goods and treasure such as art.
You can sell trade goods for a profit, or save them up for vendors that trade exclusively in trade goods. Though for the most part, you’ll want to sell them early on to get the funds needed to upgrade your ship.
Proper Defenses
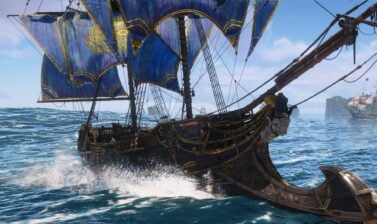
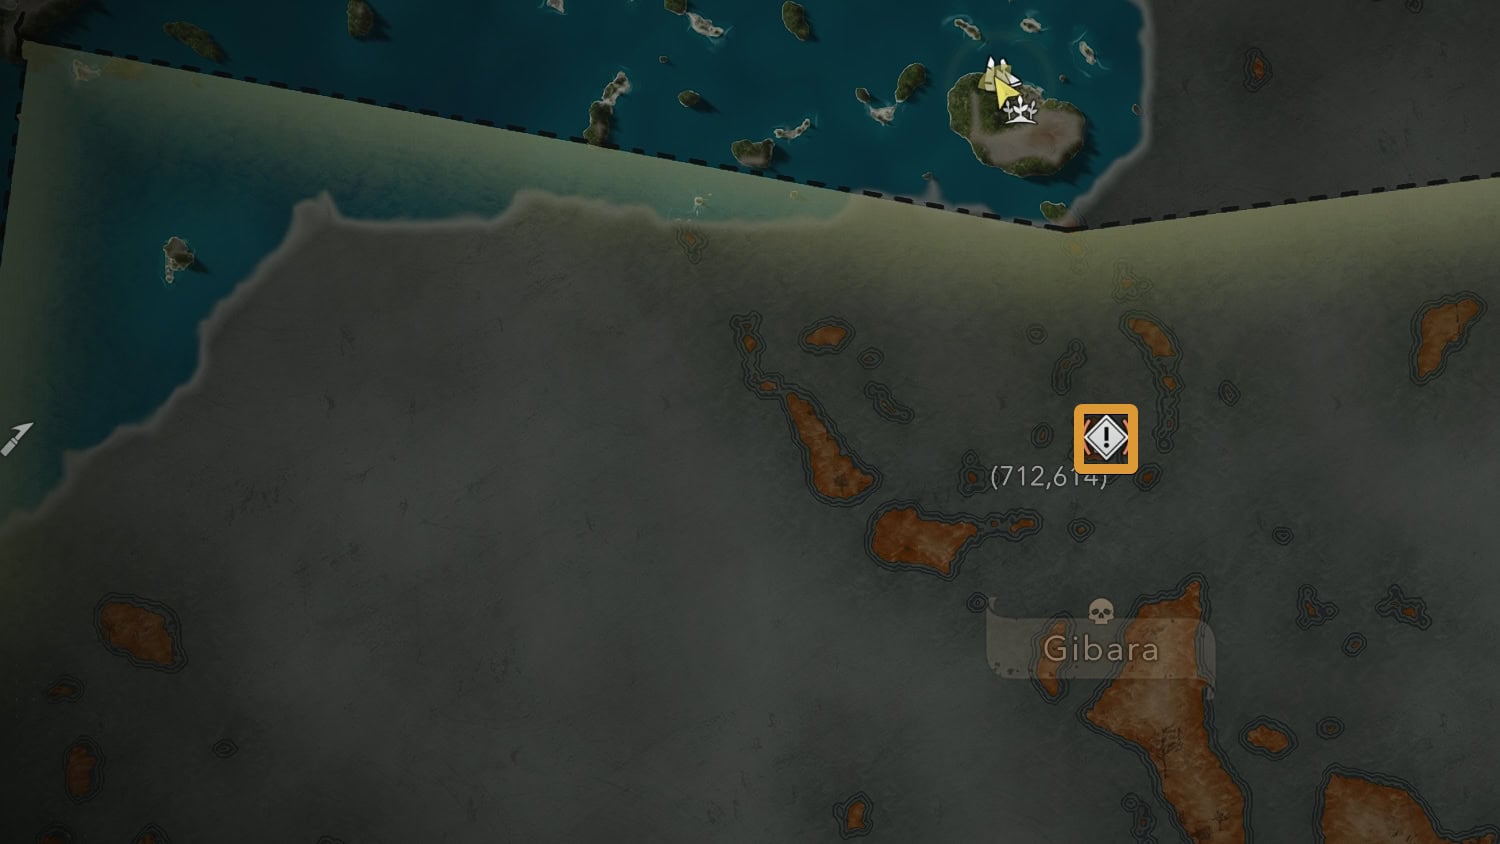
Edward gains a new weapon for his arsenal in this quest, the Heated Shot. This is an alternative weapon for your ship’s broadside cannons that provide more damage than the standard shot at the cost of having a reduced range.
A Single Madman
Needing to tie up some loose ends to retain anonymity, Edward looks to assassinate Julien du Casse. This Templar has defeated many Assassins, and he will prove to be a tricky opponent as he dodges your every swing and shot.
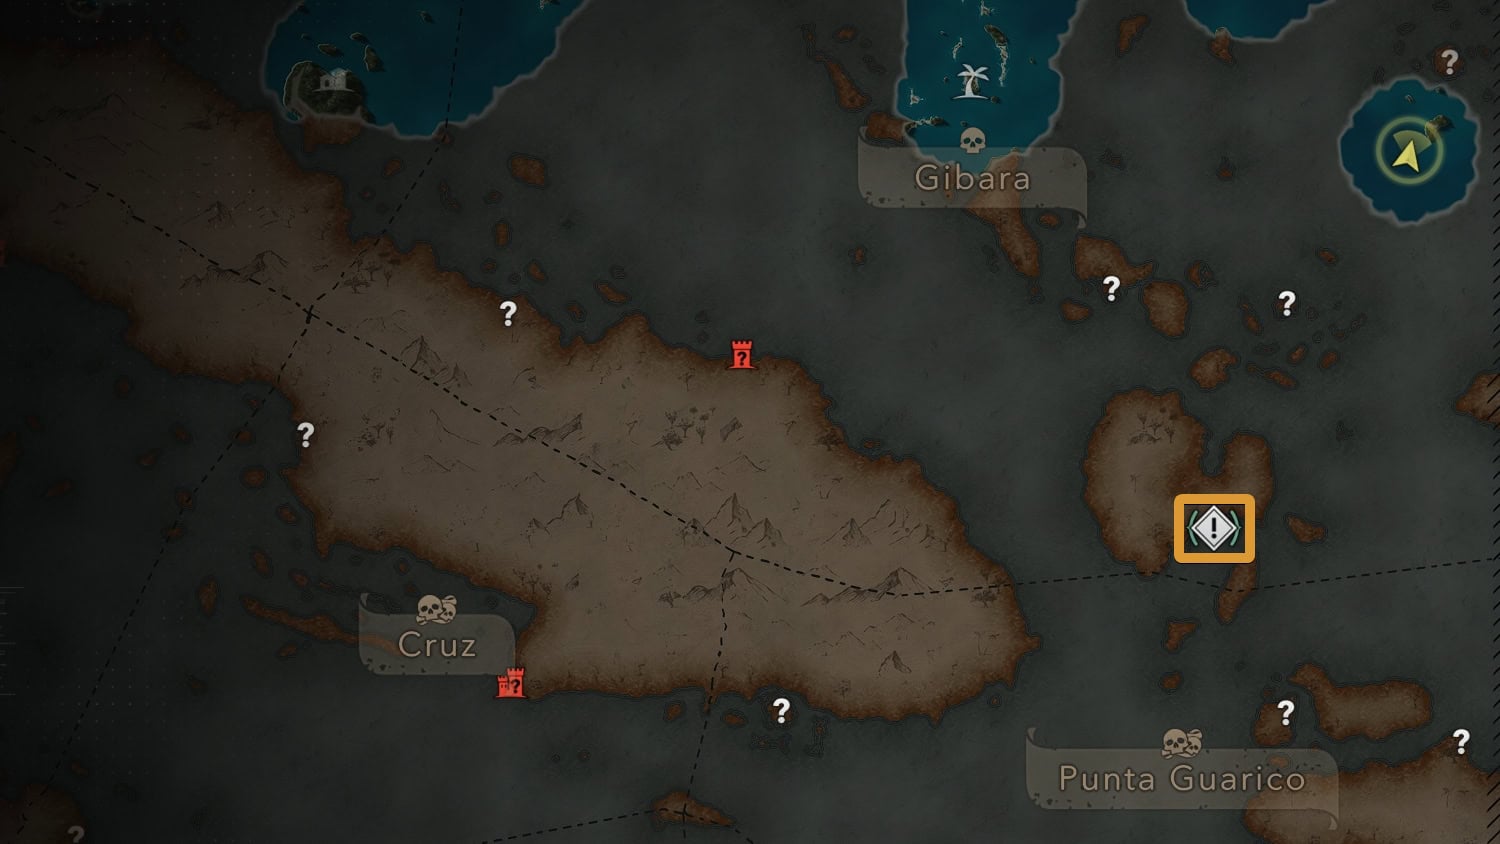
You’ll need to find a way to defeat him, just make sure that your plan doesn’t blow up in your face (hint hint).
This Old Cove
Edward and Kidd explore Great Inagua and find a Mayan Stele where he must use his keen senses to solve a puzzle. This allows you to collect one of 16 Mayan Stones.
Collecting all 16 Mayan Stones will also complete for you the side quest, “Mayan Mysteries“, which will allow you to get the Legendary Mayan Outfit and Yax Tun Pendant.
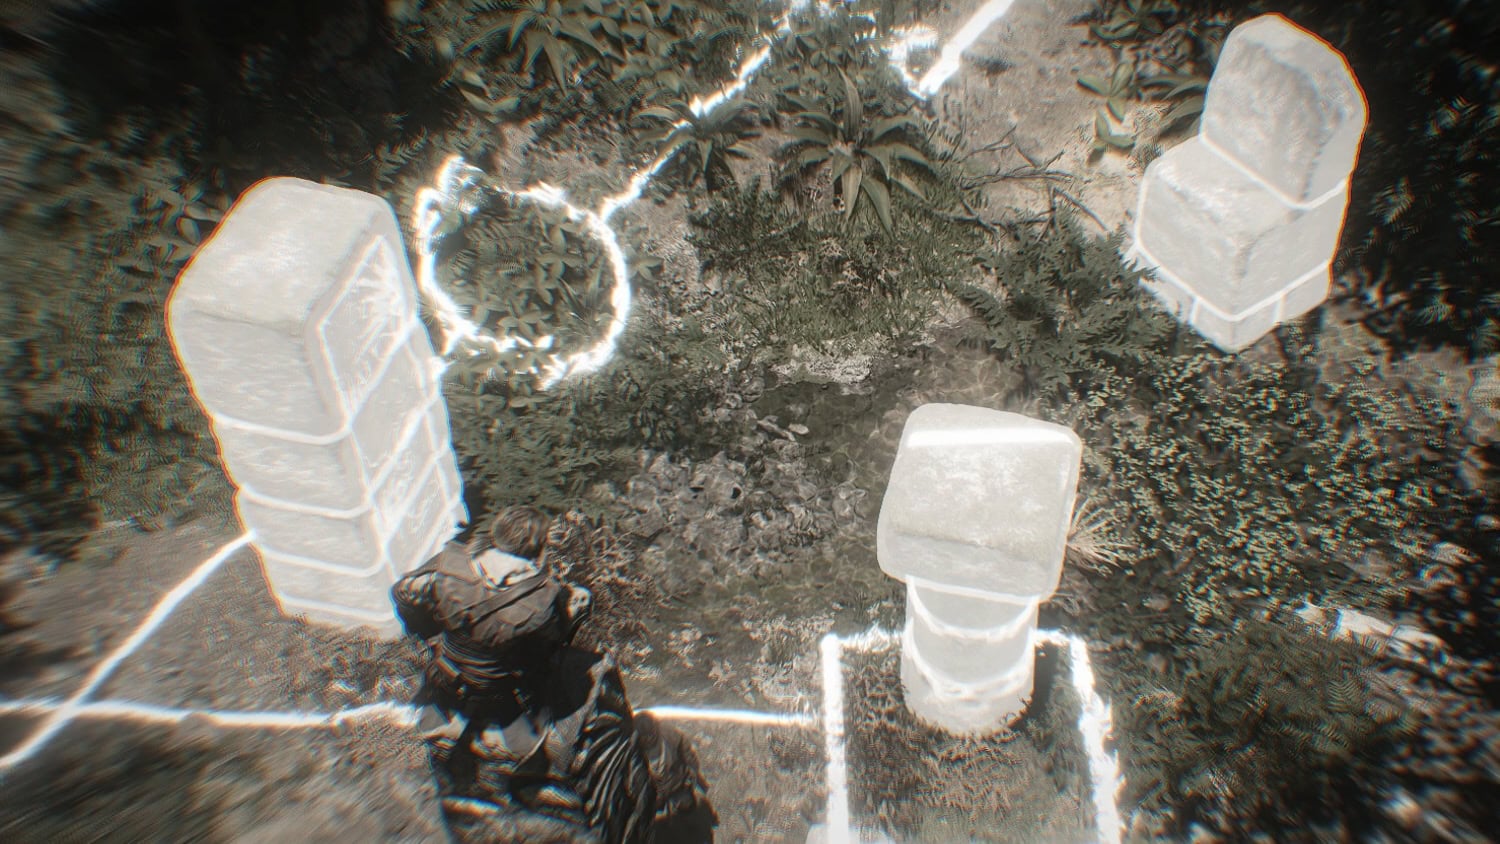
You’ll then be led to the Manor on Great Inagua where you’ll learn about a series of locks with keys that can only be found on Templars.
You’ll need to hunt down four Templars to get the remaining keys to unlock the door and acquire the Templar Armor.
Additionally, you’ll learn that the butler of the manor will pay handsomely for any of his former master’s lost art collection. Additionally, you can now upgrade the manor and your hideout on Great Inagua. This is useful to unlock vendors and perks to help you on your adventure.
Finally, you’ll be able to seek out and recruit a Master At Arms and a Shipwright for the Jackdaw. It’s very much worth the effort to do as these Officers unlock new abilities for the Jackdaw that’ll aid in naval combat.
Nothing is True…
Edward must find Kidd to the west near some Mayan ruins. Though this is somewhat easier said than done as there are dozens of British soldiers between him and Kidd.
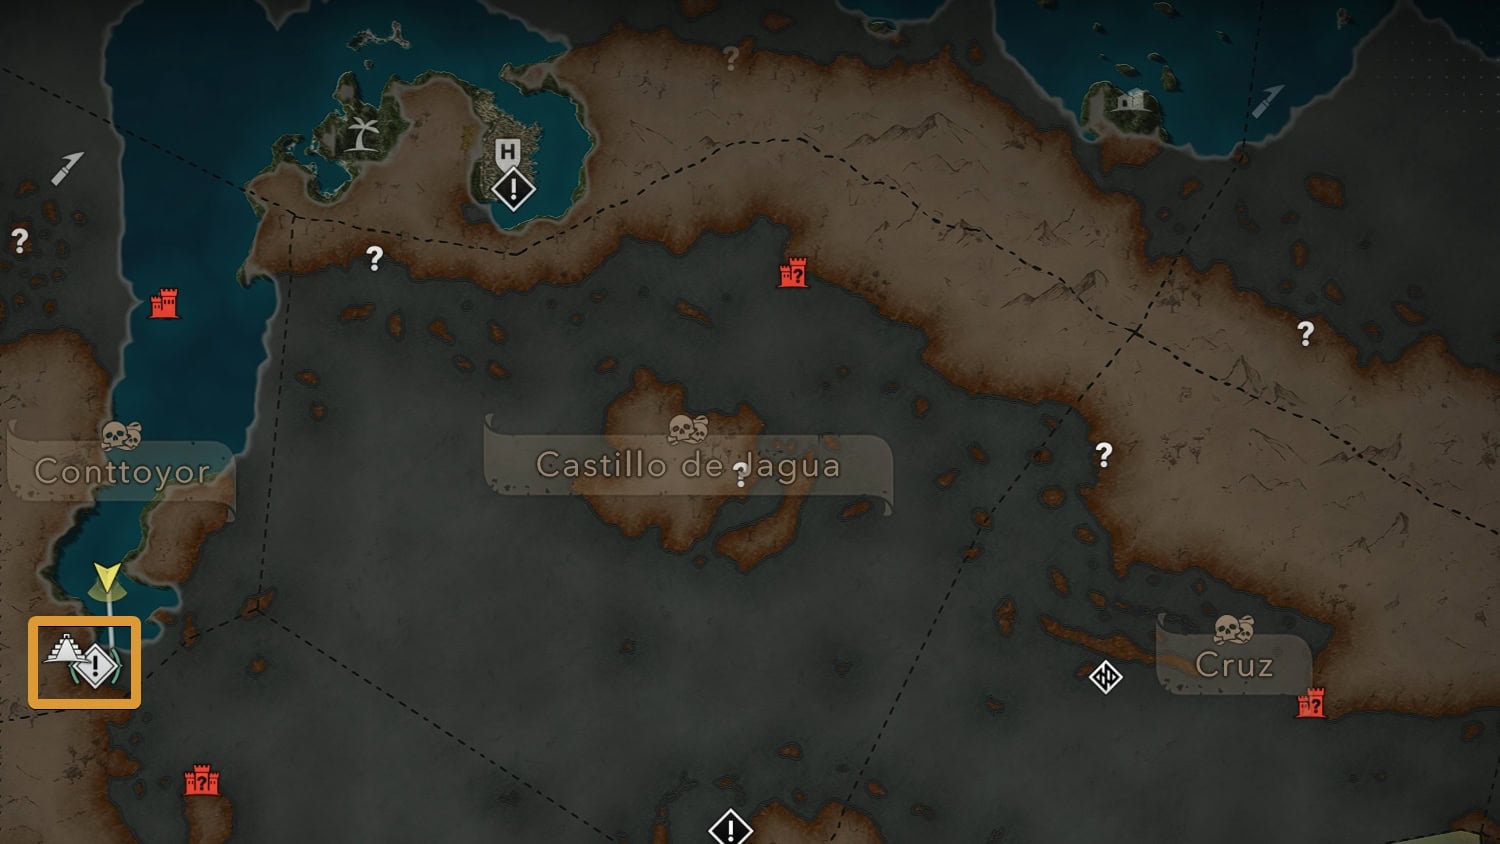
The Sage’s Buried Secret
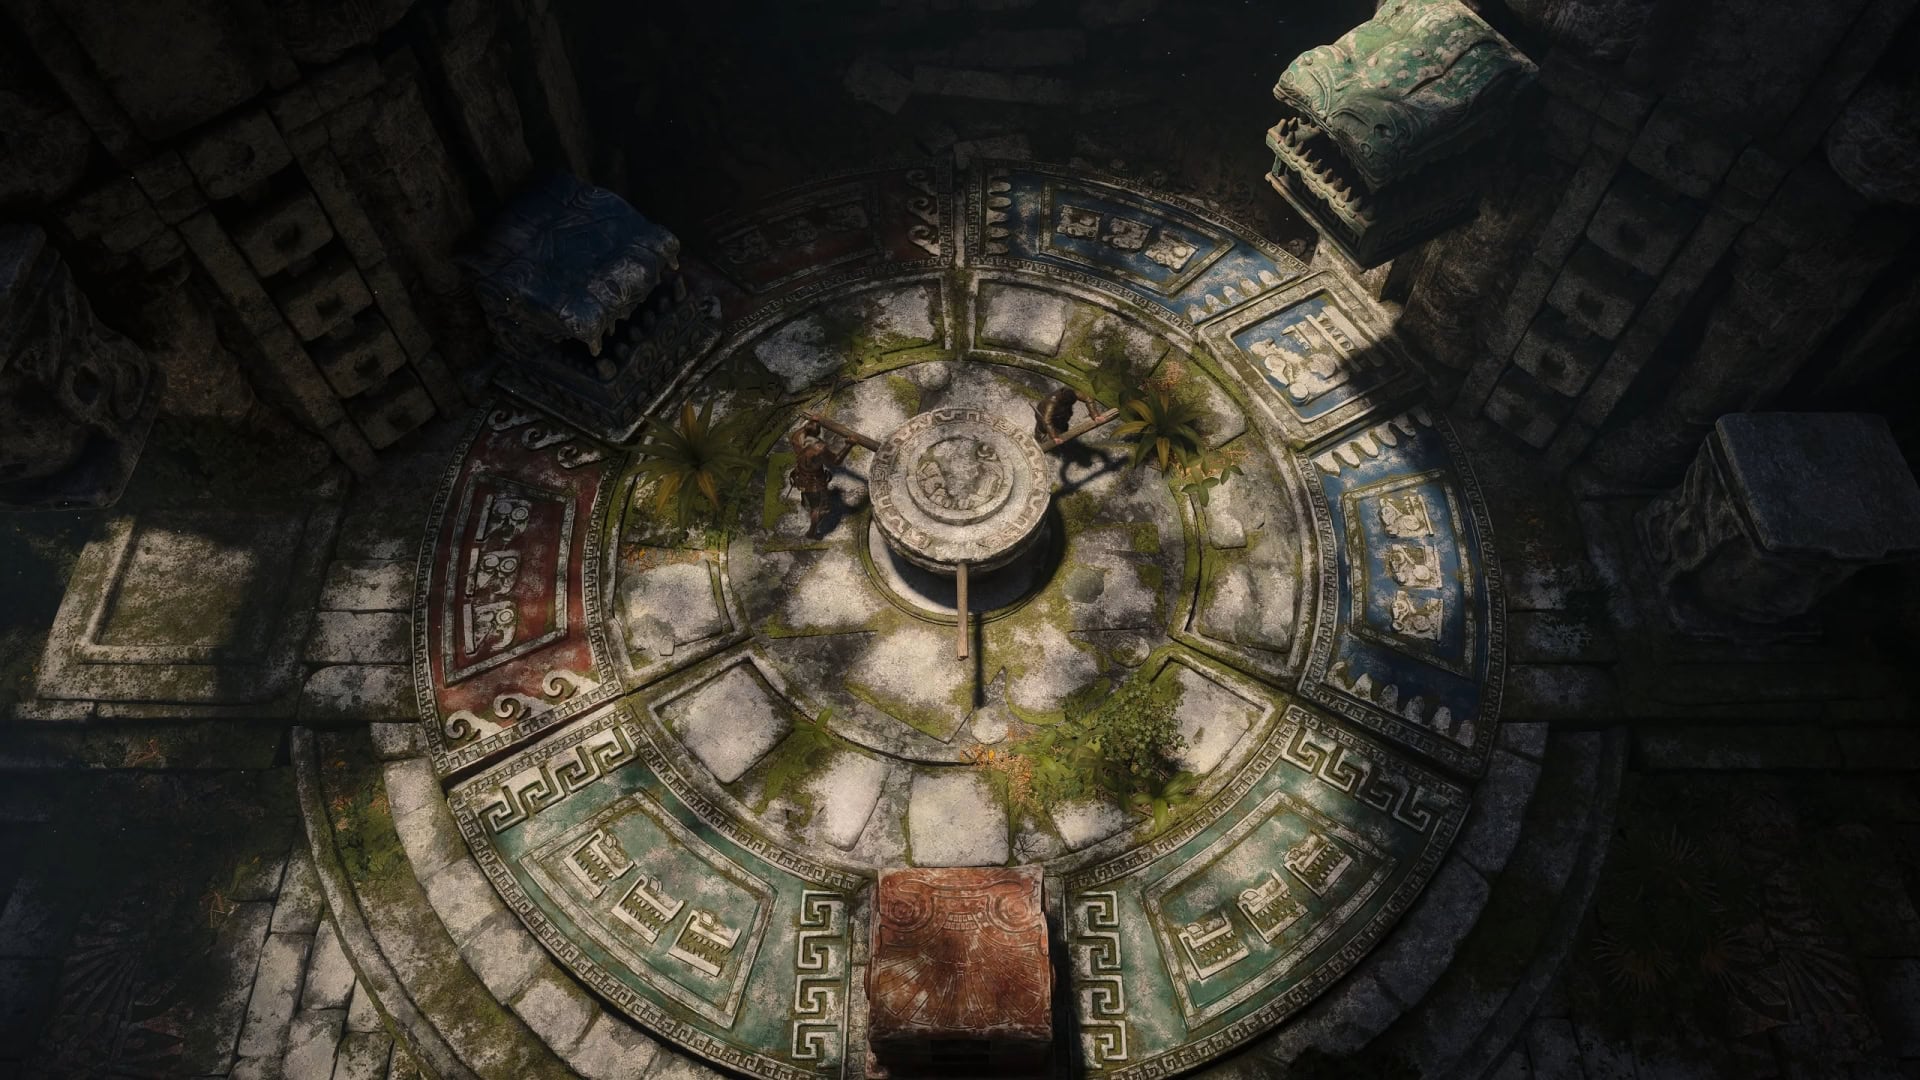
After finding Kidd, the two delve into a Mayan Temple. The temple is in poor condition and the floor will give way, separating the two. You can find a climbable wall to the north of the fissure to reach Kidd.
When you catch up, climb on the colored stone statues on the wall to lower them. This will open the path forward and you’ll need to do some more platforming with Kidd to find another puzzle. By using the counterweights, you can solve the puzzle by shifting the colored statues into their appropriate spots.
Overrun and Outnumbered
Trouble has followed Edward to the Assassins at Tulum. He and Kidd must free the imprisoned assassins and crew from the British. You’ll acquire the Blowpipe, allowing you to quietly shoot Sleep Darts and Berserk Darts at enemies.
Patch 1.0.6 added a customization feature allowing you to hide the Blow Pipe from Edward’s back while you still get to keep it as a handy tool.
The former is straight forward, it puts enemies to sleep temporarily. Berserk Darts on the other hand induces a frenzy onto targets. This causes them to become aggressive to anyone nearby, even their own allies.
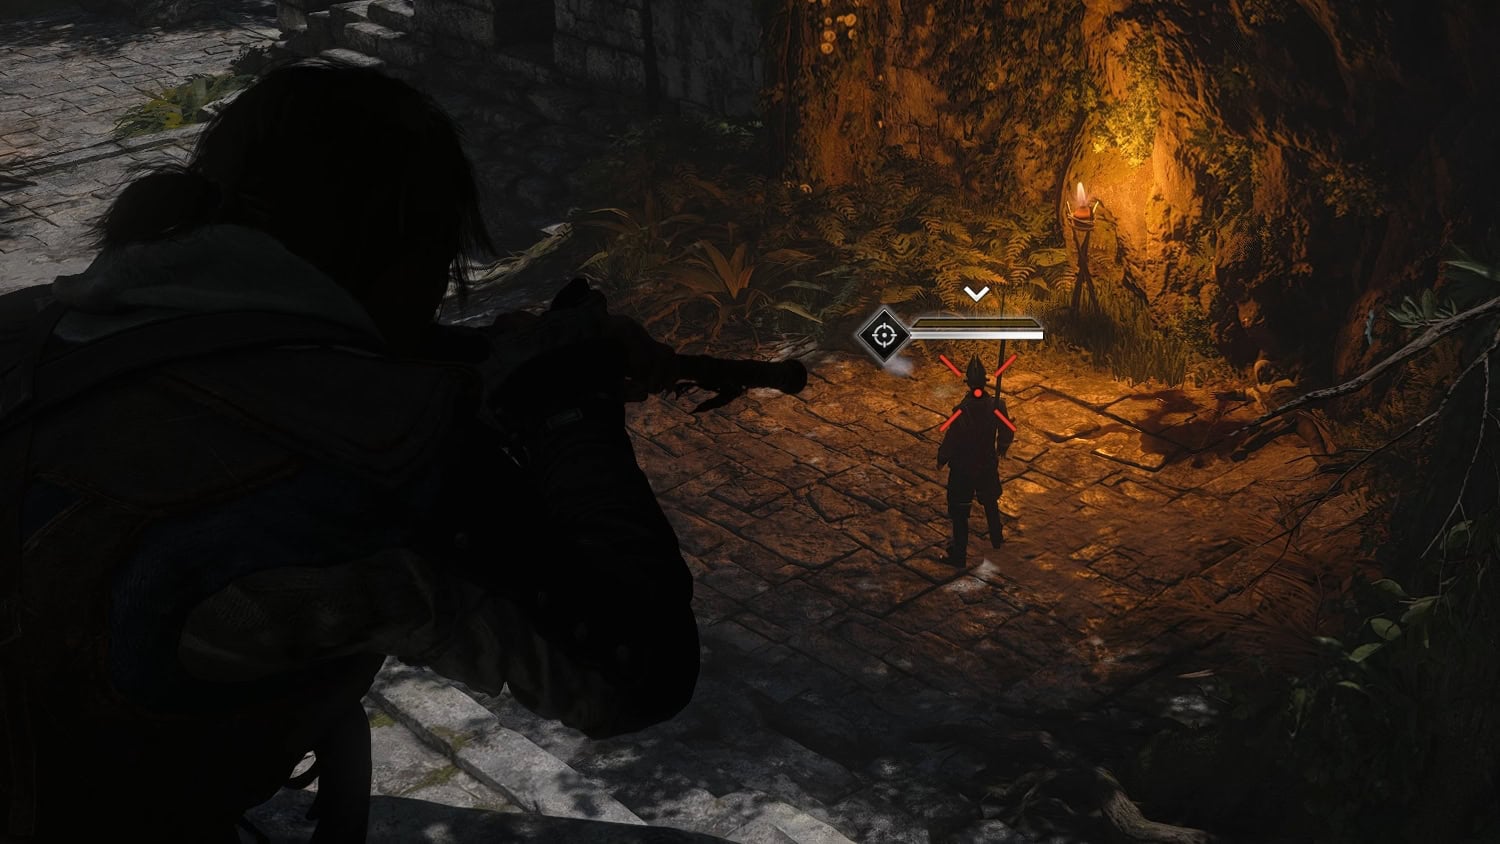
Once the prisoners are freed, Kidd shows Edward a locked door that requires those Mayan Stones to unlock. With this knowledge, you now have a tangible goal for when you acquire Mayan Stones.
The Forts
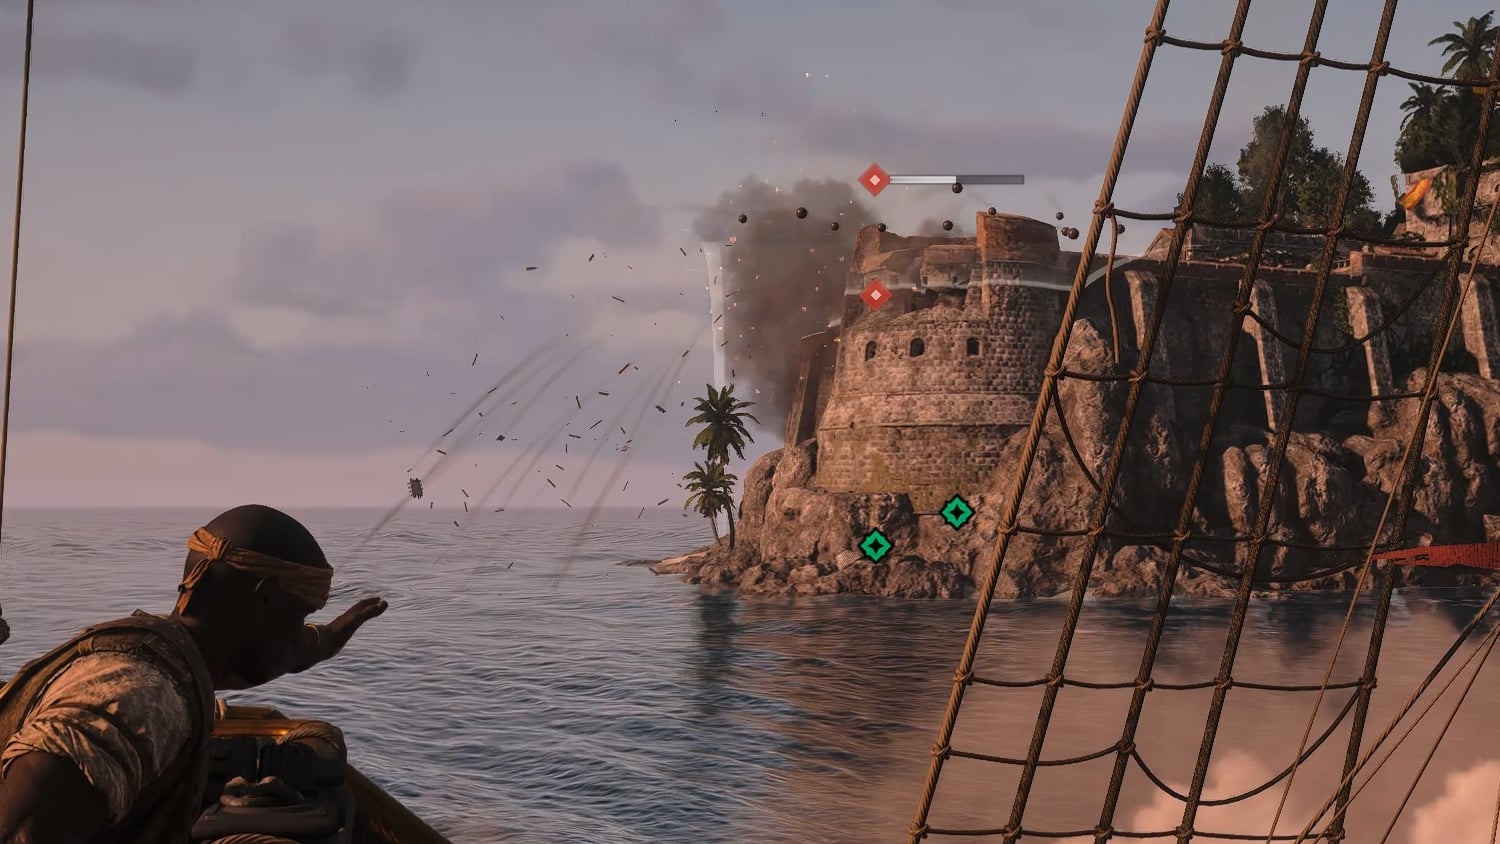
Templar Torres is looking to pick up a large amount of gold from Fort Punta Guarico. This quest will require you to raid and take over a fort. If this is your first fort, taking it over will open up Fleet Missions for you.
Fleet Missions will allow you to send ships in your fleet on missions to earn various rewards, be it riches or information that leads to riches.
Traveling Salesman
Kidd has found a lead on the Sage’s location. A slaver, Laurence Prins, has recently acquired him and is looking to sell him at an auction in Kingston.
Unmanned
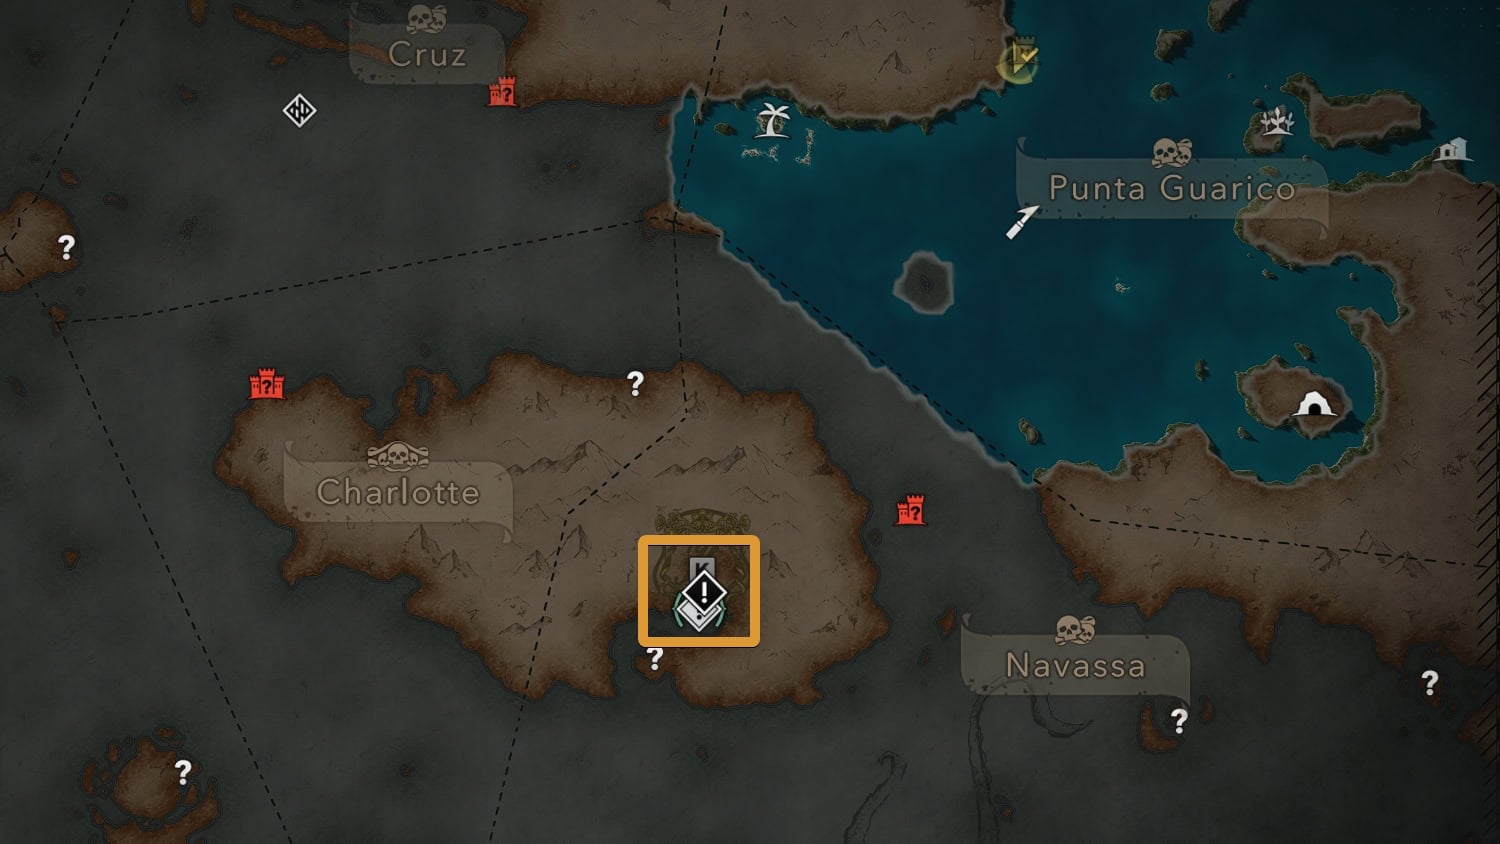
Edward and Kidd plan to infiltrate Prin’s plantation, sabotage his security, and find both Prins and the Sage. Secrets are unveiled as not everything is as it seems.
Diving for Medicines
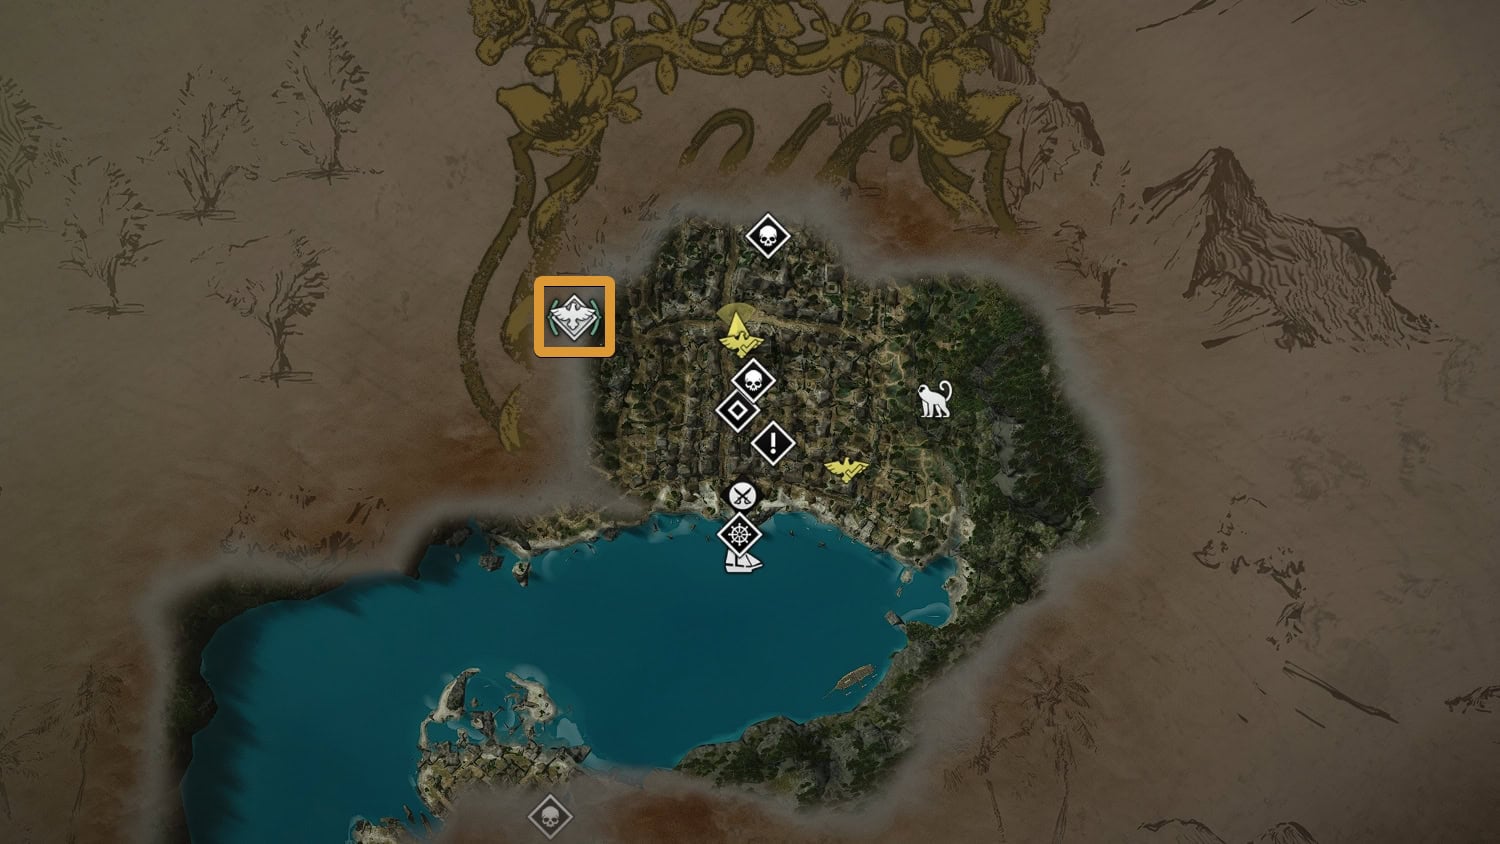
The King has made an offer to any and all pirates. Their crimes can be forgiven but they must swear fealty to him. Meanwhile, sickness runs rampant in Nassau and Thatch is looking to acquire medicine to help the situation.
A sunken ship is supposed to have medicine, but you’ll need a diving bell for the ship to reach them. You can pay 5,000 Reales for one, or ask Adéwalé for information on a diving bell.
The diving bell can be found in southwest Nassau near the beach. This device creates a pocket of air for deep sea diving. With it, you’ll search a sunken ship for the missing medicines and any other treasures nearby.
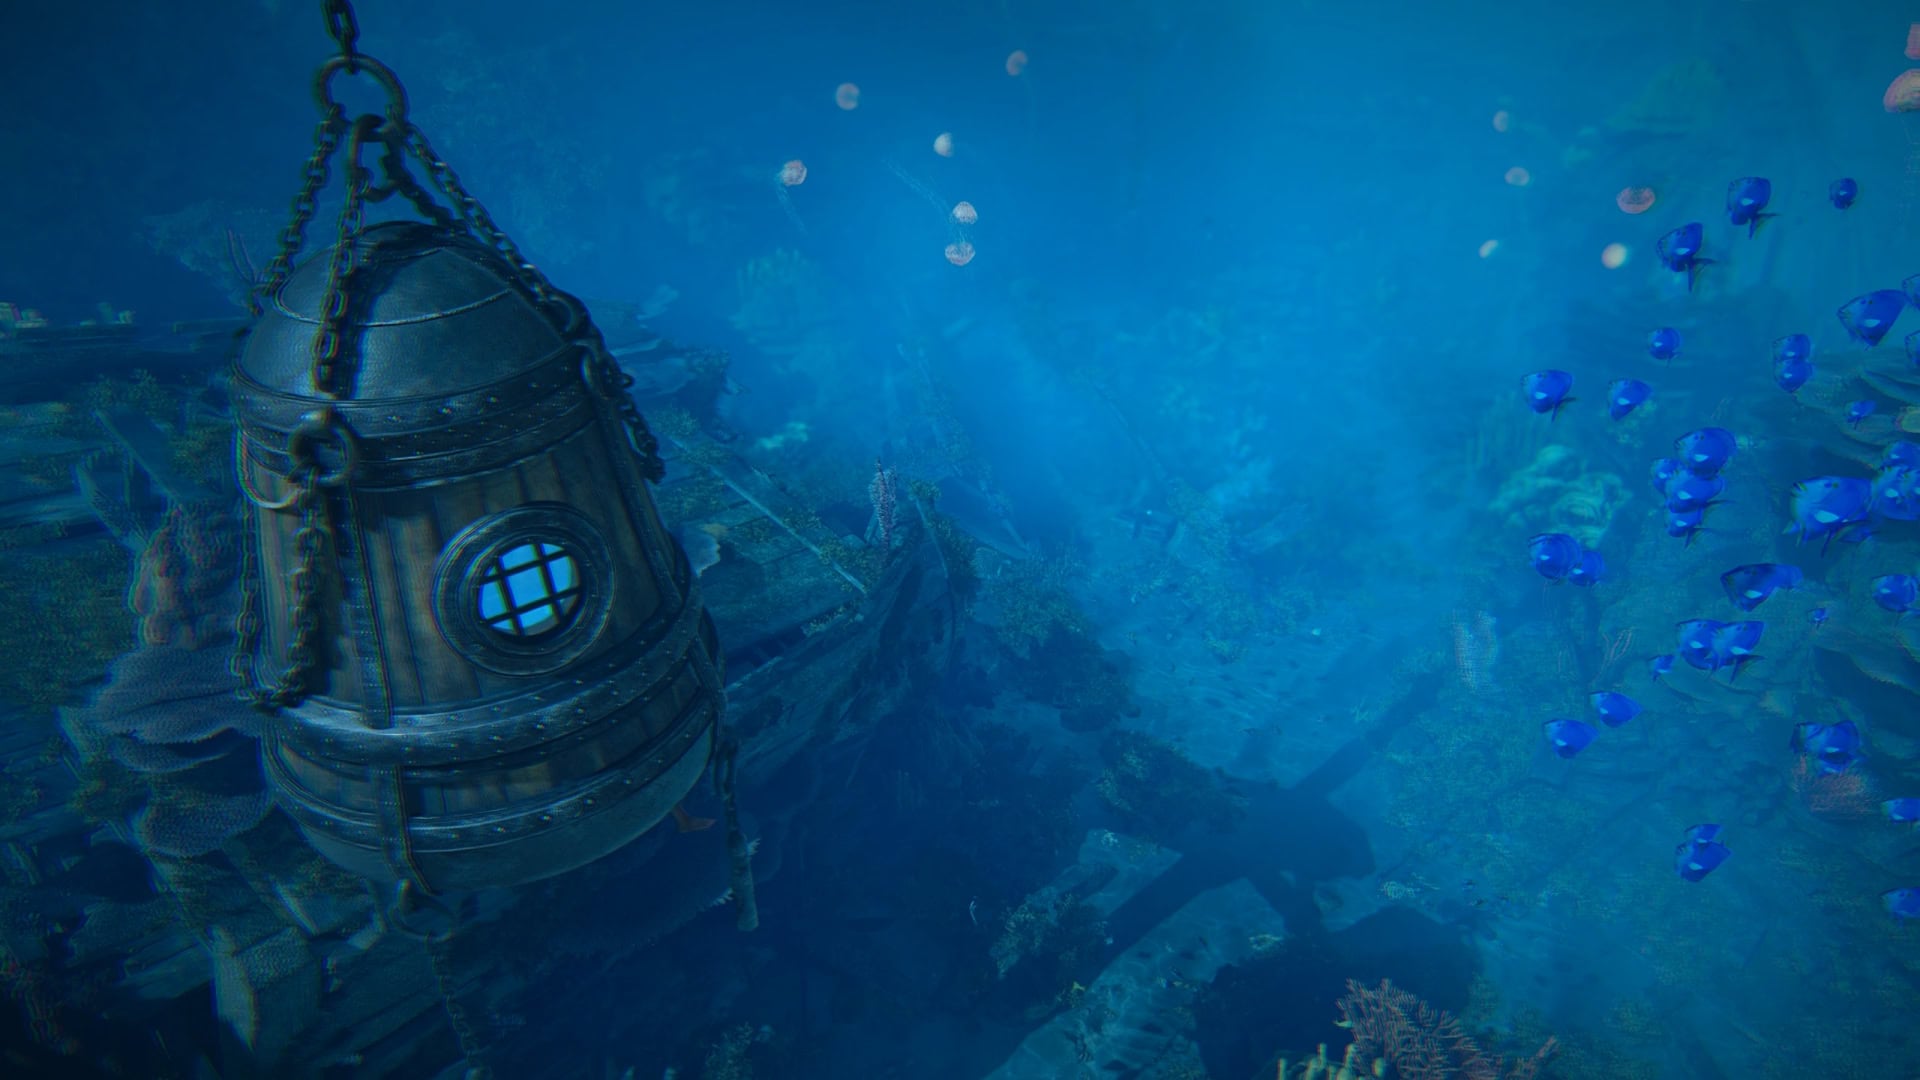
Be sure to acquire all of the treasure chests in the area. You can find the medicine and three treasure chests in the first area, and four treasure chests in the second area (seven total, not including the medicine chest). Utilize the air pockets provided by submerged barrels and don’t end up as shark food.
Diving Guide and All Shipwreck Locations ListDevil’s Advocate
Blackbeard has decided to take a more direct approach of acquiring medicine. In turn, Edward must catch up to him to help him take over a British Man O’ War ship.
The Siege of Charles-Towne
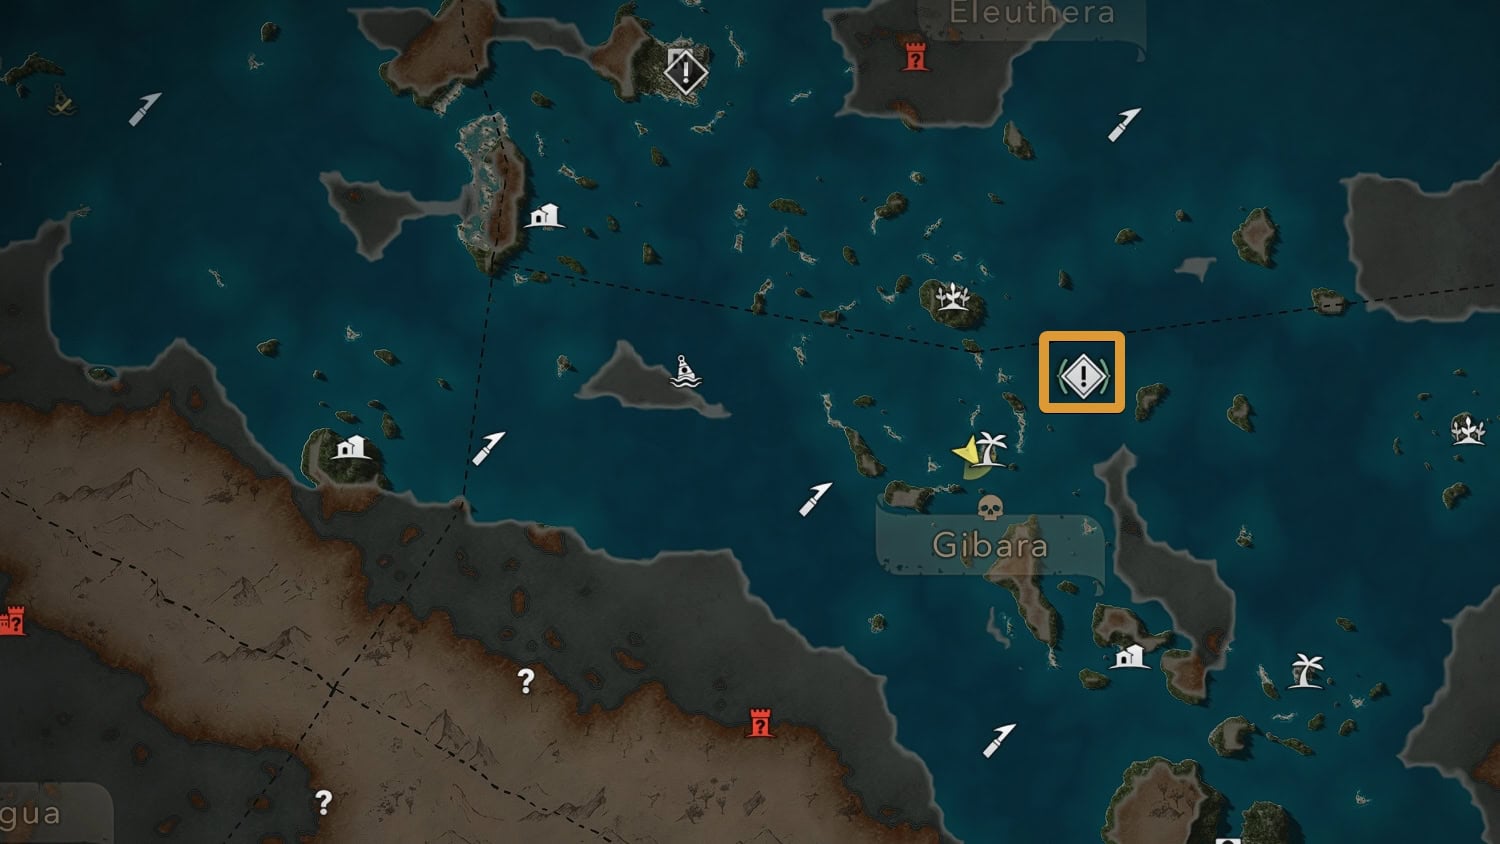
Seeking the full lot of medicine, Thatch and Edward go to Charles-towne, South Carolina. These are dangerous waters being treaded, both literally and figuratively.
We Demand a Parley
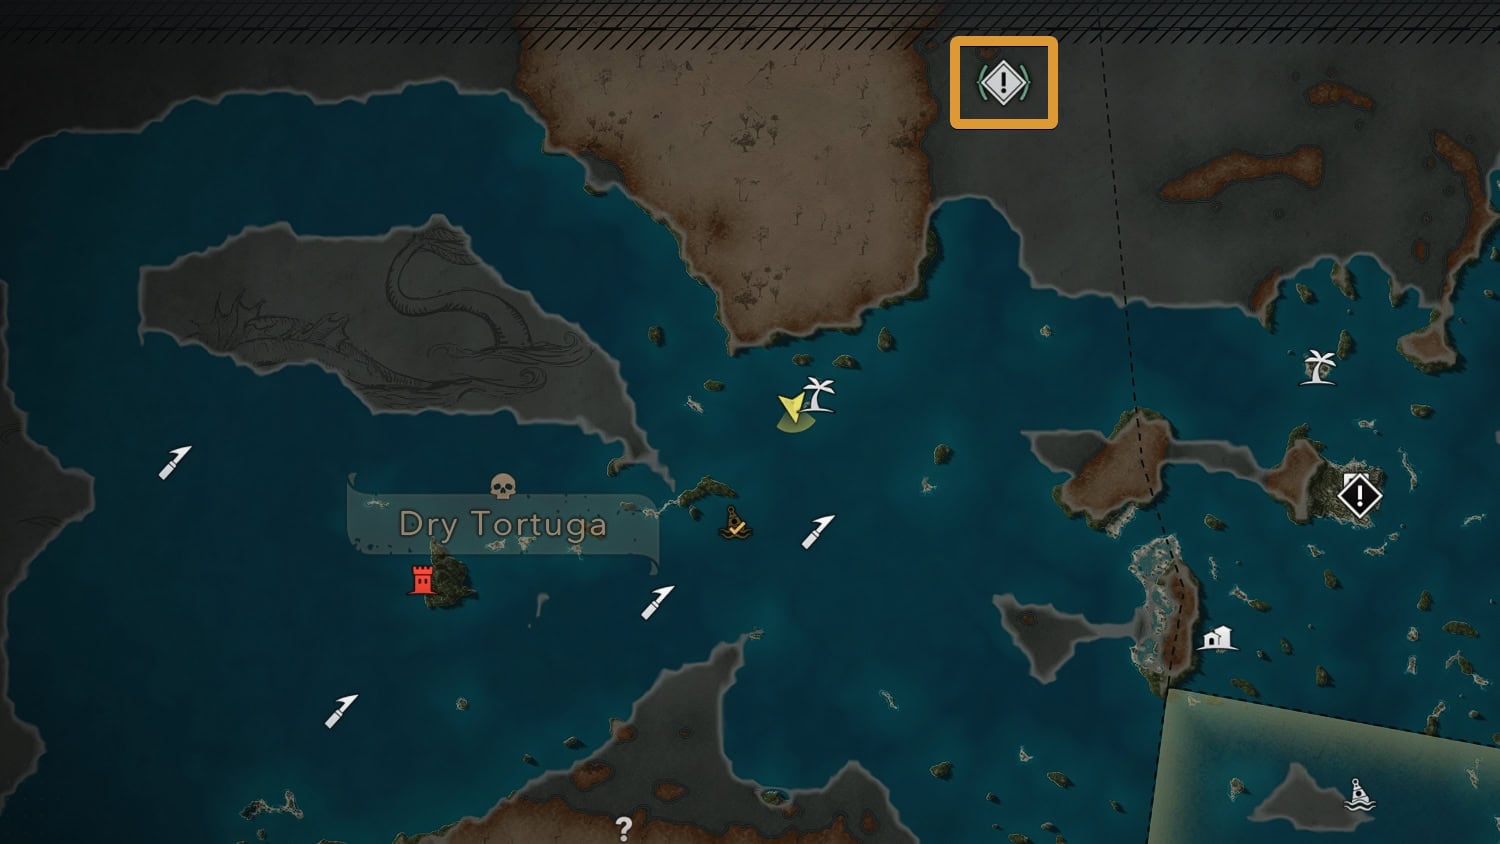
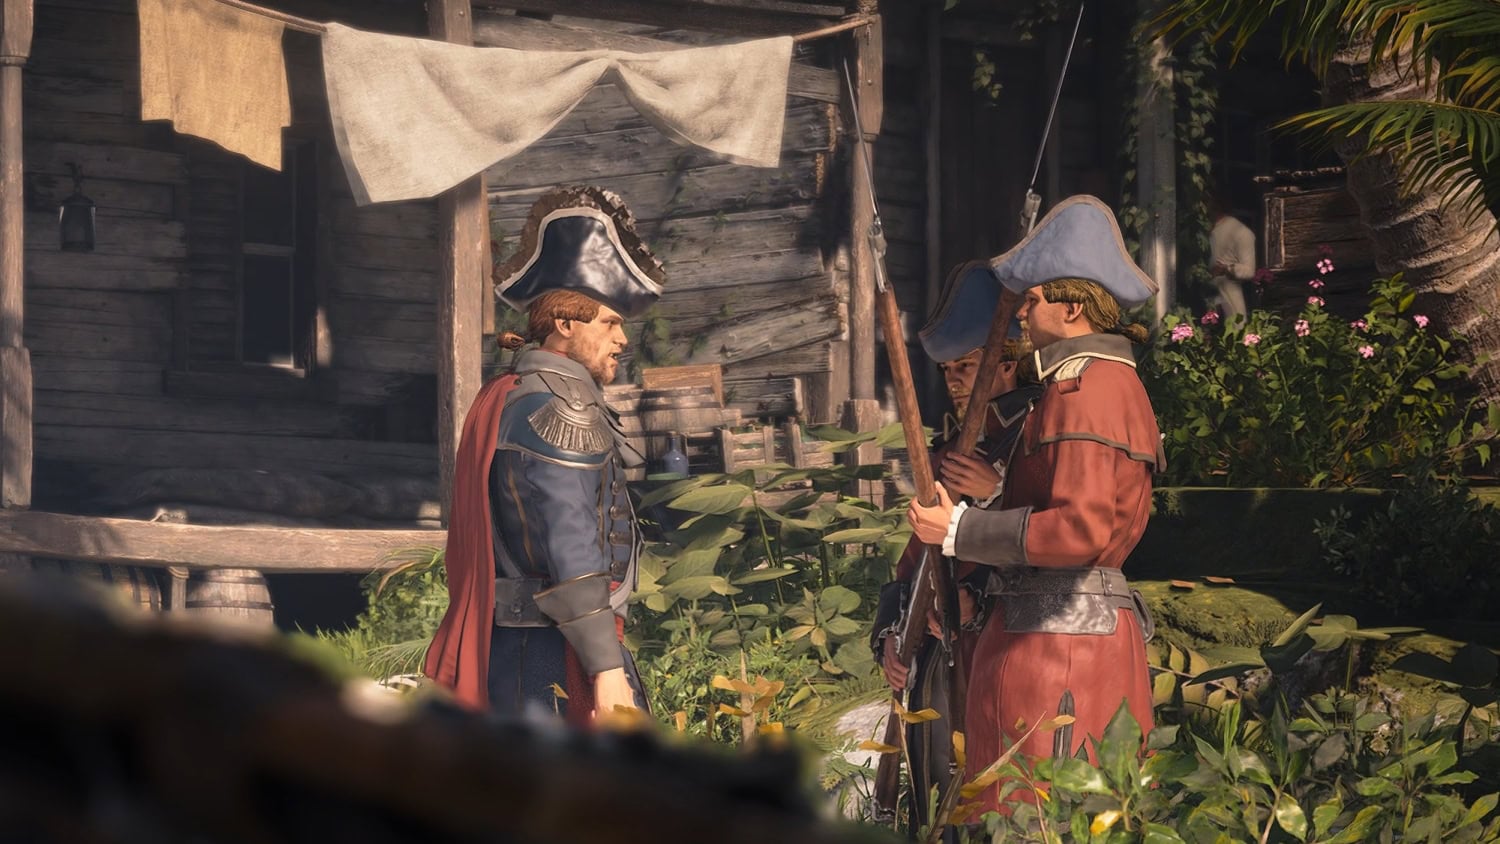
Trouble has come to Nassau as Woodes Rogers, a Templar, has arrived seeking parley with the “governors” of the island. Follow Rogers without being spotted and find out what he’s up to.
The Gunpowder Plot
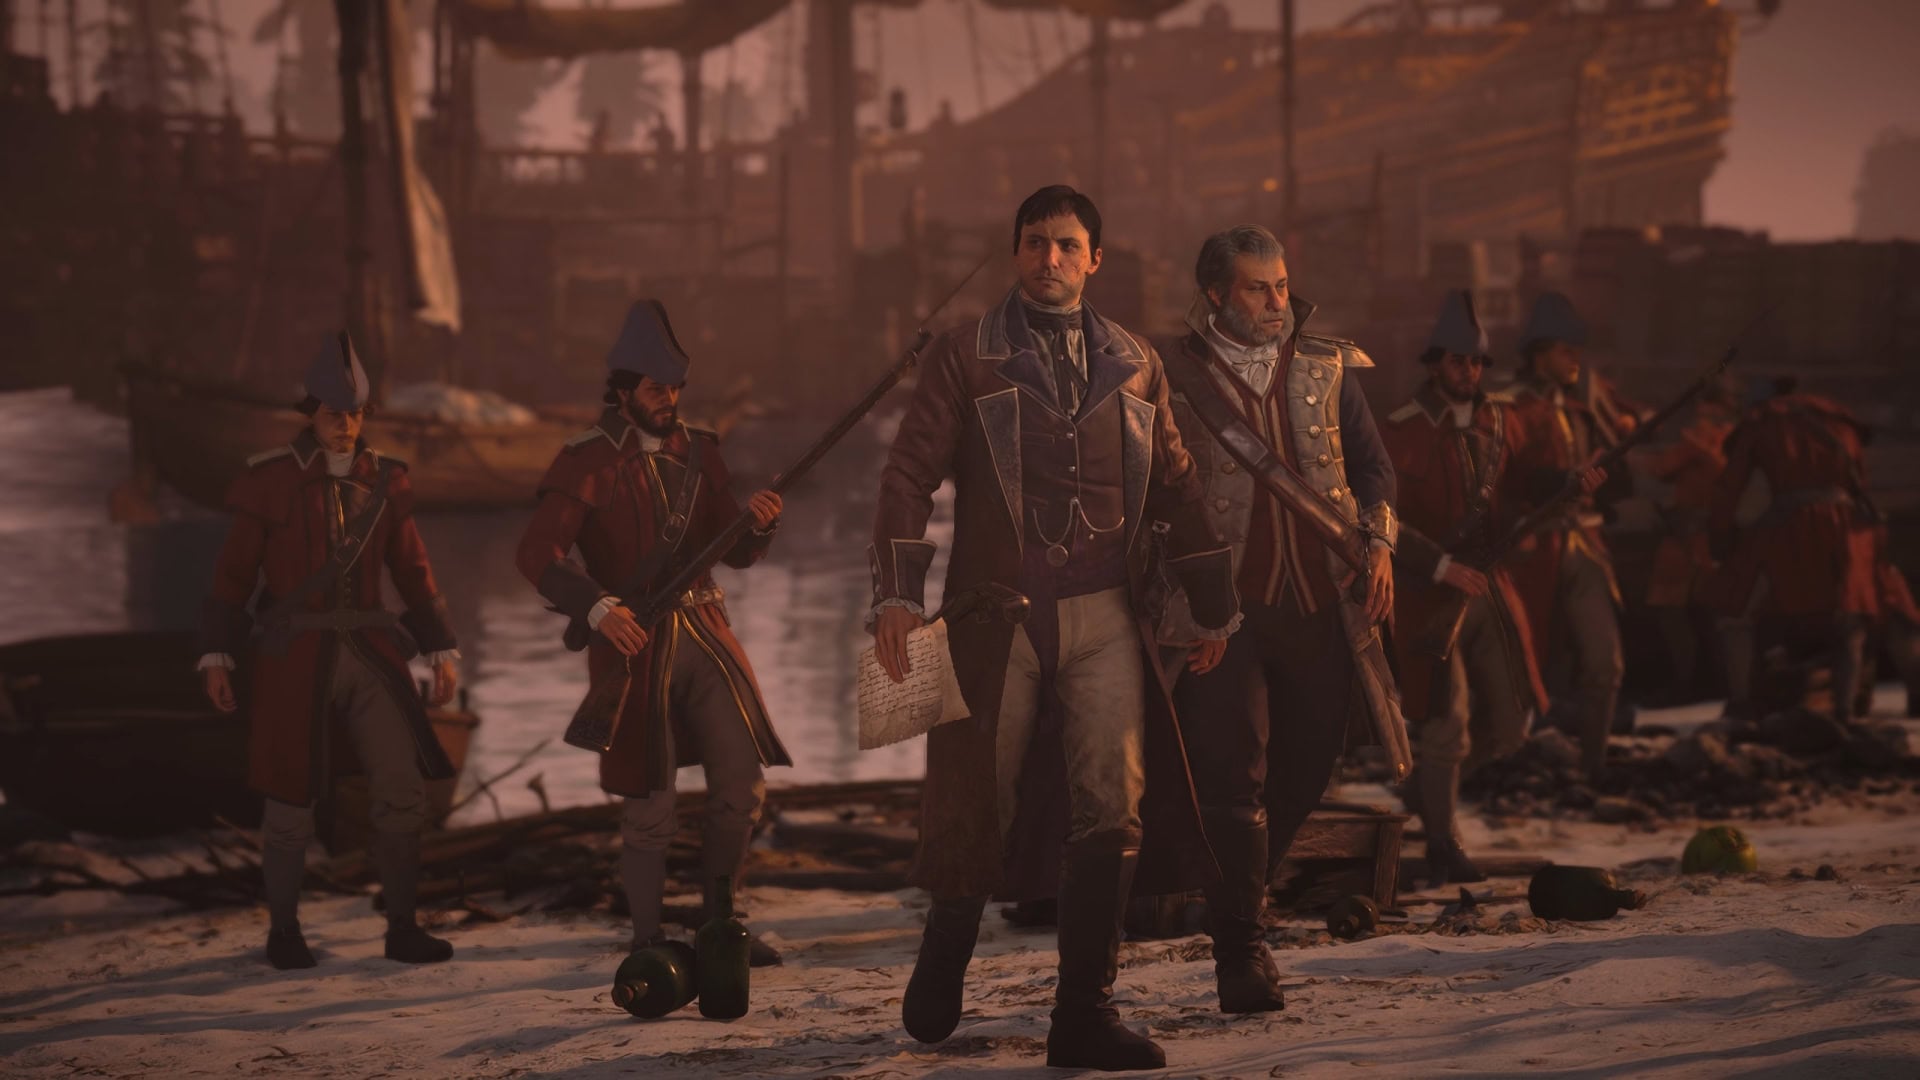
With the British occupying Nassau and their ships blockading the exit, Edward and Charles Vane seek powder kegs to sabotage the blockade and escape.
Commodore Eighty-Sixed
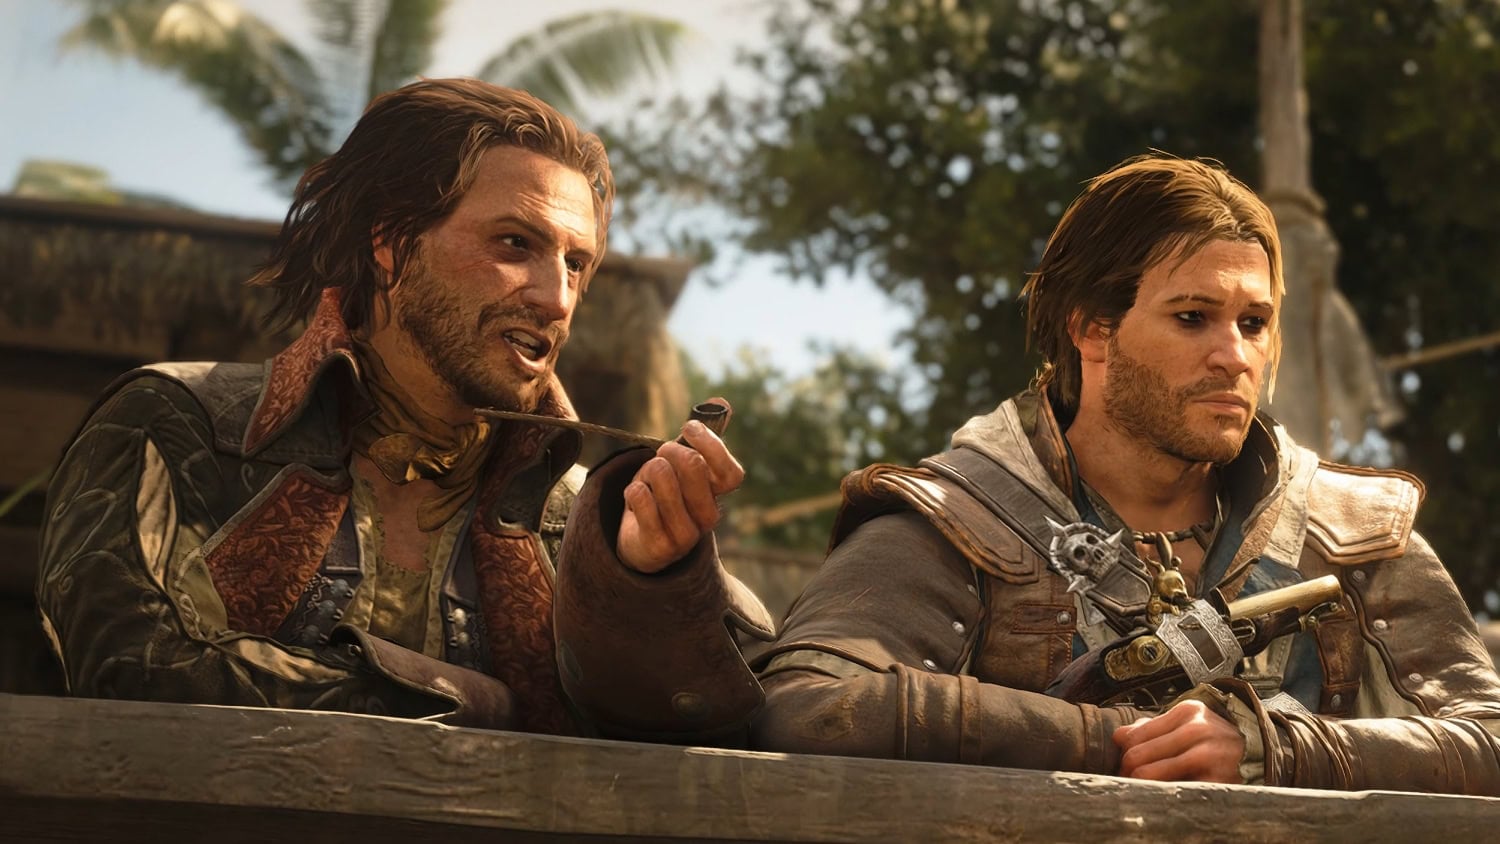
As the powder kegs are being prepped, the Commodore is going to order that all pirate ships docked to be destroyed. You’ll need to find the Commodore and kill him before his orders reaches all of the soldiers.
The Fireship
With the Commodore dead and Fireship ready, Edward and Vane set out to sabotage the British blockade and escape Nassau. Defend the Fireship from the blockade so it reaches its target. Use Mortars to clear out the ships with low health quickly, and blow up any explosive barrels as soon as they appear to not detonate the Fireship.
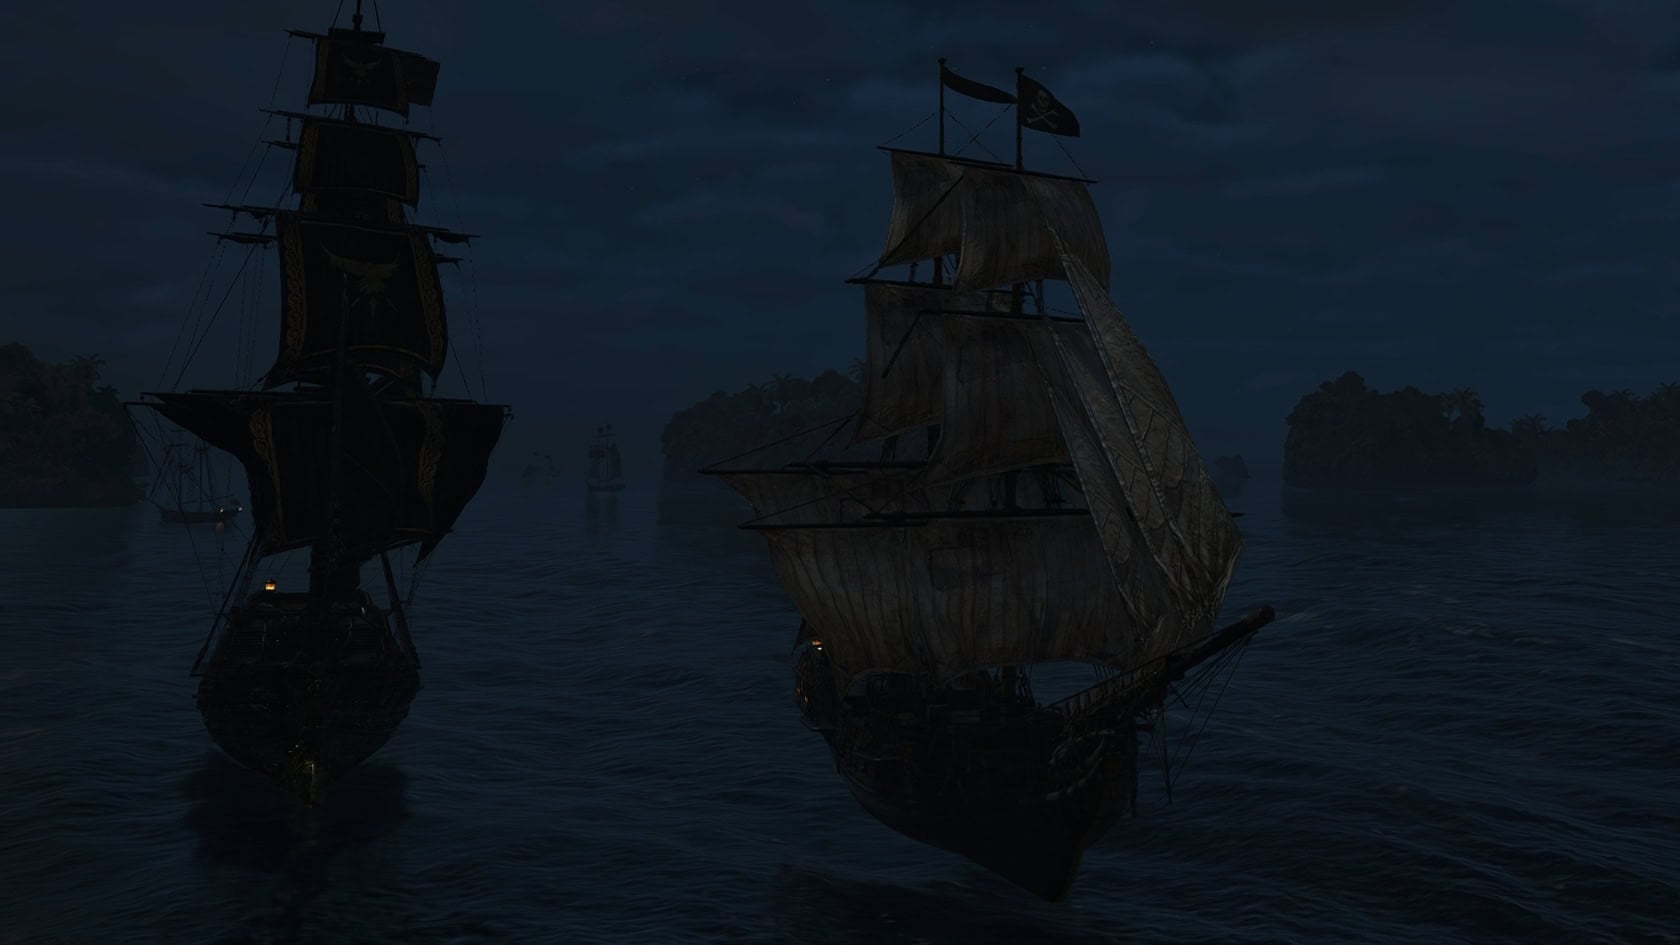
Do Not Go Gently…
Blackbeard is throwing a retirement party in North Carolina. Meet up with him and tail the suspicious pirate among the festivities. Once completed, you’ll gain Blackbeard’s Treasure Map and the “Burn Blackbeard’s Beard” sea shanty.
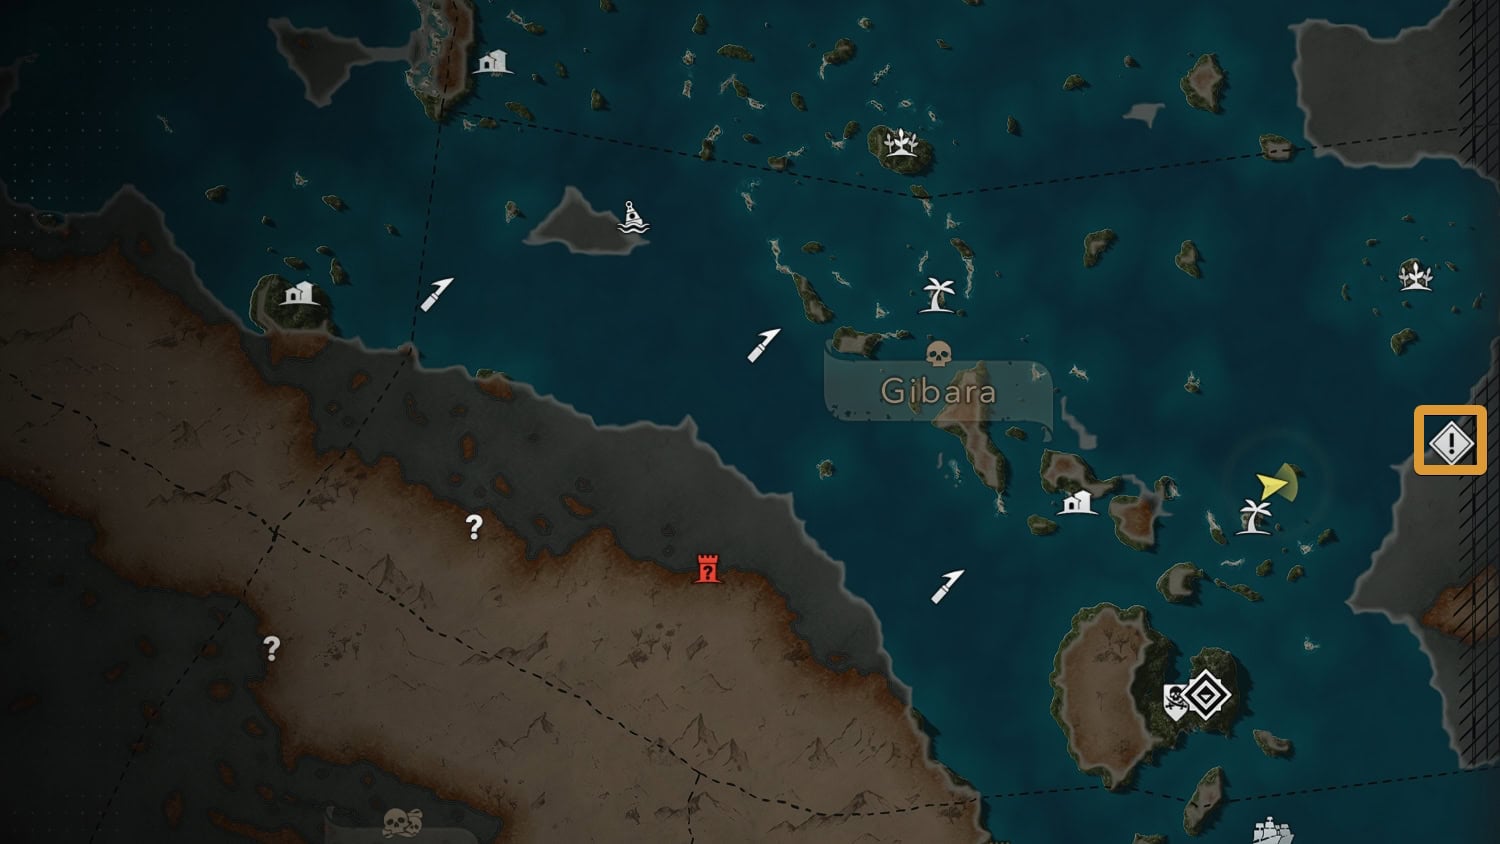
The side quest, Blackbeard’s Treasure, which you can complete at any time to earn Blackbeard’s Portrait. If you collect all 11 Portraits, you will earn the Haytham Kenway’s Overcoat.
Vainglorious Bastards
Vane joins Edward in his search for the Observatory. Still looking for the Sage, they start by looking for slave ships that work for the Royal African Company to find the ship, The Princess.
Marooned
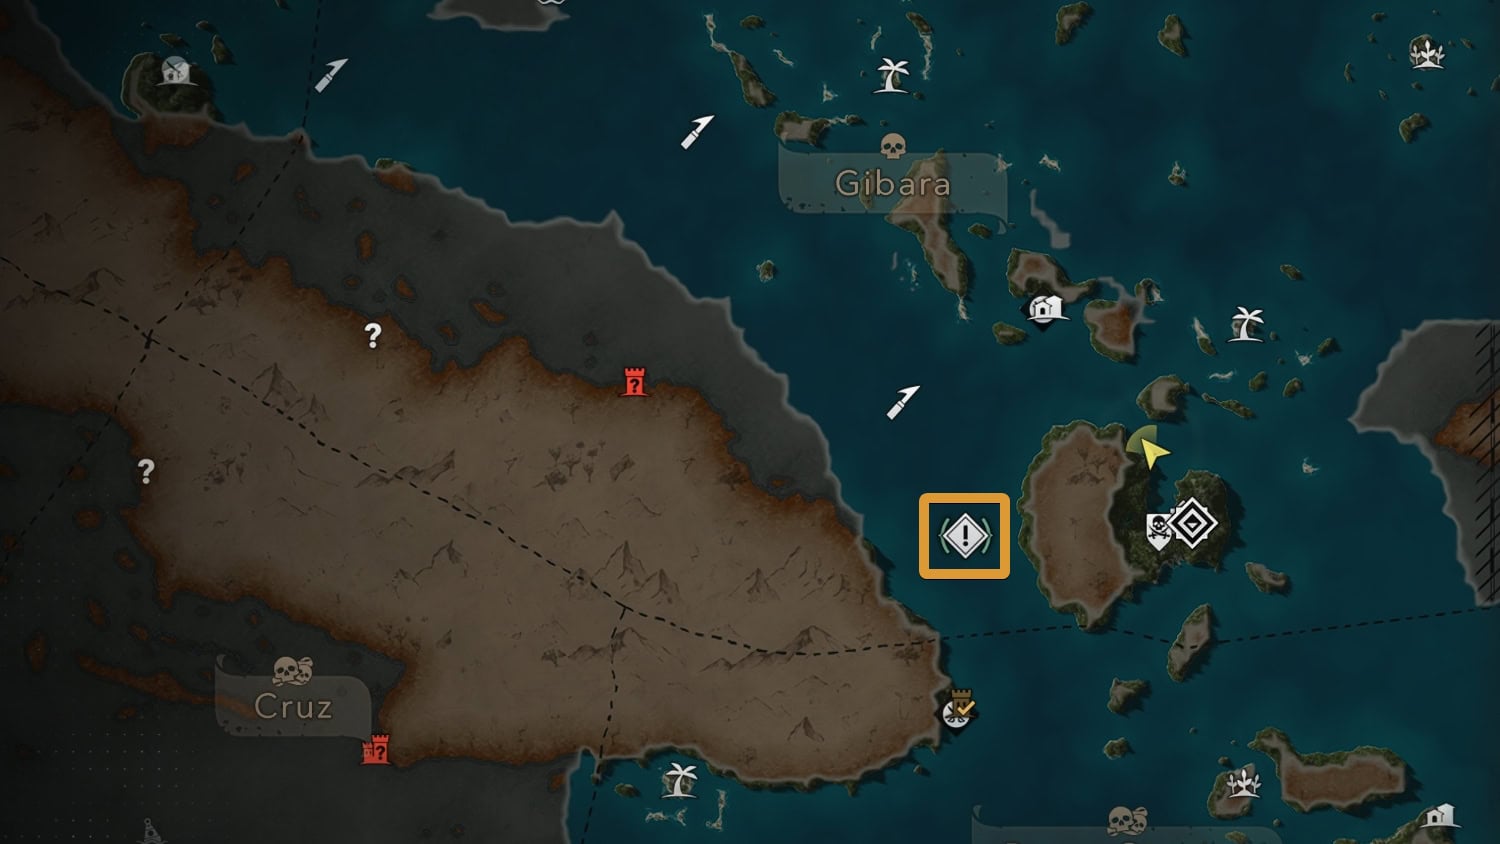
Both Edward and Vane have been left marooned on a deserted island, and Vane isn’t doing too well with the situation to say the least. Catch Vane and try to talk some sense into him.
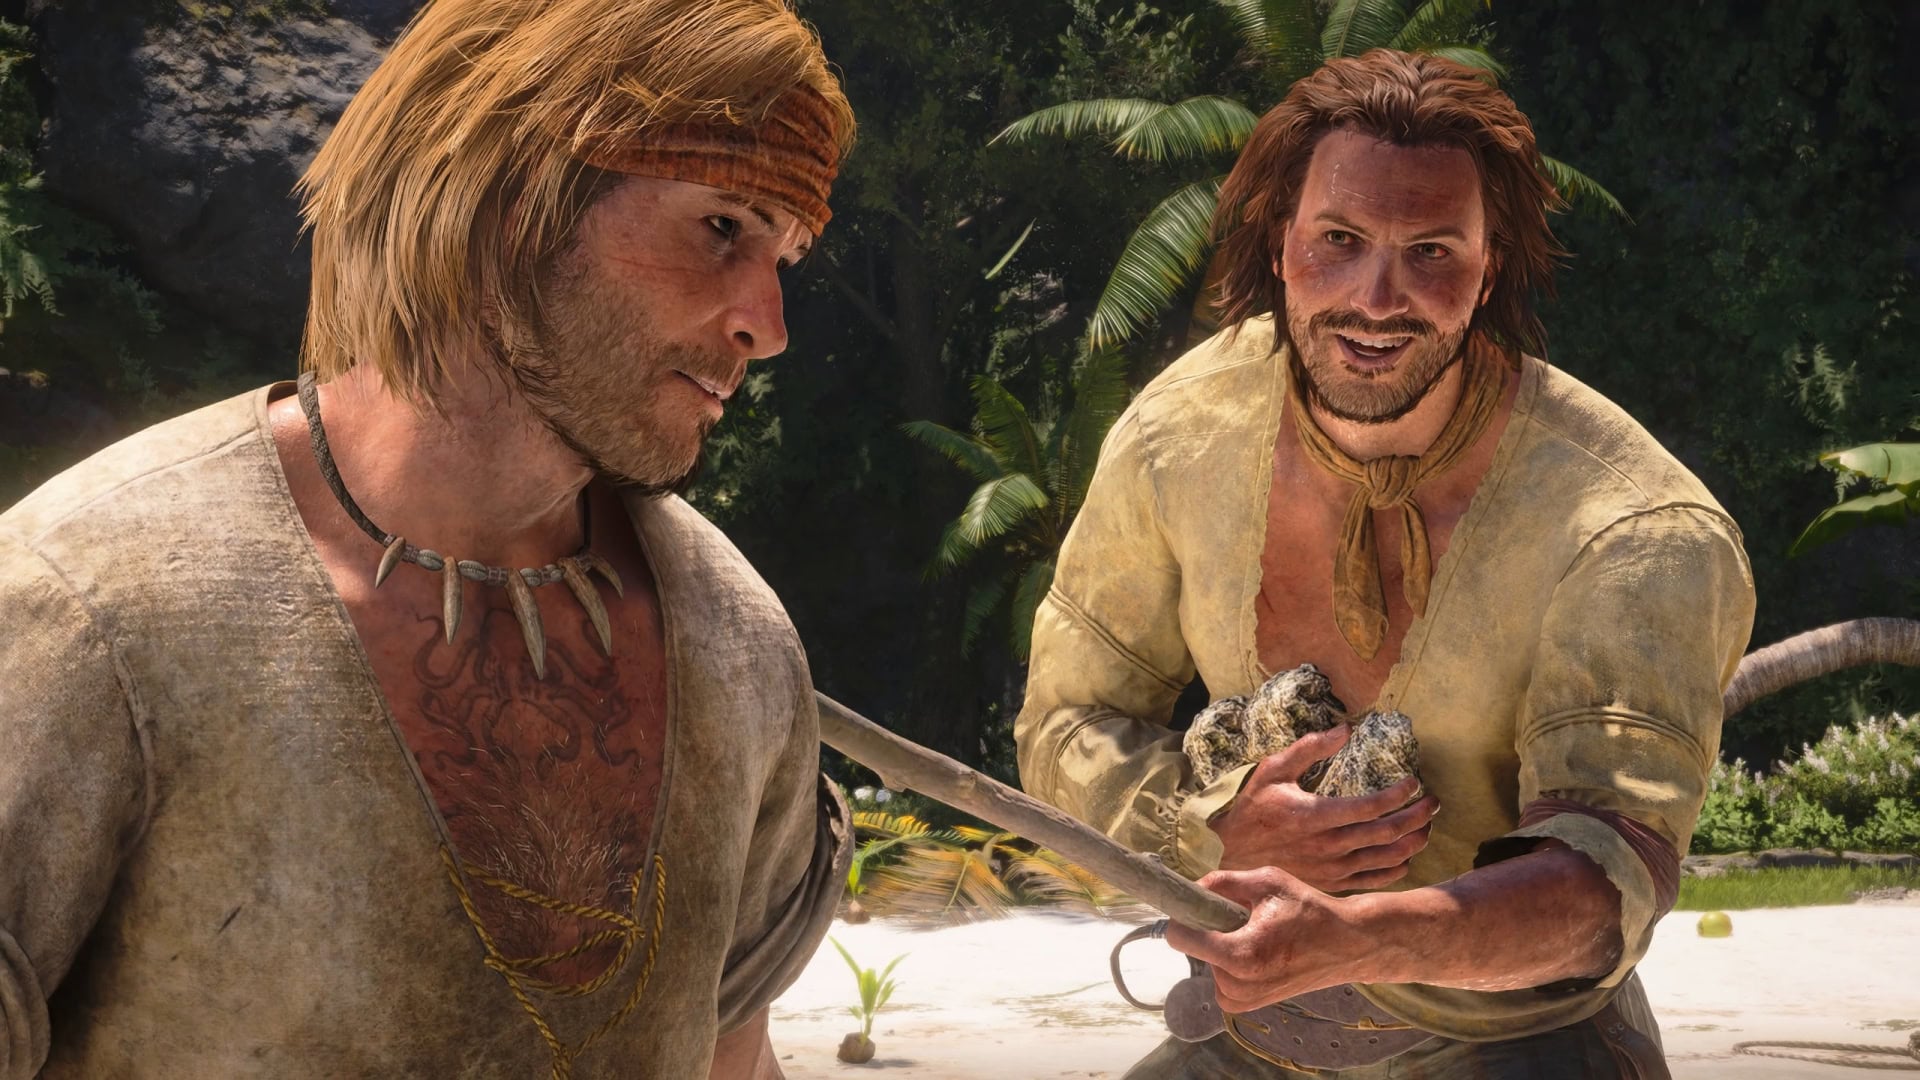
Imagine My Surprise
After having returned to his ship and crew, Edward’s hunt for The Princess slave ship continues in Kingston. Adéwalé finds a lead but is beginning to grow weary of Edward chasing fantasies.
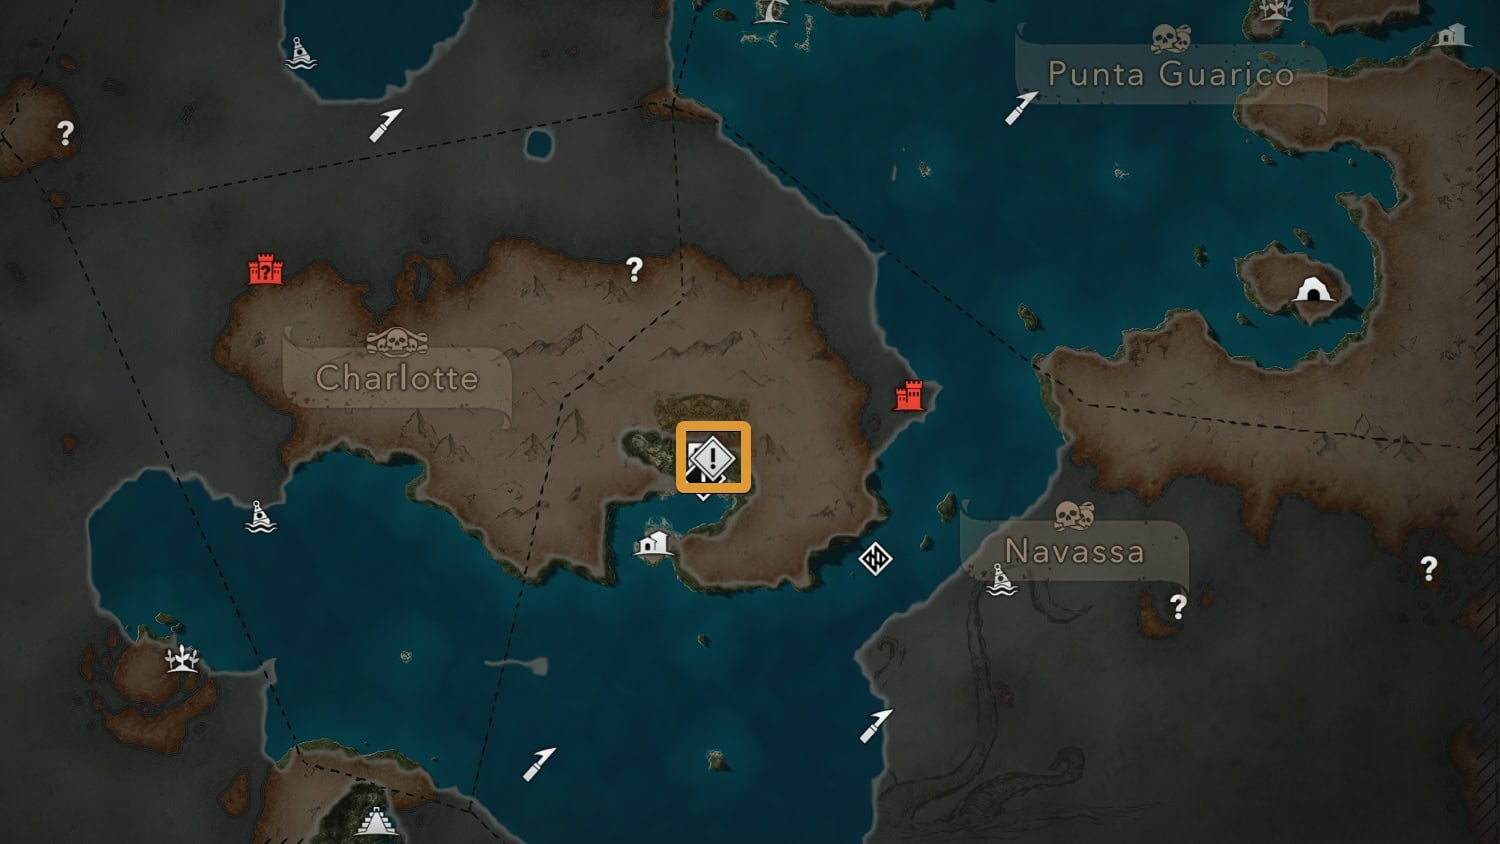
Trust is Earned
Edward’s hunt of the Sage leads him to the island of Príncipe off the coast of Africa. Before he can find the Sage, Edward must first deal with the Portuguese sailors in the area.
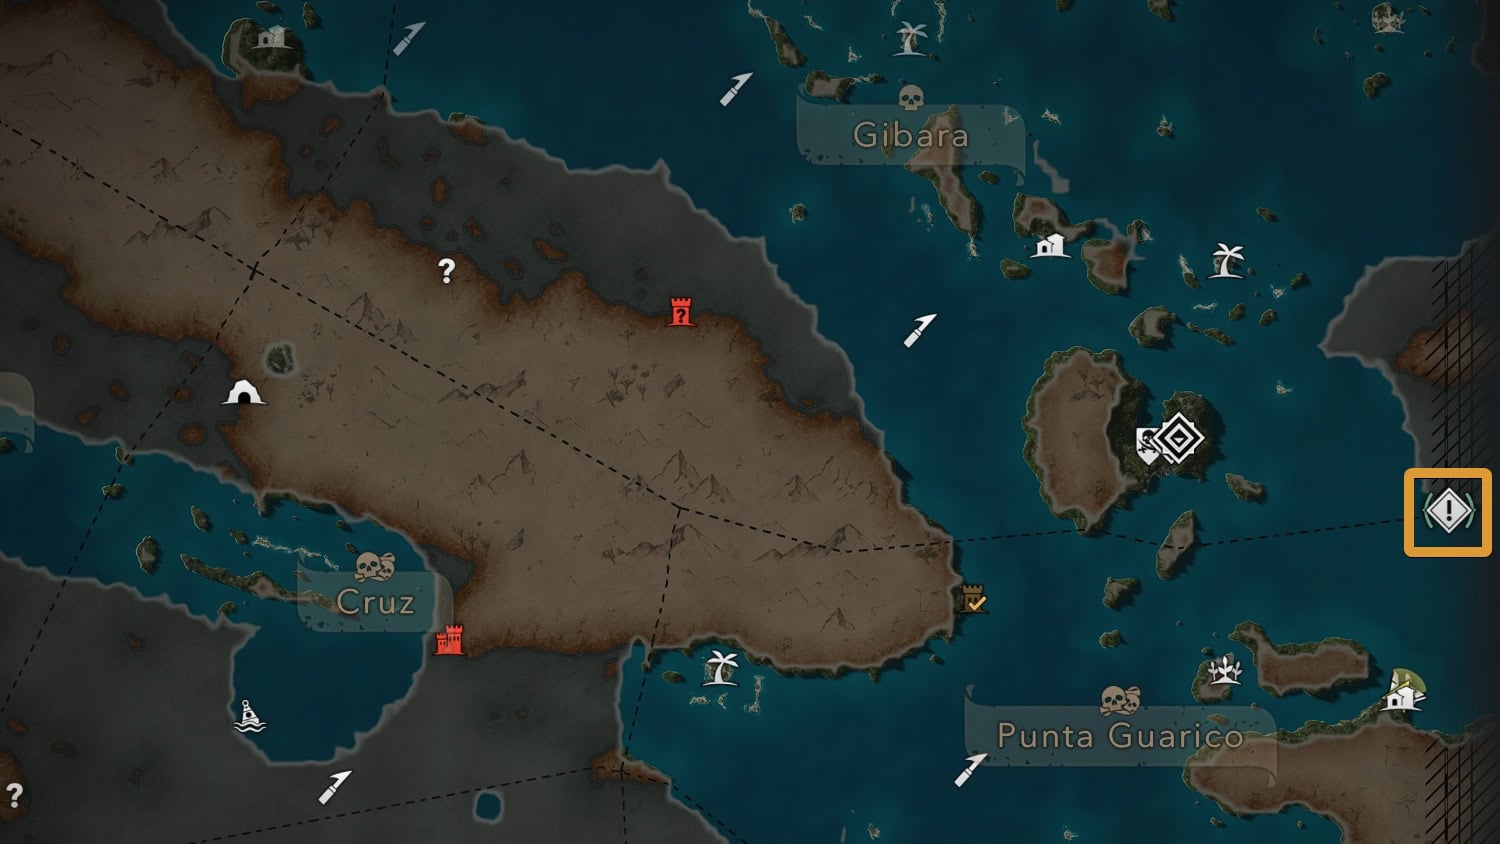
Black Bart’s Gambit
Edward meets with Captain Roberts in Serranilla. In order to have his cooperation with finding the Observatory, Edward must help him acquire vials of blood being held by the Portuguese.
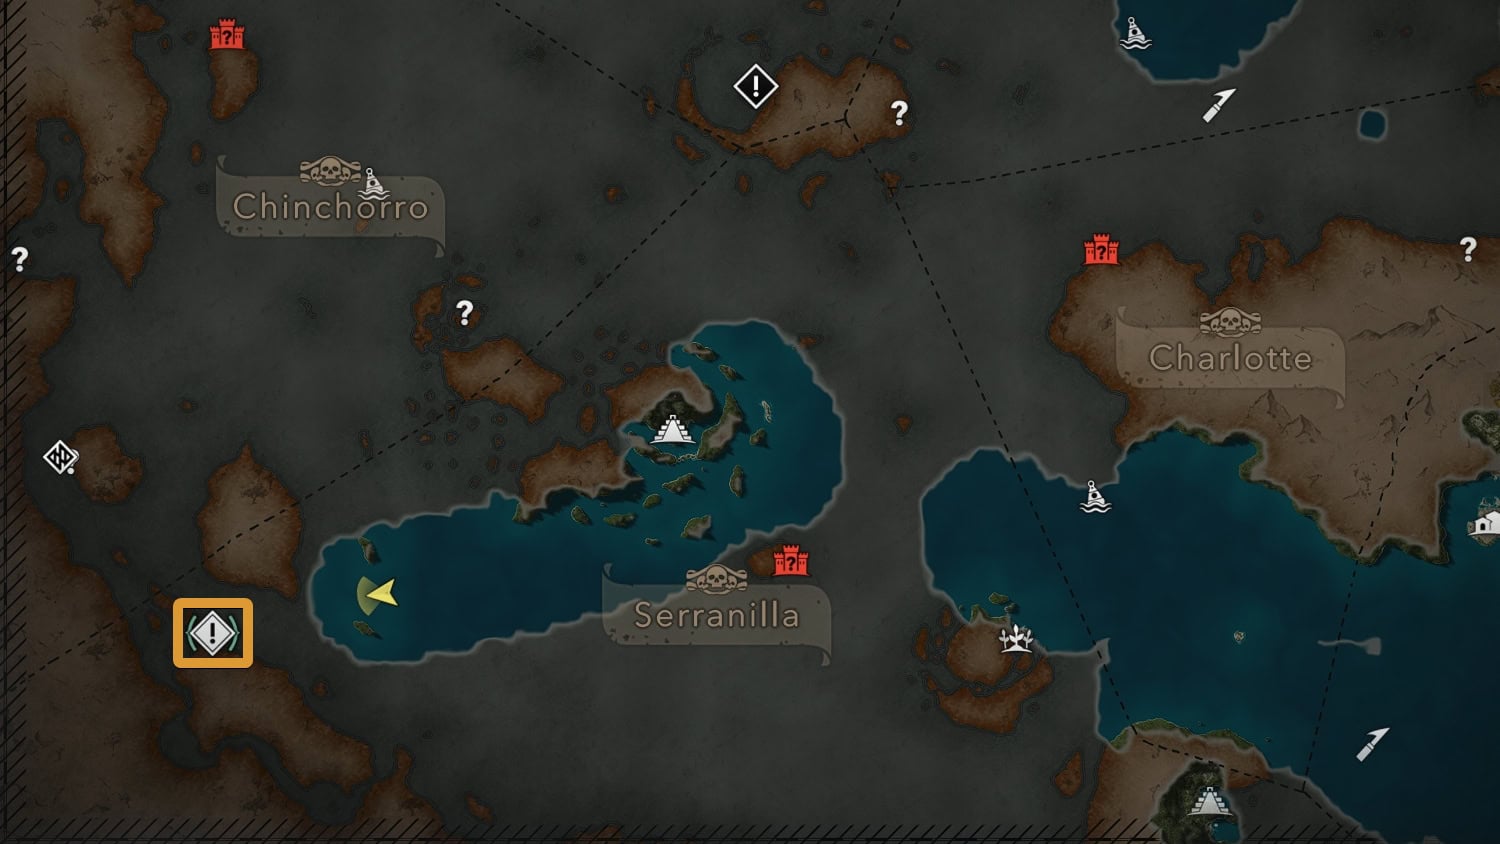
Murder and Mayhem
Hornigold has been tailing Edward and Roberts. Before Roberts will continue, he needs Edward to deal with Hornigold otherwise he won’t help him find the Observatory.
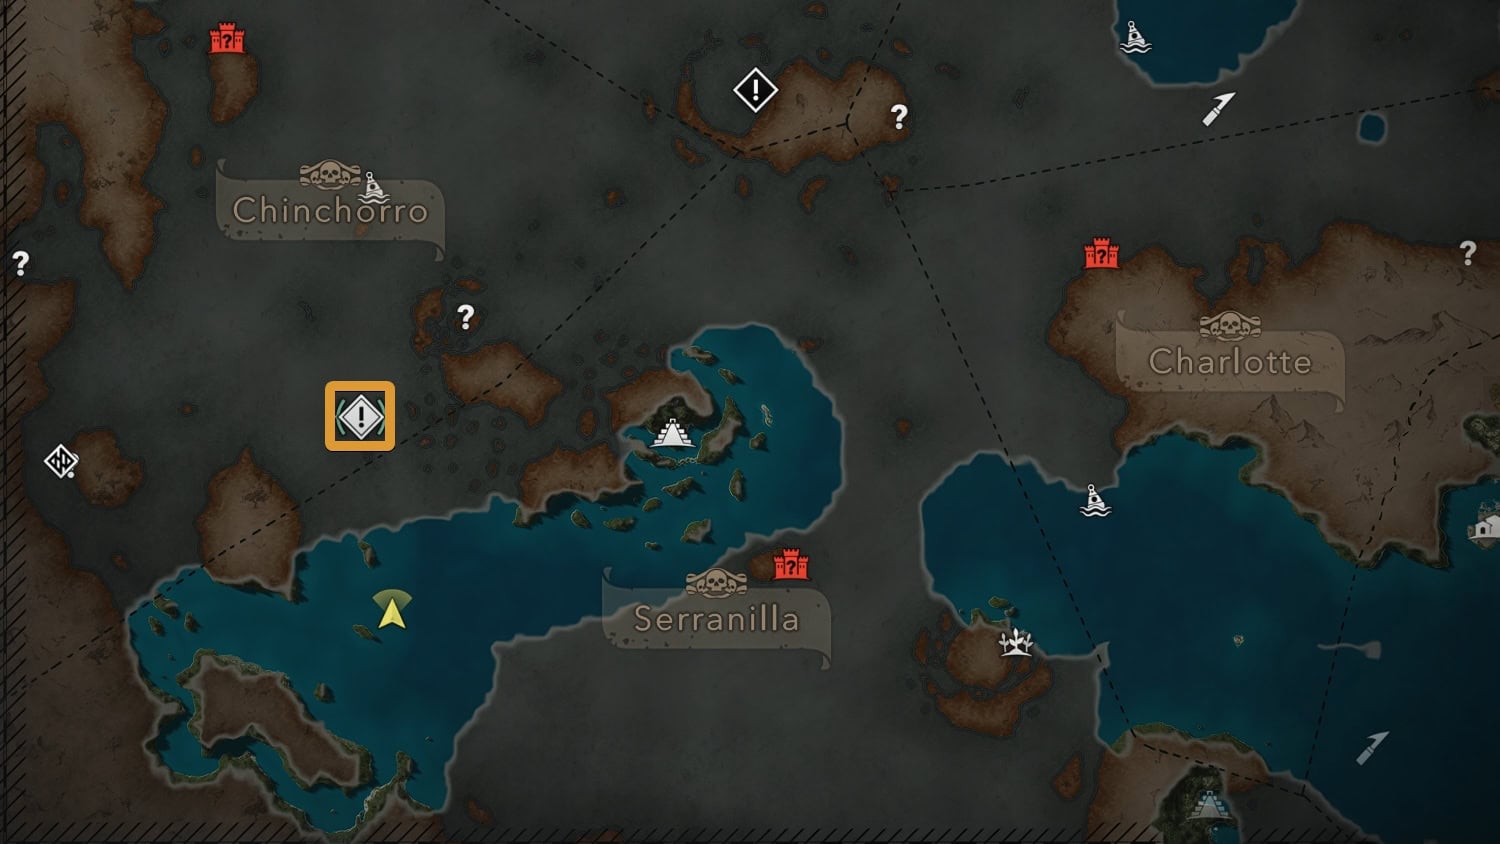
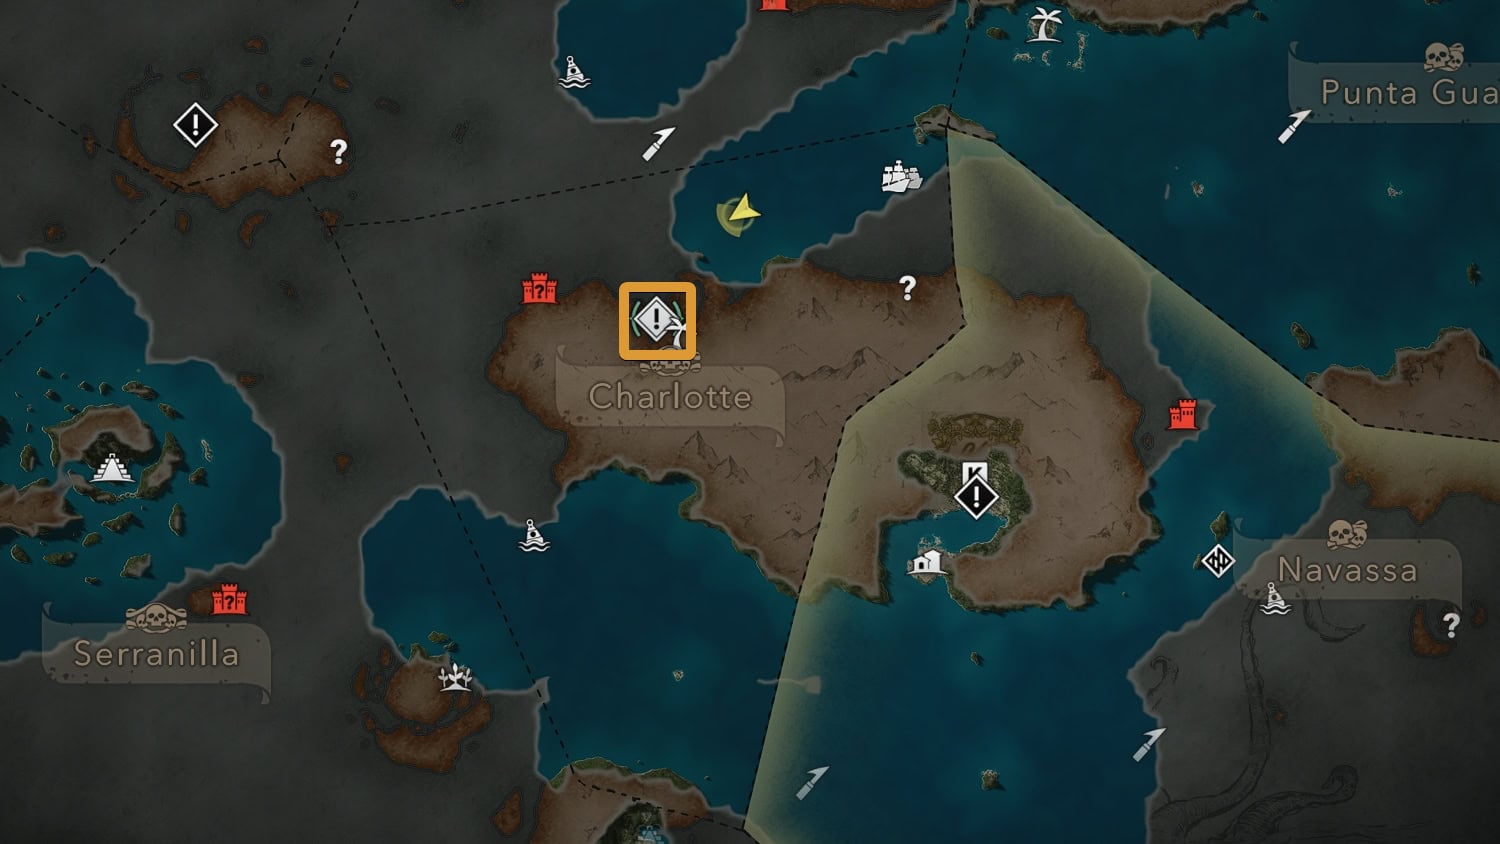
The Observatory
Edward and Roberts go to Jamaica for the Observatory. The journey is dangerous as the bodies of sailors litter the shores as the locals aren’t too friendly with visitors.
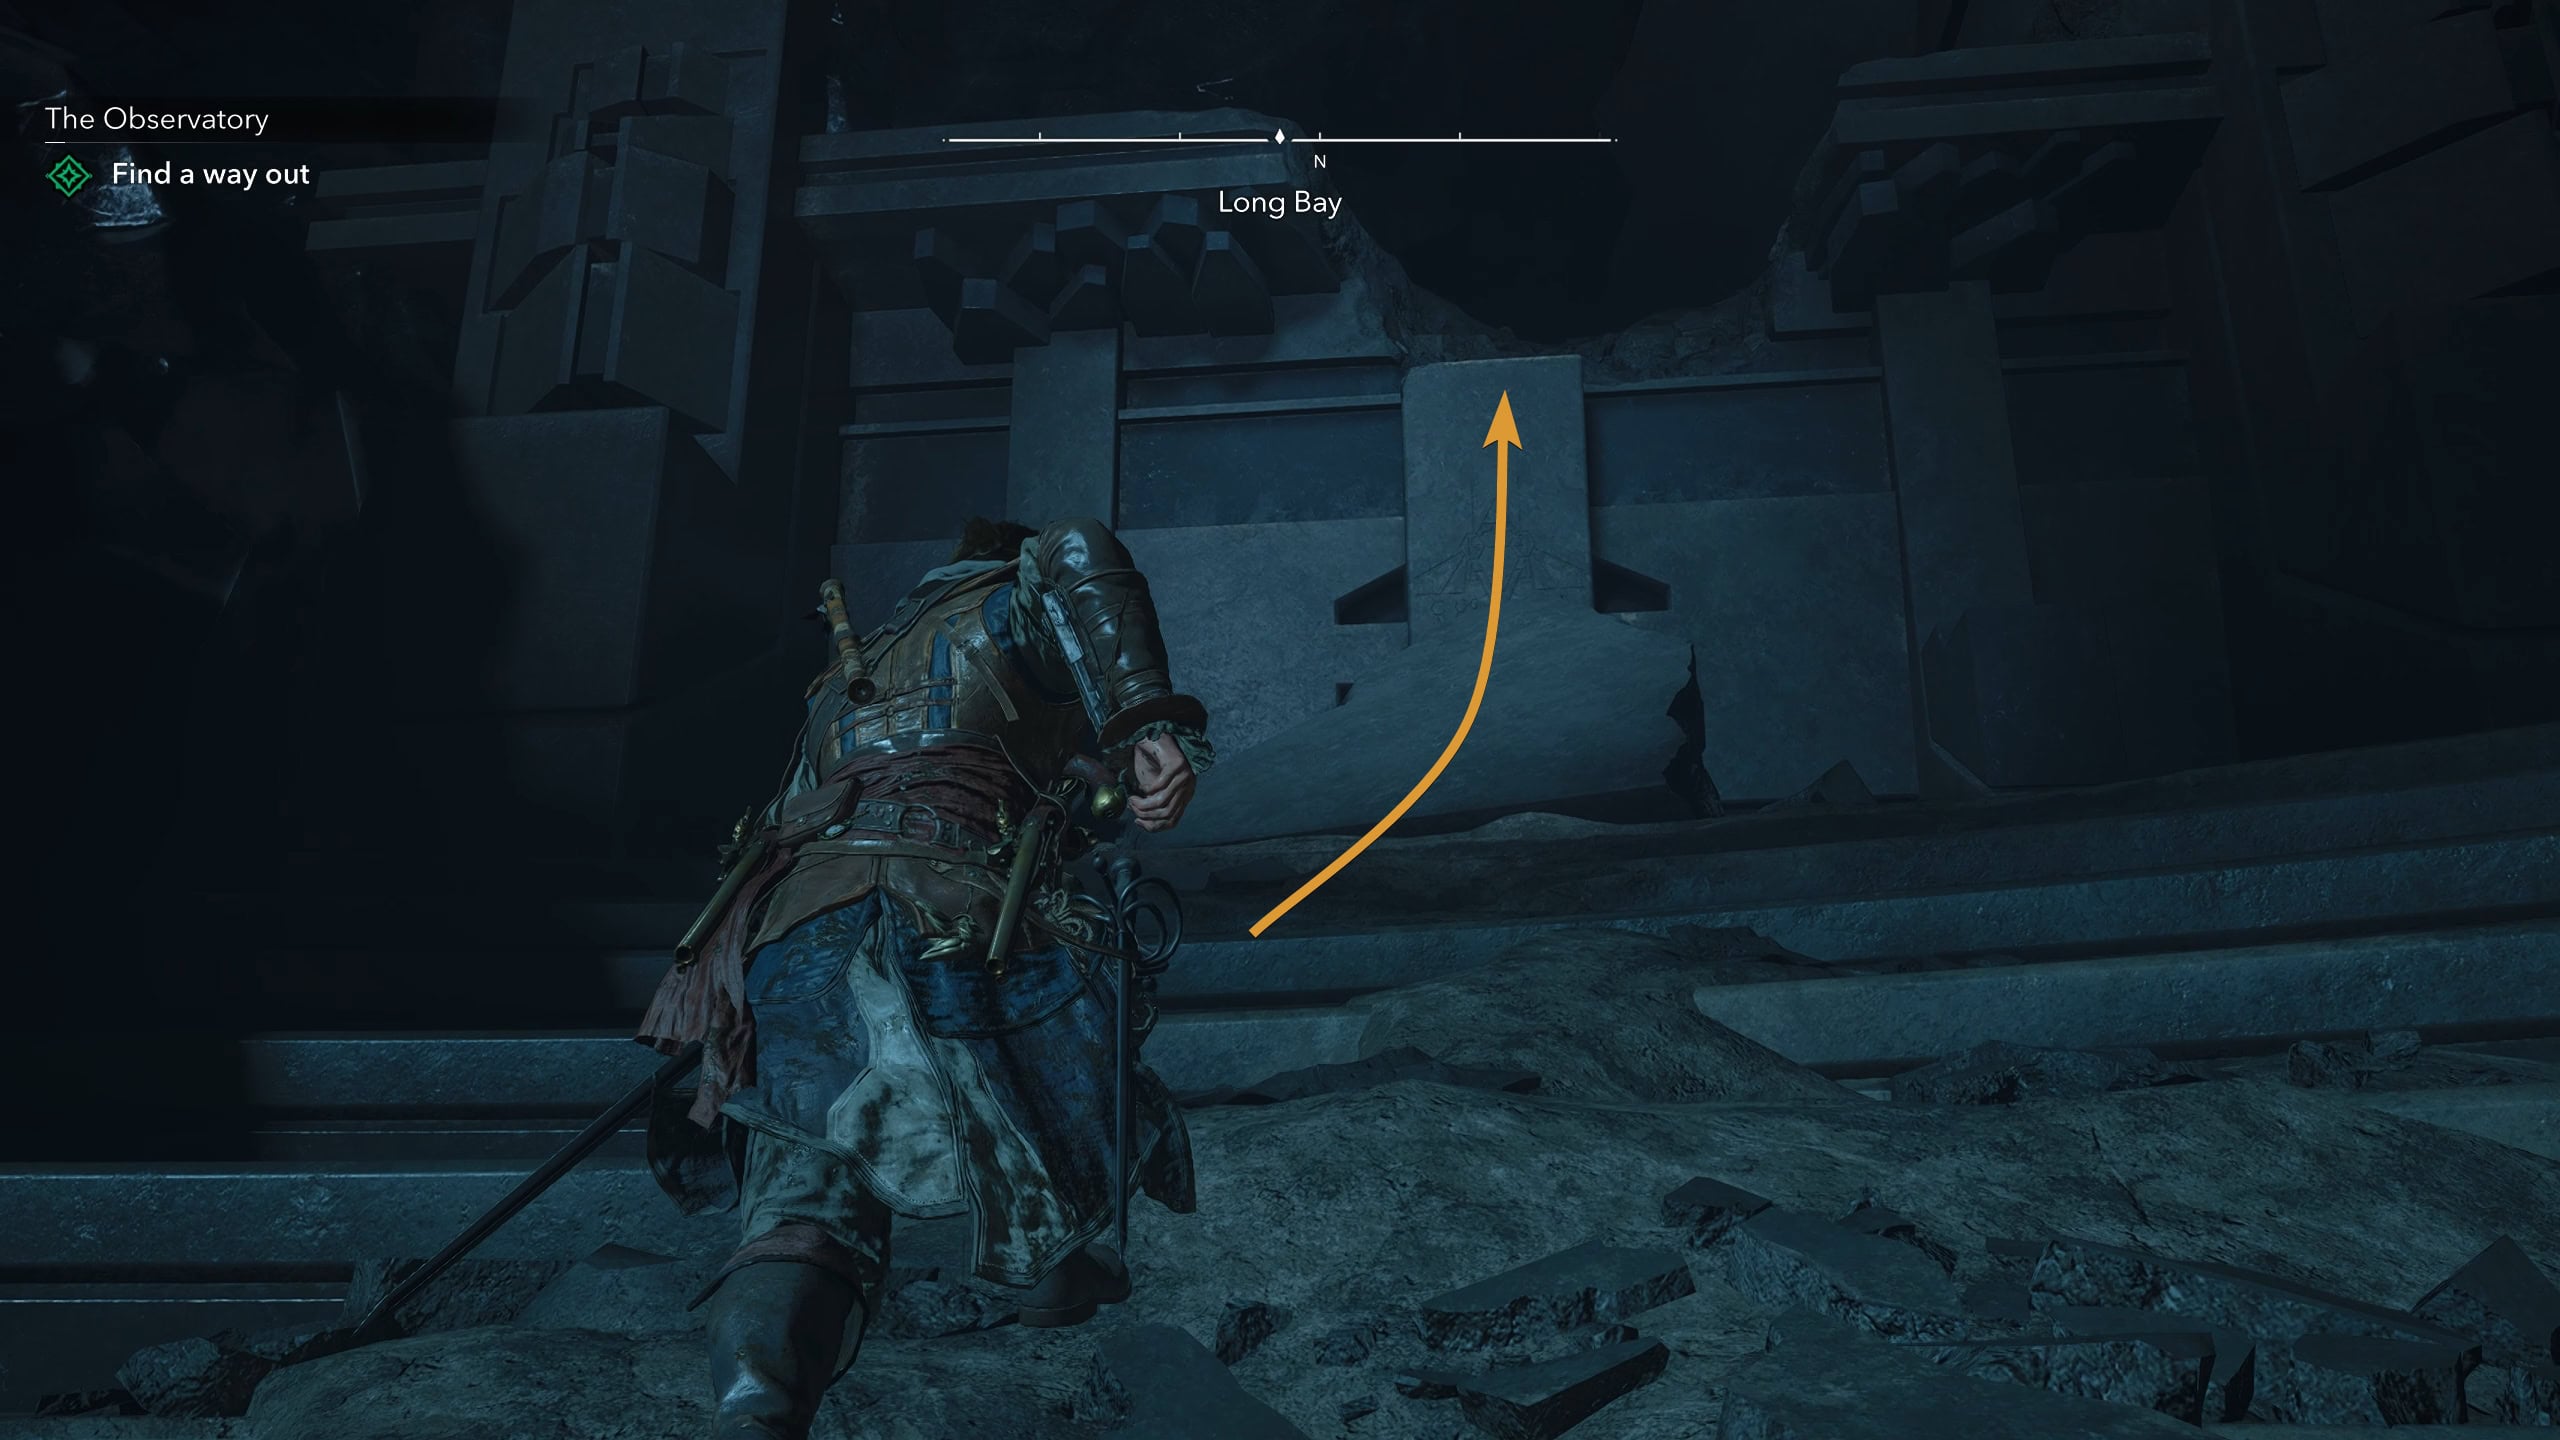
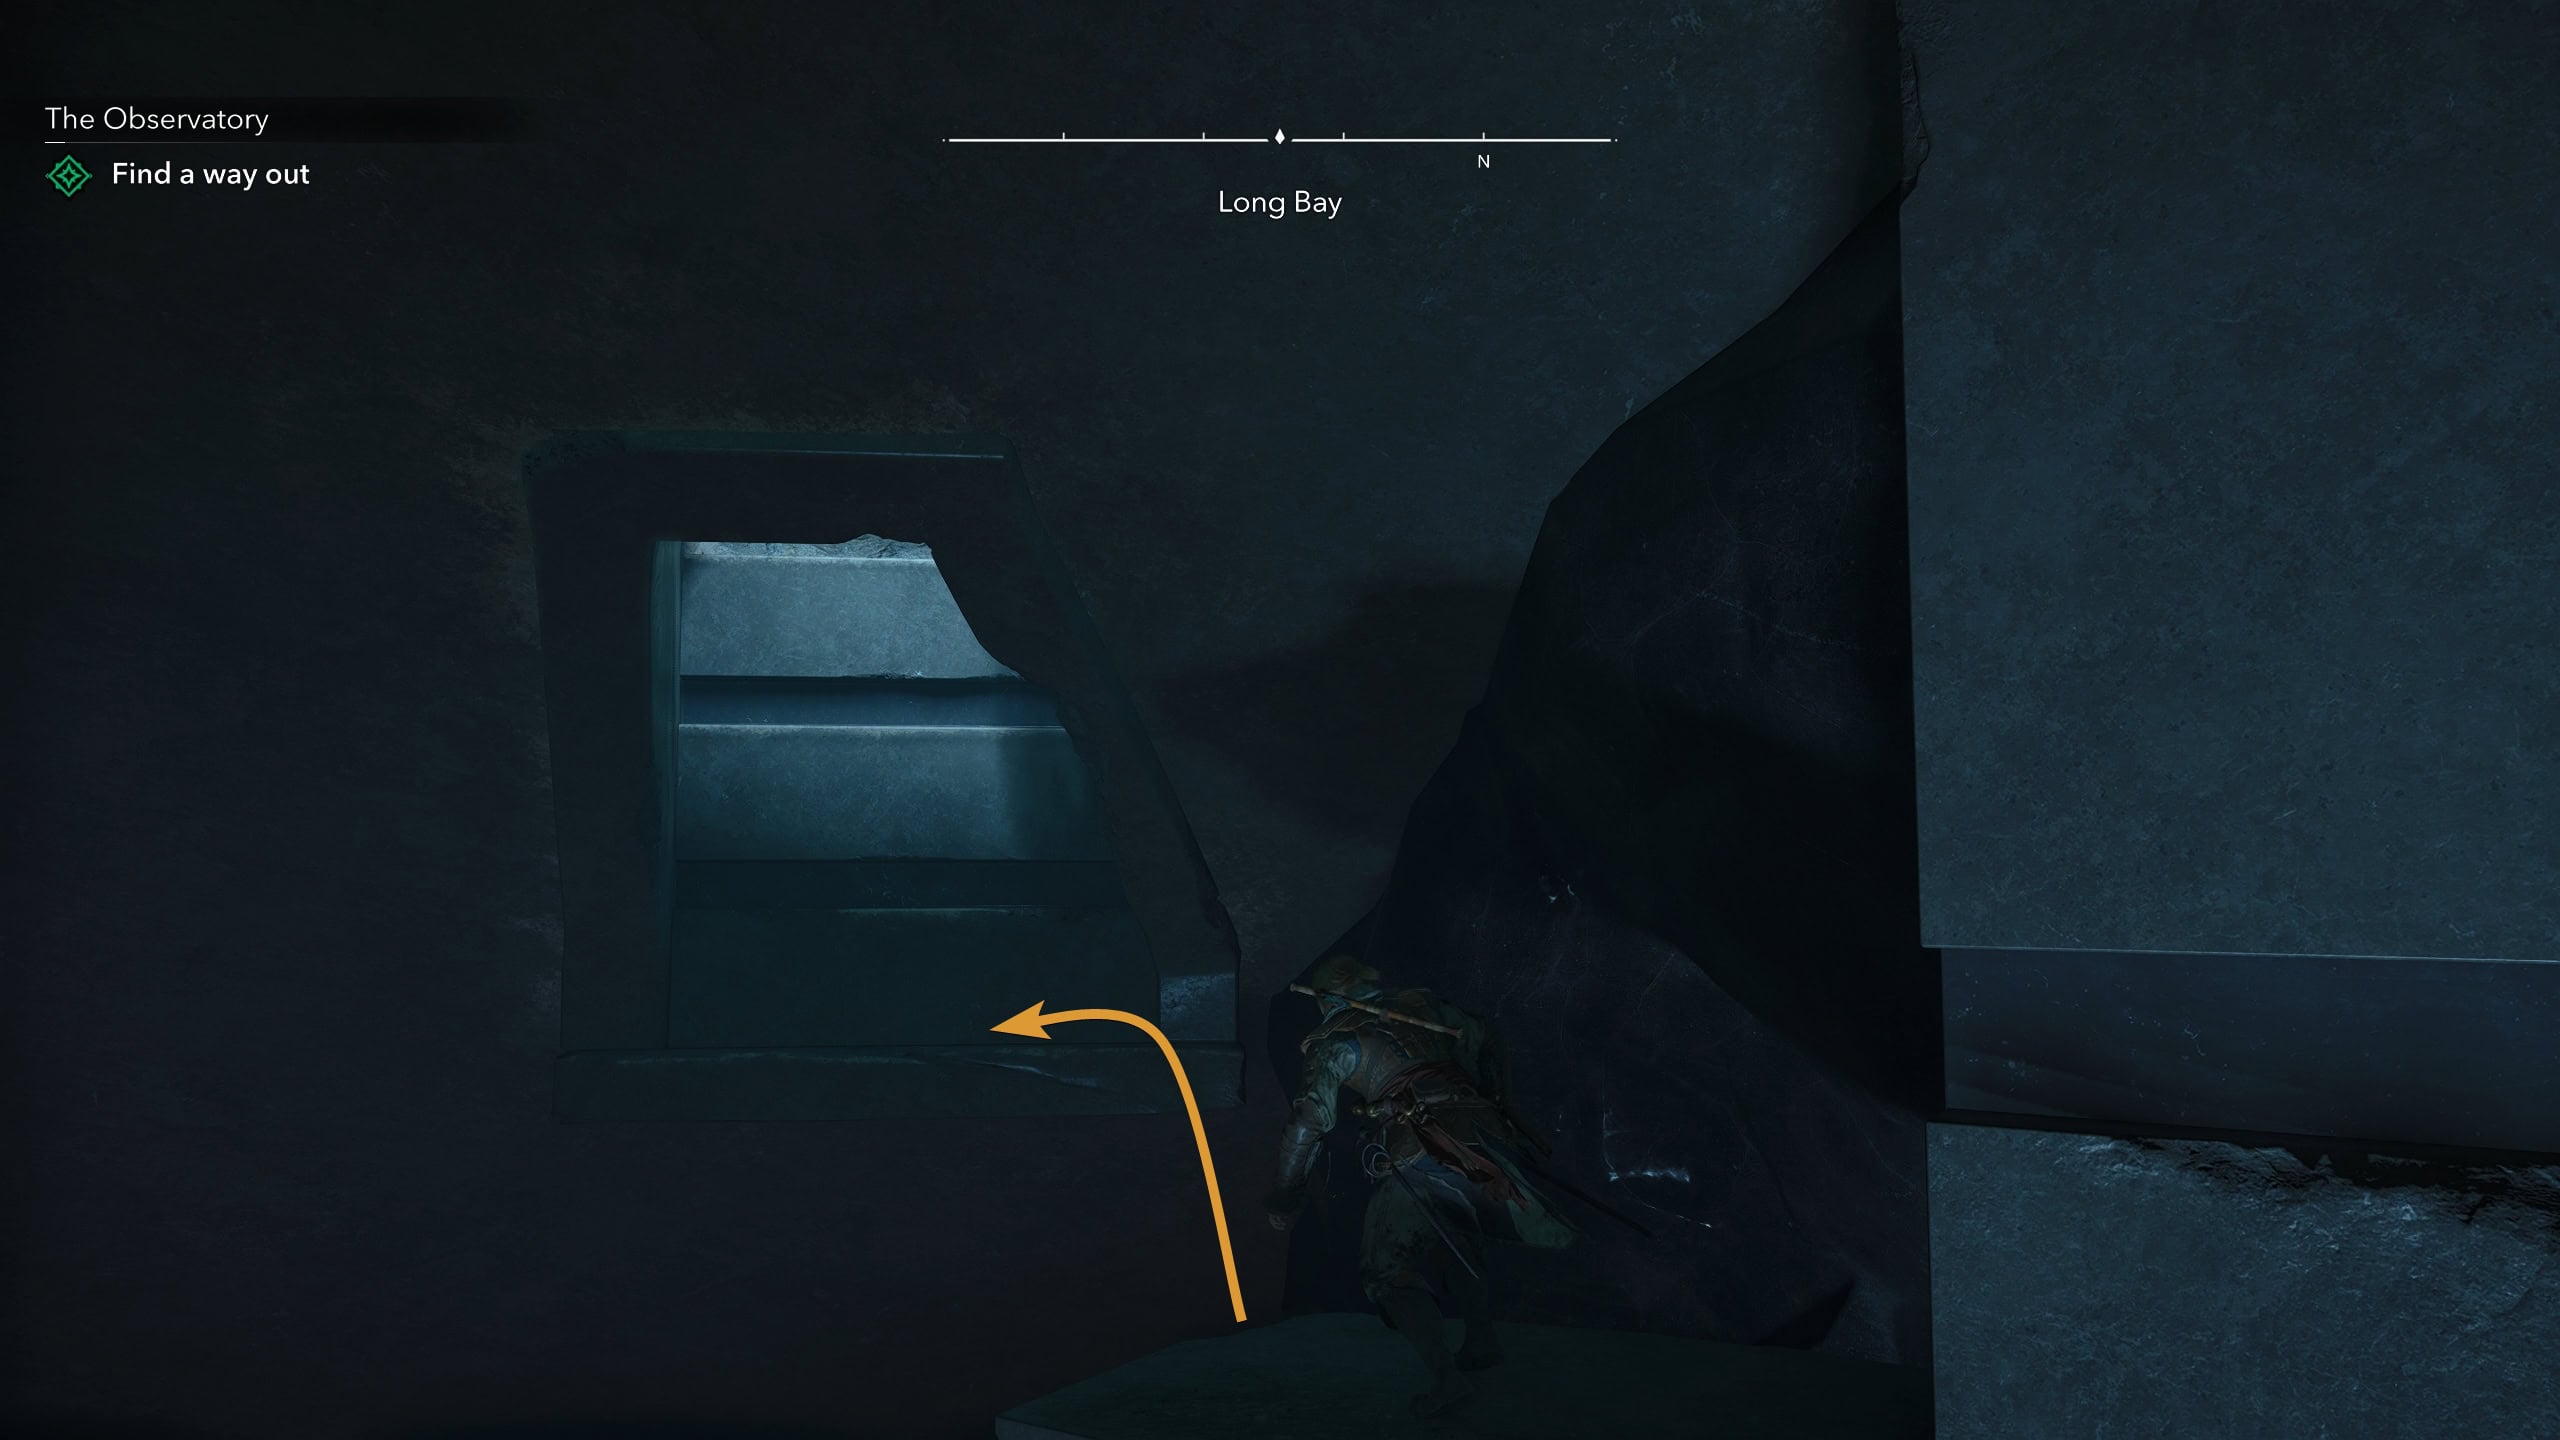
To exit the Observatory, swim your way back up to the platform you were knocked off of. To the north is a broken sloped wall you can use for a boost.
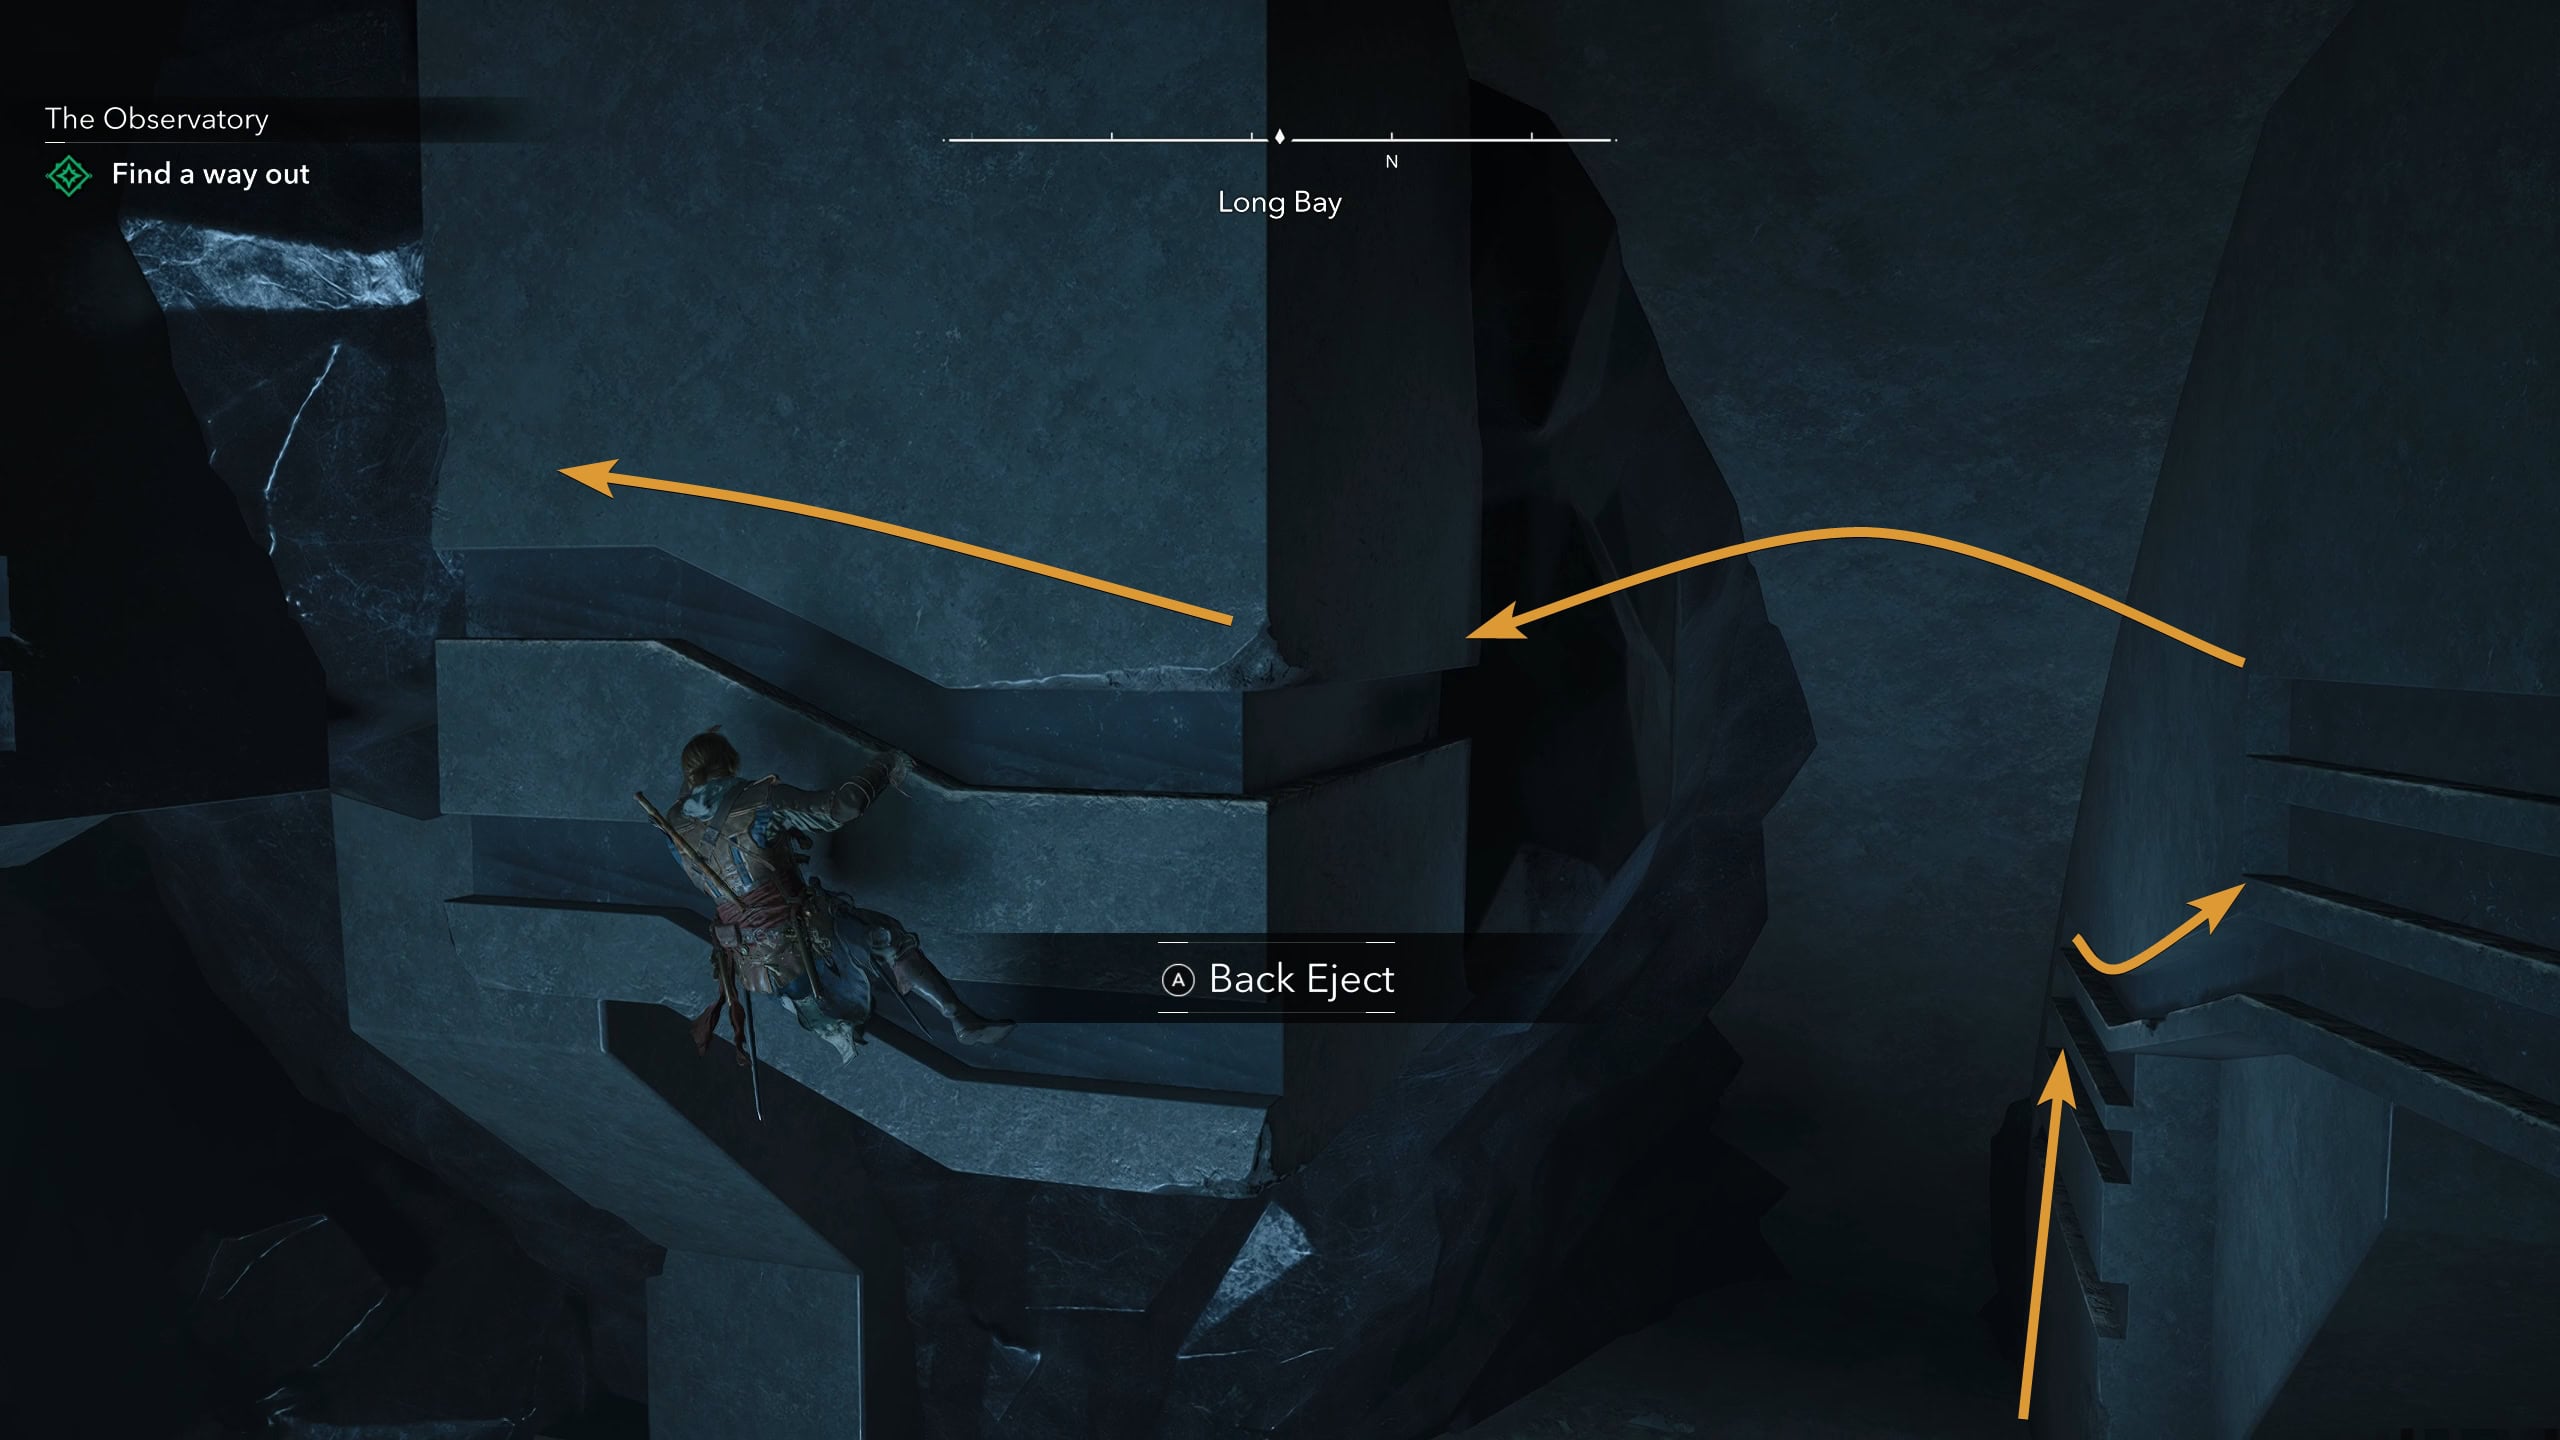
Climb up the ridges on the wall to the east, Back Eject towards the ridges across from you, and work your way west.
Climb onto the platform at the end of the path and jump to the ledge on the north wall. Climb up the ridges to make your way back outside to catch up with Roberts.
To Suffer Without Dying
Now a prisoner in Port Royal, Edward seeks to free himself along with Anne and Mary. Fortunately, Ah Tabai finds Edward and helps him find their allies.
Delirium
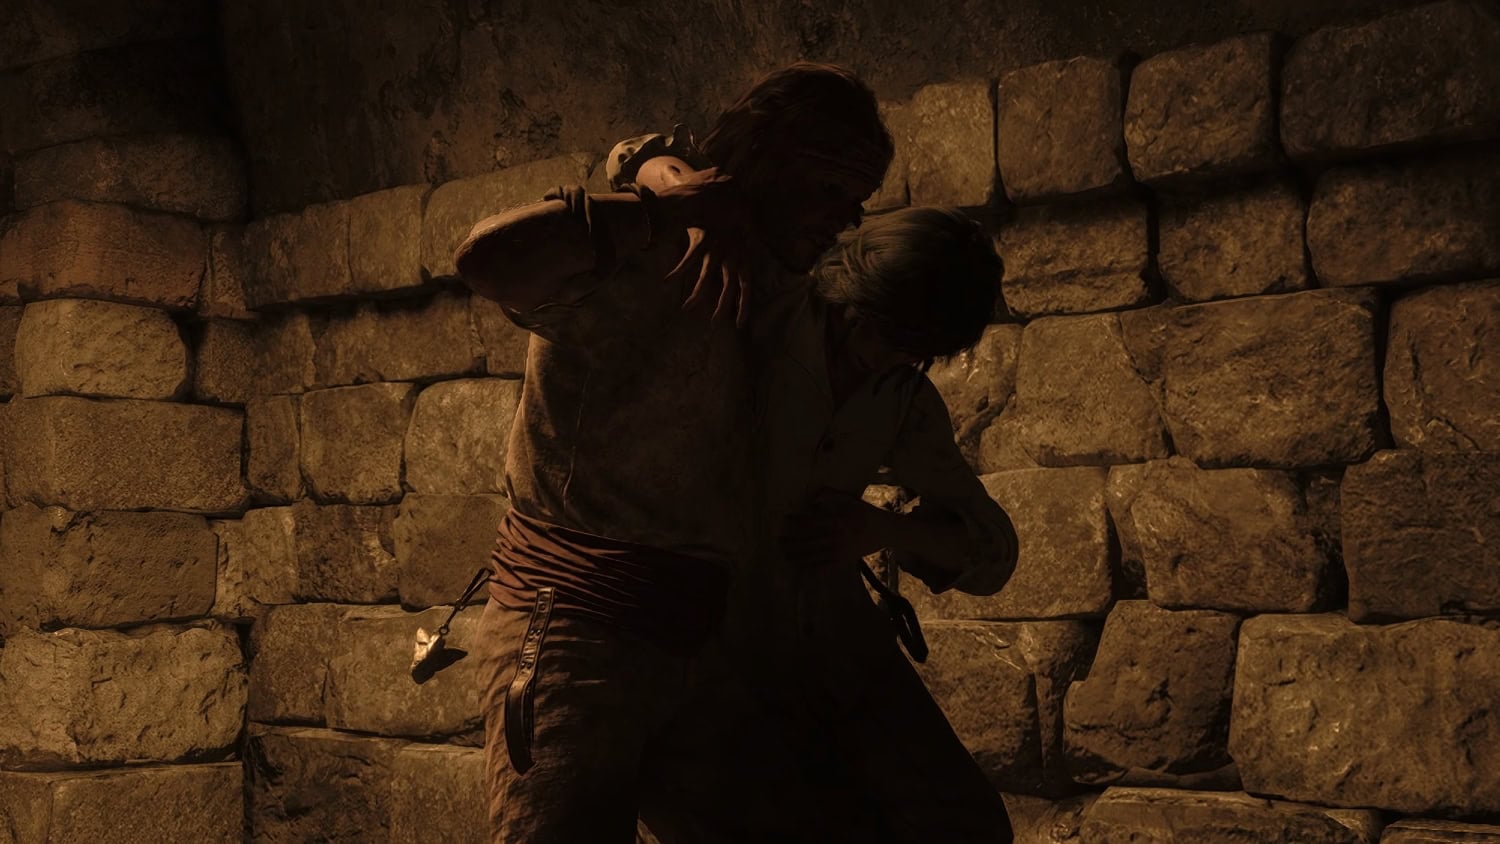
Drunk and haunted by the guilt of his actions, Edward goes onto a delirious journey where he must deal with his inner demons and turmoil.
…Everything is Permitted
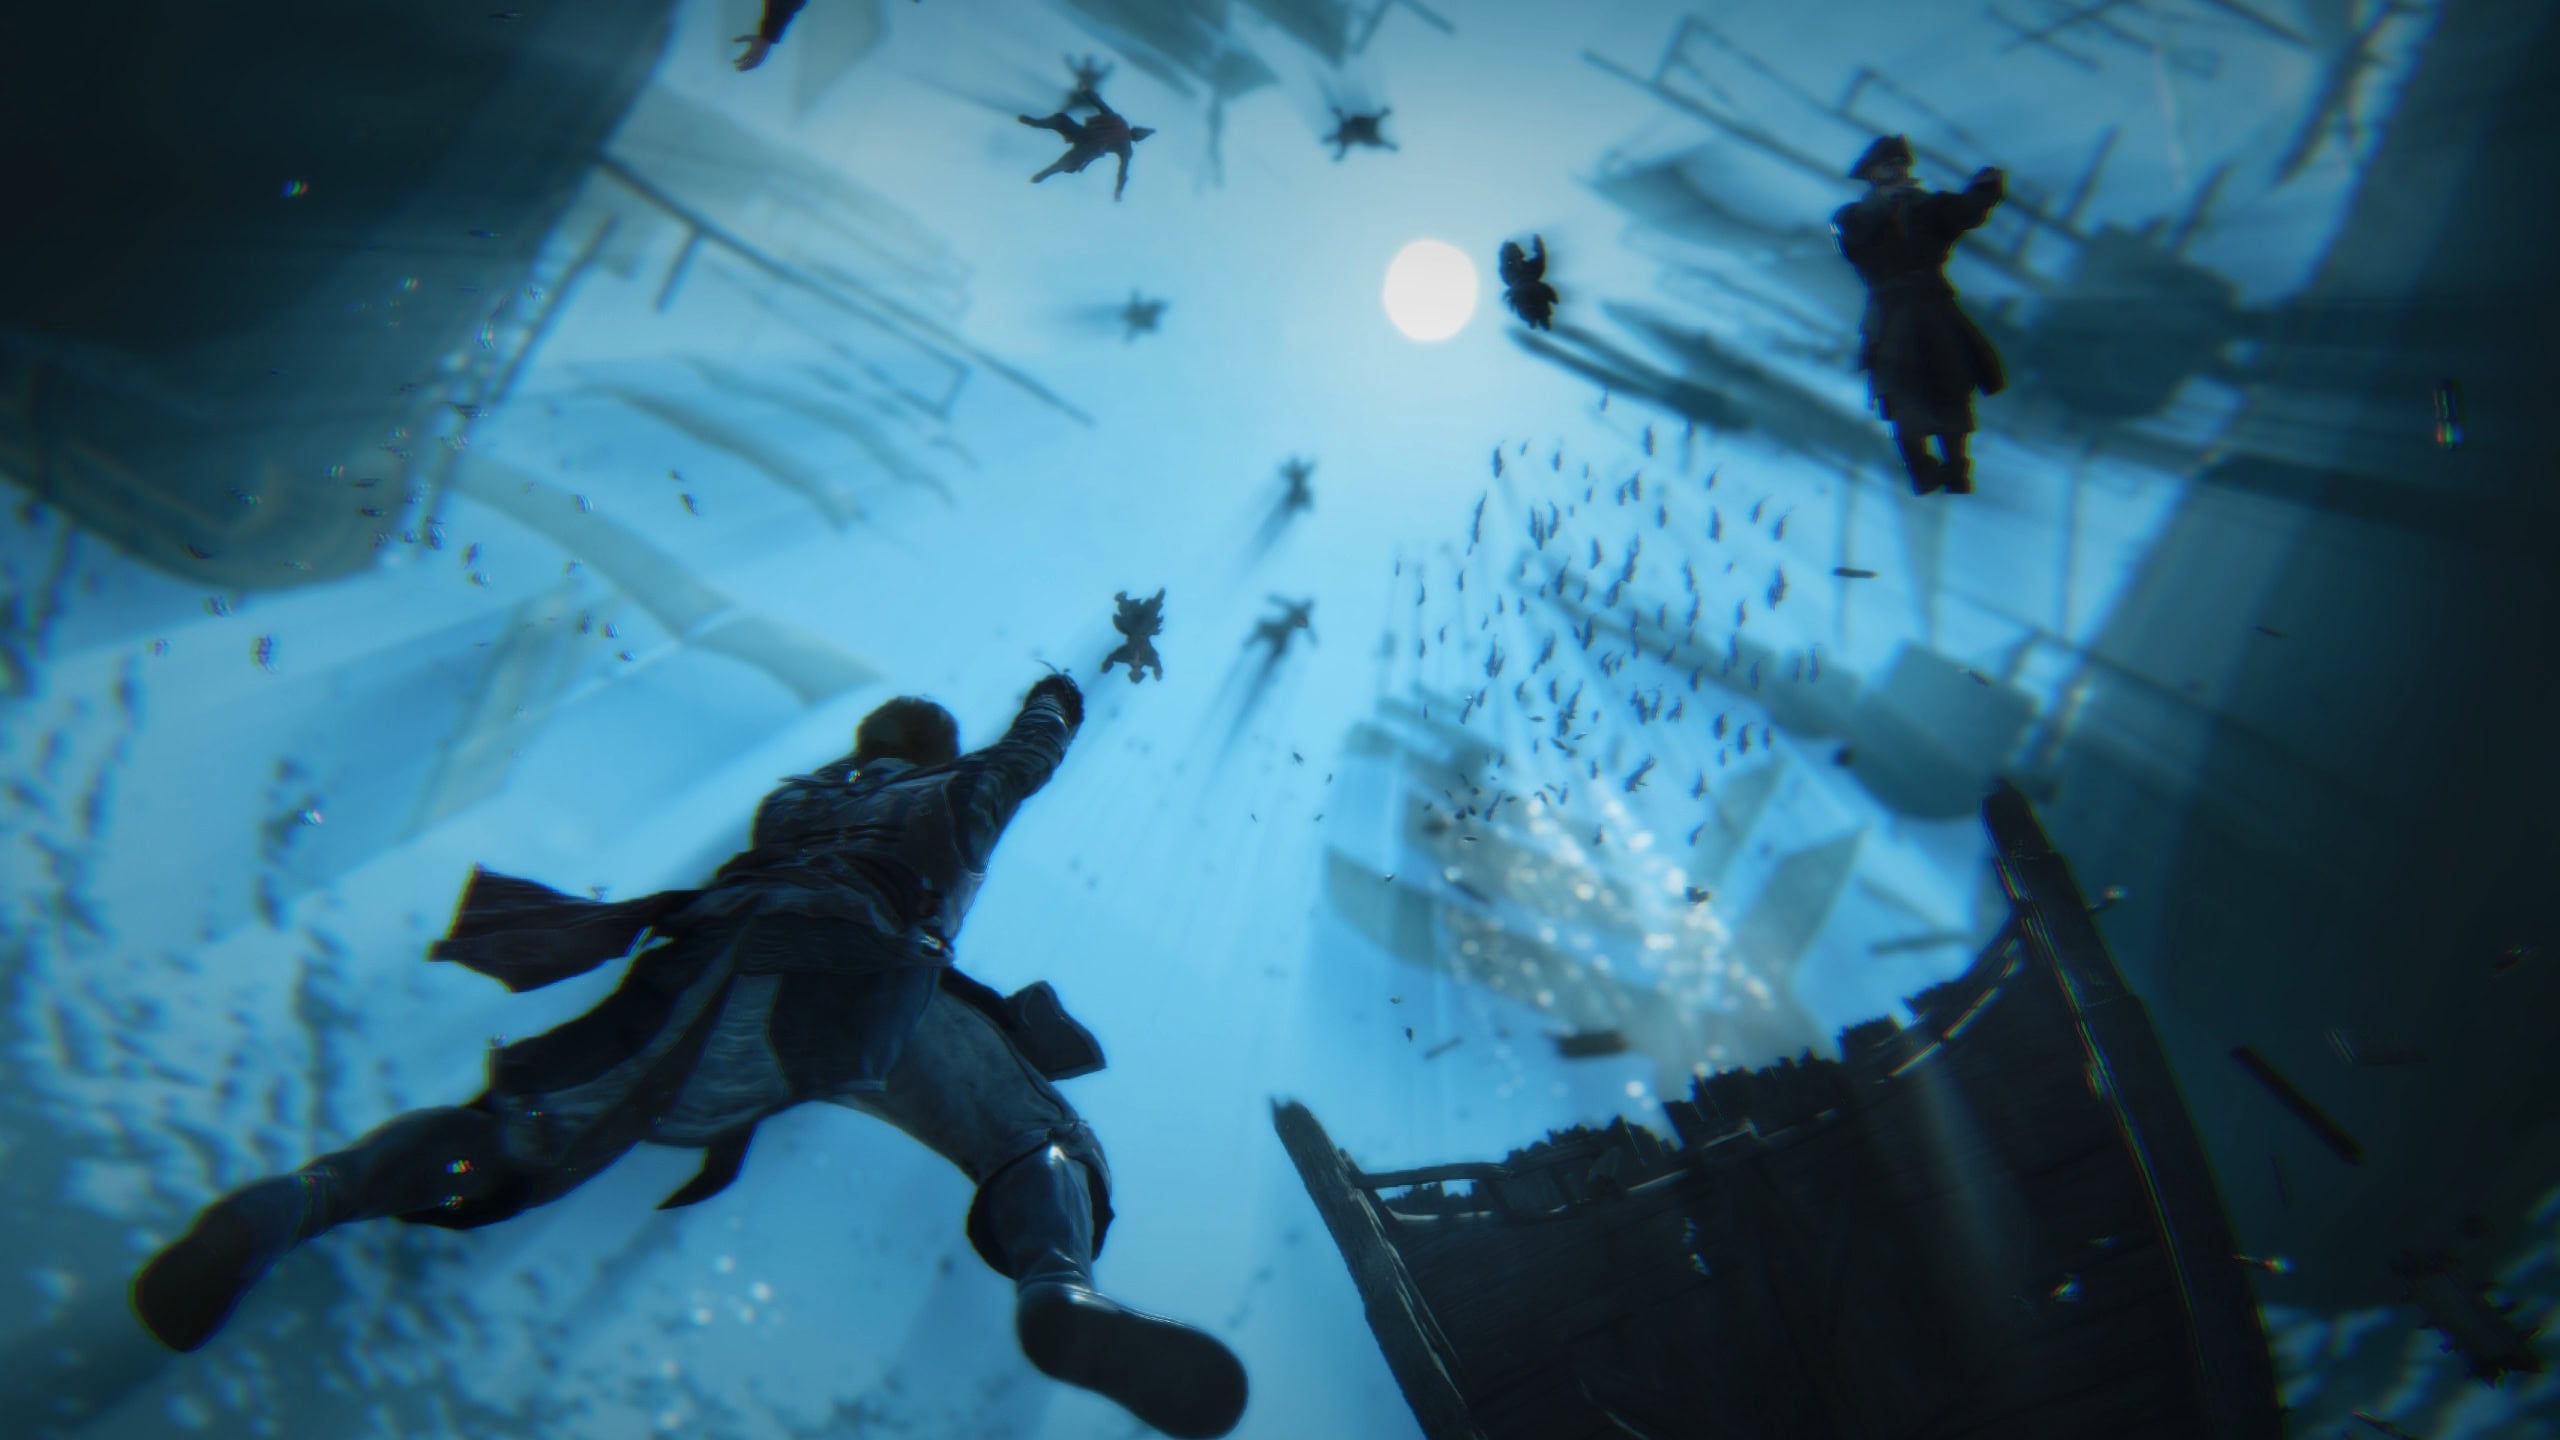
Edward goes to Tulum to seek out the Assassins. There he must begin to atone for his past actions that continue to affect the Assassins six years later. After completing this quest, you’ll be able to start the entirely new story arc, A World Without Gold, where you can avenge Blackbeard and recruit a new friend along the way.
A Governor No Longer
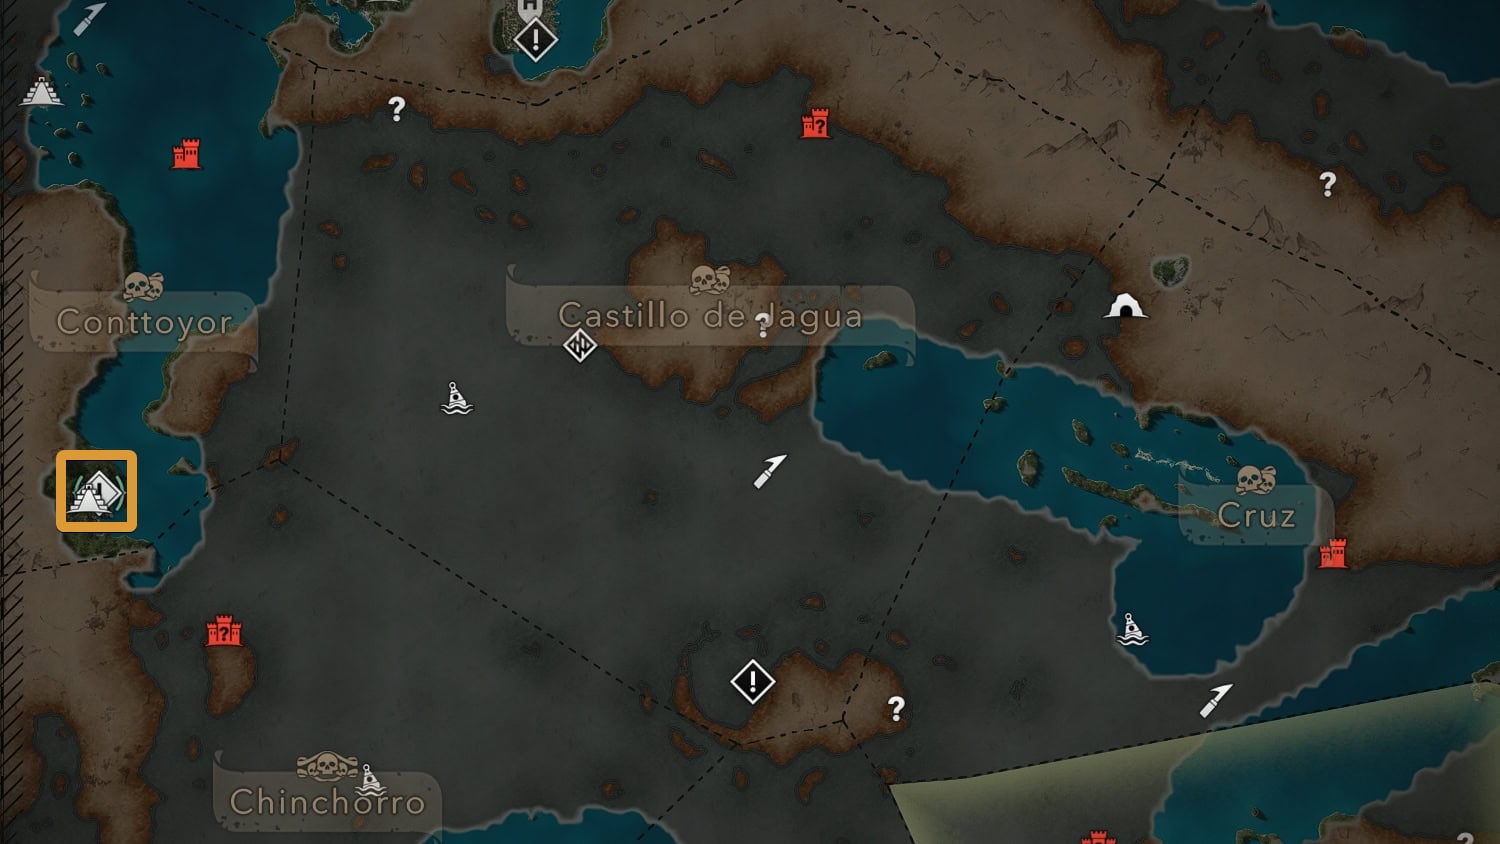
Edward heads to Kingston to speak with the Assassins located there. He hopes that with their help, he can learn Rogers’ whereabouts. He must infiltrate a political function to locate and assassinate Woodes Rogers.
Royal Misfortune
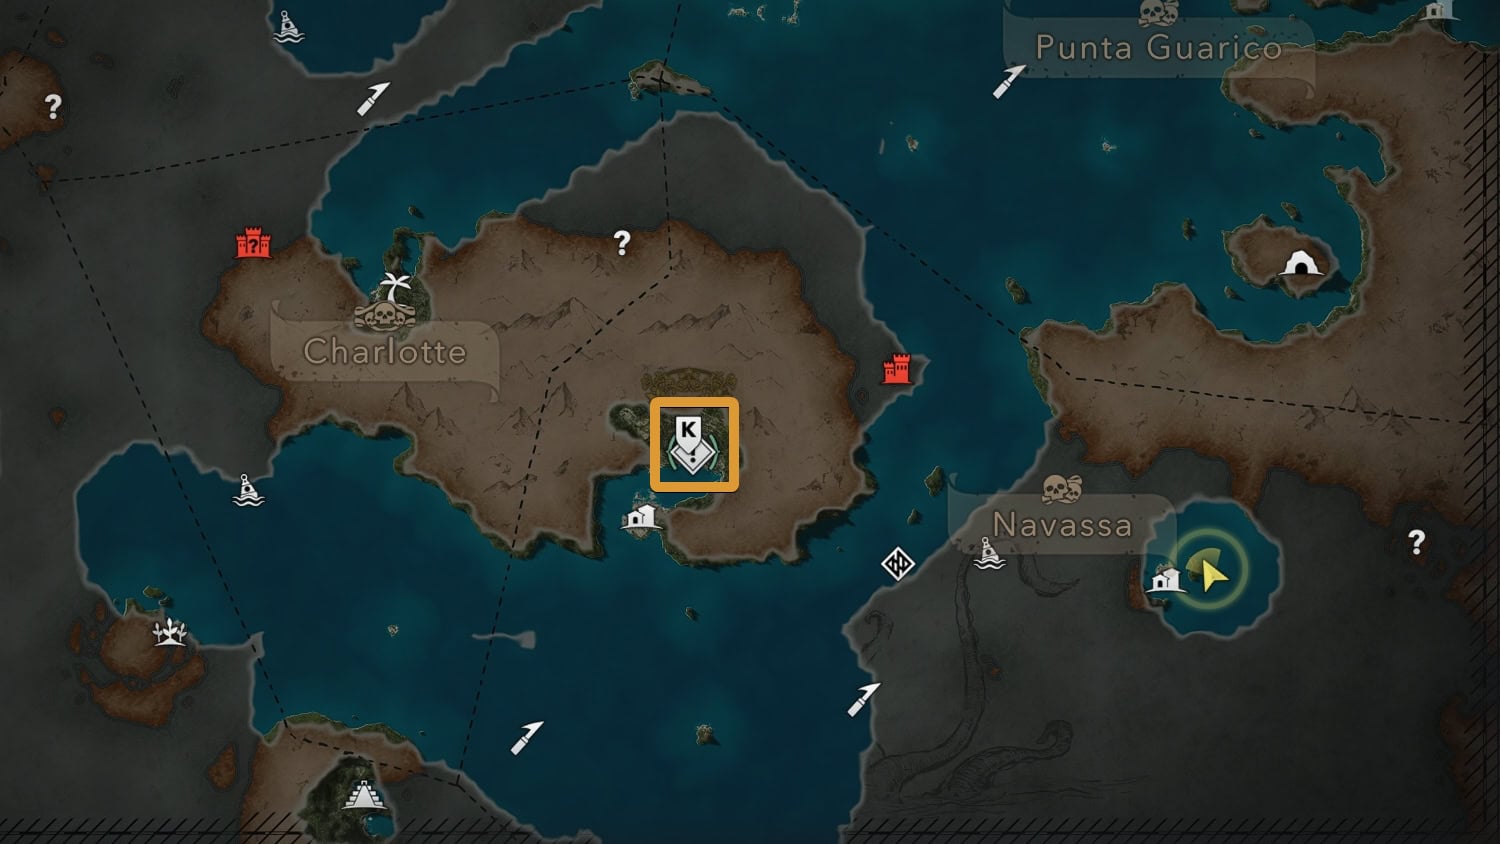
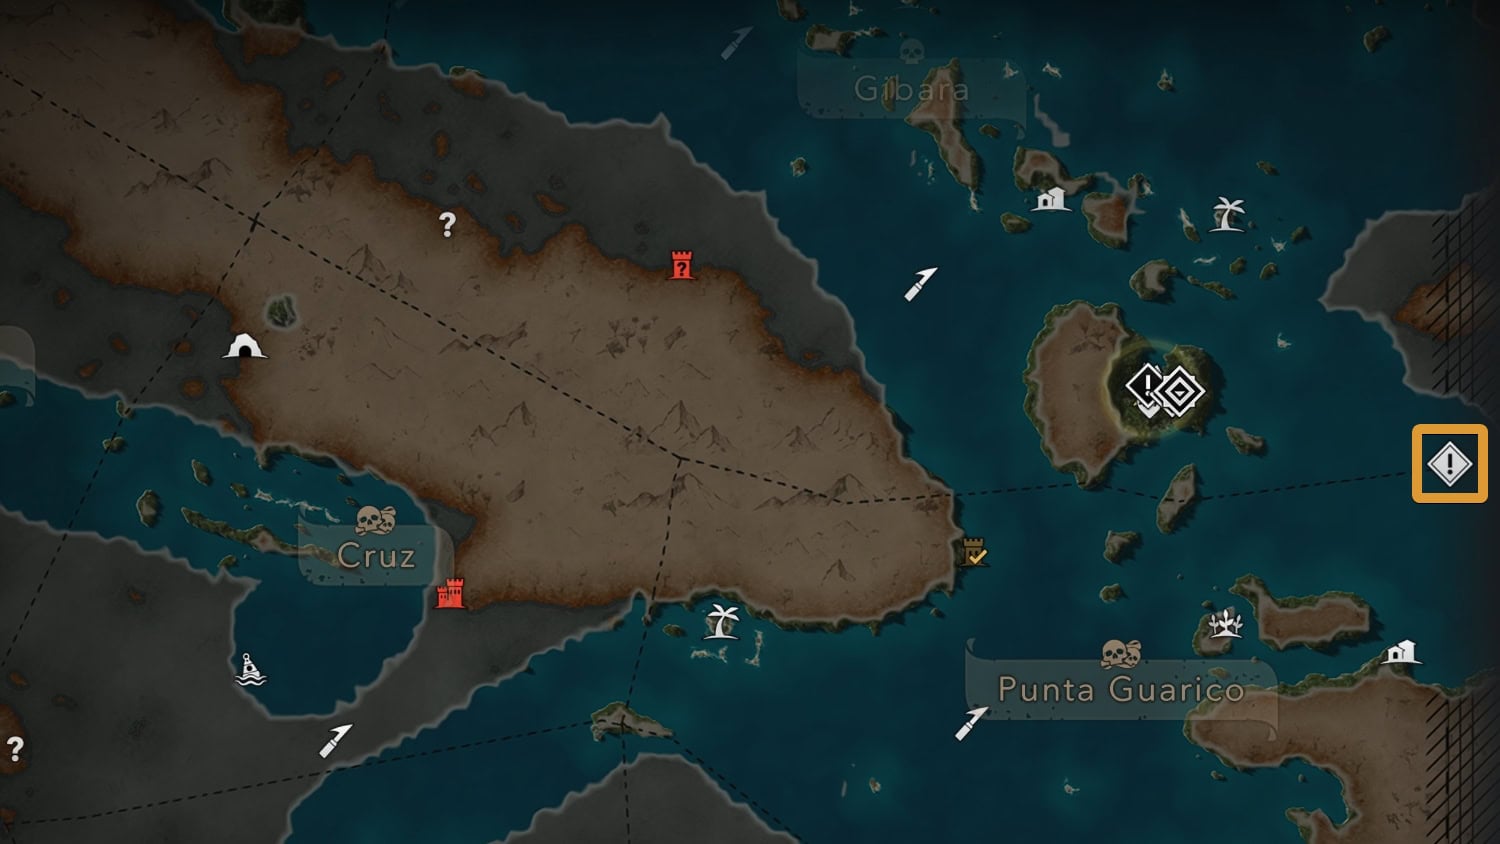
Edward must return to Príncipe in order to find and deal with Bartholomew Roberts. Roberts is in possession of an ancient artifact from the Observatory, and must be kept out of the wrong hands (including his).
Tainted Blood
Edward heads to Havana to hunt down and assassinate Torres, the last of the Templar leadership he first encountered many years ago. However, Torres’ personal bodyguard, El Tiburón, is set out to do his job and take on Edward himself.
This fight can be challenging as El Tiburón’s armor makes him immune to melee weapons. It’s nothing shooting him repeatedly in the face can’t solve, but there are better ways to deal with him. Pay close attention to the environment to find useful items that help you during the fight.
How to Beat El Tiburón: Recommended Gear and Boss Fight Strategies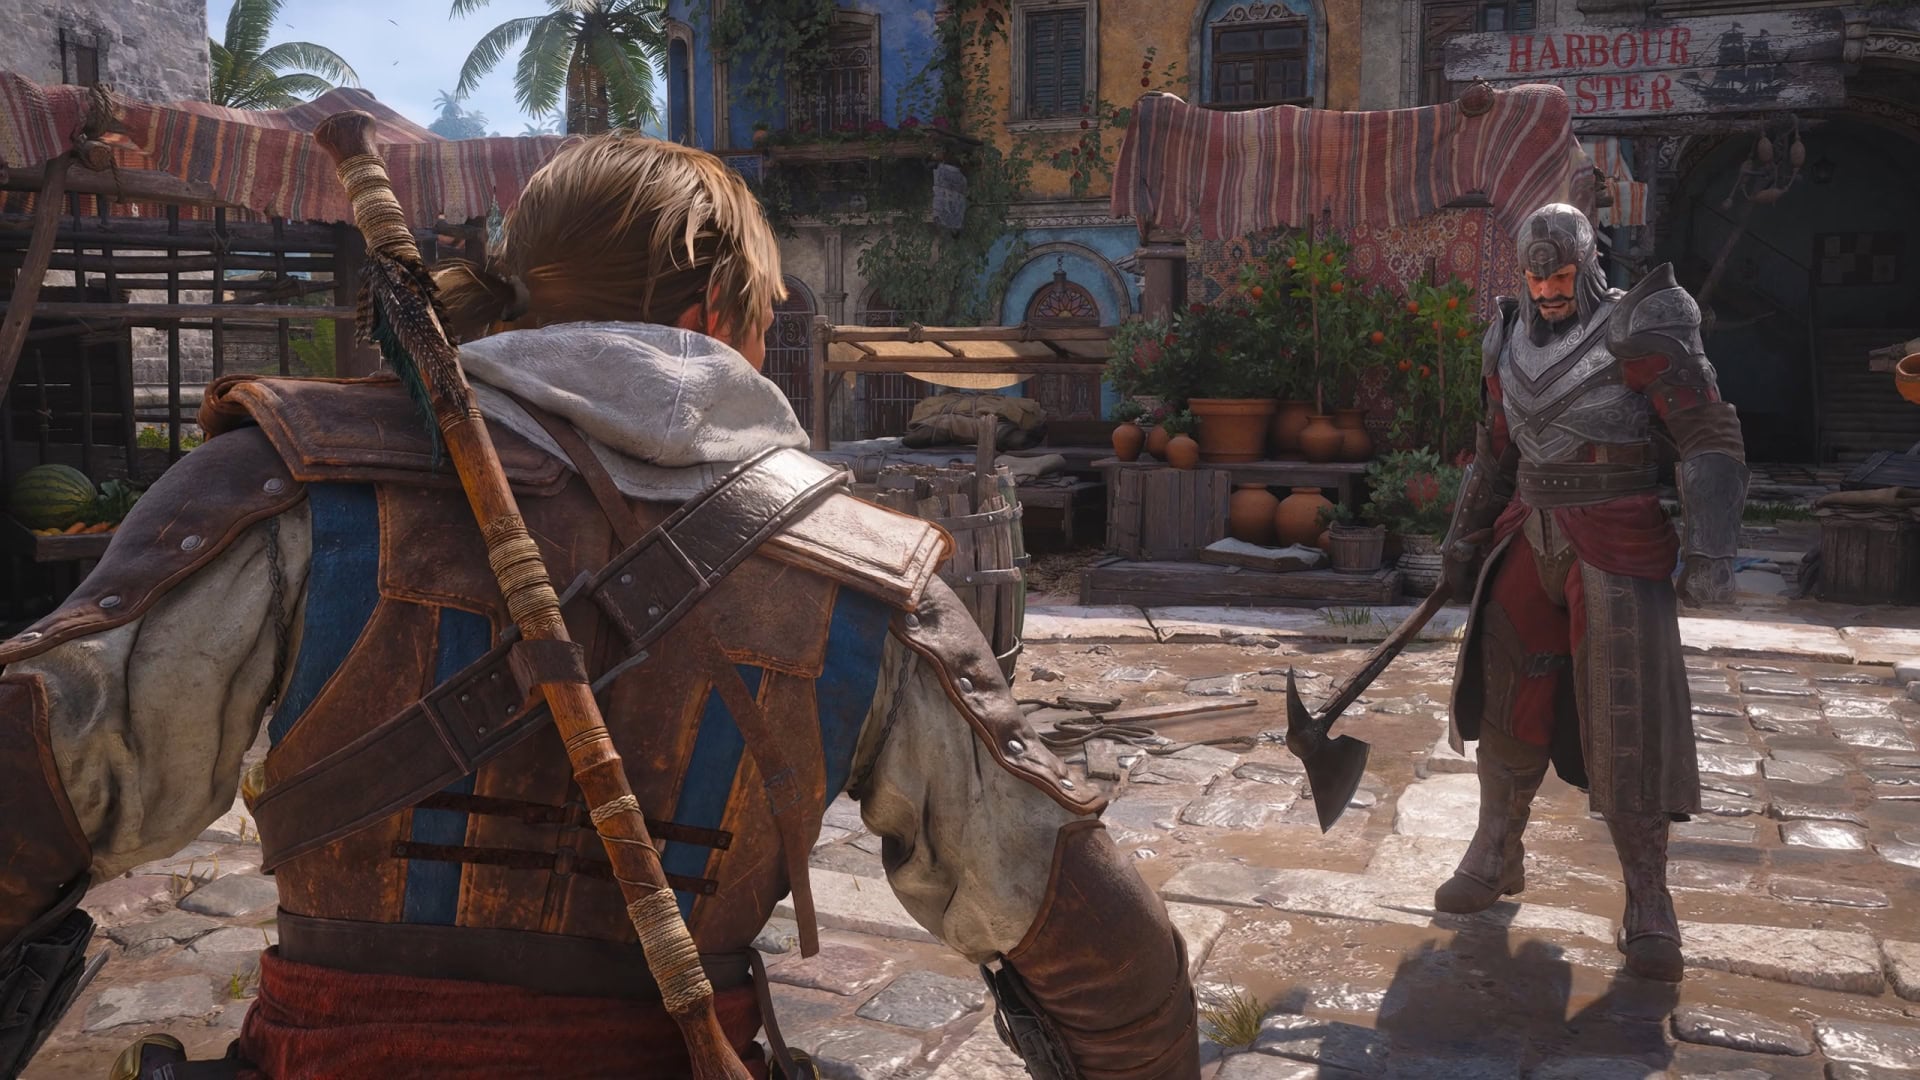
Ever a Splinter
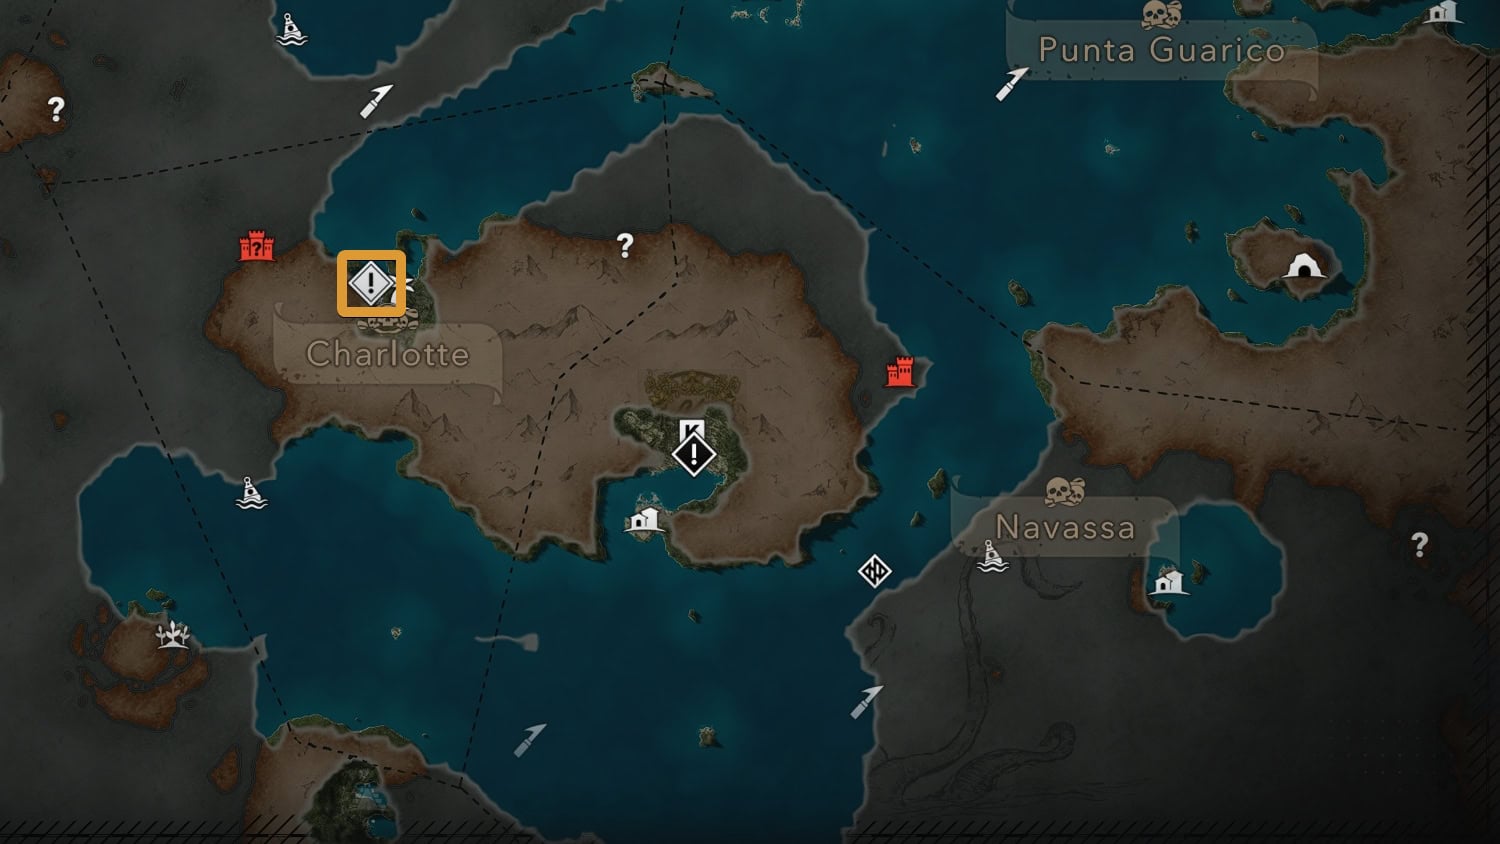
Edward makes his final journey to the Observatory to stop Torres and the Templars from utilizing its power.
Story Sequences in Black Flag Resynced
You might have noticed that the game has various “Sequences” of the story that seem rather arbitrary. If you’ve played the original Black Flag, you’d know that these sequences served a bigger purpose.
Resynced removes the portions of the player playing as a Research Analyst for Abstergo Entertainment. This company was owned by the Templars and they were attempting to find the location of the Observatory and other sites with Isu artifacts.

These sequences would be broken up to allow modern day events to play out, expanding on that story. Without the modern day story segments, the Sequences seem arbitrary but they still play a factor with gaining achievements by making progress in the main story.
If you’re curious as to which sequence holds which quests in Black Flag Resynced, you’ll find the answer to this in the following list:
Sequence 1
- Edward Kenway
Sequence 2
- Lively Havana
- And My Sugar?
- Mister Walpole, I Presume?
- A Man They Call Sage
- Claiming What’s Due
- The Treasure Fleet
Sequence 3
- This Tyro Captain
- Now Hiring
- Prizes and Plunder
- Raise the Black Flag
- Sugarcane and its Yields
- Proper Defenses
- A Single Madman
Sequence 4
- This Old Cove
- Nothing is True
- The Sage’s Buried Secret
- Overrun and Outnumbered
Sequence 5
- The Forts
- Traveling Salesman
- Unmanned
Sequence 6
- Diving for Medicines
- Devil’s Advocate
- The Siege of Charles-Towne
Sequence 7
- We Demand a Parley
- The Gunpowder Plot
- Commodore Eighty-Sixed
- The Fireship
Sequence 8
- Do Not Go Gently
- Vainglorious Bastards
- Marooned
Sequence 9
- Imagine My Surprise
- Trust is Earned
Sequence 10
- Black Bart’s Gambit
- Murder and Mayhem
- The Observatory
Sequence 11
- To Suffer Without Dying
- Delirium
- Everything is Permitted
Sequence 12
- A Governor No Longer
- Royal Misfortune
- Tainted Blood
- Ever a Splinter