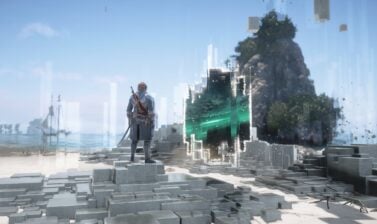
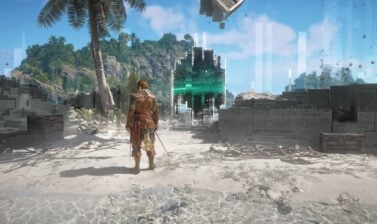
By diving into the depths of the ocean, you can uncover long lost treasure to fill your treasure hoard and obtain the Ultimate Plans for the best Jackdaw upgrades. In this guide you will learn how to unlock the Diving Bell and how to fully explore all Shipwreck Locations
How to Unlock the Diving Bell
You’ll unlock to dive underwater at Shipwrecks towards the middle of the main story. During the quest “Diving for Medicines“, you’ll be able to purchase or pilfer a Diving Bell for the Jackdaw. Going to Shipwrecks will allow you to find treasure chests to gain reales and increase your wealth.
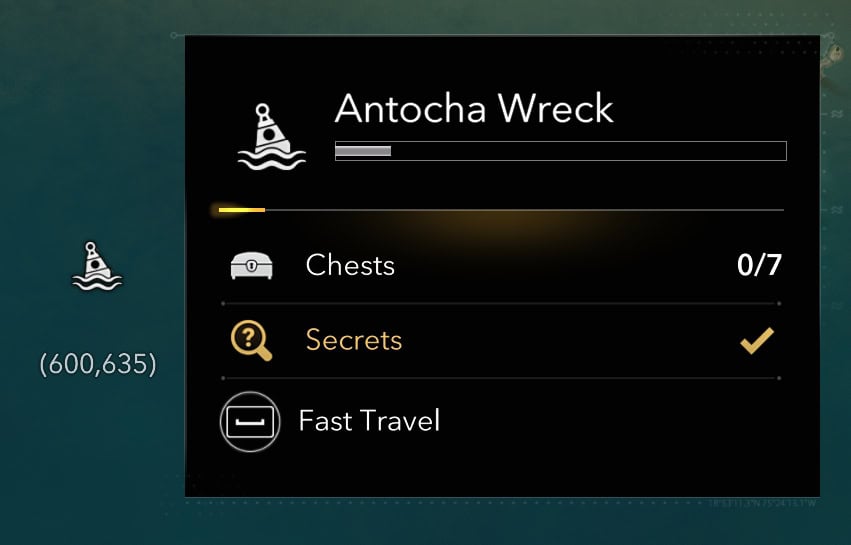
Each Shipwreck will tell you the amount of treasure chests currently available, along with a Secret. The Secret is another treasure chest that’ll have more valuable treasure such as Upgrade Plans for the Jackdaw. These are required to purchase the Jackdaw’s top tier upgrades.
Underwater Icons Explained
As you swim in these underwater segments, you’ll find some unique icons that are not available on land-based maps. Always take note of where you can find Air Pockets and Air Barrels so you can prevent drowning.
| Icon | Name | Description |
|---|---|---|
 | Treasure Chest | Contains 1,000 reales or random assortment of valuables. |
 | Secret Chest | Contains the area’s best treasure (Custom Icon). |
 | Air Barrel | Air Barrel used to refill oxygen, consumed on use. |
 | Air Pocket | Location of hydrothermal vents, swim up in these areas for an air pocket. |
Underwater Hazards and Useful Objects
As you cannot fight anything underwater, you’ll need to pay close attention to your surroundings if you want to collect all the treasure and survive. Being reckless means you’ll either drown, get stung to death, or eaten by a shark.
Diving Bell
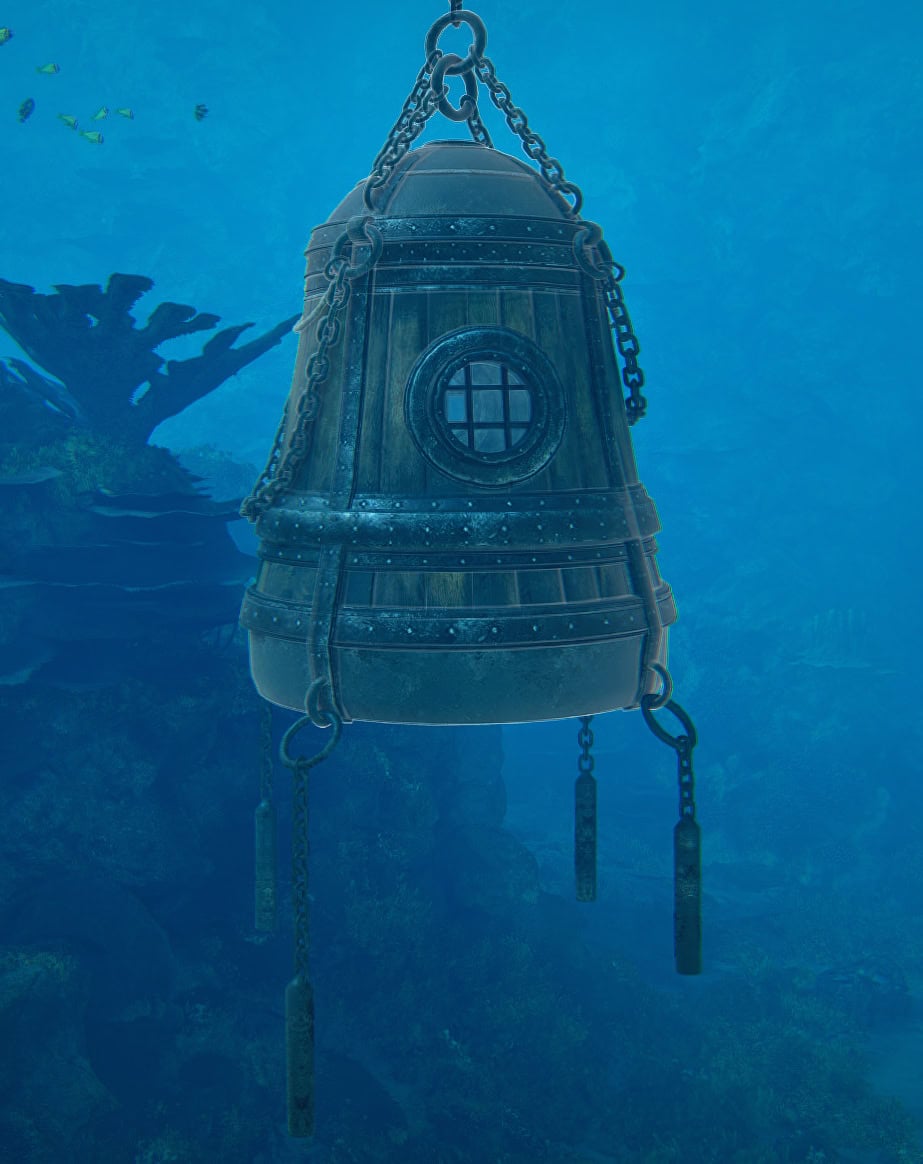
The Diving Bell acts as a source of air and your ride back to the surface. While in the Diving Bell, sharks will not attack you. When you’re ready to return, go inside and hold the Surface button to return to the Jackdaw. You cannot return to the surface by swimming up, this will cause you to desynchronize.
Treasure Chests
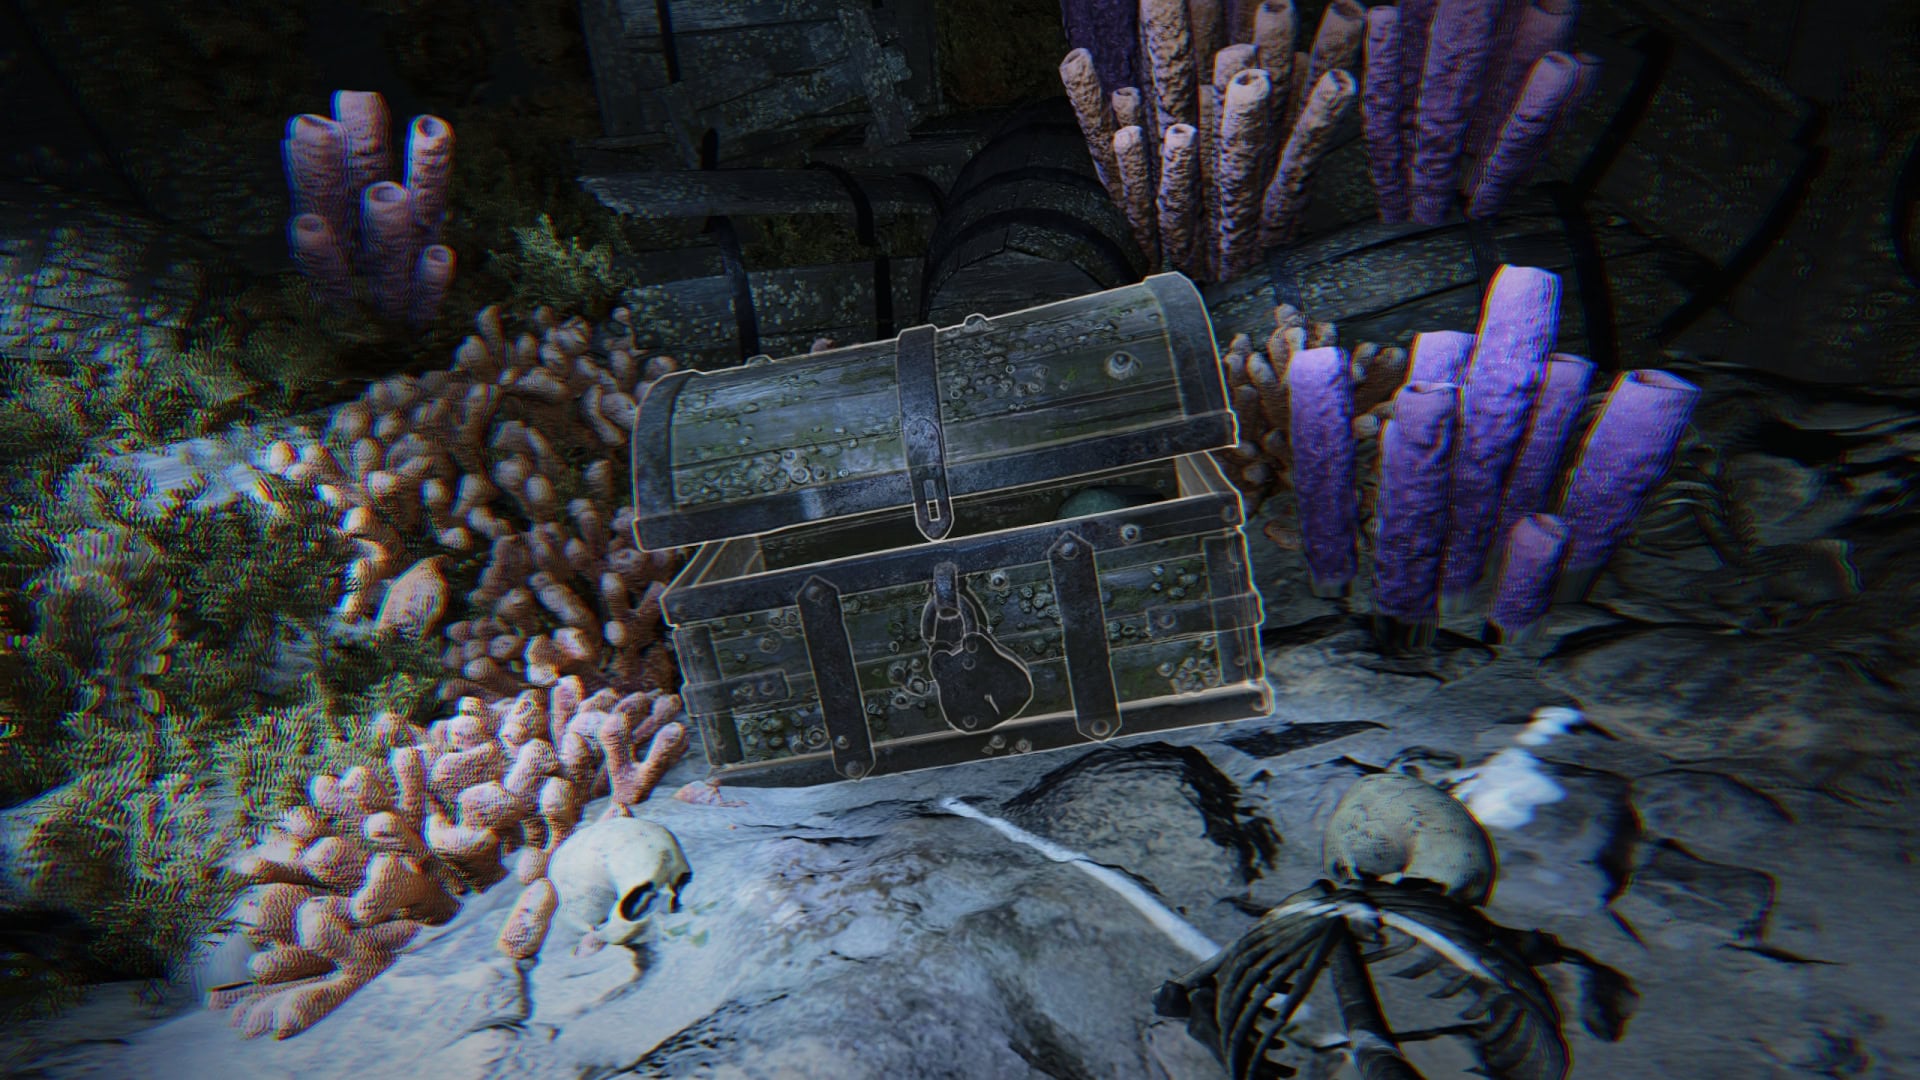
Treasure Chests of course hold treasure. All treasure chests aside from the secret chest will either contain 1,000 reales or random treasure equal to 700-1,000+ reales. Depending on the dive site, you’ll receive at least 7,000+ reales per trip.
Air Barrels
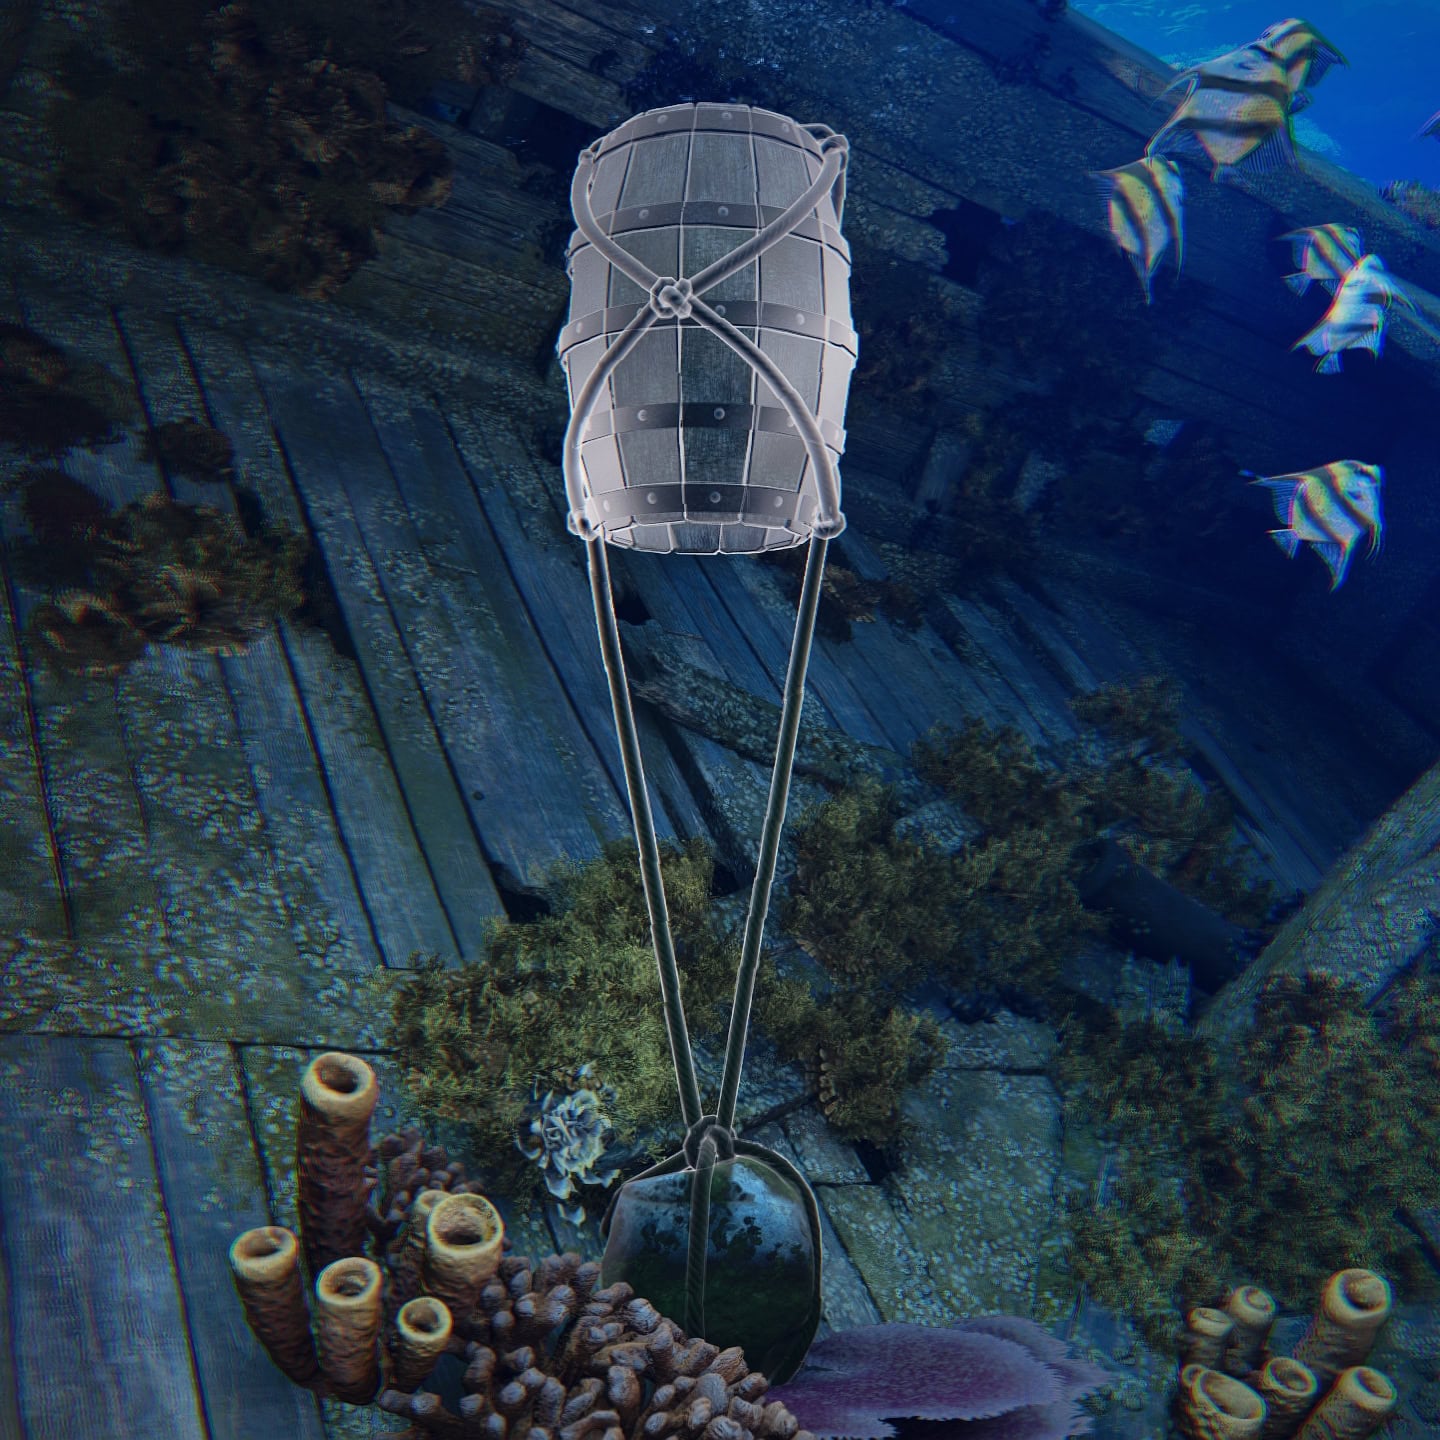
Air Barrels can be found within open water segments. These provide air for you, but are consumed upon use. Once you leave a barrel, the oxygen will be used up and the barrel will sink.
Burst Beams
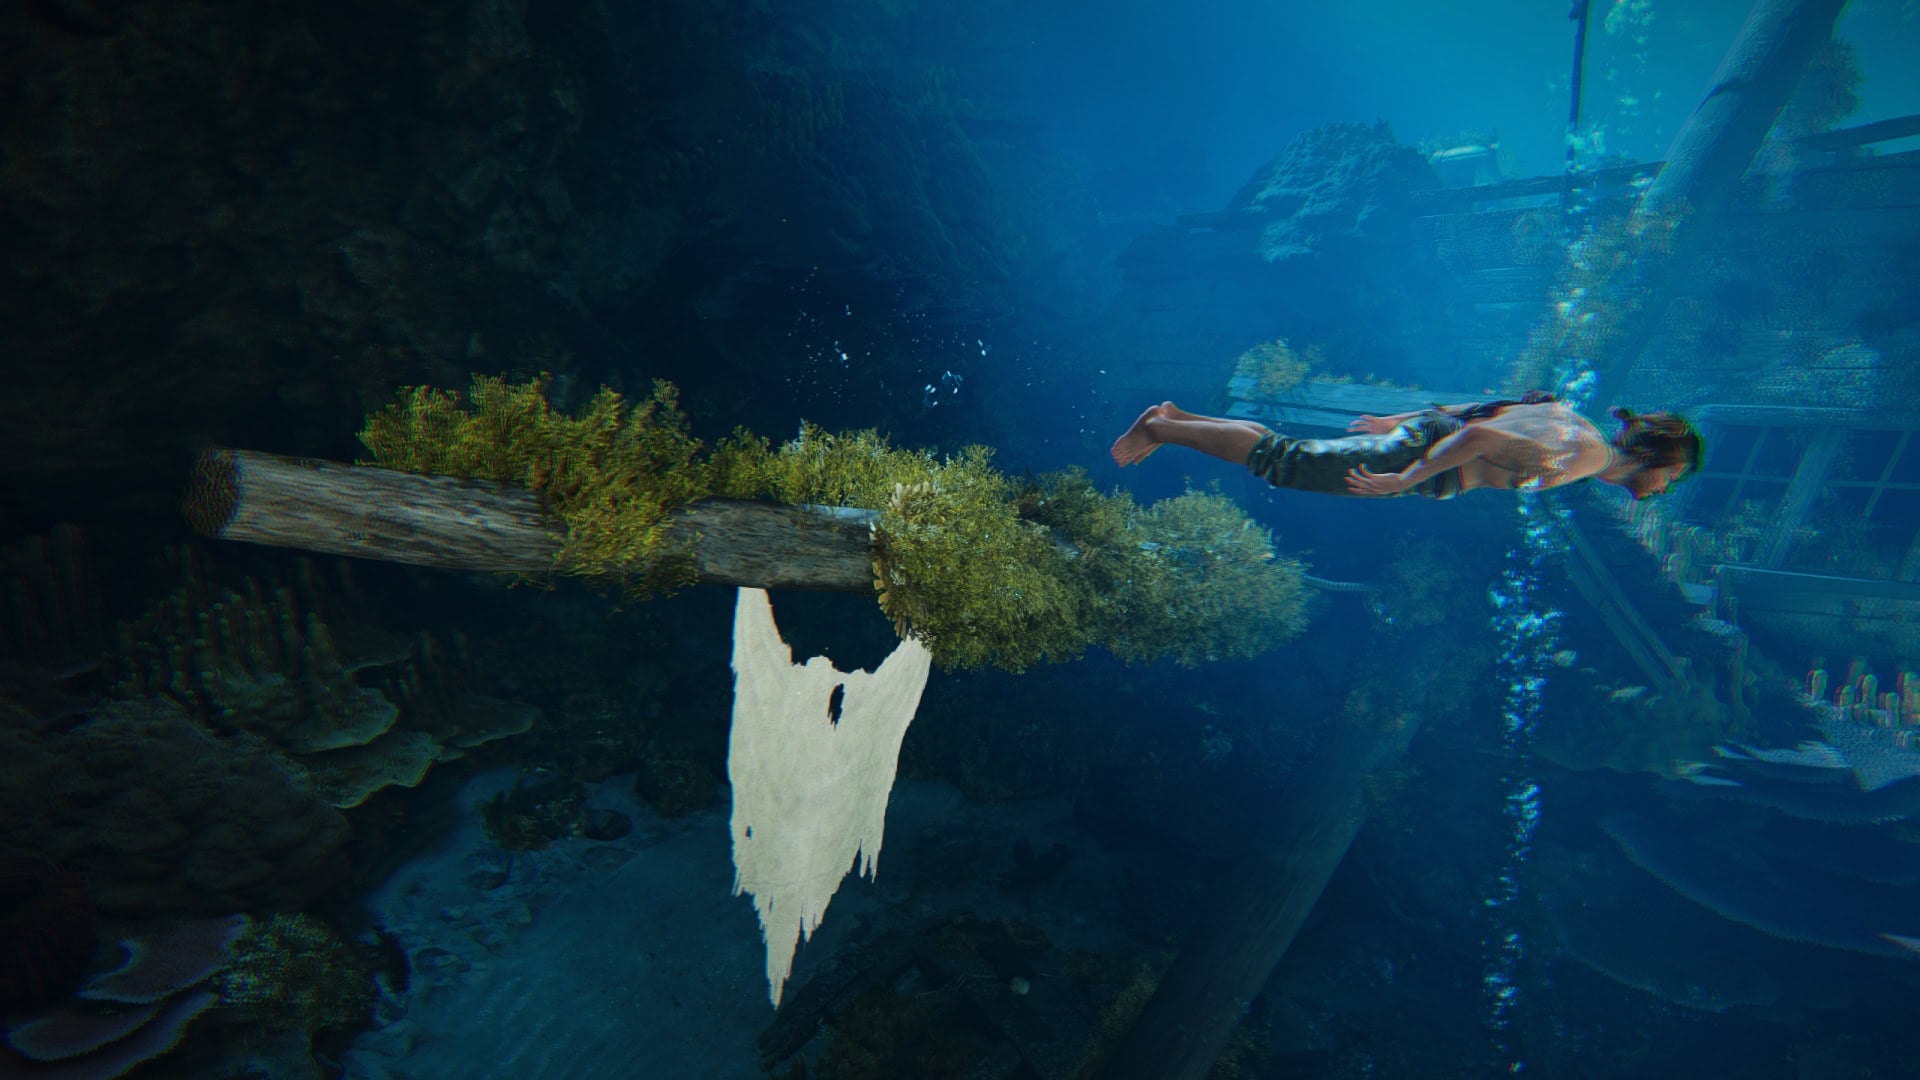
Burst Beams are the masts of sunken ships you can use for a boost of speed. These are useful for reducing travel time so you can reserve oxygen.
Hydrothermal Vents
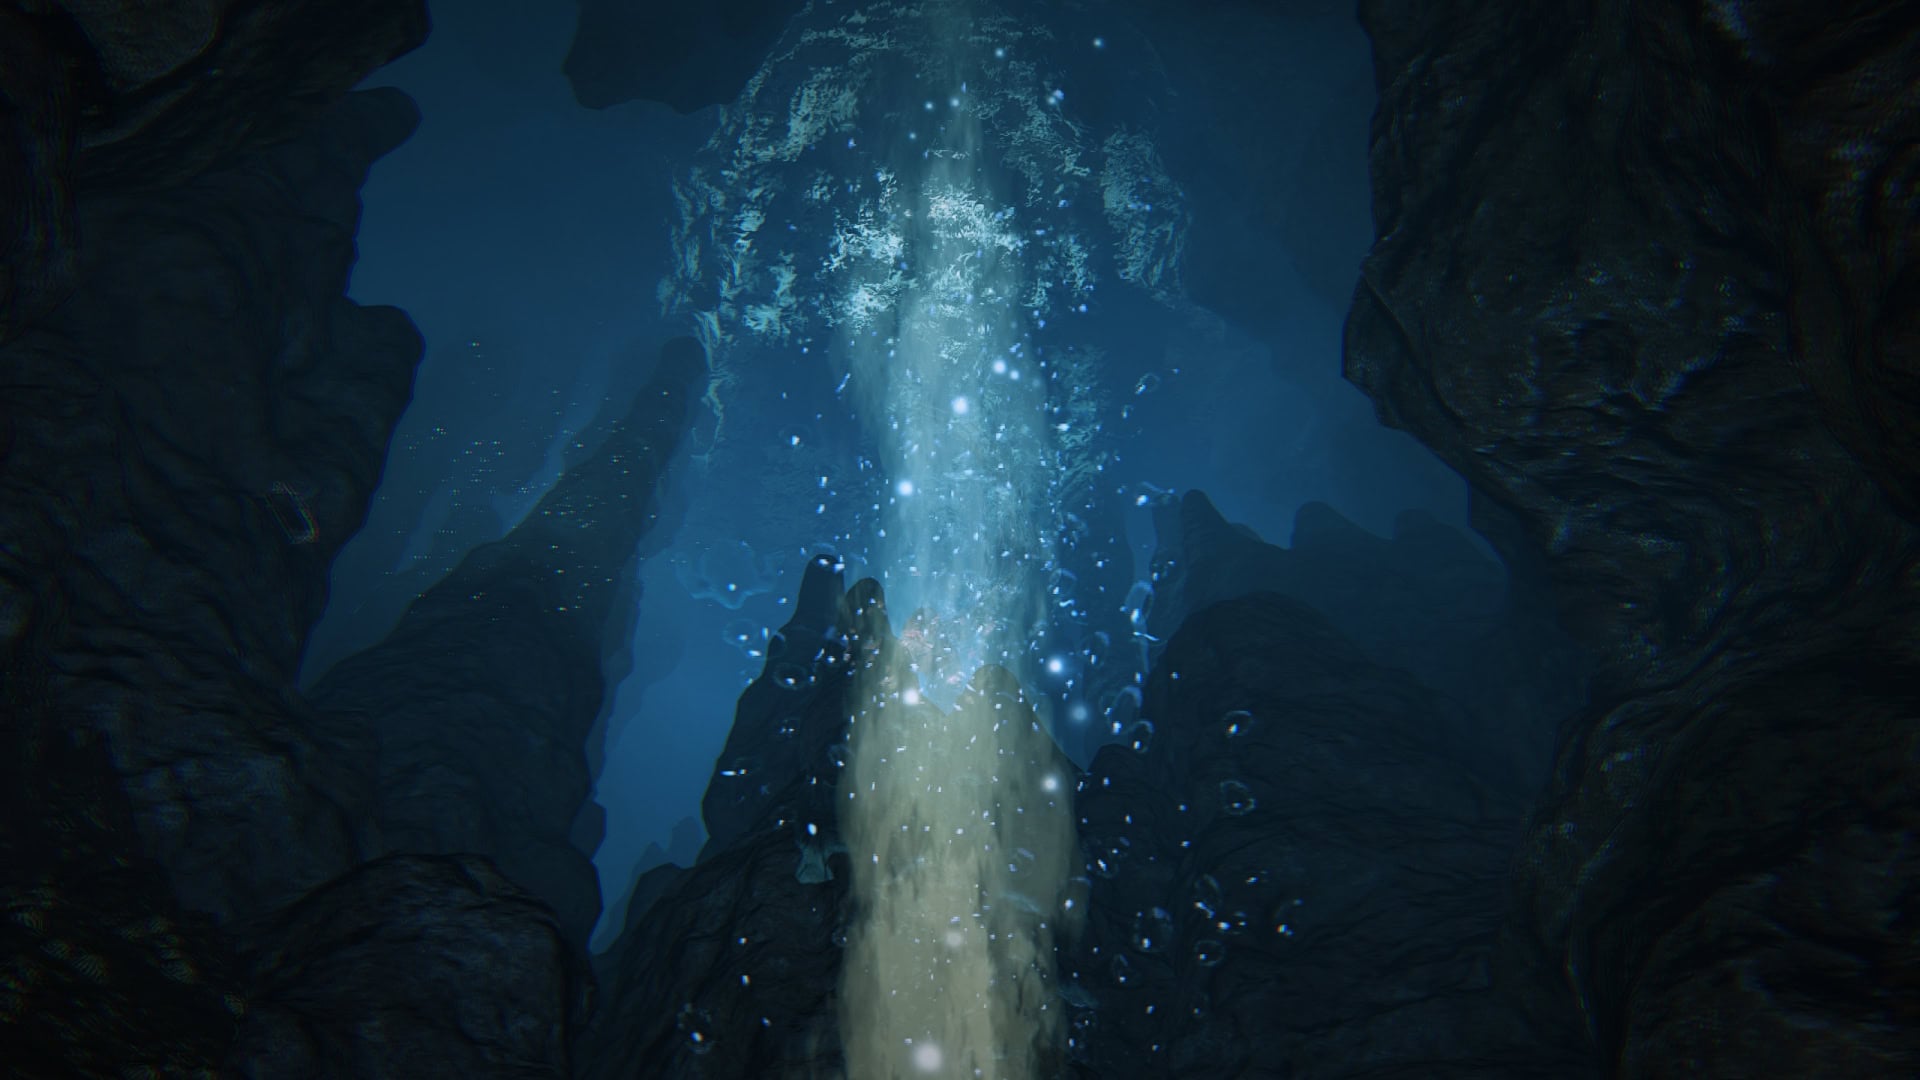
Found within enclosed underwater spaces such as caves and cenotes, Hydrothermal Vents indicate an Air Pocket location. If you see one of these vents, swim up to find an air pocket to refill on oxygen.
Sharks
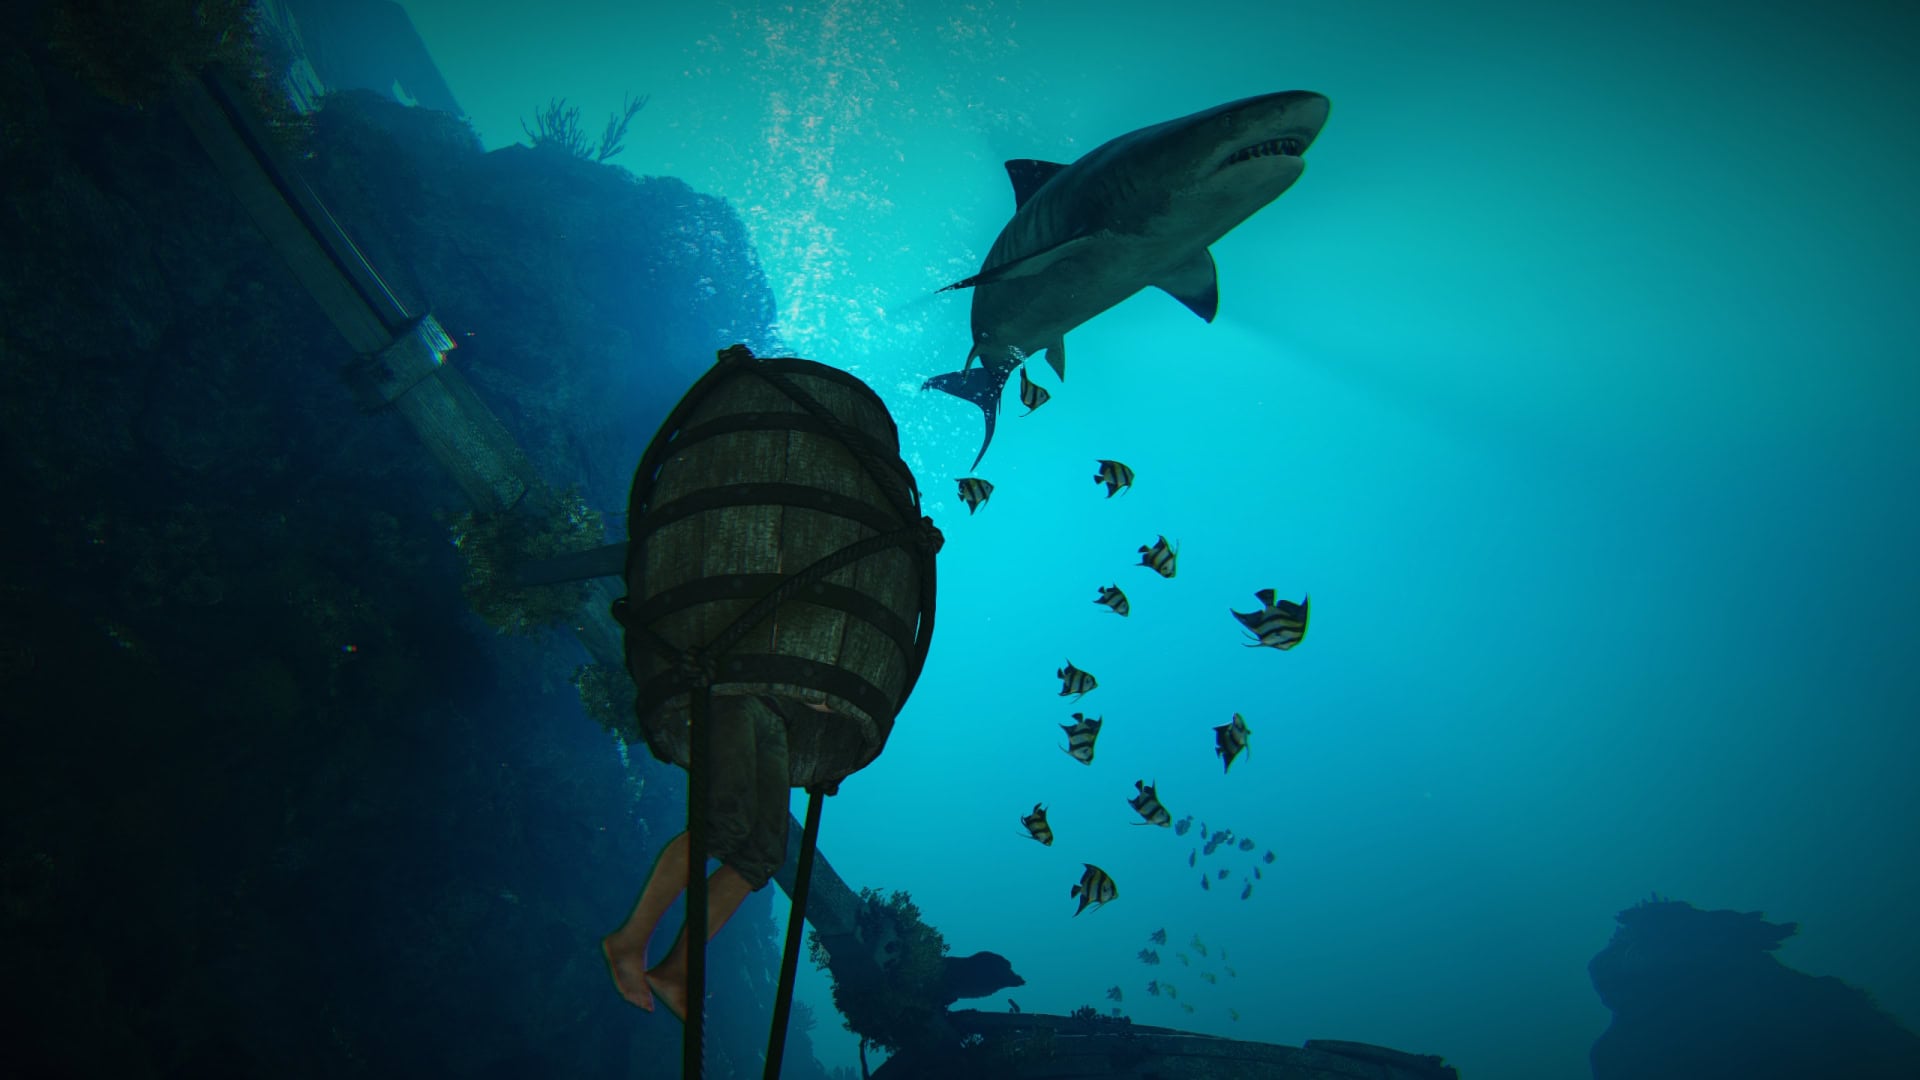
Sharks will pose the biggest threat as there’s always one lurking about in open waters. To avoid the sharks, you’ll have to move left or right and use the Dodge button as soon as the shark’s teeth has a white glint.
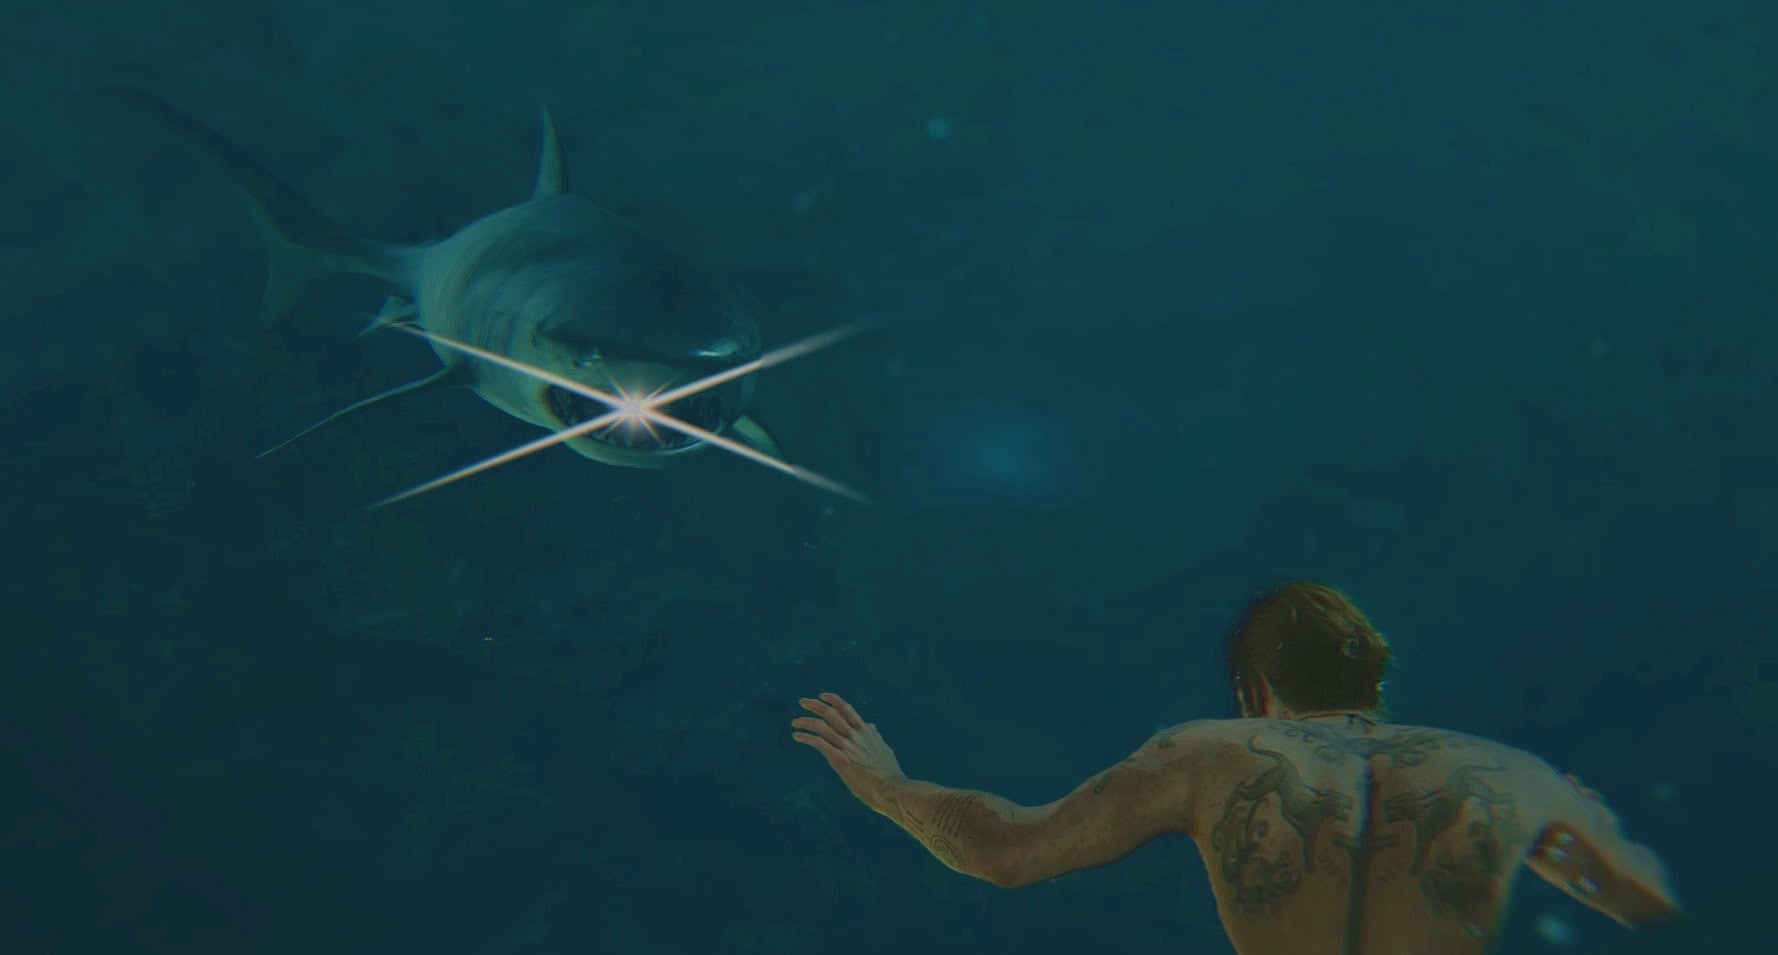
Do not attempt to get within touching distance of sharks if they have their back turned to you. This can lead them to taking a bite out of you without getting a chance to dodge. Health is precious underwater as you can’t use remedies until you return to the surface.
Jellyfish
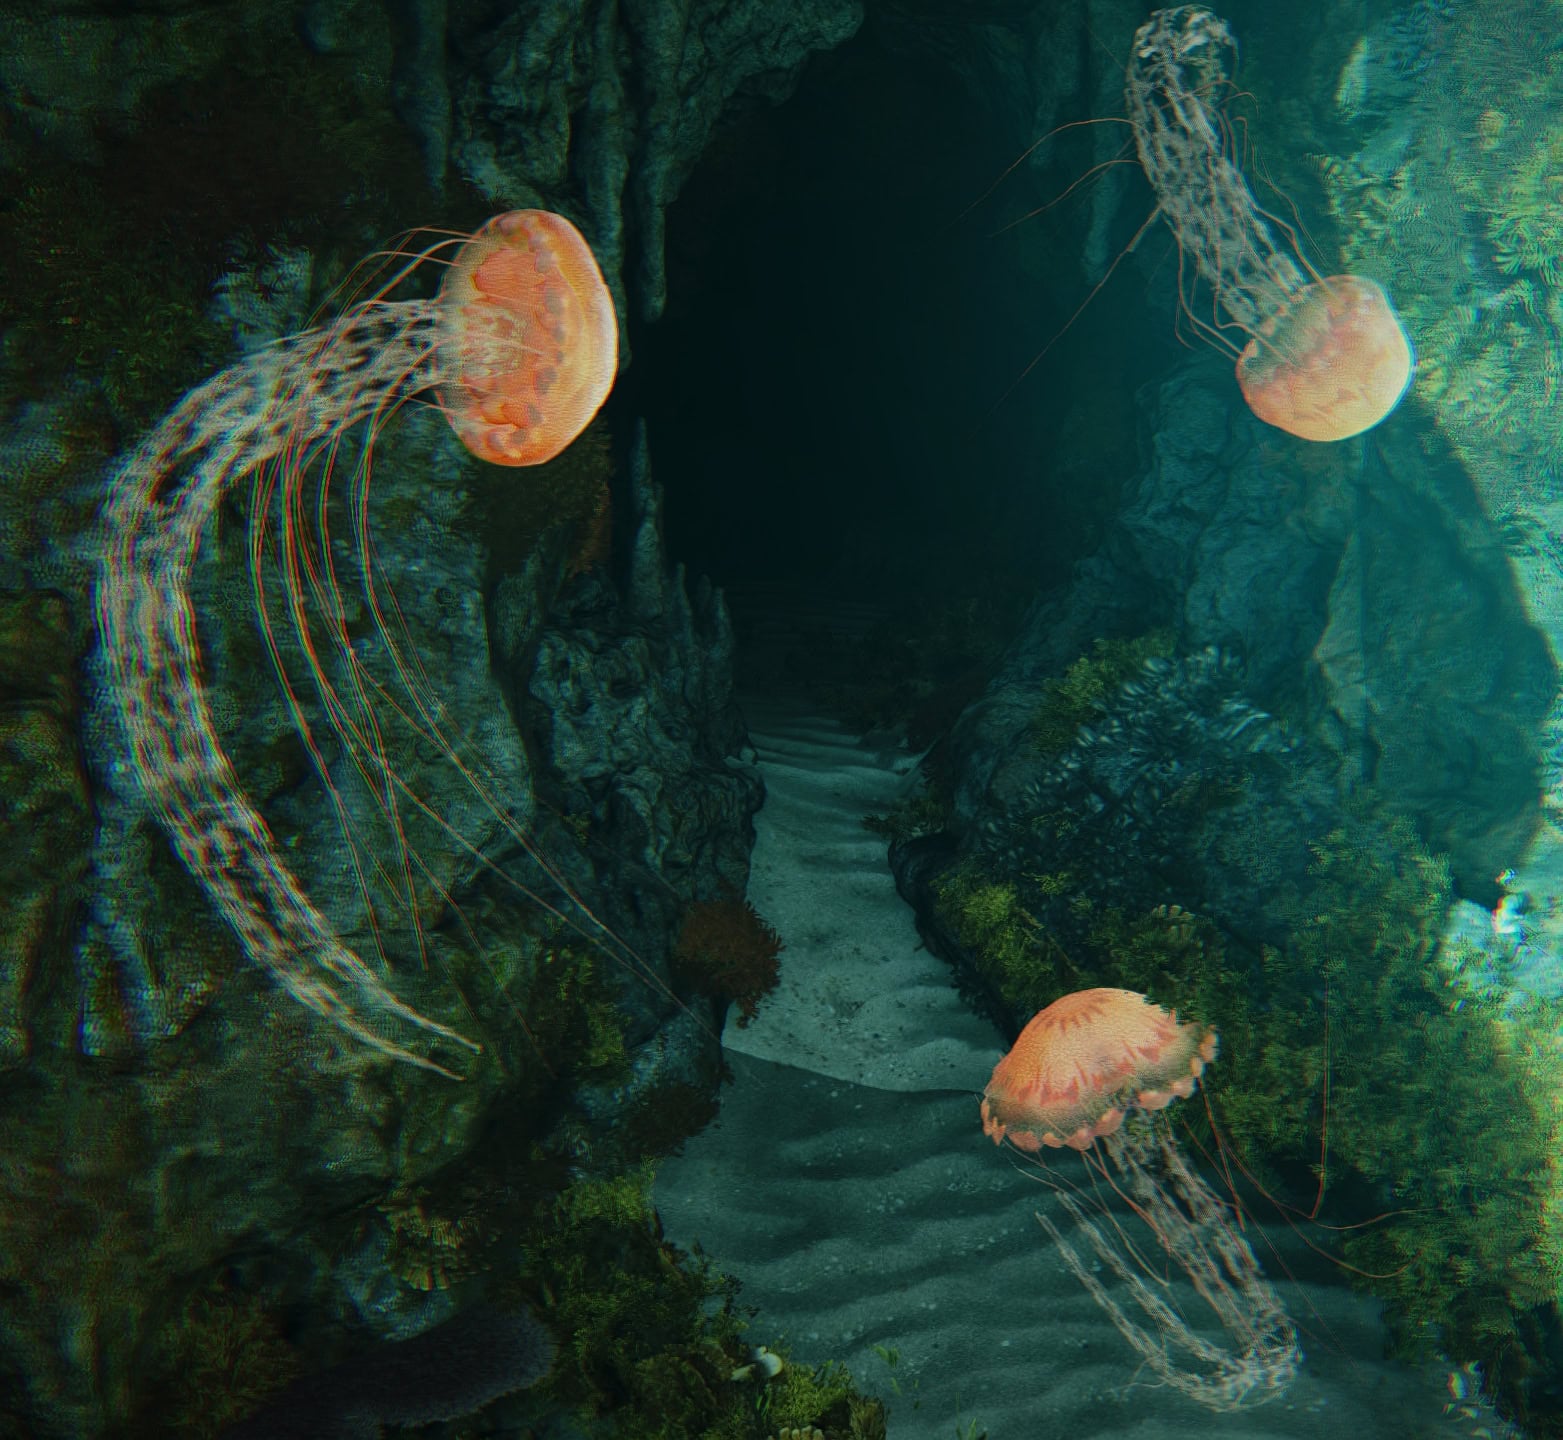
Jellyfish act as moving hazards, avoid touching them or you’ll get stung and receive damage. A group of jellyfish often swim around points of interest, such as a cave entrance. Don’t hesitate to look near the jellyfish as they may lead to something.
Sea Urchins
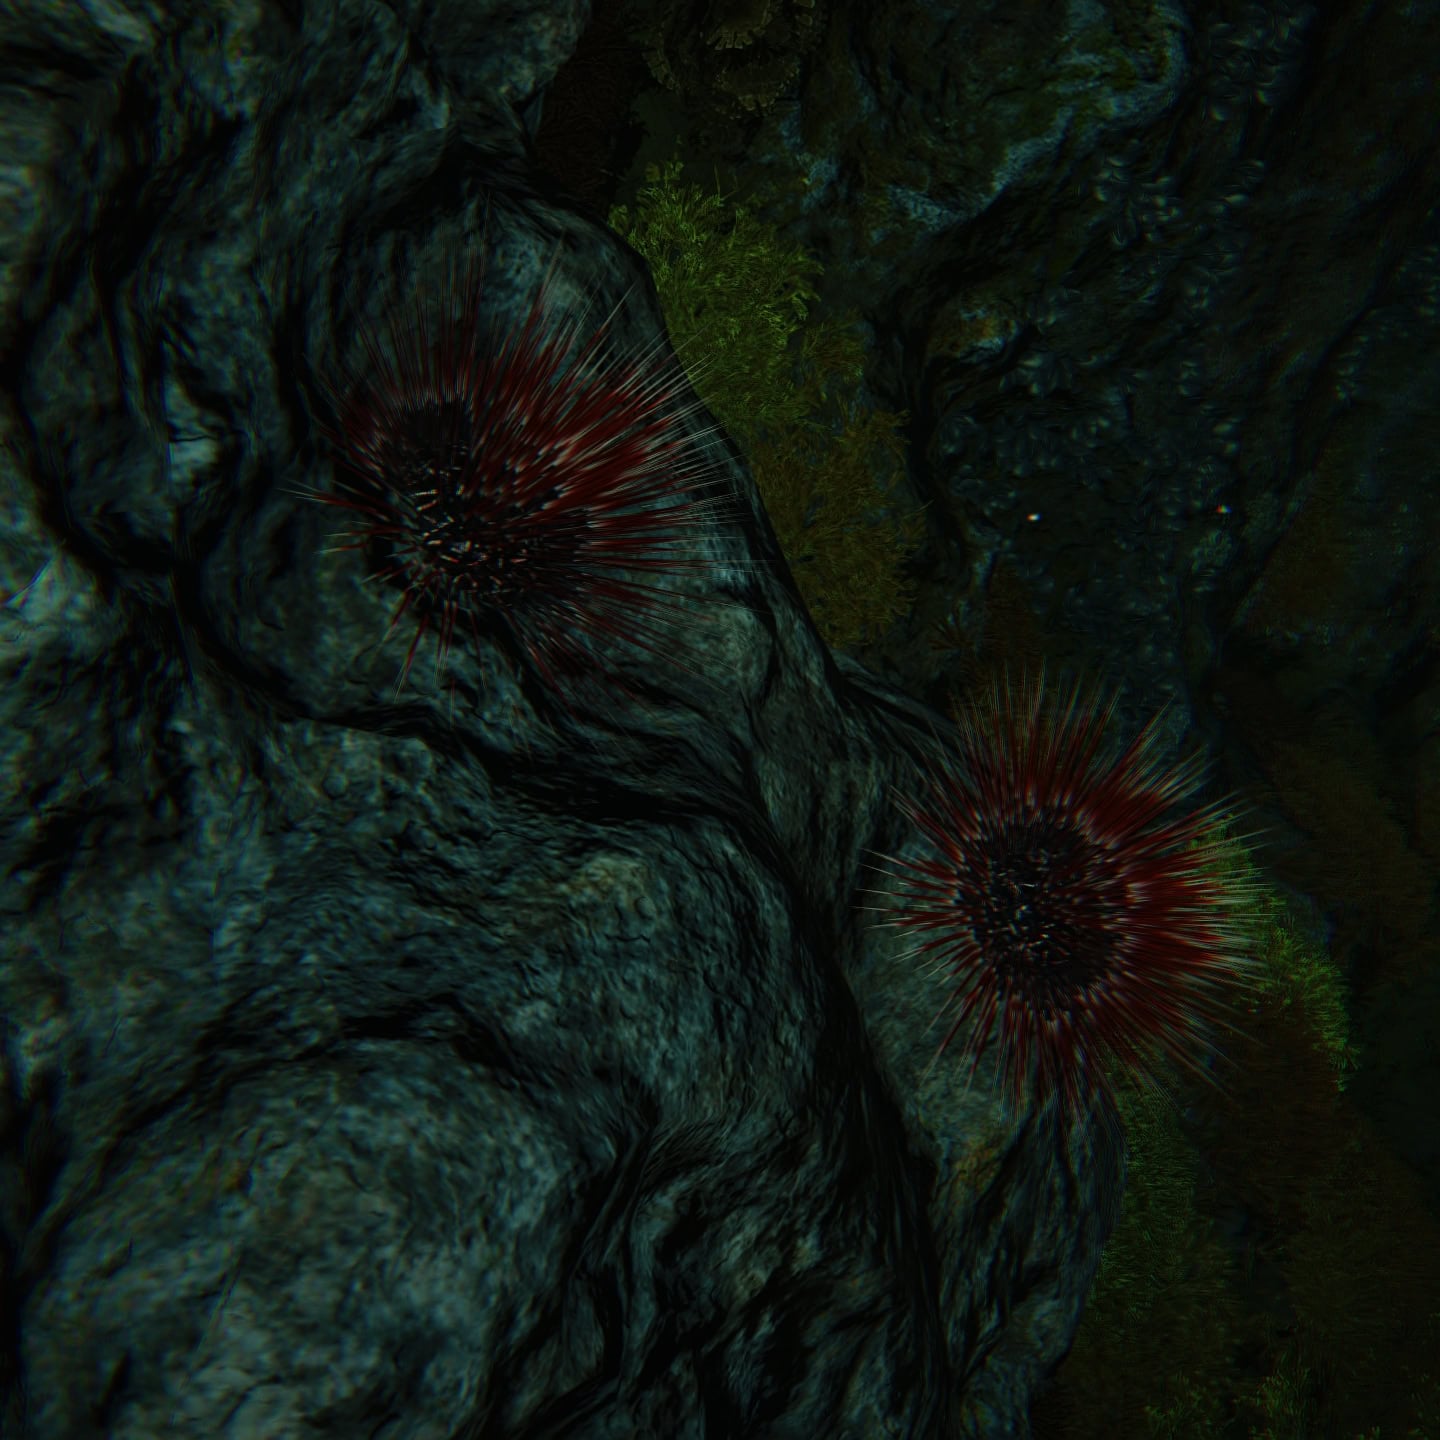
Sea Urchins are a terrain hazard that can be easy to miss at times. Avoid touching them or you’ll be stung and receive a small amount of damage.
Now that you know everything there is to know about this activity, we will show you all Shipwreck locations with detailed maps for each treasure.
Antocha Wreck
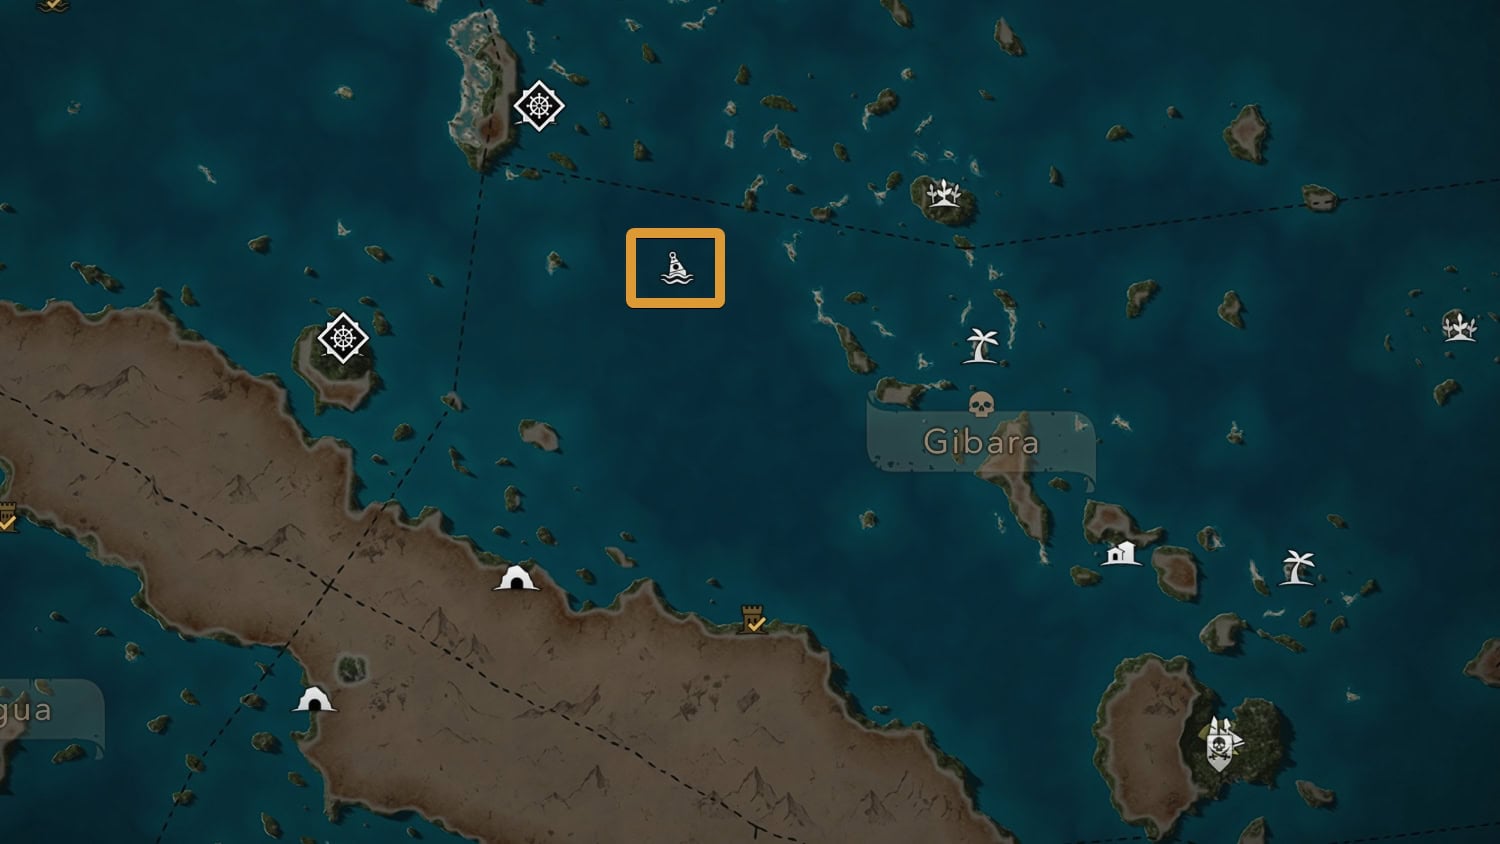
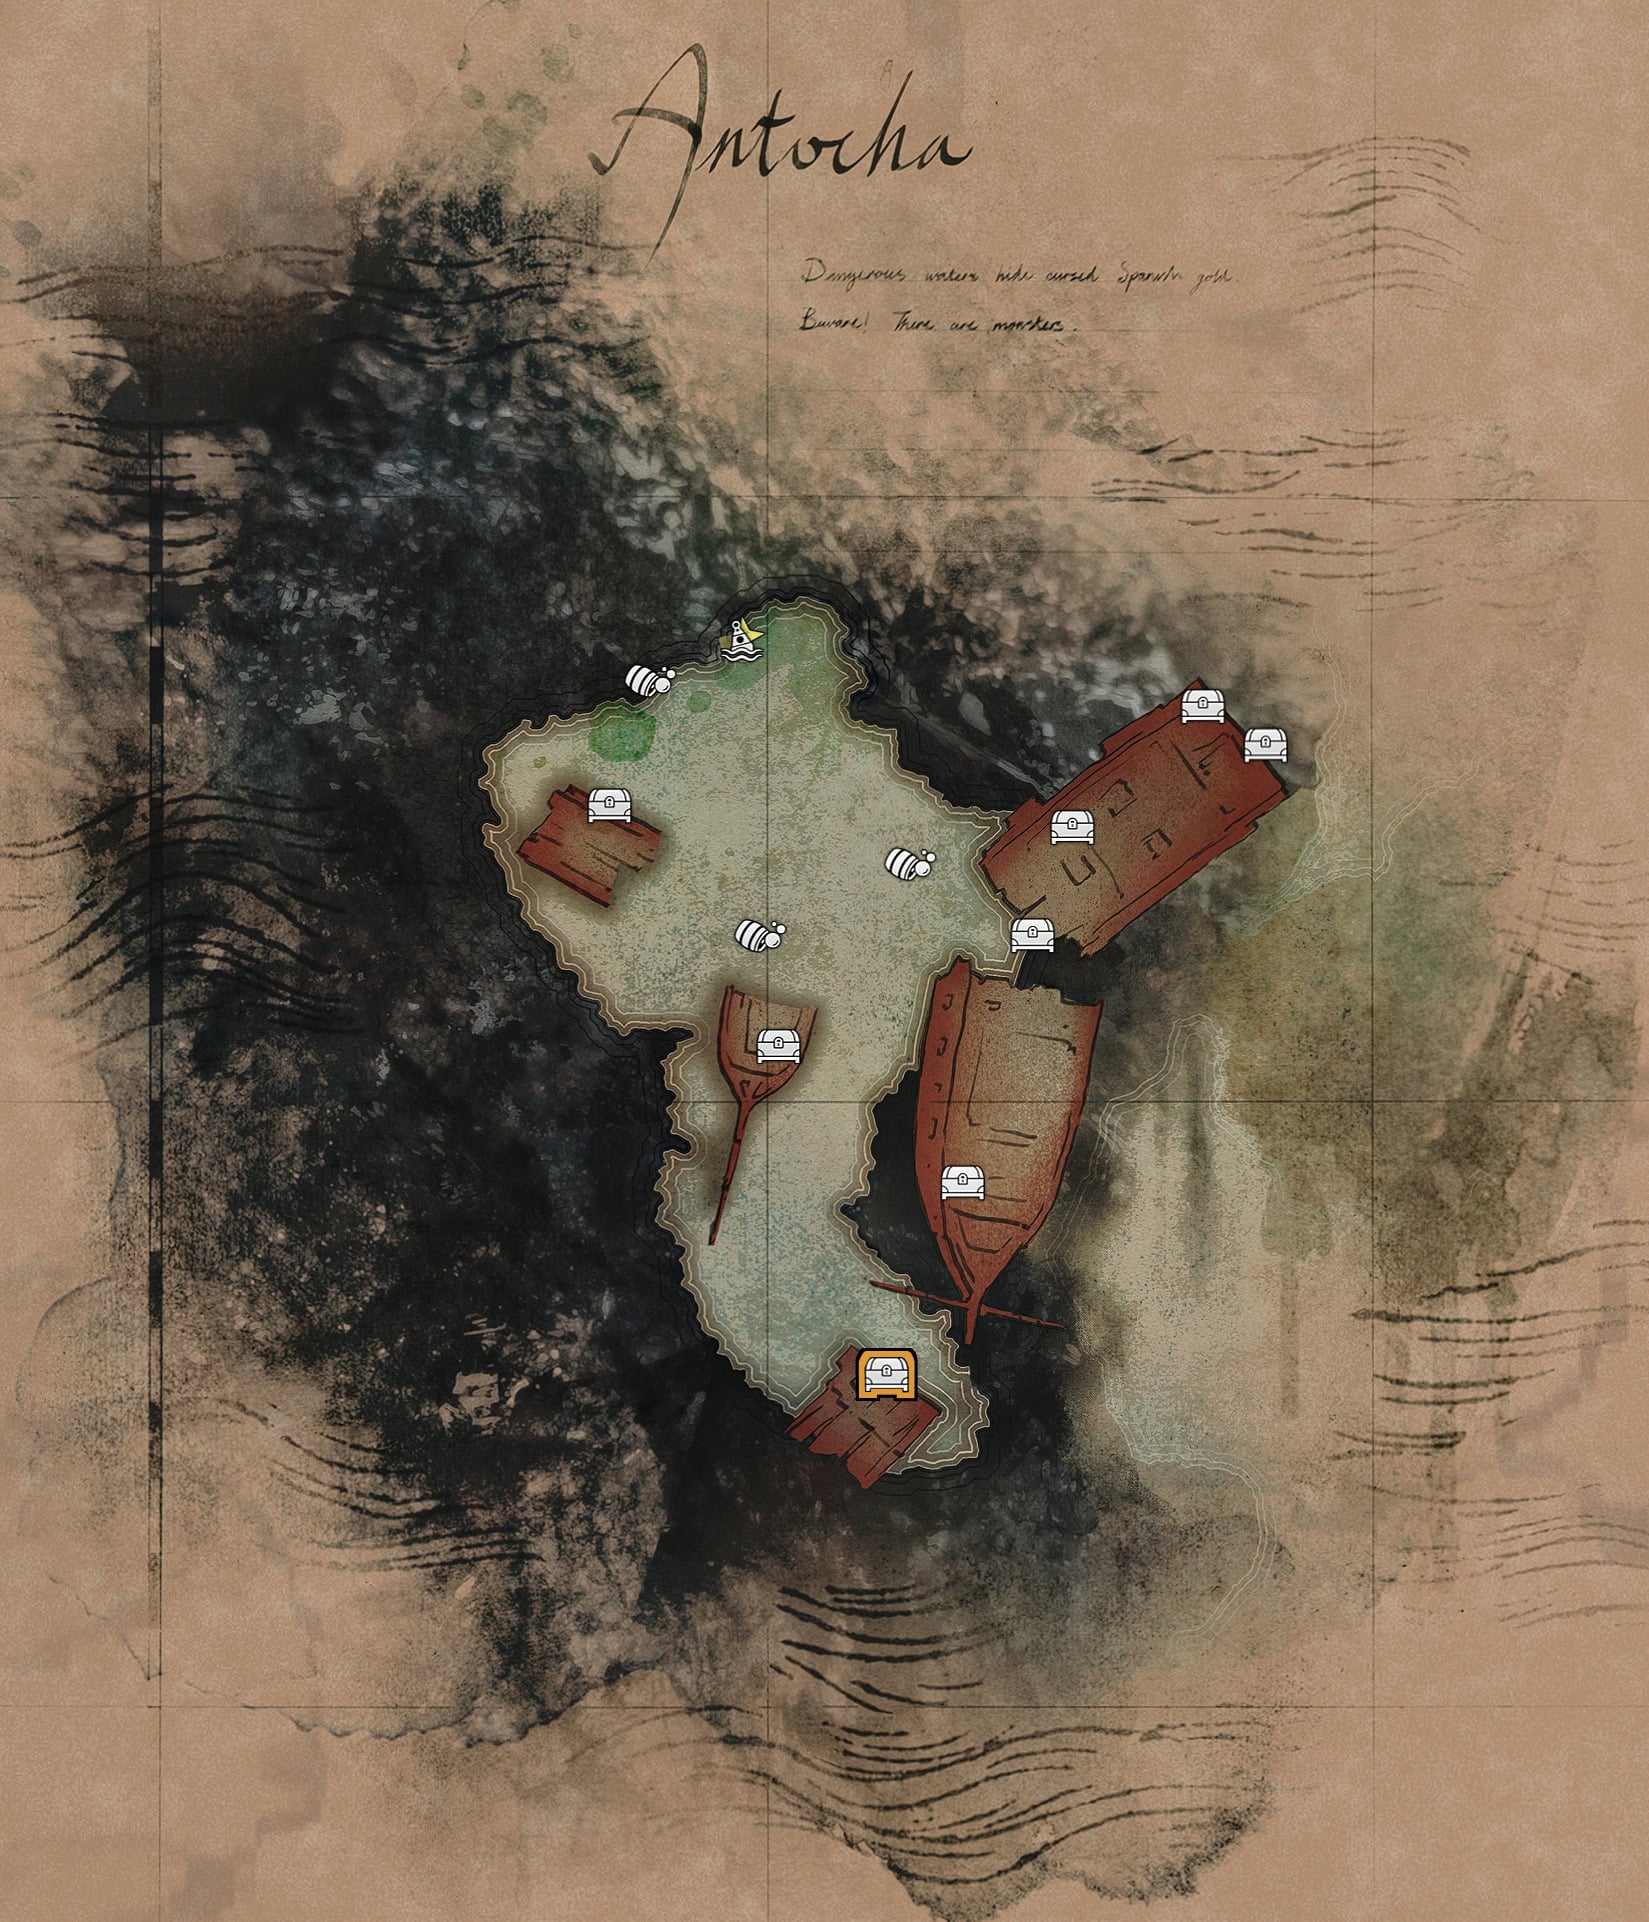
Antocha Wreck is found in the northwest corner of the Gibara region. It’s a short trip east of the Secret Island Vendor found close by. The secret chest is at the southern end and will give you the Mortars Ultimate Plan.
Devil’s Eye Cavern
The Devil’s Eye Cavern is found in the middle of the entire map. You’ll find it in the middle of the Cruz Region. This area will require you to swim through long, underwater caves to find all of its treasures.
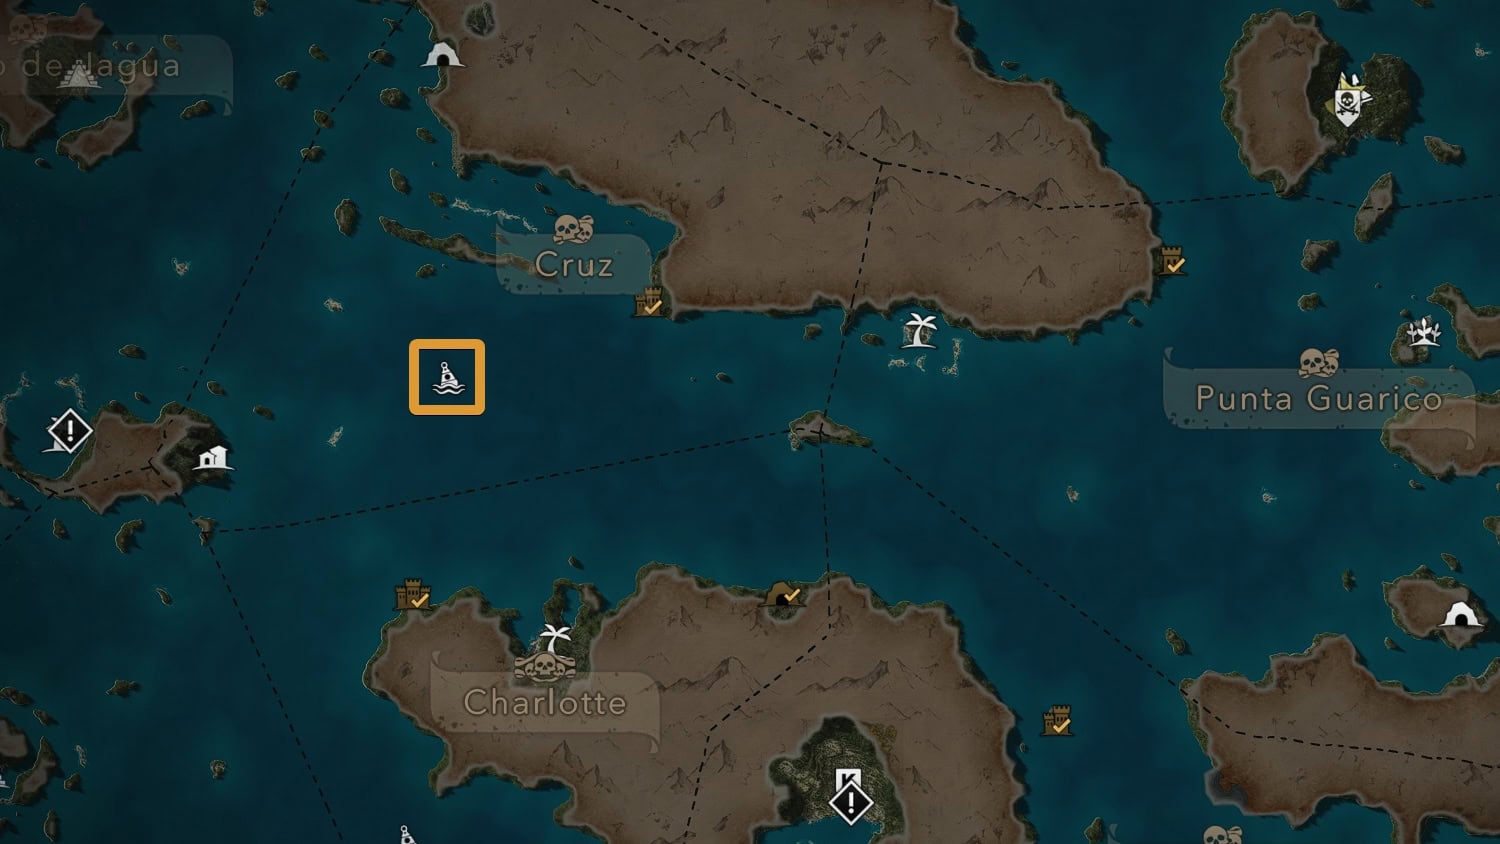
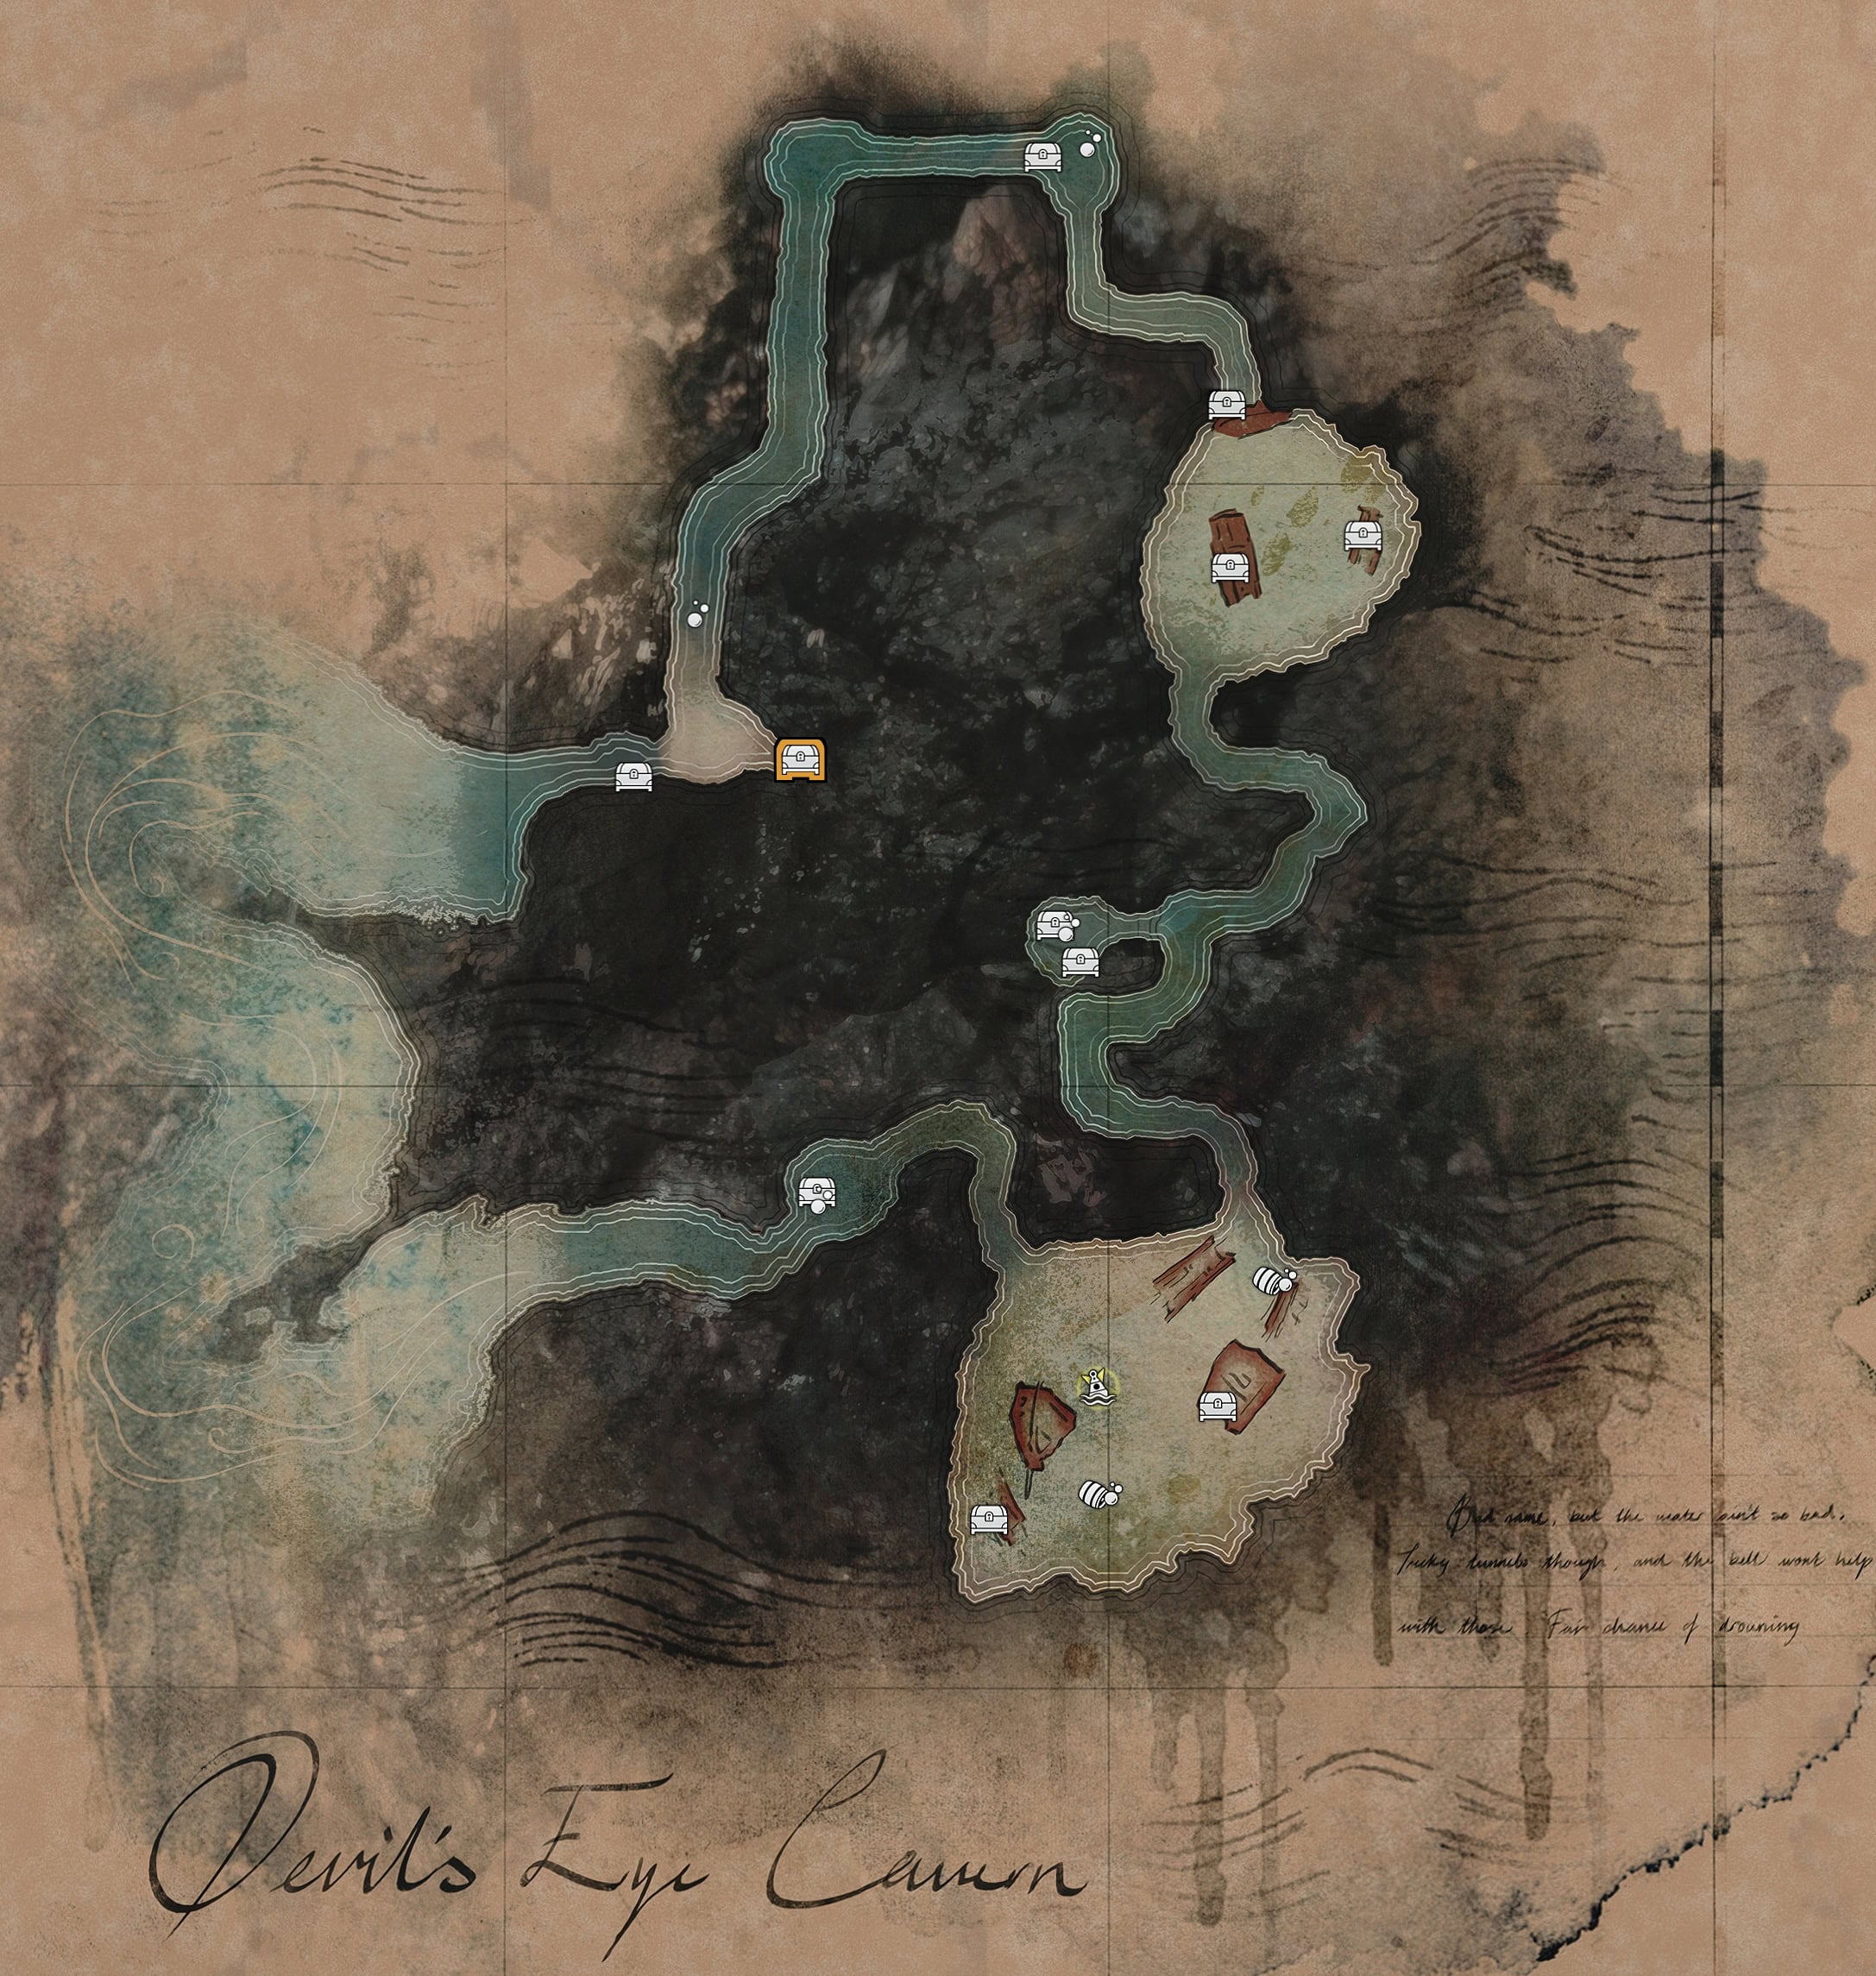
On the map, you’ll find two tunnels at the starting area. The west tunnel cannot be entered as a strong current is pushing you out. Take the east tunnel and make your way to the room with two treasure chests and and air pocket.
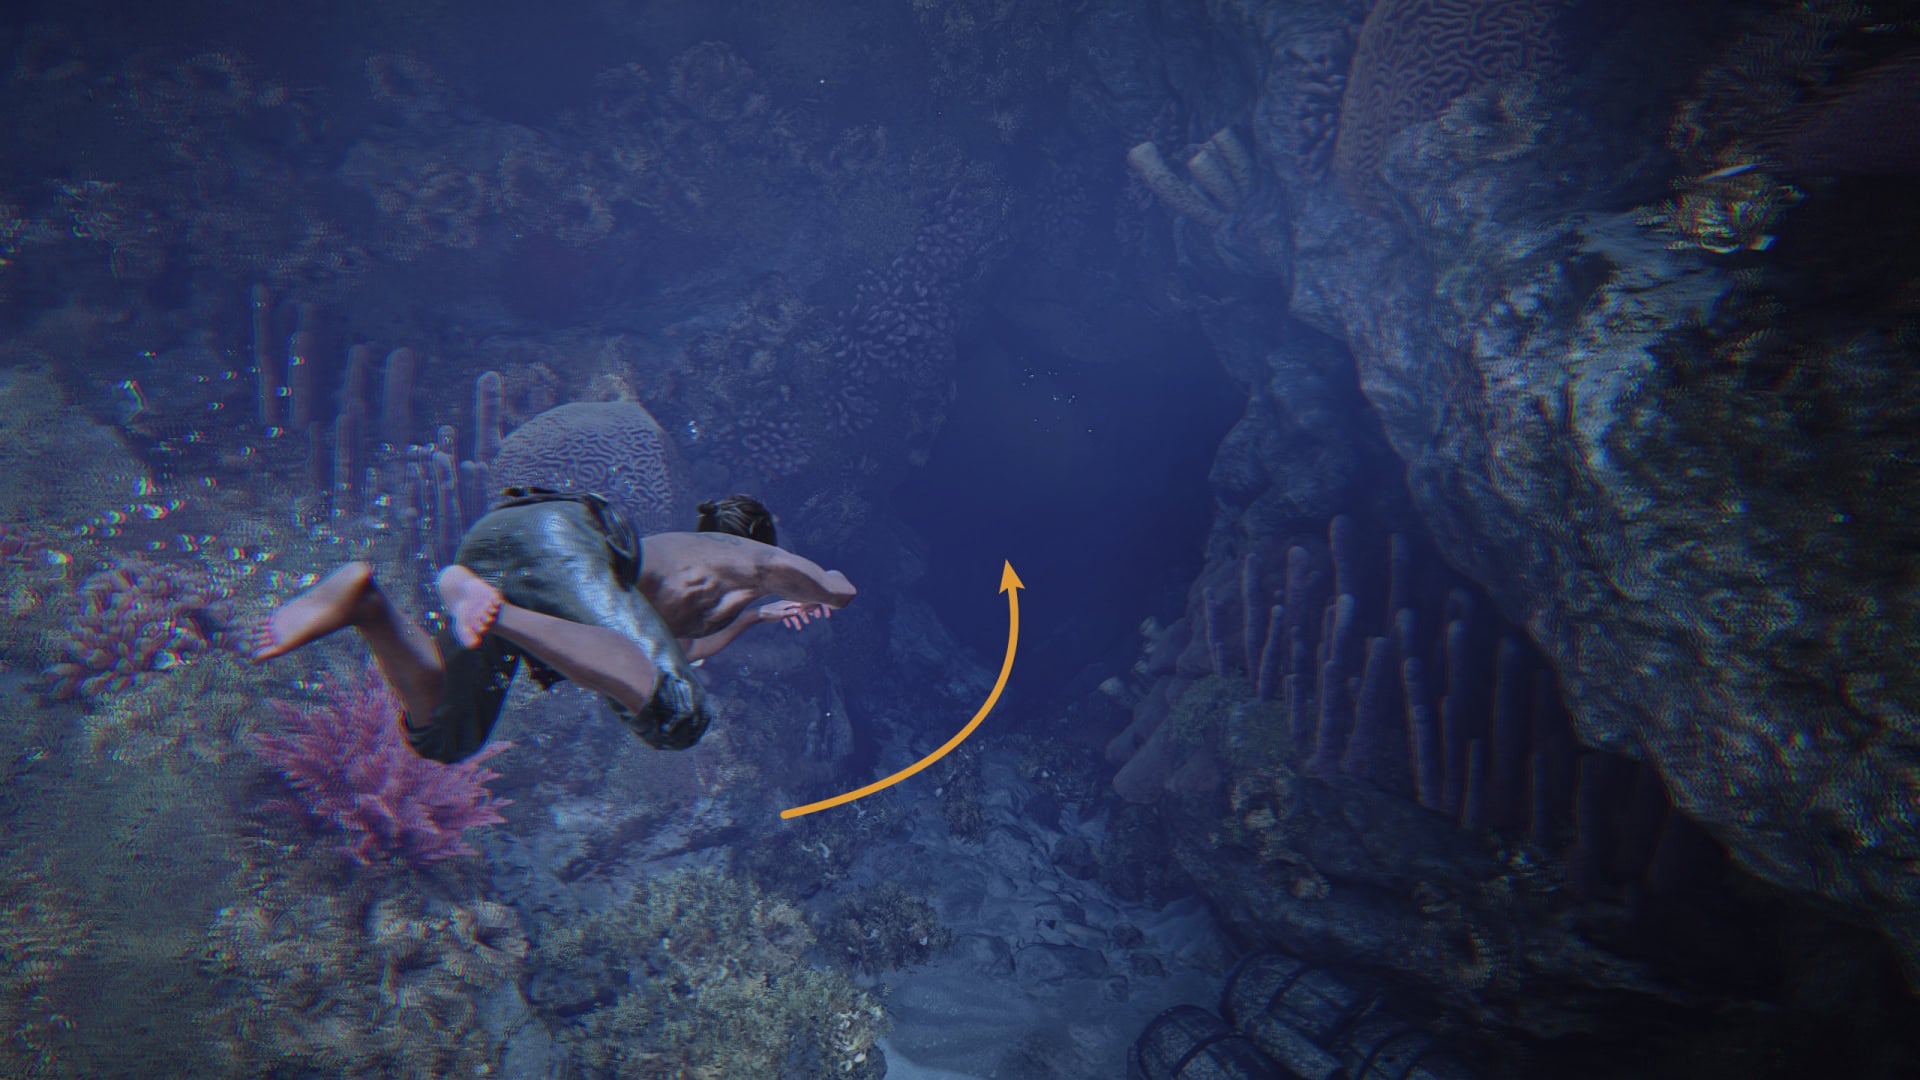
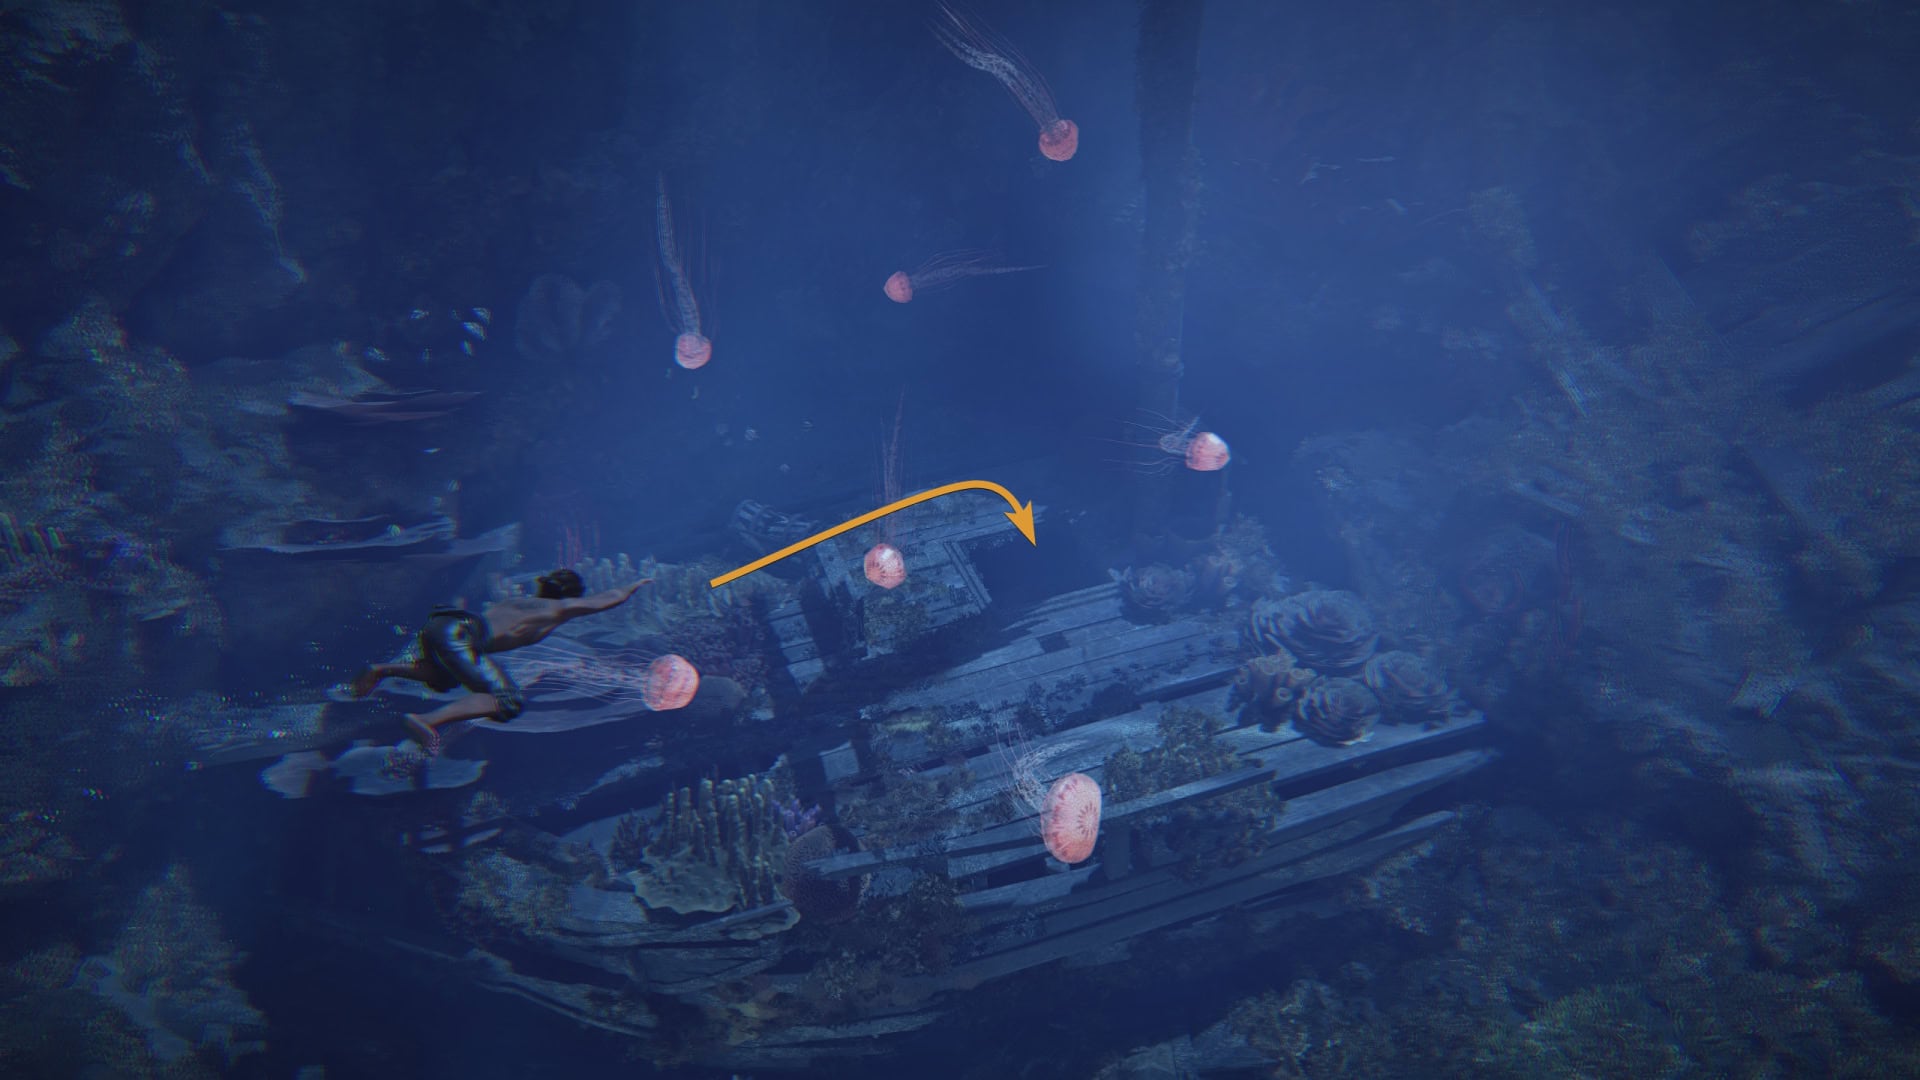
Make your way to the open area past the first tunnel and loot the chests there. The path forward is within a ship to the north where the jellyfish are. Swim through the square hatch to access the second tunnel.
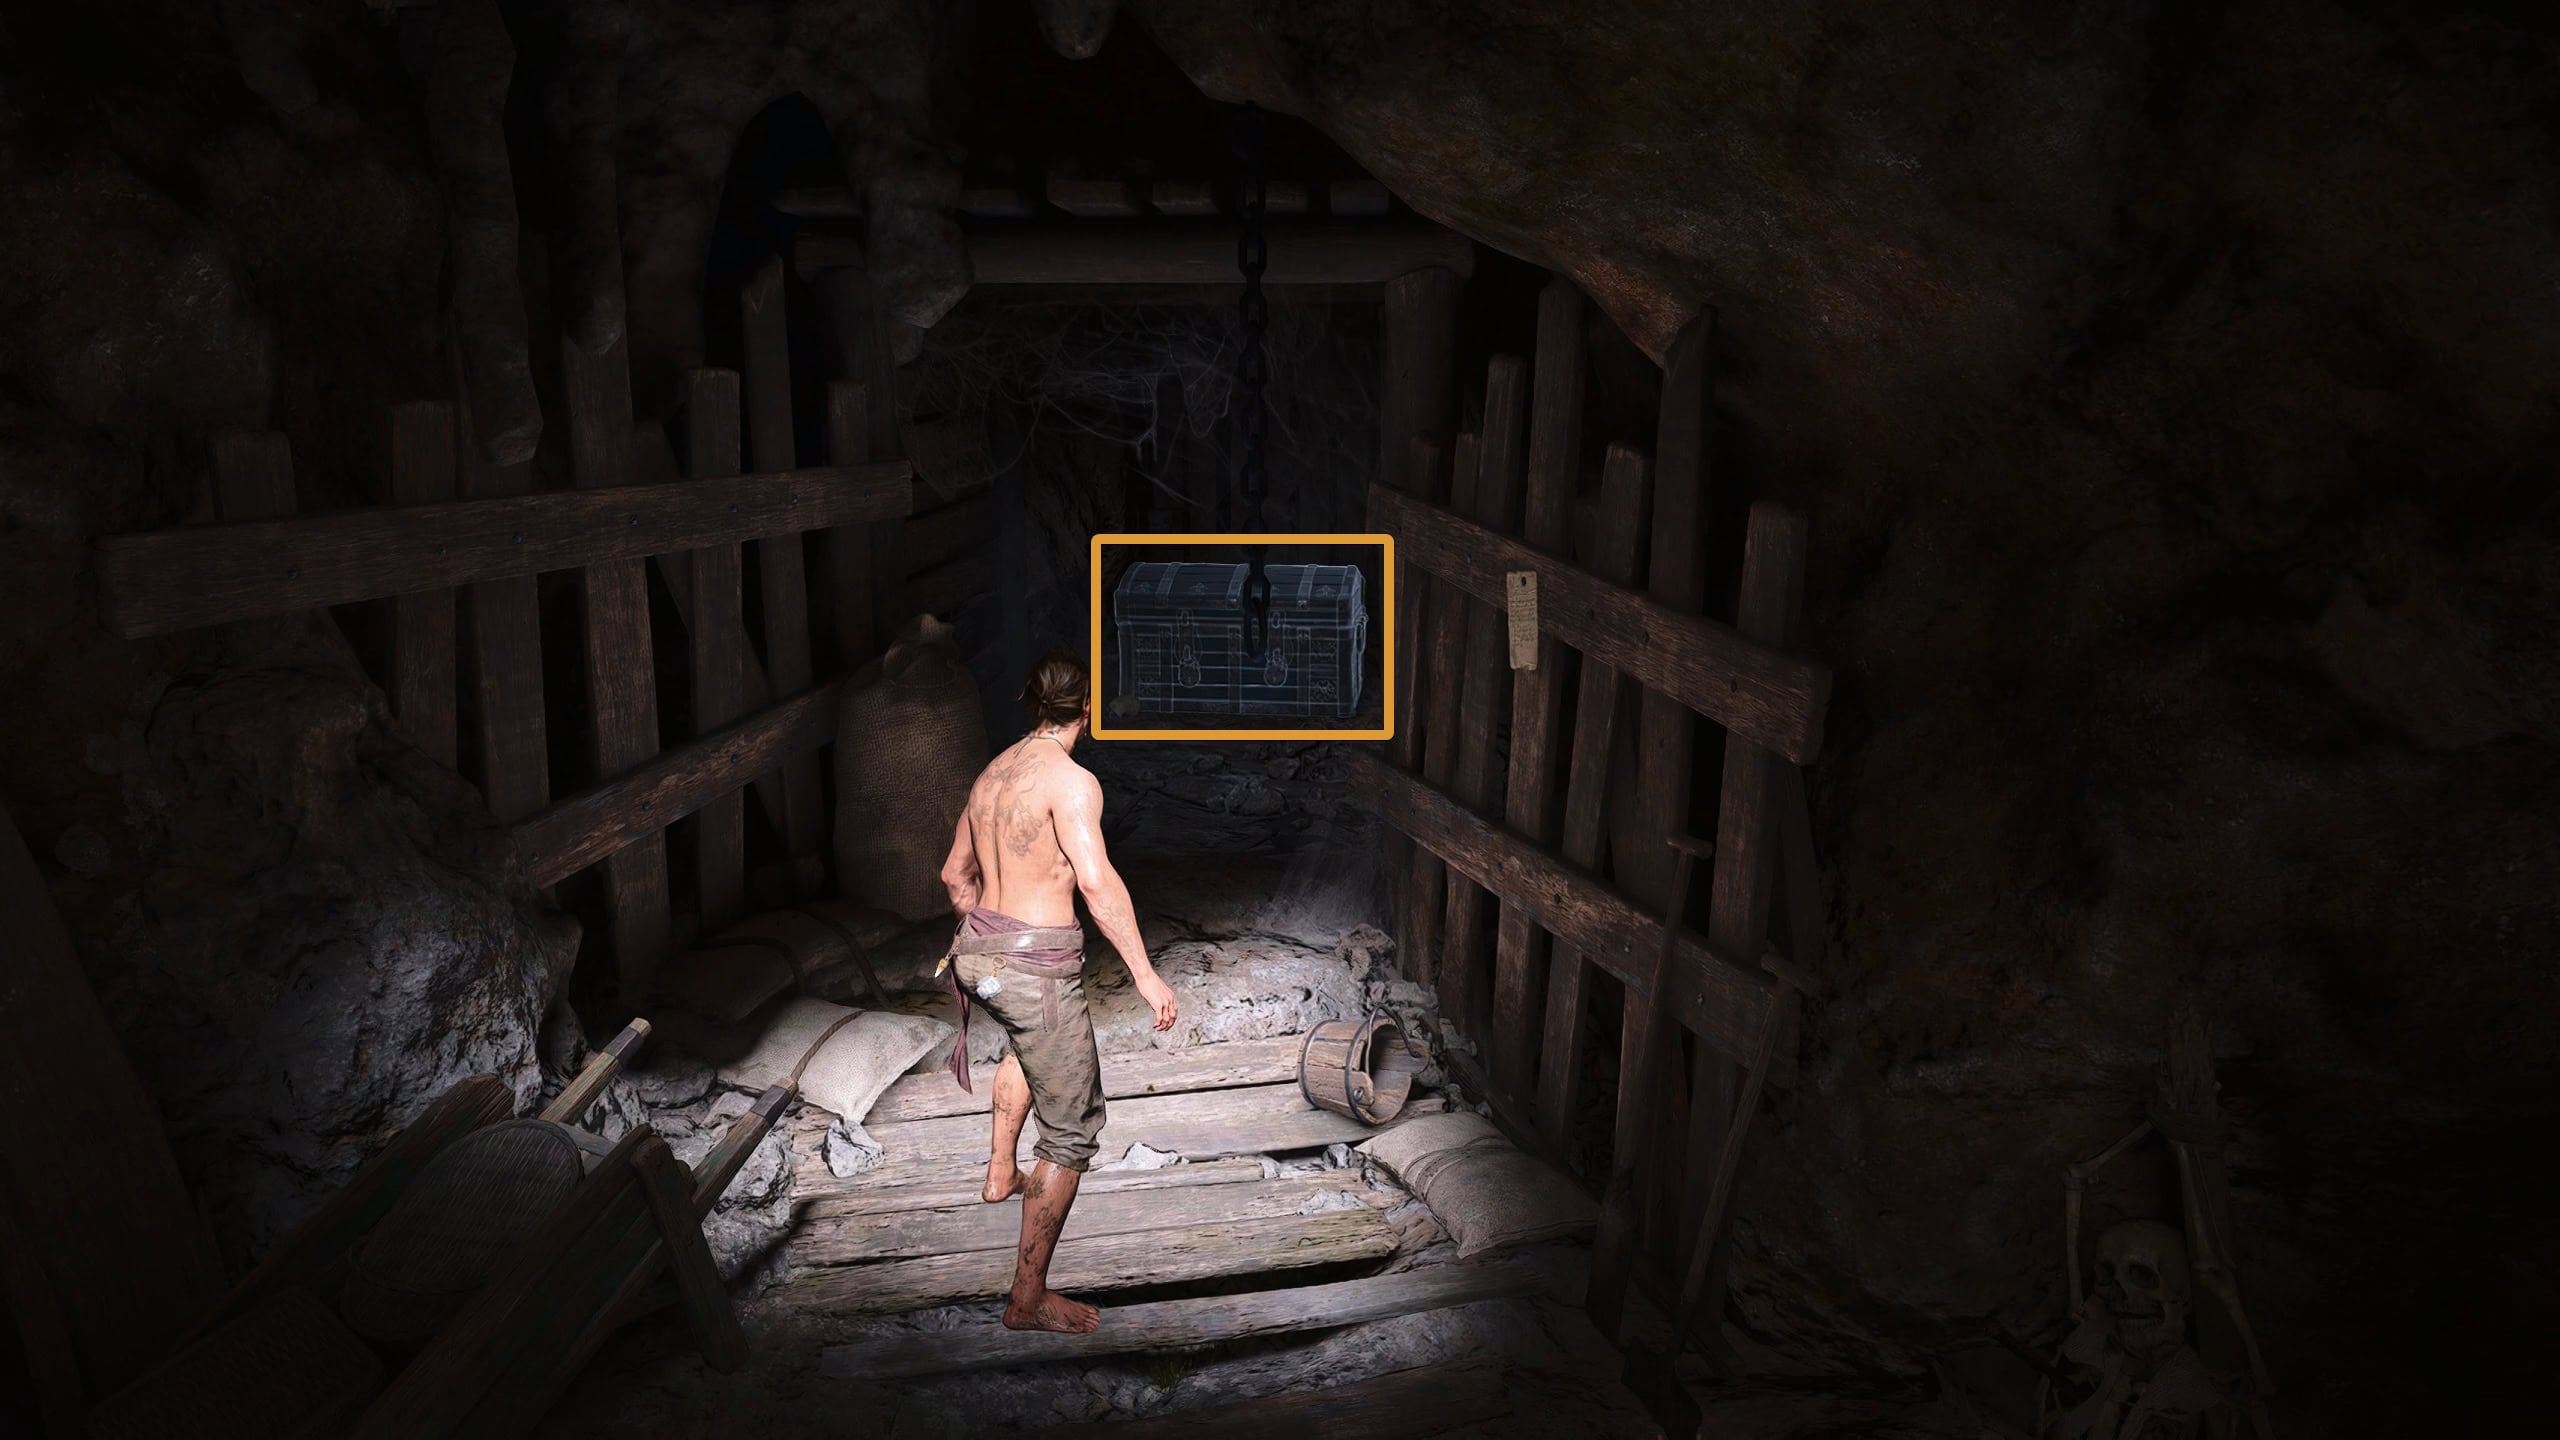
Following the tunnel will lead you to a small cave where pirates once hid. Towards the east of this hideout is a chest down a short shaft. Open this chest to receive the Swivel Gun Ultimate Plan.
Head west and dive down to find a tunnel that leads to an underwater current. Let the current guide you back towards the exit while avoiding any obstacles. You’ll end up in a small cavern with the last chest, followed by the tunnel with another current leading back to the Diving Bell.
Kabah Ruins
Kabah Ruins is found in the middle of Navassa in the southeast corner of the map. The majority of the chests are found in the starting area, but to get the secret chest you’ll need to swim into the caverns.
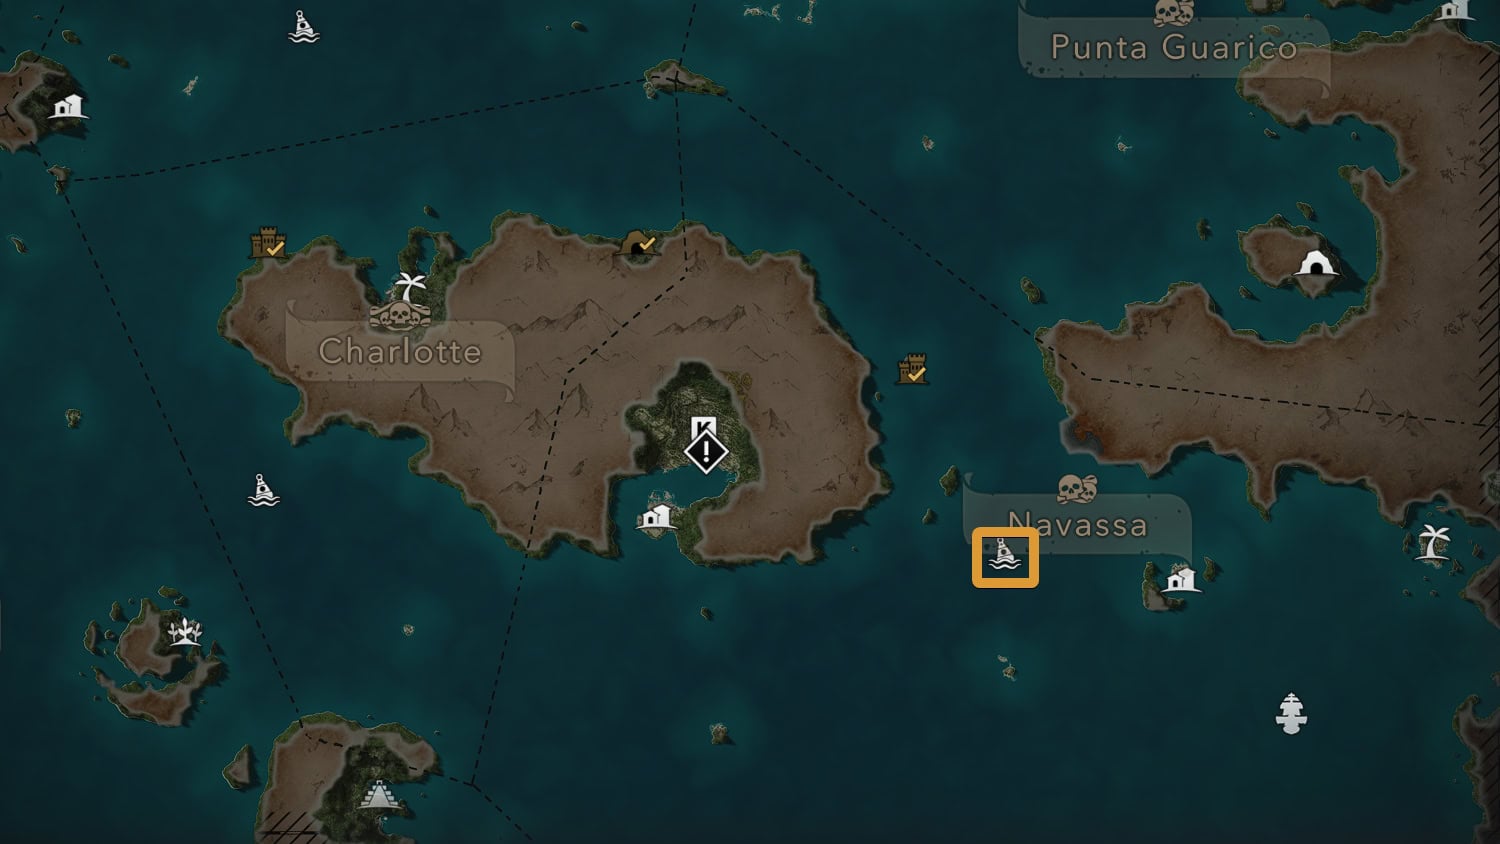
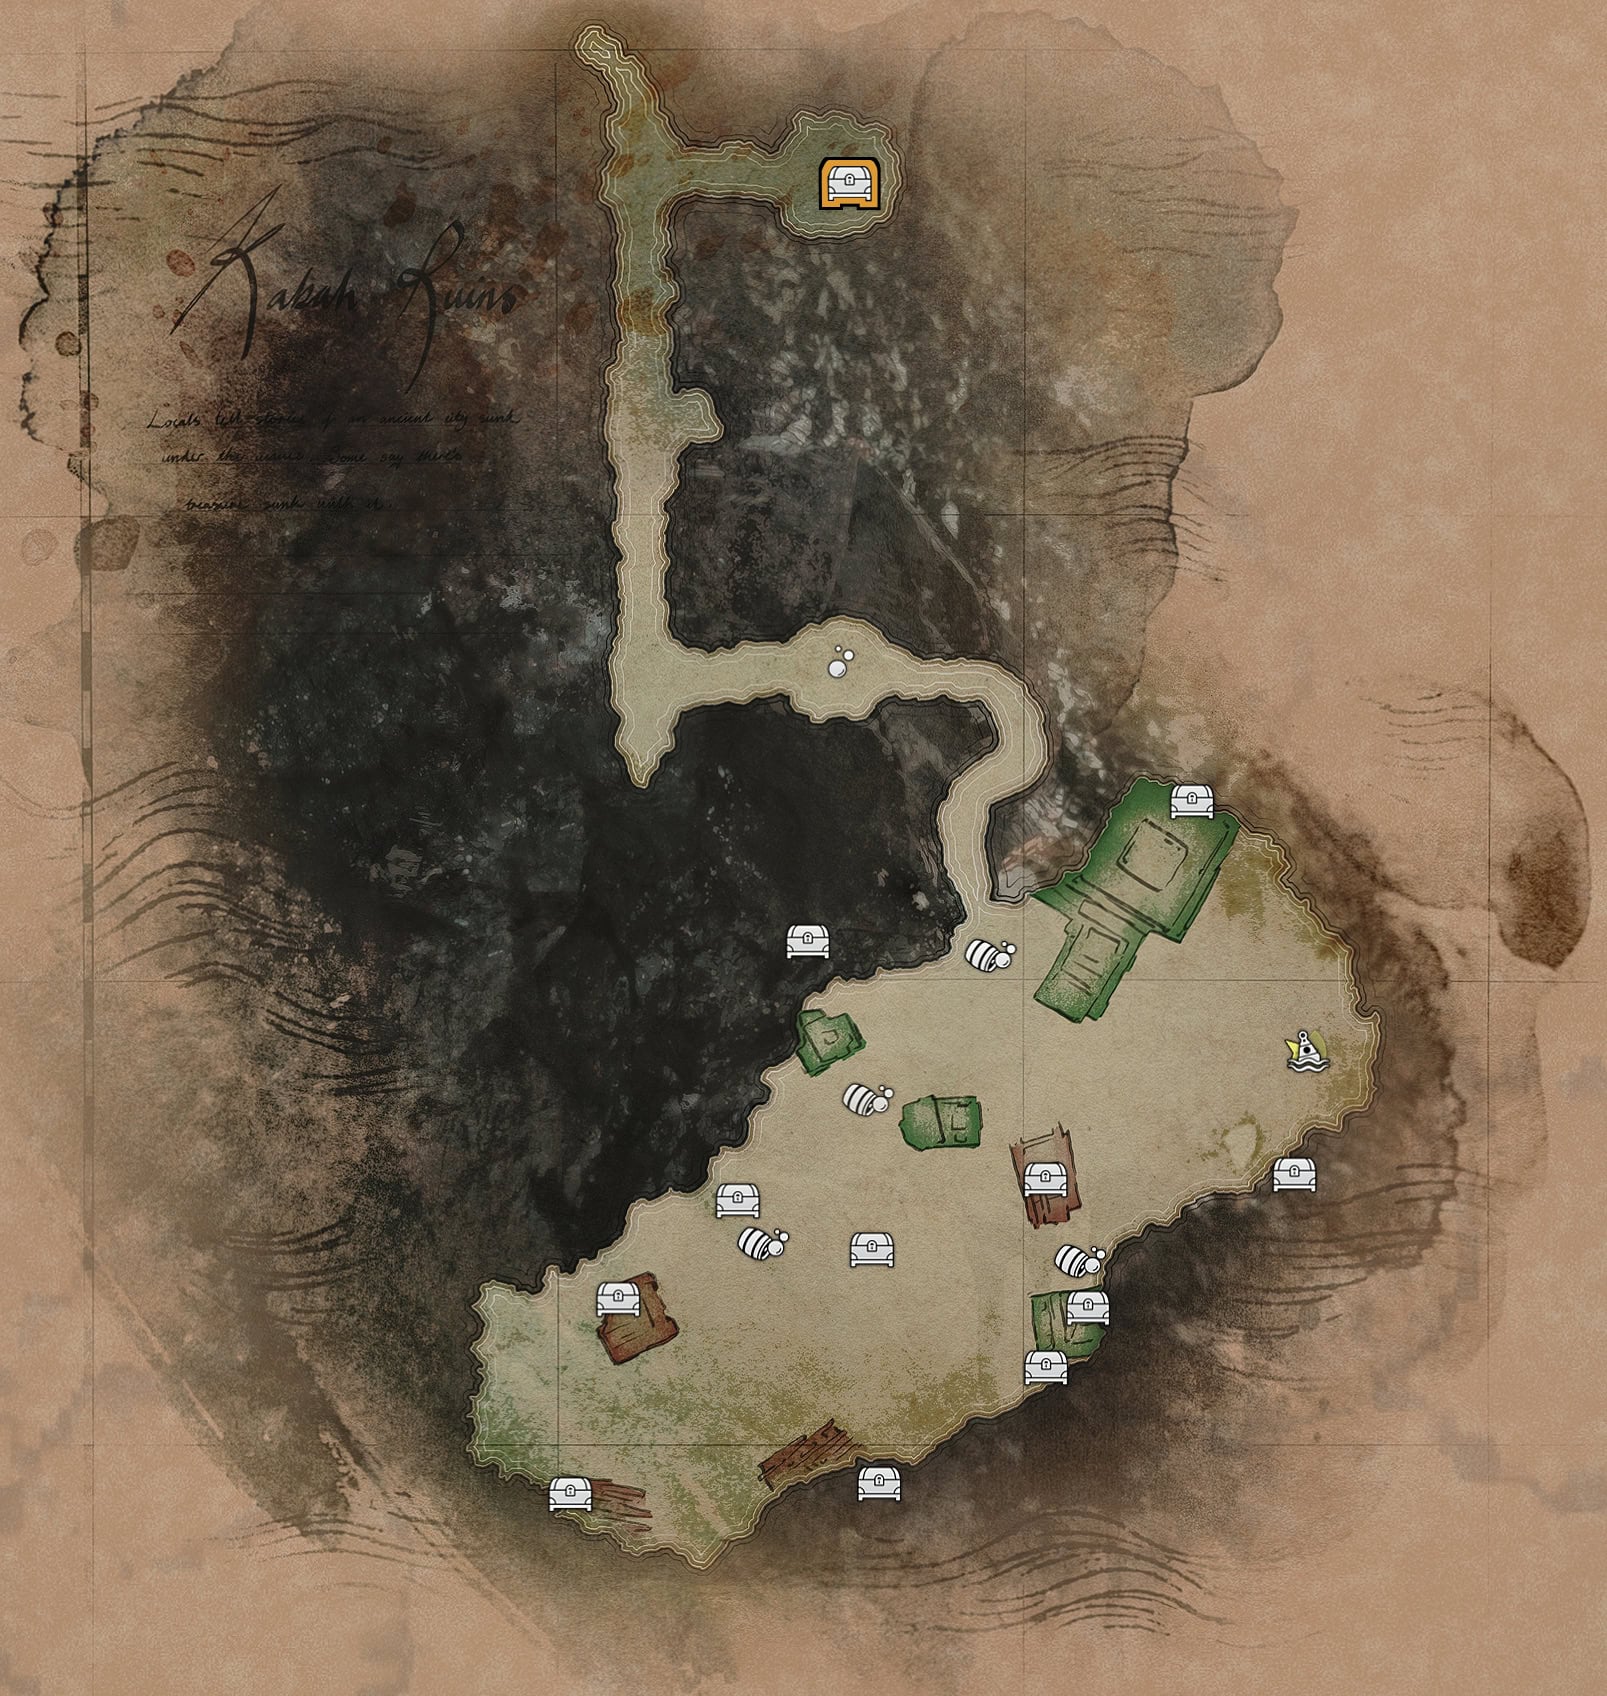
Below and to the rest of the sunken Mayan structure is the cave entrance. Swim inside and refill at the air pocket inside before proceeding.
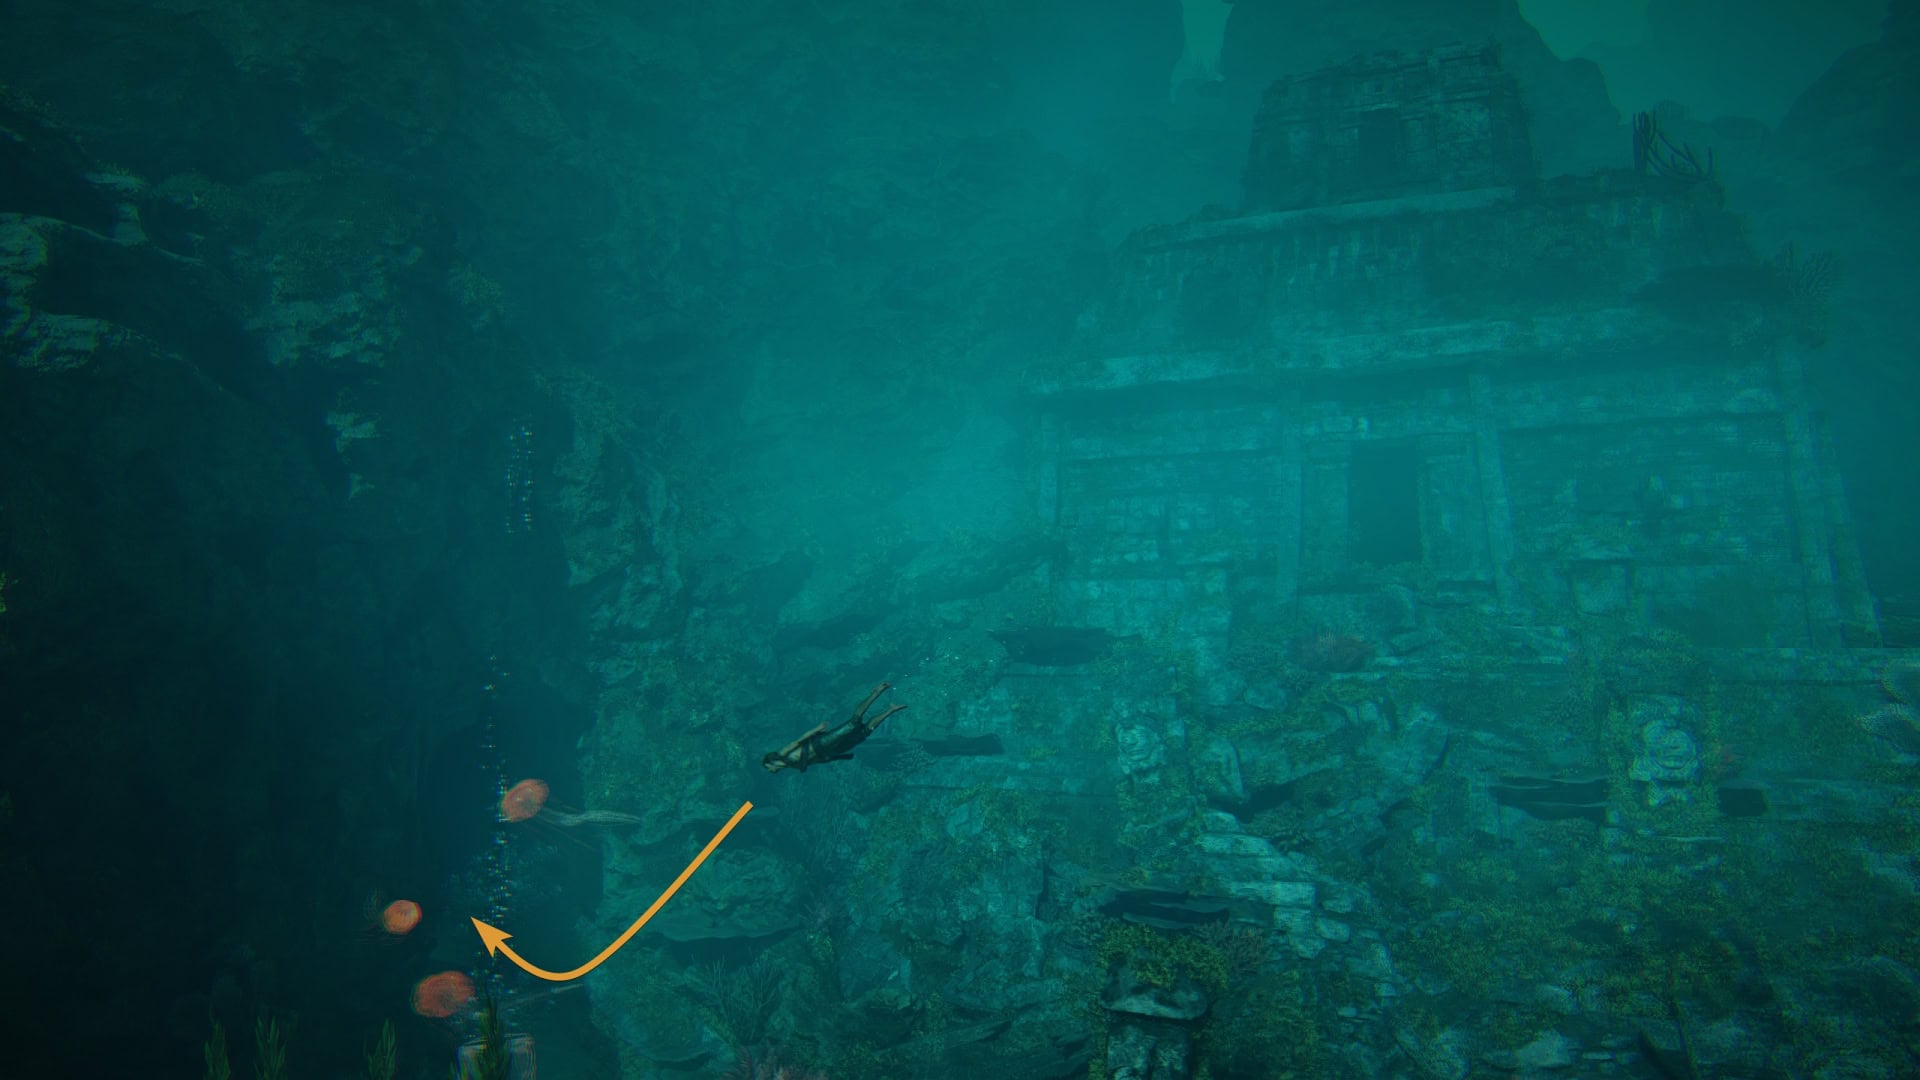
The tunnel leading to the secret chest will occasionally have a strong current that will push you away. Wait outside the tunnel until the current is gone, then swim north while using the Burst Beams for a boost.
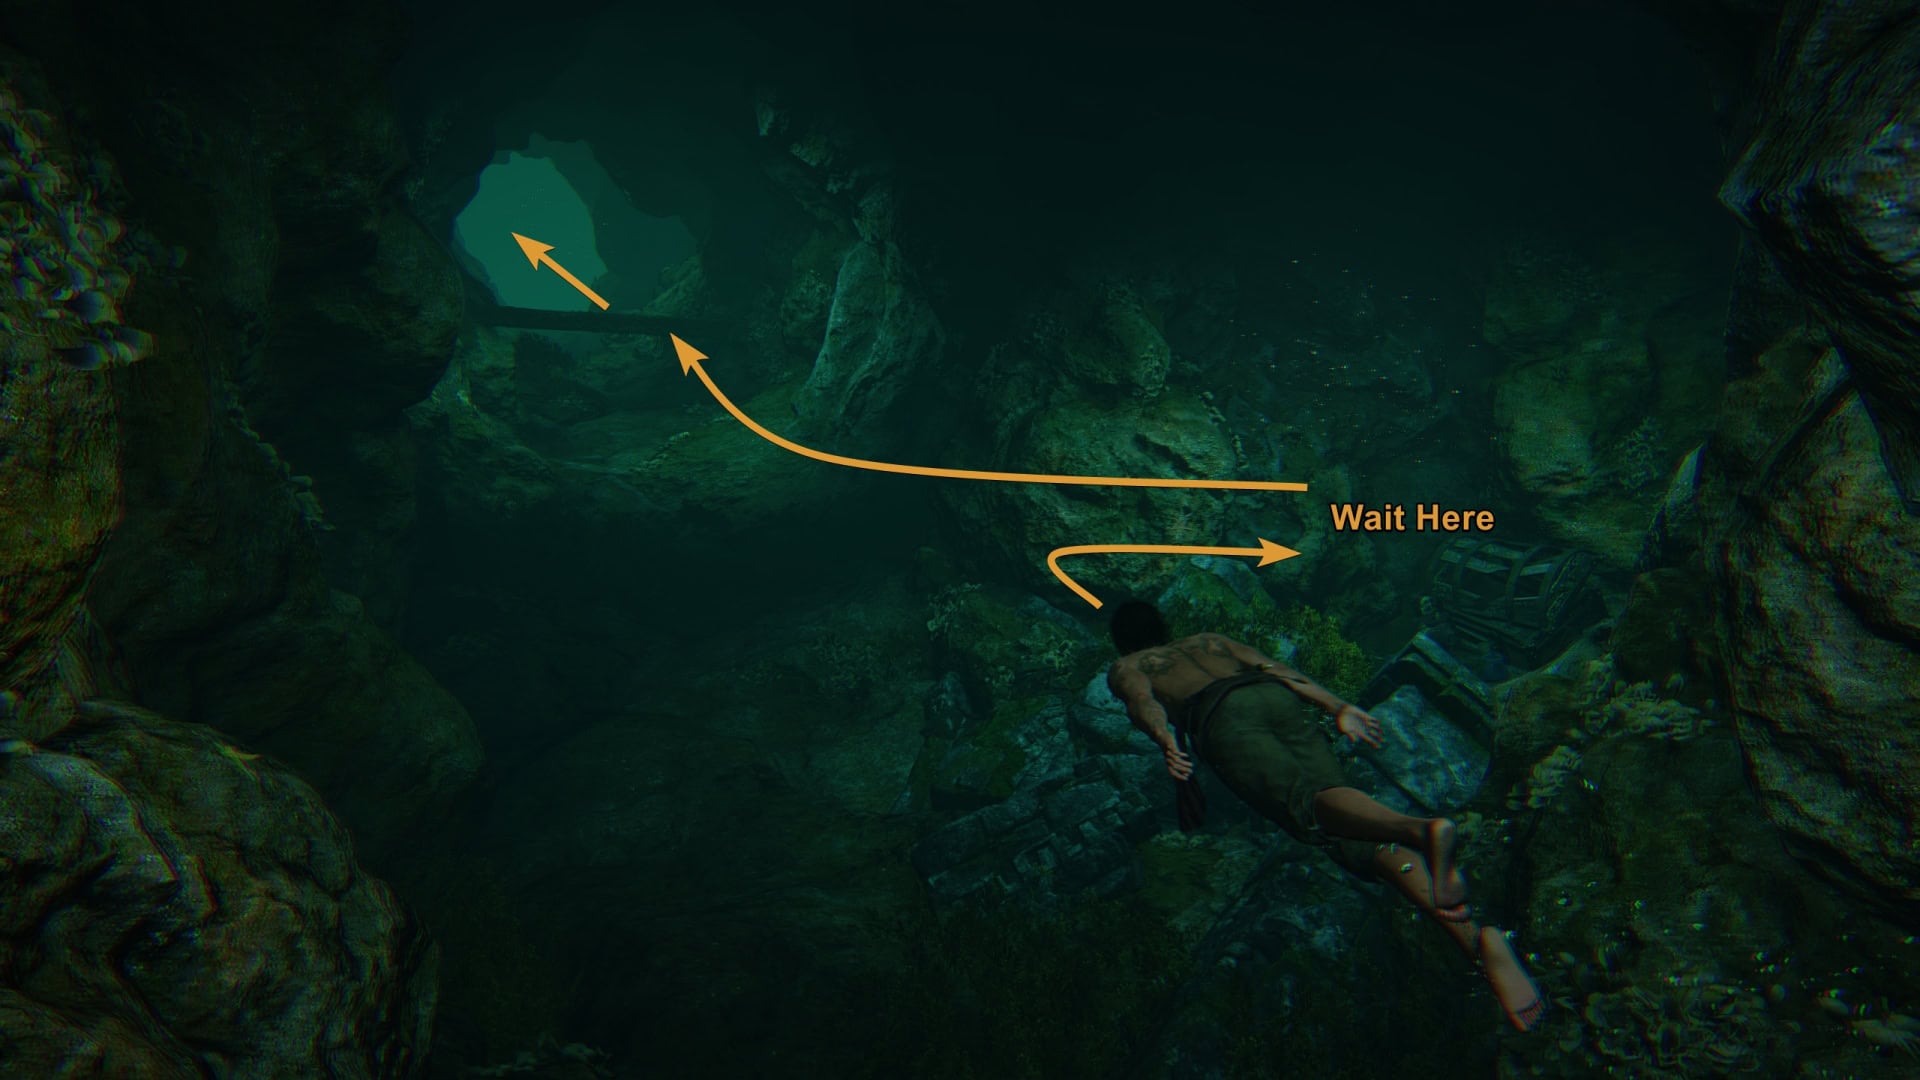
Along the east wall is a small crevice you can wait out the next current. Once clear, swim to the treasure chest to acquire the Round Shot Strength Ultimate Plan.
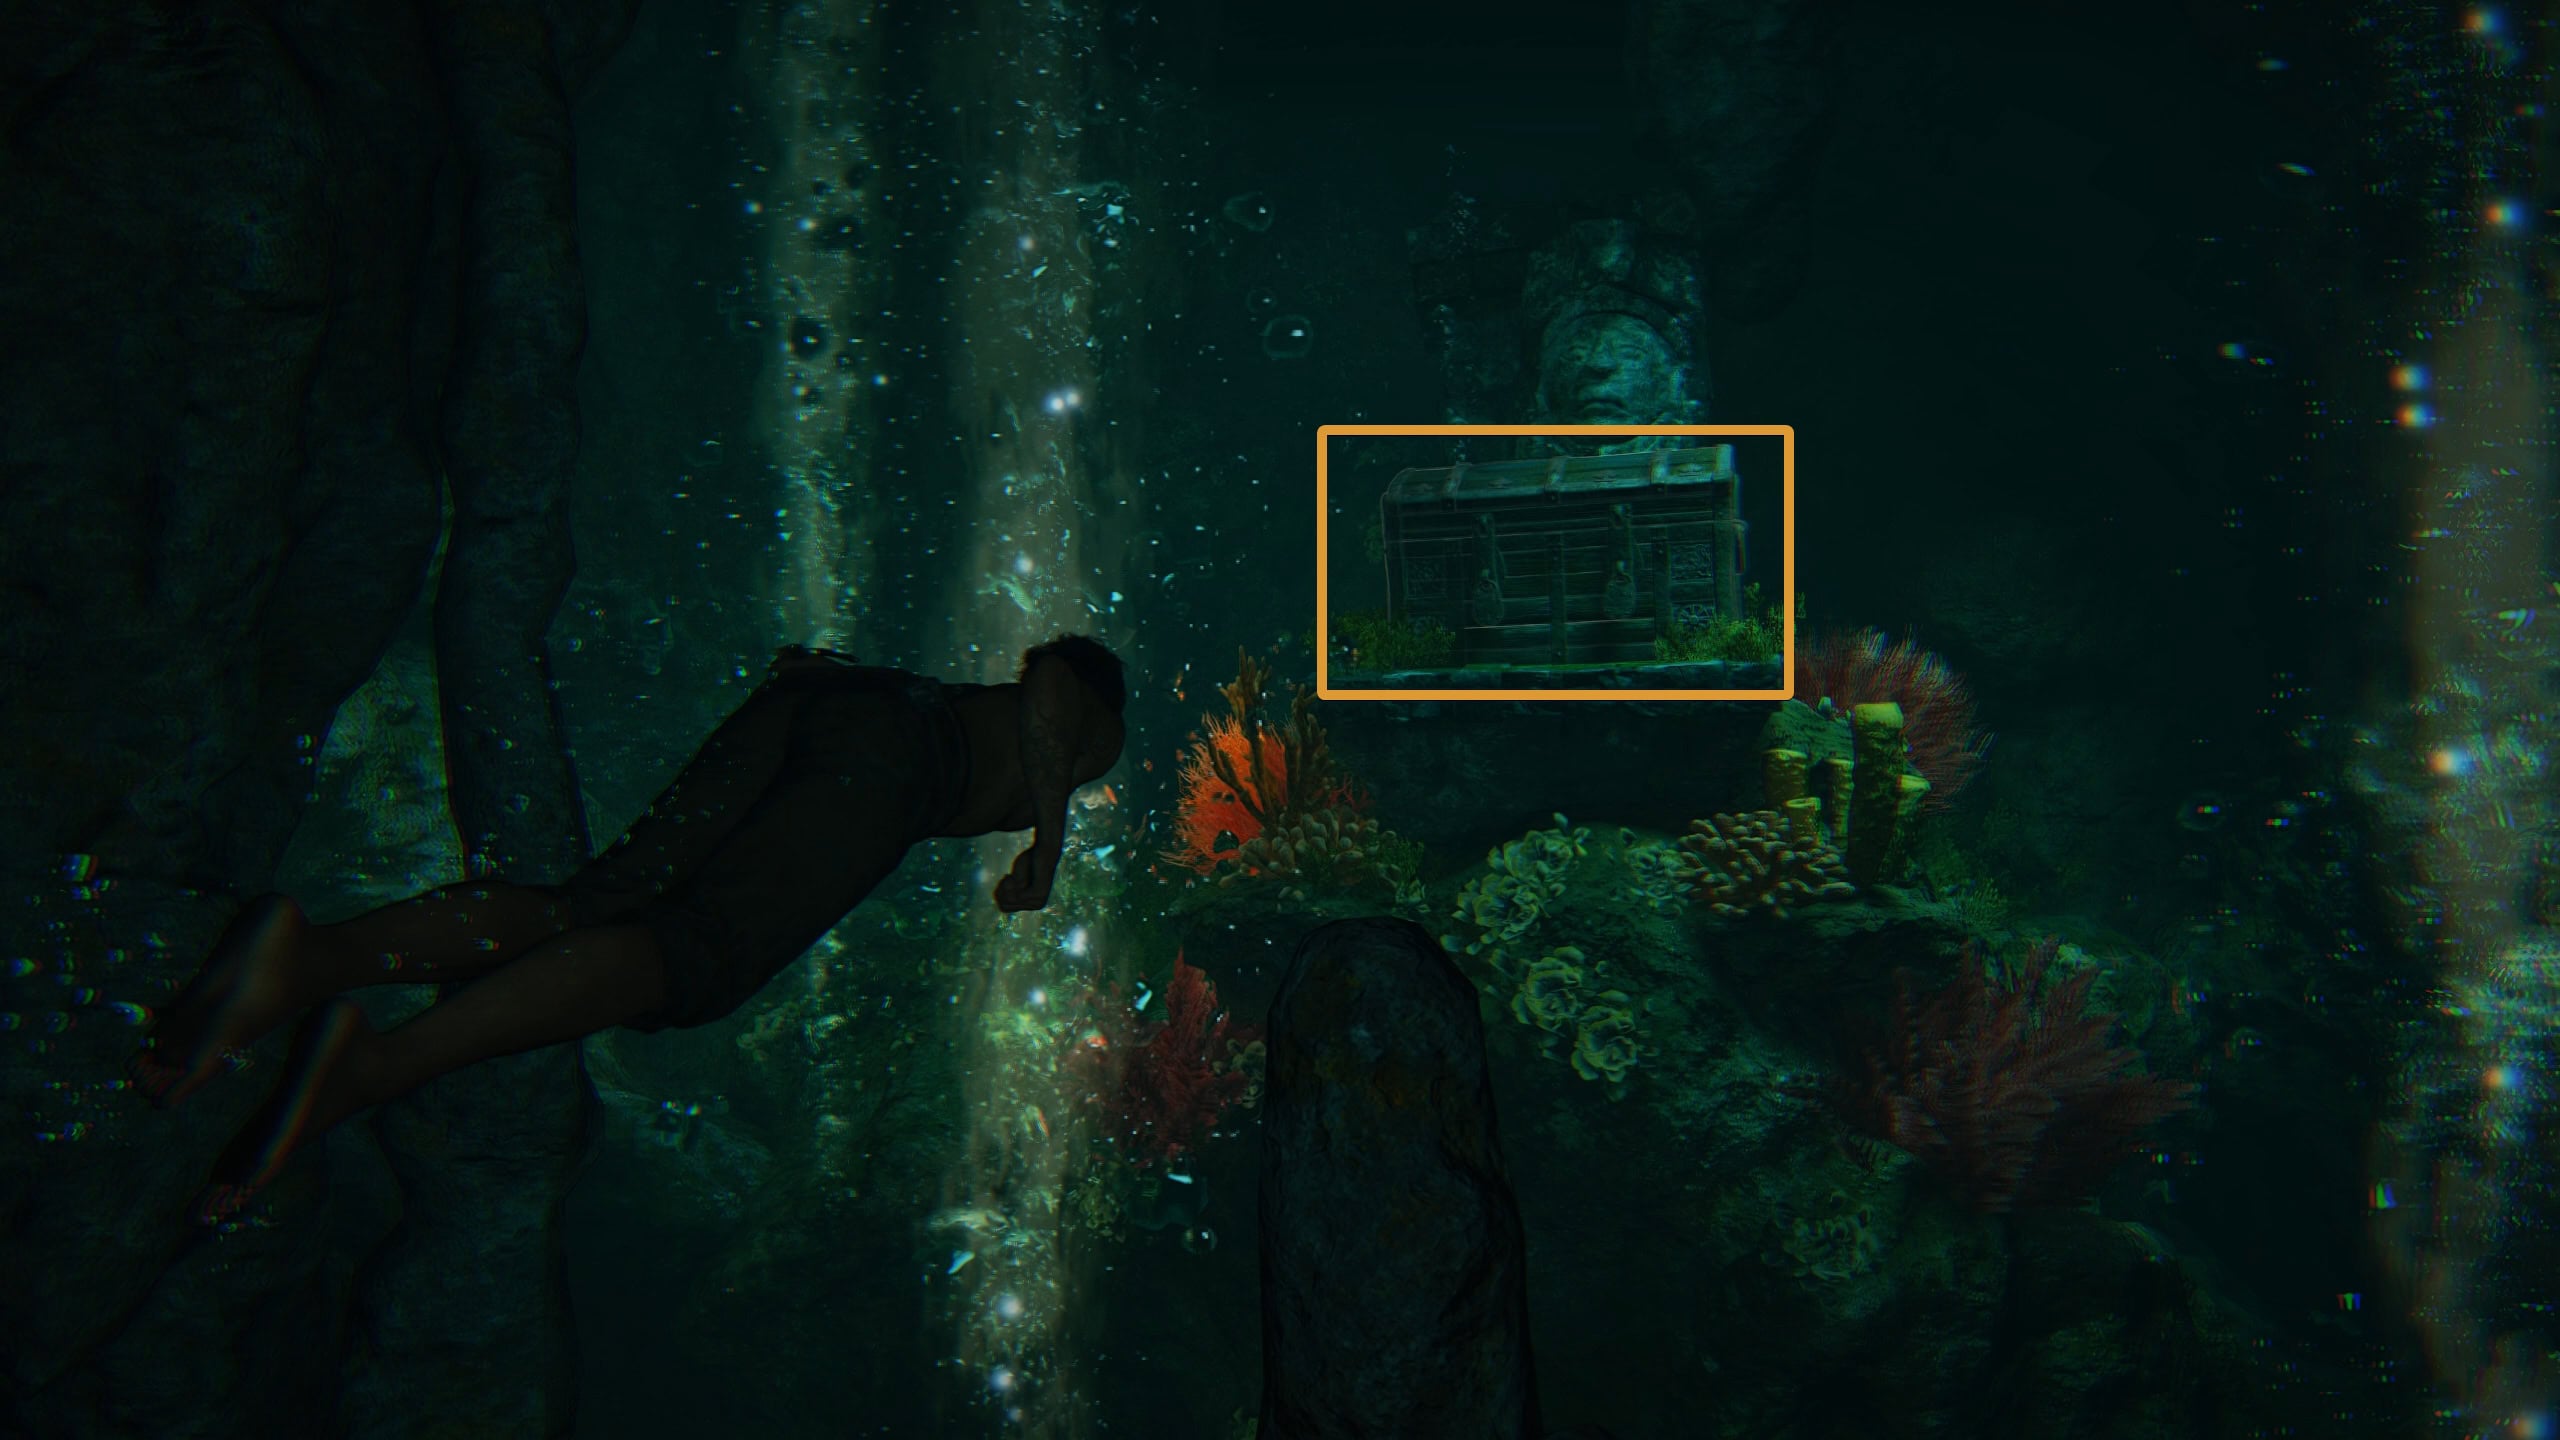
La Concepción Wreck
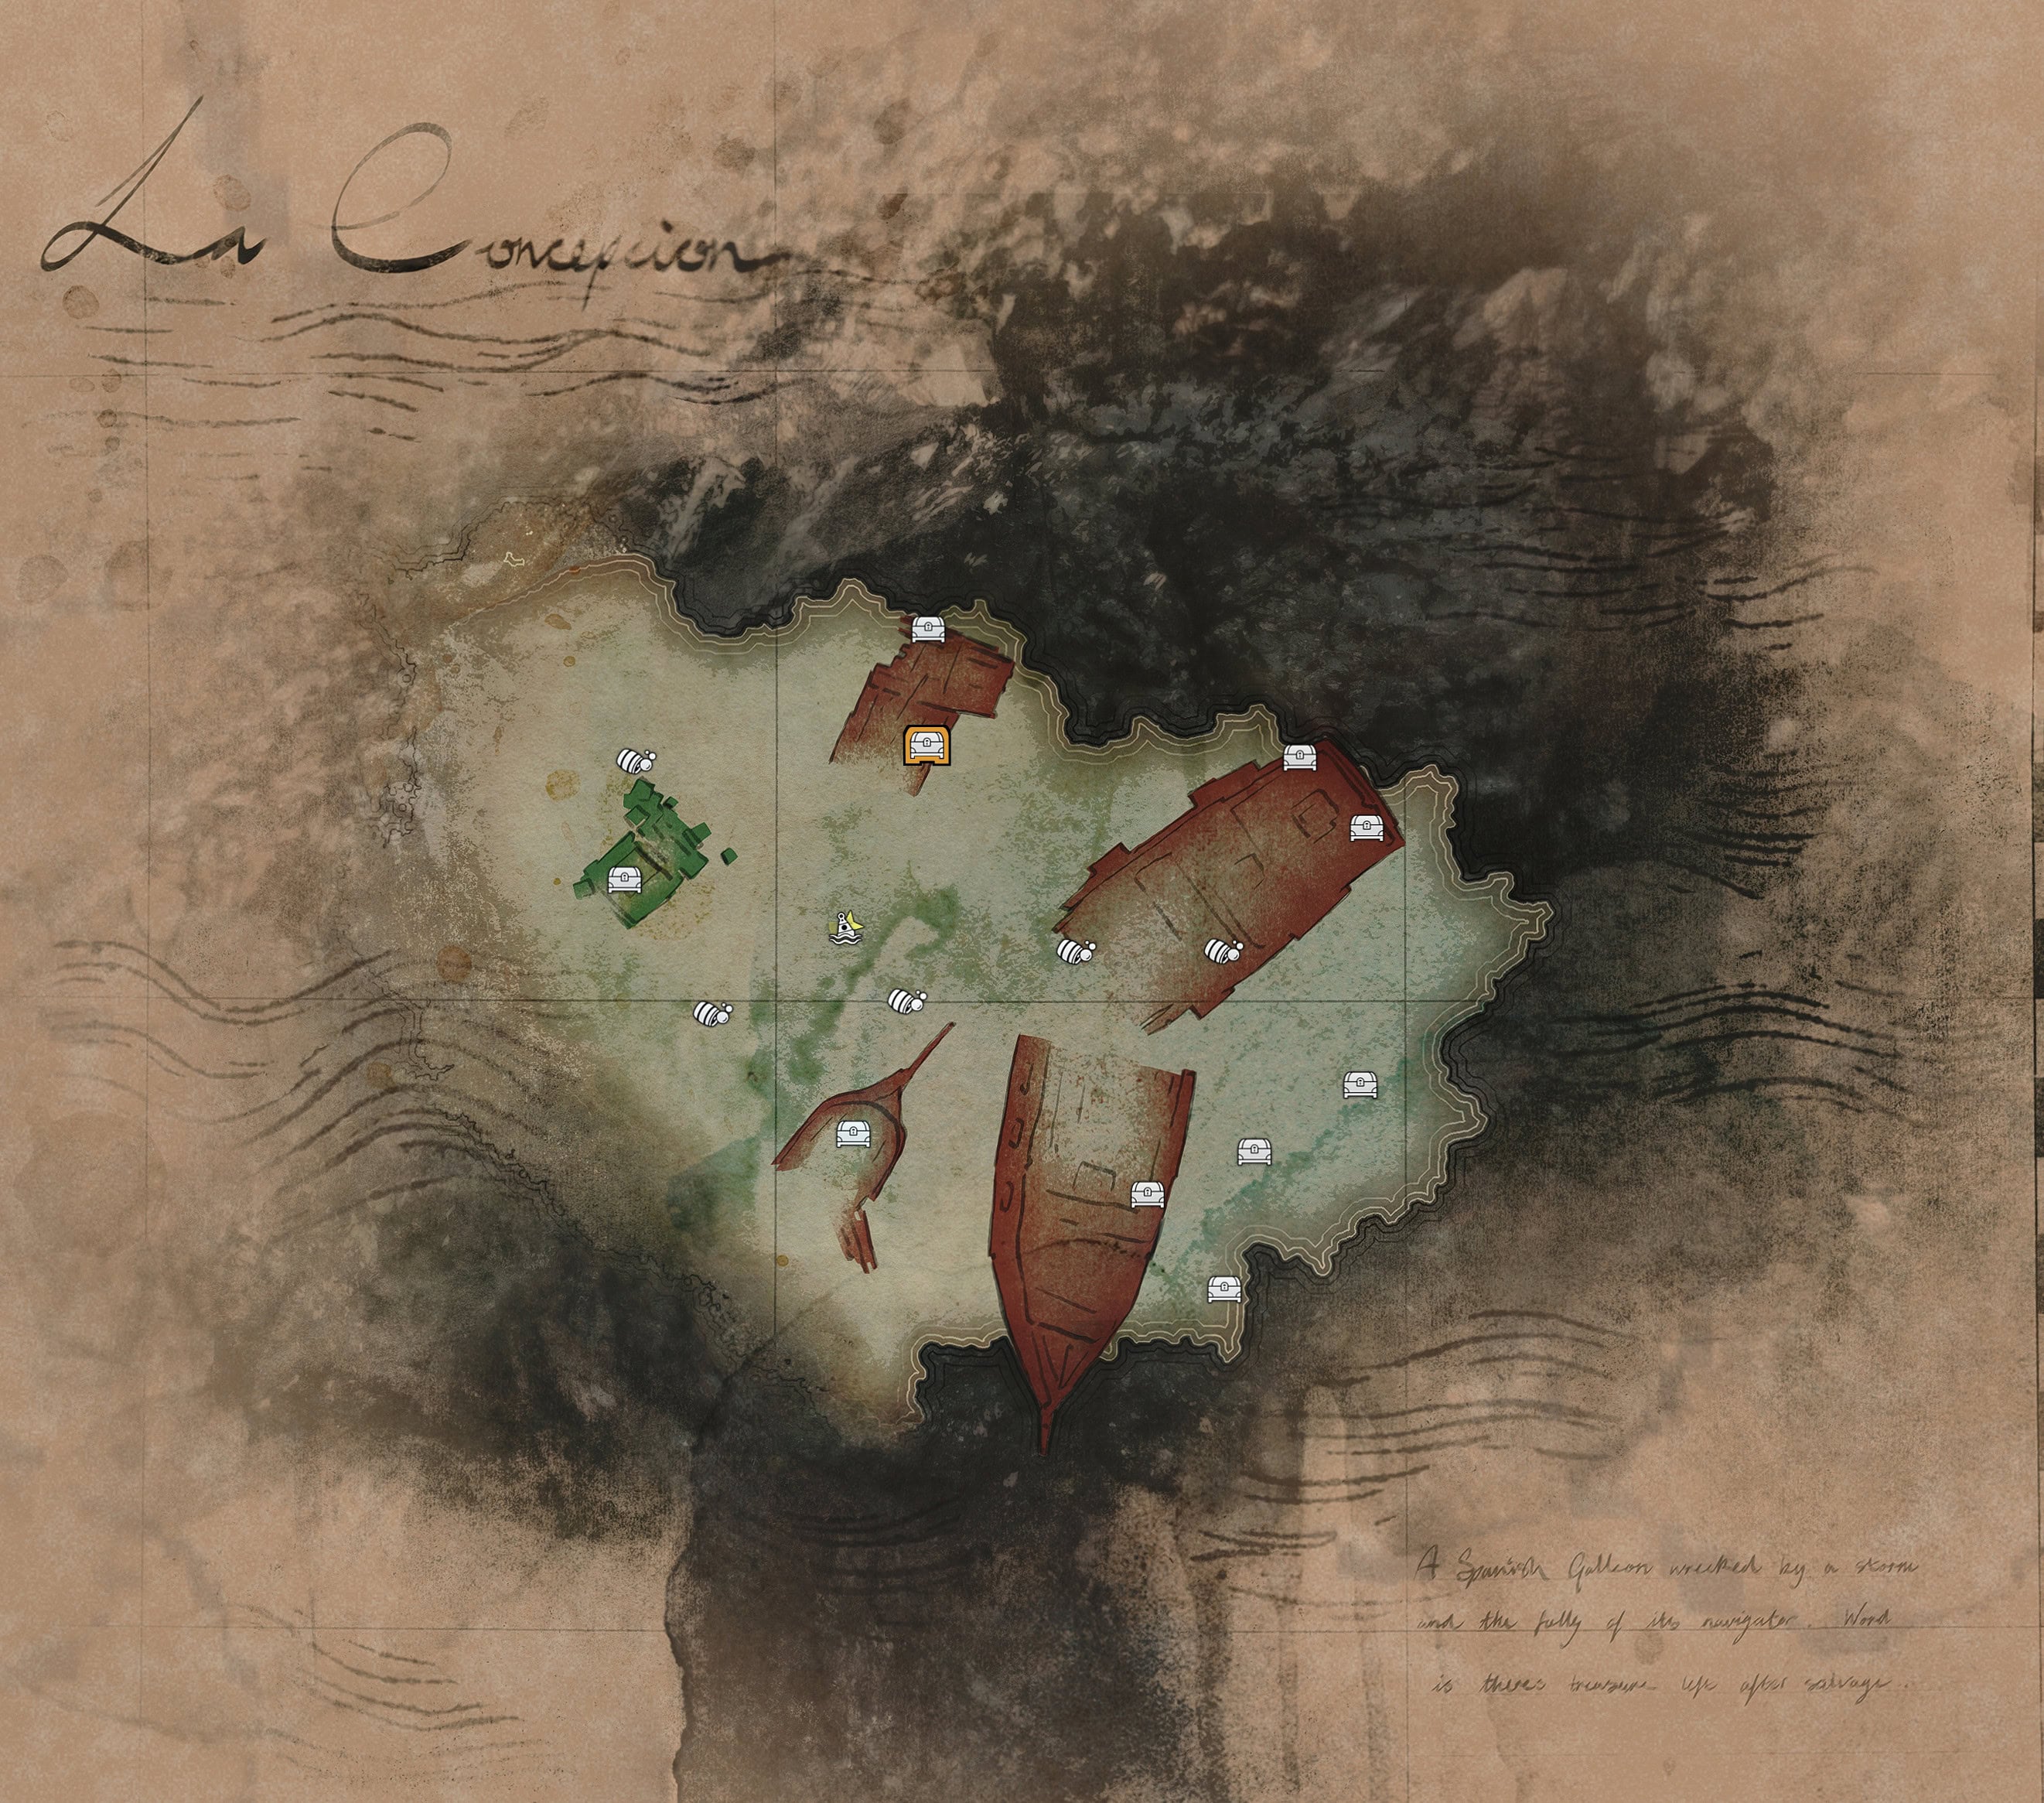
You’ll find La Concepción Wreck in the middle of Chinchorro. The broken hull at the northern area of the map holds the secret chest with the Ram Ultimate Plan.
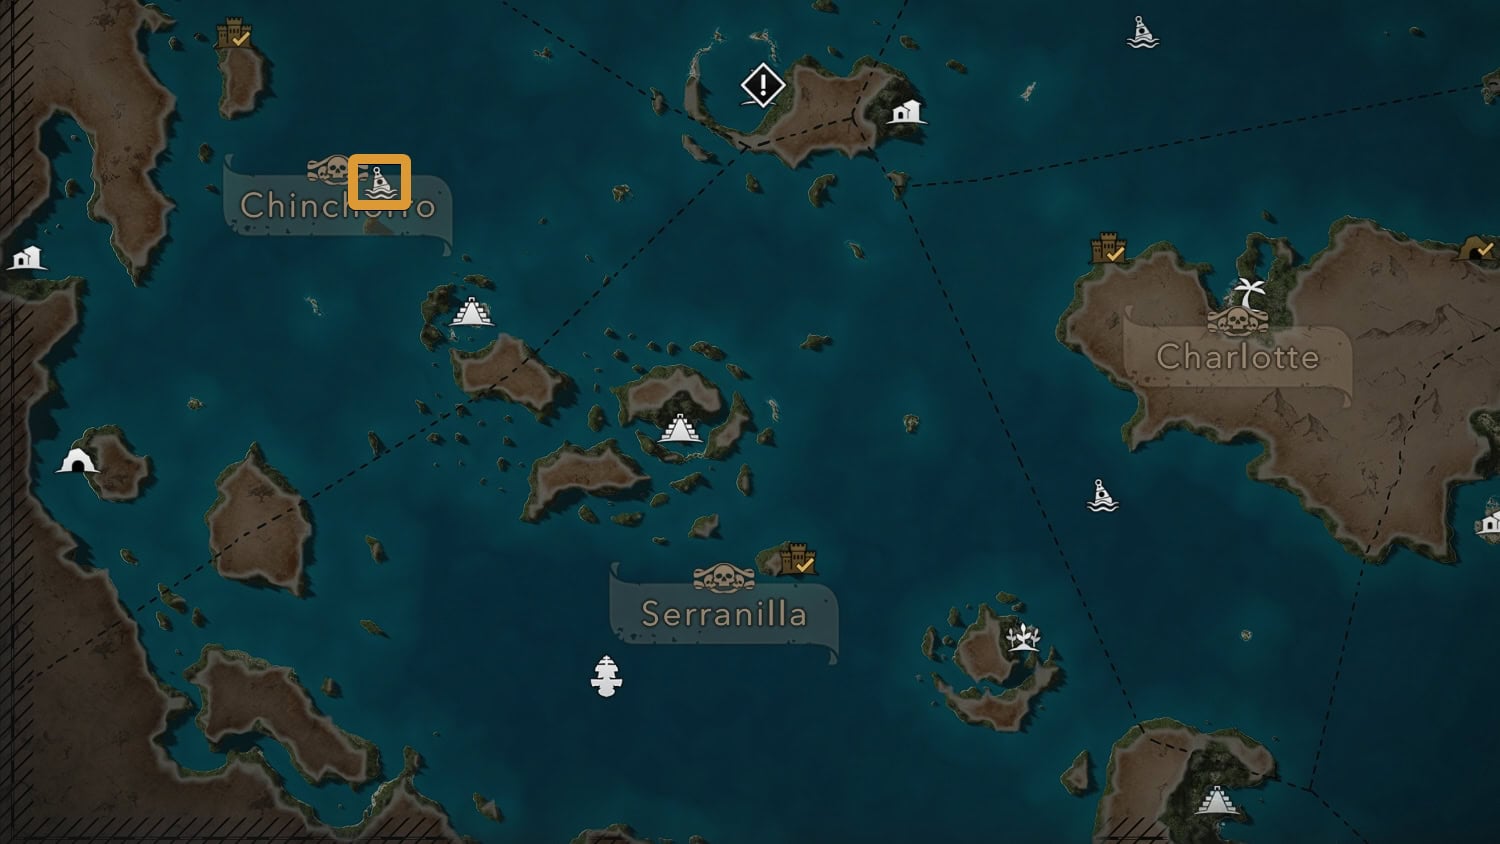
San Ignacio Wreck
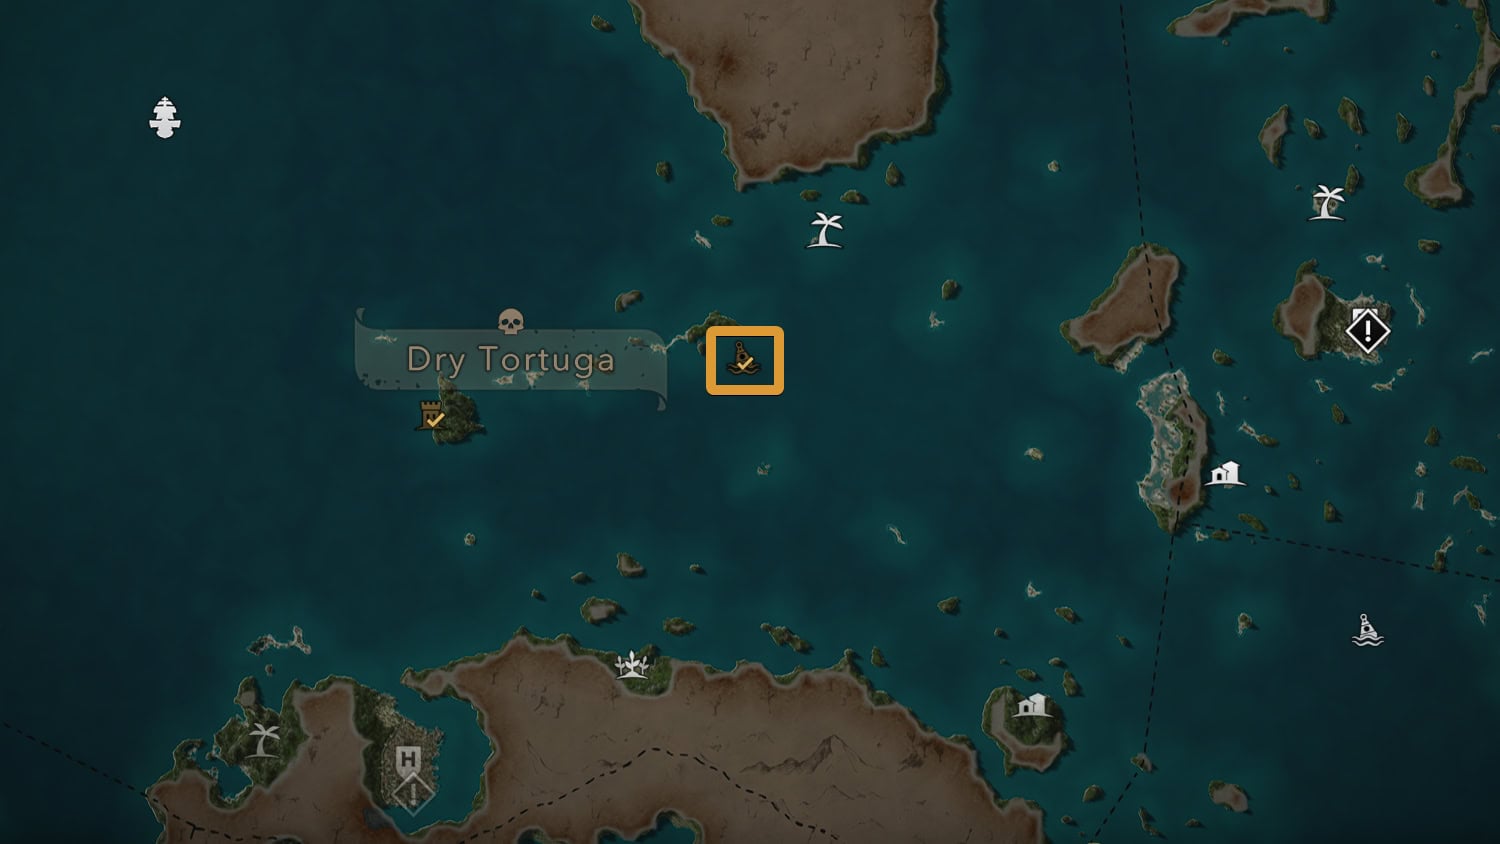
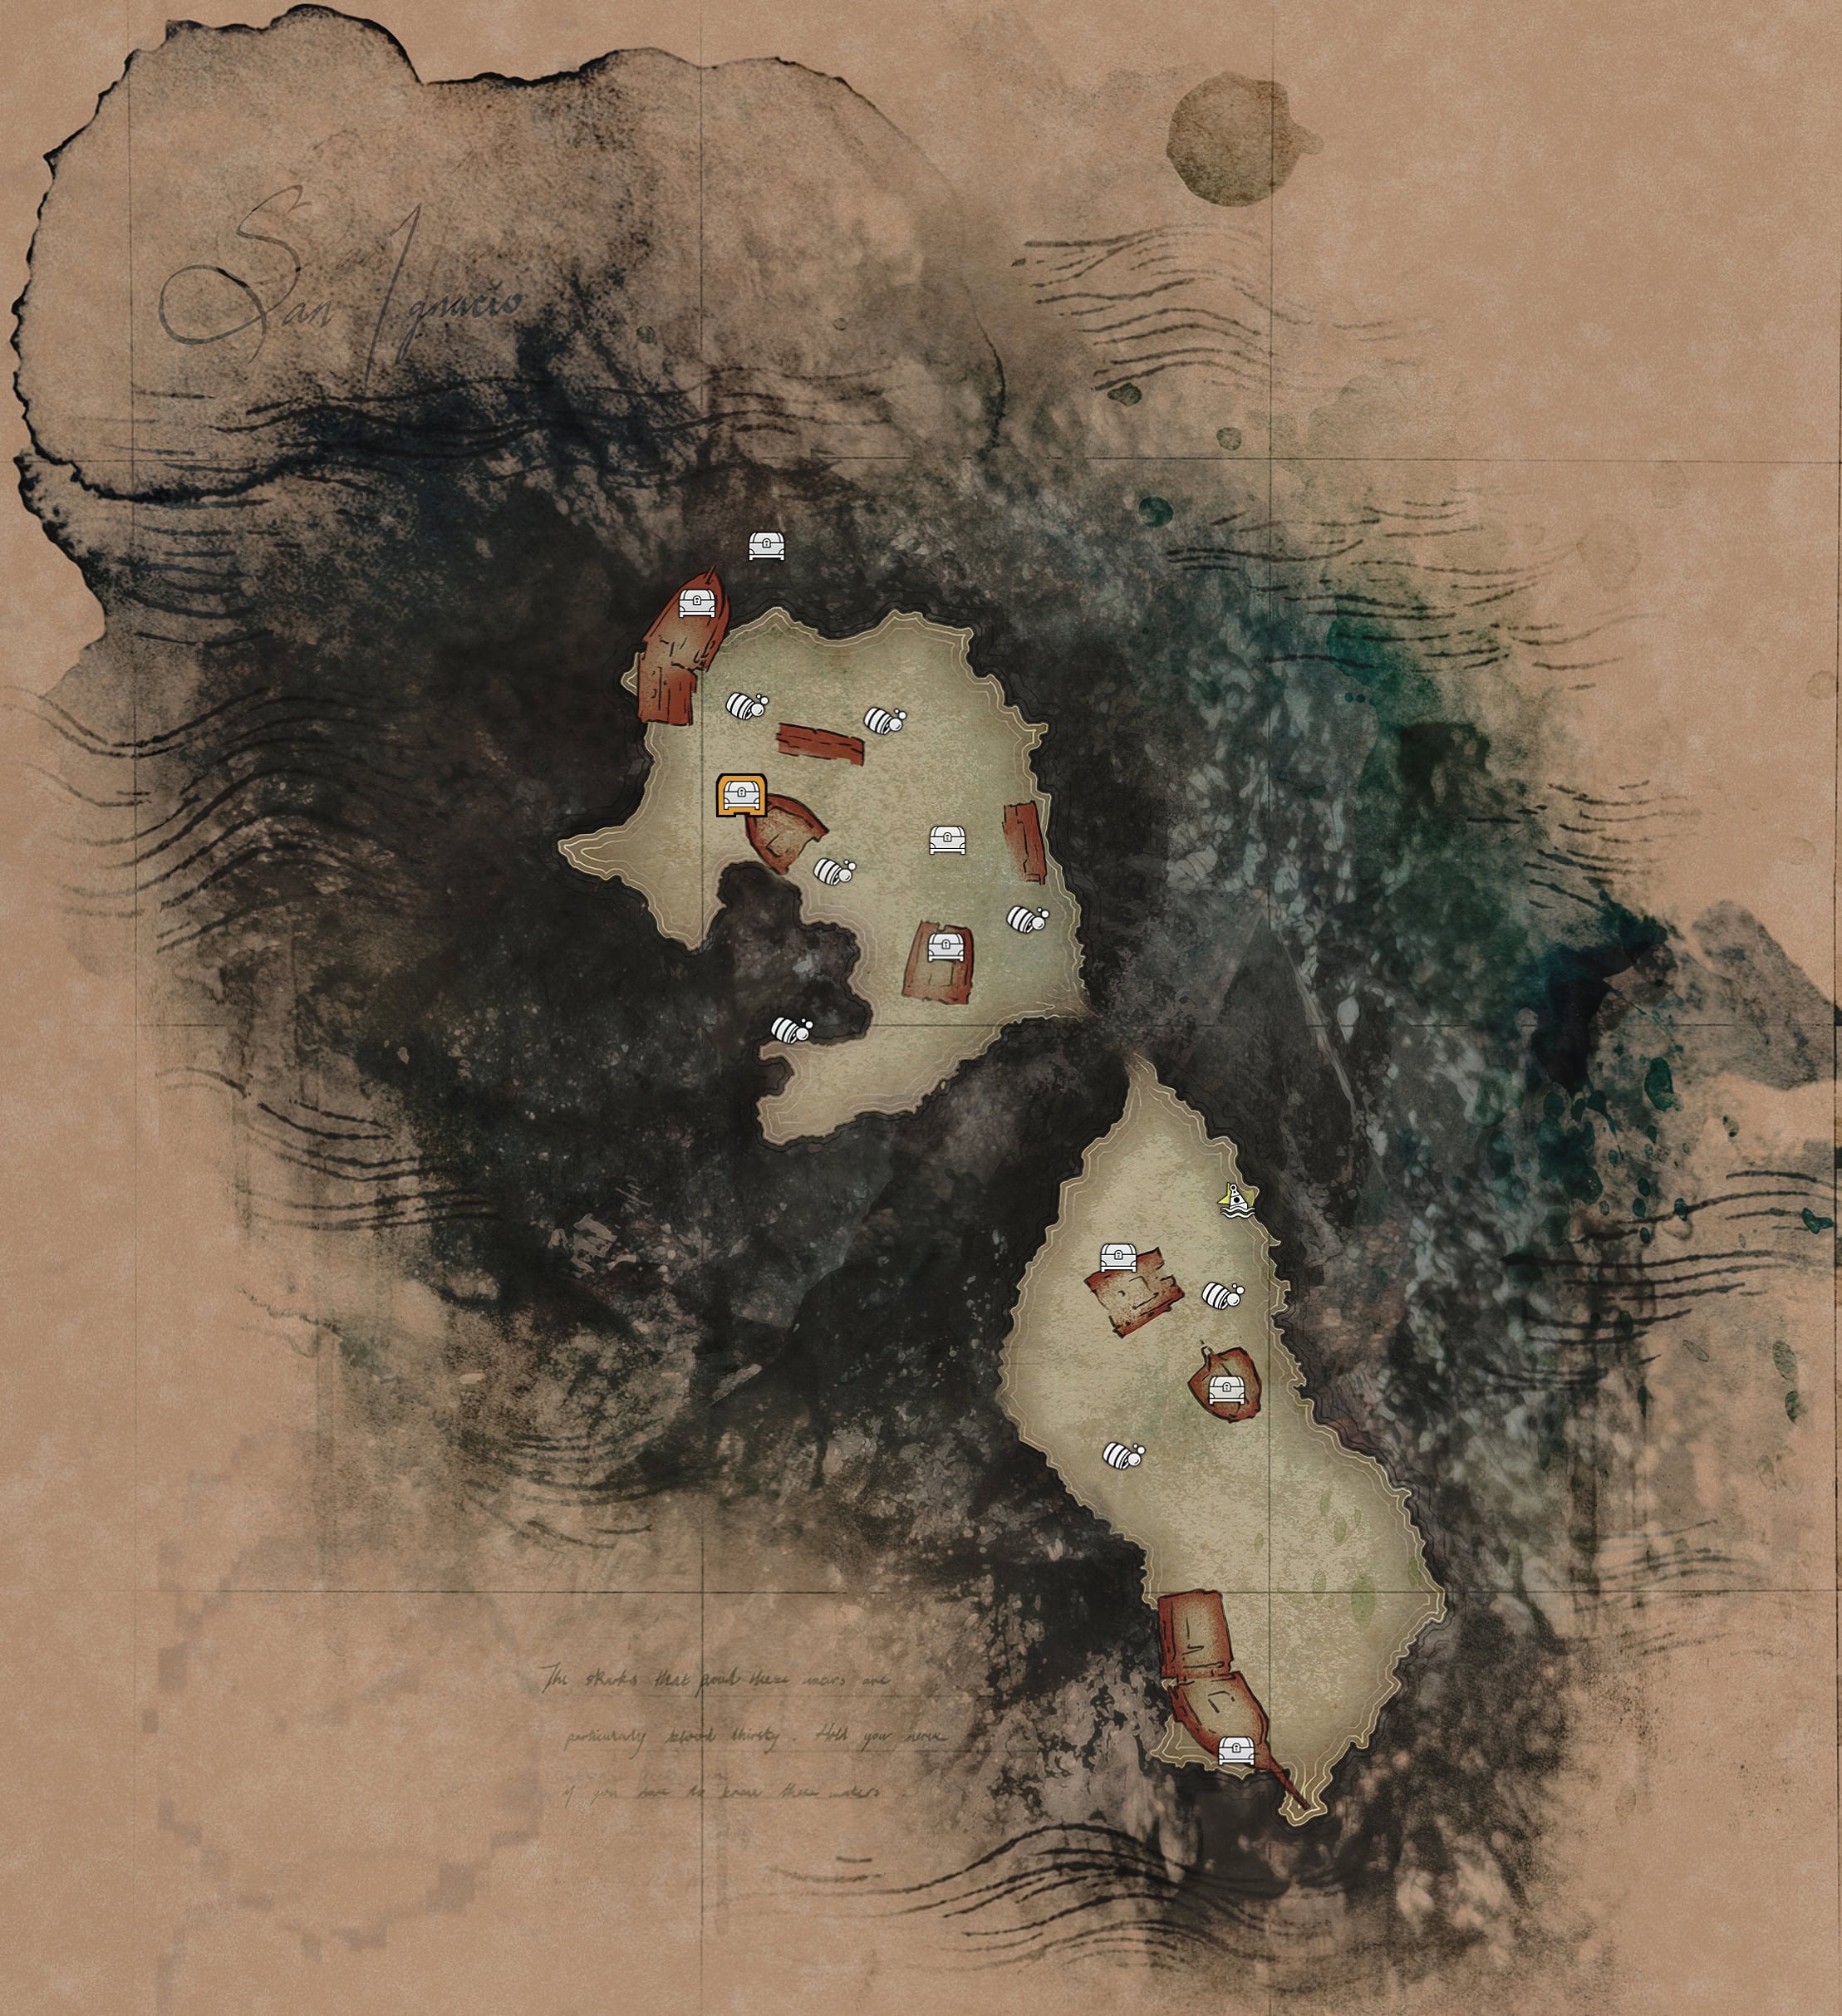
The San Ignacio Wreck is one that’s impossible to miss as this is the location for the story quest “Diving for Medicines”. Located in Dry Tortuga, this wreck’s secret chest holds the Hull Armor Ultimate Plan in the shattered bow of a ship in the northern section.
The Black Trench
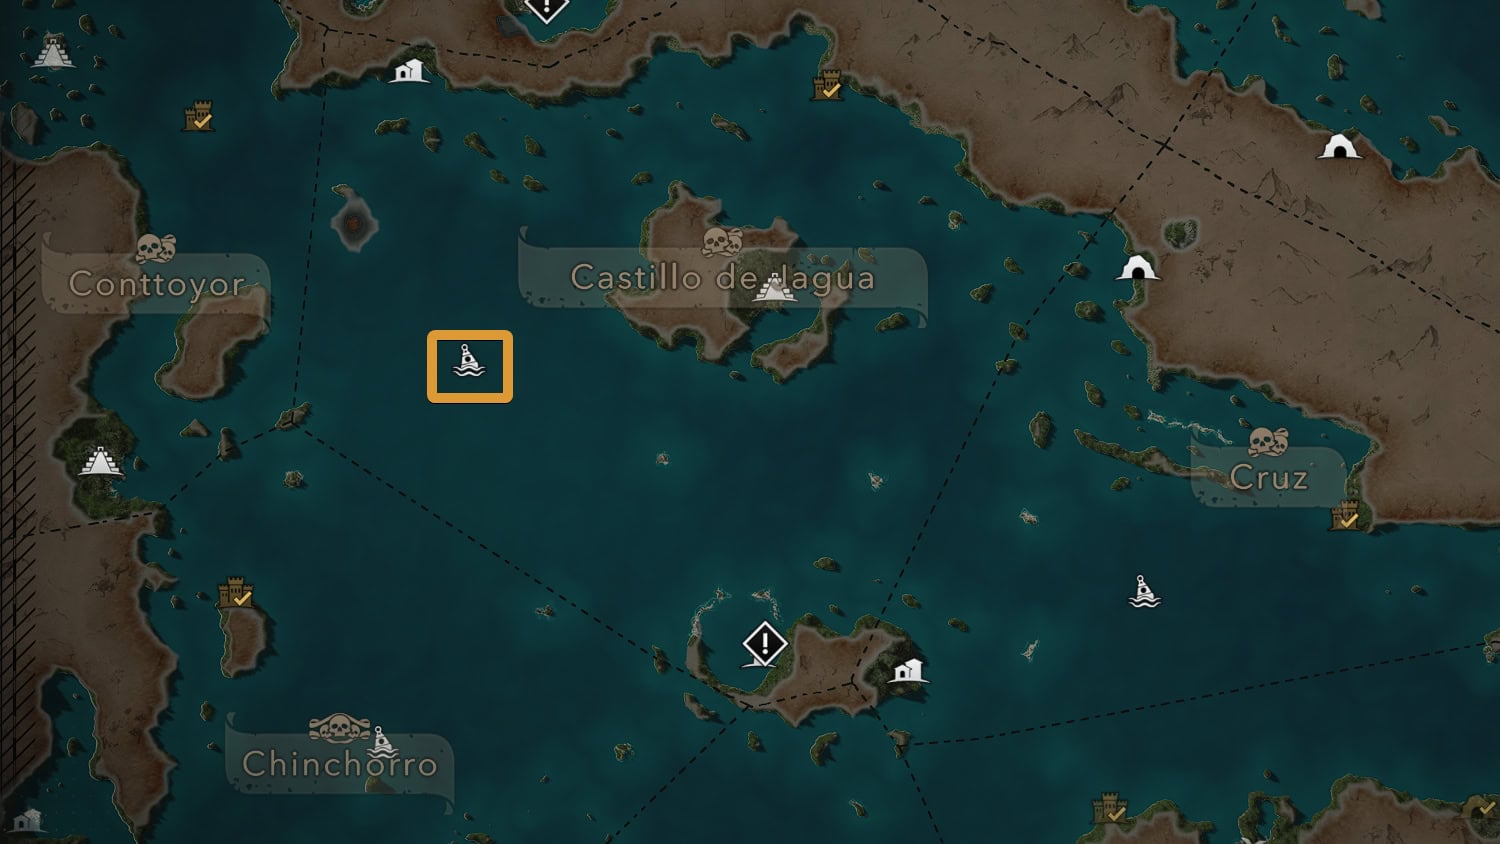
The Black Trench is located in west Castillo de Jagua. This is the only diving location that does not give a Ship Ultimate Plan, but instead gives you a weapon. You can also achieve the Davy Jone’s Locker Achievement while you’re here.
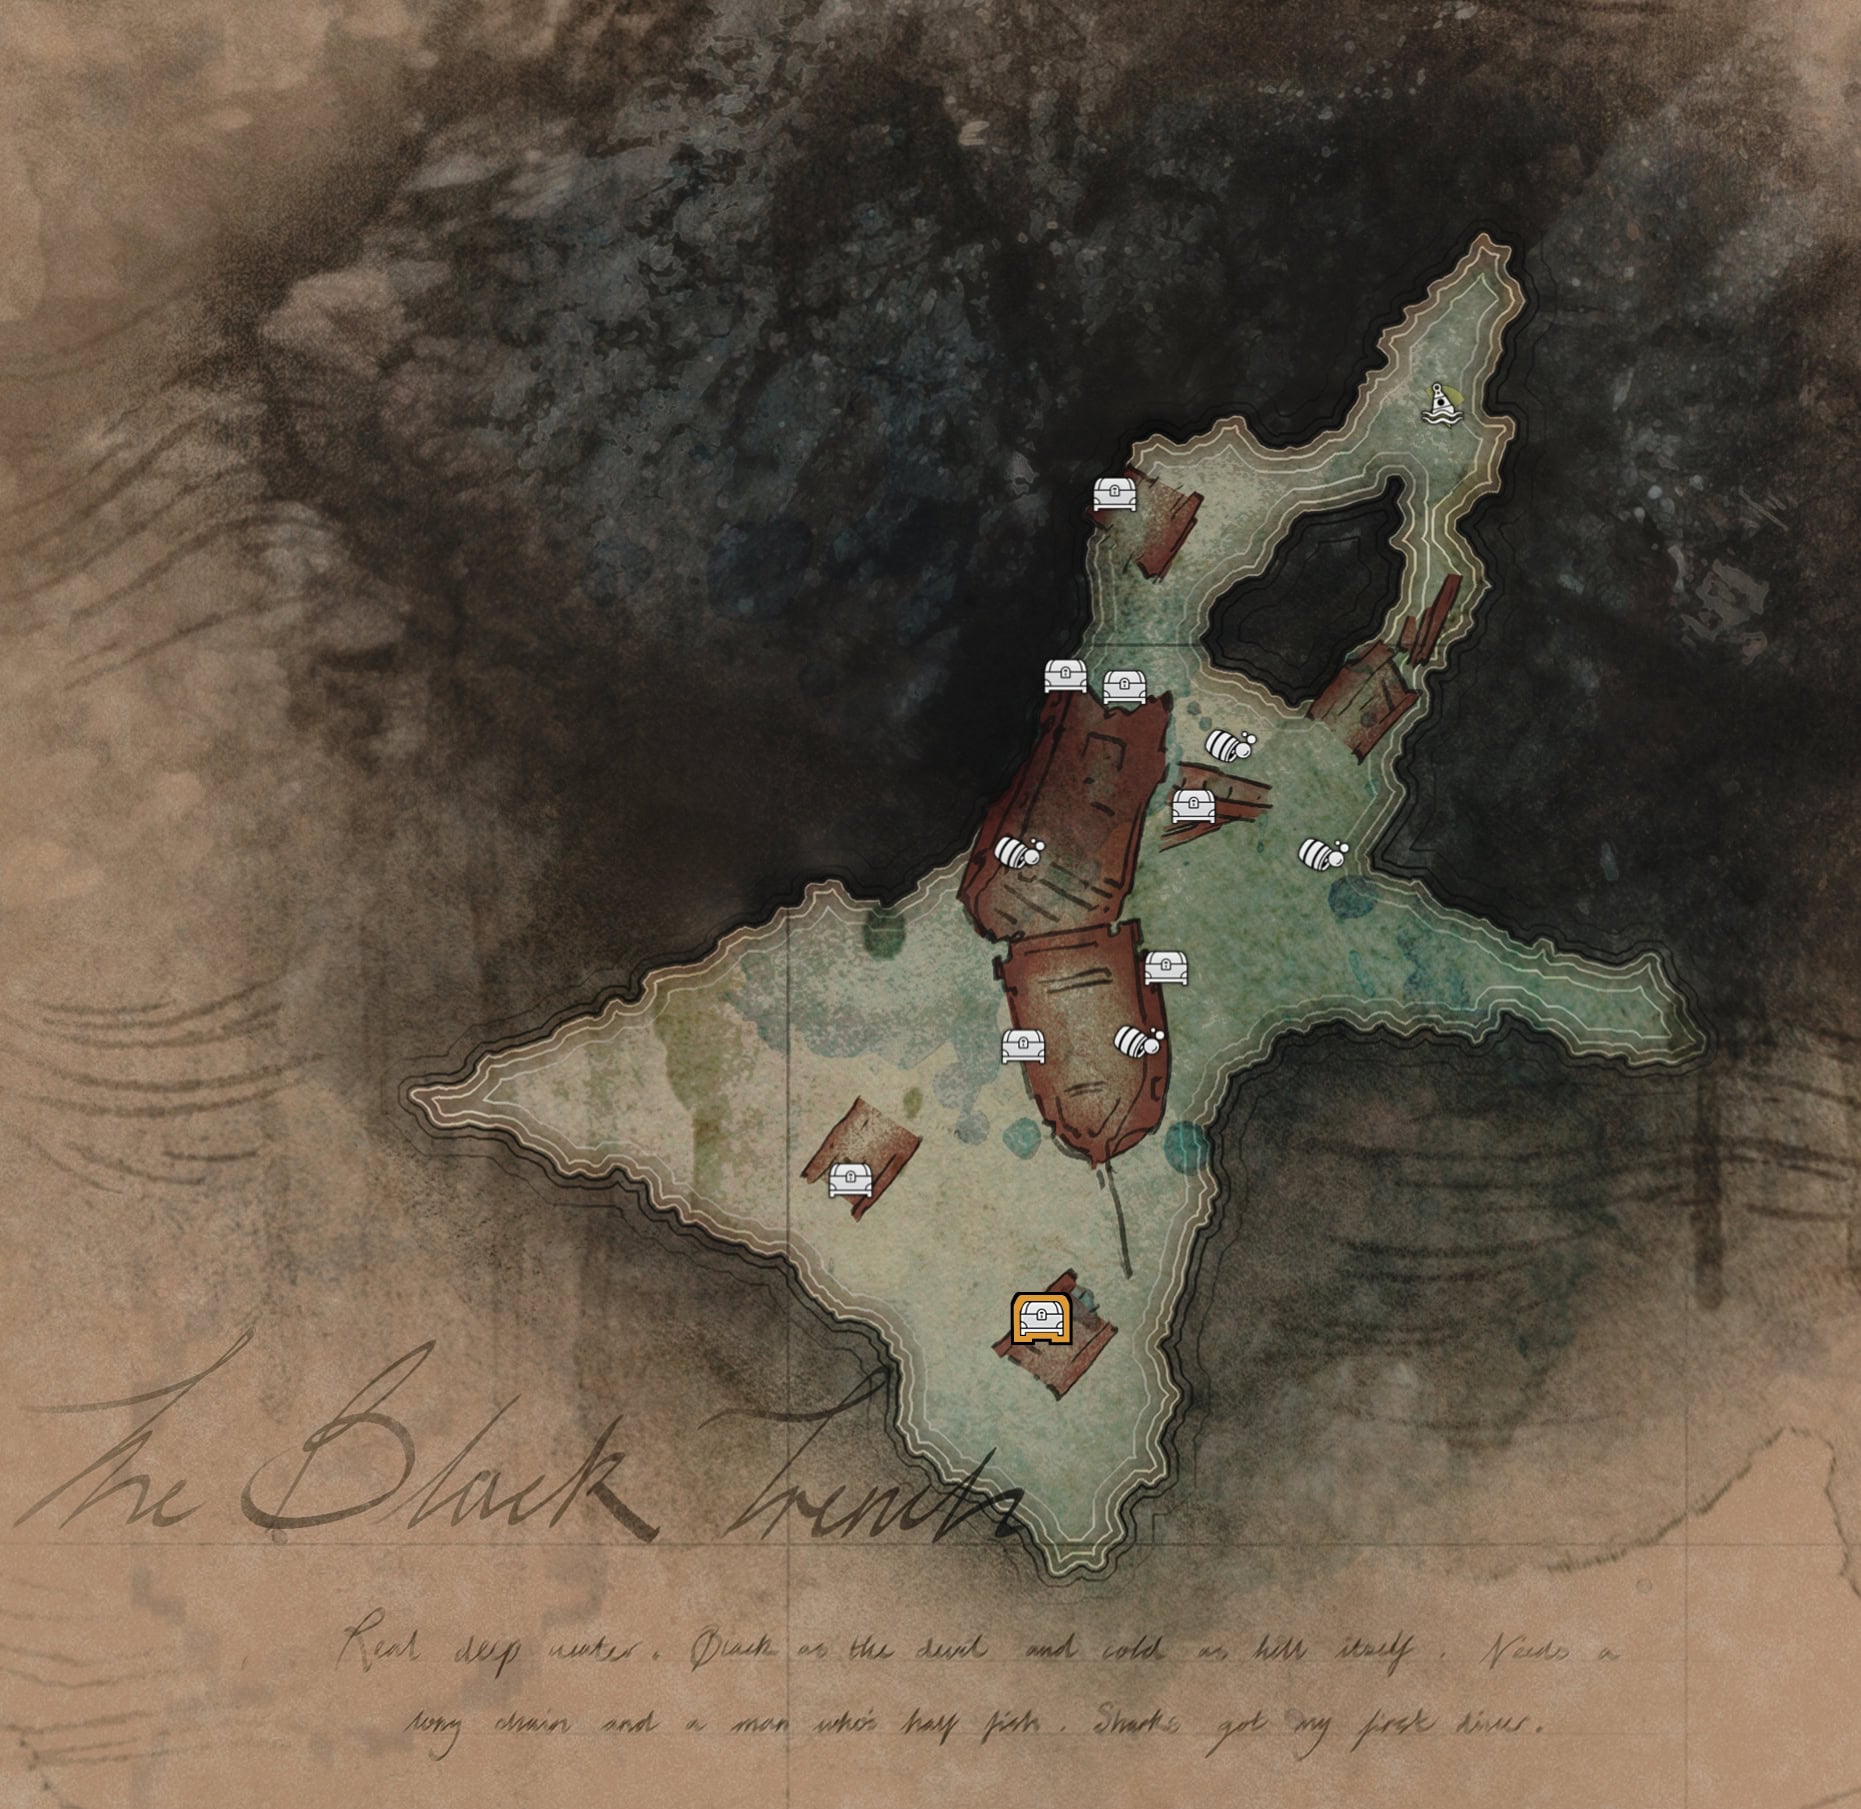
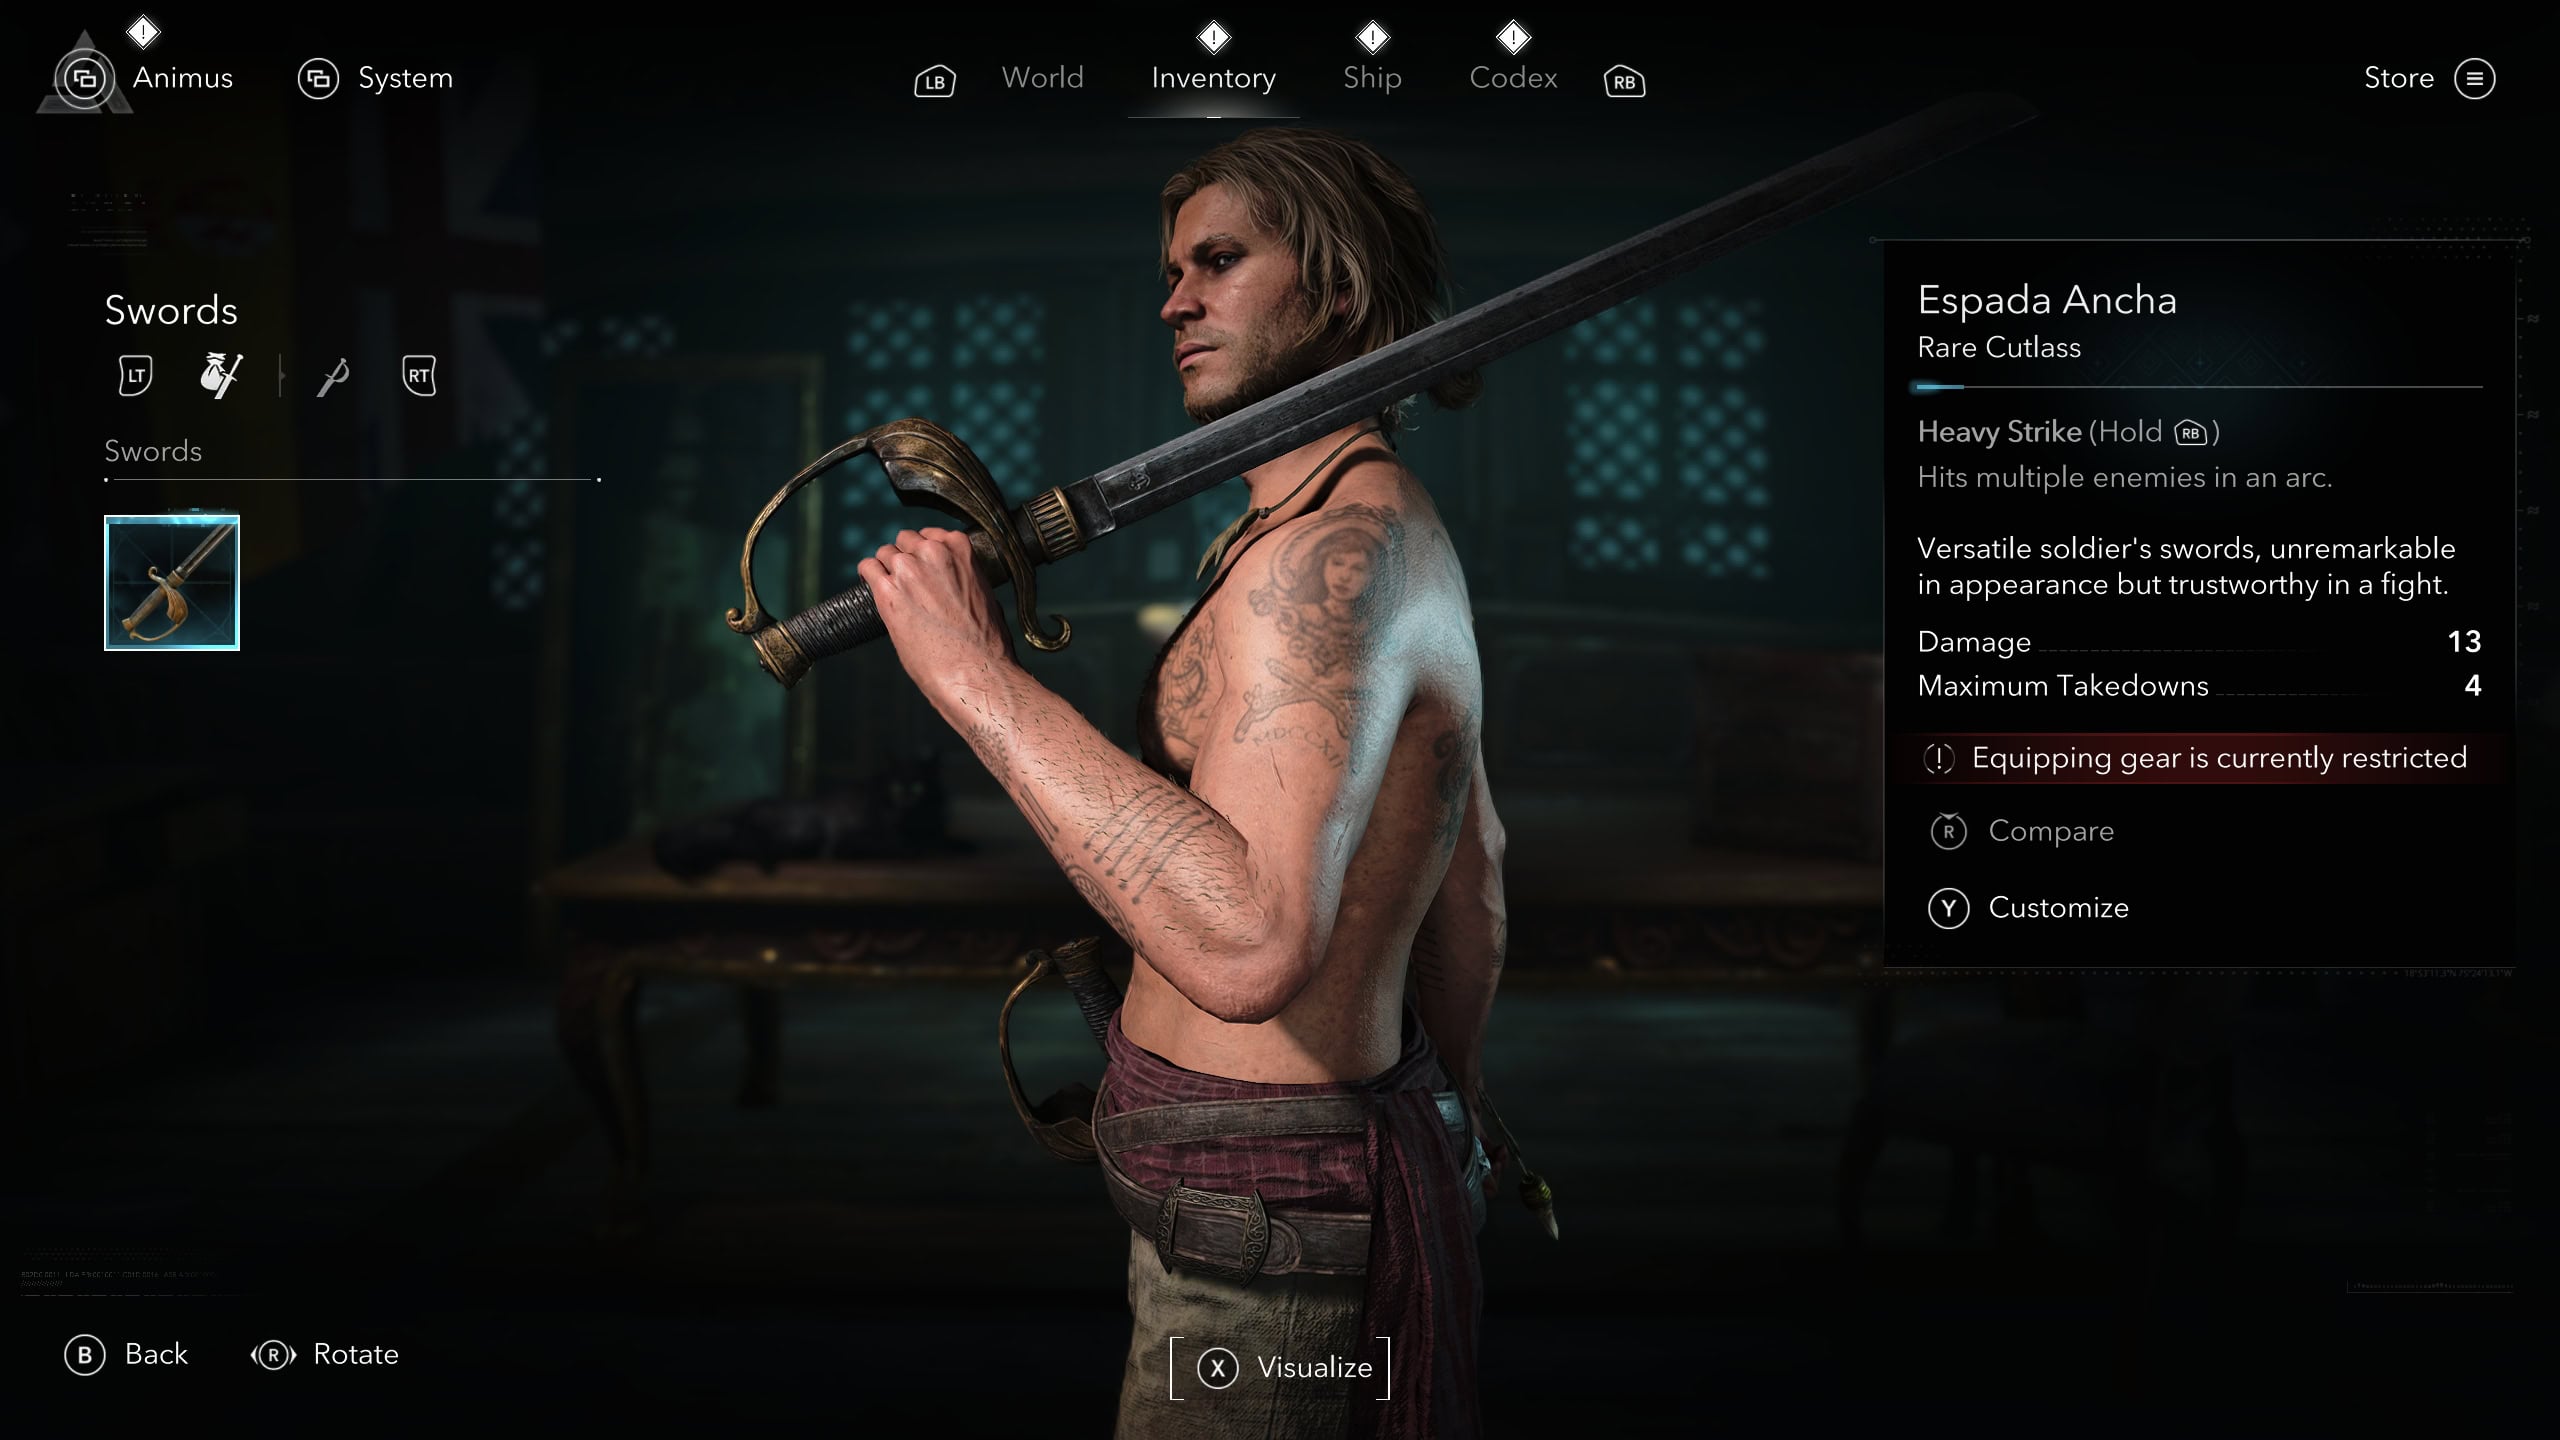
The secret chest at the south of the map will contain the Espada Ancha Cutlass. This rare cutlass doesn’t deal a lot of damage, but it makes up for it by being able to complete 4 takedowns in a row while performing an arc attack heavy strike. If you want something better, use Keys to purchase Altaïr’s Swords from the Animus Exchange.
The Blue Hole
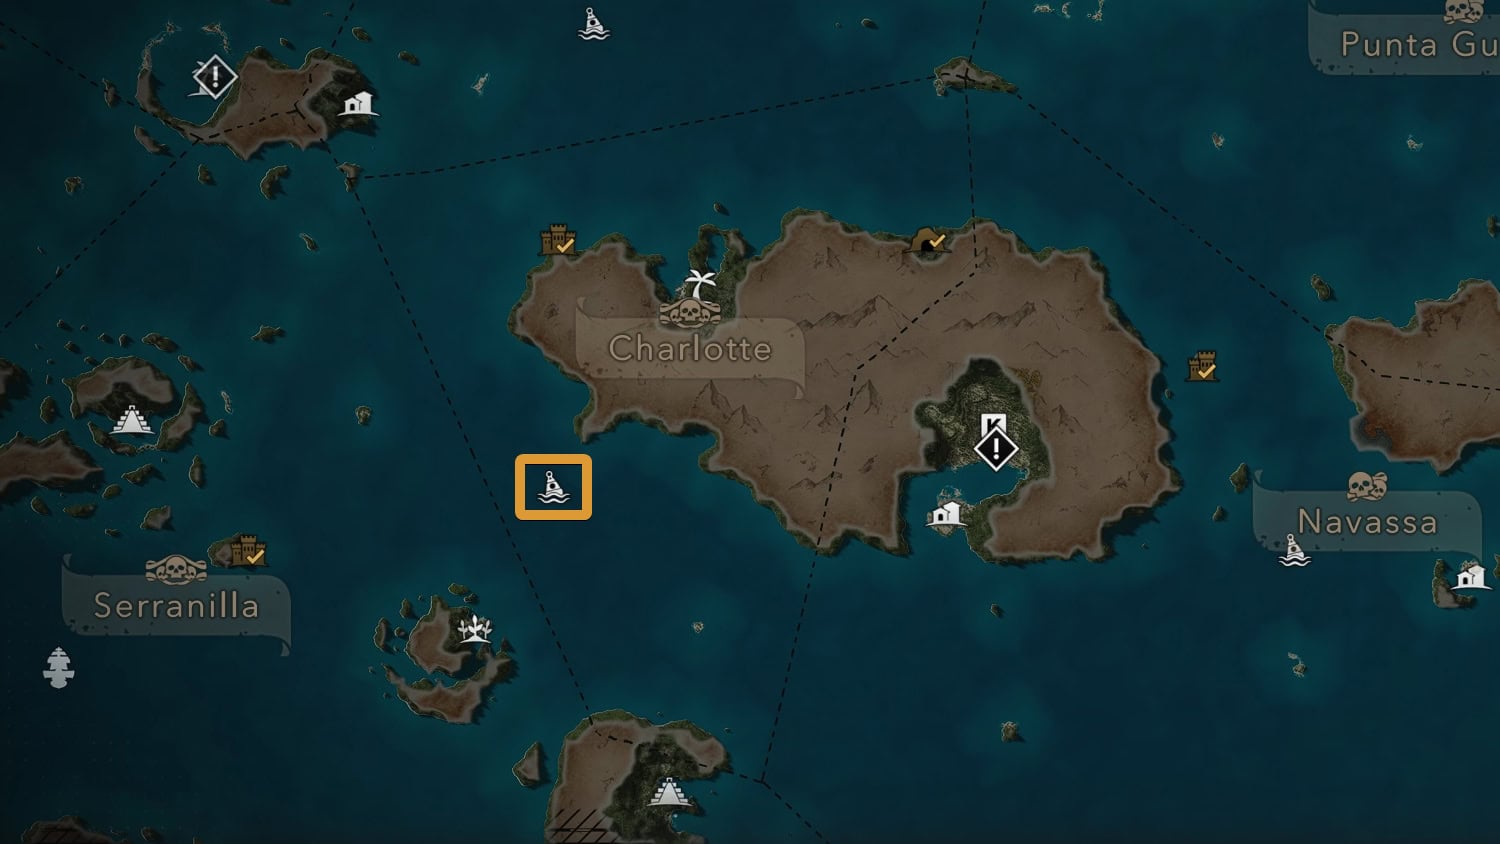
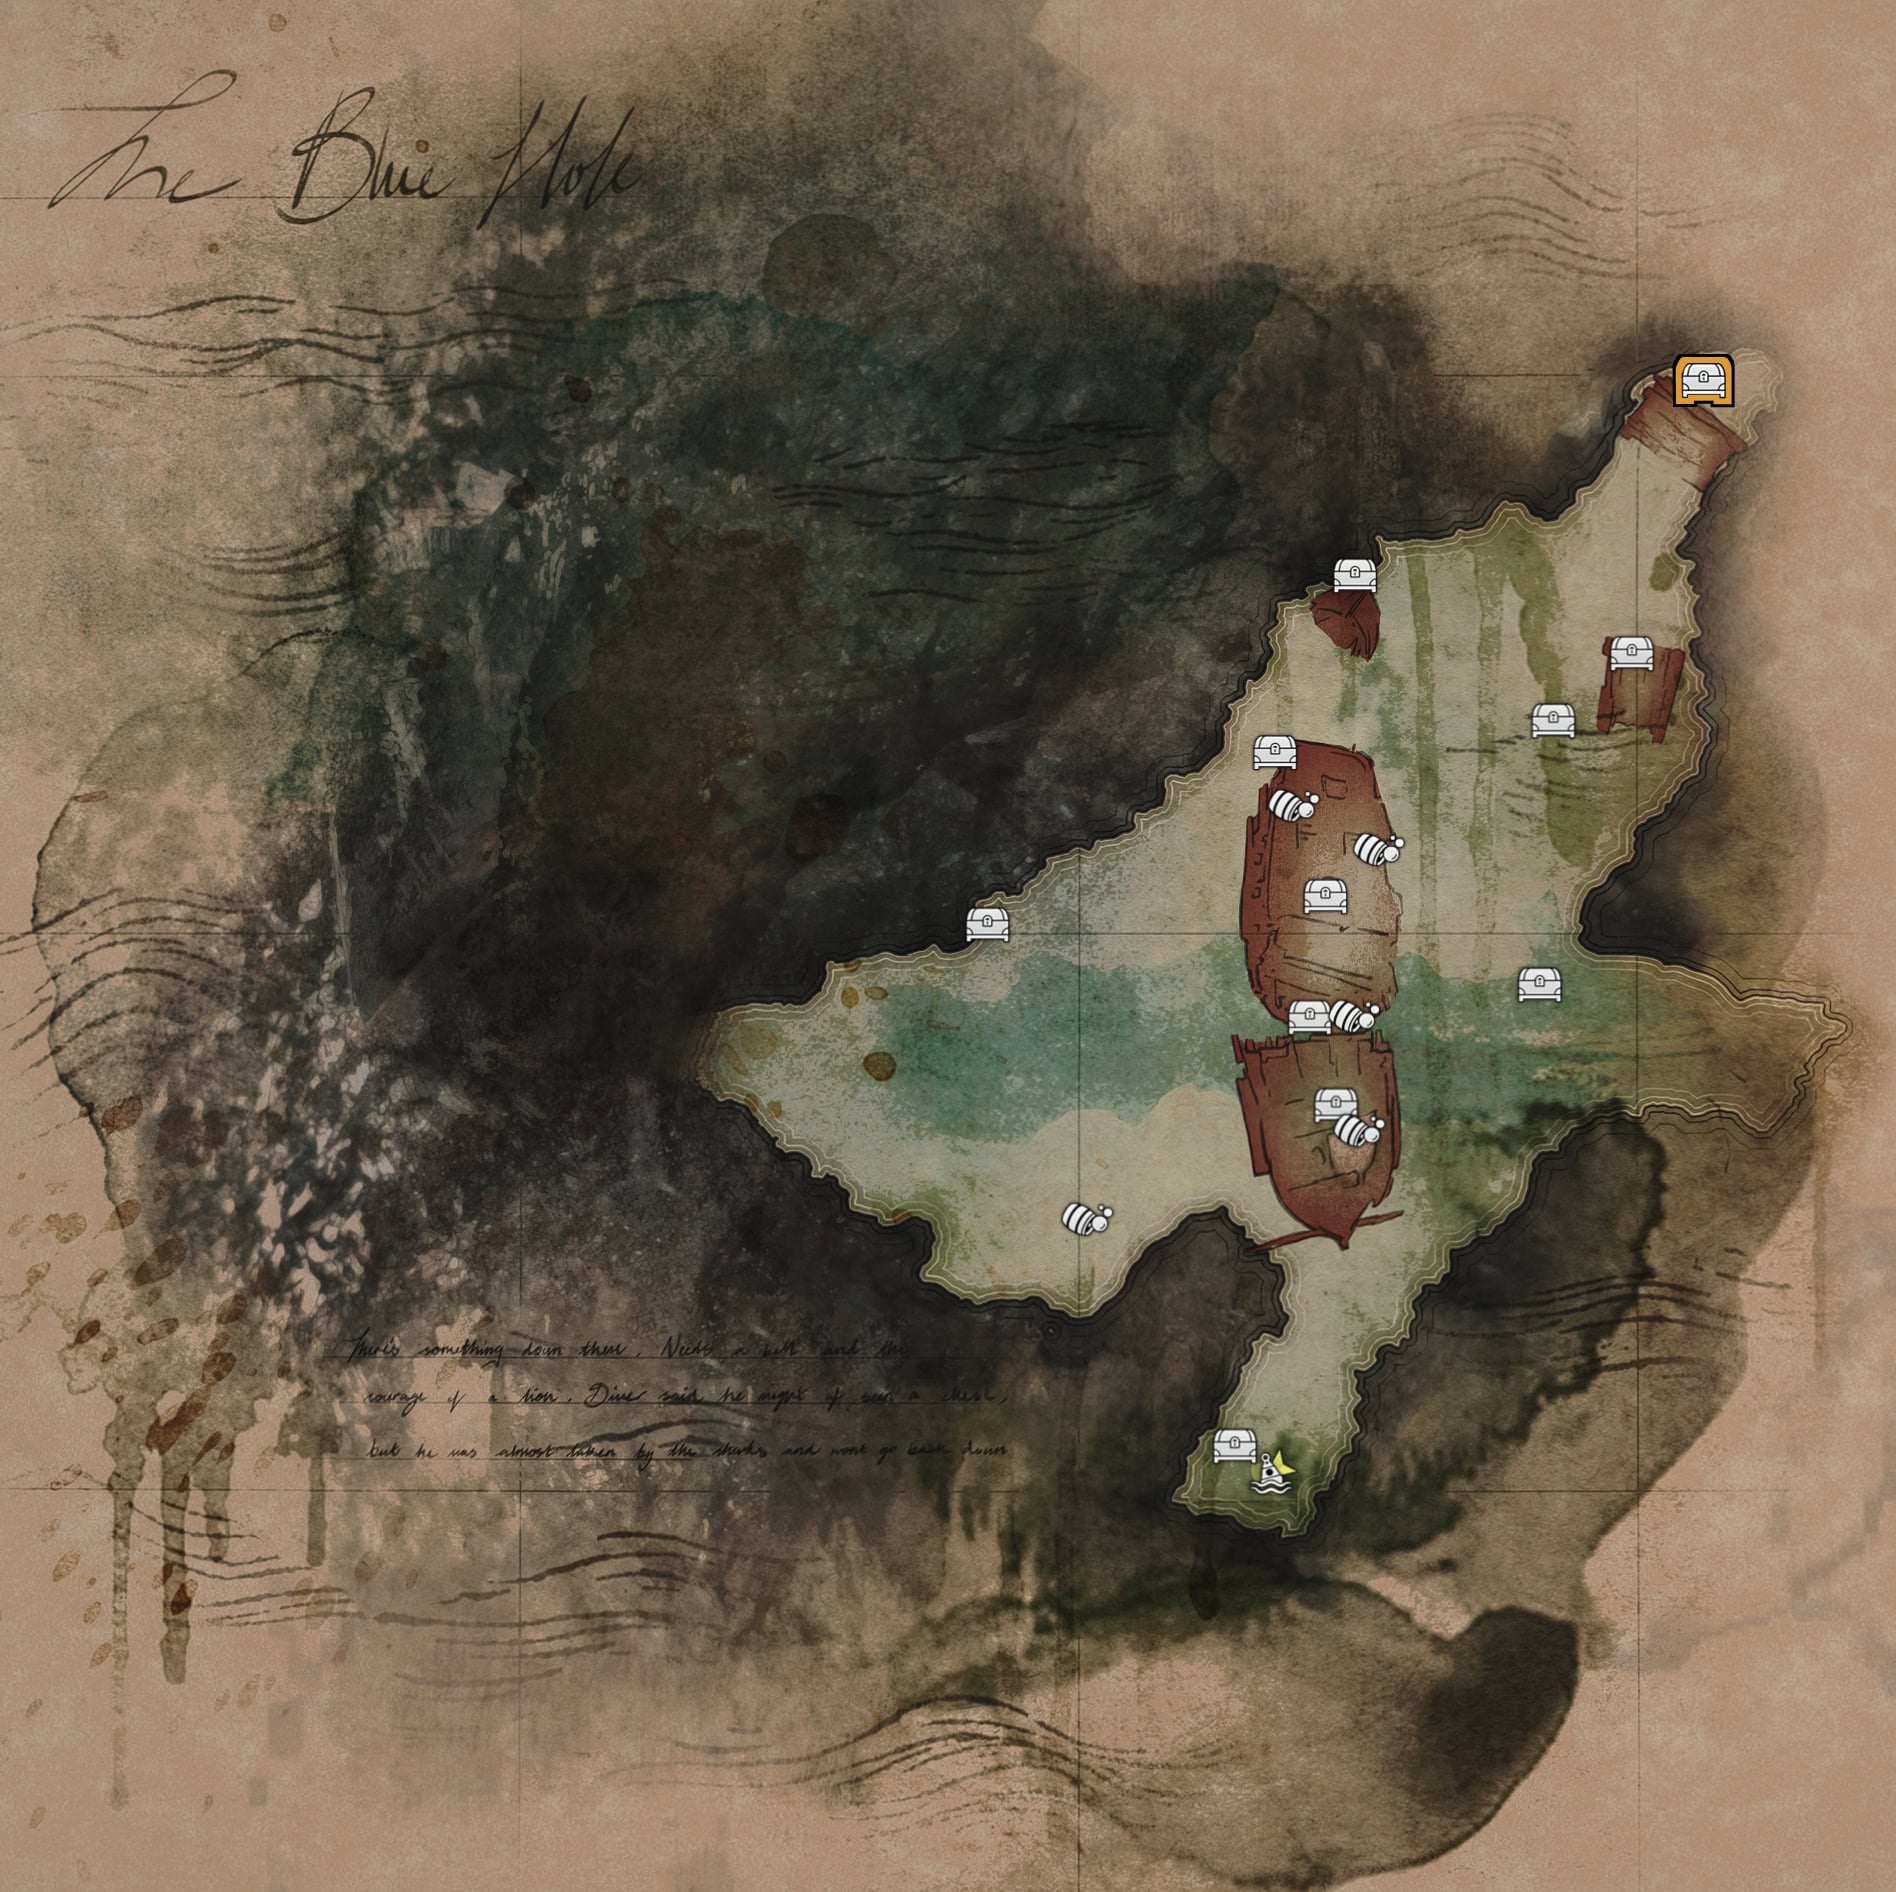
The Blue Hole is located in southwest Charlotte. Living up to its name, this is the bluest diving area you can explore. The secret chest in the northeast corner of the map holds the Broadside Cannons Number Ultimate Plan.
Tips for Shipwreck Zones
These underwater sections may be anxiety inducing for some. When you’re powerless to fight the sharks or lack of air, it doesn’t hurt to adjust the odds in your favor if you need it.
Useful Trinkets
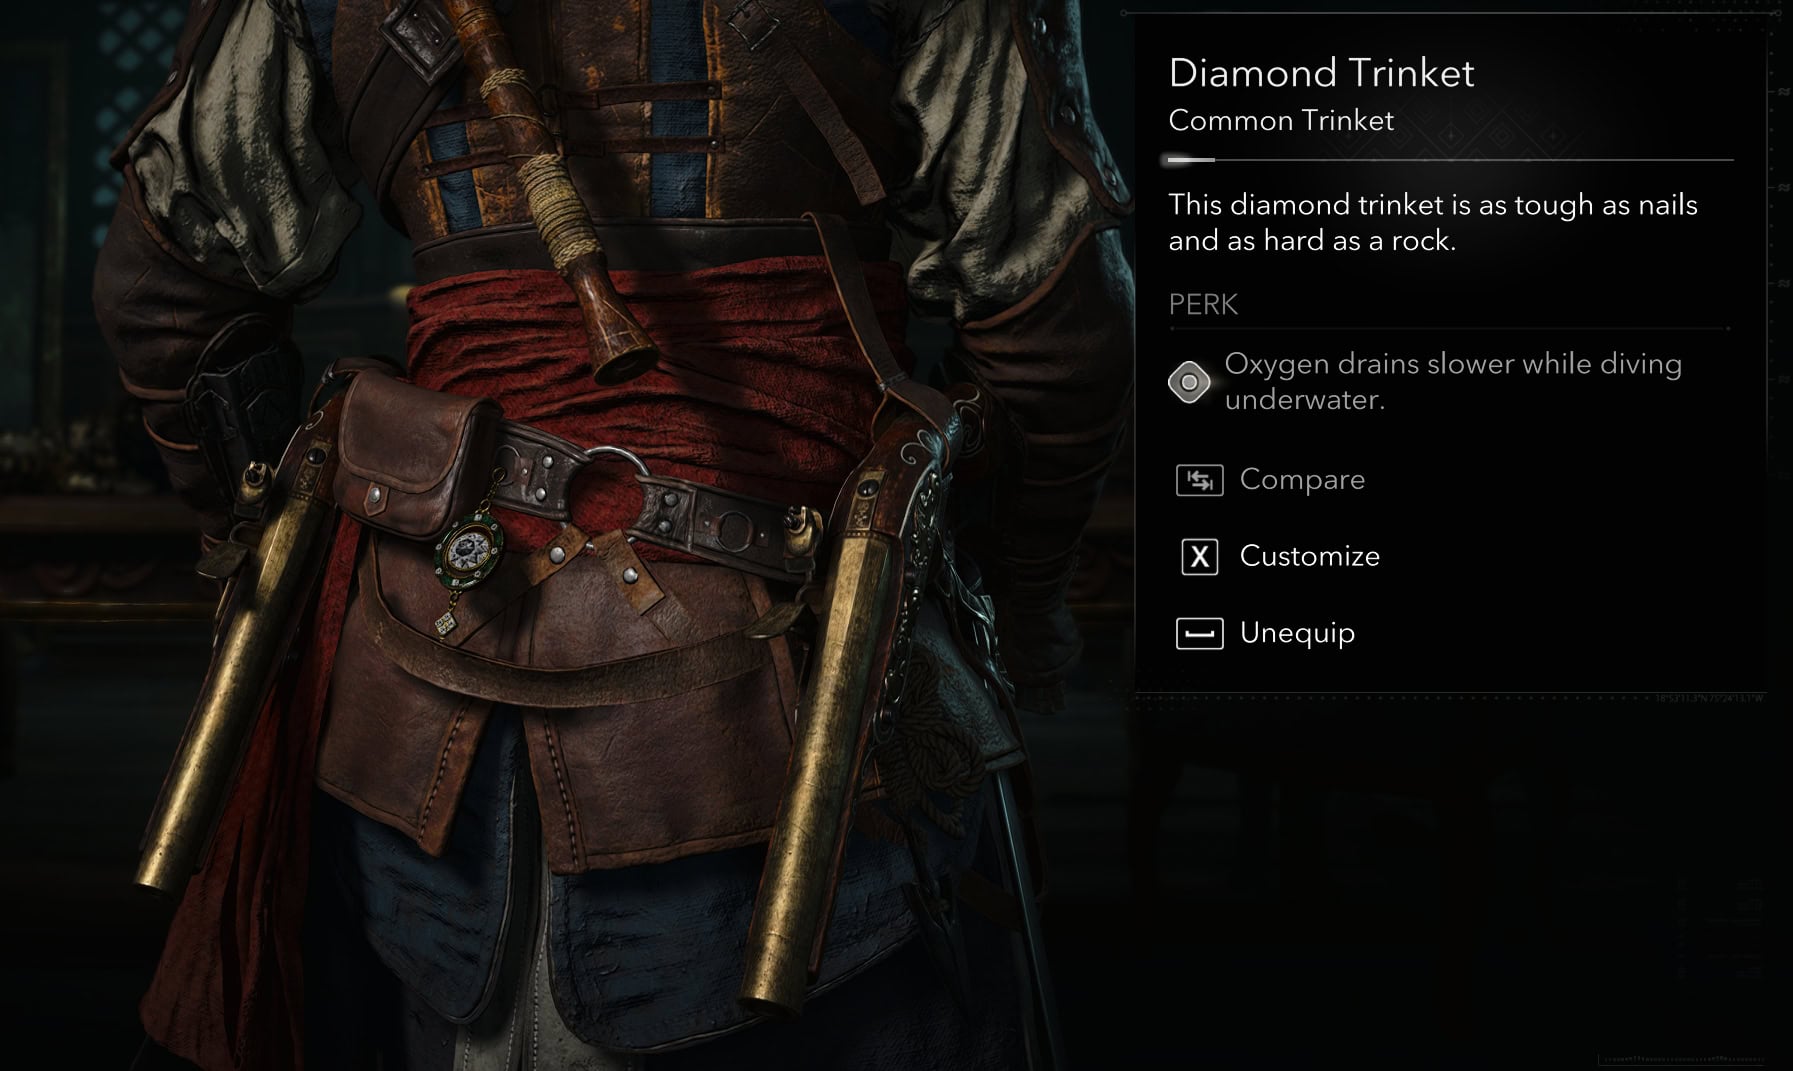
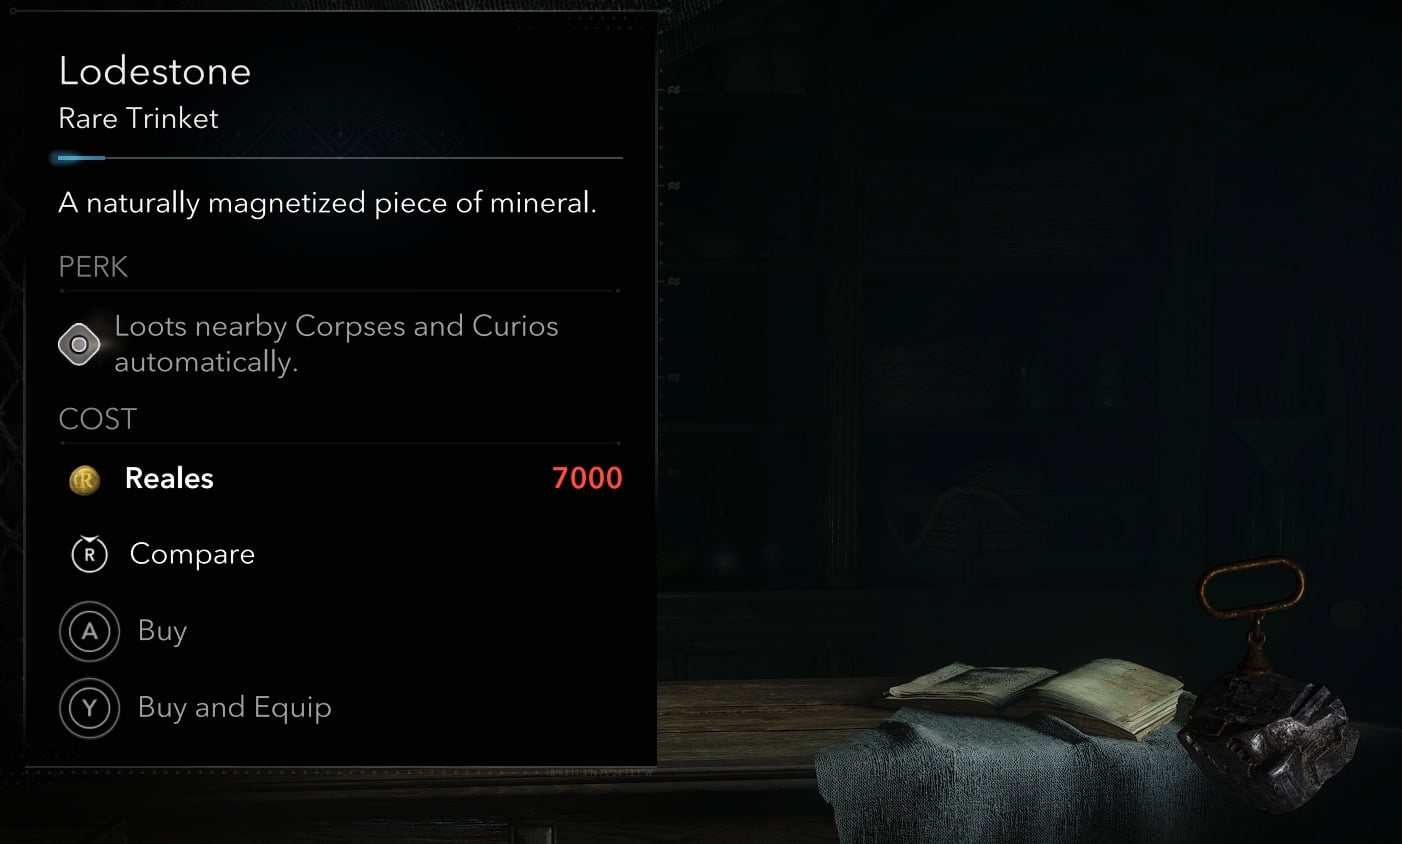
A couple of useful trinkets you can use while exploring underwater are the Diamond Trinket and Lodestone Trinket. The Diamond Trinket allows for a slower oxygen drain, while the Lodestone Trinket lets you automatically loot nearby curios.
The Diamond Trinket can be found at the very start of the game where you’re chasing the assassin, Duncan Walpole. If by some chance you missed it, it’s at Cape Bonavista under a small waterfall (151, 585).
The Lodestone Trinket can be purchased from a General Store Vendor after upgrading the Great Inagua General Store to Tier II. This trinket costs 7,000 reales and is a very useful trinket all around as it’ll automatically loot curios. Some lockboxes you’ll still need to loot manually.
Adjust Activity Difficulty
If the underwater sections are too hard (or not hard enough), you can adjust the difficulty of these areas in the Options Menu. Within the Options Menu, select Gameplay then Difficulty Tuning. By default, you have 1 minute 45 seconds of oxygen. Adjusting the Activities Difficulty will add 15 seconds on Forgiving, or subtract 15 seconds on Hard.
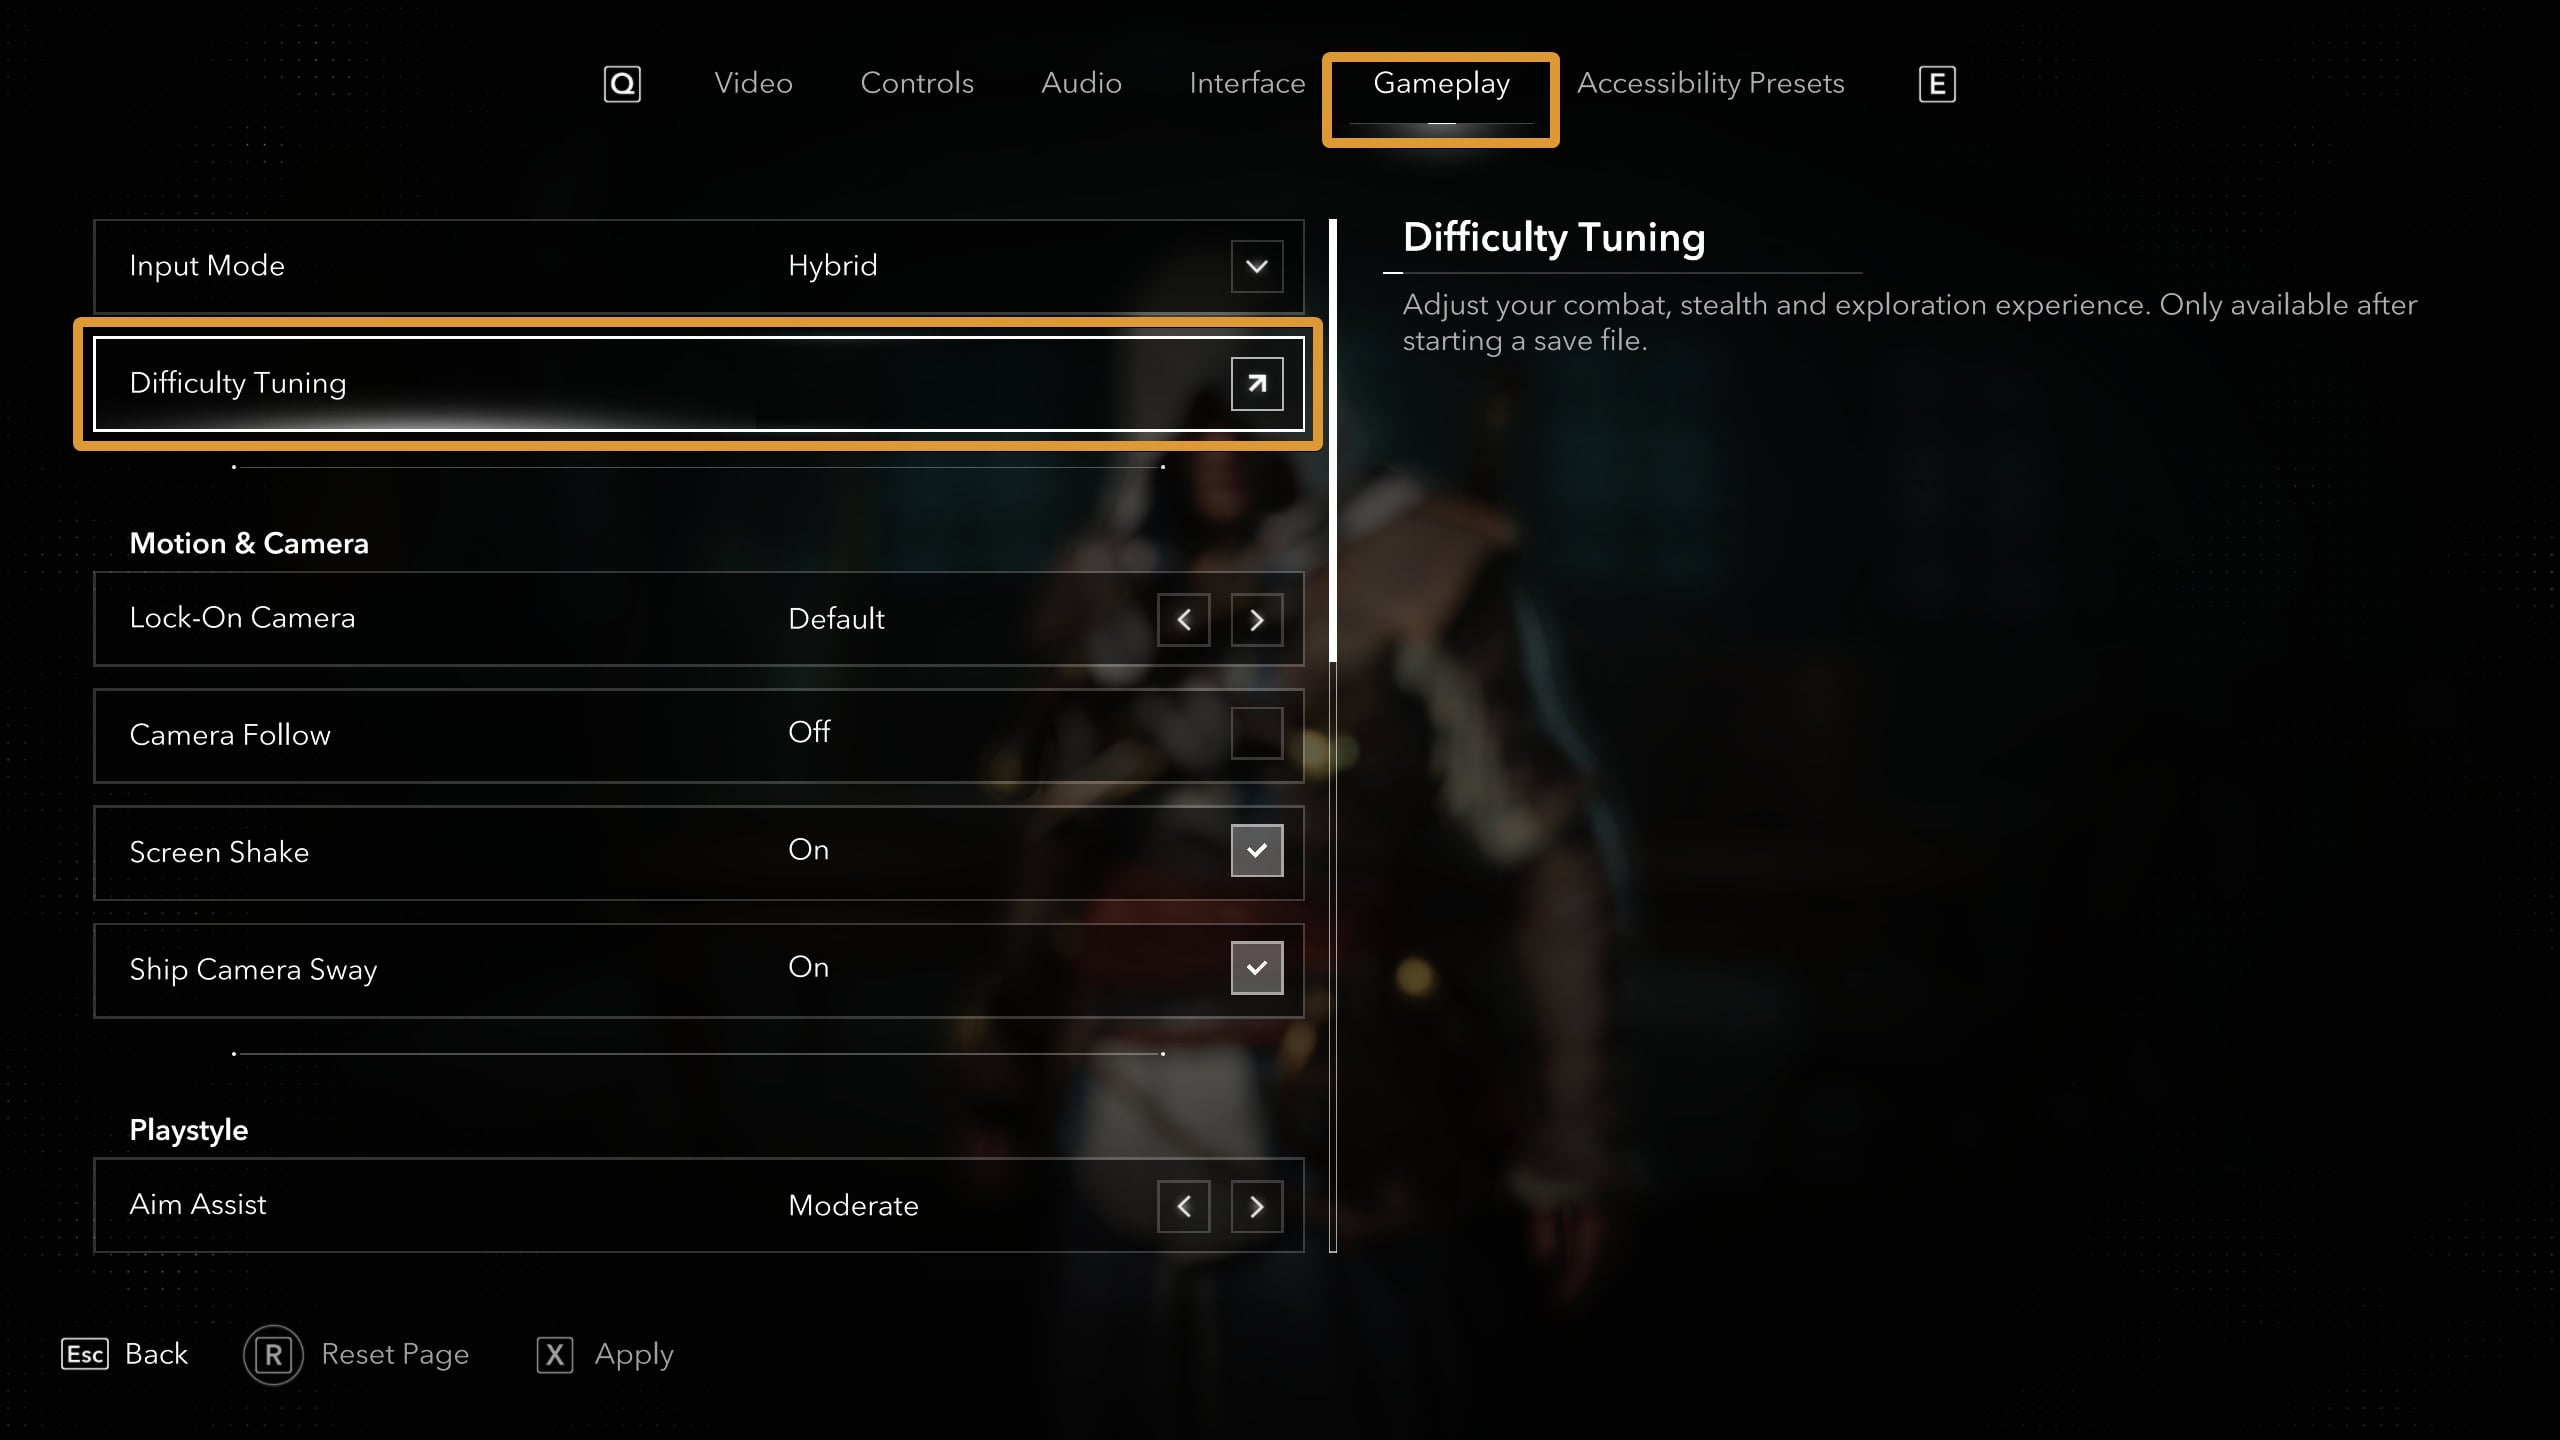
Shark attacks can become more or less dangerous depending on your preferred setting. If you’re looking for an easier time, return to the Gameplay Menu. Scroll down to Playstyle and turn on Skip Quick Time Events. This will let you automatically succeed with dodging sharks.
Unlimited Oxygen
If you would like to have Unlimited Oxygen, go to Options > Gameplay > Playstyle. At the very bottom of the Playstyle Category is a box you can toggle Unlimited Oxygen. It does what it says on the tin, it prevents you from drowning.
Hide in Air Barrels and Seaweed
While you can’t punch or stab the sharks while diving, the next best thing you can do is hide from them if you don’t want to dodge them. Hide in seaweed as you would with bushes on the land. Alternatively, hide in Air Barrels or the Diving Bell for cover.
Related Achievements
Obtaining the Diving Bell and exploring shipwrecks will unlock for you a few achievements in Black Flag Resynced:
- Cartographer – for this one, you have to visit every location in the game, including all shipwrecks.
- Davy Jone’s Locker – unlocked in the Black Trench.
- Seven Deadly Seas – visit all Shipwreck Locations and open all of their treasure chests, exactly what this guide teaches and shows you.
- Ship This – a lot of the Ultimate Plans you need for this achievement, are in treasure chest at the shipwrecks.