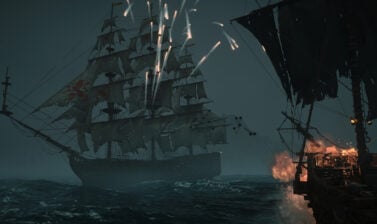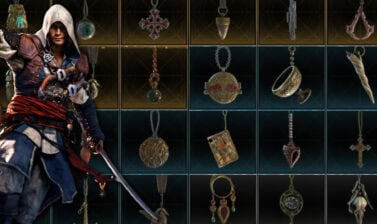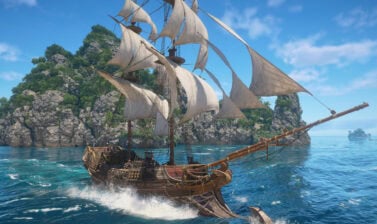
Harpooning is an essential side activity in Assassin’s Creed Black Flag Resynced as it allows you to fully upgrade your gear. Here’s everything you need to know to start facing the sea’s most dangerous animals.
Use the Table of Contents, located in the left panel (top left button on the mobile menu) to navigate through this long guide more easily and quickly.
How Harpooning works in Black Flag Resynced
Scattered around the game map there are 5 different sea creatures you can hunt: Bull Sharks, Hammerhead Sharks, Killer Whales, Humpback Whales, and Great White Sharks. Each of these can be found in one of 18 Harpooning Spots
This is an important activity as many of the materials earned from Harpooning are used for Crafting Upgrades. This includes some core upgrades such as upgrading your Pistol Holster and Maximum Health.
How to start the Minigame
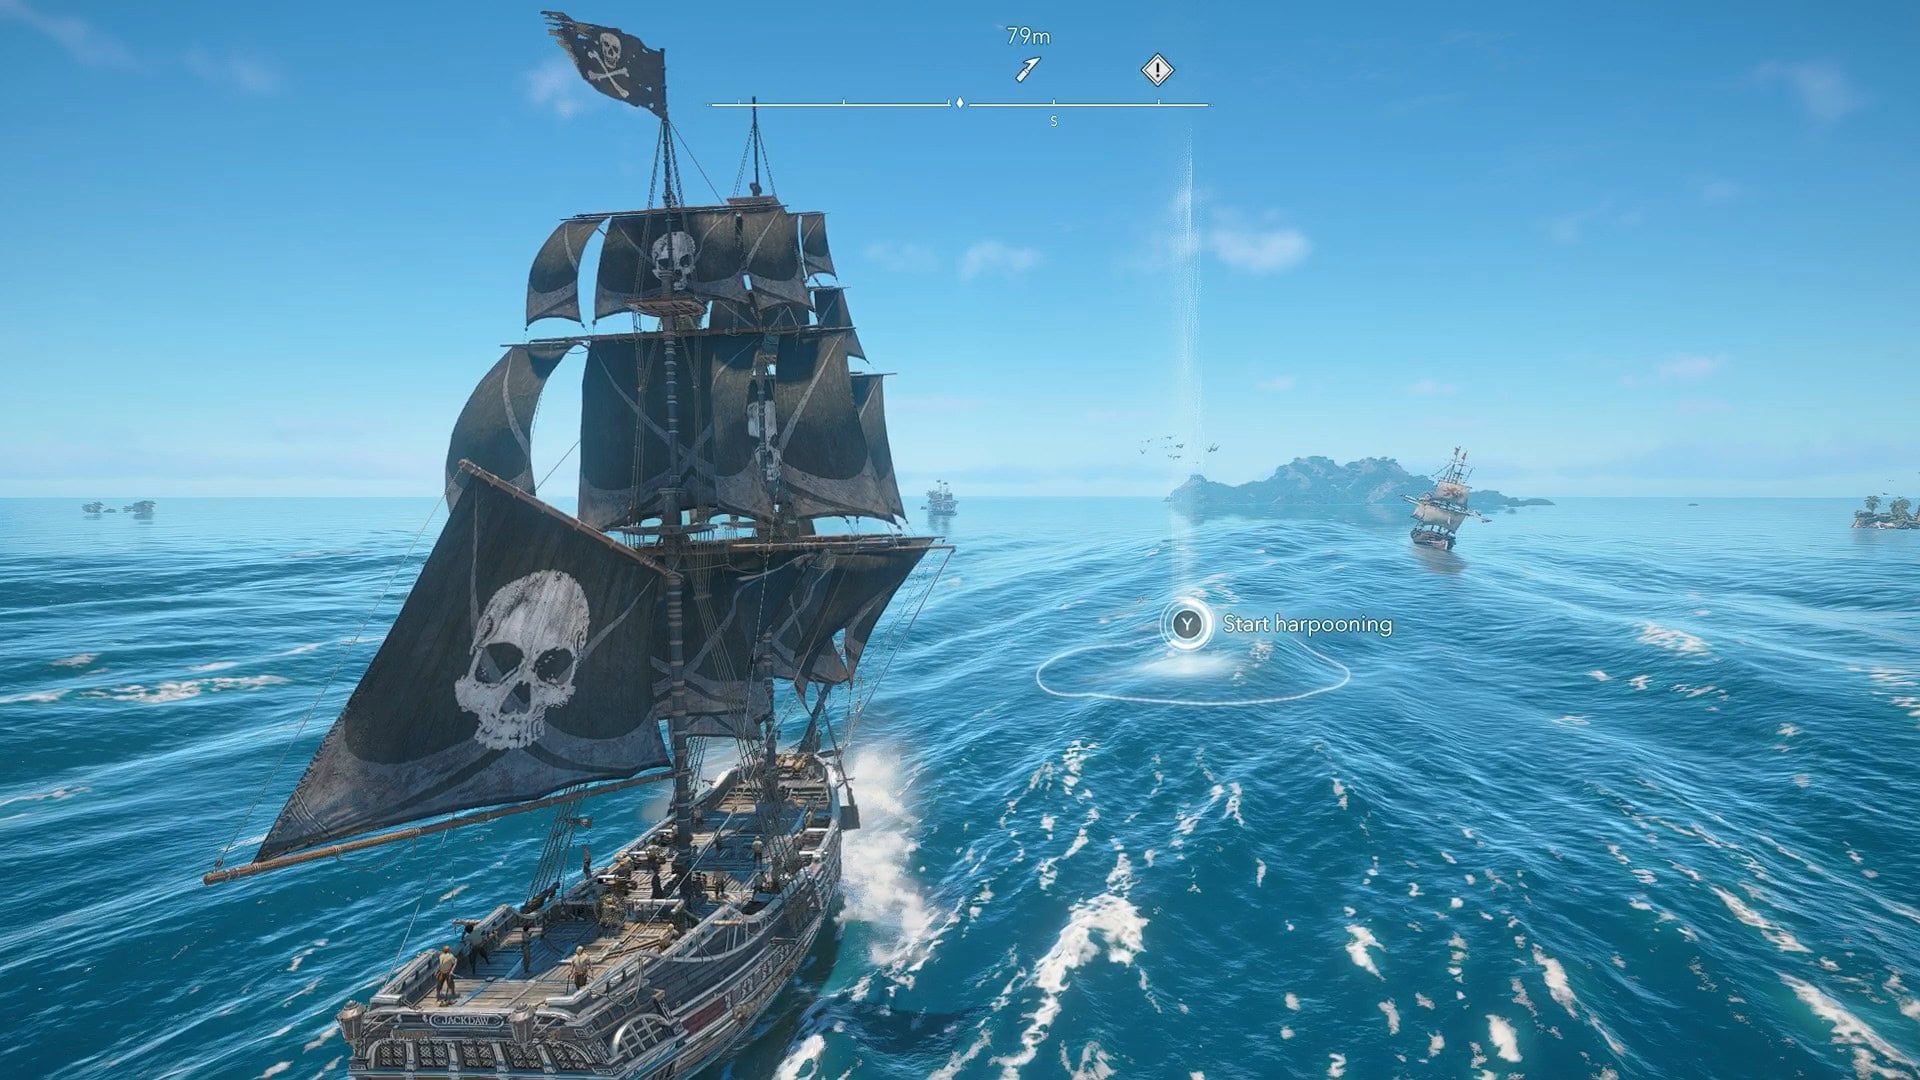
To start the harpooning minigame, you have to approach and interact with a Harpooning Spot on the open sea. These will remain on your map until you’ve interacted with them. As you approach one, the prompt “Start Harpooning” will appear on your screen.
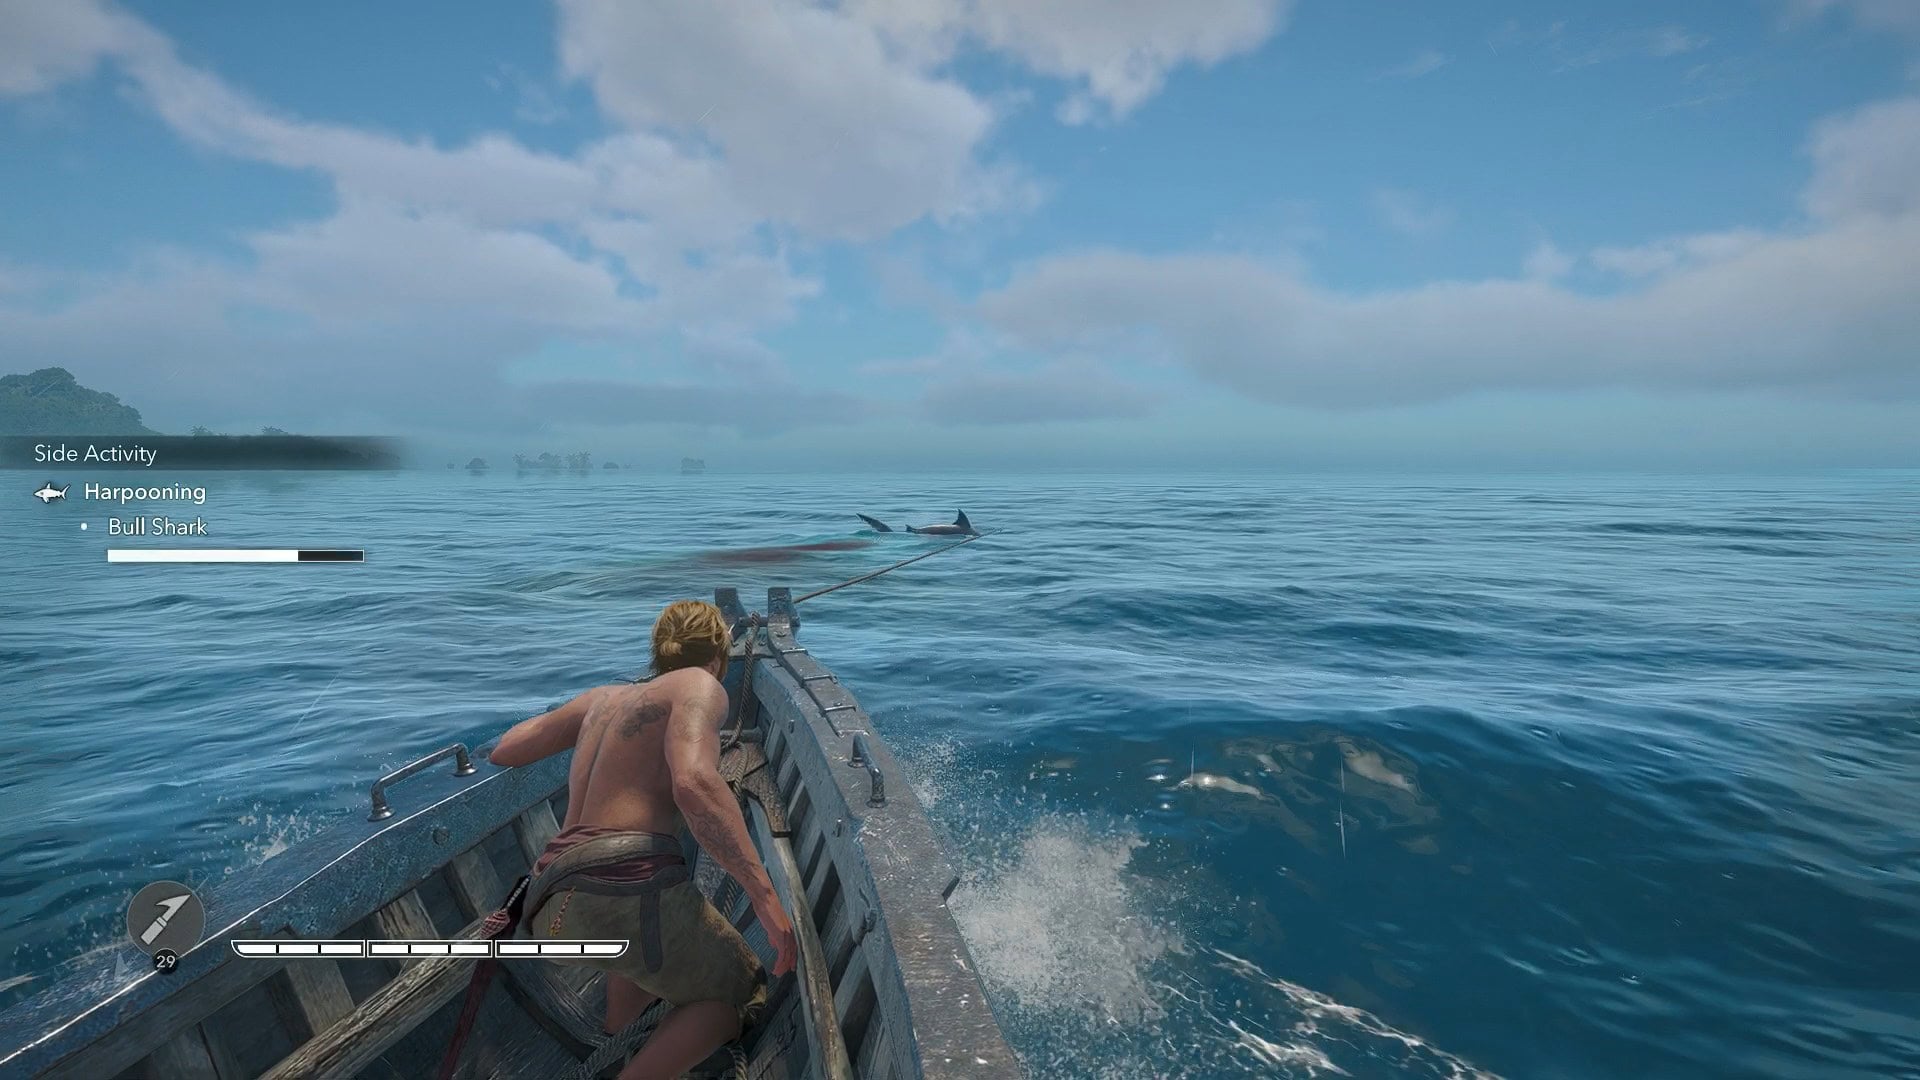
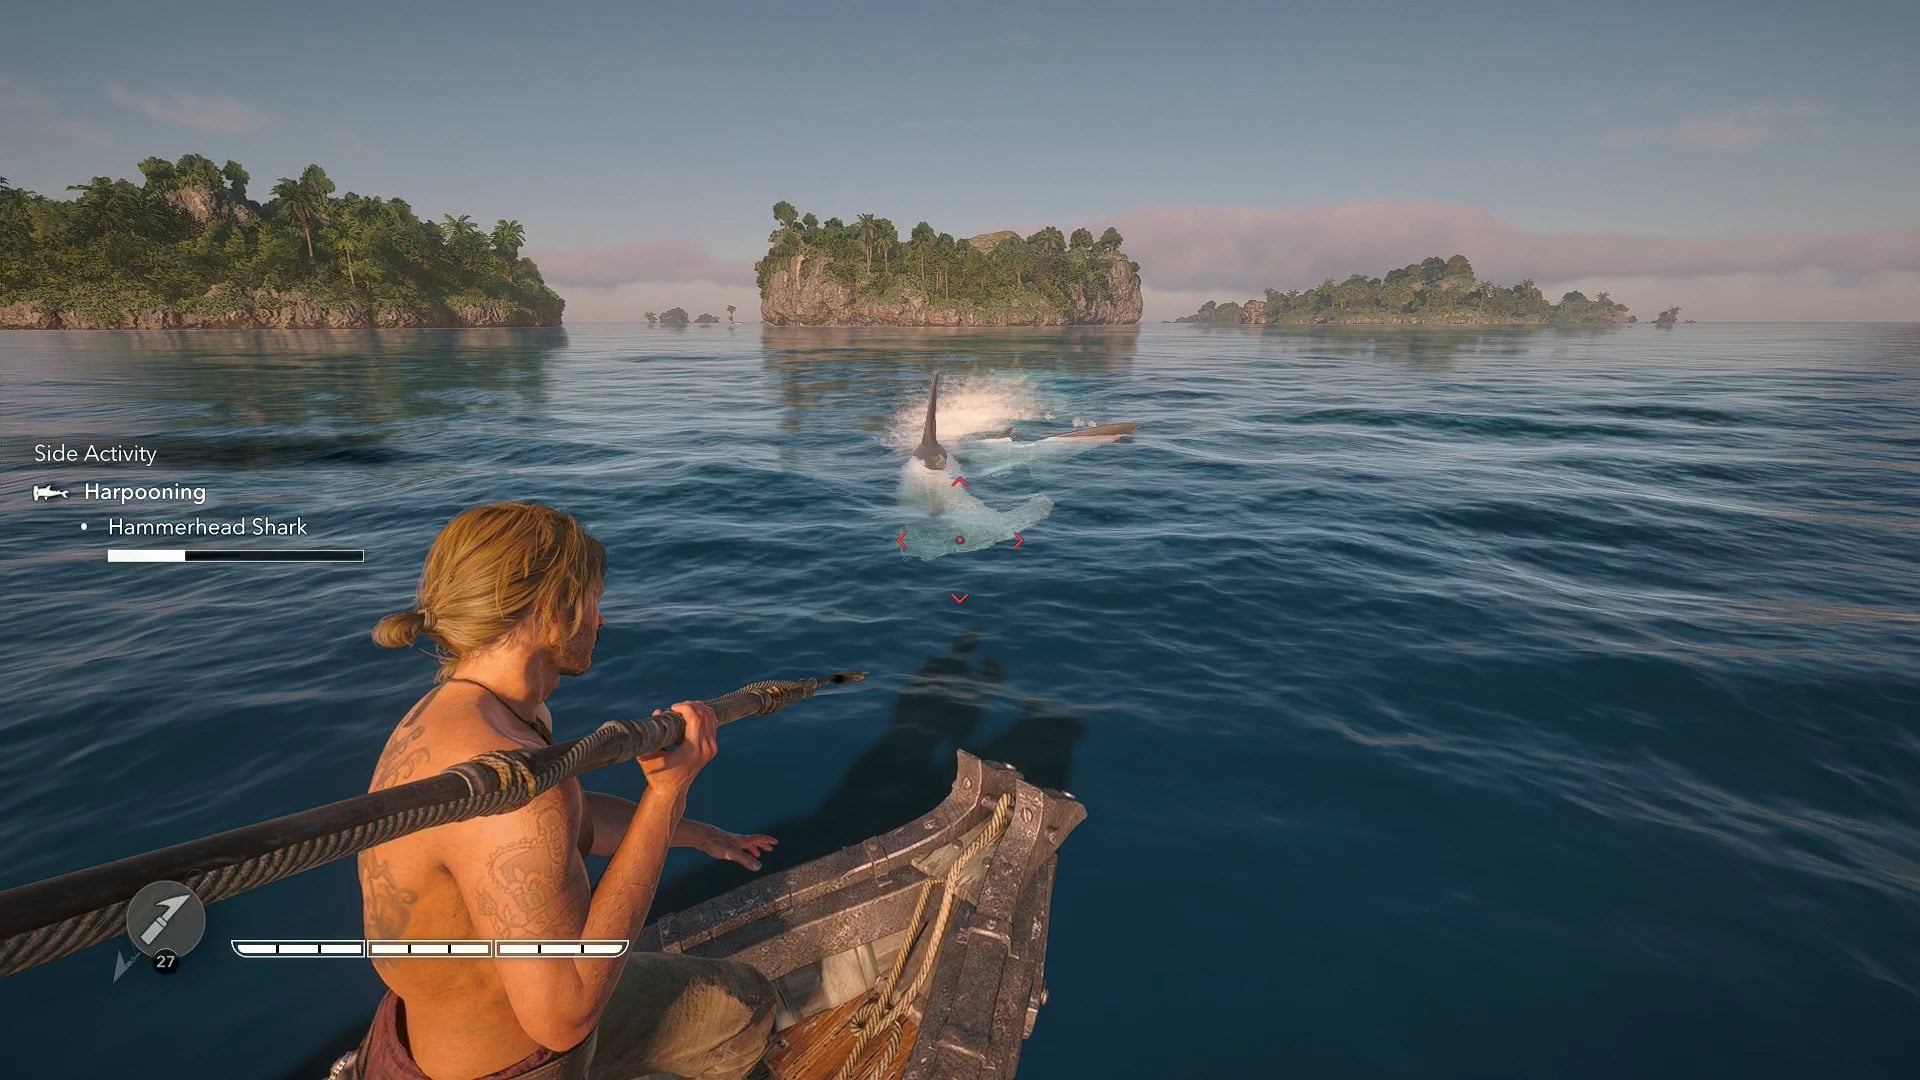
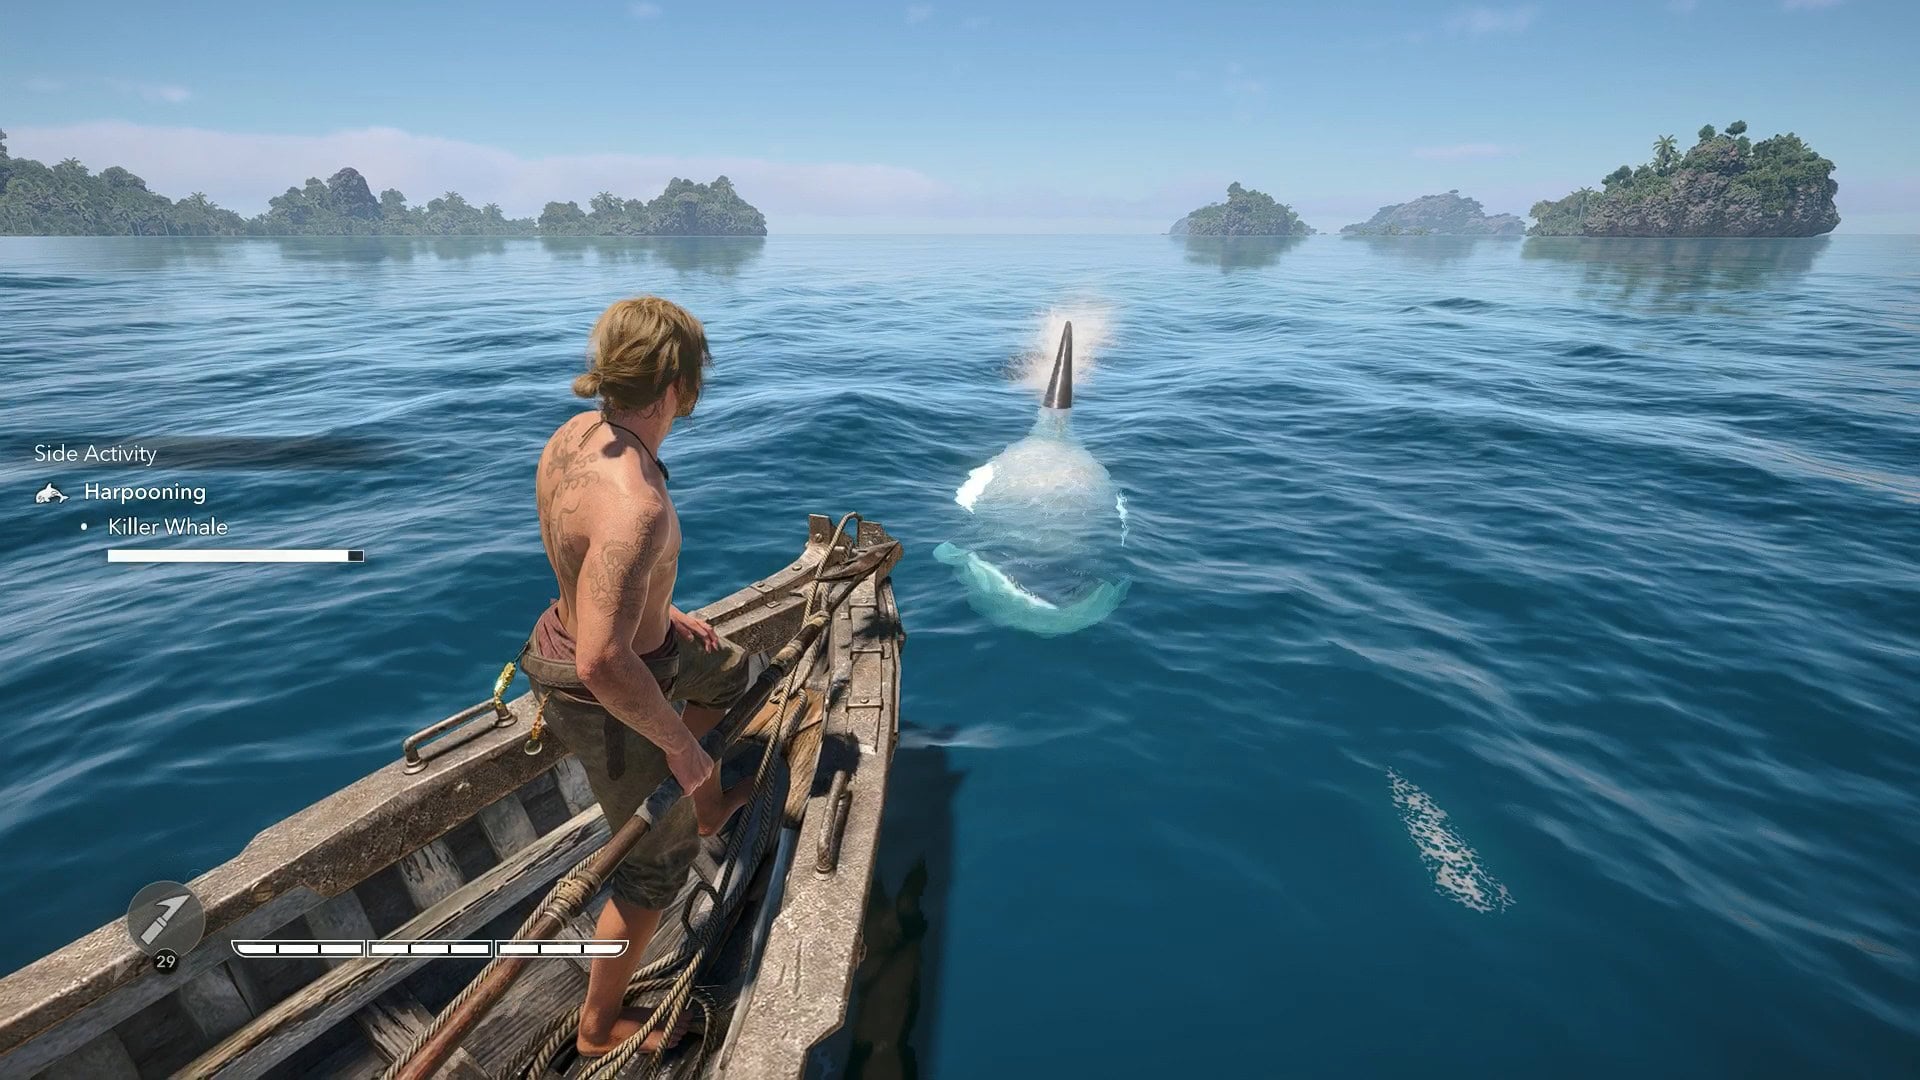
After a short cutscene, you’ll be placed on a small boat and you’ll see your quarry swimming in front. The objective of the game will be to inflict damage to the animal you’re fishing, while also trying to prevent receiving damage yourself.
Gameplay Loops and Rules
The gameplay loop consists of two segments: Being dragged and being attacked. To start getting dragged, or to prevent taking damage from being attacked, you’ll interact by throwing harpoons at your quarry.
If the animal is swimming around freely, hitting it with a harpoon will tether a rope to them and it will start pulling your boat. As it swims and pulls the boat, continue throwing harpoons at it.
Once the rope breaks the animal will dive and swim back up to attack you. If you hit them with a harpoon during this animation, the attack will be interrupted. If you’re playing on hard difficulty, you must perform a Perfect Shot to interrupt their attacks.
To win the minigame and claim your rewards, you’ll have to deplete the sea animal’s health bar. If your boat’s health bar runs out or you run out of harpoons, the animal will escape.
Harpooning Specific Controls
You cannot move during this minigame as Edward will be standing at the front of the boat. You’ll use one button to prepare a harpoon, another to shoot, and you’ll move the camera to aim.
If you’re playing with a controller, holding the left trigger will prepare the harpoon and pressing the right trigger will shoot it.
If you’re playing with Mouse and Keyboard, you’ll use the left click on your mouse to prepare the harpoon and the right click to shoot.
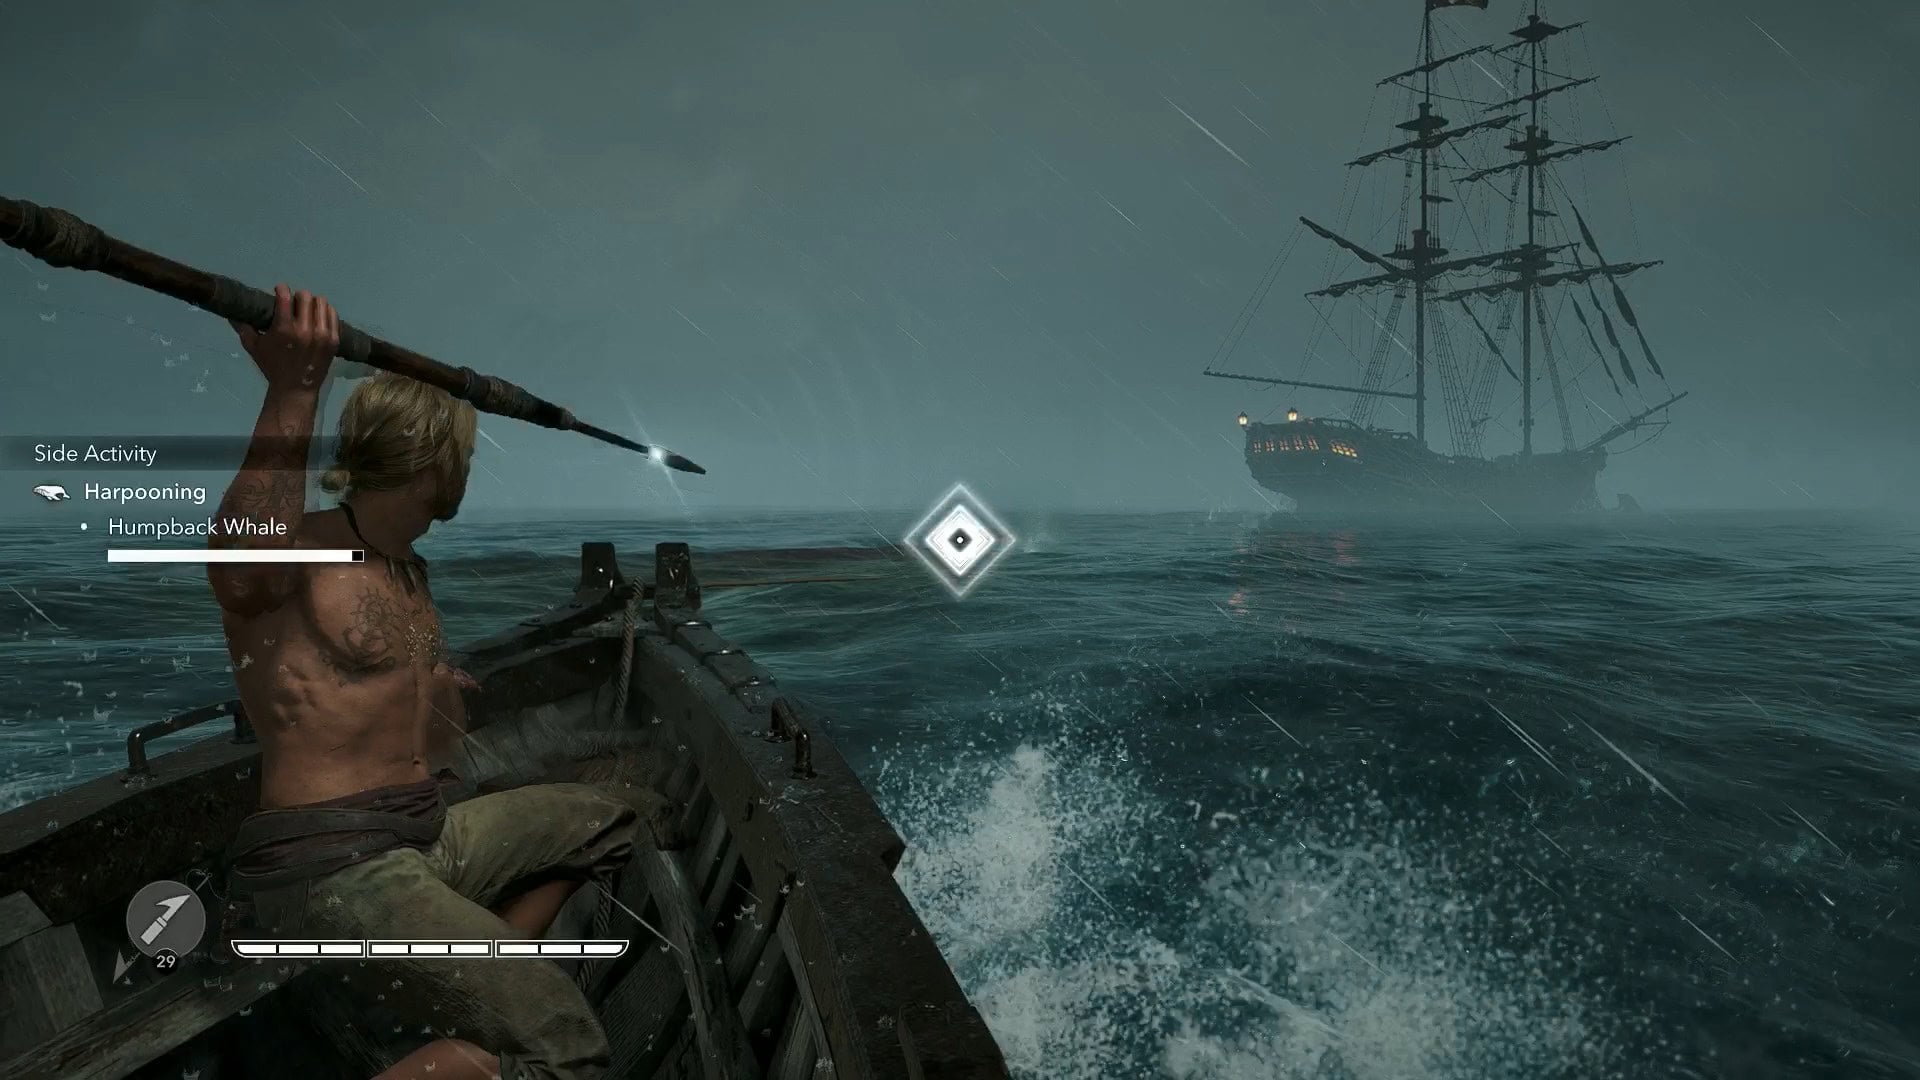
While aiming at your quarry, hold down the shoot button you’ll see two red diamonds approaching each other at the center as Edward charges the shot.
If you release the button the moment the two diamonds meet, you’ll see a white flash signaling that you performed a “Perfect Shot” which deals considerably more damage.
How to prepare for the tougher challenges
As you will see in the next segment of this guide, some of the creatures are a lot tougher than others and you will need proper preparation and ship upgrades to tackle them.
Upgrade your Fishing Boat
Once you reach the southern half of the map, you’ll find much tougher animals to fish. To save yourself a lot of trouble and avoid getting hit by a one-shot, we recommend you upgrade your fishing boat through the Harbourmaster’s Jackdaw upgrades.
Through these upgrades, you can increase your boat’s defense, the number of harpoons you can carry, and the damage they deal.
Tips and Tricks
- Restore the Fisherman’s Wharf in Great Inagua as it doubles the amount of skins of Ocean Wildlife killed from Harpooning.
- Find and equip the Exotic Sea Shells trinket, this doubles the amount of Wildlife Materials you can get.
- Aim a bit in front of your quarry, the auto-aim feature will make almost any shot land.
- Always try to land Perfect Shots. You’ll lose a lot of potential damage by doing quick shots.
- The minigame’s difficulty can be changed through the options menu and it doesn’t affect the reward from Harpooning. This can be adjusting under Option > Gameplay > Difficulty Tuning.
- Avoid harpooning at night. While it’s perfectly doable, some animals are a bit hard to spot in the dark when they’re trying to attack you.
How to Catch Bull Sharks
Bull Sharks are one of the easiest out of the 5 animals you can harpoon, you should have no trouble facing them with the basic upgrades for the boat. They have a very basic and predictable moveset.
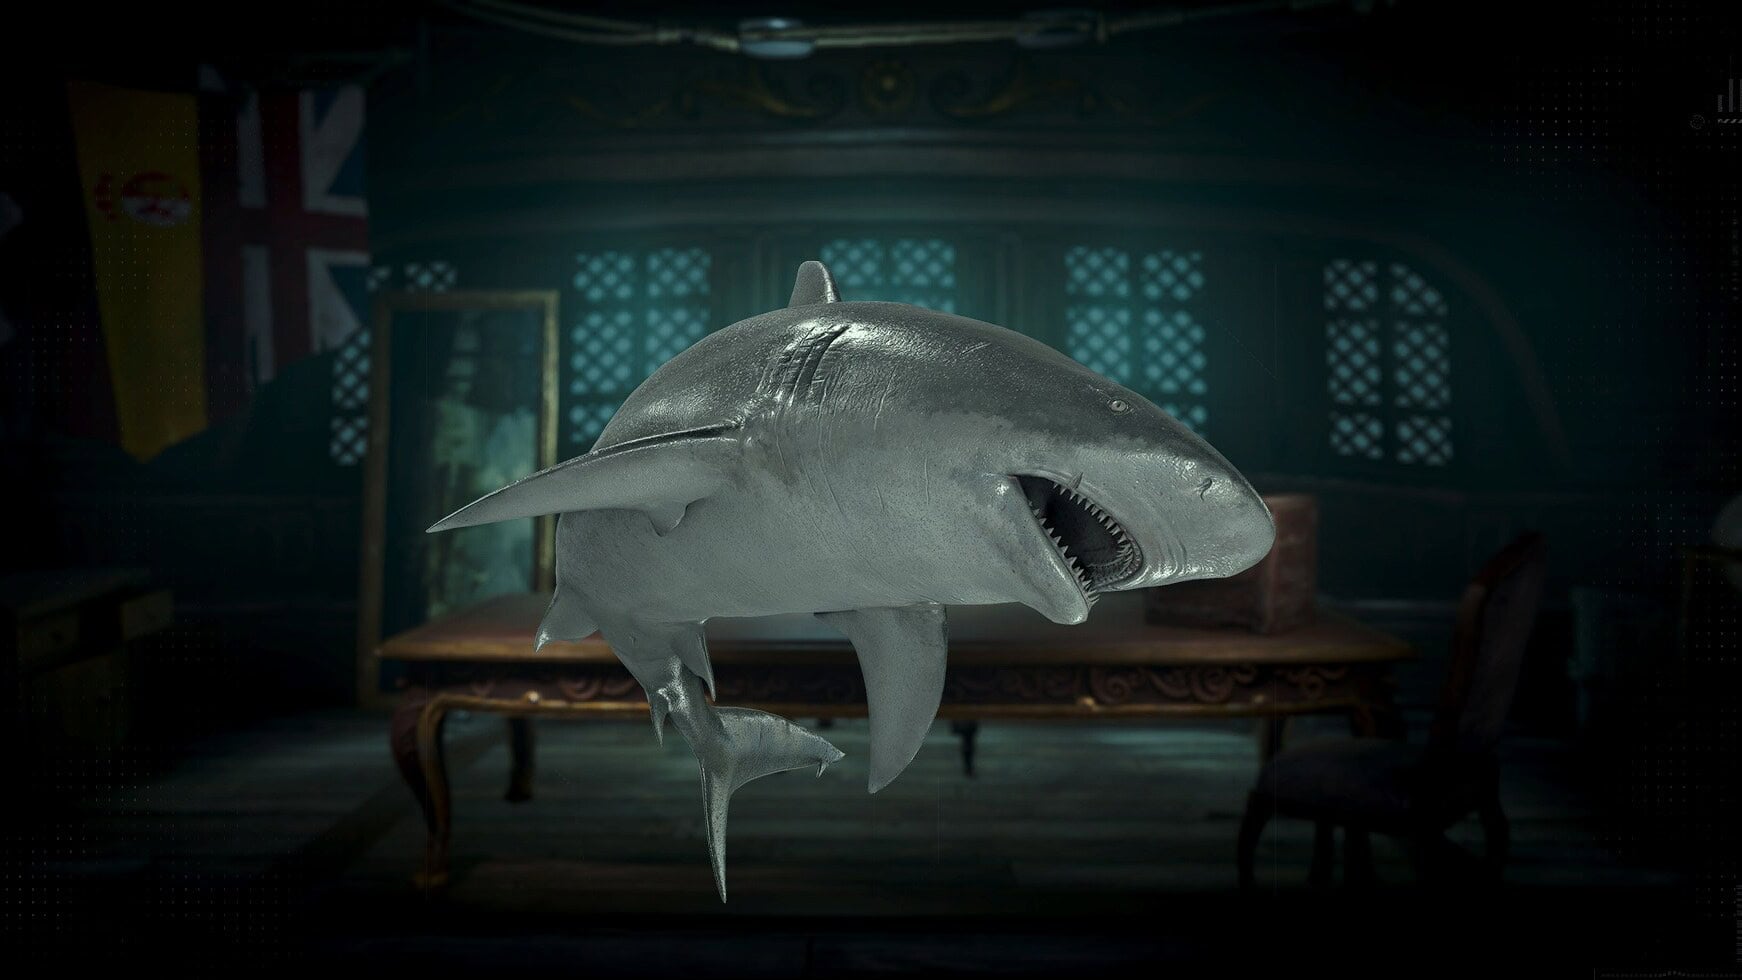
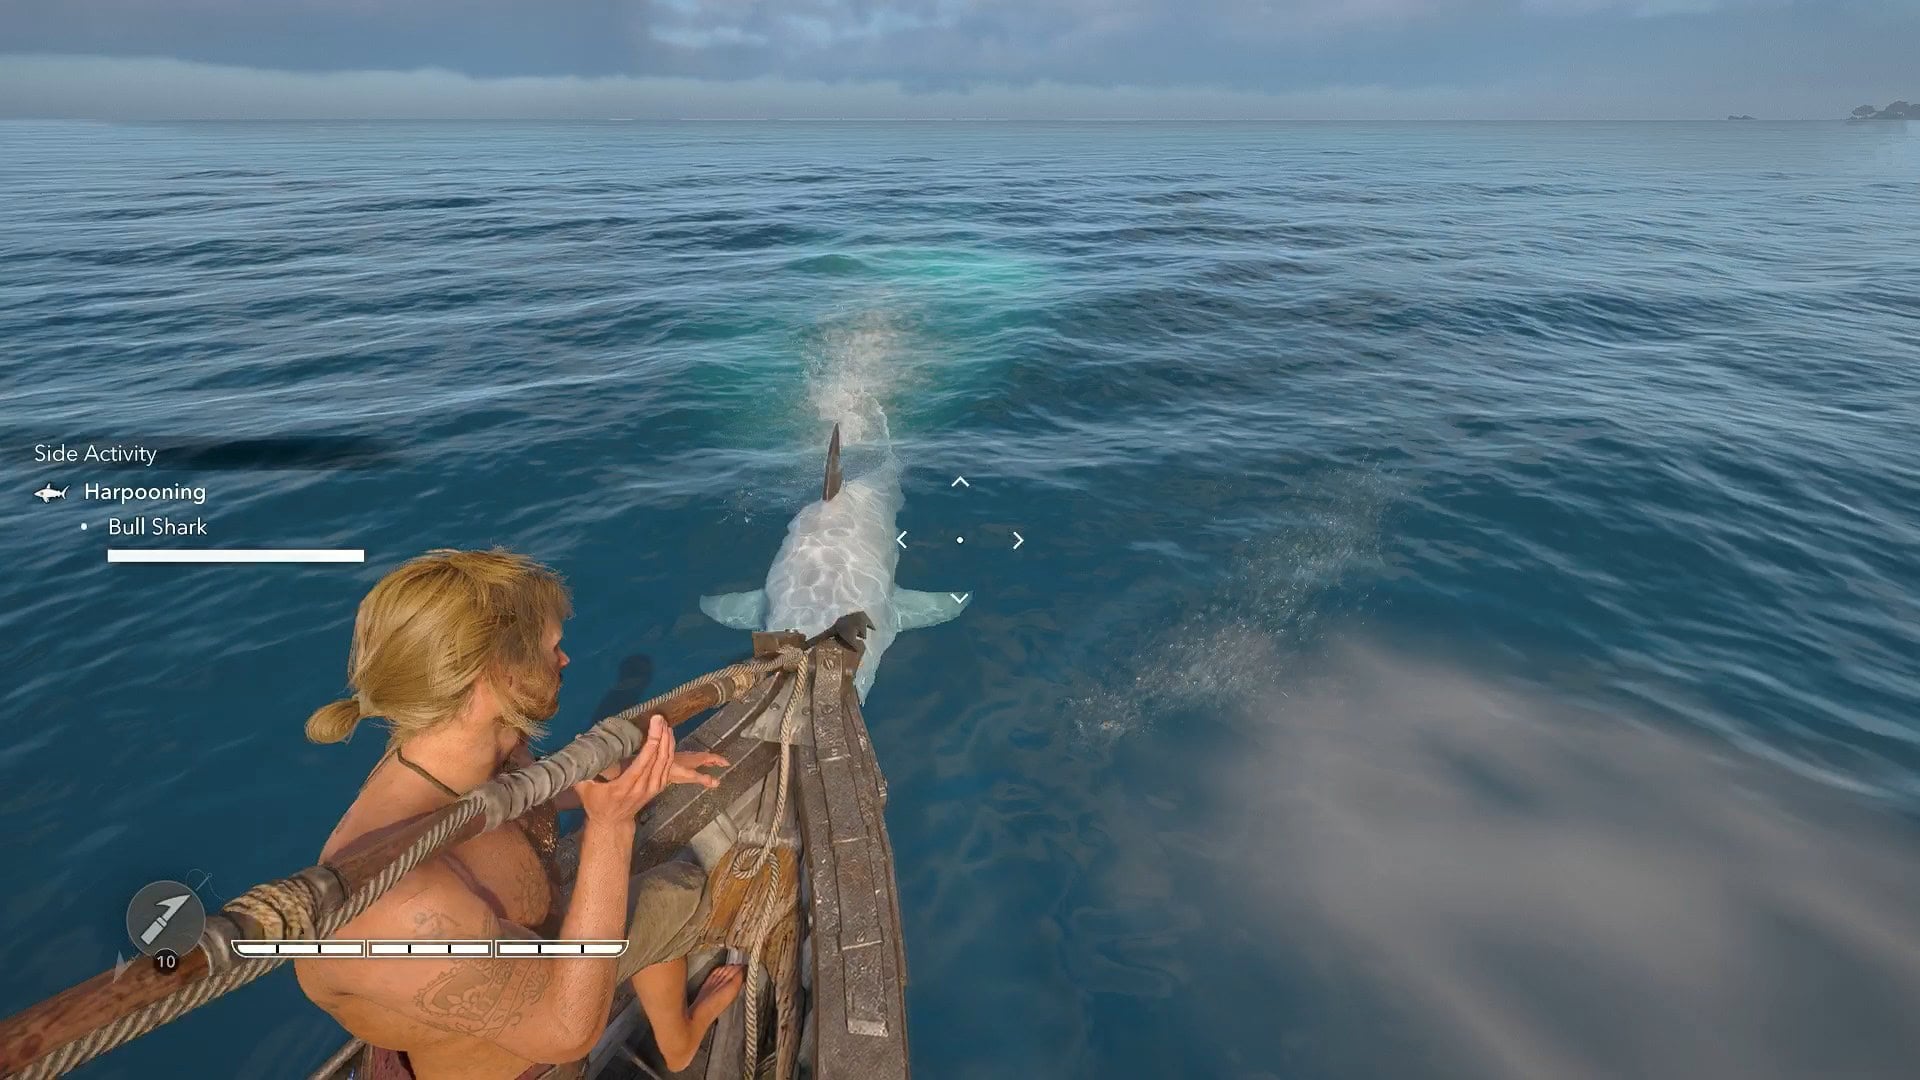
Once you tether the Bull Shark with a rope and it starts pulling your boat, you will have around a 10-second window to fire harpoons at it, after which the rope will break and the shark will go below the surface.
After a short while, the Bull Shark will resurface and dash towards your boat looking to tackle it. This attack can come from straight ahead or it can feint to either side and approach your boat from there.
Where to find them
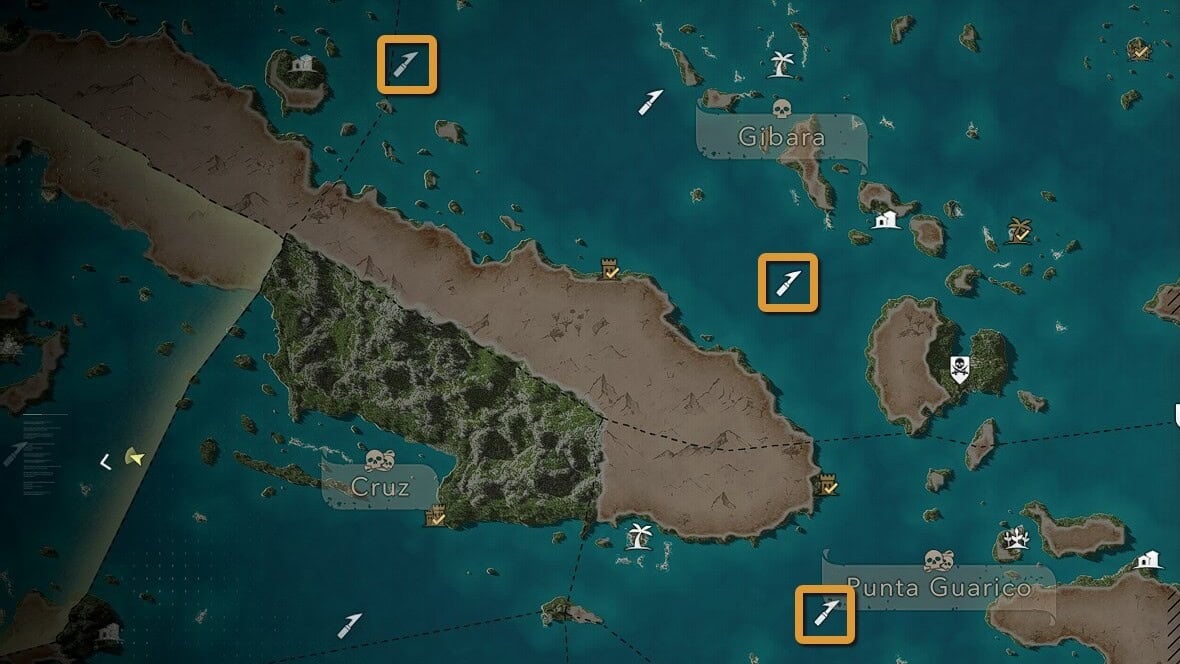
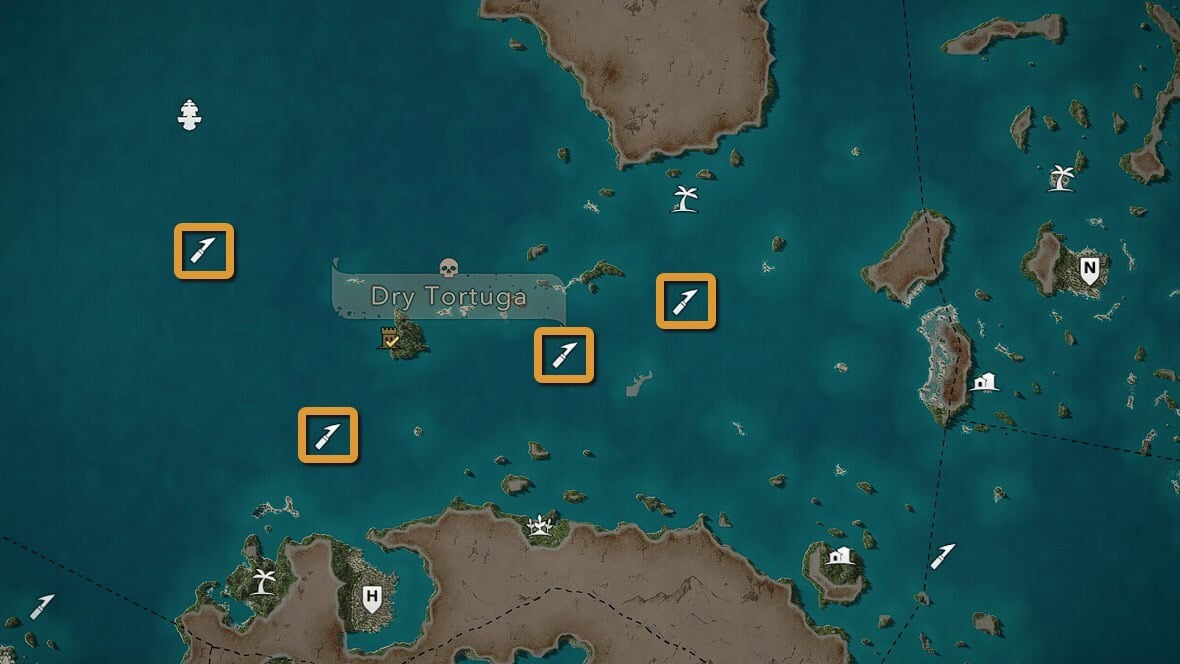
Bull Sharks can be found in 7 different Harpooning Spots spread around Punta Guarico, Gibara and Dry Tortuga.
- Punta Guarico:
- (747,310)
- Gibara:
- (726,487)
- (520,604)
- Dry Tortuga:
- (382,741)
- (322,717)
- (190,669)
- (123,769)
Rewards
Depending on whether you’ve restored the Fisherman’s Wharf, you’ll receive 1 or 2 Bull Shark Skins which can be used to upgrade Edward’s Pistol Holsters. There’s a chance for Bones to drop as additional rewards.
How to Catch Hammerhead Sharks
These sharks have the same moveset as Bull Sharks with the exception of not having a feint attack, making them the easiest out of all animals to Harpoon. You can face these with no upgrades needed for the boat.
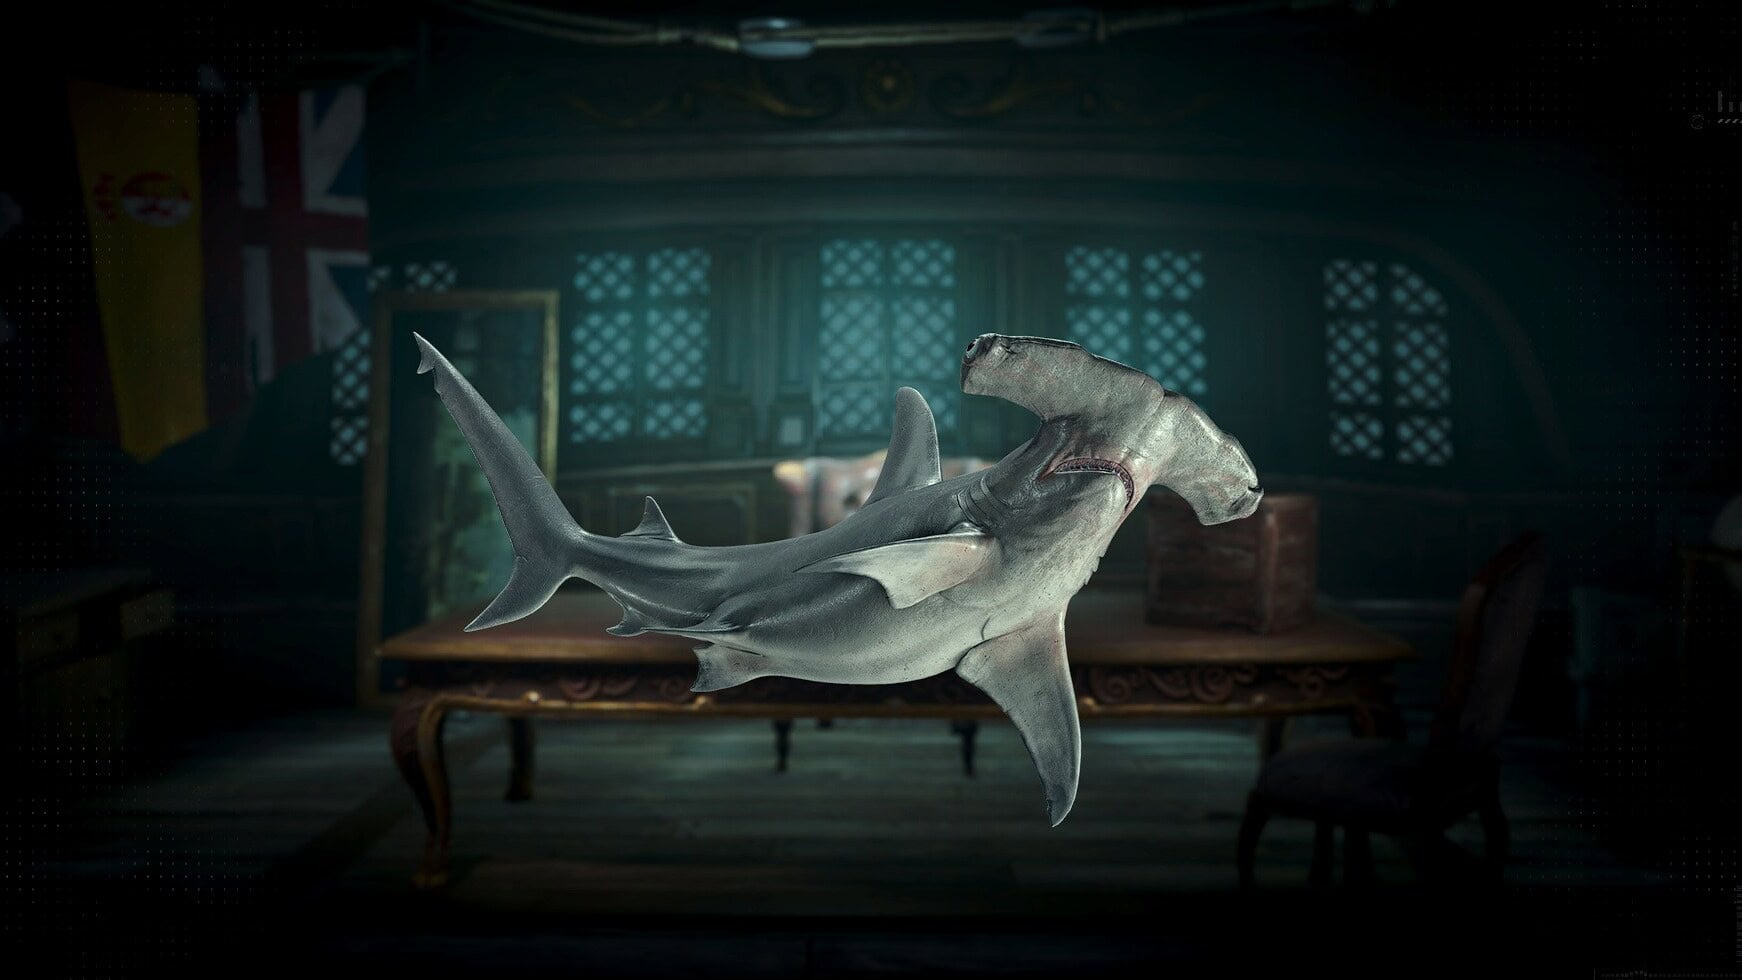
Once the Hammerhead Shark Starts dragging your boat you’ll have around a 10 second window to damage it, after which it will break the rope and dive beneath the surface.
After resurfacing it will try to tackle your boat, it will always come straight to you so be patient and you should have an easy shot.
Where to find them
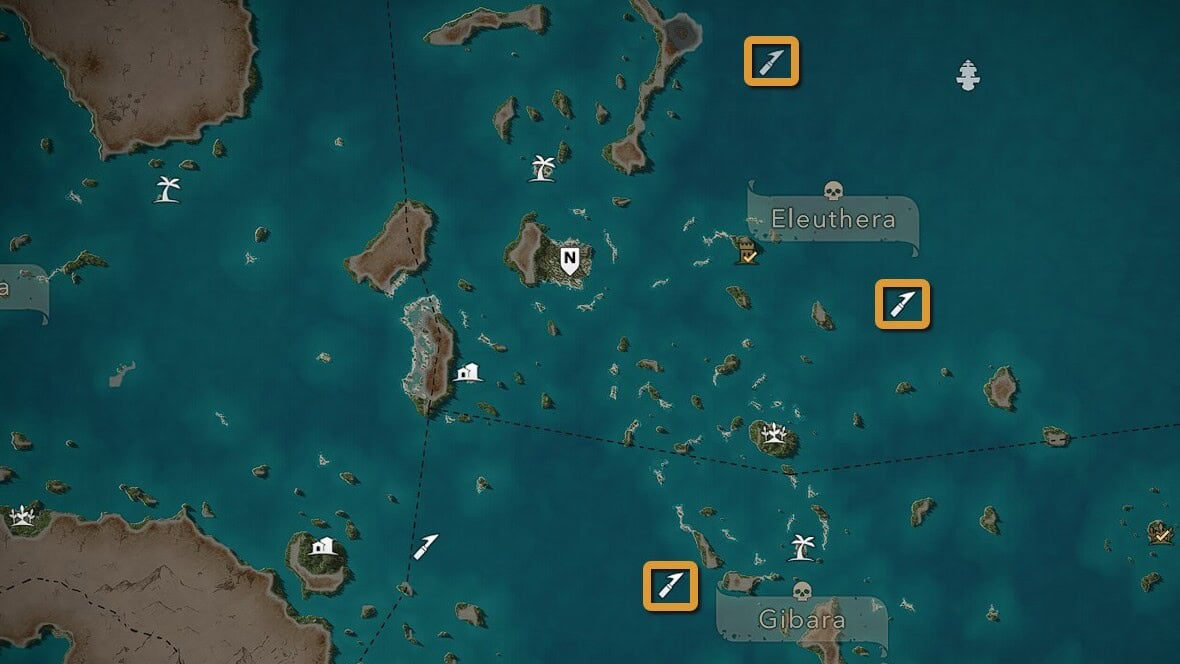
Hammerhead Sharks can be found in 3 different Harpooning Spots spread around Gibara and Eleuthera.
- Gibara:
- (652,584)
- Eleuthera:
- (776,735)
- (706,865)
Rewards
Depending on whether you’ve restored the Fisherman’s Wharf, you’ll receive 1 or 2 Hammerhead Shark Bones which can be used to increase Edward’s max health. There’s a chance for Bones to drop as additional rewards.
How to Catch Killer Whales
Slightly harder than the previous two sharks but still doesn’t offer significant changes to the gameplay. Killer Whales are the first in this list to move around more and make some unpredictable dodges, so make sure to take your time aiming.
They are not complicated enough for you to need the boat and harpoon upgrades to face them, but if you make a mistake, having the extra defense might save you from failing.
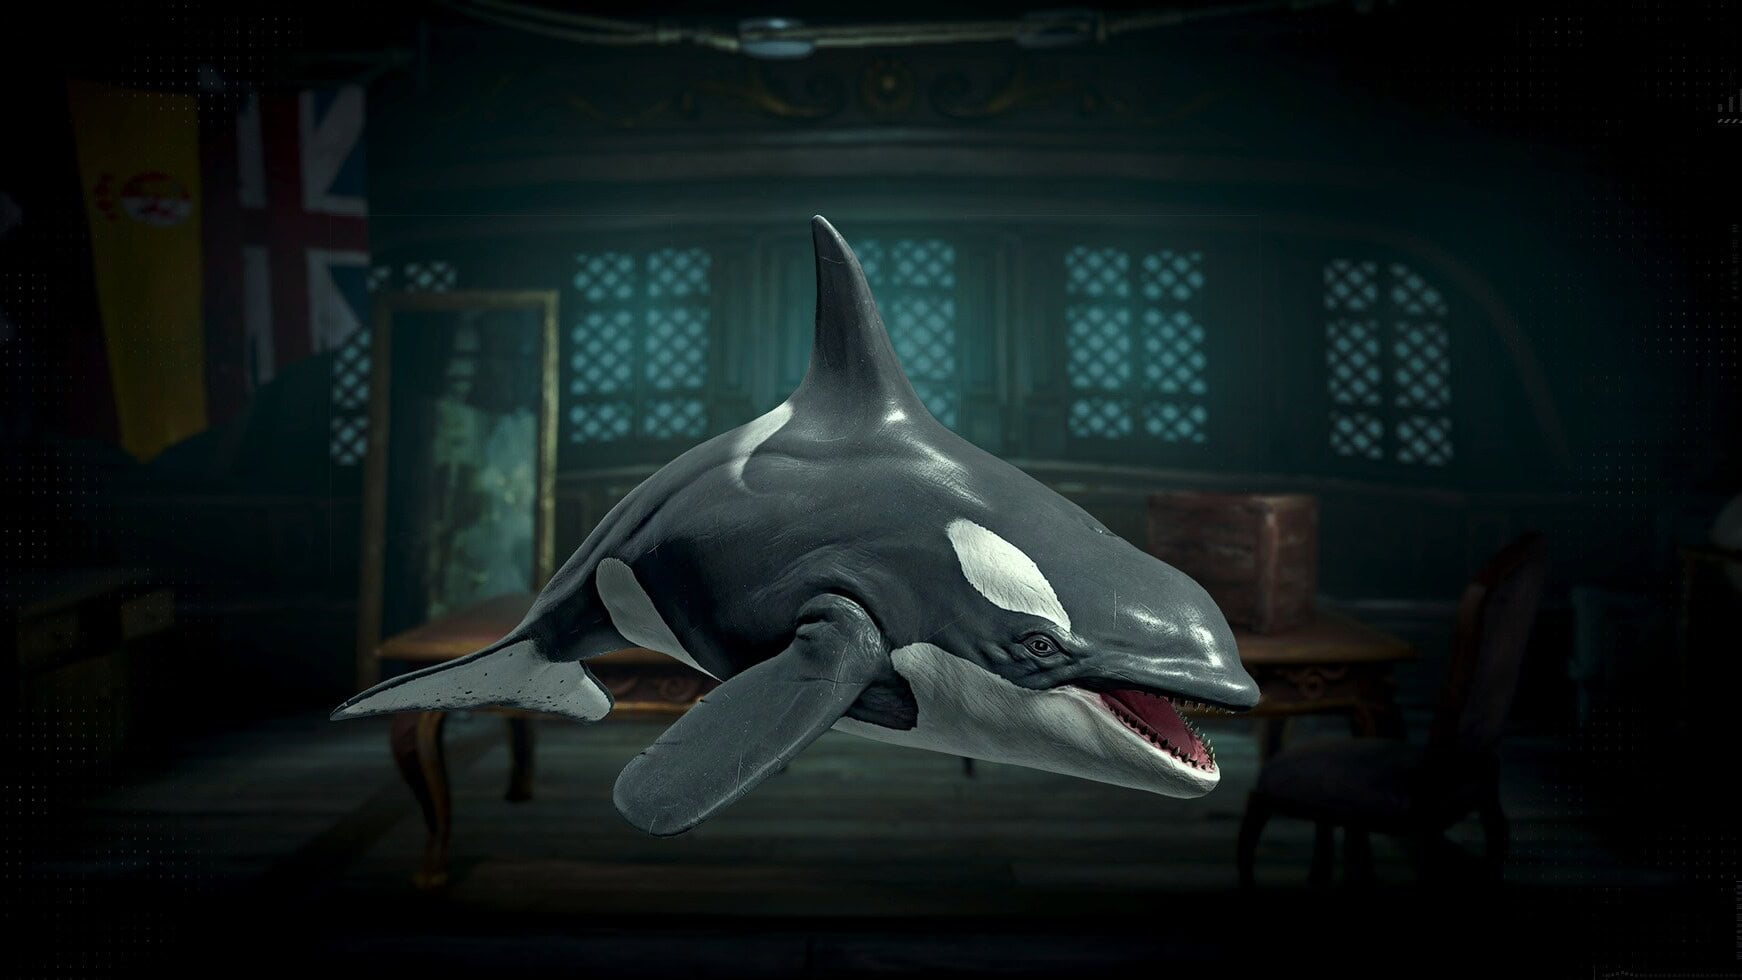
While dragging the boat for around 15 seconds, they’ll make sharp turns unexpectedly while trying to dodge your harpoons before diving underwater.
The main difference comes once they resurface just like the Bull Shark. They can appear to the left, right or center. This is a feint because they will go back down, make a short loop and resurface in the same spot. This time they will charge towards you.
Where to find them
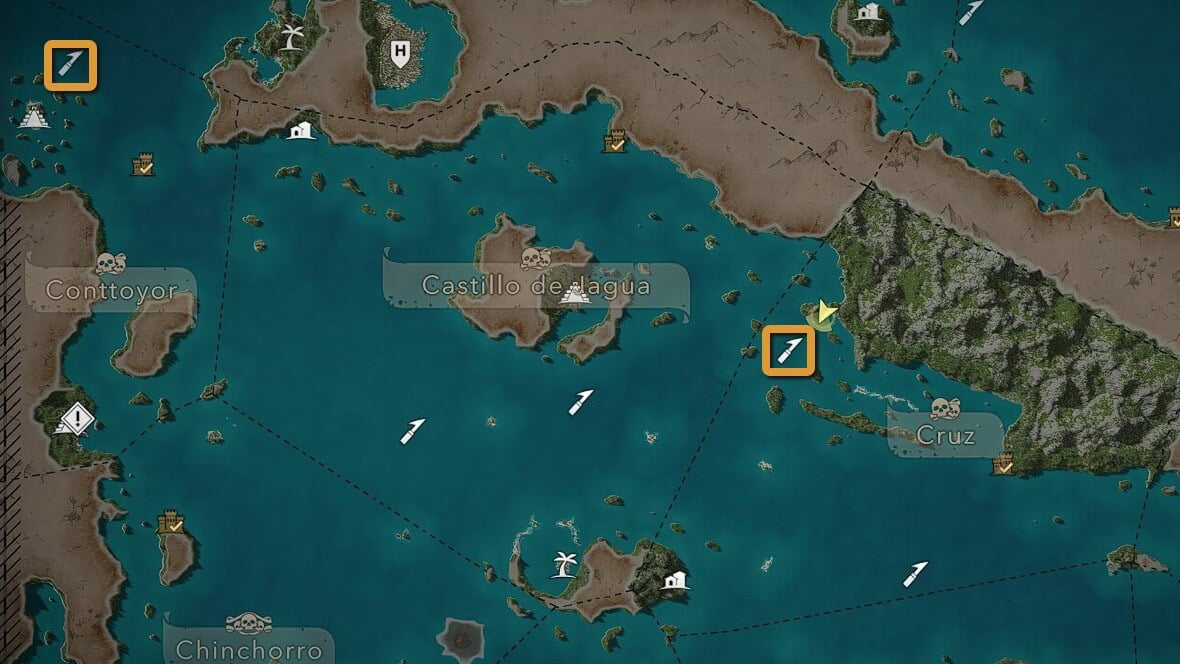
There are only two Harpooning Spots where you can find Killer Whalers. They are located in Conttoyor next to Sacrifice Island and in Cruz near San Juan cave.
- Conttoyor:
- (37,577)
- Cruz:
- (423,423
Rewards
Depending on whether you’ve restored the Fisherman’s Wharf, you’ll receive 1 or 2 Killer Whale Skins which can be used to upgrade Edward’s Sleep Darts. There’s a chance for Bones to drop as additional rewards.
How to Catch Humpback Whales
Tied with Great White Sharks for the number one spot for difficulty, these animals are veritable tanks. They will endure a lot of hits and if you get careless, they might sink your boat and escape.
This is the first animal you should only confront once you have fully upgraded your boat. They can tank a lot of damage and deal a lot themselves, so you want defense to survive and enough harpoons with considerable damage to take them down.
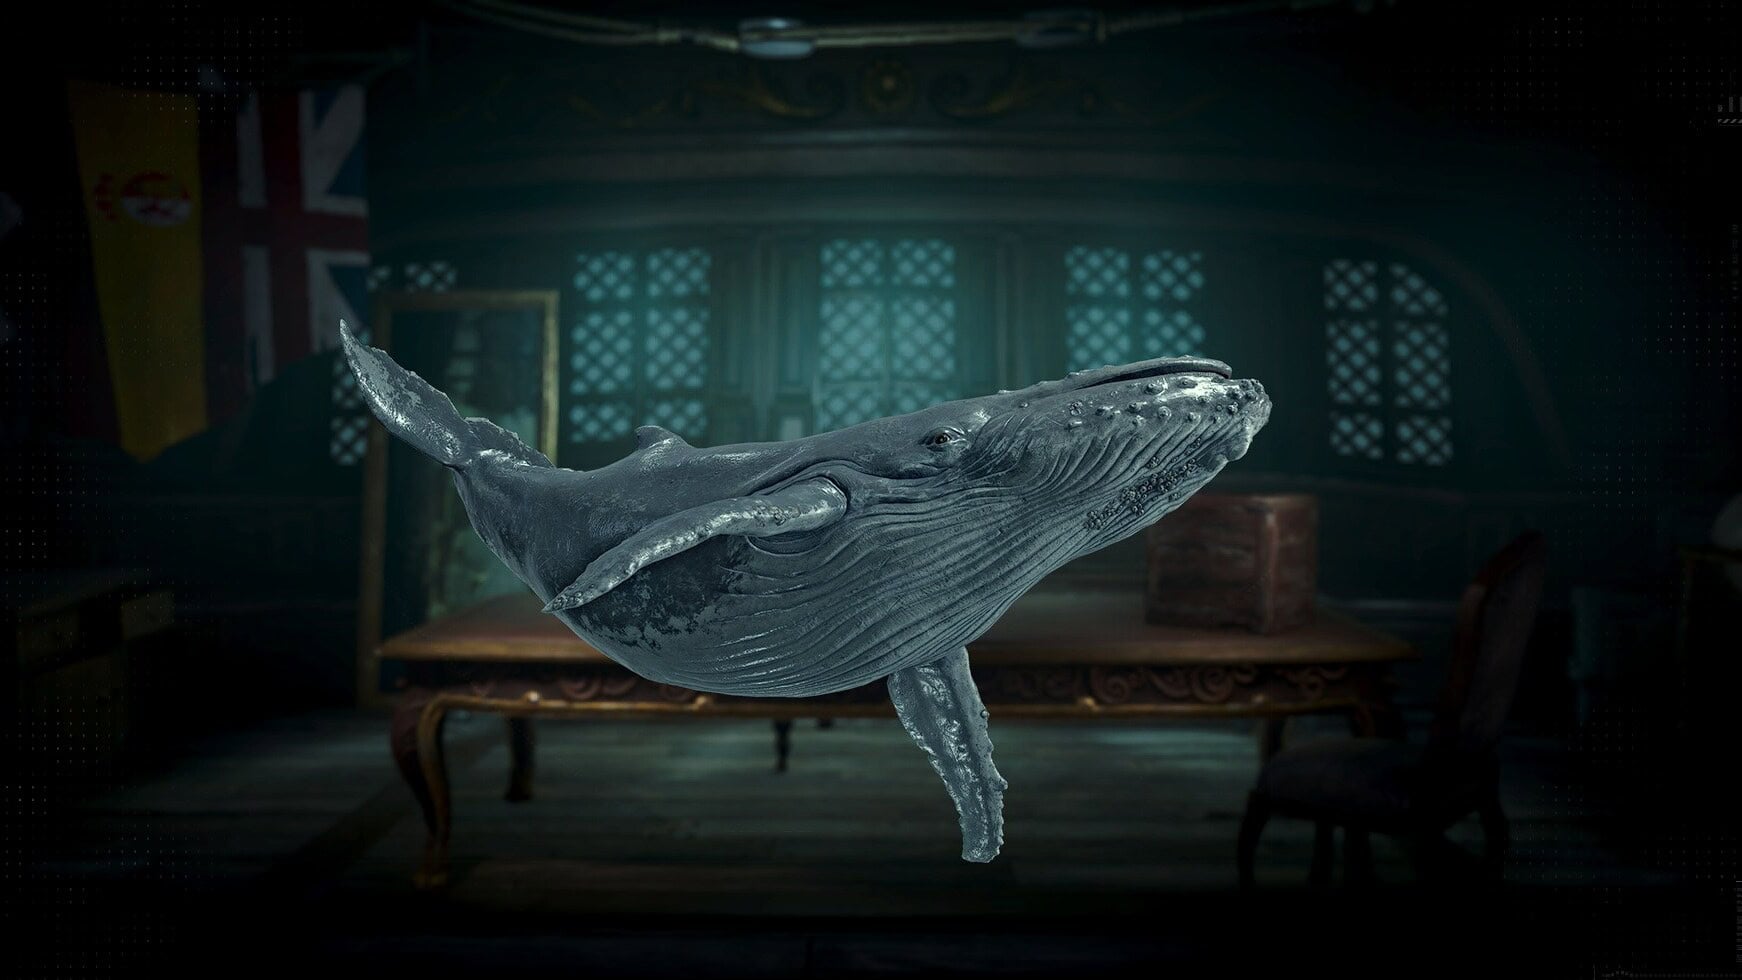
These are the only animals that have an attack they can perform while they’re dragging you. It will raise its tail and slam it down on top of you, dealing tons of damage. Be on the lookout for this move.
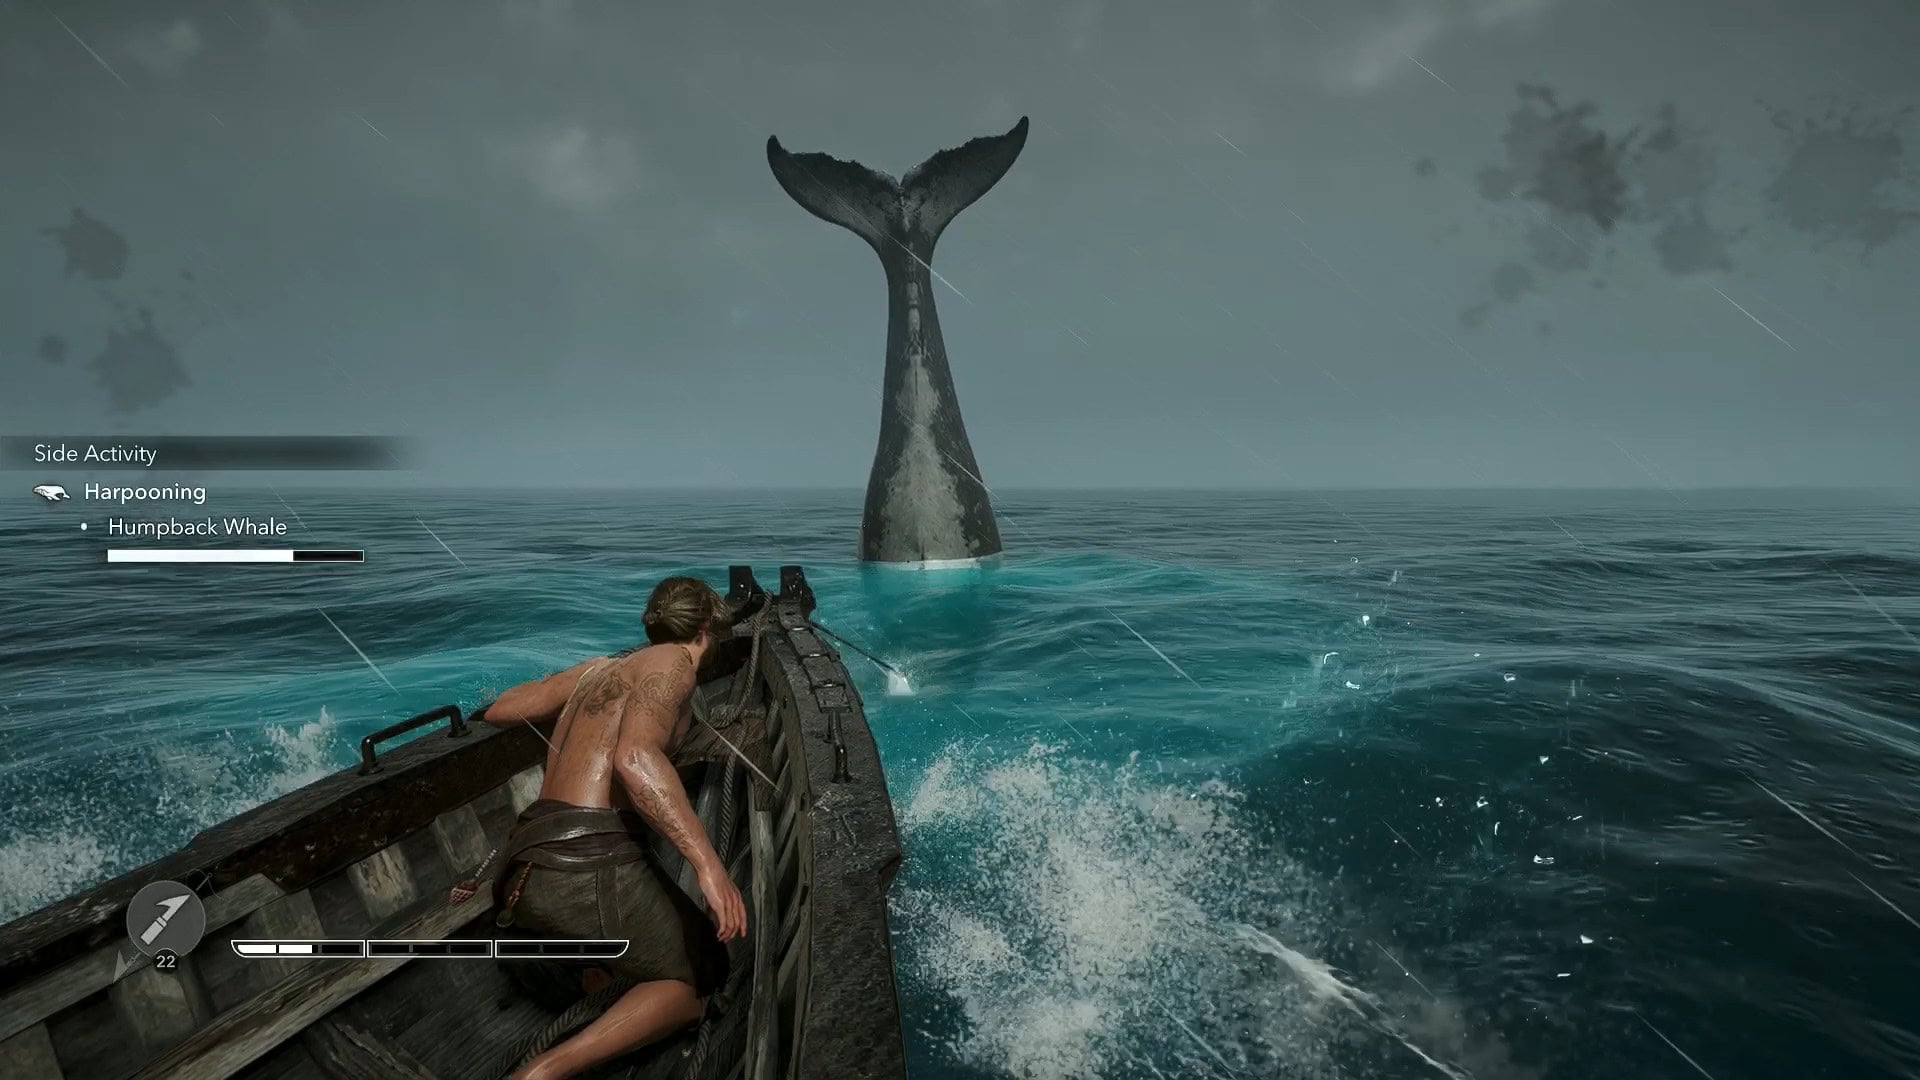
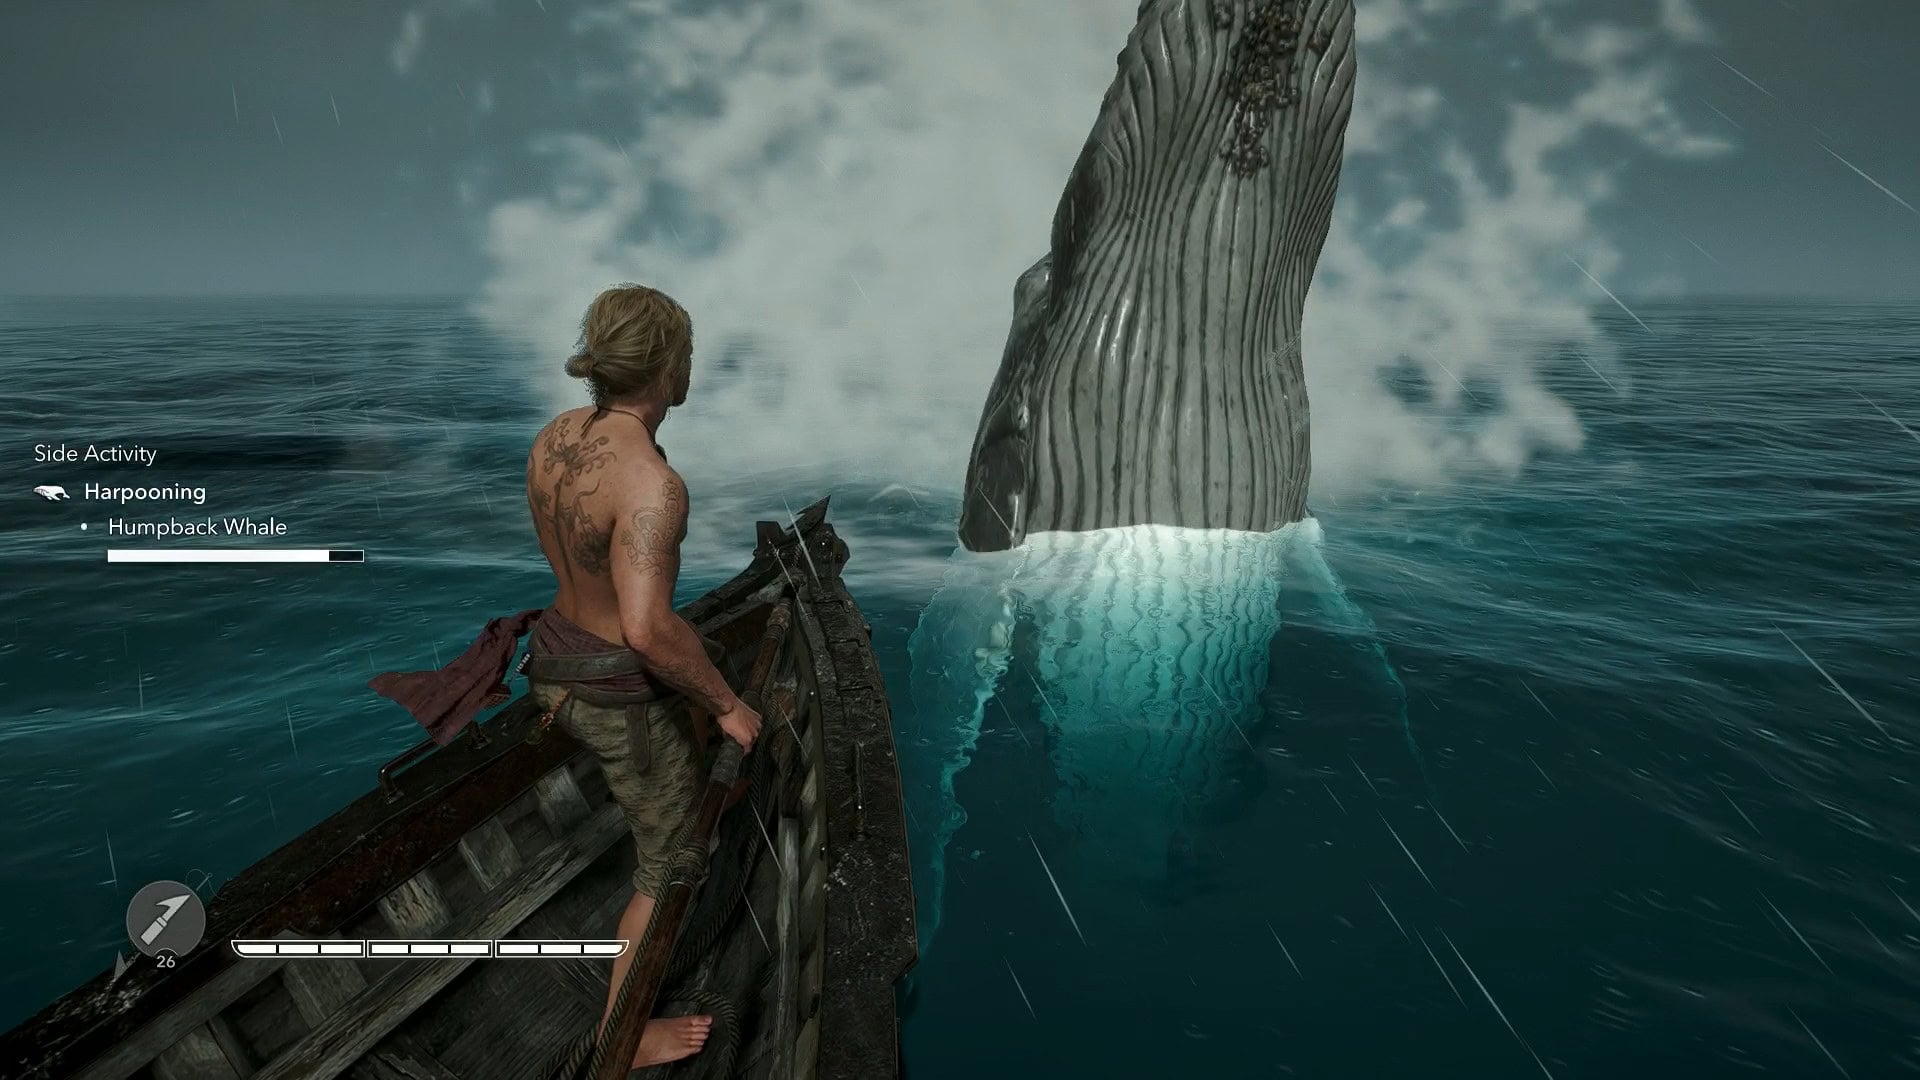
After snapping the rope and submerging, they will resurface right in front of your boat and fall on top of you. There’ll be a circle of ripples at the spot they will emerge from so be ready to interrupt their fall. This is a slow move, so you’ll have plenty of time to prepare a counterattack.
Where to find them
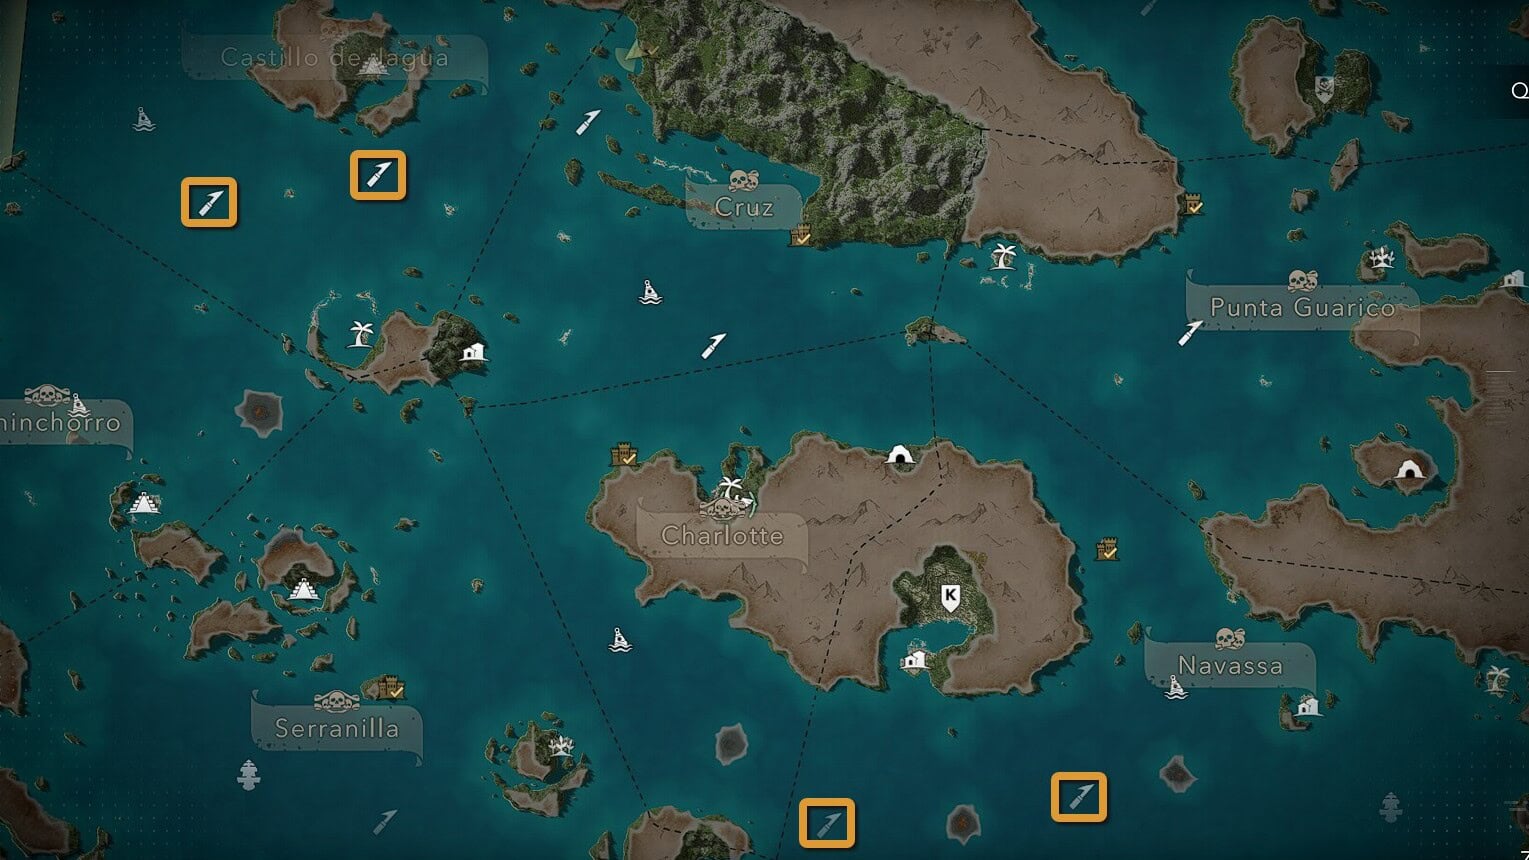
There are four different spots where you can find Humpback Whales, two in Castillo de Jagua and two in Navassa.
- Castillo de Jagua:
- (220,379)
- (311,395)
- Navassa:
- (552,45)
- (688,61)
Rewards
Depending on whether you’ve restored the Fisherman’s Wharf, you’ll receive 1 or 2 Humpback Whale Skins which can be used to upgrade Edward’s Berserk Darts. There’s a chance for Bones to drop as additional rewards.
How to Catch Great White Sharks
The most fearsome out of all the Sea Creatures, they are fast and aggressive with a powerful bite. Only face them once you’ve fully upgraded your boat and even then, they can destroy it if you fail to interrupt a couple of their attacks.
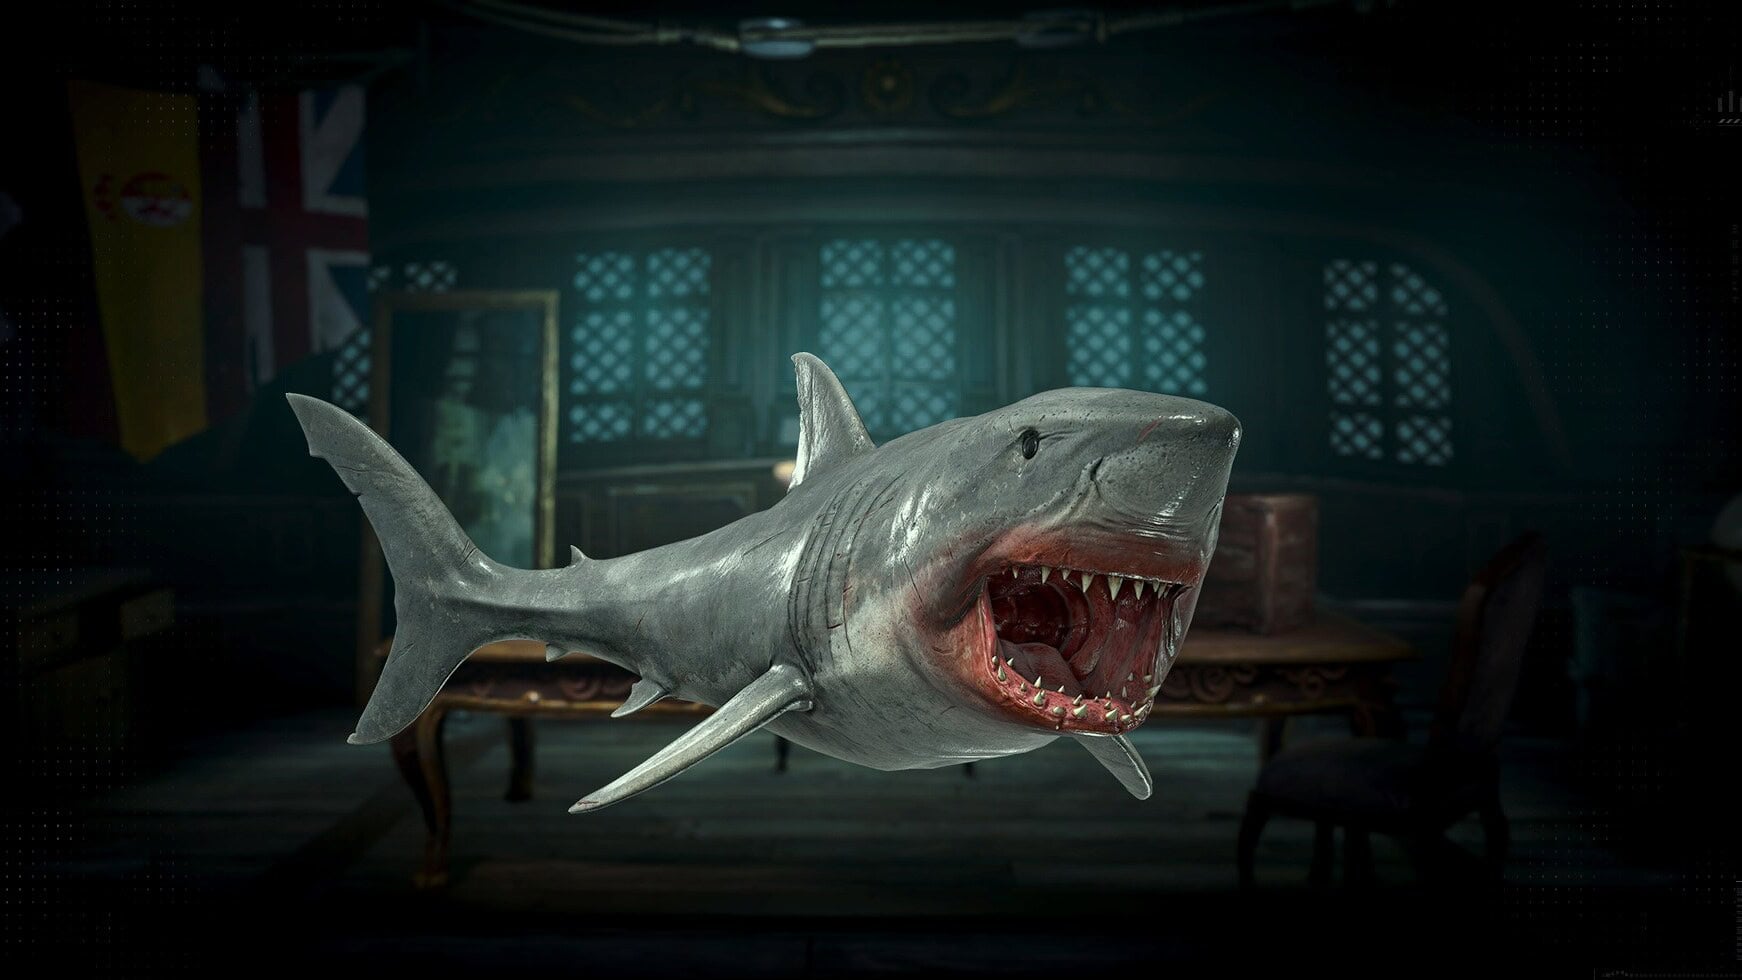
Great White Sharks are the fastest to snap the rope, so they’ll only drag you for around 8 seconds. During this time they’ll move fast and erratically, making it harder to hit them.
Once they go beneath the surface the true suspense begins as they’ll perform the fastest and strongest attack. A circle of ripples will give you warning of where they’ll come up, but you’ll have only a small time frame to interrupt their attack and avoid the damage.
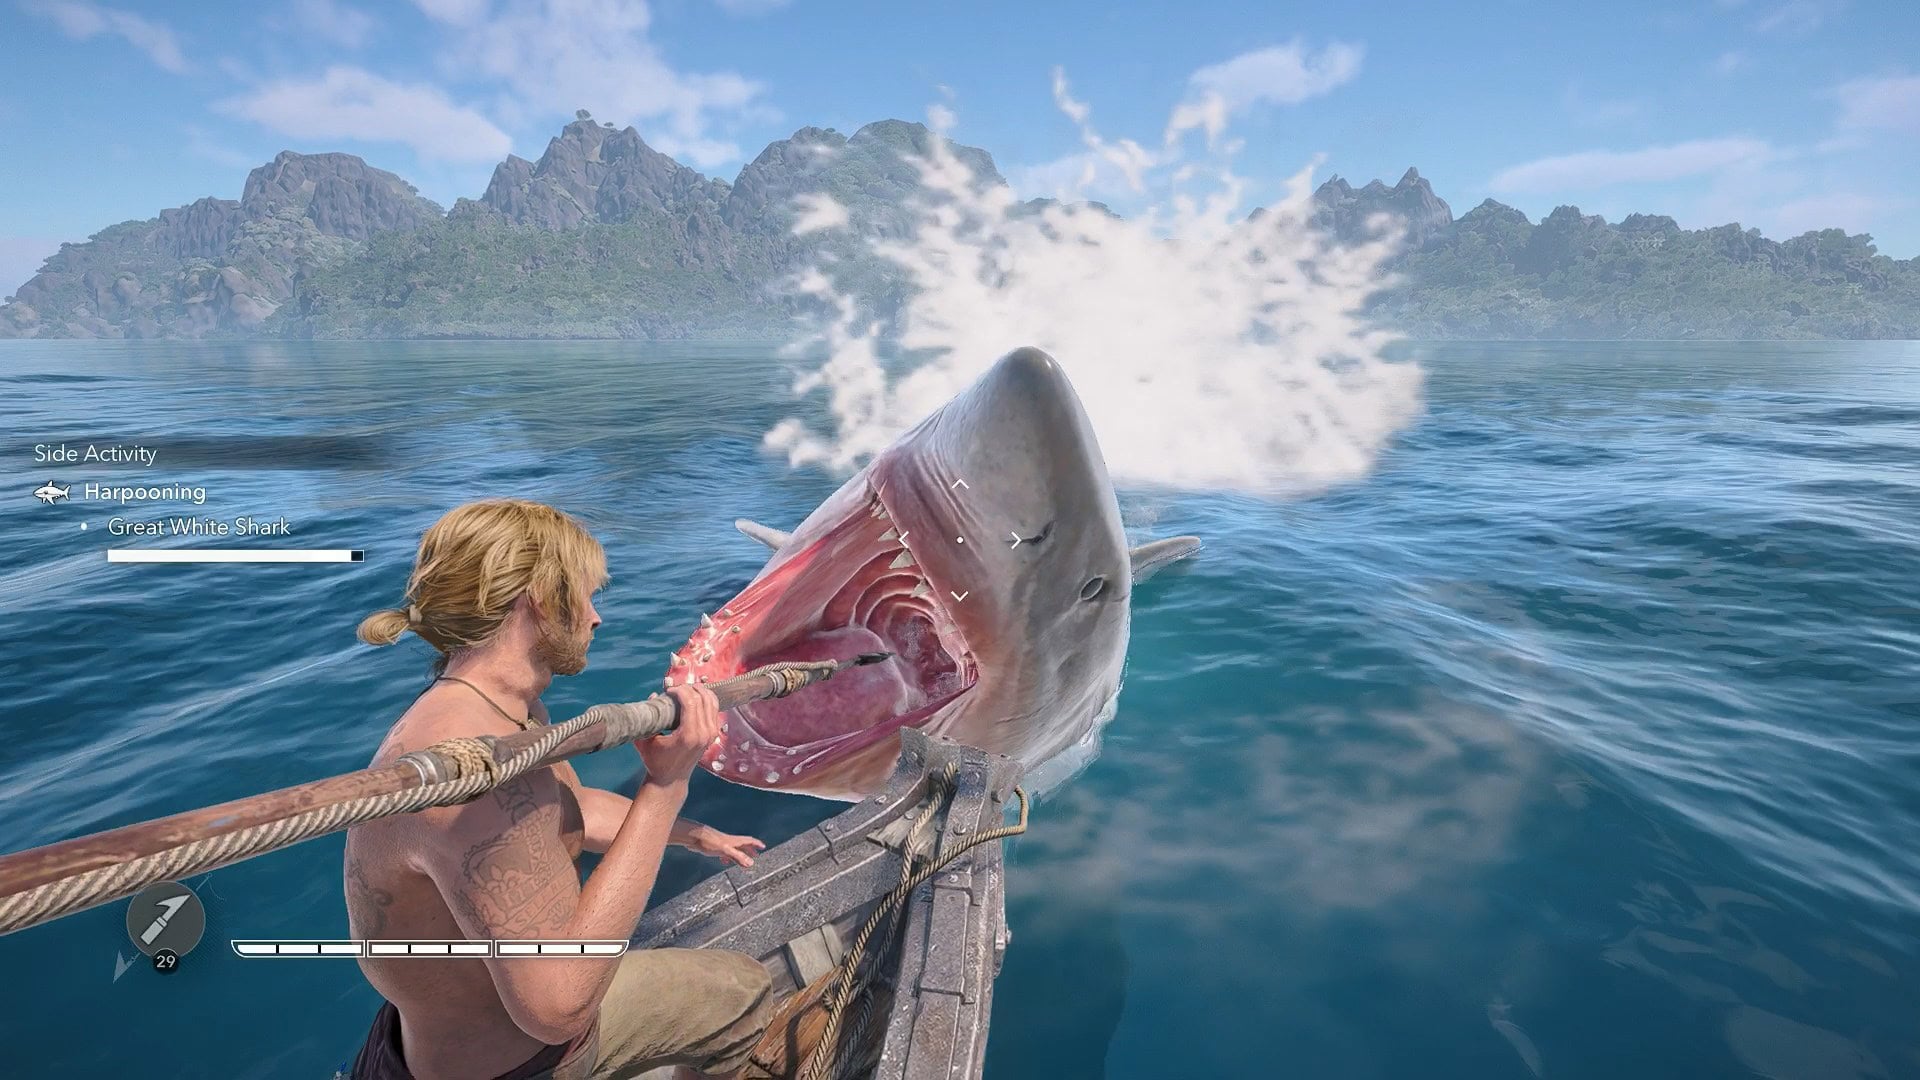
Don’t try to interrupt their attack with a Perfect Shot, instead keep the harpoon ready to fire and react as fast as possible.
Whether you interrupt their attack or not they will dive underwater, resurfacing moments later. If you fail to hit them here to hook them with your rope, they will go below again and prepare another attack.
Where to find them
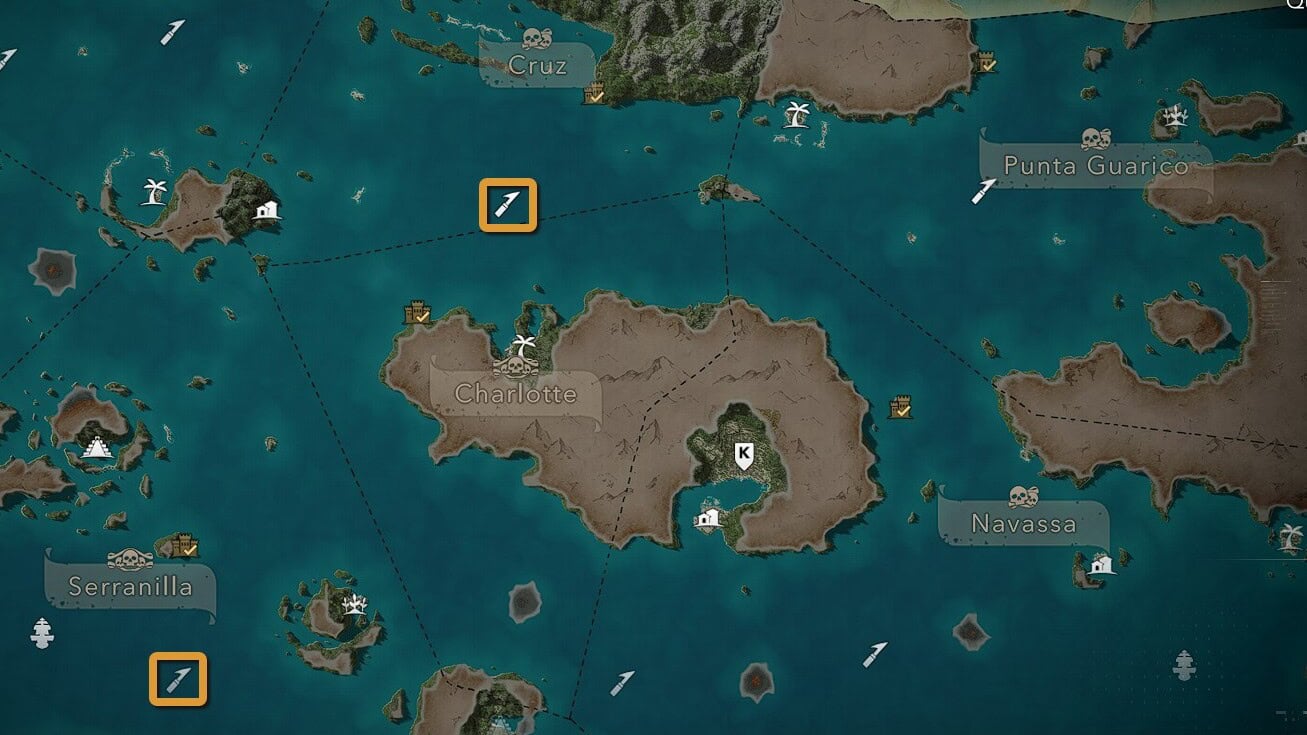
There are only two Harpooning Spots where you can fight these formidable beasts, they are located in Cruz right off Fort Cabo de Cruz and in Serranilla very near a Legendary Ship.
- Cruz:
- (490,303)
- Serranilla:
- (314,47)
Rewards
Depending on whether you’ve restored the Fisherman’s Wharf, you’ll receive 1 or 2 Great White Shark Bones which can be used to increase Edward’s max health. There’s a chance for Bones to drop as additional rewards.
When you land a Perfect Shot on a Great White Shark, you will unlock the Perfect Predator achievement (trophy).
Alternative to Harpooning
If you’re not fond of harpooning ocean wildlife, then you don’t have to in order to get the components. This will require you to perform some Hideout Upgrades. You’ll need to get the General Store III and the Treasure Dealer unlocked.
These vendors offer you a way to acquire wildlife components without hunting or harpooning. A General Store III will sell all wildlife components for bones, while the Treasure Dealer sells bones for 1,000 reales a piece.
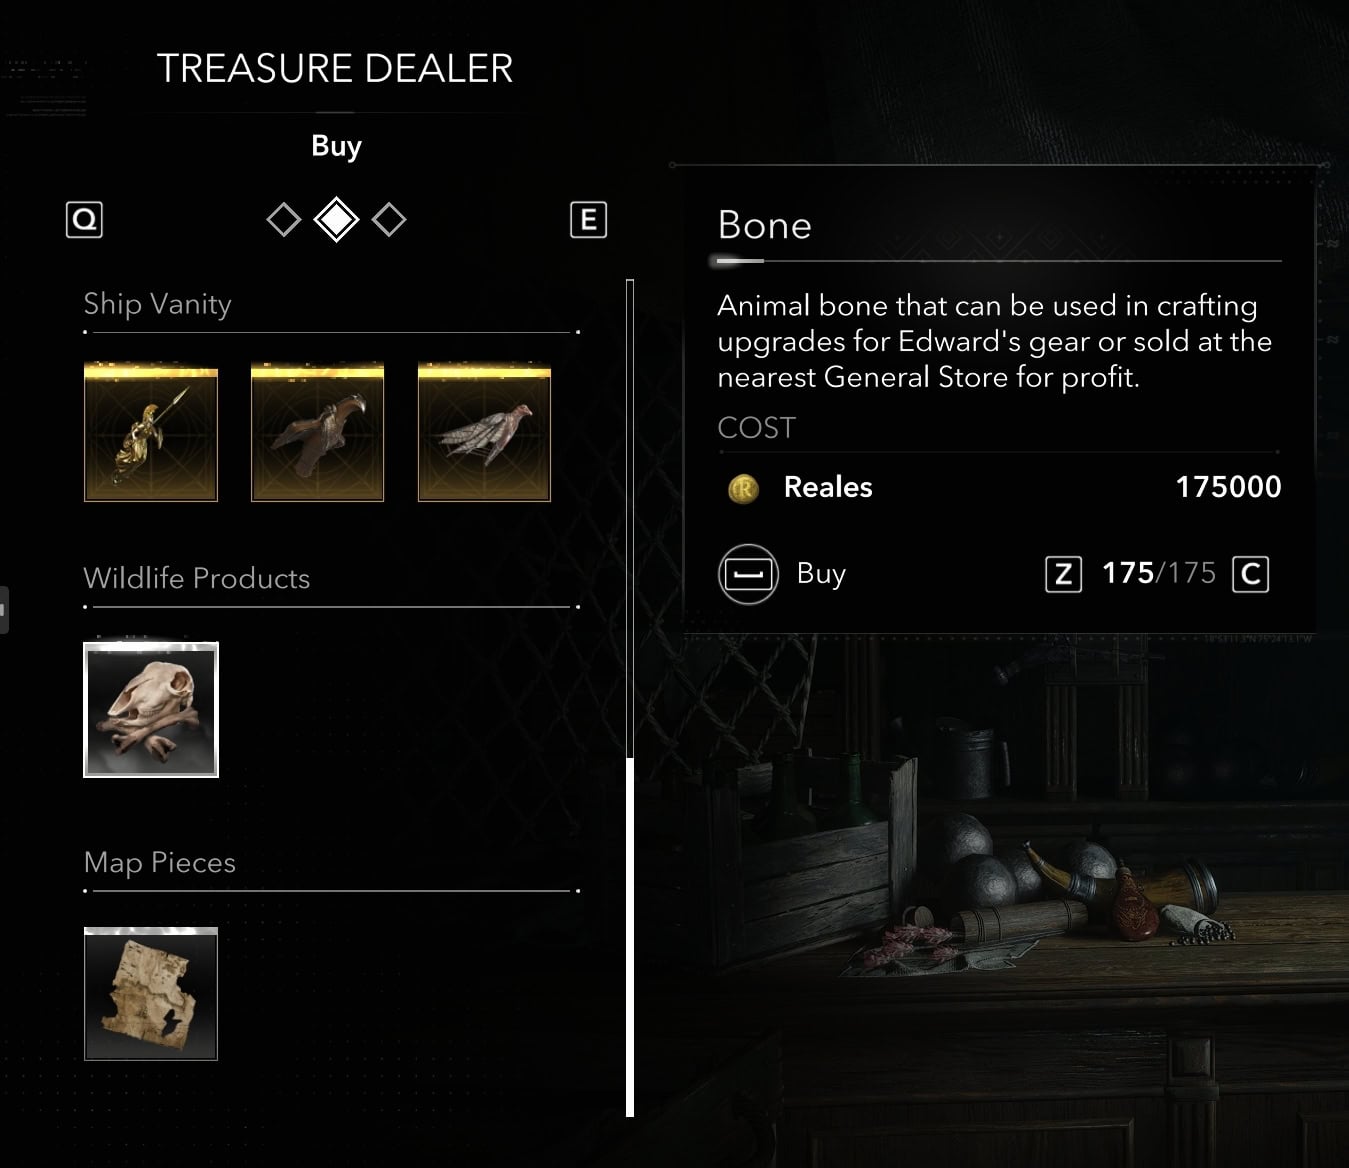
This process will get expensive, so you’ll need to make a lot of money to follow this path. While the weight of the coins needed this will be heavy, it won’t be as heavy as bearing the guilt you may get from harpooning sea creatures.