A complete walkthrough for completing the Water Temple in The Legend of Zelda: Ocarina of Time on the Nintendo Switch 2. Includes an interactive map to help you navigate, tips on solving its puzzles, and where to find all Gold Skulltulas and Chests.
Journey to Lake Hylia
After acquiring the Iron Boots from the Ice Cavern and learning the Serenade of Water, teleport to Lake Hylia. Equip your Zora Tunic and Iron Boots, then submerge into the water.
You’ll be unable to use most of your items as you’re underwater. The only items you can use are the Hookshot and your shield.
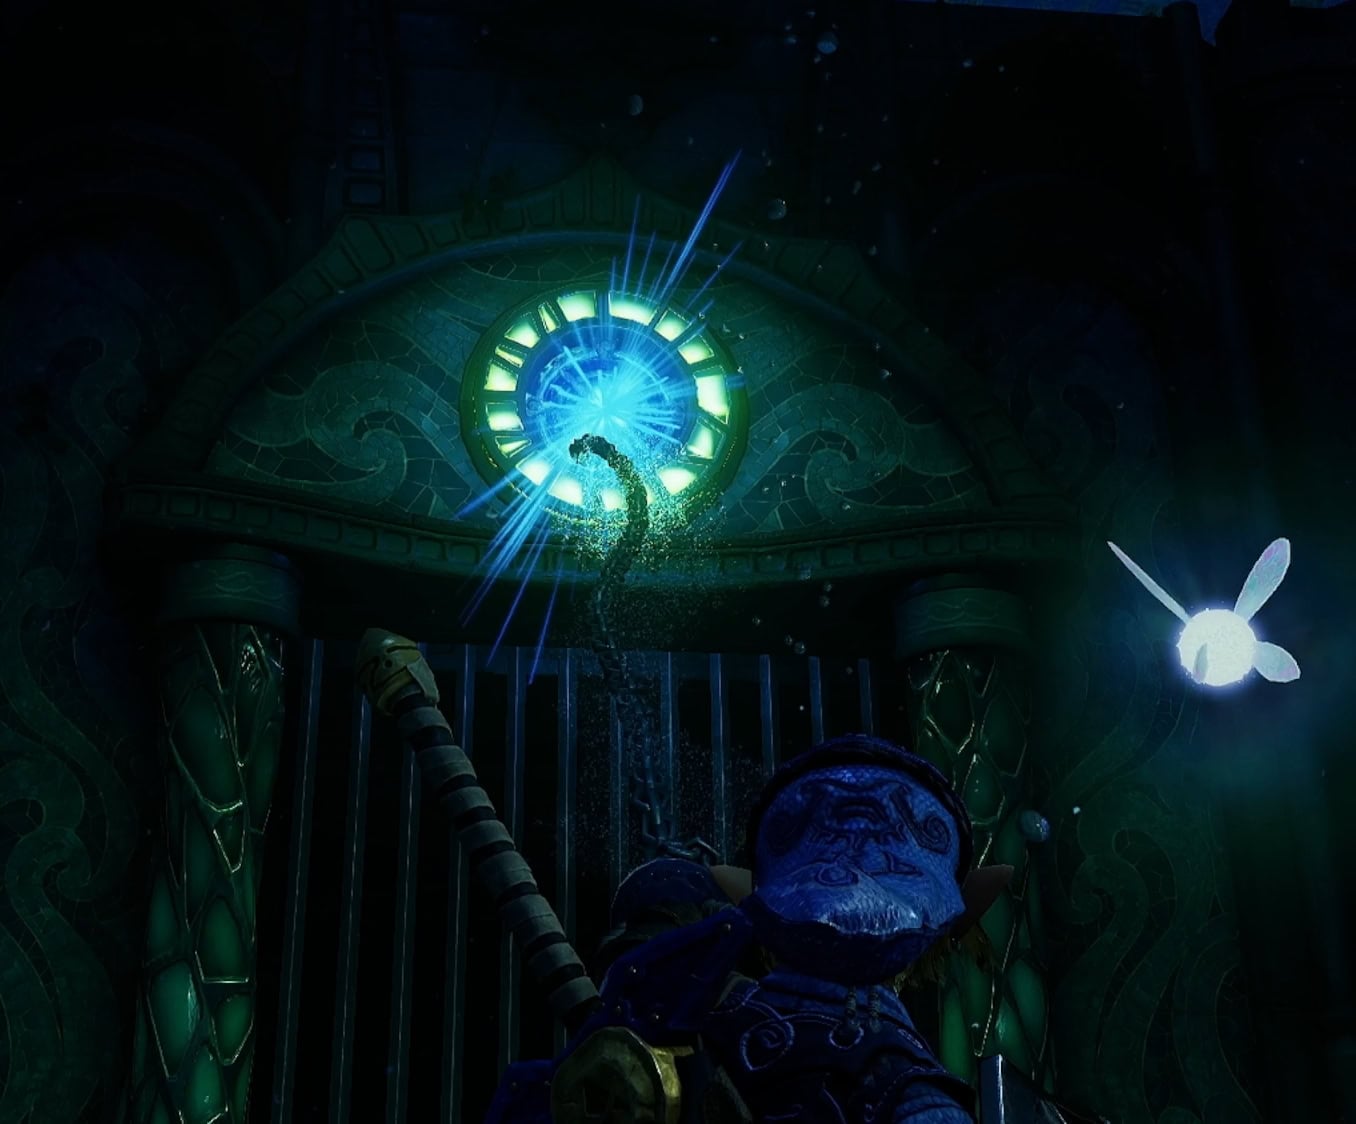
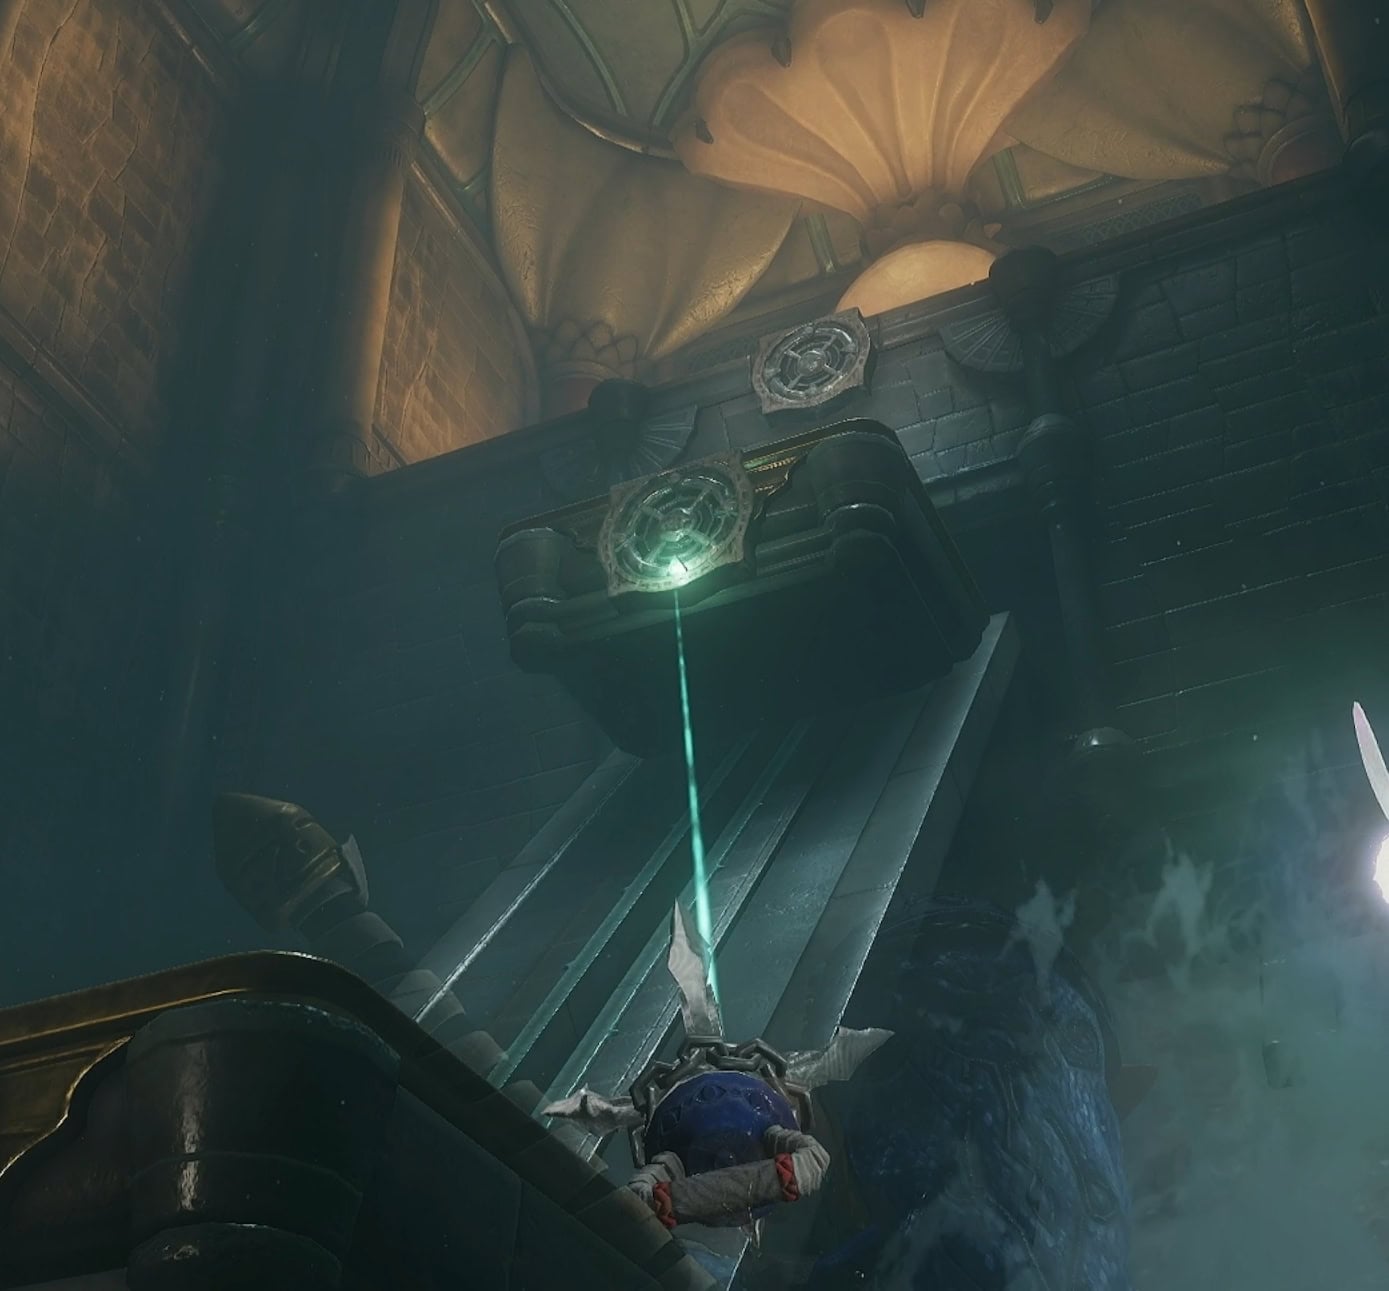
Above the Water Temple entrance is a Hookshot target. Hit it with your Hookshot to unlock the gate and the Water Temple.
Map of the Water Temple
The following map features all the floors, items, and order of events needed to complete the Water Temple.
1. Princess Ruto
When you enter the Water Temple, you’ll find a large room filled with water and a central pillar with platforms to walk on. Equip your Iron Boots and sink to the bottom level, then go through the right (east) passage.
This will lead you to Princess Ruto. After talking to her, follow her advice by taking off the Iron Boots and floating up to 3F.
2. The Low Crest
This temple can get a little confusing, so be sure to open the large chest containing the Map. You’re going to need it for what’s coming ahead.
On the wall is the Triforce Crest on some form of shrine. Playing Zelda’s Lullaby in front of this specific crest will lower the water to its lowest point for the temple. Lower the water then jump down into the small pool below.
3. Spikes
Light the unlit torches by shooting arrows through the lit one. This will unlock the door where you’ll need to defeat some Spikes to get a Small Key.
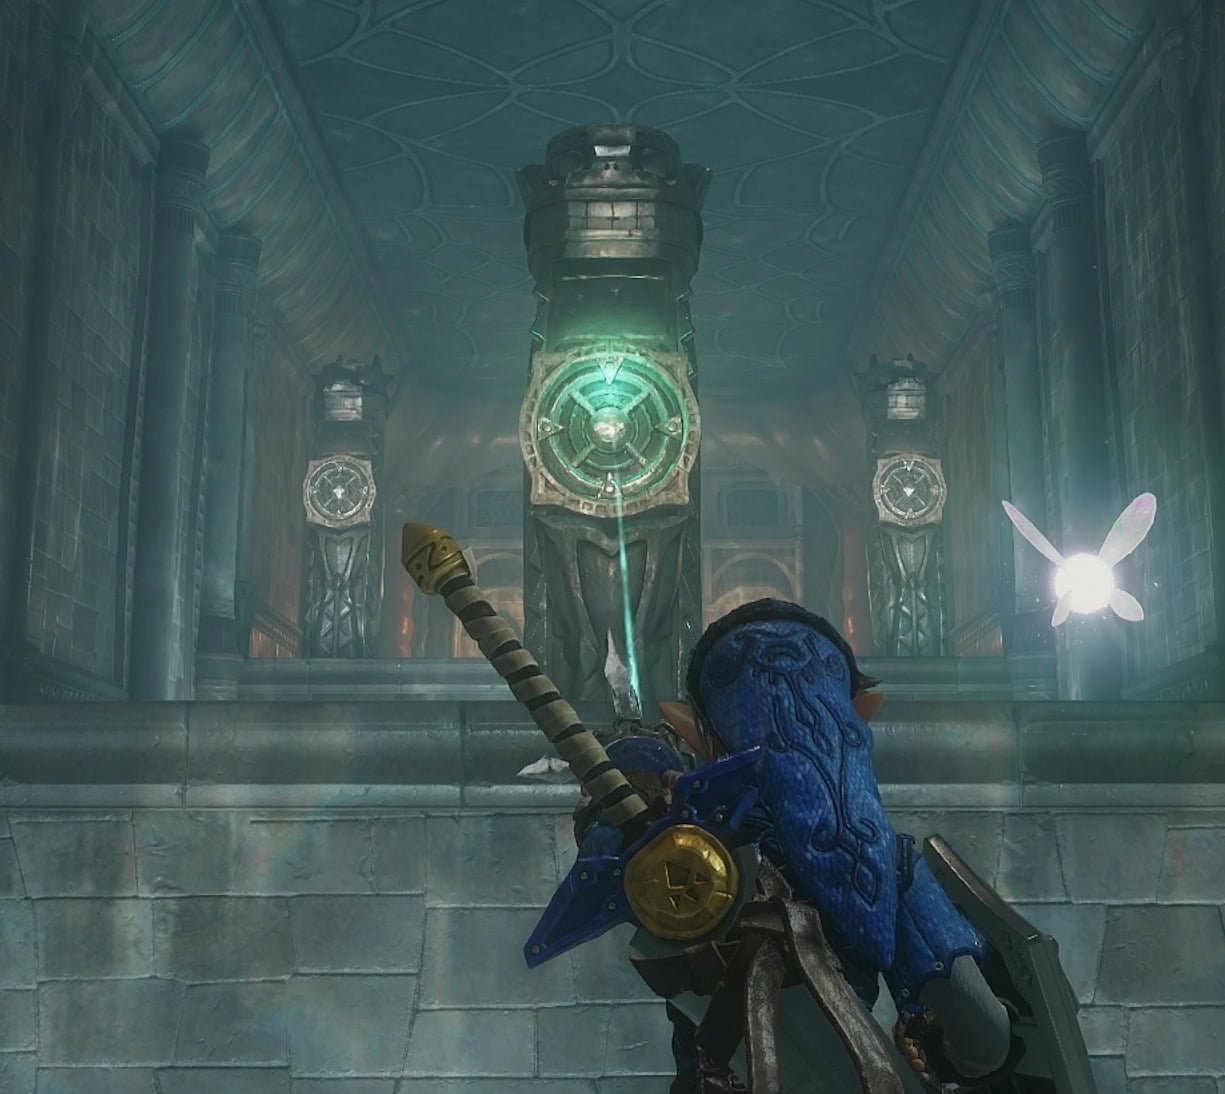
Make your way to the central room and destroy the rock wall blocking off the south path. Follow this path and use the serpent pillars to Hookshot up to the large chest with the Compass.
4. Whirlpool Room
Return to the central room and push open the path on the west side. This will take you to the Whirlpool room.
The Whirlpool Room has a statue of a serpent’s head with a crystal switch in its mouth. To the side of it, part of the dragon’s “body” creates a platform near the switch.
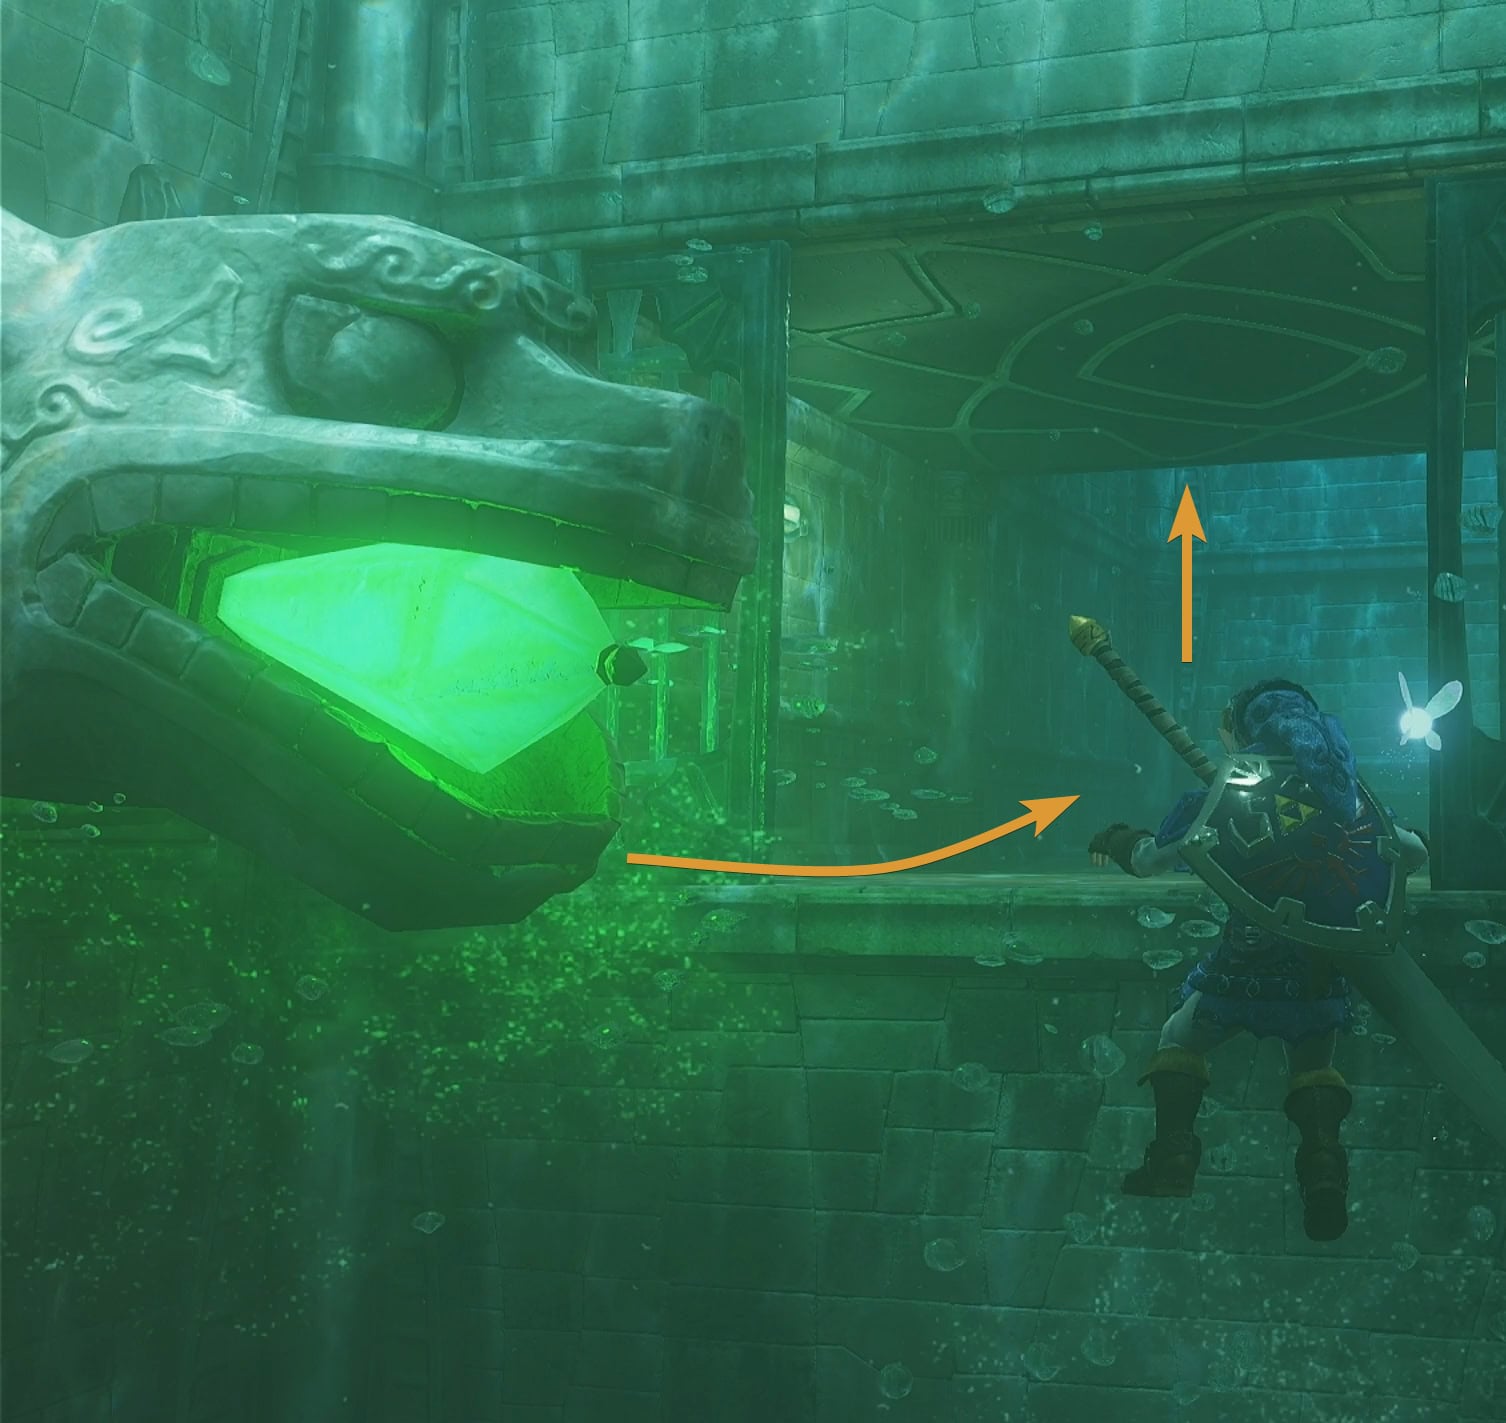
Sink down to the body and activate the crystal switch. Swim through the gate, then float up for a chest with a Small Key. Return to the central room and unlock the door on the central pillar.
5. The Middle Crest
Use the Hookshot on the target points to ascend within the central pillar and reach the Triforce Crest. Playing Zelda’s Lullaby hear will raise the water up to 2F.
After raising the water mid-way, a platform from below will float up. This hidden path leads to a Gold Skulltula and a small chest with a red rupee.
6. Stinger Hall
Go through the east passage of 2F and break open the cracked wall. Defeat the Stingers in the underwater hall then float up.
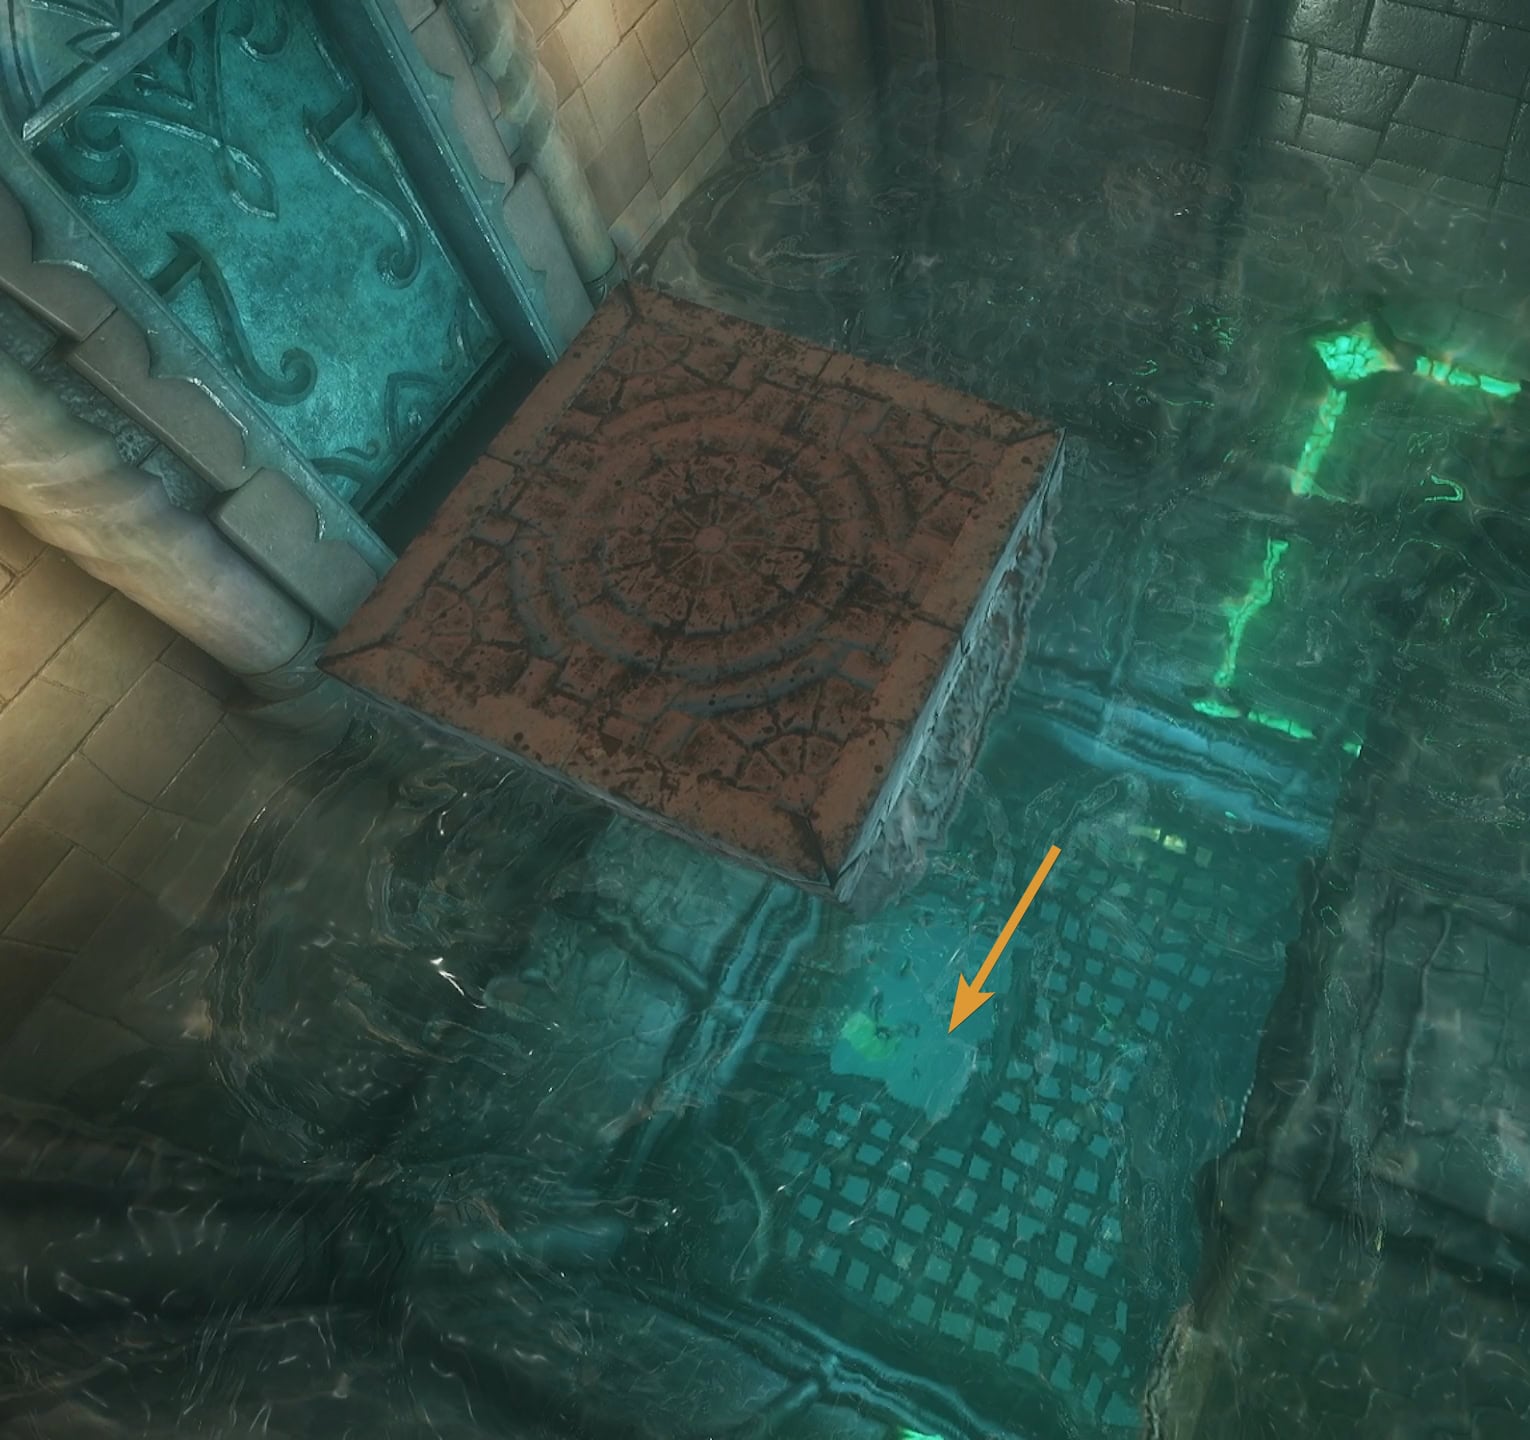
Activate the crystal switch in the small pool to lower the water with the circular platform. Stand on the platform, activate the switch, and get the Small Key.
Return to the room where you met Ruto and float up. You can access a room with a Gold Skulltula within it. This is a good point in time to do this so you save yourself some trouble later.
7. The High Crest
Return to the central room and go through the west door on 2F. Use the crystal switch to push yourself up to 3F where you’ll find the third Triforce Crest.
This crest will increase the water level to its highest point, the same level it was when you first entered the Water Temple.
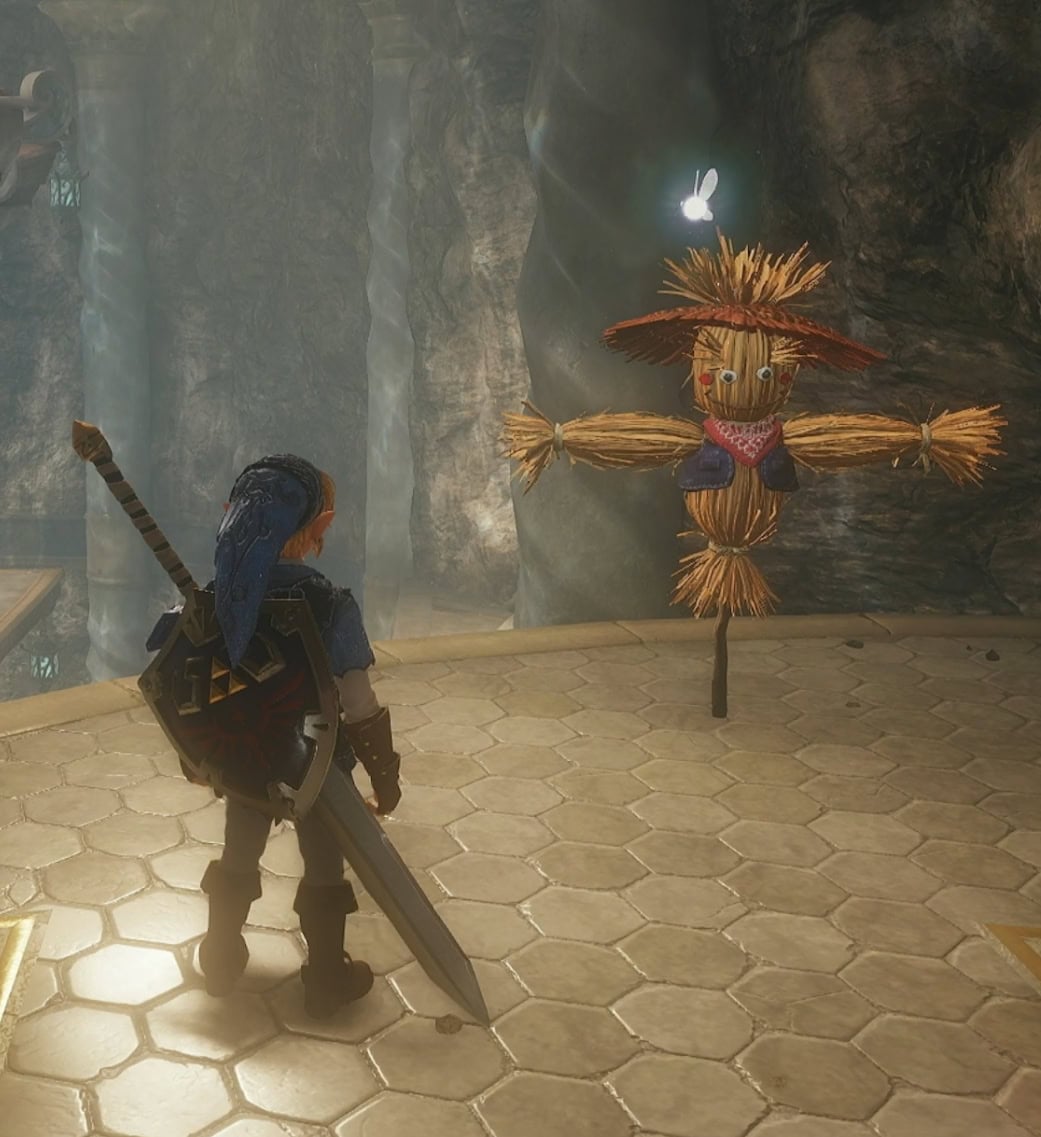
Right outside the door is a ledge where you can summon Pierre the Scarecrow with the Scarecrow’s Song. Use Farore’s Wind near the High Crest to teleport back here later.
8. Waterfall Room
This room can be a bit tricky to get up as there are numerous Hookshot platforms going down a waterfall. Use the Hookshot to make your way up to the door ahead.
The next room has a unique crystal switch that’s either red or blue, lowering or raising the serpent pillars when activated.
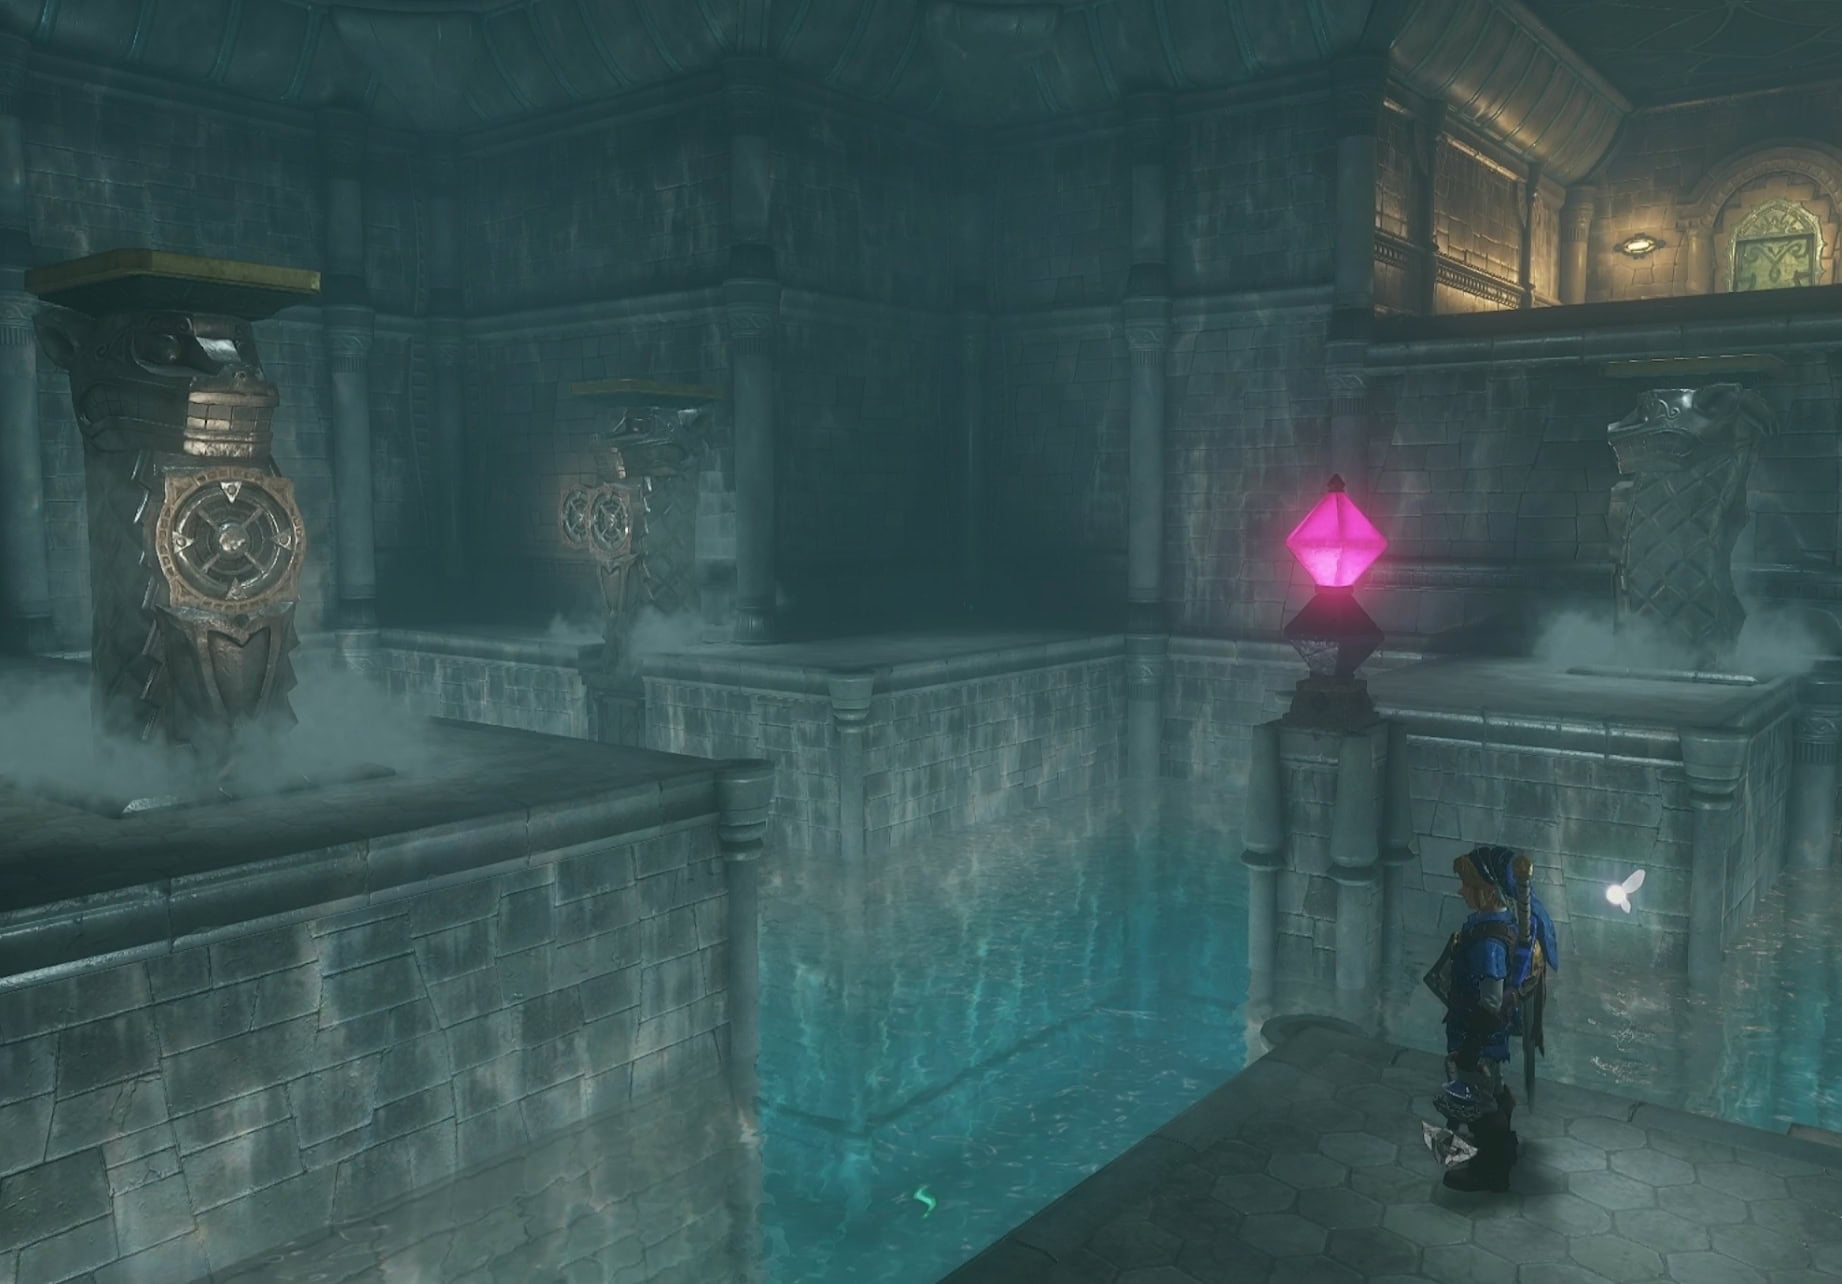
Use the pillars to Hookshot your way across the room, activating the pillar when necessary. Turn the switch blue to climb over the second pillar.
9. Dark Link
Pay close attention to your feet as you walk through this room. Halfway through, your shadow will disappear entirely. Turn around and a dark silhouette will be standing near the tree, attacking you if you get near.
Dark Link will match all of your movements and attacks. He’ll block your swings with his swings. If you try thrusting with the Master Sword, he’ll just jump on top of it.
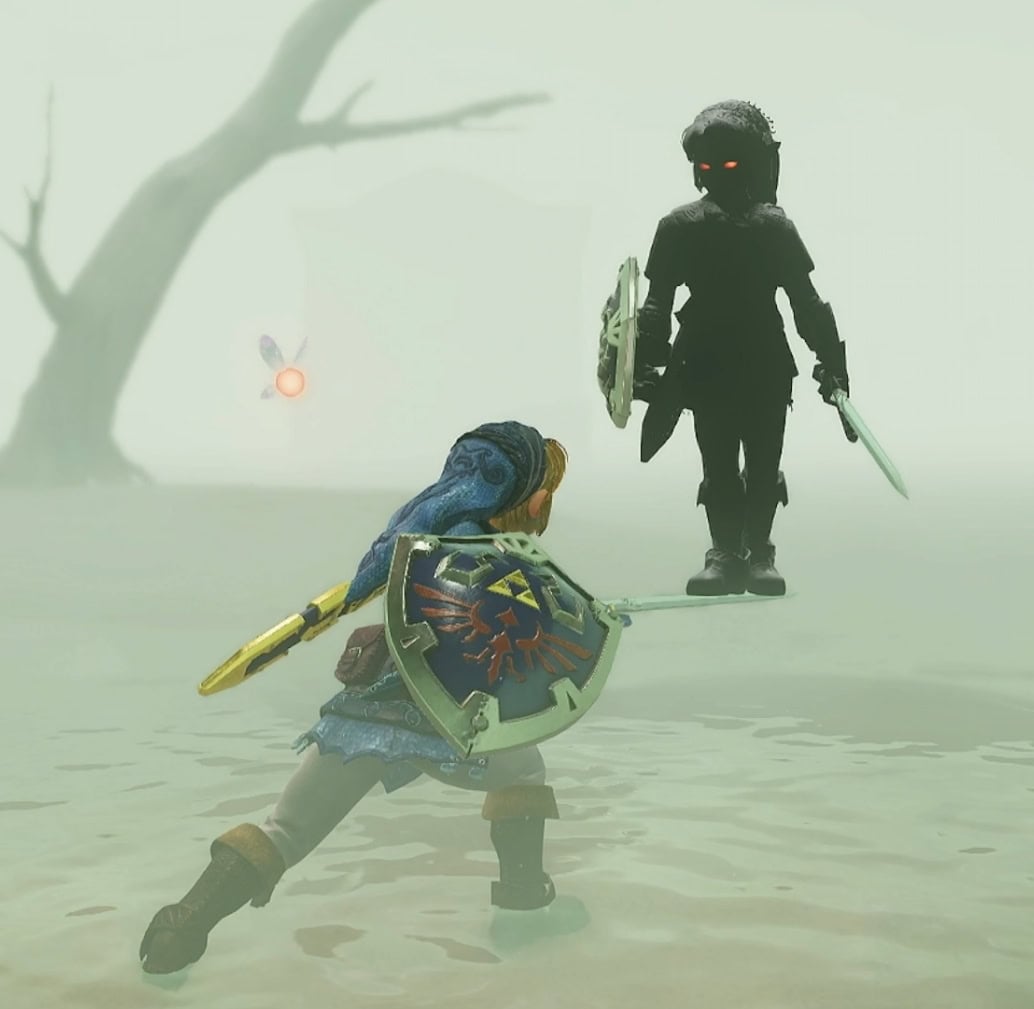
Use the following methods to get past Dark Link’s defenses:
- Use Din’s Fire
- Fight with the Megaton Hammer
- Equip with the Biggoron Sword
Attacking with Din’s Fire and the Megaton Hammer will only work for the first phase of the fight. After taking enough damage, he goes into the water and comes back stronger as black smoke radiates off him.
Dark Link is far more aggressive now and will take the offensive. Do not use a thrust attack with the Master Sword as he’ll jump on your sword, followed by a backflip slash to your face.
A good way to damage him during the second phase is to use a quick Spin Attack. To do this, quickly rotate your left stick in a circle once followed by Y.
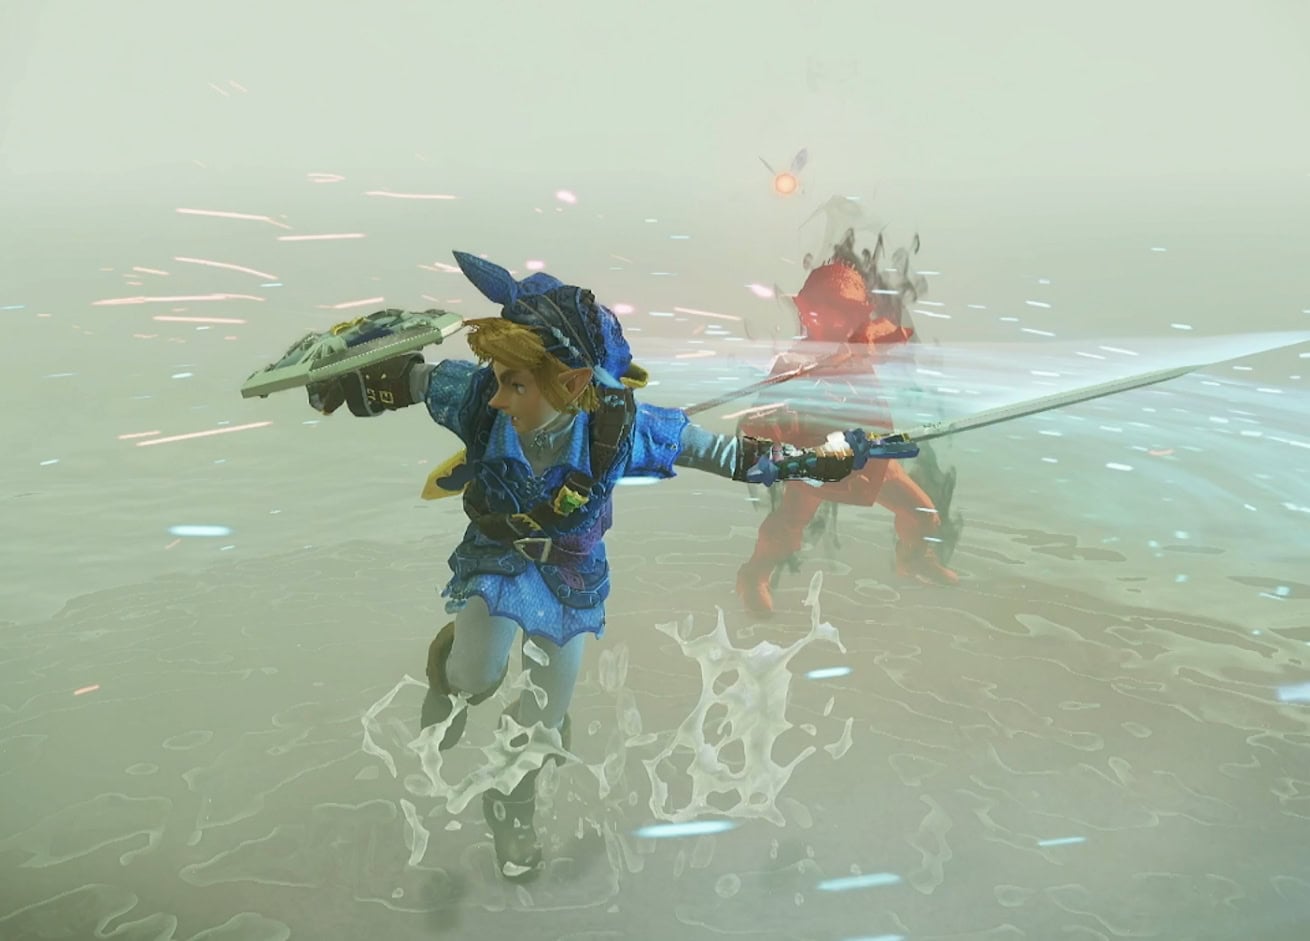
Be ready to retreat backwards whenever you block. Dark Link’s combo will break your guard and expose you to attacks,
The Biggoron Sword is great in this fight as using the thrust three times will end the combo with an upward swing. This can break his guard and hit him, and he’s incapable on jumping on the Biggoron Sword.
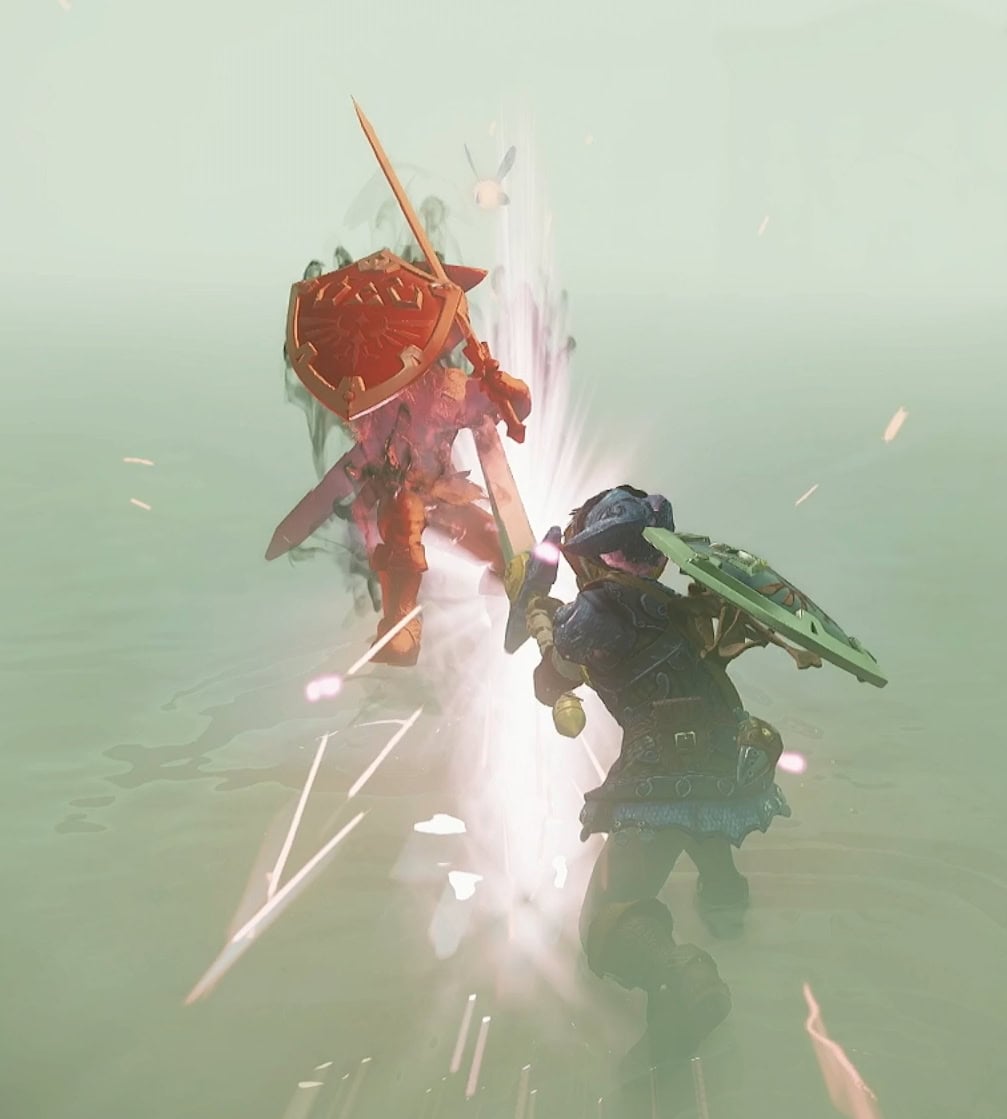
Once defeated, the fog will clear up and the north door will unlock. Go through the door and get the Longshot from the treasure chest. Longshot up to the serpent pillars above and jump down the hole that is now accessible.
10. Vortex River
Equip your Iron Boots when you’re in the Vortex River. This is a matter of walking your way through without falling into the holes the vortexes lead into.
Halfway through, you’ll find a Gold Skulltula on the wall above water. Activate the eye switch at the end, then Longshot onto the target. This leads you back to the Whirlpool Room.
11. Closed Gate
Change the water level to medium using the Low then Middle Crests, then return to the central room. Face north to see a closed gate and an eye switch.
Shoot the eye switch with your Bow then Longshot onto the target before the gate closes. This leads to a room with a small pool to the left.
Sink down the pool and pull the block as far as you can. Return to the surface of the room and Longshot up onto the target on the ceiling.
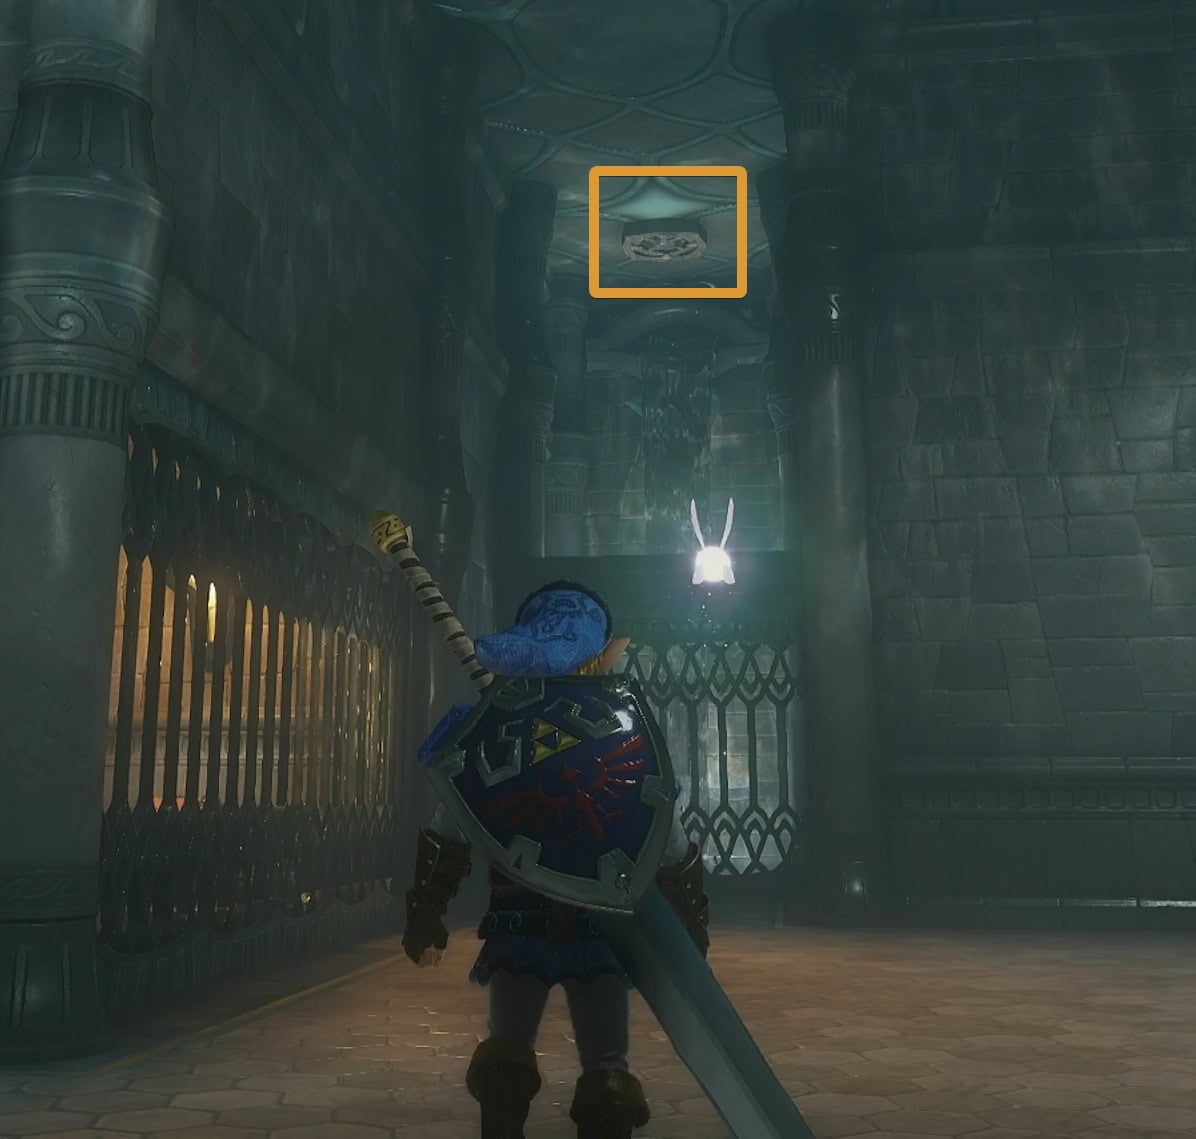
Sink into the water then push the block out of the way to reveal a path to the right. Float up to receive a Small Key. Return to the central room, sink down, and take the north passage.
12. Boulders and Tektites
This room isn’t as dangerous as it appears. Shoot down all of the Tektites with your bow, then swim across to the other side to the door. So long as you swim in the center of the pool, you’ll be fine.
13. Block Pushing
Defeat the Stingers in the pool. Destroy the cracked wall in the center, and either of the cracked walls on the sides. The center opening reveals a block you can push, while the sides let you get around behind it.
Push the block into the water and onto the floor switch to raise the water level of the room. Activate the floor switch in the next room, then jump across the raised platforms.
Be careful when you reach the stream of water, boulders will go through here every so often. There’s a Gold Skulltula found in the hole on the ceiling where the boulders come from.
Go through the next door to the east to find the room with the Big Key chest. Acquire the Big Key and return to the central room.
Use Farore’s Wind if you used it at the High Crest or Longshot up to Pierre if you summoned him. Otherwise, take the west door on 2F to reach the High Crest. Raise the water to full and prepare for the boss fight.
14. Spike Trap Slope
Equip the Iron Boots and walk up the watery slopes, avoiding the spike traps sweeping side to side. You’re very fortunate that this is much easier to get through than the original version.
Morpha
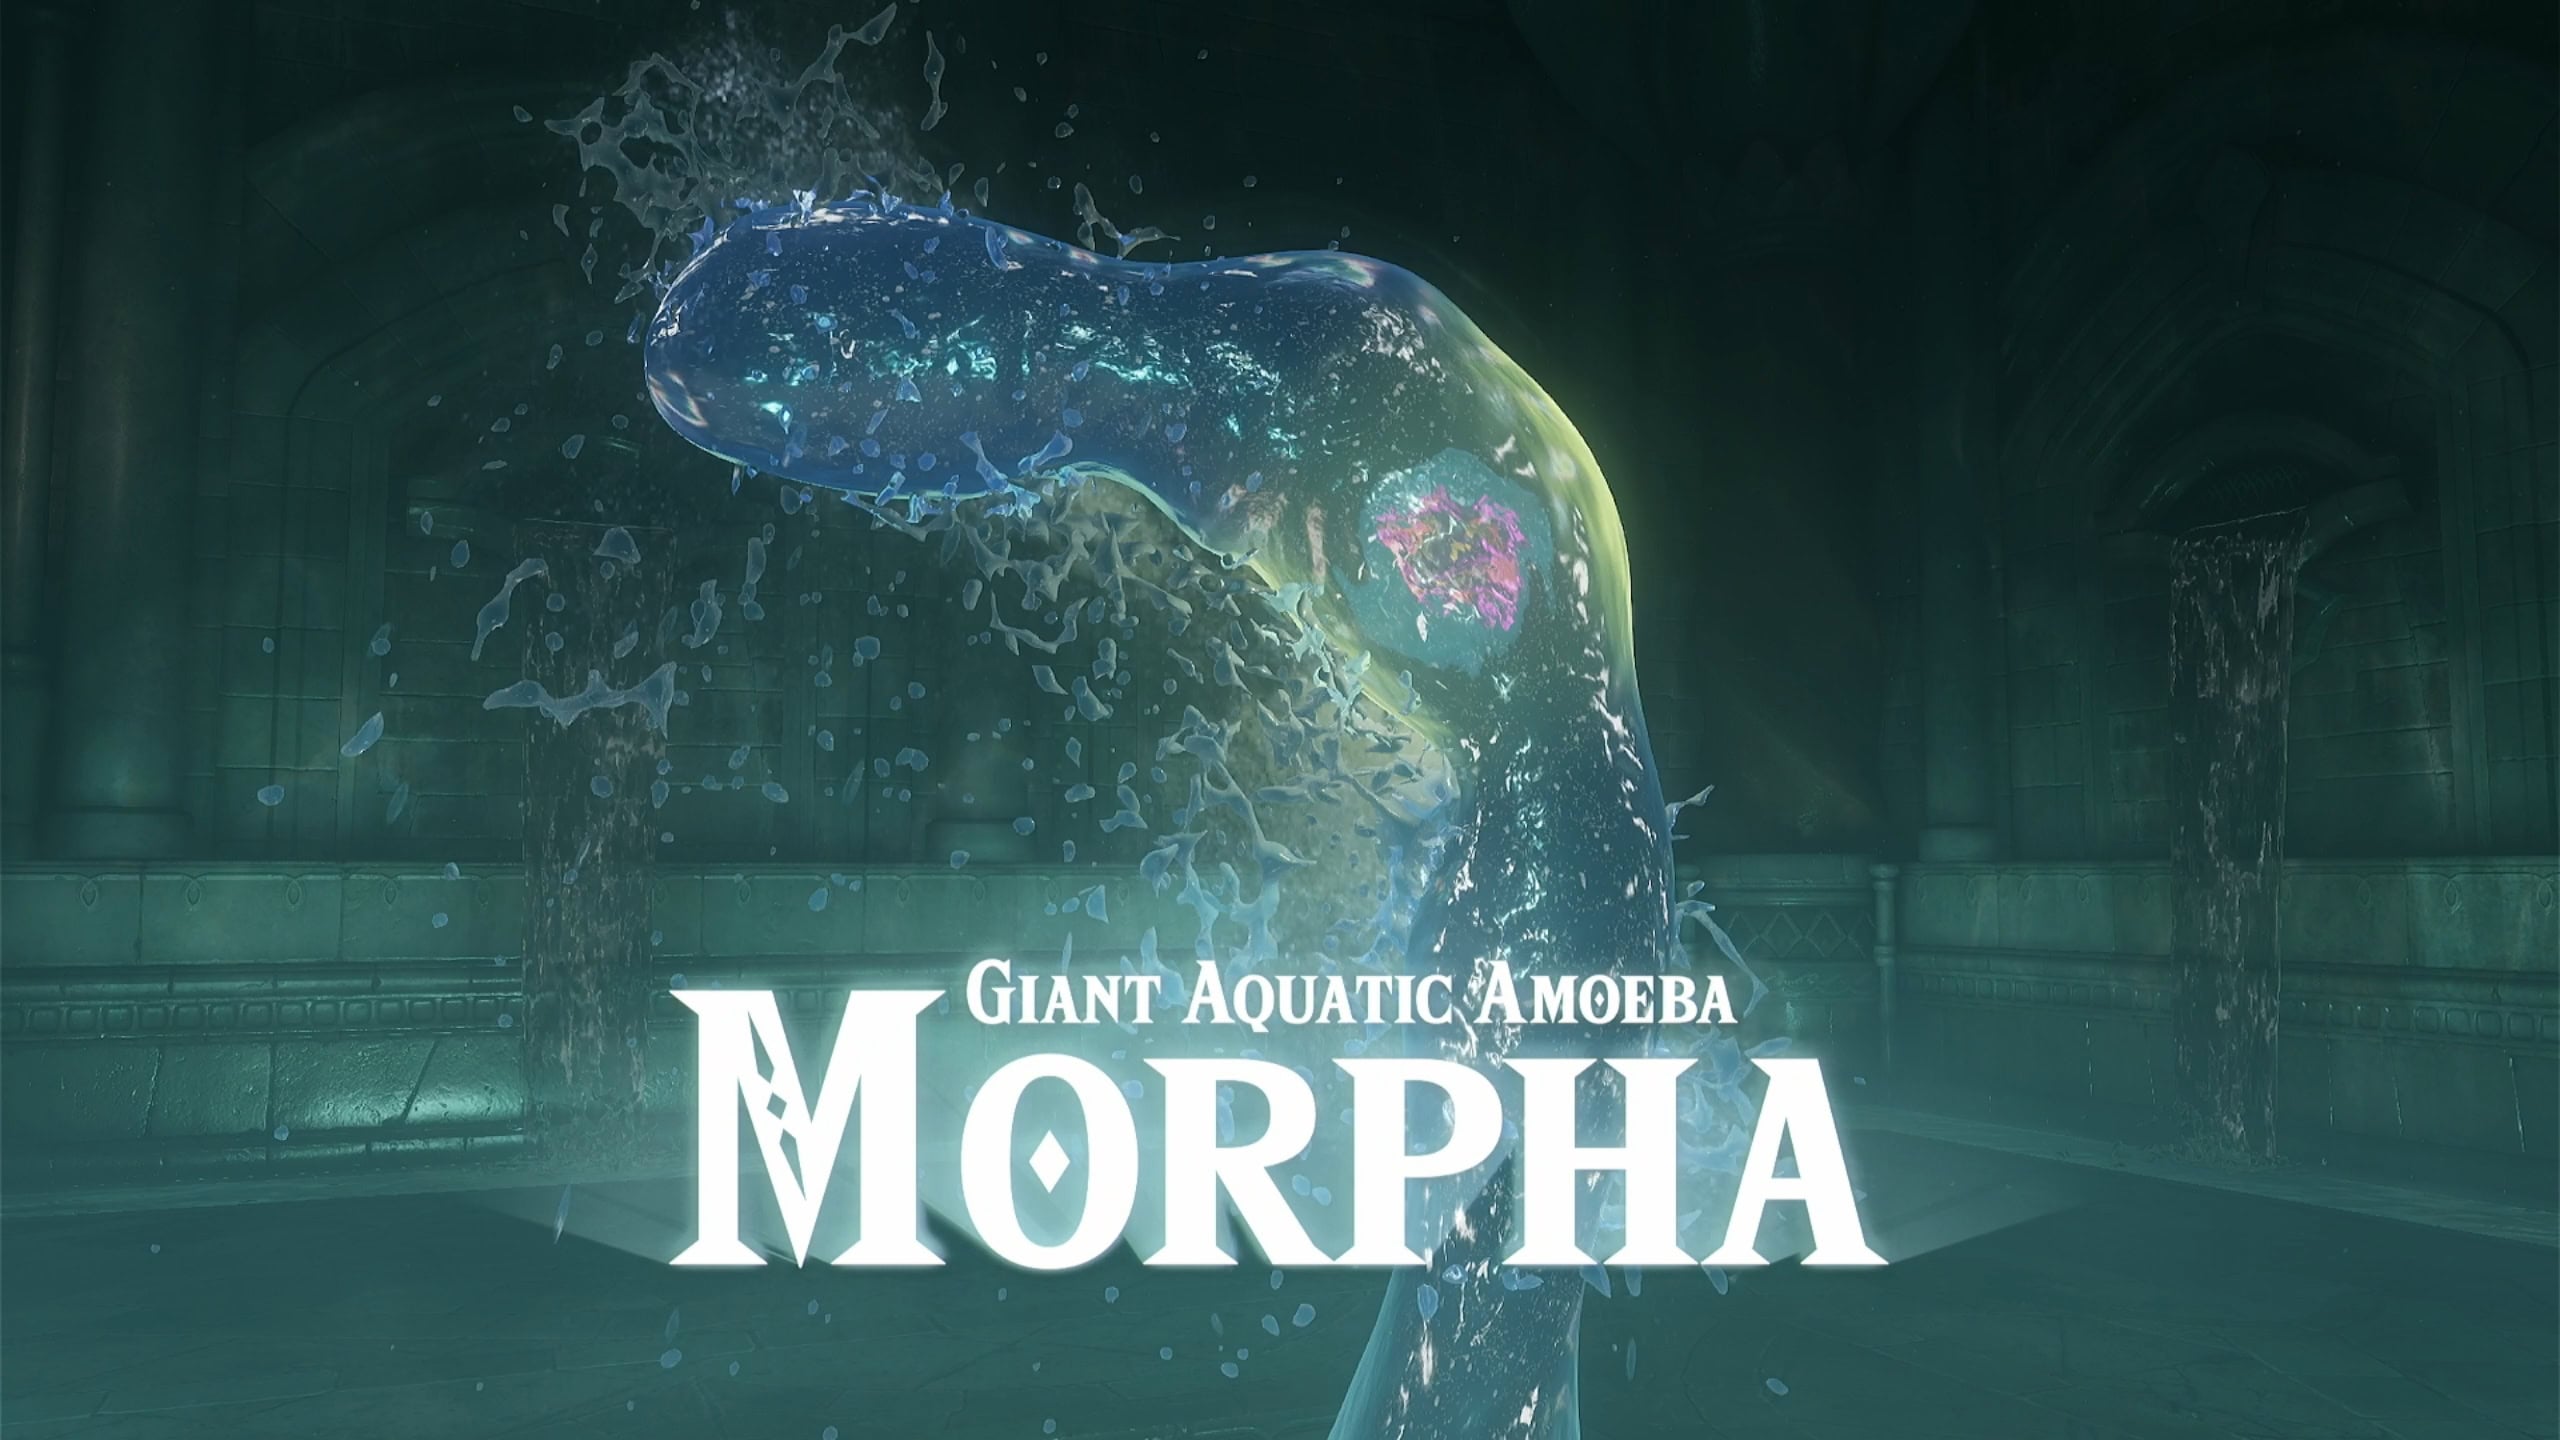
A large pool with four platforms make up the final room of the Water Temple. Jump onto any of the platforms in the pool to begin the fight against the Giant Aquatic Amoeba, Morpha.
Water Temple Summary
Here is a brief recap of what you’ll need to do in order to complete the Water Temple:
- From the entrance, sink down to the 1F and take the east path to meet Princess Ruto.
- Float up where you met Ruto, get the Map, and play Zelda’s Lullaby at the Triforce crest.
- Jump down to the room where you met Ruto, light the torches, and defeat the spikes in the next room to get a Small Key. Acquire the compass on the south path of 1F.
- Take the west path of 1F and get the small key in the Whirlpool Room.
- Unlock the door on the central pillar and play Zelda’s Lullaby at the crest within to raise the water to 2F.
- Take the east path of 2F and get the Small Key past the hall of Stringers.
- Take the west path of 2F and raise the water level to its highest at the crest. Use Farore’s Wind here or summon Pierre for later.
- Take the west path on 3F and get up the Waterfall Room with the falling Hookshot platforms. Get past the room with the three pillars and crystal switch.
- Defeat Dark Link and get the Longshot.
- Use the Iron Boots to safely navigate the Vortex River.
- Return to 2F and open the north path, using the Longshot to get across. Pull the block as far as you can, Longshot past the fence using the target on the ceiling, and push the block to the side to find a Small Key.
- Sink down to 1F and take the north path. Get across the room with the boulders and Tektites.
- Destroy the center cracked wall and either of the cracked walls to the side. Push the block onto the floor switch underwater, and follow the path to get the Big Key. Return to the High Crest and raise the water level to 3F.
- Hookshot onto the pillar on the north side of 3F and get past the spike traps with the Iron Boots.
- Defeat Morpha.
The Fire Arrows
After defeating Morpha and receiving the Water Medallion, you’ll be teleported to the the warp pedestal in Lake Hylia.
With the lake now refilled, you can unlock a fun tool. It’ll now be morning and the sun will be rising. Take your Bow and shoot an arrow towards the morning sun when you see a halo of light.
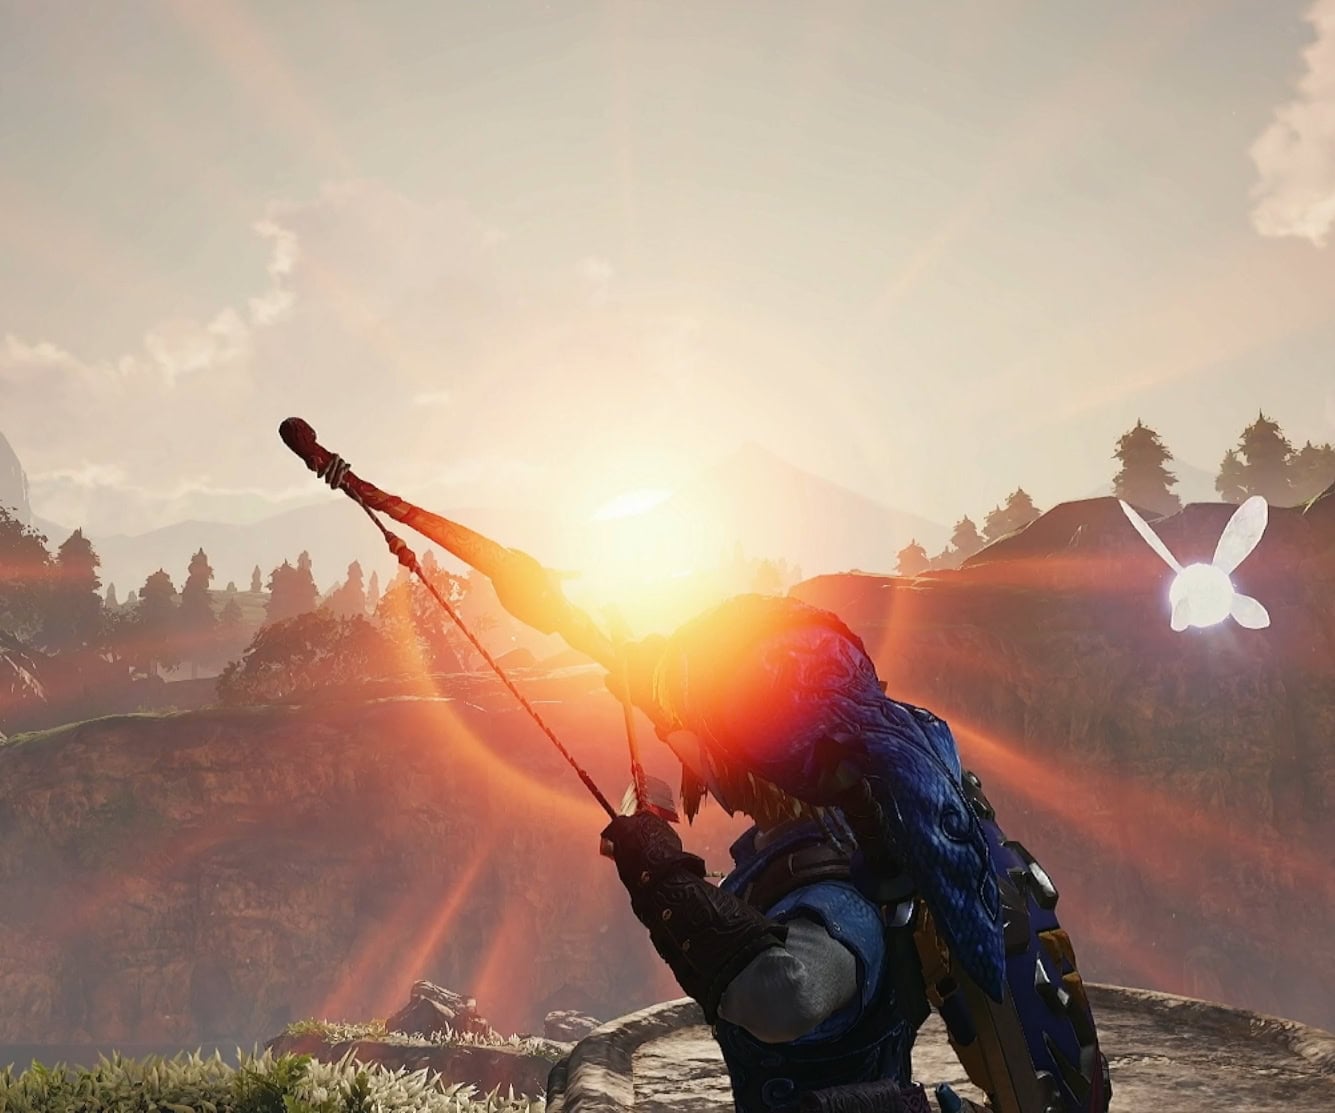
Doing this will have the Fire Arrows descend from the sun and onto a small island in front of you. Pick them up to acquire the Fire Arrows!
These are useful for lighting torches when you lack another source of fire. They’re also a fun way to deal additional damage to enemies.
Flames and Smoke over Kakariko Village
Things have been rather gloomy in Kakariko Village, but now something feels even more off. That’s probably due to the fact that it’s on fire, you should go over there and help.