A walkthrough for completing the Fire Temple in The Legend of Zelda: Ocarina of Time for the Nintendo Switch 2. Includes an interactive map to help you navigate, tips for getting through traps like the fire maze, and where to find all the Gorons, treasure chests, and Gold Skulltulas.
Use the Table of Contents, located in the left panel (top left button on the mobile menu) to navigate through this long guide more easily and quickly.
Entering the Fire Temple
The Fire Temple can be found in Death Mountain Crater. After talking to Link the Goron, you can open the shortcut to the Fire Temple through Darunia’s room. Be sure to equip a Goron Tunic before heading inside!
Map of the Fire Temple
The following map features all the floors, items, and order of events needed to complete the Fire Temple.
1. Imprisoned Gorons
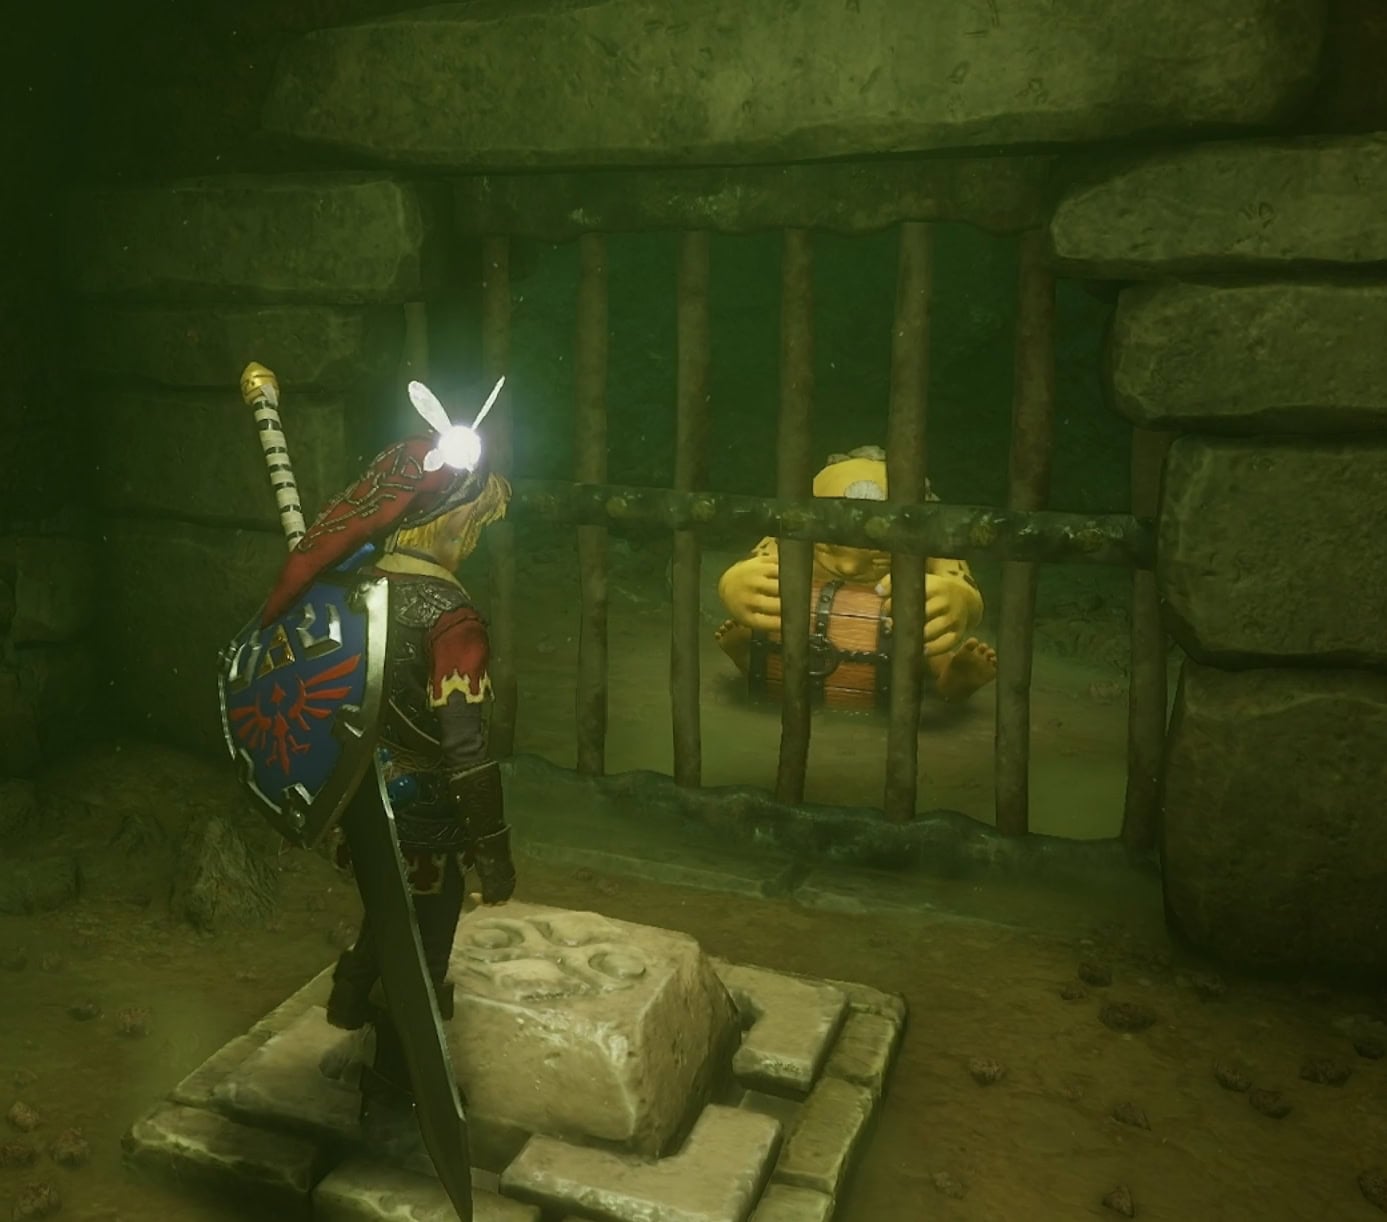
In the room where you find Darunia, go to the south side where you’ll find an imprisoned Goron. Set him free with the floor switch and he’ll give you a piece of advice, and you’ll find a Small Key.
All of the Small Keys within the Fire Temple will be housed in a prison cell. If you see a Goron holding a small chest, you know there’s a Small Key inside!
2. Large Lava Room
This large lava room is filled to the brim with Fire Keese, Red Bubbles, and lava. Use the various platforms to get around the room, and make your way either north or south.
The door going south will have a Goron and a Small Key blocked off by a rock wall. Blow it up with a bomb and free the Goron.
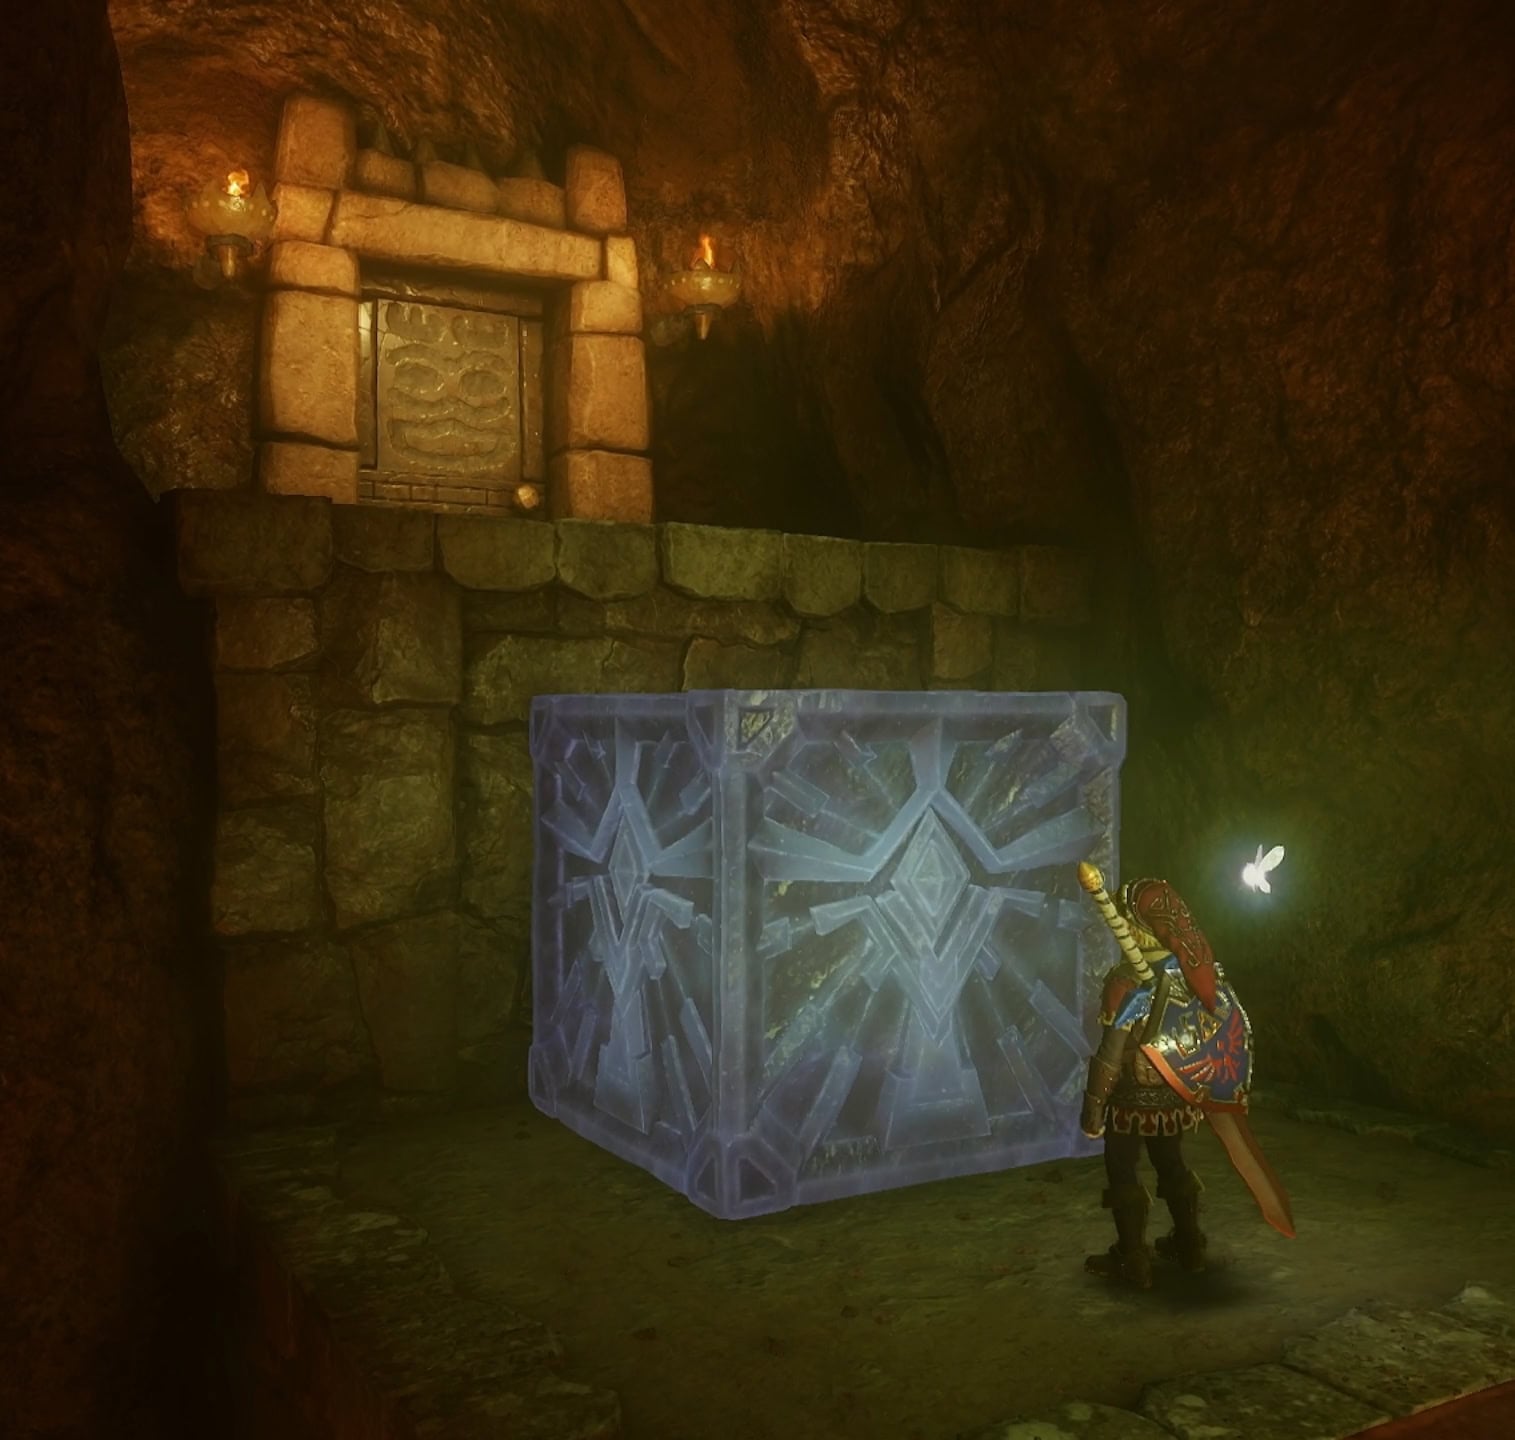
Going north is another Goron and Small Key. You’ll also find a Time Block to the right of the northern prison cell.
Play the Song of Time to move the Time Block down, climb up, and you’ll find a room with Flying Tiles, a Like Like, and a Gold Skulltula.
Keep your shield up until all of the Flying Tiles have destroyed themselves. Be very careful with the Like Like as if it gets a hold of you, it can eat your shield. Defeat it to get your shield back.
You can use Like Likes to remove your shield for aesthetic purposes.
3. Pillar of Flame
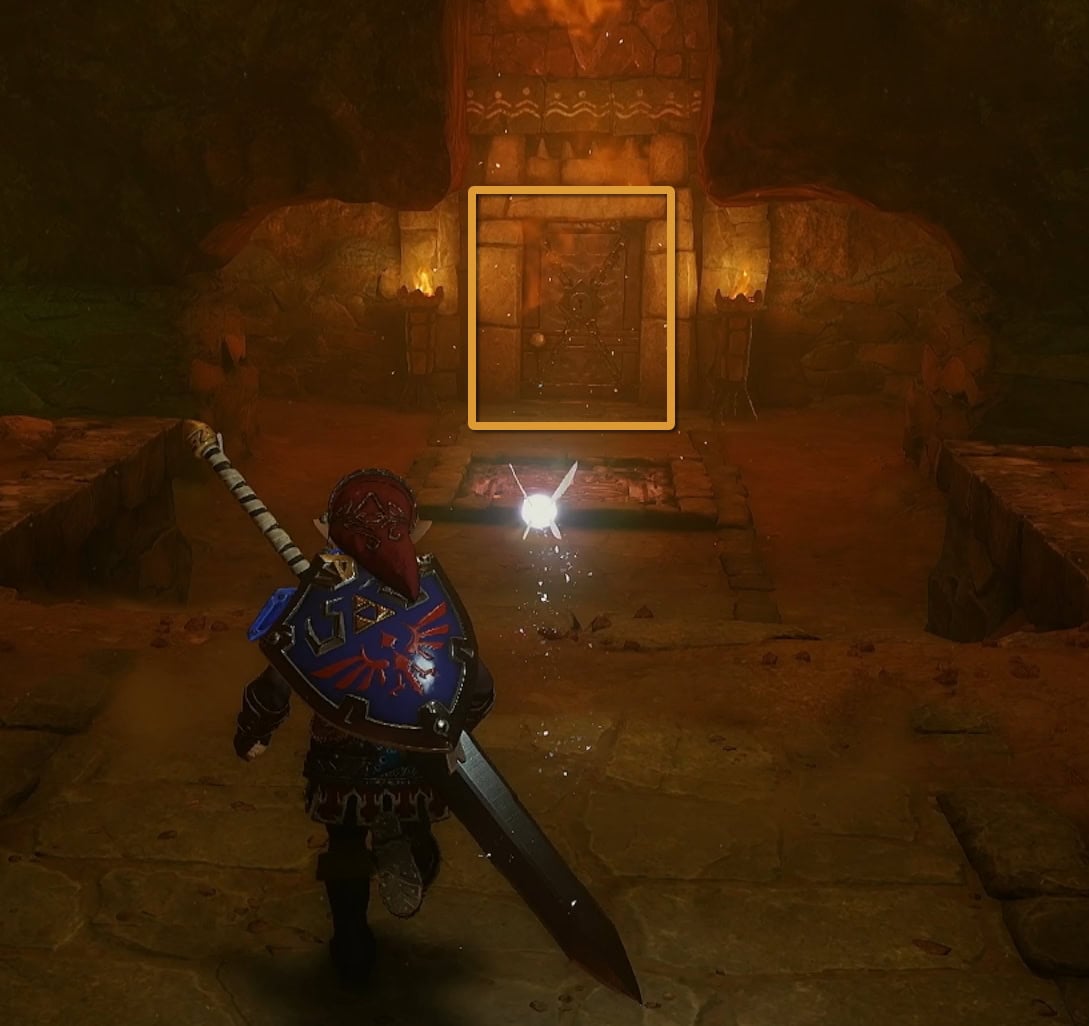
Walk past the pillar of flame then unlock the door behind it. Climb up the chain-link wall and push the block down onto the pillar of flame. Jump down onto the block and ride it up to 2F.
4. Torch Slug Room
Climb up the ledges on the left side. Around the corner near the crystal switch is a block you can pull out. Activate the crystal switch to make it red, pull out the block, then push it below the ledge where the wall of flames previously was.
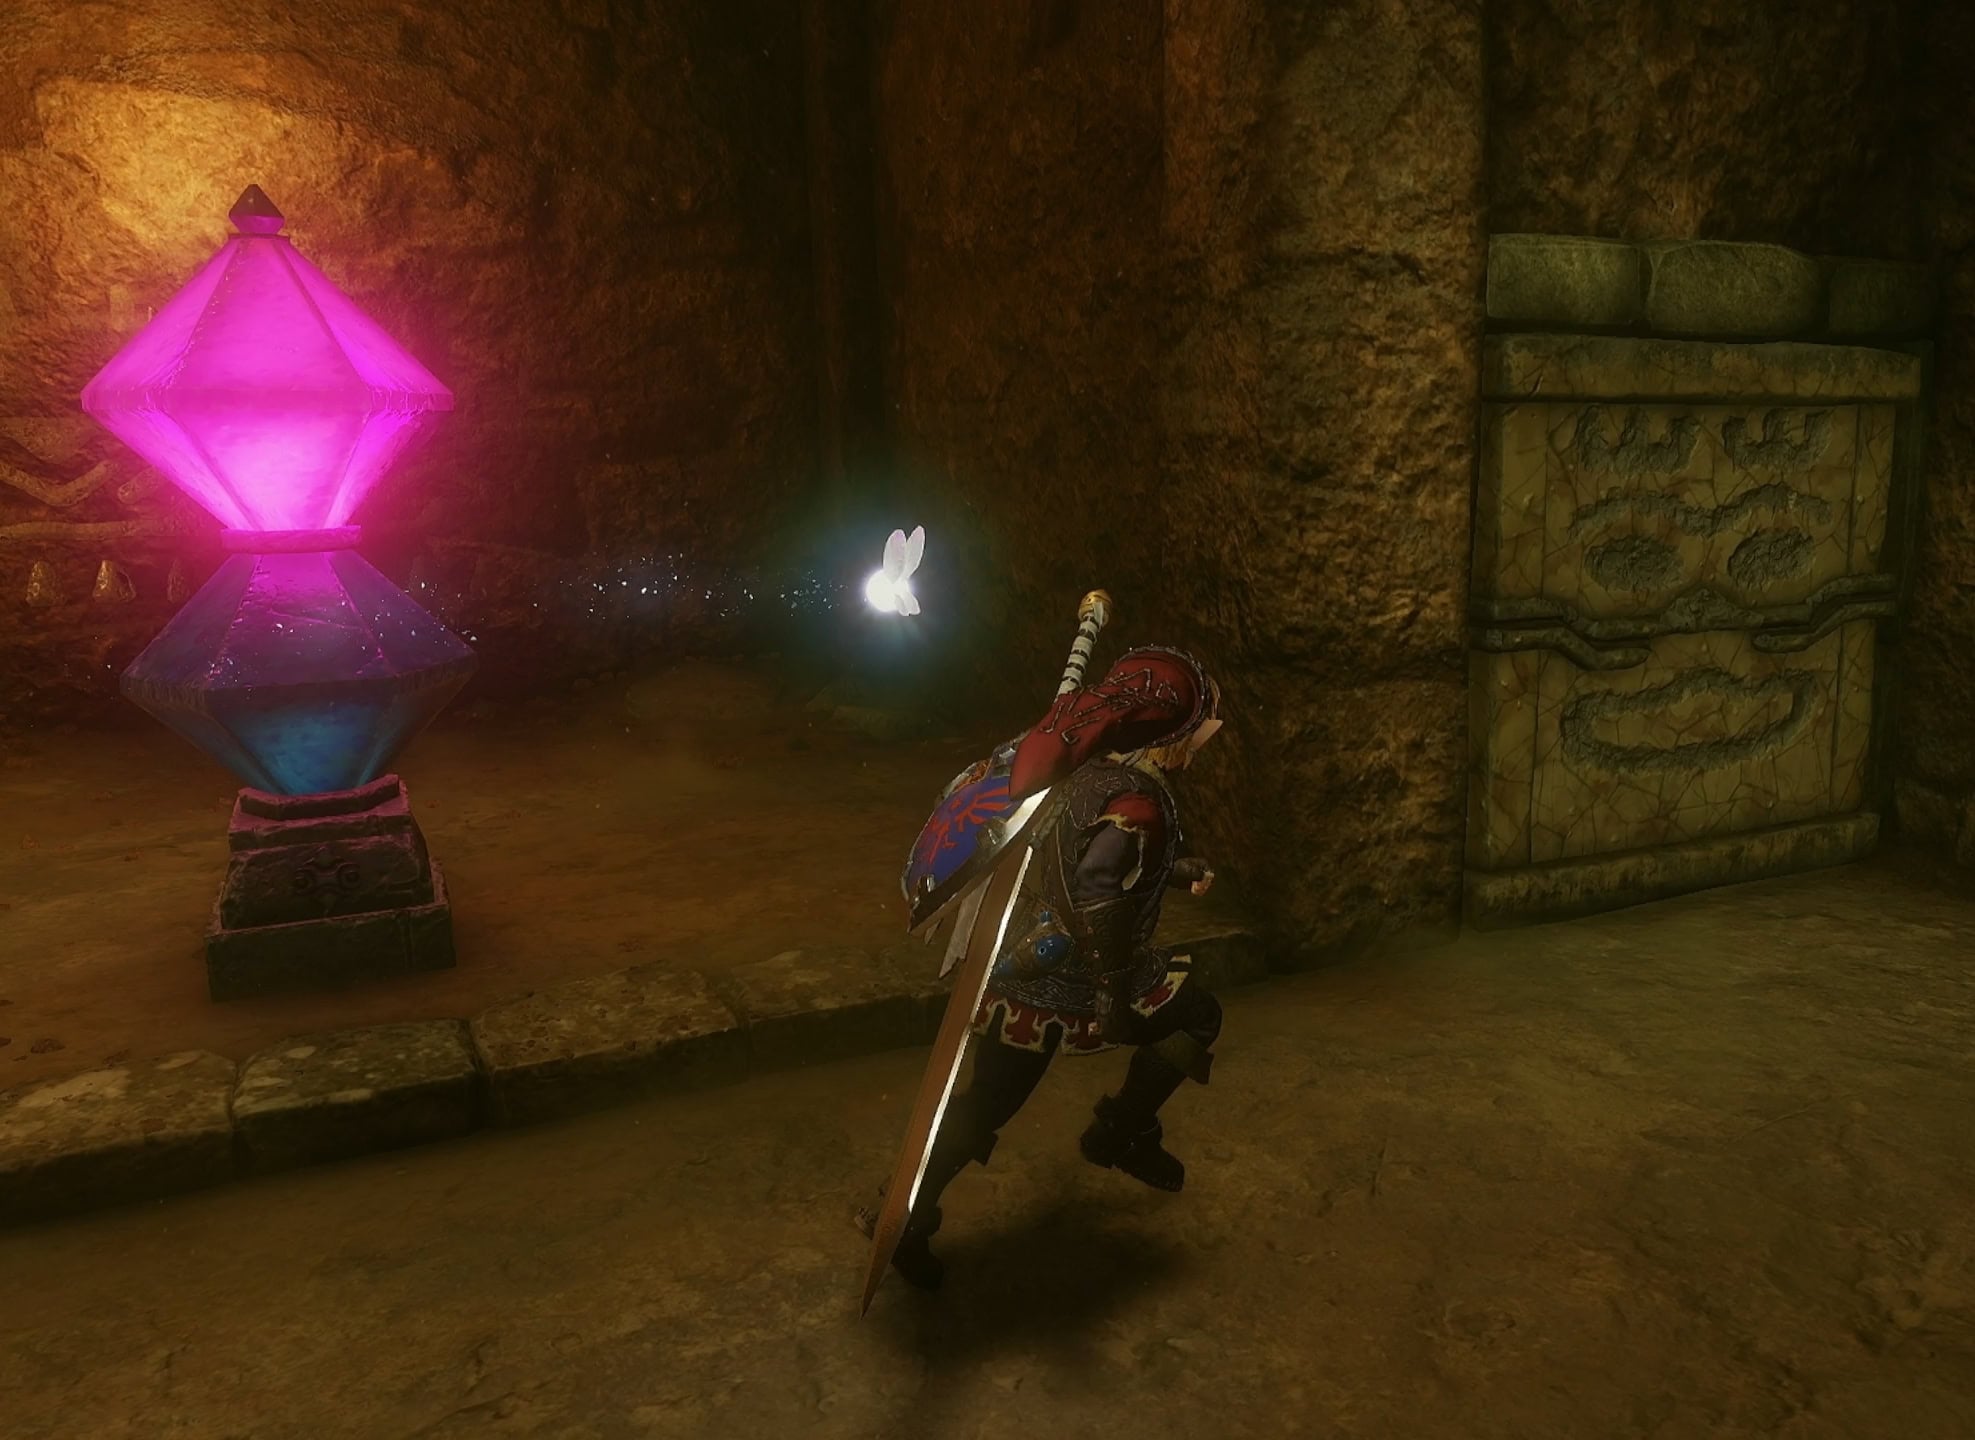
Climb up the block and the ledges to find a Goron in a cell. There’s no way to free him from this side of the room. Shoot an arrow at the crystal switch to deactivate the flames on the chain-link wall, then climb up.
5. Boulder Maze – Lower Level
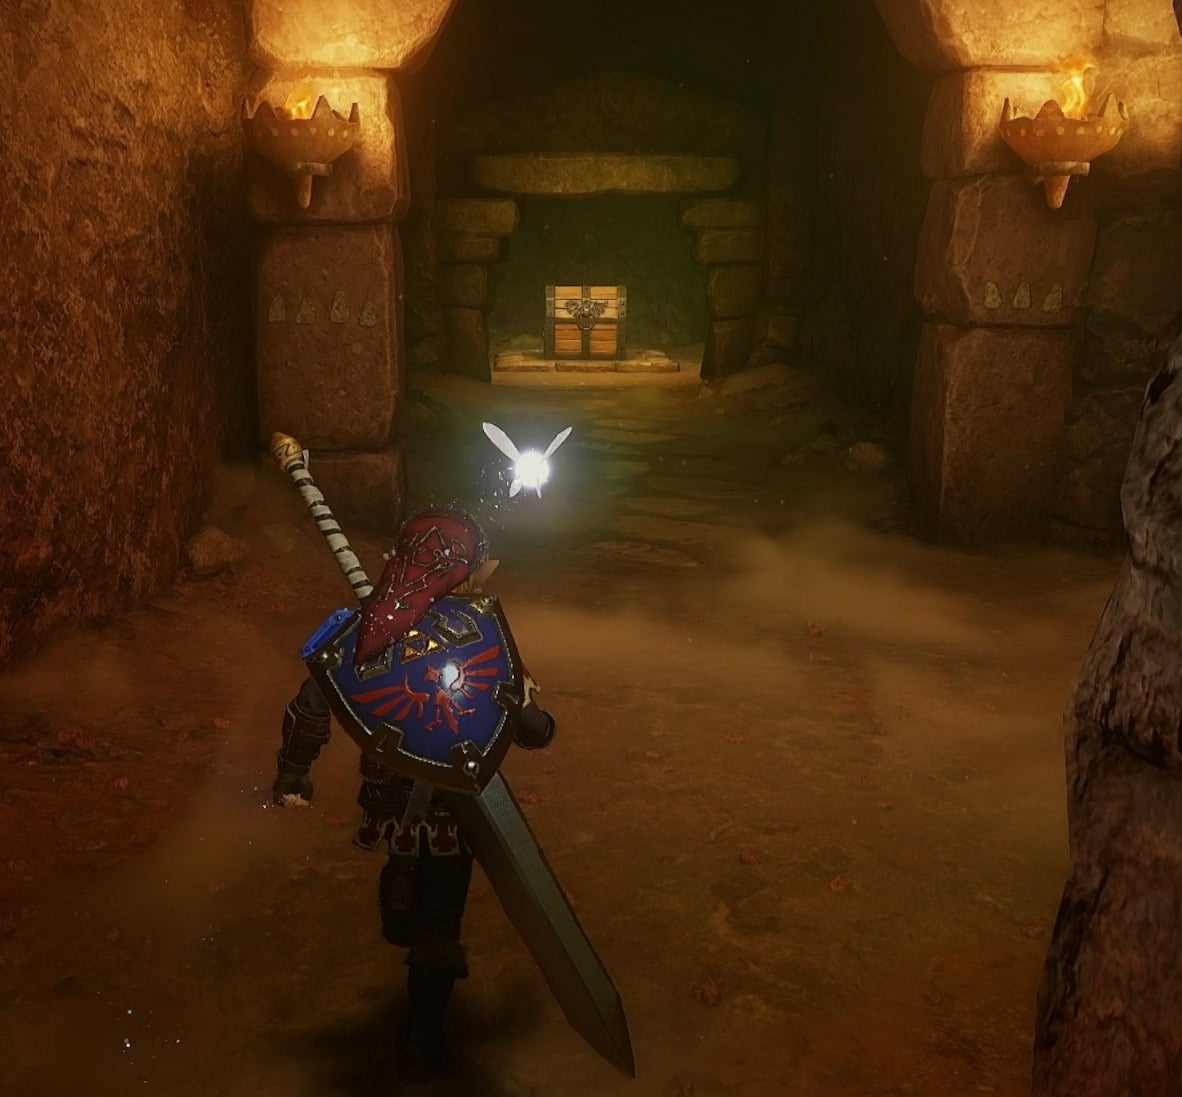
Take a moment to see which paths the molten boulders follow. Once you got a feel for it, make a left going south. You’ll find a large chest with the Map of the Fire Temple.
Return to the spot you came from, and now go to the right. You’ll find a rock wall to bomb that will reveal a Gold Skulltula.
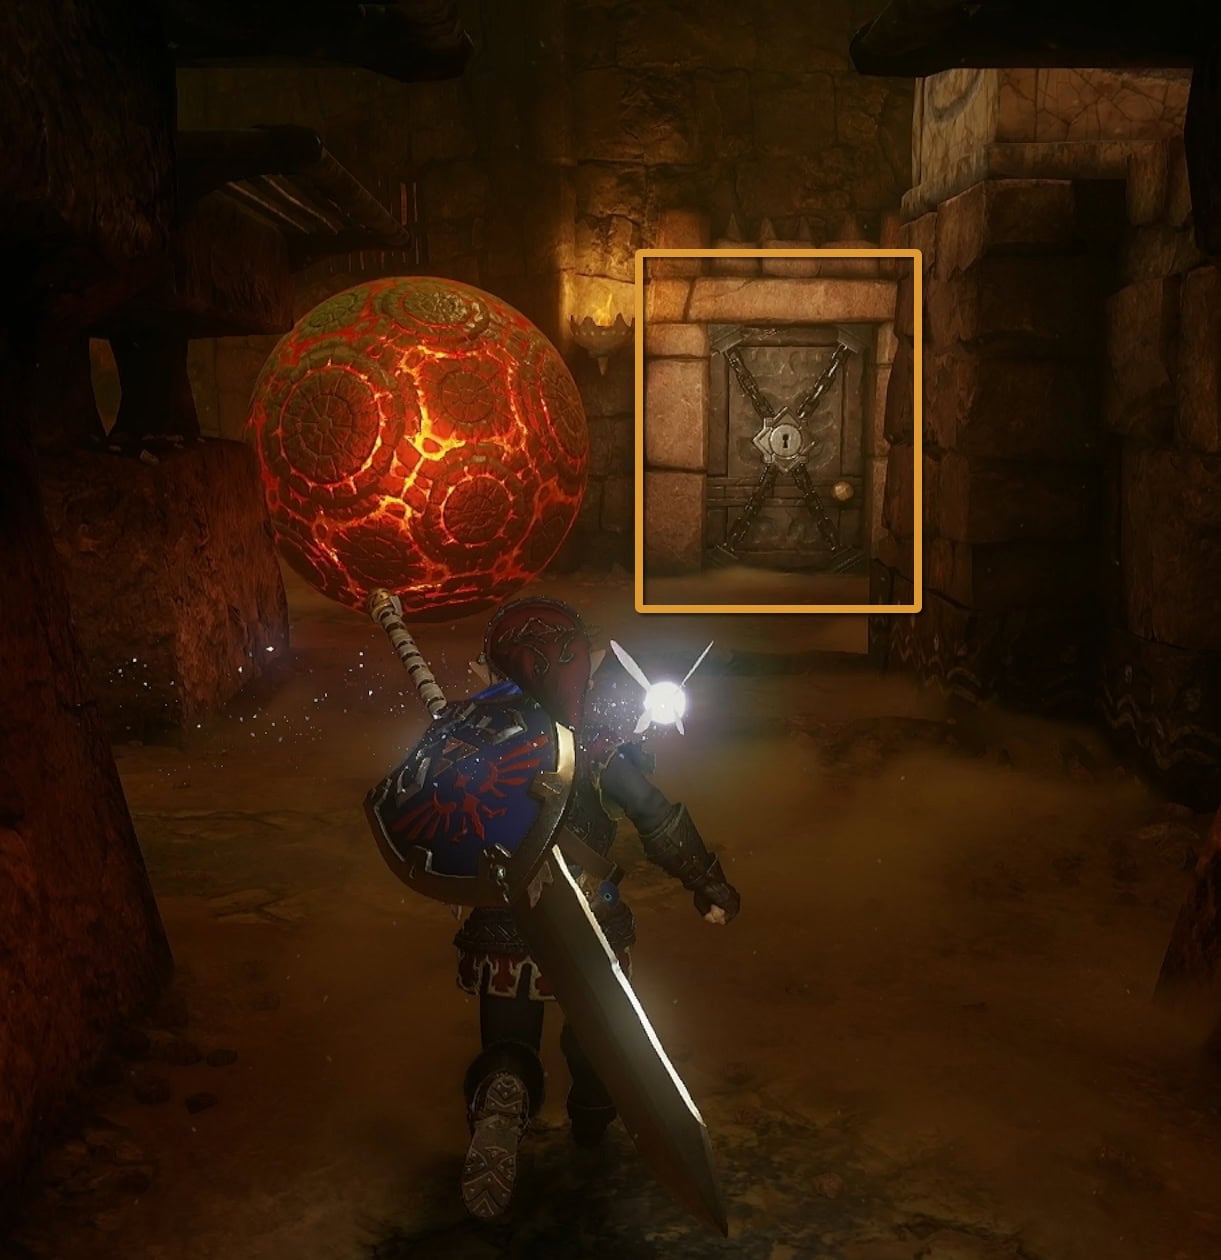
To the left of this Gold Skulltula is another prison cell. Release the Goron, get the Small Key, then go through the locked door near the center of the room just south of the prison cell.
6. Tall Chasm Bridge
You’ll be on a very narrow bridge with a sealed door to your right. Shoot the eye switch with your Bow and slowly walk to the unsealed door.
This takes you to a chest with the Compass. Return to the Tall Chasm Bridge and go through the next door going west.
7. Wall of Fire Trap
When you jump down onto the metal grate platform, a wall of fire will spawn behind you. Run across the platforms until you reach the block at the end of the room. Just watch out for the swarms of Red Bubbles that appear.
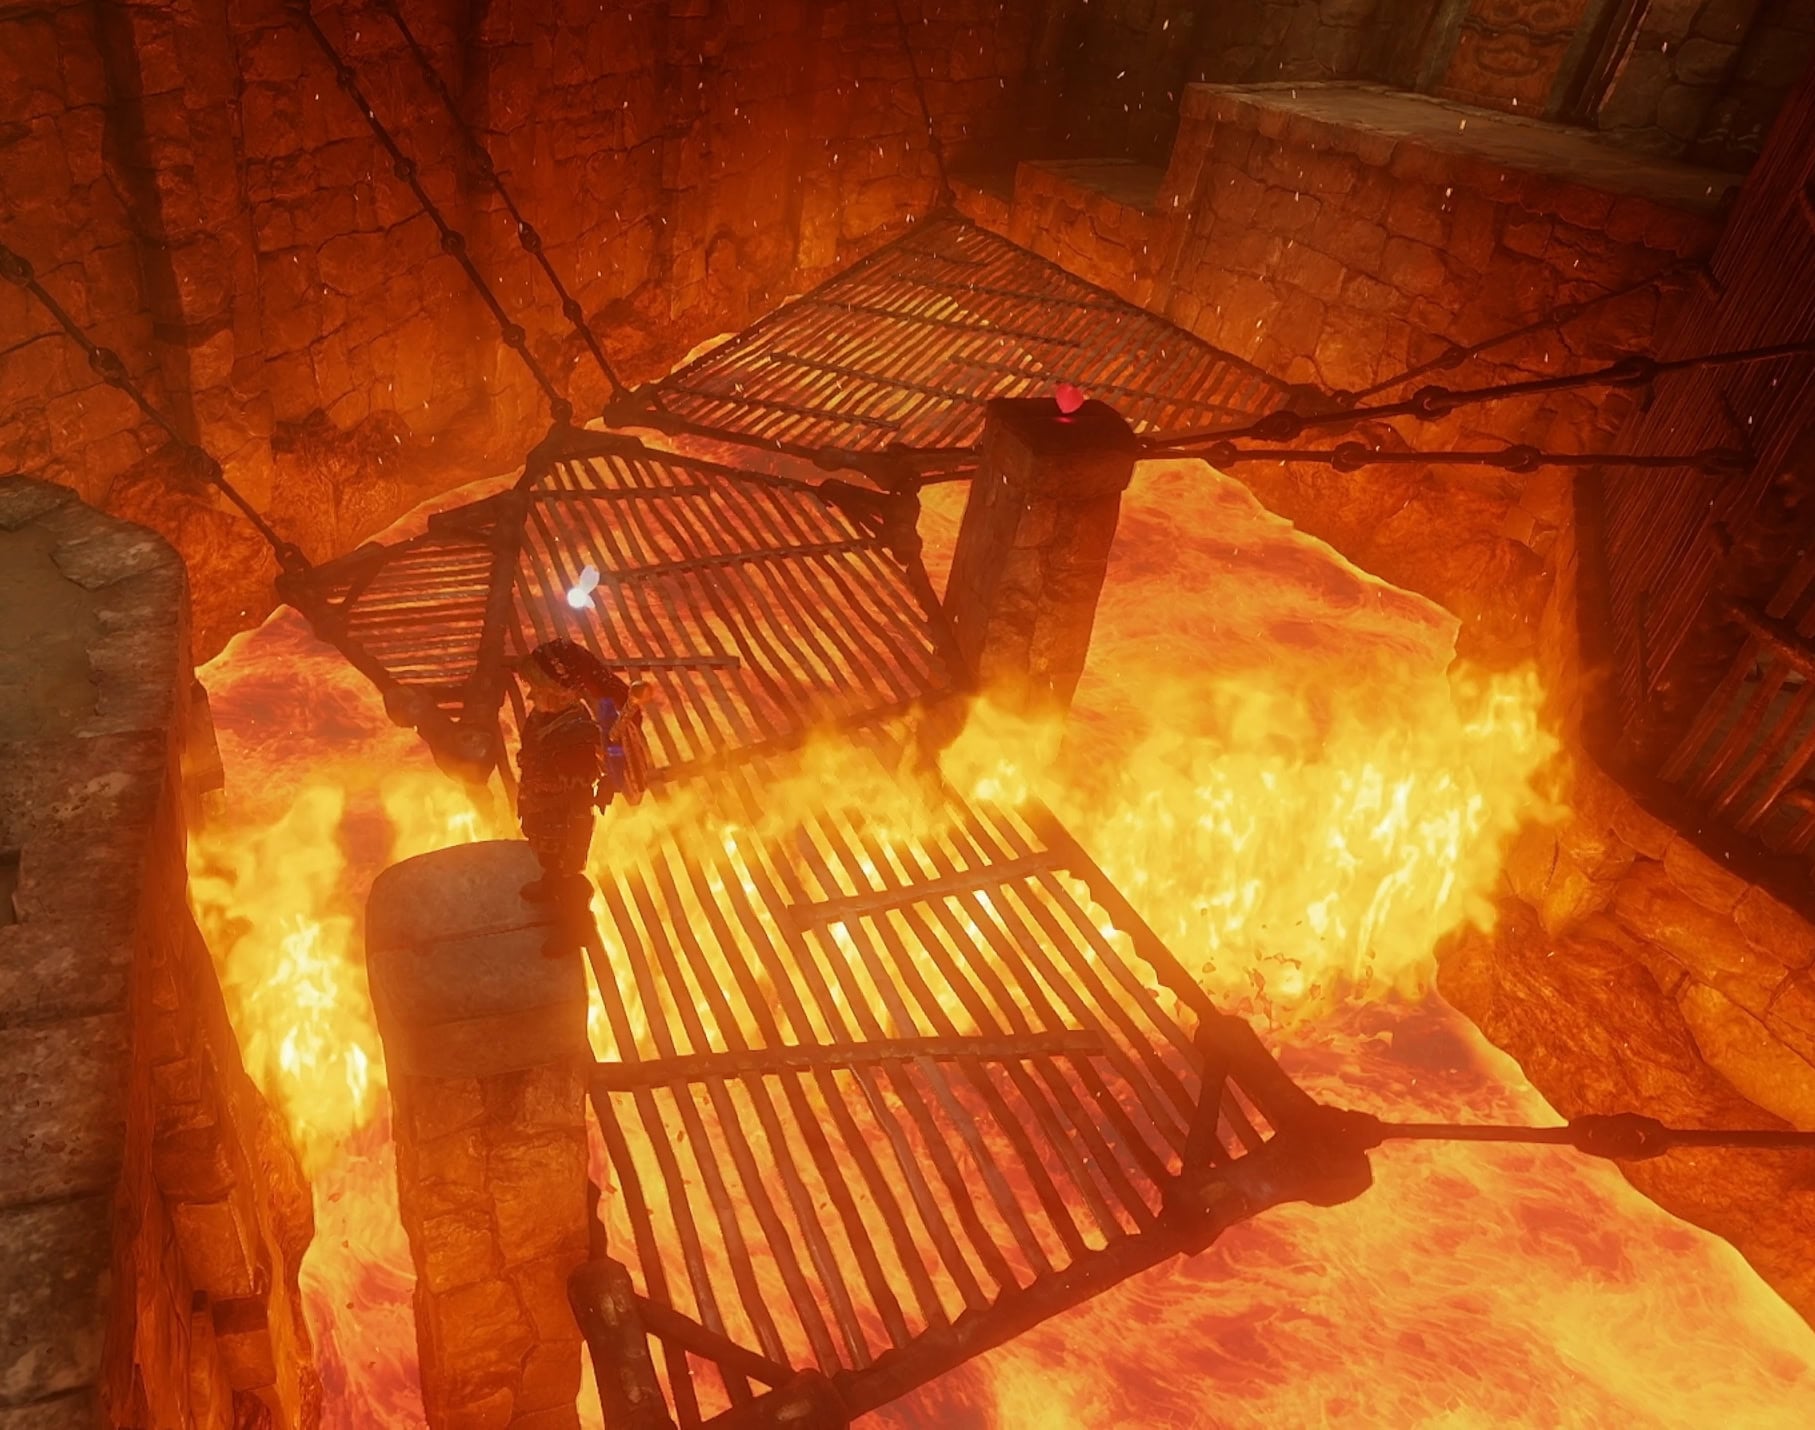
You can climb on top of the thin pillars with the Recovery Hearts and let the fire wall go by. Be quick as another spawns soon after.
8. Boulder Maze – Upper Level
Push down the block to create a shortcut to the upper level of the Boulder Maze. Jump to the platform with the rocky ground and bomb it, then climb down the wall. Free the Goron and get the Small Key from the Torch Slug room.
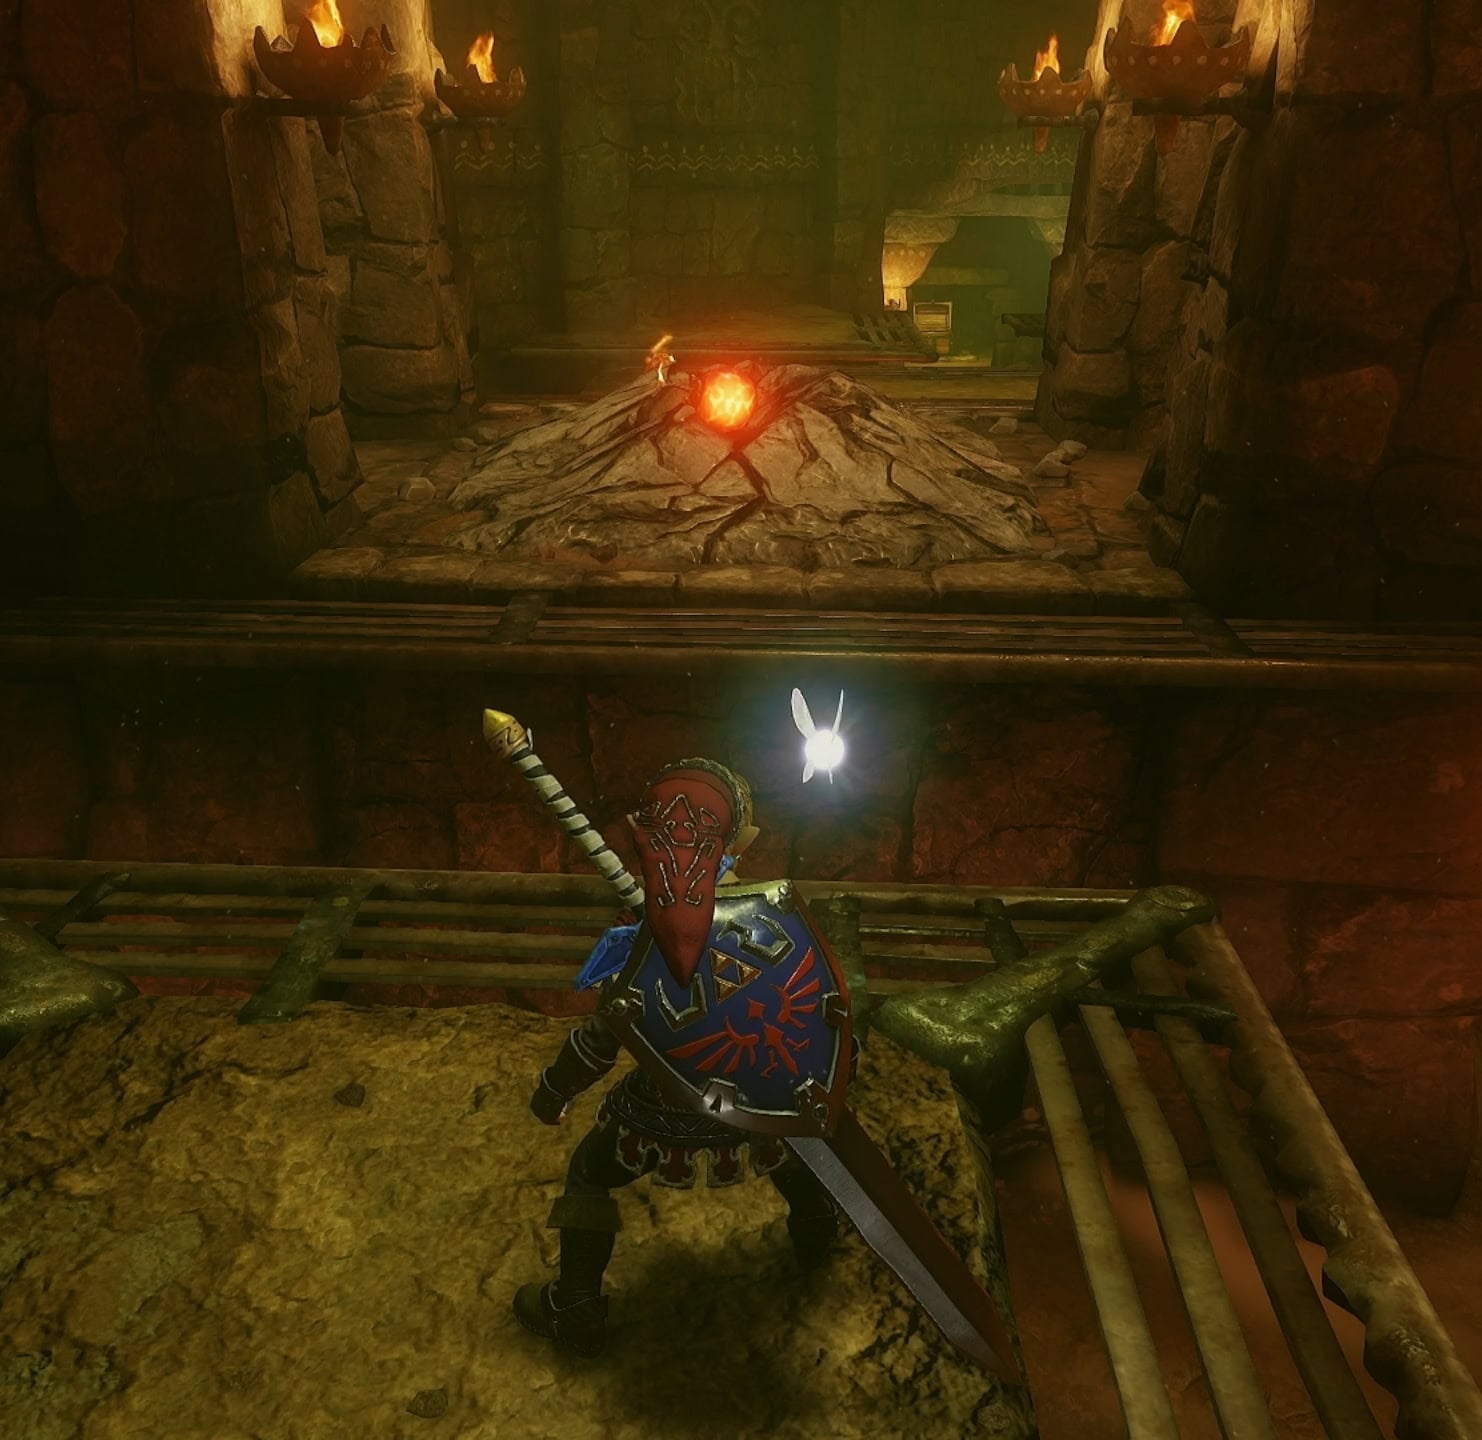
Climb back up and go south to find another Goron and Small Key. Once freed, return to the shortcut block you made earlier. If you look up, you’ll see a spot where you can summon Pierre with the Scarecrow’s Song.
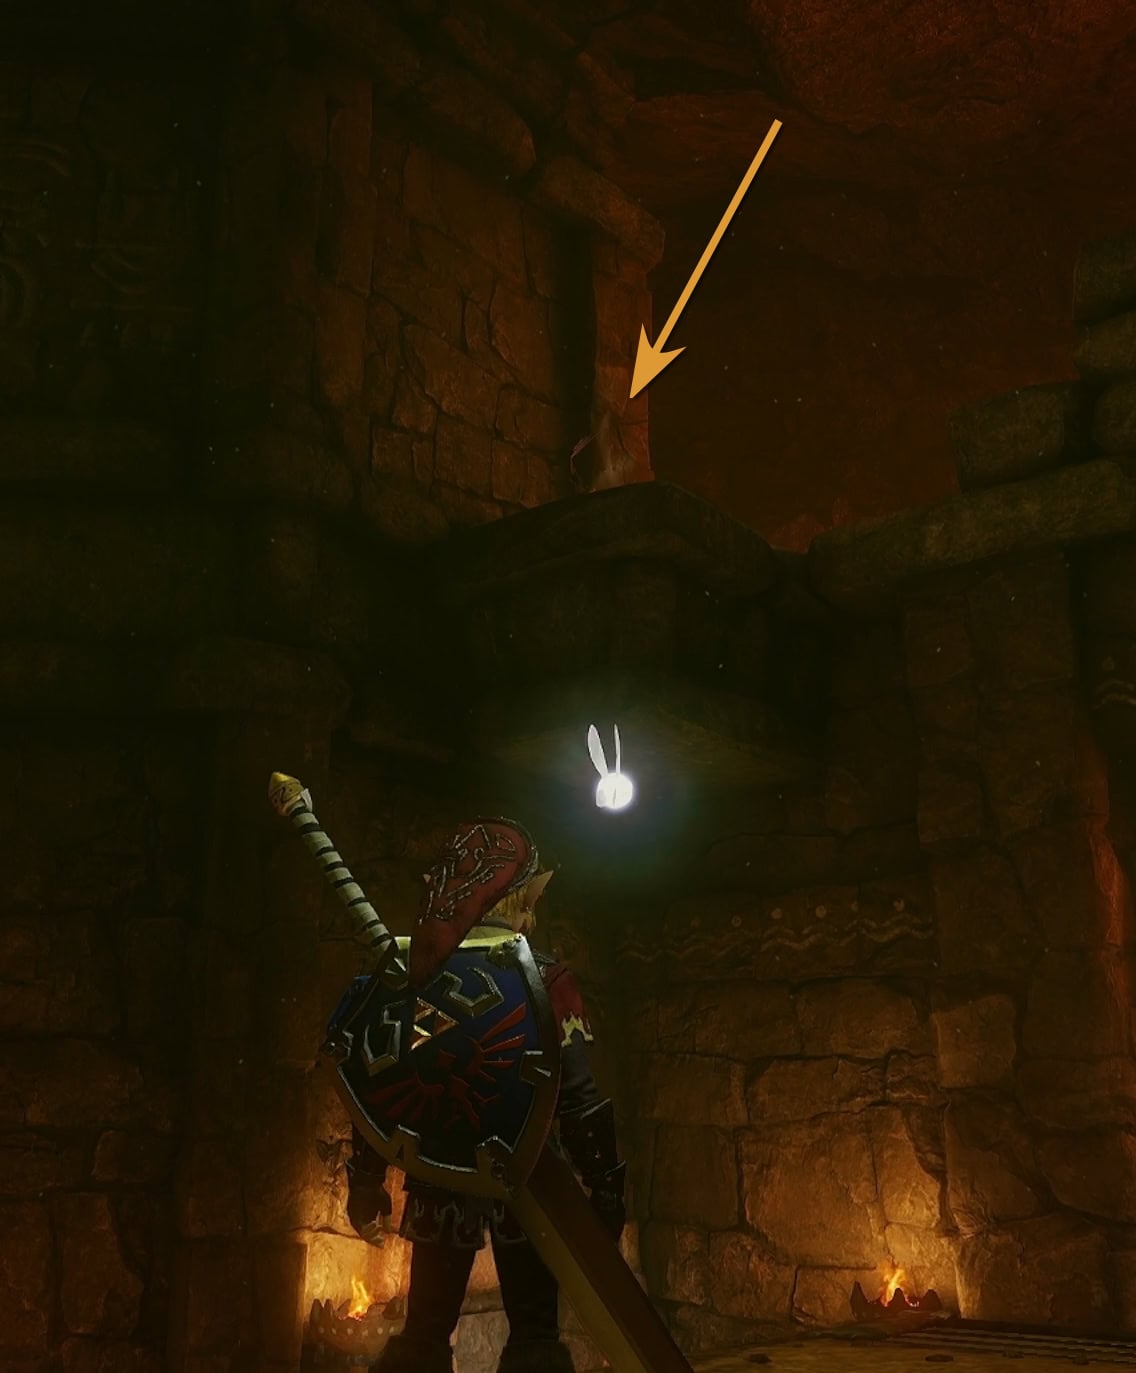
If you Hookshot up to Pierre, you can then Hookshot to a small platform that will lift you up into a secret set of rooms.
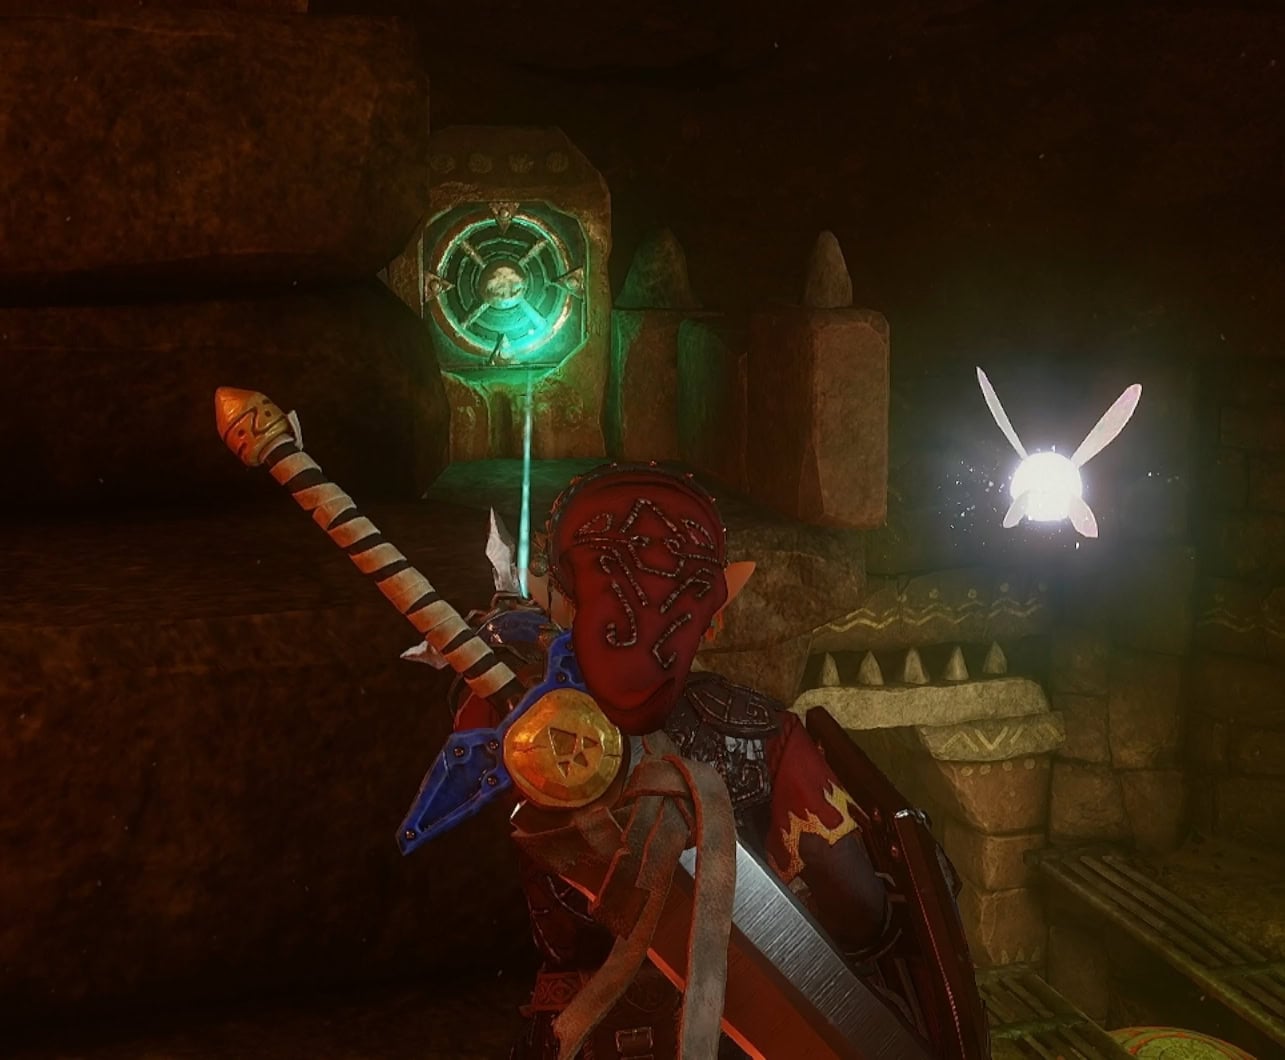
As you climb up some chain-link walls, you’ll encounter a Gold Skulltula. At the very top is a ring-shaped room where you’ll find another Gold Skulltula.
Activate the floor switch here to raise some Hookshot pillars. Hookshot your way across to reach a group of three treasure chests containing a total of 70 rupees.
Return to the Wall of Fire room, and go through the locked door on the west side to access the Fire Maze.
9. Fire Maze
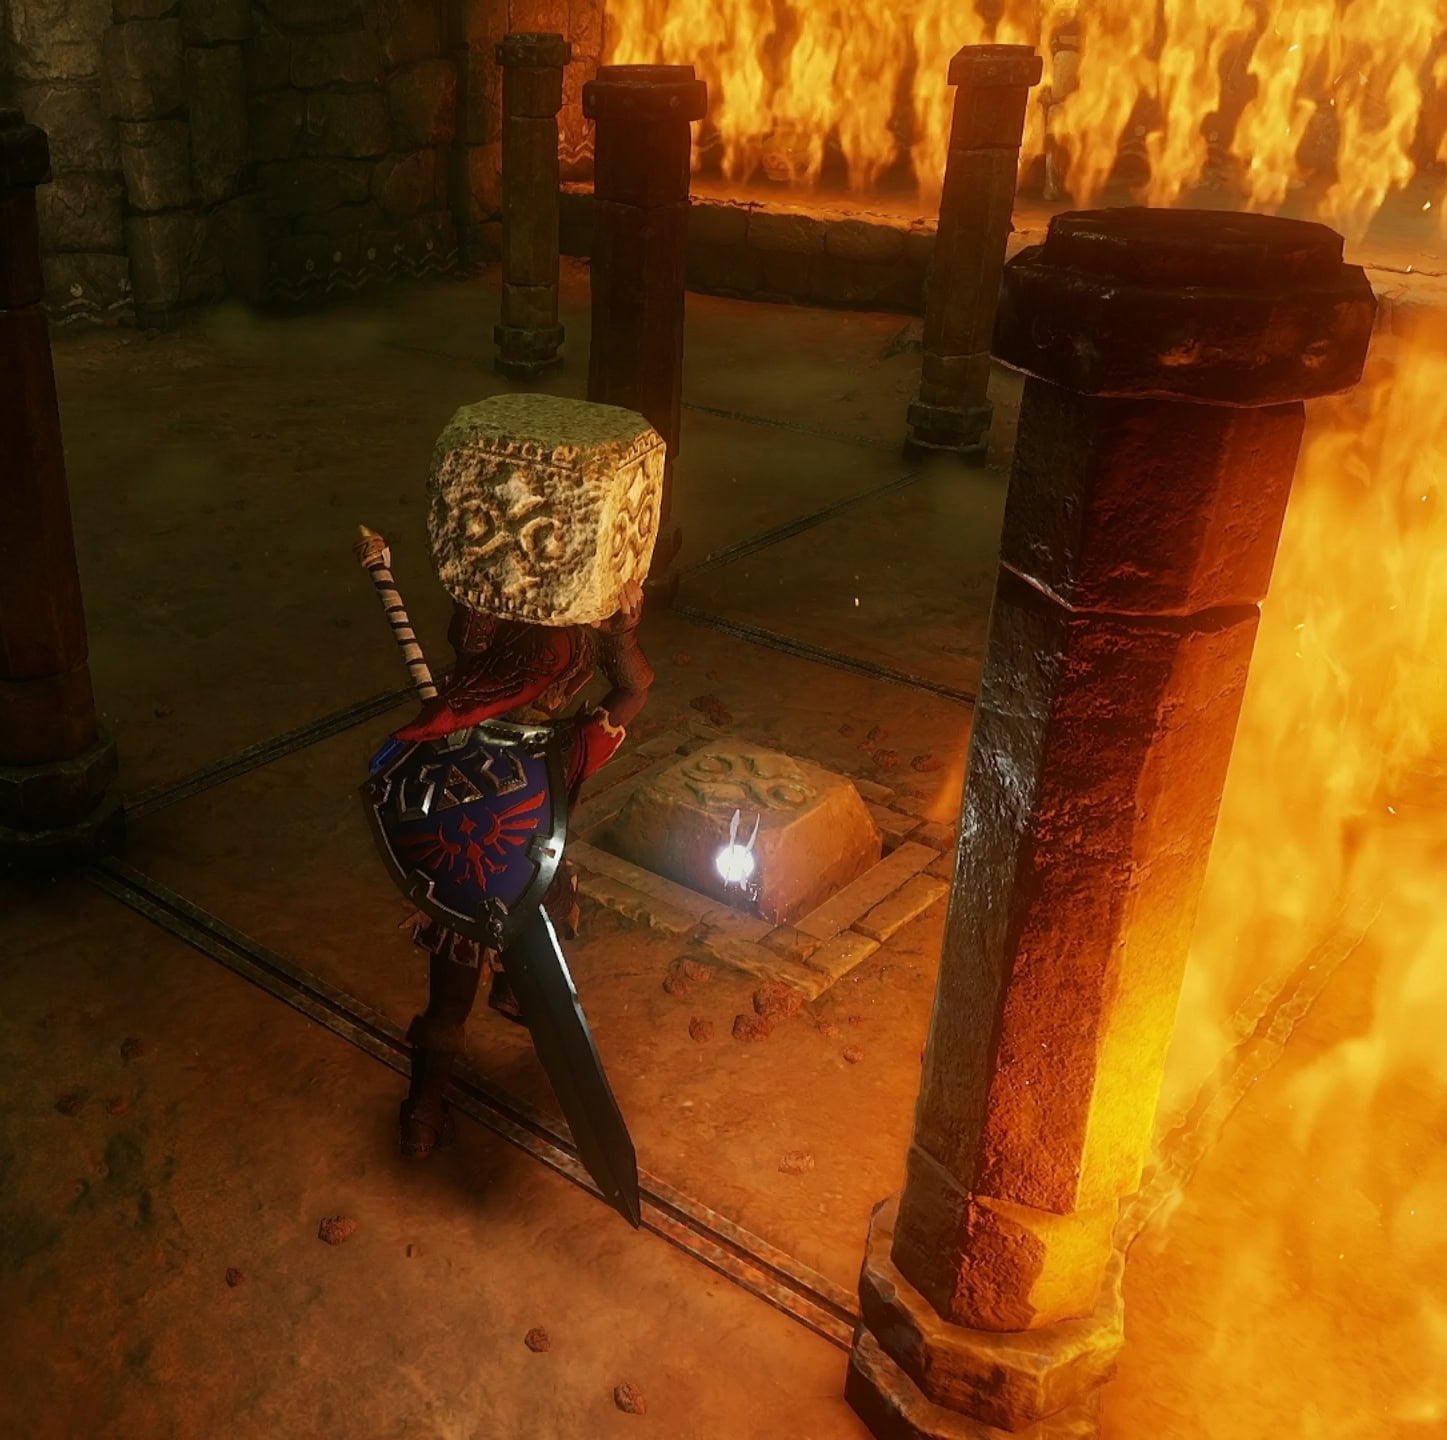
This next room is full of fire traps, so you’ll need to watch your step. The various thin pillars in this room can form walls of fire to block your path.
Watch out for False Doors that will slam on top of you if you try to open them. Destroy these False Doors with Bombs.
From the door, go north to free the Goron and get the Small Key. Return to the starting point, then go south. Make your way through the southern half of the Fire Maze then go through the locked door.
When you reach the northern half of the Fire Maze, take the right path to find a couple of small blocks. Bring one with you, then place it onto the floor switch to deactivate all of the fire traps in this room.
10. Flare Dancer
Use the Hookshot to pull out the Flade Dancer’s body. If needed, use your shield to block him as he skates to prevent damage.
He’s going to run around the platform without is flaming armor. When he run’s one direction, run the opposite way to catch him on the other side.
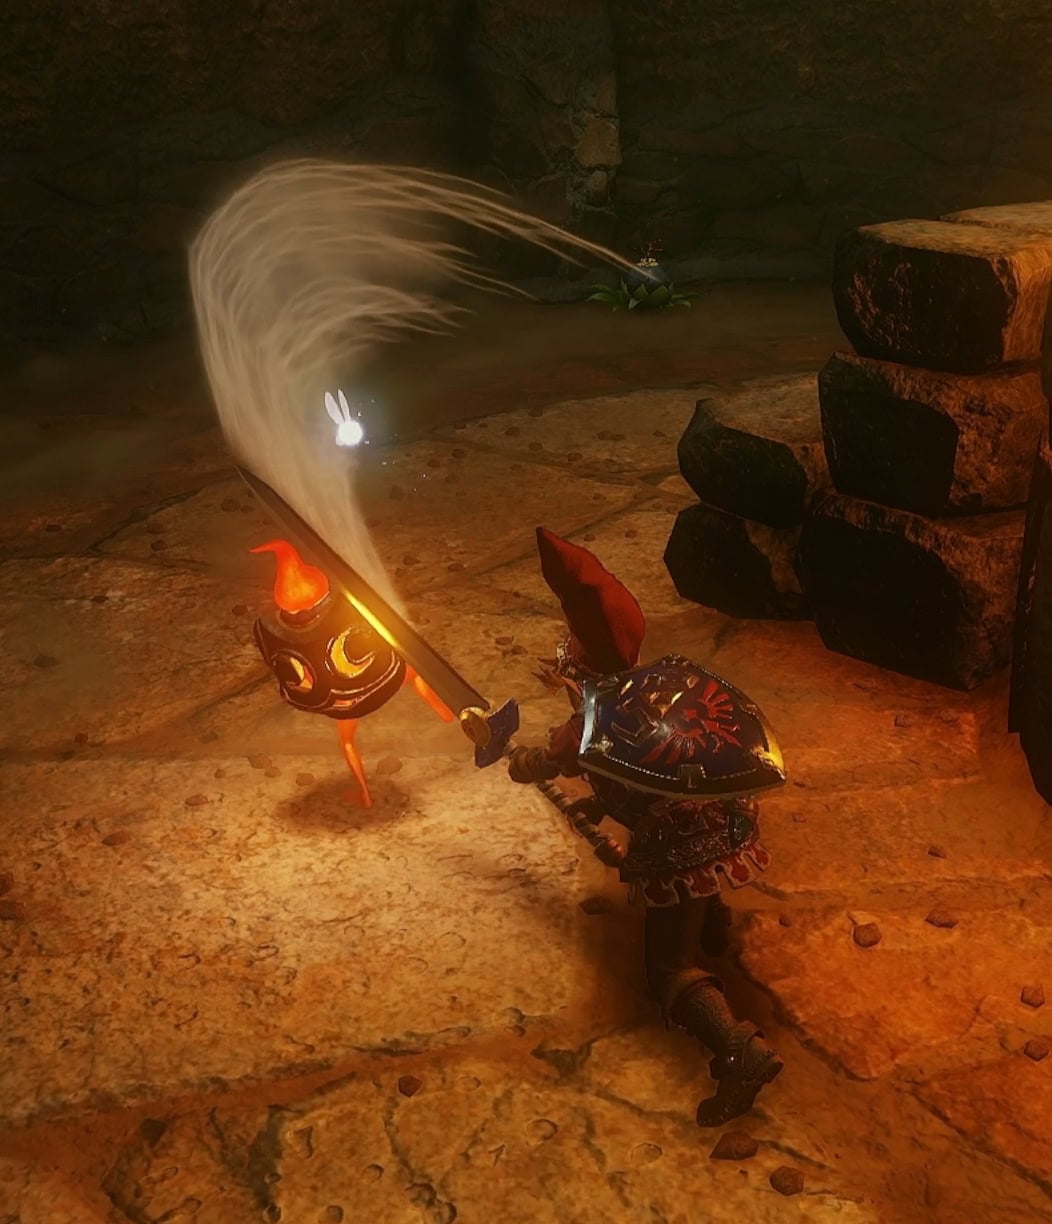
Hit him with your sword whenever you can. When he takes enough damage, he’ll return to the fire and get a blue set of fire armor.
Blue fireballs will start bouncing around the area as he spins. Remain focused on pulling him out with the Hookshot and hitting him when he’s vulnerable.
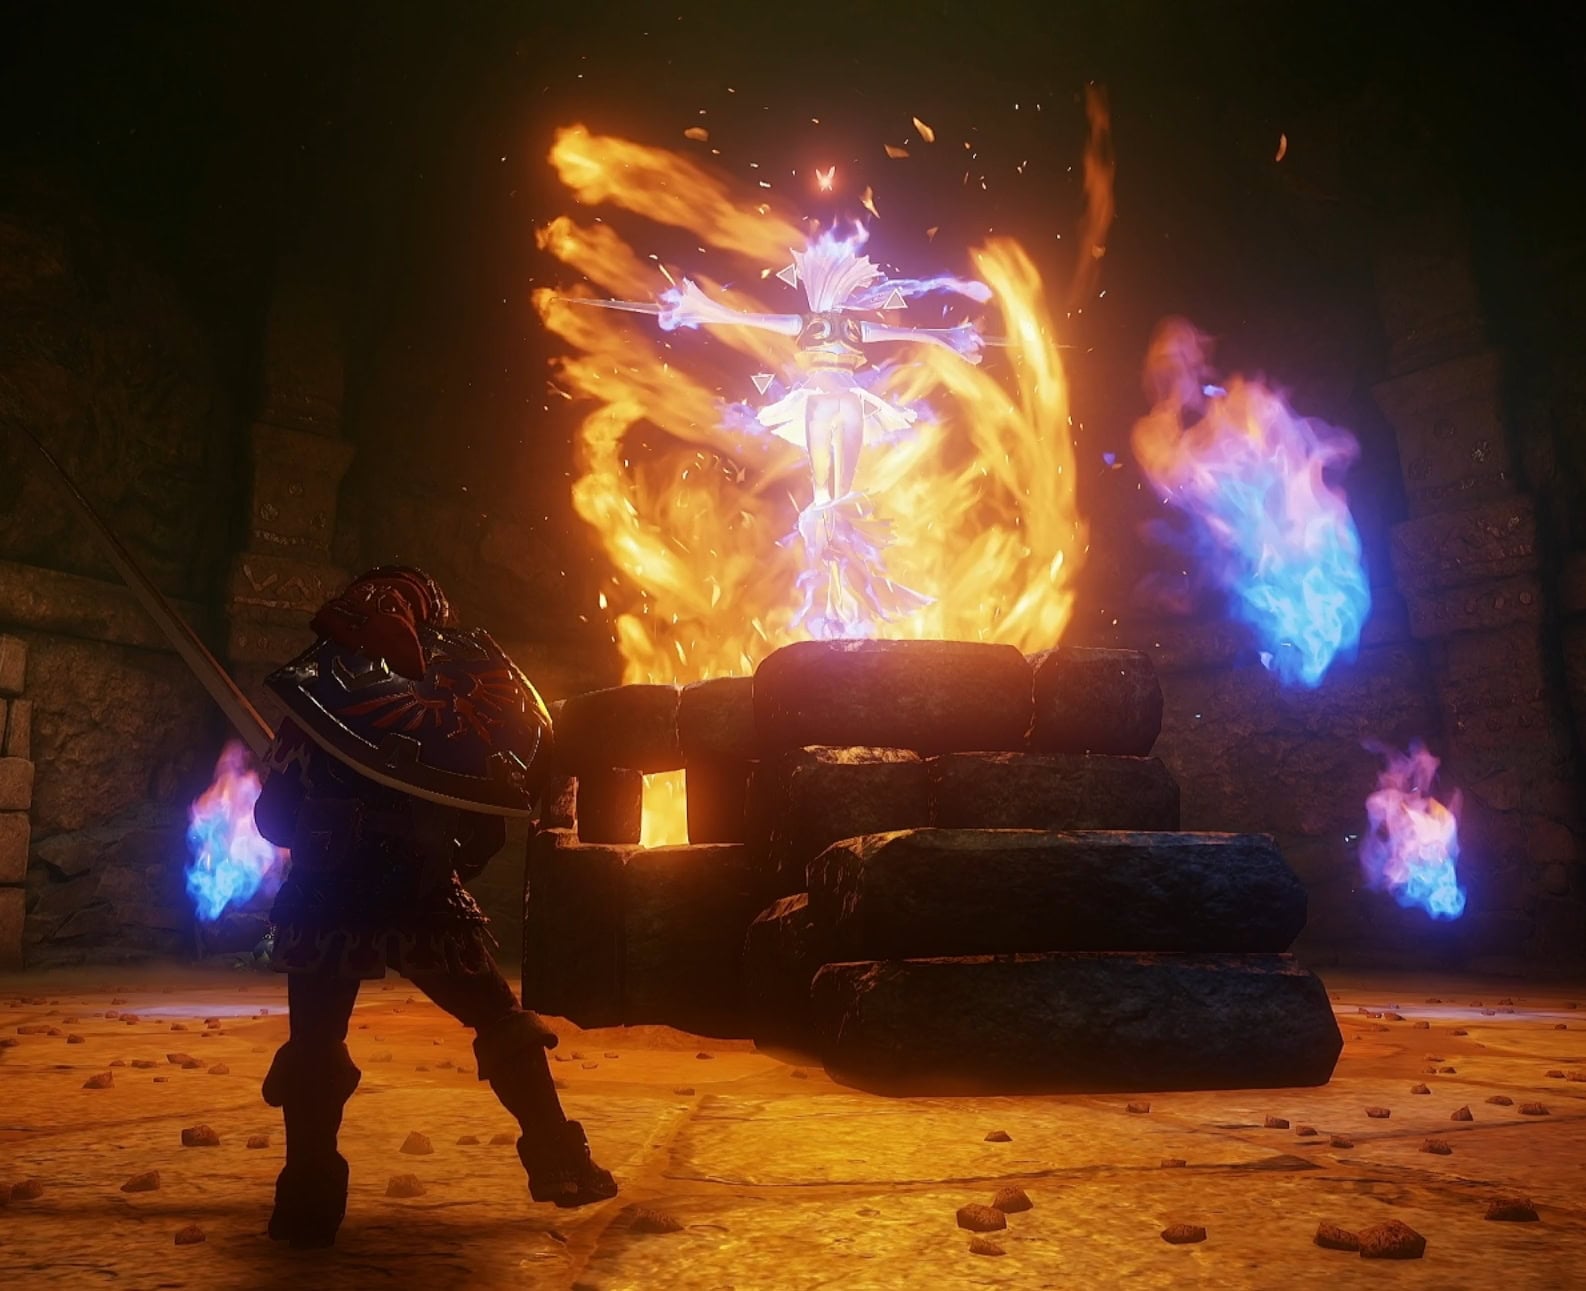
Repeat this process until Flare Dancer is defeated, but keep your distance as he’ll explode when defeated. Climb up the platform to be lifted to 5F.
11. Ring of Fire
Get past the crystal switch room to find a large, ring-shaped room. Shoot the Fire Keese with your Bow before doing anything else as they can ruin what’s coming ahead.
A floor switch will activate a set of stairs between the pools of lava. This set of stairs will slowly lower over time, so you’ll need to get up to the chest before the stairs get too low.
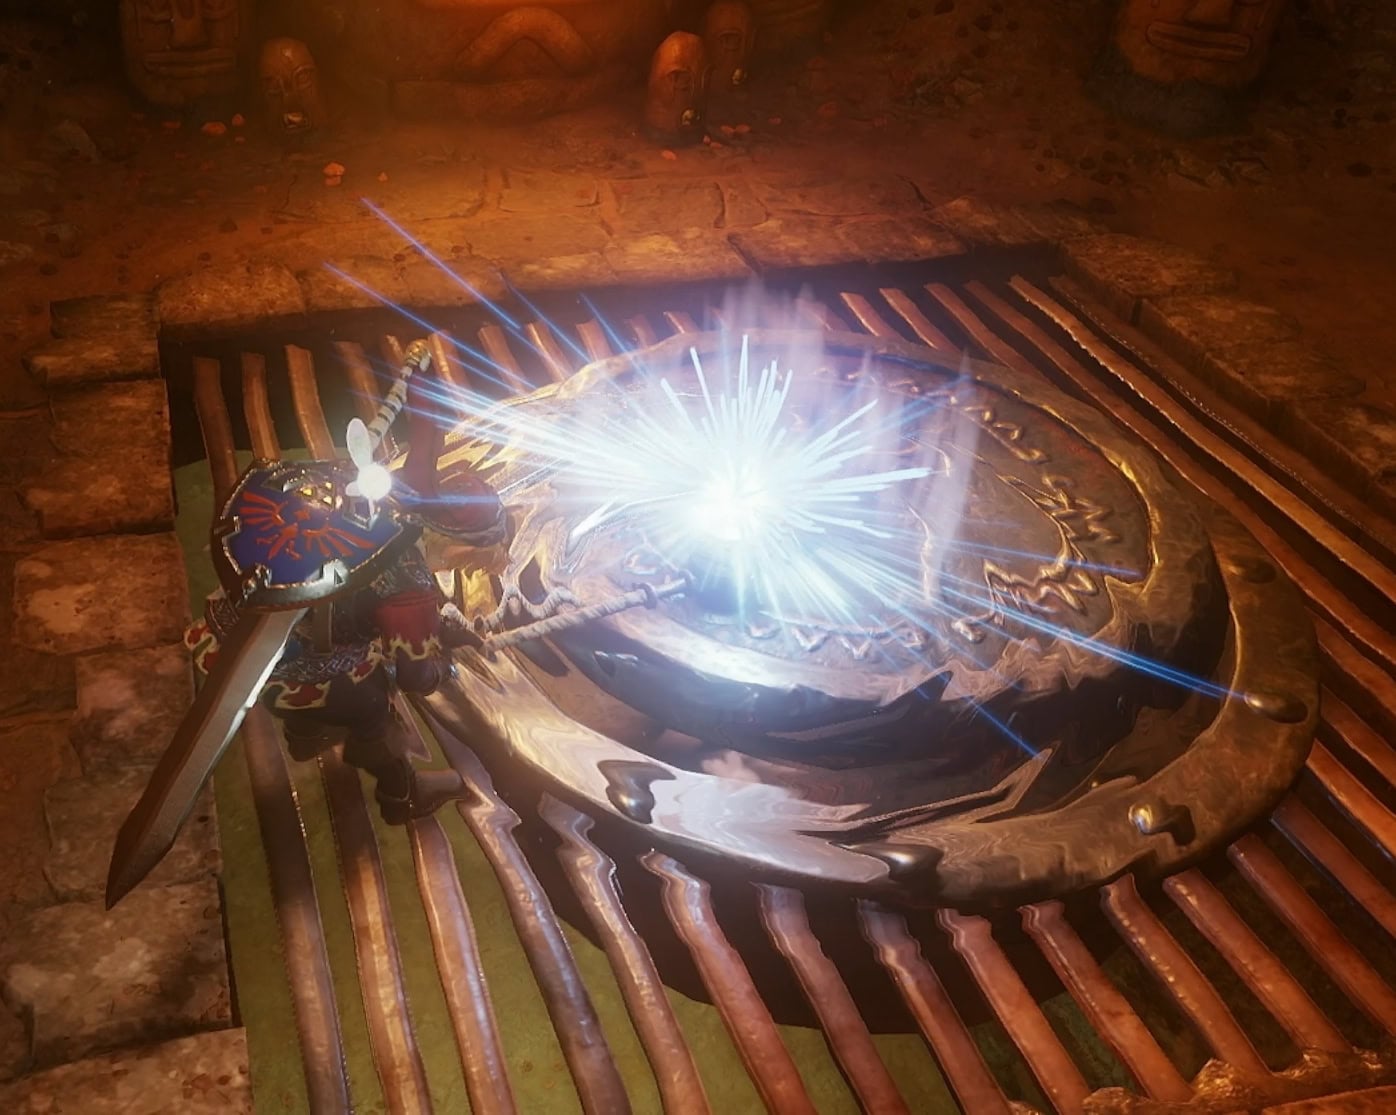
This chest contains the Megaton Hammer, the legendary Goron weapon previously used to defeat the evil dragon in legend. Bring it downstairs and use it on the large metal button.
12. Hidden Path
Use the Megaton Hammer on the tiered statue to open the door, then smash the metal button to lower a set of stairs. Go through the door, then smash the next metal button to be lowed into 3F.
13. Hammer Time
A pair of metallic rocks block your path, so you’ll need to break them with the Megaton Hammer.
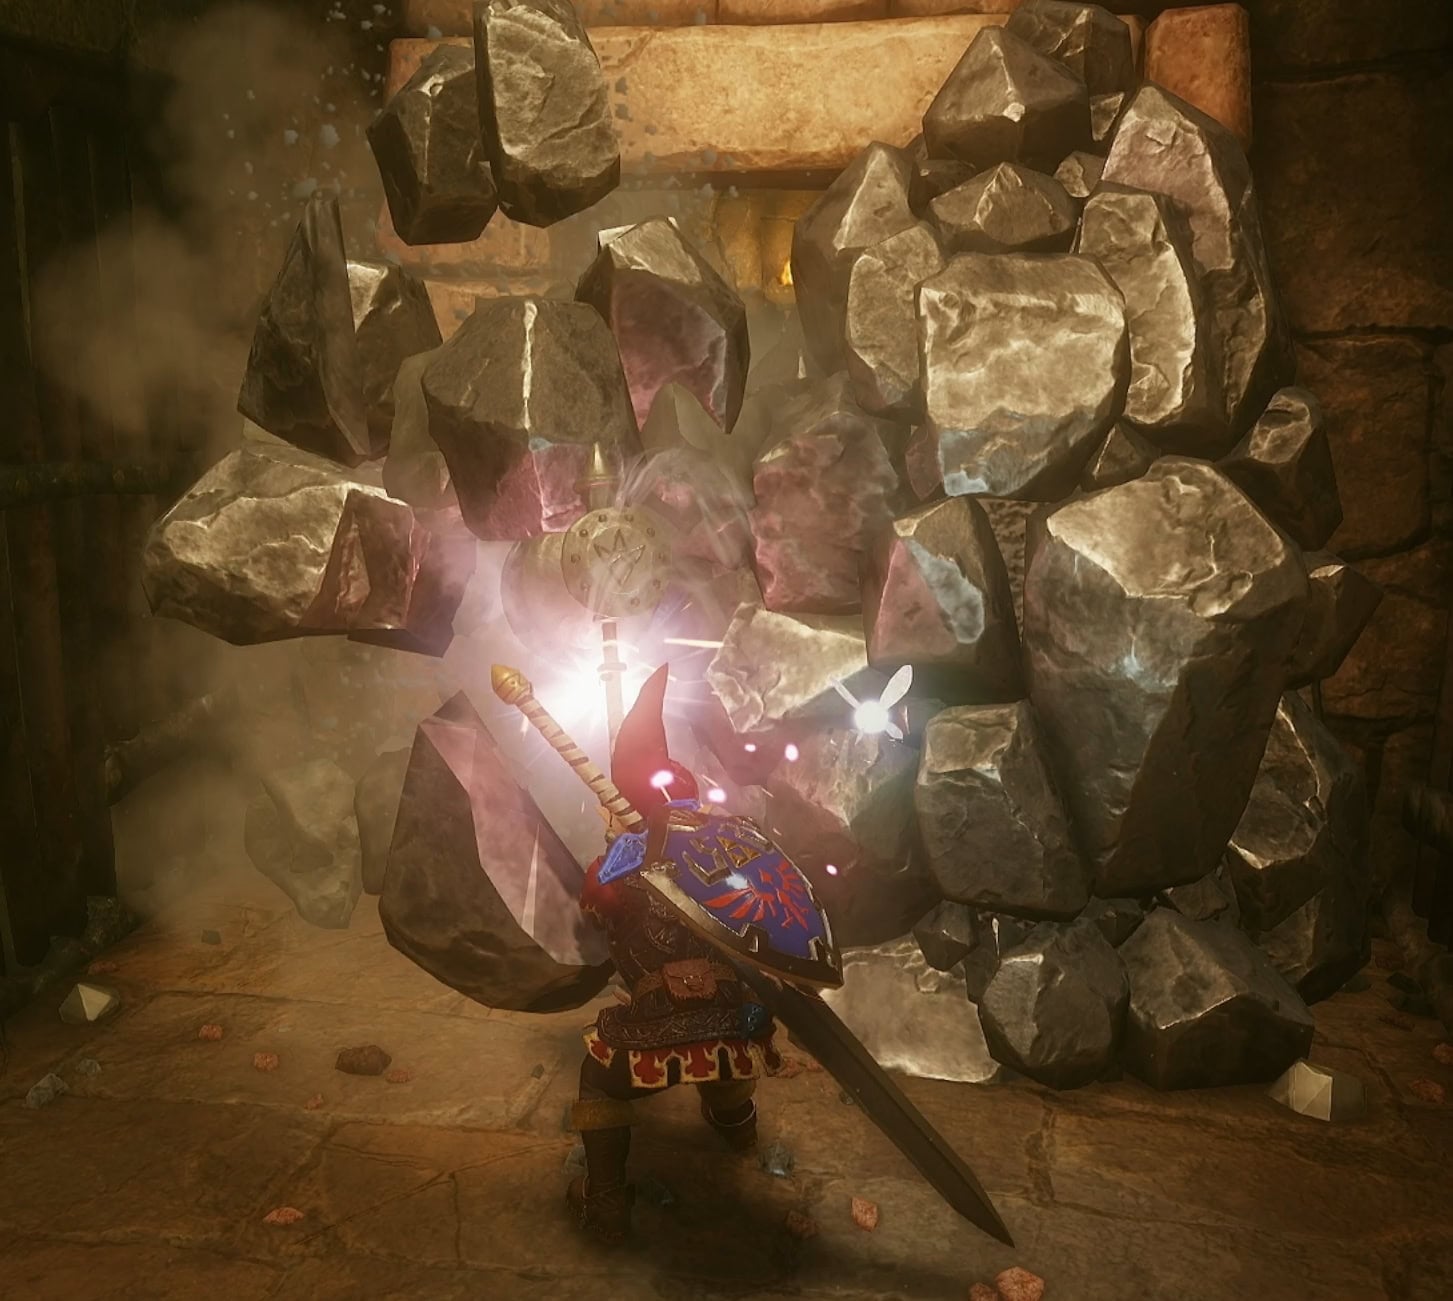
Play the Song of Time near the Time Block then jump down the hole. Smash the metal button to free the Goron and get the Small Key.
Smash the large button at the end to be lowered to 1F, creating a bridge to the Boss Room while doing so. Return to the entrance of the Fire Temple.
14. Wrapping Up
Smash away at the tiered statue in the Fire Temple entrance. This will be followed by rooms of enemies you’ll need to defeat.
The first room is full of Torch Slugs which the Megaton Hammer can defeat with one hit. The second room has Flying Tiles and a Like Like, with a Gold Skulltula behind a metallic rock.
The third room has another Flare Dancer, though this one turns green during the second phase of the fight. This fight is more dangerous as there’s a lot more bouncing fireballs in this fight.
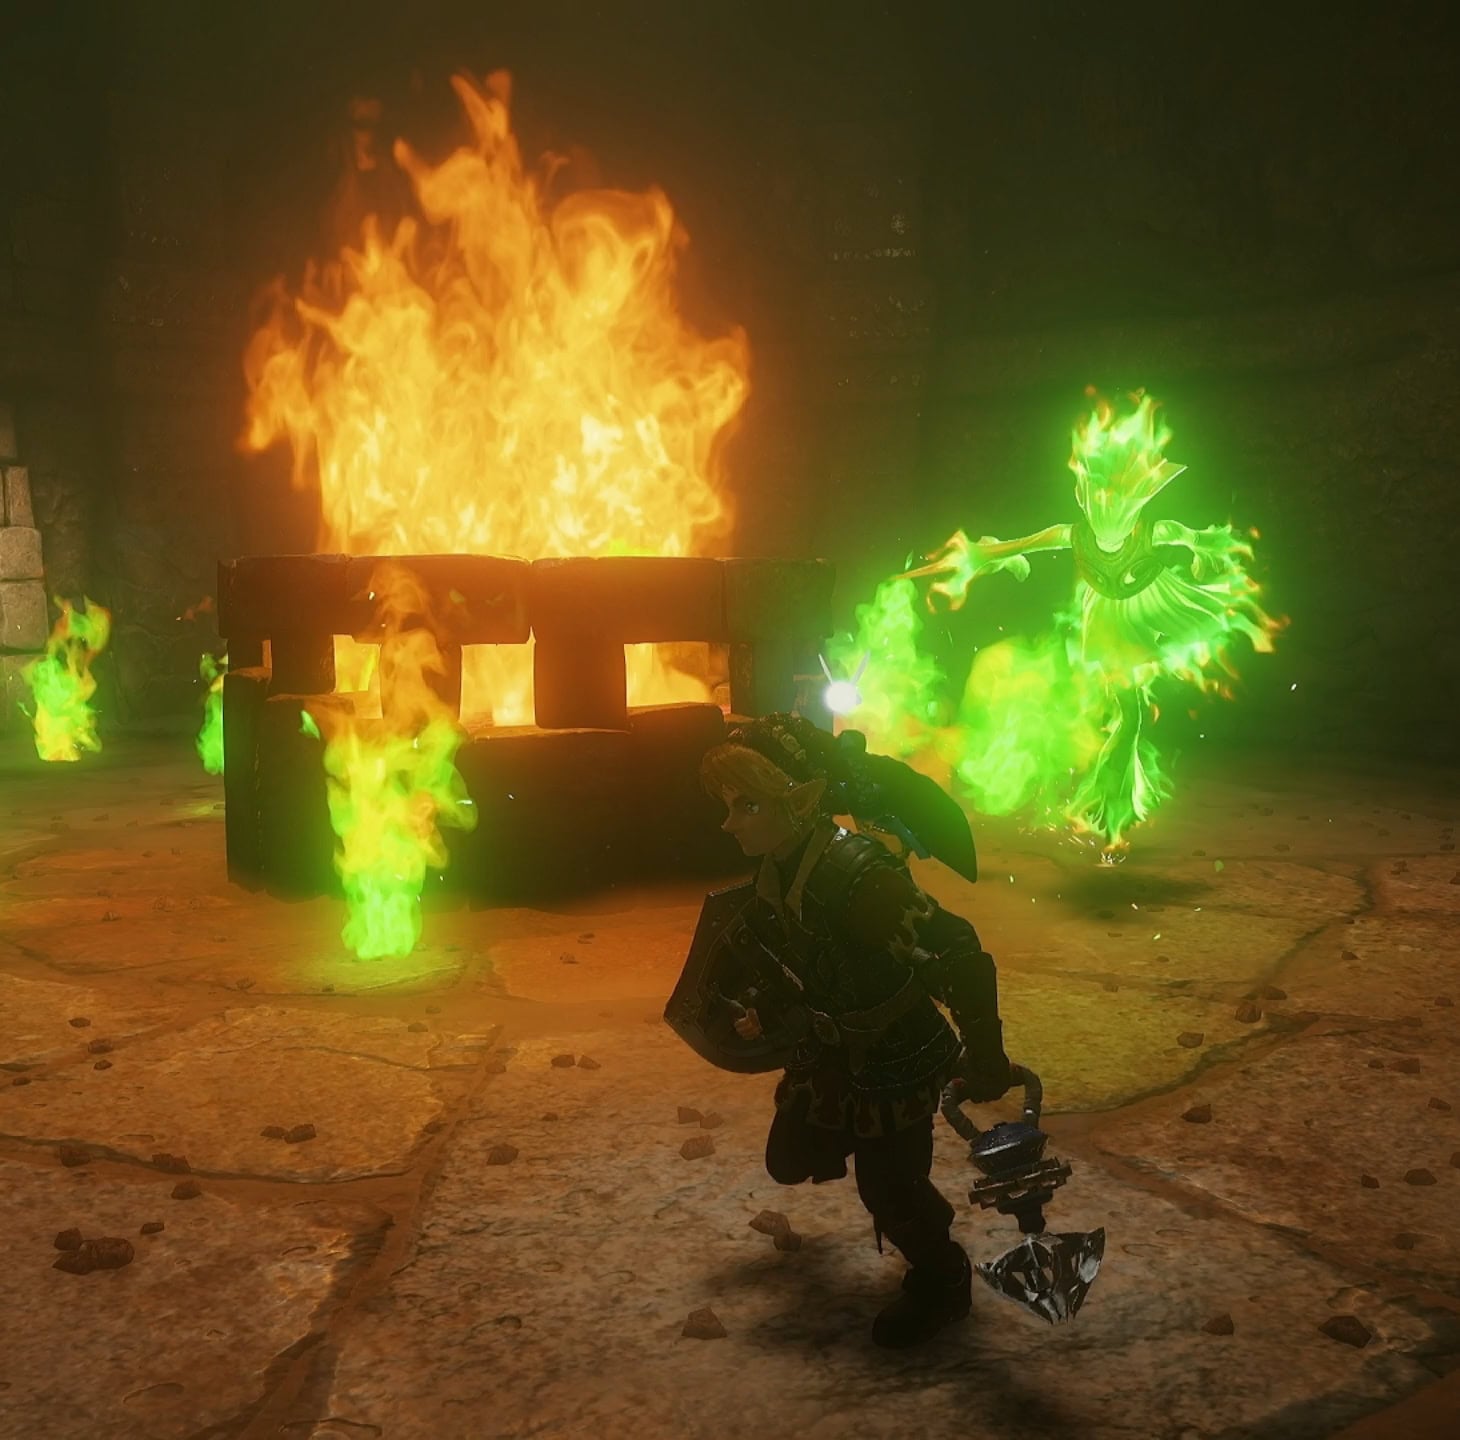
Free the last Goron to get the Big Key. You can place Farore’s Wind in the room where you met Darunia or the entrance if you need to run out and get supplies. Otherwise, head into the Boss Room.
Volvagia
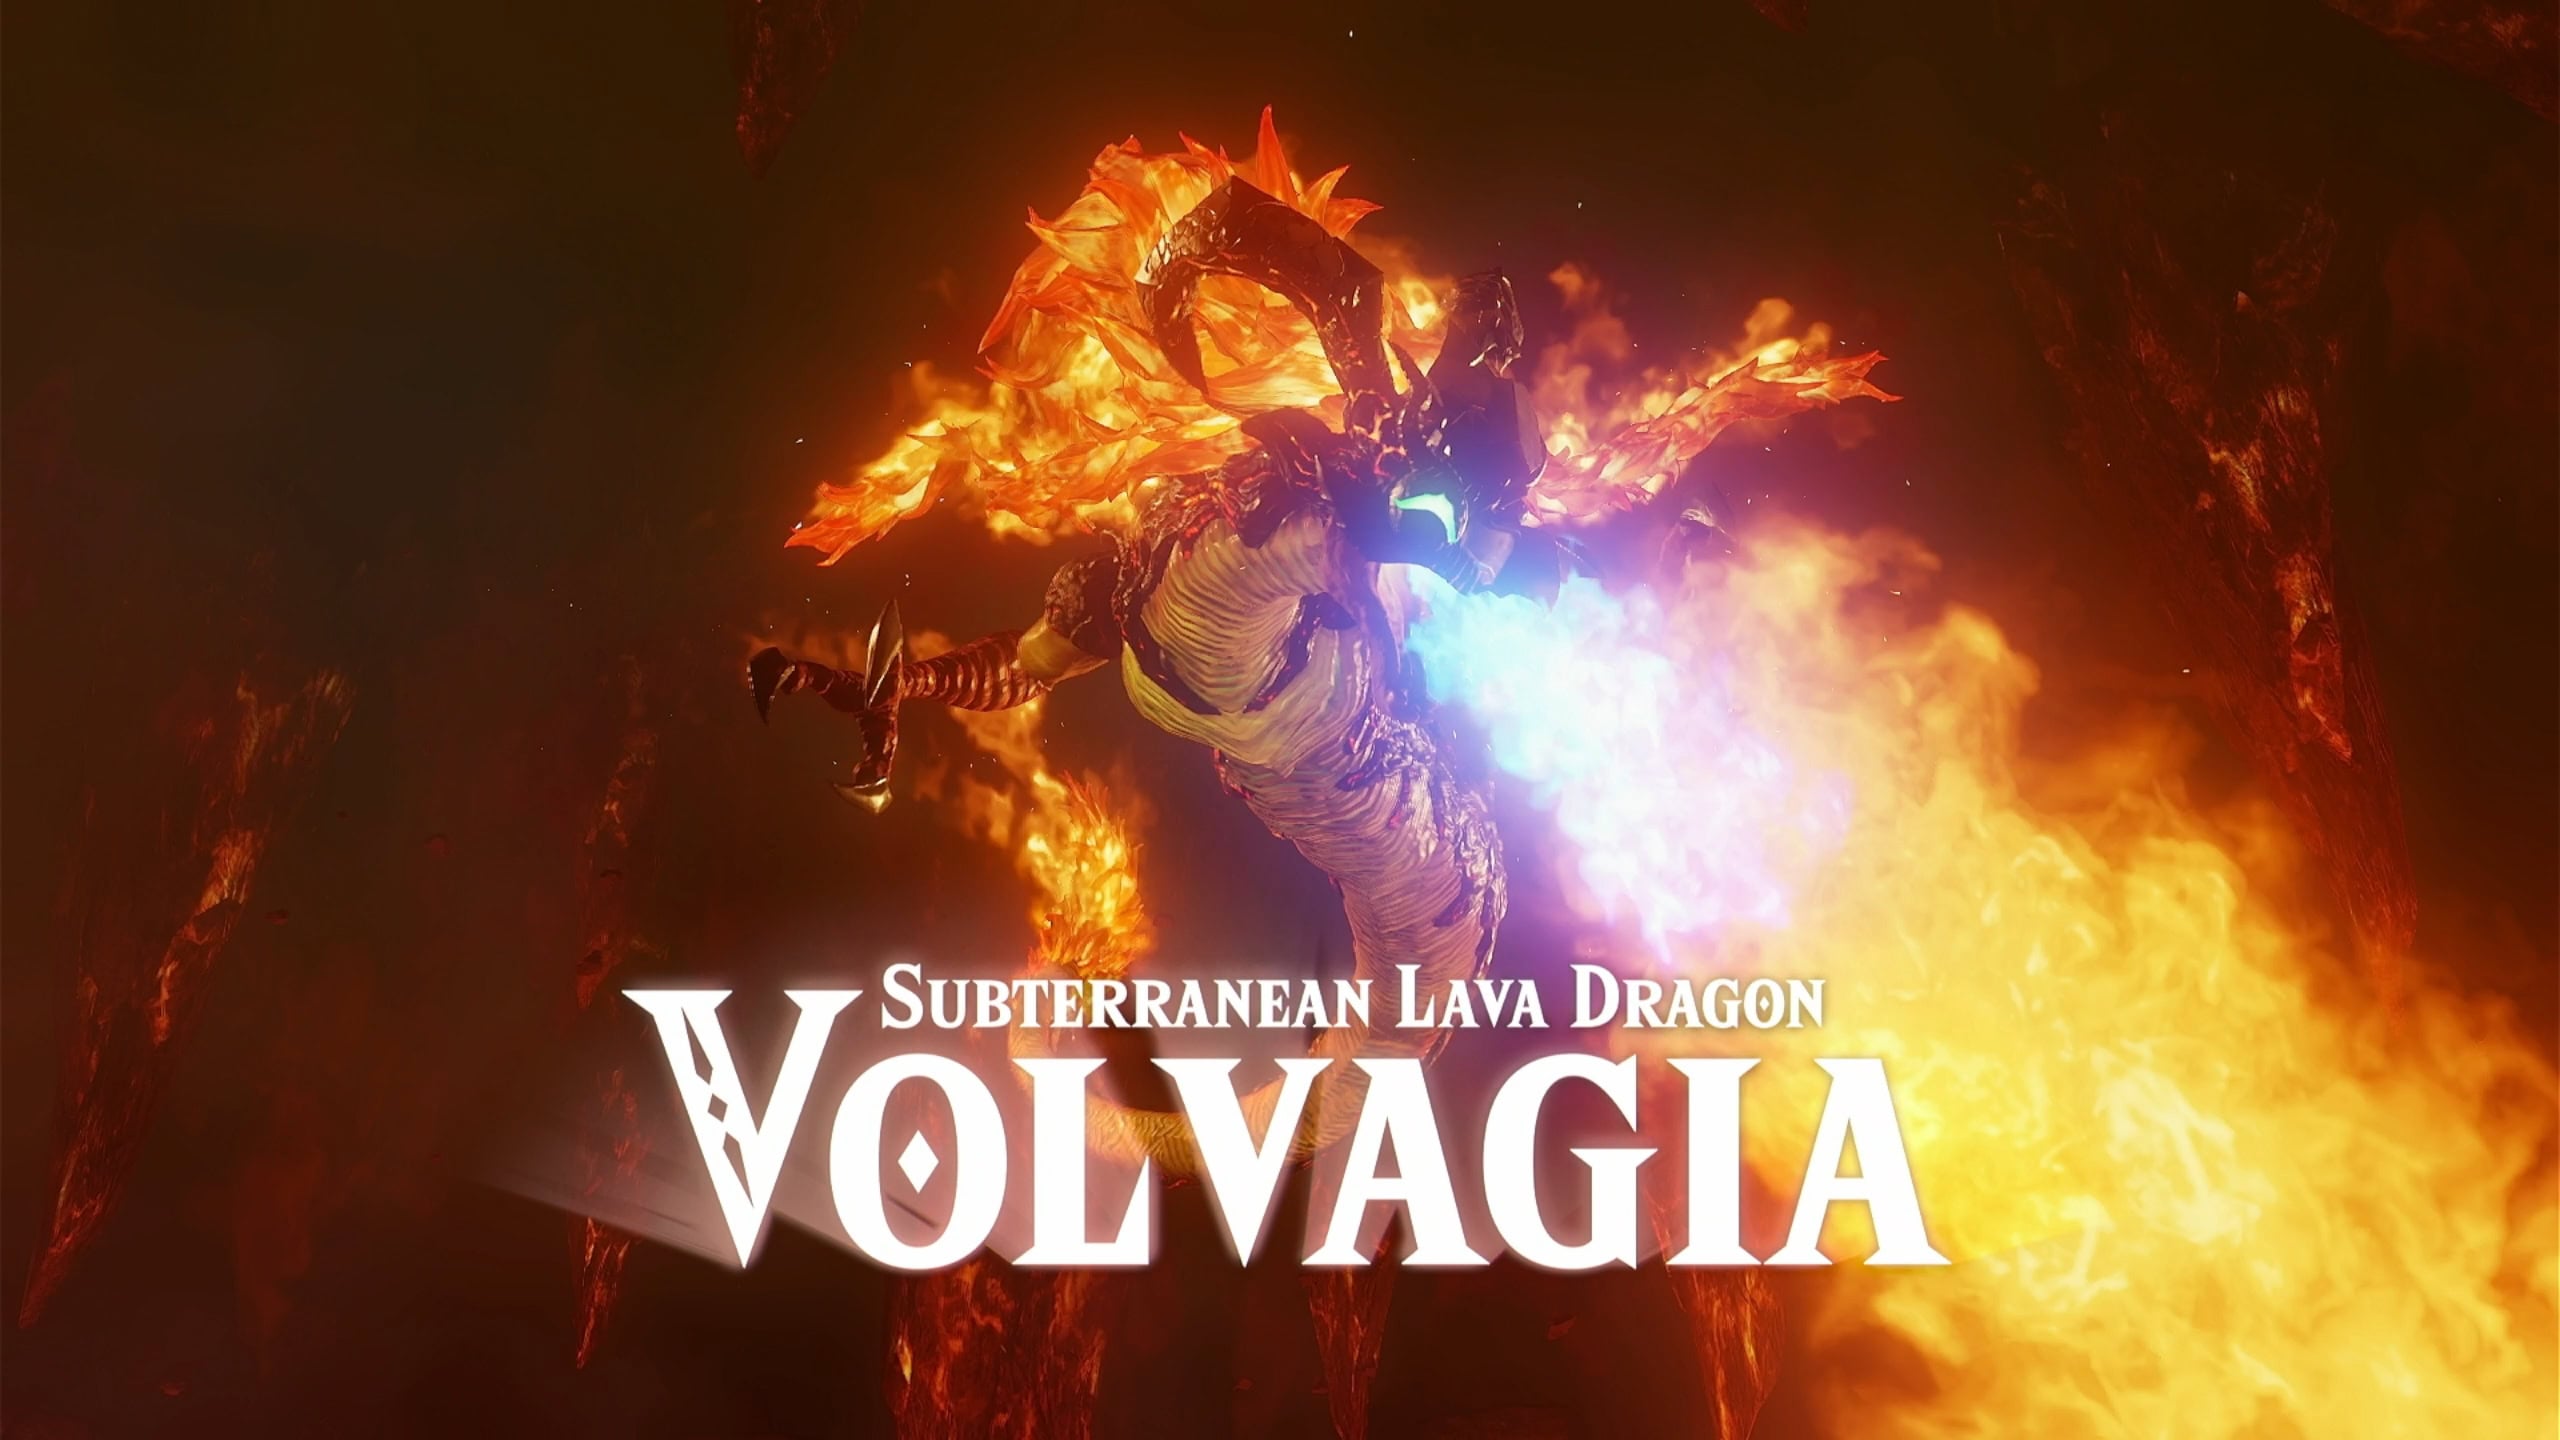
The Subterranean Lava Dragon, Volvagia, can be a challenging fight unless you’re using the correct weapon. Its face is plated with rock-hard armor, so your Master Sword won’t be much good here.
Fire Temple Summary
Here is a brief recap of what you’ll need to do in order to complete the Fire Temple:
- Free the Goron in the room where you meet Darunia.
- Acquire the keys on the north and south ends of the Large Lava Room.
- Go through the locked door behind the pillar of flame, climb up, then push down the block onto the flame to make an elevator.
- Get past the Torch Slugs, pull out the large block to the ledge, and use the crystal switch to deactivate the fire walls.
- Acquire the Map and free the Goron on the north side of the lower Boulder Maze, then go through the locked door near the center of the room.
- Cross the Tall Chasm Bridge very slowly, take the right door to get the Compass. Go through the other door.
- Run past the Wall of Fire trap by running across the grated metal platforms. Push down the block at the end to create an entrance to the upper level of the Boulder Maze.
- Bomb the platform with the cracked floor and climb down to free the Goron inside. Climb back up and free the Goron on the southern end of the Boulder Maze.
- At the Fire Maze, go north and free the Goron and get the Small Key. Navigate your way through the maze to find a pair of small blocks. Place a block onto the floor switch to deactivate the Fire Maze.
- Defeat the Flare Dancer by pulling out its body with the Hookshot.
- Race up the falling set of stairs leading to the chest containing the Megaton Hammer. Smash the metal button to enter the next room.
- Smash the tiered statue then metal buttons to descend back down into 3F.
- Break the metallic rocks, free the Goron, then smash the large metal button to create a bridge in the room with the Boss Door.
- Return to the entrance and smash the tiered statue. Retrieve the Boss Key past the three rooms filled with enemies.
- Defeat Volvagia.
Great Fairy of Wisdom
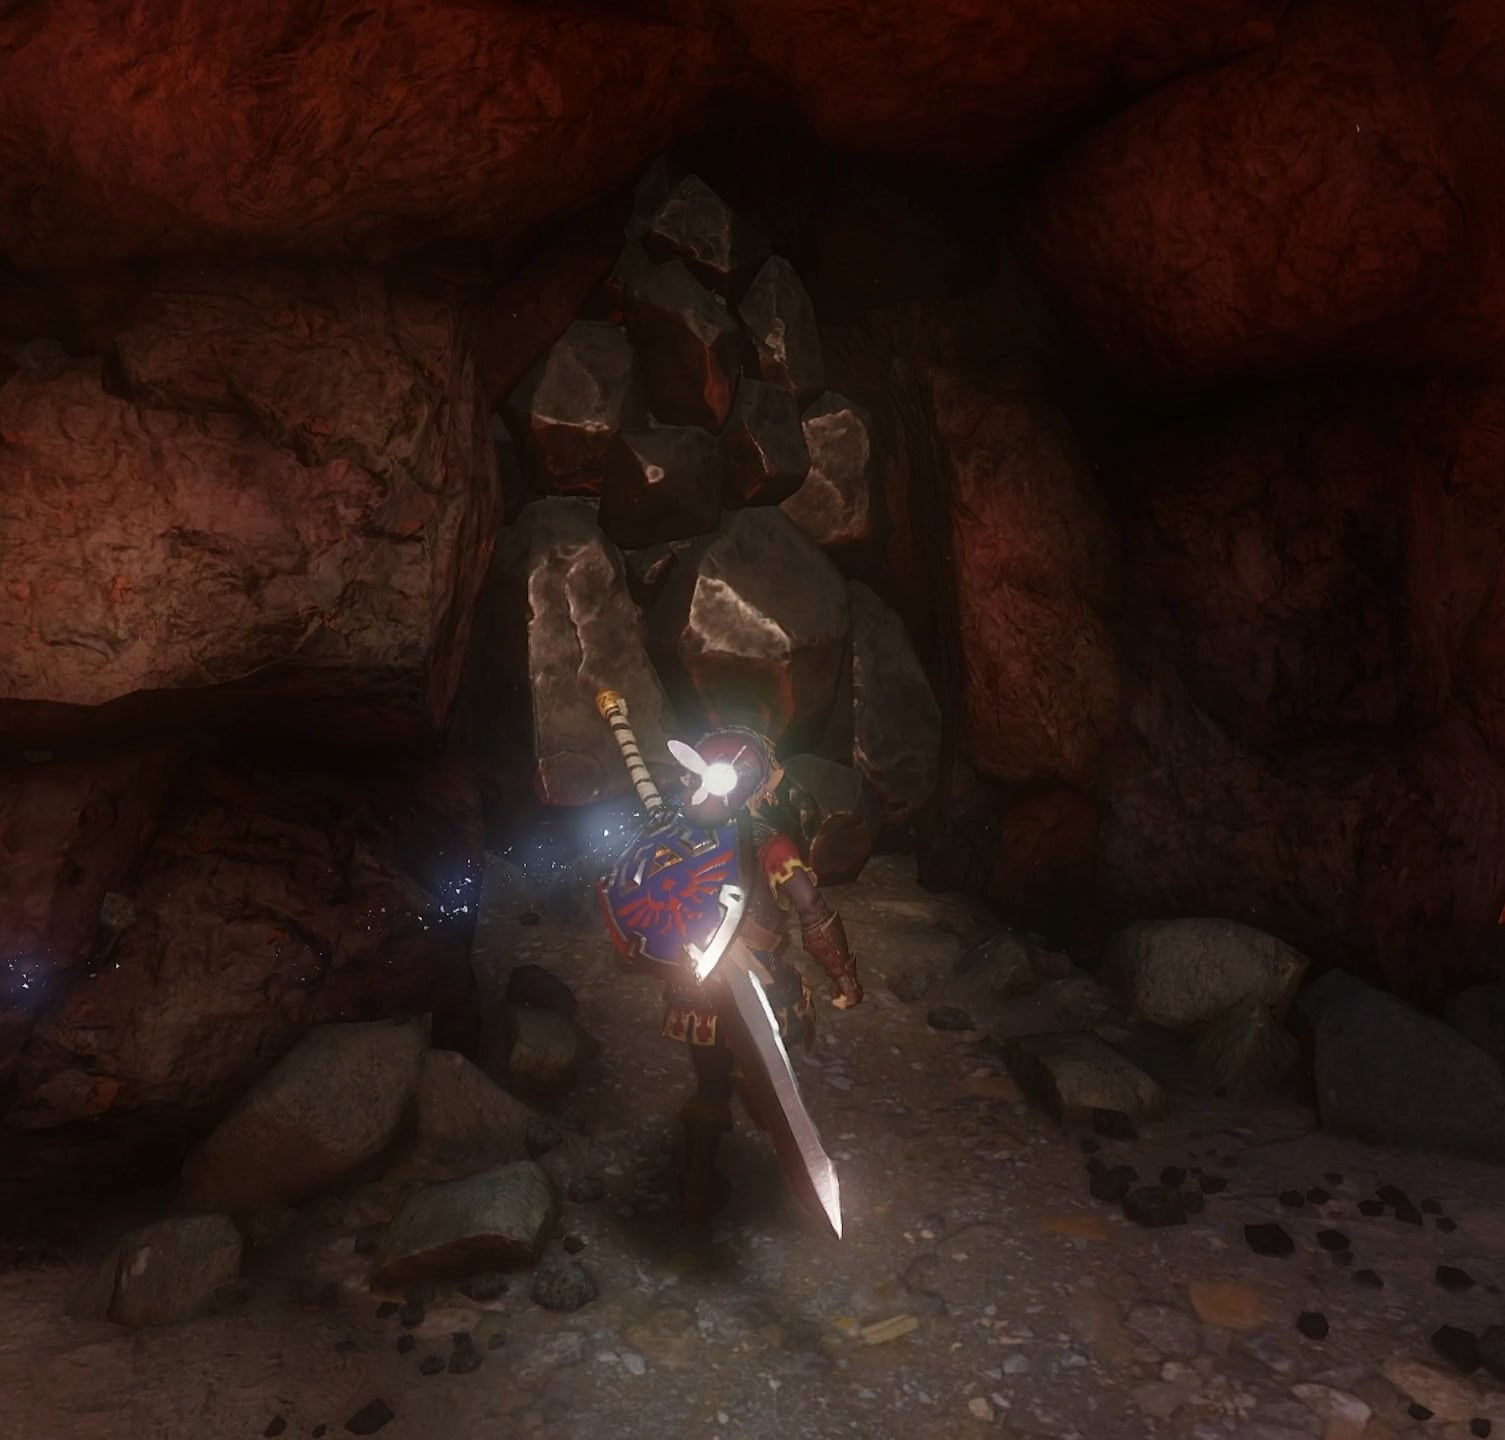
Upon exiting the Fire Temple, return to the area that leads back to Goron City. Go across the bridge and on the west wall is a tunnel being blocked off by a metallic rock.
Smash it with the Megaton Hammer to find a Great Fairy Fountain. This Great Fairy will double the size of your Magic Meter for 200 rupees.
A Chill Wind Blows
After spending some time inside a volcano, you likely need some time to cool off. Good news for you then! Your next destination will be Zora’s Domain. An unreasonably chill wind blows from Zora’s River, you should check in on the Zoras.