A walkthrough for completing the Forest Temple in The Legend of Zelda: Ocarina of Time for the Nintendo Switch 2. Includes an interactive map to help you navigate, where to find all four of the Poe Sisters, and the locations of all treasure chests and Gold Skulltulas.
Use the Table of Contents, located in the left panel (top left button on the mobile menu) to navigate through this long guide more easily and quickly.
Entering the Forest Temple
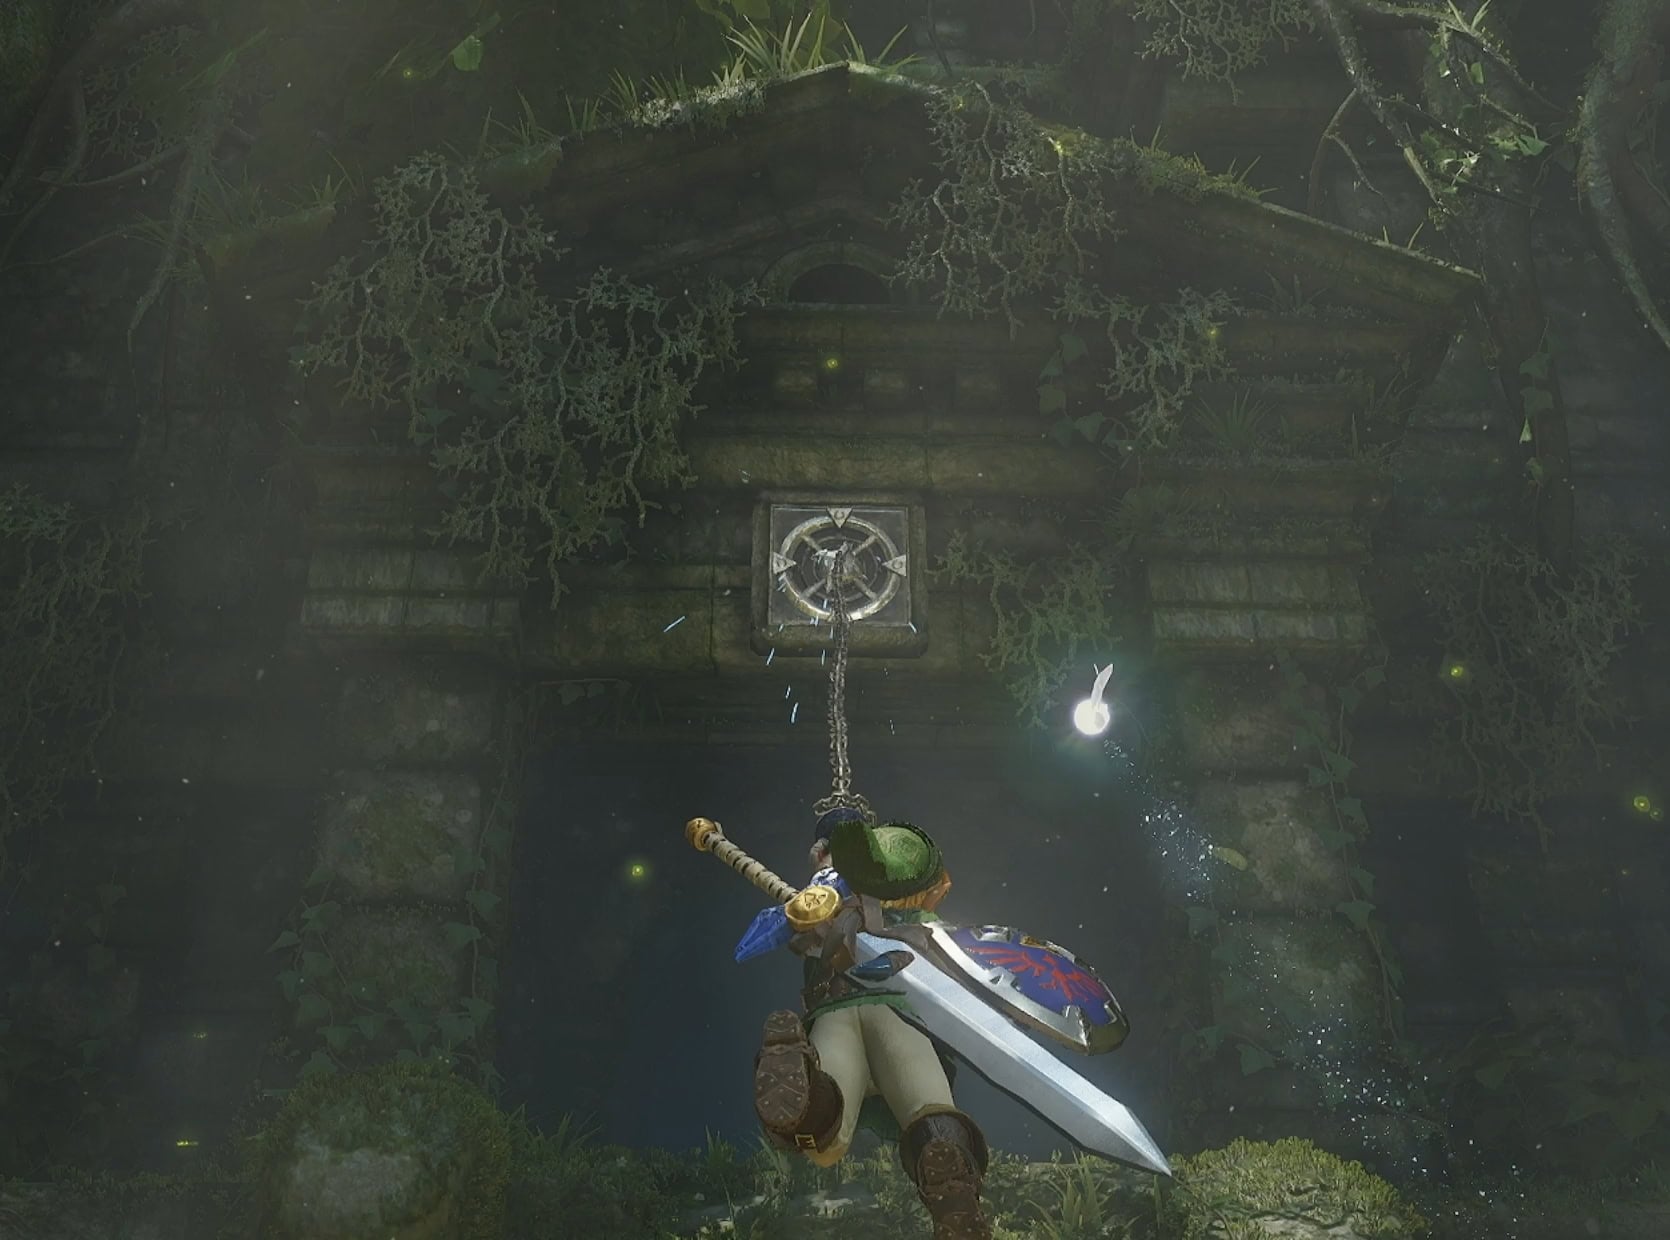
After acquiring the Hookshot in Kakariko Graveyard, you return to the Sacred Forest Meadow only to find Saria missing. Follow her trail into the Forest Temple by using the Hookshot to hook onto the target above the door.
Map of the Forest Temple
The following map features all the floors, items, and order of events needed to complete the Forest Temple.
1. Wolfos in the Woods
At the very start, you’ll be in a tall room where two Wolfos spawn. Defeat them and climb up the vines on the east side of the room. Get on top of the tree then get to the chest to get a Small Key.
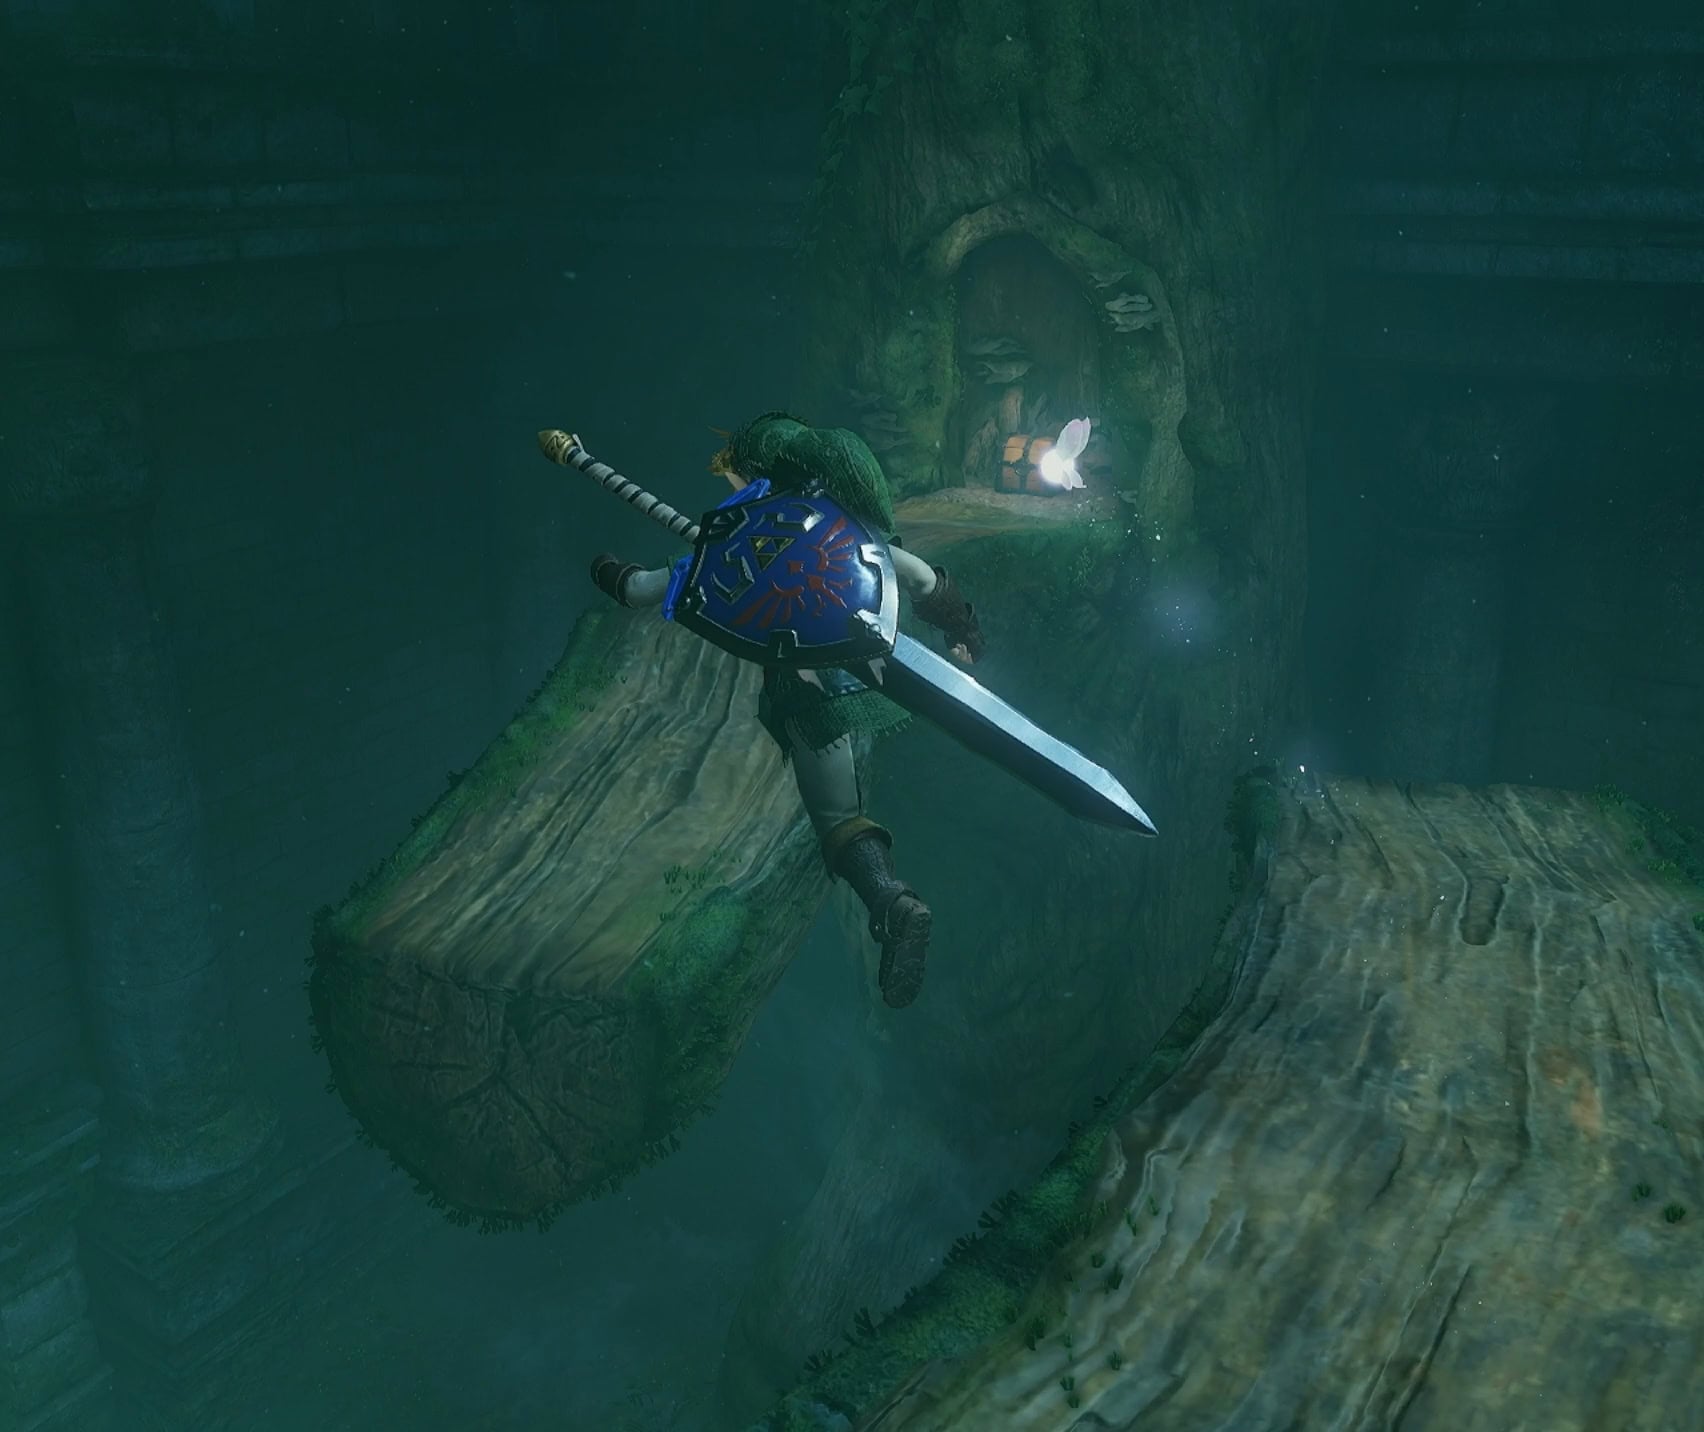
You can use the Hookshot on the vine-covered walls to get a boost!
2. Stalfos
After the Poe Sisters take away the colored flames from the central room, go through the door on the north side. Here you’ll fight two new enemies, Stalfos. You’ll need to strike at them between their attacks. Defeat them both to get a Small Key.
Stalfos are especially vulnerable from behind after they make a jump attack.
3. Time Block
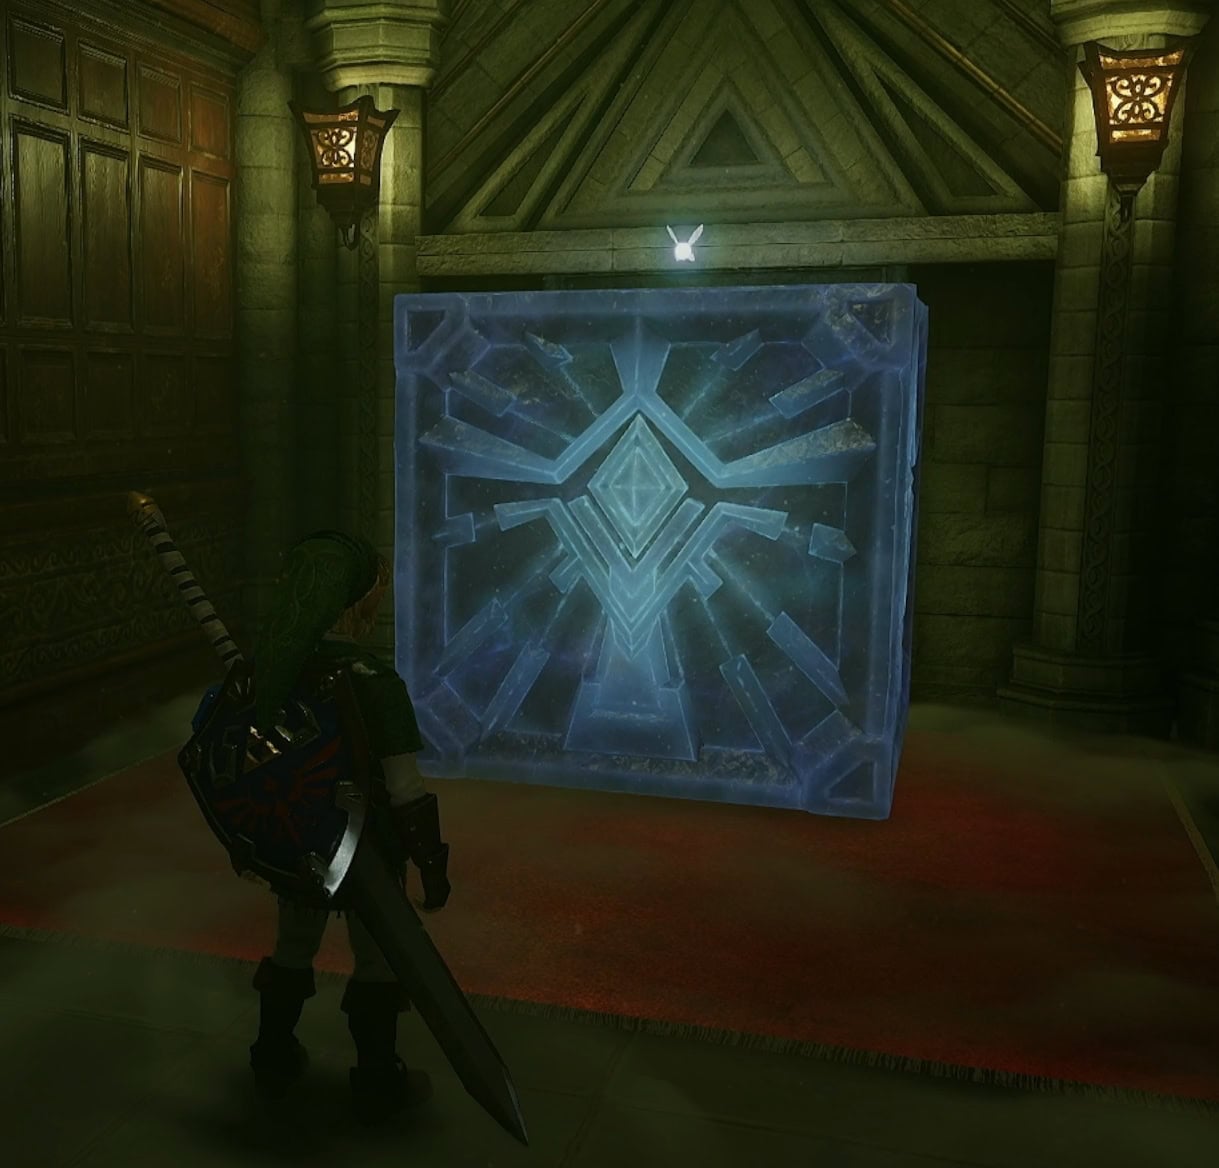
On the northwest corner of the central room is a Time Block. Play the Song of Time to move it and reveal a door.
4. West Courtyard
On the northeast corner of the West Courtyard is a vine-covered wall with three Skullwalltulas. Take them down with the Hookshot, then climb up to the balcony above. Turn around and Hookshot onto the other balcony nearby.
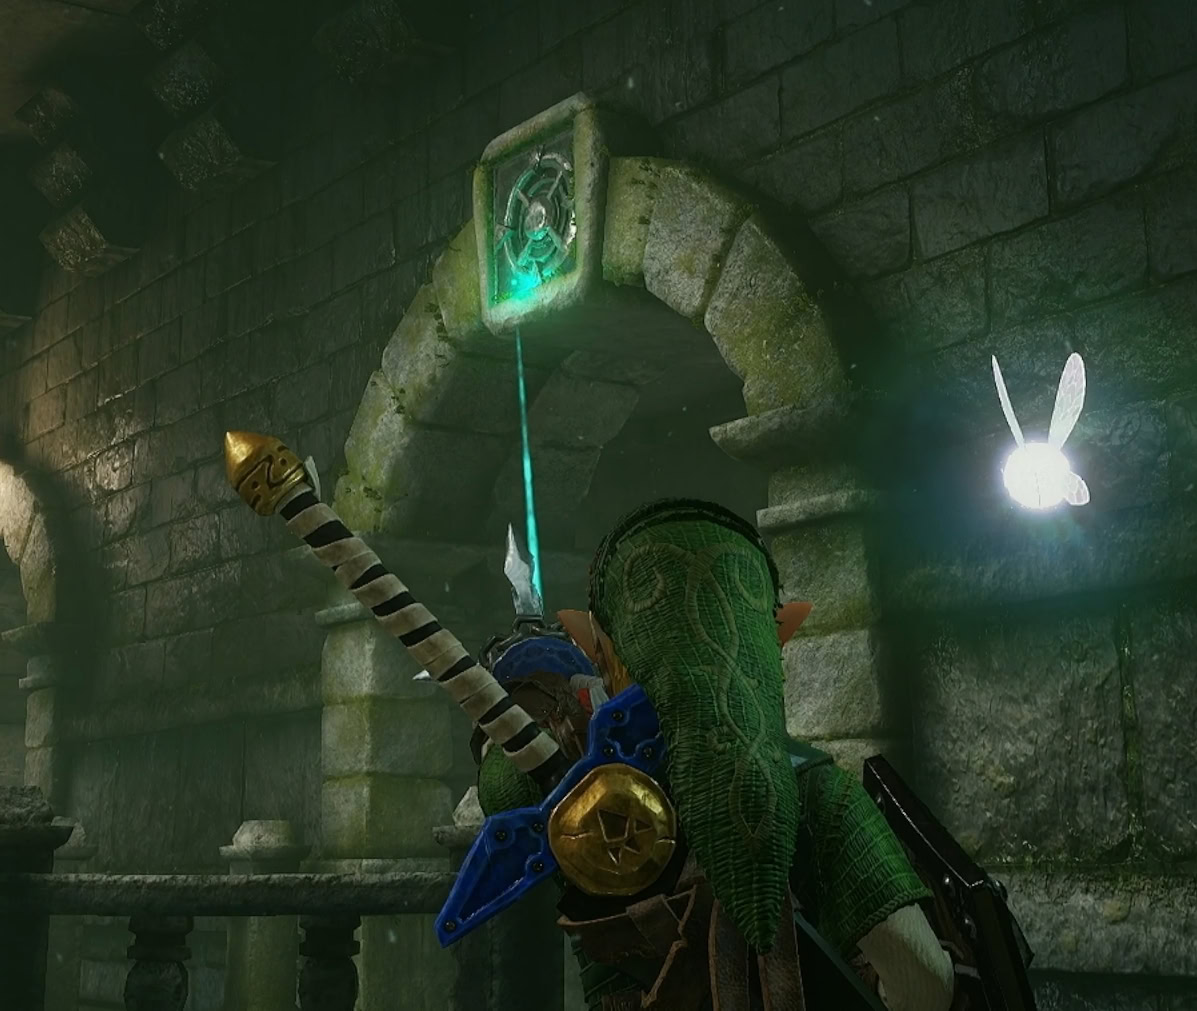
Activate the floor switch to drain the well, then jump into the well. Get the Small Key at the end of the tunnel, then climb up to the East Courtyard.
5. East Courtyard
Hookshot up to the platform where the large chest is, then open it to get the Map. Exit the courtyard through the door and activate the floor switch to access the main room.
6. Large Block Room
Climb up the ladders to find a large block to your left and arrows on the floor. Work your way around the block and continue push it along the path of the arrows. It’ll fall into a recess and can now be climbed up.
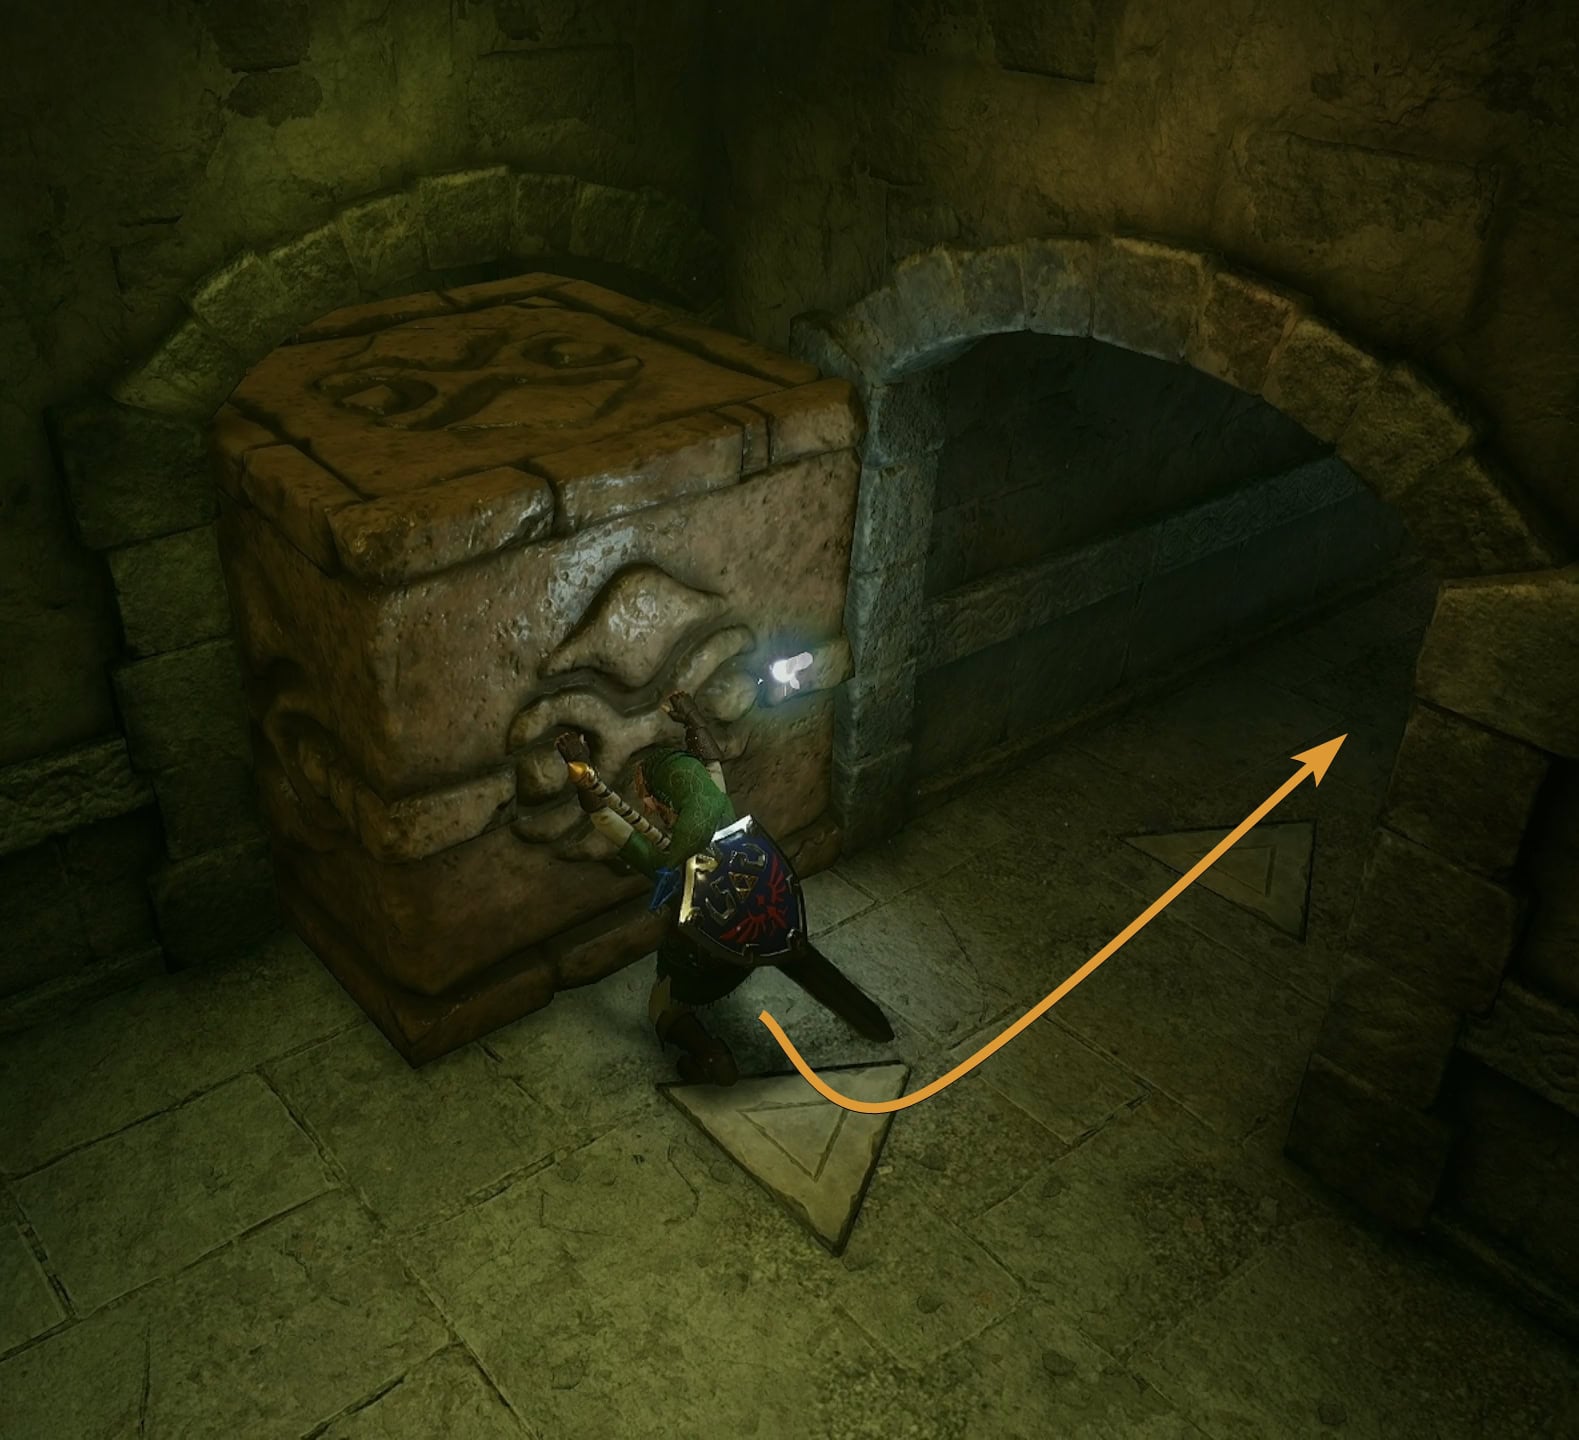
Pull the next block you find as close to the wall as you can, then go back down the last block you pushed. Go up the ladder you ran into earlier, then push the higher block against the wall. Return to where you were and push the block into the recess.
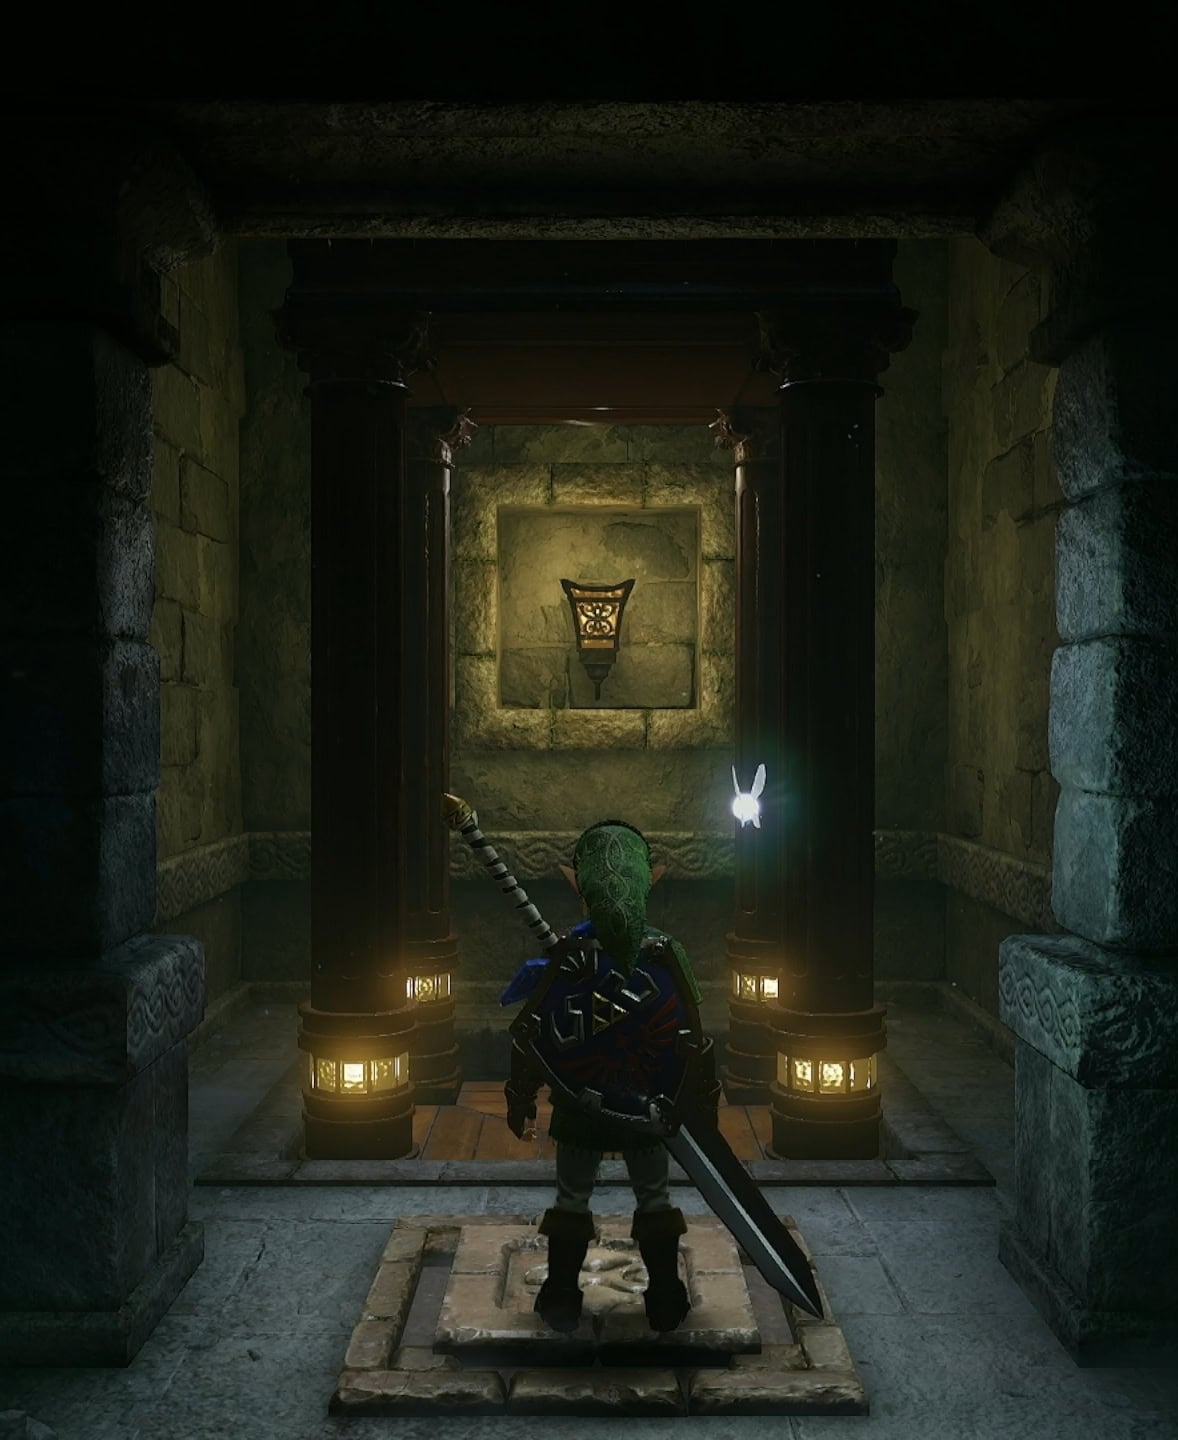
Climb up the block and then the ladder, you’ll find a room with two Blue Bubbles. On the west side of the room is a floor switch. Step on the floor switch to activate an elevator that leads down to 1F.
7. Acid Arena
In this room, you’ll need to defeat three Stalfos. So long as you avoid the acid pit in the middle of the room, you should be able to safely take them down. Upon defeating the three Stalfos, you’ll get the Fairy Bow!
This is a good spot to use Farore’s Wind, do so when you get the Bow. Use it in the Acid Arena room or the blue stairwell room where Beth is for later on.
8. Joelle
Return to the red stairwell you came from. Equip the Bow and fire an arrow at a painting with the red Poe, Joelle. When you shoot all 3, she’ll have no place left to hide and become physical.
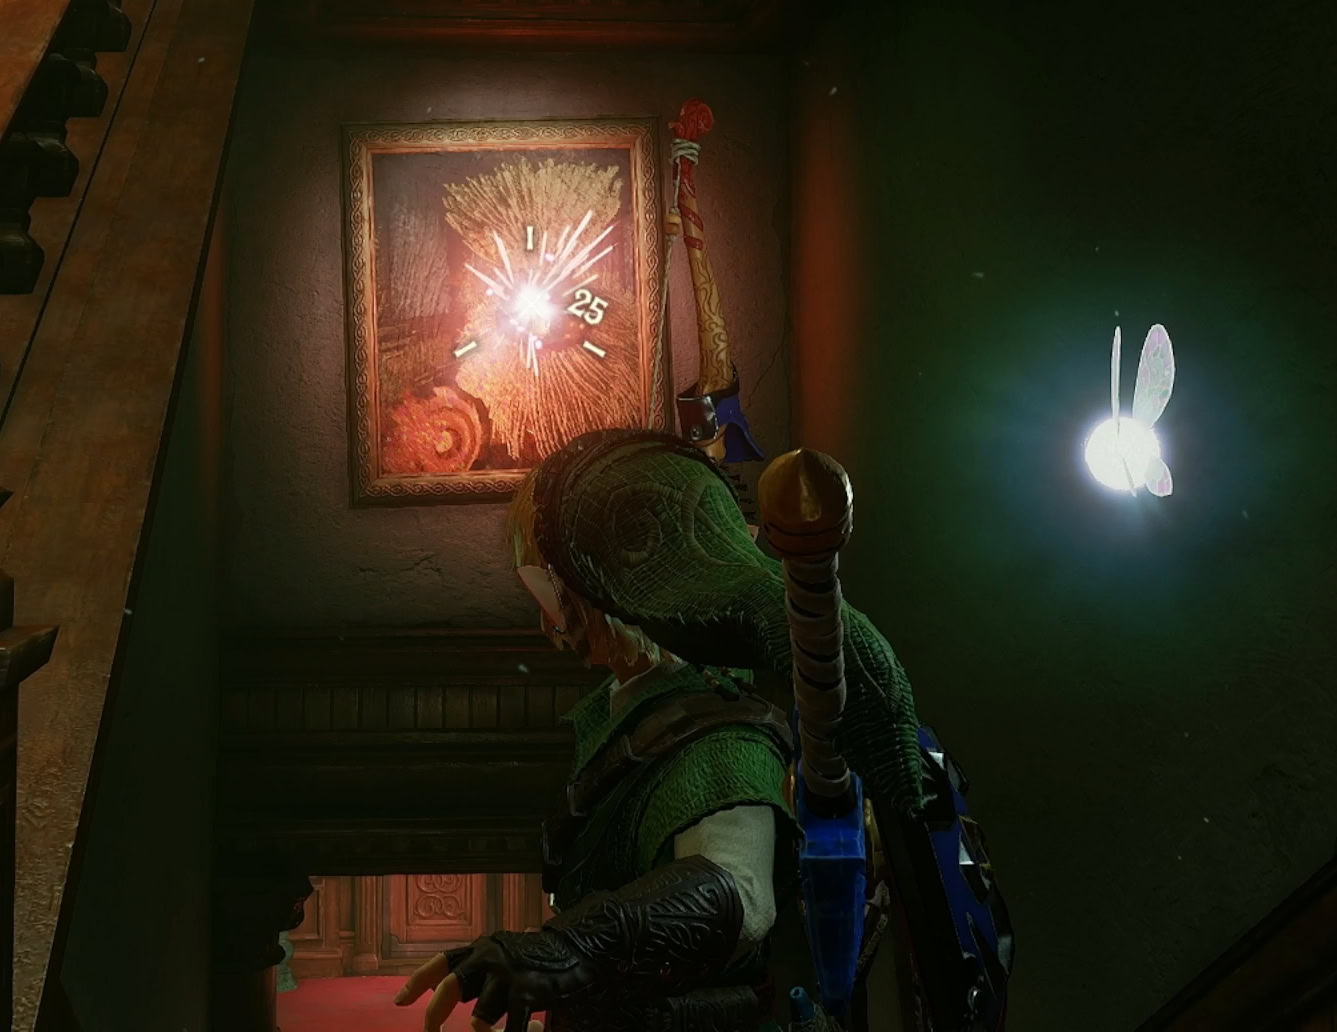
She’ll turn invisible and charge at you while spinning. Dodge to the side and she’ll reappear all dizzy, vulnerable to attacks. Defeating her will get you a Small Key. Return to the Acid Arena and go to the Blue Stairwell.
9. Beth
Repeat the process of shooting the portraits with Beth in them until she becomes physical. Beth is going to charge at you twice before becoming dizzy. Upon defeating Beth, you’ll get the Compass.
Don’t bother going through the unlocked door at the top of the stairwell yet, there’s nothing you can do there at the moment. Instead, return to the room with the elevator near the large blocks you pushed.
10. Twisted Corridor
Outside the Twisted Corridor in the Large Block Room, fire an arrow at the silver eye switch. This will straighten out the corridor and change the layout of the room at the end.
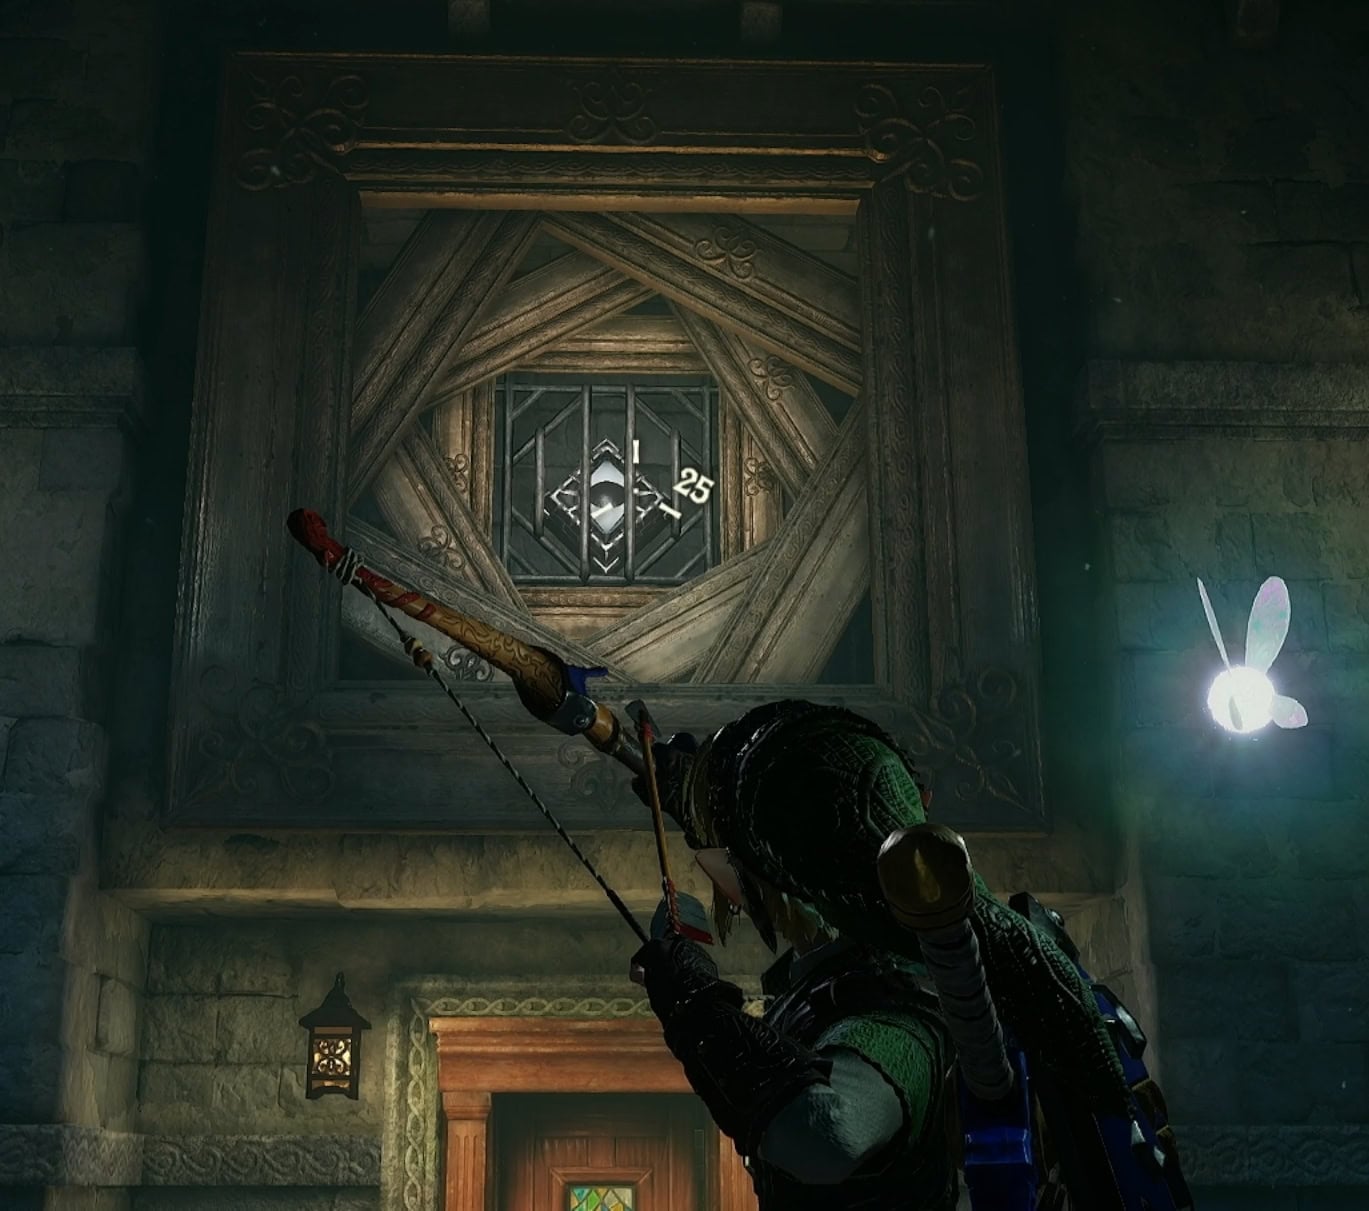
Jump down the room where the Wallmaster is and you’ll find a blue gilded chest on the ground. This chest gives you the Big Key, this is required to enter the Boss Room at the end of the Forest Temple.
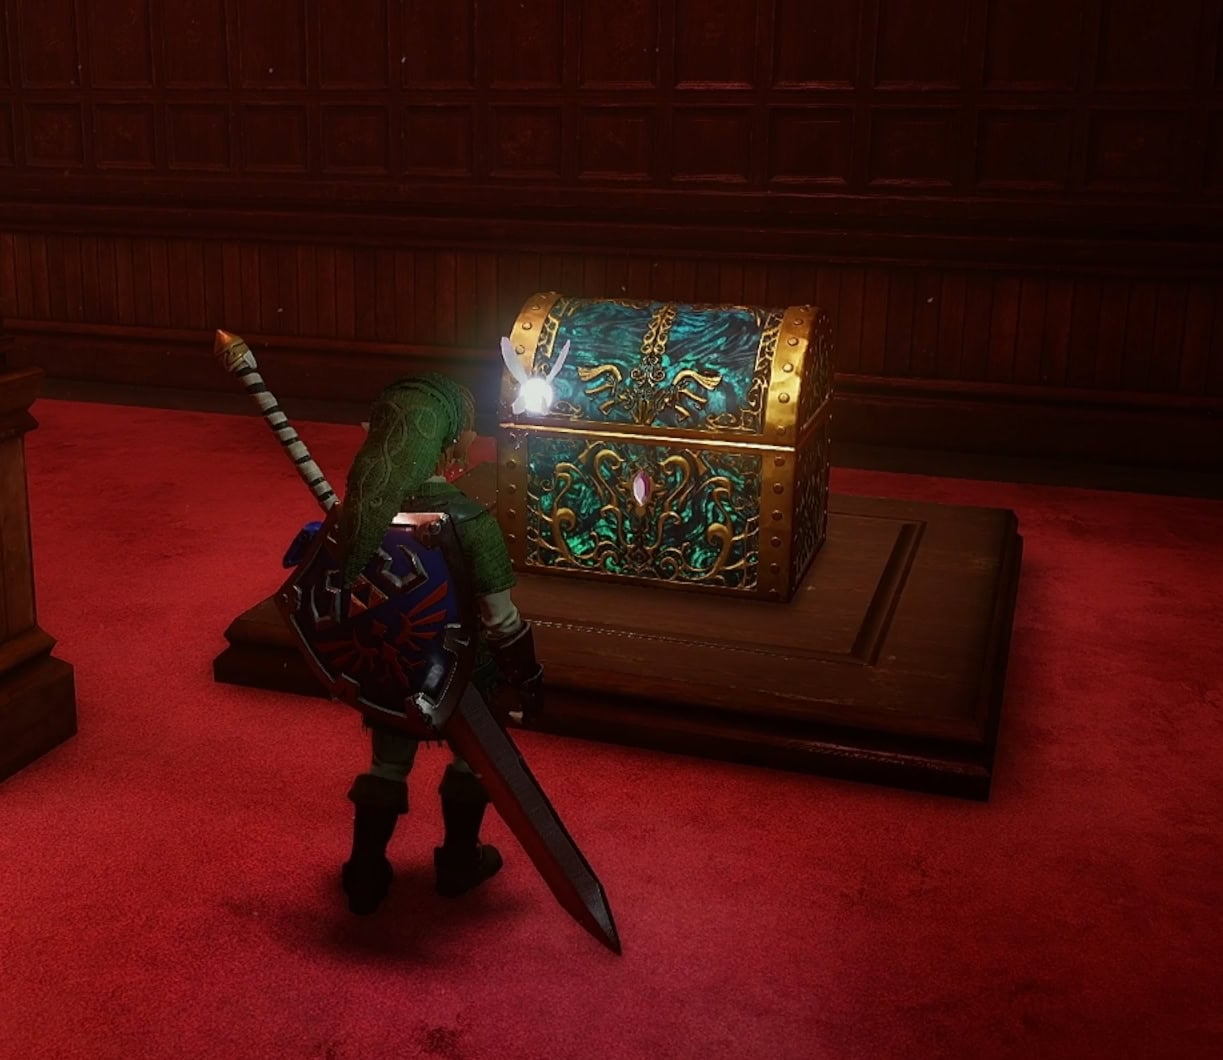
Jump down the hole left of the chest to reach 1F. Stepping outside the room will take you to the upper level of the West Courtyard. Go through the door on your right.
11. Floormaster
This room features a new enemy, the Floormaster. Unlike the Wallmaster, this one won’t grab you and bring you to the start of the temple.
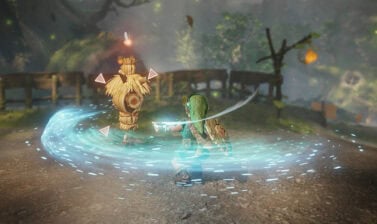
Instead, it’ll attack you by floating toward you. Attack it when it’s not glowing and it will split into three smaller hands. Use a Charged Spin Attack to take out all three.
Once the Floormaster is defeated, you’ll get a Small Key. If you’ve used Farore’s Wind in the Acid Arena or Blue Stairwell, use it now. If you didn’t, you’ll need to return to the Large Block Room and take the elevator.
12. Fire and Eyes
This room has a single torch within it that’s activated by a floor switch. Get behind the lit torch and face the way you came in.
High up on the wall is a frozen eye switch. Shoot an arrow through the fire and on the switch to thaw it. Shoot the switch again to twist the corridor you came from.
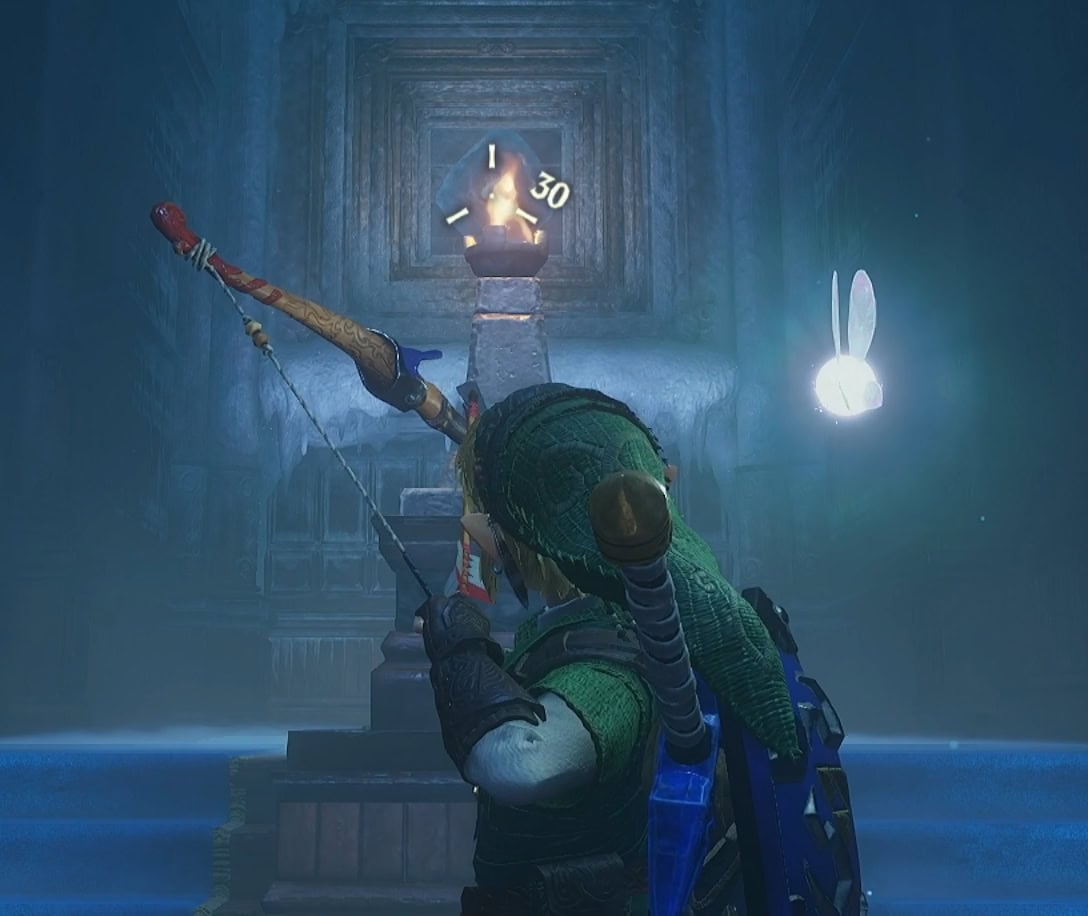
Go through the twisted blue corridor and jump down the hole in the room at the end. This will take you down to a long hallway with black and white tiles in 1F.
13. Falling Ceiling Room
This room has a ceiling that will fall every so often, crushing you if you happen to be underneath it. For now, go through the door near the area you landed.
Push the block down to create a shortcut back here in the East Courtyard. Above the door you came from is a spot you can summon Pierre with the Scarecrow’s Song. This takes you to a Gold Skulltula hidden up here.
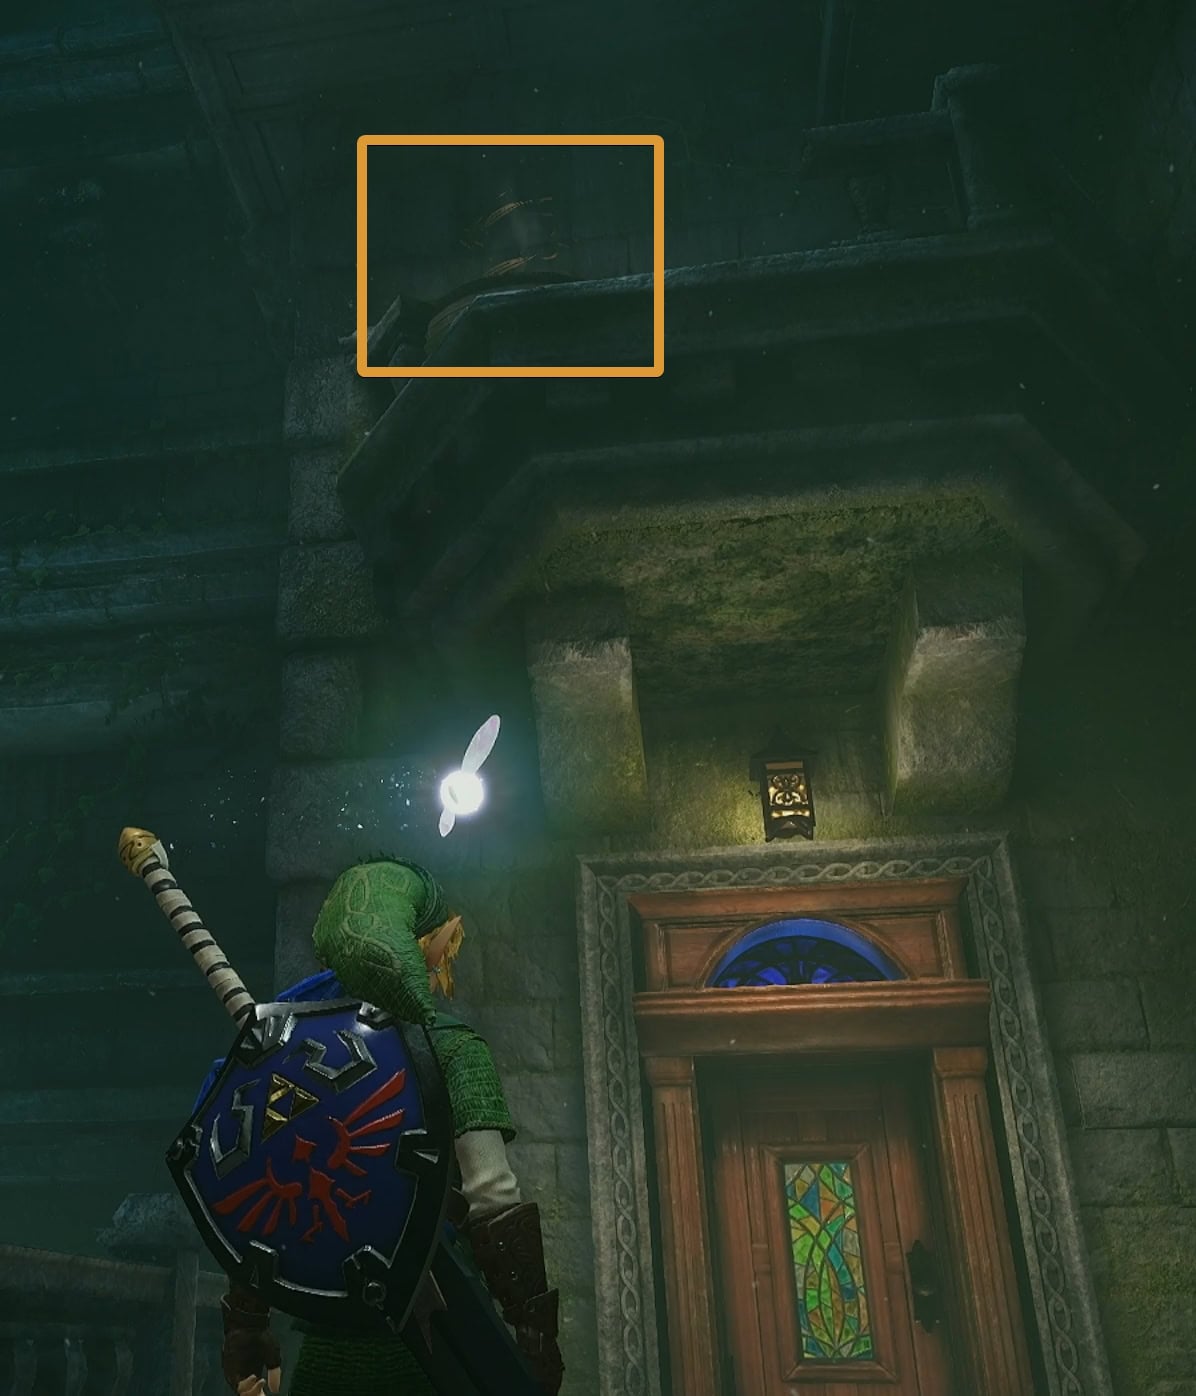
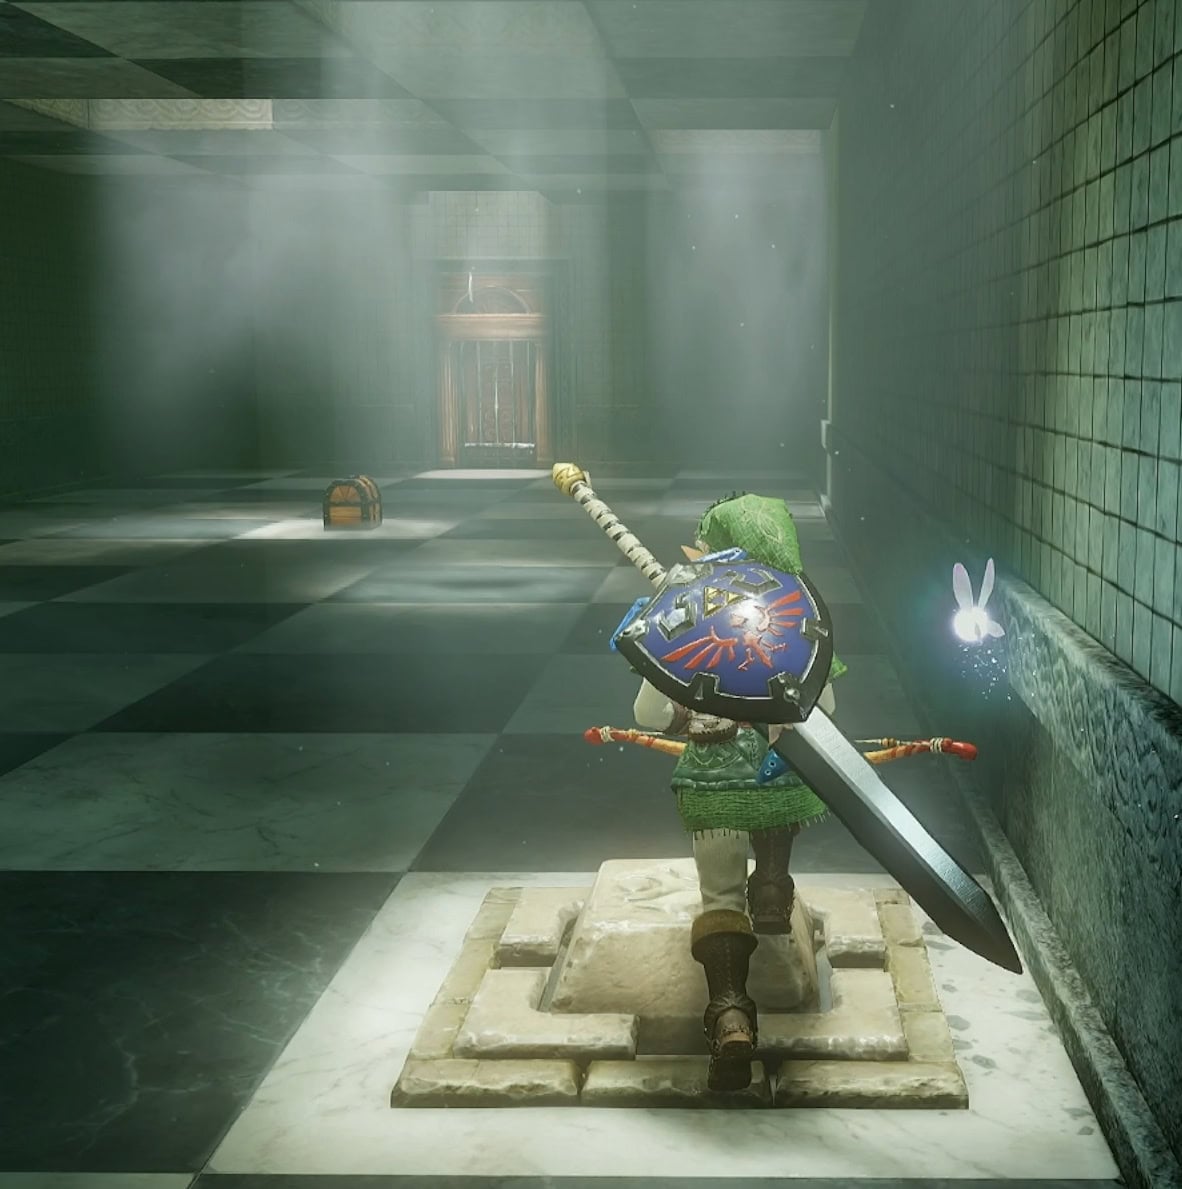
Return to the room with the falling ceiling, and run towards squares that are lit. If you see drool coming from the ceiling in a spot, there’s a Big Skulltula there. Activate the floor switch to unlock the door and go through it.
14. Amy
A large portrait of the green Poe sister, Amy, is hanging on a wall. Shoot it with your Bow and 5 blocks will be shuffled. You’ll need to put Amy back together.
One of these blocks is a fake, you can tell as the real ones move while the fake one is still. Once all the real blocks are put together properly, Amy will come out.
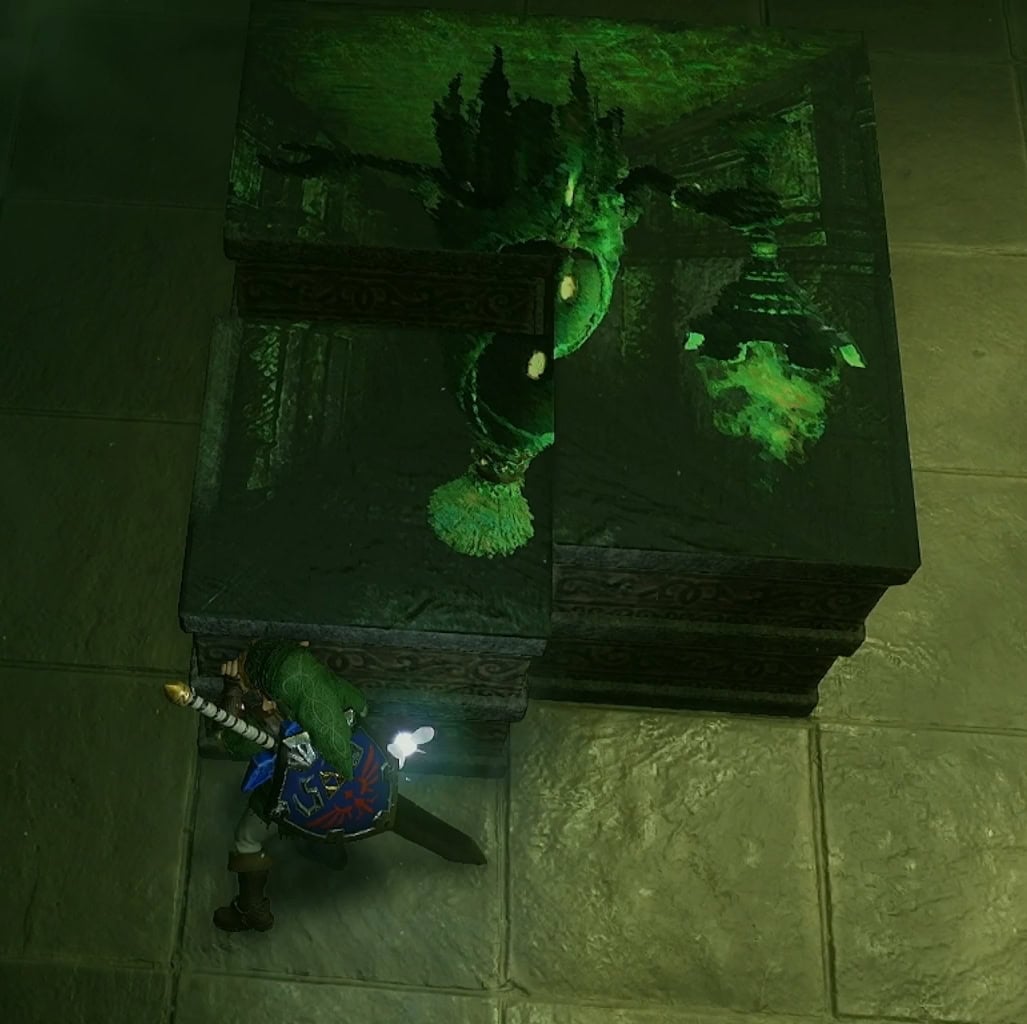
Defeat her the same way you did Joelle and Beth. Amy will charge at you three times before getting dizzy. Exiting the room to the south will reveal Meg’s portrait. Shoot it then follow the hall back into the central room.
15. Meg
Meg will be mourning her sisters, so it’ll be best to have her join them. Jump down and she’ll spawn copies of herself and surround you. You’ll need to attack the real Meg by shooting her with your Bow.
The first round of this, the real Meg will have purple fire well the rest will have green fire. For the second time, the real Meg will have a lit torch while the copies have unlit torches.
In the final phase, the fake Megs are squinting while the real Meg has her eyes wide open.
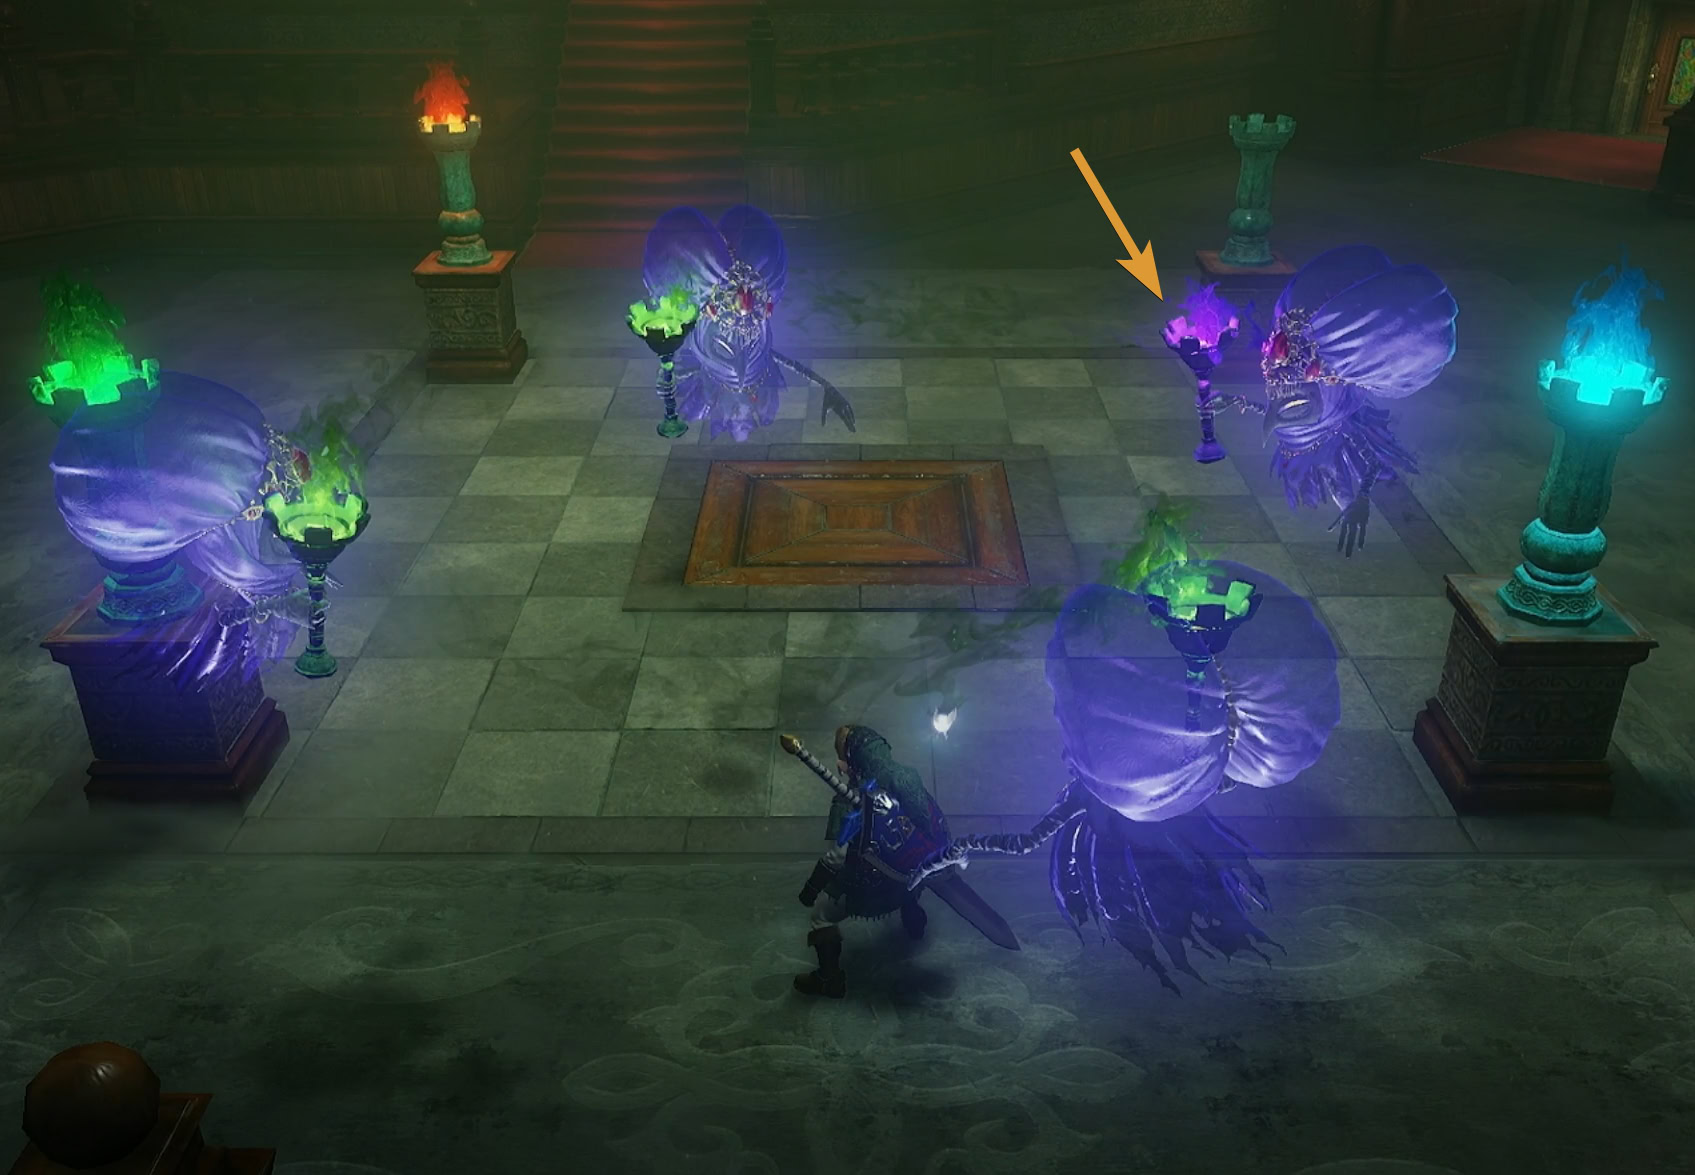
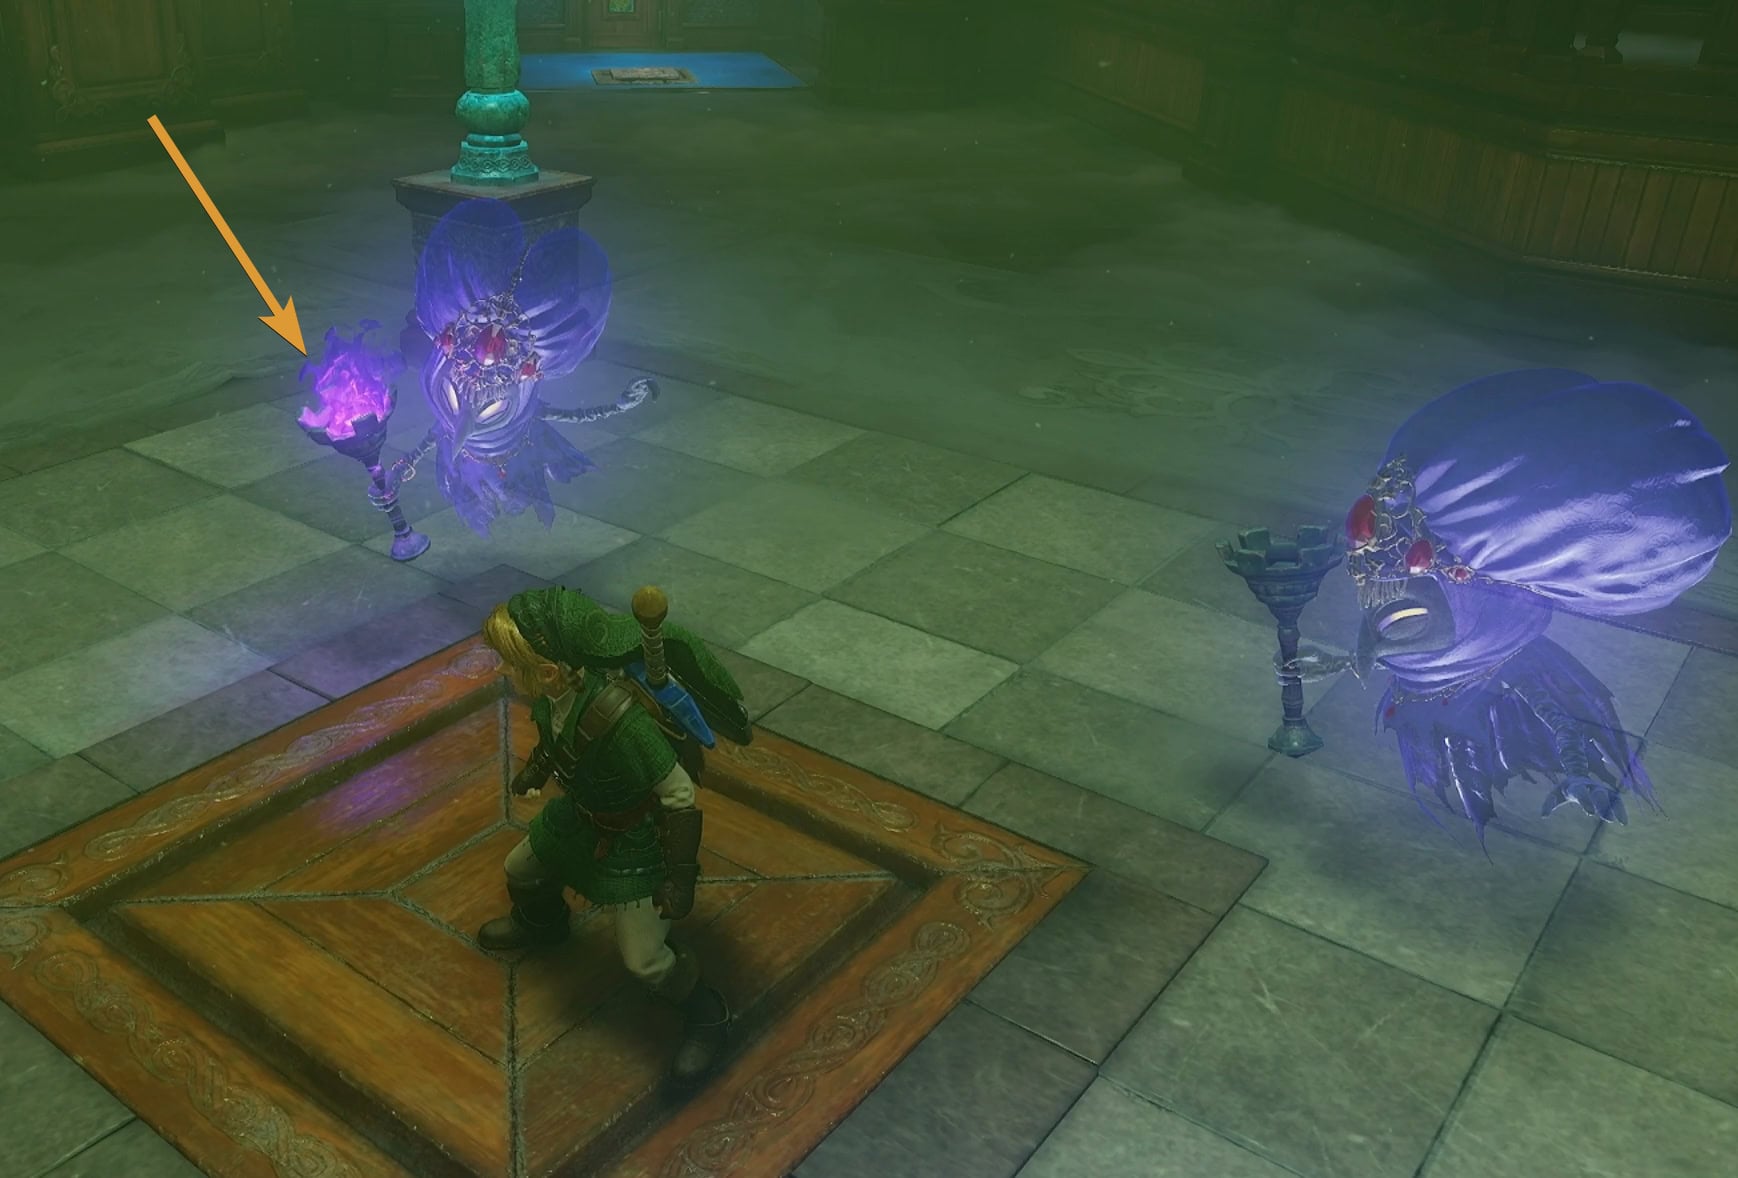
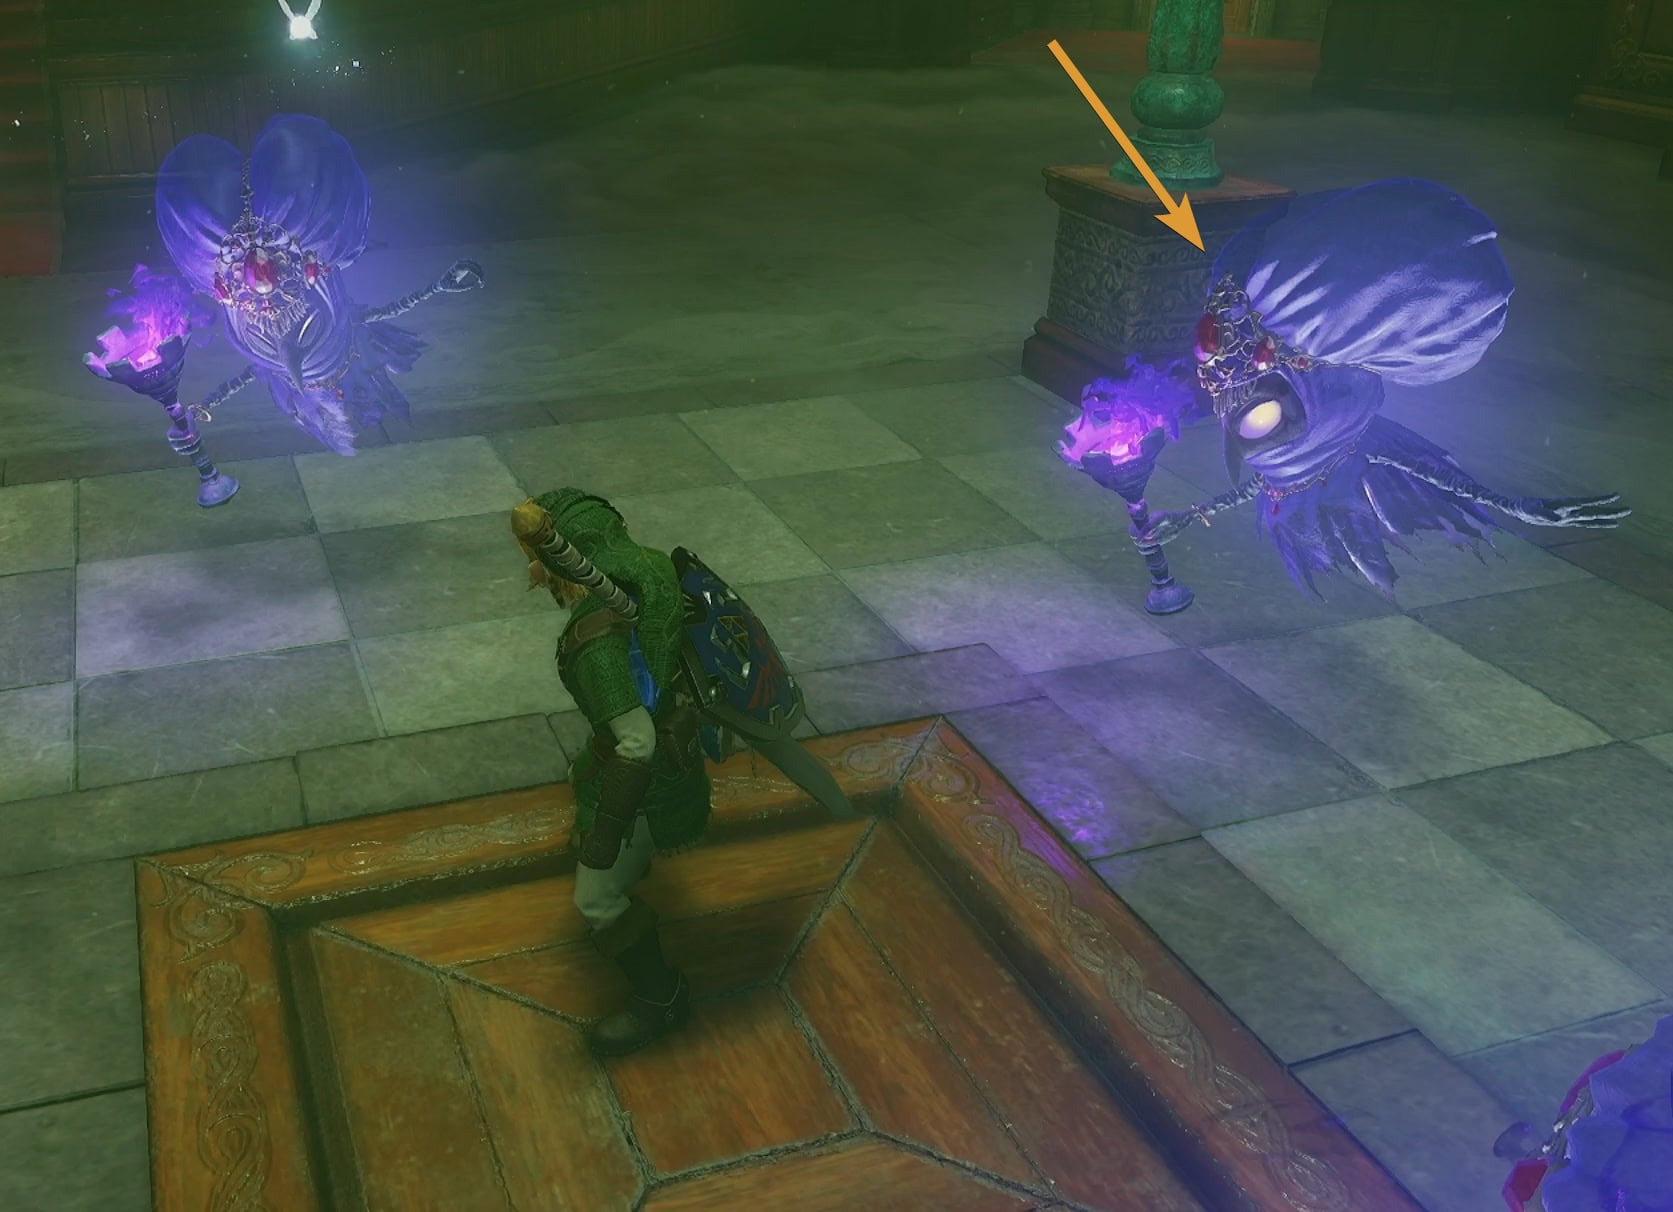
Once defeated, all of the torches will be restored and the elevator leading to B2 will pop up. Go down the elevator for one more puzzle. Now would be a good time to resupply if you need to.
16. Spinning Room Puzzle
This room has openings that lead to locked off rooms, and pillars that stick out from the sides. Pushing the pillars will rotate the room.
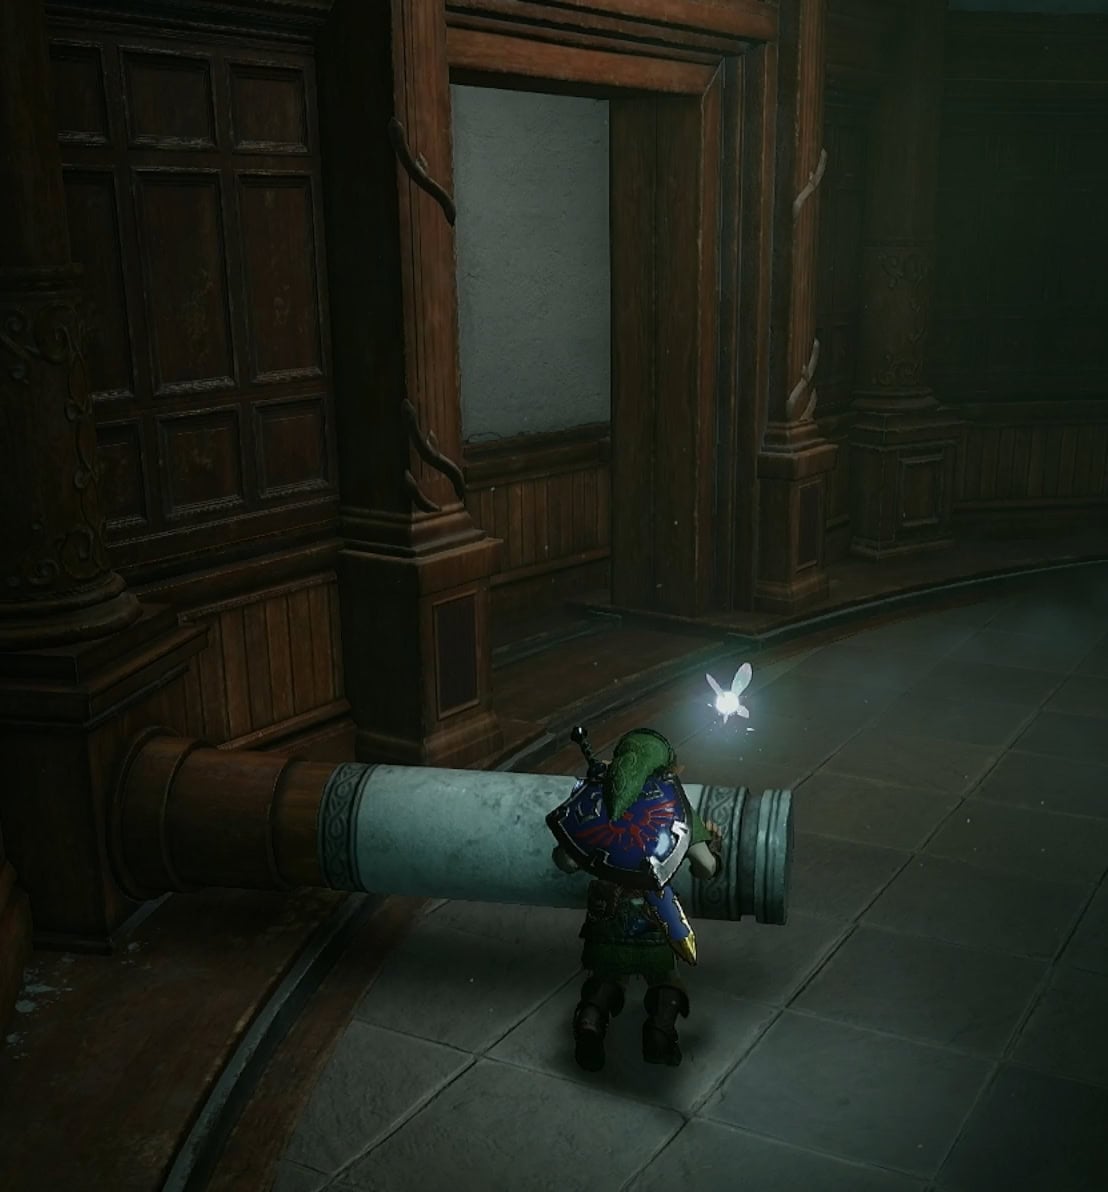
Be sure to enter open rooms when you can, you can get some arrows from a small chest and a Gold Skulltula here. Rotate the room clockwise until the room with the floor switch is open. Activate it to turn on the torch within the wall.
Continue pushing the room clockwise until the torch is in front of the frozen eye switch. Melt and activate the eye switch to unlock the way to the Boss Door.
Phantom Ganon
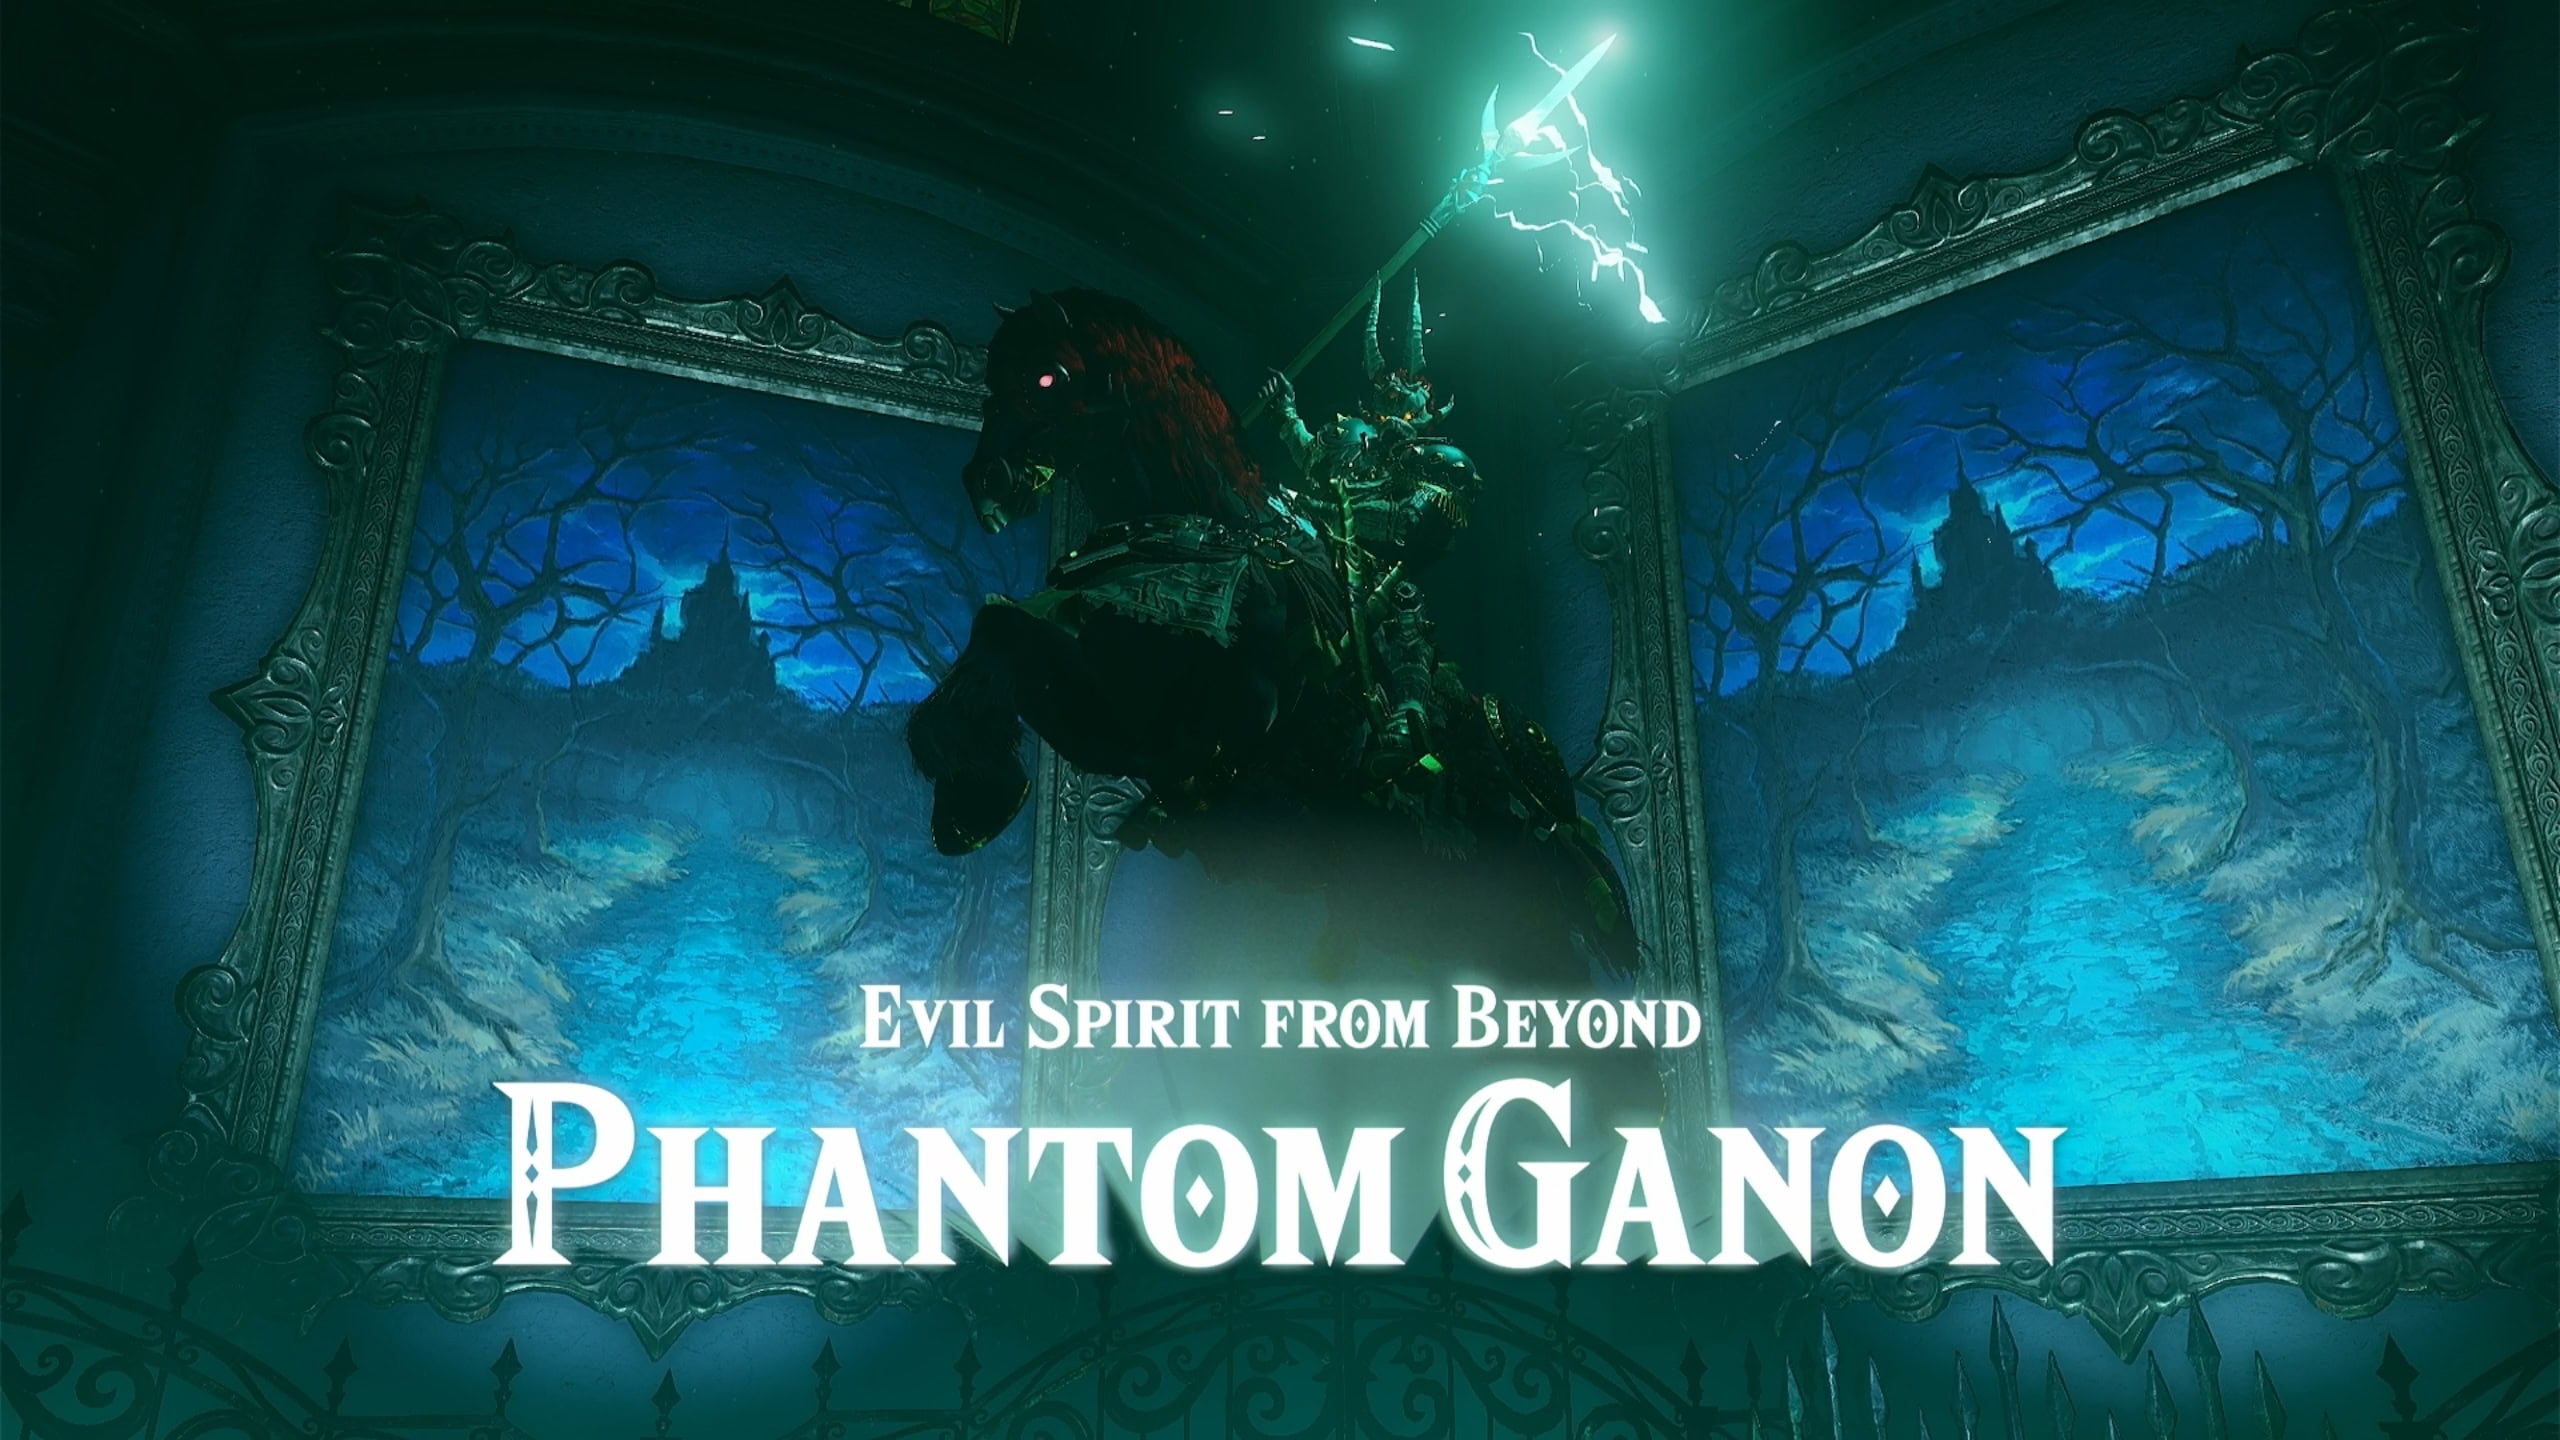
Upon entering the boss room, you’ll be greeted by an eerie art gallery. This is the arena where you’ll fight the Evil Spirit from Beyond, Phantom Ganon.
Forest Temple Summary
Here is a brief recap of what you’ll need to do in order to complete the Forest Temple:
- Climb up the vines in the first room to find a Small Key on top of the trees.
- Defeat the Stalfos in the room north of the central room.
- Play the Song of Time to remove the Time Block and access the West Courtyard.
- Climb up the wall of vines, Hookshot to the other balcony, activate the floor switch, and jump inside the well.
- Get the Map in the East Courtyard and return to the central room.
- Push the series of large blocks to reach 3F and activate the elevator.
- Defeat the three Stalfos in the Acid Arena.
- Defeat Joelle using the Fairy Bow to destroy her portraits.
- Defeat Beth and get the Compass.
- Untwist the Twisted Corridor by shooting the eye switch. Get the Big Key and jump down the hole.
- Defeat the Floormaster for a Small Key and return to the blue stairwell where you fought Beth.
- Activate the torch and shoot a flaming arrow to melt the ice on the eye switch. Shoot the eye switch to twist the corridor you came from and jump down the hole at the end.
- Activate the floor switch in the room with the falling ceiling, then go through the door at the end of the hall.
- Solve Amy’s puzzle by joining the blocks with the moving images together.
- Defeat Meg by shooting the copy that sticks out.
- Rotate the Spinning Room clockwise until you activate a floor switch. Rotate it further so the torch is facing the frozen eye switch. Activate the eye switch to unlock the Boss Room.
- Defeat Phantom Ganon.
Prelude of Light
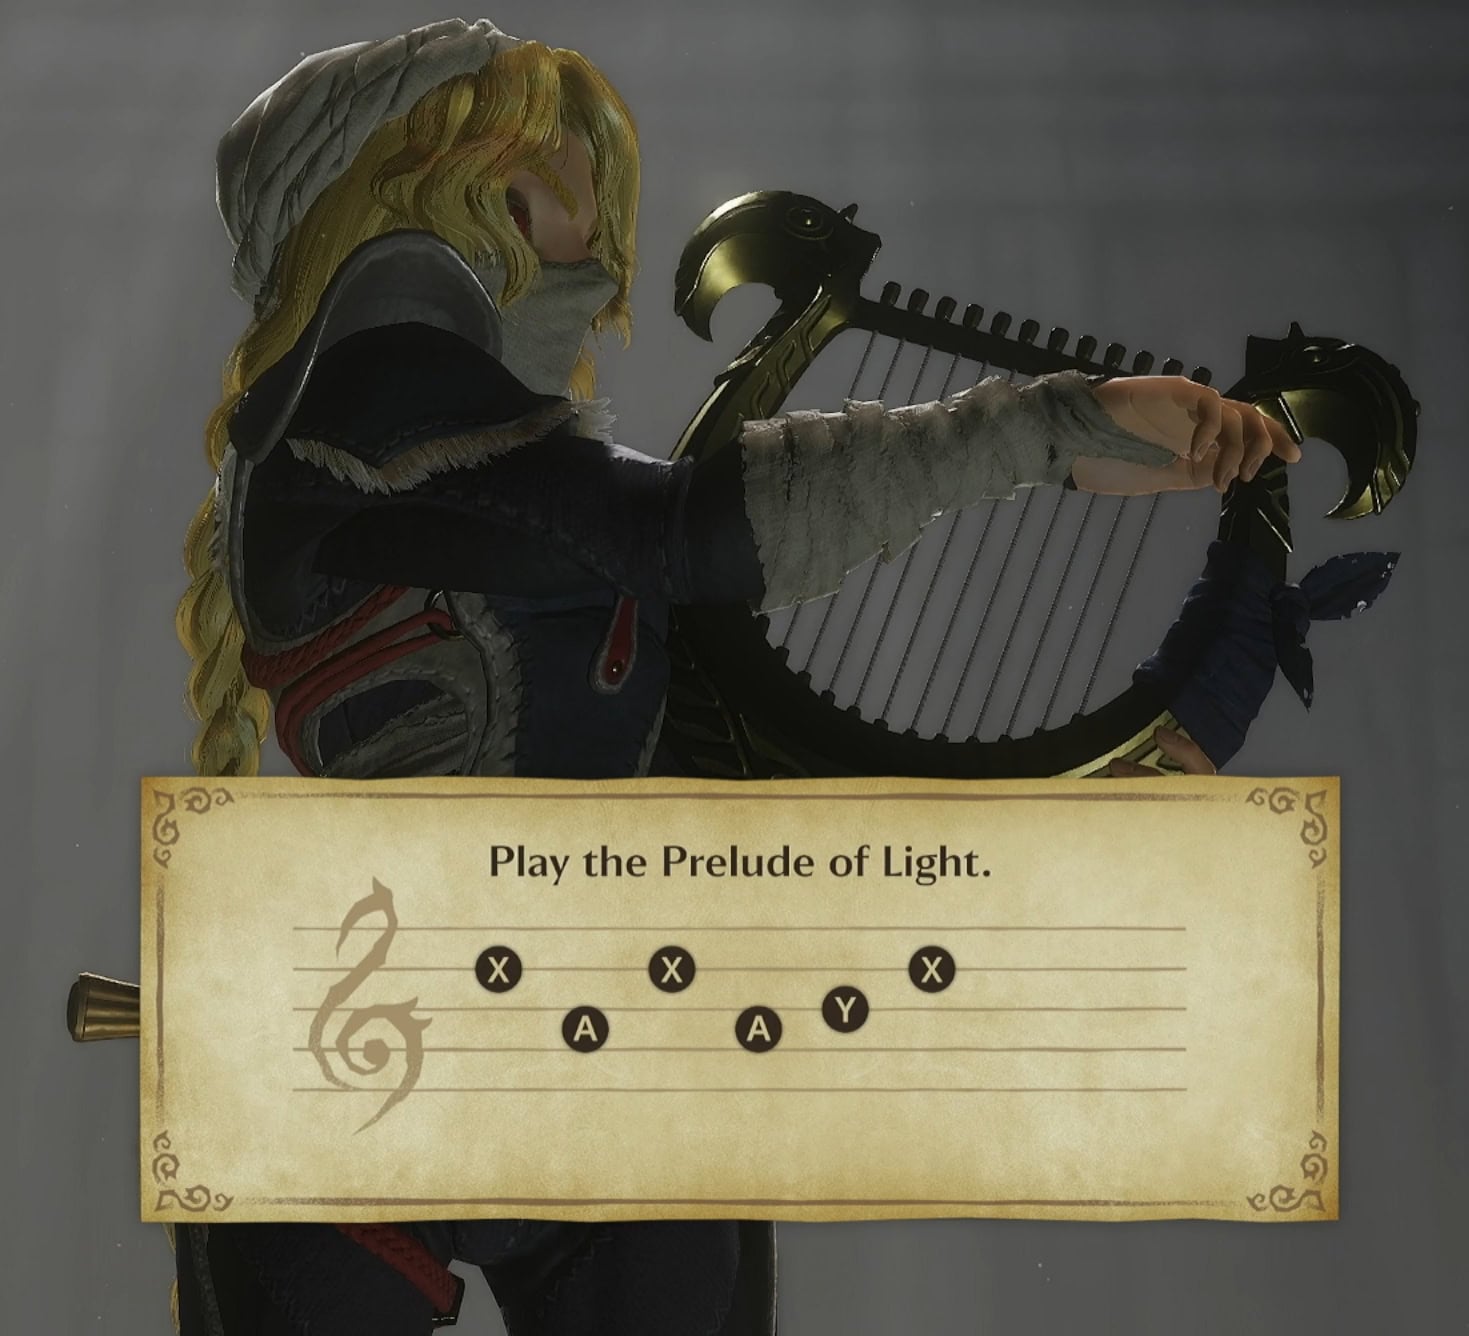
Once the Kokiri Forest is returned to its normal state, return to the Temple of Time to talk to Sheik. He’ll teach you the Prelude of Light, and now you can place the Master Sword back in the pedestal to return to Child Link’s time.
Hall of Fallen Foes
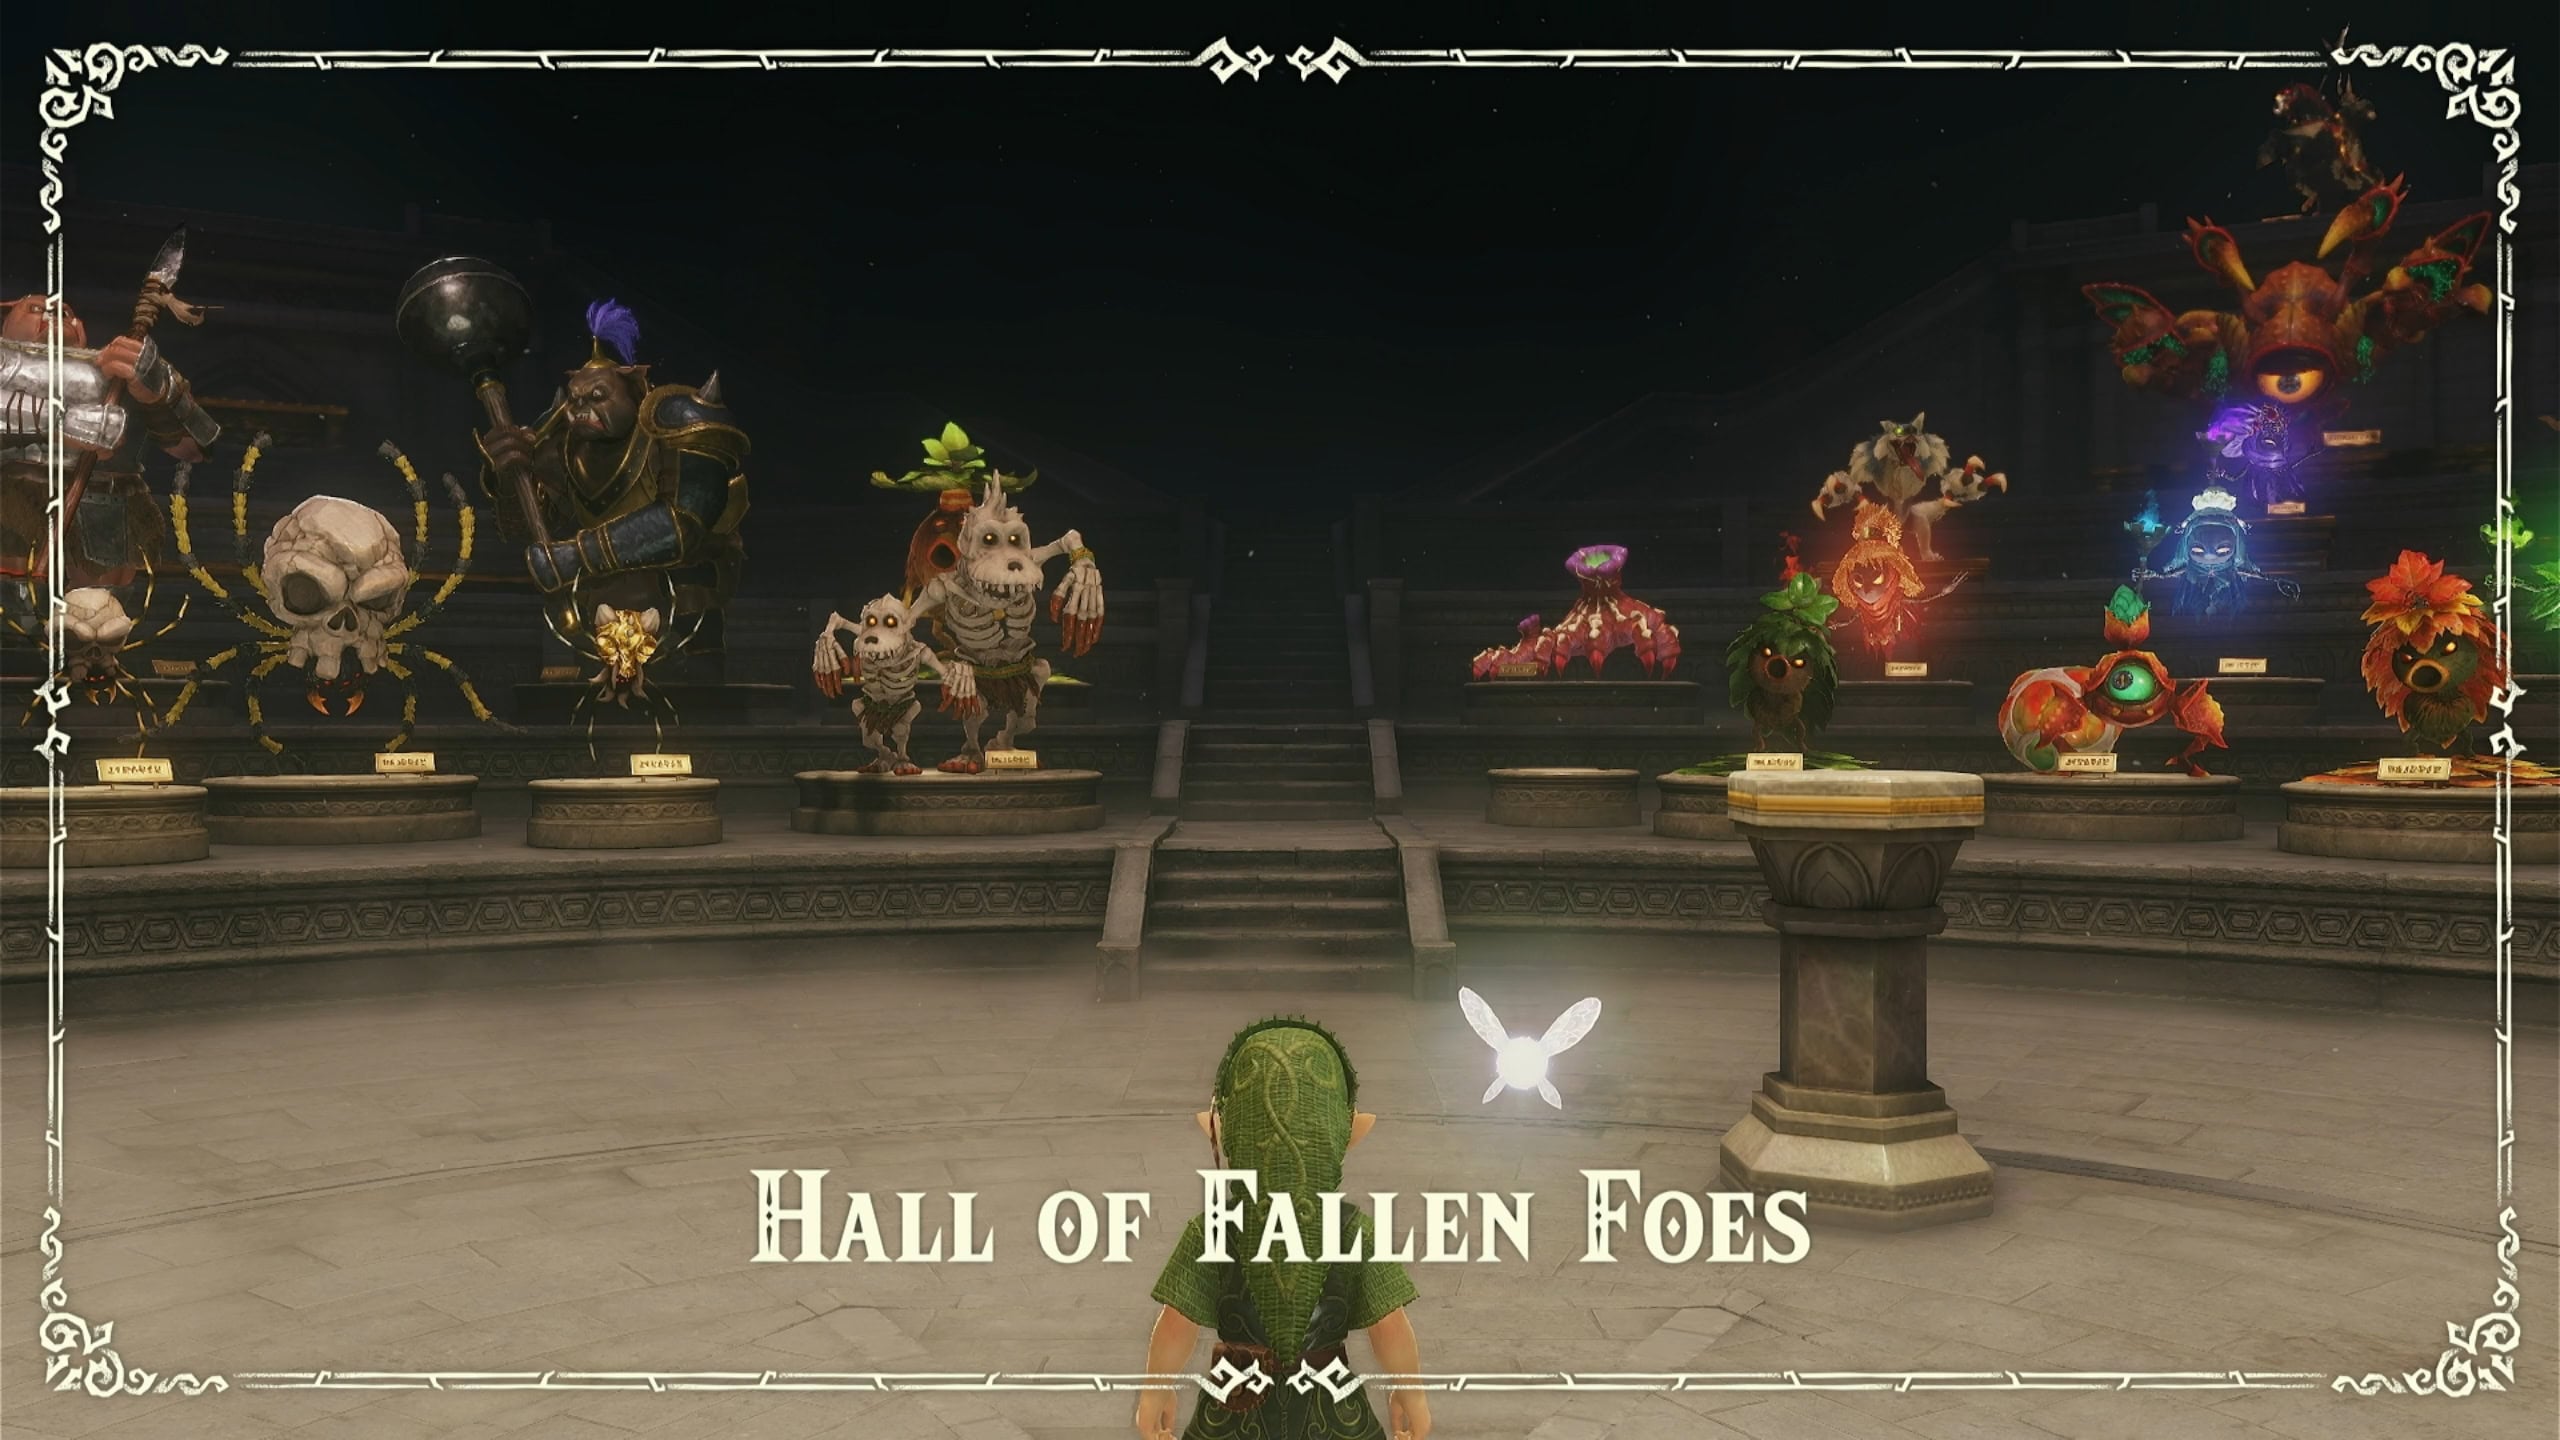
When you go to Kakariko Village as Child Link, you’ll run into Kaepora Gaebora. He’ll tell you about the Hall of Fallen Foes. This can be accessed if you sleep in a bed, and fortunately there’s one at the grand lodge in Kakariko Village.
In the Hall of Fallen Foes, you can learn facts about enemies you have defeated, challenge bosses you’ve fought, and even run a gauntlet of several bosses in a row!
Venture to Death Mountain
You will now need to head to Death Mountain and investigate it’s odd fiery ring floating above it. The Gorons will likely know what’s happening, you should try asking them.