This is a short and simple guide to the final boss in Scum and Villainy Operation – Dread Master Styrak Veteran Mode. The fight is designed in phases. Each one very different and unique. The enrage timer stops when you pass into the final Burn phase. More on that down below.
Find more SWTOR Guides & Tutorials here: https://vulkk.com/category/swtor-guides/
A few more related guides that you might find useful:
Video Guide
Phase 1 – Thrash Pulls
Nothing too special here. The fight in phase 1 is exactly as it was. Pull the lines 1 by 1, interrupting the channel of the gold NPC when it starts healing and force it to move to melee range for AoE. Repeat this for each wave. Not recommended to pull more than 1 or 2 waves together, unless you are looking for fun time.
Phase 2 – Kel Dragon
The only real difference compared to SM is the bigger damage. While the Dragon spins, the spines hurt a lot more. I recommend everybody stack behind the tank (not what we did in the video :P) and do not stop doing damage during the spinning. The boss is shielded, but still takes damage and sometimes it may prove useful. Avoid the green goo, kill the ads as soon as you see them. When running with 1 tank, the 2nd highest will take Kel Dragon while tank is “channeled” by the ads. With standard 2-Tanks team, the 2nd tank picks up the boss. Always move in one direction to make the MDPS easier and put the green goo “behind” the group. In HM there is no “pushing” NPC.
Phase 3 – Styrak and His Ghosts
During this phase you will need to push maximum DPS overall. Depending on the team’s gear and class balance, even healers may need to DPS during the Manifestation burns. Can use Raid Buffs at the beginning of Phase 2. Should have them available for the beginning of Phase 4.
Styrak drops right after you kill Kel Dragon. After a while he disappears and a big giant ghost apparition spawns in the middle accompanied by 4 adds connected to each other with lightning beam. The 4 keel moving closer to the middle and you need to kill the Manifestation before they reach it, resulting in instant wipe.
After the Manfestation, Styrak appears again, just briefly. Don’t waste that time, do as much damage on him as you can.
Shortly after that, he will disappear once again, spawning 4 spirits at 12, 3, 6, 9 o’clock (12 being the throne). In HM their positions are always stationary, unlike in NiM. One player needs to quickly move in melee range to them. Best practice is to assign these 4 players before starting the boss fight. The spirits damage the closest person and if they are not in meleerange, the incoming damage is very nasty.
Next, Styrak returns again. This concludes a what I’d like to call “1 cycle”:
Styrak ► Big Manifestation ► Styrak ► Four Spirits
During phase 3 this cycle repeats 4 times. If you do not get to next phase before the 5th Manifestation appears, it is very likely you are going to face enrage.
Not to forget, the nightmares. They happen to 1 random player every time Styrak is on the floor before the big Manifestation spawns. Inside the nightmare, you have to kill your own companion
In the linked Combat Logs at the end of the article, you can clearly see the phases marked on Star Parse.
Phase 4 – Kel Dragon Returns
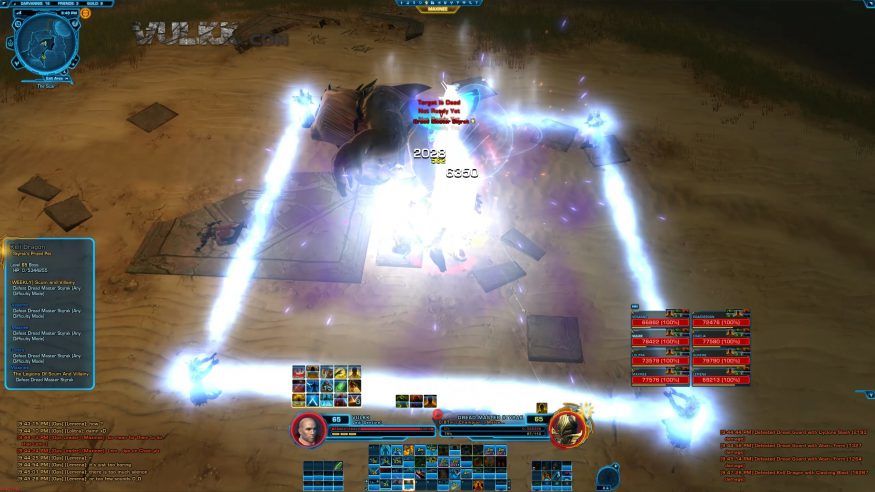
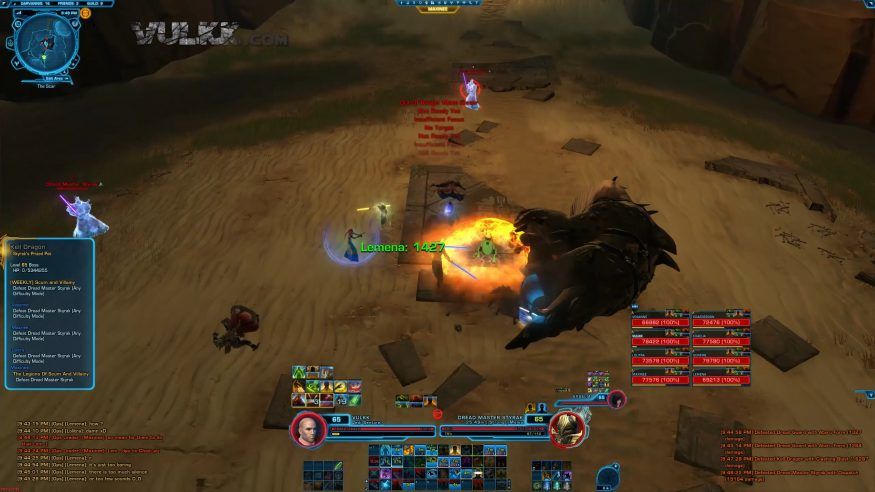
Around 12% Styrak will call for help and reanimate the Dragon again. As soon as this happens, the team needs to dish out big burst of DPS and take the monster as quick as possible. During this, Styrak is channeling (the tank) while regenerating health slowly. Use defensive cooldowns and raid buffs.
Phase 5 – The Final Burn
After the beast is dead, Styrak is easy to kill. Keep him in the middle and DPS him down as quick as possible. The AoE damage is unavoidable and the sooner he drops, the better.