A Complete guide to all Daily Missions on Onderon for Empire and Republic, available with the release of SWTOR 6.0 and the expansion Onslaught!
This guide will show you how to unlock, pick up, and complete all Daily and Weekly Missions on Onderon for both Republic and Empire players.
Each mission is separated into its own segment and step-by-step instructions are provided for how to complete its objectives, should you need a little help with that.
If you are looking for something specific, use the Table of Contents at the top of the article to skip the manual browsing. I hope you find the Onderon Daily Missions guide useful! Enjoy!
To be able to do the Onderon Daily Missions on each side you need to be level 75 and have the Onslaught story completed. When you finish the last main story mission, the Onderon start-up quest appears automatically on your tracker to help you get there faster.
Table of contents
Republic Side Missions
First up, let’s take a closer look at all of the daily and weekly missions available to the Republic players.
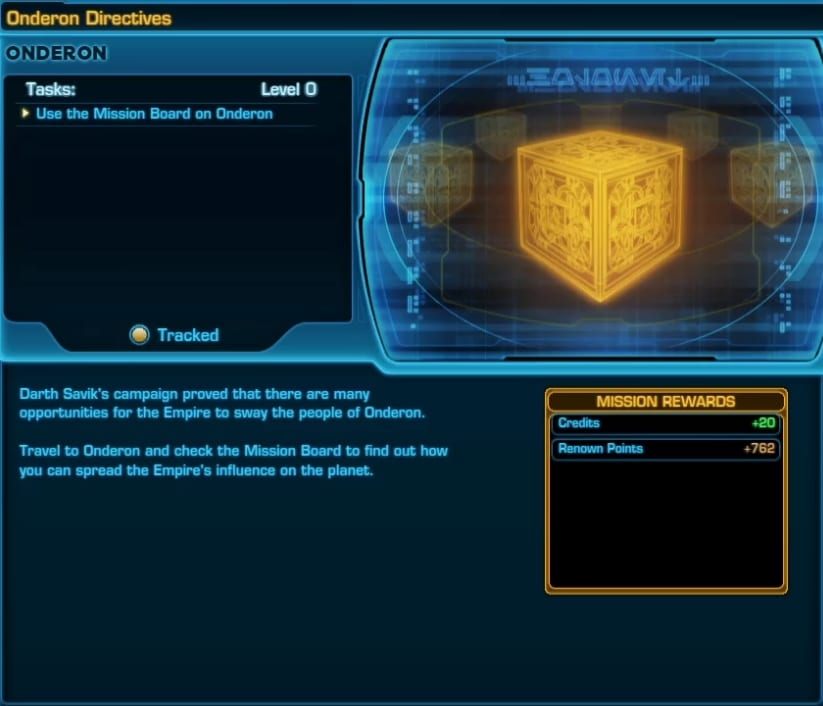
Onderon Directives
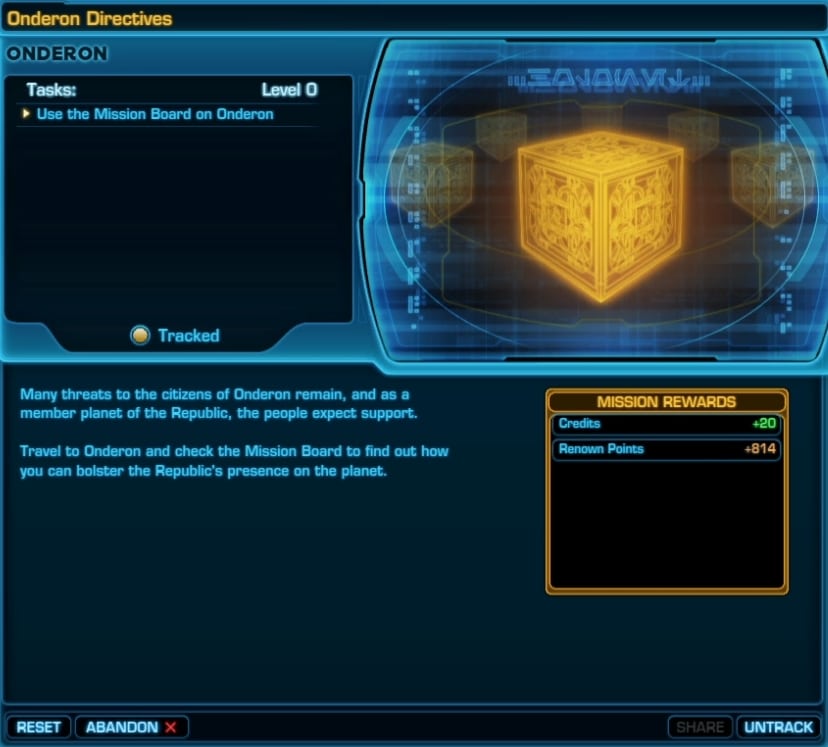
This is the starter mission for the Onderon Dailies. It is automatically given to you after you complete the Onslaught expansion campaign. This is also when the dailies get unlocked and you can start farming your reputation. This is just a one-time quest to bring your attention back to Onderon.
[WEEKLY] Daily Area: Onderon
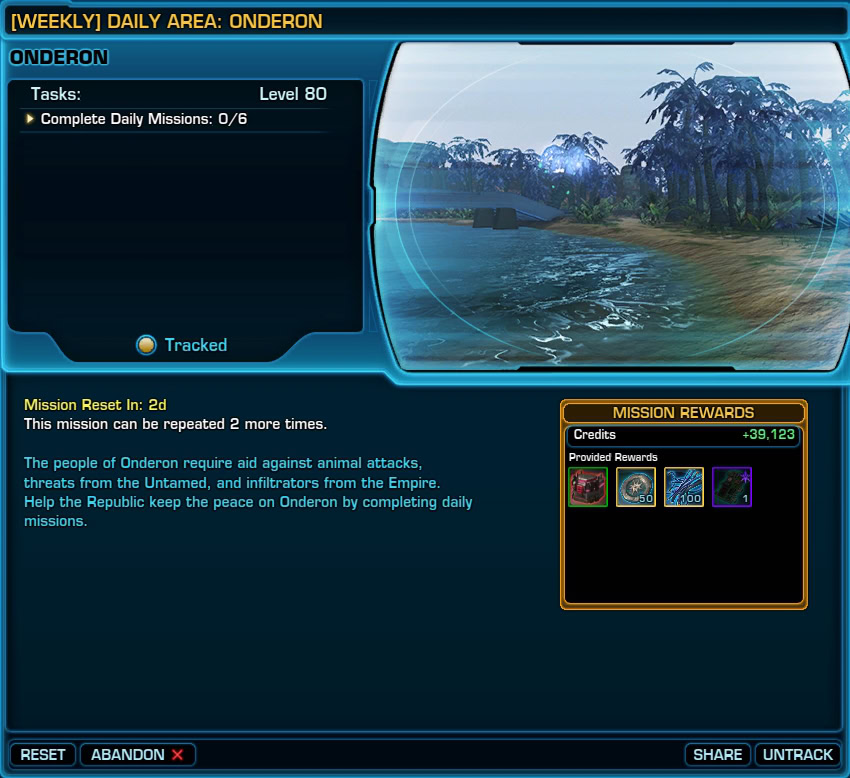
You can pick up this mission from the Onderon Mission Boards each week. Completing six Daily Missions on the planet will auto-complete this one and grant you its rewards.
[DAILY] Patrol: Onderon
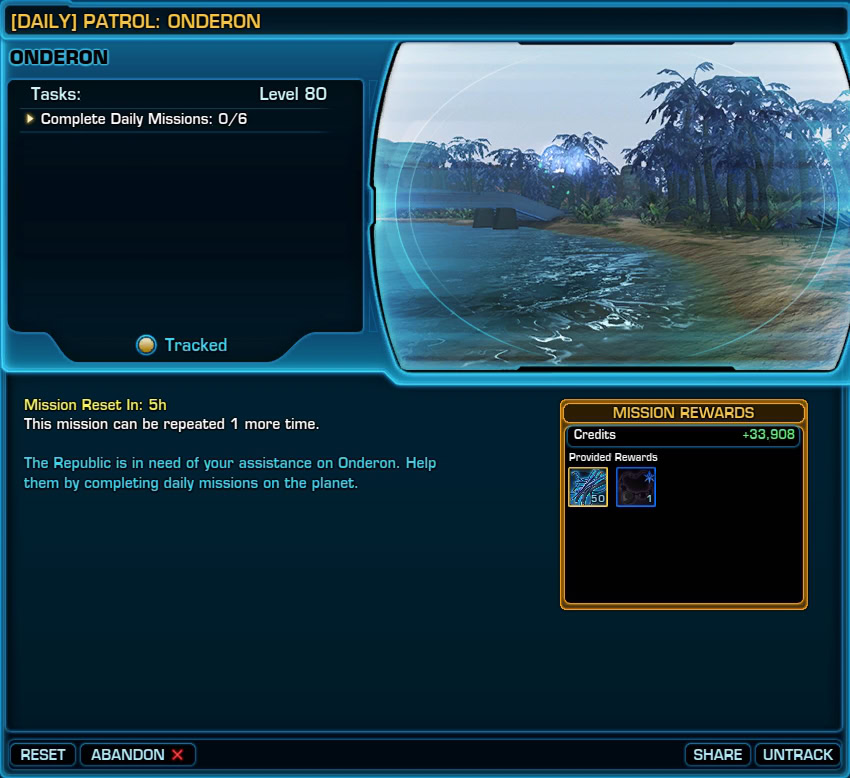
This is a daily for the dailies. Complete six normal daily quests on Onderon to finish this one and get the rewards.
Proving Your Worth
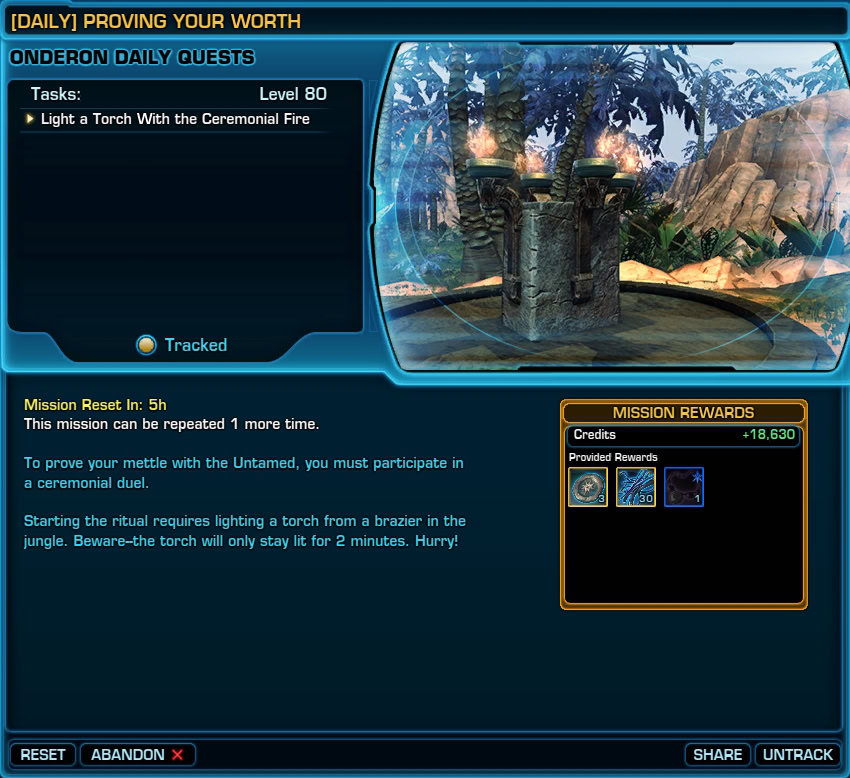
The mission can be picked up by speaking to the Royal Guard Commander, located just outside the palace in Iziz at the top of the staircase.
- Go to the marked location on the map, in the middle of the area, and interact with the brazier to light up the torch.
- Head north quickly and enter the Untamed Lair, then turn to the right. The torch expires two minutes after you pick it up.
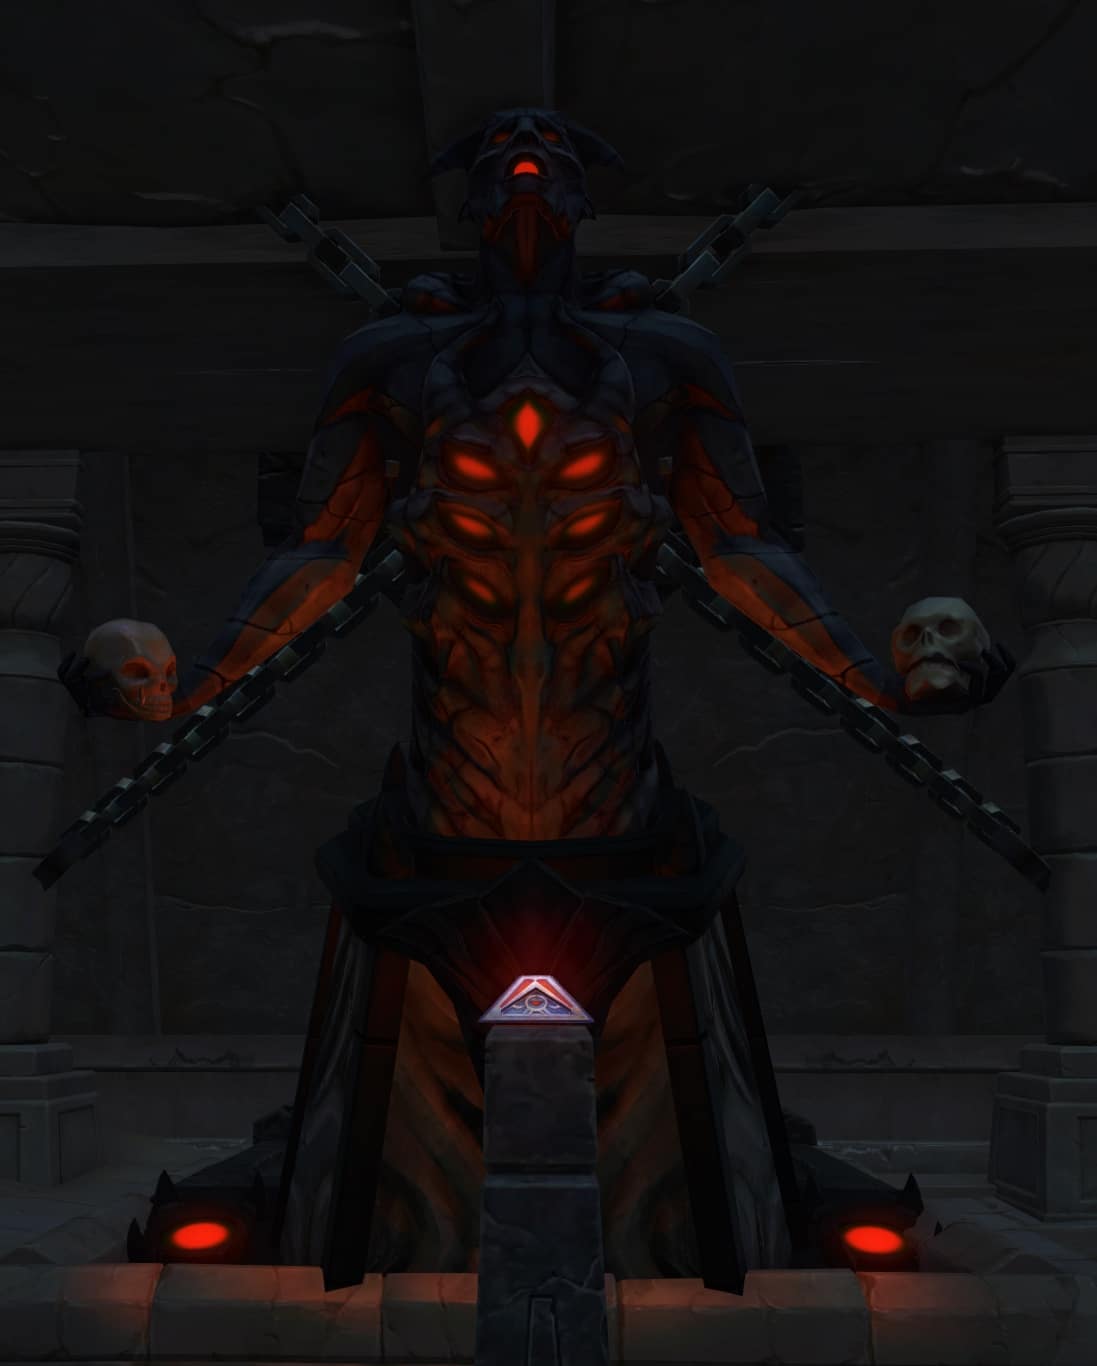
- Interact with the Pyre in the middle of the room to activate the Untamed Champion.
- Defeat the champion. Its only special attack is Ravage, which can be interrupted.
Scorn for the Dishonored

Shae Vizla grants you this mission from a terminal, located a bit north of the Onderon Mission Board. You’ll find a couple of Mandalorian Warriors near the terminal.
- Go to the Lake Encampments area and defeat a bunch of Manralodian NPCs. You can use the Lake Overlook spawn point to quickly get there.
- Loot them until you find 8 Armor pieces to complete the objective. They are located around the northern beaches of the lake. Not every NPC will drop the quest item. Continue defeating them until you get enough.
- [BONUS] Click on Crates and Weapon Caches to destroy them for the bonus objective. They are located inside or near the tents in the same area. You need six and they respawn quite fast.
Combing the Wreckage
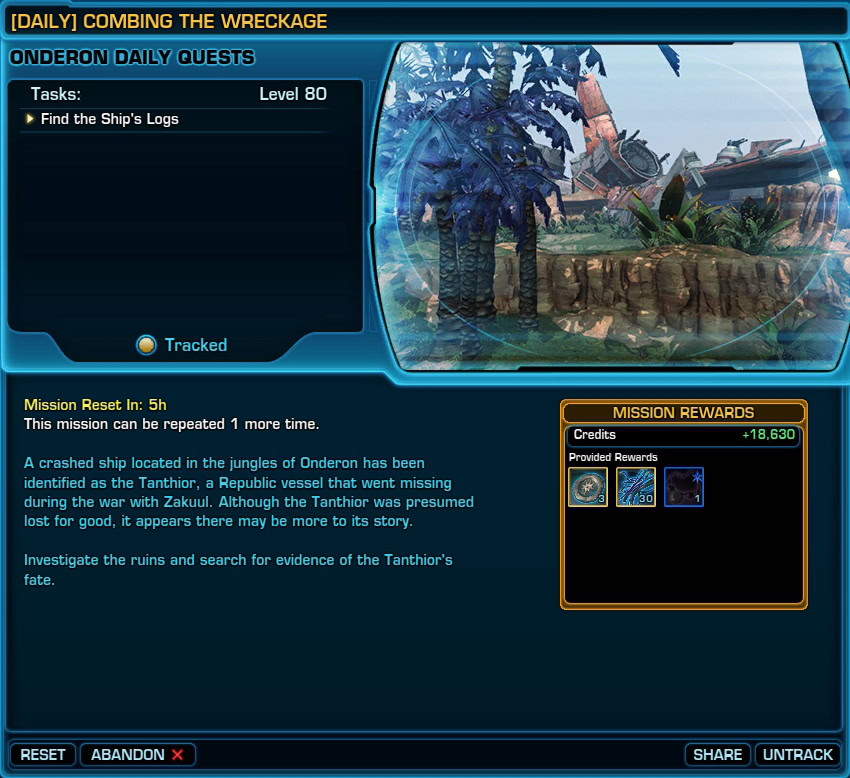
Pick-up location: The Dailies Terminal in Iziz. This mission was bugged at the time of this guide’s publish date. The final datapad could not be looted.
- Go to the north area on the map, and explore the Crashed Ship section. You can use the Forrest Encampment quick travel point to get here quickly. (Location Coordinates: 239, -1007 OR 239, -977)
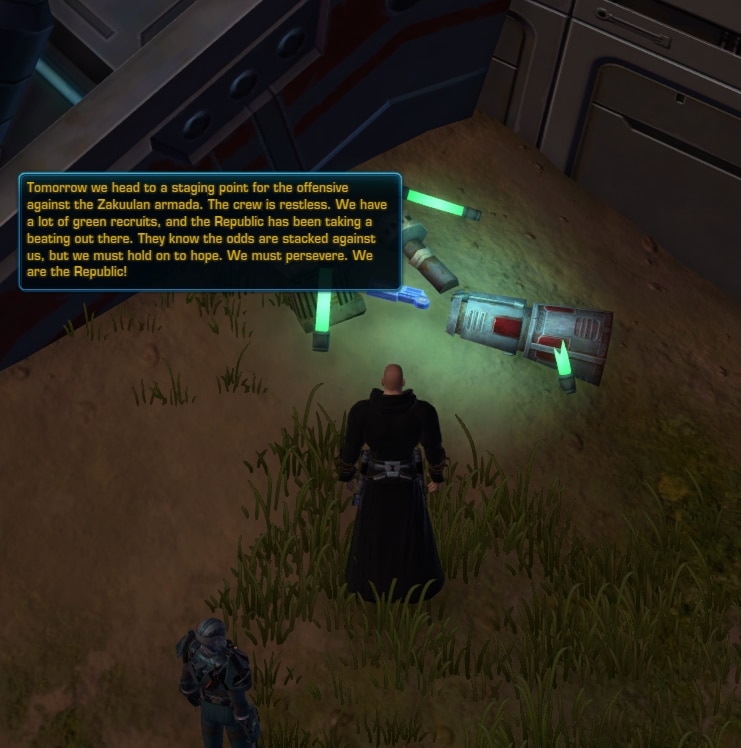
- The first datapad is north of the symbol marking the location inside the ship, in a corner, among a pile of rubble. (Location Coordinates: 150, -1062 OR 128, -1032)
- The second one is on top of the map marker. On a wooden crate, next to some metal containers. (Location Coordinates: 123, -974 OR 177, -959)
- The next one is south of the previous one. It’s just outside the ship, next to a small rock. (Location Coordinates: 275, -980 OR 270, -970)
- The final log is on the other side of the wreckage. It’s next to a male body behind a large metal container. (Location Coordinates: 307, -1028)
Thanks to Denise/fallingsilence for providing additional details in a comment under this guide. I’ve included the coordinates here.
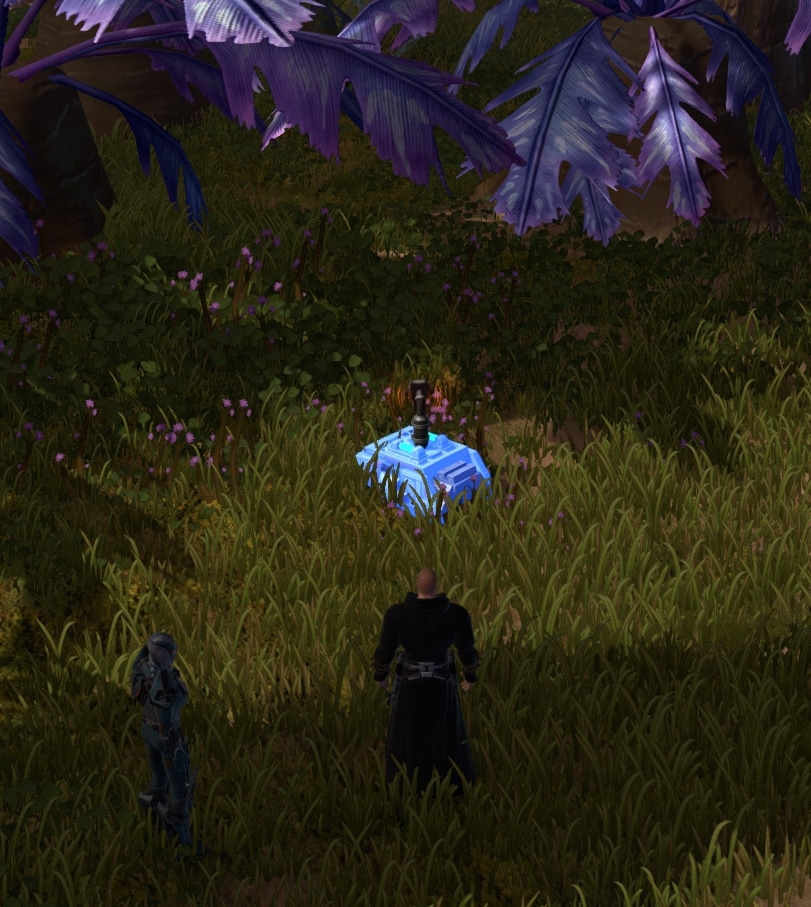
Blinding the Enemy
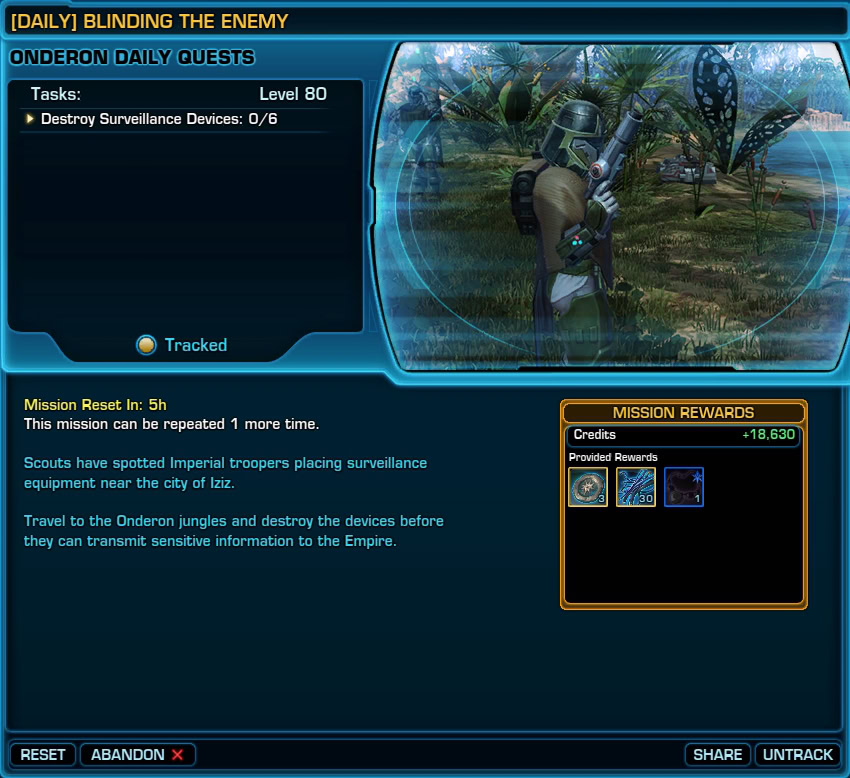
Pick-up location: The Dailies Terminal in Iziz. There are three locations along the path leading north from the entrance of the jungle. You need to find six devices near the marked locations on your map. There might be enemies around, so some fighting is to be expected, but not required for the mission.
[BONUS] Cutting Off the Head
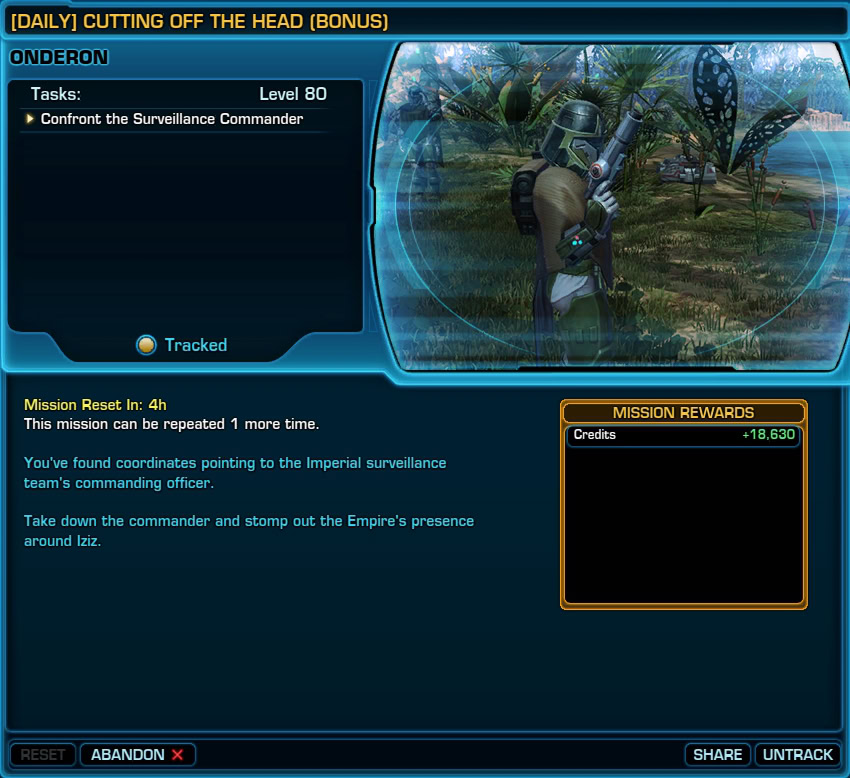
This mission is granted to you automatically when you loot a special item from an enemy you defeat. I usually get it from one of the NPCs I defeat while doing the Blinding the Enemy quest, but it’s possible that any other Imperial character might have a chance to drop it.
In any case, the mission is not bound to Blinding the Enemy and can be completed at any time after you find and pick up the quest item.
- Loot the quest item from an Imperial NPC in the Untamed Territory area.
- Go to the marked location on the map – it’s a small cave with an entrance on the south side of the cliff.
- Interact with Surveillance Commander Nellow. Her special attacks mirror the main abilities of the Gunnery Commando Discipline. She is nothing special, not hard to take down.
Capture and Release
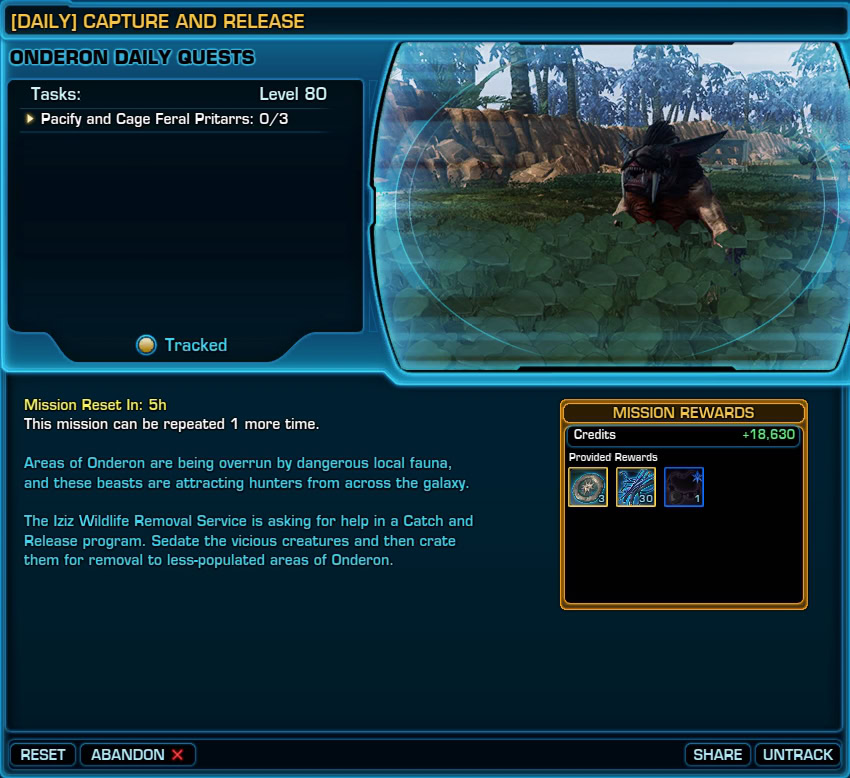
Pick-up location: The Dailies Terminal in Iziz. Go to the most northern area of Onderon.
- Take a Feral Pritarr to HP below 50%. Only these types of animals work for the quest.
- Use the Pacification Darts (icon next to the quest in your tracker). Click on it to turn the beast into a green NPC.
- Bring the animal to the nearest cage. Enter the cage, and the animal will follow you inside. You cannot bring two beasts into the same cage.
- [BONUS] Defeat 8 Mandalorian Beast Hunters in the same area while doing the main quest.
Tamed
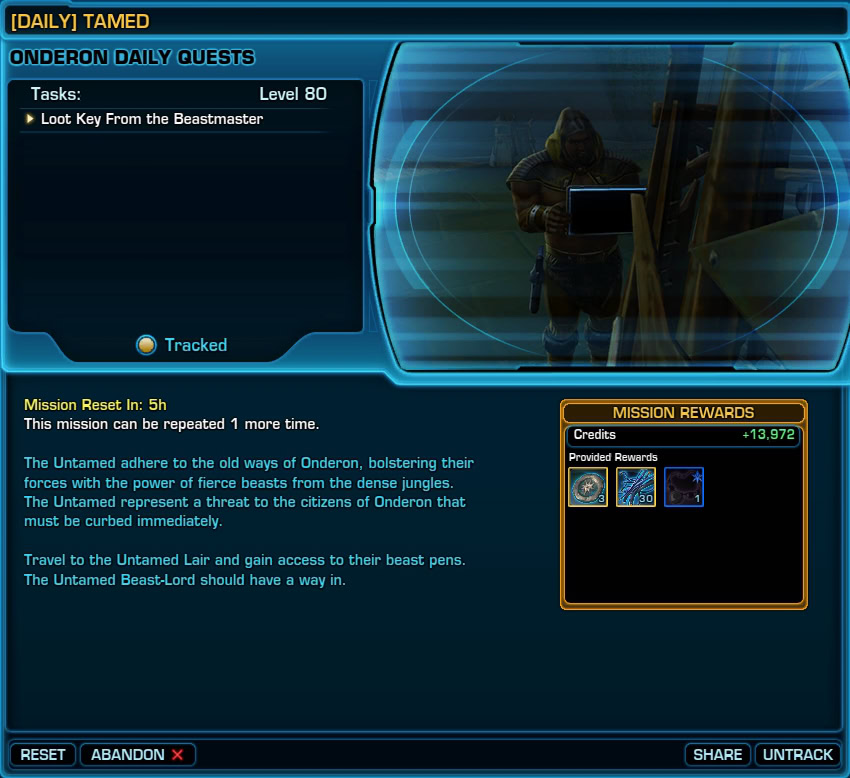
Pick-up location: The Dailies Terminal in Iziz. The mission’s objectives are to the far north on the map. Between the Crashed Ship and Lake Encampments. Last objective is inside the Untamed Lair
- Do this three times for three different animals. You must do it one at a time.
- Enter the Untamed Lair and turn to your left to enter the instance through the green door.
- [BONUS] Click on 6 cages to free Zakkeg Young. The cages are along your path anyway.
- Loot a key for the north door from the Beastmaster
- Enter and defeat the three Zakkegs
Subterranean Shakeup
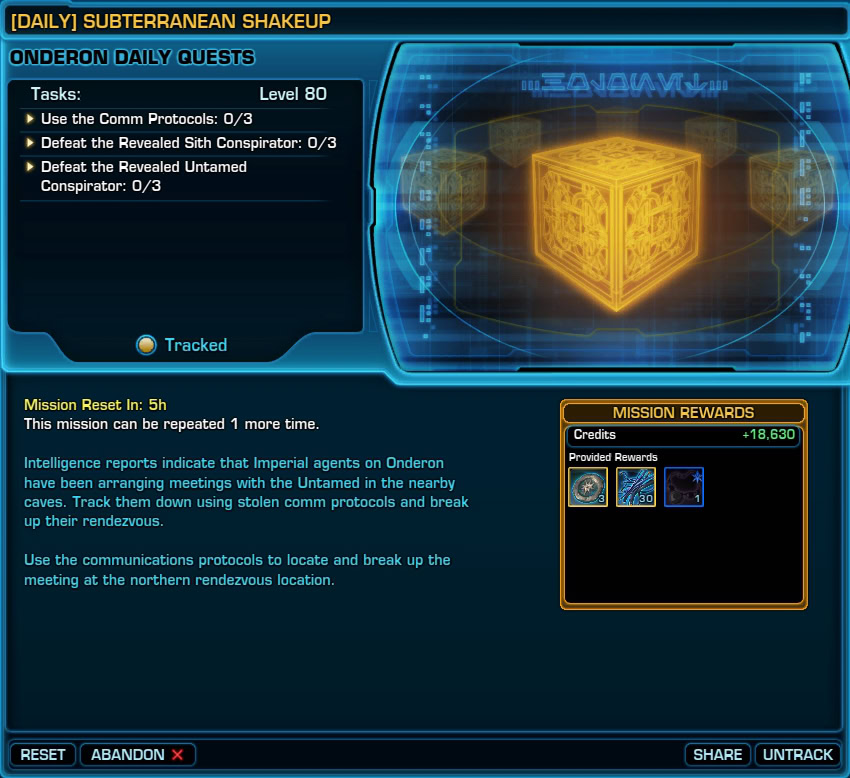
Pick-up location: The Dailies Terminal in Iziz. The mission tasks you to go into three caves, click on items, and defend yourself from the spawned enemies.
- Enter the Central, Southern, and Northern Caves. Their entrances are clearly marked on your map.
- In each cave, you will find one of the three objectives. There are two locations in each cave. If one is unavailable, just go to the other.
- Click on the Comm protocols, then defeat the NPCs that will spawn. It’s a small yellow circle, marker on the ground.
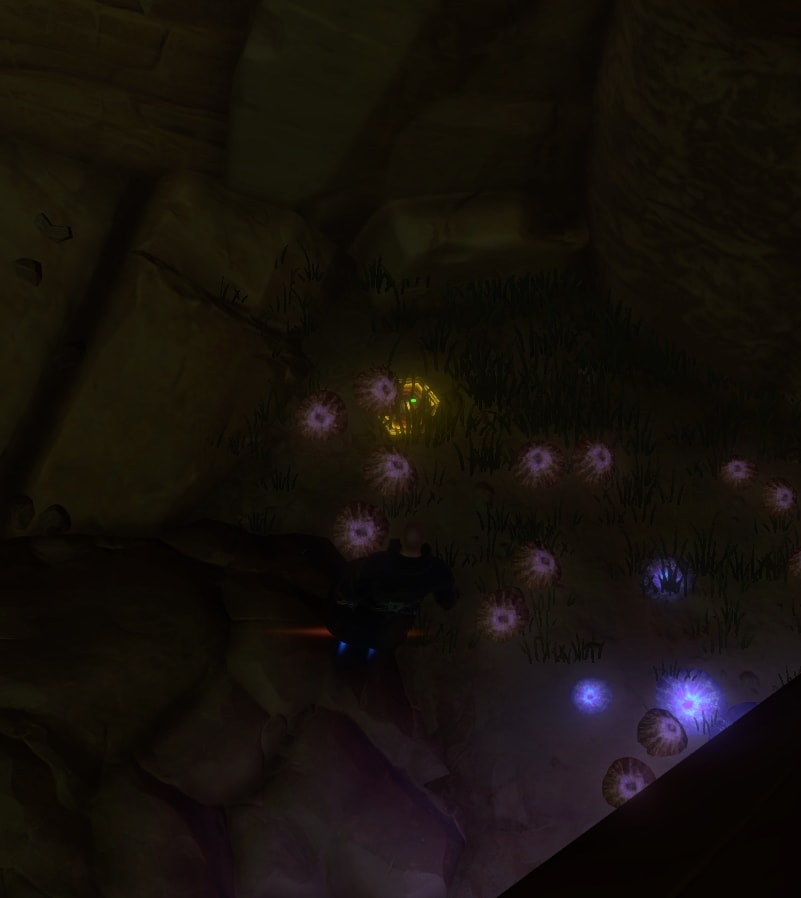
Feed’s Gone Dark
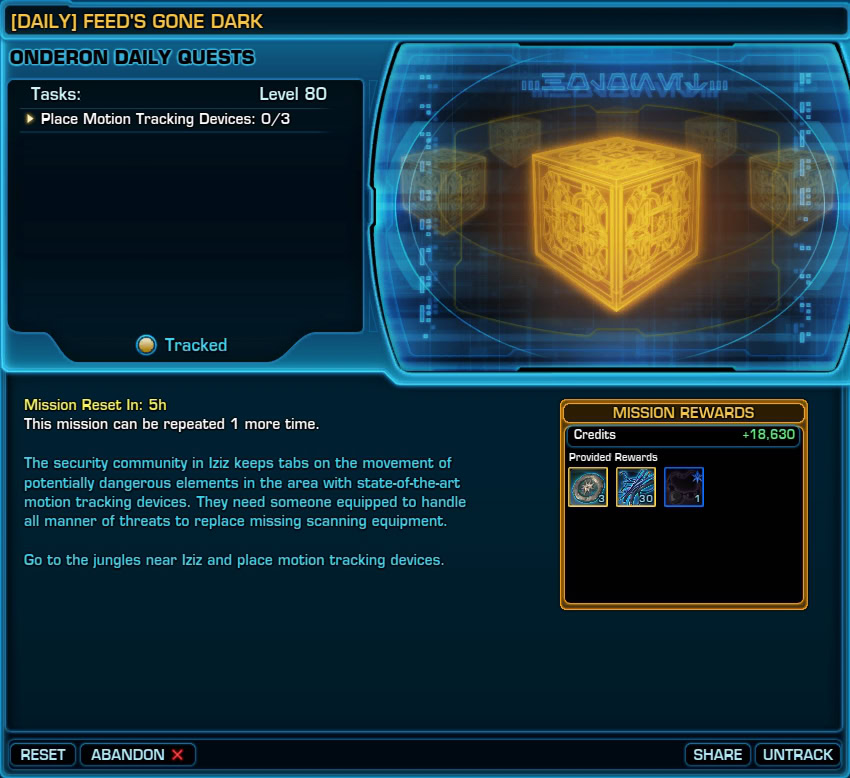
Pick-up location: The Dailies Terminal in Iziz. This one is a bit tricky. It’s located in the Untamed Territory, but the items you are looking for can be hard to spot. You are looking for small square markers on the ground.
Usually on a grass surface near the road. Good news – can use the same spot three times in a row. Respawn timer is about 20 seconds. Adds will spawn when you click on the marker, so be prepared to defend yourself.
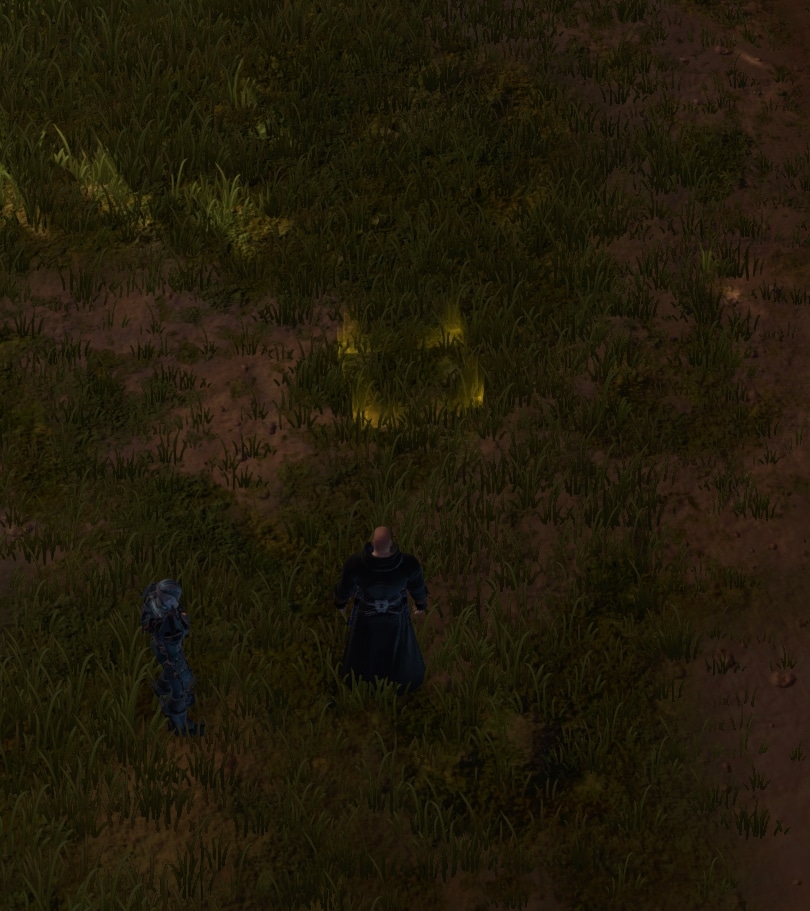
Bag and Tag
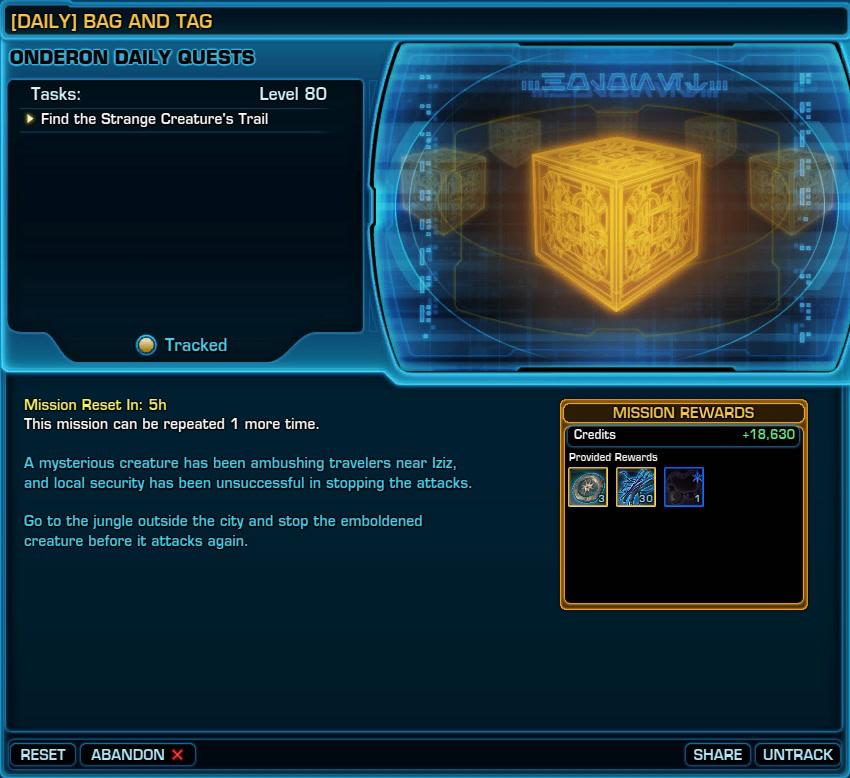
Pick-up location: The Dailies Terminal in Iziz. Bag and Tag starts at the Izis Bridge. There are a few locations to track one after another until you spawn the beast. Defeating will grant you the reward of the mission. The markers are light-green circles on the ground. Click on them to progress the objective of the mission.
- The first marker is just north of the Iziz Bridge spawn point – on the right side of the path. (Location Coordinates: 166, -262 OR 192, -257)
- The second Marker is north on the path leading to Crashed Ship – on the left side of the path, near the cliff (Location Coordinates: 334, -726 OR 291, -776)
- The third Marker is on the road between Crashed Ship and Lake Encampments – it’s on the southern path at the crossroads. (Location Coordinates: 4, -856)
- The fourth and final Marker is in the small jungle on the east shore of the Lake. (Location Coordinates: -237, -803 )
- Immediately after you click on the fourth marker, the beast will spawn. Defeat it to complete the mission.
Thanks to Denise/fallingsilence for providing additional details in a comment under this guide. I’ve included the coordinates here.
Cleaning Up the Streets
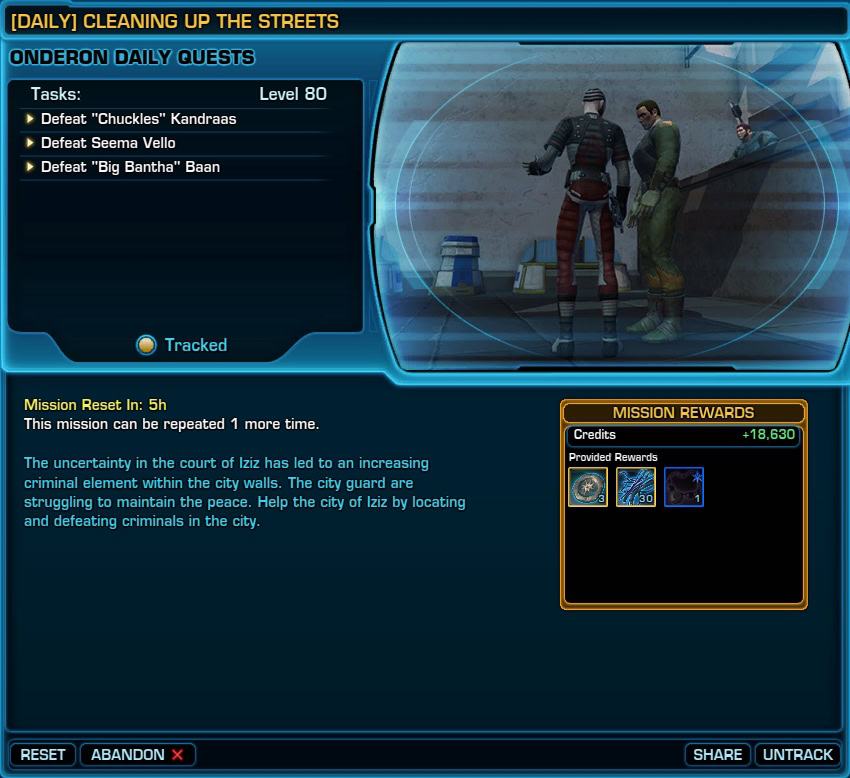
Pick-up location: The Dailies Terminal in Iziz. This mission is inside the walls of Iziz – in the northwest corner of the map. There are three named NPCs you need to find and defeat with a little clickable bonus objectives on the way.
The NPCs locations are marked on your map. For the bonus mission you need to click on six of the flashing blue containers.
Empire Side Missions
Now, let’s take a closer look at all of the daily and weekly missions available to the Empire players.
Onderon Directives (Empire)
This mission is automatically given to you once you complete Onslaught’s storyline. It serves as an introduction to the Daily Area on Onderon, but is not required to be completed or kept in the quest log for the dailies to become available.
[WEEKLY] Daily Area: Onderon
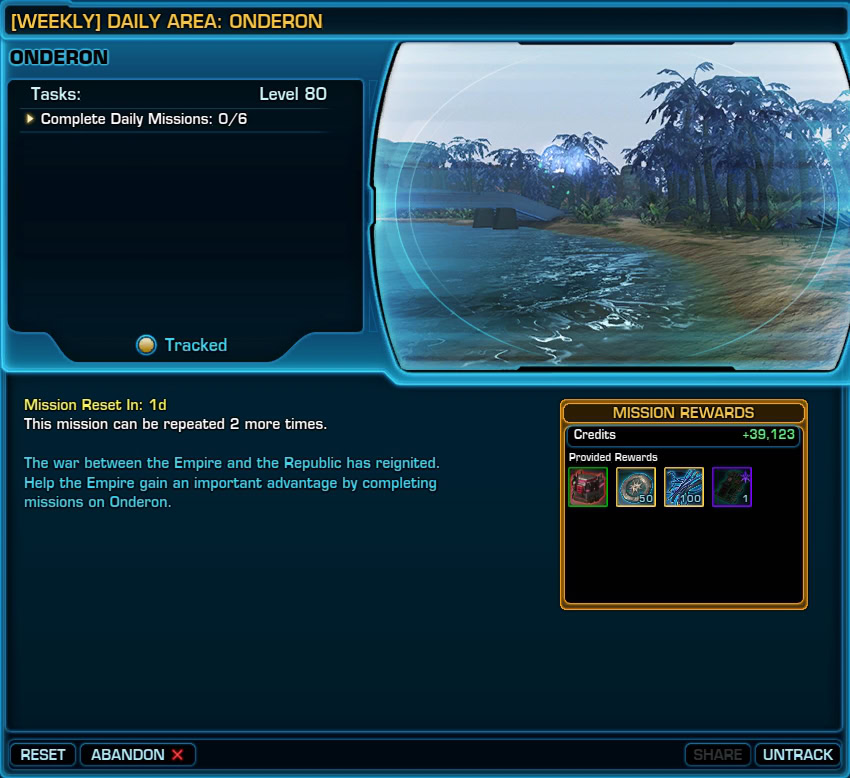
The only weekly mission for Onderon. Available at the Daily Missions Terminal in the Hunting Lodge, you’ll need to complete six daily Missions on Onderon.
[DAILY] Patrol: Onderon

Pick up at the terminal in the Hunting Lodge. This mission is available each day and rewards you for completing six other daily missions.
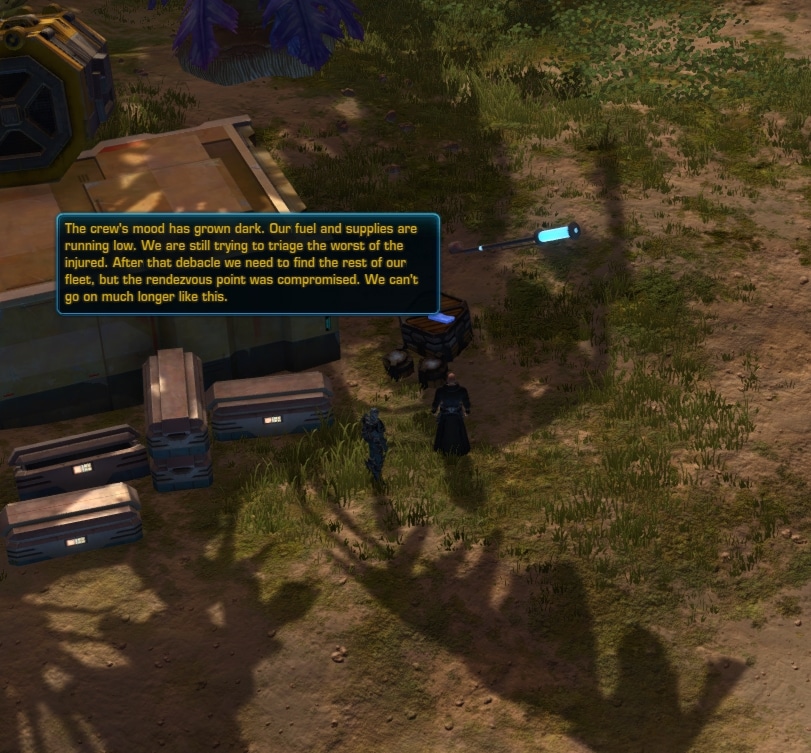
Two Birds with One Stone
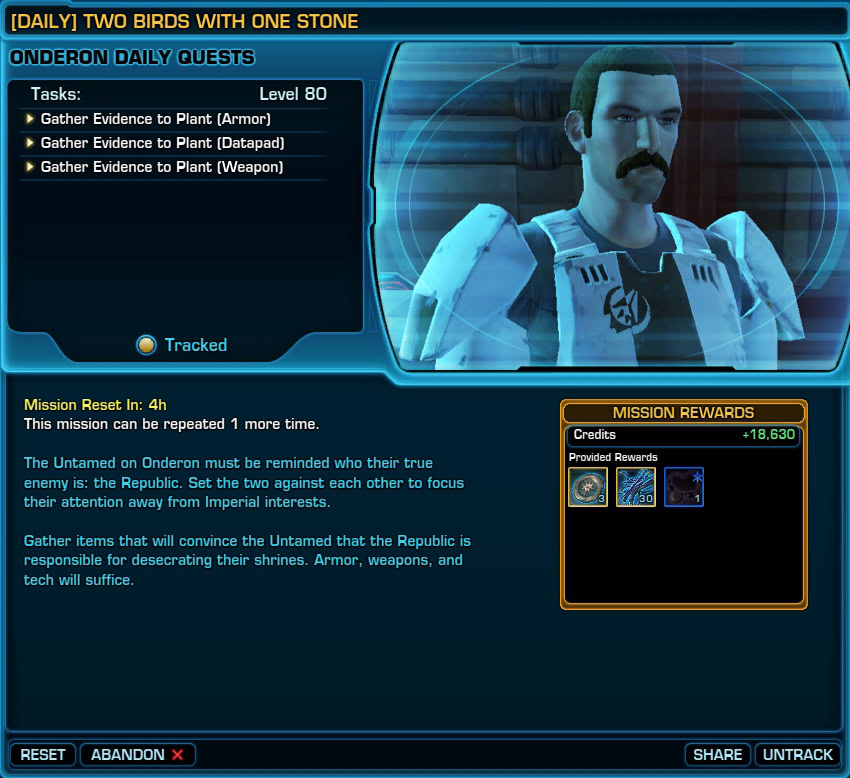
Available at the Daily Missions Terminal in the Hunting Lodge. Gather three items that will convince the Untamed that it is the Republic who has desecrated their shrines.
- Go to the Republic Forward Operating Base area.
- [BONUS] Destroy six Crates and Weapon Caches in the same area for a bonus reward.
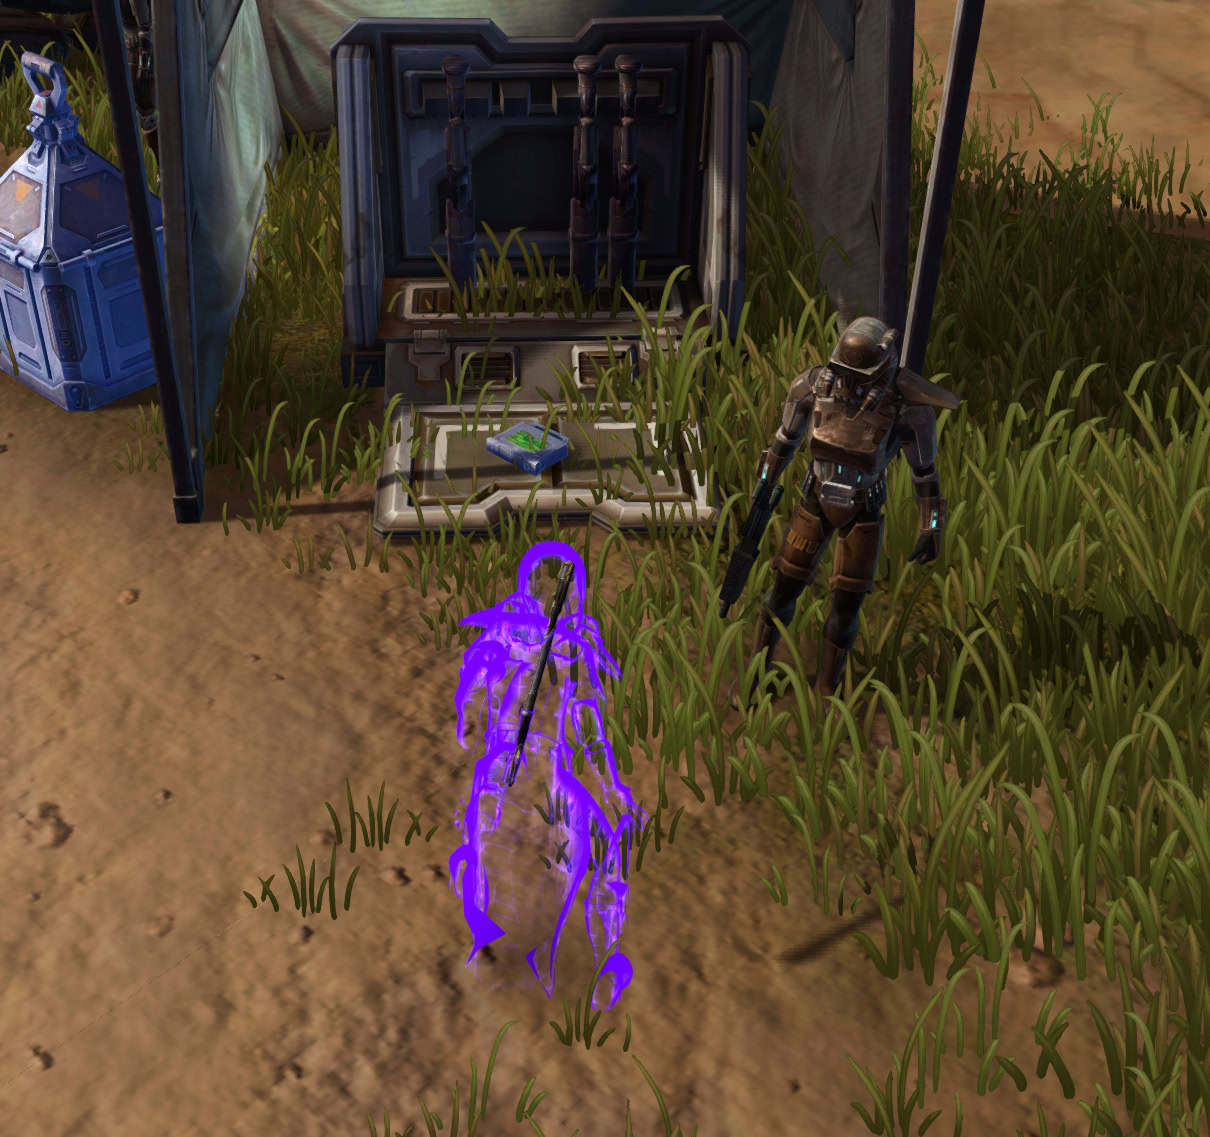
- The Datapad is next to a tent on the northern shore of the small lake in this area. (Location Coordinates: -75, 437)
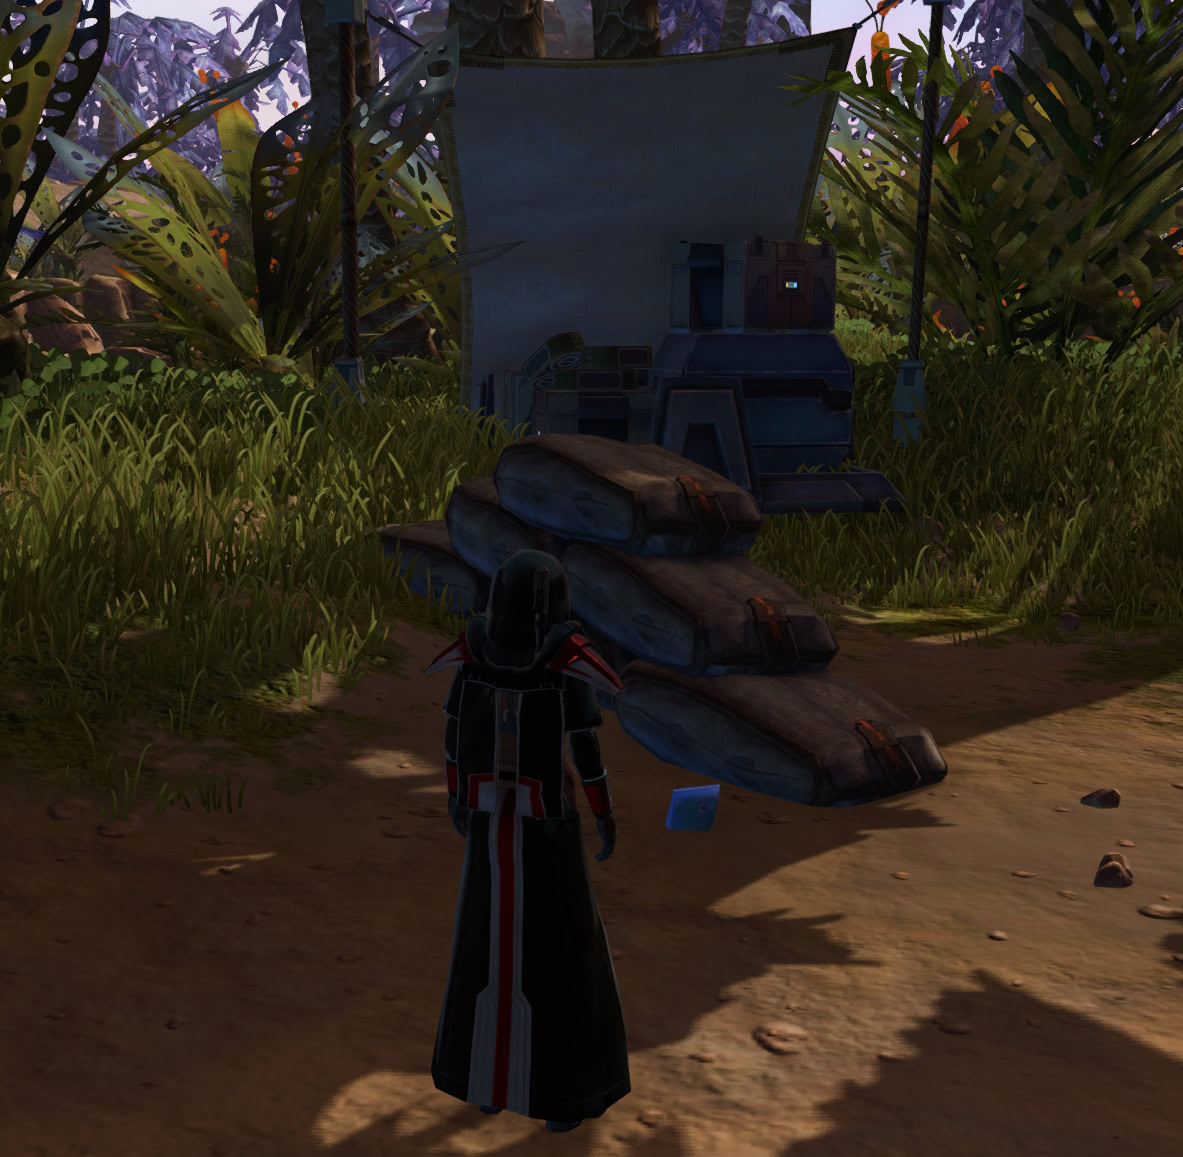
- The Armoring is on the opposite side of the lake. It’s on the sandy ground, in front of a small encampment. (Location Coordinates: -52, 504)
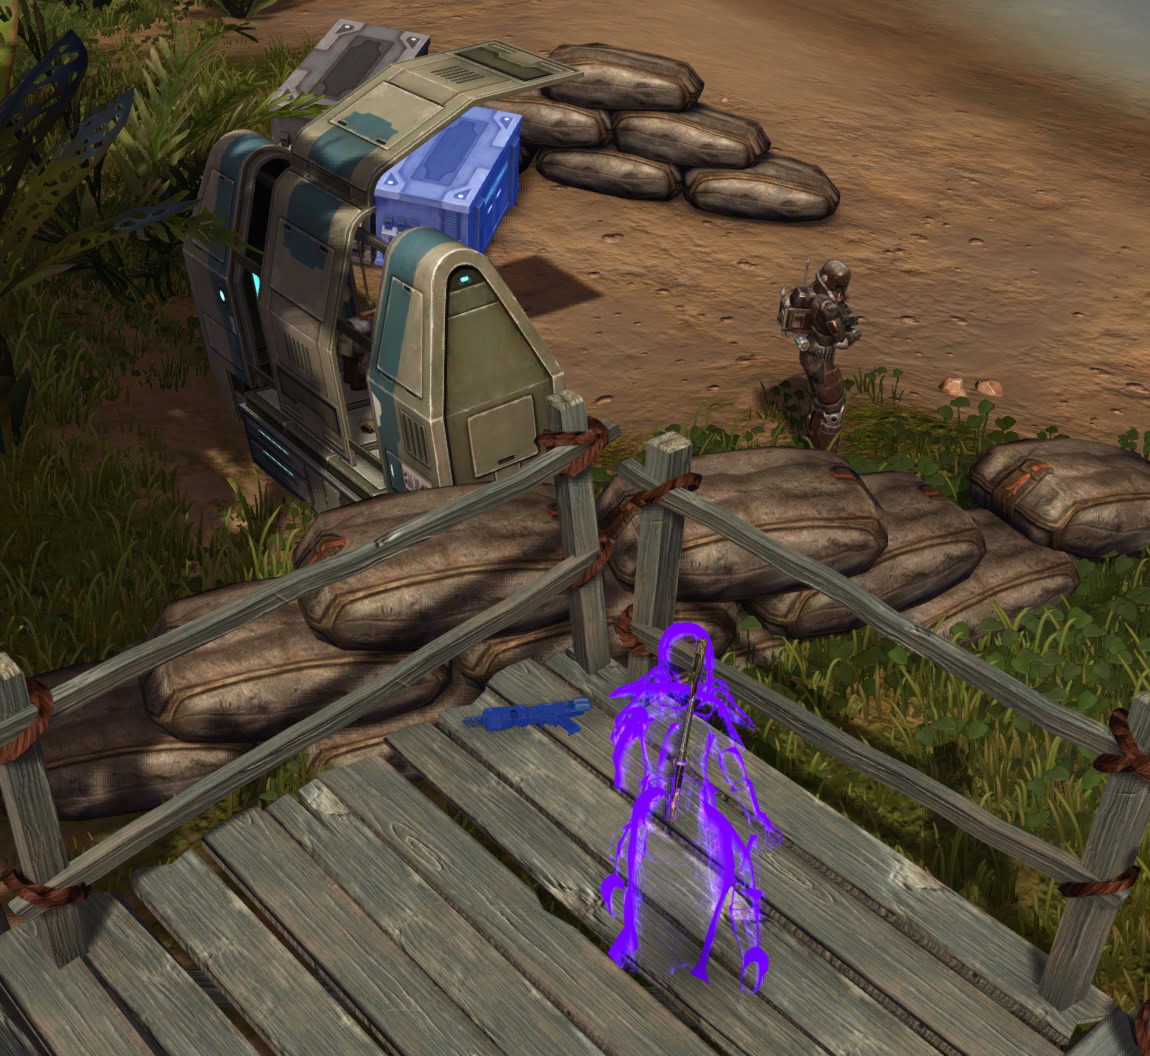
- The Weapon is on the west shore, near an armor stand. (Location Coordinates: -166, 470)
A Simple Discourse
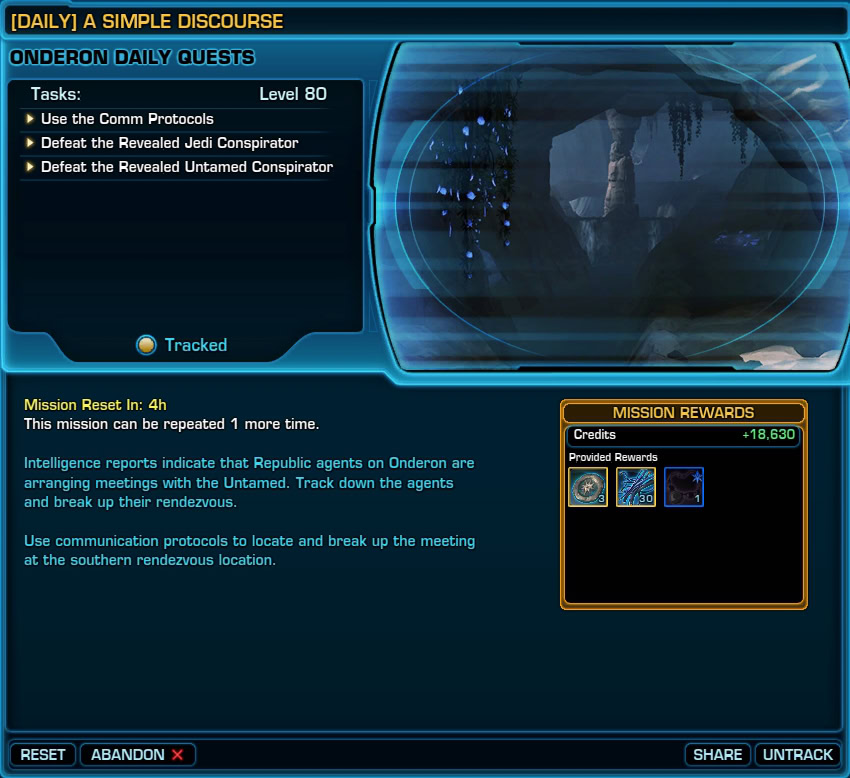
Available at the Daily Missions Terminal in the Hunting Lodge. Use communication protocols to locate and break up the meeting at the southern, central and northern rendezvous locations.
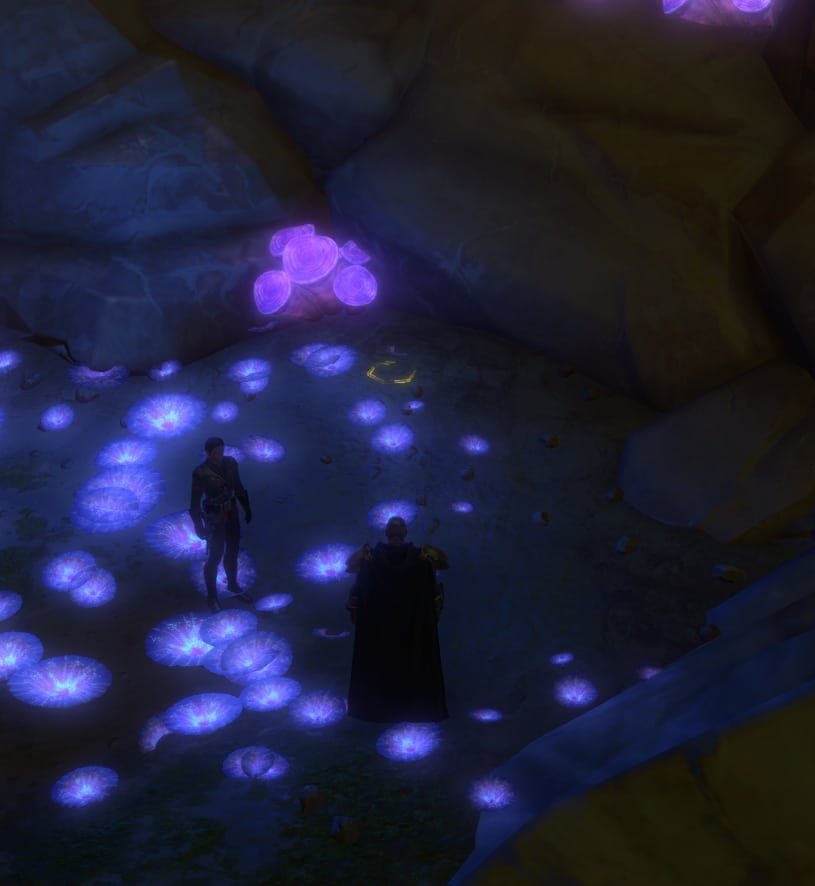
- Enter the Southern Cave. Click on the Listening Device (yellow marker on the ground) and defeat the NPCs that will spawn nearby.
- Enter the Central Cave. Click on the Listening Device (yellow marker on the ground) and defeat the NPCs that will spawn nearby.
- Enter the Northern Cave. Click on the Listening Device (yellow marker on the ground) and defeat the NPCs that will spawn nearby.
Advanced Science
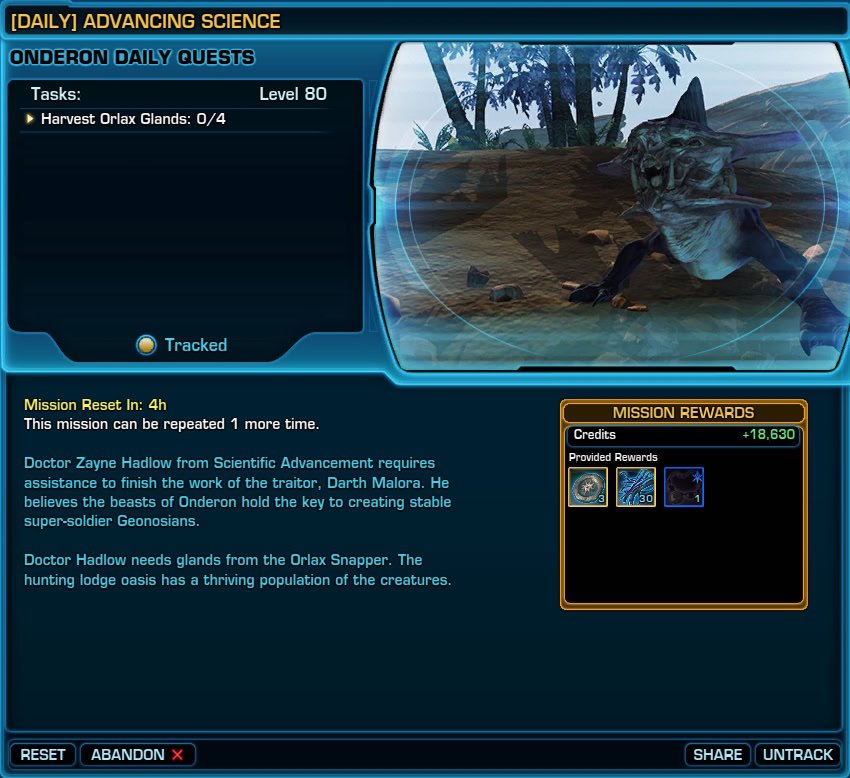
Available at the Daily Missions Terminal in the Hunting Lodge. Harvest four Orlax Glands for Doctor Hadlow.
- This mission starts in the Oasis area, just south of the Hunting Lodge. Defeat as many creatures as you have until you loot the four Glands from them to complete the quest.
- The second objective is a lot faster to complete. It takes place in the Untamed Territory area. Defeat as many of the birds as you need to gain six Pheromones.
- The third objective sends you near the Ancient Sith Crypt for six items from a Grefna.
- The final task is to deliver the specimens to a Drop Box back in the Hunting Lodge.
Forgotten Treasures
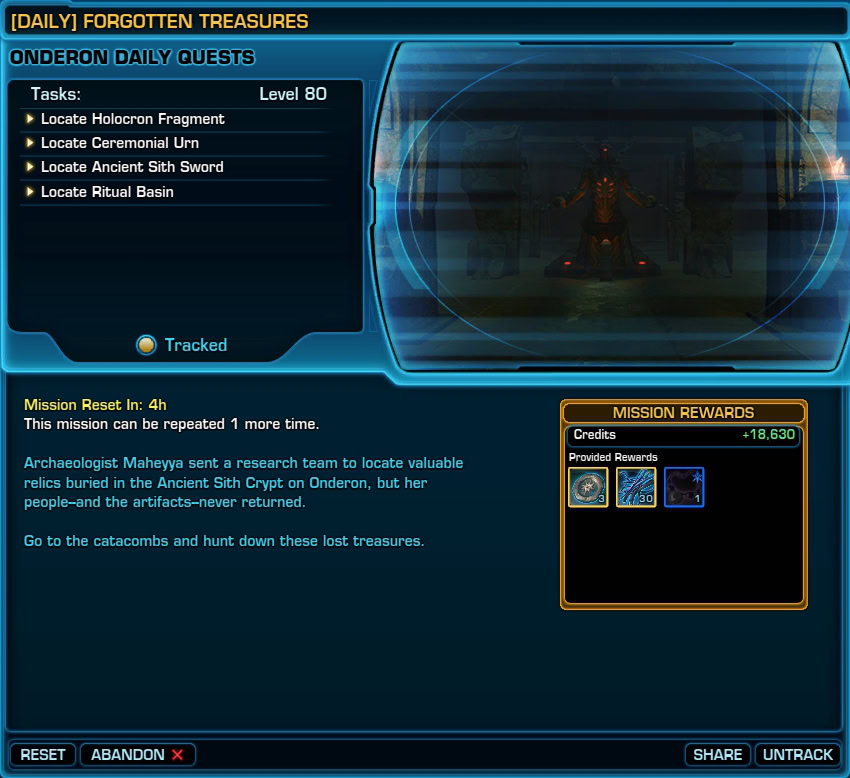
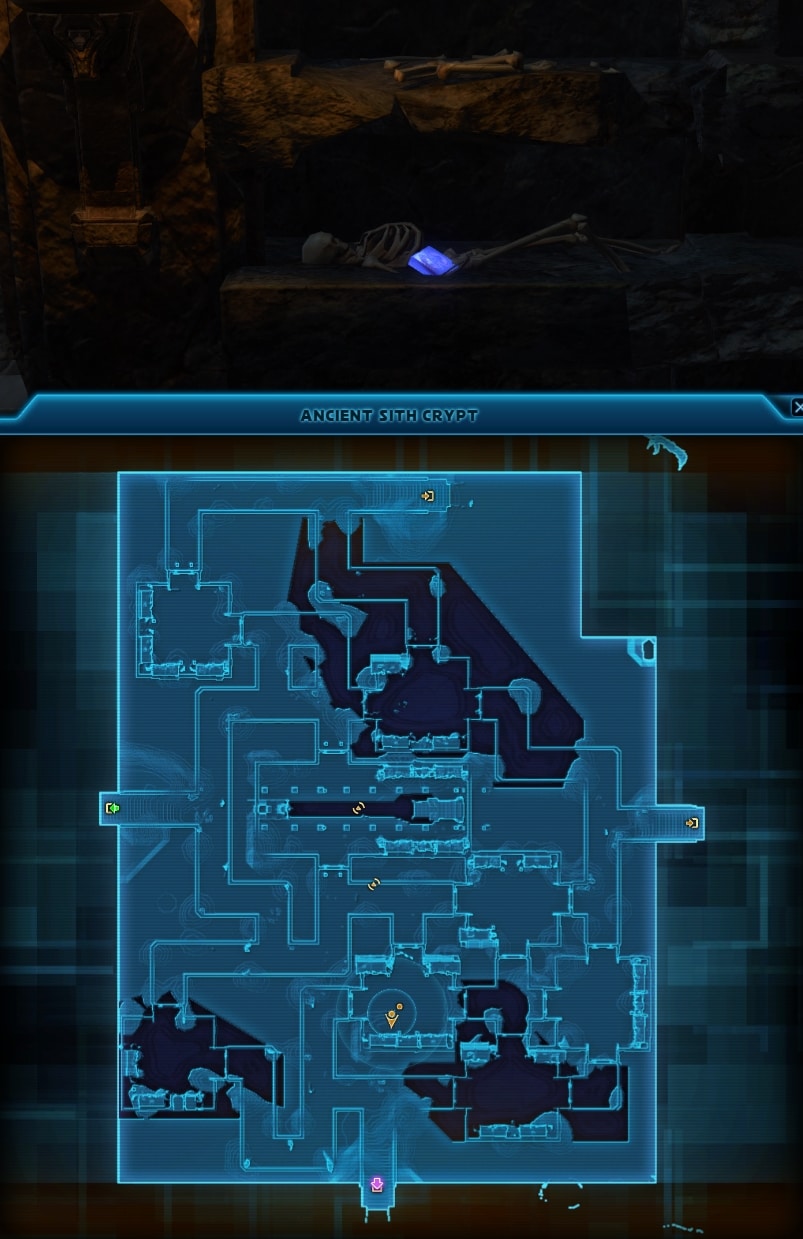
Pick it up by speaking to Archaeologist Maheyya in the Hunting Lodge. To do this, go to the Catacombs in the Ancient Sith Crypt.
- [BONUS] Find and click on six Ancient Tablets, scattered all over the Crypt.
- [BONUS] Find and click on four Datapads inside the Crypt.
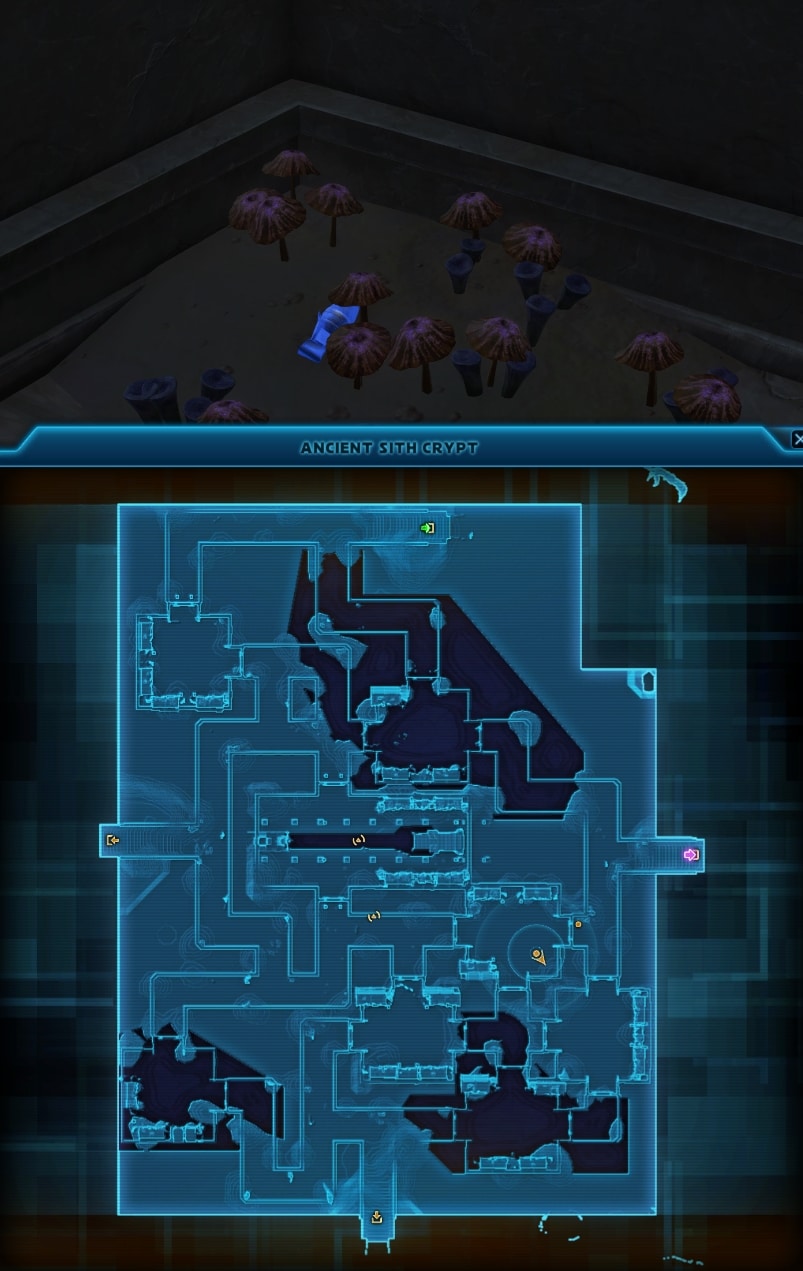
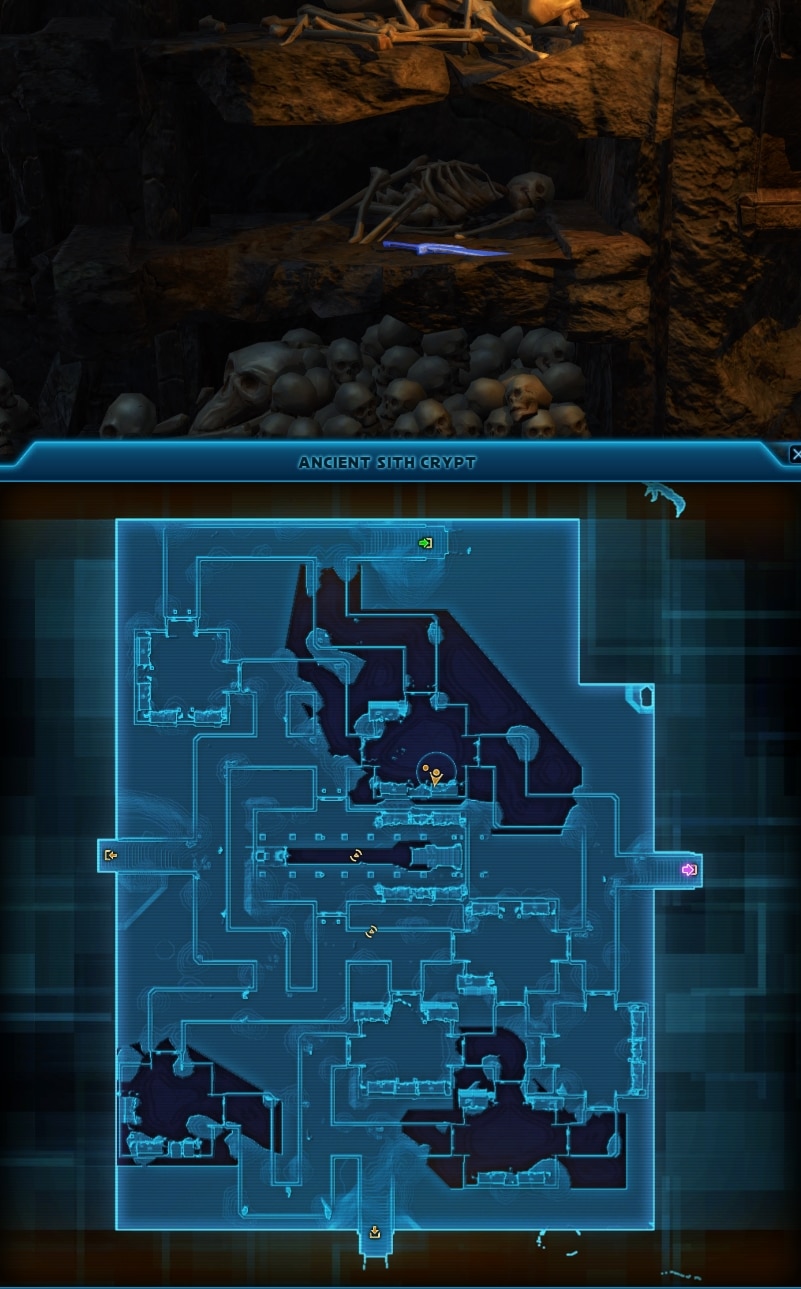
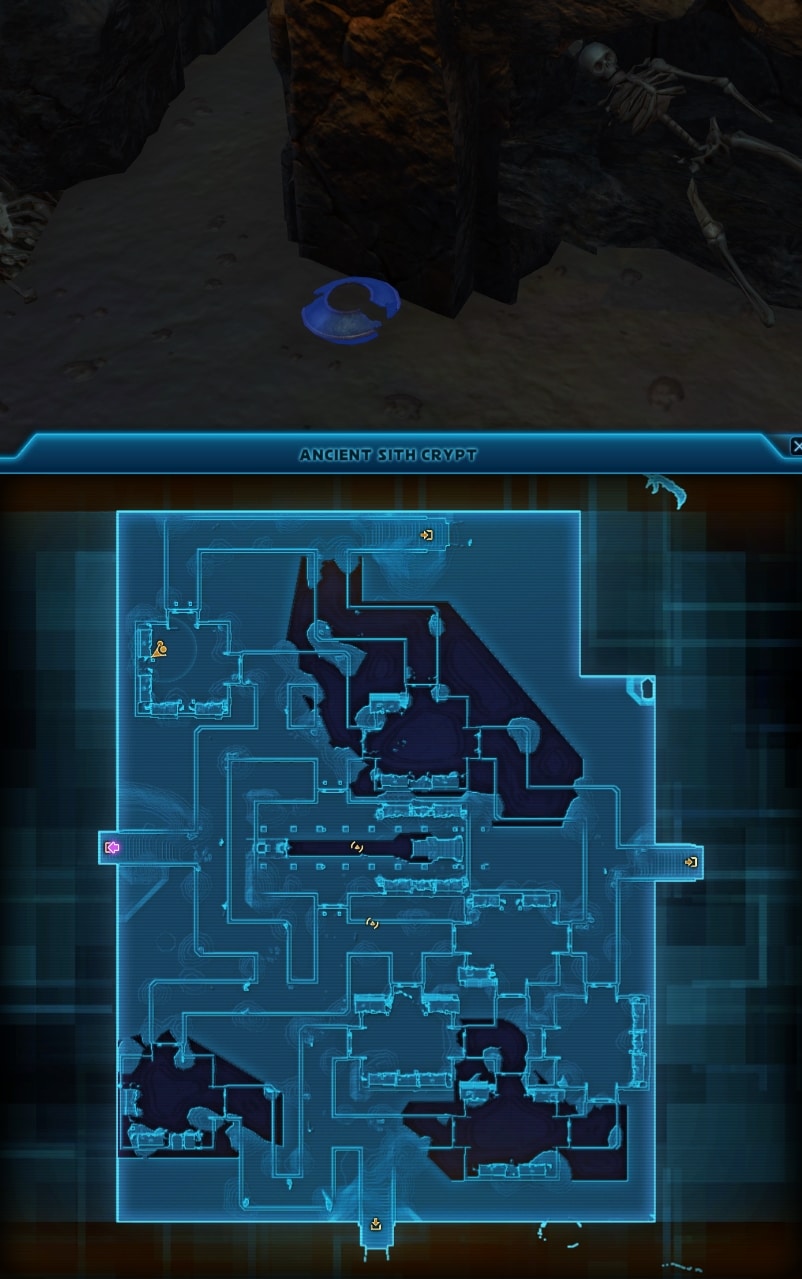
- The locations of the four main items are shown in the images below. If you do not see them there, wait a bit for a respawn.
- Next, go to the marked location to find the Sith Holocron and defeat the Sith Spawn. It’s inside a personal instance.
- Finally, click once again on the Sith Holocron.
Proving Your Worth
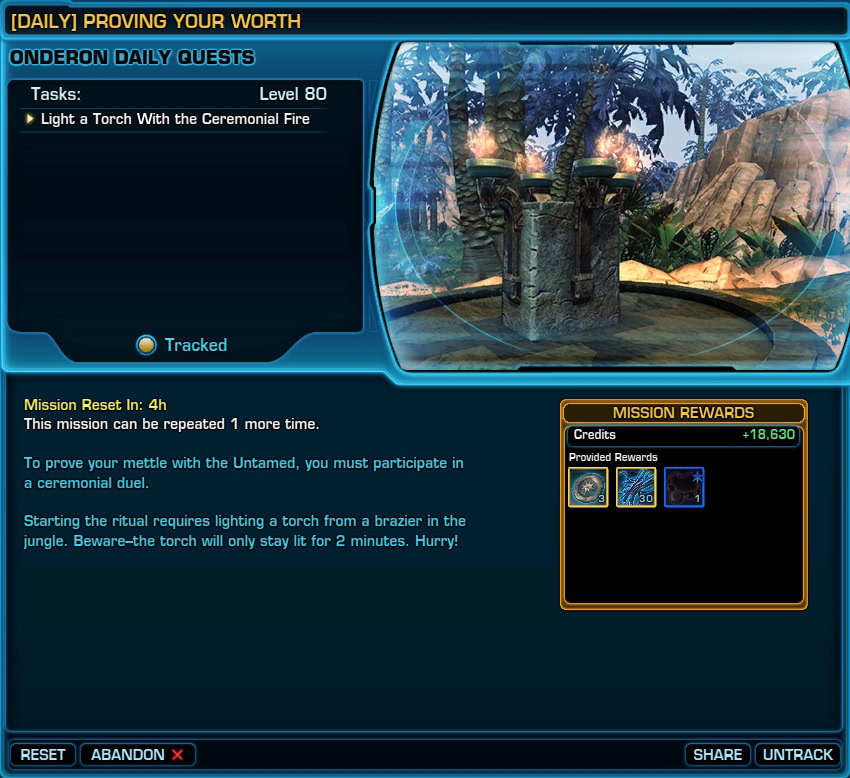
Speak to the Royal Guard Commander in the Hunting Lodge to pick up this mission. It is an exact replica of the mission with the same name on the Republic side. Here are the steps you need to do to complete it:
- Go to the marked location on the map, in the middle of the area, and interact with the brazier to light up the torch.
- Head north quickly and enter the Untamed Lair, then turn to the right. The torch expires two minutes after you pick it up.
- Interact with the Pyre in the middle of the room to activate the Untamed Champion.
- Defeat the champion. Its only special attack is Ravage, which can be interrupted.
Royal Reconnaissance
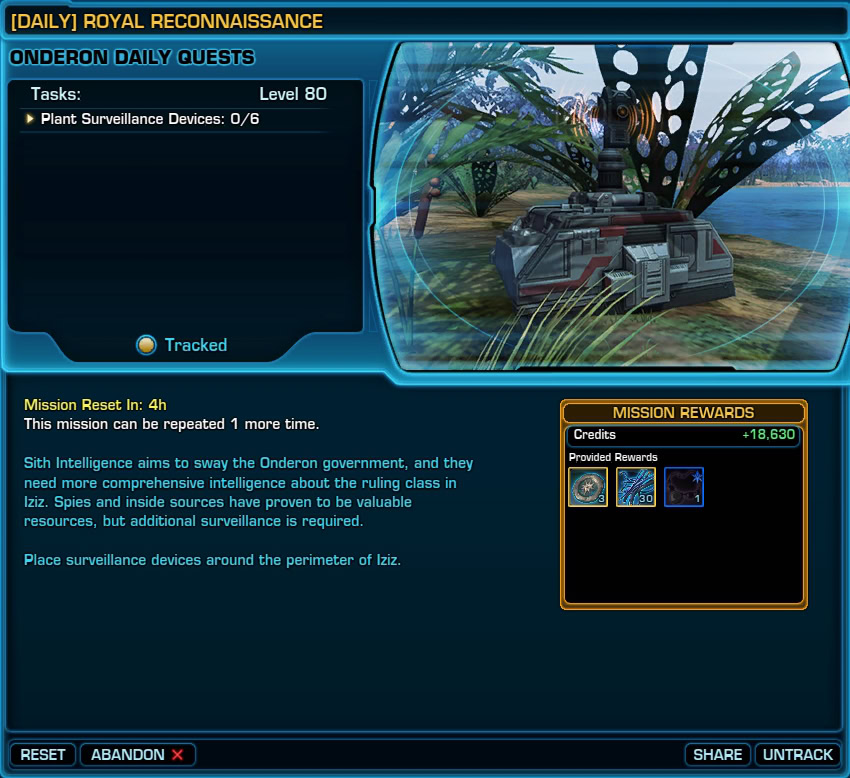
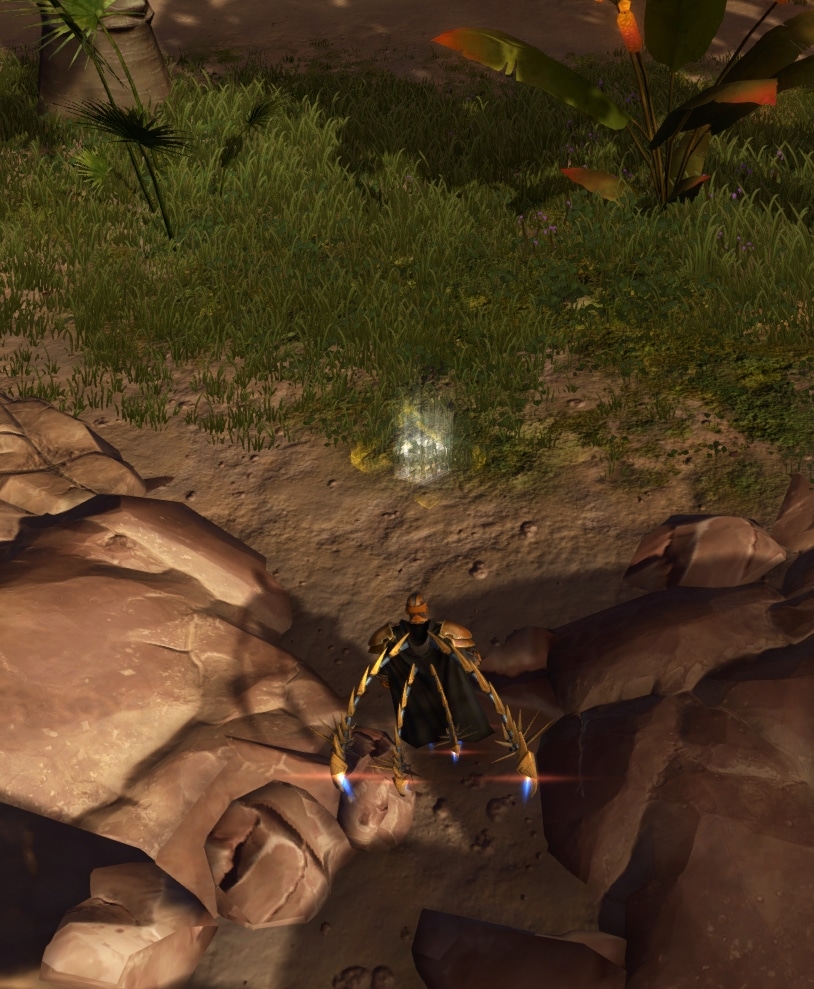
Available at the Daily Mission Terminal in the Hunting Lodge. Plant six surveillance Devices on the path leading south from Iziz. Look for yellow markers on the ground, usually on a green surface, but always somewhere along the pathway.
The devices de-spawn soon and you can plant another device in the same spot. Enemy NPCs may spawn to ambush you after you plant it.
Rooftop Rumble
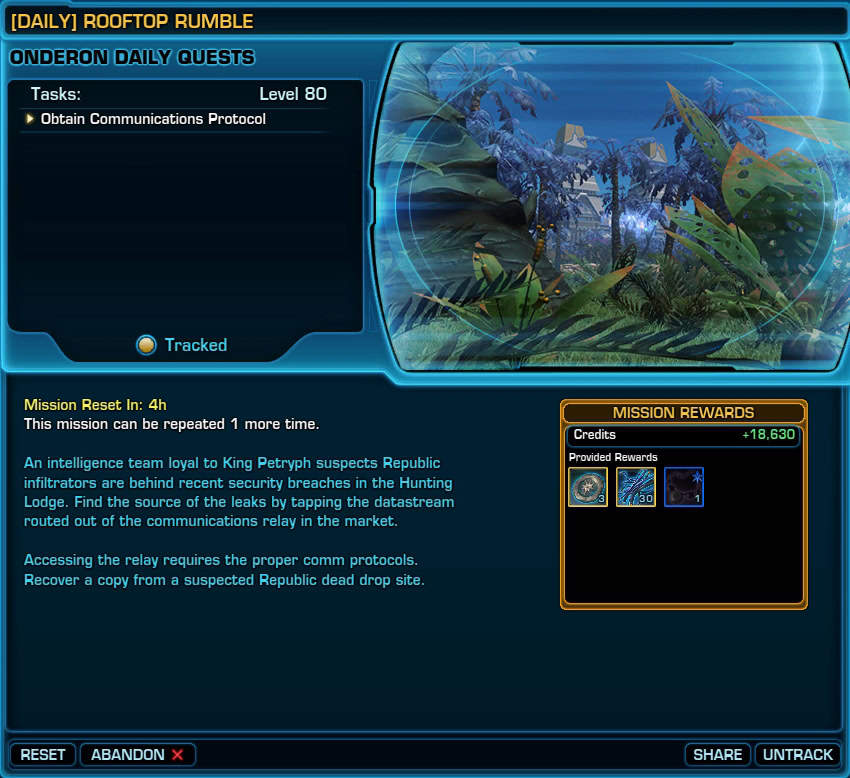
Available at the Daily Mission Terminal in the Hunting Lodge. In the Hunting Lodge’s Marketplace, find the building with the Antenna, on its side, there will be a ladder. Climb on it. Click on the Relay, defeat the spawning NPCs, and click on it again. Finally – go to the Drop Box in the Hunting Lodge to finish the mission.
To Catch a Killer
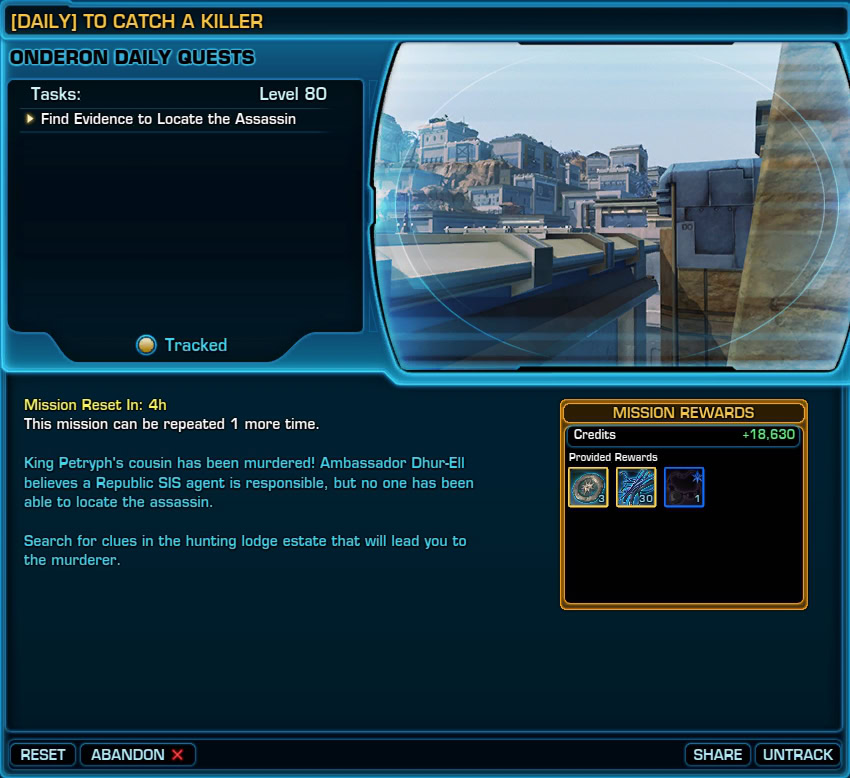
Available at the Daily Mission Terminal in the Hunting Lodge. Search the Hunting Lodge estate to find clues.
- The first Evidence is marked with a green circle on the path to the Market.
- The second is a broken R2 droid further down the path.
- The last two are once again a green marker on the ground.
- Next, enter the personal instance to confront the Assassin.
- Defeat the Assassin to complete this mission.
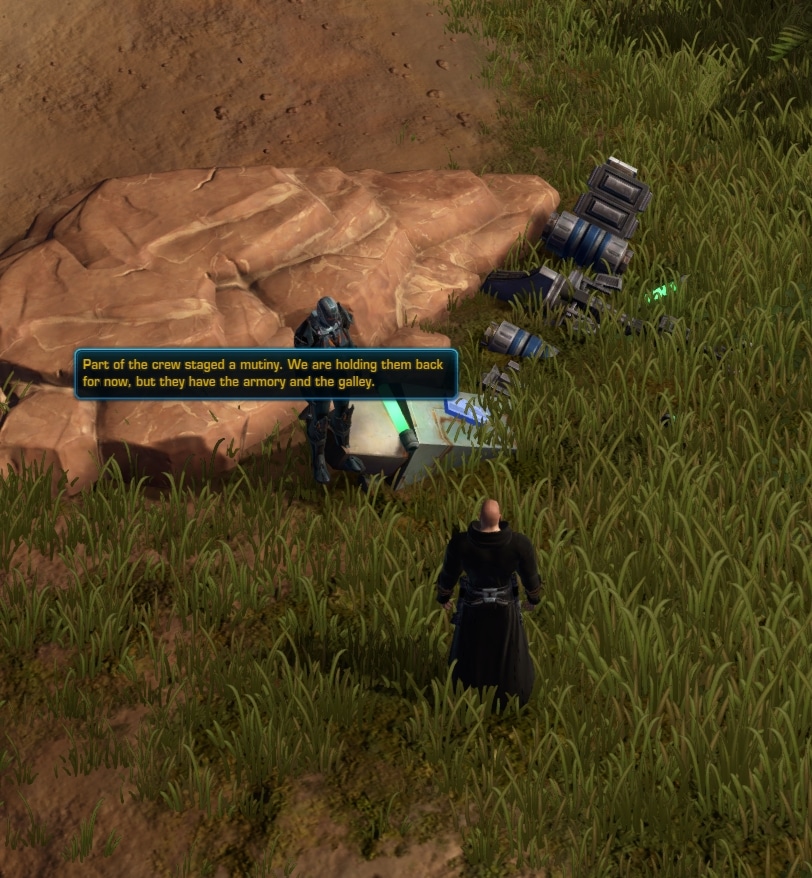
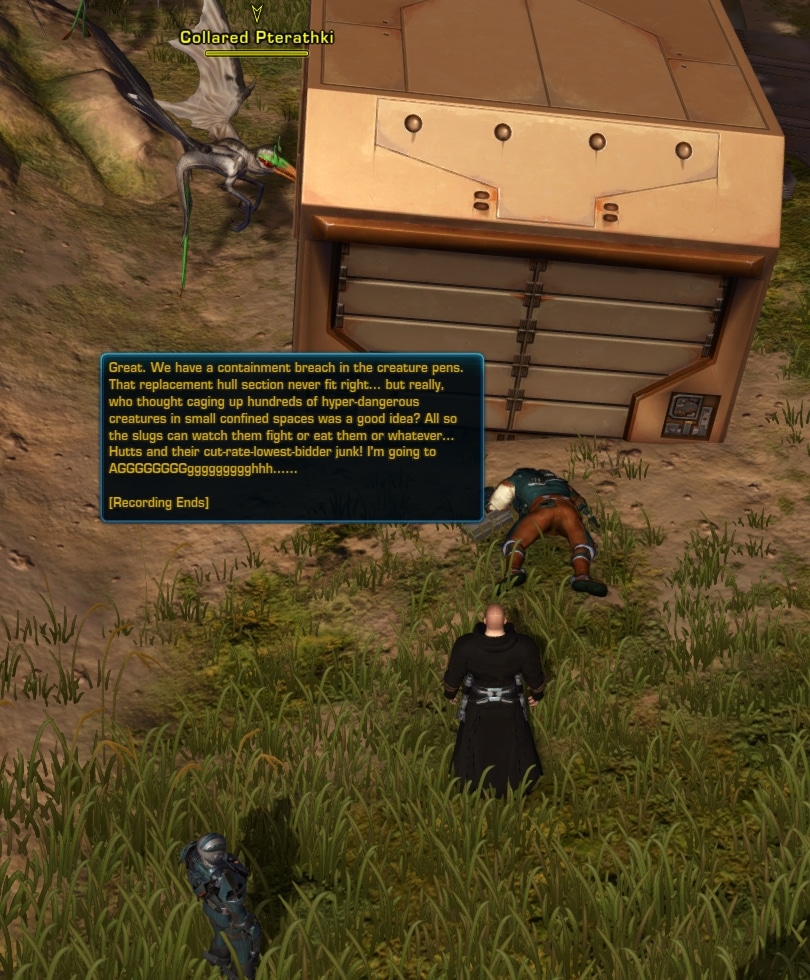
Recording History
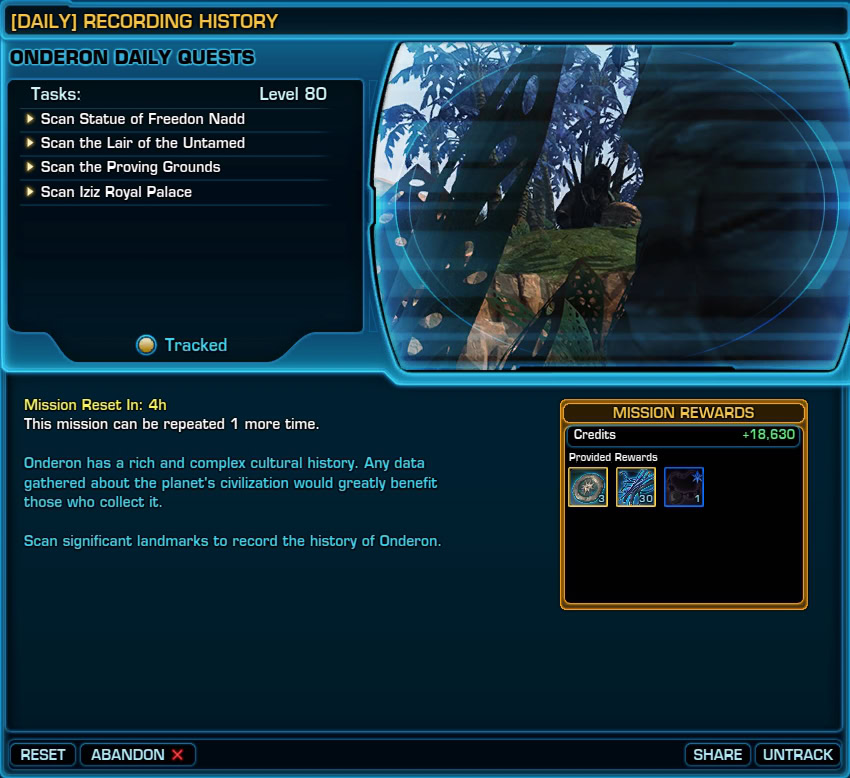
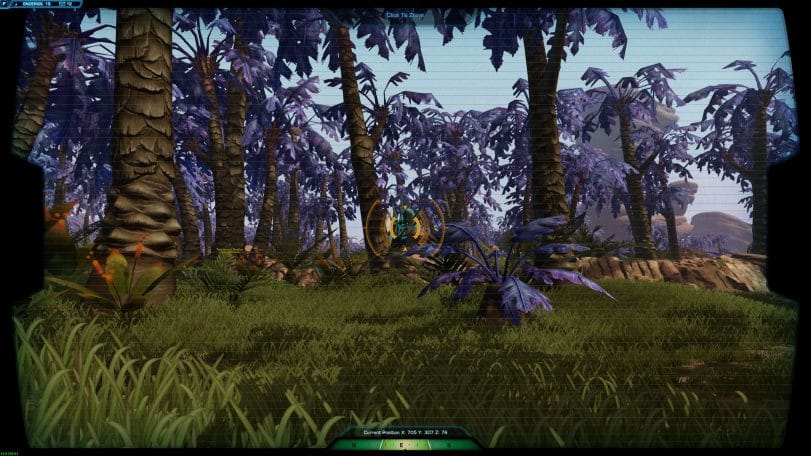
Available at the Daily Mission Terminal in the Hunting Lodge. The four locations for you to stand on while using your macrobinoculars are marked on your map. Below are images of the objects you need to scan.


Good Hunting
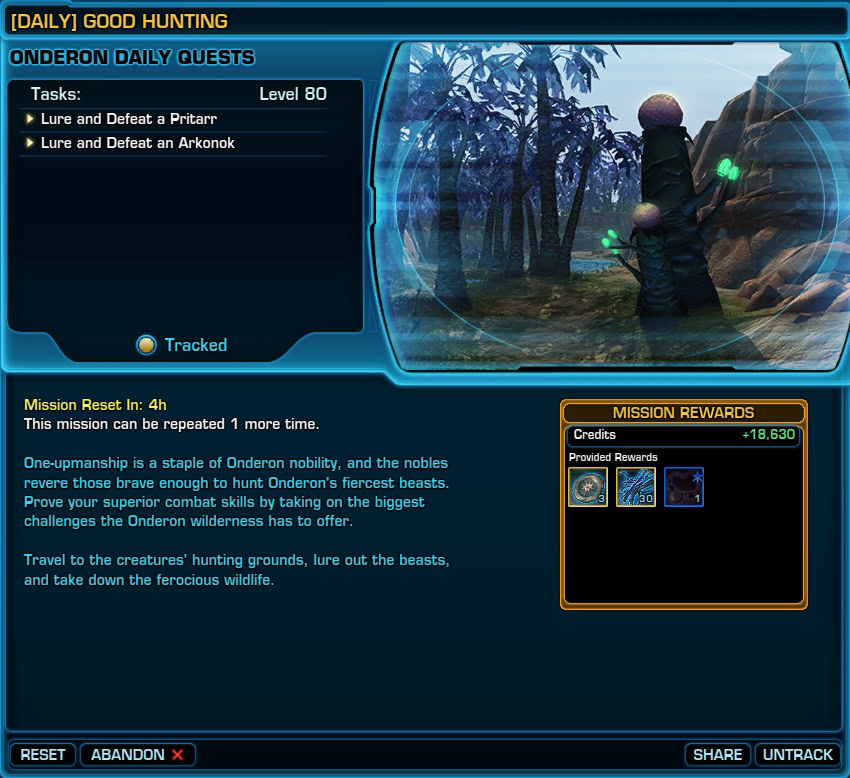
Available at the Daily Mission Terminal in the Hunting Lodge.
- Go to the marked location in the Republic Forward Operating Base area and plant the Beast Lure. Defeat the champion beast NPC that spawns.
- Go to the second location marker, close to the Hunting Lodge – southeast of it. Place the Beast Lure, spawn the NPC, and defeat it.
Tamed

Available at the Daily Mission Terminal in the Hunting Lodge.
- Enter the Untamed Lair and turn to your left to enter the instance through the green door.
- [BONUS] Click on 6 cages to free Zakkeg Young. The cages are along your path anyway.
- Loot a key for the north door from the Beastmaster
- Enter and defeat the three Zakkegs