This guide will tell you everything you need to know about the Ruhnuk daily area in SWTOR, including navigation, solo missions, heroics, reputation rewards, and custom-made Ruhnuk maps to help you navigate the many areas and zones on the planet!
Table of contents
How to Unlock and get to Ruhnuk
The Ruhnuk Daily Area and the story arc related to it are only available after you complete the 7.0 story arc, which means you have to finish the main story on Manaan, released with Legacy of the Sith, and Digging Deeper from 7.1.
What you can do in the Daily Area
Ruhnuk has 3 weeklies, 1 patrol daily, 7 solo dailies, 3 heroics, and 2 bonus missions. The main weekly mission (and Patrol daily) just require you to complete 6 non-weekly missions in the Ruhnuk daily area, so heroics count towards it too.
The heroics count towards their own weekly as well, so your incentives to do them are extra rewards from the second weekly and achievements. It will take more time to do each Heroic compared to a regular daily, though you will not have to do as many regular ones.
The bonus missions do not count toward Weekly (or Patrol daily) progress, and since they only give you a small number of credits, no reputation, Tech Frags, or Daily Resource Matrices, they aren’t worth doing.
The mission terminal is located near the Duct Maintenance Network Quick Travel (QT) point while the Relic buff terminals are located near the reputation vendor at the Mandalore’s Encampment QT point.
The heroics themselves are soloable, even the H4, but the entire daily area will likely feel a bit more difficult than you might be used to because the enemies are actually level 80. Just like with Manaan, you aren’t able to benefit from level sync making you more powerful on lower-level planets.
It’s definitely not ridiculous, it’s just a little bit of a jump in terms of enemy health and damage output similar to how Ossus and Onderon dailies are a bit harder than what you’ll find in CZ-198, Black Hole, etc.
Ruhnuk also features 3 extremely long, non-repeatable scavenger hunt missions that each unlock permanent access to 1 of 3 buffs you’ll have access to exclusively on Ruhnuk. Completing the third mission is also required if you want to reach the datacron (properly) that grants +10 Mastery. Check out my guides on completing the Ruhnuk Relic Hunt Missions and obtaining the Ruhnuk Datacron.
Doing the minimum number of missions to get both weeklies (3 heroics, 3 solo) takes about twice as long as doing 6 solo missions, but you do get approximately double the rewards. Since the dailies and Relic Hunt relics are only obtainable by toons that have done all the requisite missions, it will likely be most efficient to do the 3 heroic + 3 solo missions.
Major Regions and Dailies
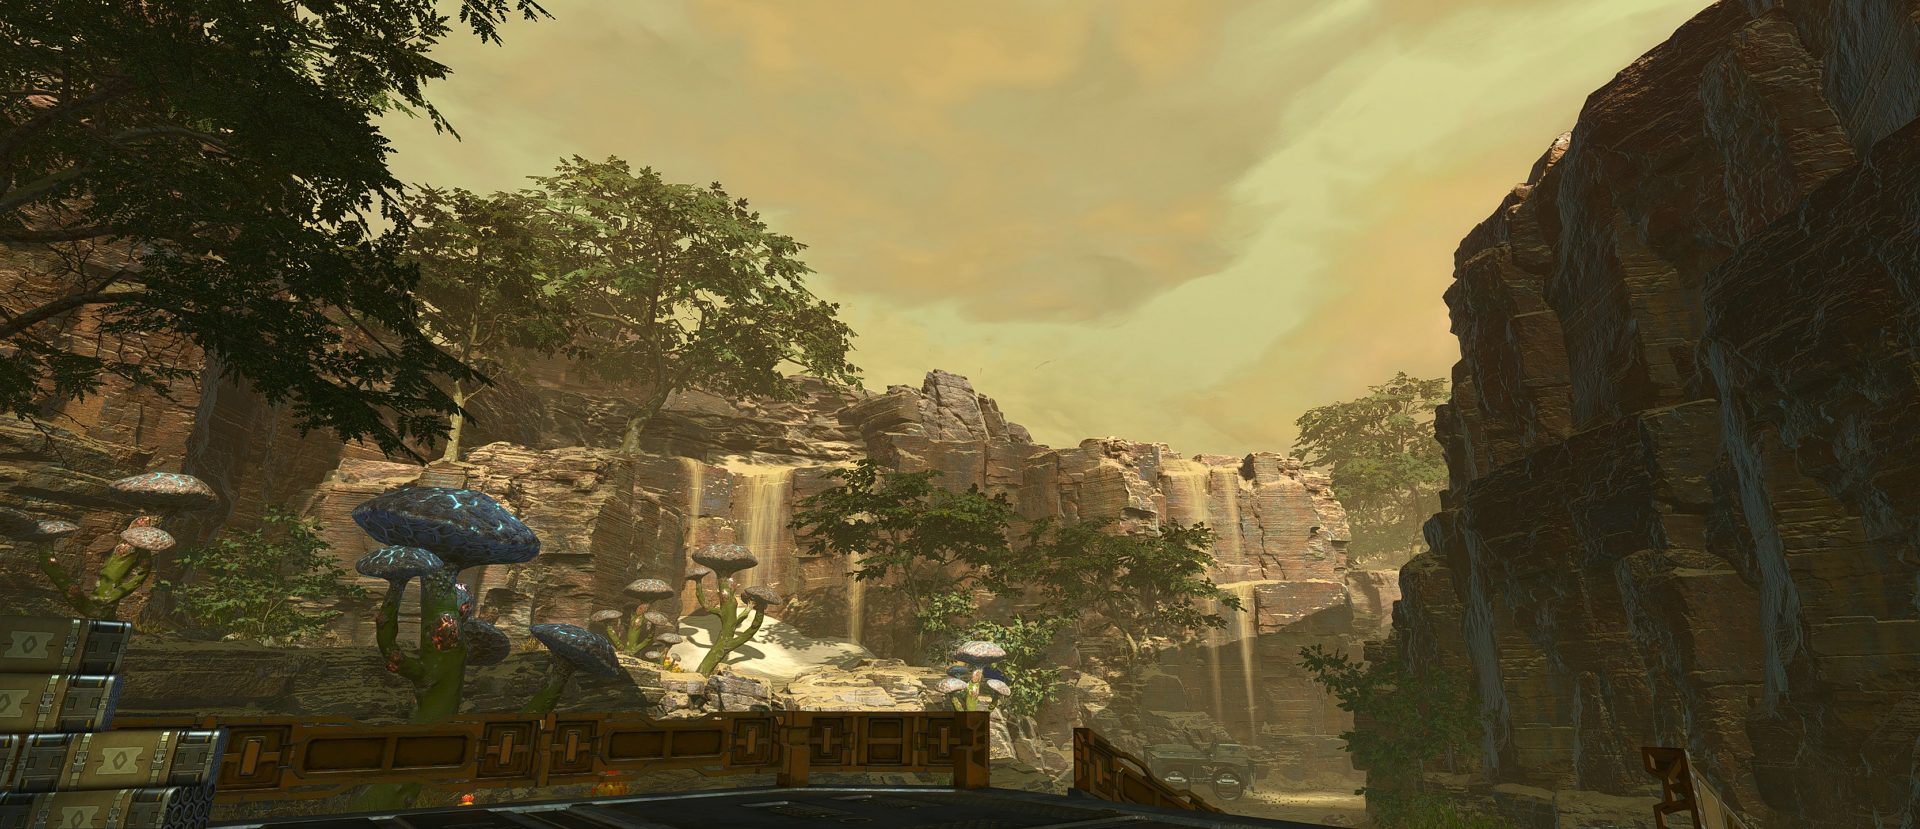
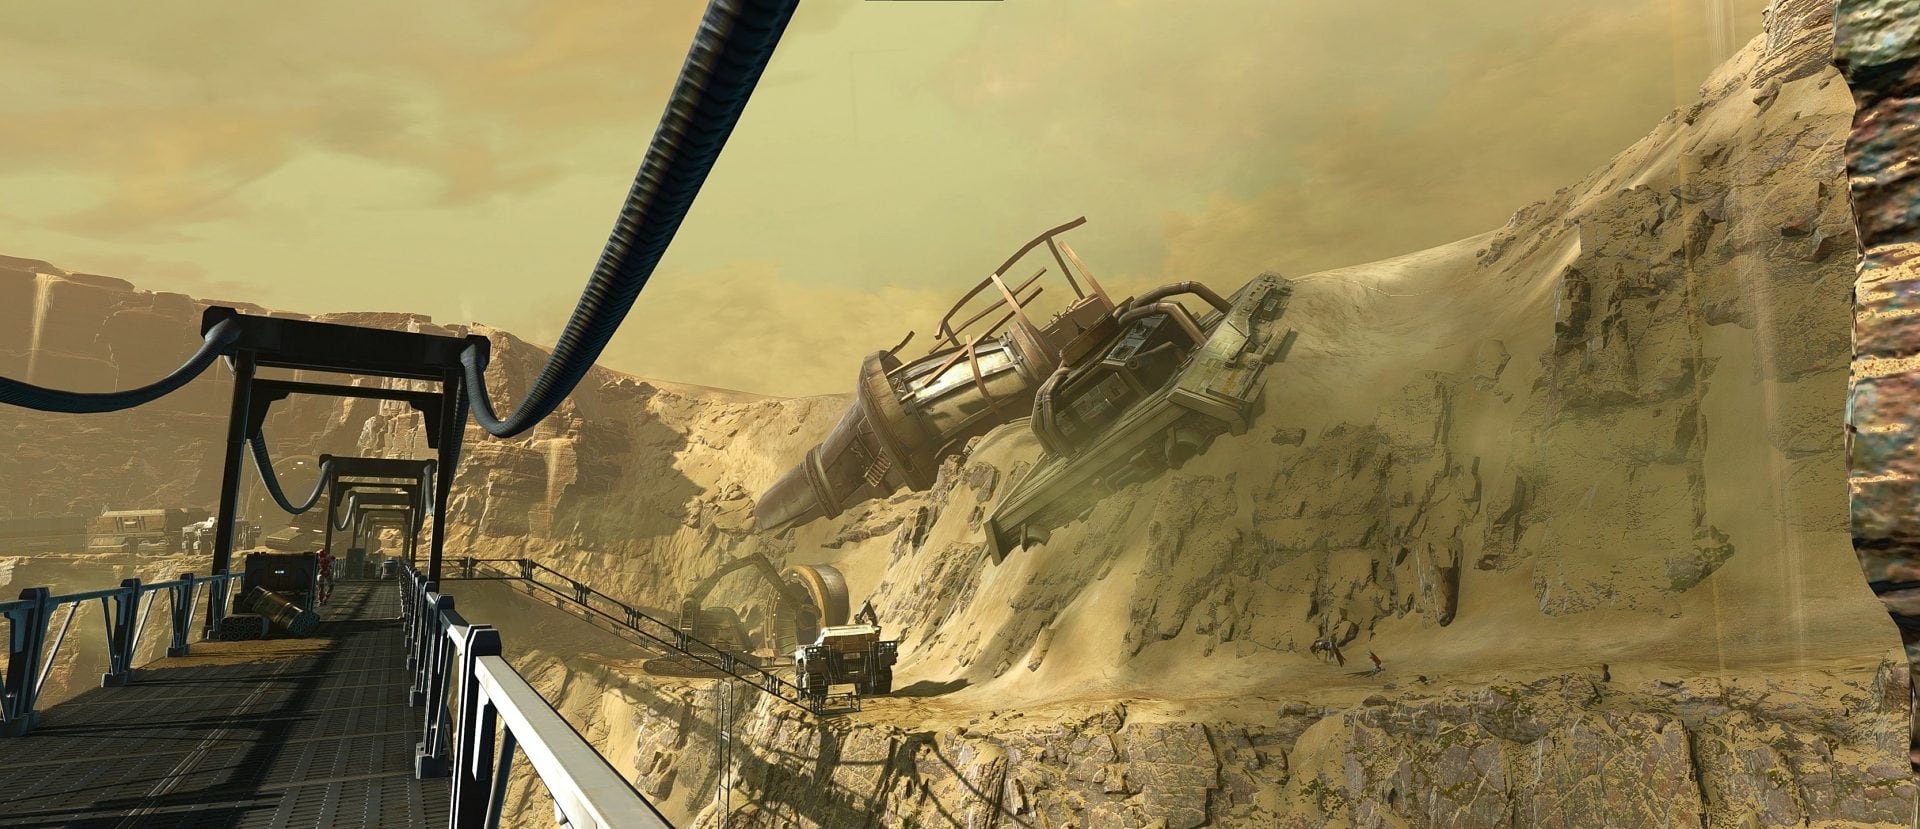
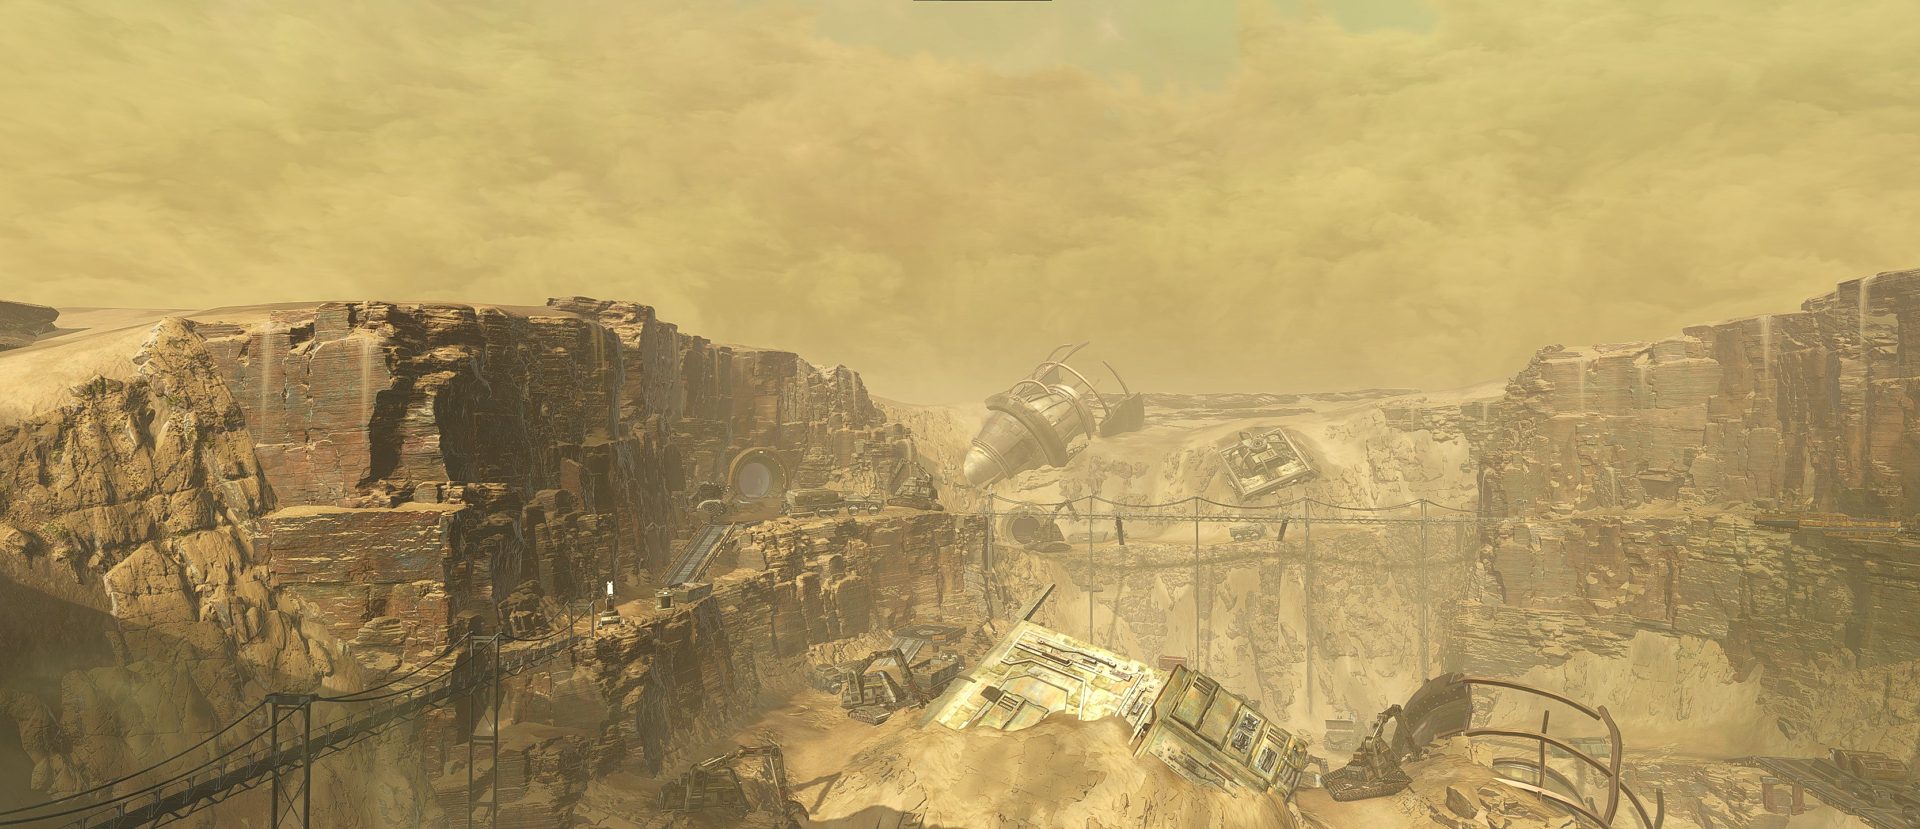
Excavation Site
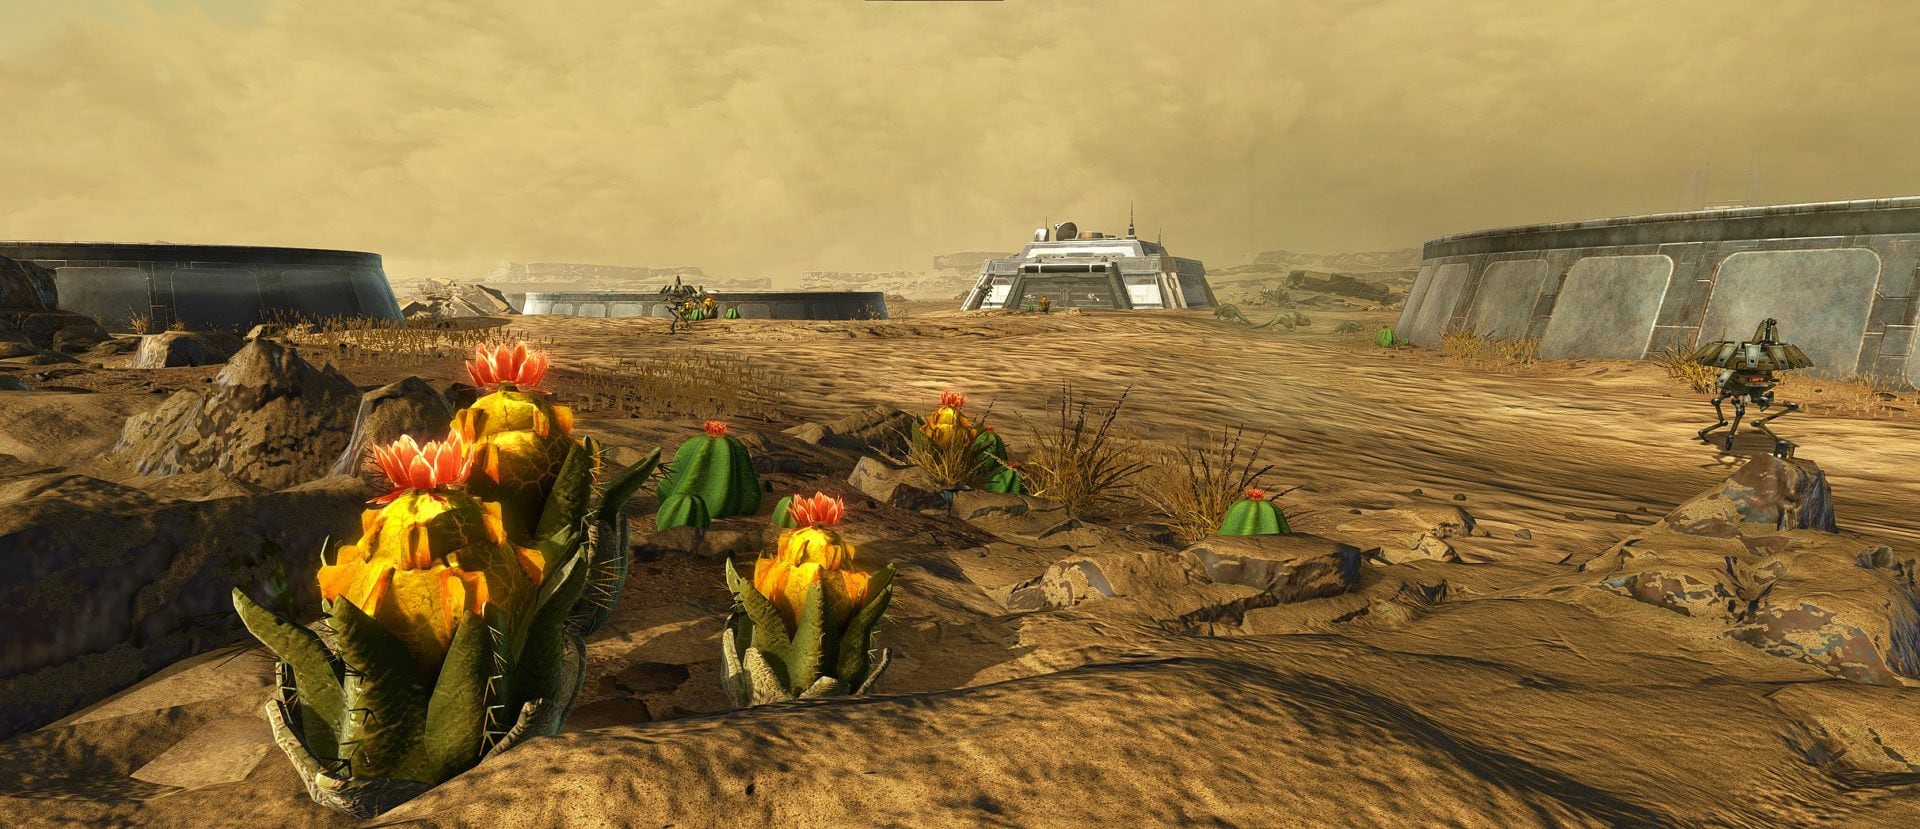
The Excavation Site is the single largest area on Ruhnuk. It’s dry, dusty, and features a heavy Mandalorian presence. Any habitat that once existed here has been destroyed, so it’s largely inhospitable to wildlife.
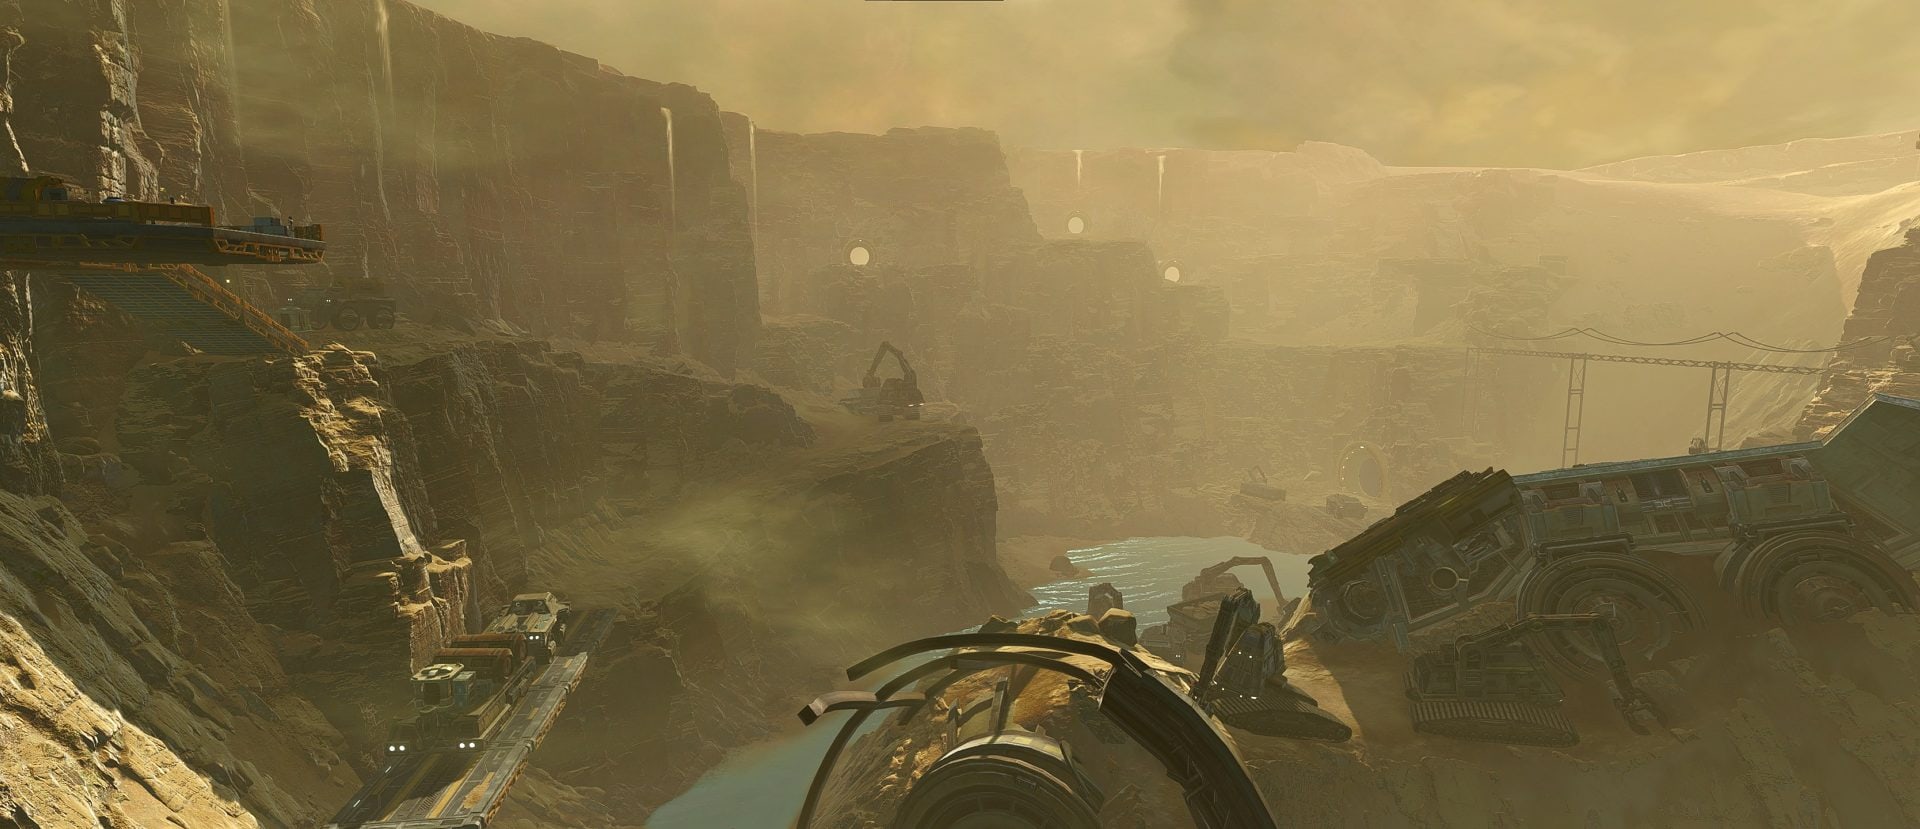
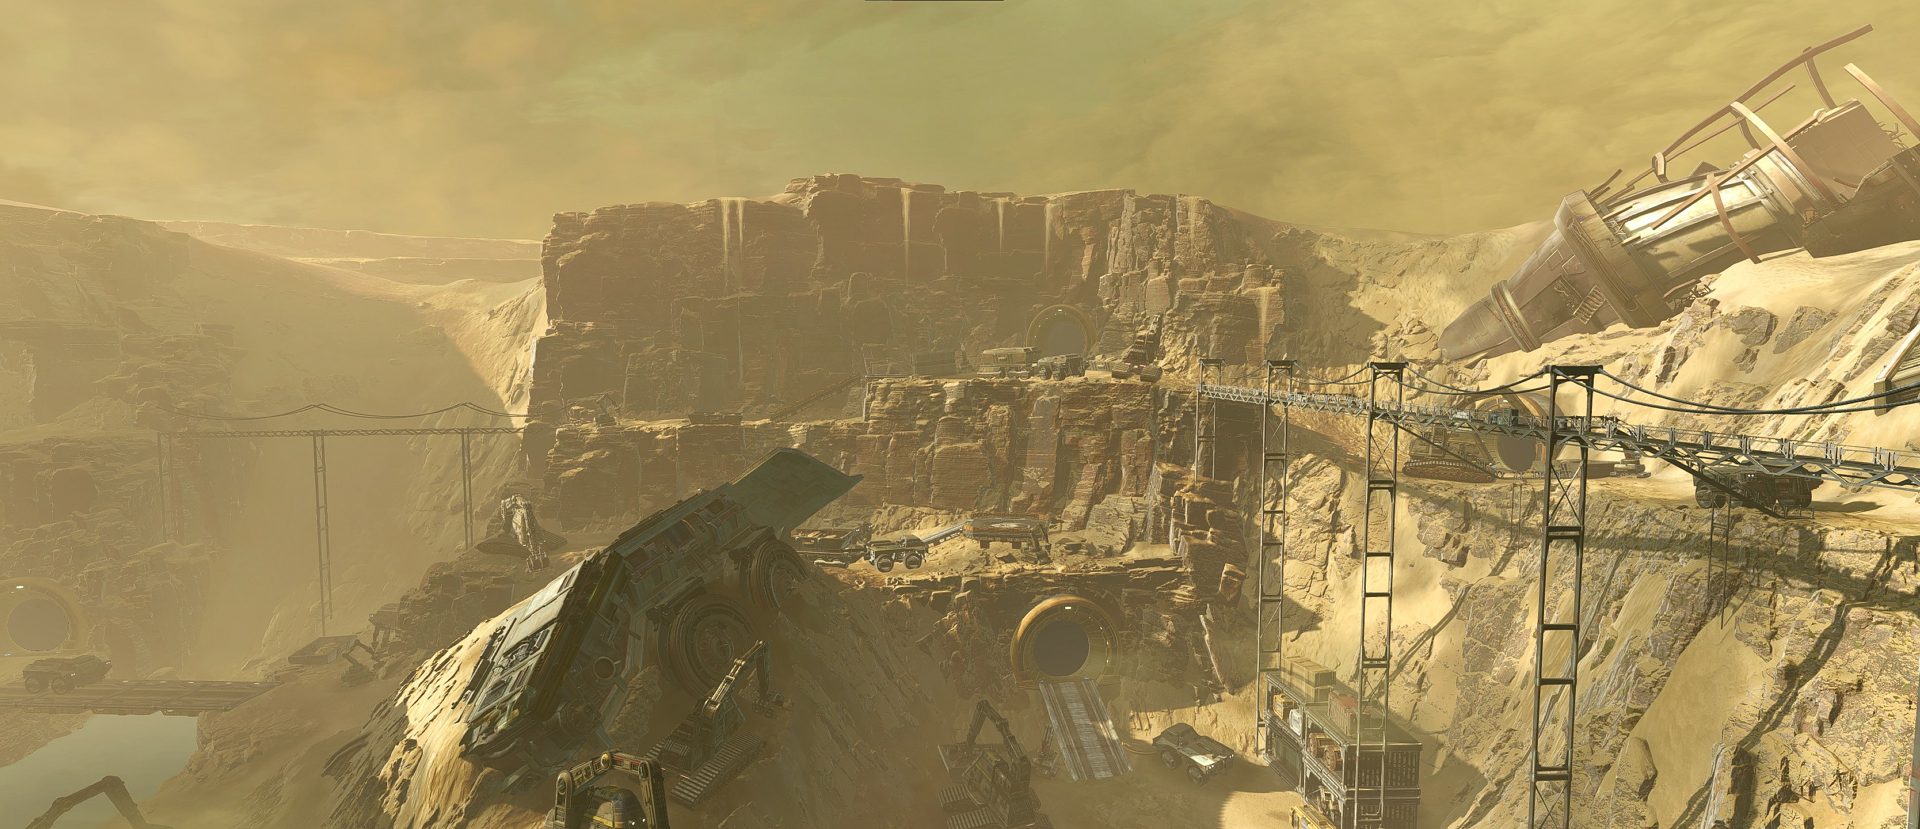
The Excavation Site features several (mostly) exclusive connections to areas including the Maintenance Tunnel / Ventilation Maintenance, Ruined Dig Site (world boss area), Reconstructed Combat Arena (H2 phase), and the Freight Center. Most of these are heroic areas, so you may have trouble traversing them alone.
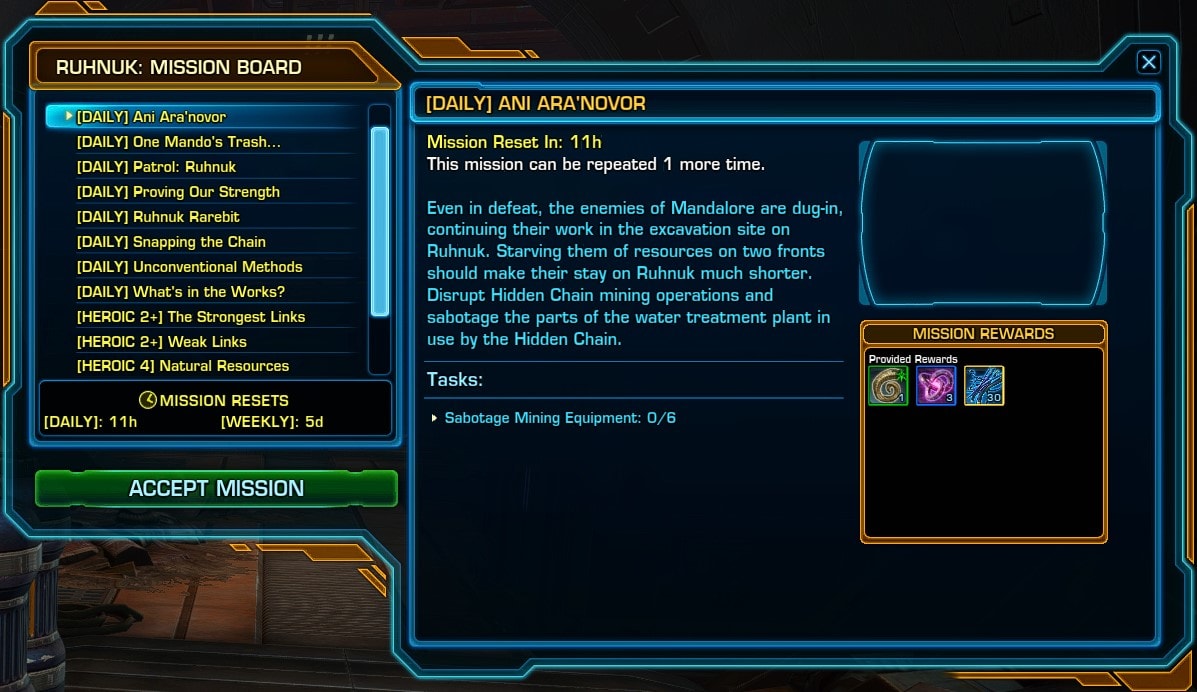
The solo daily missions in this region, Ani Ara’novor and One Mando’s Trash, are focused on sabotaging the Hidden Chain by destroying their equipment and stealing their stuff.
Since Ani Ara’novor has a final step that must be completed for one of the missions and it’s in the heart of the Water Treatment Plant, you’ll want to start with the missions in the Excavation Zone and work your way East.
You’ll also need to travel through the Excavation Site in order to complete 2 of the heroics and access the world boss, Kithrawl, so those should be done earlier if possible as well.
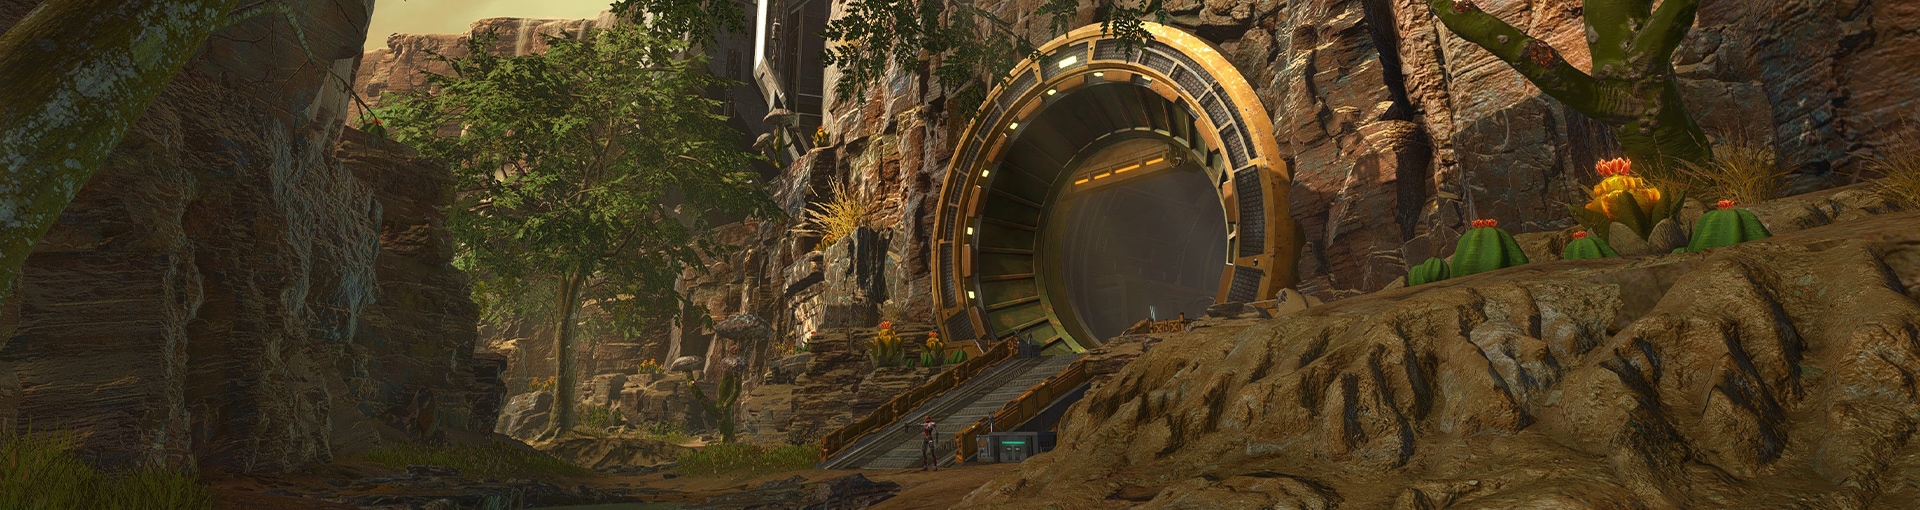
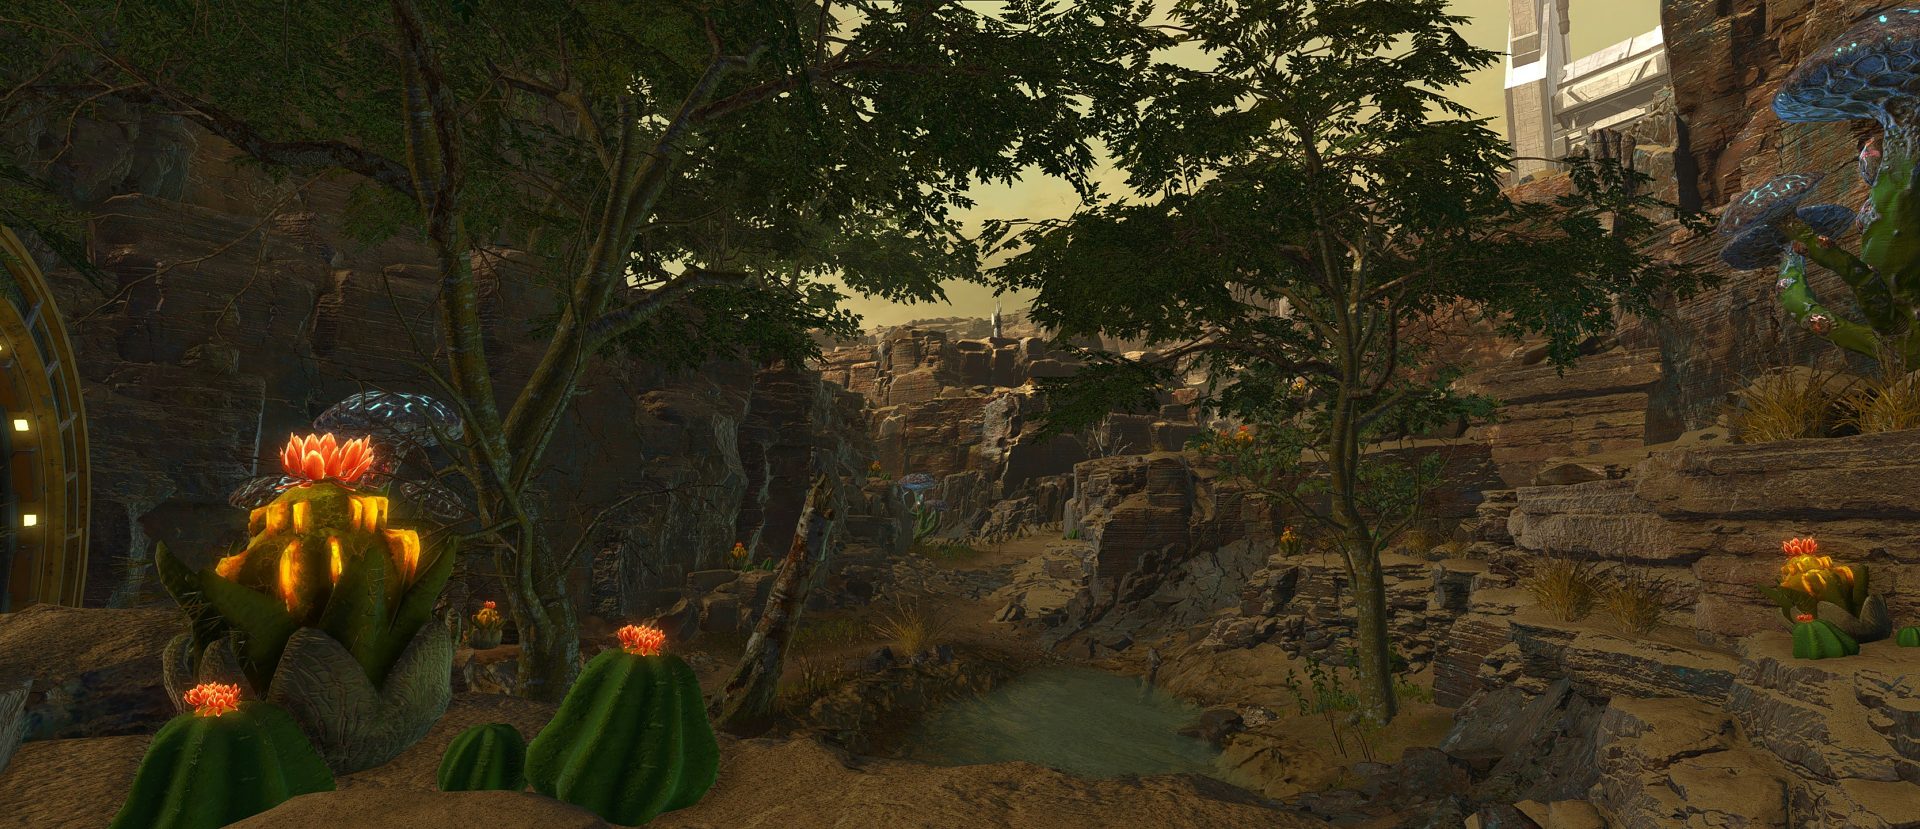
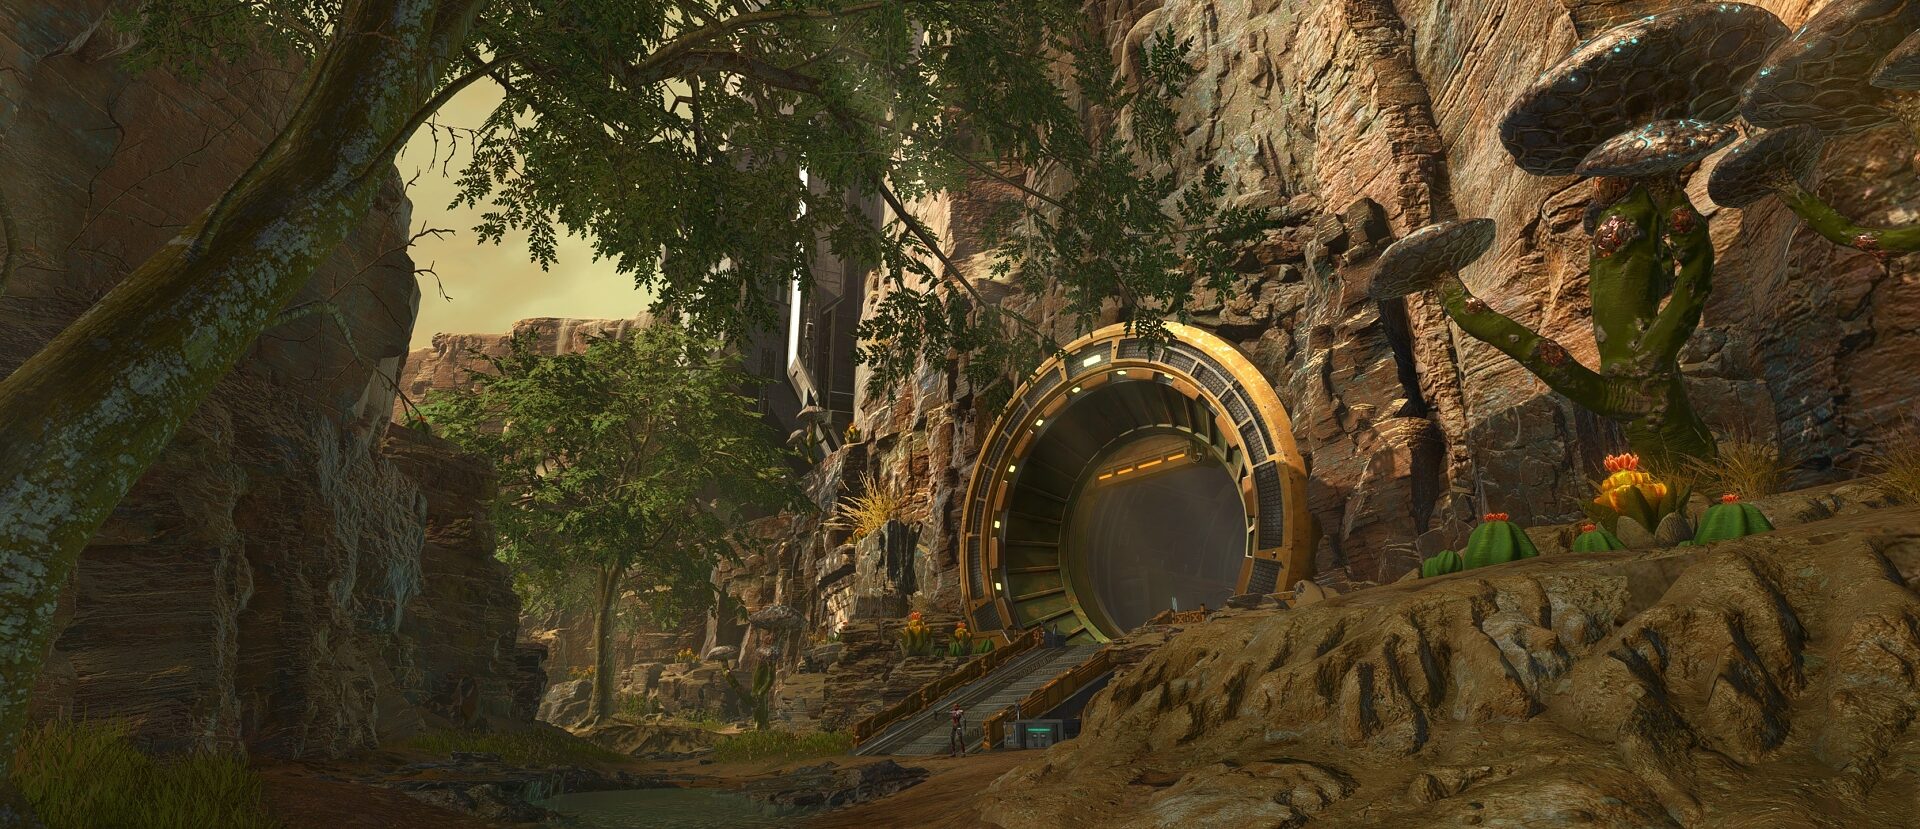
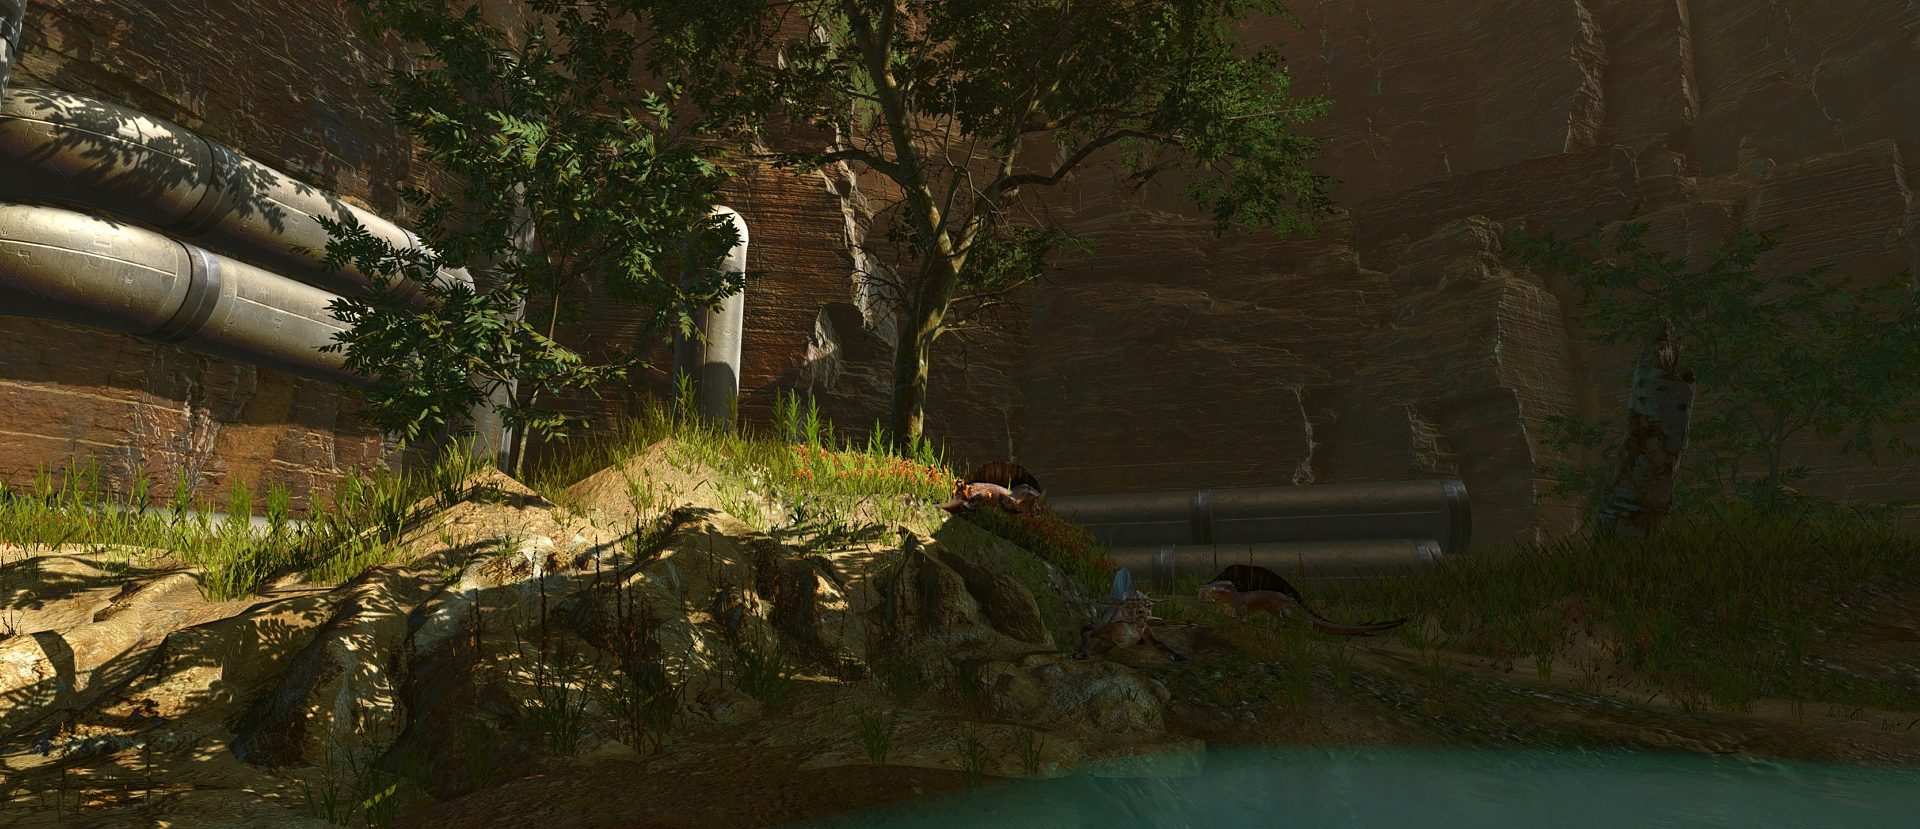
Overgrown Mining Site
The Overgrown Mining site transitions you from the Excavation Site with a heavy Mandalorian presence to the more natural landscape with flowing water along with native flora and fauna as you move toward the Dilapidated Waterworks. Combined with the chasmic structure and access to several tunnels, the Overgrown Mining Site is, in my opinion, the area that’s most emblematic of Ruhnuk as a whole.

You can’t quick travel to the Overgrown Mining Site, though the region is sandwiched by QT points located at the edges of nearby areas including Excavation Overlook at the Excavation Site and Outpost Delta just across the Verdant Ravine, so it doesn’t take too long to reach this area.
The Overgrown Mining Site features exclusive connections to the Reclaimed Mining Site and Comms Tower. The Comms Tower is a story phase whose entrance is located inside the Reclaimed Mining Site, but there are several missions that refer to the Comms Tower, which is visible from the outside when the objective is actually located in the Reclaimed Mining Site.
Outside of trying to reach the Reclaimed Mining Site, you’ll need to go to the Overgrown Mining Site for a portion of one of the heroics and also obtain the datacron (after completing the Relic Hunt missions).
Dilapidated Waterworks
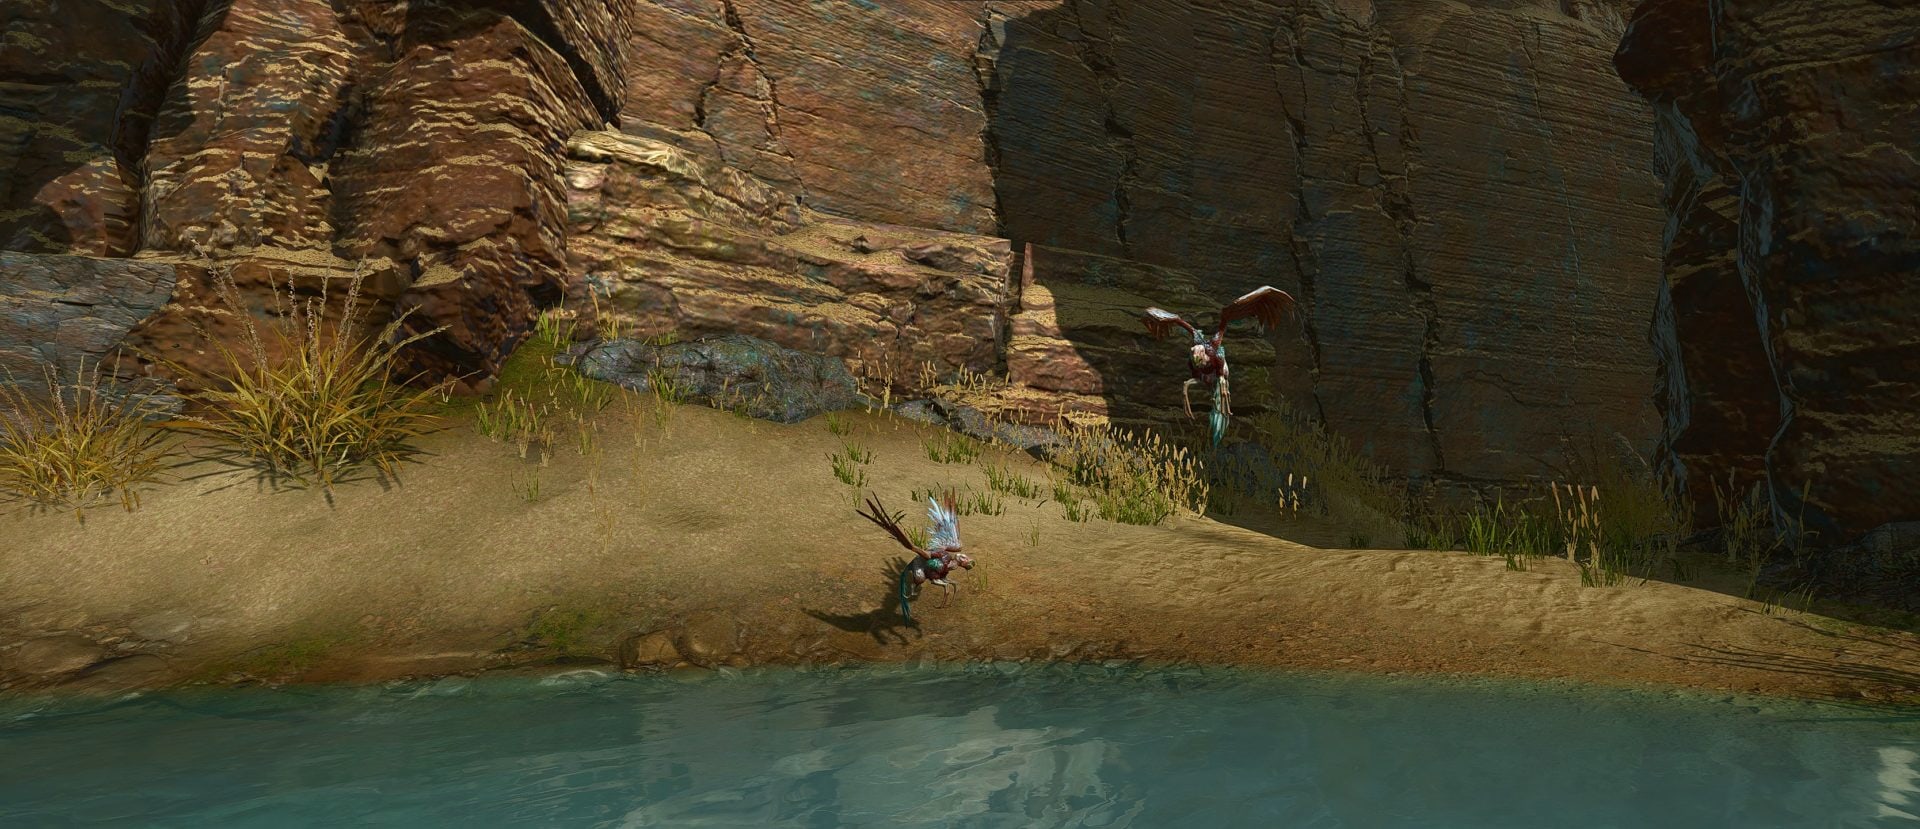
The Dilapidated Waterworks is basically the opposite of the Excavation Site, it’s fairly small and features a ton of water and animals in lieu of Mandalorians. Since there are so many animals, it’s the best place to make progress on the Ruhnuk Rarebit mission.
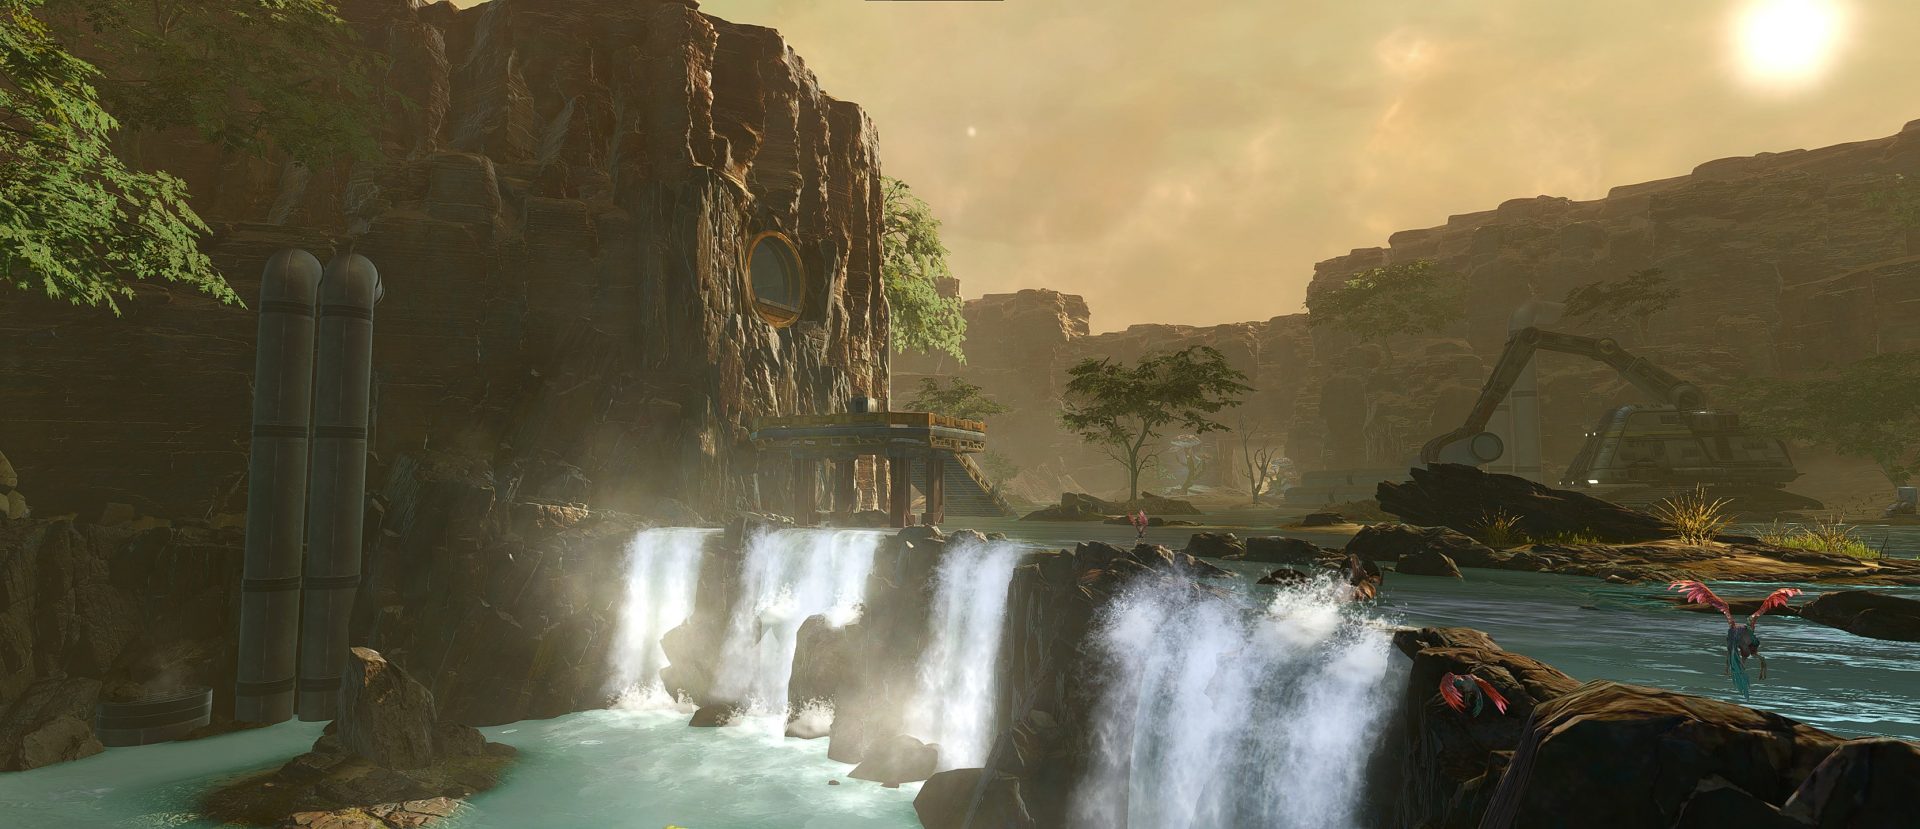
Going through the Dilapidated Waterworks is also the only way to reach the Water Treatment Plant.
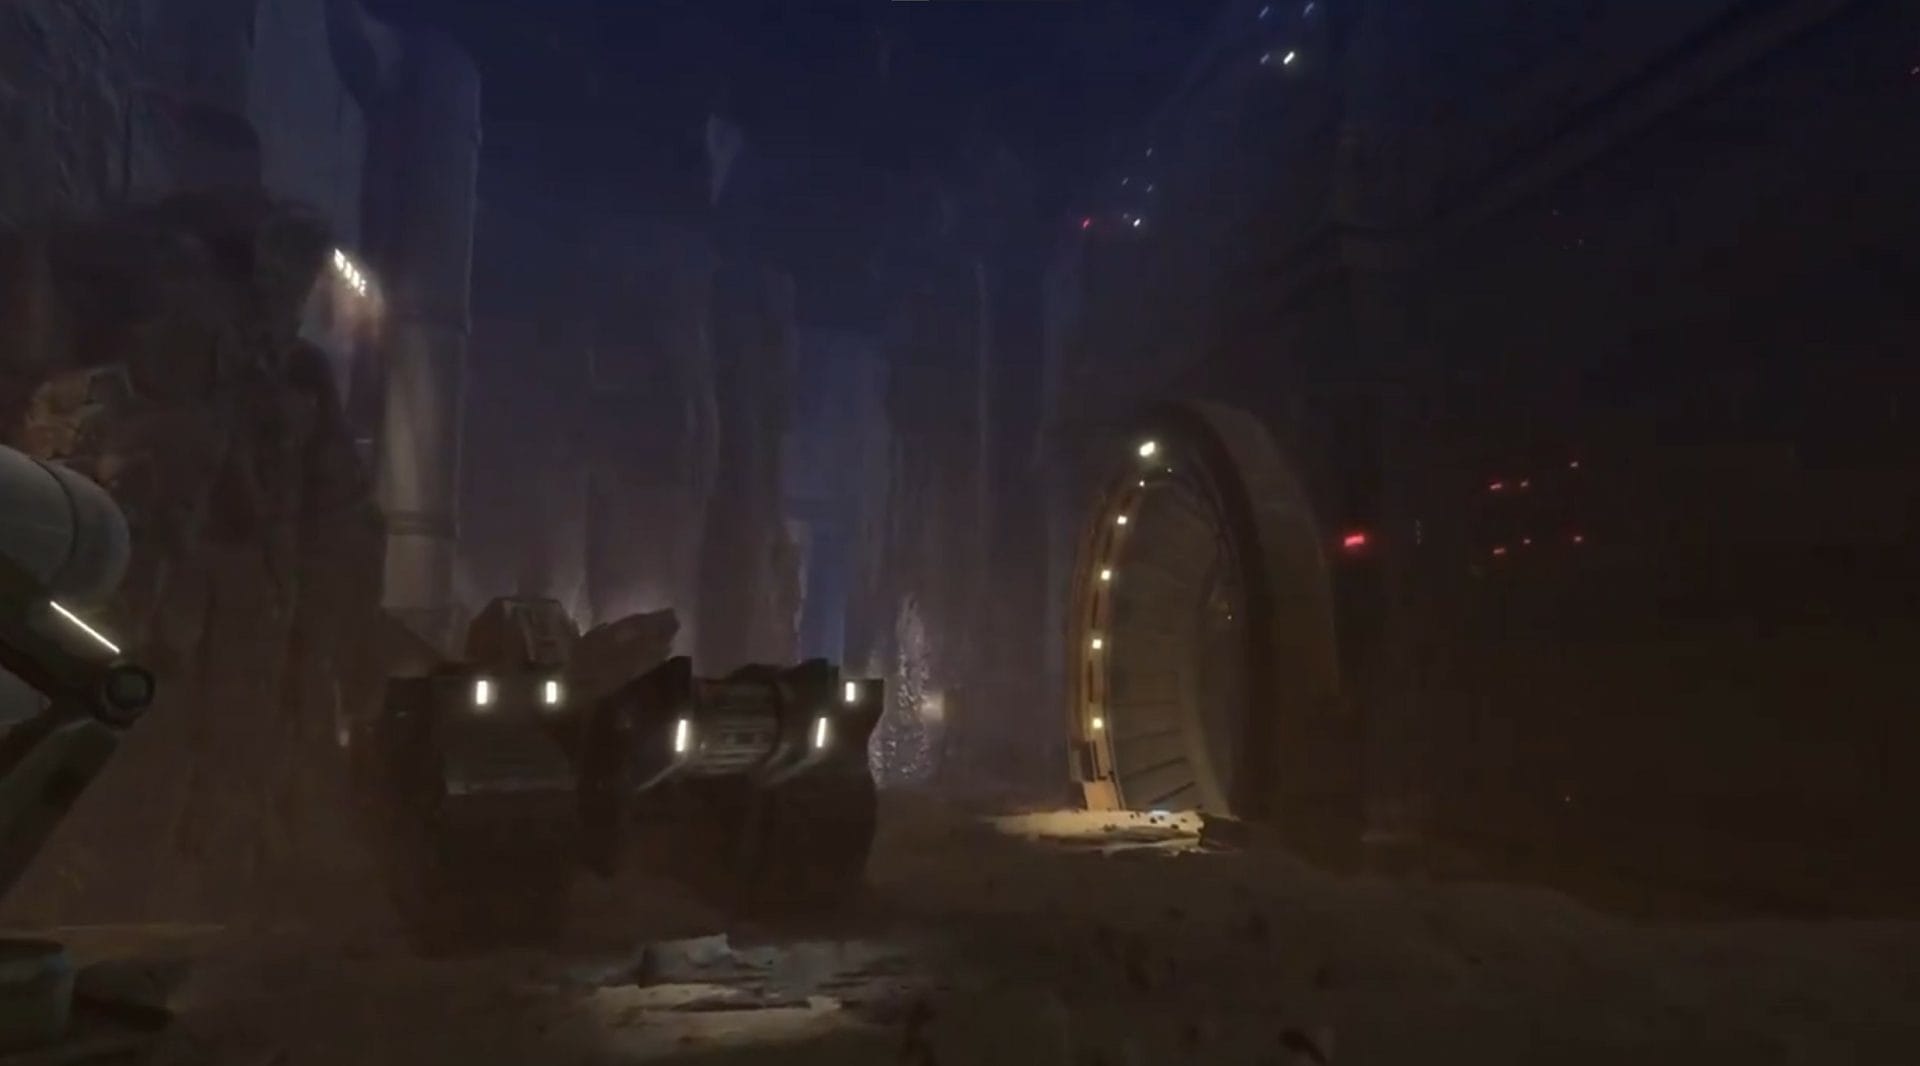
Water Treatment Plant
The Water Treatment Plant is possibly the largest indoor area on Ruhnuk. While it doesn’t have any exclusive interconnects, there are 3 missions to complete: What’s in the Works?, Unconventional Methods, and the H4, Natural Resources.
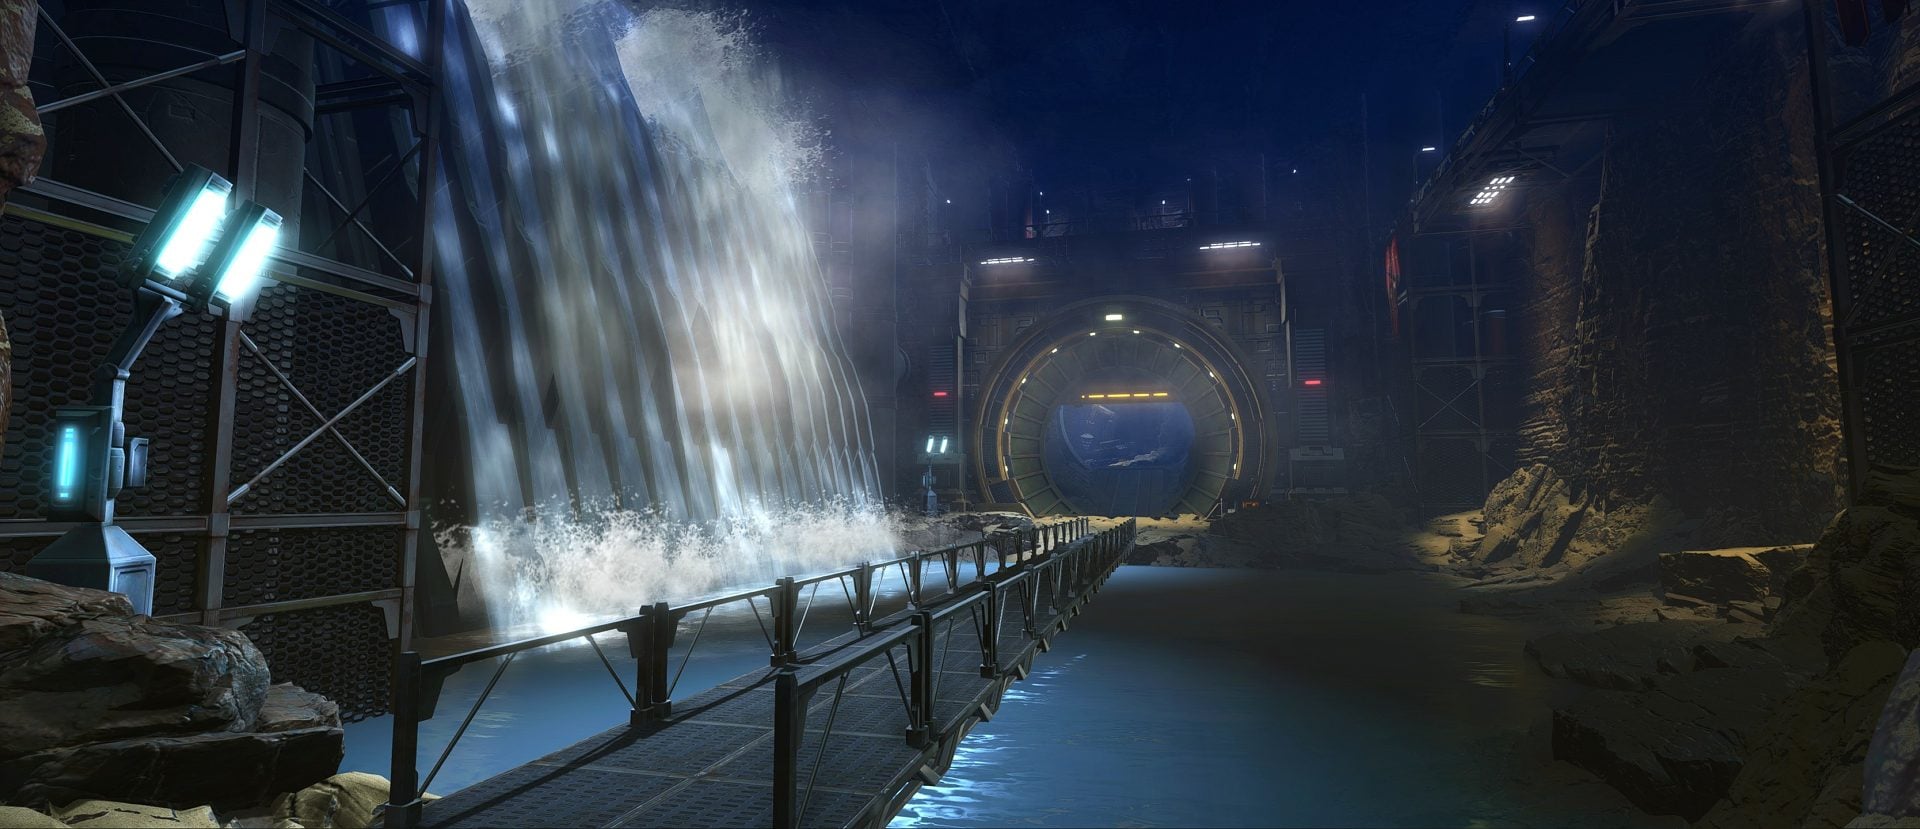

The Natural Resources mission is difficult as it is an H4, but it’s super short, whereas Unconventional Methods is pretty unforgiving, so I actually recommend doing that instead if you can handle it or bring a buddy along.
Starting Area
Let’s not forget the starting area, which is comprised of 3 levels: Arid Wastes, Duct Maintenance Network, and Mandalore’s Encampment.
Level 3: Arid Wastes
The Arid Wastes are primarily there to show you what exists above the canyons you navigate. There are no daily mission objectives here and you’ll only end up going here to find a single thing for one of the Relic Hunt missions.
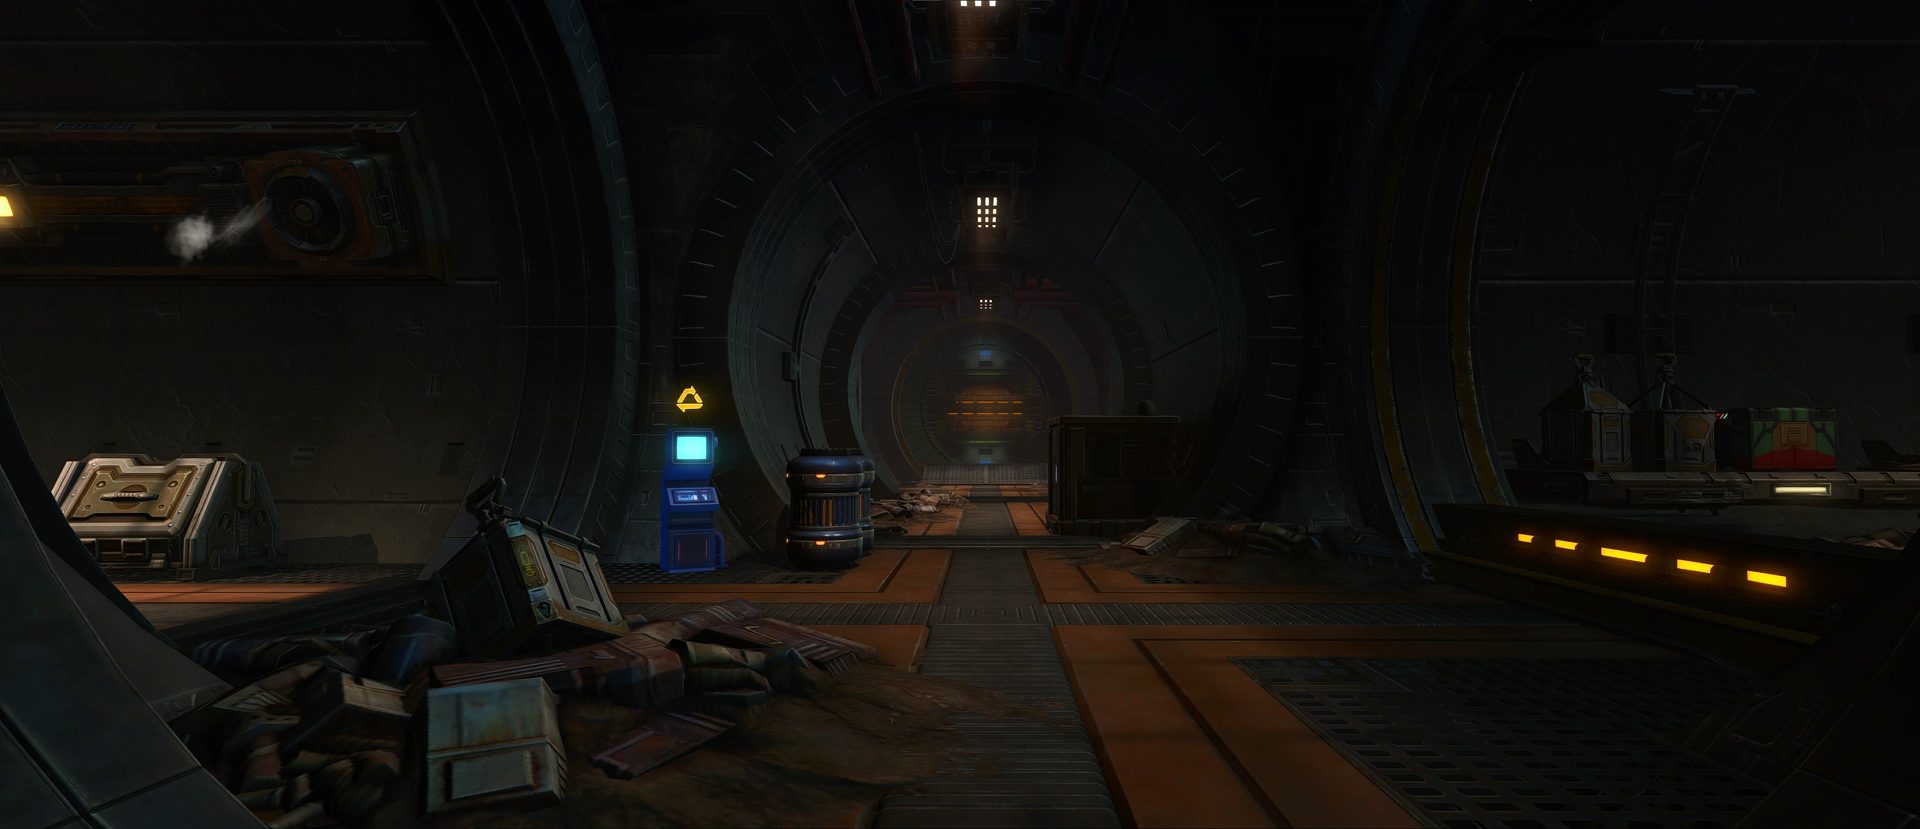
Level 2: Duct Maintenance Network
The Duct Maintenance Network is the level you arrive on and contains the daily mission board.
Level 1: Mandalore’s Encampment
Mandalore’s Encampment is the lowest level and features the clickies for the relics from the Relic Hunt missions as well as the Trat’ade Reputation Vendor and drop-off point for a couple of the missions.
Minor Area Interconnections
The major areas are connected to each other via smaller tunnel systems and canyons that are each linked to multiple other areas, both major and minor.
- Hollow Chasm connects to:
- Cliffside Tunnel Network
- Ventilation Shaft / Primary Ventilation Tunnel (infinite electricity shaft)
- Duct Maintenance Network / Mandalore’s Encampment
- Cliffside Tunnel Network connects to:
- Hollow Chasm
- Dilapidated Waterworks
- Overgrown Mining Site
- Ventilation Shaft / Primary Ventilation Tunnel connects to:
- Hollow Chasm
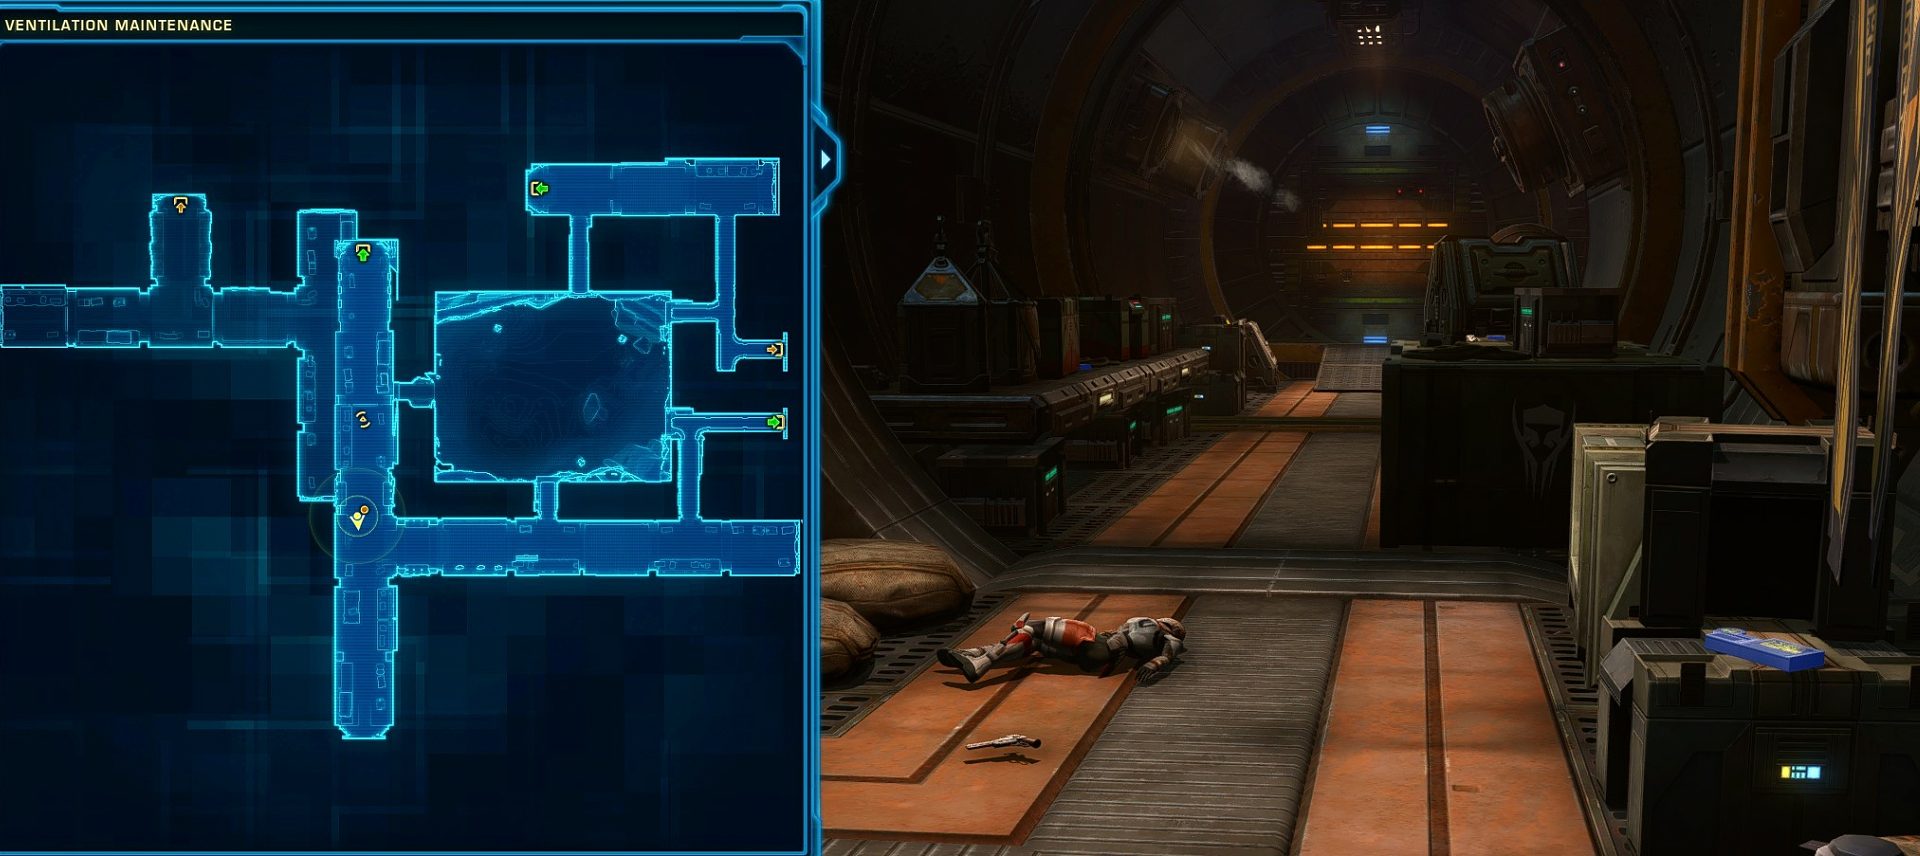
- Maintenance Tunnel / Ventilation Maintenance
- Excavation Site
- Maintenance Tunnel / Ventilation Maintenance connects to:
- Ventilation Shaft / Primary Ventilation Tunnel
- Hollow Chasm
- Verdant Ravine connects to:
- Dilapidated Waterworks
- Outpost Delta
- Overgrown Mining Site
See the custom maps at the end of the post for a more detailed and easy-to-understand look of Ruhnuk’s interconnecting areas and regions.
Heroic Mission Tips
There are 3 heroic missions. They’re pretty similar to other daily area and conquest event heroics, though the mission objectives are sometimes a bit more complicated so they deserve a more dedicated explanation.
Strongest Links (H2)
The Strongest Links mission is pretty straightforward with 2 steps. The first has you pointing your Macrobinoculars upwards from the Overgrown Mining Site. The second just requires you to clear out a phase called the Reconstructed Combat Arena that’s connected to the Excavation Site.
For the Macrobinocular part, there’s a spot I’ve found where you can get 3 of the 5 antennae:

The objectives are placed pretty well though, so as long as you stand on top of the markers, you should have line of sight on at least 1 of them.
After you’ve finished the Macrobinocular step, you’ll have to head to the Reconstructed Combat Arena at the Excavation Site. It’s basically just a heroic area with a little mini-boss trio at the end. They don’t pose too much of a threat so long as you get out of their numerous telegraphs.
Weak Links (H2)
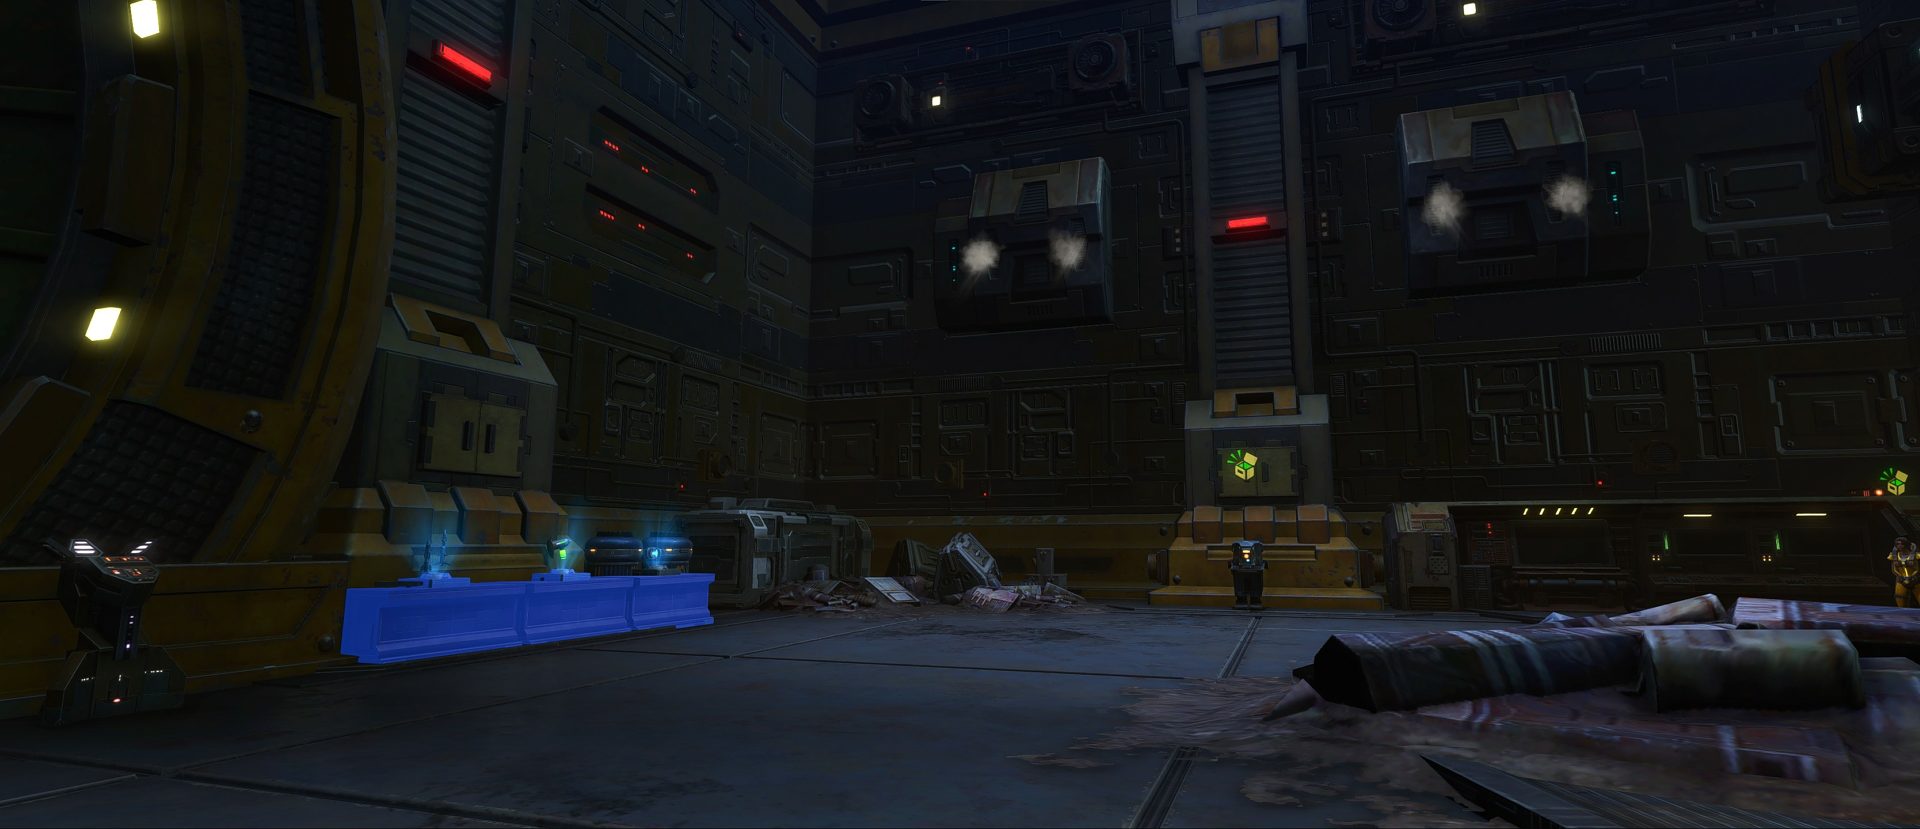
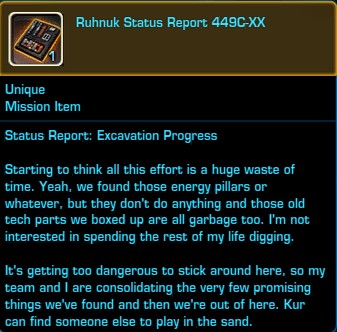
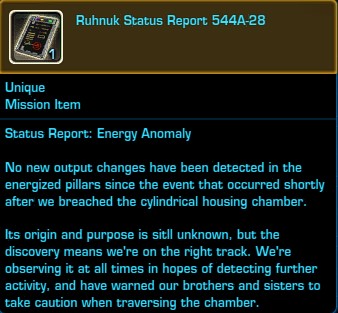
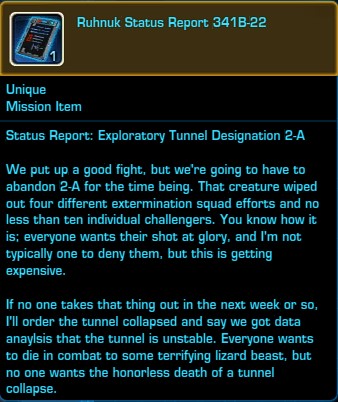
This mission is ridiculously long in my opinion. I only recommend doing it if you plan to do all the other missions so you can complete it on the way. Your first goal is to find 3 datapads each located in separate heroic-difficulty tunnels connected to the Excavation Site.
Make sure you do the one in the Freight Center last since the next step in this mission is also deep in the Freight Center!

There’s a little story with the Status Report mission items you pick up too!
After you’ve collected the 3 status reports from the datapads, you’ll need to (attempt to) use one of the numerous Mainframe consoles in the Freight Center, but you’ll find that your Access is denied, so you’ll have to loot some security tags from an officer and then go use one.
Finally, you’ll have to transmit the Datagrid to allies from a high location at the Excavation Site (the one at the Water Treatment Plant won’t work).
It’s considerably easier just to use the jump pads to reach it, but you need to do the Relic Hunt missions for that.
Natural Resources (H4)
There are 2 steps to this mission, though you’ll likely complete the first as you do the other missions and fight your way through the Water Treatment Plant since it’s just collecting tags from groups of beastmaster trash with Tinebacks.
The second step is a challenging encounter where you have to defeat 3 enemies, 2 elites and 1 champion. It is soloable, but you should use a discipline with strong rotational AoE (a DoT spec) and decent survivability since they each individually hit pretty hard.
Take out the 2 Tineback beasts first. Interrupt a cast done by the Champion BH called Sic ‘Em. Use almost all of your DCDs while they’re still alive, maybe only saving 1 for the Champion because your healer companion and passive survivability should be enough against just him. You may need to kite him around a bit while your companion heals you up.
Relic Hunt Missions
In the Daily Area on Ruhnuk you can pick up and complete three non-repeatable Relic Hunt Missions. They are very long and lead to the Ruhnuk Datacron, which will grant you +10 Mastery Points when you find it.
To get to the Datacron, you need to first complete all three Relic Hunt missions. The third one will give you a buff that you need in order to get to the Datacron.
We have created a separate in-depth guide to the Ruhnuk Datacron and have also included step-by-step walkthroughs to the Relic Hunt Missions.
Recommended Mission Order
Recommended Mission Order for SWTOR Ruhnuk Dailies

Ruhnuk has a complex and puzzle-like map. The areas of the planet you can explore are on the surface, underground, and inside small and large building complexes. There are a lot of Solo and Heroic Daily Missions to keep you occupied for hours if you don't know the environment and how the areas are connected to each other. This is the path and order I recommend that you follow when doing your daily routine on Ruhnuk.
Instructions
The first recommended path order is when you are doing Heroic Missions.
- Quick Travel (QT) to Outpost Delta, head to Overgrown Mining Site and do Macrobinoculars portion of The Strongest Links (H2).
- QT to Excavation Site and use Repulsor Lift to get into Ventilation Maintenance for the datapad for Weak Links (H2).
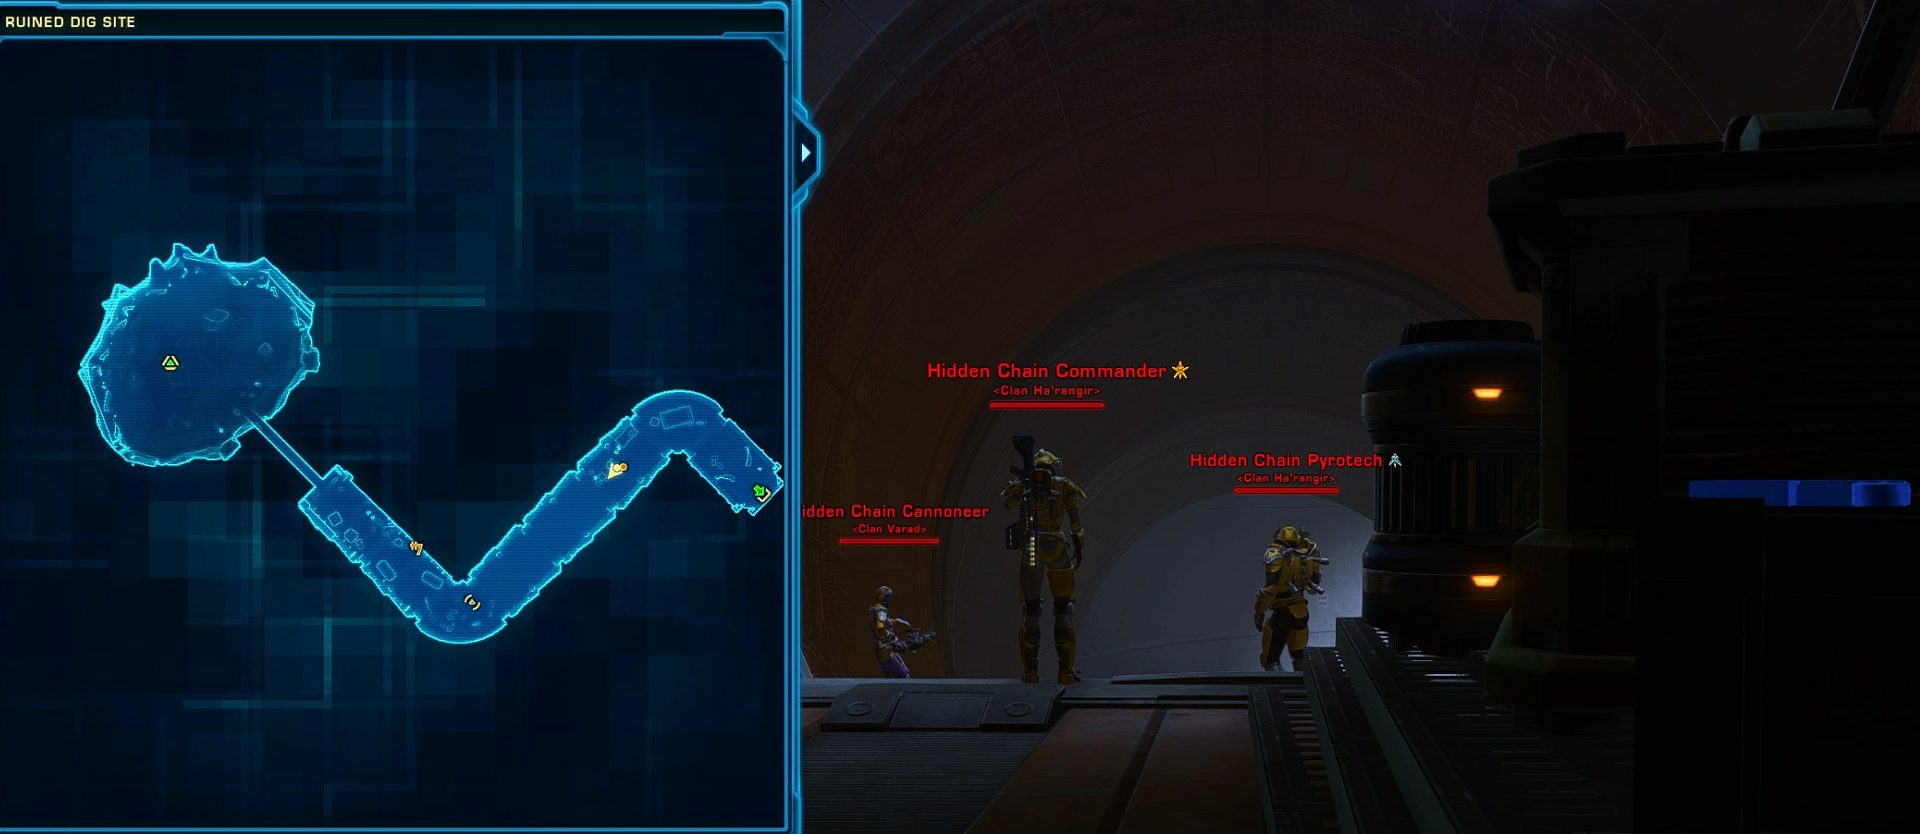
- QT to Machine Scrapyard and use Repulsor Lift to obtain Datapad for Weak Links (H2) at Ruined Dig Site.
- Head to Reconstructed Combat Arena to complete The Strongest Links (H2).
- QT back to Machine Scrapyard and walk your way down while completing Ani Ara'novor and One Mando's Trash...
- Enter the Freight Center, obtain the final datapad and do the mainframe part for Weak Links (H2).
- Exit the Freight Center through a different point and use Repulsor Unit to climb to Data Transmission Point.
- QT to Dilapidated Waterworks.
- Use Repulsor Unit to take the back way in and complete all objectives in that room.
- QT to Mandalore's Encampment to turn in mission.
The second recommended path order is when you are not doing Heroics (Solo Only).
- QT to Machine Scrapyard - finish Ani Ara'novor and One Mando's Trash...
- QT to Outpost Delta - defeat all fauna along the way, need to go here for Dewbacks, head towards Dilapidated Waterworks.
- Finish of Ruhnuk Rarebit
- Enter Water Treatment Plant and complete all objectives.
- With Repulsor Unit, QT back to Dilapidated Waterworks and use Jump Pad Entrance.
- QT to Mandalore's Encampment to turn things in.
This third recommendation is if you want to maximize your productivity and do as many missions on Ruhnuk as possible one one run.
- Obtain missions and relics. If you aren’t doing heroics, skip to 5.
- If you’re doing the heroics, start from Outpost Delta, head West to the Overgrown Mining Site, taking out Dewback, Irewing, and Tineback on the way for Ruhnuk Rarebit. You don’t need to go out of your way to fight any, there will be lots as you trek towards the Excavation Site.
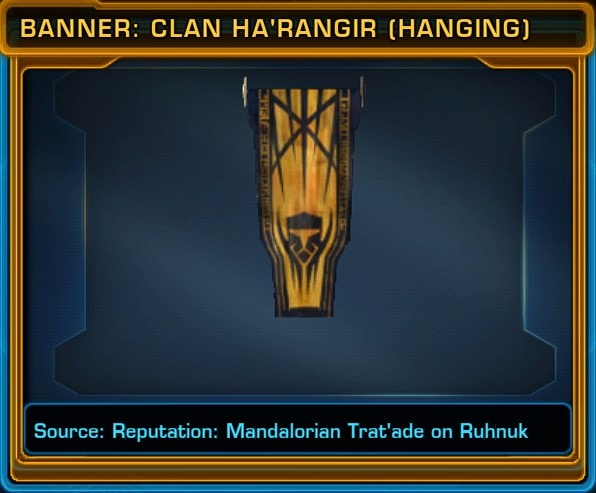
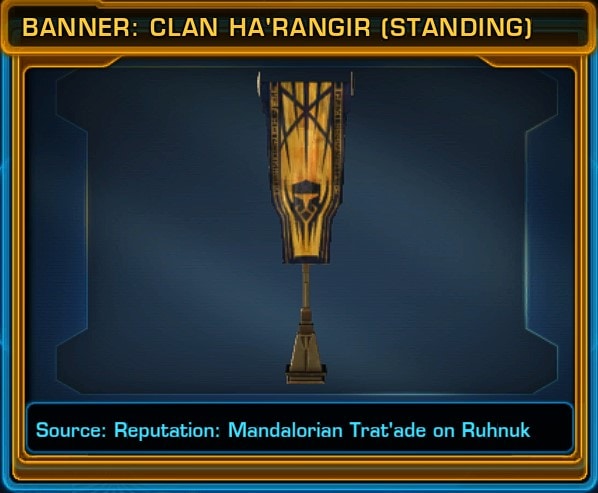
- Enter the Reclaimed Mining Facility (use the Eastern entrance), burn the Clan Ha’rangir Banner, and defeat Dylah Ha’rangir. If doing the heroics, do the Macrobinocular component for Strongest Links as well.
- Head into the Cliffside Tunnel Network.
- From the Cliffside Tunnel Network, take the Hollow Chasm exit and head into the Ventilation Shaft. Burn the Dar’Manda flag and defeat Pan Morri and then either take a detour into Ventilation Maintenance for the Weak Links Heroic or skip to 8.
- Quick Travel (QT) to the Machine Scrapyard if you aren’t doing the heroics or have the Repulsor Unit relic. If you are doing the heroics and don’t have the Repulsor Unit, go to the Excavation Overlook instead.
- Head to the Reconstructed Combat Arena to finish off the Strongest Links H2, then go to the Ruined Dig Site to pick up the second datapad for the Weak Links H2. Do the Ruined Digsite first if you have the Repulsor Pulse relic, it’ll be a bit faster since you can QT out of the Reconstructed Combat Arena.
- QT to Machine Scrapyard.
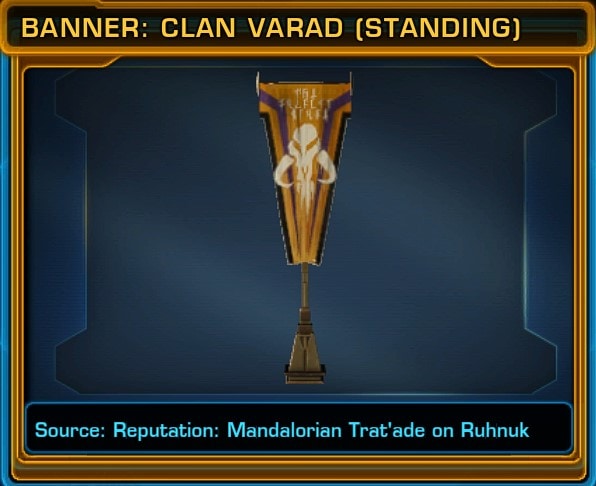
- Gather Mando trash and sabotage vehicles for One Mando’s Trash… and Ani Ara’novor respectively as you circle your way down to the bottom of the Excavation Site. Your goal is to reach the Clan Varad flag.
- Burn the Varad Flag and defeat Grimgot Varad. Also, pick up the nearby explosives for Ani Ara’novor. If not doing heroics, skip to 12.
- Head into the Freight Center for the final datapad for Weak Links and finish off all objectives there.
- Head to the high point.
- QT to Dilapidated Waterworks.
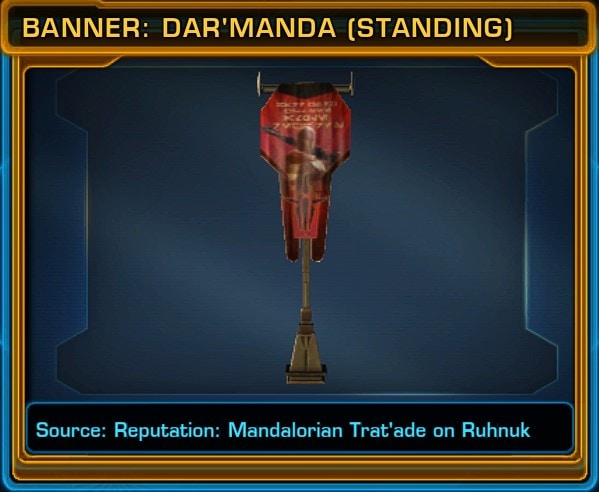
- Complete Ruhnuk Rarebit and burn the Ash’ad Flag and defeat Sashuk Luth.
- Enter the Water Treatment Plant, ideally from the Jump Pad to avoid a bit of backtracking.
- Complete all mission objectives within Water Treatment Plant. Go into the rooms with the objectives that are closest to your current position.
- QT to the Excavation Site, Overlook if you don’t have the Repulsor Unit relic, otherwise Machine Scrapyard. Use the Repulsor Unit repeatedly to climb the Southern edge of the Excavation site or travel through Ventilation Maintenance.
- QT to Mandalore’s Encampment to turn in One Mando’s Trash… and Ruhnuk Rarebit.
Notes
There are no rules to which missions you should do first. You can do them in whatever order wou want , whenever you want. This recommended order is for the maximalists who want to complete as many as possible in the shortest amount of time.
Here is the list of Missions for the first path when you are doing Heroics:
Ani Ara'novor
One Mando's Trash...
Snapping the Chain
The Strongest Links (H2)
Weak Links (H2)
Natural Resources (H4)
Patrol Ruhnuk, Weeklies
The second recommendation is for Solo Missions only, excluding the mission "Proving Our Strength".
Mandalorian Tra’tade Reputation Rewards
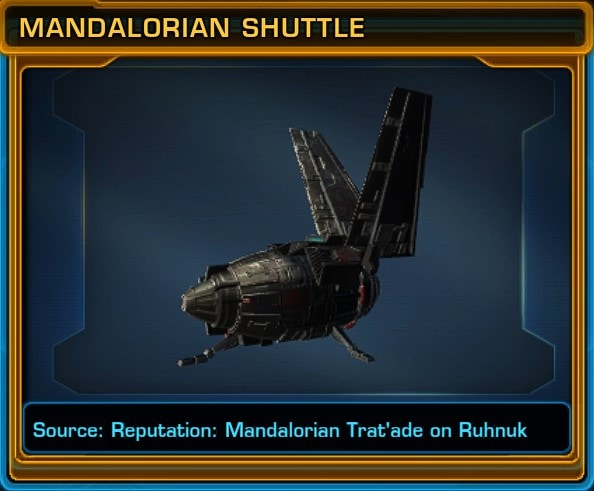
The Reputation vendor contains 1 armor set, a mount, 2 titles, and a bunch of decos. Not all decos are available for sale from the vendor, though; Some are only available as drops in the world, similar to Ossus.
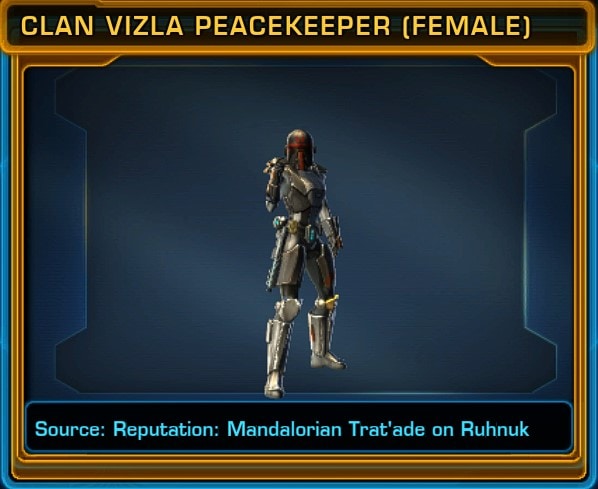
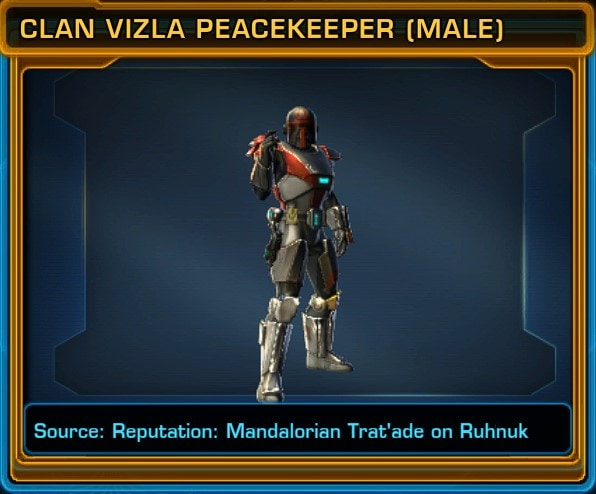
Ruhnuk Wanderer Armor Set
The Ruhnuk Wanderer set costs 5.25m total with individual pieces requiring a different level of reputation with the Mandalorian Trat’ade, though you’ll need Legend if you want to get everything, including the Chest and Helmet.


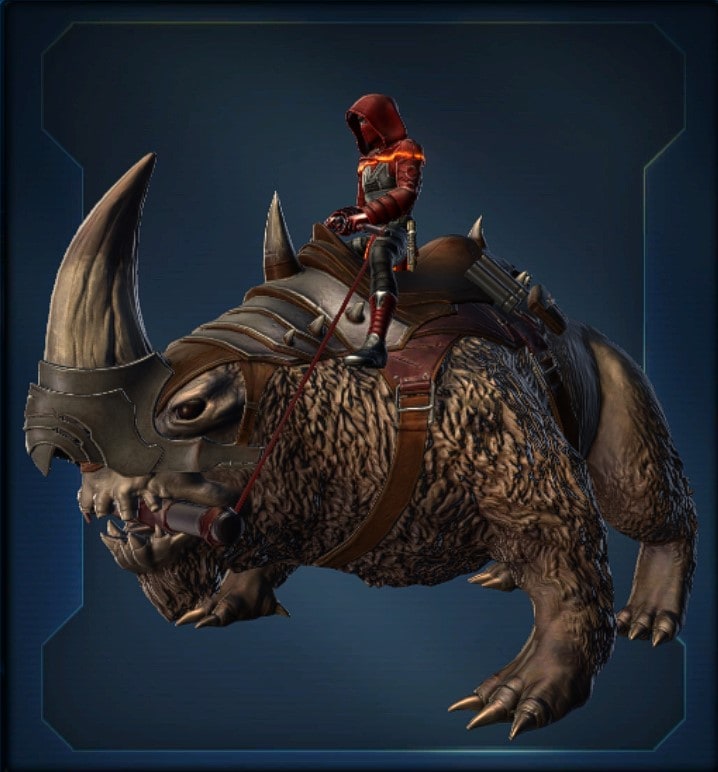
Wetlands Mudhorn Mount
The Wetlands Mudhorn costs 1 million credits and requires Legend standing with the Mandalorian Trat’ade.
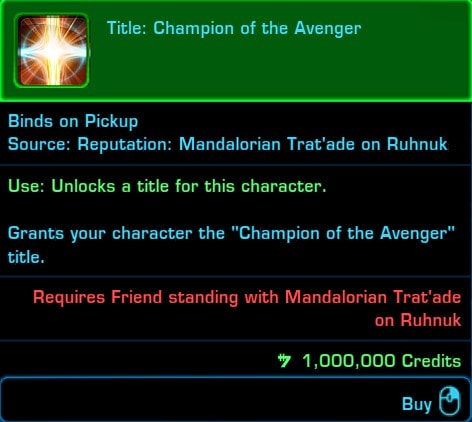
Titles
There are 2 titles for sale that use the Basic language, in contrast to the ones granted by the reputation track that are in Mando’a. Each title costs a million credits to unlock.

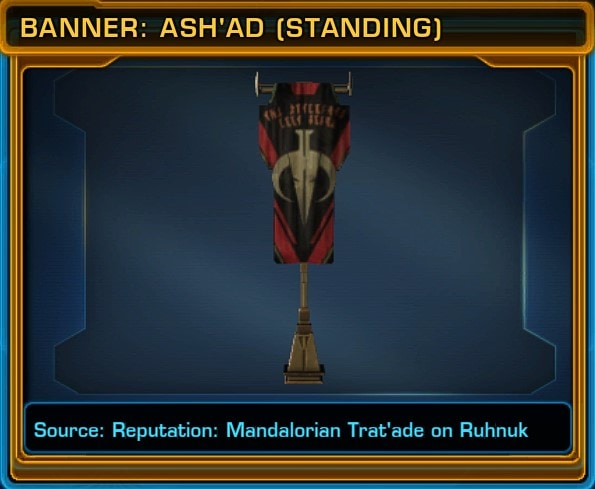
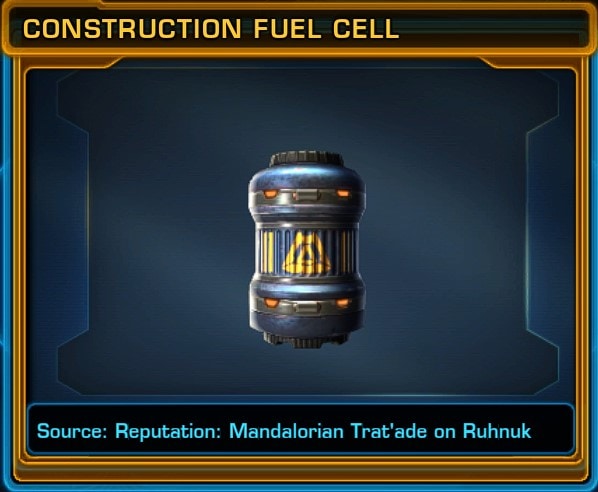
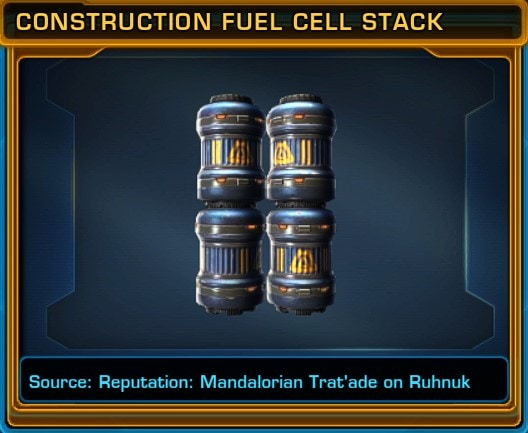
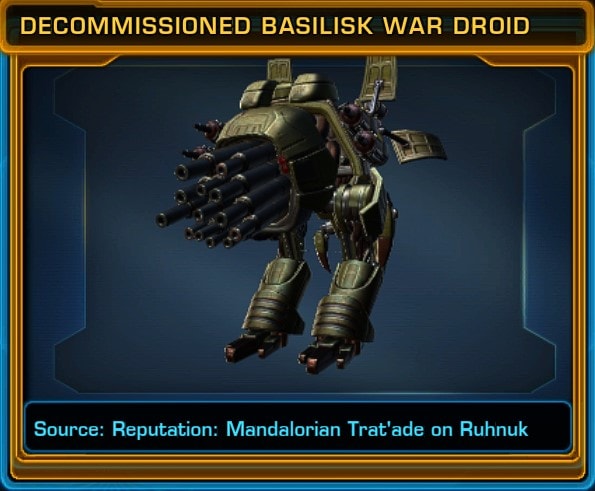
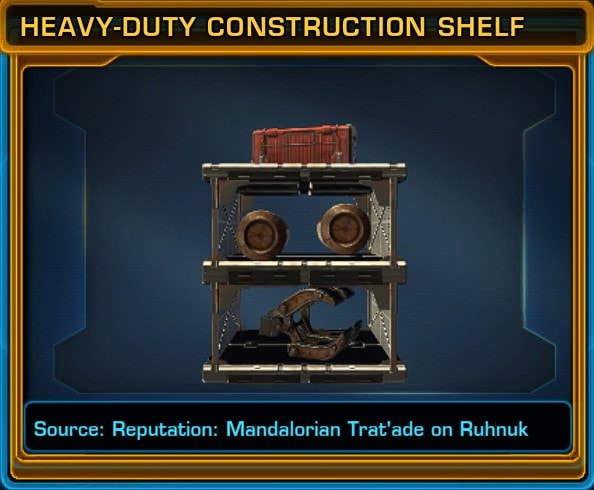
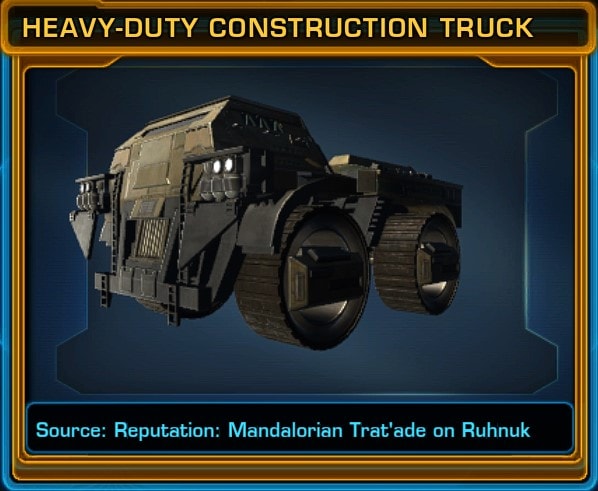
Decorations
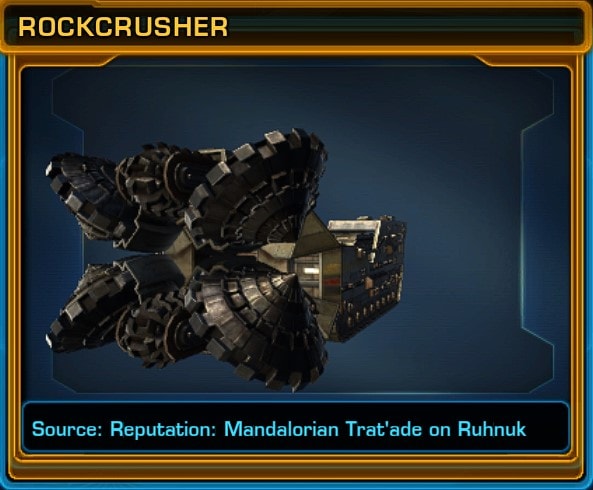
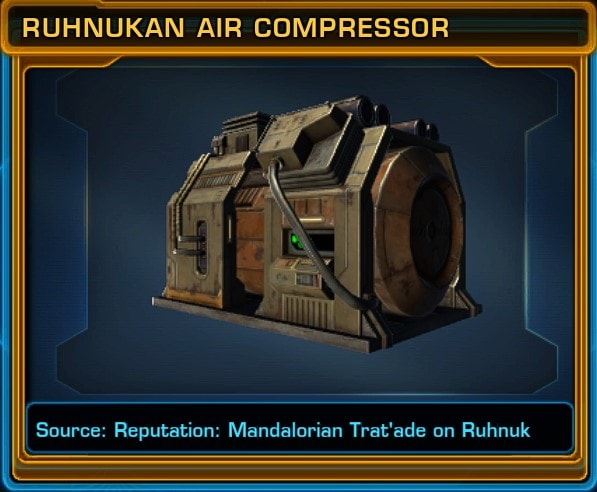
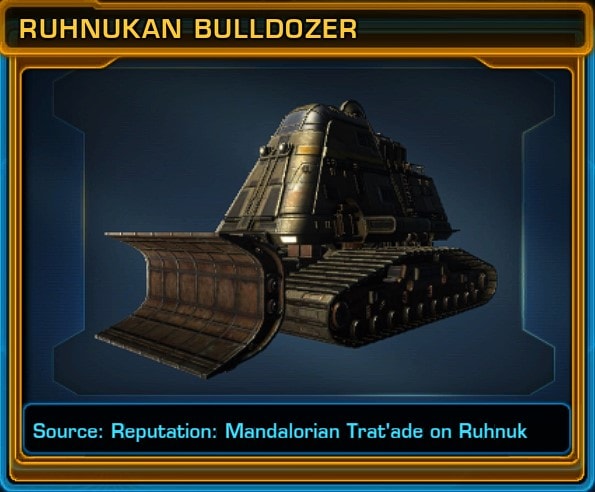
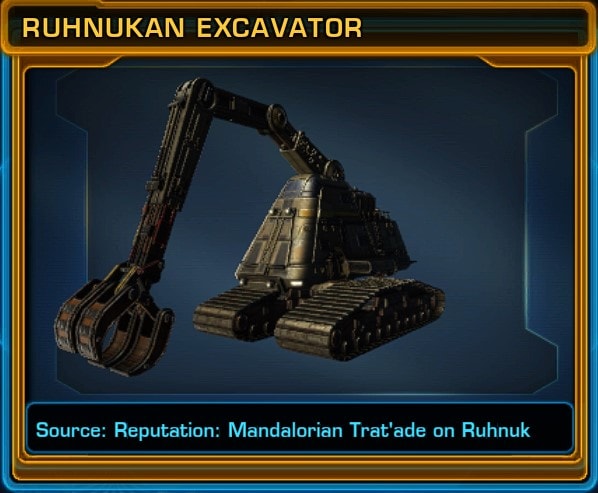
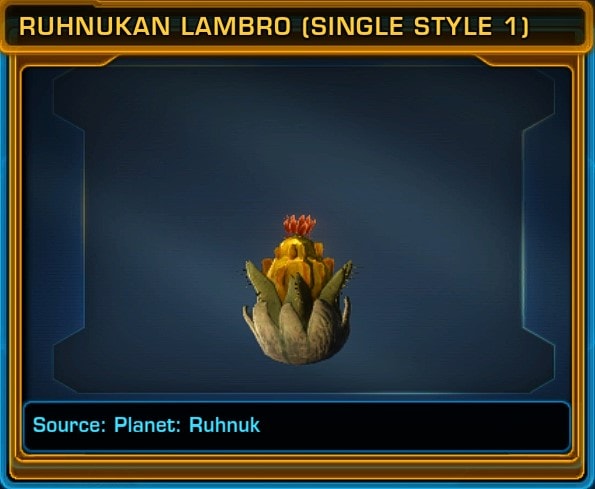
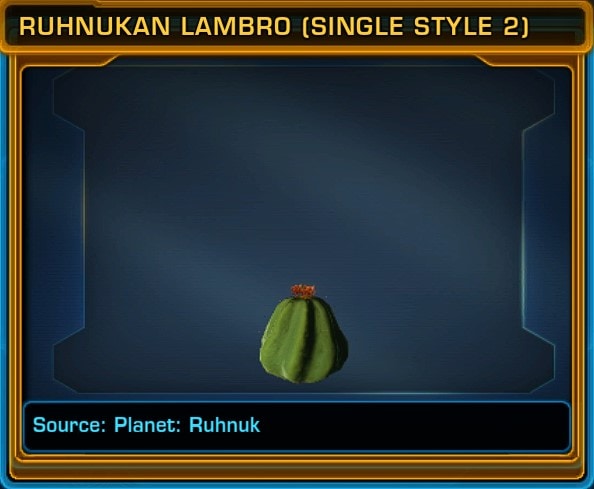
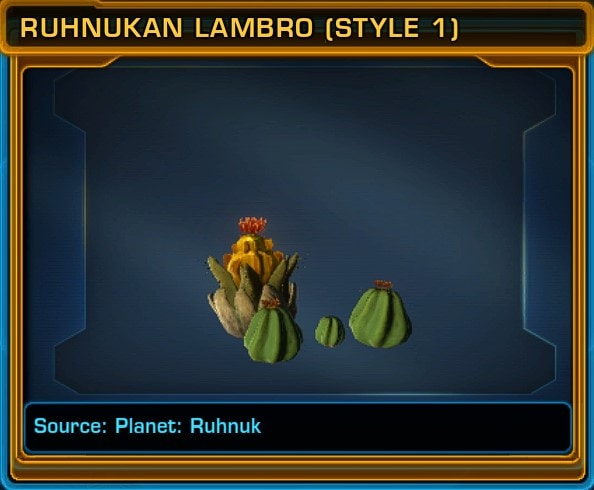
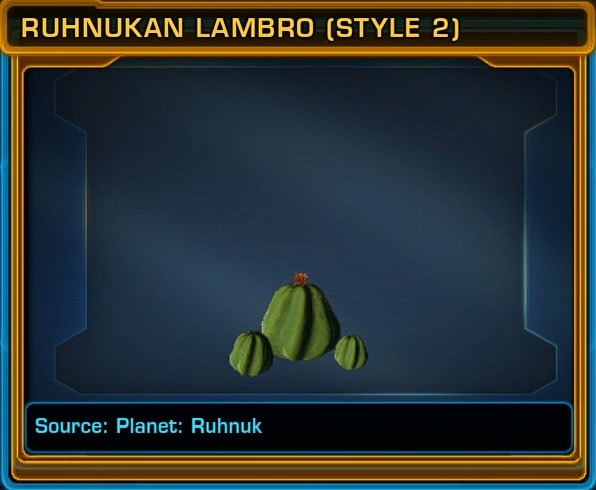
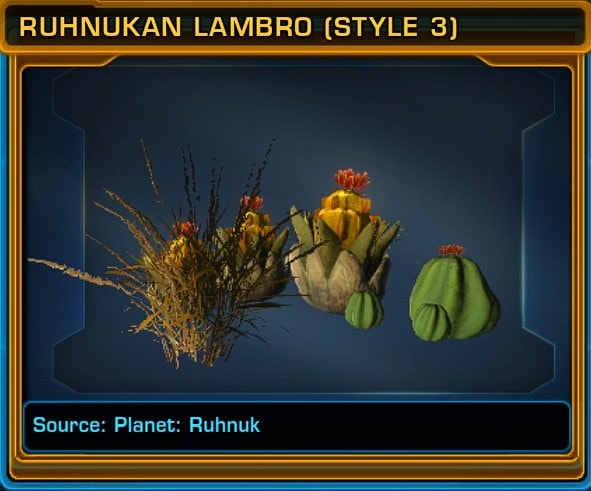
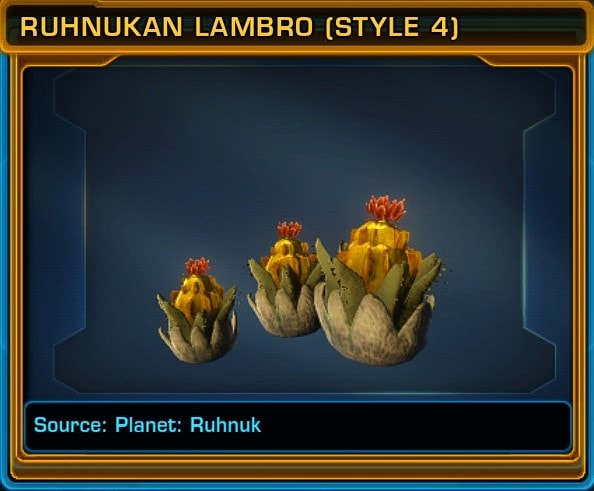
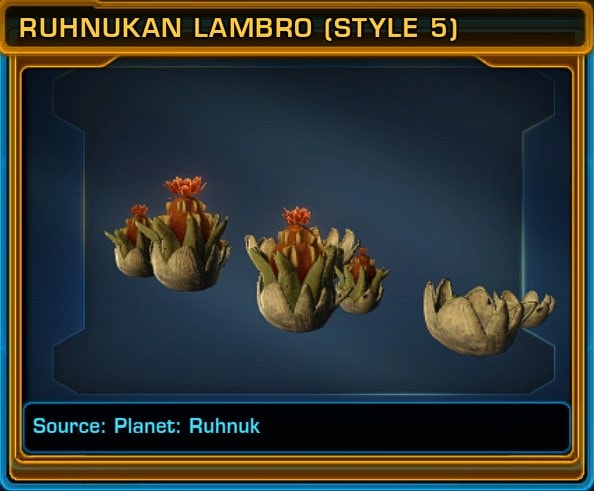
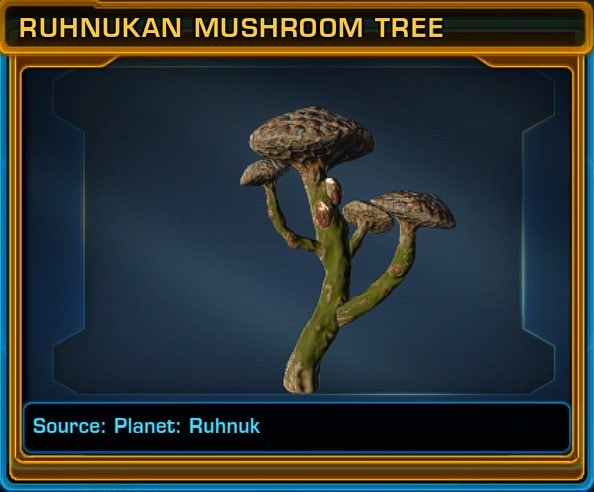
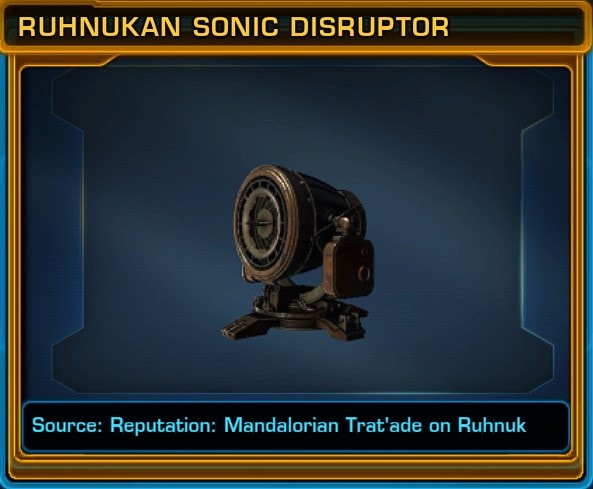
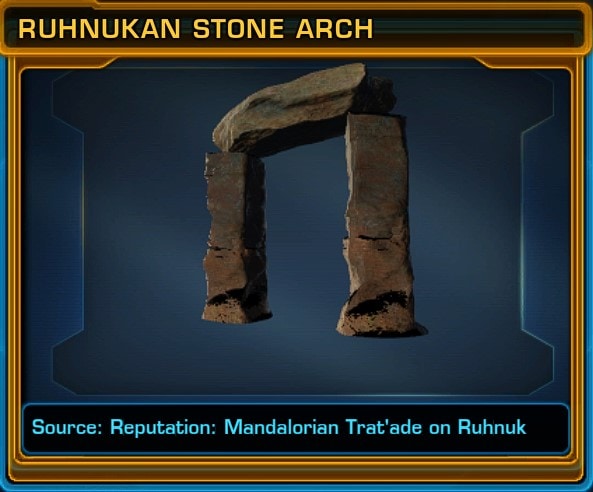
There are a ton of decos with prices ranging from 112,500 to 1 million. At least some of these decos can drop from enemies in the wild and there are some decos that are not purchasable from the vendor. Reputation requirements are different for each decoration.

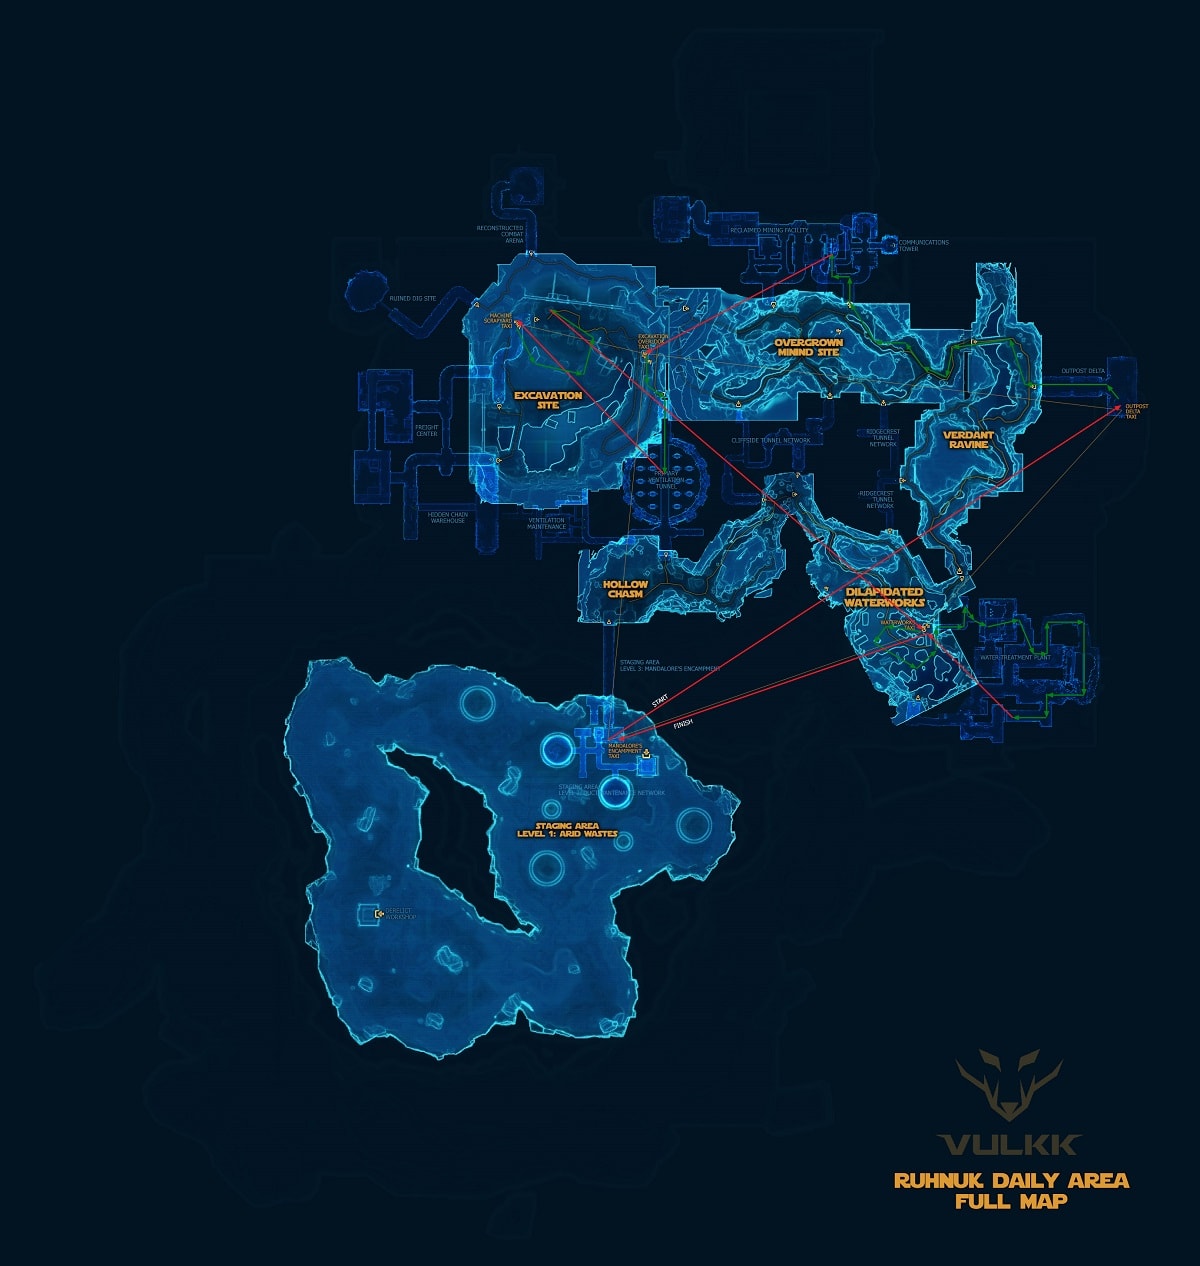
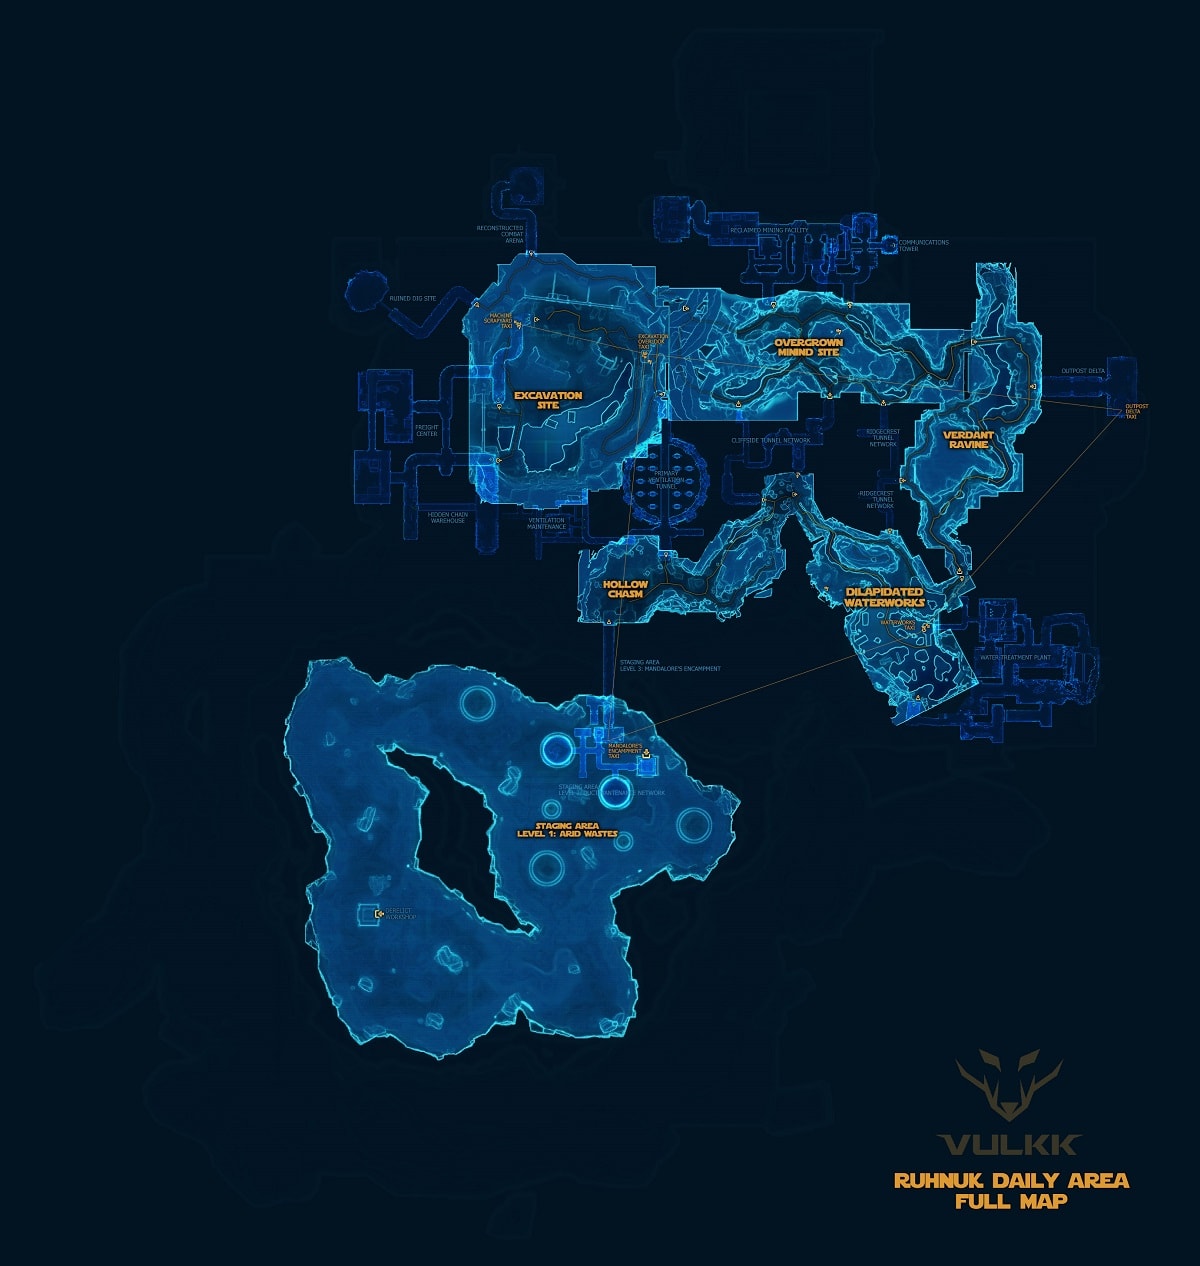
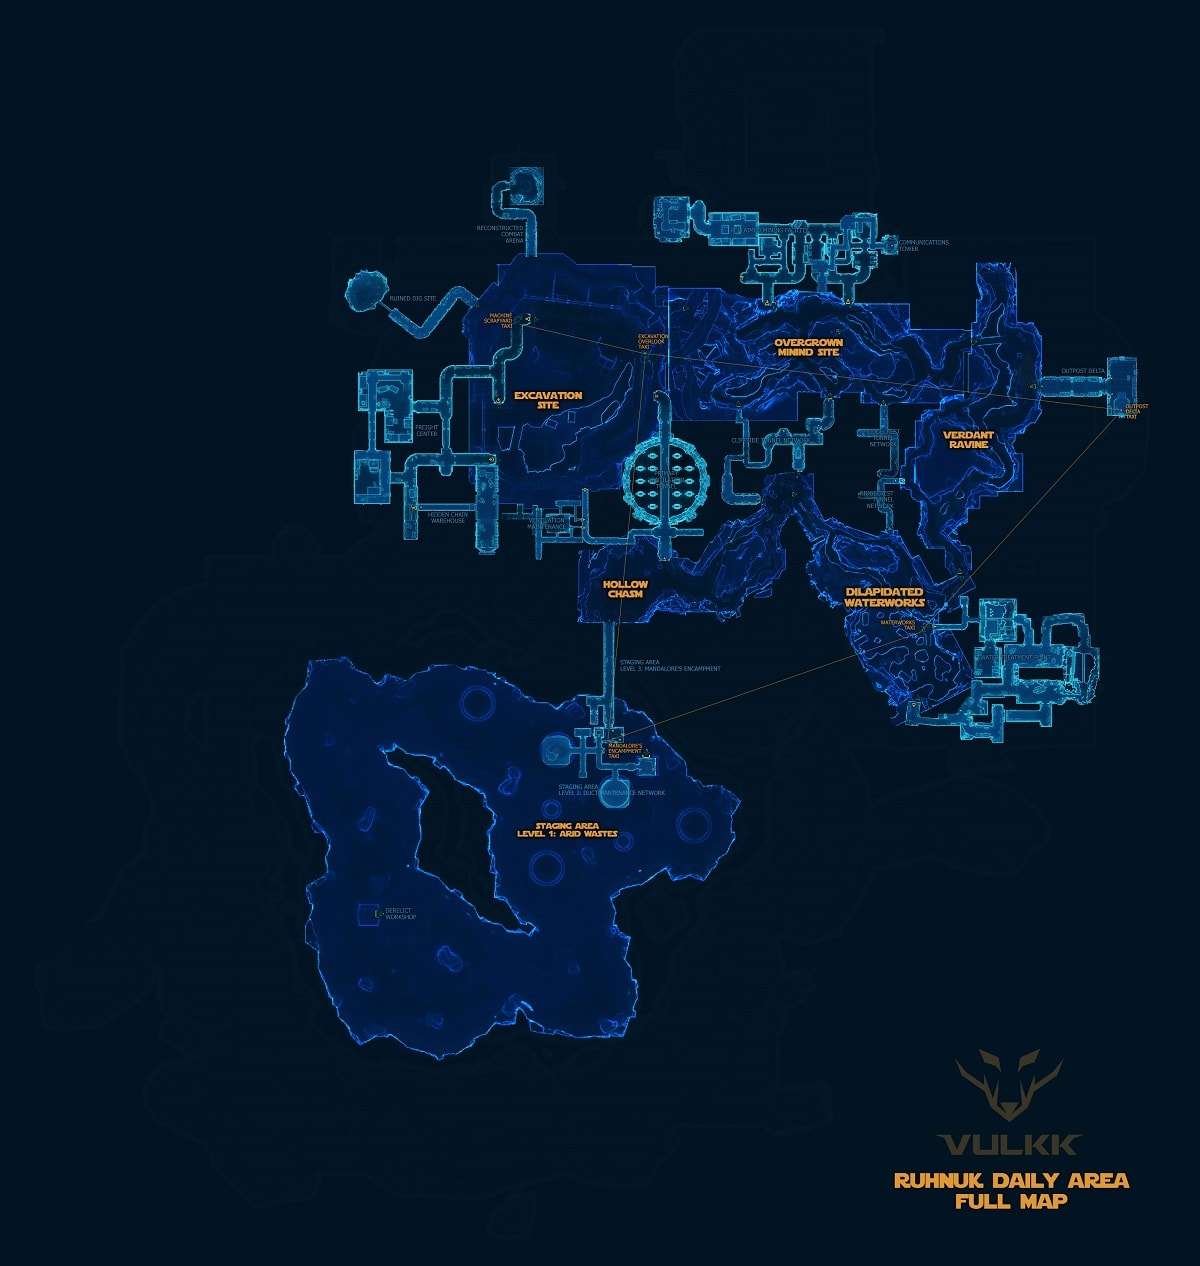
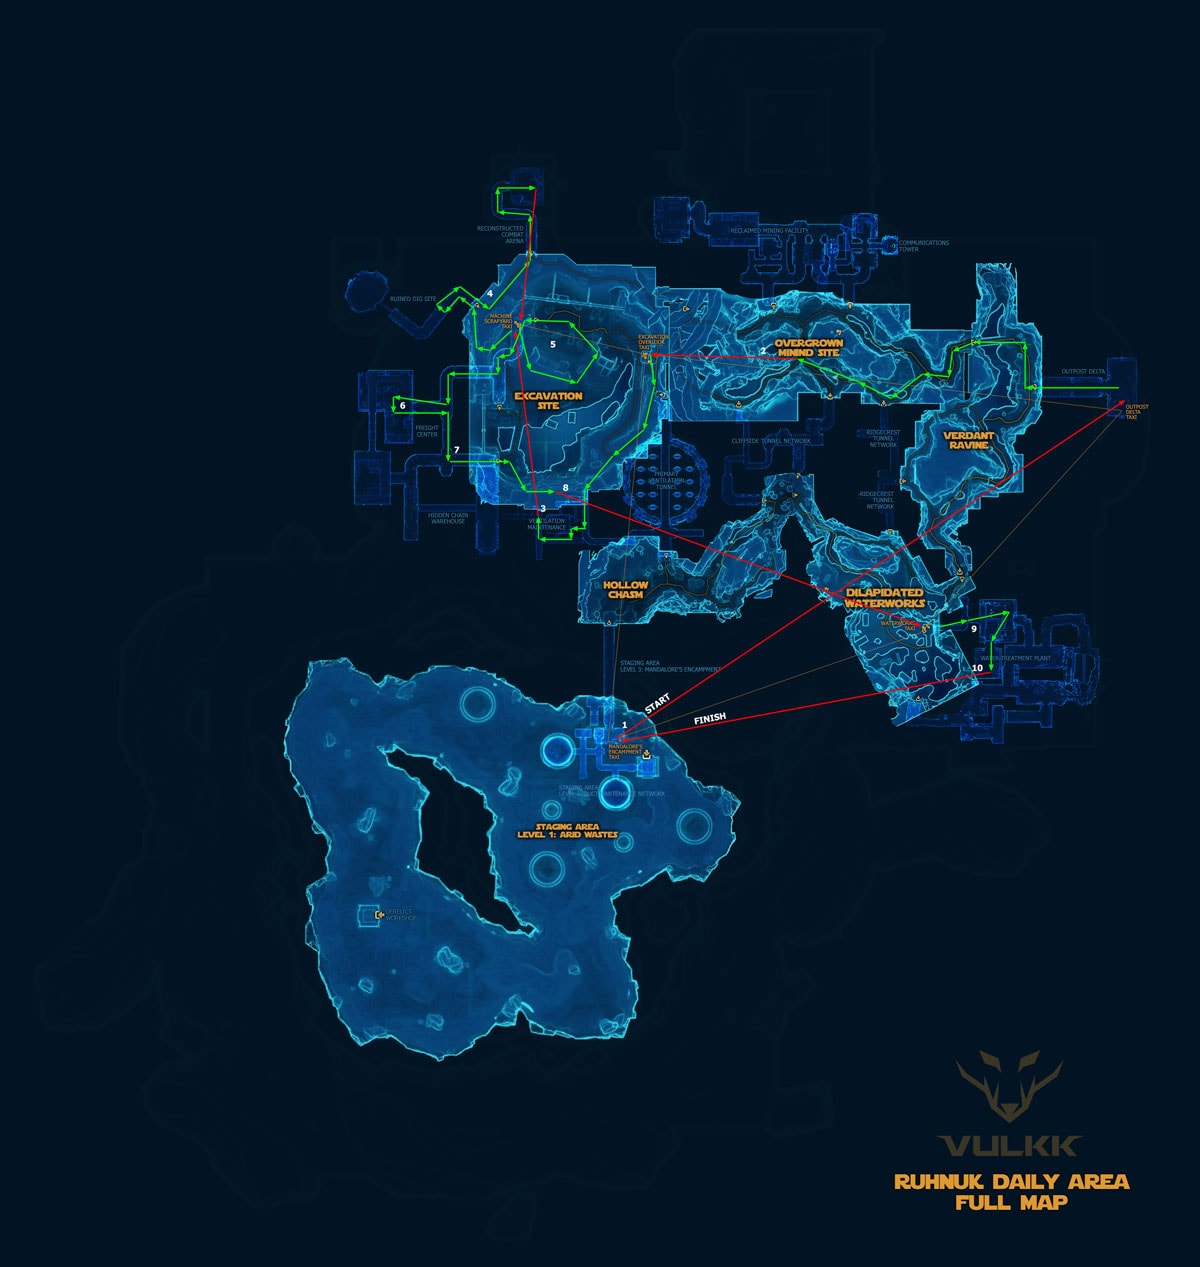
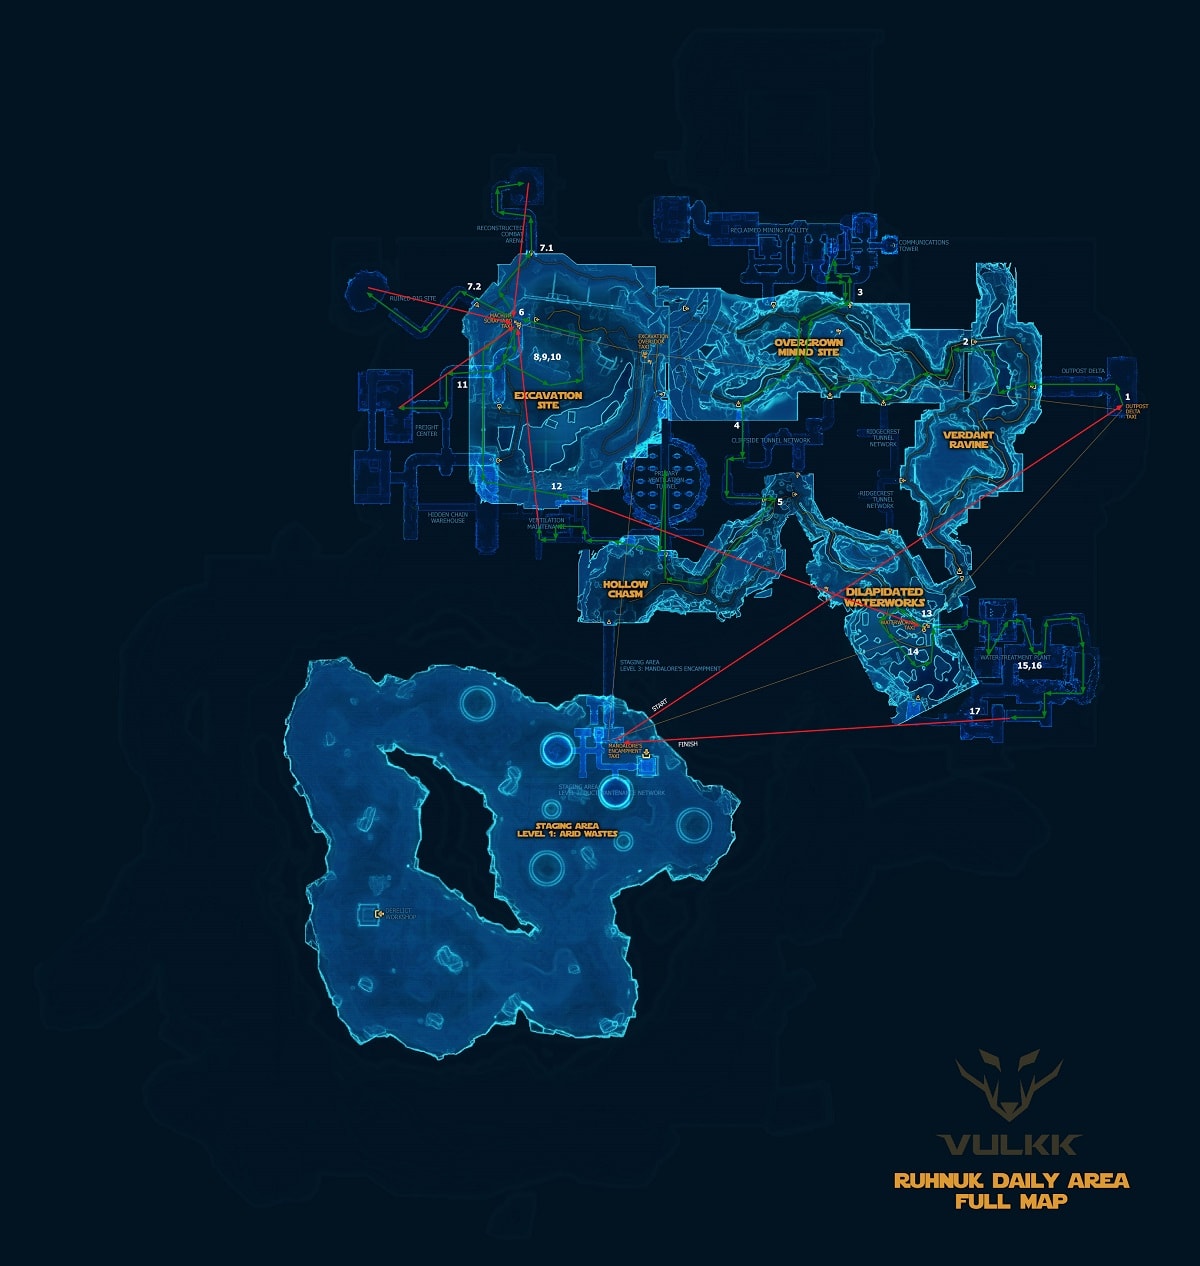
Ruhnuk Full Maps
In this section of the guide, we have a few exclusive custom-made maps. We call these Master Maps. They show the entire Ruhnuk Daily Area with all of the small map segments stitched together to form a large map of the whole planet, including surface areas, underground tunnels, and interiors of buildings. Everything you need on one large map.
There are four different Master Maps available. The first map has all the surface areas highlighted and all underground/interior areas have a “faded” effect. The second map has all the interior spaces and underground tunnels highlighted, and the surface segments are “faded”.
The remaining maps showcase the most efficient path depending on which dailies you want to do. Since we’re concerned with efficiency, the routes require that you have access to the Repulsor Unit relic.

Full Map with surface areas highlighted
Full Map with interiors and underground areas highlighted
Full Map with recommended path and order of all missions
Solo + Heroics (Short Version)
Solo + Heroics (Long Version)
Solo Only, No Heroics (Short Version)
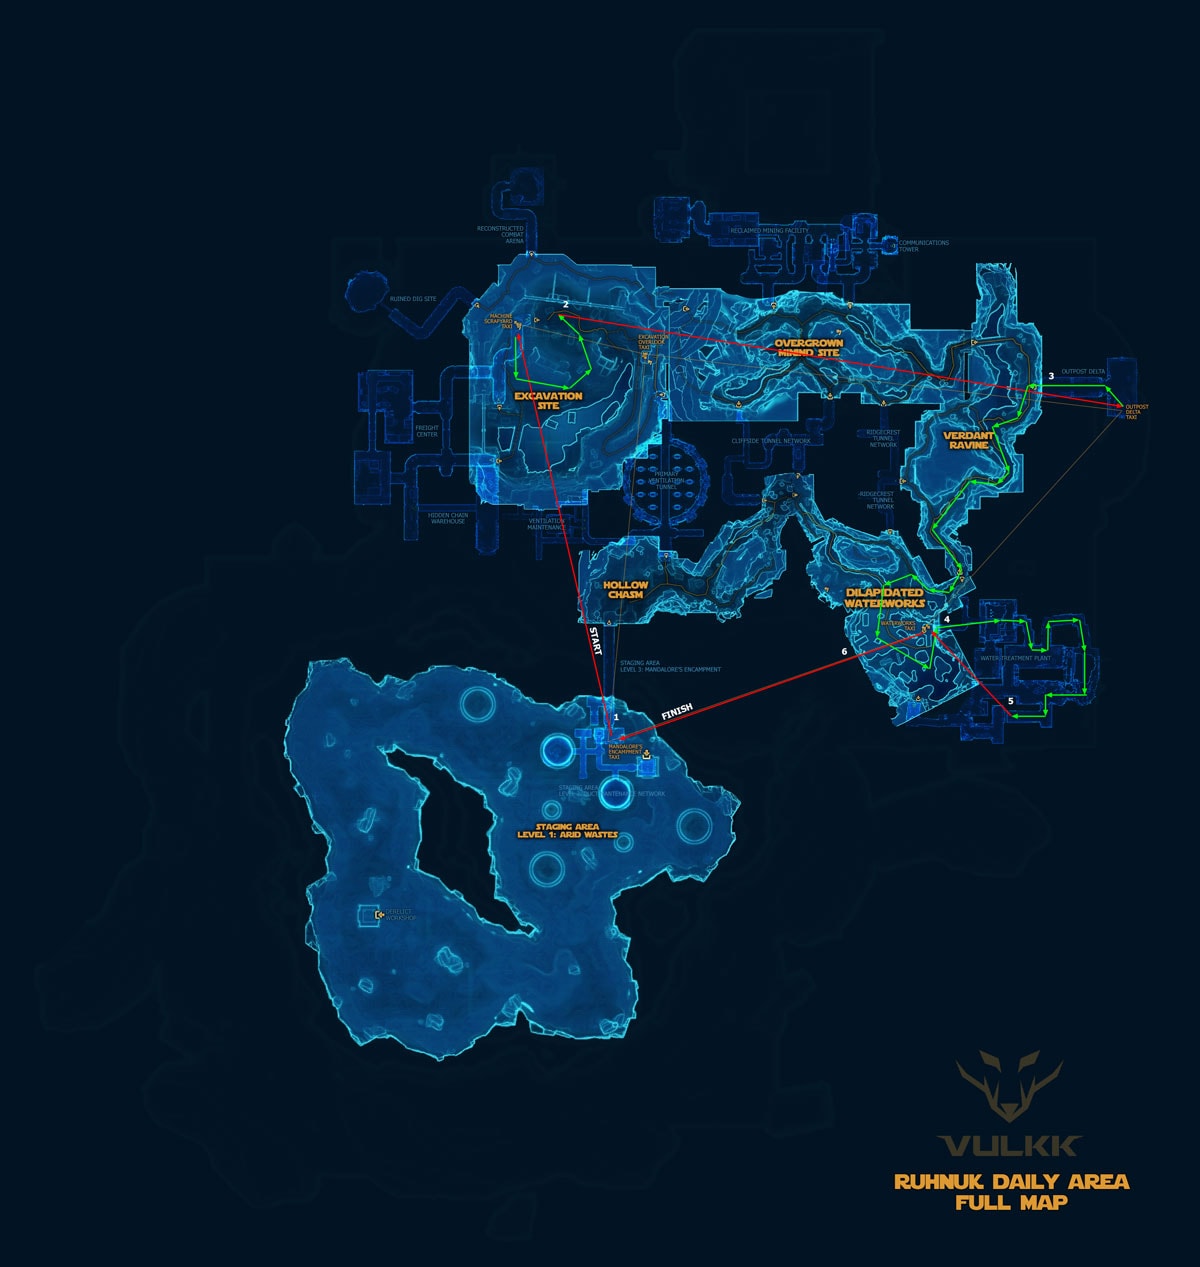
Solo Only, No Heroics (Long Version)