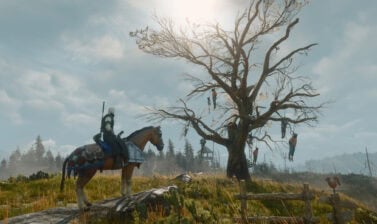

This guide explains the newly available feature in The Witcher 3 Remastered – Photo Mode. Learn how to access it and what you can do with it!
Chances are, if you are a veteran Witcher 3 fan and player, you have tons of screenshots in your archives. You know how challenging it was at times to find the perfect spot, angle and sunlight for the perfect shot.
The Witcher 3 Next-Gen Update brought Photo Mode, and Remastered took it to the next level by adding extra features for those who are both Witcher fans and photography enthusiasts.
What is Photo Mode in The Witcher 3
Photo Mode is a new feature that allows you to pause the game and adjust a number of filters to tweak what you see on your screen and prepare it for the perfect screenshot. This tool is an ideal way to capture incredible vistas or memorable moments from your story as play the game.
The Photo Mode in The Witcher 3 Remastered works in a very similar way to the Photo Mode in Cyberpunk 2077. The only difference is that we were able to capture Night City’s beauty from Day 1, while Photo Mode in The Witcher 3 has been through different iterations.
In The Witcher 3: Wild Hunt, you can use Photo Mode as long as you own the base game. This tool is not a paid DLC, nor is it related to the expansions in any way. It is part of the standard game.
How to access Photo Mode in The Witcher 3
Photo Mode is a feature that became available in the game only after Next-Gen Update (version 4.0). With The Witcher 3 Remastered, we now have access to a few new features.
To access Photo Mode, press the corresponding shortcut. The default on PC is “U”. On a controller, you activate it by pressing LS + RS. This will open up the Photo Mode window and pause the game for you automatically.
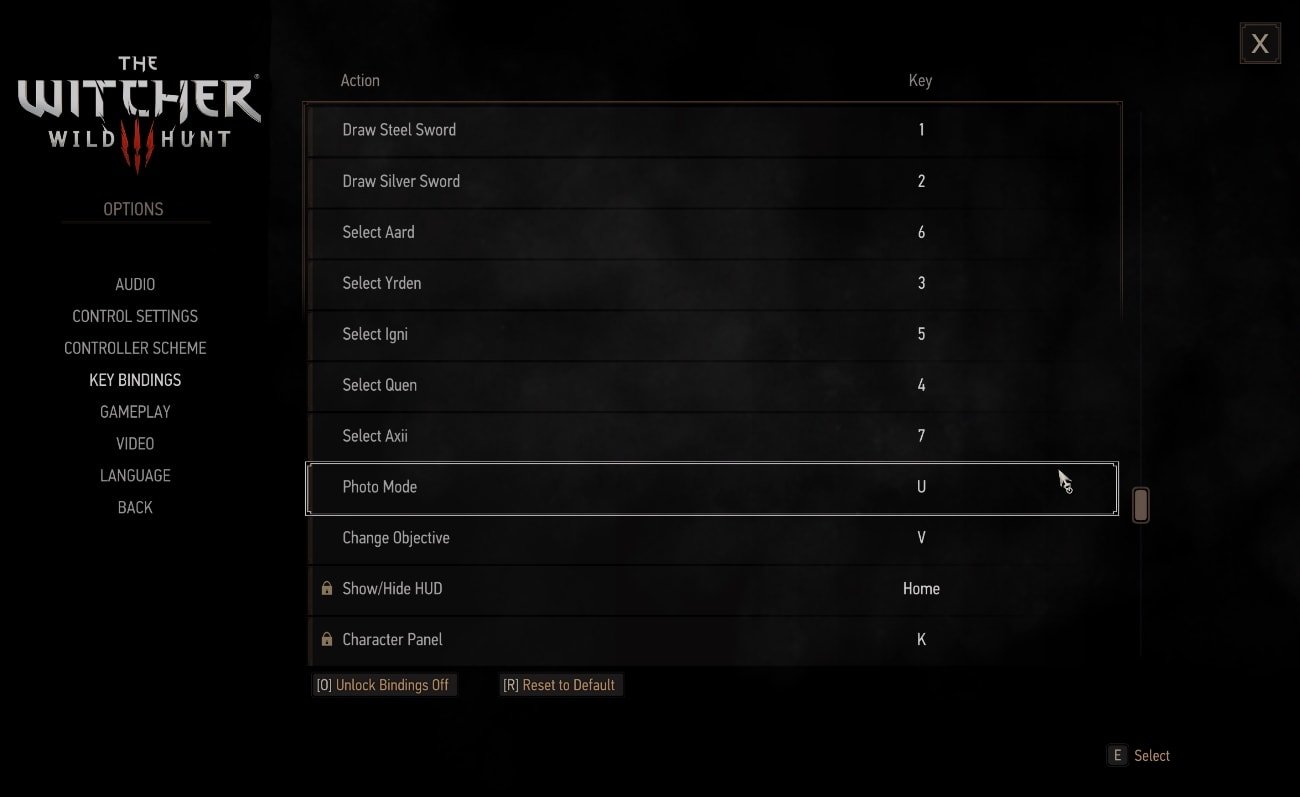

You cannot access Photo Mode during a cutscene. You can use Photo Mode during Combat, of course. Some of the best pictures you would ever want to take will be during an epic battle against a unique monster or boss.
How Photo Mode Works in The Witcher 3
When you open Photo Mode, in the bottom right corner you will see eight tabs with settings to tweak, if you wish to, at the bottom right of your screen: Camera, Time & Weather, Character, Add Character, Props, Depth of Field, Effect, Overlay, and Load and Save.
There is a cluster of shortcut hints on the bottom left side of your screen. These will show and explain to you how to turn around, how to pan, and how to zoom in and out.
The controls and functionality of the Photo Mode are similar to that in Cyberpunk 2077.
Camera Tab
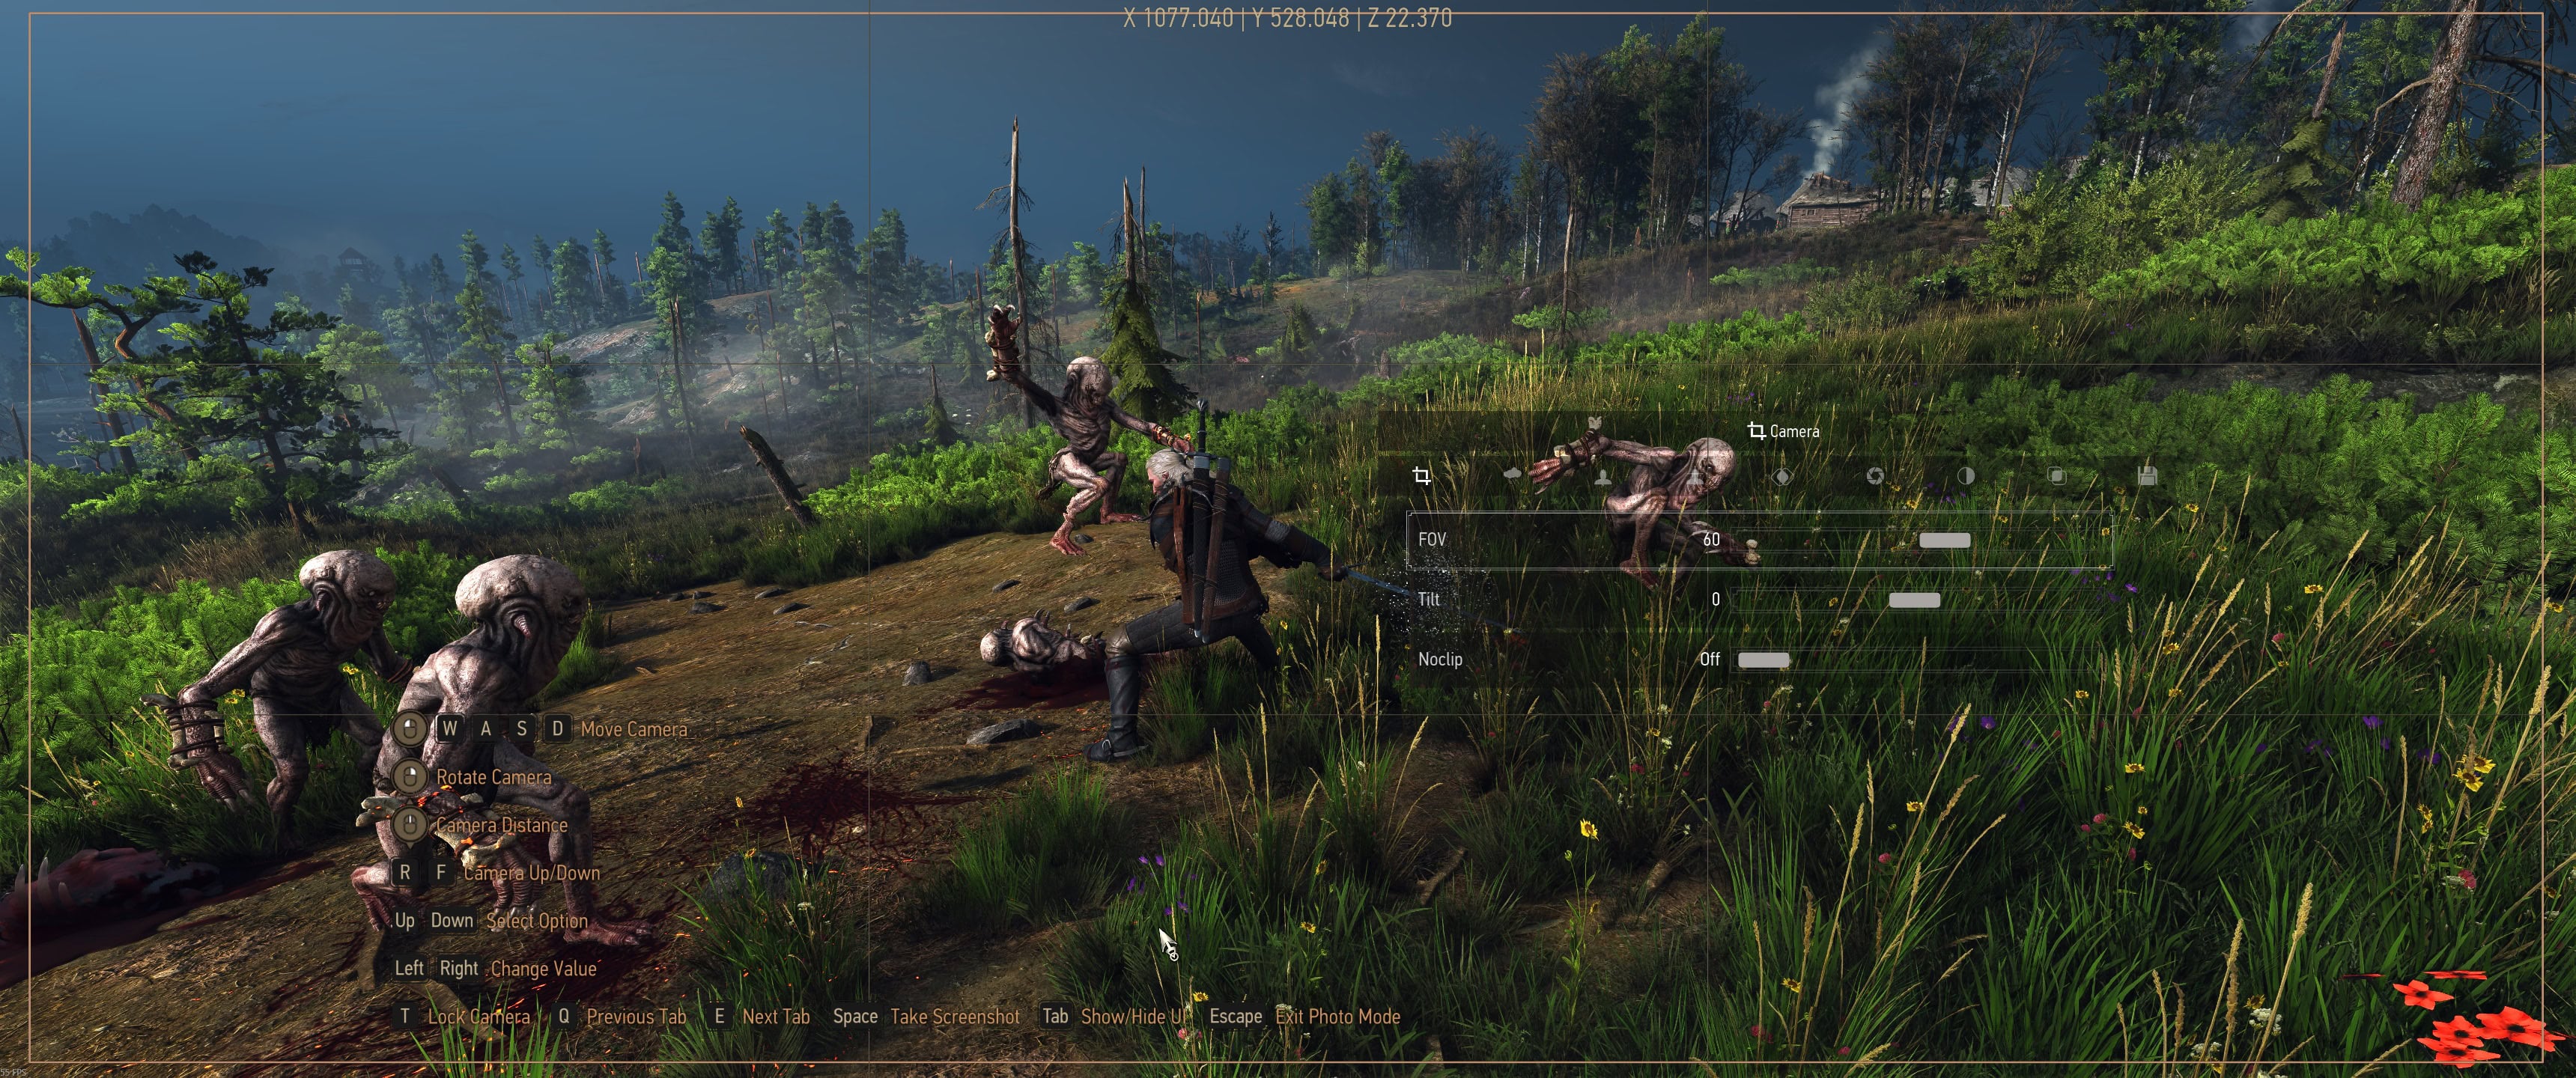
In the Camera tab, you can adjust the Field of View (FOV), Tilt, and Noclip.
Time and Weather Tab
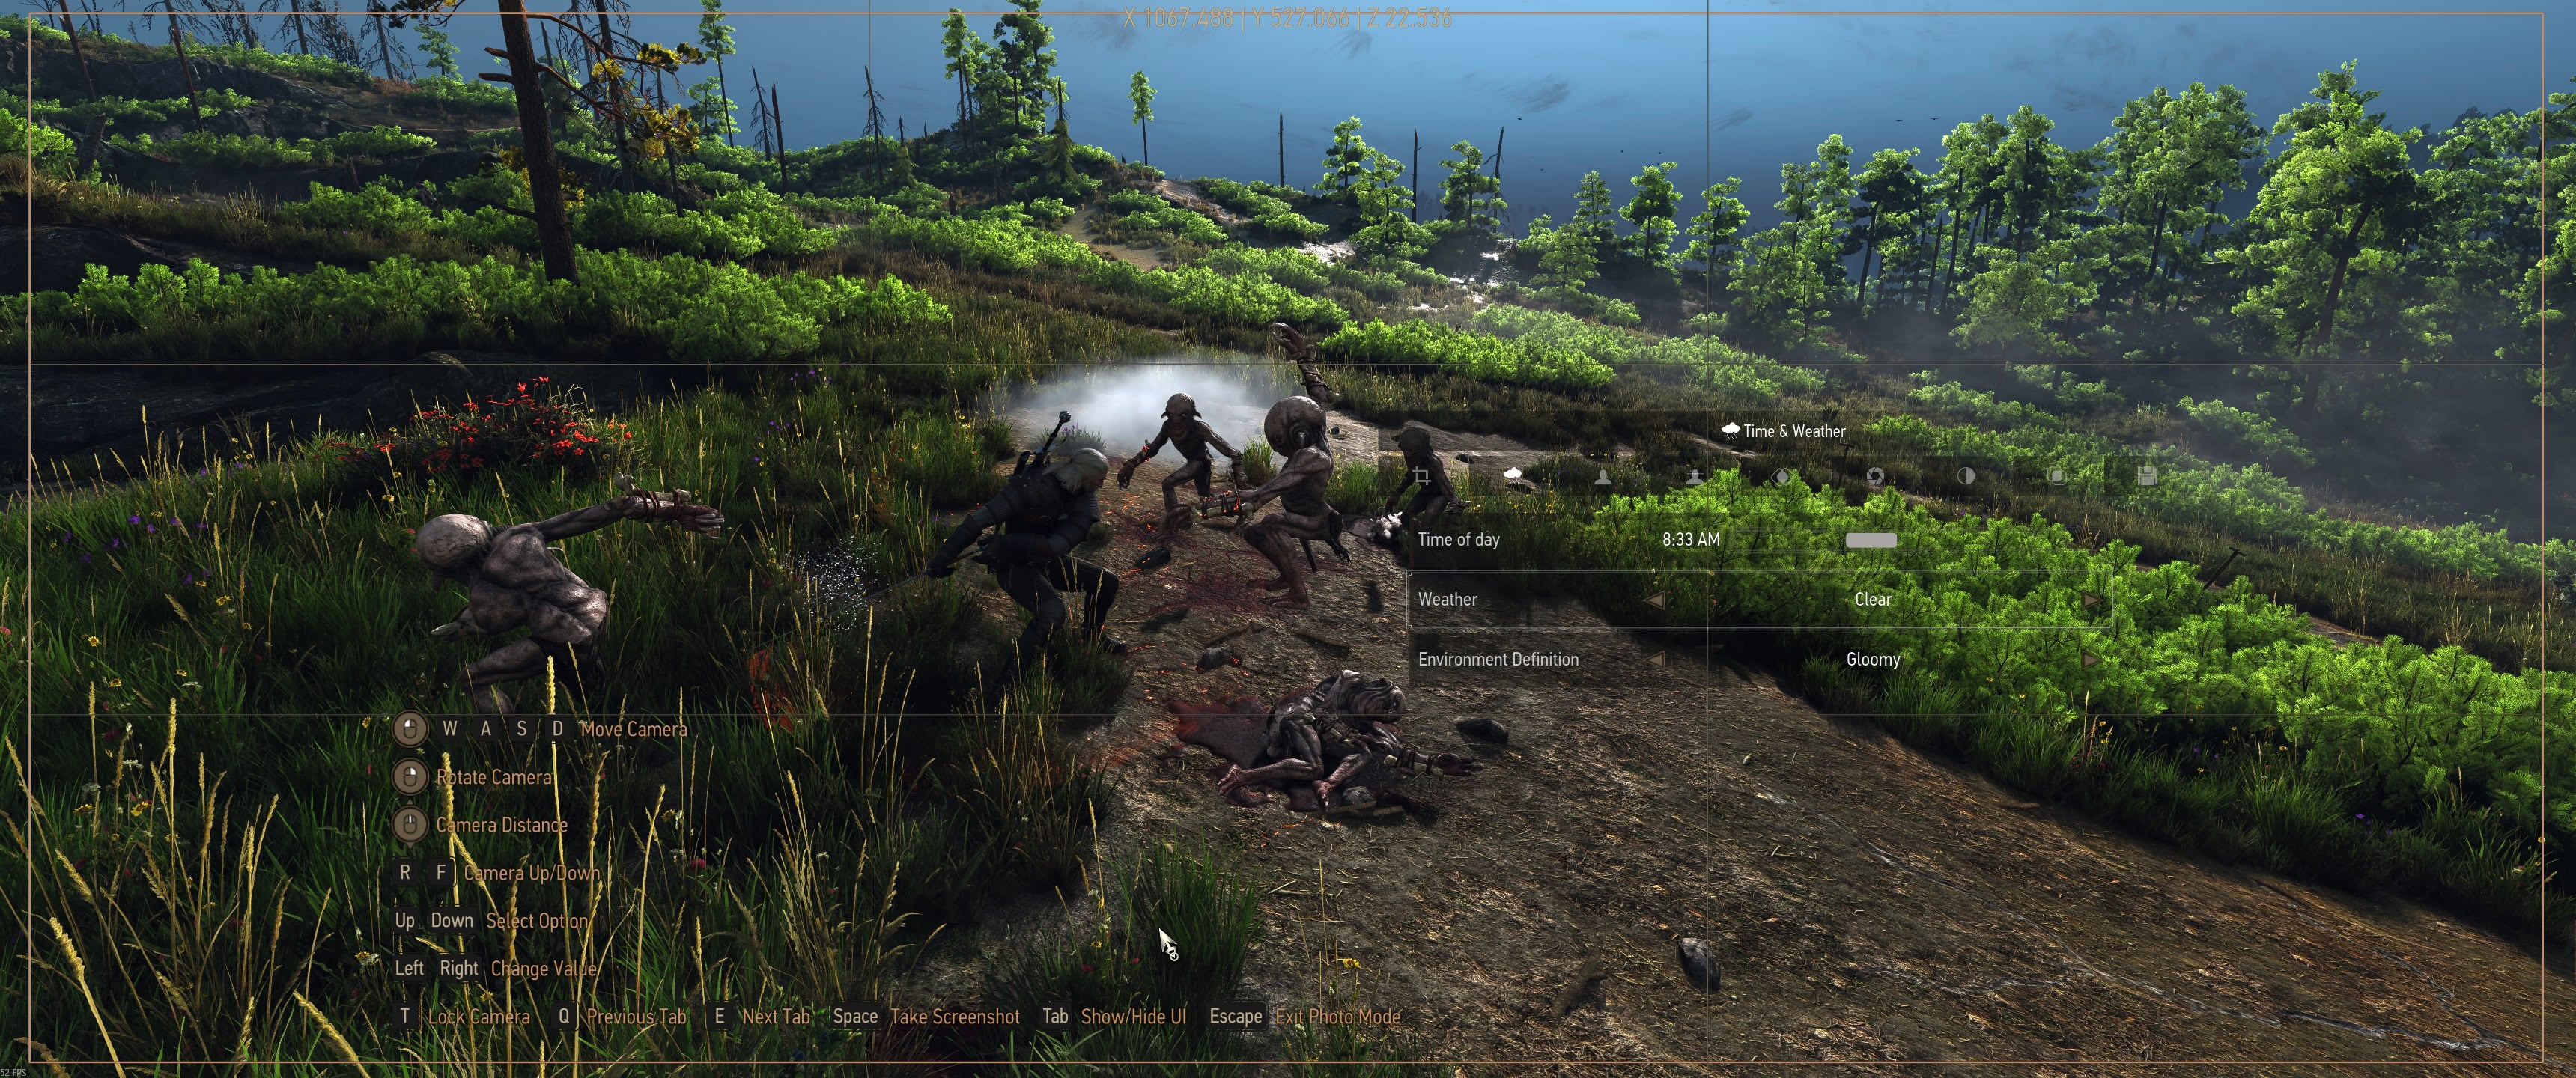
This tab allows you to change the time of day to your preference, as well as the type of weather and environment definition. This allows you to set the mood for your picture.
Character Tab
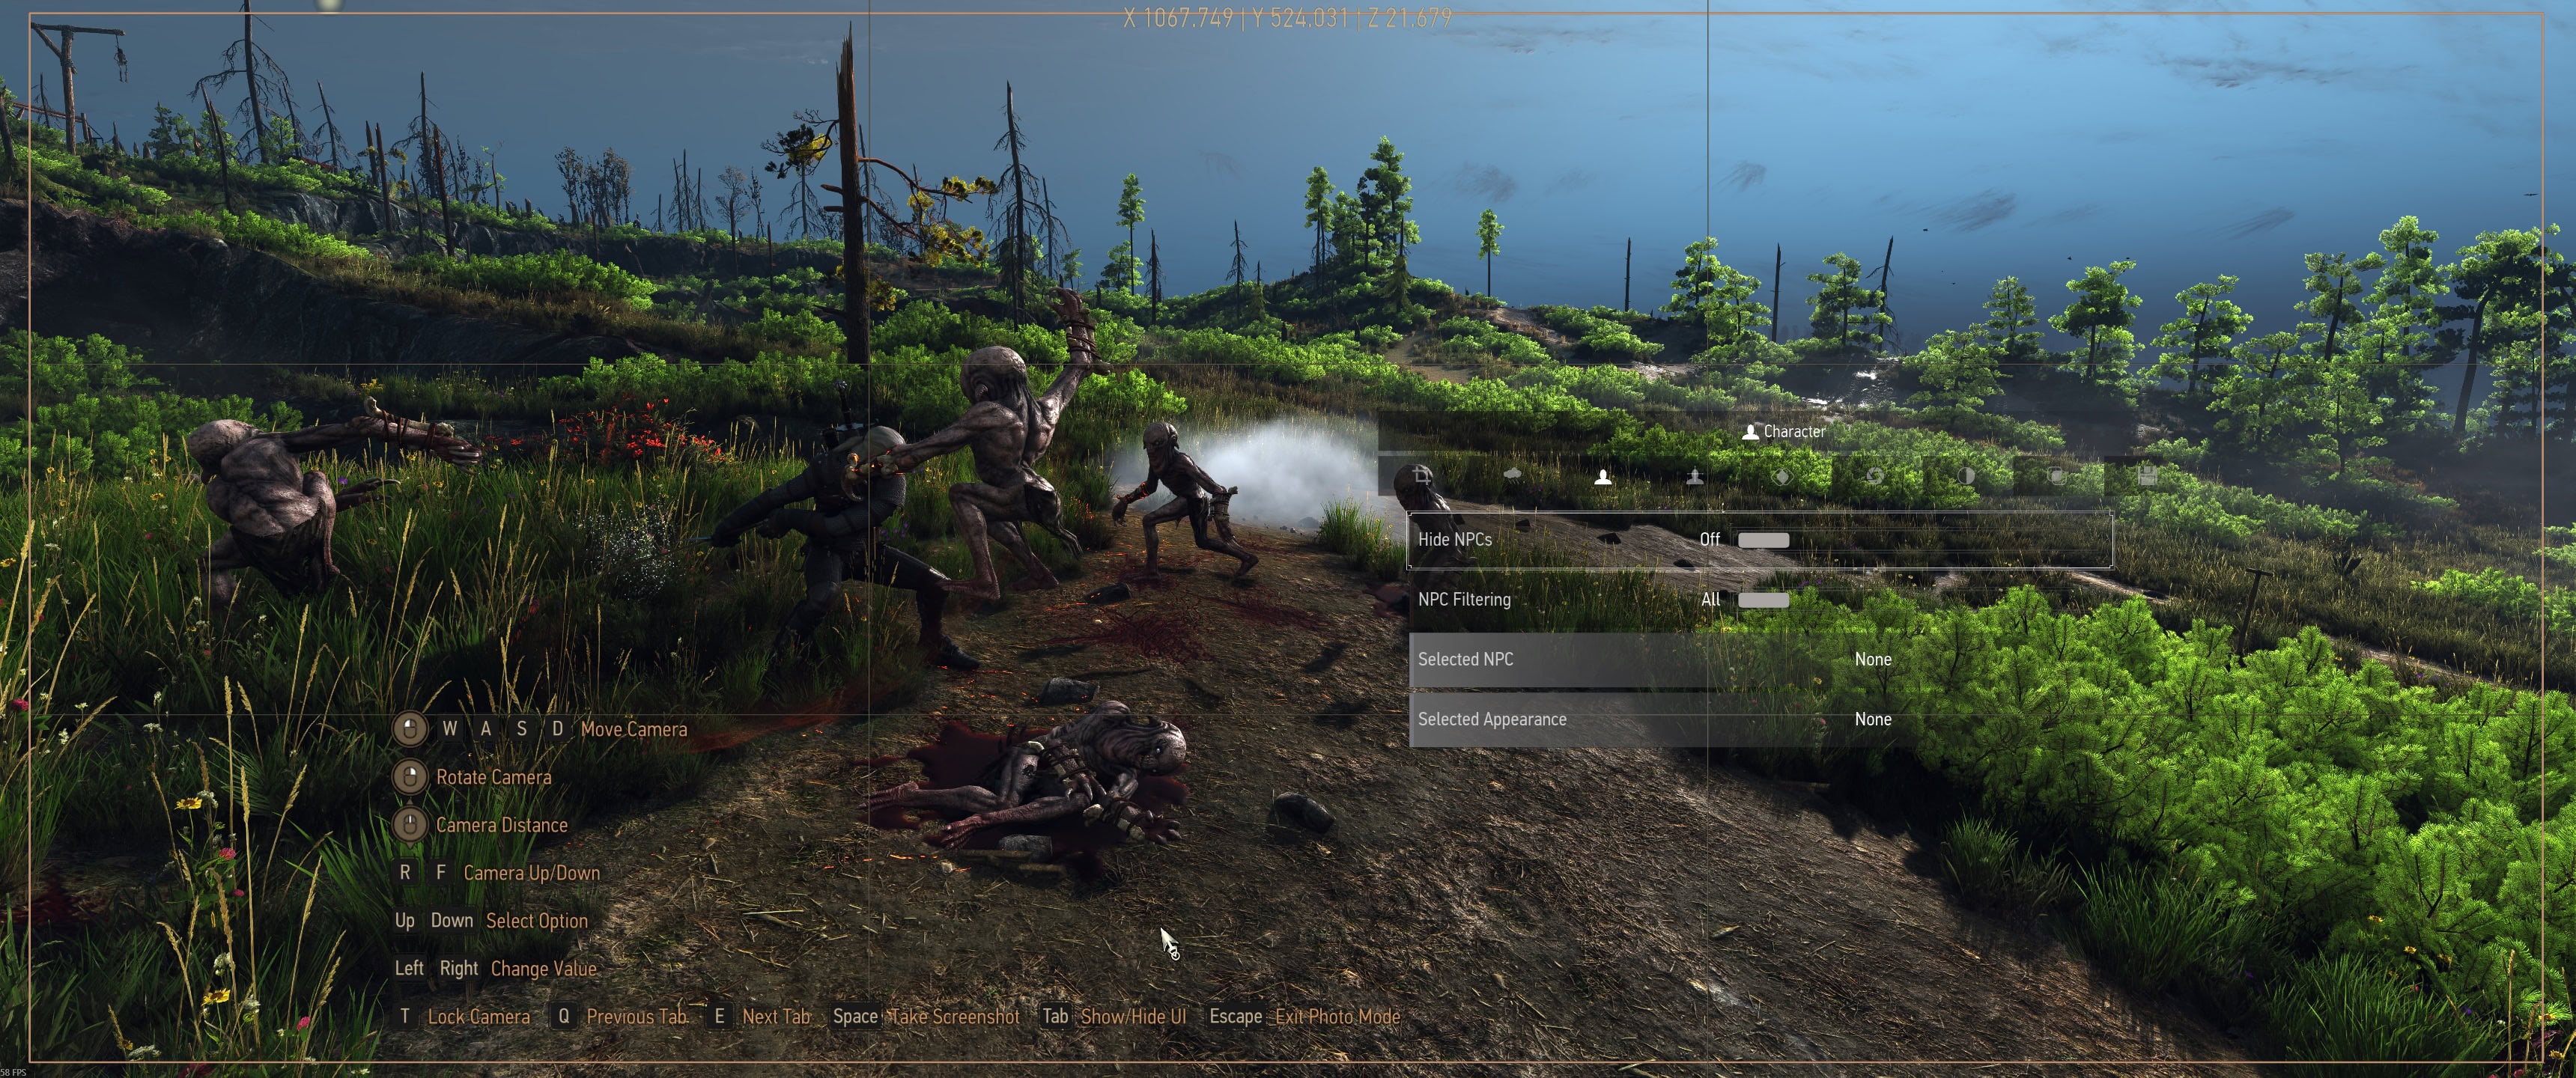
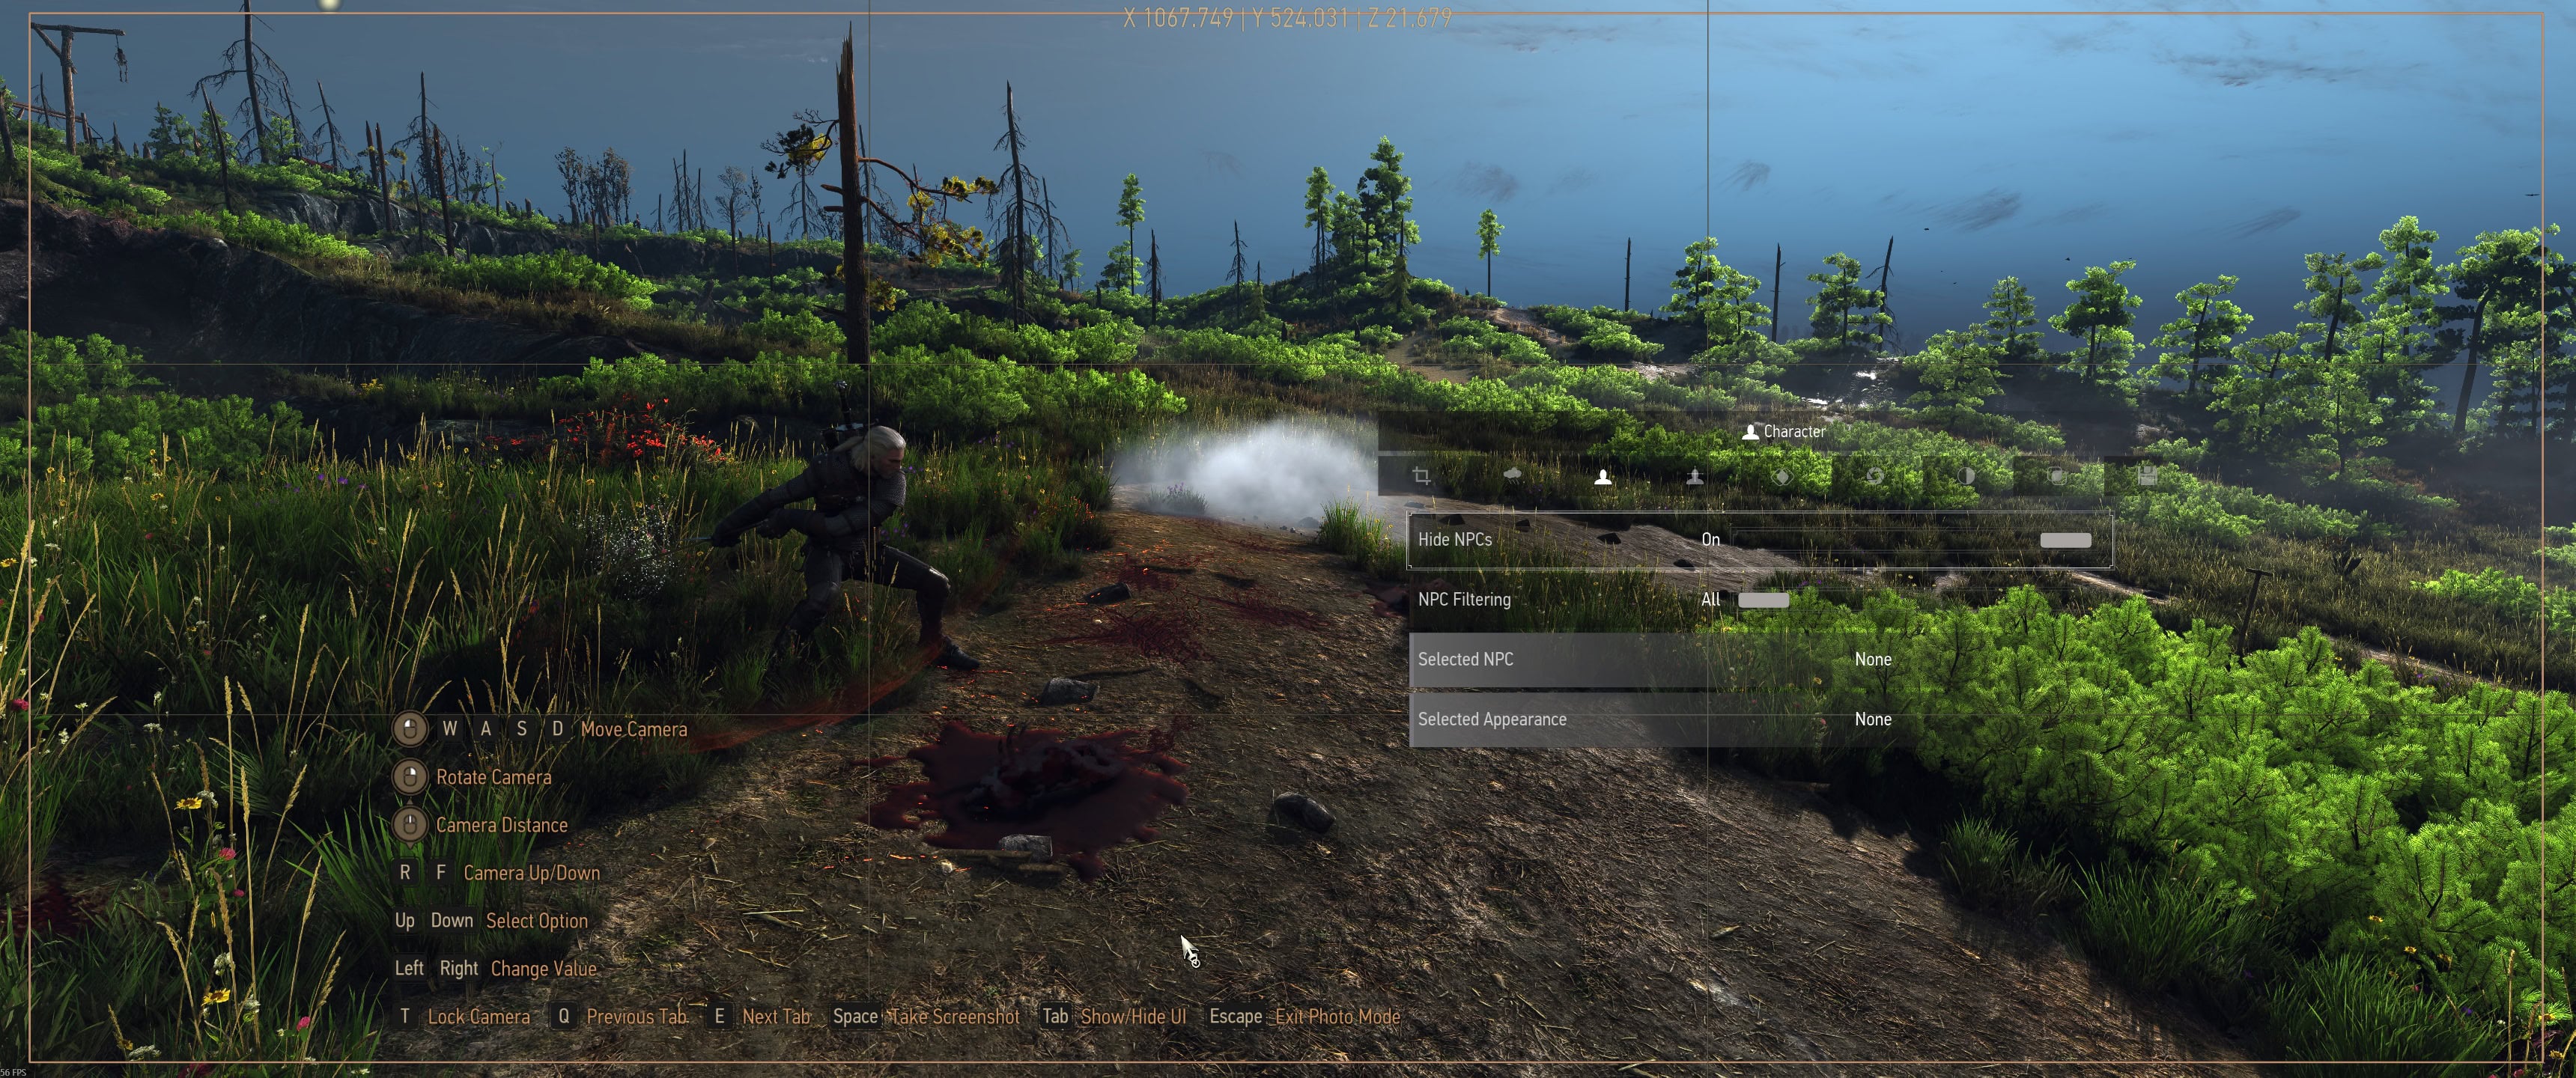
The character tab lets you hide NPCs or just filter some of them. You can also select specific characters and change their appearance.
Add Character
With this option, you can add a limited number of characters to your picture. You can change their position, select their facial expression, make them look at the camera, and even select their appearance.
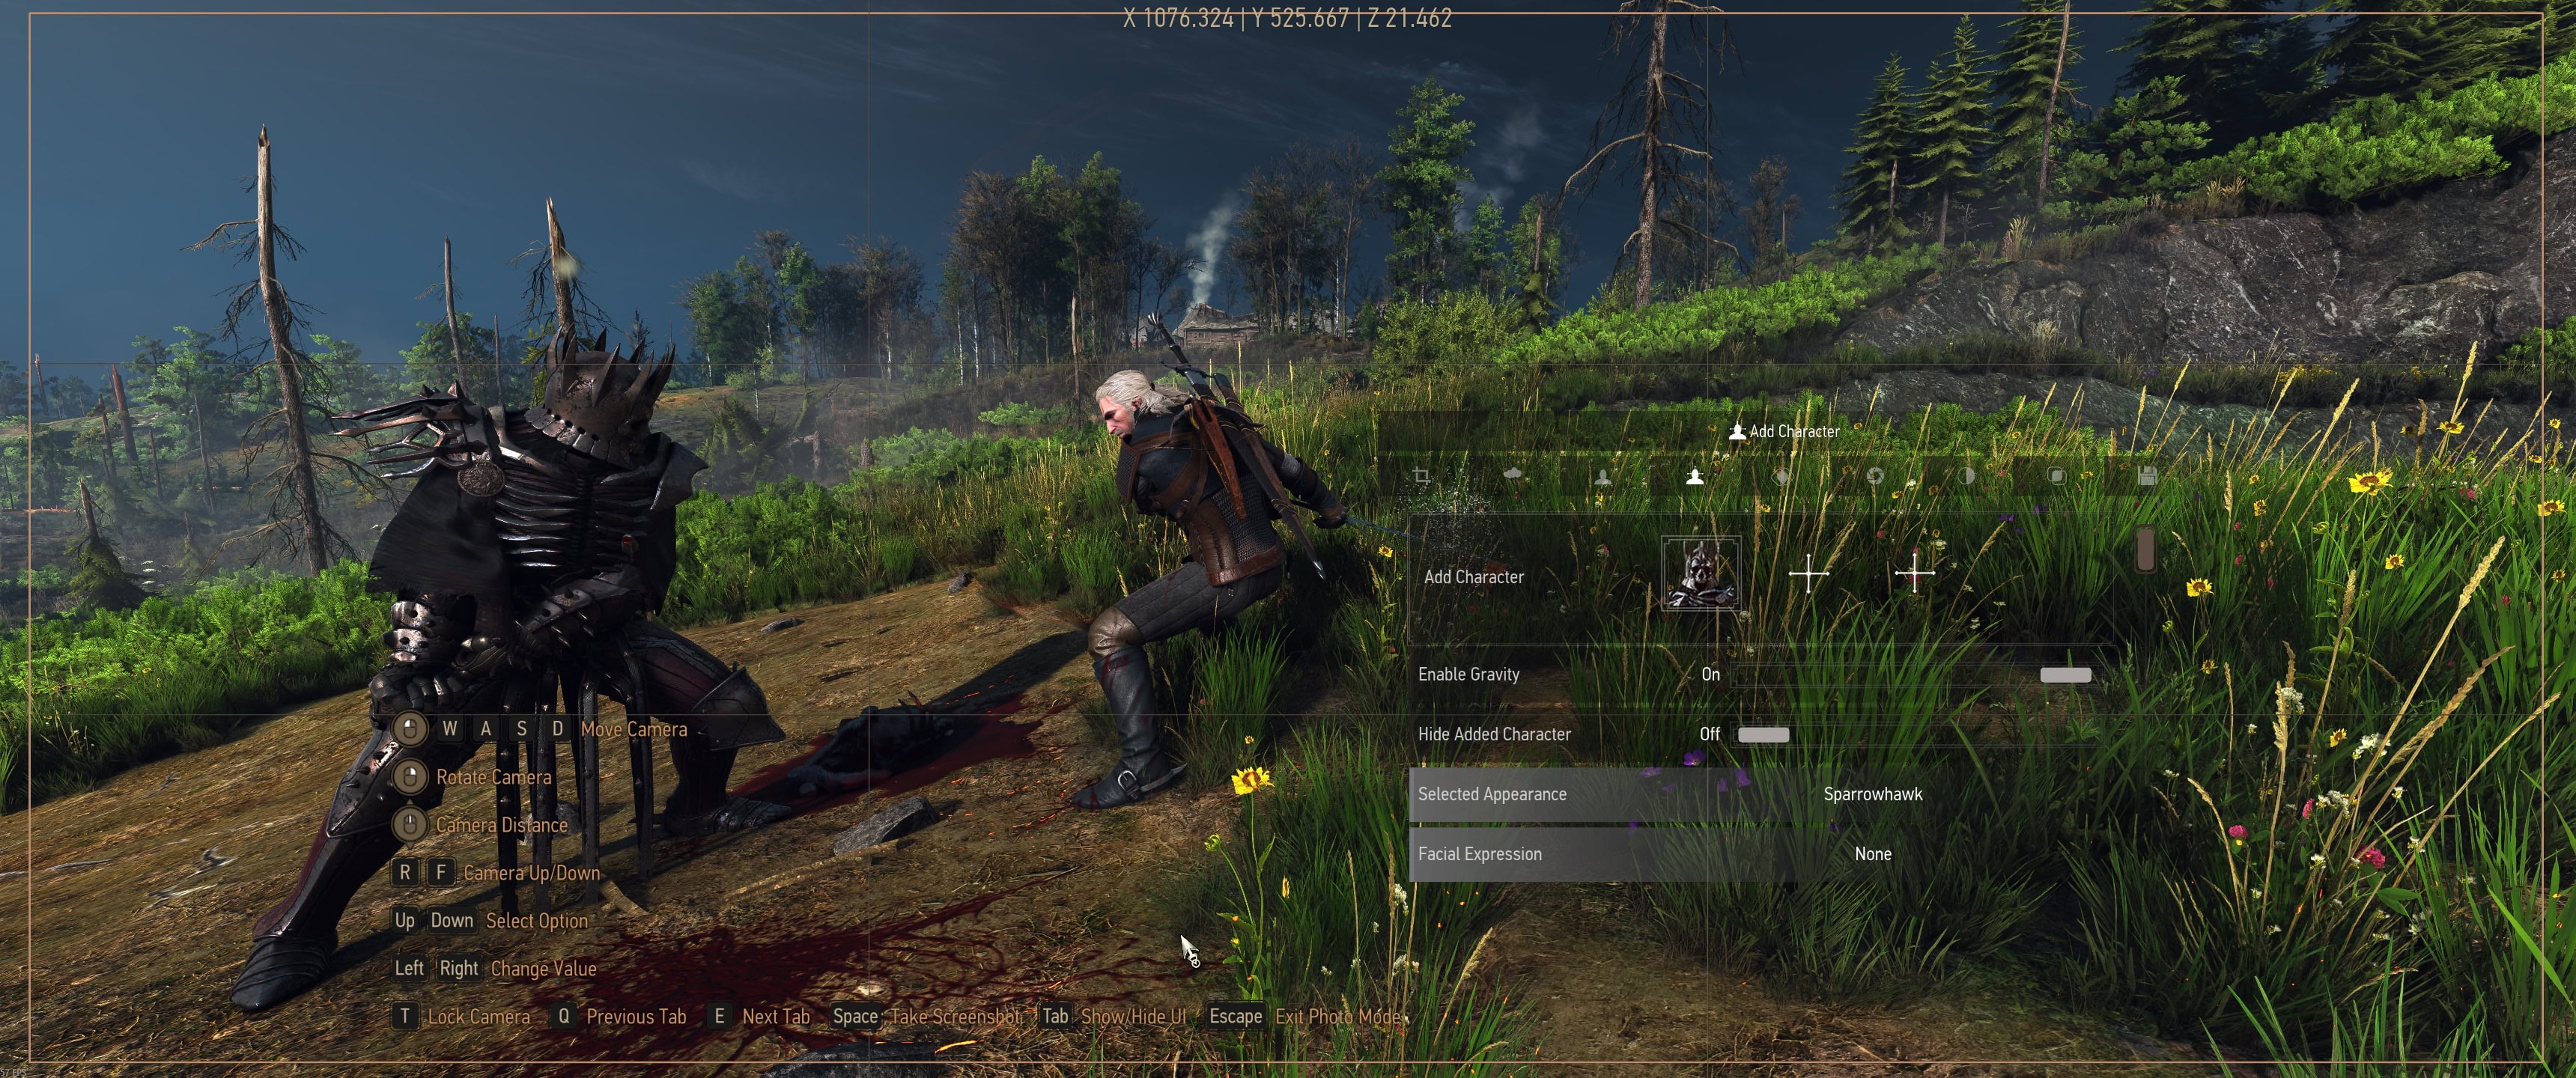
Props
This has the same function as Add Character, but with inanimate objects like swords or skulls. You can add up to 10 props per picture.
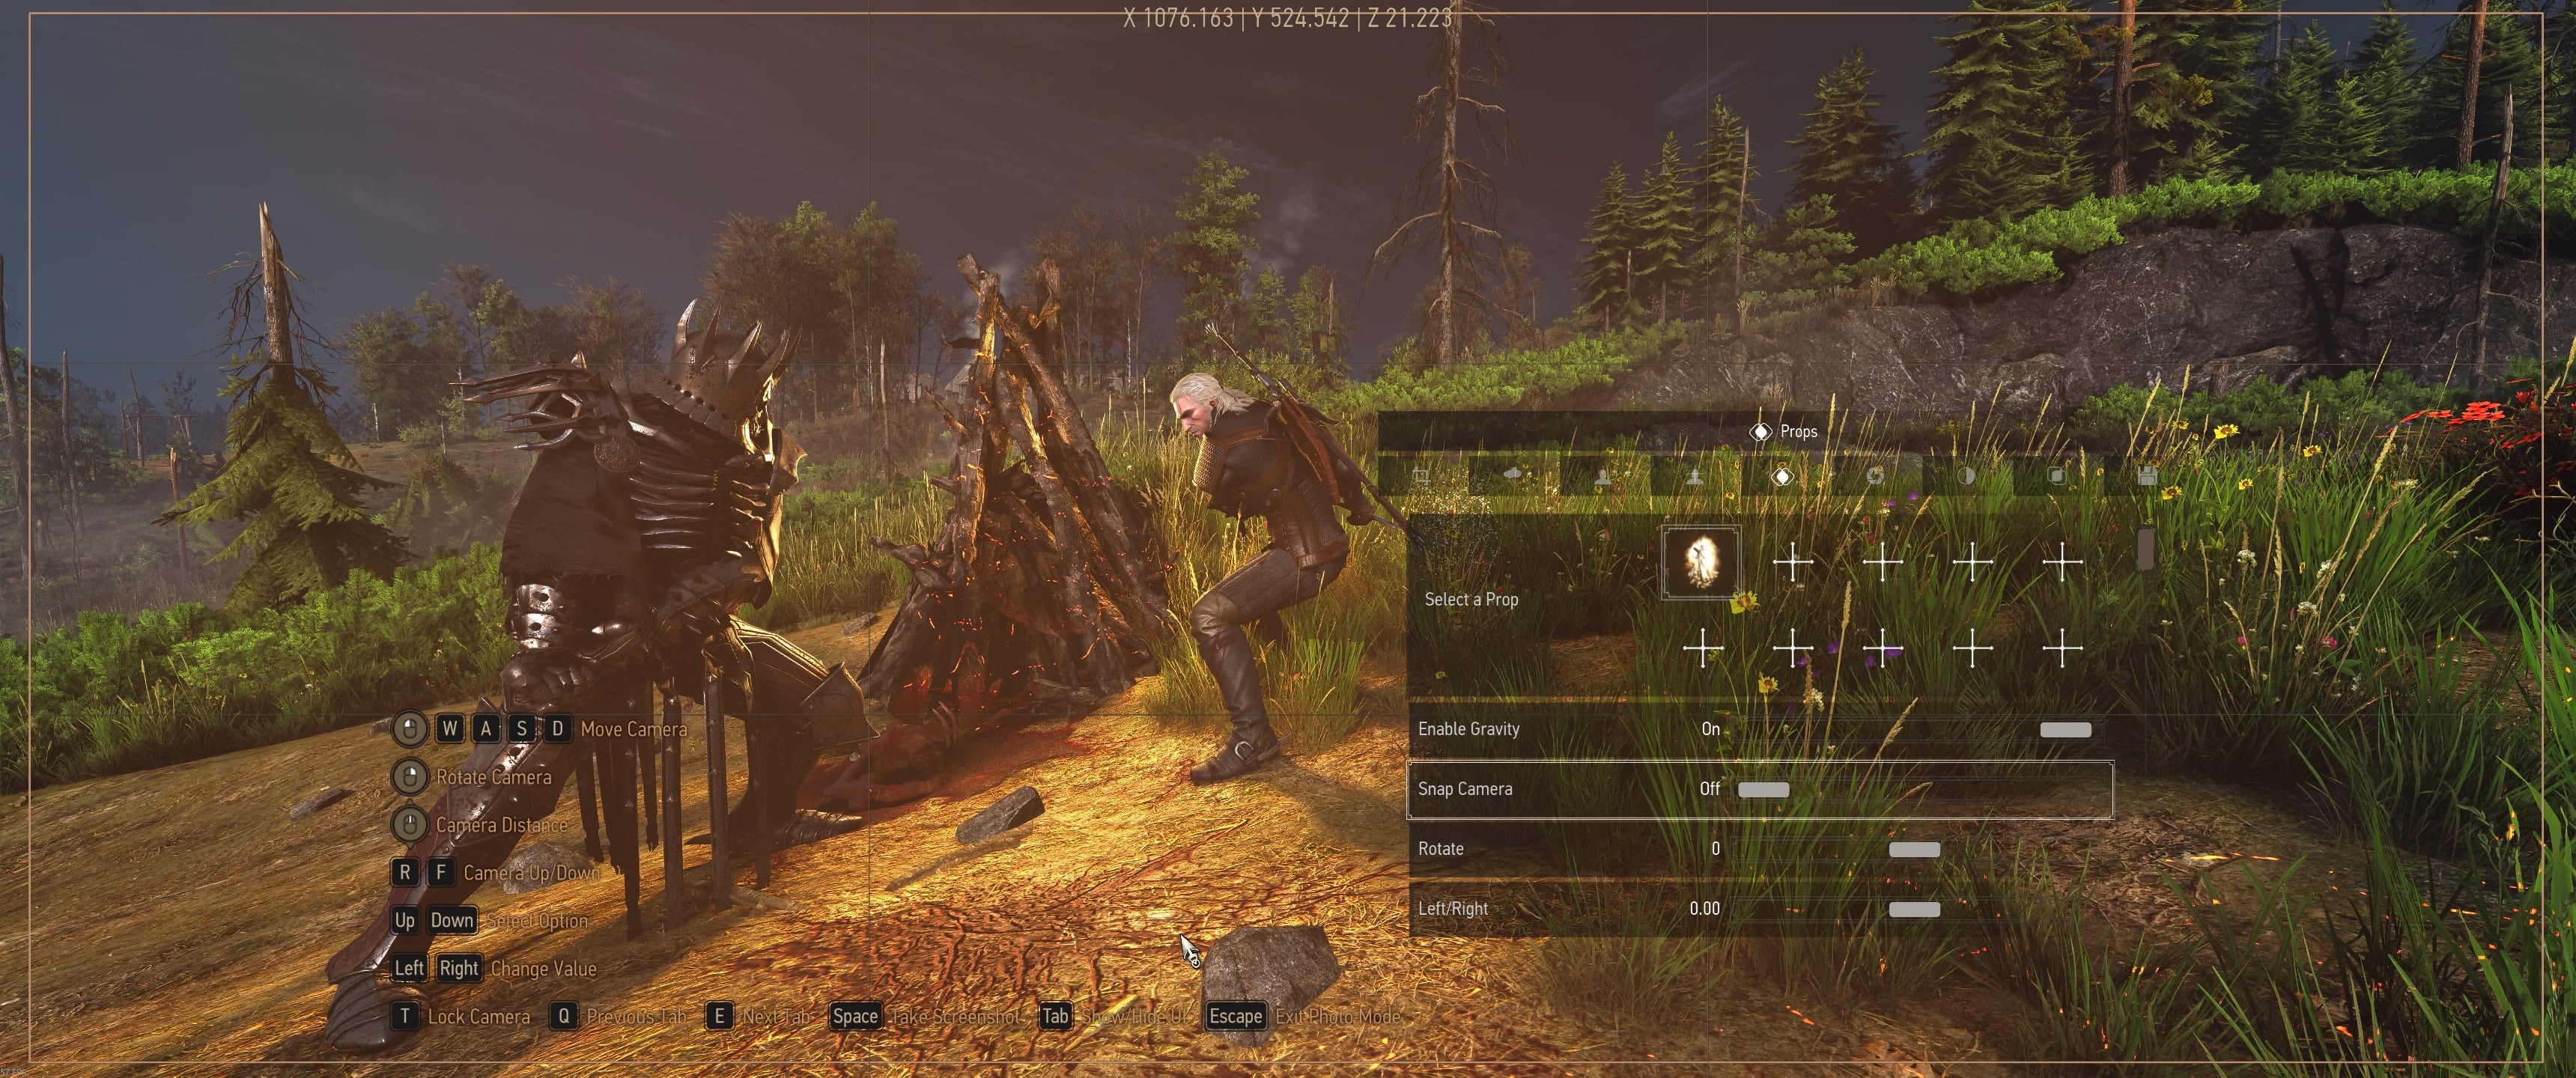
Depth of Field Tab
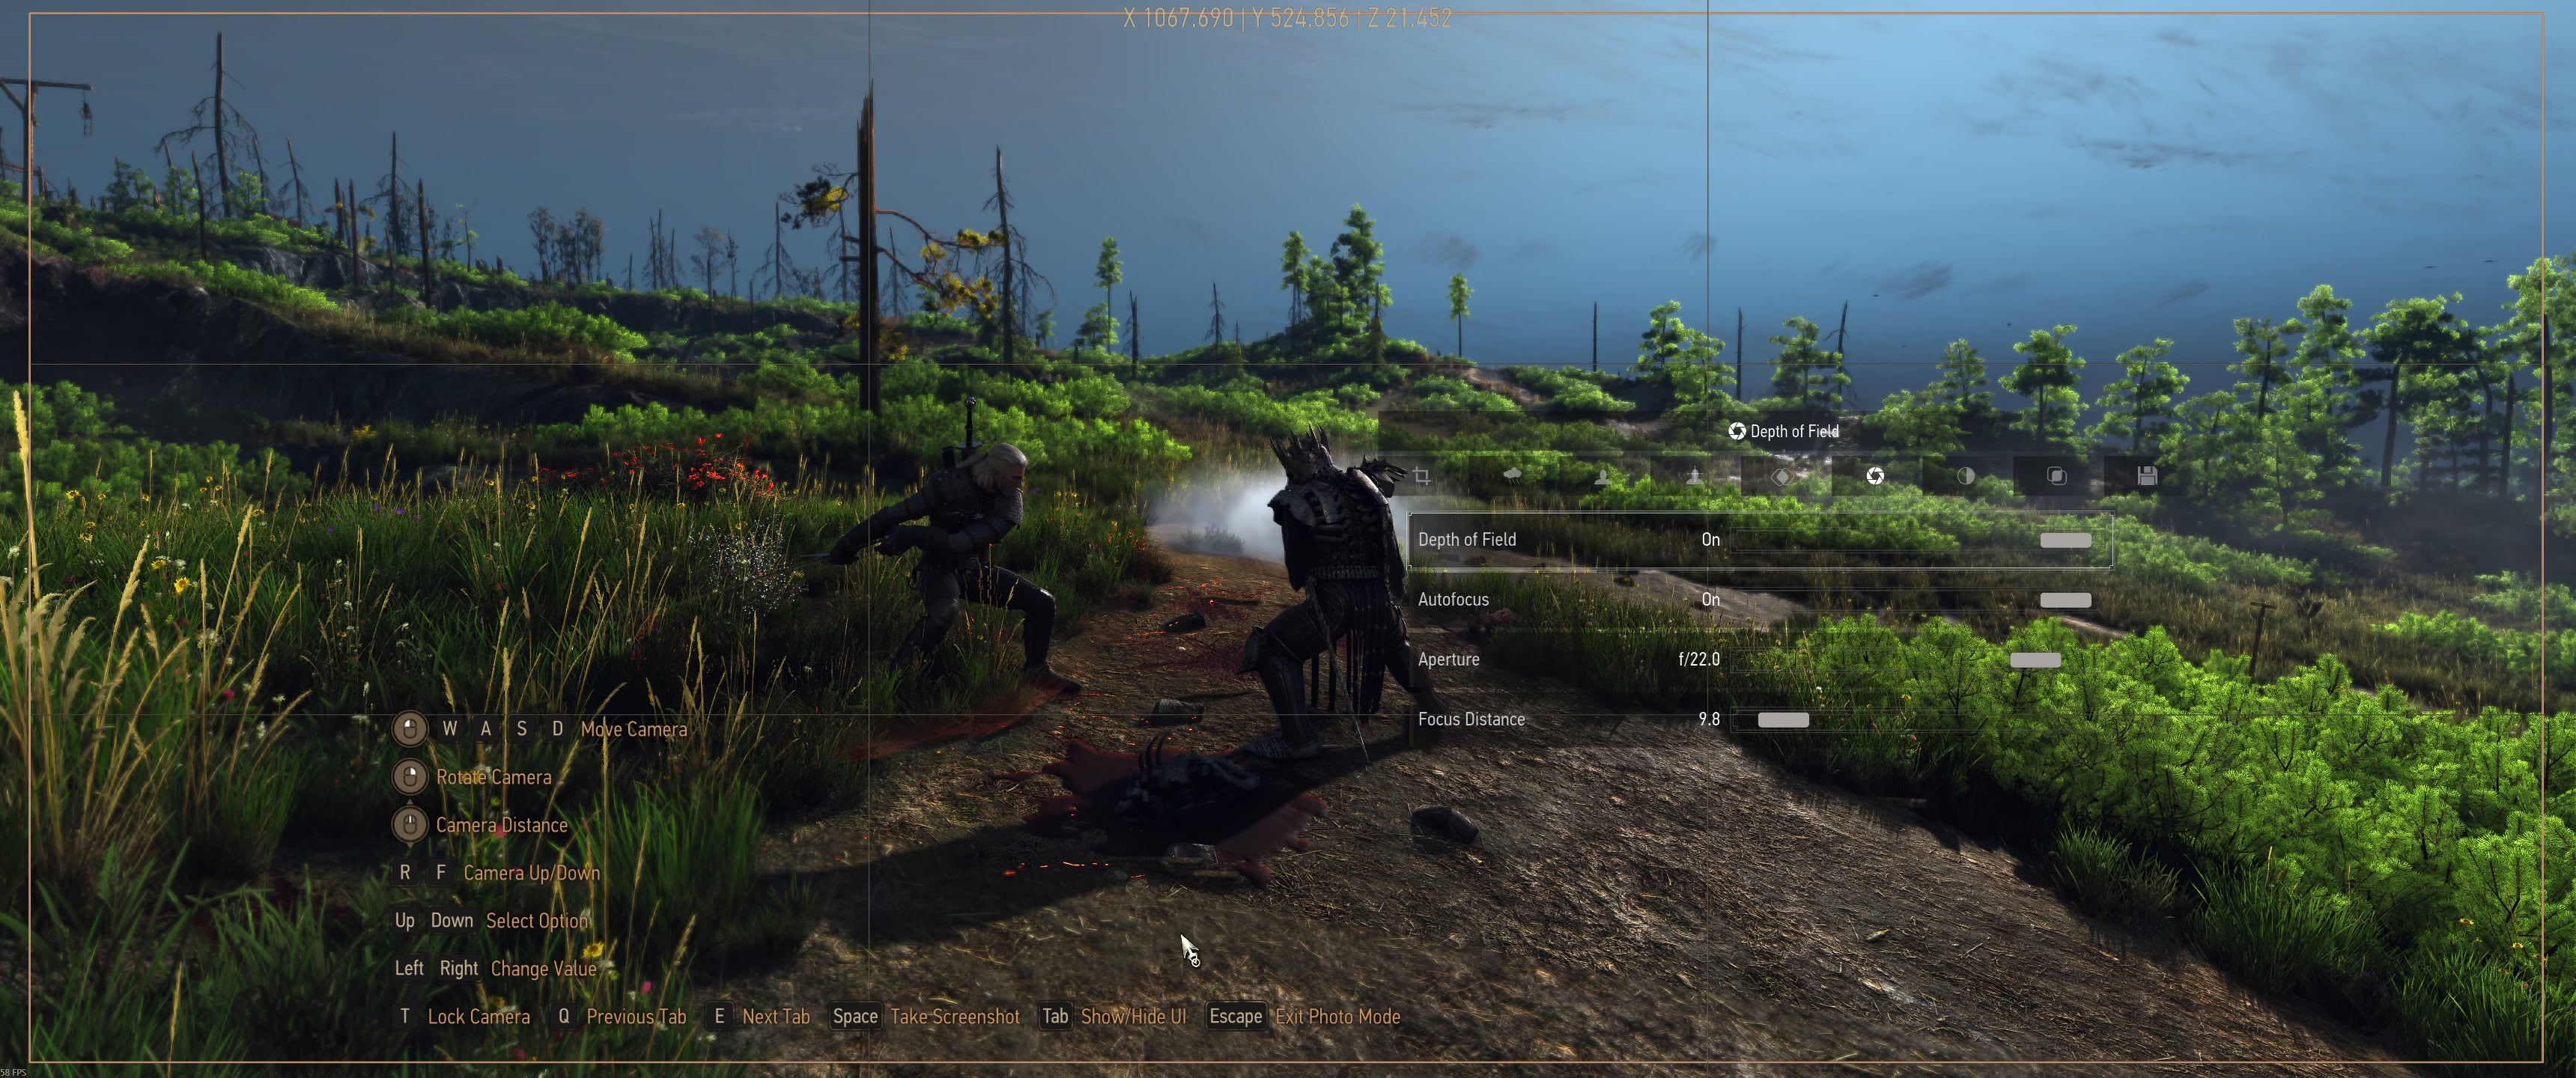
In this tab, you can turn on and off the Depth of Field effect, select Autofocus, tweak the Aperture and set Focus Distance.
Effect Tab
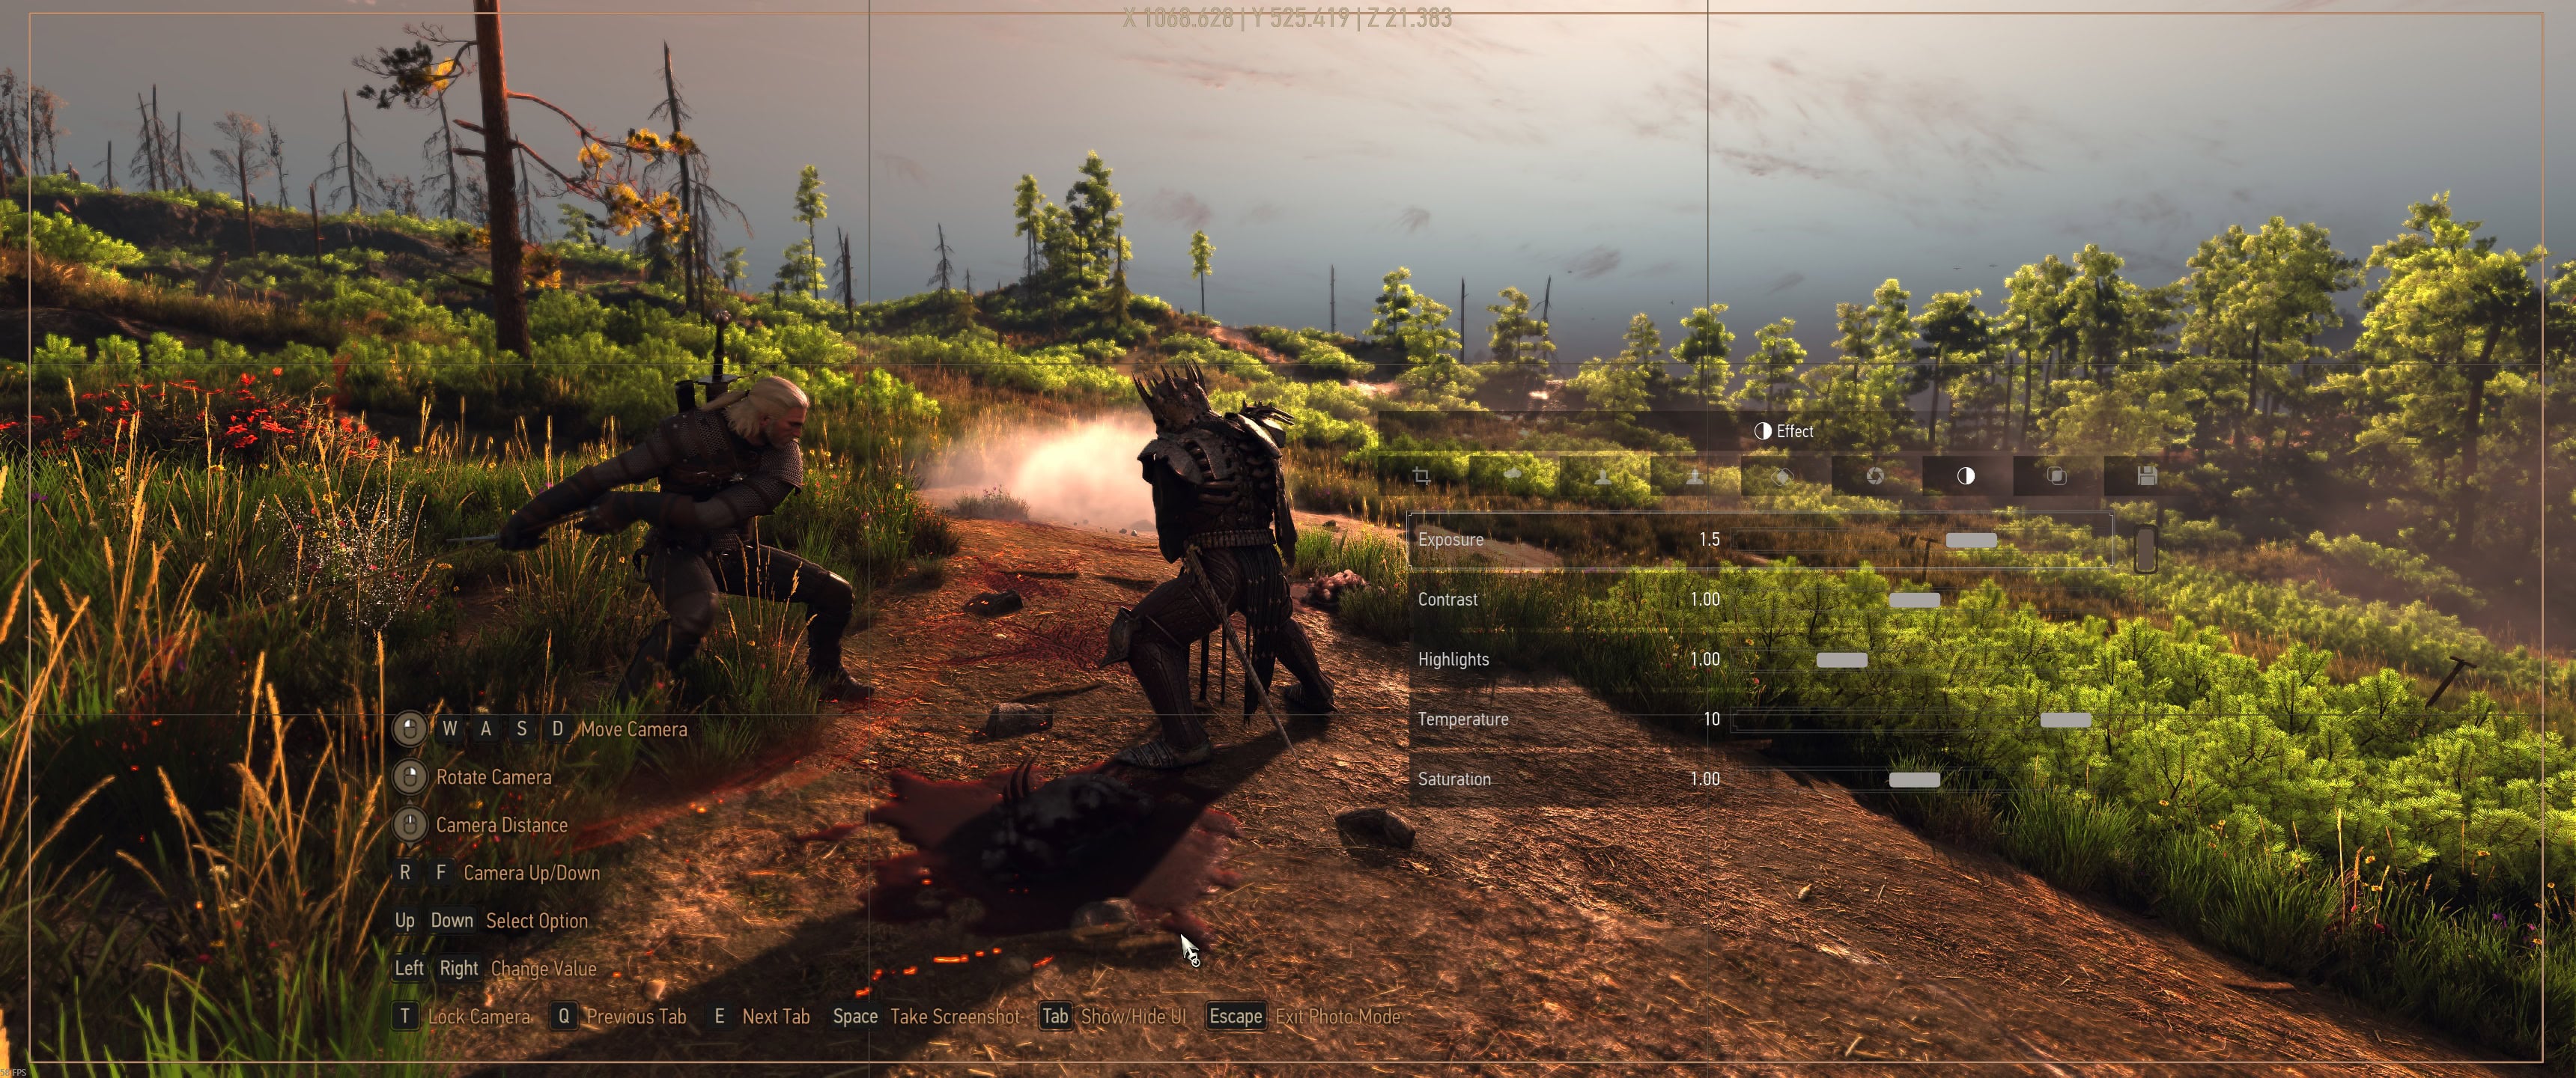
This is where you will find most of the tools at your disposal to change the image and make it unique. Here you can experiment with Exposure, Contrast, Highlights, Temperature, Saturation, Chromatic Aberration, and Grain.
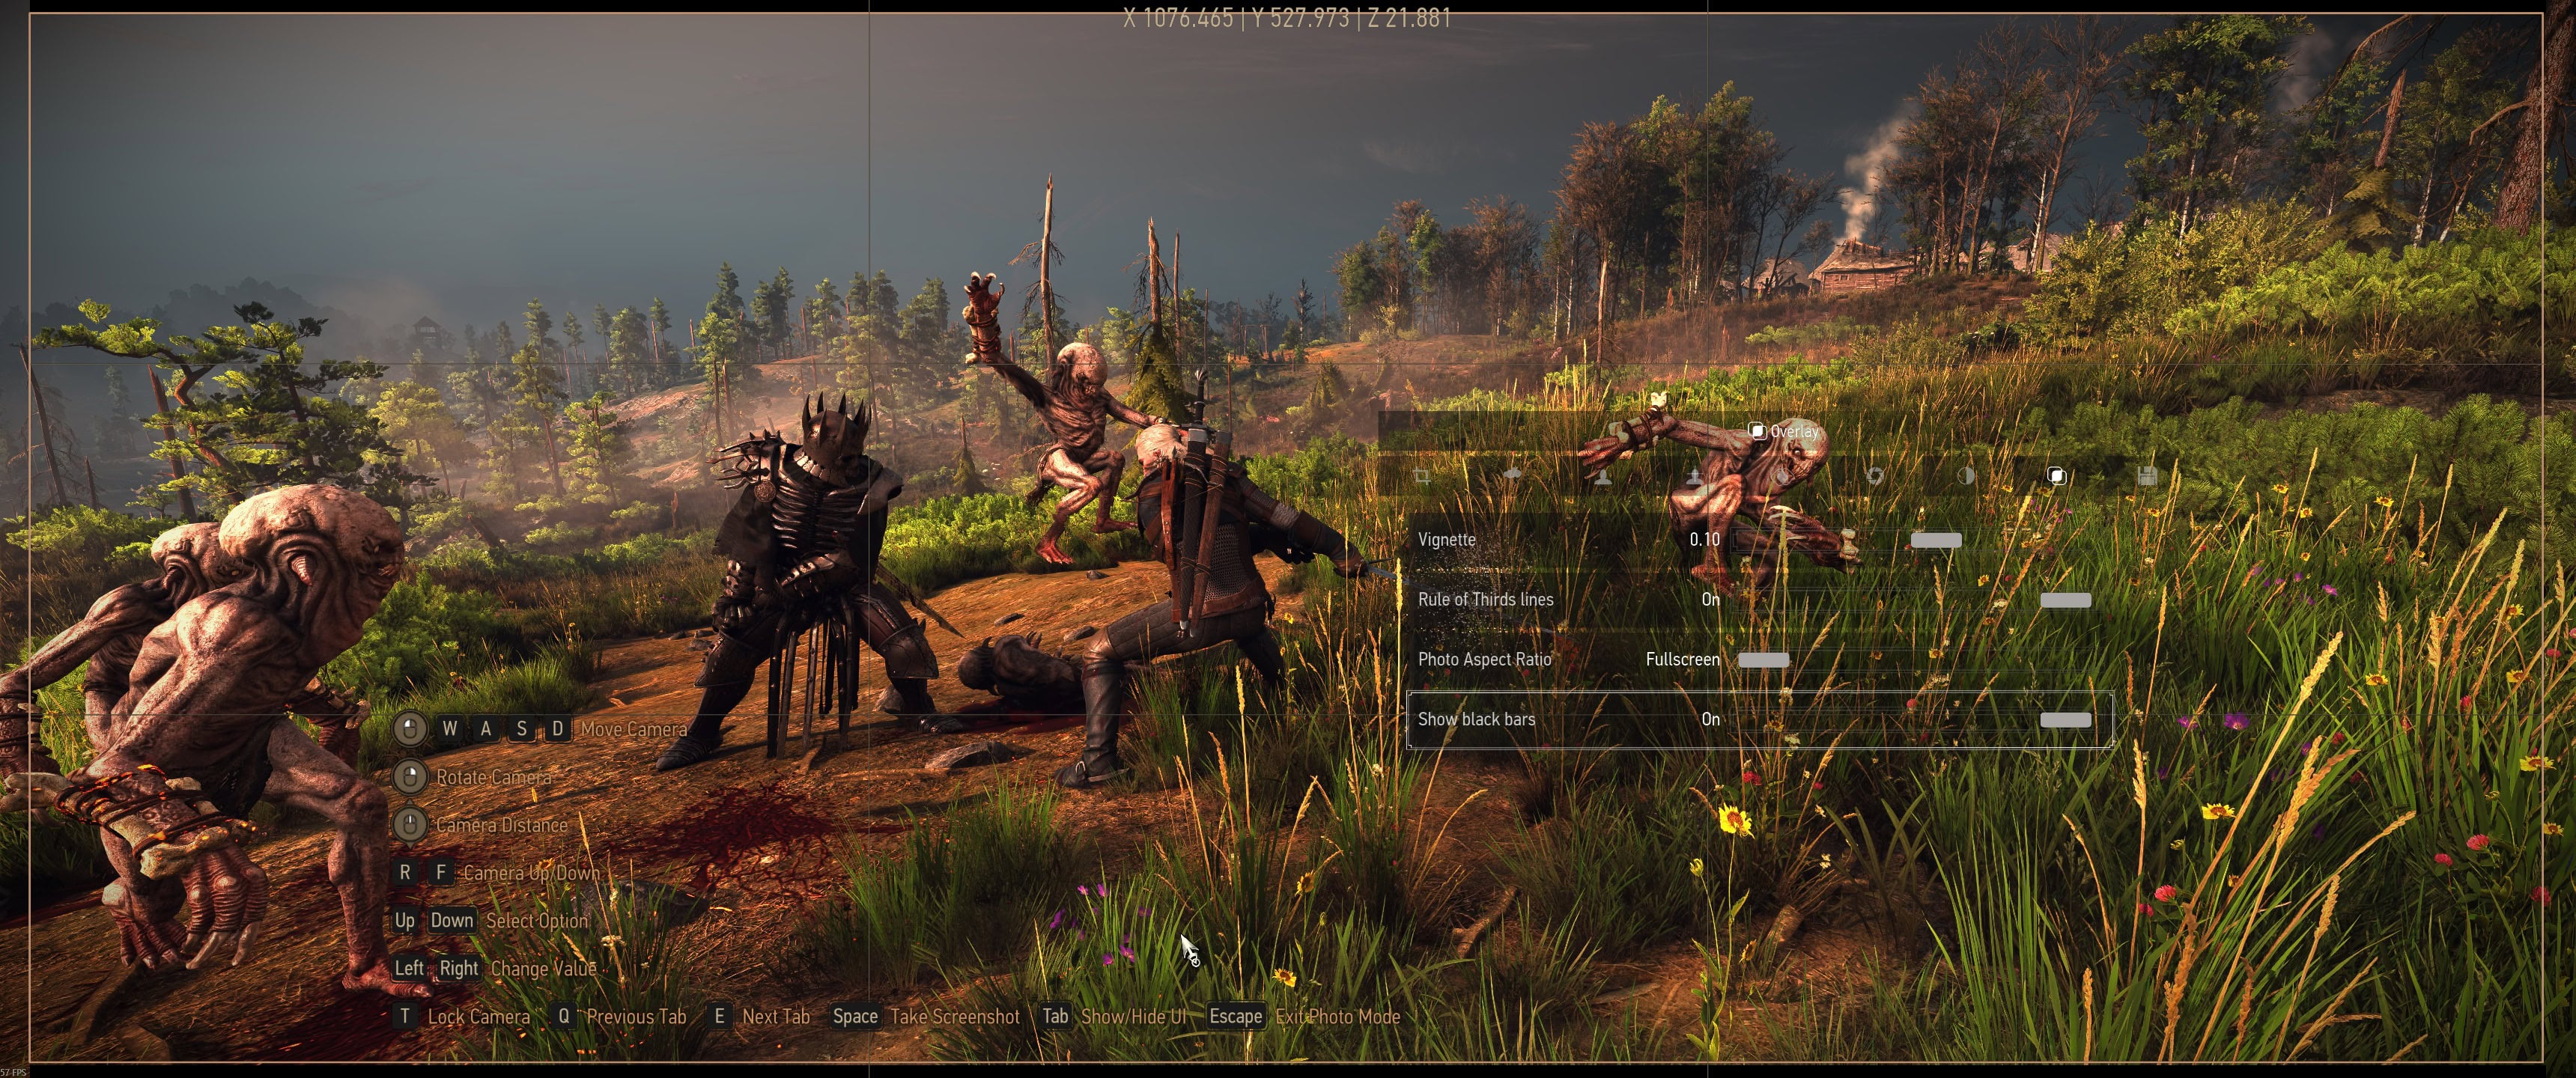
Overlay
The Overlay tab has multiple features. Vignette, Rule of Thirds lines, Photo Aspect Ratio, and Show black bars.
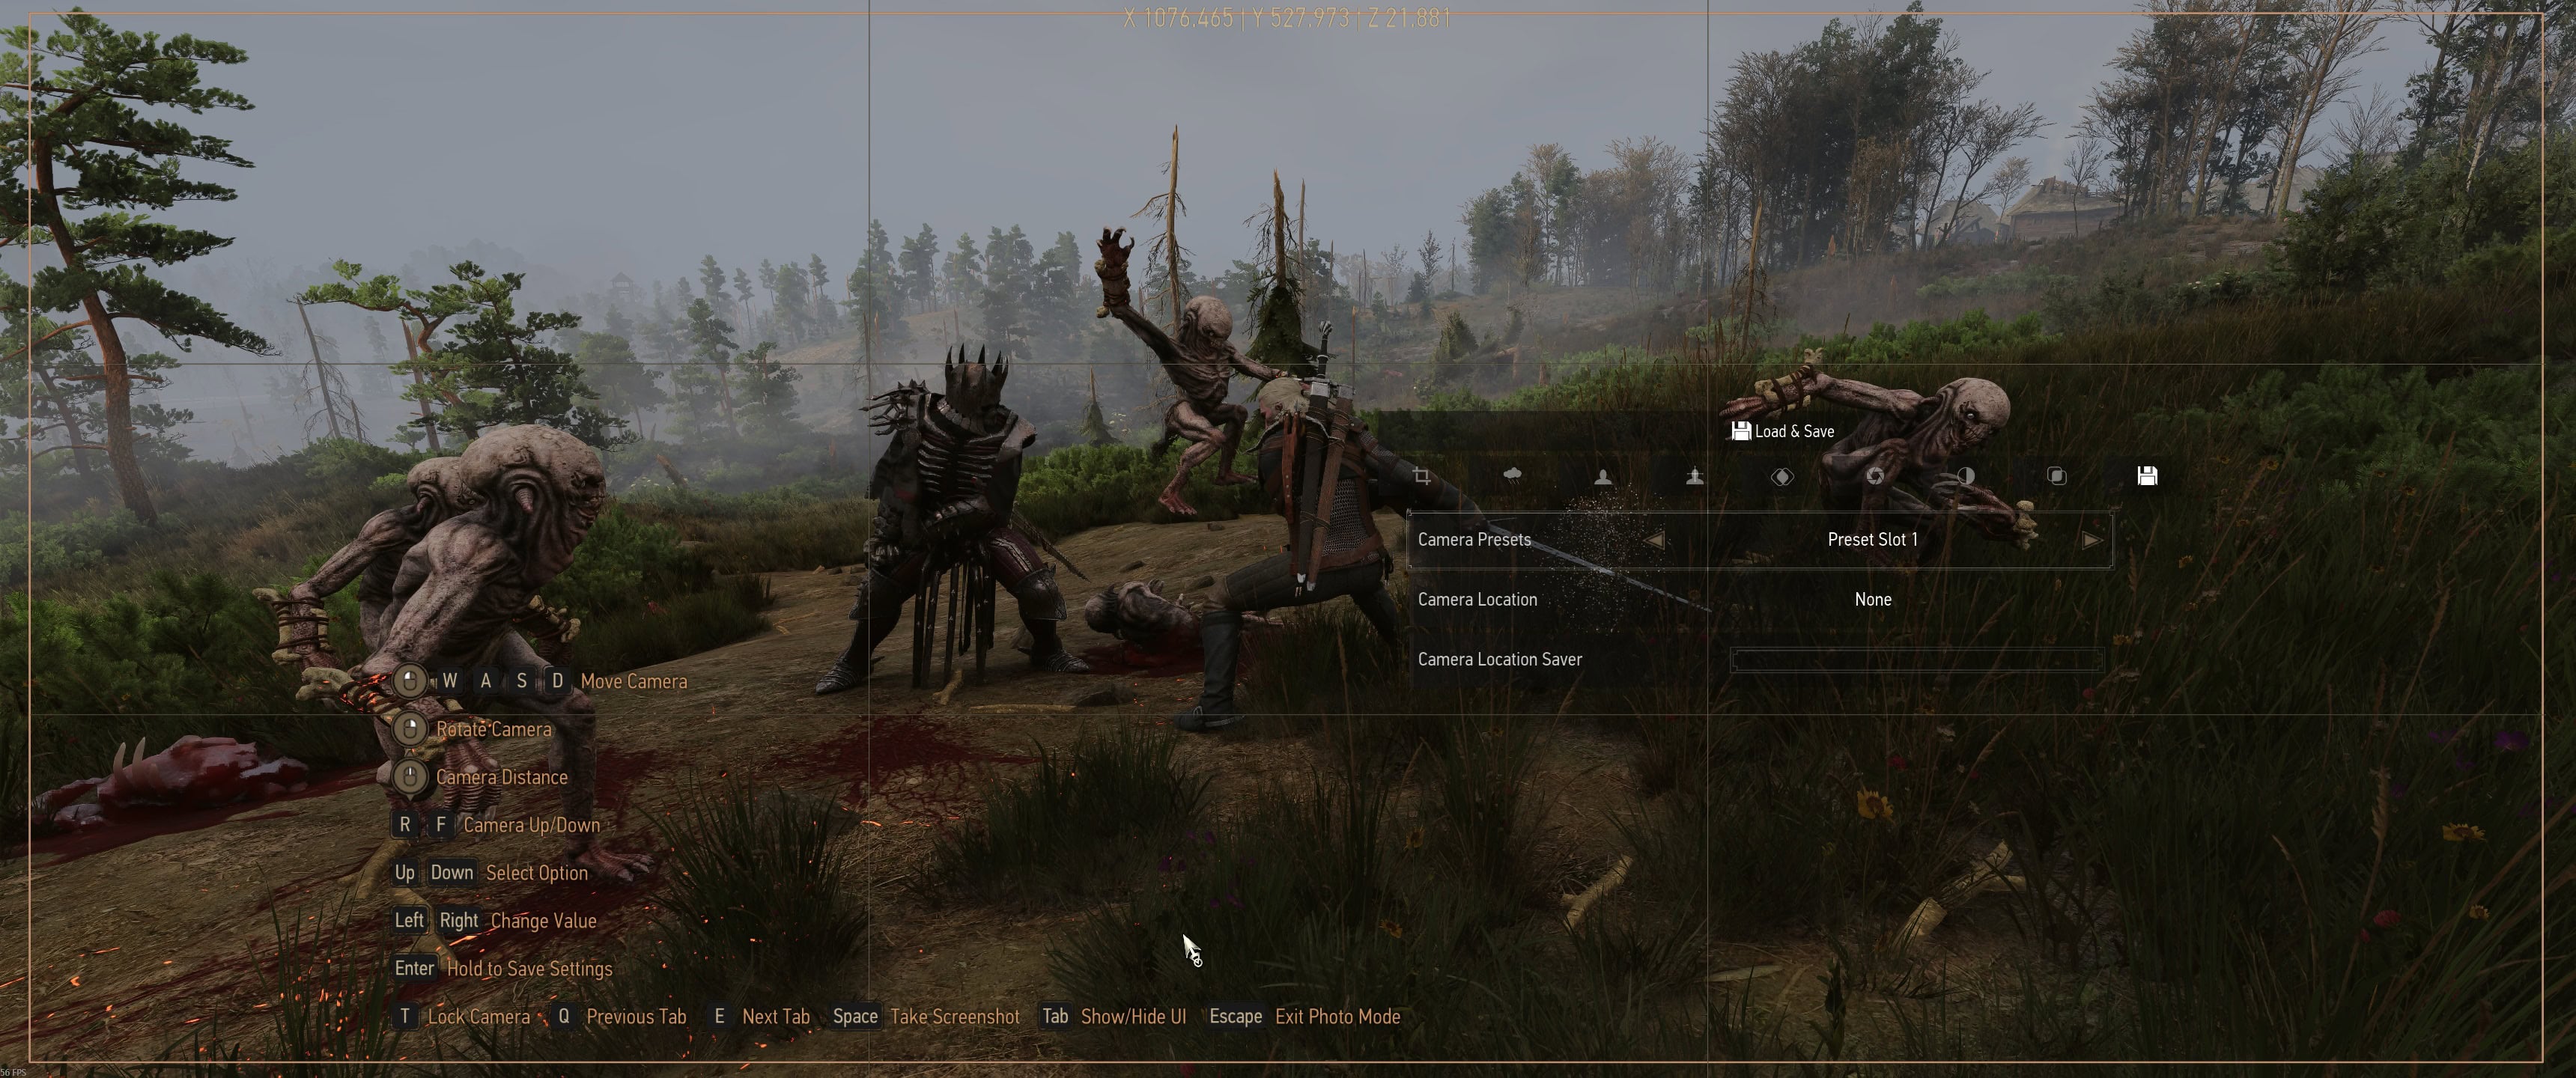
Load and Save
This is one of the most unique functions, and it happens to come from Cyberpunk 2077. It allows you to load and save camera presets. This way, you don’t have to adjust things manually every time. At least if you are taking the same type of photo repeatedly.
Where to find your Screenshots from Photo Mode
After you take a screenshot using Photo Mode, the image is automatically saved in the same folder where your local saves are. Here is the default location for Windows 10 and Windows 11:
C:\Users\YourAccountName\Documents\The Witcher 3\screenshots
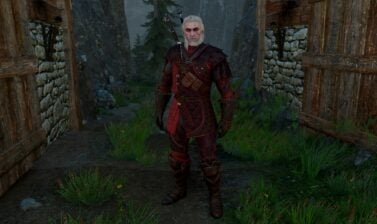
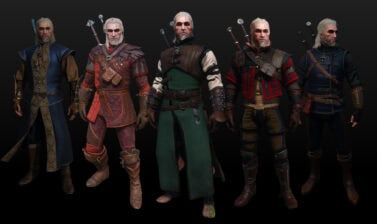
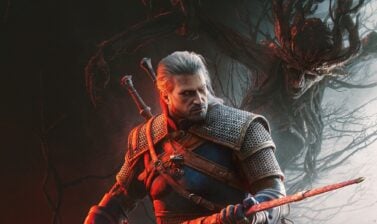
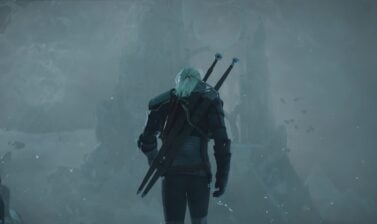
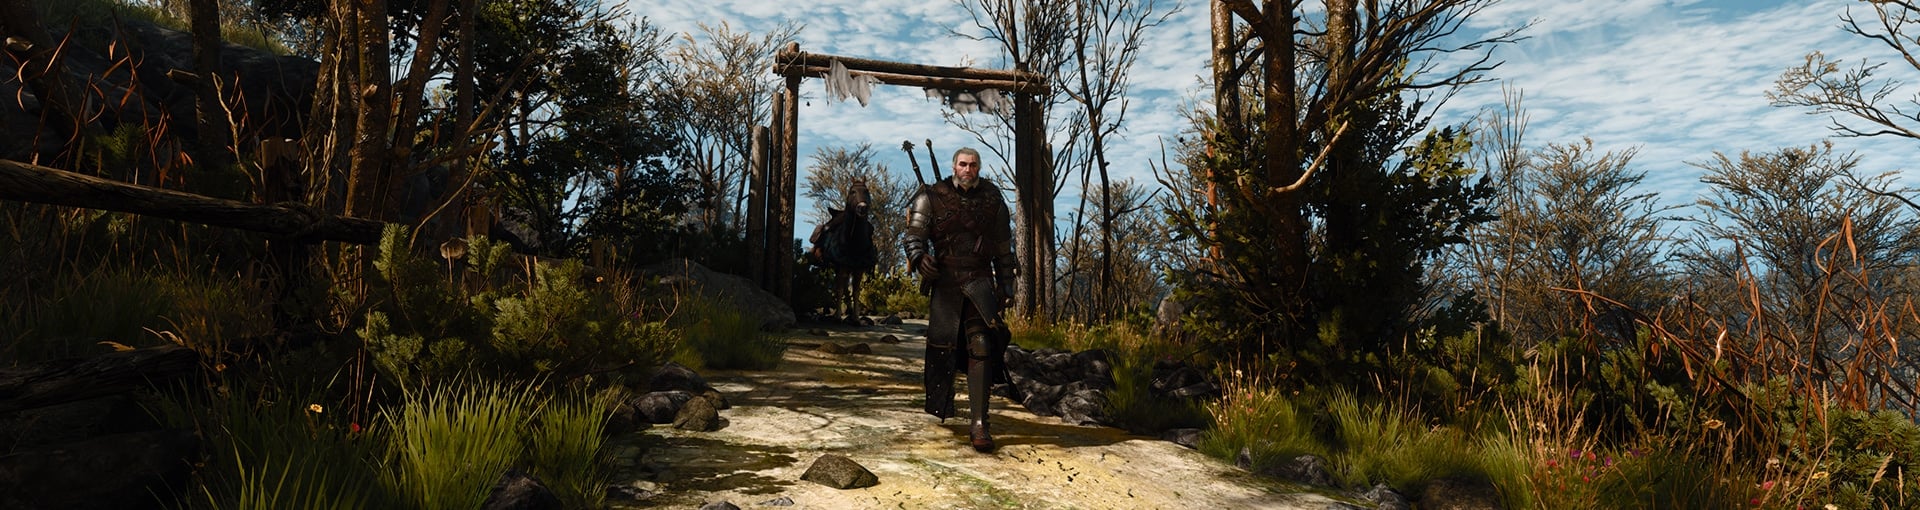
The screenshots match the resolution of your monitor. The screenshots you see above are taken on one such monitor, that’s why the image is “wider” than usual. If you have an Ultrawide Monitor, you can follow my guide on how to remove the Black Bars from Cinematics in The Witcher 3 Next-Gen.