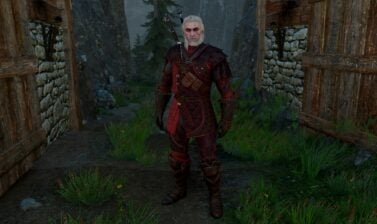
The Witcher 3 Remastered introduced a built-in Transmog feature, called Reforge. This guide explains how to unlock it, how to reforge weapons and armor, and some key limitations.
In videogames, transmogrification, or “Transmog,” is a feature that allows players to wear the gear with the best stats while adopting the appearance of a different piece of gear.
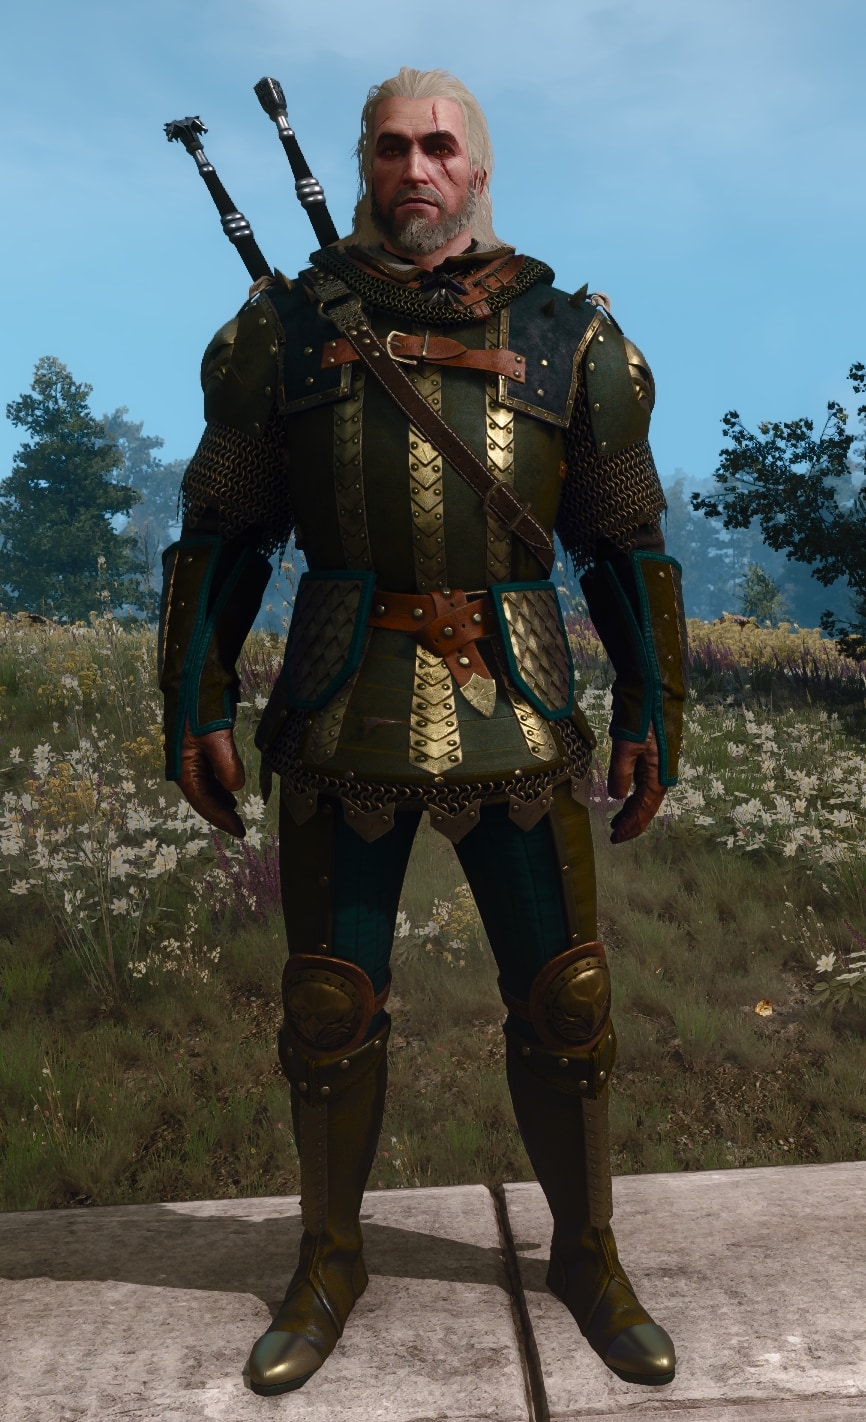
This feature was previously available through mods, but it’s now being implemented by CD PROJEKT RED, and its official name is Reforge. In this guide, we will refer to it as Reforge.
This feature isn’t available immediately, but it’s still obtainable in the first half of the the base game. Considering the fact that the two expansions are now free and included with the base game, this means you can unlock Reforge fairly early in your journey.
How to Unlock Armor Reforge?
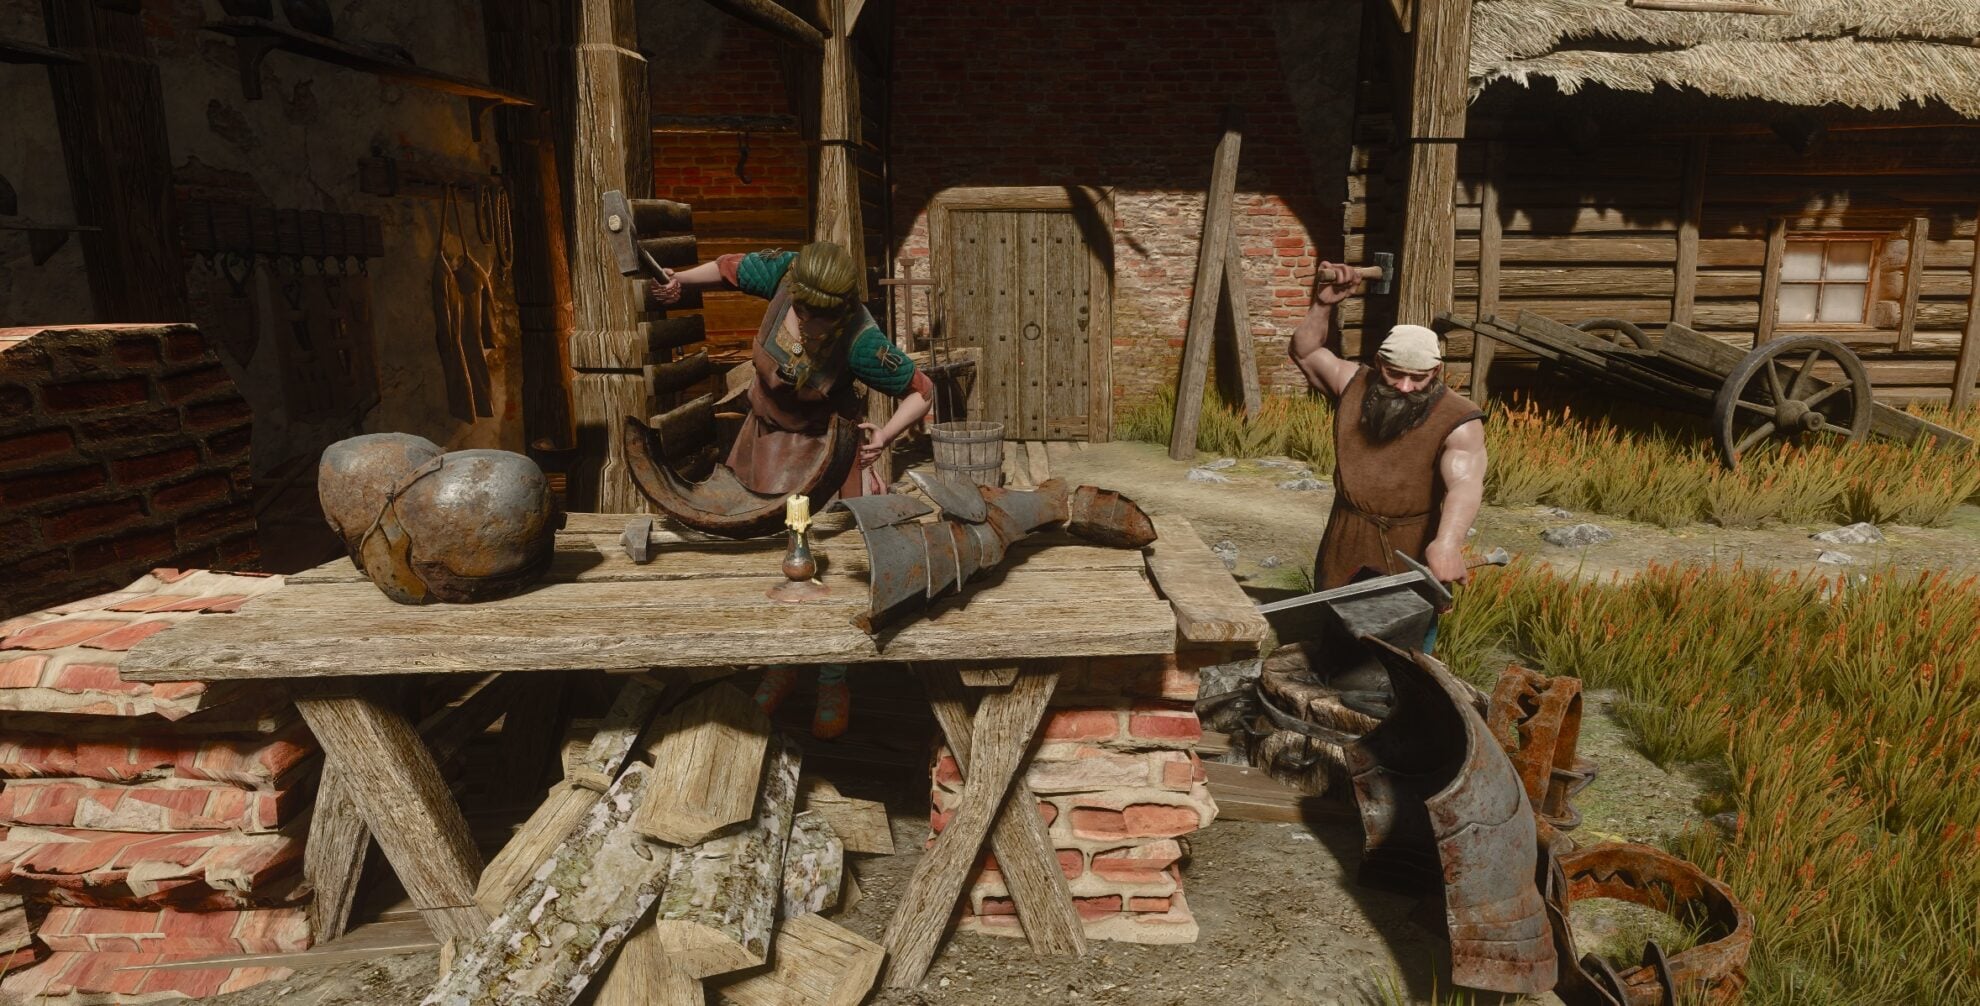
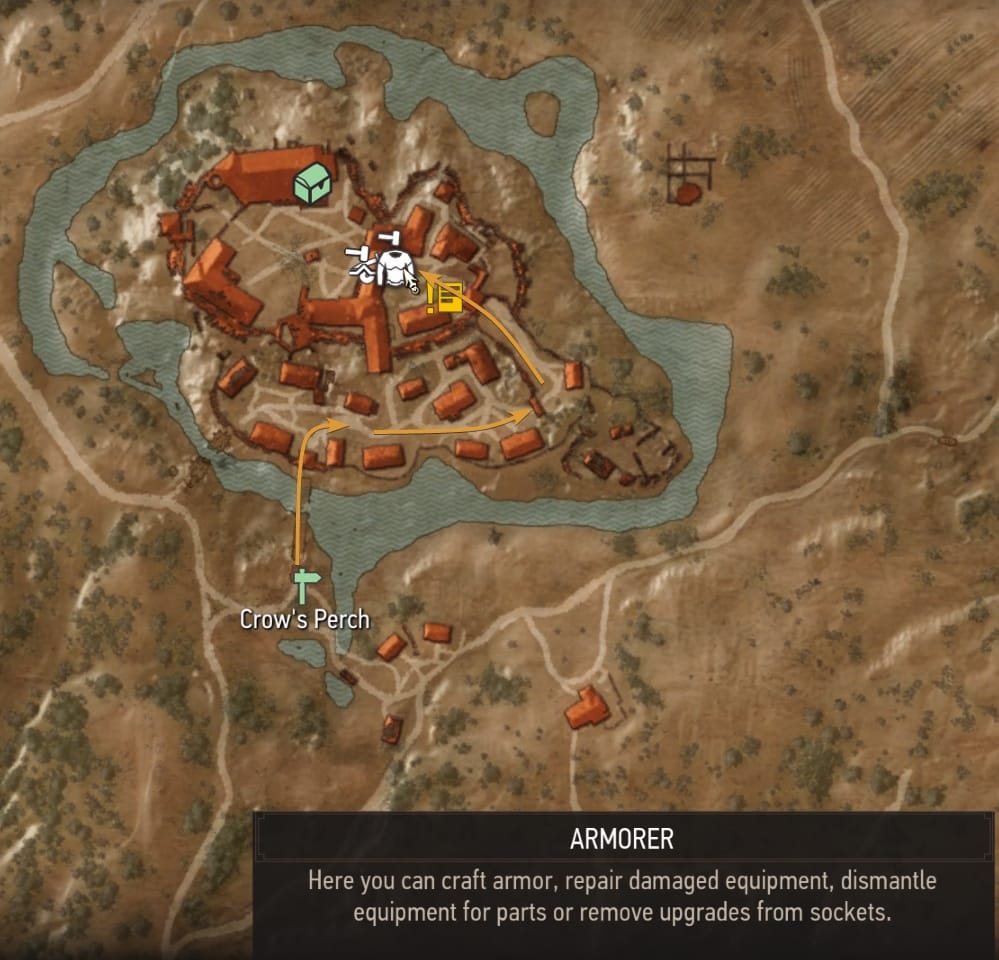
Armor Reforge is only unlocked by talking to Yoana at Crow’s Perch and completing the “Master Armorer’s” quest.
How to unlock Weapons Reforge?
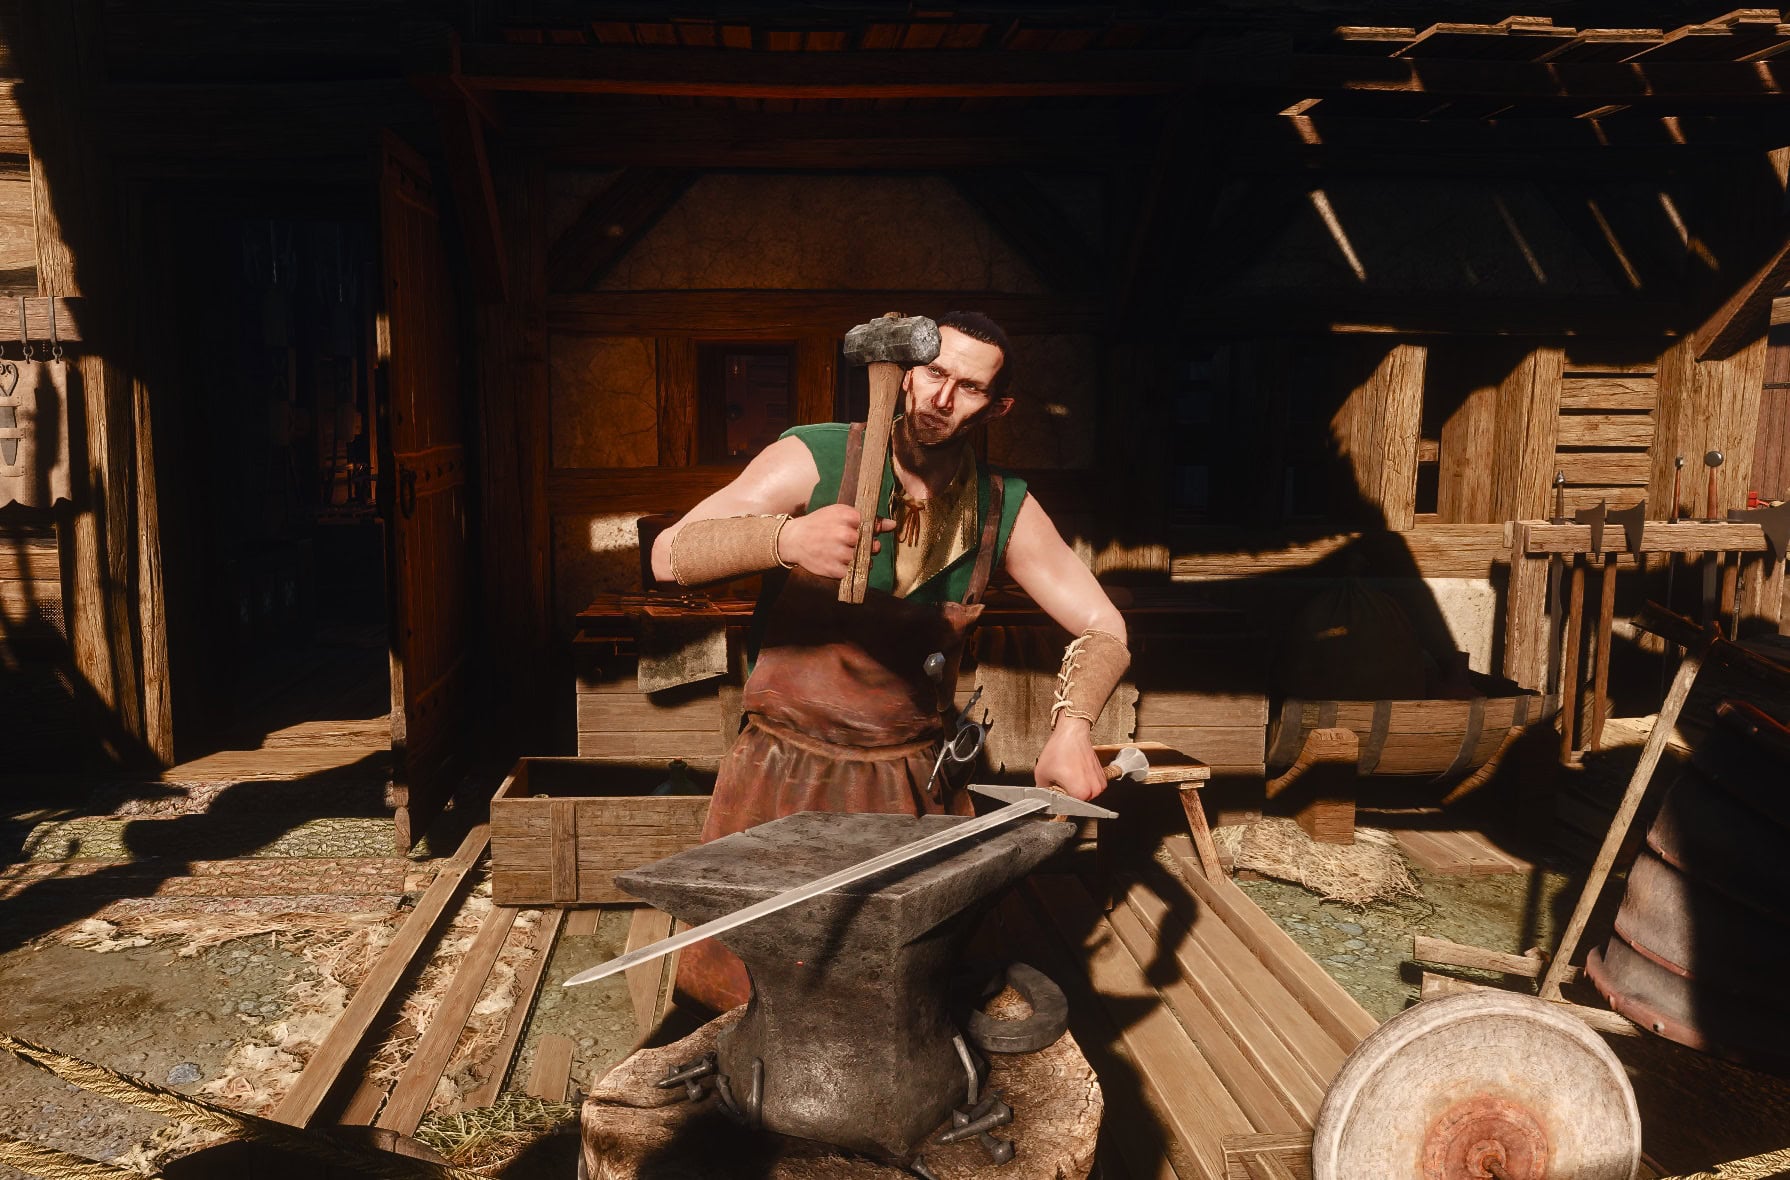
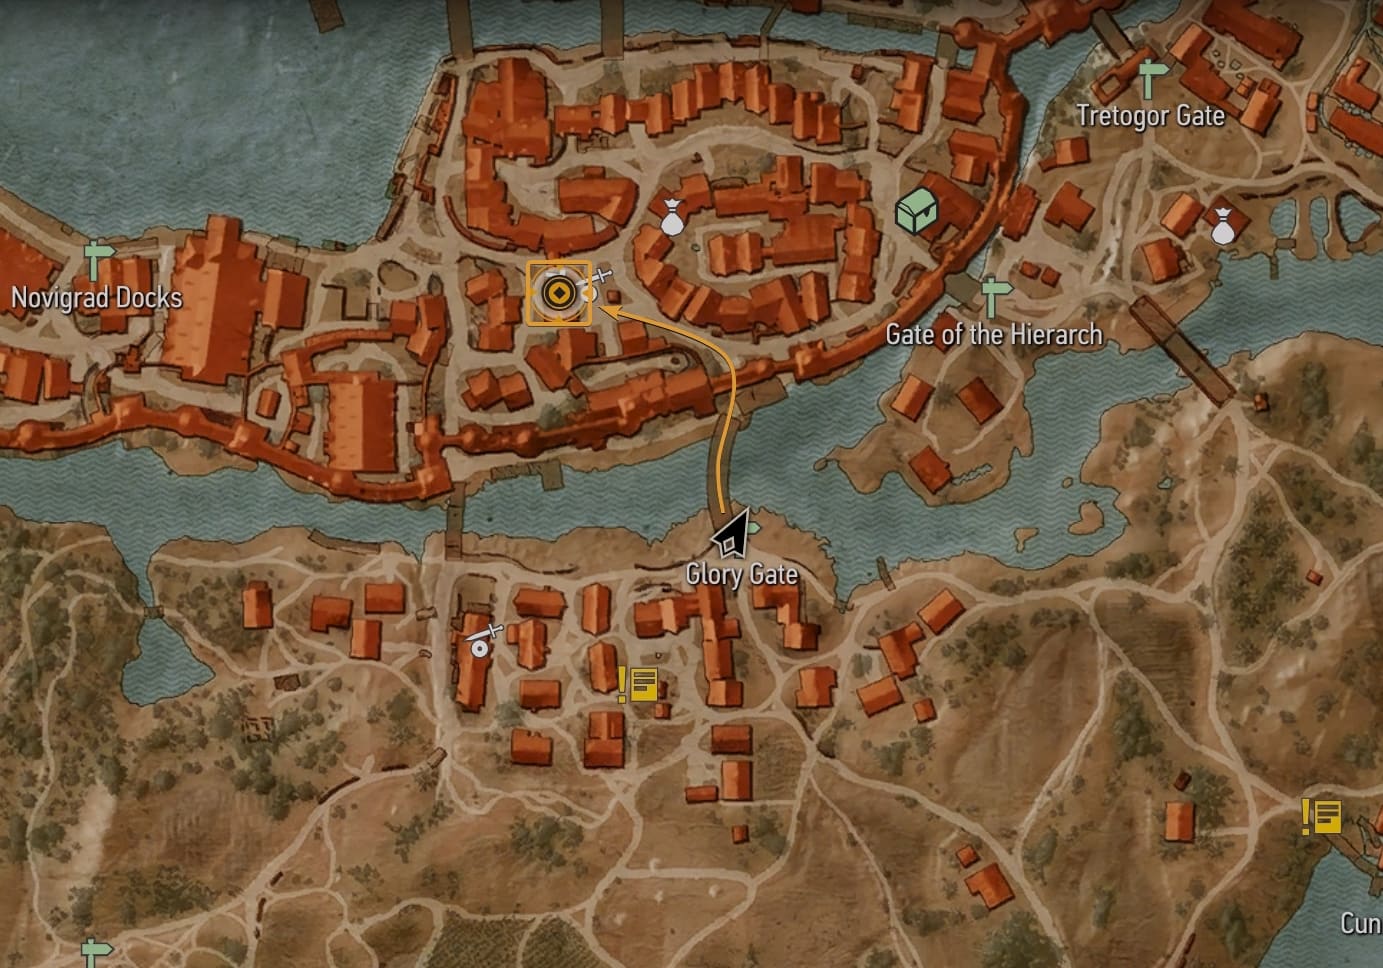
Weapon Reforge is unlocked by talking to Hattori in Novigrad and completing the “Of Swords and Dumplings” quest.
Do you have to pay to use Reforge?
Like every other service that these NPCs provide, Reforge isn’t free. You’ll end up spending between 1,000 and 1,200 Crowns for a full armor set, both swords, and a crossbow. This is no small amount when you just started your journey, but it’ll eventually feel like pocket change.
How Reforge works in The Witcher 3 Remastered
Talk to Hattori or Yoana. When you get to their UI screen, choose the last tab, called Reforge. This menu is split into two sections.
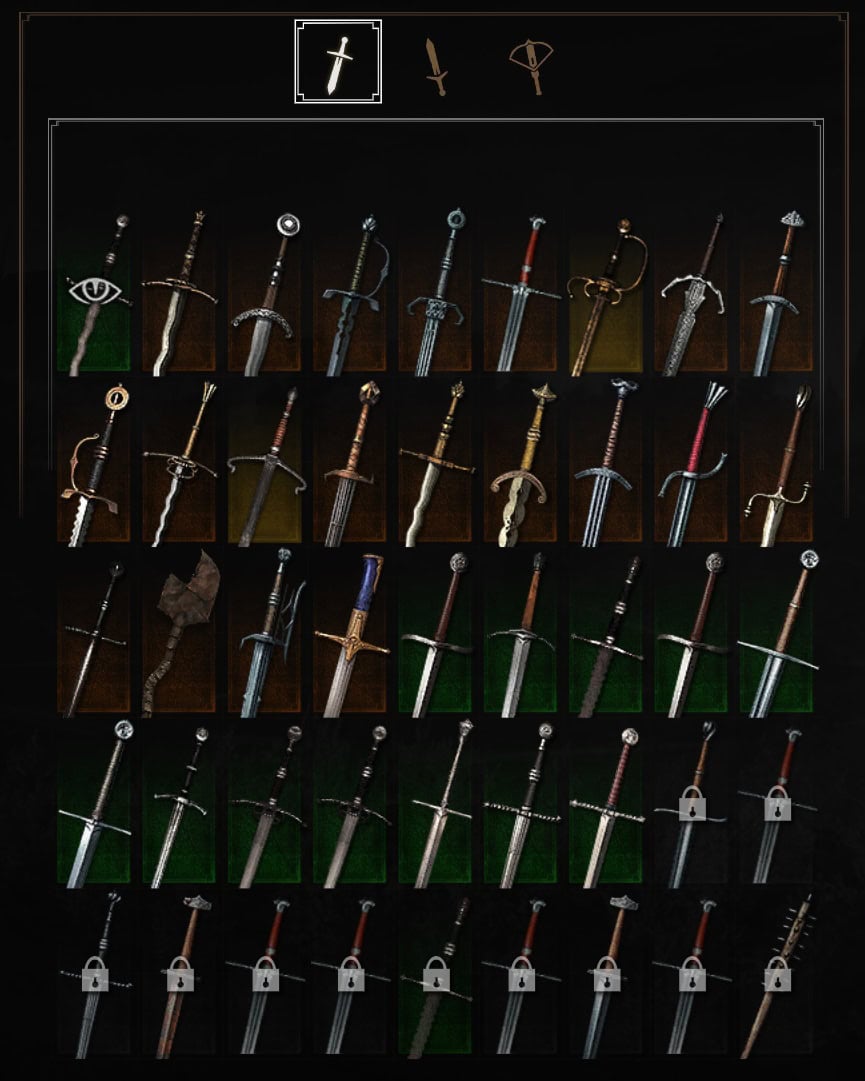
The left side shows all items you have access to, which are sorted into four different tabs for armor: chest, hands, feet, and legs. For weapons, you only have three tabs – steel sword, silver sword, and crossbow.
The right side shows your current equipment and their respective Reforge slots, one dedicated to each gear piece.
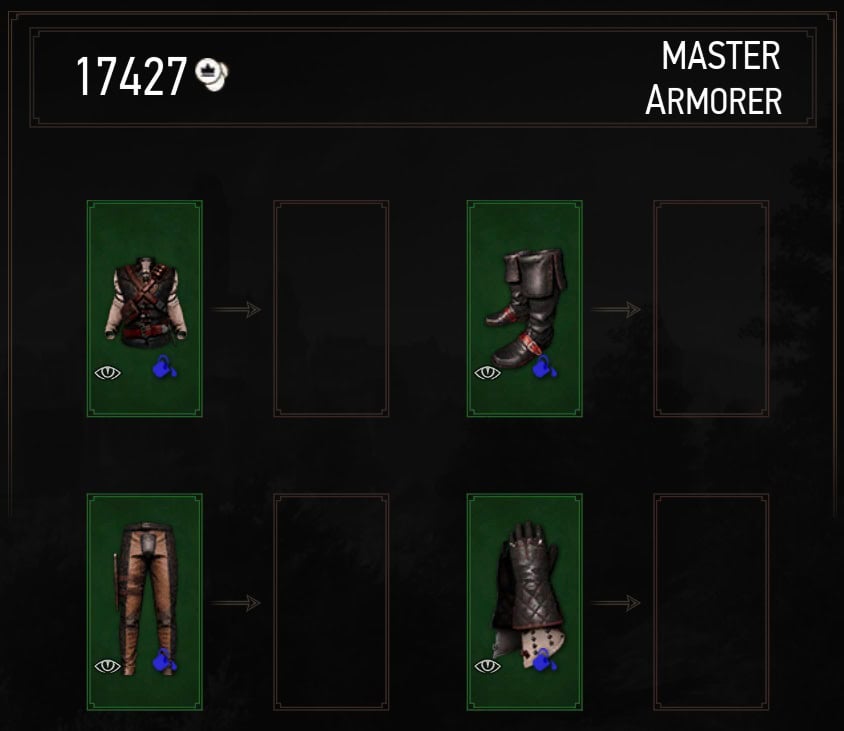
All you have to do is click any item on the left, and it will automatically place it on the right side. This change isn’t final until you click Confirm Reforge, so you are able to preview everything before making a final decision.
Important Limitations & Requirements
We don’t know yet if CDPR plans to evolve or further improve this system. At the moment, apart from being fairly expensive and not available from the start of the game, it also has a few other limitations you should know about.
Can you use dyes with Reforge?
To apply a dye to a Reforged appearance, you have to dye the armor pieces that you have currently equipped. Once you do this, all applicable gear pieces will now be dyed.
To find out which gear pieces can be dyed, check for a small dye icon under each gear piece. In the following picture, I used the blue dye. Therefore, the dye icon is also blue.
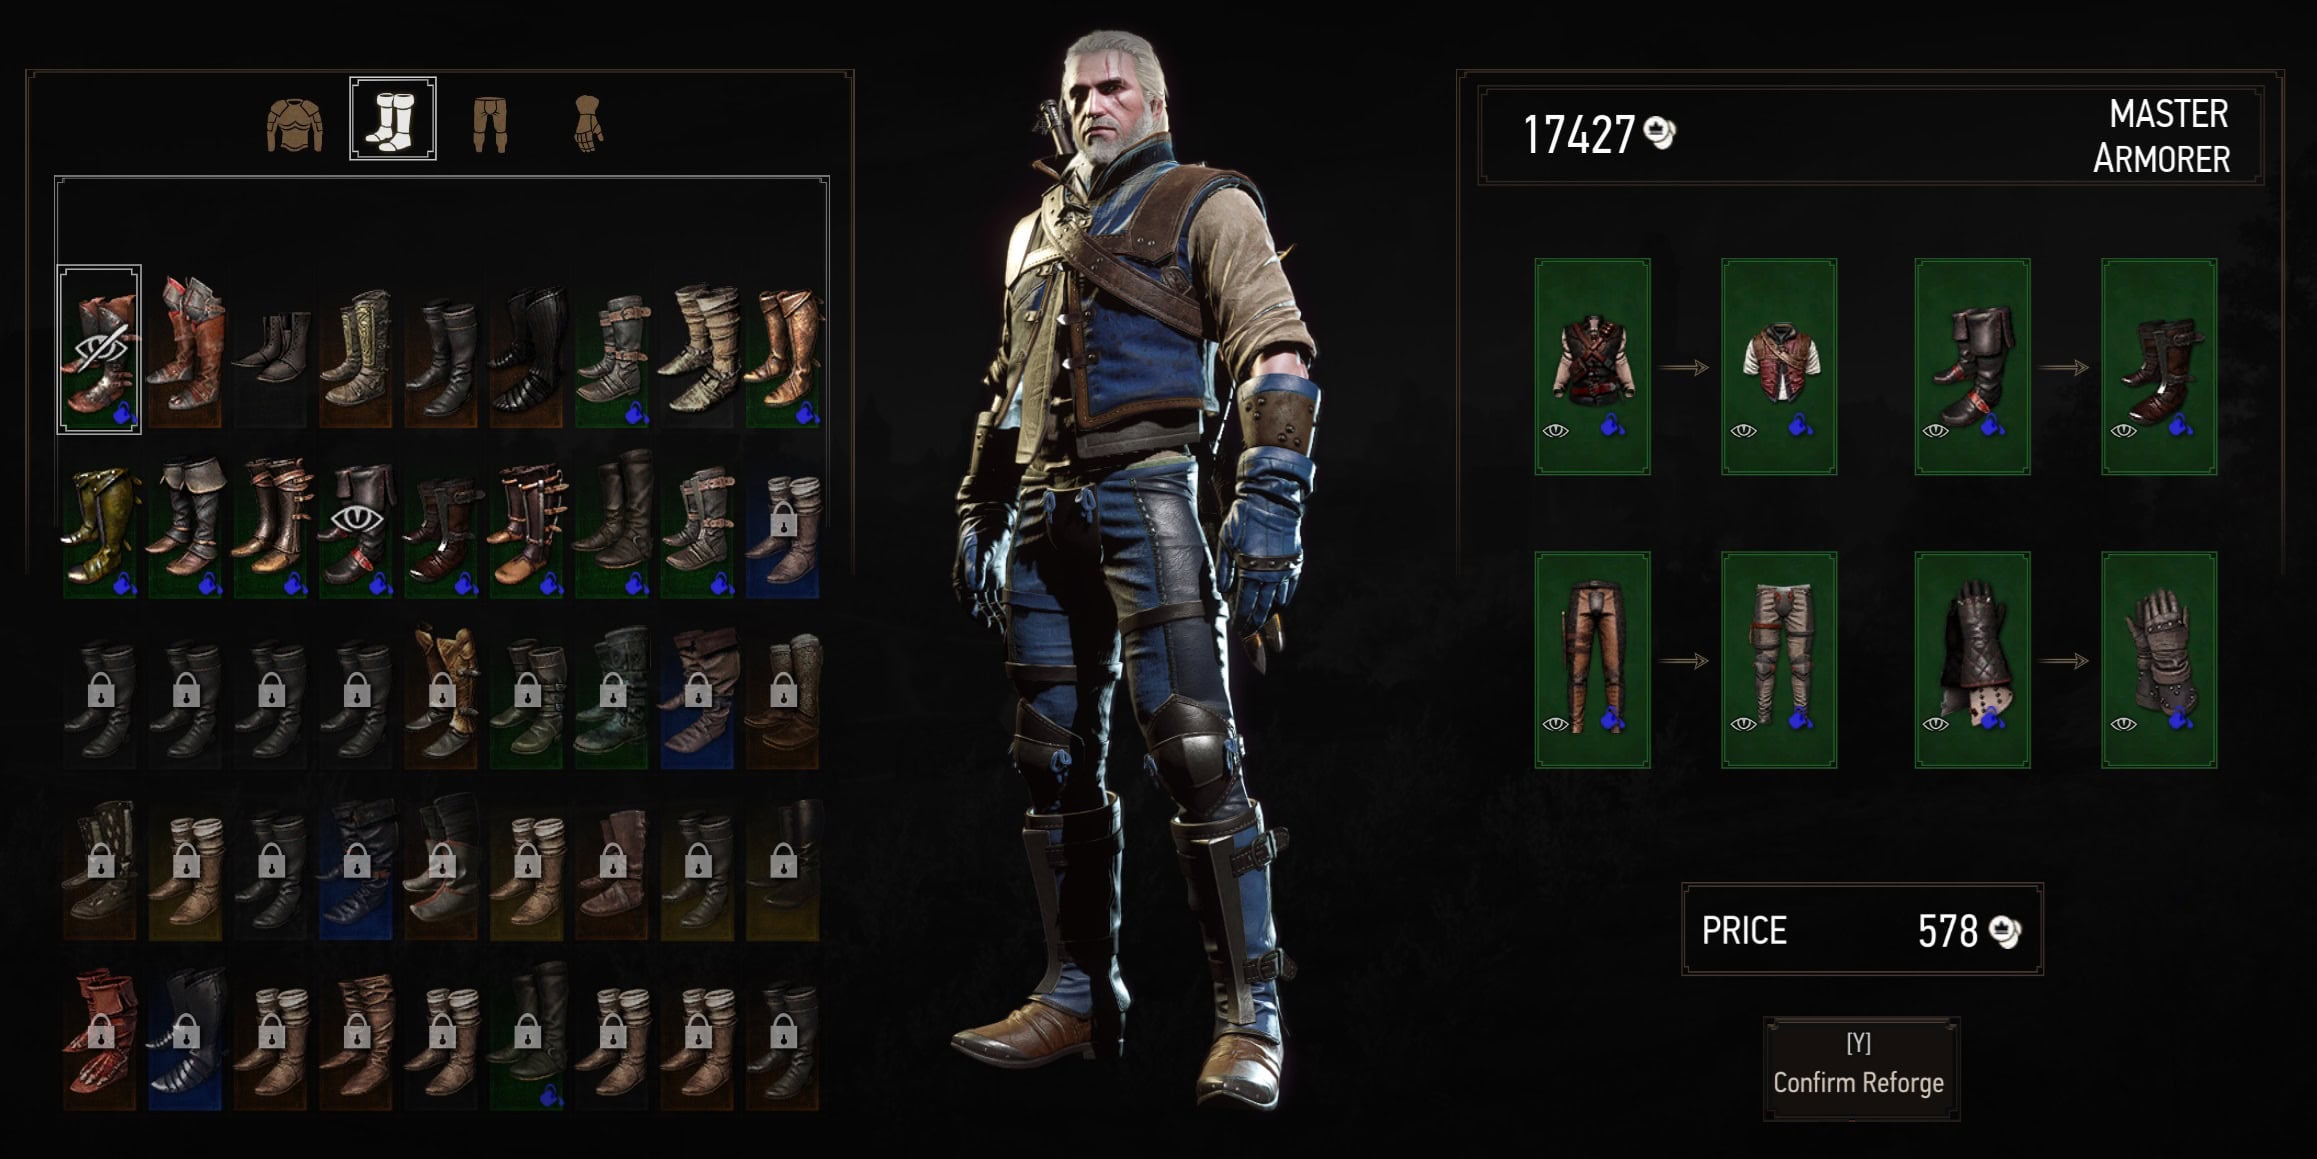
Remember that dyes can only be used on Witcher Gear Sets. Unique sets like Tesham Mutna or the recently released Scarlet Crest set will not be dyed.
How your inventory and stash matter for Reforge?
Reforge works with all the equipment in your inventory and stash. Even if you’ve already dismantled or sold a piece of equipment, it will still be available in the Reforge Menu.
When you update to Remastered, you will notice that basically everything in the Reforge menu appears locked, regardless of whether you have it in your stash or not.
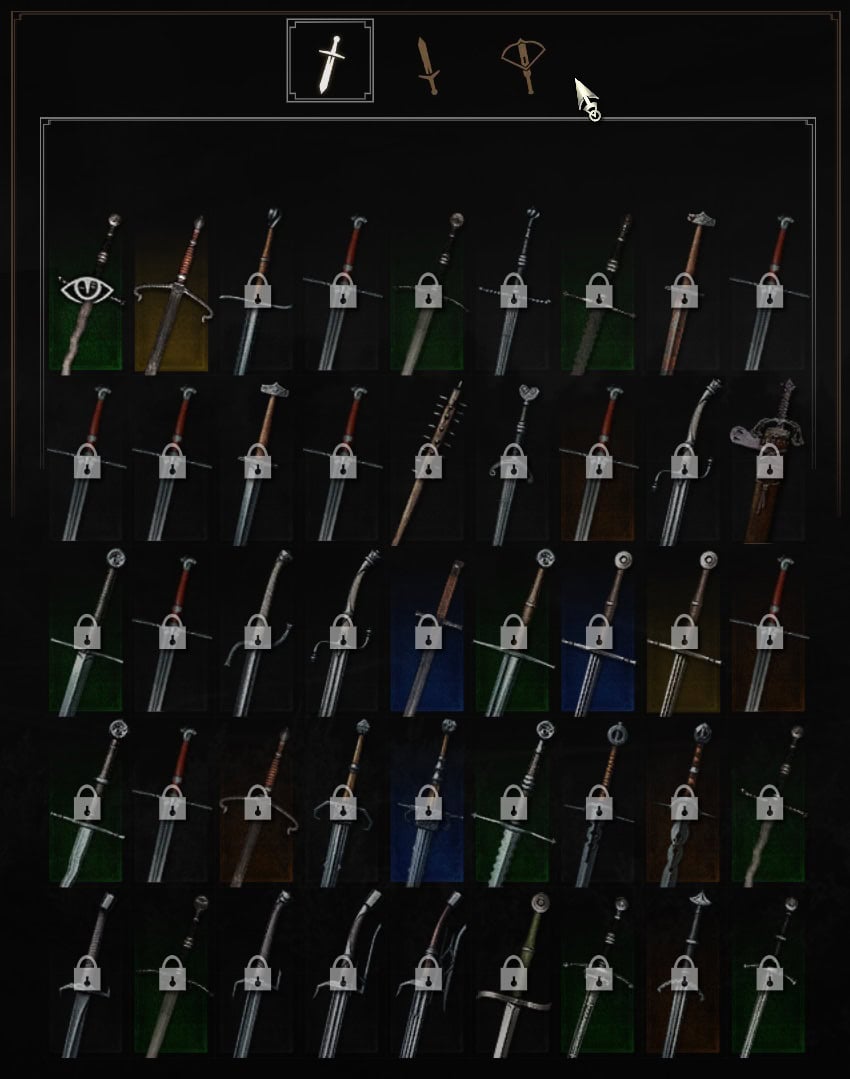
This is because the game hasn’t “registered” it yet. This can be quite scary due to how much time it takes to acquire some of this gear, and losing it means grinding all over again, but you have nothing to worry about.
Thankfully, the solution is super simple. All you have to do is go to your stash, put everything into your inventory, and then put it back in the stash. They should now appear as available options in the Reforge menu.
What happens when you upgrade Witcher Gear?
As I mentioned before, the game registers when you get a new piece of gear. Let’s say you have the Standard Wolven Set and upgrade it all the way to the Superior Wolven Set. Since you already got access to all three, all of them will be available at the Reforge menu.
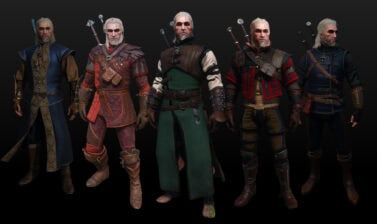
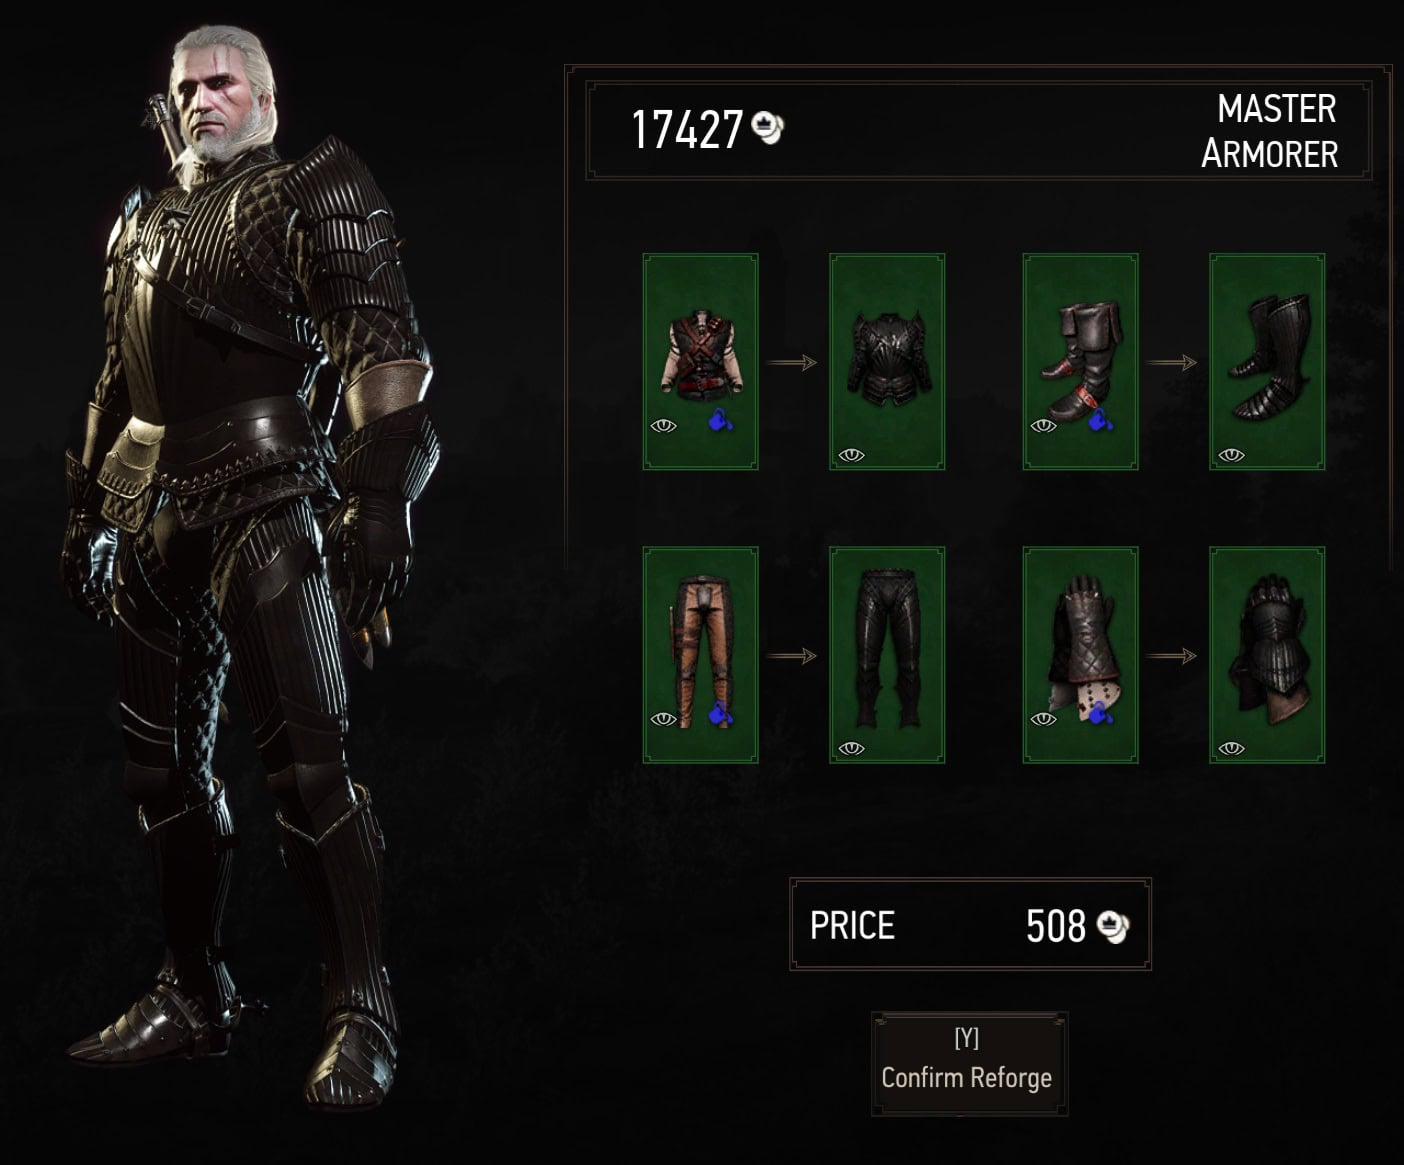
However, there is something that happens with very specific gear that can confuse players. I will use the Griffin Set as an example. In the following picture, you can see the Enhanced, Superior, Mastercrafted, and Grandmaster Sets.
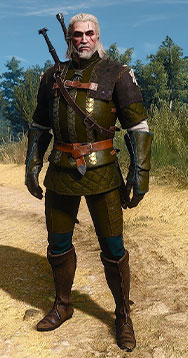
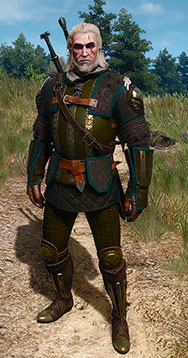
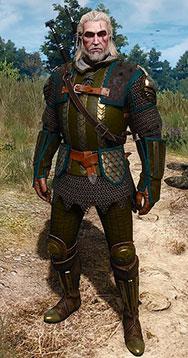
If you pay attention, you will realize that the boots and gauntlets of the Superior and Mastercrafted sets are the same.
In this case, you will only get the Mastercrafted version option in the Reforge menu because having the same appearance with a different name would be redundant. This is something that happens with other Witcher gear pieces, so it’s important that you are aware of this to avoid any unnecessary confusion.
Does Reforge work in New Game+?
Starting a New Game+ does not unlock Reforge automatically. You will still need to unlock the Master Armorer and Master Blacksmith through their respective quests.
For brand-new saves, every piece of gear you loot or craft will be added automatically to the Reforge menu.
Legacy Next-Gen Transmog Method via a Mod
If you prefer to stay on Next-Gen and not upgrade to the Remastered edition, the old method of installing a mod and some manual tweaks should still work.
- Download the mod “AMM – The Appearance Menu Mod” from Nexus Mods.
- Create a folder called “mods” inside the game folder.
- Unpack the “AMM Scripts and Horse Mod” into the “mods” folder.
- Copy and overwrite the “bin” folder from the “AMM Menu Input DLCs” archive into the main game folder.
- Copy “DLCAMM” and “DLCAMMHORSE” into the “DLC” folder in your main game folder.
- Open inputs.txt from the downloaded archive and add the required lines to the “input.settings” file in \The Witcher 3.
- Copy the contents of the downloaded “hiddenxml.txt” in the existing “hidden.xml” file located in \bin\config4game\user_config_matrix\pc.
- Copy the contents of the downloaded “inputsxml.txt” file in the existing “input.xml” file located in \bin\config4game\user_config_matrix\pc.
- Copy the contents of the downloaded “nextgensteps.txt” file in the existing “dx11filelist.txt.” and “dxfilelist.txt” files located in \bin\config4game\user_config_matrix\pc.
- Launch the game and open the newly appeared “MODS” in the main menu.
Note: We at VULKK.com are not in any way affiliated or related to the creator of this mod. We simply loved the opportunity to add a transmog feature to this amazing game by using a third-party mod and are happy to share the process with you.