Everything you need to know about SWTOR’s Kessan’s Landing Daily Area, including how to access it, how to complete all missions, what rewards, reputations and hidden achievements are available here.
Table of contents
How to Unlock the Daily Missions
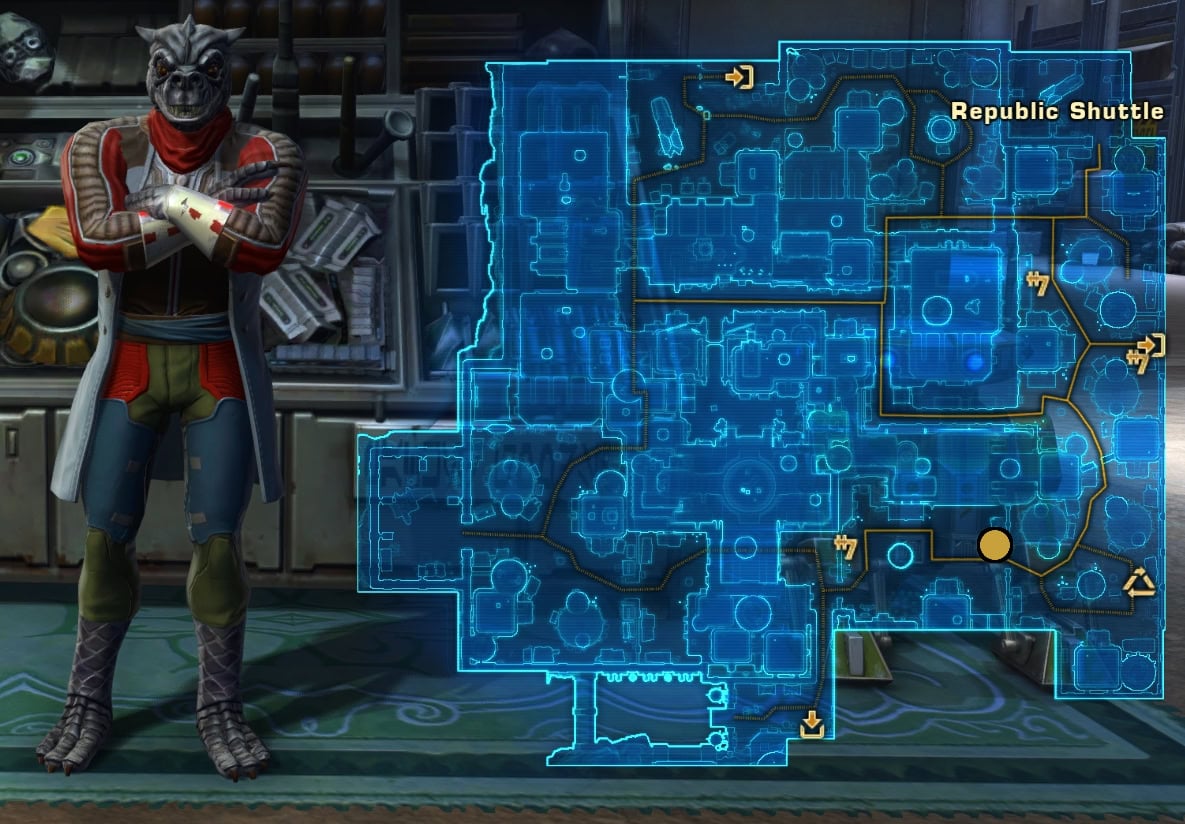
Kessan’s Landing is a new area on Ord Mantell, released with SWTOR Update 7.4. You can visit it, but you won’t be able to do Daily Missions here until you reach level 80 and complete the Chains in the Dark story.
How to Start the Chains in the Dark Story guideDaily Missions Walkthroughs
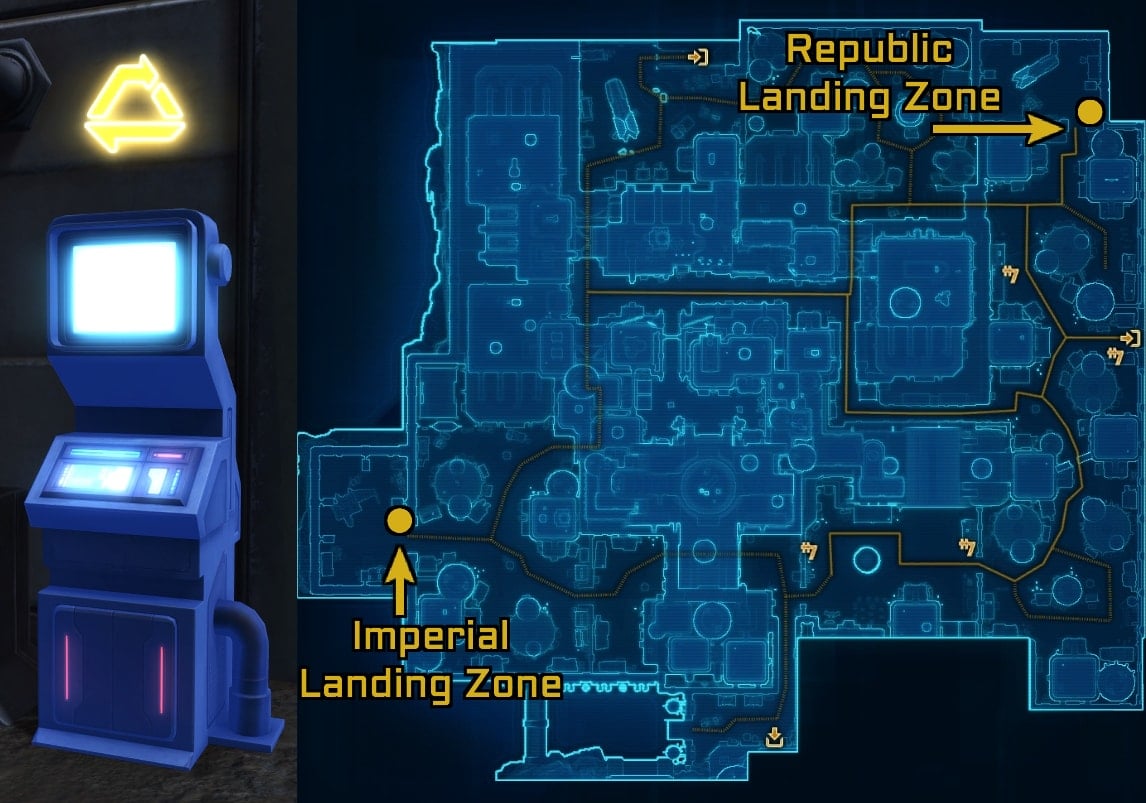
This section will go over the daily missions made available after completing the Chains in the Dark story. Once you’ve done this, you’ll have access to a Mission Board located near your faction’s landing zone at Ardak Point.
Chain of Command
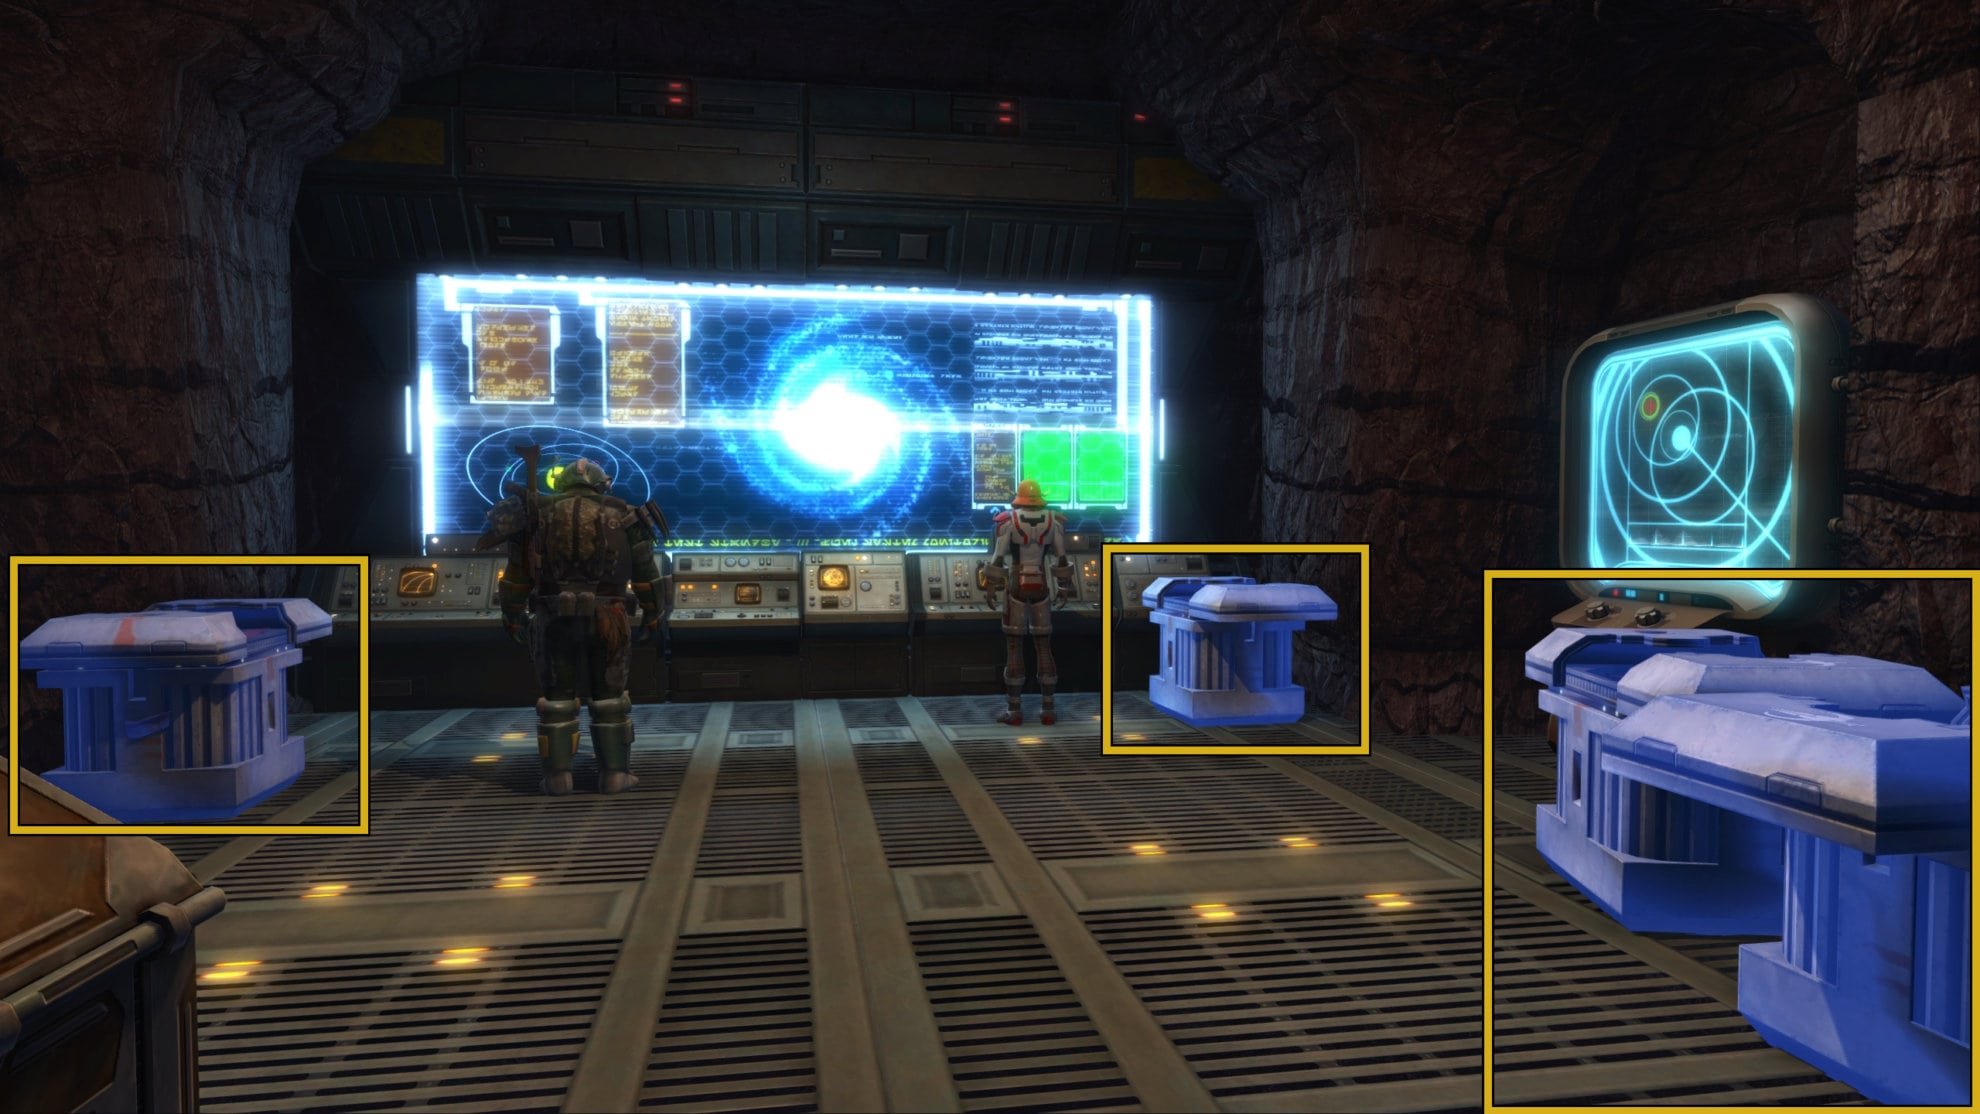
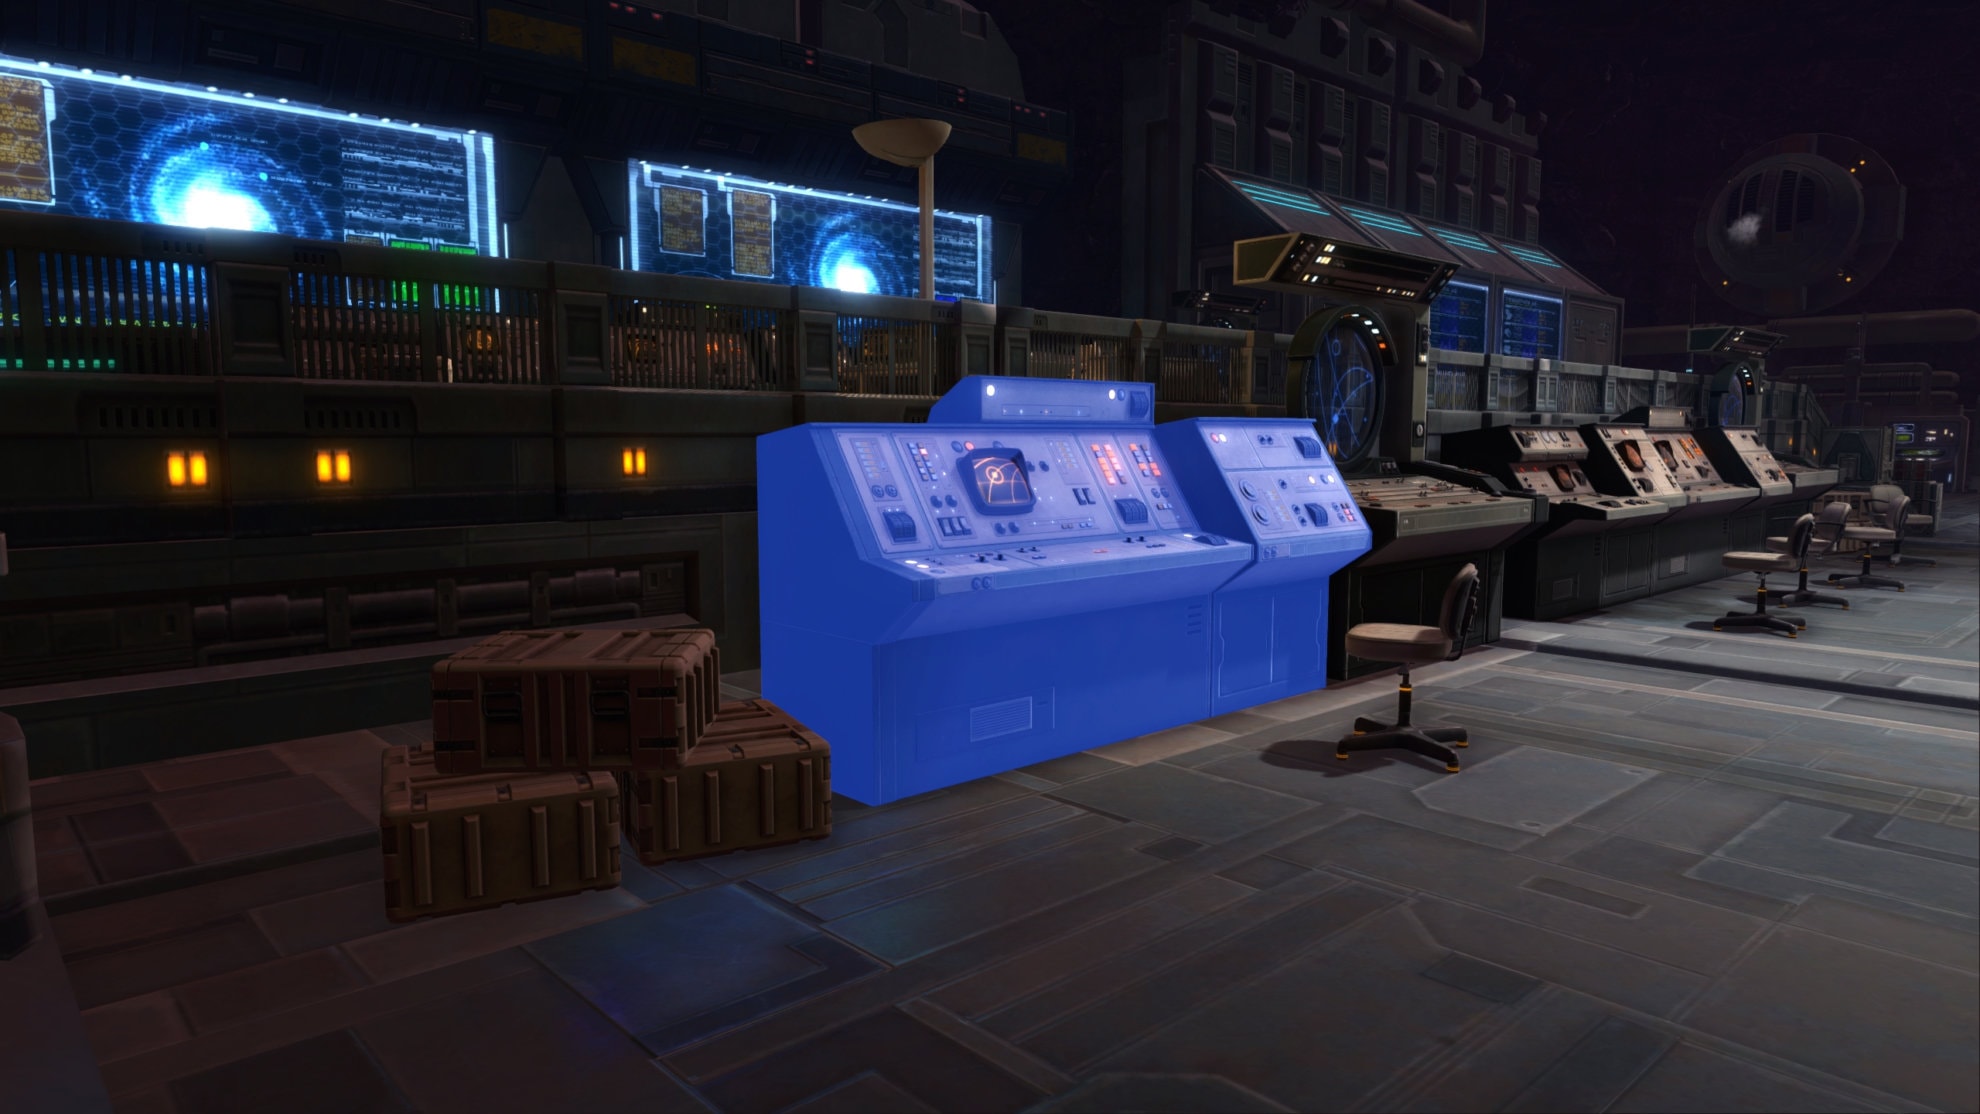
To start this mission, you’ll need to go to the Subterranean Power Station in the Northwest part of Kessan’s Landing. This is a long one that will take you around Kessan’s Landing, so you can do parts of it as you do other quests around the map.

Your first goal is to Retrieve Orders from Hidden Chain Command. You’ll need to find and defeat a Hidden Chain Captain to pick up any information they’re carrying.
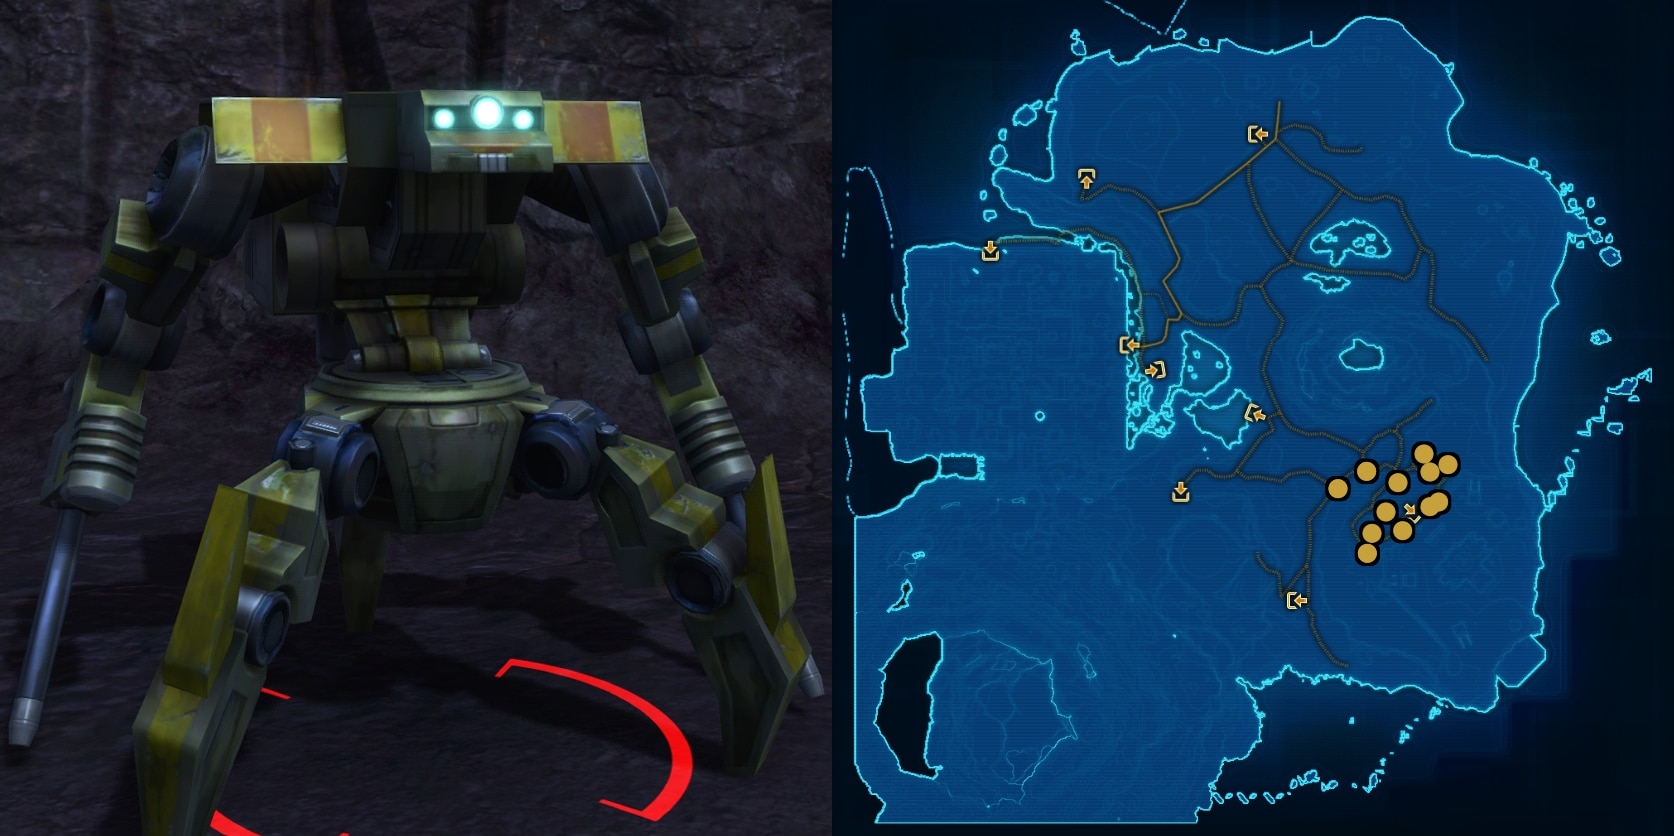
Next, you’ll want to use the door panels in the north room. You’ll need to summon and defeat De’Hesta Bretu. After defeating De’Hesta, take the east exit out of the power station and make your way to the northern beach. You’ll need to find and defeat Separatist Bomber NPCs to retrieve explosives from them.

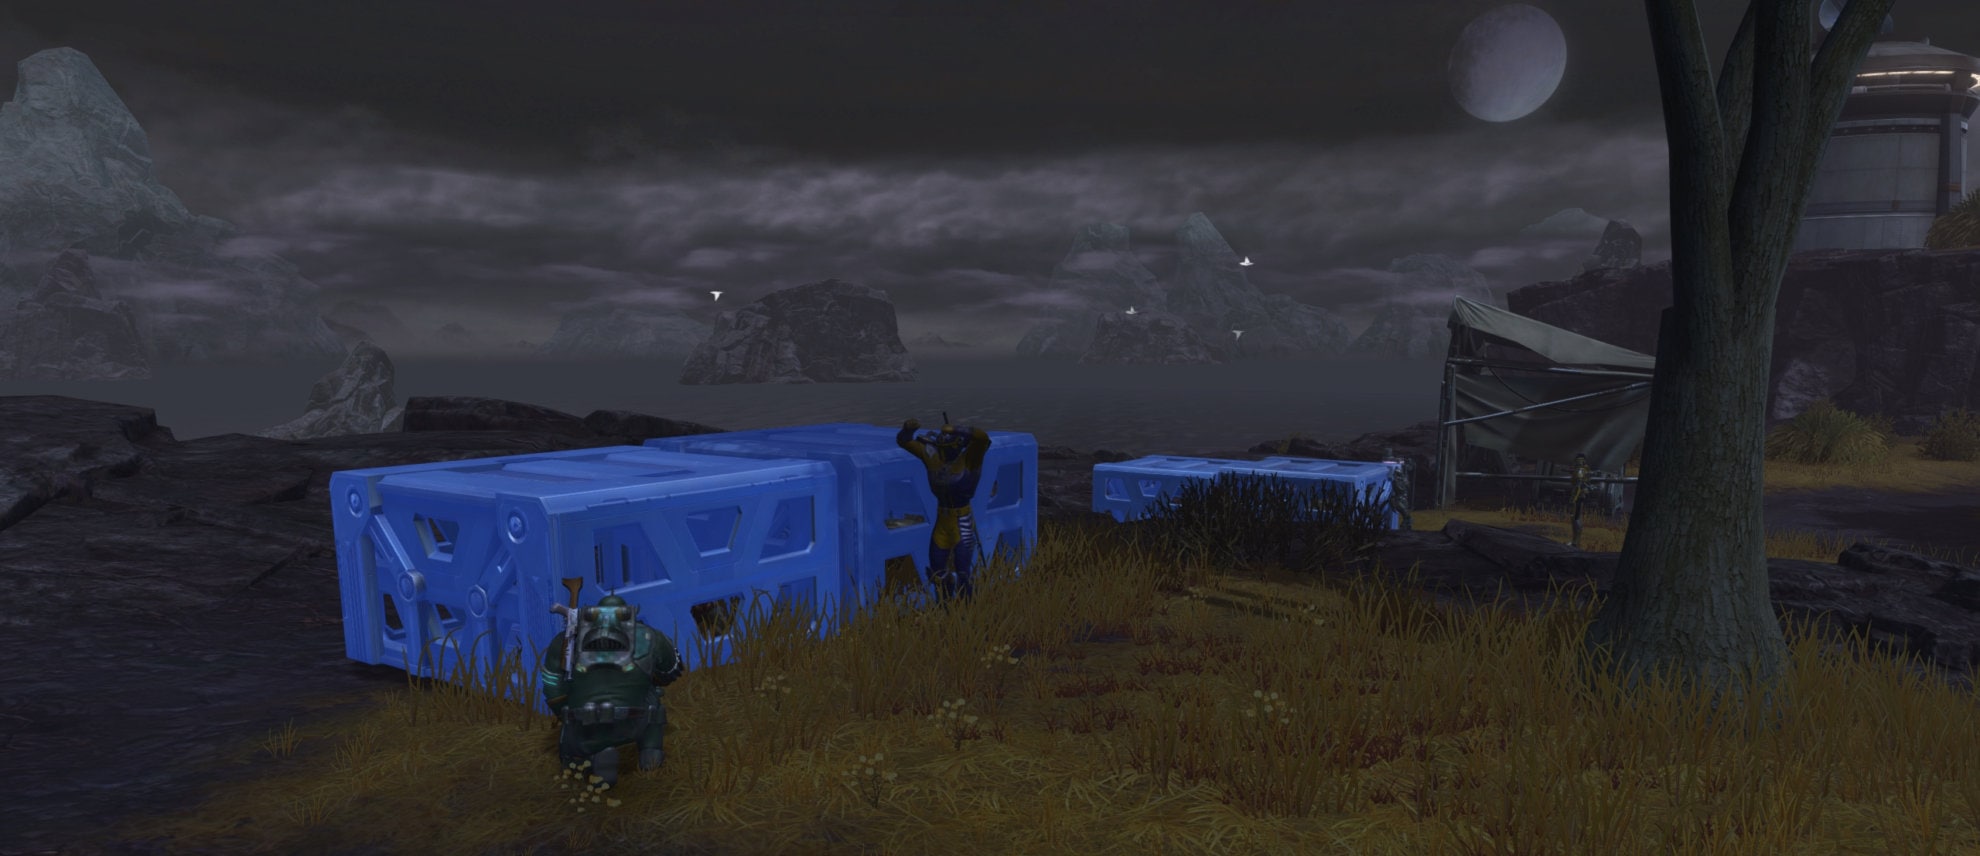
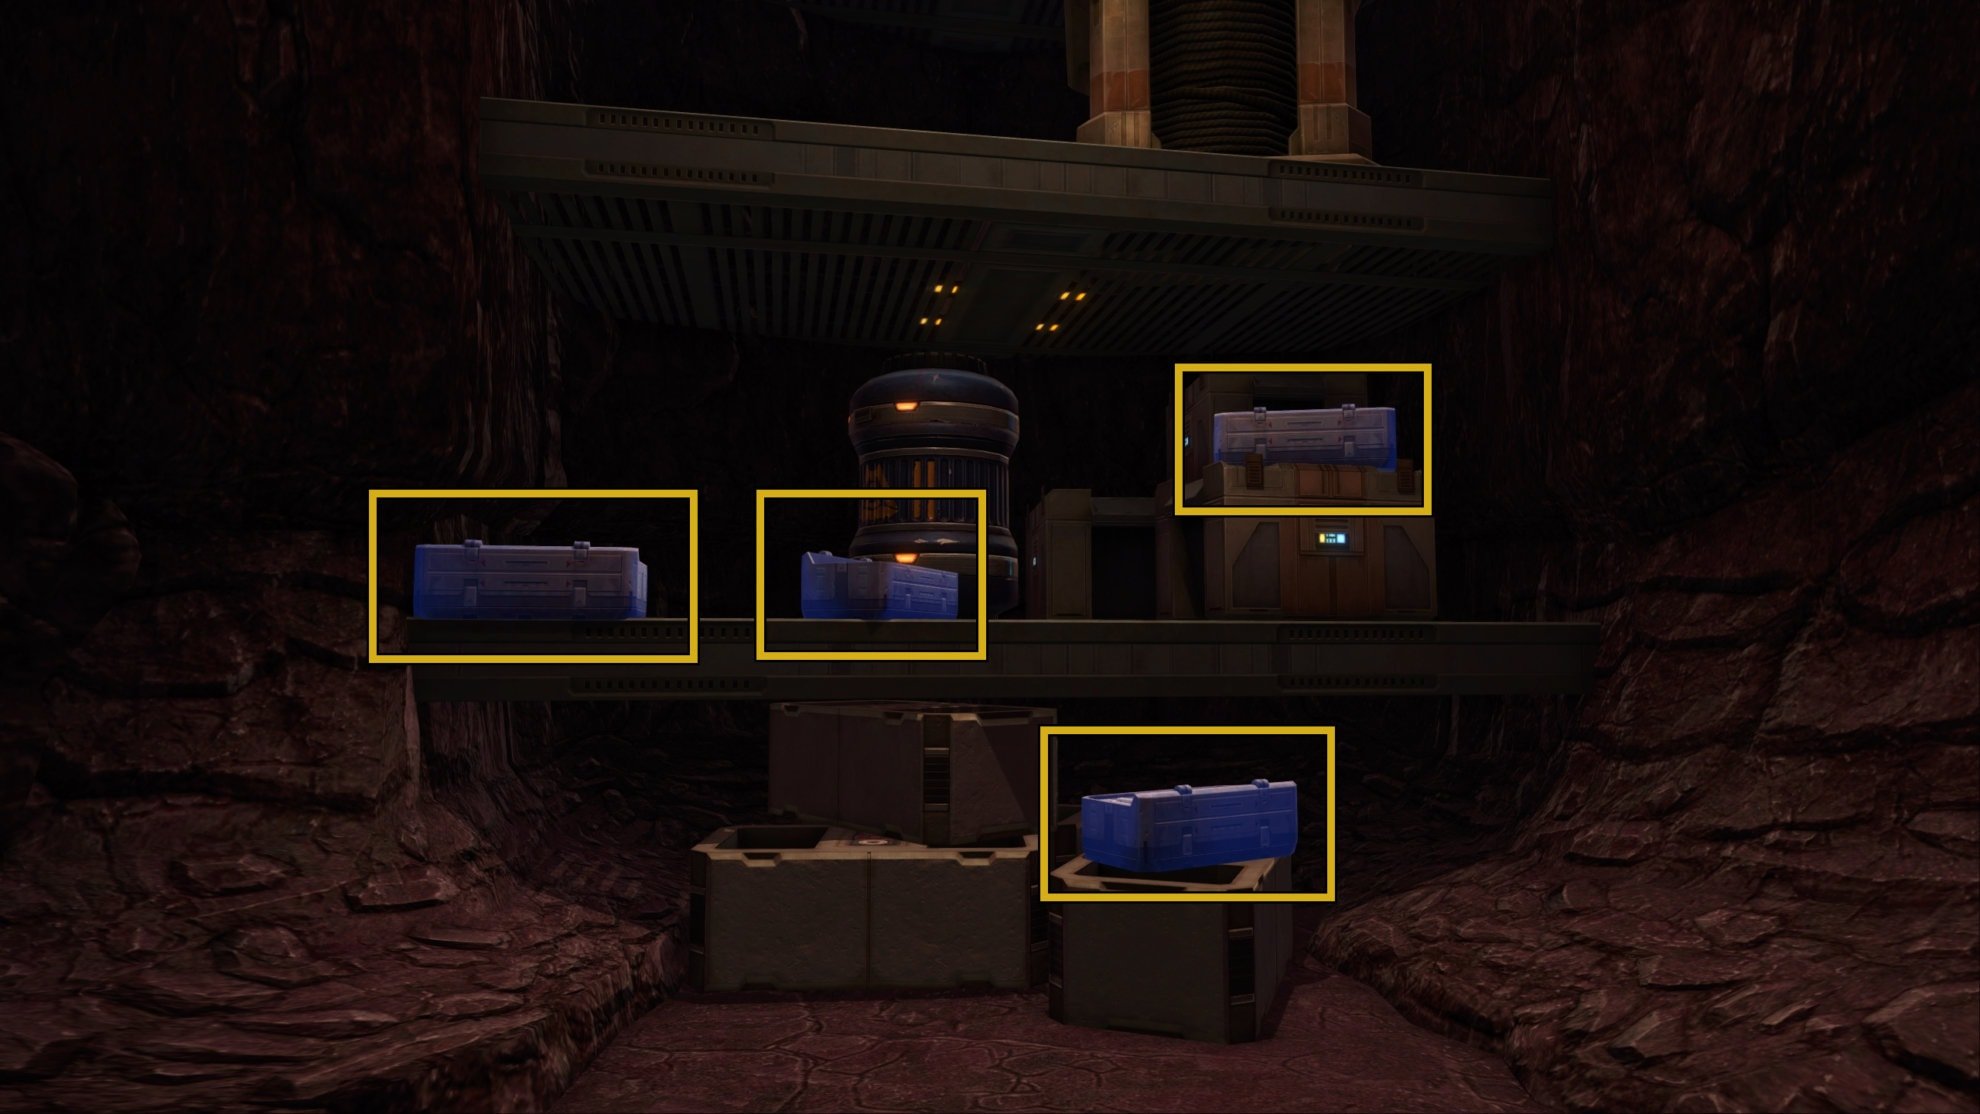
Once you got some explosives from the bombers, plant them at the blue crates nearby labeled Larsi’s Stockpile of “Goodies”. Take out the adds then defeat Larsi the Bloody. Next, head to the area outside Fort Ronnig and defeat Hidden Chain Beast Masters to find a Panther Cage Key.

Once you get the Panther Cage Key, unlock Basterosa’s Posh Cage inside Fort Ronnig to summon her and her “Baby” Panther. Defeat them to finish the mission.
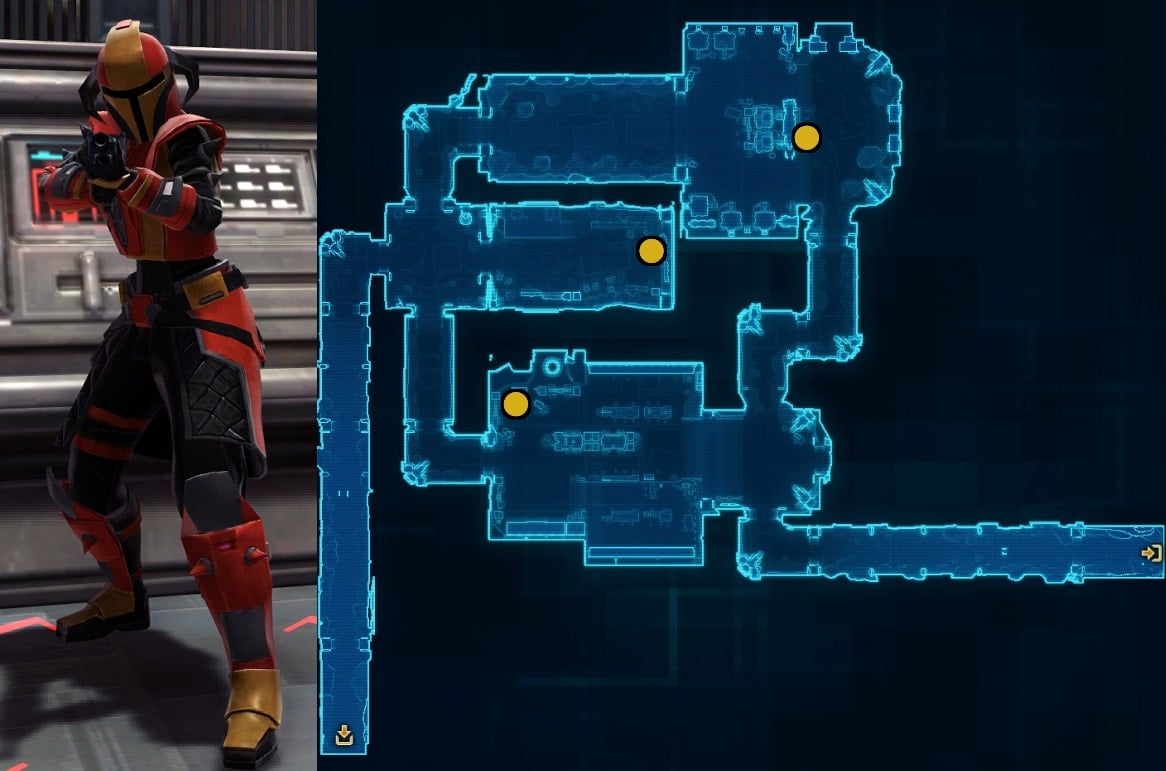
Everything Must Go
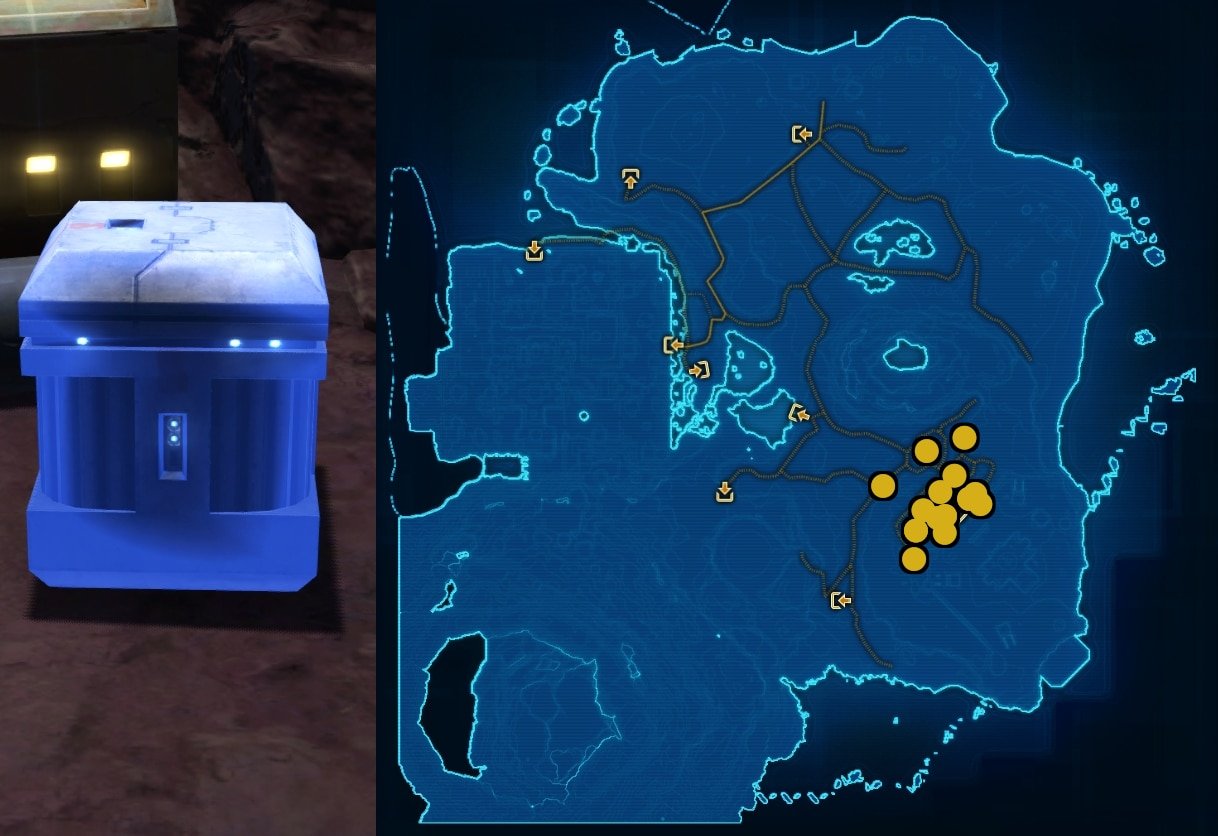
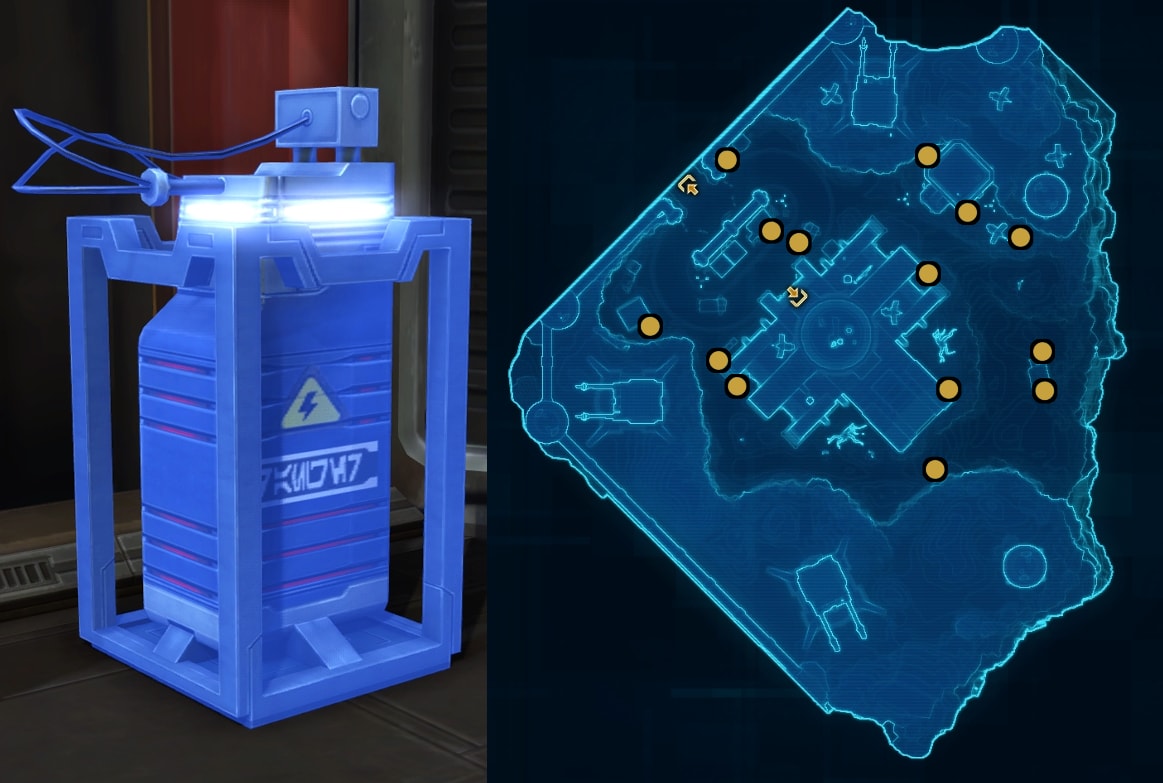
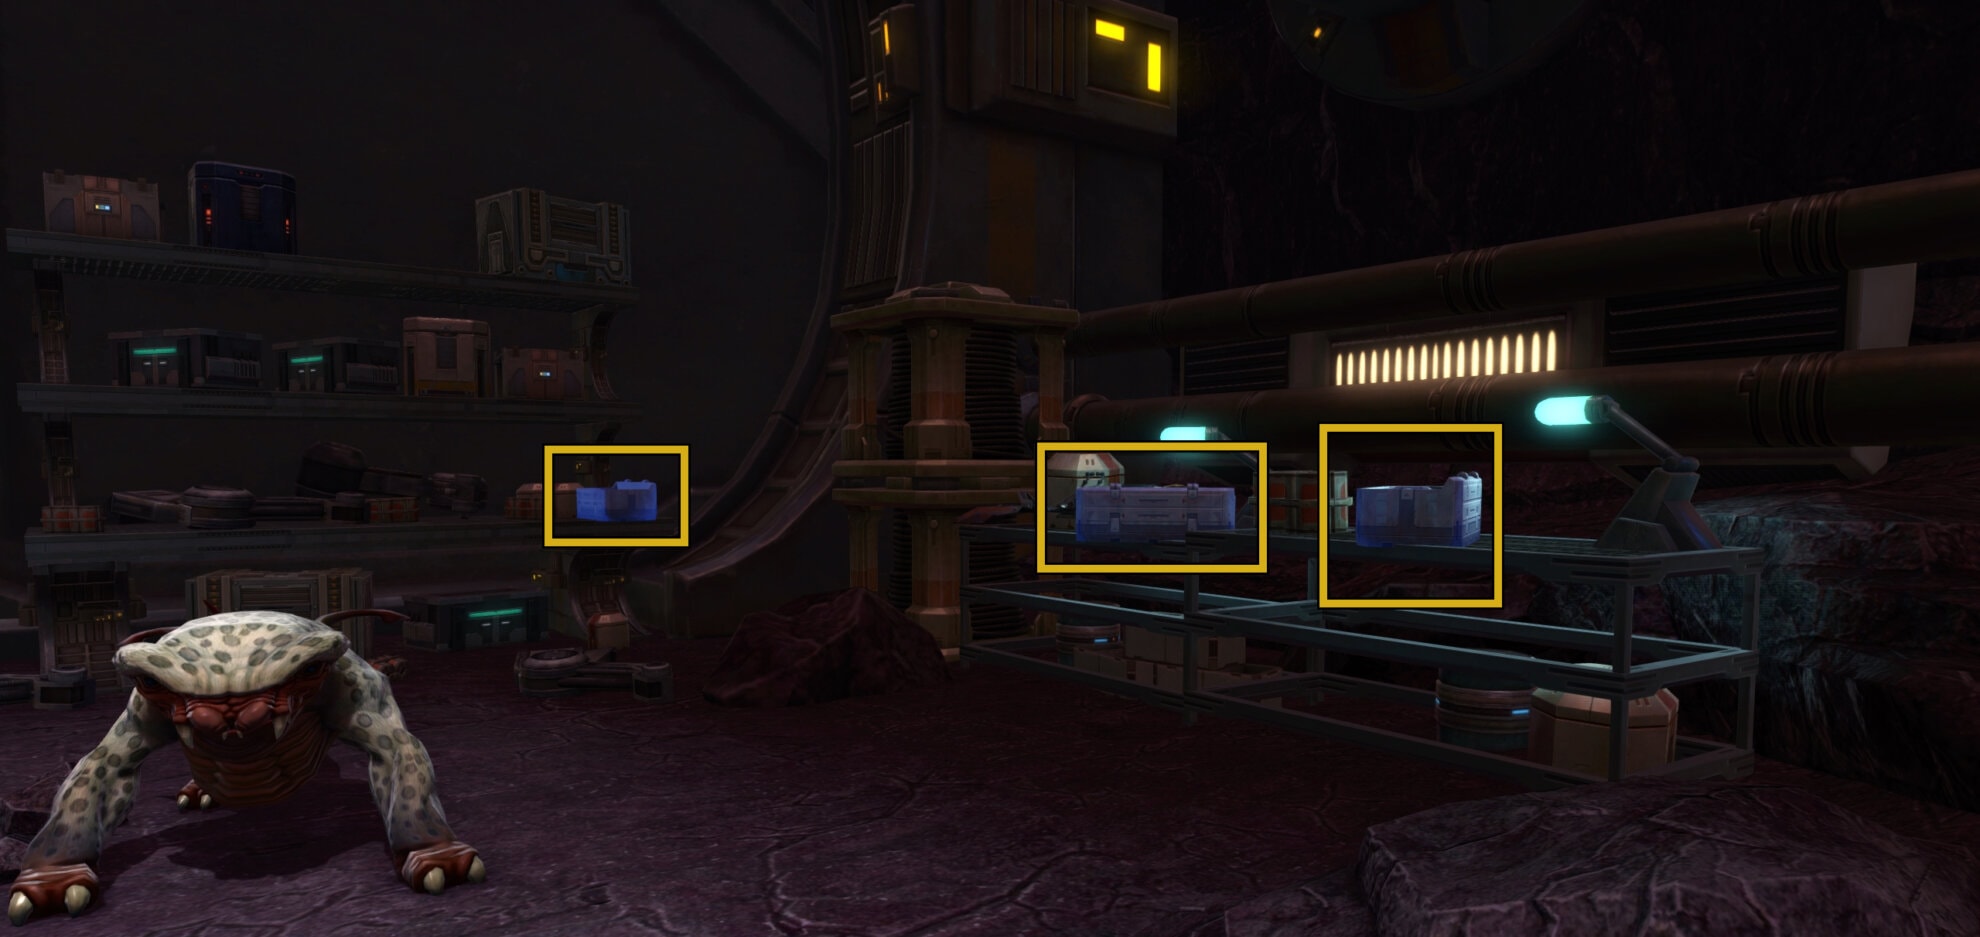
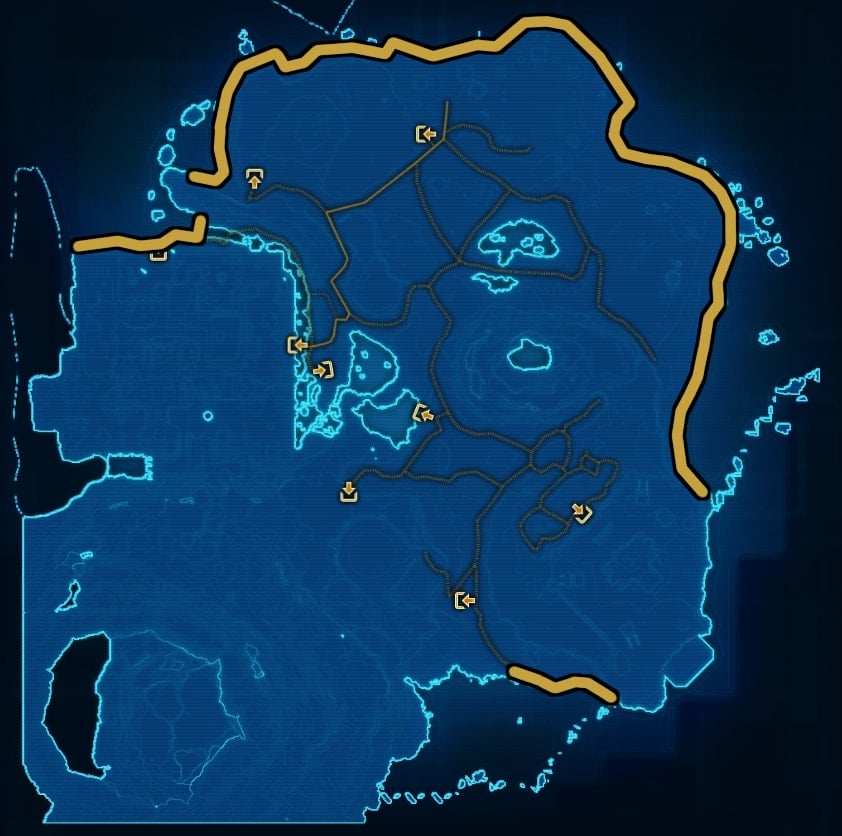
You’ll need to go to the area outside Fort Ronnig for this mission.
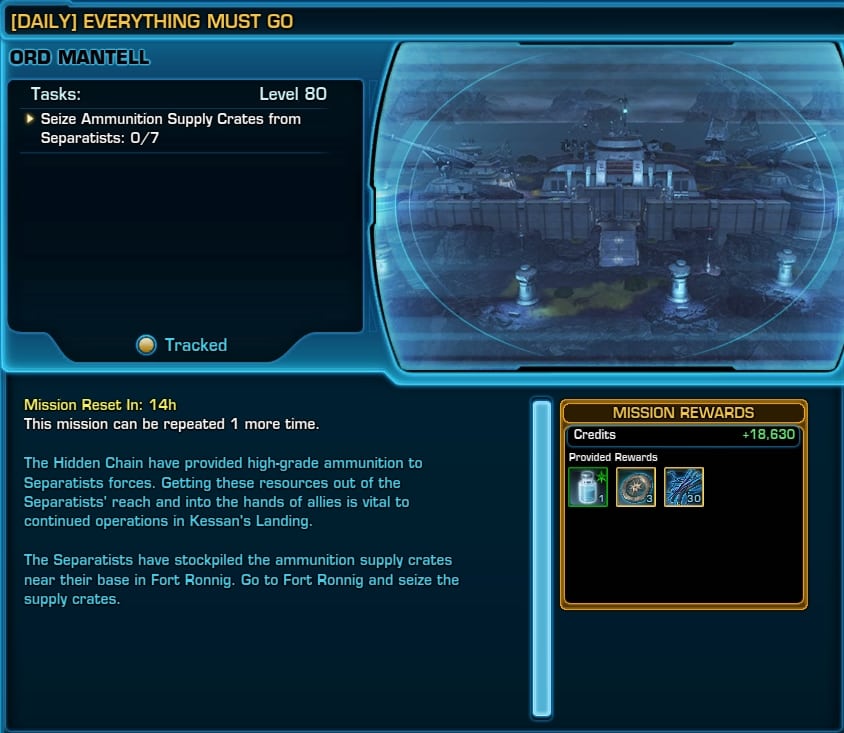
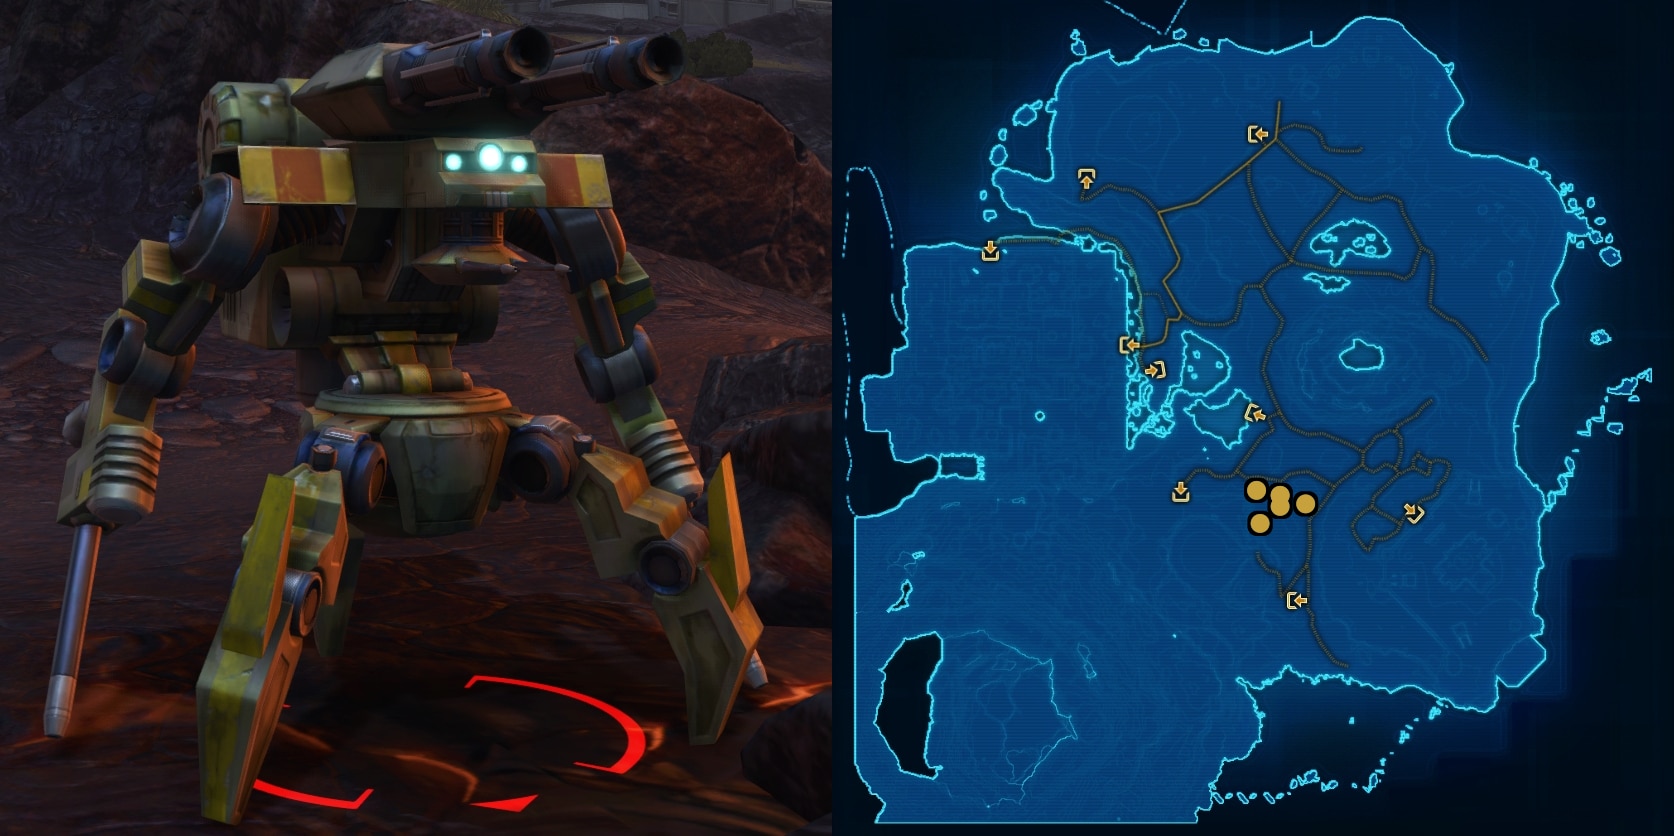
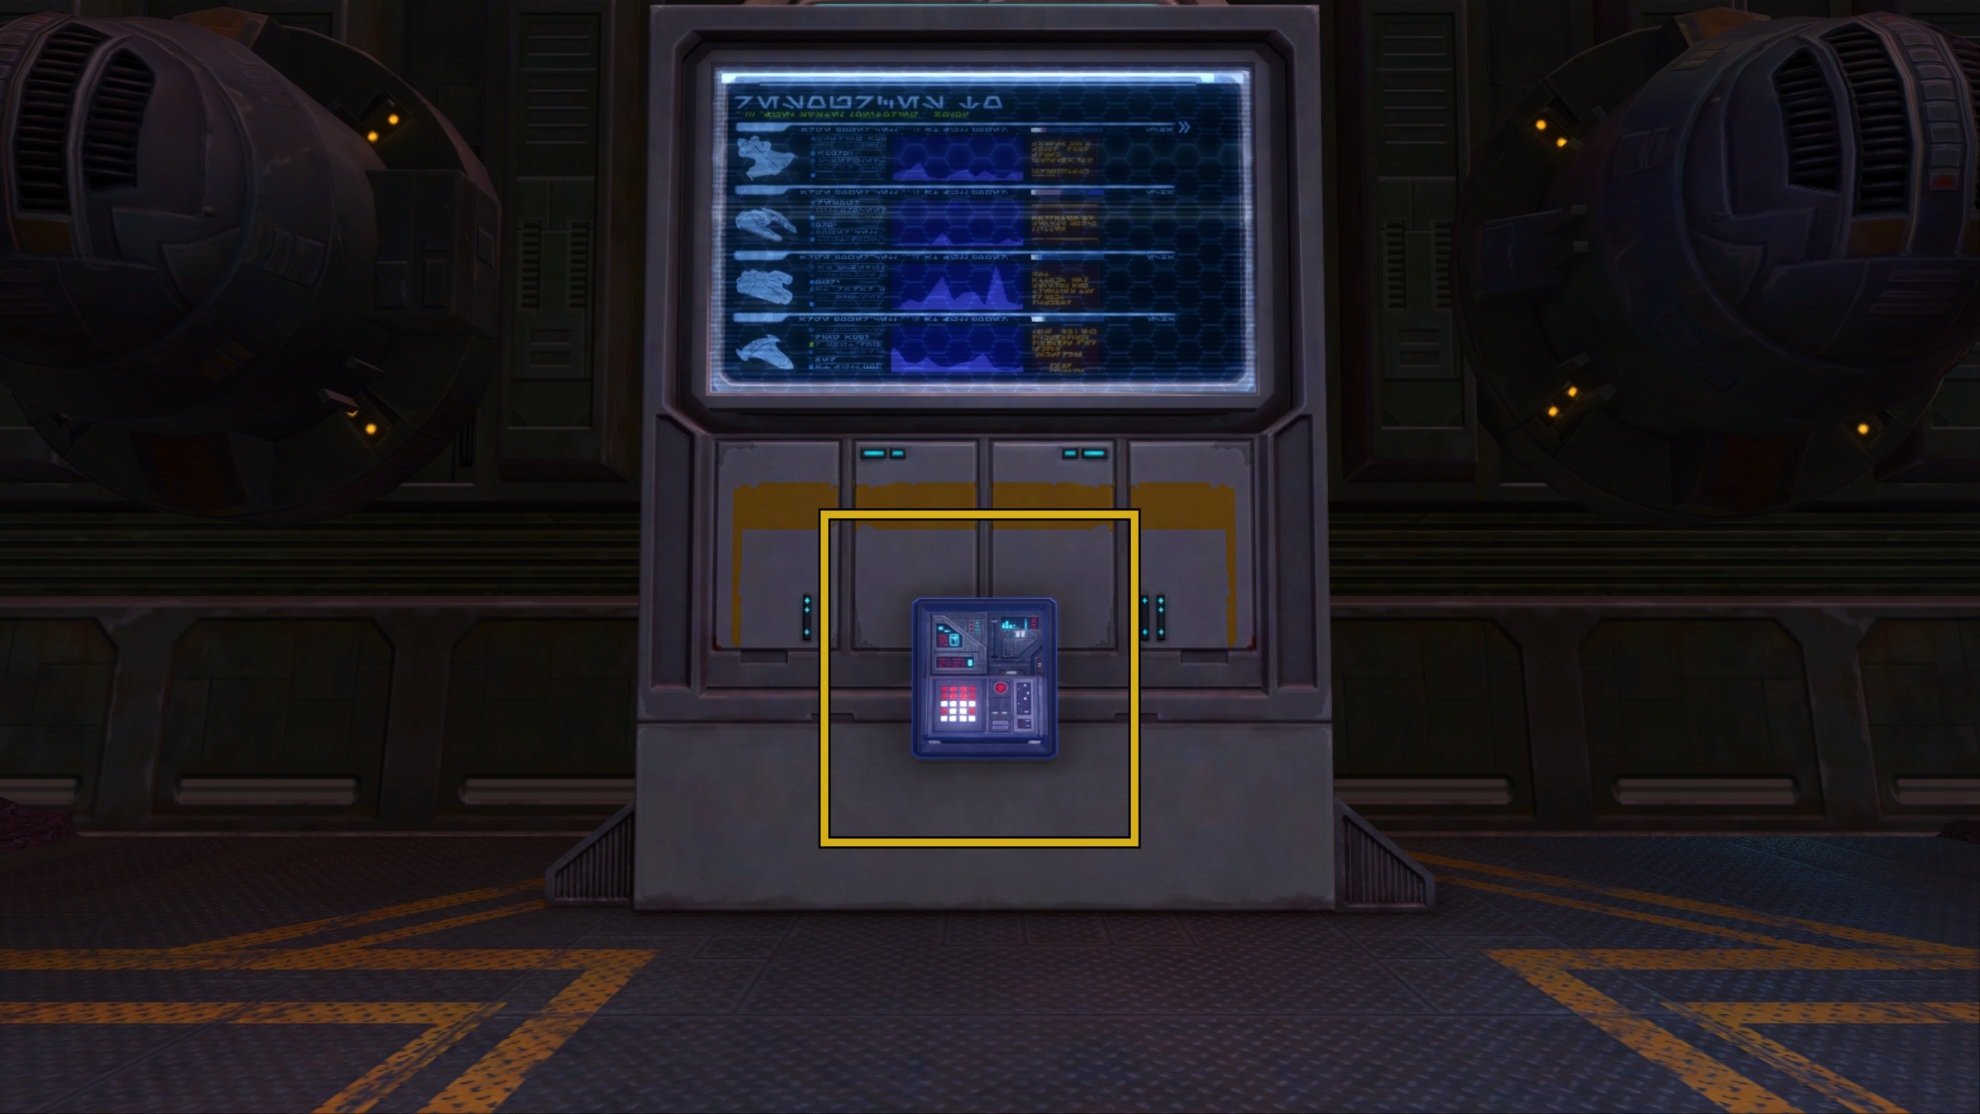
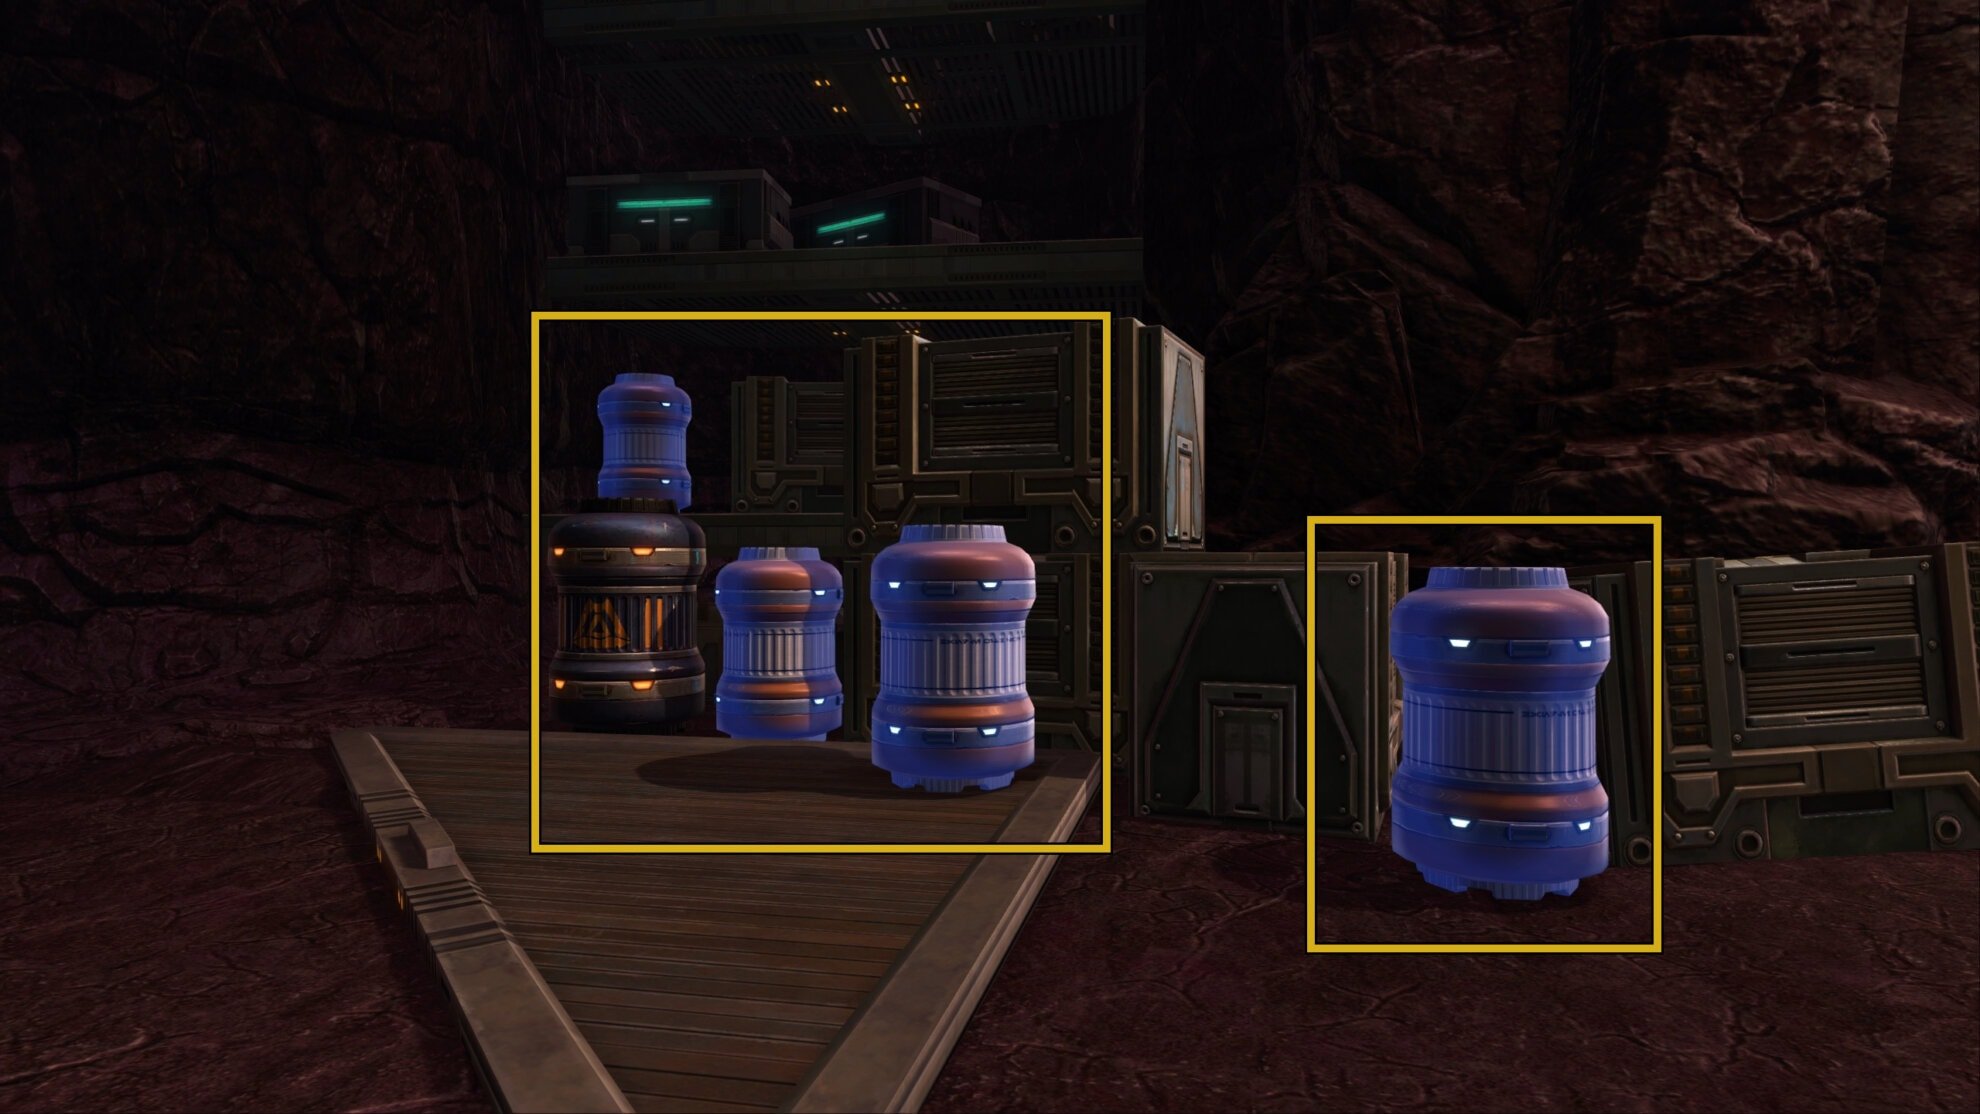
You’ll want to seize 5 Ammunition Supply Crates from Separatists in the area. You can see their locations on the map below:
Once you’ve seized 5 Ammunition Crates, return them to Ardak Point and arrange pickup of the Ammunition Supply Crates. Choose where to send the crates to at the nearby terminal and you’ll complete the mission.
Grateful Grazers (Republic Only)
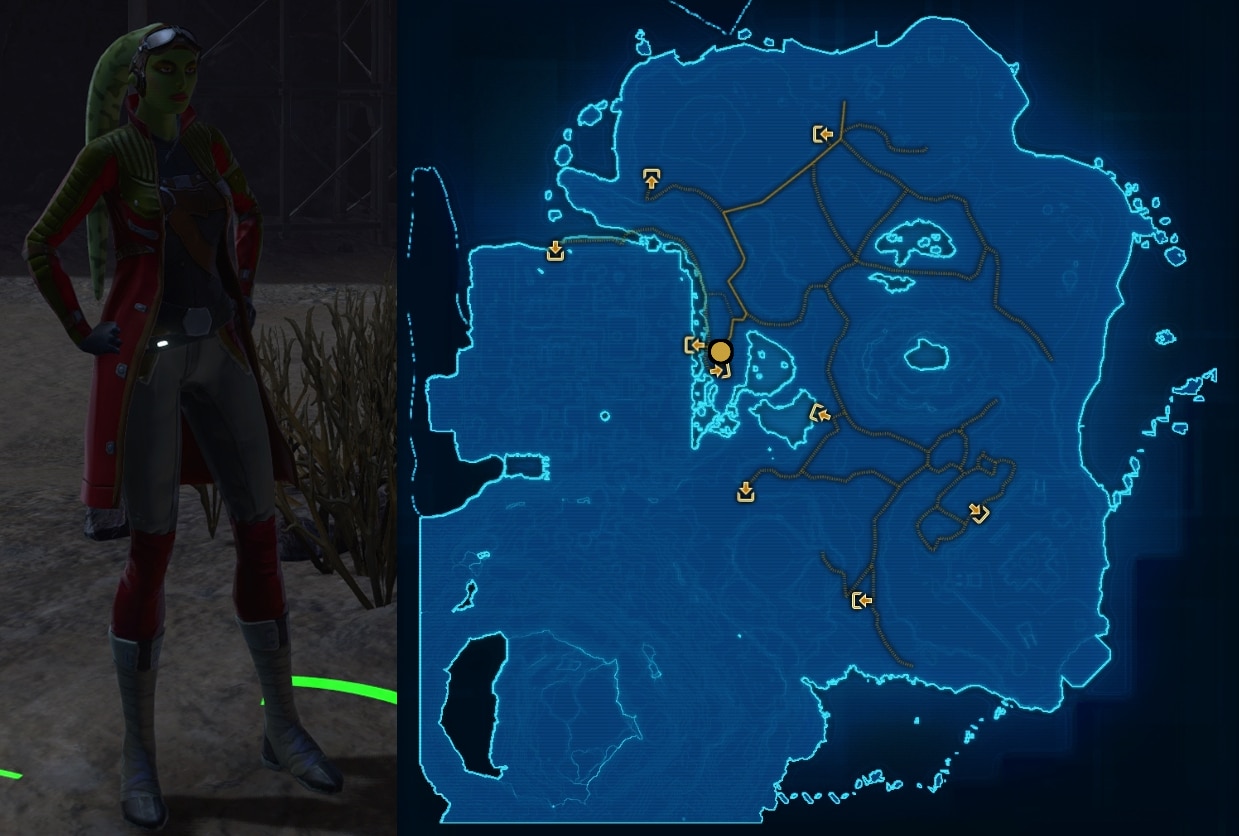
This mission is only available for Republic characters. To obtain Grateful Frazers, you’ll need to quick travel to Port Granost and talk to a Twi’lek named Daltist Se’gen.

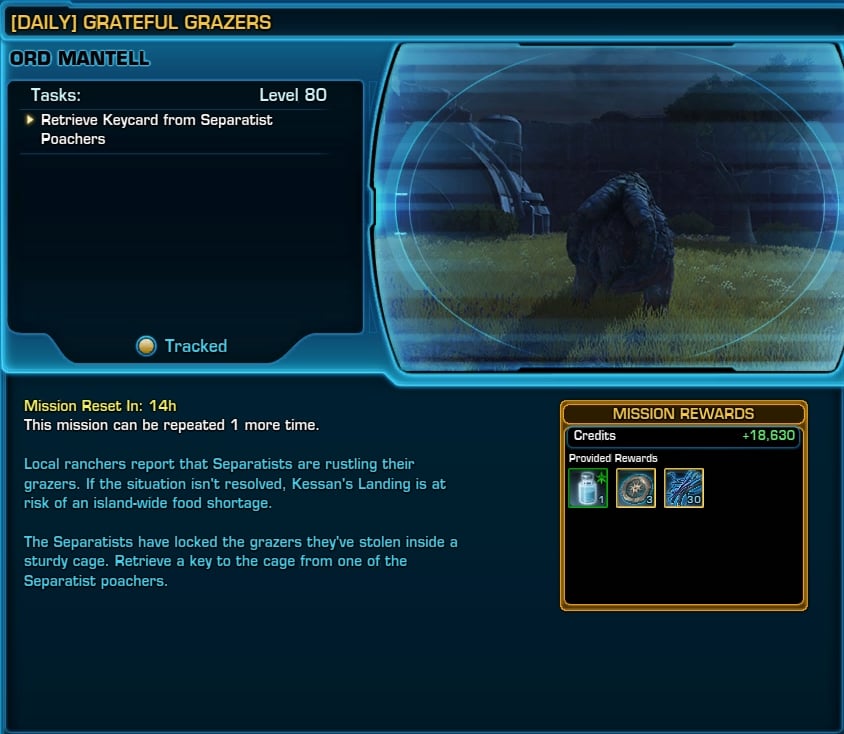
Your first step is to defeat a poacher to pick up a Holding Cage Disarm Code. Your second goal is to free 3 Caged Grazers. These are easy to find and shouldn’t take long to complete. Once you do this, a Grazer Mangler will start following you.
Find and defeat the Head Poacher to get a Grazer Medpac, target the Grazmer, then use it on the Grazer. Return to Daltist Se’gen to turn in the mission.
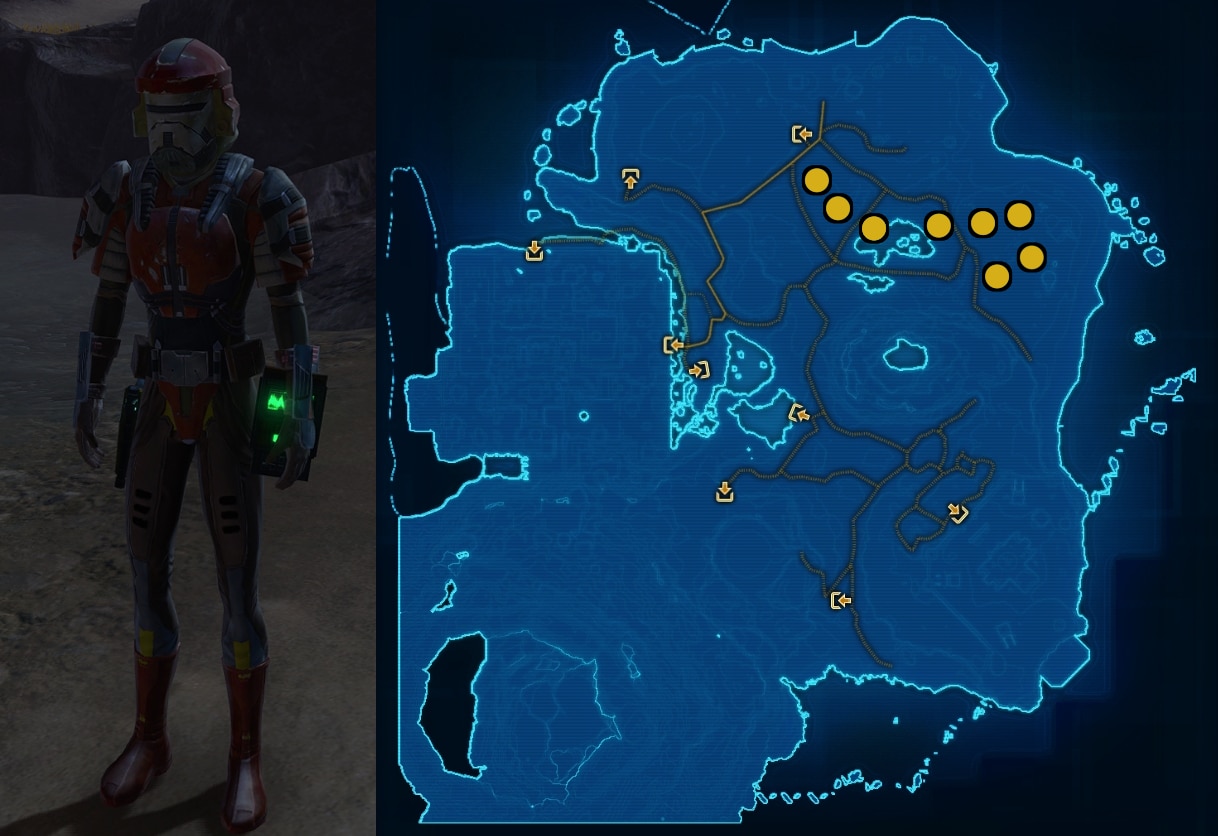
Island Assessment
Head to the North area of Kessan’s Landing for this mission.
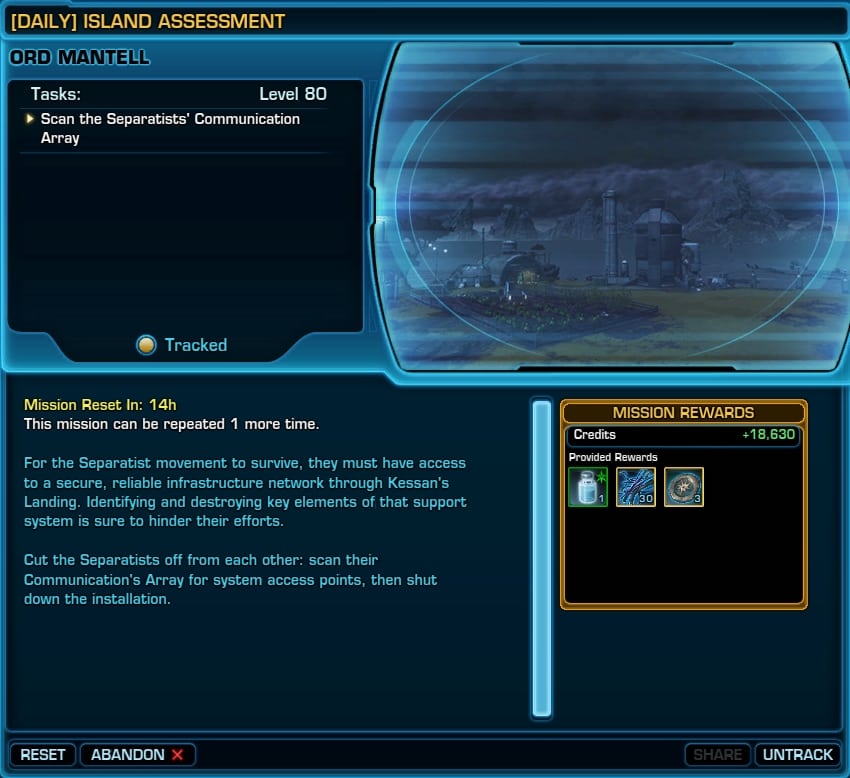
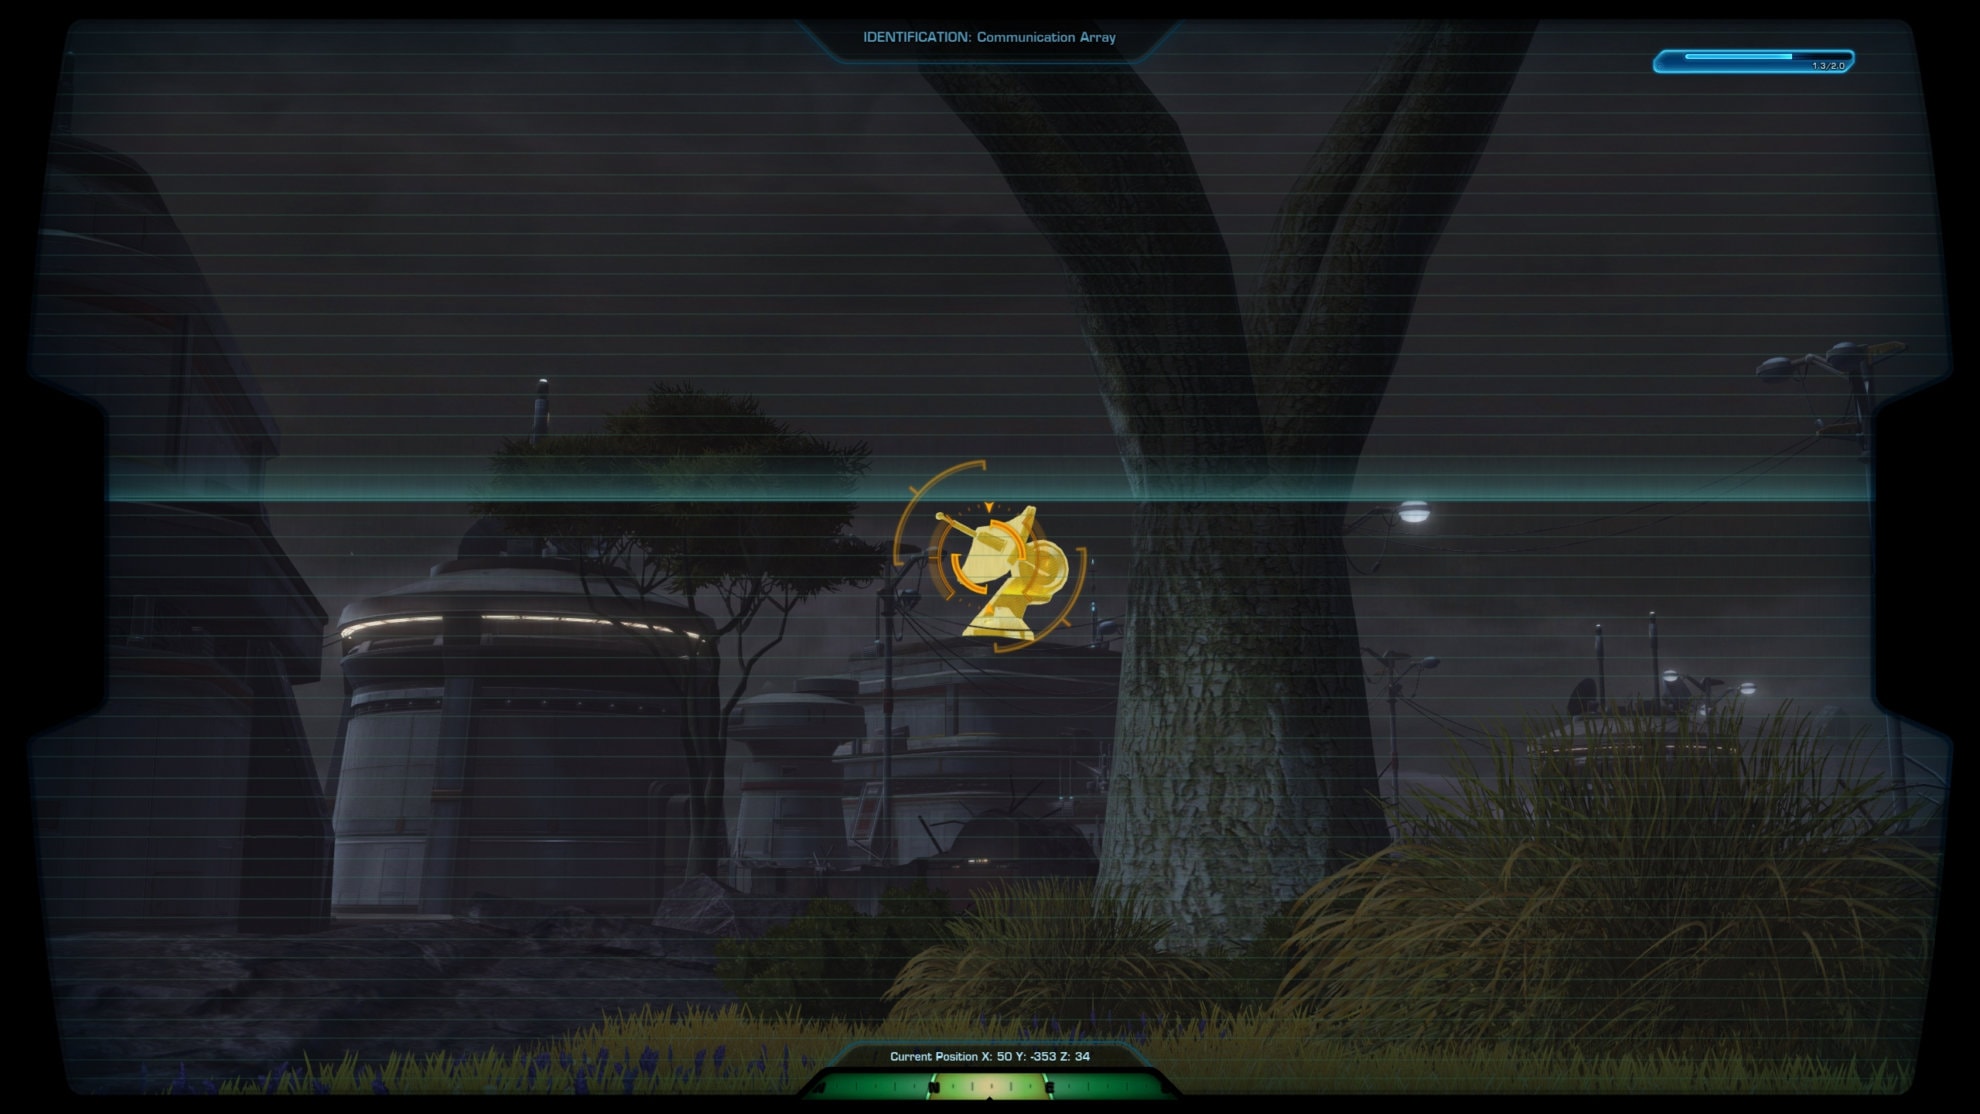
Scan the area for the Separatist’s Communication array with your Handheld Scanner mission item. Once you scan this, you’ll need to disable 2 Separatist’s Communications Arrays. This is around the arena where you can fight the world boss, FR3-D0M. Just don’t go inside the arena and aggro the droid.
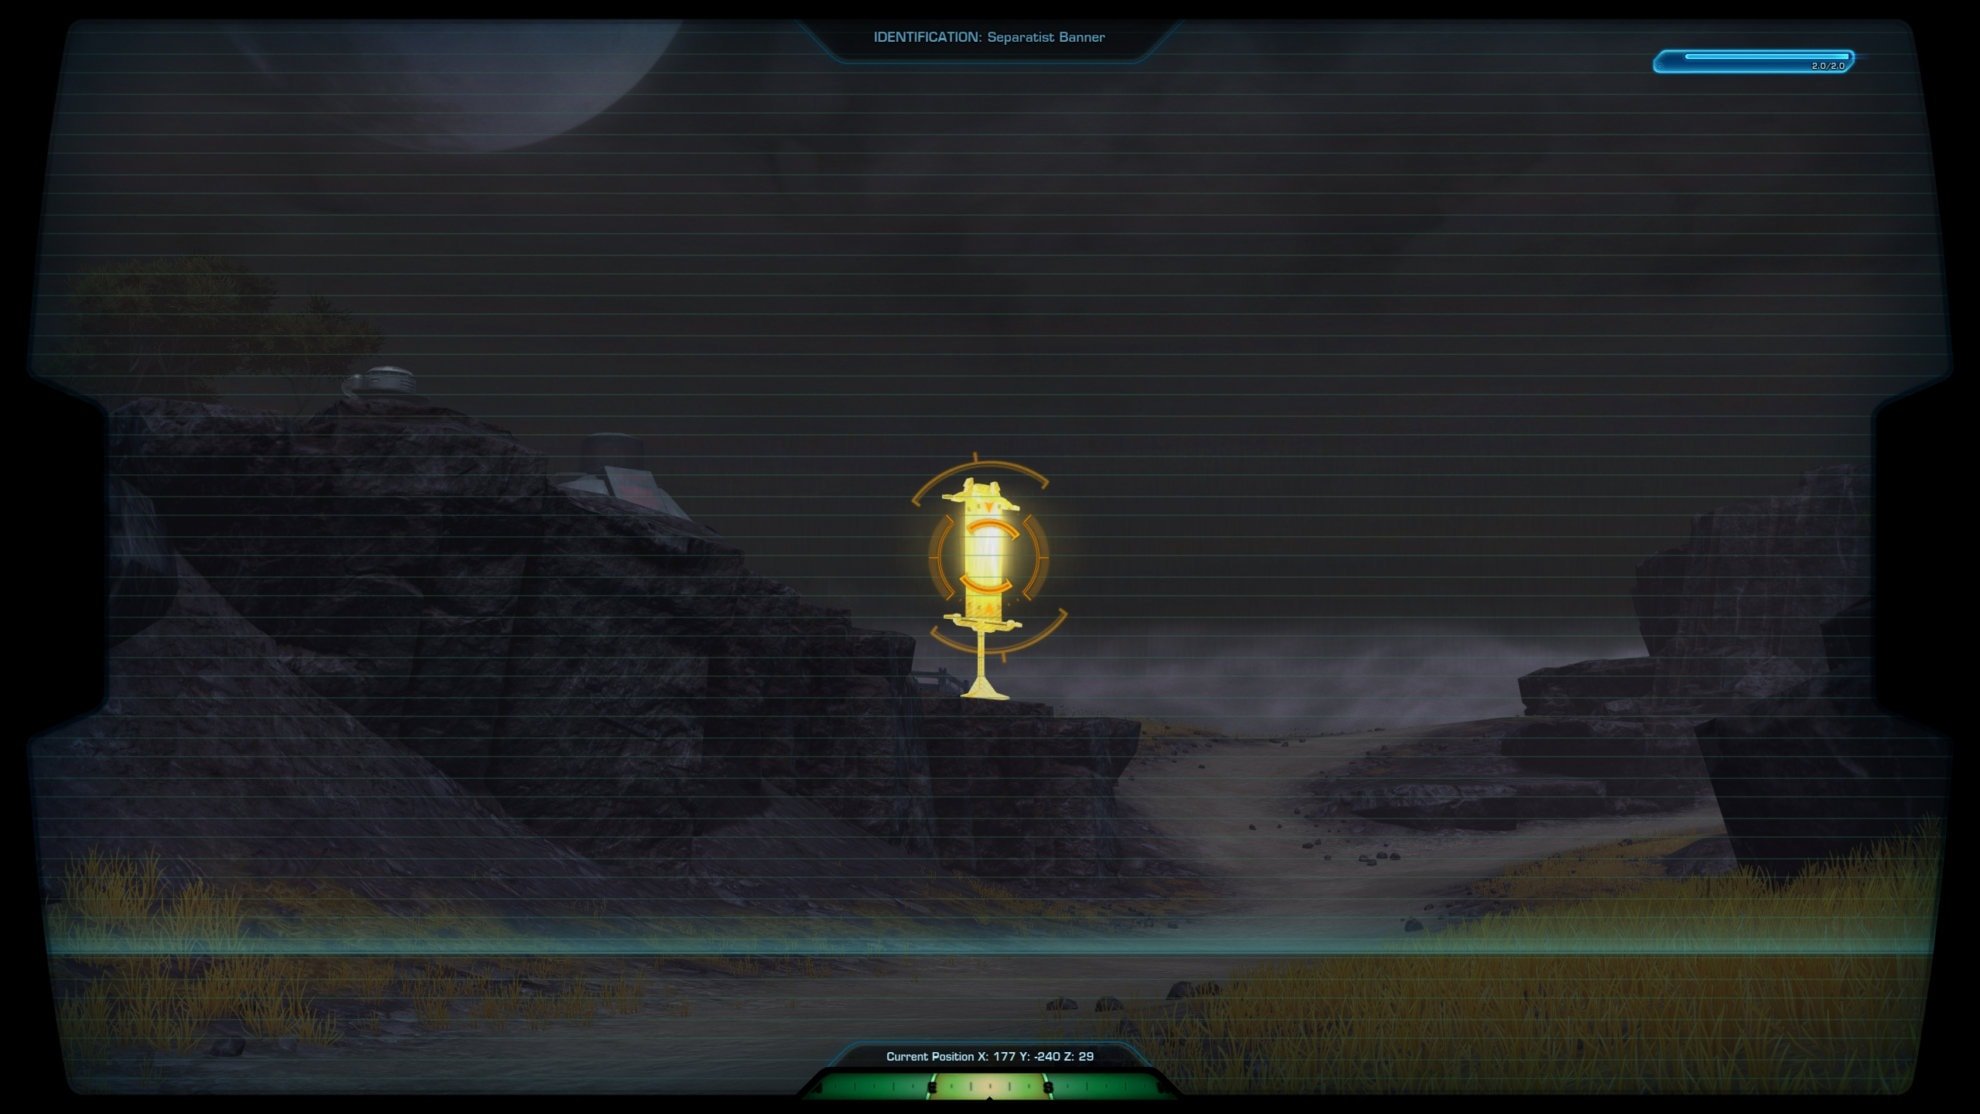
Head south to reach the next scanning area. Scan a Separatist Banner then disable 5 Separatist Mines. These mines are near impossible to miss as they litter the whole area. Fortunately these are the worst mines in the galaxy as they won’t explode when you step on them.

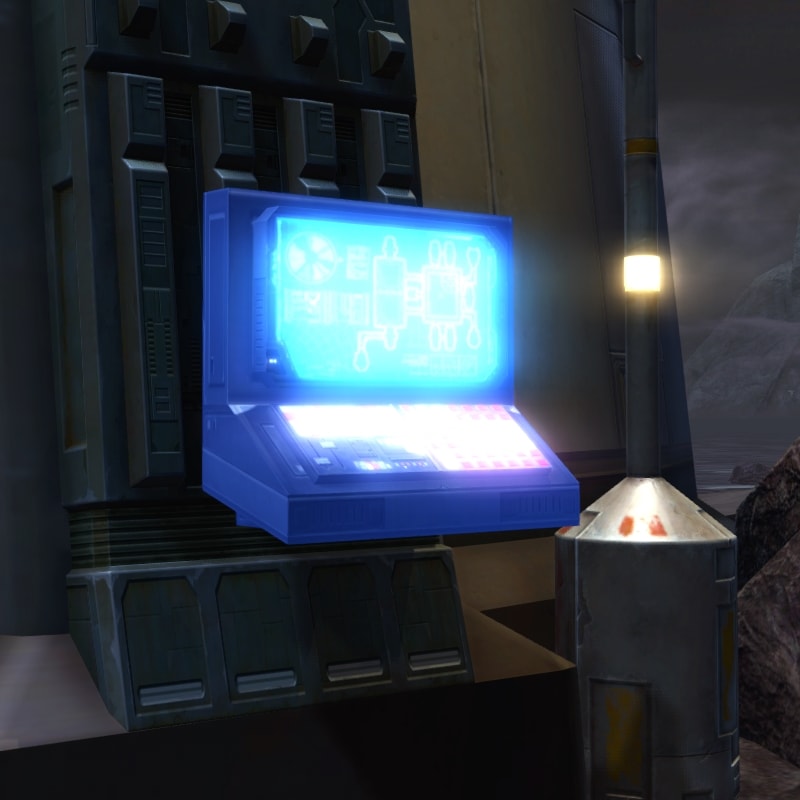
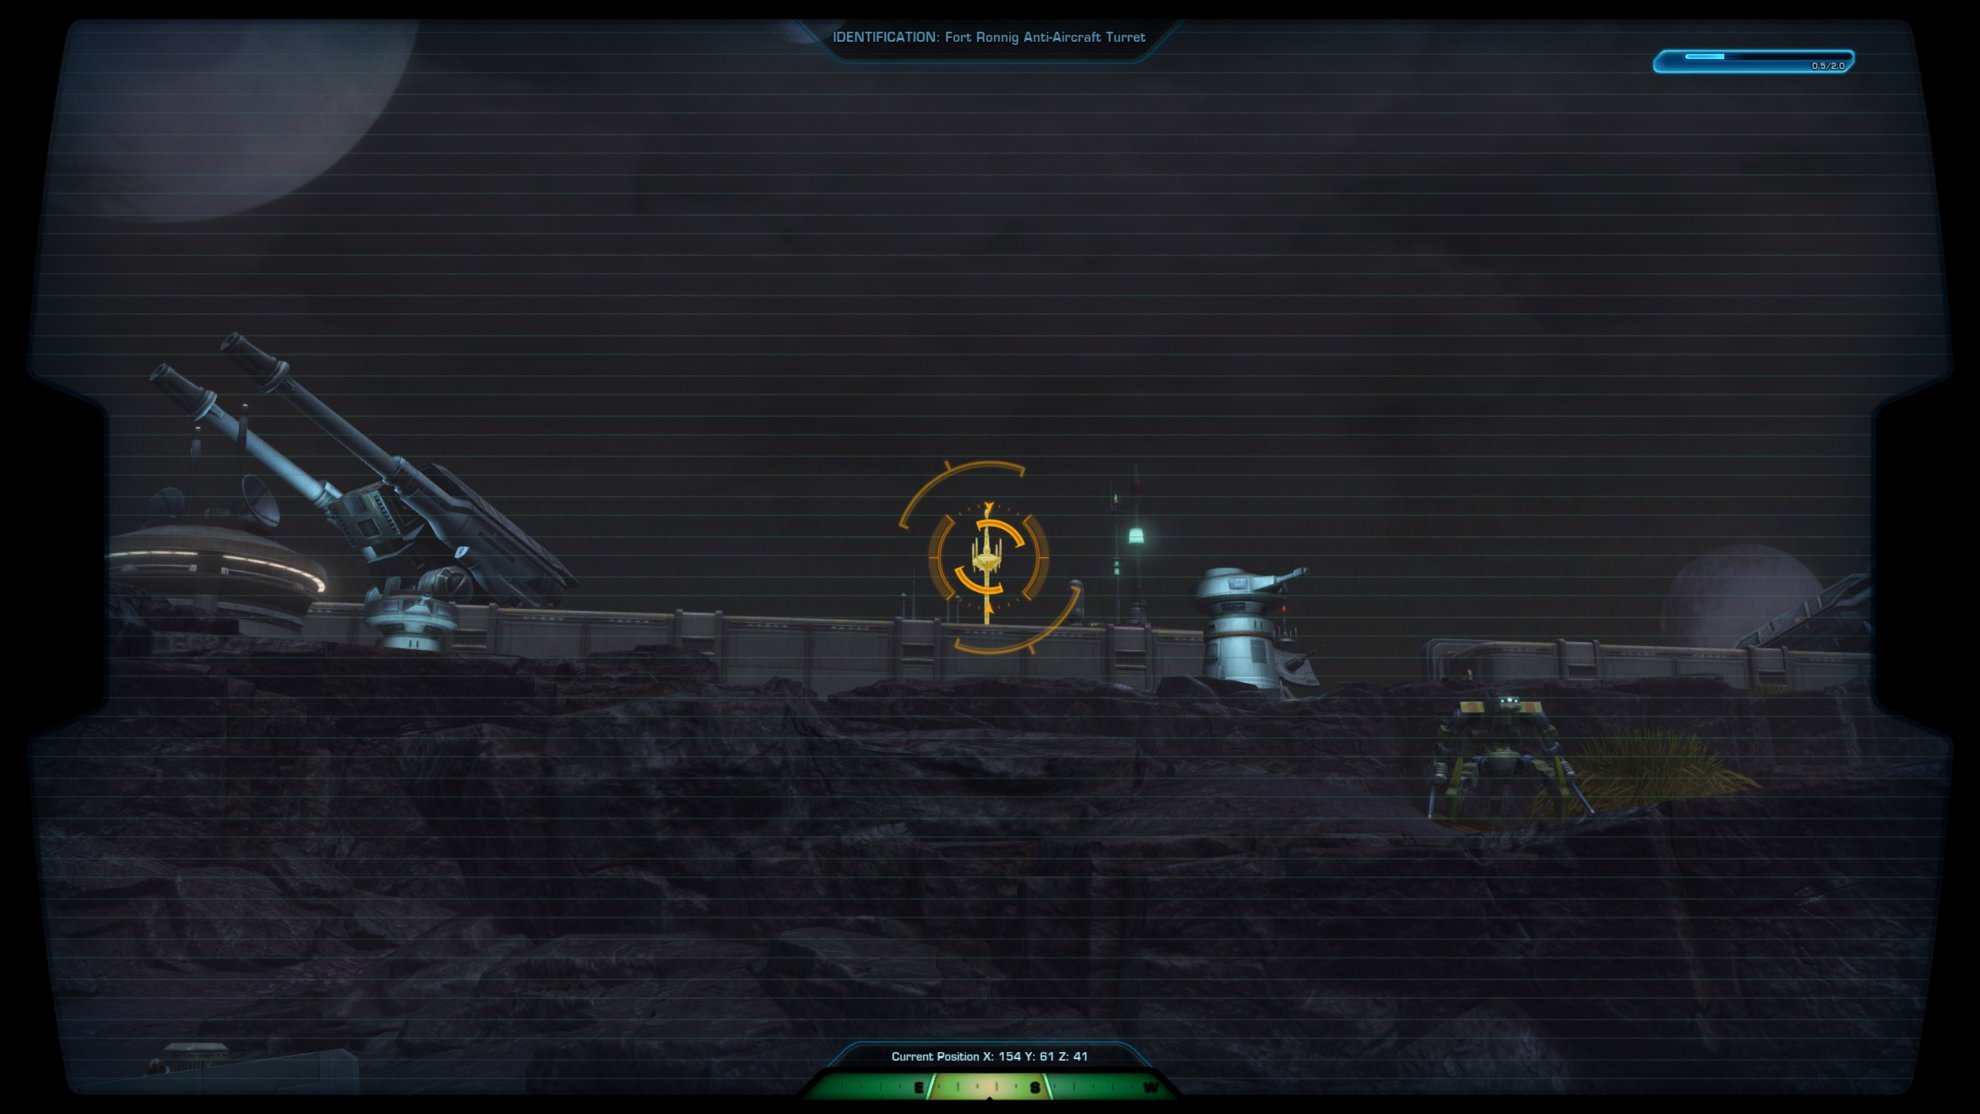
Head south to Fort Ronnig, you’ll need to scan the Control Antennae for the Anti-Aircraft Weapons. Once you’ve done this, head towards the Fort Ronnig entrance, but don’t go inside the fort. There’s a small cave in one of the trenches nearby that has Turret Control Terminal. Disable the terminal to complete the mission.
Panther Training (Empire Only)
This mission is only available for Imperial characters.
Start by going to Fort Ronnig at the southeast area of Kessan’s Landing. Go to the north area of the fort underneath the anti-air turret. Acquire the Panther Cage Key Access Codes and Training Materials.
Go to Fort Ronnig to find the crates that contain Asharl Panther treats. Collect the treats and free an Asharl Panther in the southeast part of Fort Ronnig.
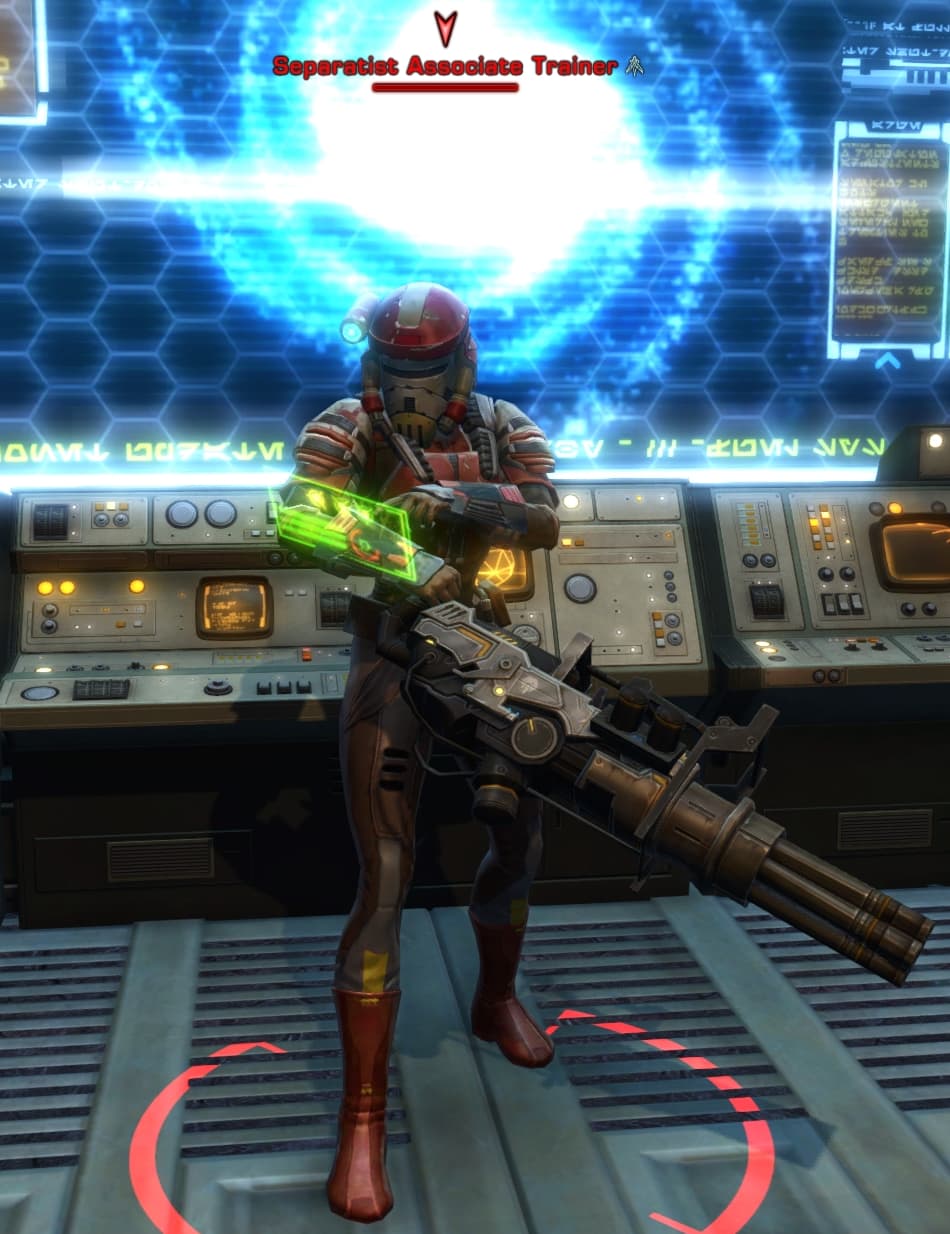
An Asharl Panther will follow you for the remainder of the mission. Defeat the Separatist Associate Trainer and acquire the Tracking Device Deactivation Tool. Once you defeat the trainer, remove the tracking device from the Asharl Panther to end the mission.
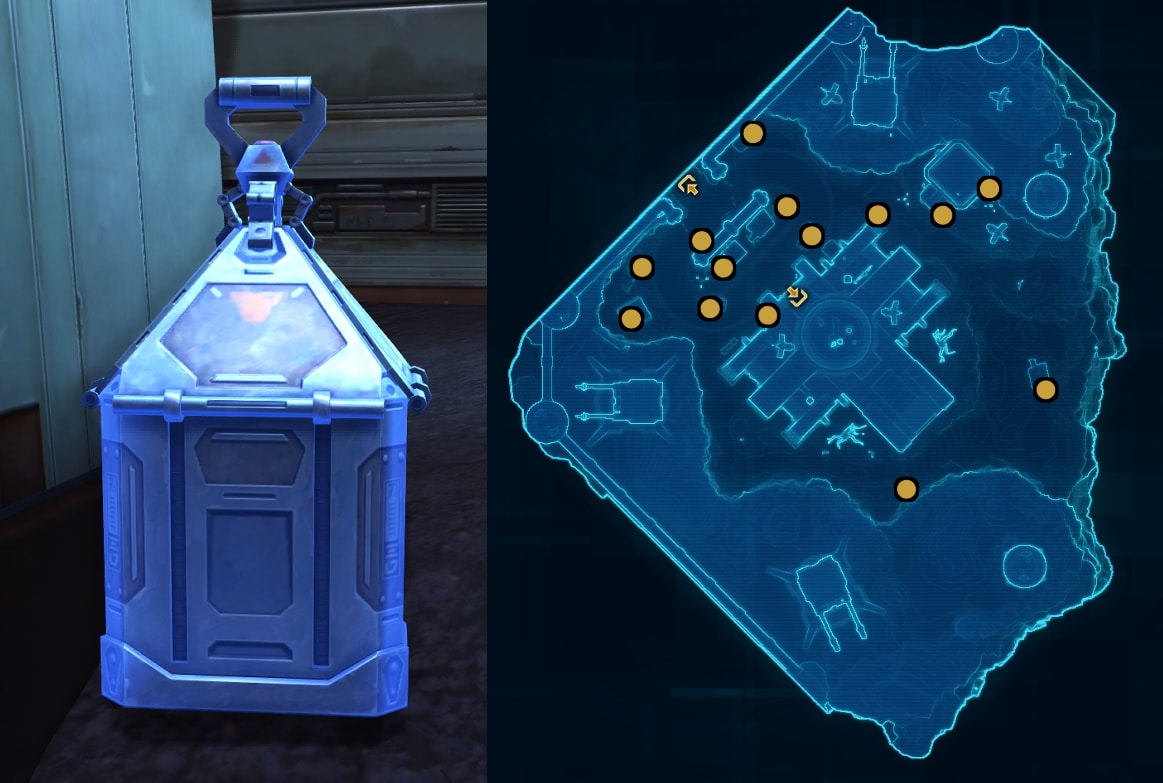
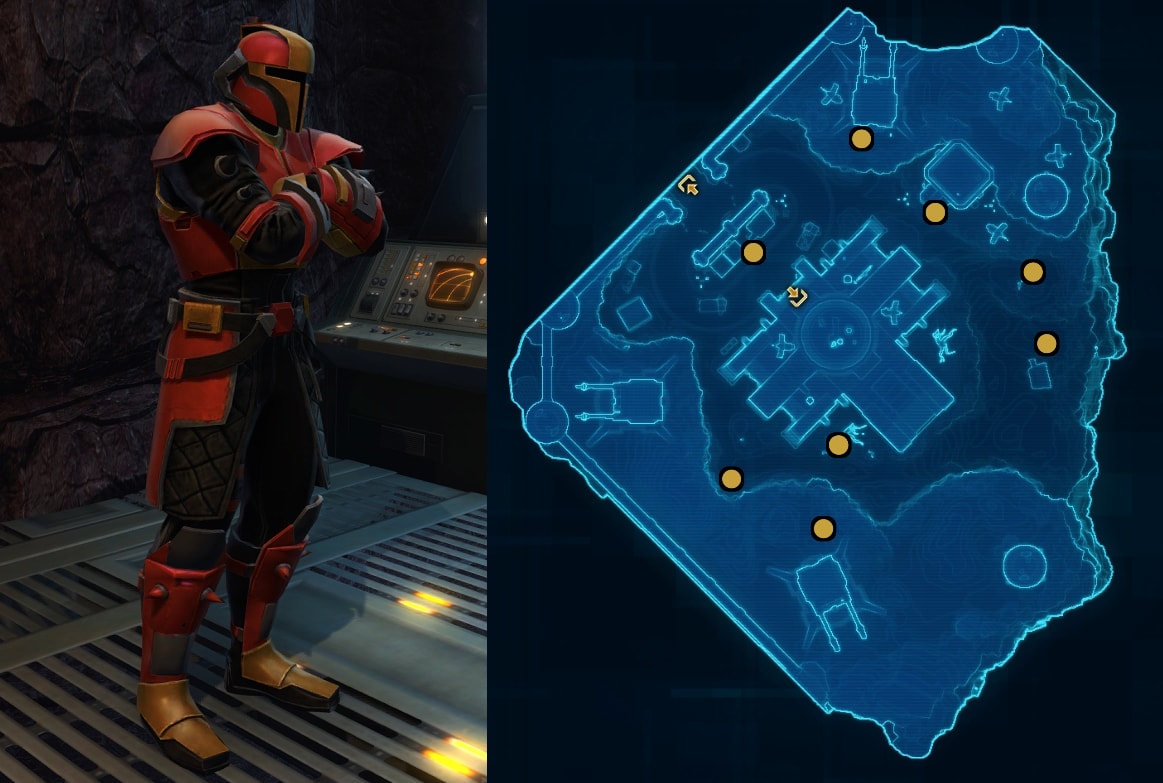
Separating the Separatists
This mission takes place at Fort Ronnig in the southeast area of Kessan’s Landing.
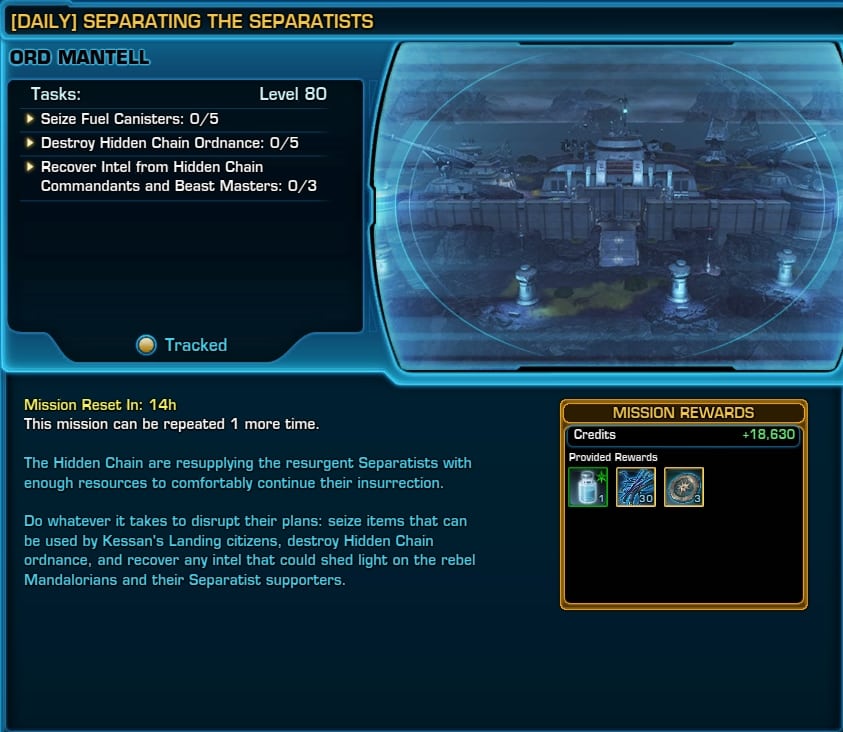
This mission is simple, you’ll need to the following:
- Seize 5 Fuel Canisters
- Destroy 5 Hidden Chain Ordnance
- Recover 3 Intel from Hidden Chain Commandants and Beast Masters
- Return the items to Ardak Point to end the mission.
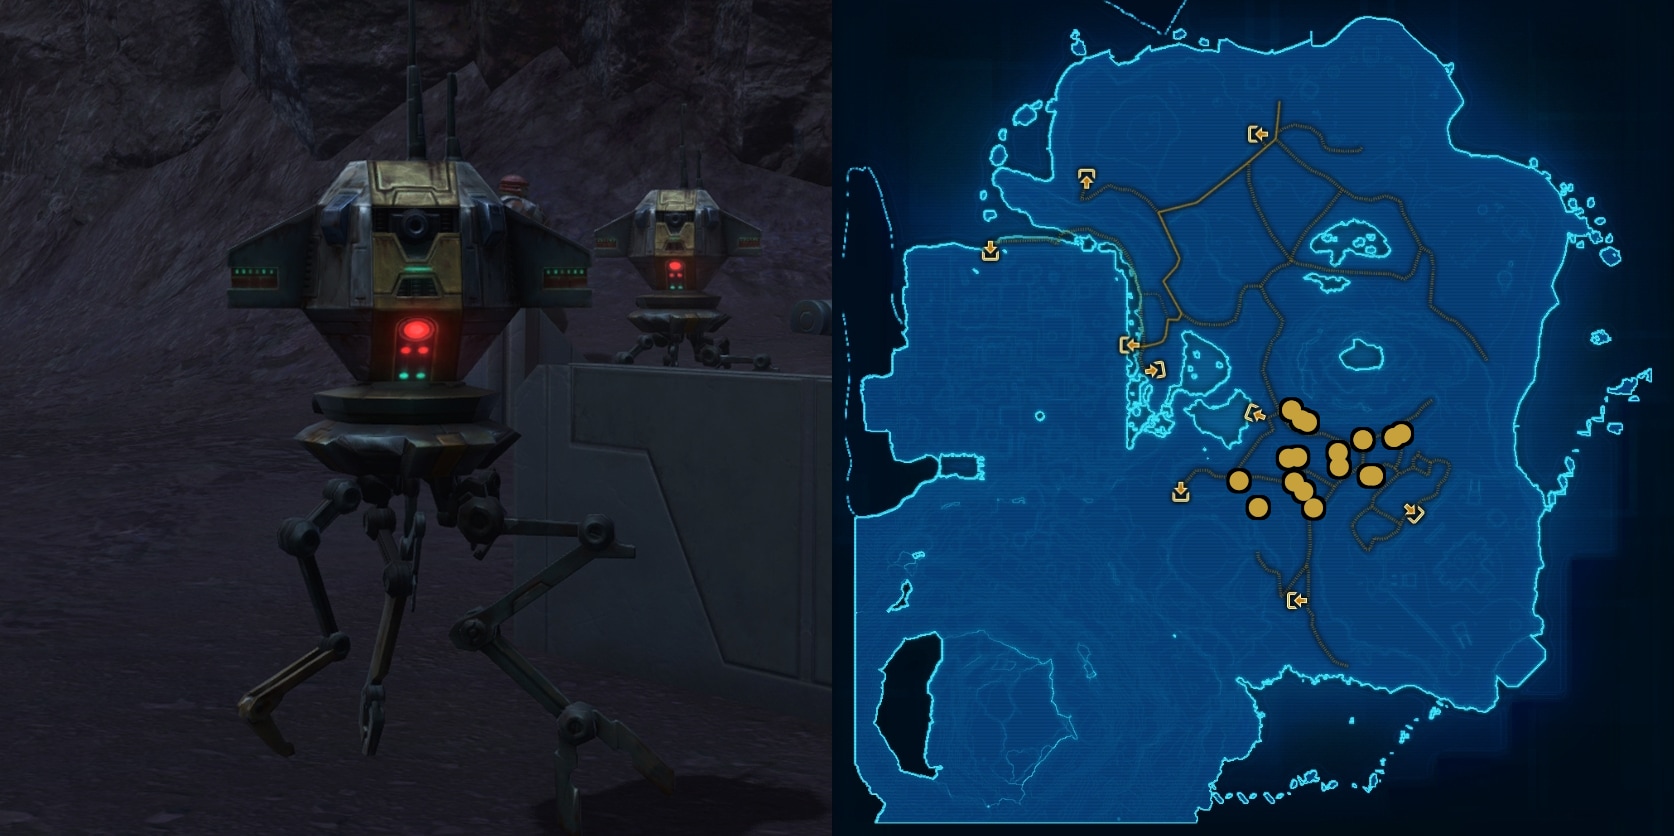
Short Circuiting
This mission takes place around Fort Ronnig. You’ll need to defeat 15 Separatist Scout Droids, 5 Separatist Trench Patrollers, and an Extreme Environment Droid.

This mission is simple, you’ll need to the following:
- Defeat 10 Separatist Scout Droids
- Defeat 5 Separatist Trench Patrollers
- Defeat an Extreme Environment Droid
Turn the Lights On
To get this mission, you’ll need to talk to Ramalla Ash’yn right outside Ardak Point’s east entrance. This is one of the longer daily missions in Kessan’s Landing and you want to start it at the same time you do the Chain of Command daily.
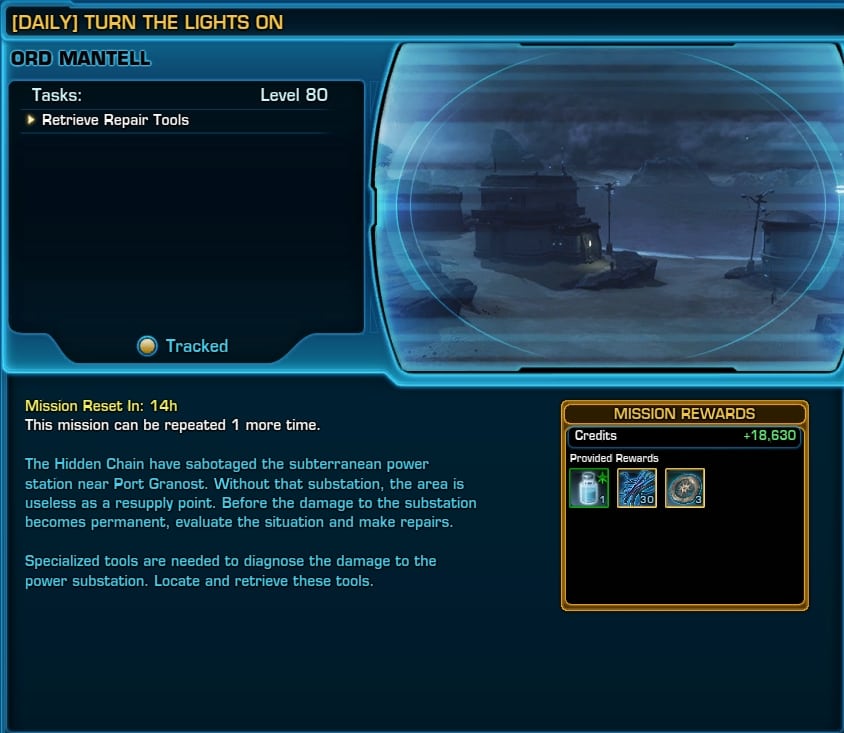
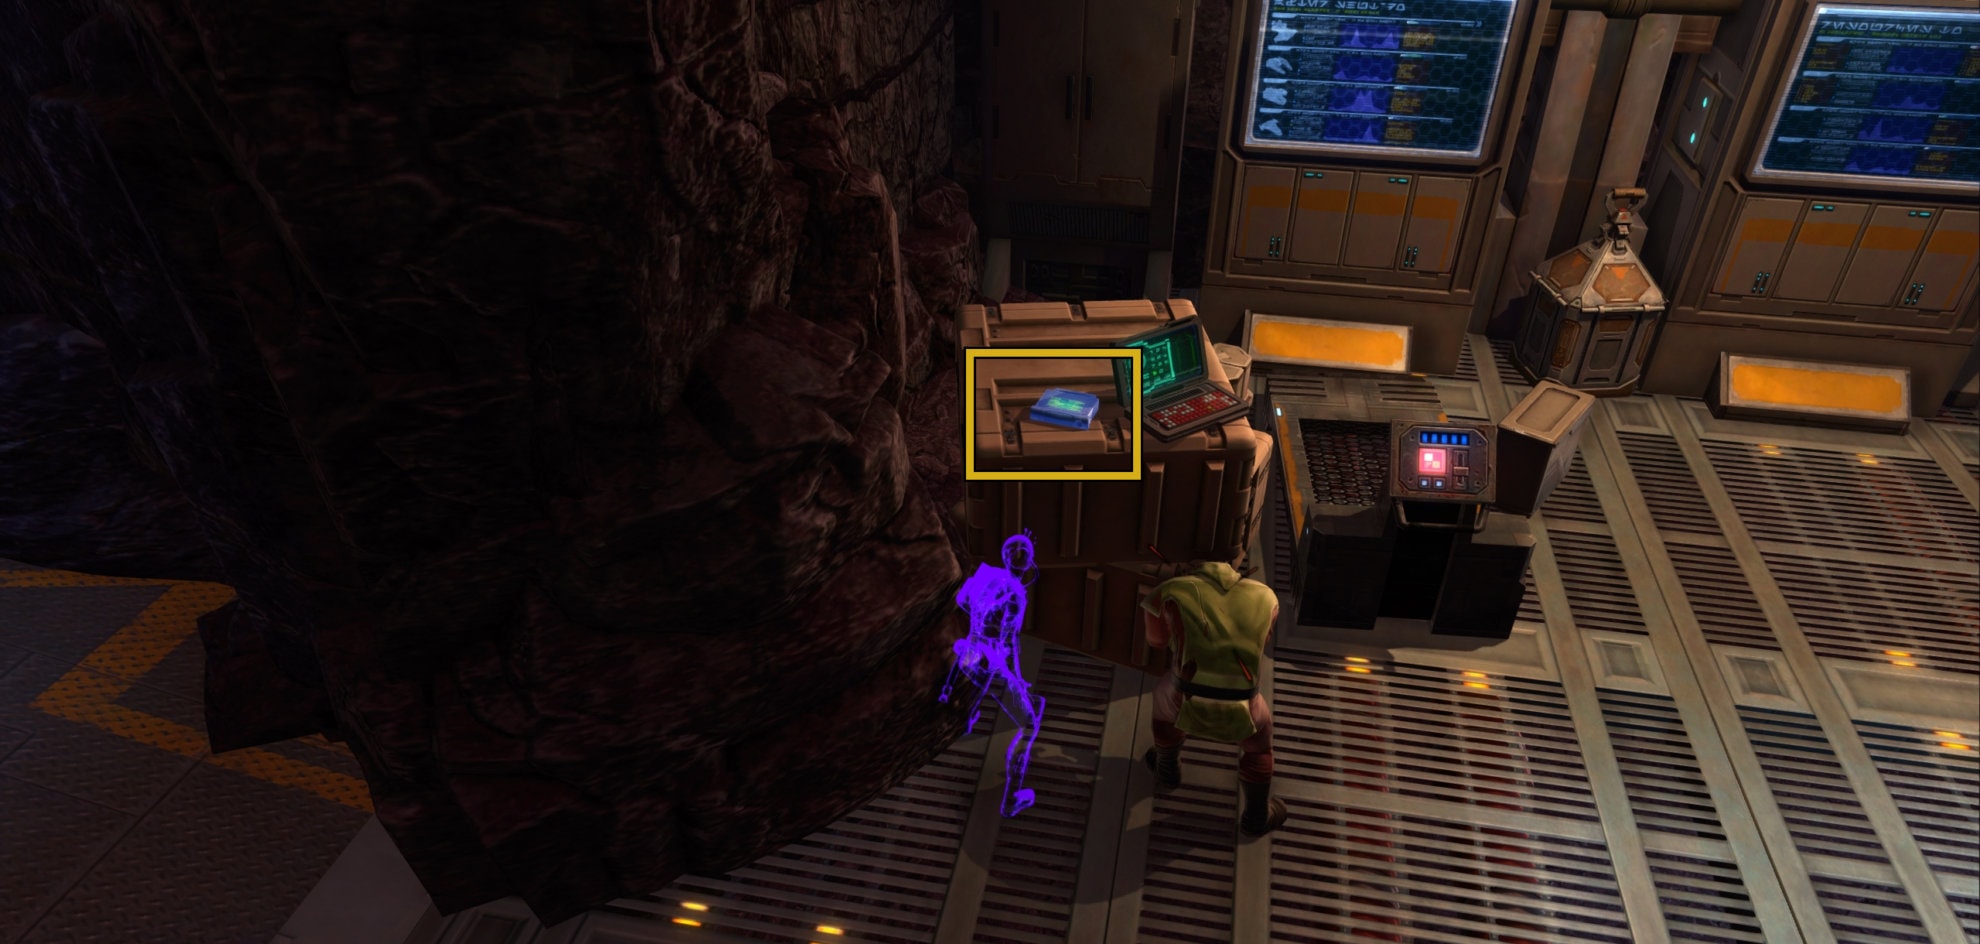
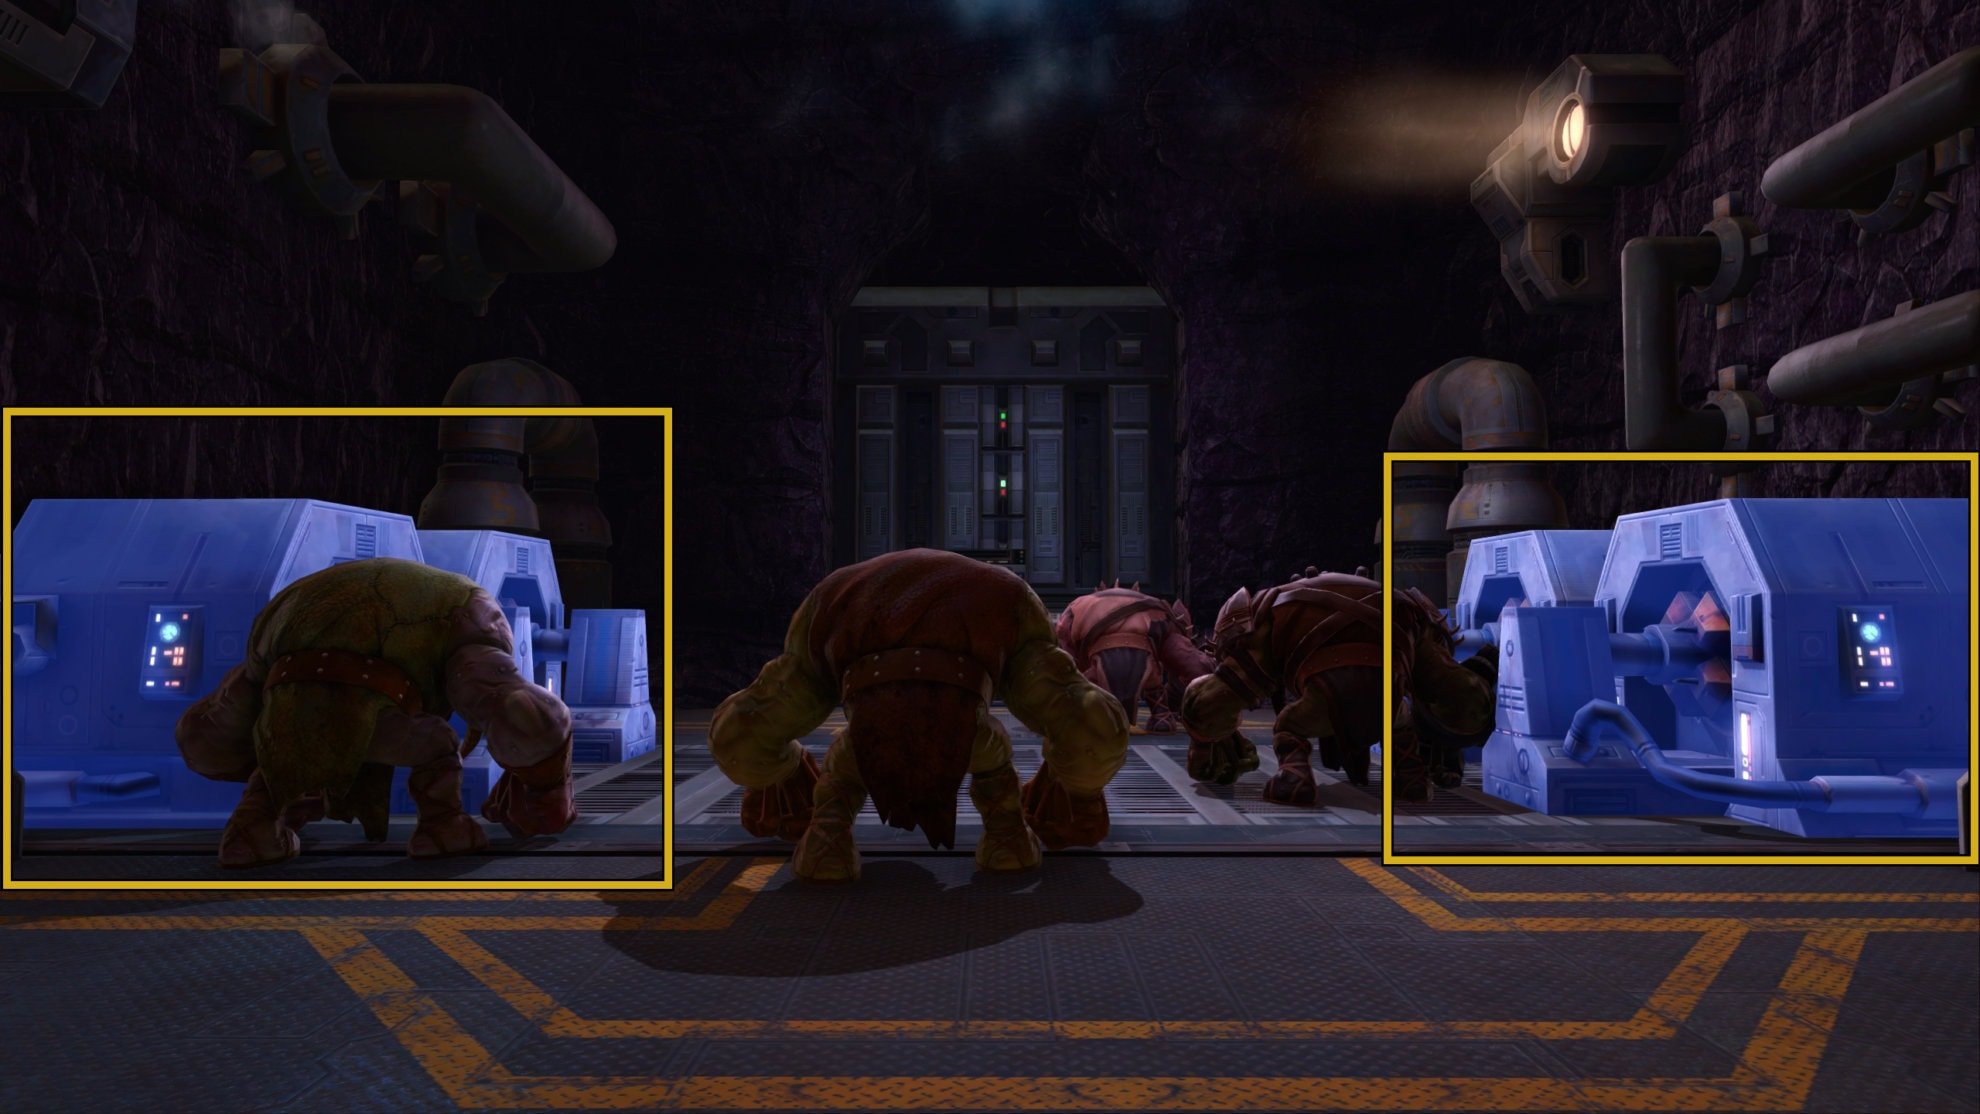
You’ll want to start at the Subterranean Power Station north of Ardak Point. You’ll need to retrieve the Repair Tools. You can find these on a shelf near an Asharl Panther in the middle room of the power station.
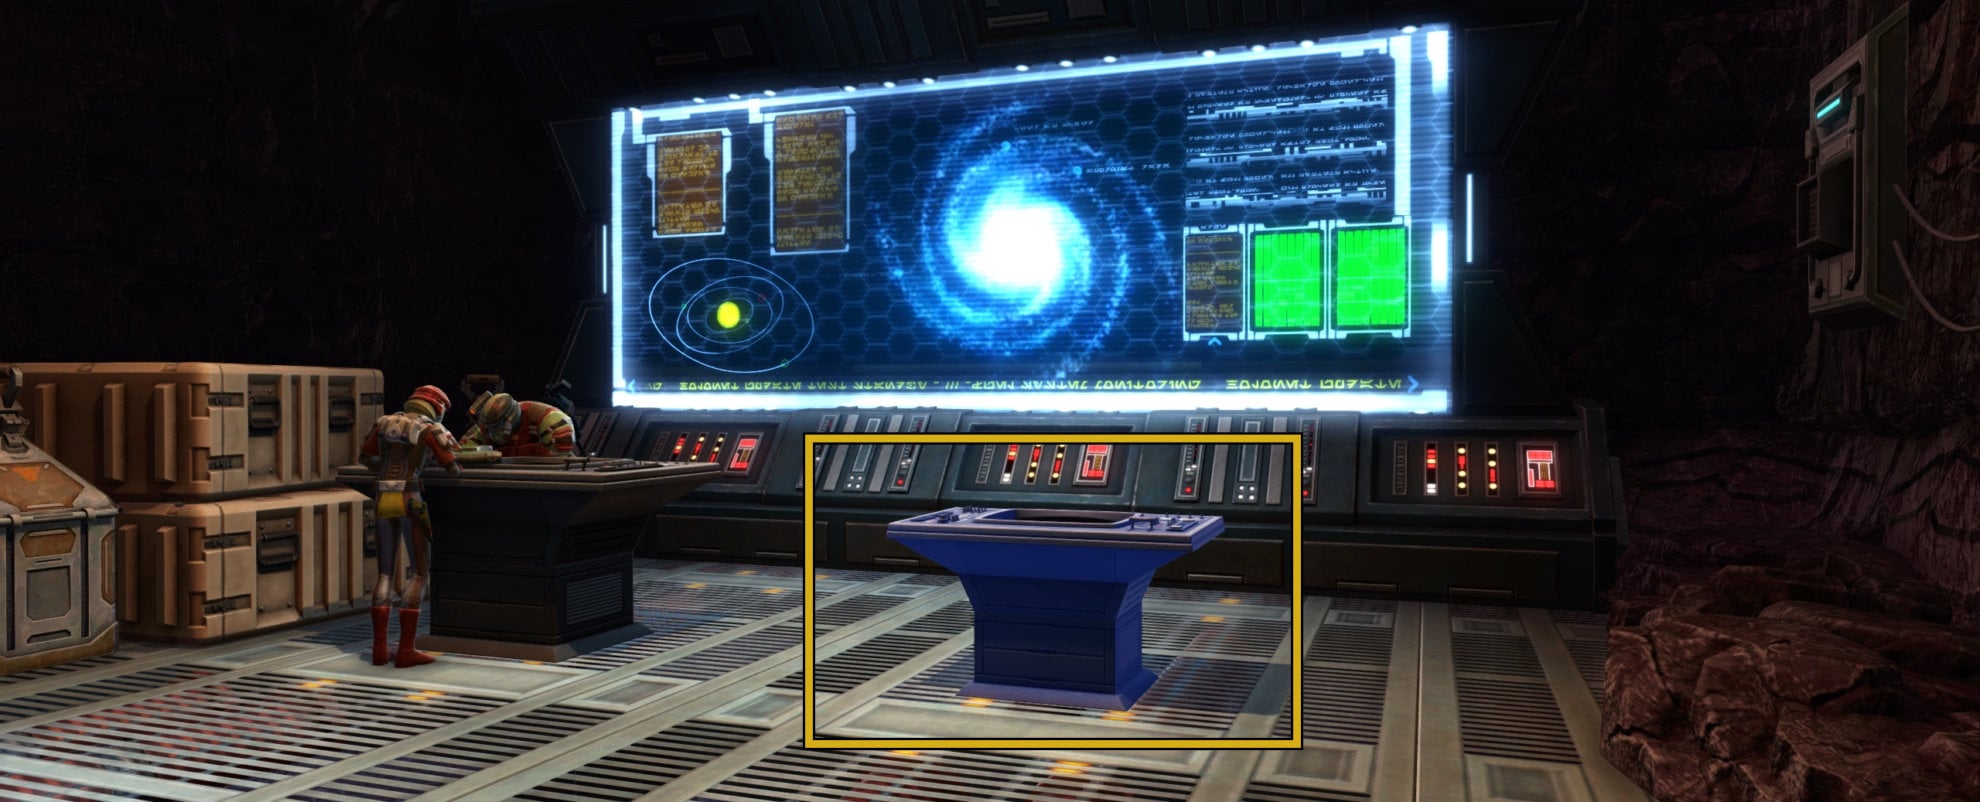
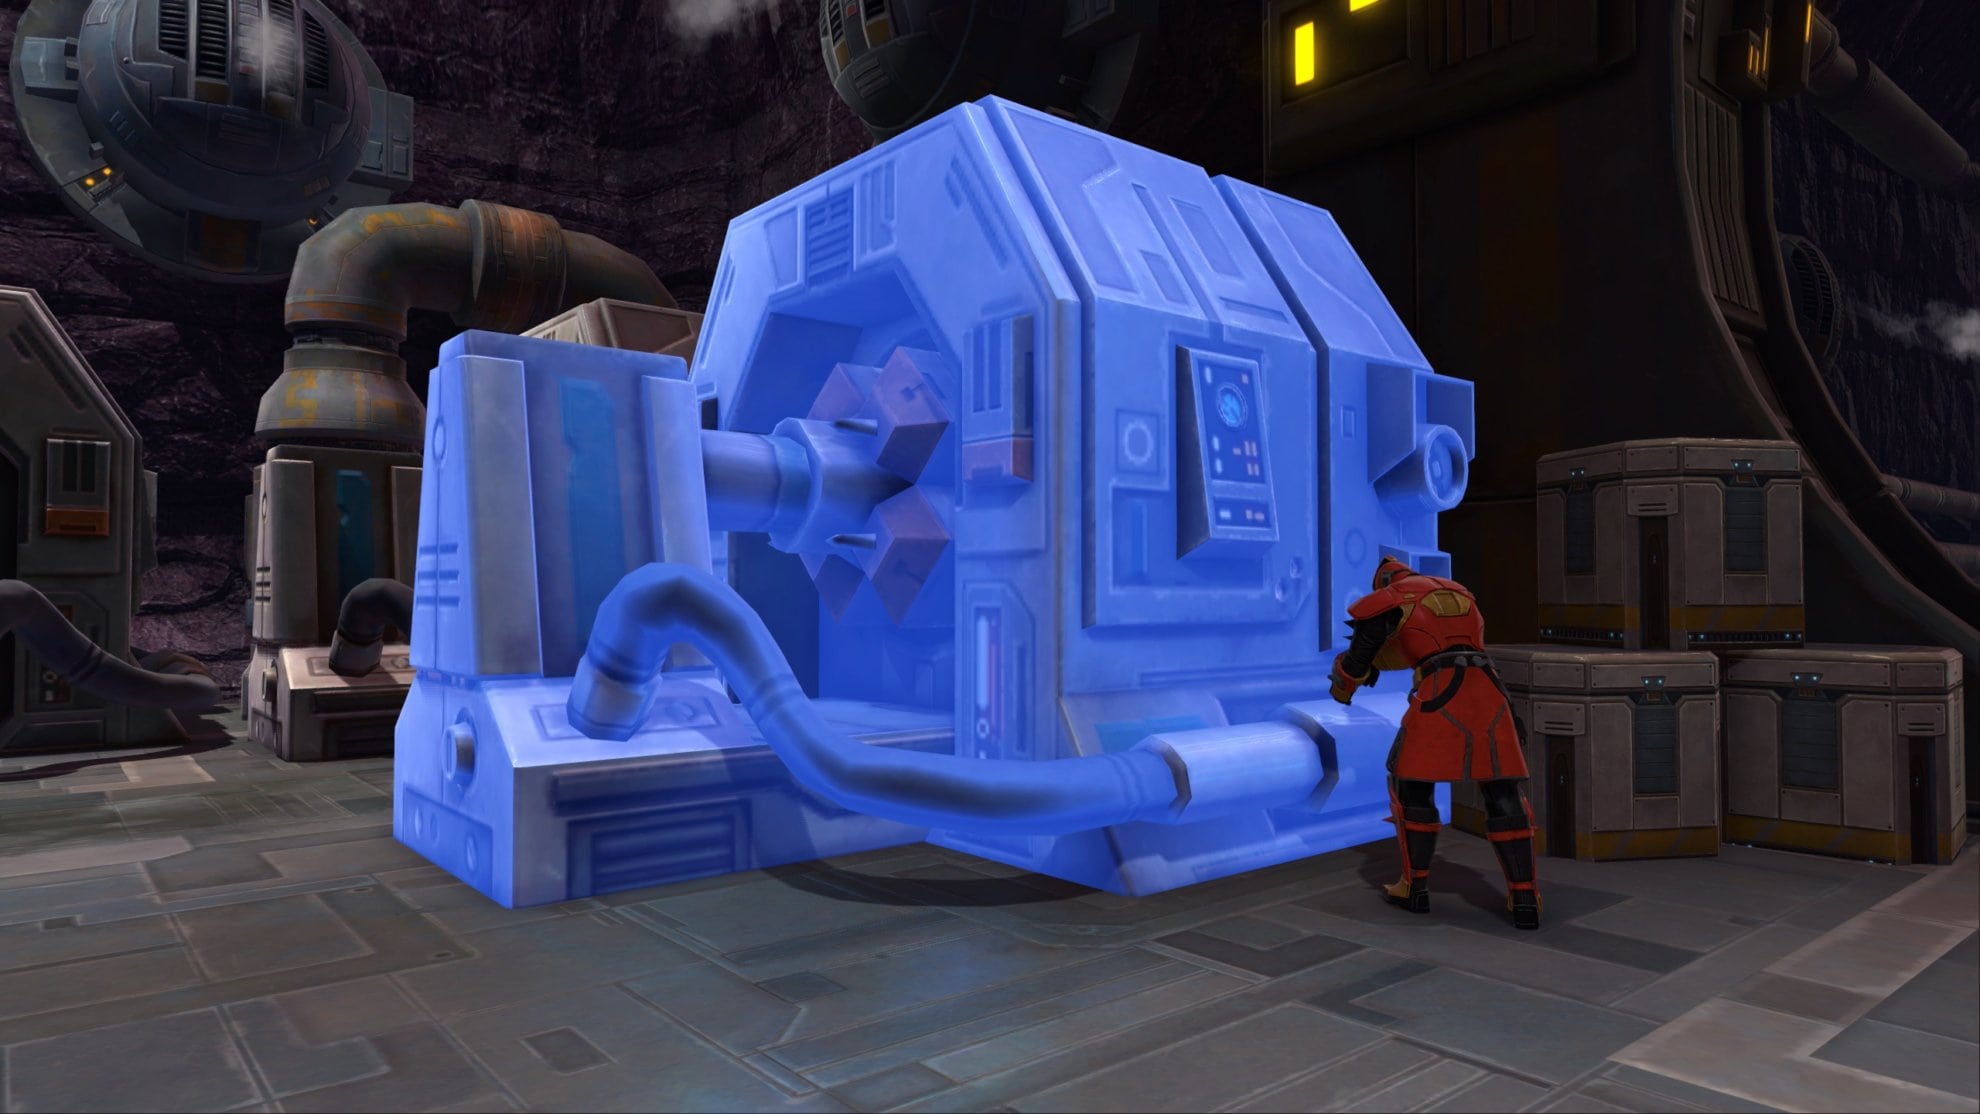
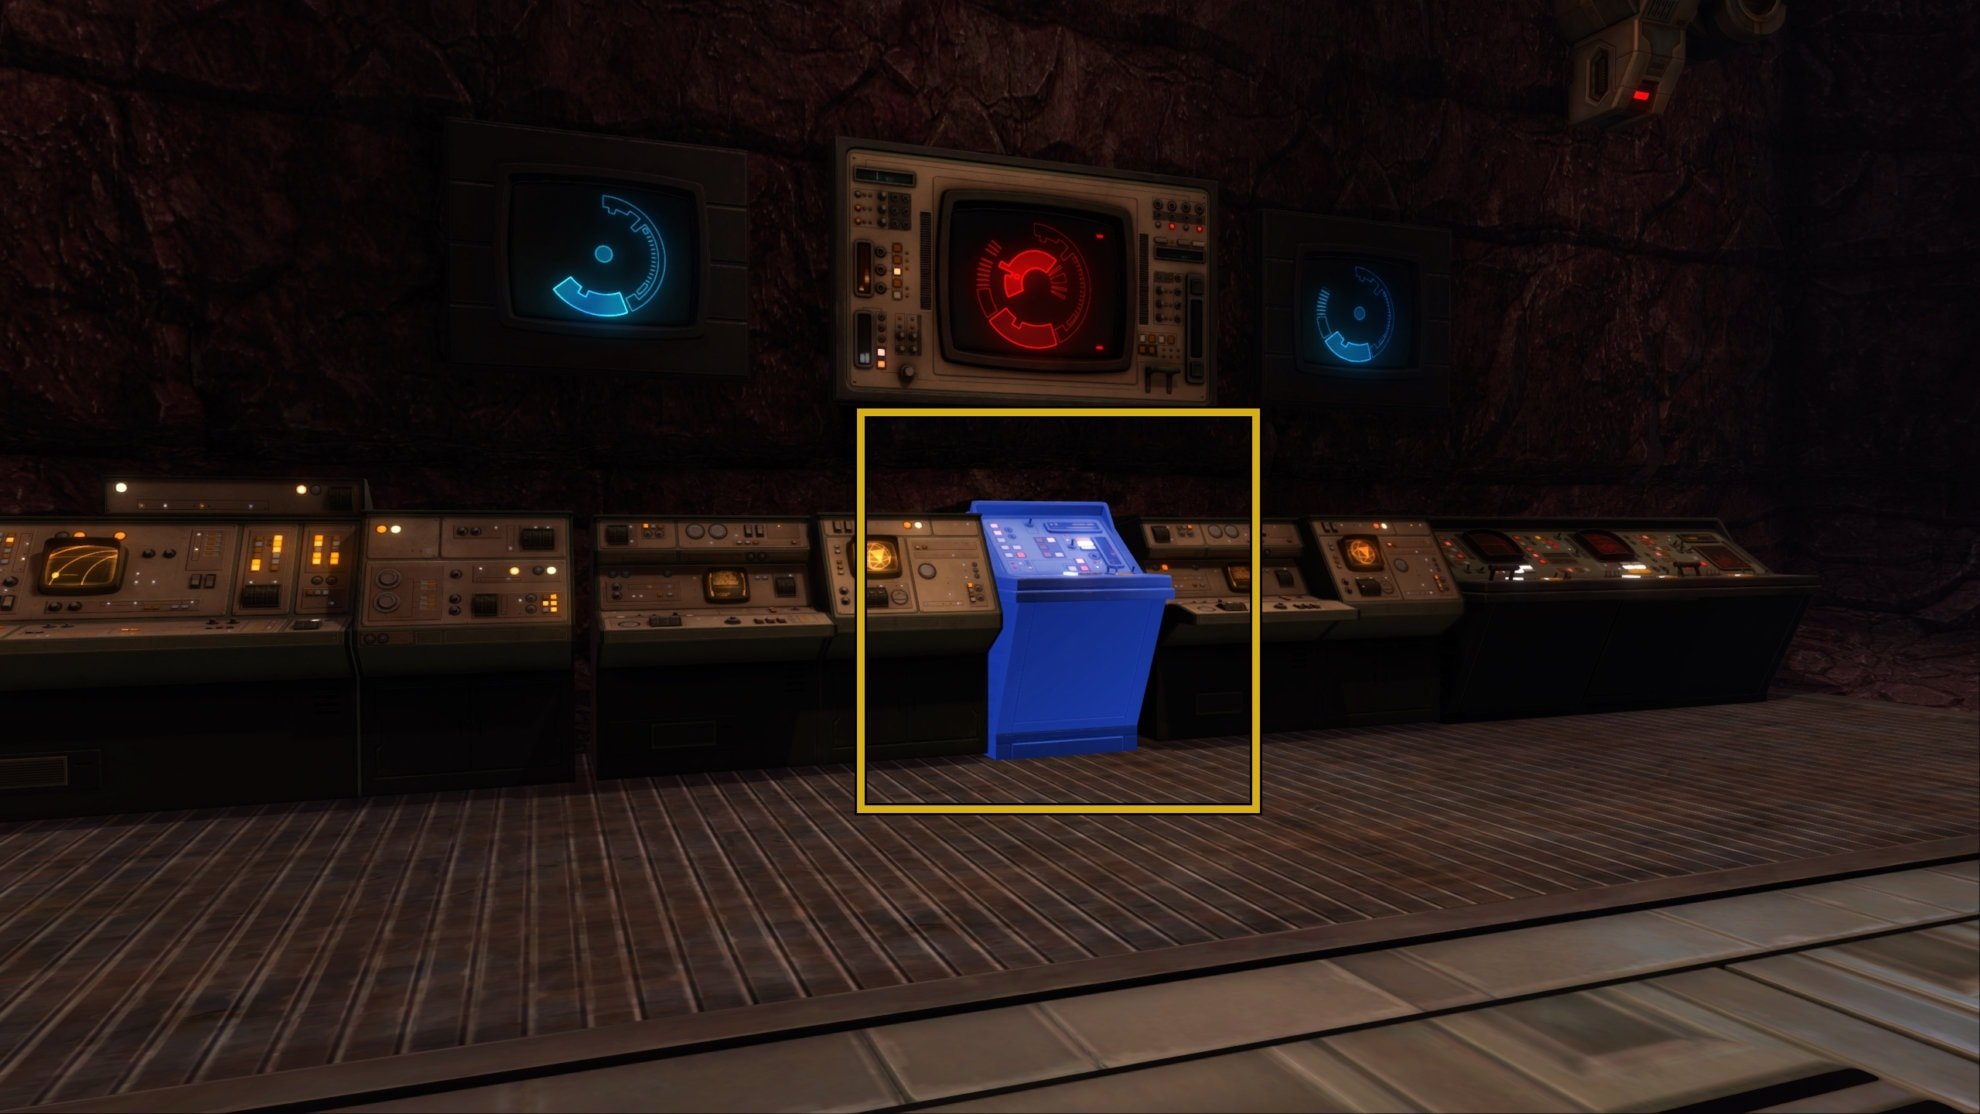
Once you have the tools, go to the room to the north and run a diagnostic check on the generator mainframe. After that, repair two disabled generators that are in the same room. The last thing you need to do in this room is to redirect the Power Flow.
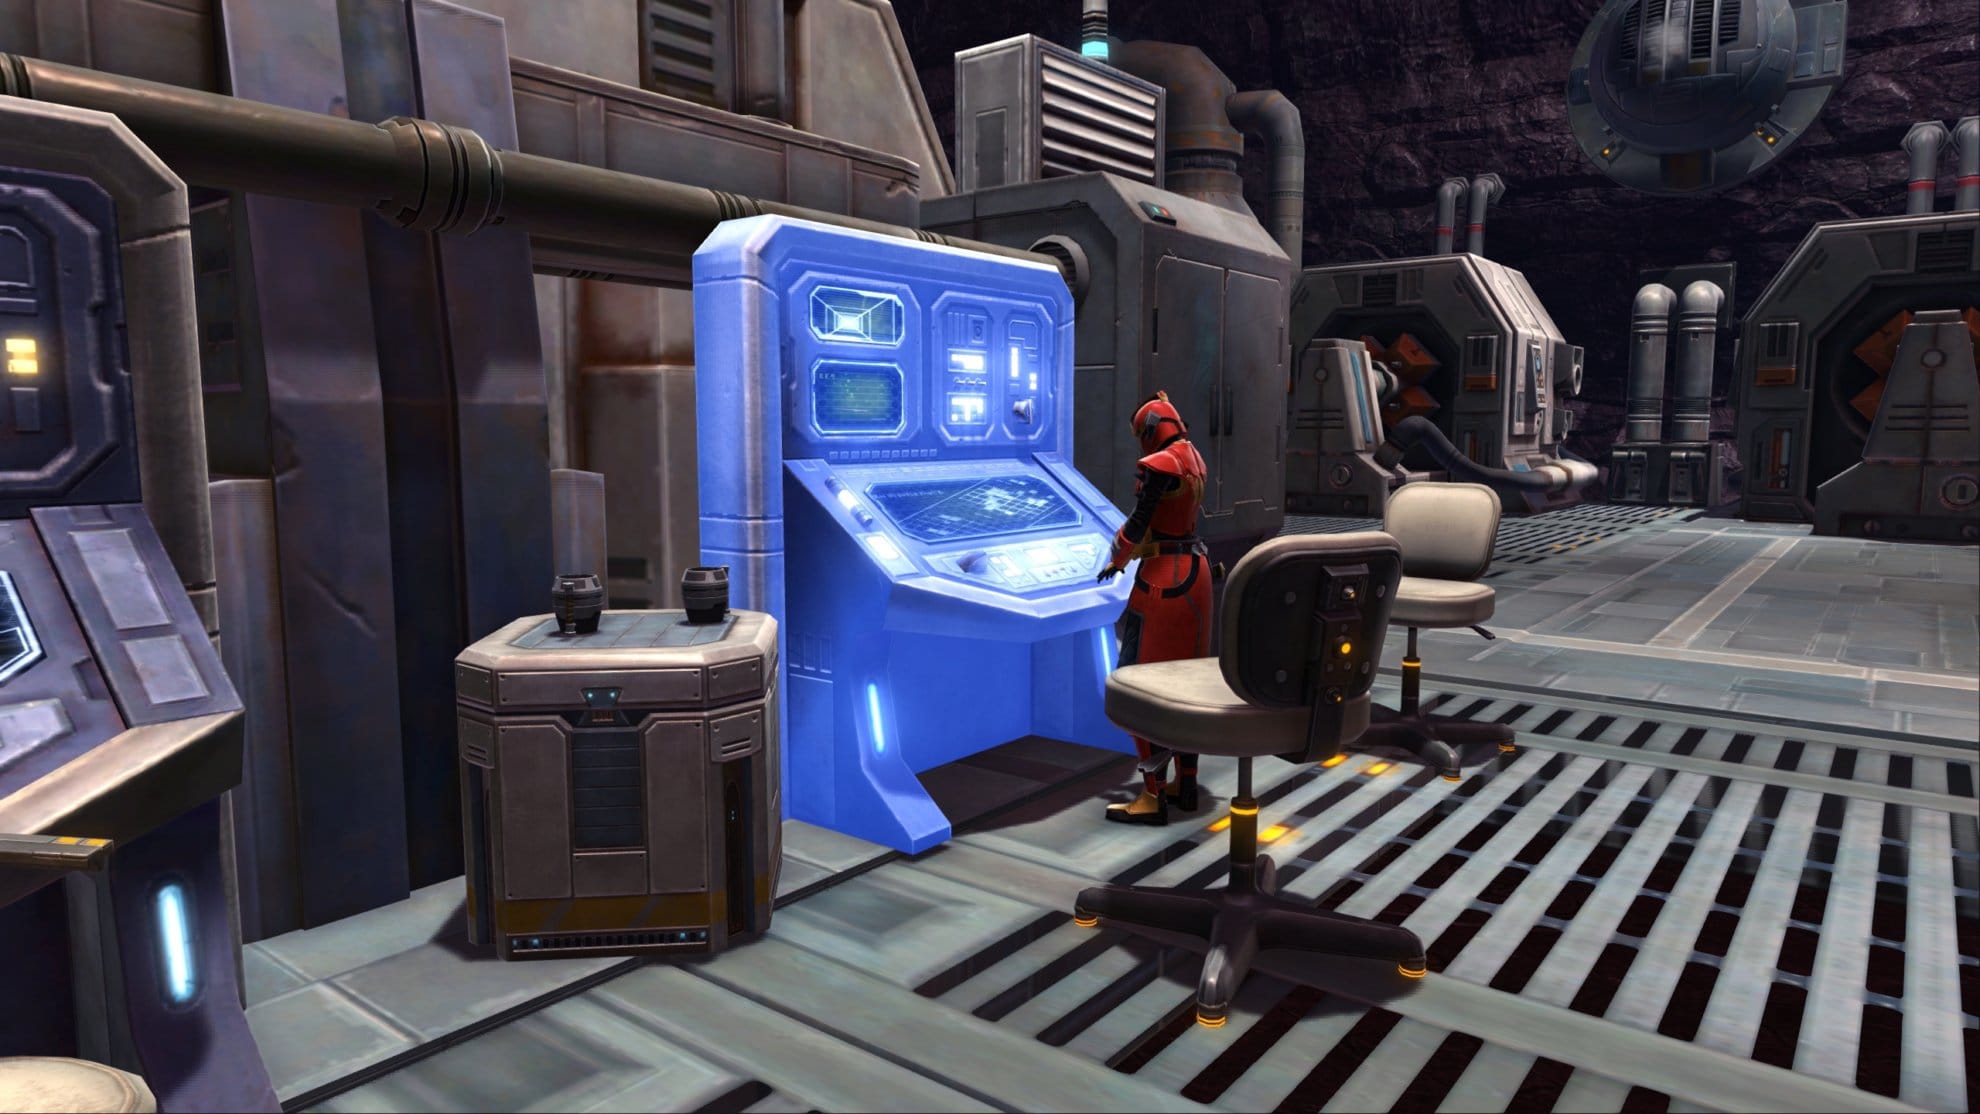
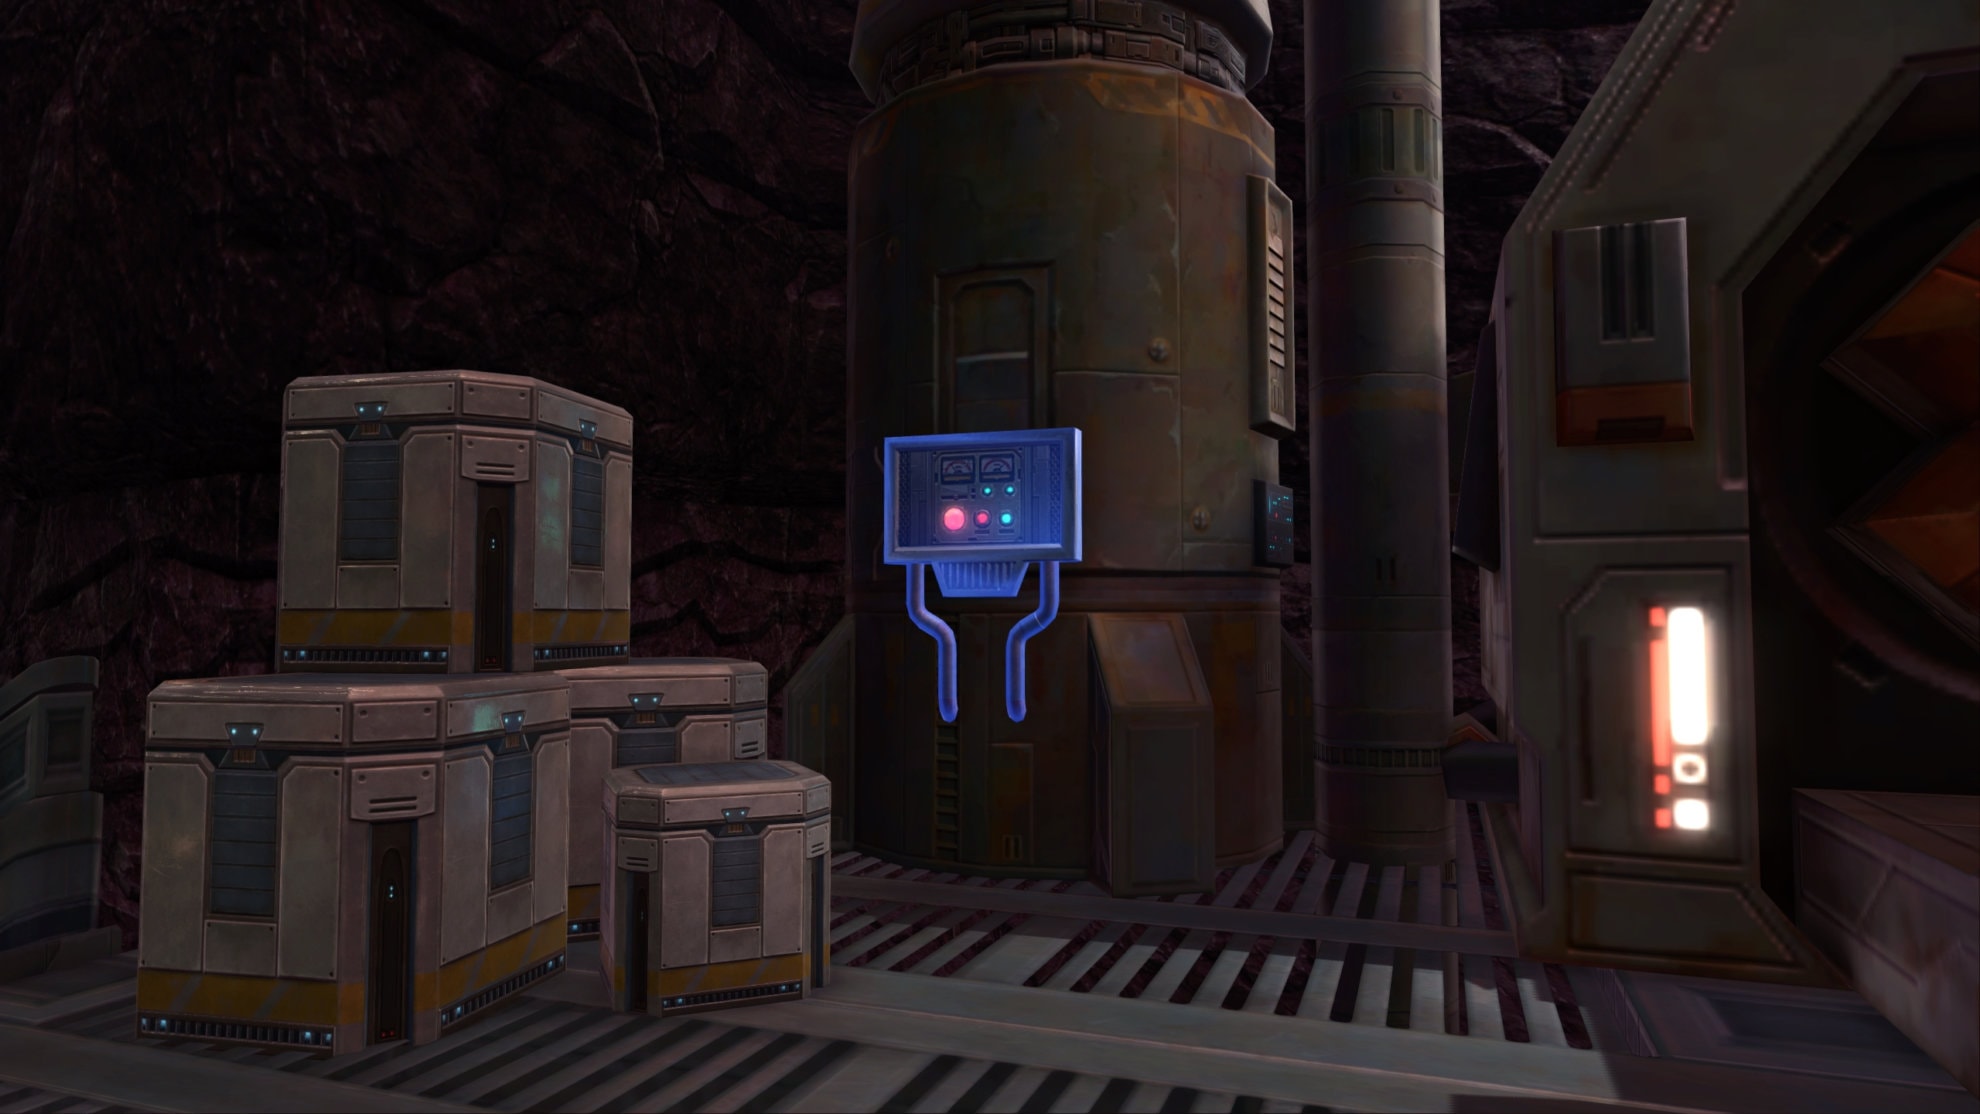
The last thing you need to do in the Subterranean Power Station is go to the south room and reconnect the Generator Power Flow at the blue terminal.
Take the east exit to go outside where you can find your next objectives. You’ll need to scan the first and second houses in Port Granost, and scan the Ranch House. After scanning these buildings, you’ll complete the objective. Return to Ramalla to finish the mission.
Unstable Readings
To get this mission, you’ll need to go to the southeast area in Ardak Point and talk to Doctor Dorlin.
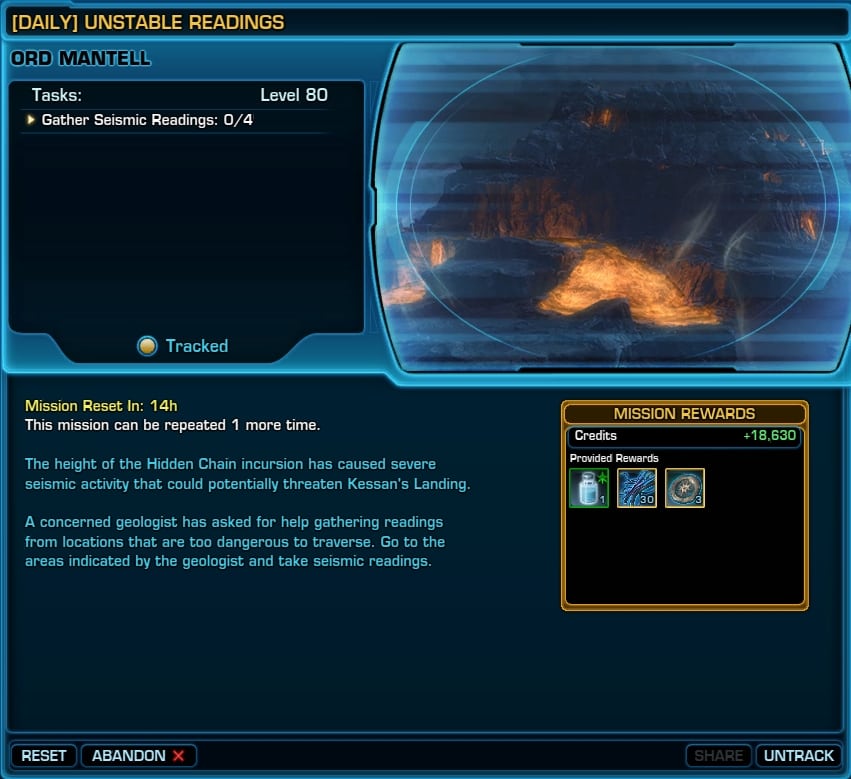
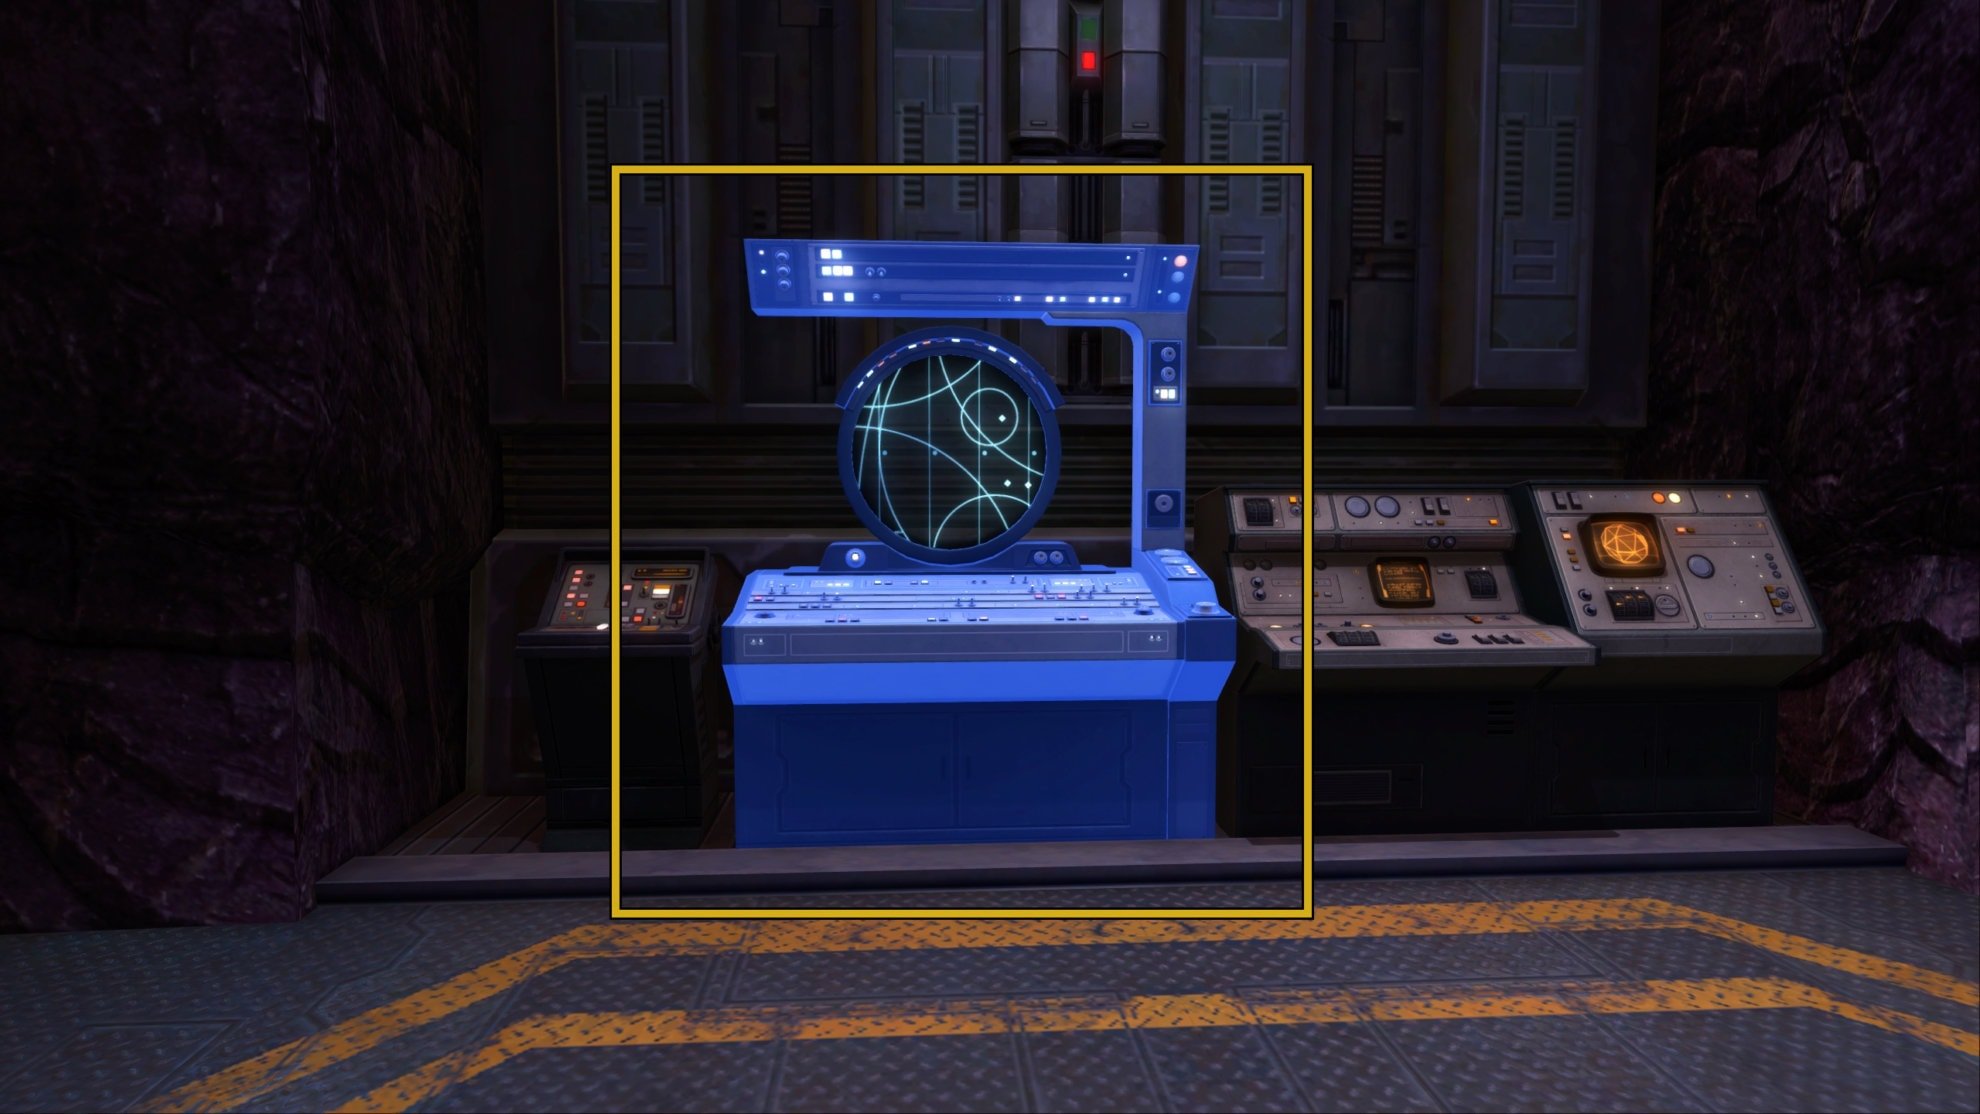
This mission will have you scan 4 areas of Kessan’s Landing. When you get to one of these four areas, a temporary ability will appear on your screen that allows you to gather Seismic Readings of the area.
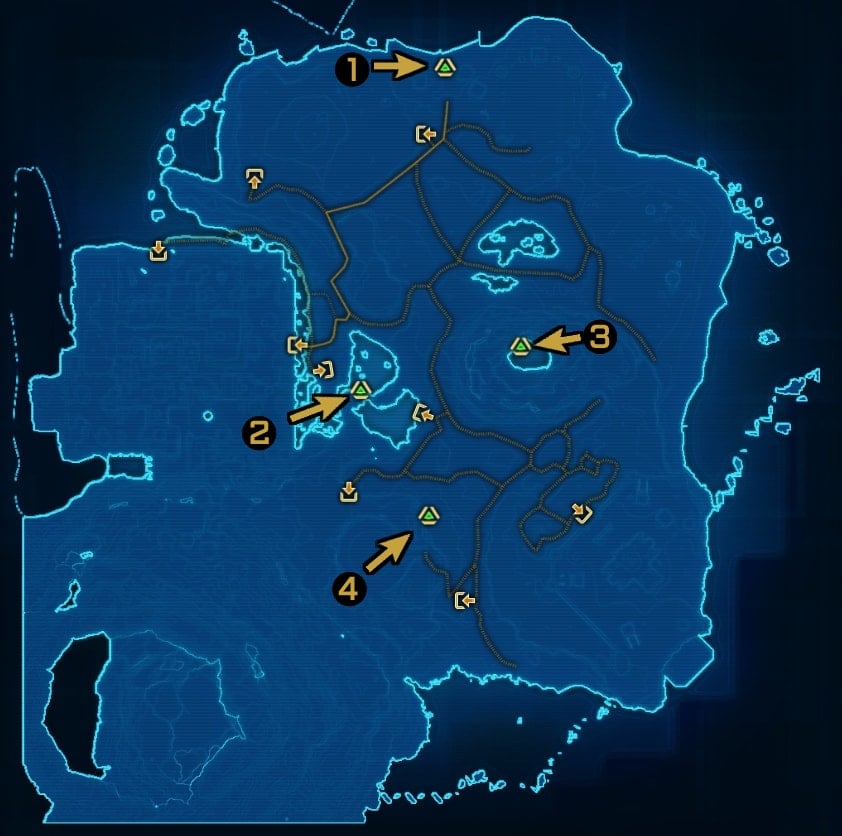
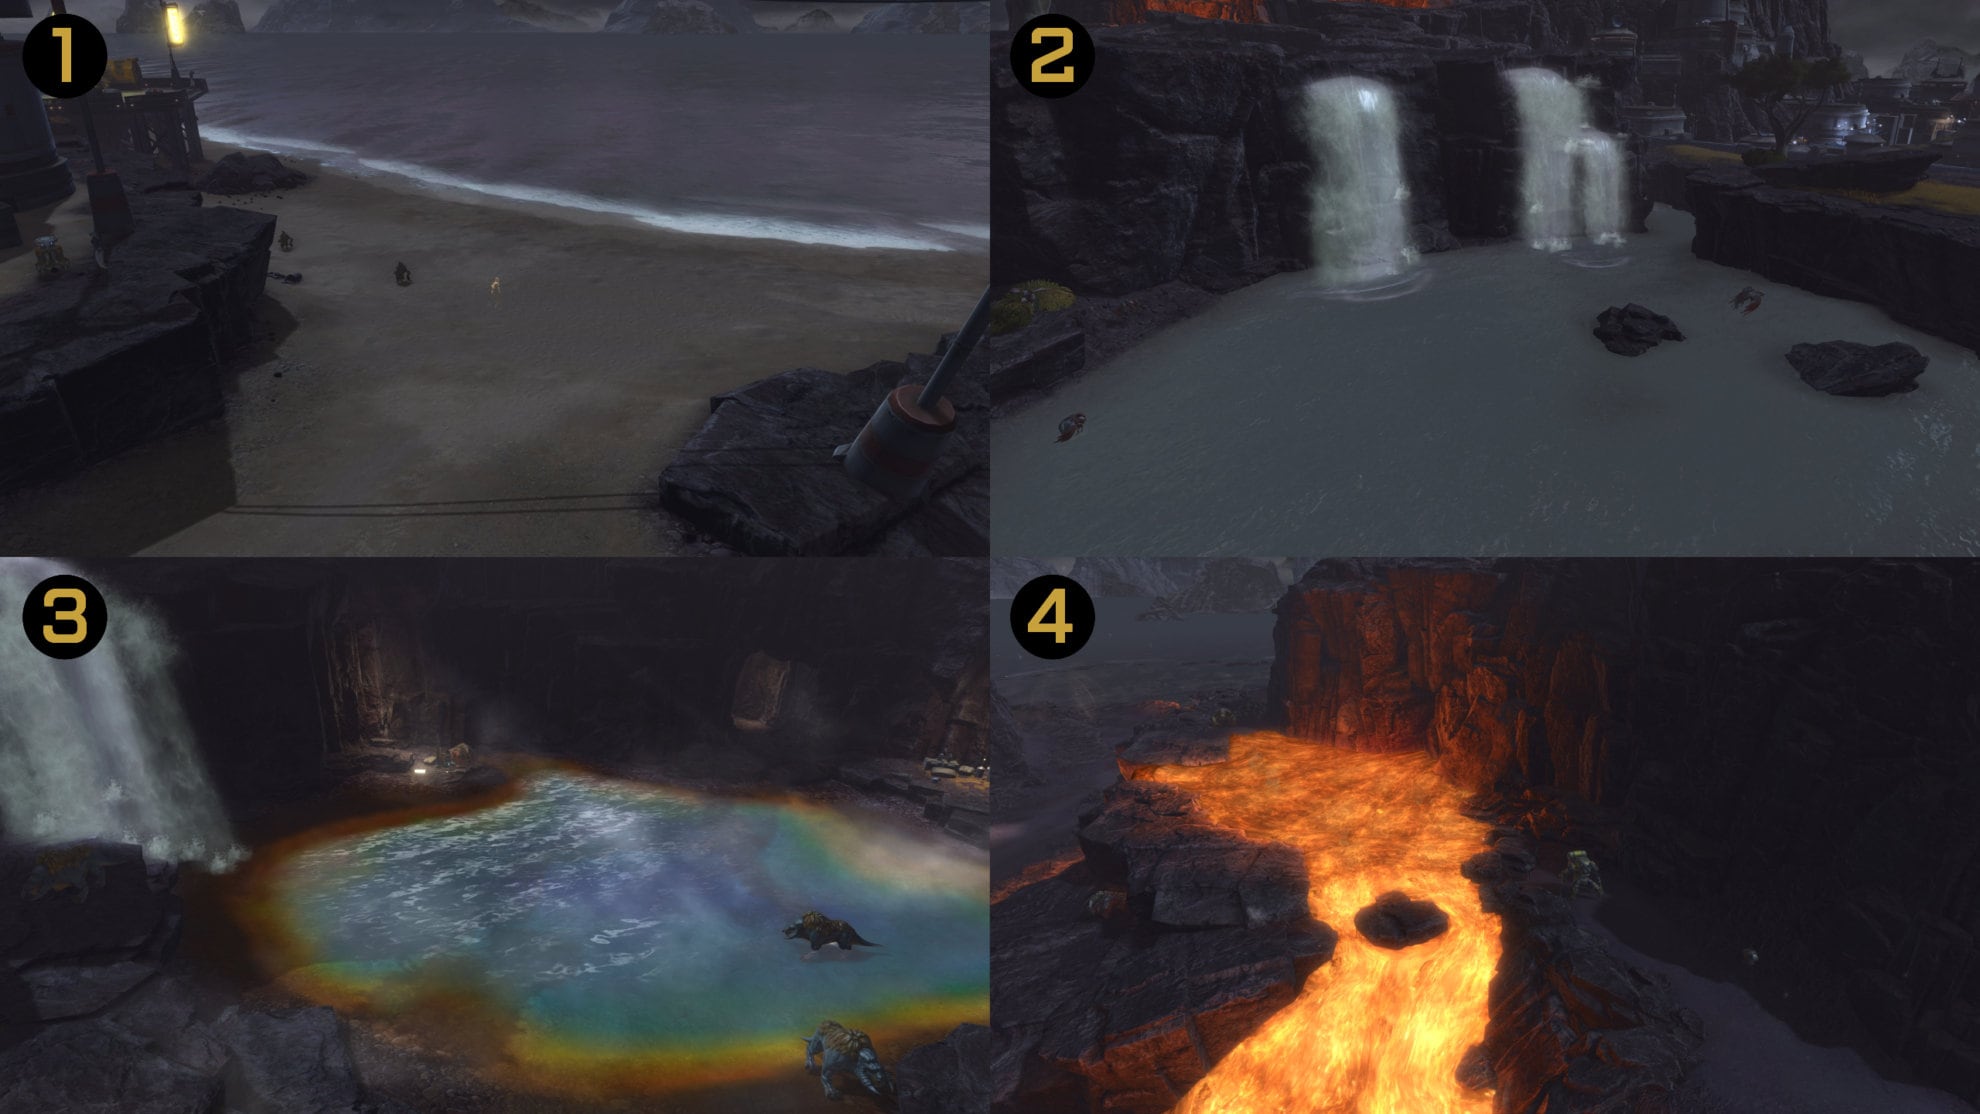
After scanning all of these areas, return to Ardak Point to transfer the results of the Seismic Readings, then talk to Doctor Dorlin to end the mission.
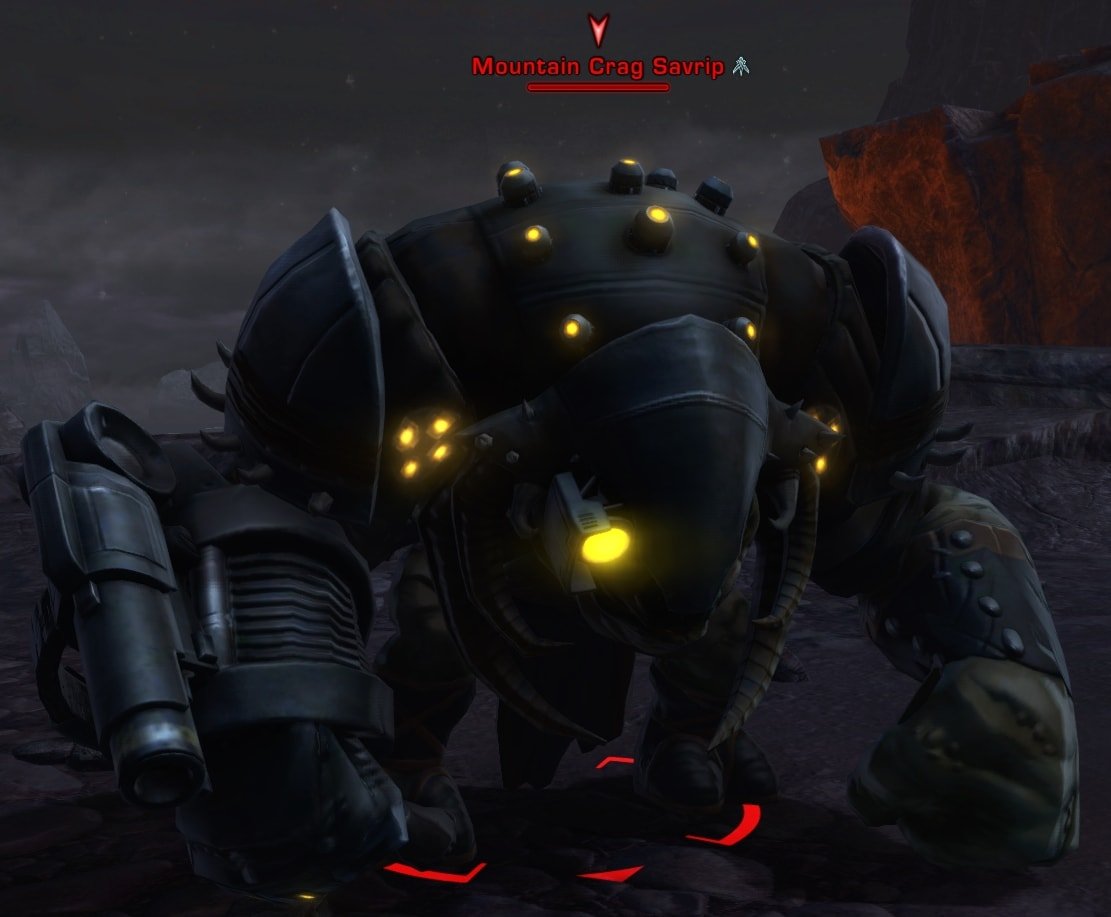
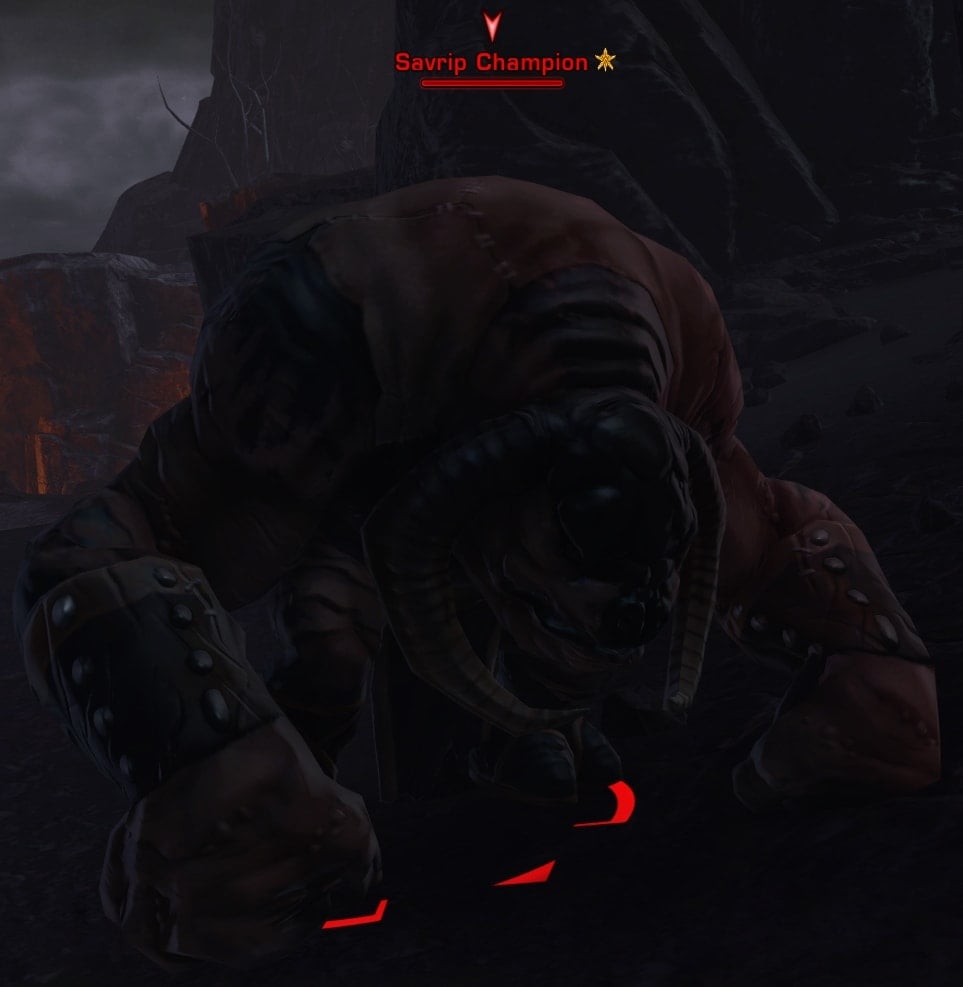
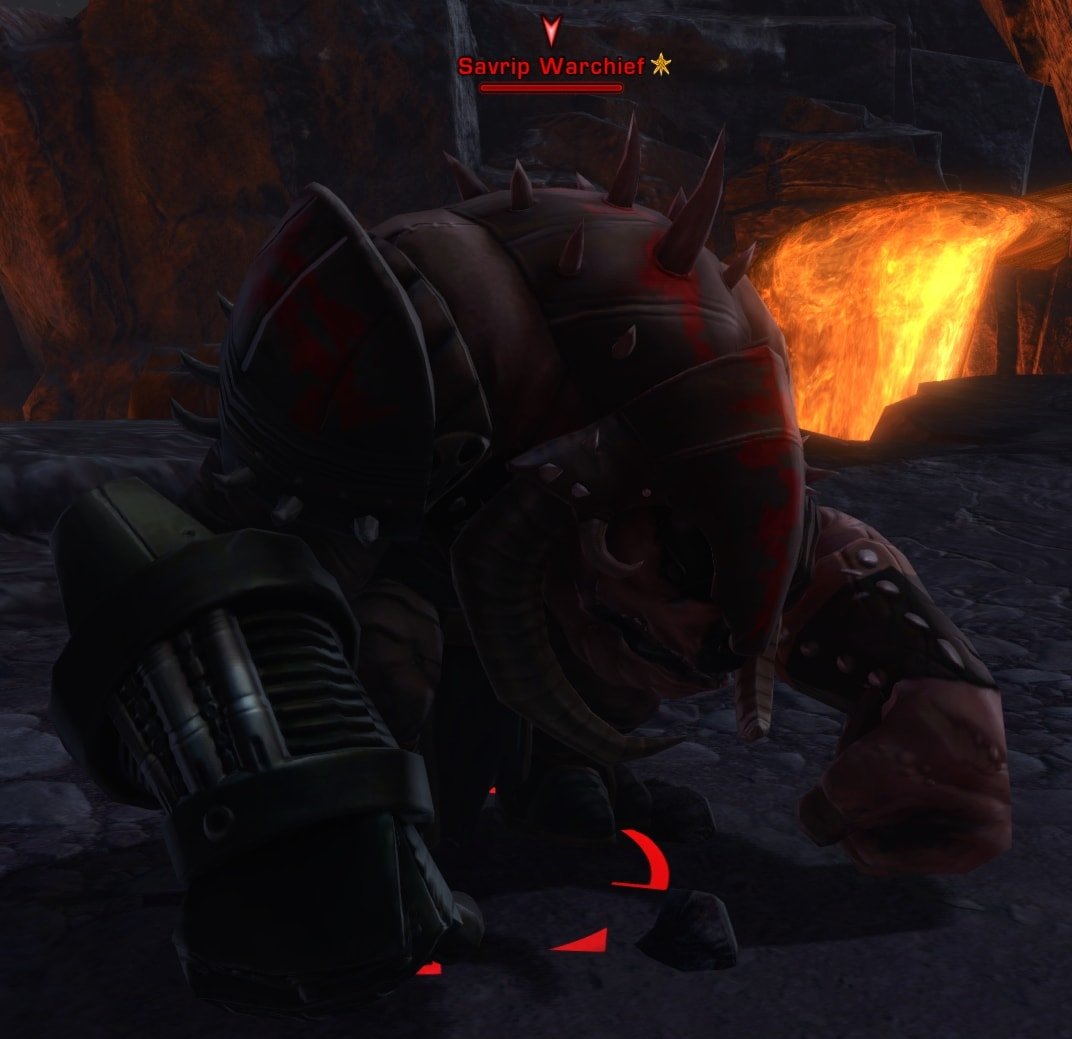
[HEROIC 2+] Into the Fire
Into the Fire requires you to defeat 5 Mountain Crag Savrips, 3 Savrip Champions, and retrieve DNA from a Savrip Warchief. The DNA can be picked up from a defeated Warchief.
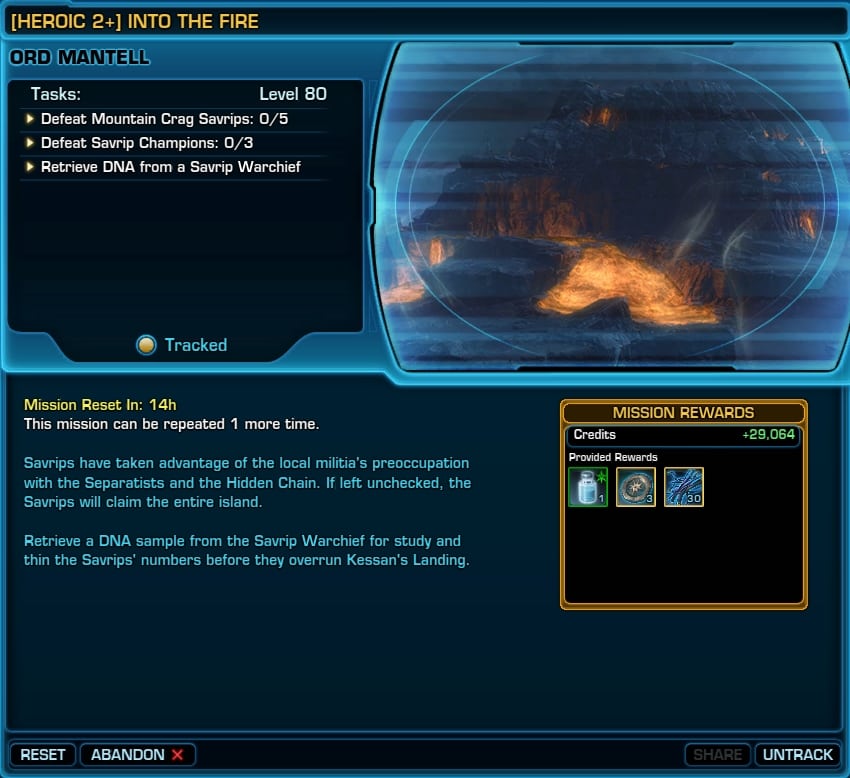
The Savrips are rather beefy and while you can beat them alone with a healer companion, it’s far more efficient to bring a buddy along. While you can find a good chunk of Savrips outside, there’s a tunnel that leads to the Overrun Volcanology Lab that has even more of them. That would also be a good time to complete the other heroic, Volcanic Distruption.
Once you defeat the Savrips, the mission will be complete.
[HEROIC 2+] Volcanic Disruption
Volcanic Disruption takes place within the Overrun Volcanology Lab at the south part of Kessan’s Landing.
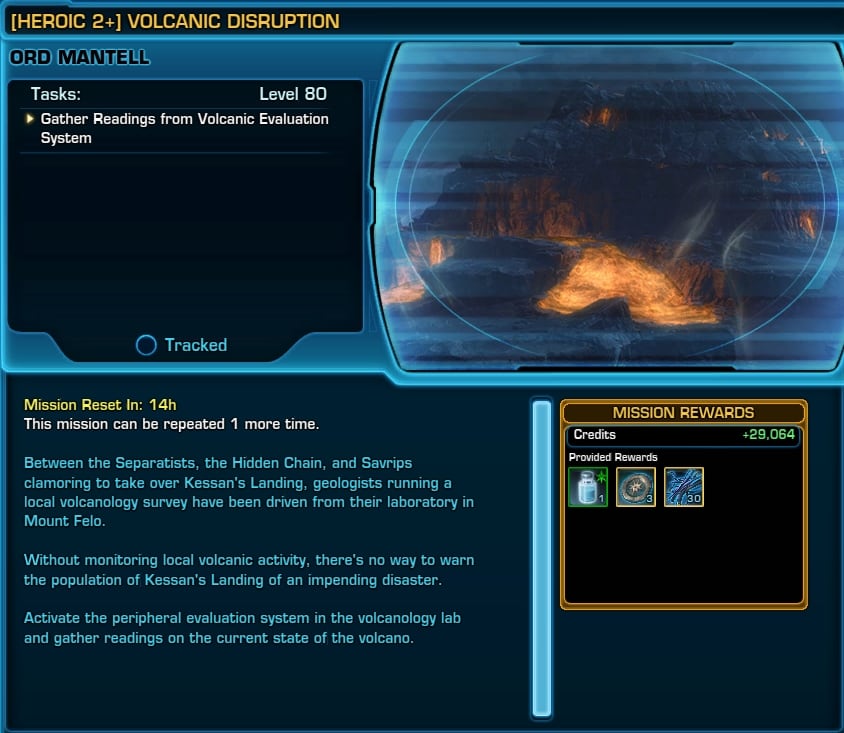
You’ll need to start by gathering the readings from the Volcanic Evaluation System. There are going to be a lot of Savrips in the tunnel leading to the lab and surrounding the Volcanic Evaluation System, be prepared for an obnoxious fight.
After gathering the readings, retrieve a Sensor Repair Kit south of the Evaluation System then repair the Sensor Array System.
Go to the main room in the laboratory and retrieve Generator Fuel. Bring the fuel to the north to refuel 4 generators. Though this would be too easy on its own, so the generator room is filled to the brim with Savrips, defeat them to safely refuel the Generators.
Once all the generators are refueled, restart the Generator System in the room.
Return to the Volcanic Evaluation System and gather the readings. Once you do this, you’ll gain the Data Transmitter mission item. Use this to end the mission.
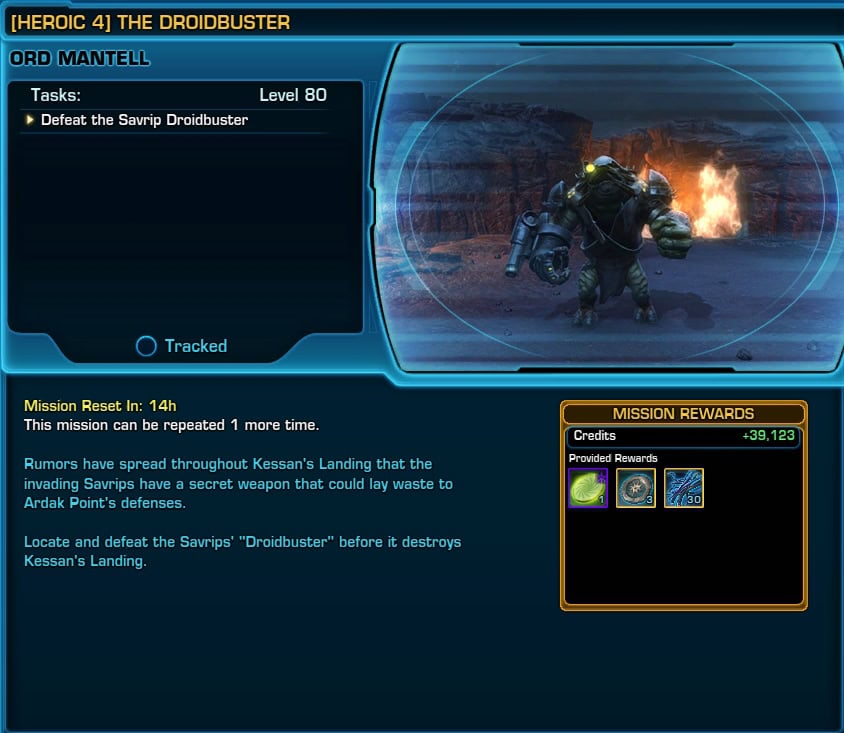
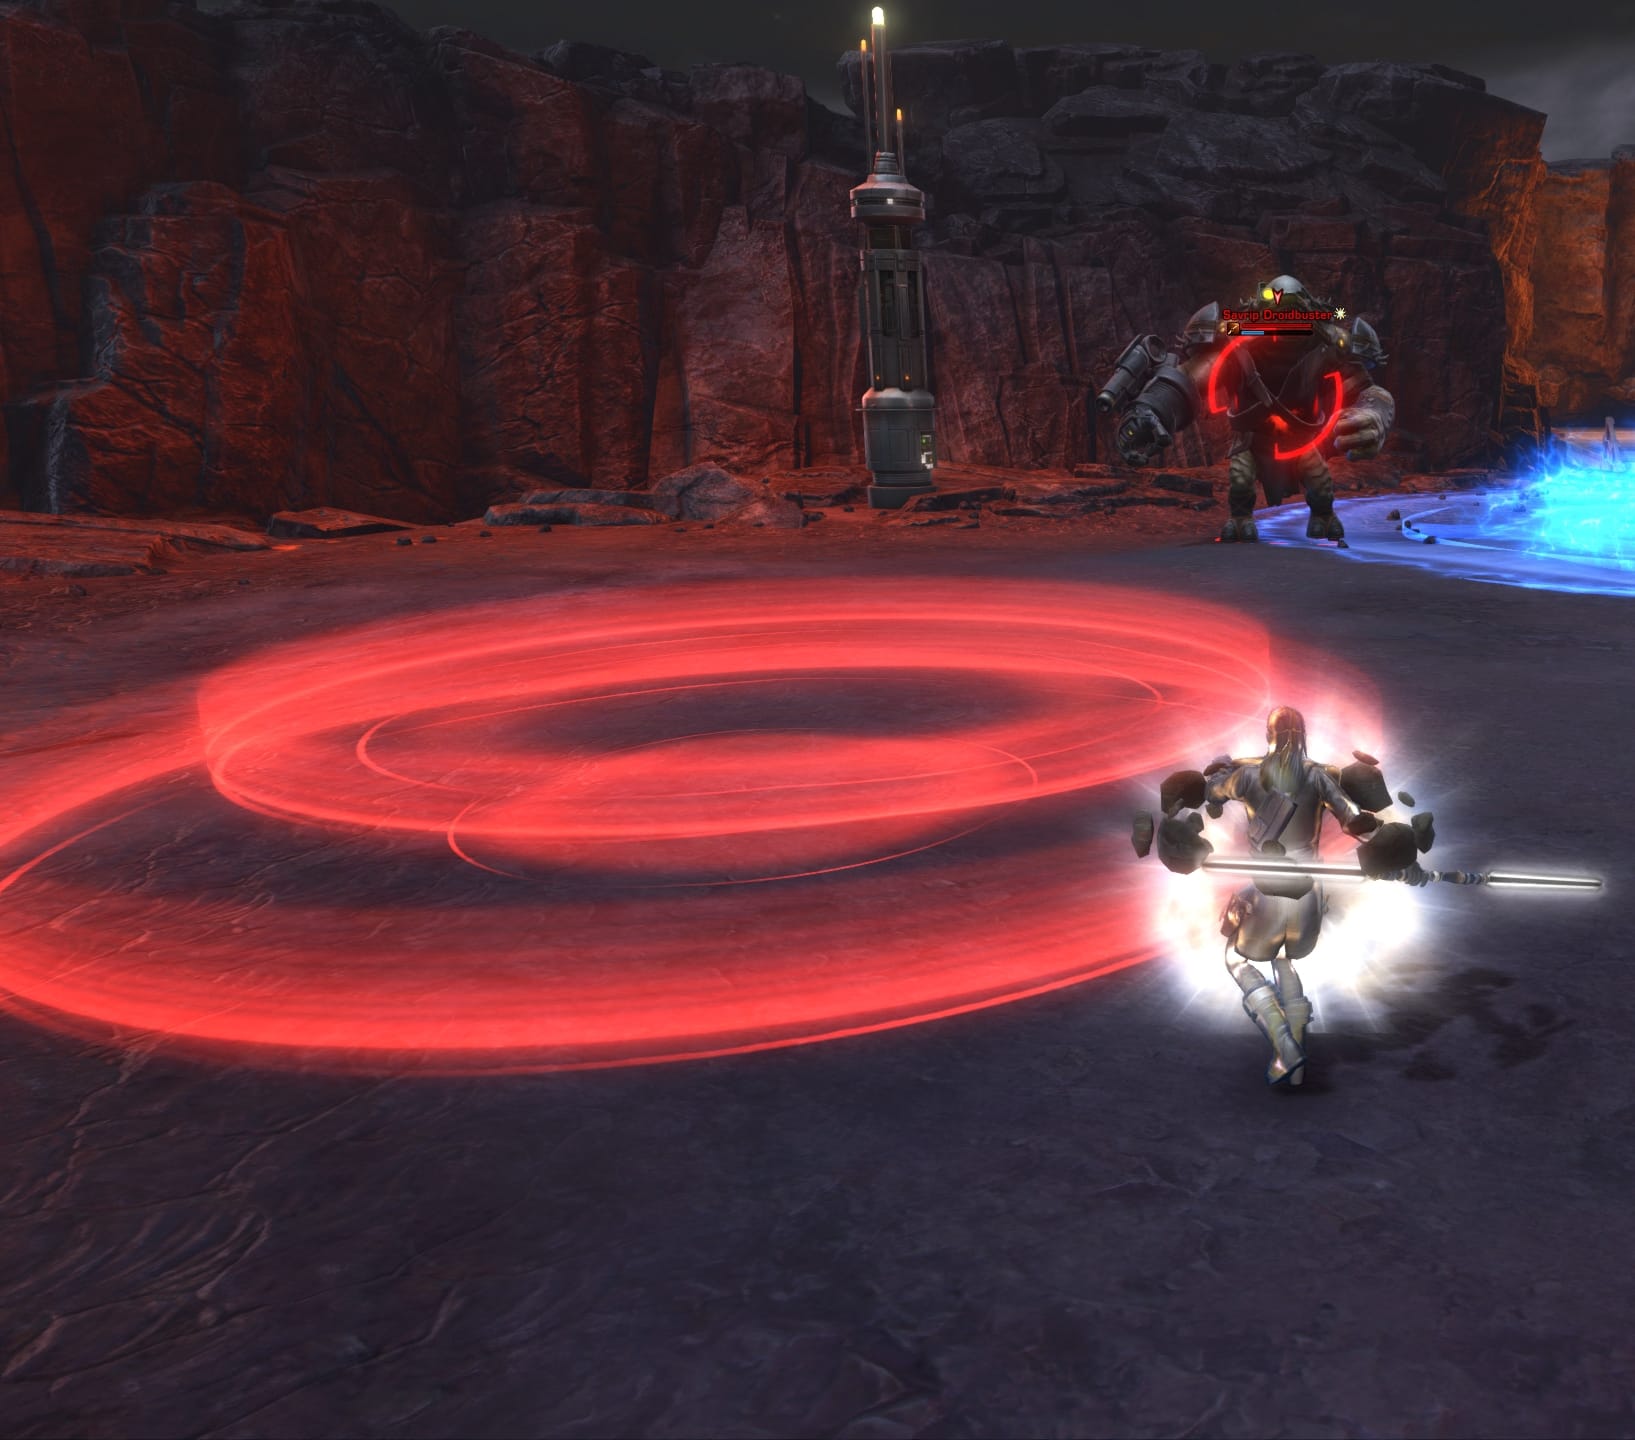
[HEROIC 4] The Droidbuster
The Droidbuster is aa powerful Savrip found in an instanced area near the lava flows south of Ardak Point. For this mission, you’ll need to defeat the Droidbuster but it can be a daunting task if you’re not prepared.

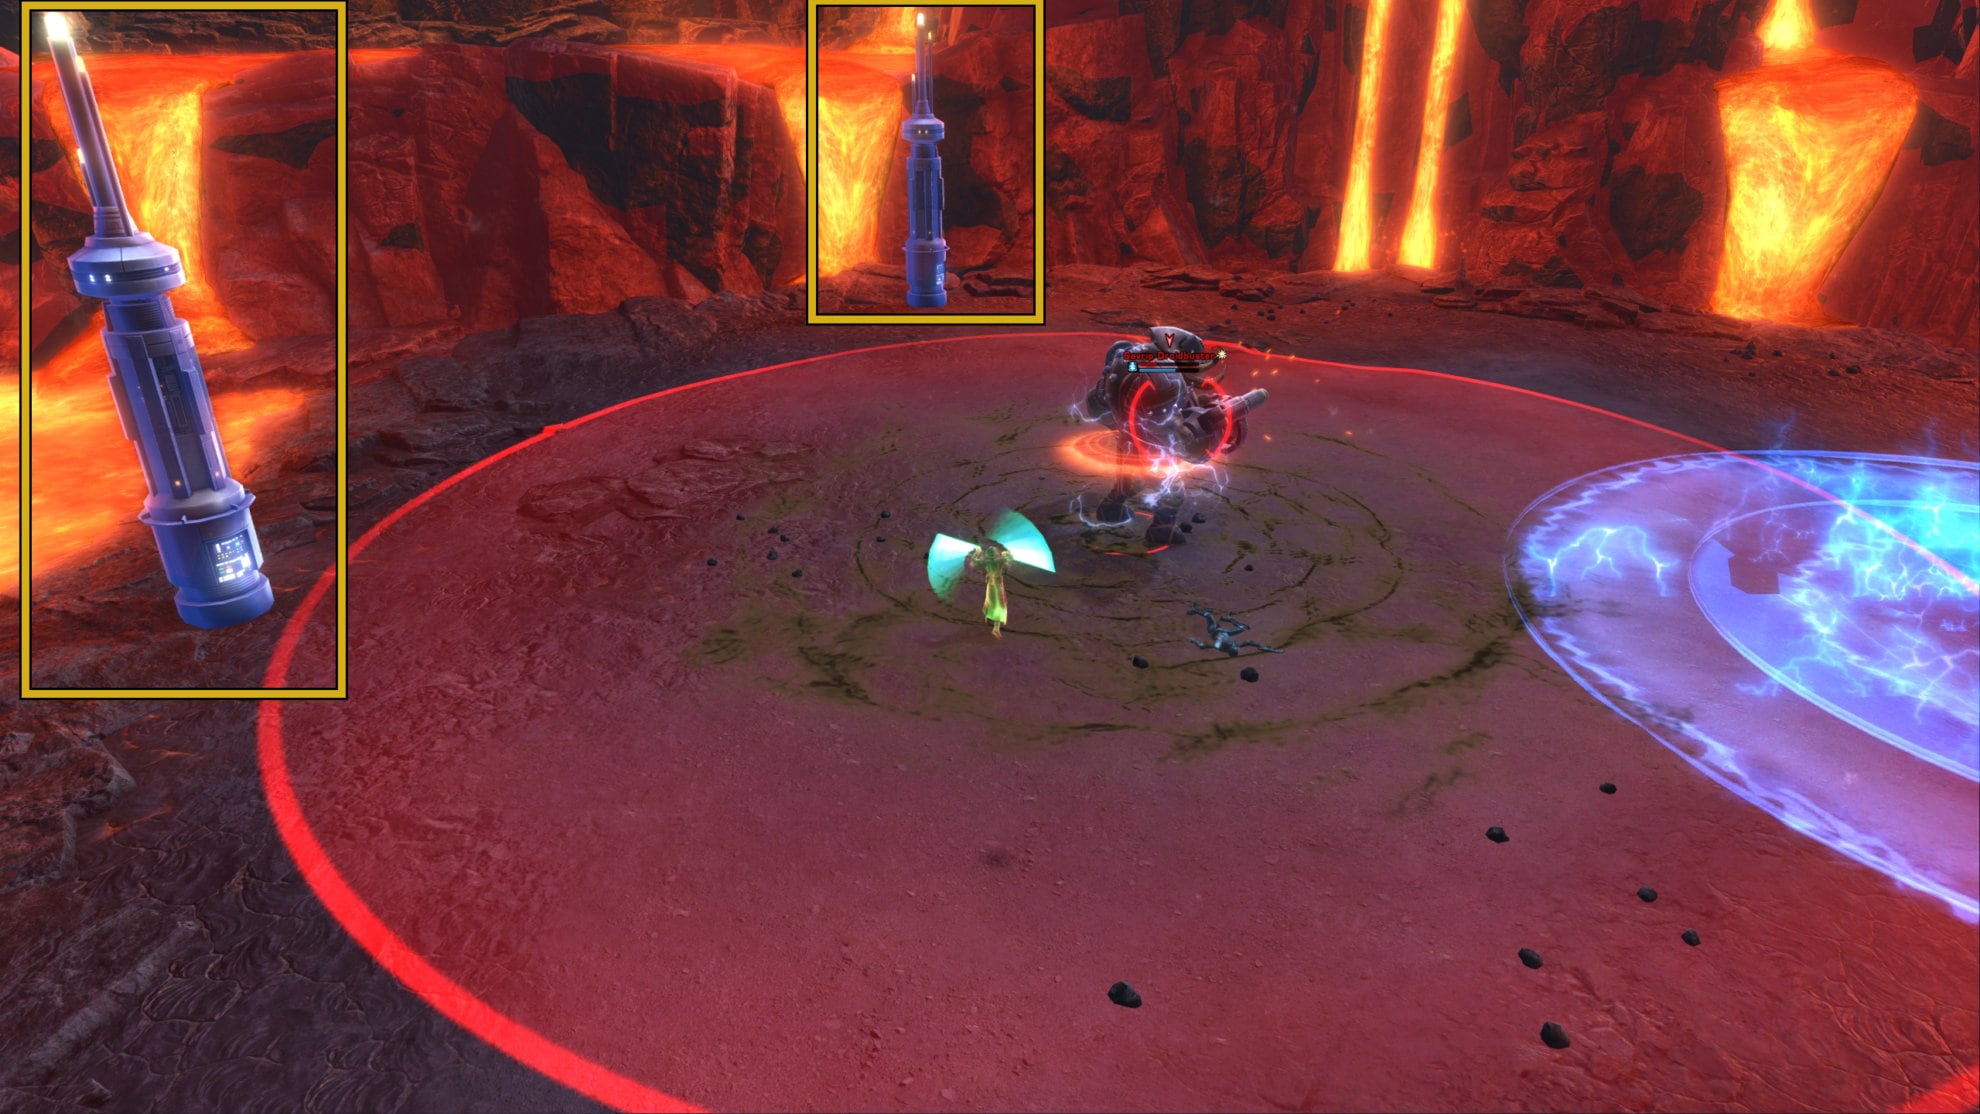
This boss fight is mechanic-heavy and requires good positioning to survive. It is incredibly to goof this where you’ll end up heavily injured or dead. If the Droidbuster uses a linear AoE, walk out sideways. It’ll create cracks on the ground that roll out to the end of the line, knocking back and damaging anyone in the area.
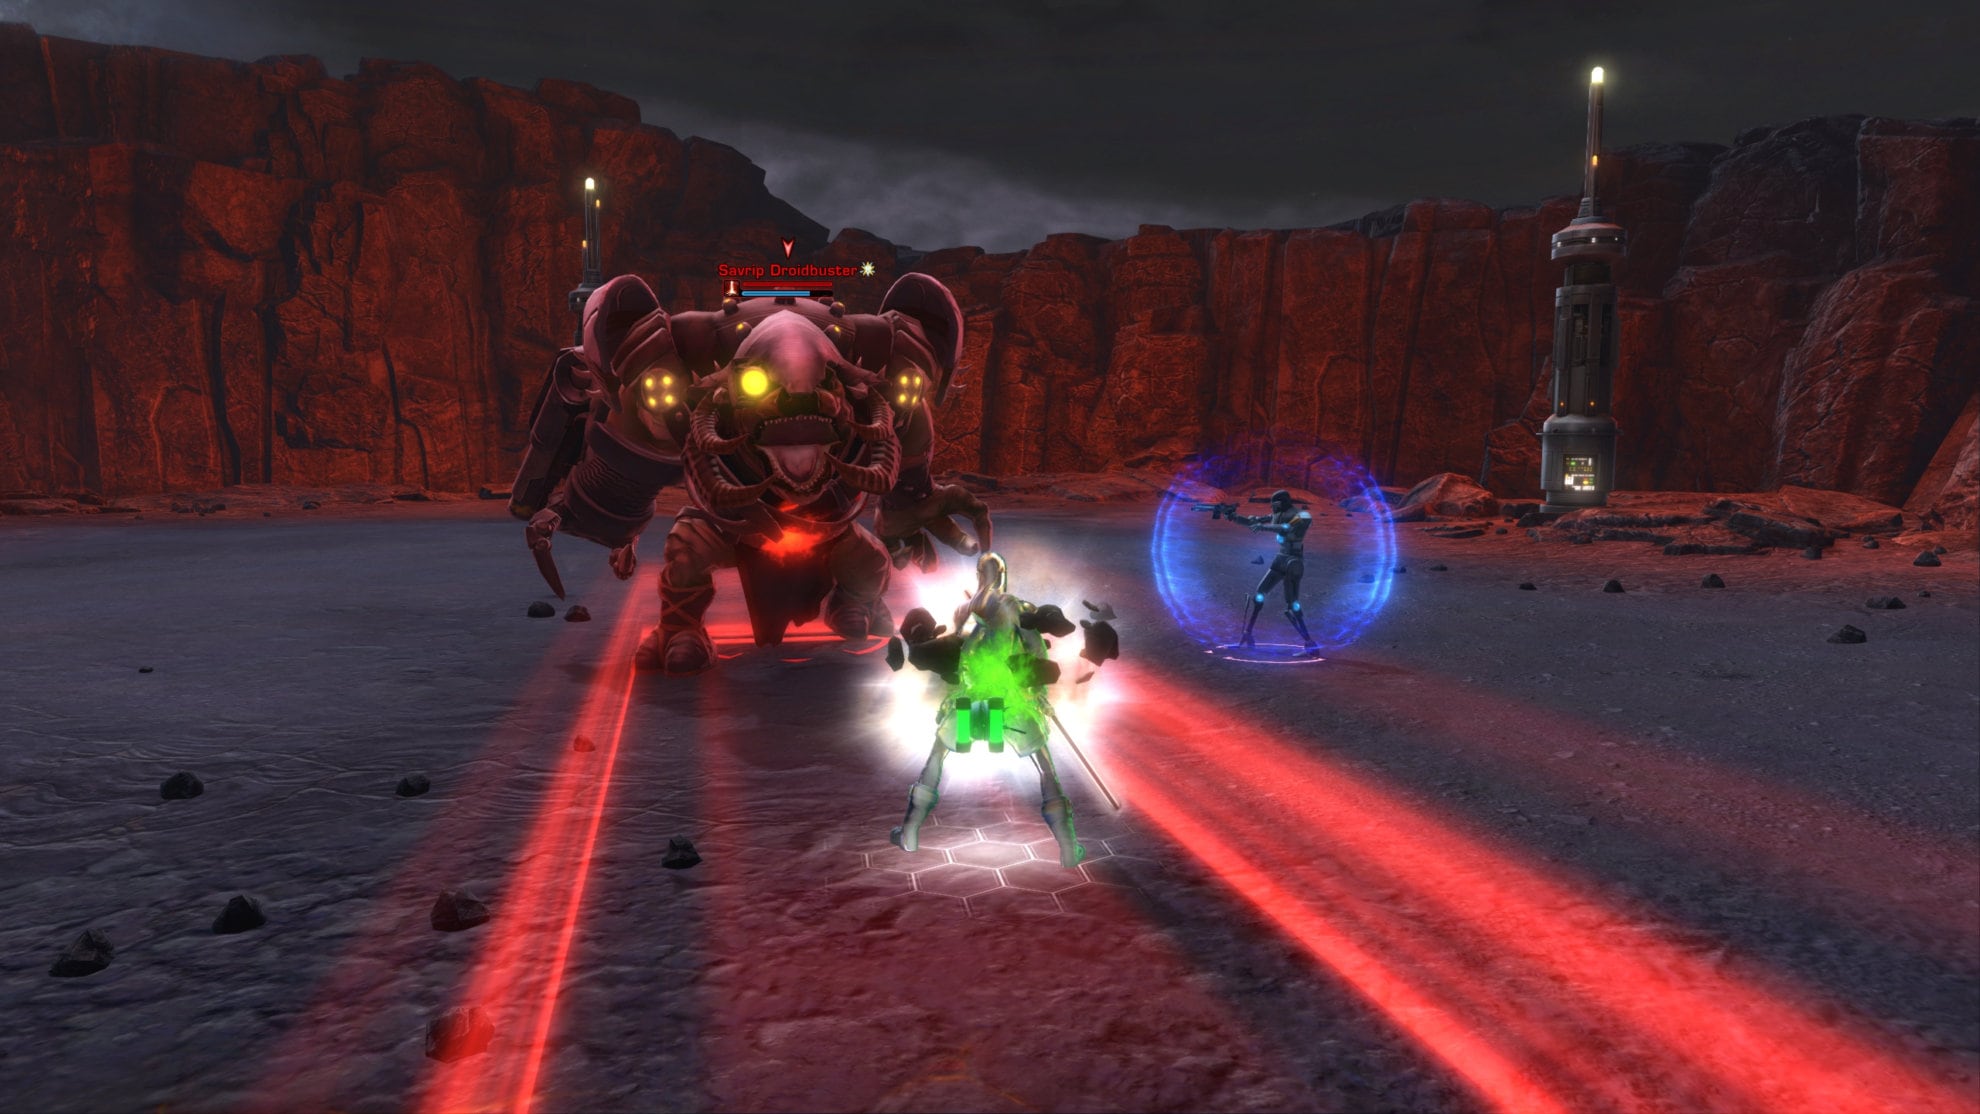
Watch out for red circles that appear on the ground, the Droidbuster will fire missiles in these areas.
The Droidbuster will target a random target as seen by the yellow arrows. He’ll jump to them and cause a large blue AoE that deals tech damage in the area. These electric circles seriously hurt so do your best to stay out of these areas. When the Droidbuster jumps, be sure to not be near the arena’s edges otherwise you’ll be pushed into the lava around the arena.
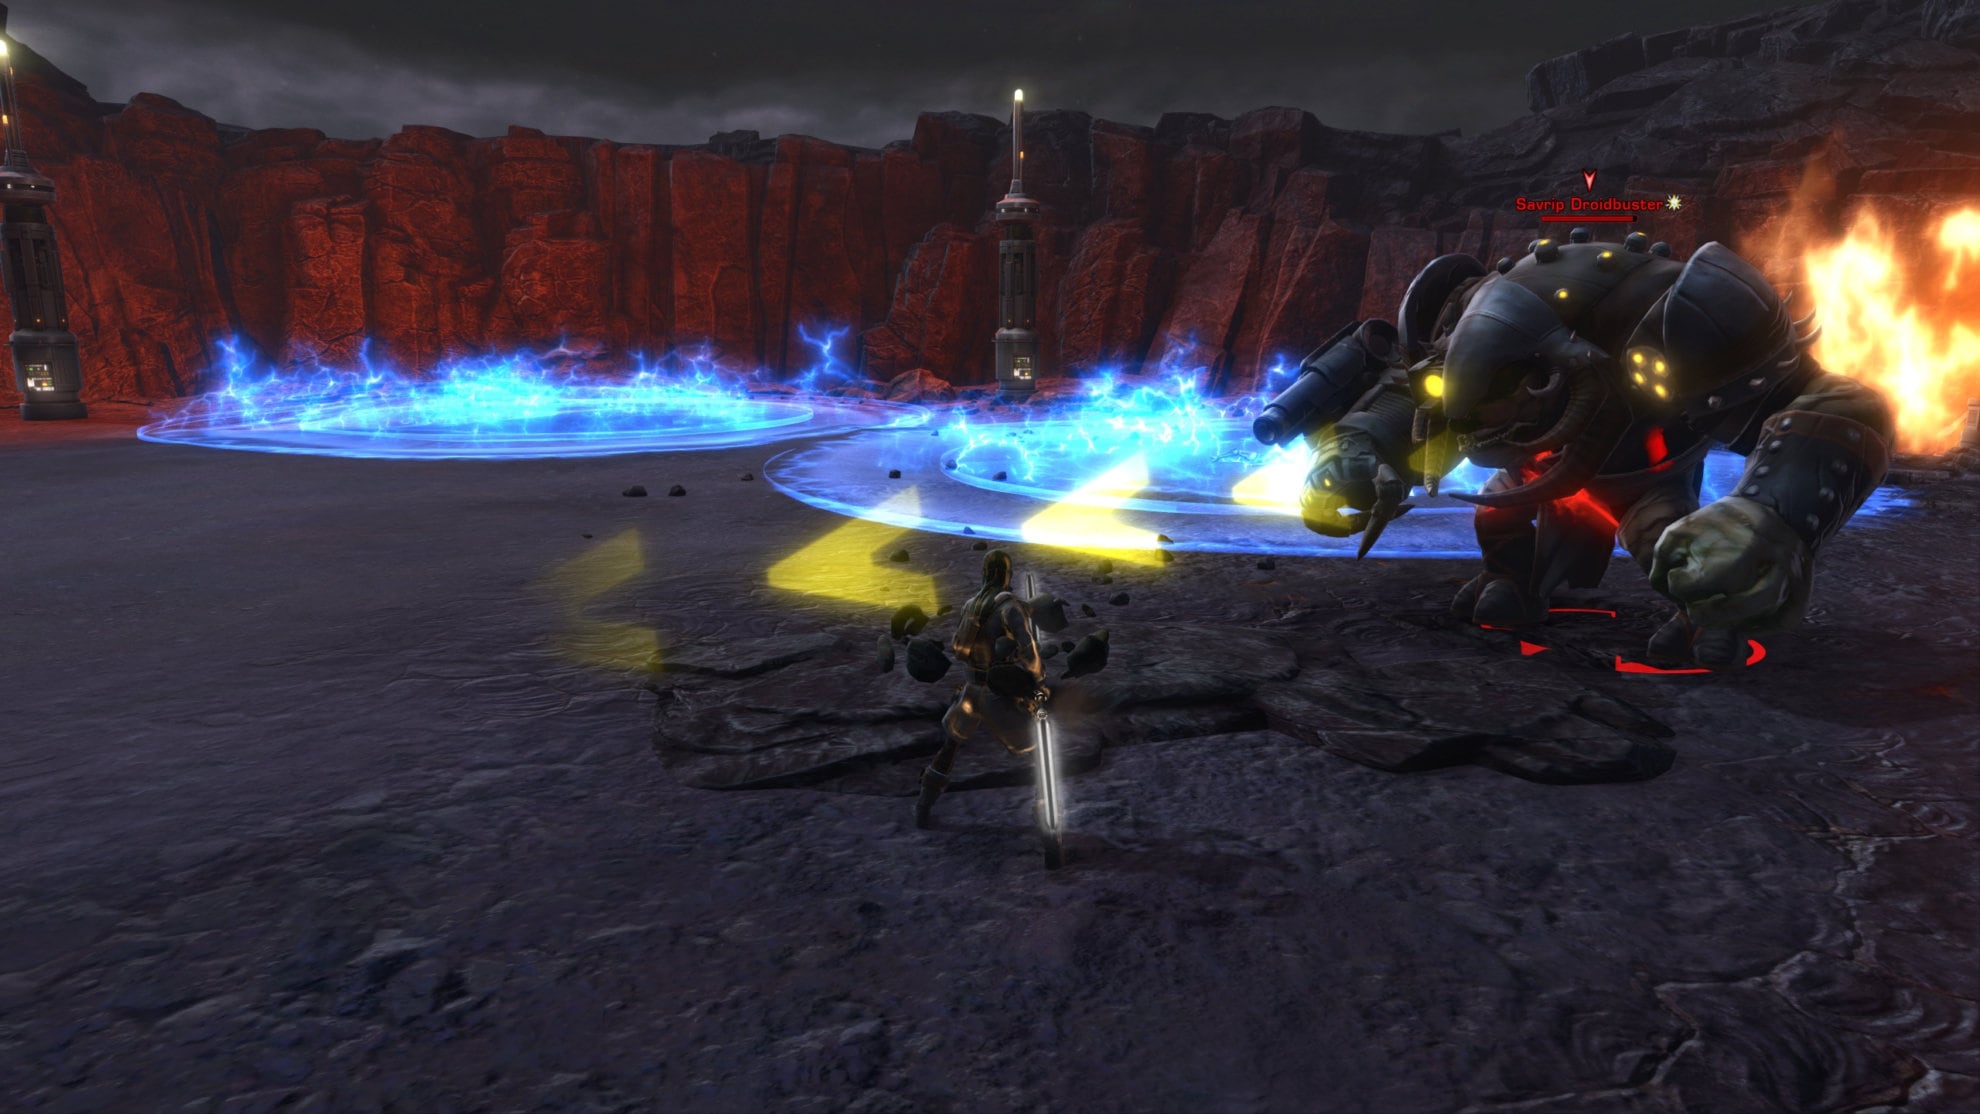
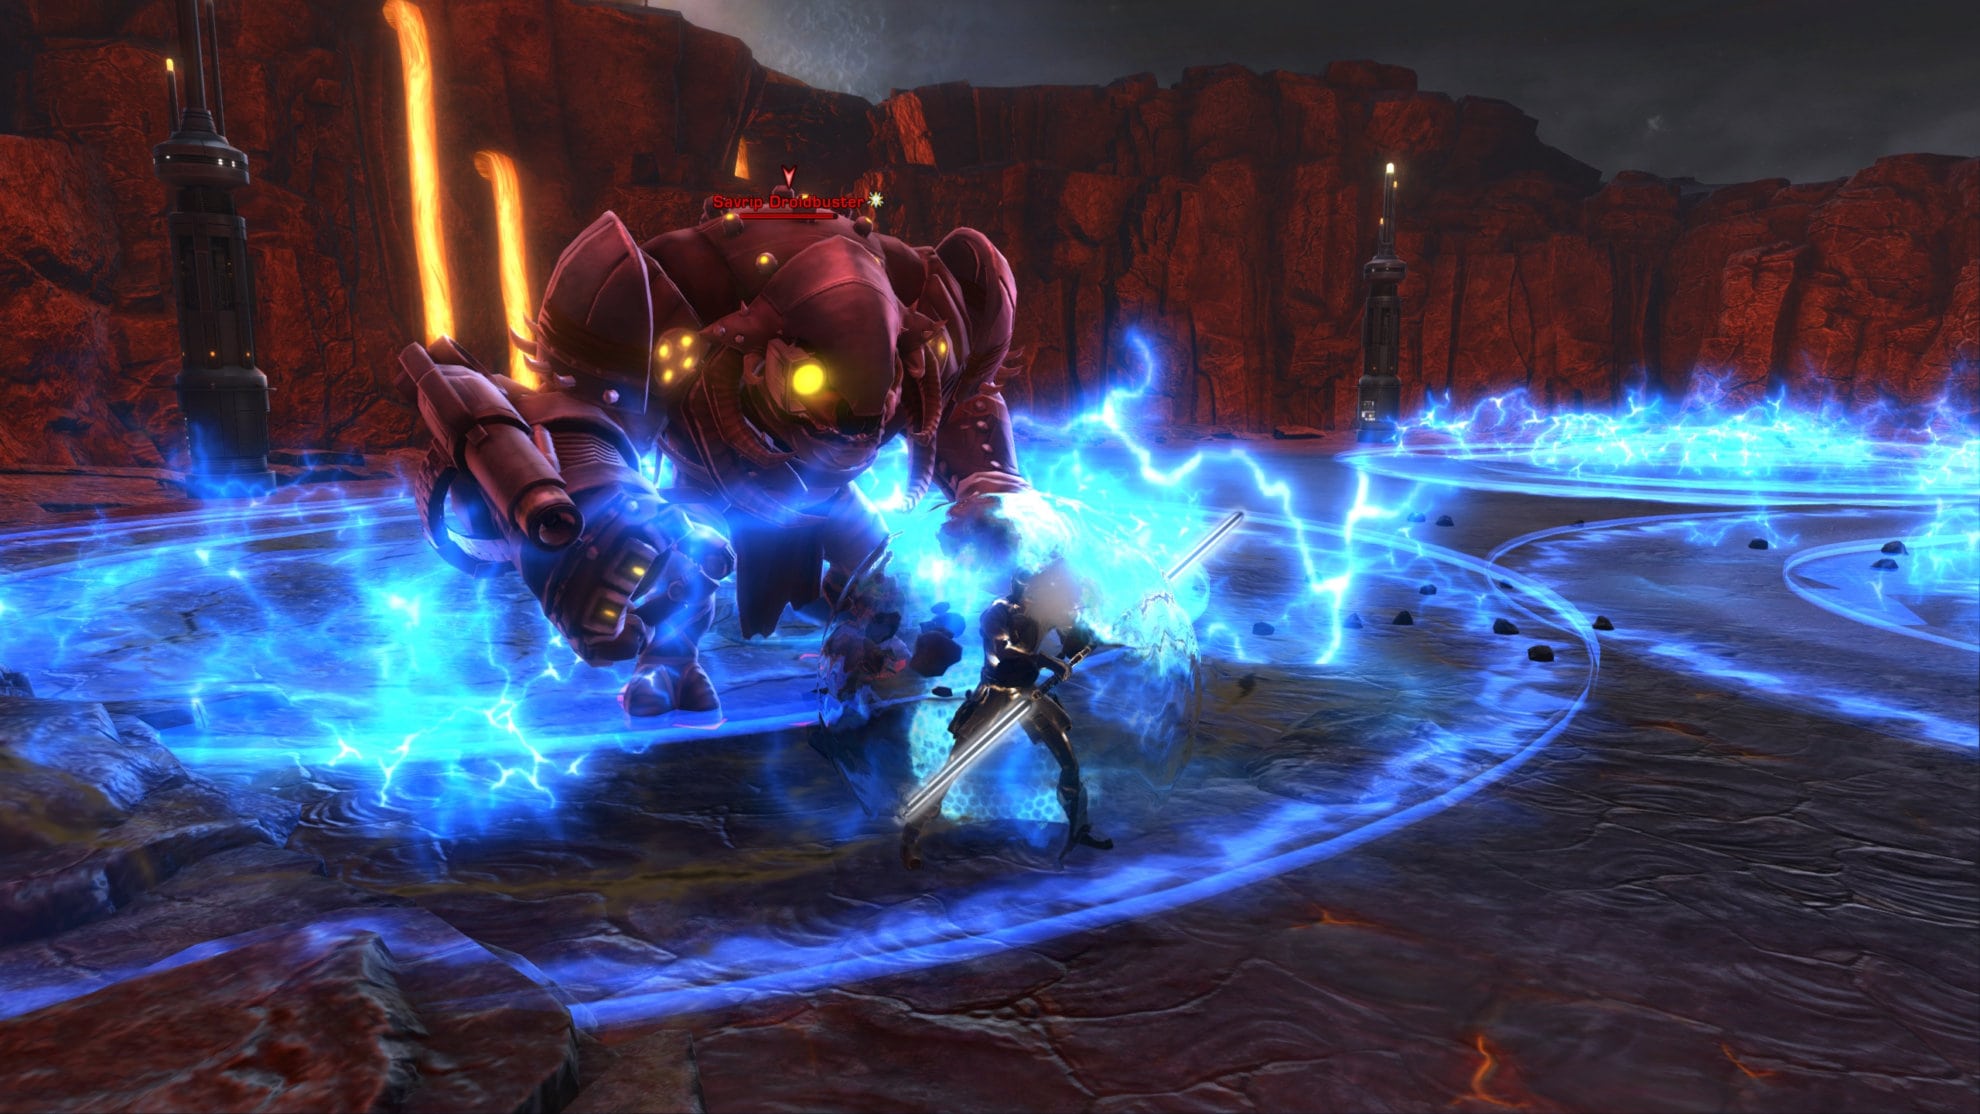
Mind the mechanics mentioned, kite the Droidbuster, and squeeze in damage when you can without getting pushed back by its numerous abilities. When its health gets low, it’ll jump to the center of the arena and pound its chest.
Use one of the pylons to summon a droid as soon as possible! The entire arena will take damage during this phase and you need the droid to distract the Droidbuster. Defeat the Droidbuster and complete the mission.
The group’s tank should be mindful of not putting AoEs near the DPS and Healer. On the other hand, the DPS and Healer should do their best to stay out of AoEs. So long as everyone works around the mechanics, you’ll do just fine.
Daily Missions Recommended Order
The missions at Kessan’s Landing can be completed rather smoothly by working in a clockwise motion around the map, starting at the Subterranean Power Plant north of Ardak Point.
- Start with Chain of Command and Turn the Lights On at the Subterranean Power Station.
- Continue Chain of Command, Turn the Lights On, and start Unstable Readings and Island Assessment in the north part of Kessan’s Landing.
- If you’re with the Republic, start Grateful Grazers next.
- Outside of Fort Ronnig, complete Short Circuiting and continue Island Assessment and Unstable Readings at the Caldera.
- As you work your way towards Fort Ronnig, start Everything Must Go and wrap up Island Assessment.
- Go inside Fort Ronnig to complete Chain of Command, Panther Training (Empire Only), and Separating the Separatists.
- Go west to the Lava Flows and complete Short Circuiting, Into the Fire, Volcanic Disruption, and The Droidbuster.
- Go north to the waterfalls and complete Unstable Readings.
- Return to Ardak Point to complete Everything Must Go, Separating the Separatists, Unstable Readings, and Turn the Lights On.
- If you’re with the Republic, finish off by Quick Travelling to Port Granost to turn in Grateful Grazers.
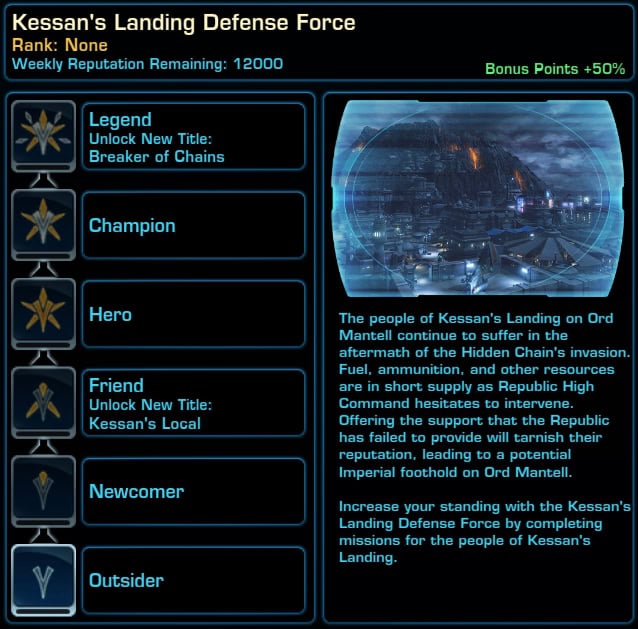
Reputation Standings and Vendor Items
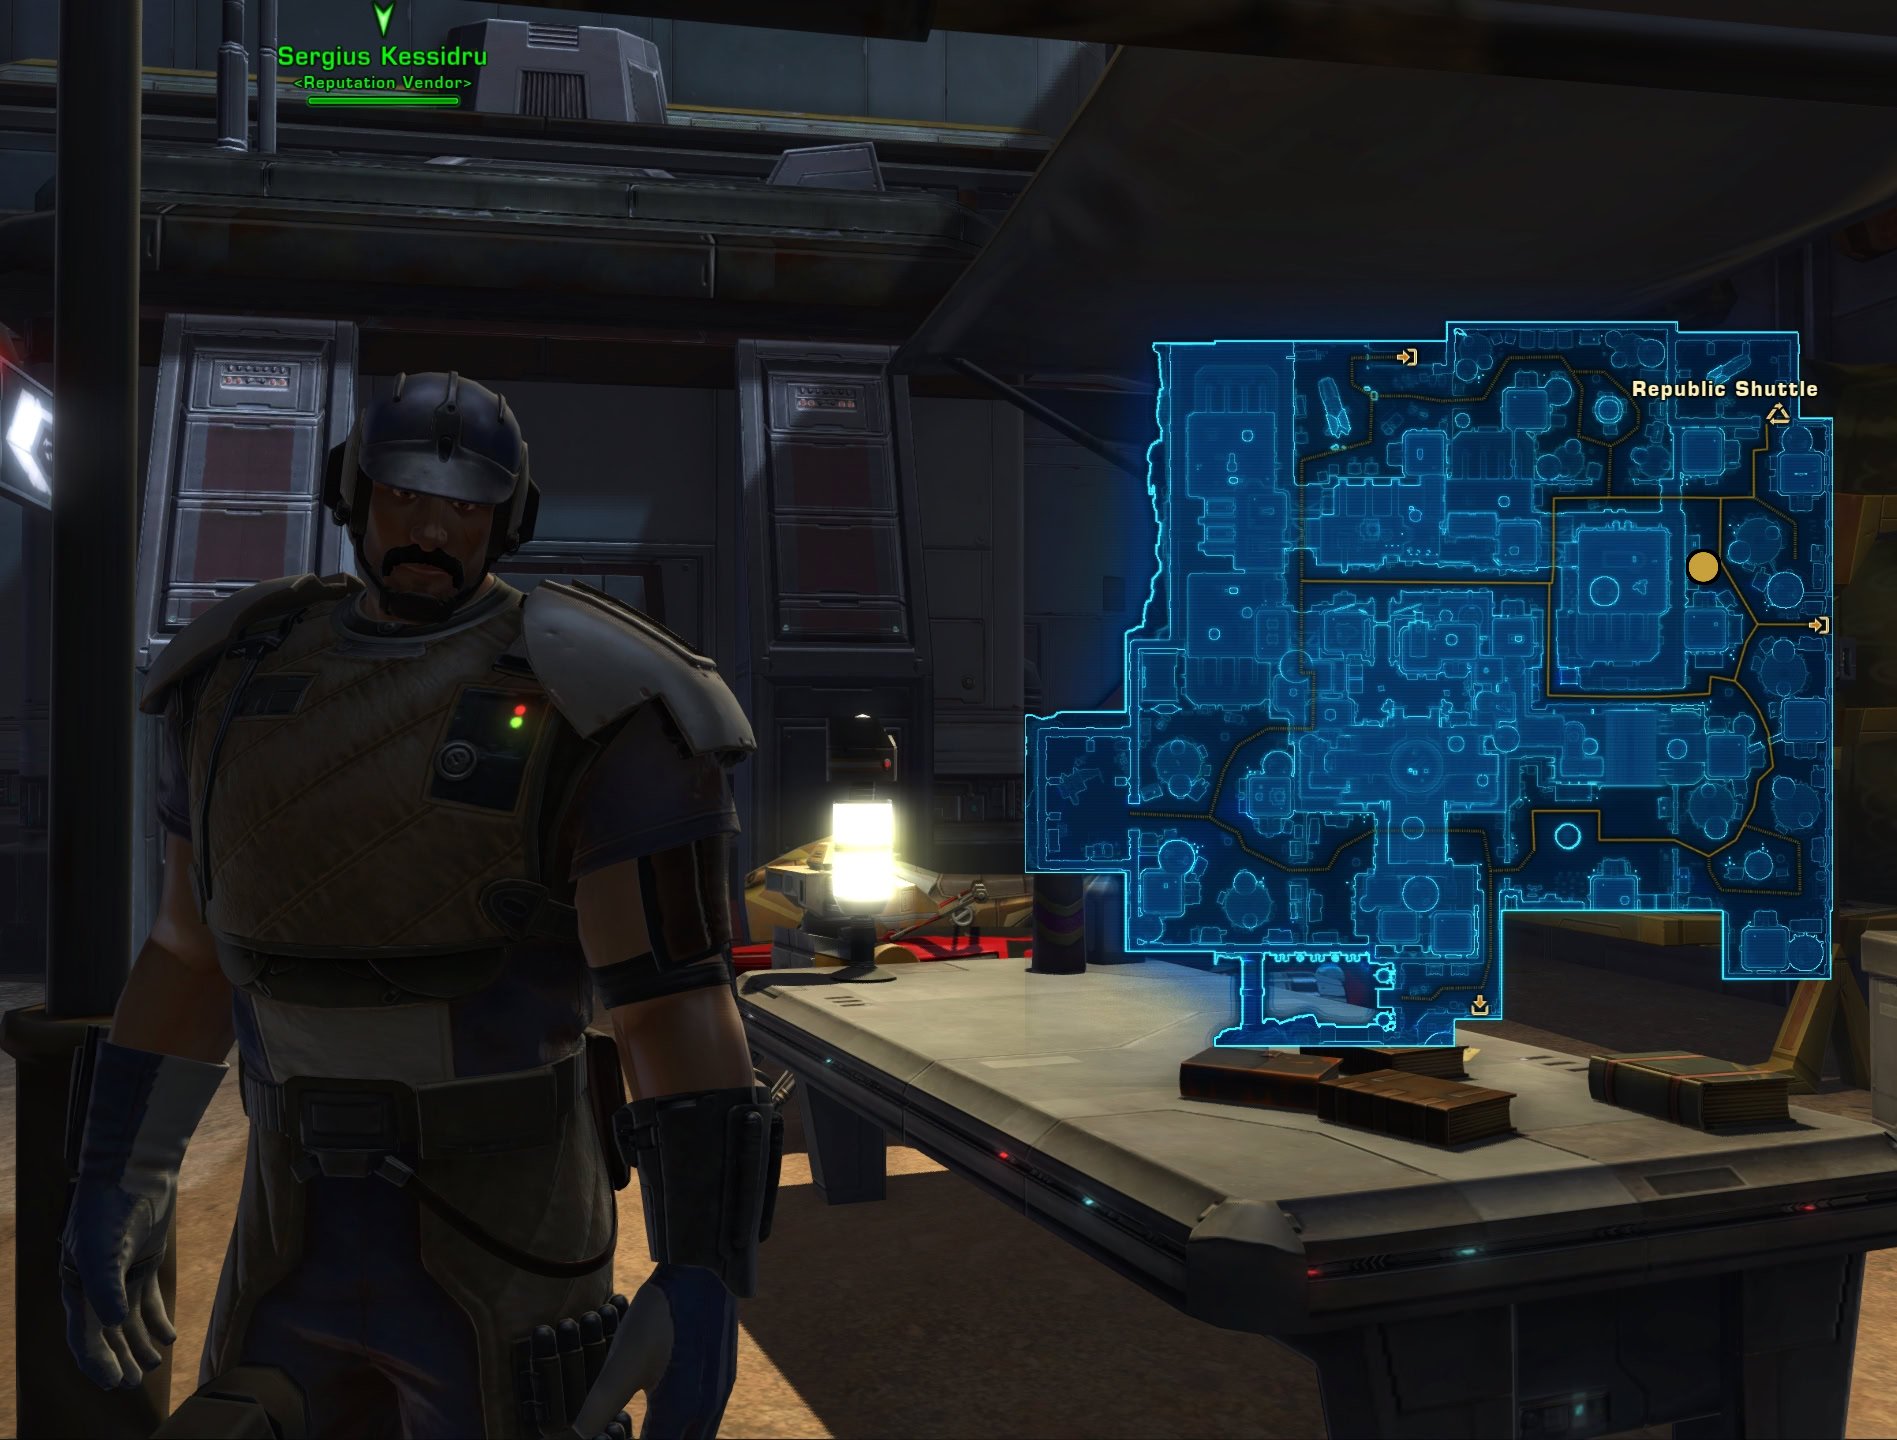
You can find the reputation vendor in Ardak Point, near the Quick Travel post. His name is Sergius Kessidru, you can find him on the east side of Ardak Point and he’s rather close to the east exit.
You will need to increase your reputation with the Kessan’s Landing Defense Force to purchase all the available items as some of the nicer items require a higher rank in Kessan’s Landing.
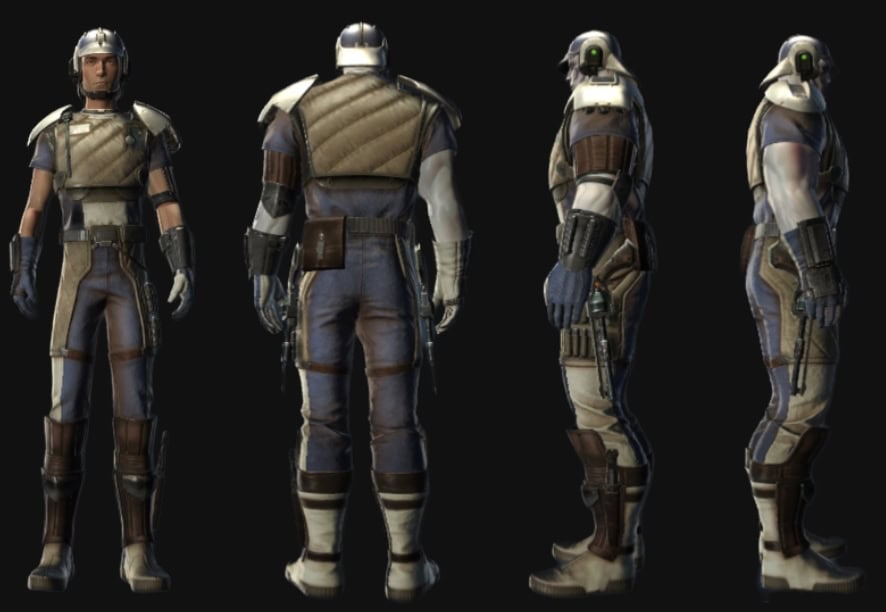
Mantellian Support Armor Set
The Mantellian Support armor set will require various ranks to fully acquire and a complete set will cost 5,250,000 credits. If you want the full set, you’ll need to reach Legend rank.
Mantellian Hover Turret Mount
This mount requires the Champion rank and costs 1,000,000 credits. It does have an animation with CTRL+Z where it’ll fire its cannons.

Woodland Nexu Pet
You can purchase the Woodland Nexu Pet when you have the Legend Rank, and will cost 1,000,000 credits to purchase.

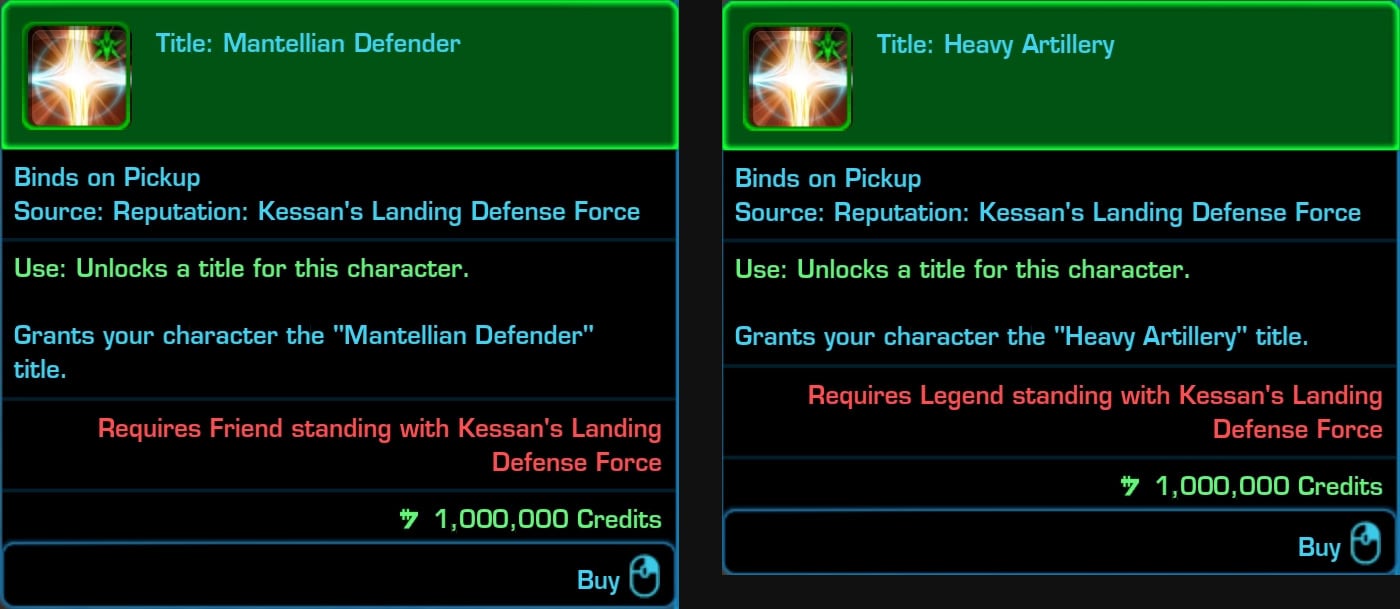
Titles
There are two titles you can purchase for 1,000,000 credits each. The Mantellian Defender title requires the Friend rank, while the Heavy Artillery title requires the Legend rank to purchase.
Decorations
The decorations range in price from 150,000 to 550,000 credits a piece. Each one requires a different rank to purchase so you’ll need to hit Legend tank to purchase all of them.
Full Vendor Items List
And here is the entire catalog of the Reputation Vendor at Kessan’s Landing with the pricing for each item and the reputation standing required to purchase it.
| Icon | Item Name | Type | Reputation Requirements | |
|---|---|---|---|---|
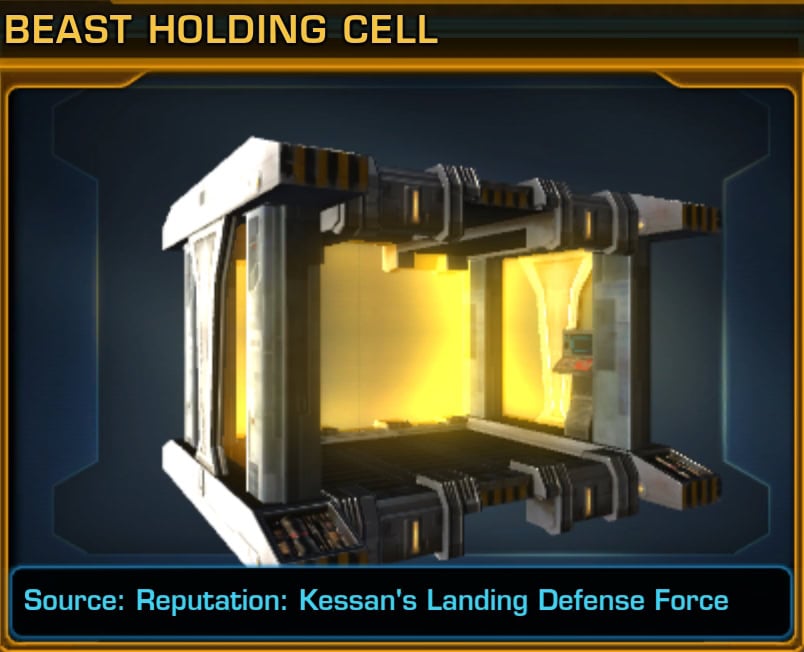
 | Beast Holding Cell | Decoration | Legend | 550,000 |
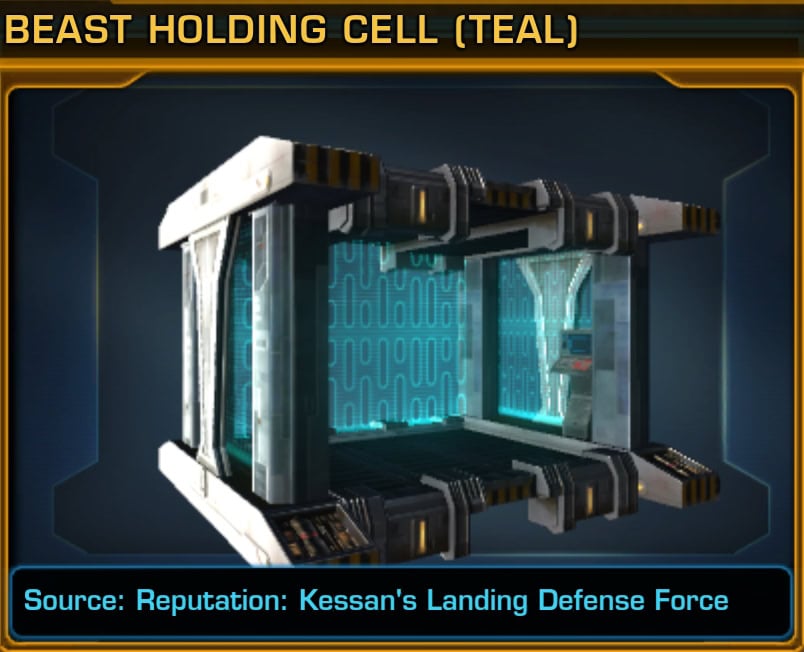
| Beast Holding Cell (Teal) | Decoration | Legend | 550,000 |
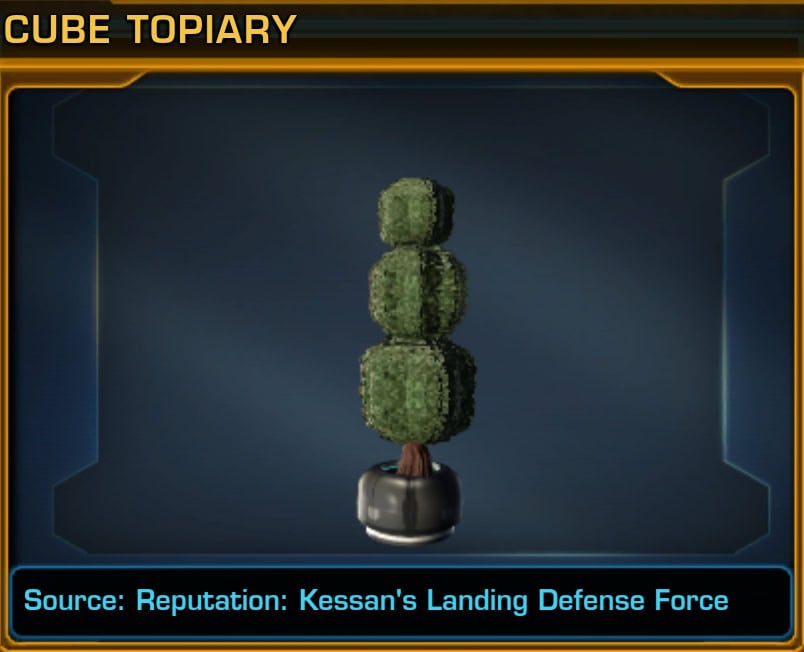
 | Cube Topiary | Decoration | Hero | 350,000 |
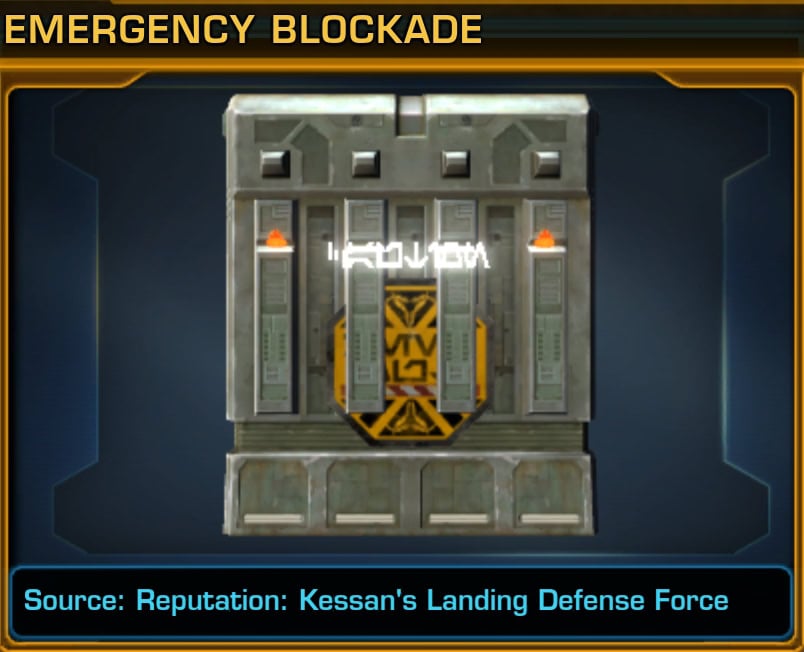
 | Emergency Blockade | Decoration | Outsider | 150,000 |
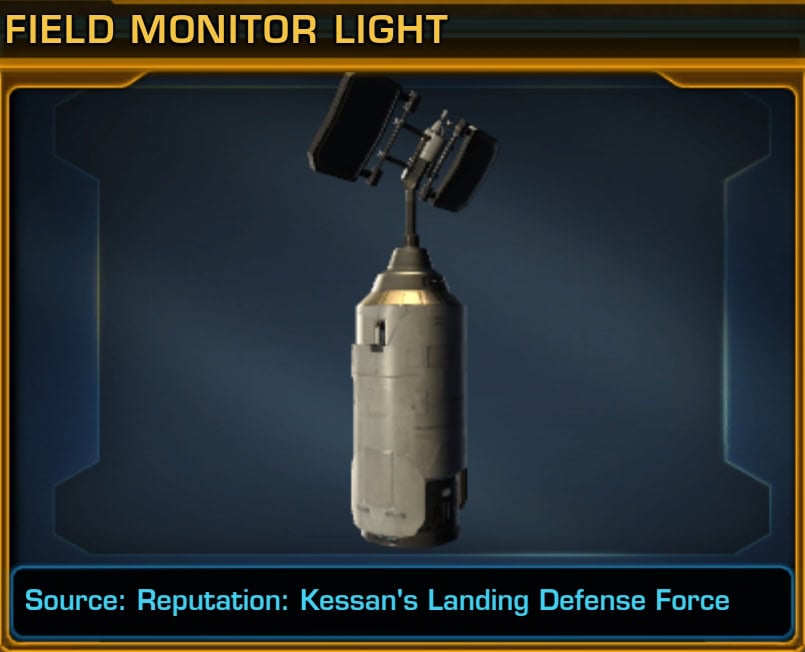
| Field Monitor Light | Decoration | Outsider | 150,000 | |
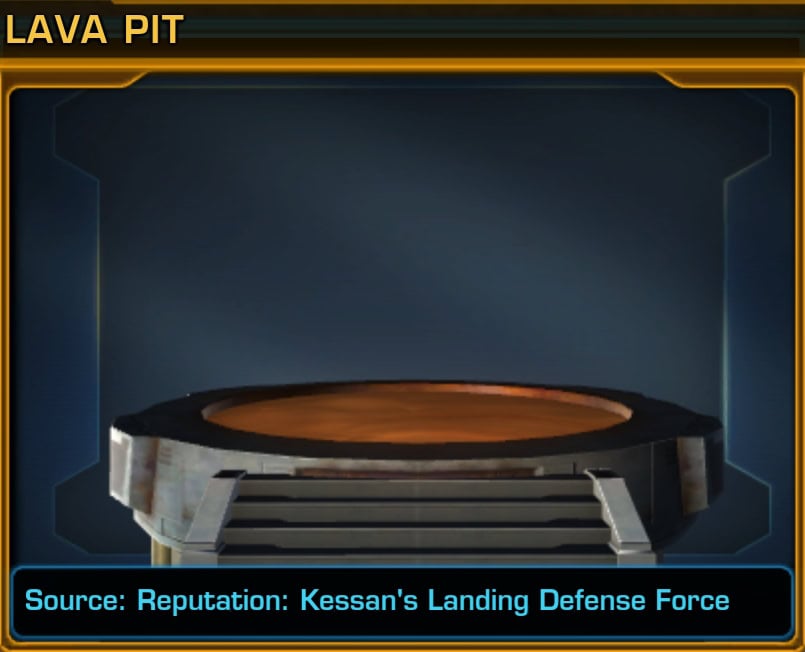
| Lava Pit | Decoration | Newcomer | 175,000 |
| Mantellian Hover Turret | Mount | Champion | 1,000,000 | |
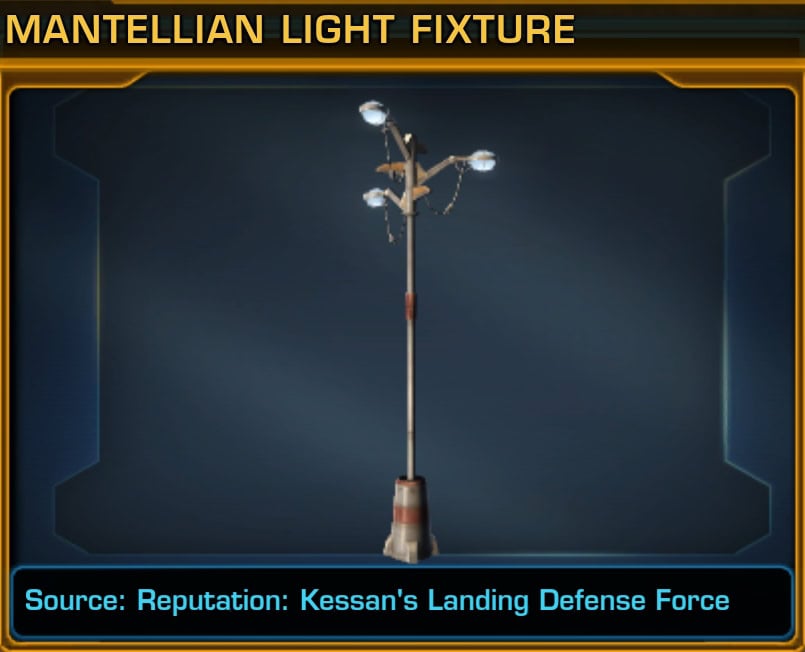
| Mantellian Light Fixture | Decoration | Newcomer | 175,000 | |
| Mantellian Support Boots | Armor | Hero | 750,000 | |
| Mantellian Support Bracers | Armor | Newcomer | 750,000 | |
| Mantellian Support Chestplate | Armor | Legend | 750,000 | |
| Mantellian Support Gloves | Armor | Hero | 750,000 | |
| Mantellian Support Helmet | Armor | Legend | 750,000 | |
| Mantellian Support Pants | Armor | Champion | 750,000 | |
| Mantellian Support Utility Belt | Armor | Friend | 750,000 | |
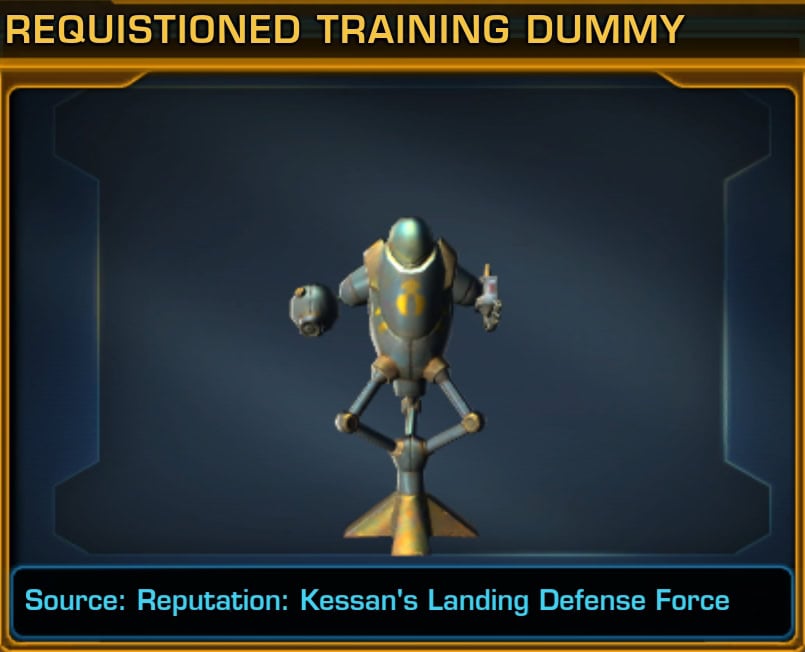
 | Requisitioned Training Dummy | Decoration | Friend | 250,000 |
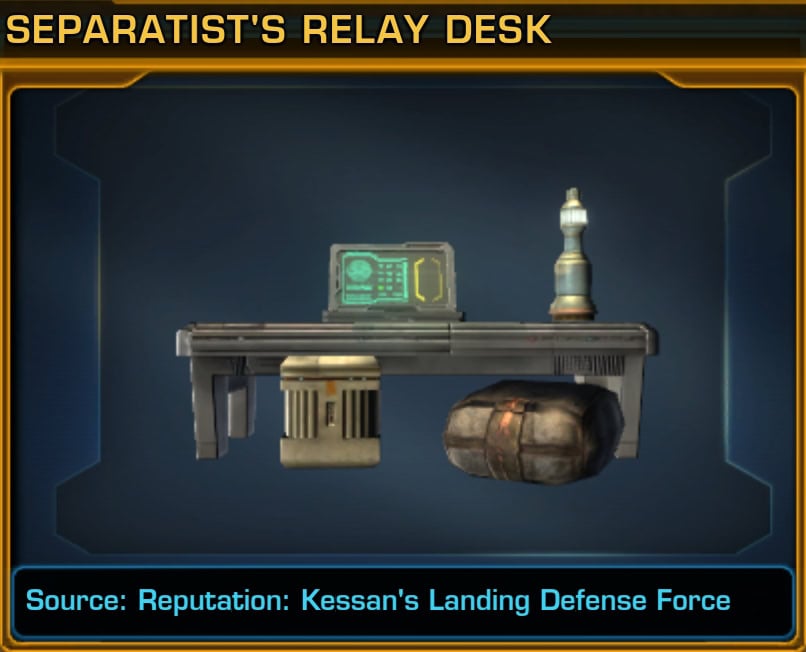
| Separatist’s Relay Desk | Decoration | Hero | 350,000 | |
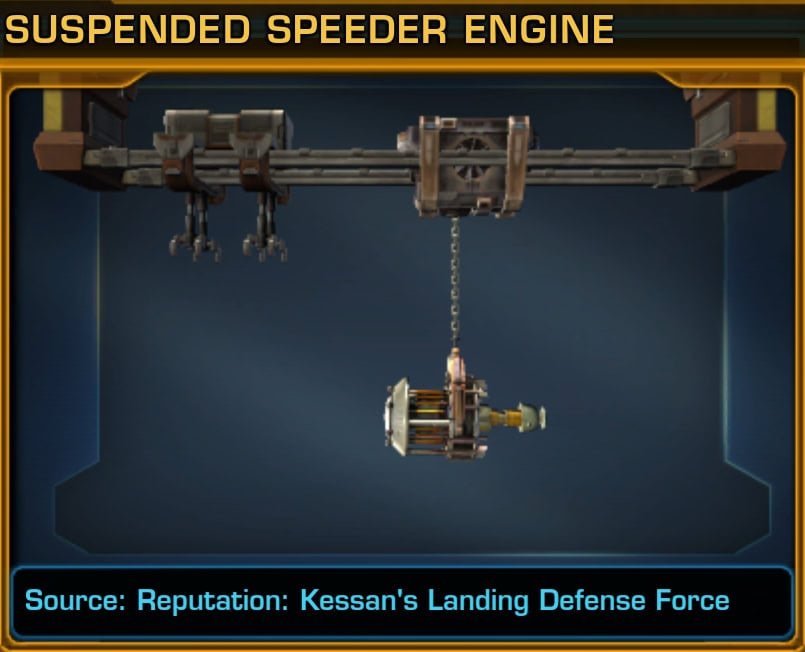
 | Suspended Speeder Engine | Decoration | Champion | 450,000 |
| Title: Heavy Artillery | Title | Legend | 1,000,000 | |
| Title: Mantellian Defender | Title | Friend | 1,000,000 | |
| Woodland Nexu | Pet | Legend | 1,000,000 |
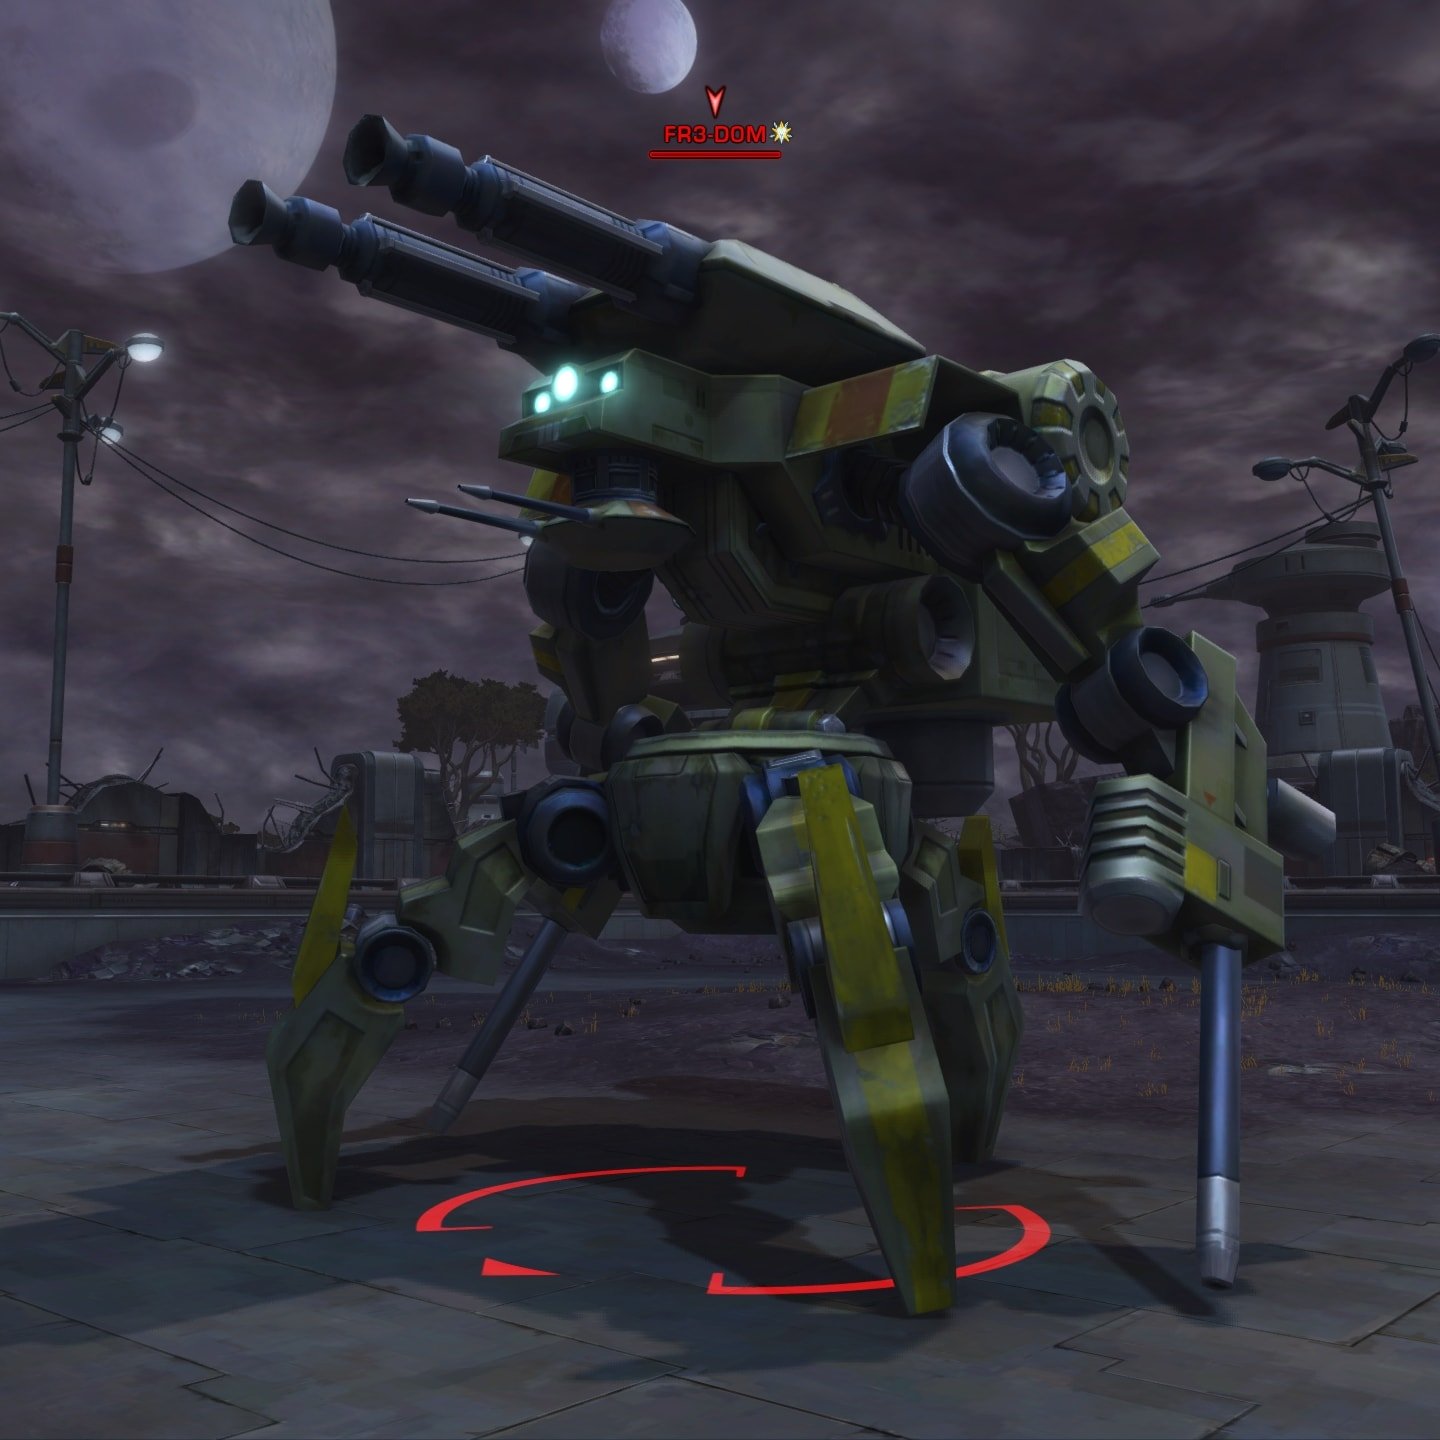
World Boss: FR3-D0M
FR3-D0M can be found east of Port Granost and will require a group of 8 or more people to defeat. You can pick up the quest The Price of Freedom from the Weekly Mission Terminal that requires you to defeat FR3-D0M
Achievements
Many of the achievements for Kessan’s Landing are very basic such as “Defeat X amount of enemies” or “Complete X amount of repeatable missions/story missions”. Though there are the more interesting achievements you can earn at Kessan’s Landing.
Grazer Whisperer
There are five lost Grazers spread around Kessan’s Landing. Before you can send them home, you’ll need to purchase Grazer Treats or a Grazer Prod from the Trandoshan Animal Handler vendor at Ardak Point. You can find him in the Marketplace in the southern area of Ardak Point. You’ll only need one of either tool for all five grazers.
You’ll be able to find the Grazers in the following locations:
- The Caldera Grazer can be found in the Caldera Cavern north of Fort Ronnig. Saving this grazer grants the achievement Lost Grazer: Caldera.
- The Lava Grazer is north of the Solitude’s Laze quick travel point. You can make some jumps across some rocks to avoid the lava and find the Lava Grazer alone on a ledge. Saving this grazer grants the achievement Lost Grazer: The High Ground.
- The Moon-Gazing Grazer is found on a cliff north of the Subterranean Power Station. You can quick travel to Port Granost and go west from there to reach it. Saving this grazer grants the achievement Lost Grazer: Moon Gazer.
- The Party Grazer is in the middle of Kessan’s Landing at an outdoor patio. You’ll find it next to the bar. Saving this grazer grants the achievement Lost Grazer: Party Animal.
- The Sea Grazer can be reached by quick travelling to Orabina Cove. Go south until you can cross some rocks that lead out to sea, make some jumps and reach the Sea Grazer. Saving this grazer grants the achievement Lost Grazer: Out to Sea.
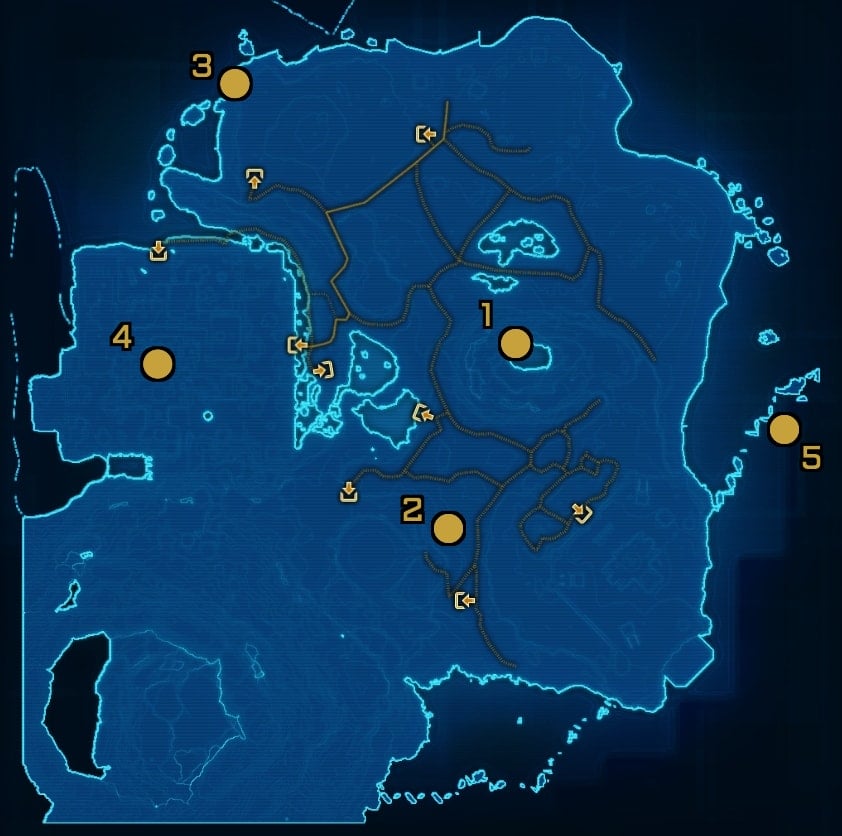
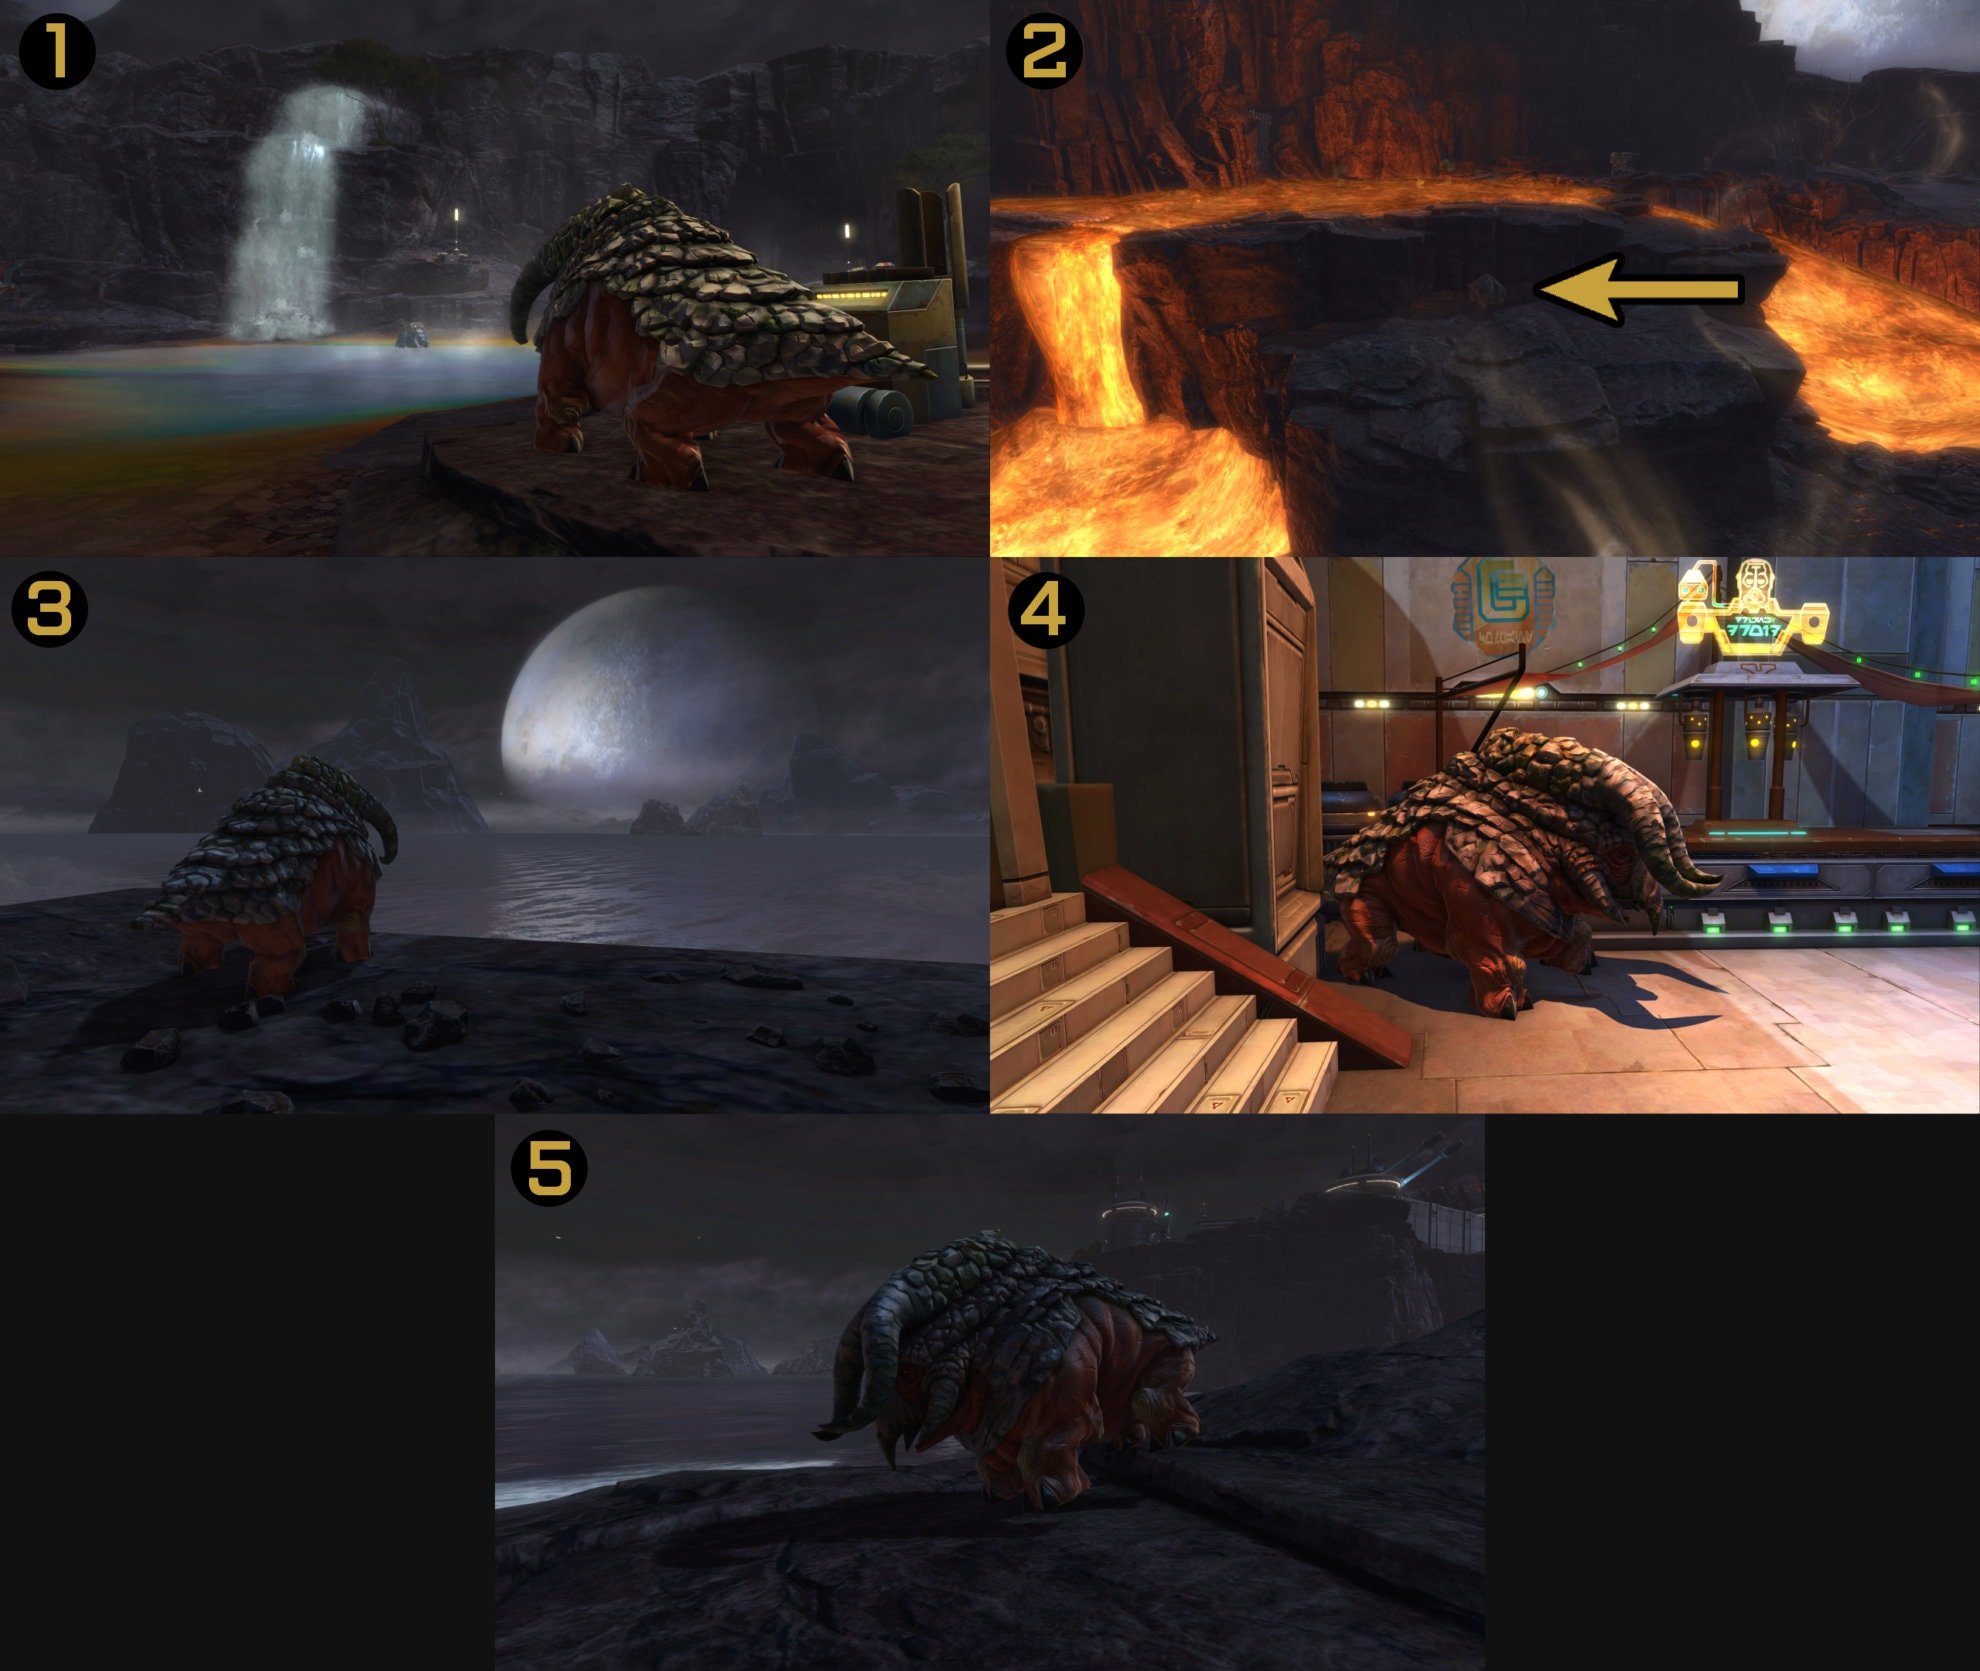
Saving all of the grazers above will grant you the Grazer Whisperer achievement and the Grazer Whisperer Title.
Tidewracked
Along the beaches in Kessan’s Landing, you can find trash you can right click. If you pick up 50 pieces of Tidewrack, you’ll get complete the Tidewracked achievement. The biggest area you can find them is at the northern beach. While there are beaches to the east and south, these are much smaller and may contain less trash.
Freedom Isn’t Free
Completed the Weekly Mission “The Price of Freedom” on Kessan’s Landing 5 times.
Technological Breakthrough
You’ll gain this achievment after completing the Geothermal Shielding questline. This quest requires you to travel all around Kessan’s Landing and the galaxy to develop shields that can protect people from lava. This in turn allows you to safely collect Kessan’s Landing Datacron.