Dodongo Cavern is the second dungeon in The Legend of Zelda: Ocarina of Time for the Nintendo Switch 2. This guide will show you where to go, how to complete its puzzles, where to find Gold Skulltulas, and provides an interactive map to help you navigate.
Entering Dodongo Cavern
After obtaining the Goron Bracelet from Darunia, you can open Dodongo Cavern by throwing a Bomb Flower onto the boulder below it. Once you’re inside, use another Bomb Flower to blow up the rock wall to properly enter Dodongo Cavern.
Map of Dodongo Cavern
The following map features all the floors, items, and order of events needed to complete Dodongo Cavern.
The map for Dodongo Cavern is found very early on. In the main room you start in, bomb the rock wall with a Bomb Flower on the northwest side. This will reveal a large chest containing the Map.
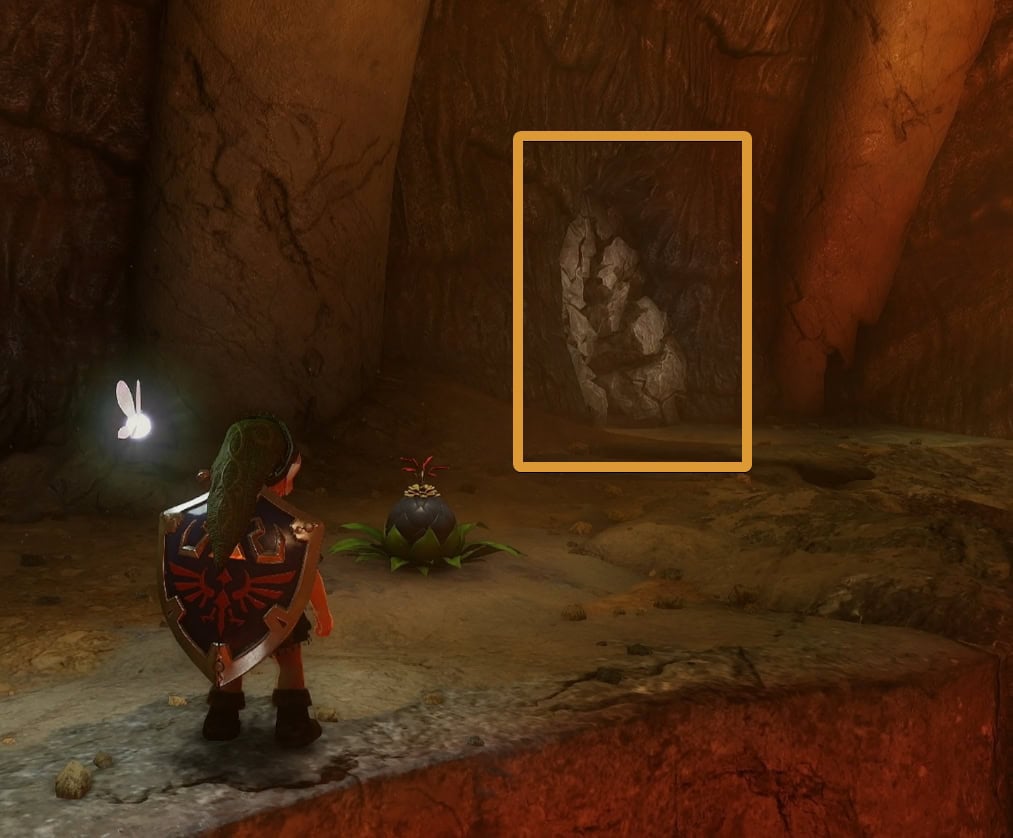
With the abundance of Fire Keese and other fire attacks, you should stick to using the Hylian Shield to prevent burning up your Kokiri Shield while you’re here.
1. Rock Wall
The only viable route at the start is blocked off by a rock wall and it’s guarded by a Beamos. Pick up the nearby Bomb Flower and throw it at the Beamos to destroy it. With the path now clear, throw a Bomb Flower at the rock wall to open the path forward.
2. Armos Statues
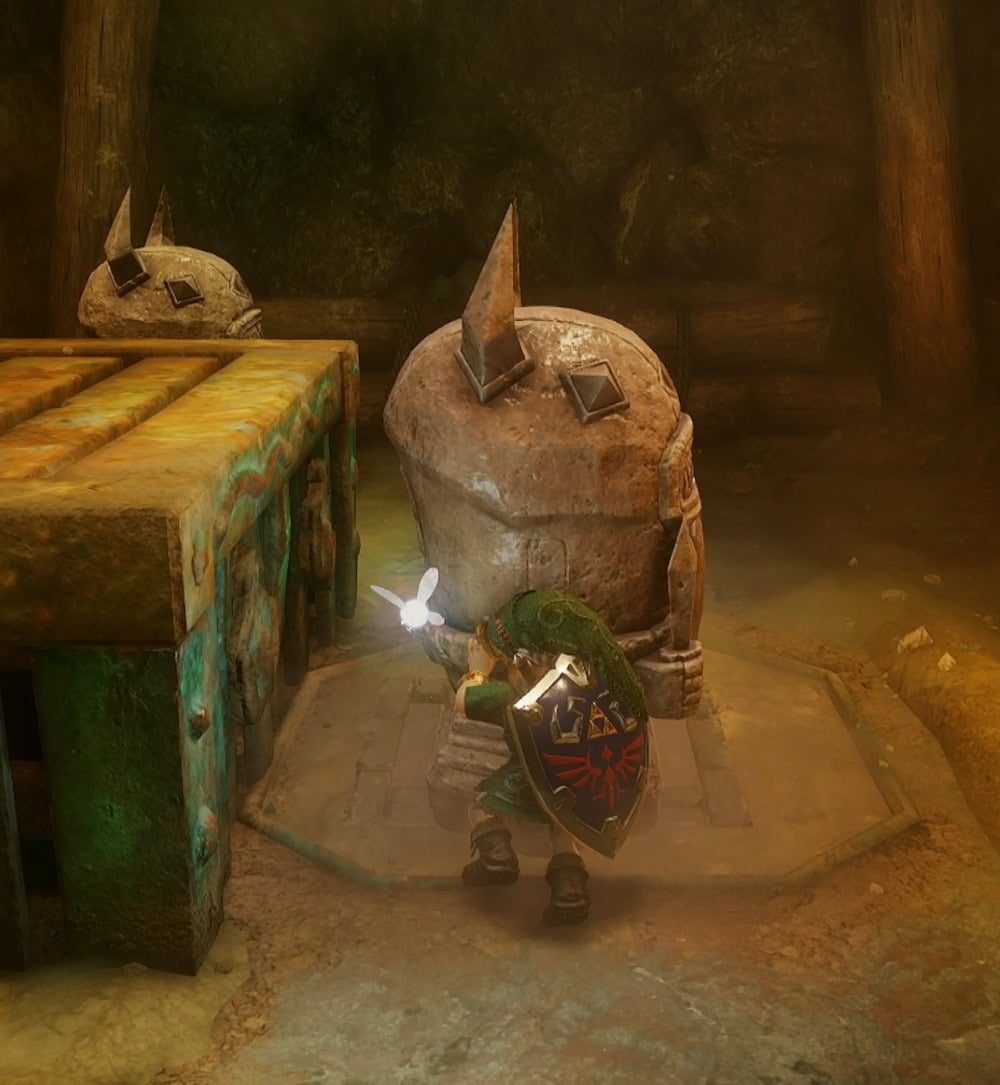
A pair of Armos statues and a floor switch stand in front of a locked door. Blue floor switches require constant weight for their effect to remain active. Push one of the statues onto the floor switch to keep the door open.
3. Cold-Blooded Combat
You aren’t just fighting plants and animals anymore, Lizalfos are a bit more tricky as they take turns to attack you. Simply block their attacks with your shield, attack them, then repeat this process until they’re defeated.
4. Dodongo Do’s and Don’ts
This hallway is filled with unlit torches that will unlock the door at the end once they’re lit. You’ll need to light a Deku Stick with the torch at the start and light them all.
The only problem with this is that there are Dodongos walking about. Watch out for their fire breath and attack their tails to damage them. Step back when you hit their tail, as they’ll spin around and may hurt you while doing so.
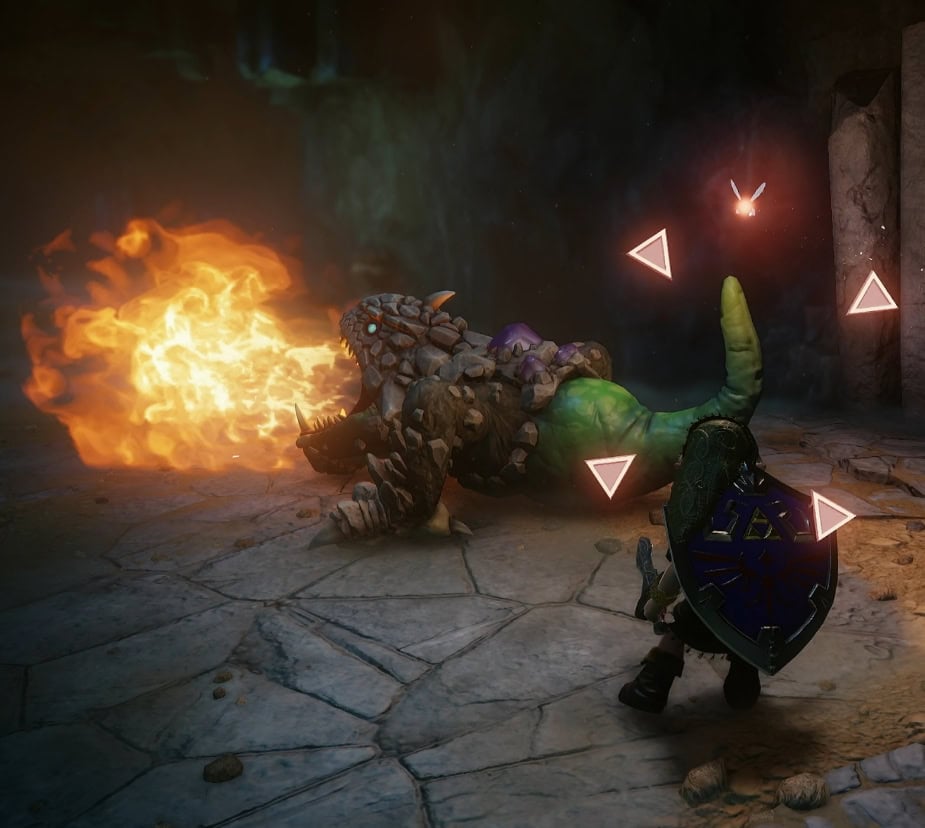
Once the door at the end of the hall is unlocked, go through and activate the floor switch. This will open up the locked door on the west side of the main room.
5. The Staircase
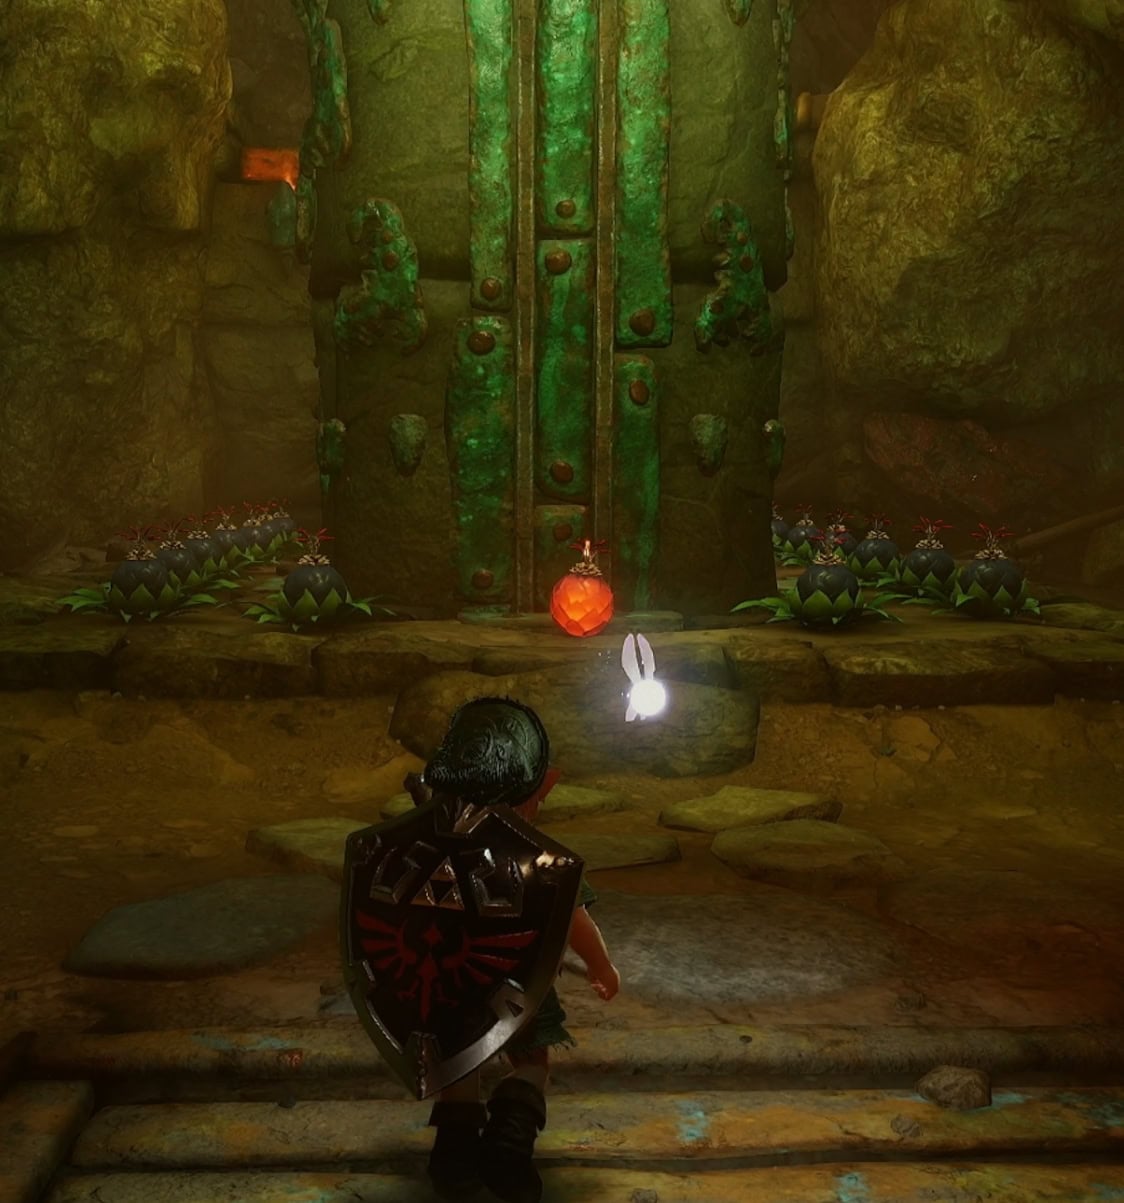
A tall copper staircase is surrounded by a line of Bomb Flowers on both sides. There’s a rock wall with a Bomb Flower on the south side of the room.
First, destroy the rock wall with the Bomb Flower and go inside. There’s a large chest surrounded by 3 Armos statues, the one in front being a real Armos. Use the Bomb Flowers in the room to defeat it by hitting its back. Open the chest to get the Compass.
Return to the staircase and plant the bomb flower near the door between the two sets of Bomb Flower lines. Both sides need to go off at the same time to have the staircase come down.
6. Armos and Fire Keese
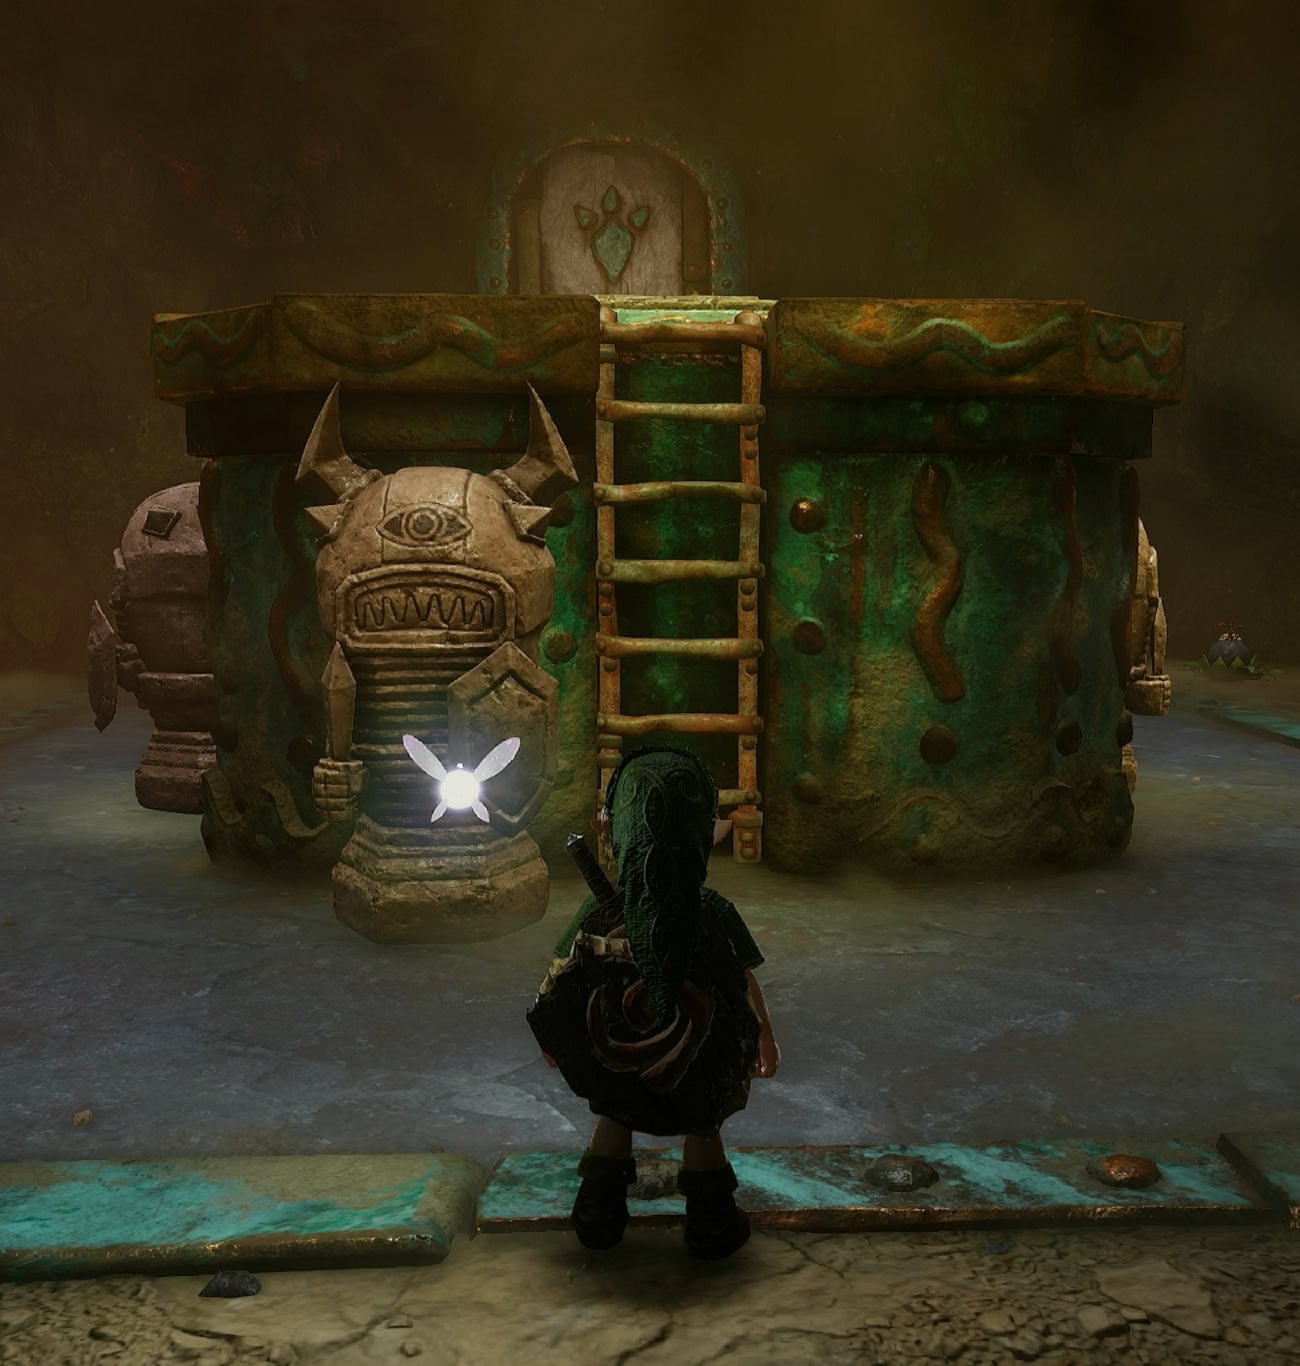
A floor switch can be found on top of a pillar, but it’s surrounded by 4 Armos statues. Three of these are real, but the one blocking the ladder isn’t. Push the one blocking the ladder, climb up, and activate the floor switch to unlock the door.
7. Spike Trap Room
These tight corridors have spike traps on the ground that go back and forth between the narrow pathways. You’ll need to wait for the spike traps to move out of the way before going east. Move your camera to see where the spikes currently are.
Pull out the stone block to the ladder and climb up. Behind you is a platform with a Bomb Flower on it. Throw the Bomb Flower at the rock wall ahead right before it blows up to move ahead.
8. Through Fire and Flames
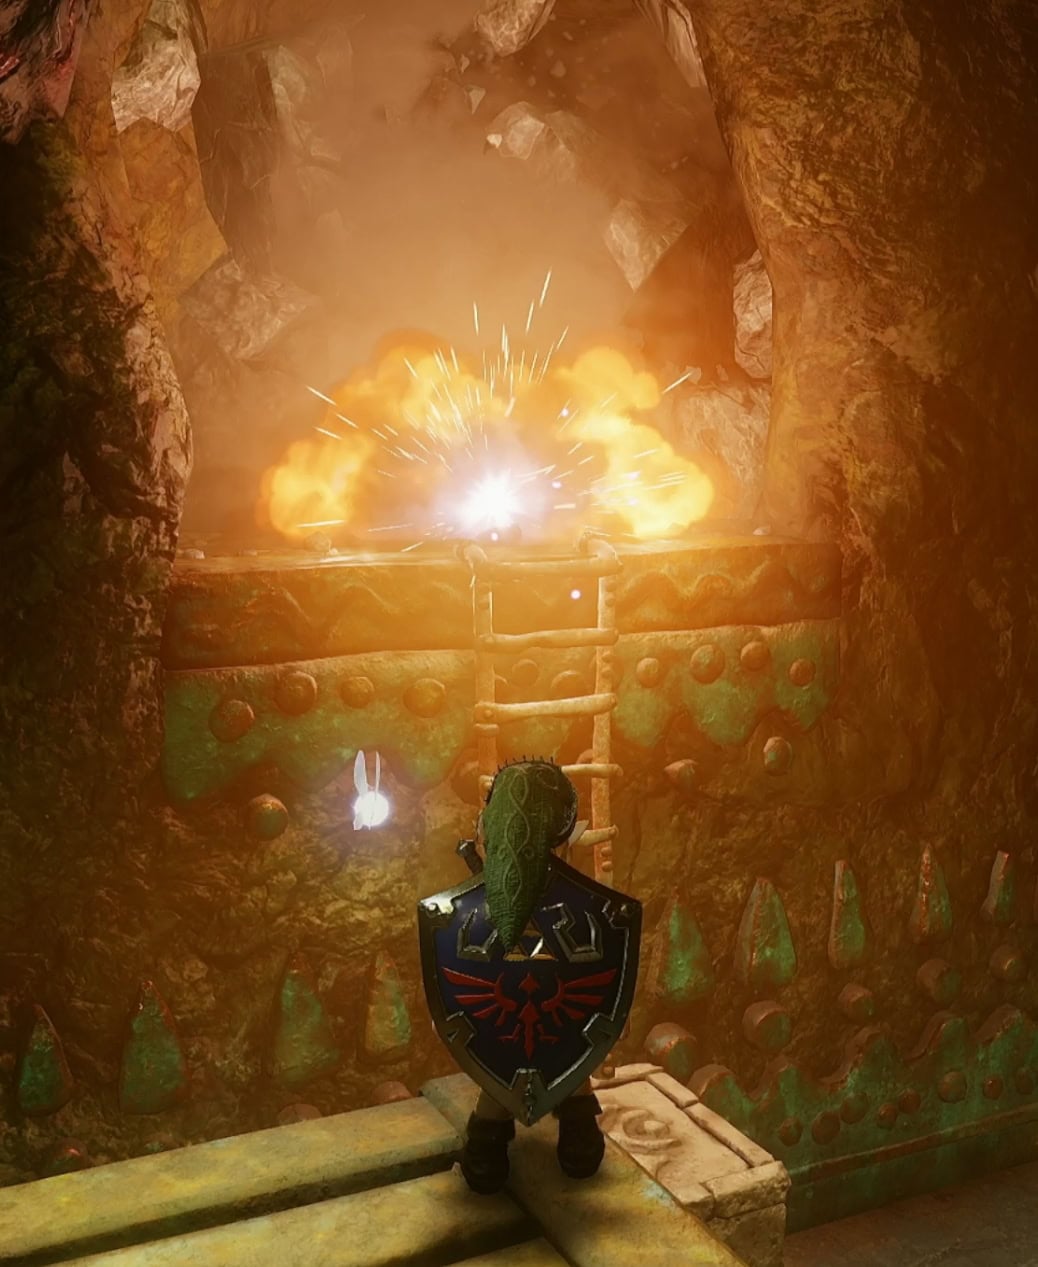
This simple puzzle can be solved by hitting the eye switch on the wall above you with your Slingshot. This will temporarily deactivate the fire. Get past the fire trap and the Baby Dodongos, then defeat the Lizalfos in the arena.
Once you’re past the Lizalfos and loot the small chest that appears when they’re defeated. This contains a Business Scrub Seed, use these to summon a Business Scrub any time, anywhere!
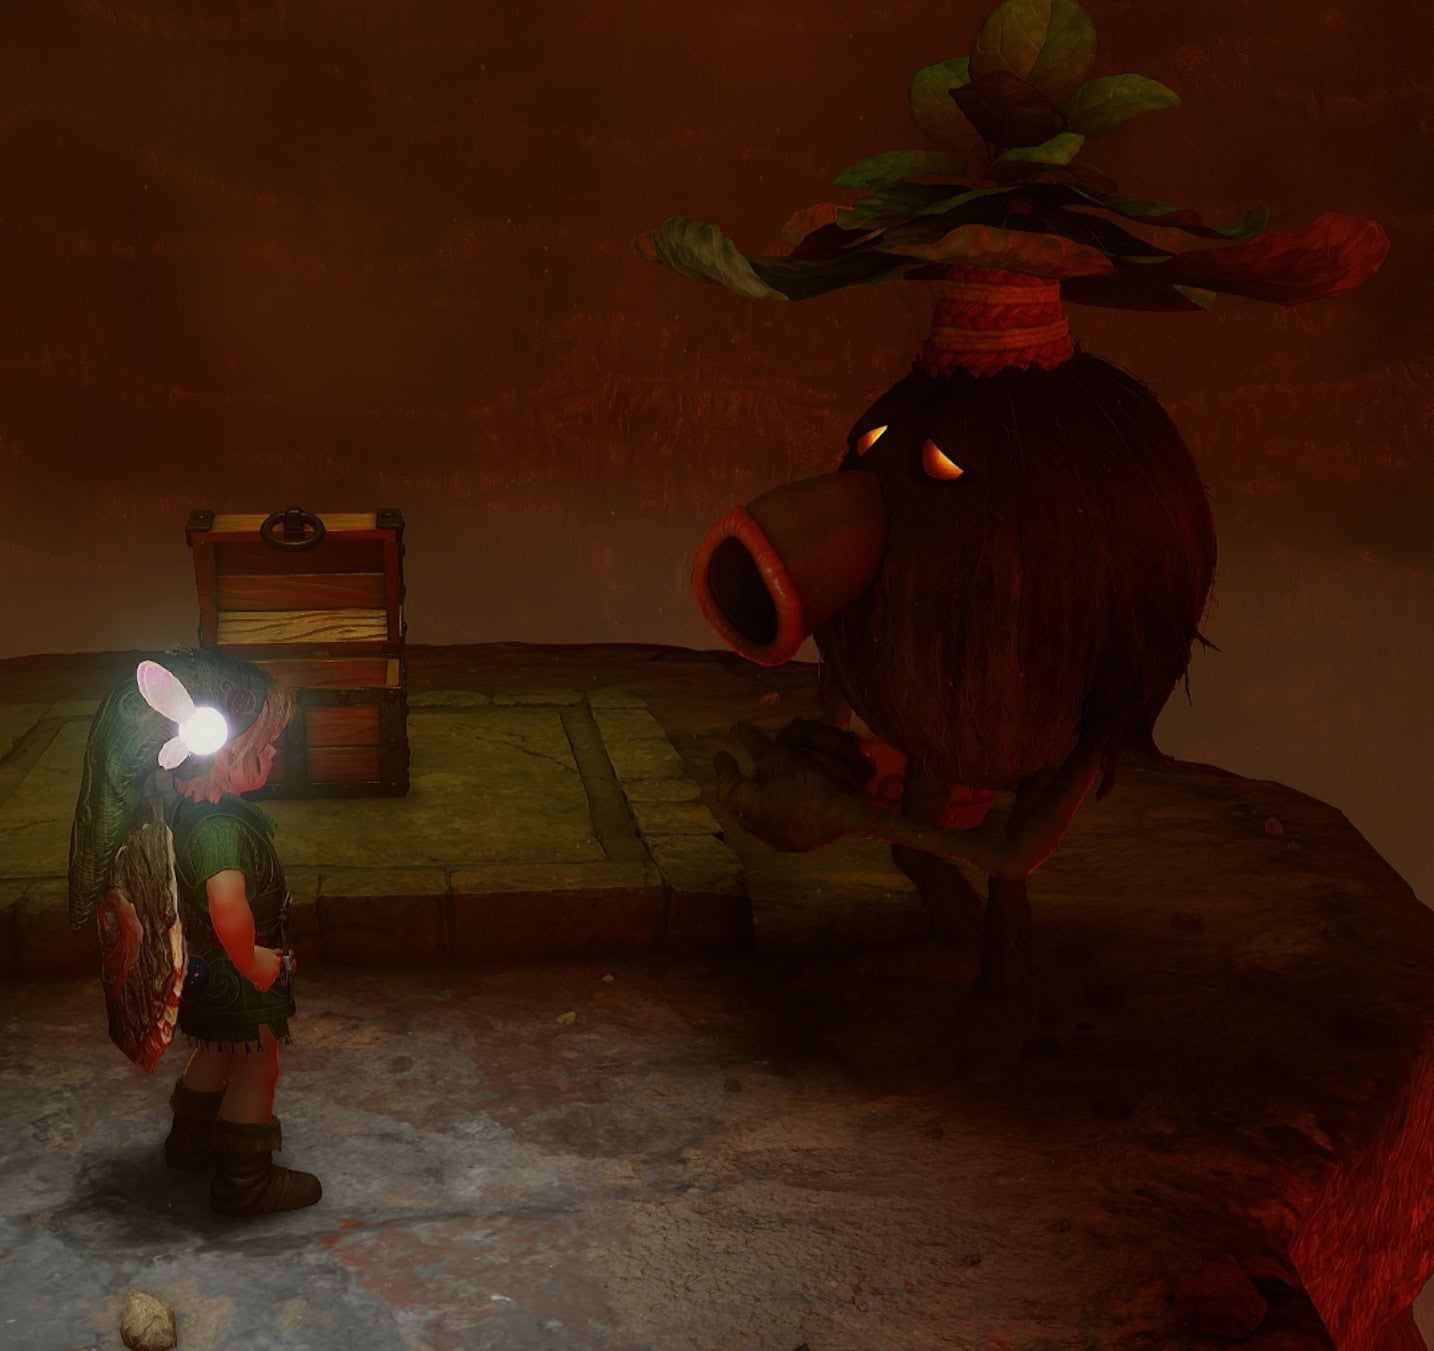
Proceed through the second fire trap and climb up to the area where the large chest is. This chest will contain the Bomb Bag, allowing you to carry Bombs and Bombchus!
Continue on to reach the upper level of the main room. Activate the floor switch to have one of the rising platforms below rise up to the second floor for a shortcut.
9. Seeing Red
On the suspension bridge, drop a bomb where the holes are so that it lands in one of the Dodongo skull’s eye. Repeat this process for the other eye and when they’re both red, the mouth will open into the next area.
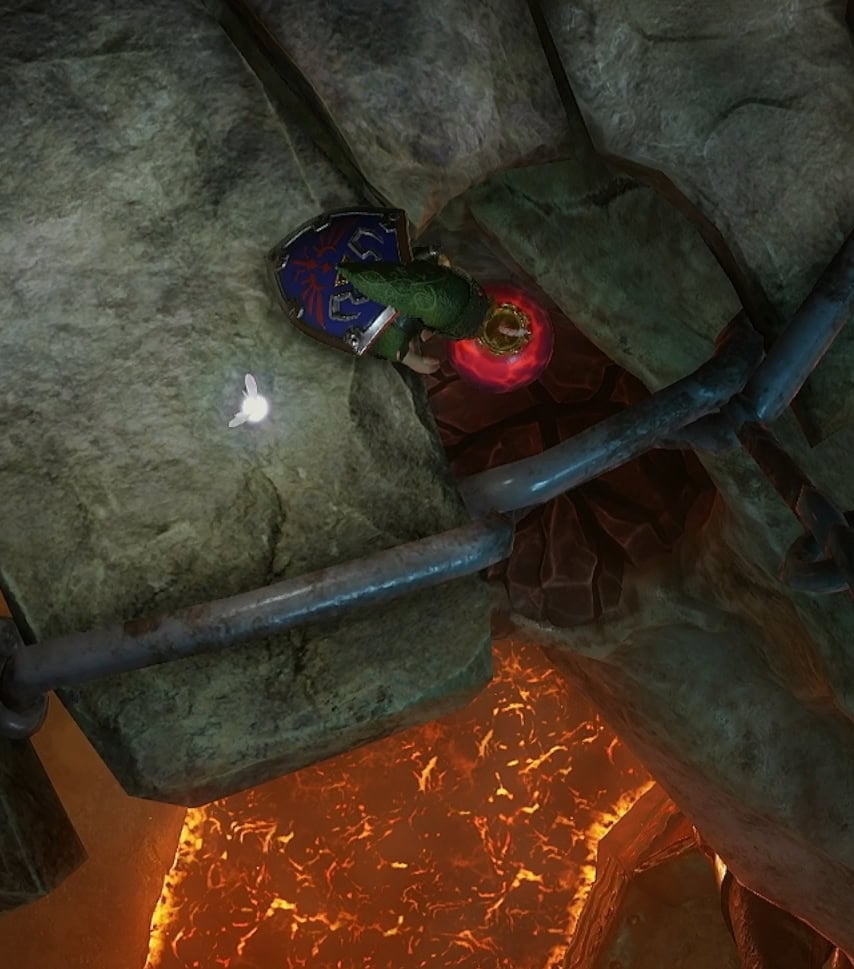
10. Switch in the Hole
A weighted floor switch is in a square hole but the block needed for it is above you. Follow the path going north and you’ll find some blocks to push. One block is on the ledge, while the other is on the ground.
Push the one on the ledge towards the right near the one on the ground. Push the one on the ground to the ledge, climb up, and push the block down. You can now use this block to climb up the platforms ahead.
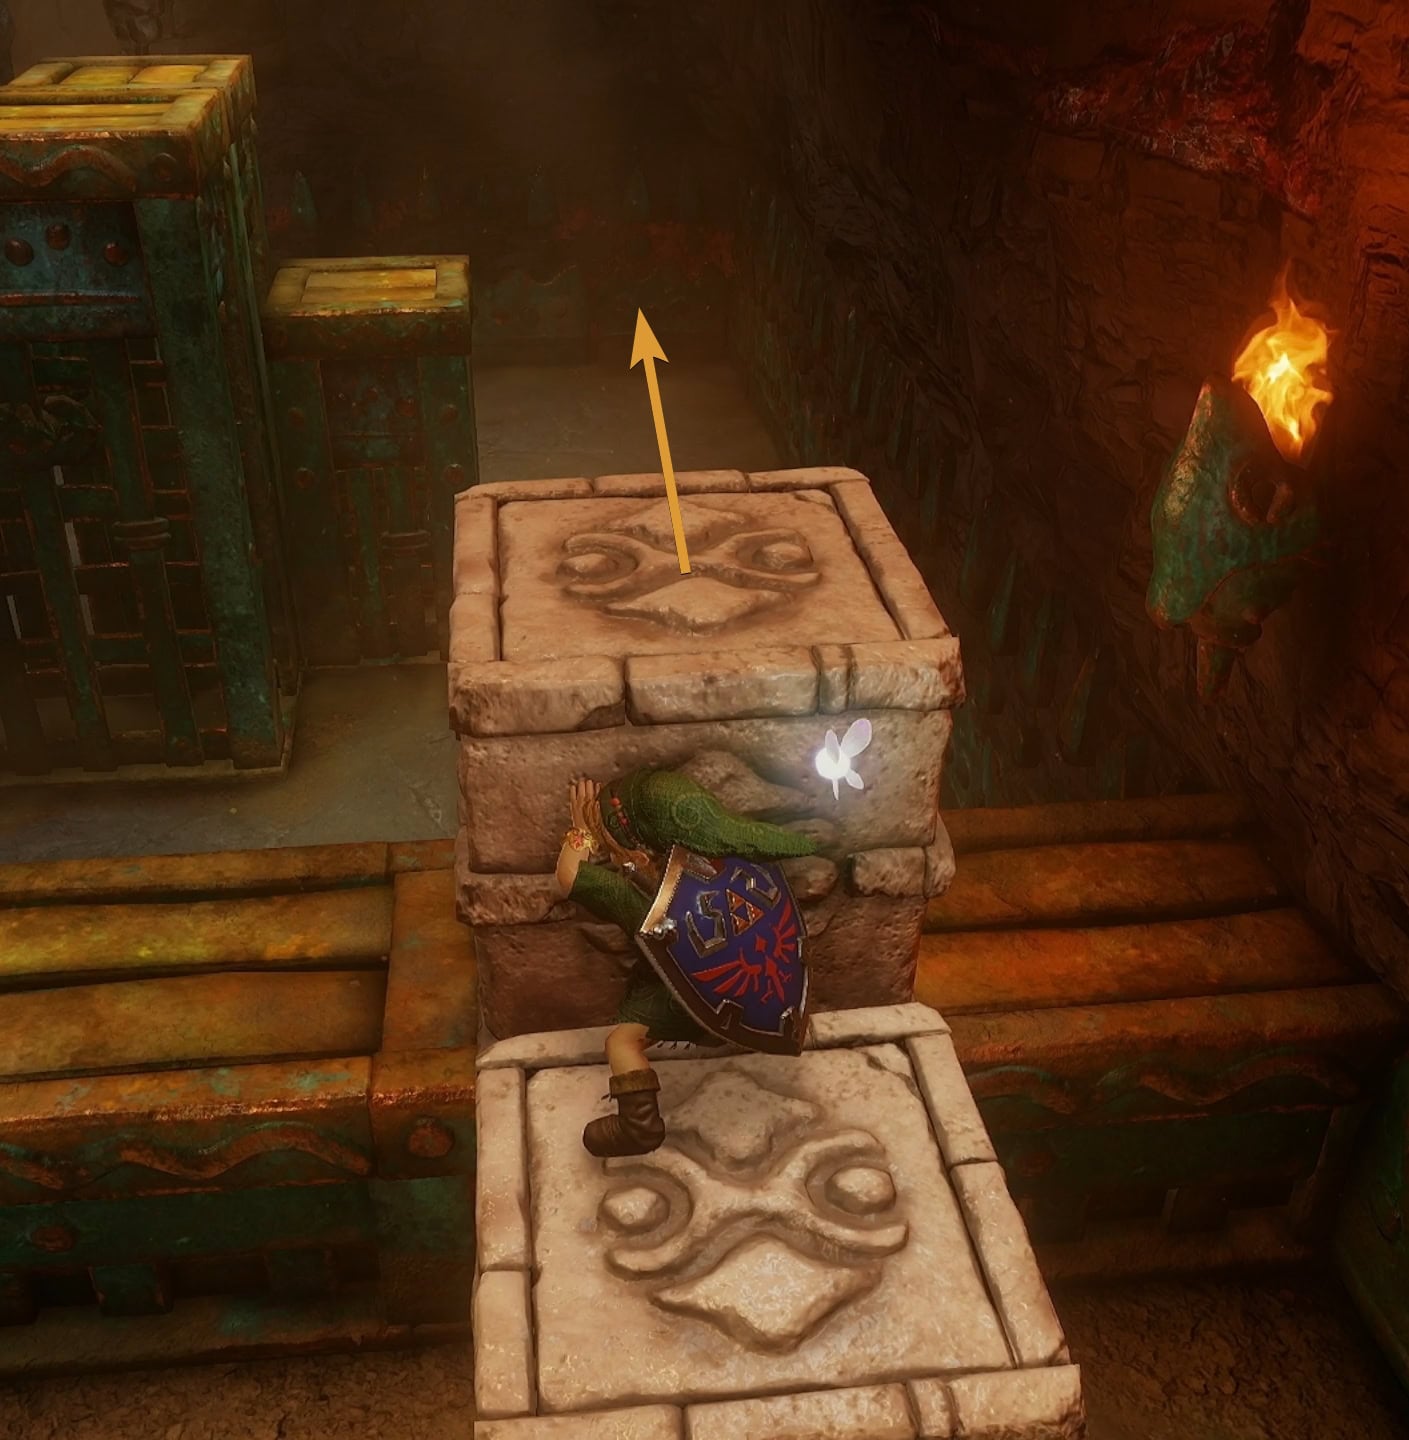
Reach the block near the room you came from, push it down and then onto the floor switch to unlock the Boss Room.
King Dodongo
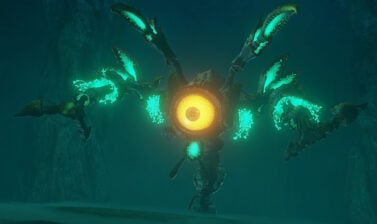
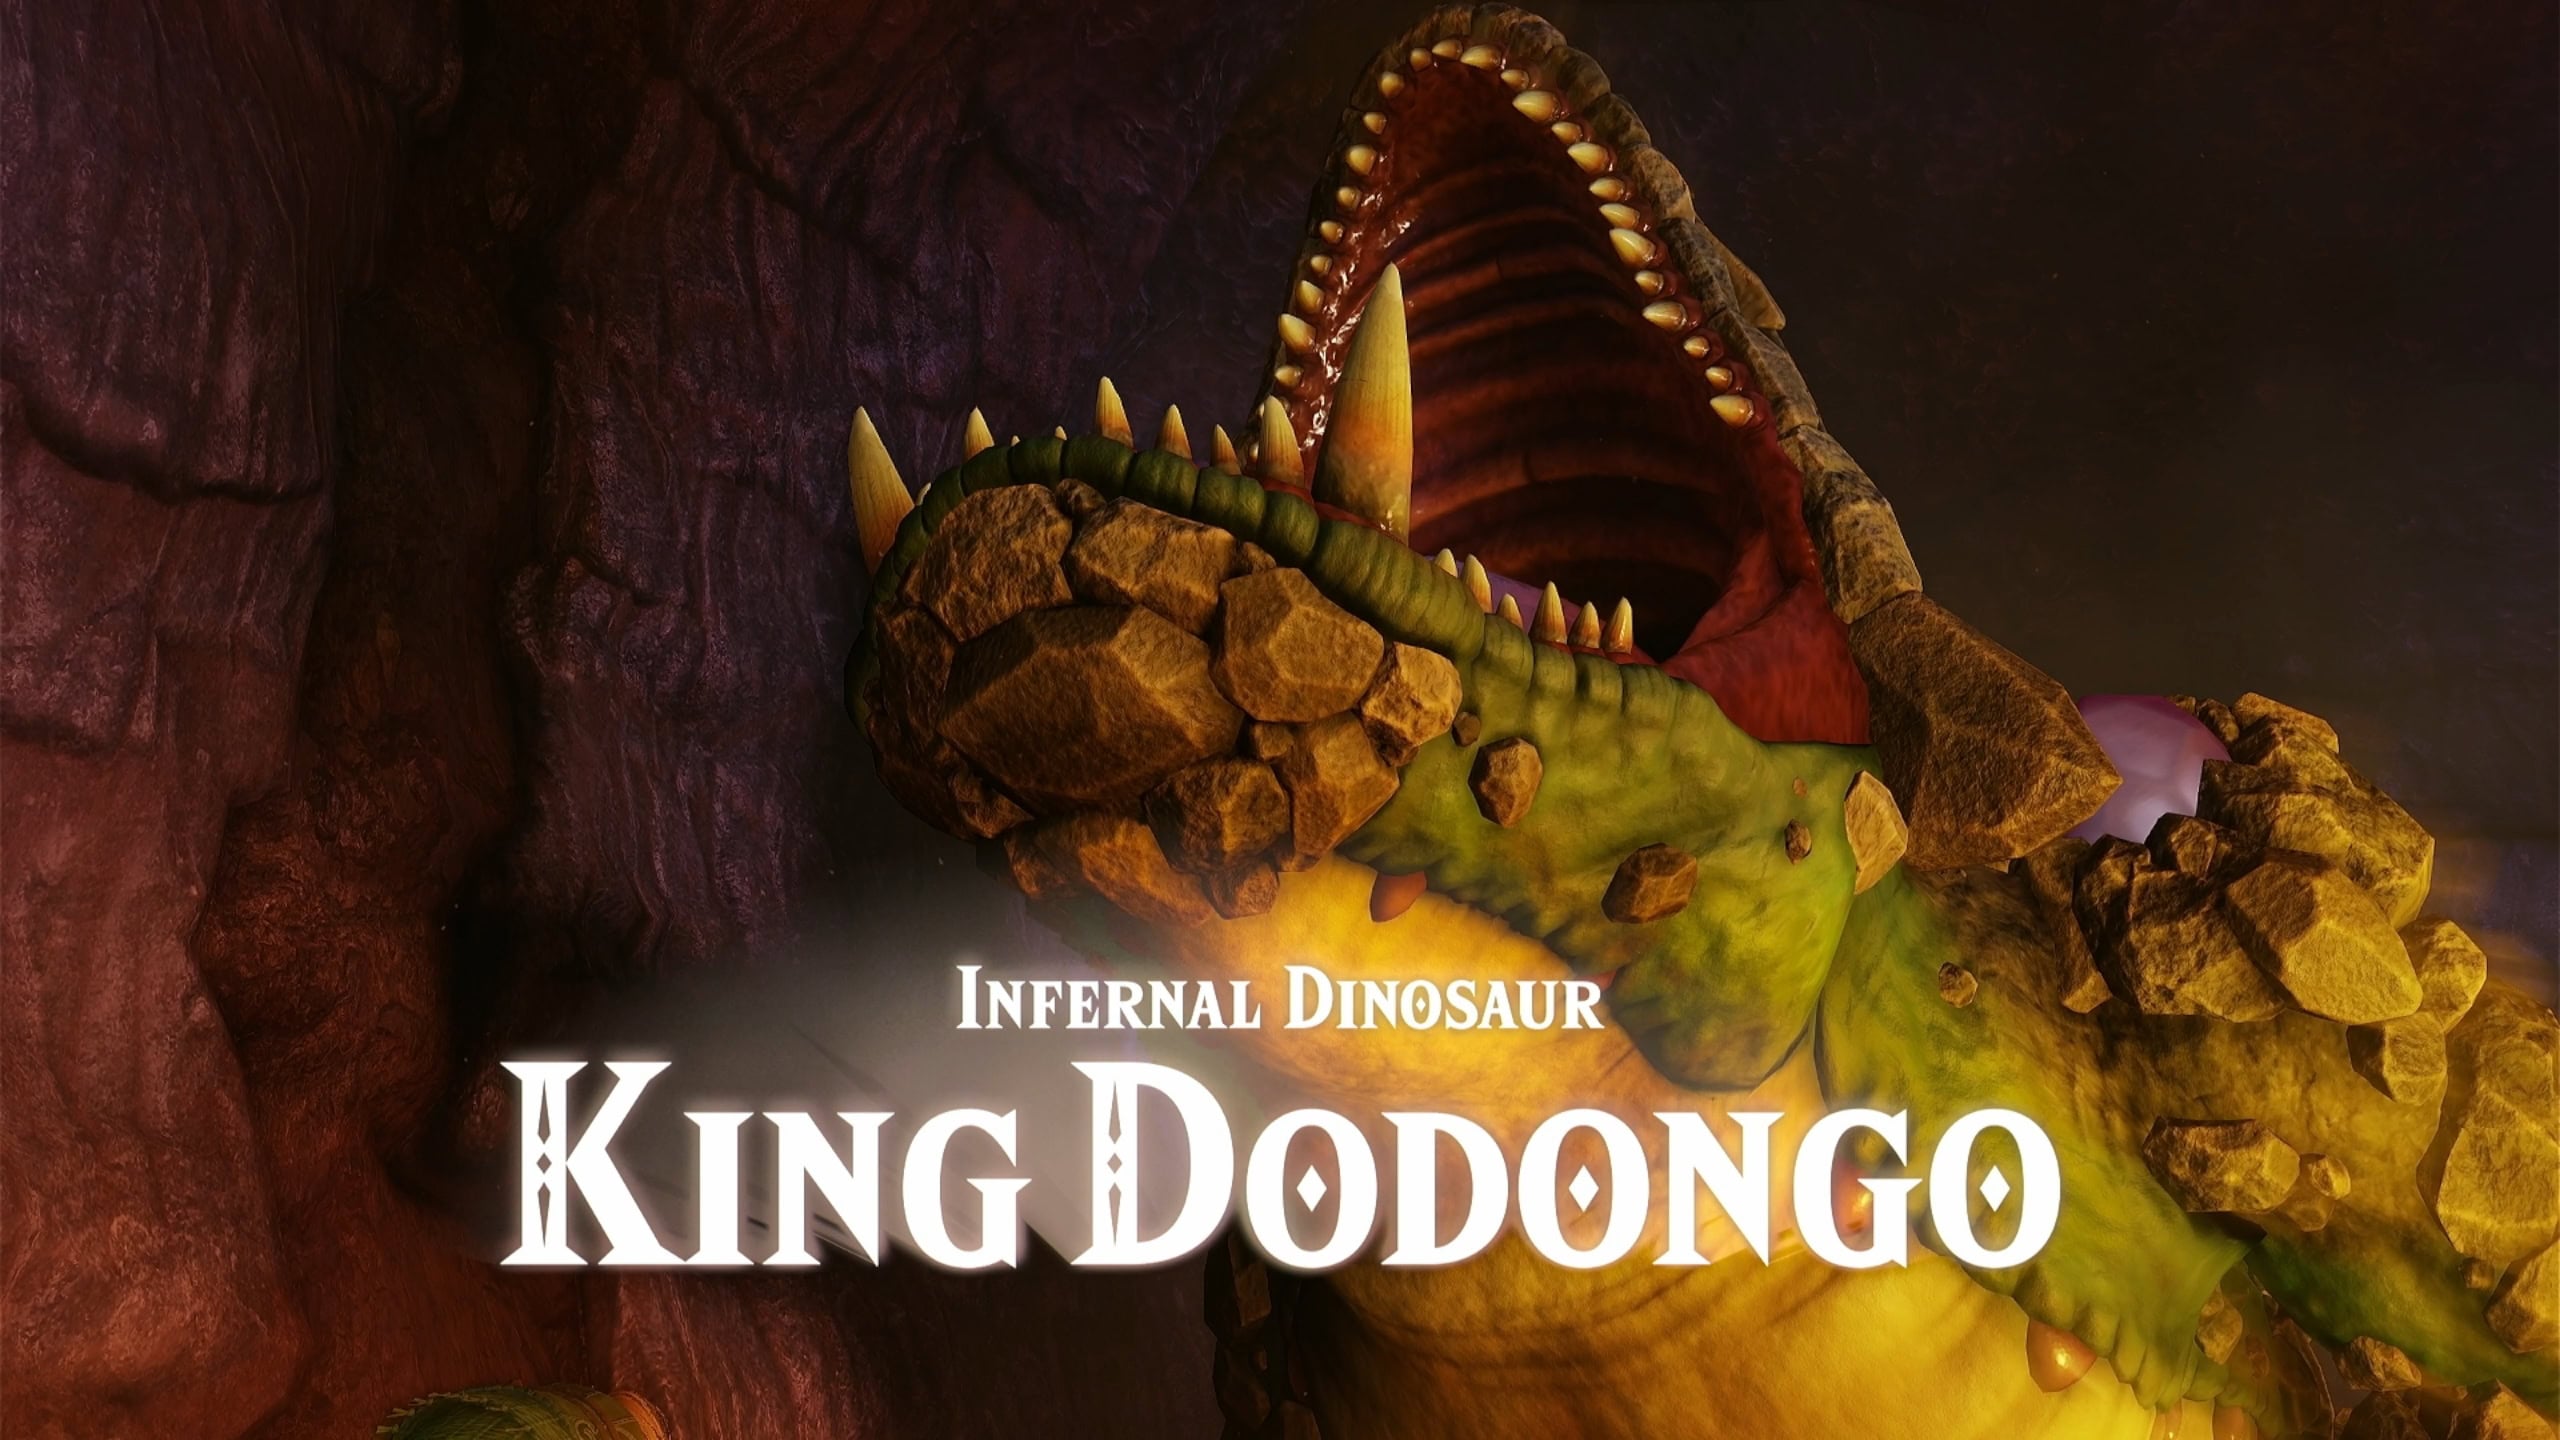
King Dodongo is the Infernal Dinosaur that’s the source of all the trouble in Dodongo Cavern. Its fearsome fire breath can extend to half of the entire room, and it’s unstoppable when it starts rolling around.
Dodongo Cavern Summary
Here is a brief recap of what you’ll need to do in order to complete Dodongo Cavern:
- Bomb the rock wall on the northwest side of the main room for the Map. Then bomb the rock wall on the southeast side to proceed deeper into the cavern.
- Push either Armos statue onto the floor switch.
- Defeat the Lizalfos
- Activate all the torches in the hall full of Dodongos and activate the floor switch to unlock the other door in the main room.
- Bomb the rock wall to get the Compass, then place a Bomb Flower between the two lines of Bomb Flowers to lower the staircase.
- Only move the south Armos statue that’s blocking the ladder and activate the floor switch on the pillar.
- Carefully move through the spike traps and climb up to the platform with the Bomb Flower, then bomb the rock wall ahead.
- Deactivate the fire traps by shooting the eye switch on the wall, defeat the Lizalfos, and get the Bomb Bag.
- Bomb both eyes of the Dodongo Skull through the holes on the suspension bridge.
- Go through the north of the room with the recessed floor switch. Push down the block on the small ledge to get through the platform room, the push the final block onto the floor switch.
- Defeat King Dodongo.
The Great Fairies of Death Mountain and Hyrule Castle
After obtaining the Goron’s Ruby, you’ll only have one Spiritual Stone to collect. Before you do that, there’s a Great Fairy that Darunia tells you about. The problem is, she’s at the top of Death Mountain.
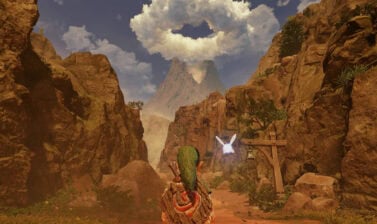
Climb up Death Mountain Trail and you’ll see a path blocked off by rocky ledges on the left and right. As you attempt to move through here, fiery rocks will fall from the sky. Protect yourself with the Hylian Shield if needed, dodging the rocks as best as you can otherwise.
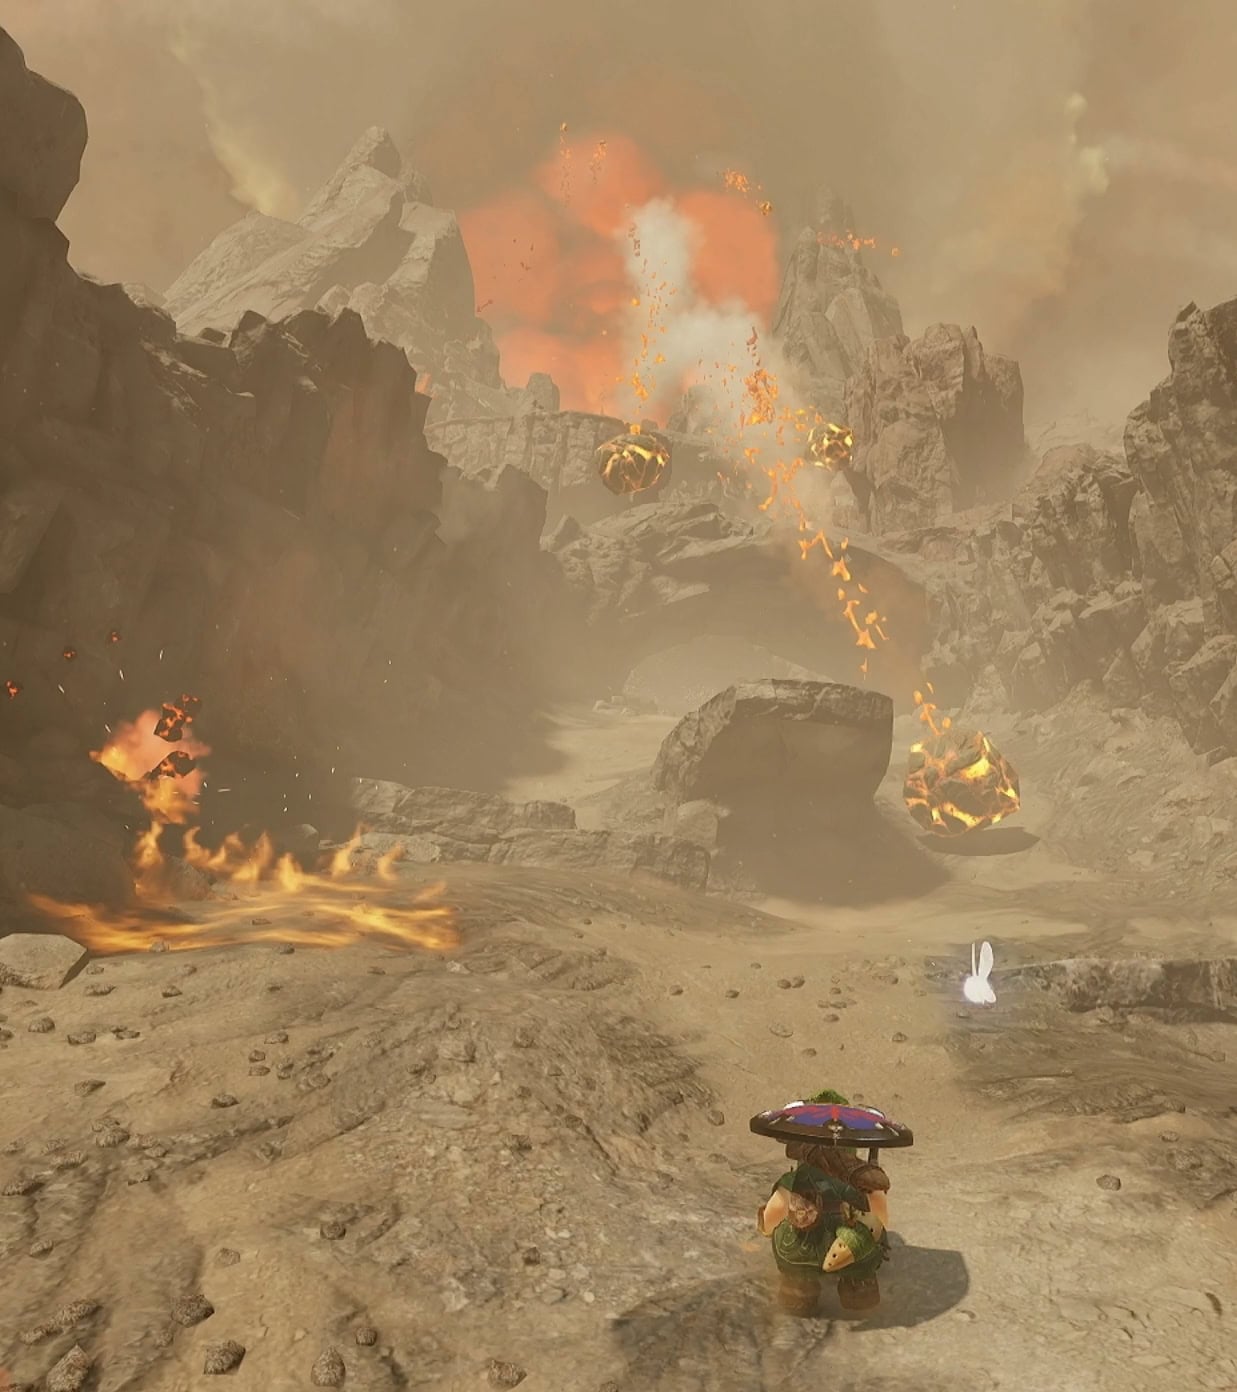
You’ll run into a wall with Skullwalltulas. Defeat them with the Slingshot before climbing up. Once you reach the top, bomb the rock wall on the left and step inside to reach the Great Fairy Fountain.
Play Zelda’s Lullaby on the Triforce emblem to summon the Great Fairy, and she’ll give you Din’s Fire after making a 25 rupee offering. This magic attack can be used to create a circular burst of fire around you to damage enemies.
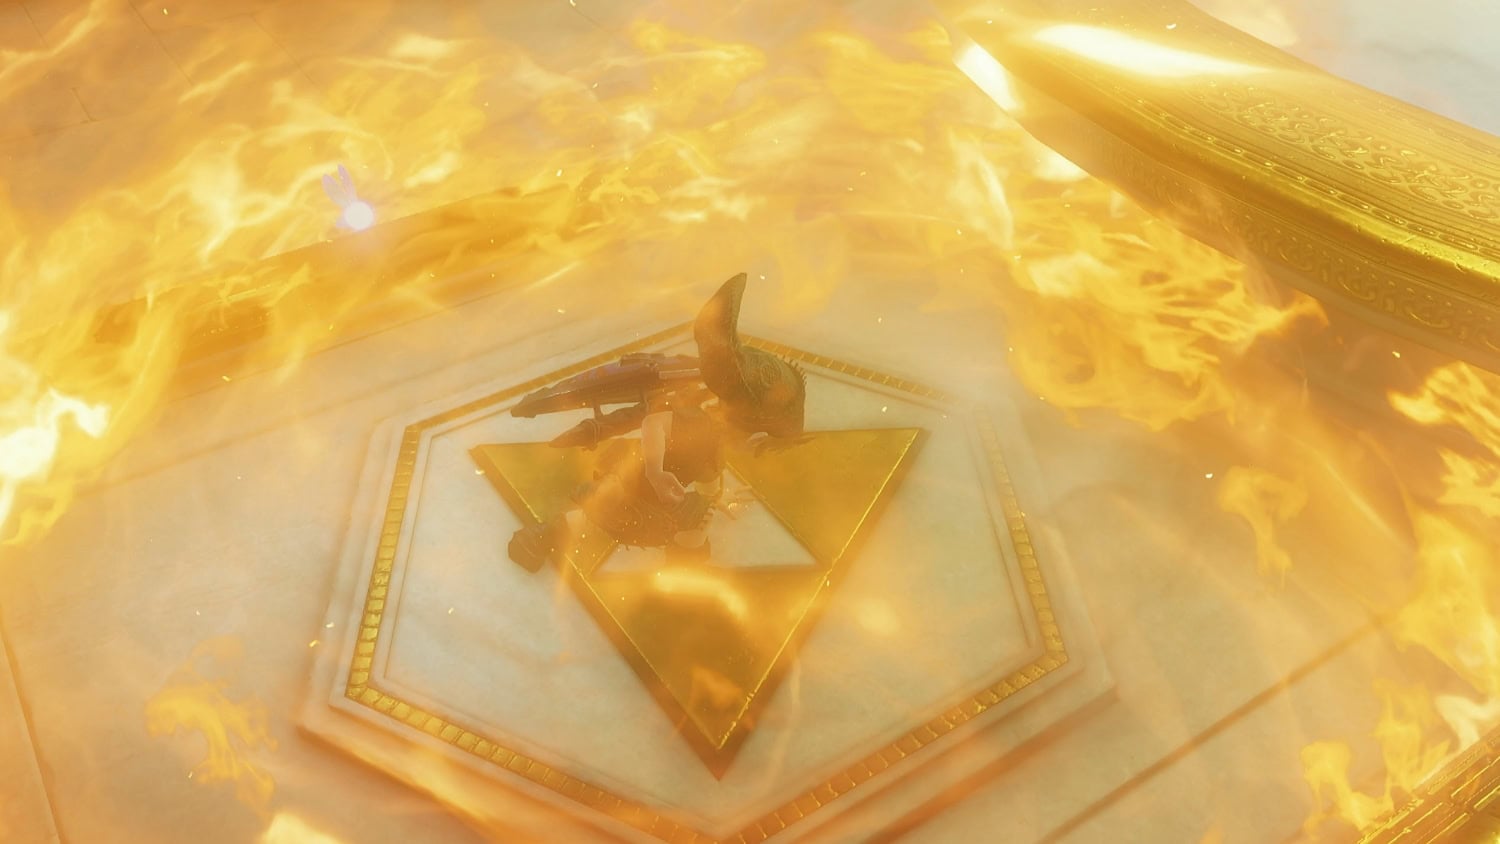
Kaepora Gaebora can offer you a ride to Kakariko Village to save you some time. Return to Hyrule Castle and get past the first gate.
Bomb the rock wall at the dead end to your right, then crawl inside the tunnel to the Great Fairy Fountain. This Great Fairy will give the Improved Spin Attack, but will require a 50 rupee offering.
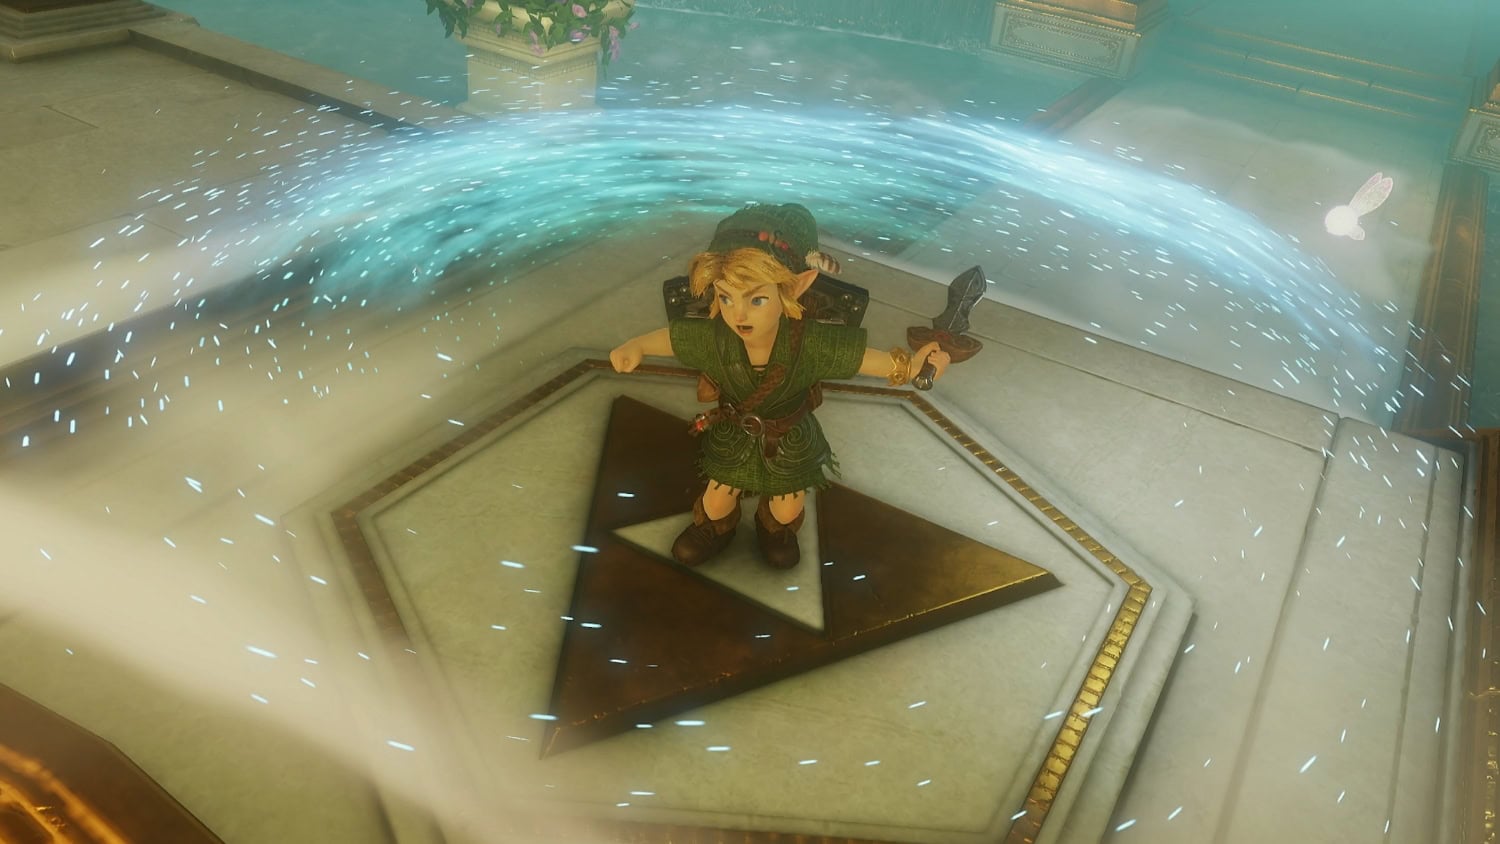
Great Fairy Fountains are often found hidden and out of the way, so never stop exploring! Once you have visited these two fairies, it’s time to make your way towards Zora’s River for the final Spiritual Stone.