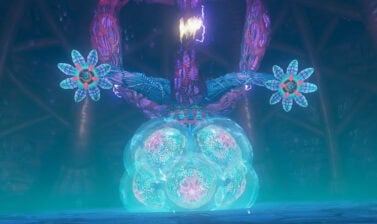
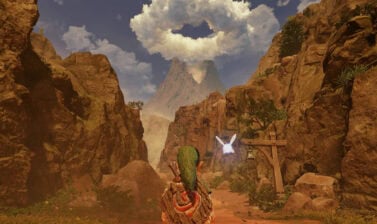
Complete walkthrough for the Bottom of the Well in The Legend of Zelda: Ocarina of Time on the Nintendo Switch 2. Includes an interactive map to help you navigate, tips on fighting Dead Hand, and where to find all treasure chests and Gold Skulltulas.
Use the Table of Contents, located in the left panel (top left button on the mobile menu) to navigate through this long guide more easily and quickly.
Nocturne of Shadow
After completing the Water Temple and refilling Lake Hylia, head to Kakariko Village. A cutscene will start and during it, Sheik will teach you the Nocturne of Shadow. This song will grant you access to the Shadow Temple.
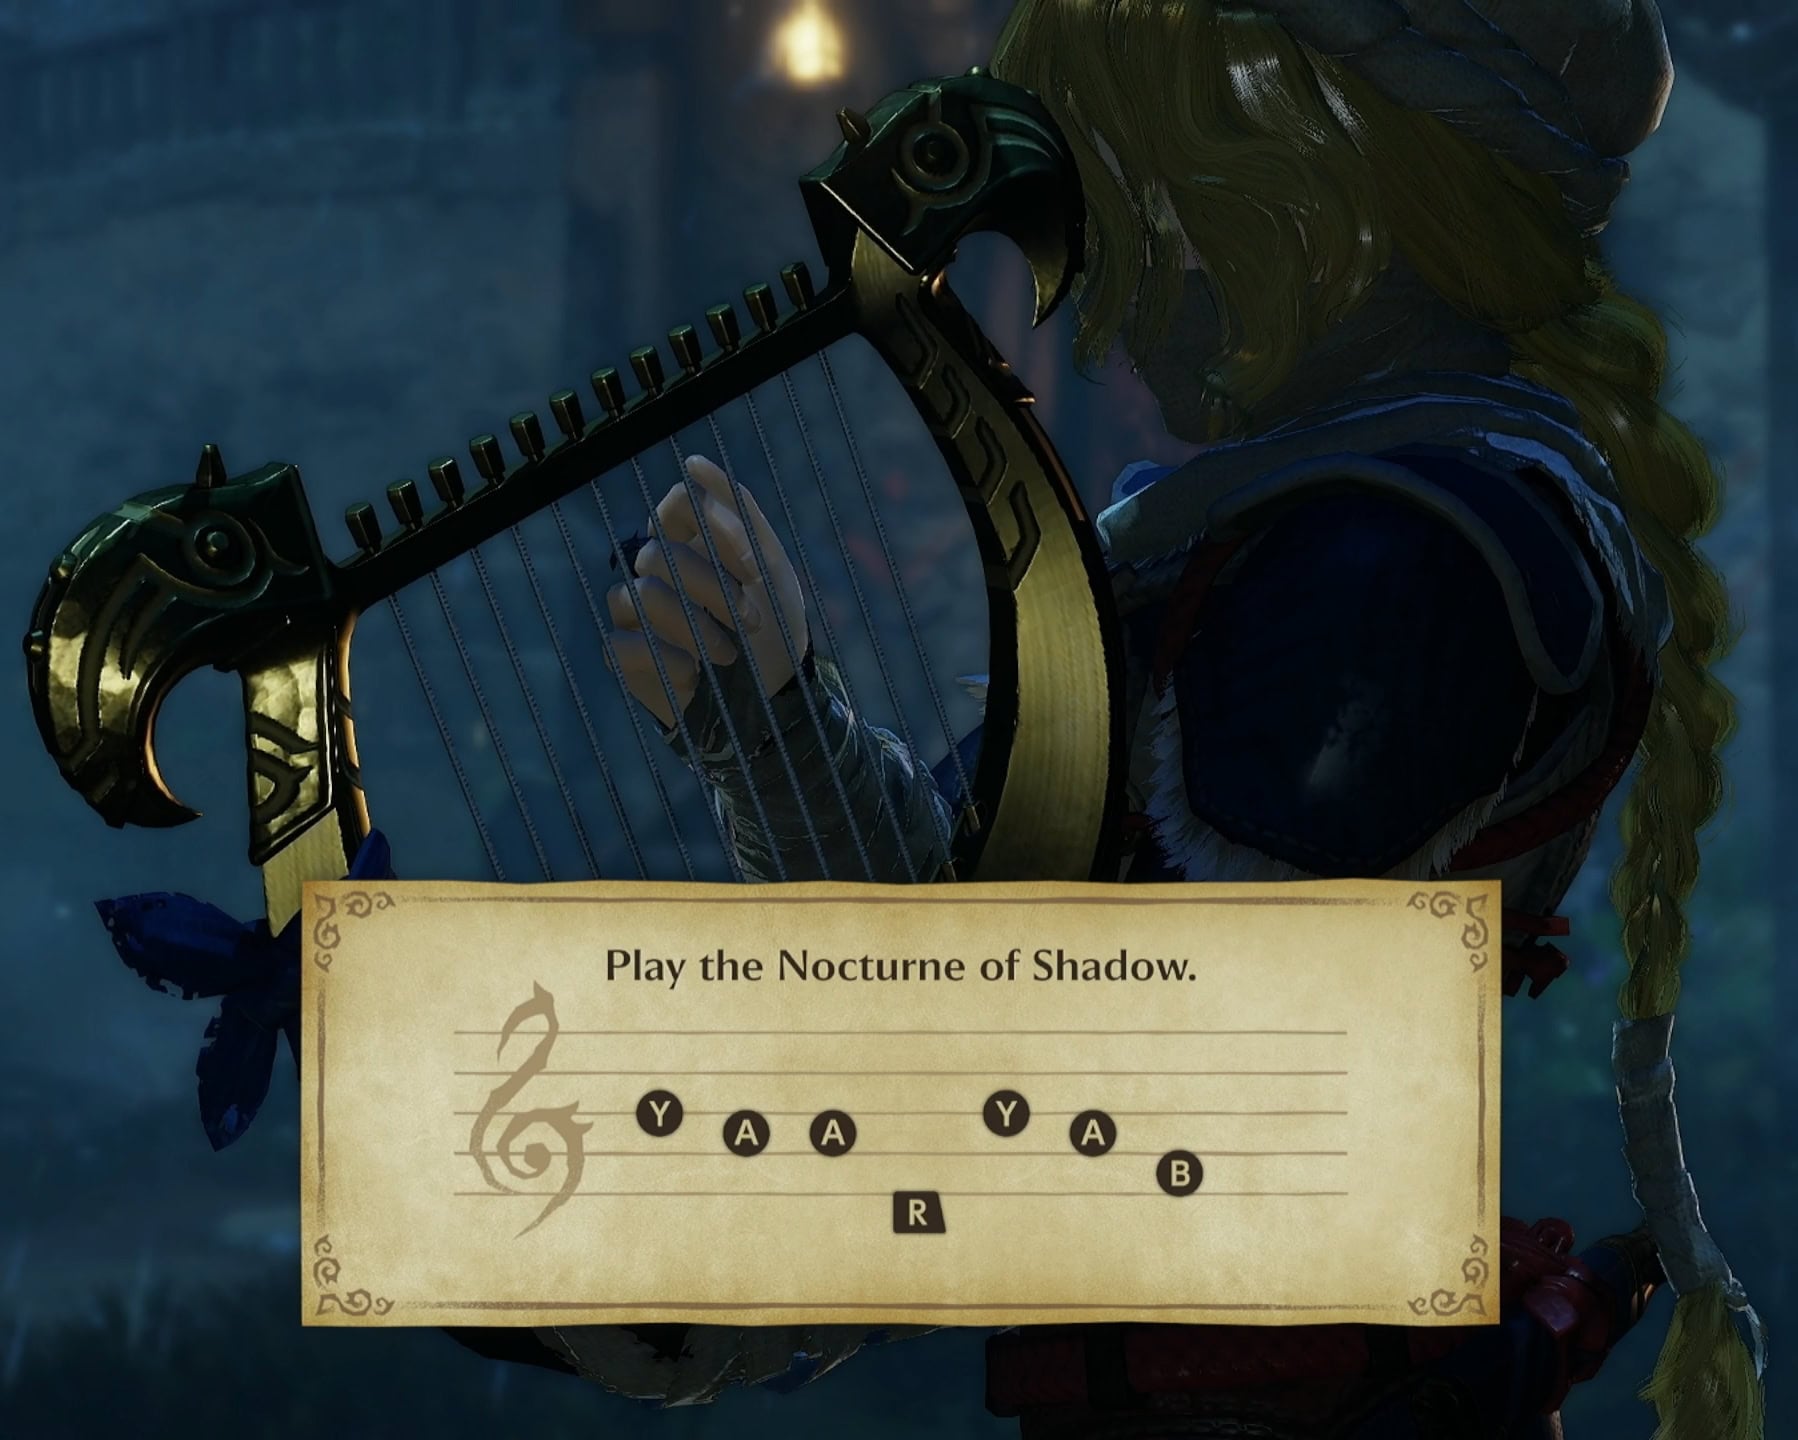
Though you’re given a warning that if you’re to enter the Shadow Temple, you’ll need the “eyes of truth”.
Return to Kakariko Village as Child Link and go inside the windmill. Play the Song of Storms to the Music Man. This will drain the well, allowing you to climb down inside.
Bottom of the Well Map
The following map features all the floors, items, and order of events needed to complete the Bottom of the Well.
1. Wall Fountain
After making your way through the first illusory wall, you’ll find yourself in a large room with a Green Bubble roaming the area. Take the left path and don’t wander around just yet.
When you reach the northern area of the room, you’ll find a series of wall fountains with one large one at the end. Play Zelda’s Lullaby to drain the water to expose a hidden passage you can crawl through.

Crawl through the small passage then go through the door to find yourself at a dead end. There’s a small chest at the end, but you’ll likely fall through the floor trying to reach it.
Hug the walls to get across the illusory floor to open the chest for a Business Scrub Seed, then go through the illusory floor to find yourself locked in a dirt room.
2. Dead Hand
In the dirt room, a long arm with a bloody hand will pop out of the ground. If it grabs you (or if you defeat it), Dead Hand will appear and lumber towards you.
Attack its face when it tries to bite you until it runs away and goes underground. As it hides, more hands will pop out. Use Din’s Fire to destroy multiple hands at once. Destroying all of them or being grabbed will spawn Dead Hand again.
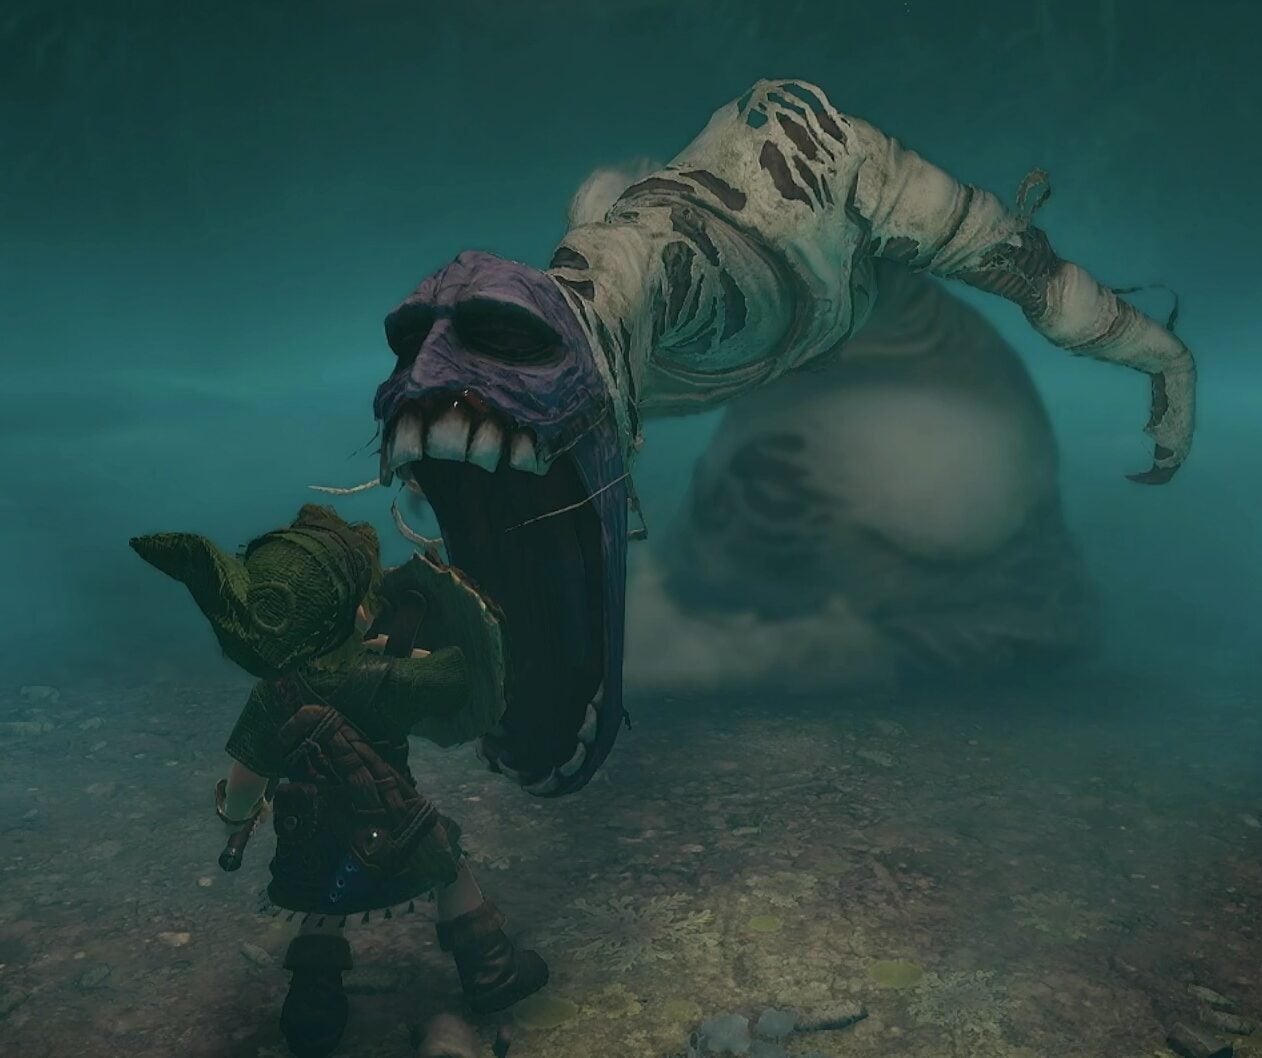
Repeat this process of luring out Dead Hand and defeat it to spawn a large chest containing the Lenses of Truth.
The Lenses of Truth are an accessory you can toggle similar to masks that allow you to see illusory walls and floors, or see invisible objects and enemies. This slowly drains magic while you wear them, so use them wisely.
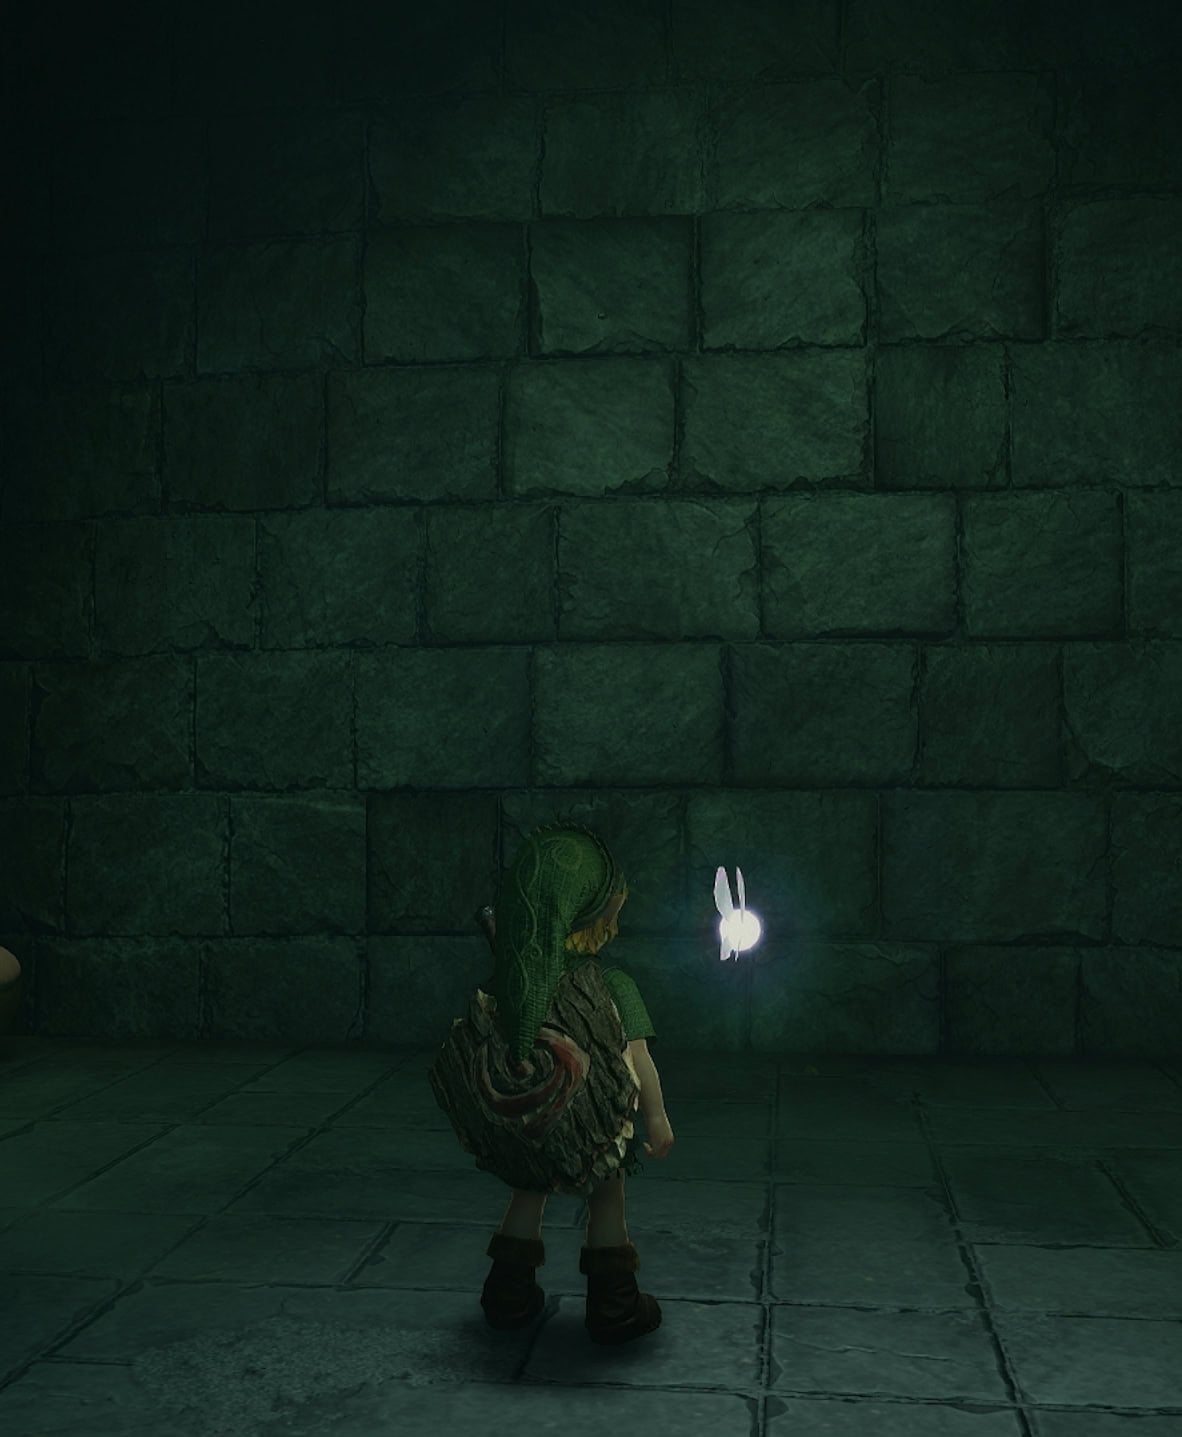
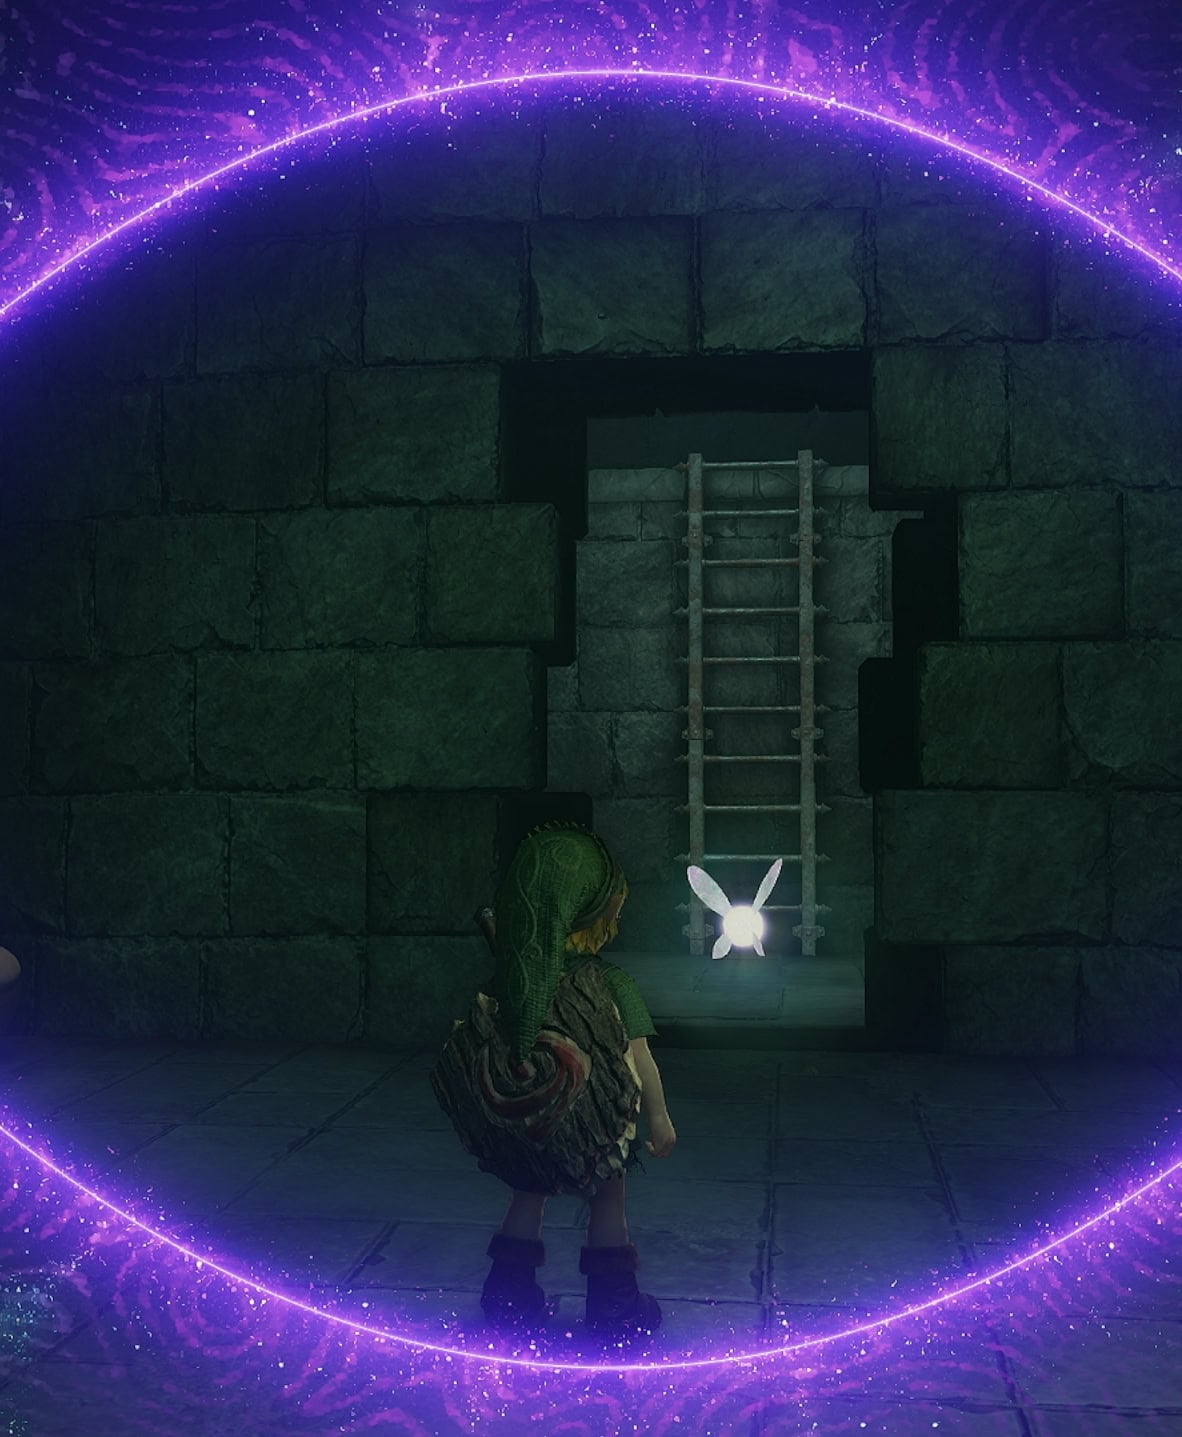
You can leave now if you want, no one would blame you for wanting to. However, there are three Gold Skulltulas to find in the Bottom of the Well. If you want to collect them all, work up the courage to make your way through the rest of the well.
3. Illusory Floor
If you return to the central room, you’ll find that there are illusory walls around the center walls that reveal a hidden torture chamber.
On the southwest corner, you’ll find an illusory wall that leads to a big chest containing the Compass. On the southeast corner outside the torture room has a small chest containing one of two Small Keys.
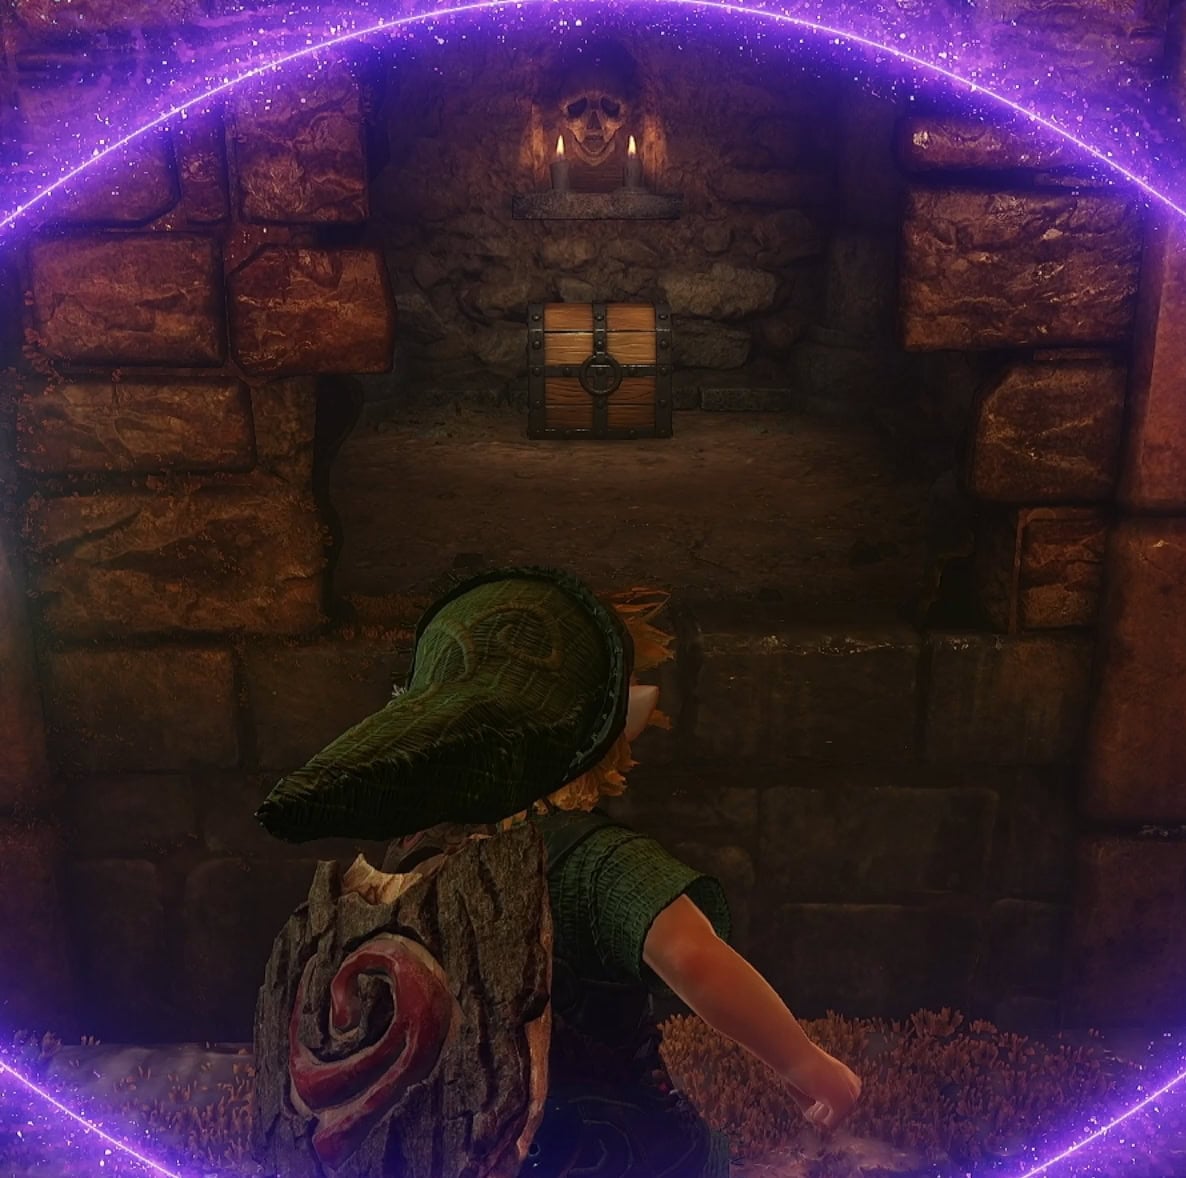
Make your way to the northeast corner of the central room. Go through the door to find some Fire Keese, a Beamos, and illusory floors.
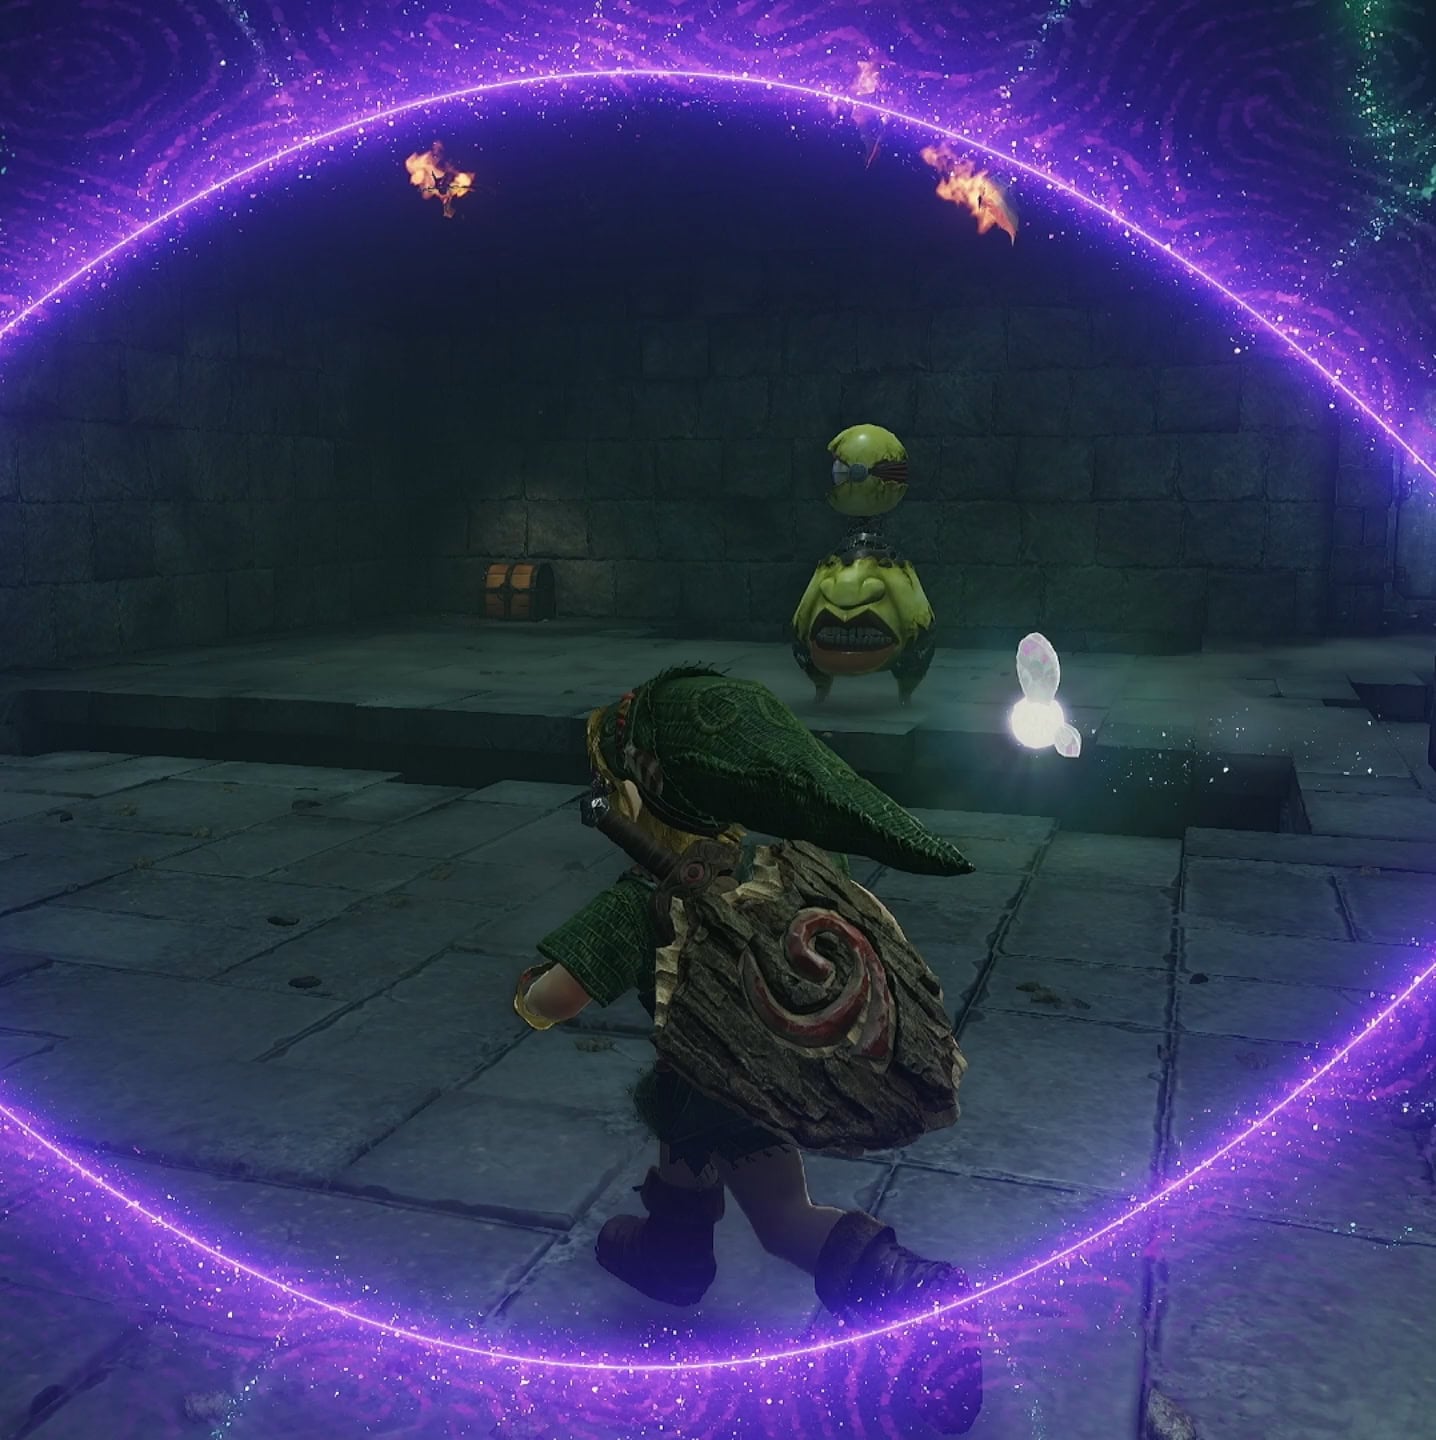
Defeat them and go through the next door, then defeat the Like Like. One of the Gold Skulltulas will be on the back wall here. Return to the Illusory Floor room, then jump down one of the holes to reach B2.
4. Silver Gems
Bomb the boulders blocking your exit. This room is full of Redead and five silver gems needed to unlock the way out.
Four of these silver gems are in plain view, but the fifth one is behind some cracked rocks between some torches. This path also leads you to the large chest with the Map.

Taking the ladder back up to B1 and you’ll see a Business Scrub behind some iron bars. You can reach them by going back to the central room in B1 through an illusory wall.
5. Coffin Room
Go to the west side of the well and dive underwater to reach the final room, the Coffin Room. This area has Gibdos hiding in the coffins, with one exposed in the middle.
They’re a more powerful version of Redeads, so be careful. Like Redeads, they’ll ignore you if you move slowly.
Burn away the webs on the single coffin between the two torches to find a Small Key. Return to the central room of B1 then go into the hidden torture room.
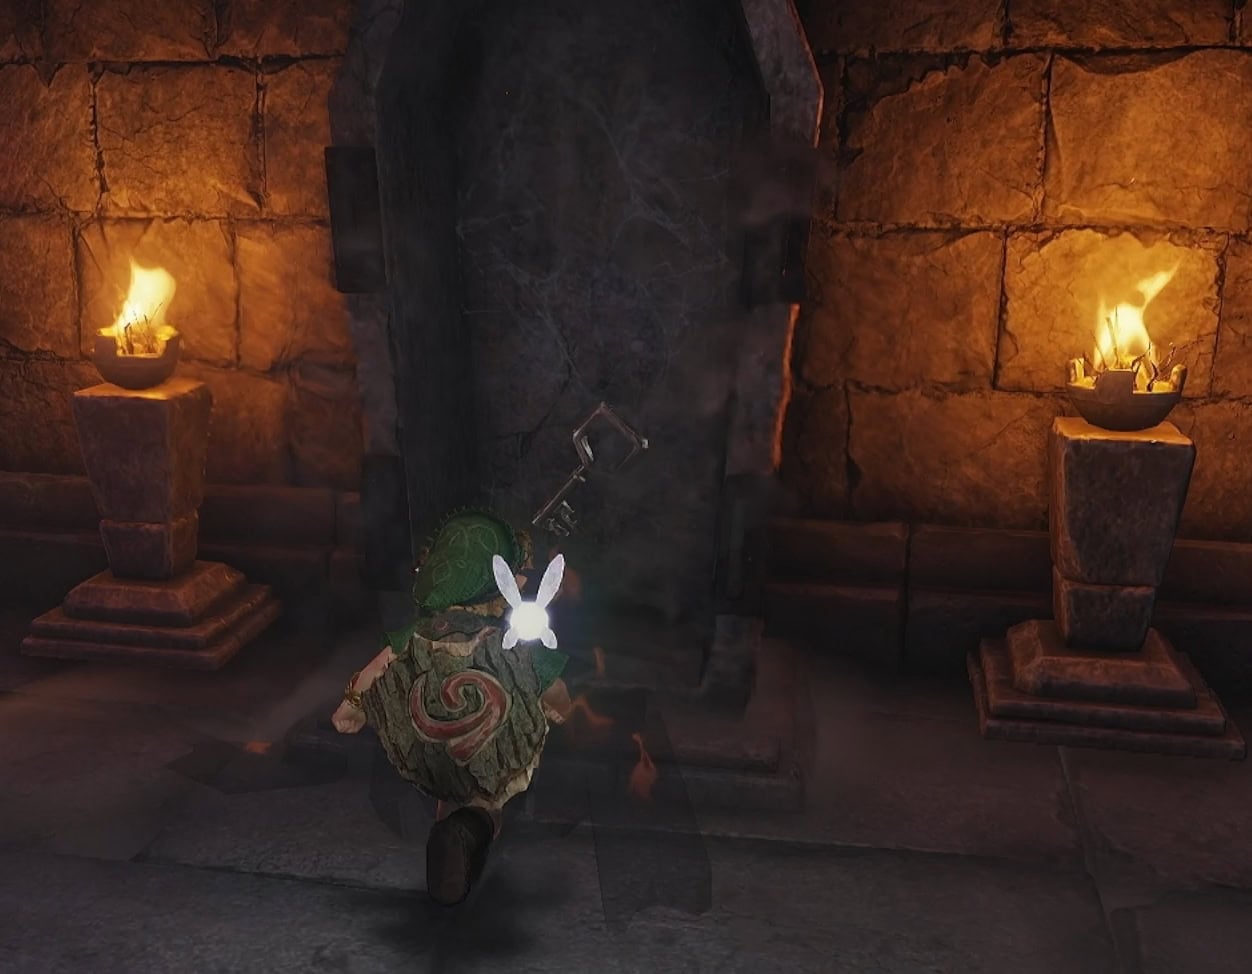
The west locked door has a Deku Baba and a Gold Skulltula, while the east locked door has some Keese, an illusory floor, and the last Gold Skulltula. Now you can leave and never come back.
The Shadow Temple Awaits
When you’re ready, return to the future and play the Nocturne of Shadow. You’ll be teleported to the eastern part of the Kakariko Graveyard. Head down the stairs to make your way to the Shadow Temple.
Gerudo Valley
If you want to pull off some shenanigans with the Shadow Temple, make your way to Gerudo Valley and agree to help the Master Craftsman find all of his workers.
They’ve been caught by the Gerudo thieves and need to be rescued. This can be tricky as the area is heavily guarded, but you have all the equipment you need by this point.
Once you’ve earned their trust, you’ll then want to enter the Gerudo Proving Grounds. The treasure hidden inside there will be very useful for what lies ahead.