Complete Guide to the Flashpoint in SWTOR: Crisis on Umbara. Includes all bosses, bonus objectives and achievements that you can do inside!
Table of contents
- Introduction to Umbara
- Thrash Pulls Before First Boss: Tips and Strategies
- FIRST BOSS: Shadow Assassin Elli-Vaa and Technician Canni
- Thrash Pulls After First Boss: Tips and Strategies
- BONUS BOSS: Alpha Slybex
- SECOND BOSS: Vixian Mauler
- Thrash Pulls After Second Boss: Tips and Strategies
- THIRD (FINAL) BOSS: Umbadan Spider Tank
- Rewards for Completing the Crisis on Umbara Flashpoint
- Walkthrough Videos
Introduction to Umbara
In this section you will find some lore about the planet as well as information on how to start the Flashpoint.
Lore
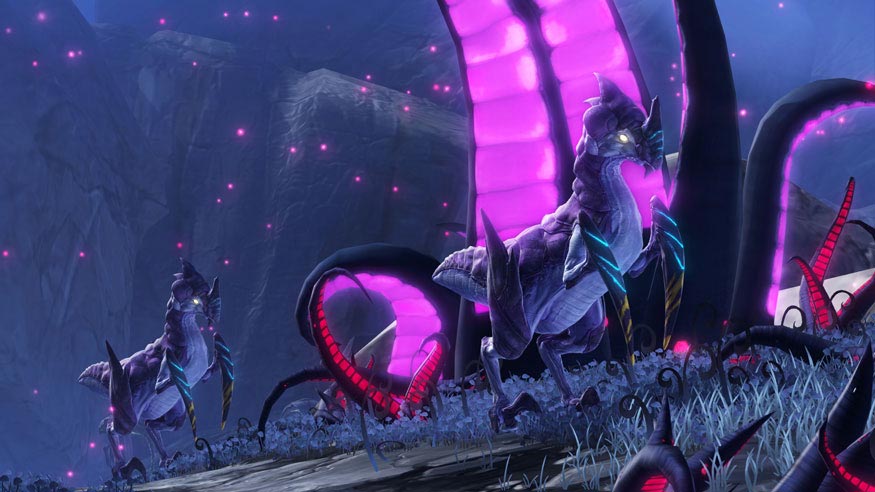
The planet Umbara, informally known as the Shadow World due to the rays of its sun never completely reaching its surface, was a perpetually dark planet within the reaches of the Ghost Nebula. It was home to the Umbarans, a species of pale Near-Humans.
Umbara was part of the Galactic Republic from that government’s earliest days. The founder of the New Sith Empire, Darth Ruin, was an Umbaran and his homeworld was under Sith control by 1002 BBY, when the Brotherhood of Darkness operated a Sith academy on the world that specialized in the training of Sith assassins known as the Umbaran Shadow Assassins.
These assassins used the Force to mask their presence from others, this worked even against Sith Lords and Jedi Masters. The primary weapon of these assassins was the Force pike.
How to unlock and access the Umbara Flashpoint
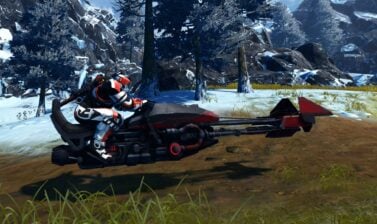
If you are not doing Crisis on Umbara from the Activity Finder or as part of your character’s personal story, you can start it by just simply walking into it. The entrance is located on Odessen.
From the Alliance Landing head to the east side of the platform and take the Tubrolift to the Alliance Staging Room. The terminal and the entrance to the Flashpoint are to your left.
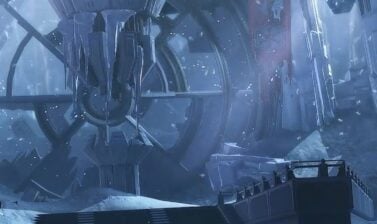
In SWTOR, with Update 5.4 and Crisis on Umbara, players get to explore a small part of this planet for the very first time. It happens during the Crisis on Umbara Flashpoint, which is a direct continuation of The War for Iokath Storyline that started with Game Update 5.2.
Bioware also published a short story that leads up to the events of the Flashpoint and its opening cutscene as the Alliance team landing on that moving train.
The Flashpoint Crisis on Umbara is available in 4four different modes:
Story
Easy to do, designed for 1 player, gear doesn’t matter at all. Only accessible by a lvl 70 player, who has done the War for Iokath storyline from Patch 5.2.
Solo
A repeatable version of the solo experience without the unique cinematic cutscenes, revealing the Alliance Traitor.
Veteran Mode
Well designed challenge for 4 casual players. Can be undermanned by skilled well geared players.
Master Mode
Quote over-tuned at launch. Each boss is a good challenge for most groups.
Read our SWTOR Story Progression Guide to learn where this story fits in. The guide will help you experience the game’s narrative in the proper intended order of events and aid and assist you if you are not sure what to do and where to go next.
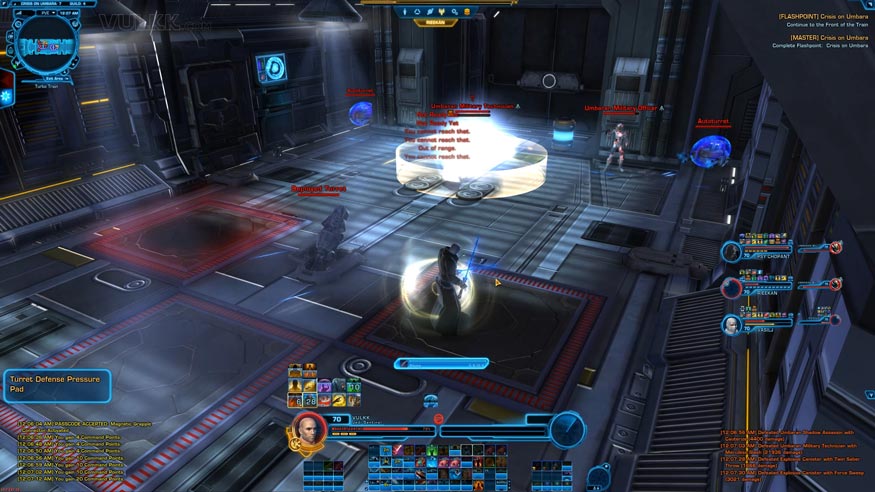
Thrash Pulls Before First Boss: Tips and Strategies
- If you knock back the NPCs off the train, they die instantly.
- The first Kolto you click, will open a Kolto Lore Update for you.
- Look for squares on the floor marked with red borders. Stepping on them will spawn a turret that you will have to defeat. Also avoid the red lines and thin white/blue ones. Crossing them will result in AoE lightning damage to the player. It is very dangerous in Master Mode. In the very first wagon where these squares are available, there’s also a datapad on the left, on top of one of the crates. Pick it up and you will be able to disable the suqres and prevent turrets from spawning (just walk over and click them)
- On the first platform you can pick up a Flamethrower – a channeled front-AoE ability that appears on a pop-up toolbar. The Flamethrowers are also available on various spots later in the instance.
- Some thrash pulls have NPCs that can stun you with a channeled ability “Charged Blast” – easy to interrupt or break out of the stun.
- The 2 Defensive Turrets at the front end of the train will 1-2 shot you. Don’t attack them. They aren’t a boss or anything.
FIRST BOSS: Shadow Assassin Elli-Vaa and Technician Canni
The first boss encounter features 2 bosses: Shadow Assassin Elli-Vaa and Technician Canni, who builds and buffs up to 6 turrets during the fight. Buffed turrets have more HP and deal slightly more damage.
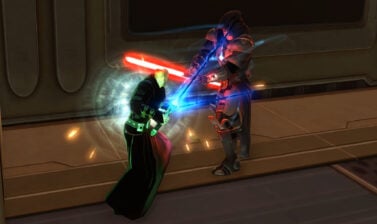
Shadow Assassin Elli-Vaa
- Has a knock-back ability that pushes players quite far in Tactical and Master Mode – Sweeping Slash (3s channel). This ability focuses one player and follows them during the channel. The targeted player should not bring the effect onto others.
- Has an ability to dissapear for a brief moment and reappear, sometimes in a different location. This is an aggro rest – tank needs to taunt the boss after that.
Technician Canni
- Summons adds – Autoturrets, and buffs them. Turrets have a special ability “Power Snare” – 6s channel, puts a slow debuff on the targeted player.
- Has a Grapple channel ability (1s) that pulls a random player to the boss’ position. This is Canni’s an aggro reset. In Master Mode the Technician’s grapple is followed by Shotgun Blast, which deals heavy damage. Tank must taunt the boss right after Grapple to prevent other members from taking the big hit from this ability.
Depending on your group’s survivability, you can focus on the bosses and leave the turrets up in Veteran Mode. In Master Mode turrets need to go down as soon as they spawn, preferably before the Technician buffs them.
Technician Canni will be invulnerable while he’s buffing the turrets, you can use that time to attack the Assassin Shadow Elli-Vaa or switch to another turret – Canni buffs them 1 by 1).
When one of the 2 bosses is dead, the other one gets enraged, but it is an enrage most groups will be able to handle easily. My suggestion is to take down the Technician, because this will stop the Autoturrets from spawning and he is the one with more dangerous enrage.
It is best, however, to kill them at the same time or as close as possible.
The reward for the 1st boss is 1x Alliance Recon Data token in Story Mode, 2x in Veteran Mode and 4x in Master Mode.


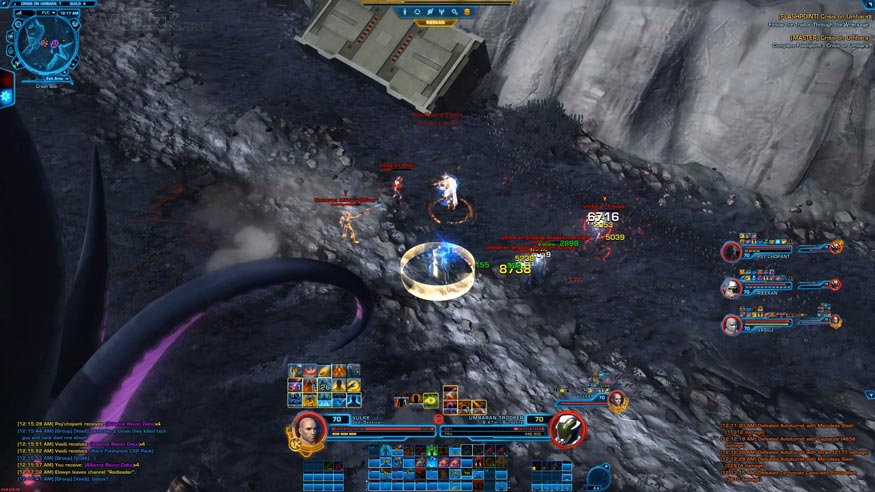
Thrash Pulls After First Boss: Tips and Strategies
- There are a lot of animals you have to slaughter. In the video Guide I showed a sneaky way to avoid most of them, if you don’t want to kill everything (after you have defeated the bonus boss, stick to the left wall on your screen).
- Use the Explosive Canisters spread all over the place to burn the monsters after you’ve collected as many of them as possible around.
- In the south corner of the Adegan Cristal Storage Crash Site area you can find several of the canisters with cristals for the quest objective.
BONUS BOSS: Alpha Slybex
This encounter includes the boss Alpha Slybex and 2 Slybex adds (golds).
Poisonous Breath
A 6s channeled ability that damages the player standing inside the marked area in front of the boss. The red cone appears moments before the channel begins, letting you know where the area of effect will be. Any Poison DoTs can and should be cleansed as soon as possible. In Master Mode they deal a lot of damage.

Strength of the Pack
2s channeled ability after which the boss resets its aggro and targets another player. Tank needs to taunt it back.

If the adds are killed first, the boss gets a stacking buff for each add, increasing his damage.
The bonus boss is located in the most southern corner of the Adegan Cristal Storage Crash Site area.
Tactics are very straightforward – tank keeps the boss faced away from the other members of the group and keeps taunting upon aggro reset, while avoiding the poisonous area from his breath-channel ability.
This bonus boss rewards you with 2x Alliance Recon Data token in Story Mode, 4x in Veteran Mode and 6x in Master Mode.
SECOND BOSS: Vixian Mauler
Fierce Swipe
2,5s channeled frontal ability. Market on the ground with red cone. In Master Mode the attack will also disable the player’s active abilities for a few seconds (silenced effect) if they remain inside the cone.

Ground Pound
1,8s channeled ability, performed on the tank. After the channel ends, the boss changes target (aggro reset) to a random player. If that player is not in melee range, boss jumps to them, dealing AoE damage, marked with a red circle around the targeted player. The targeted player is also knocked down for a moment. Ground Pound puts a Hobbled debuff on the tank, slowing its movement for 4s. Below 20% HP the boss starts doing an Enraged Pounding.

Fury
2s channeled ability that appears when the boss drops below 20% HP. It can hurt quite a lot in MM to a lesser geared characters.

The tactics for this fight are simply tank and spank. The tank keeps the boss facing away from the rest of the group and keeps taunting after each Ground Pound.
Fierce Swipe also targets the tank and the target area doesn’t move during the channel, so the tank can avoid the damage at the end of the channel. The boss is immune to taunts while performing channeled abilities.
This bonus boss rewards you with 1x Alliance Recon Data token in Story Mode, 2x in Veteran Mode and 5x in Master Mode.
Thrash Pulls After Second Boss: Tips and Strategies
- Most of the mobs are attacking in melee range – quite easy for the tank to run around and group up several pulls for nice and easy AoE-fest.
- Canisters can again be blown up near enemies to speed up the trash clearing process.

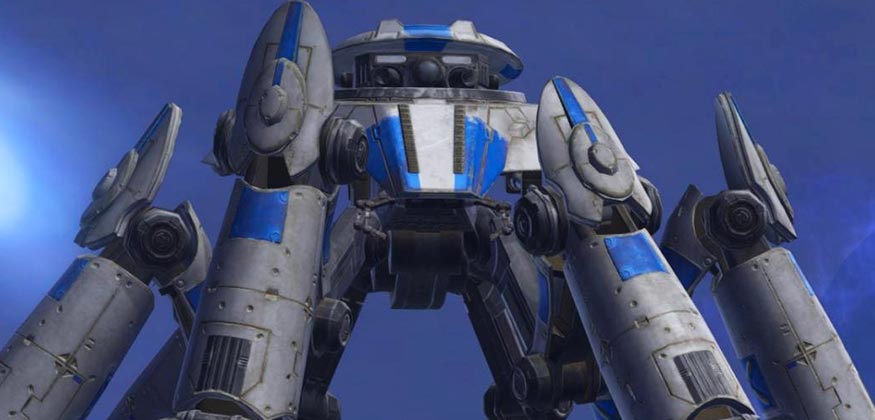
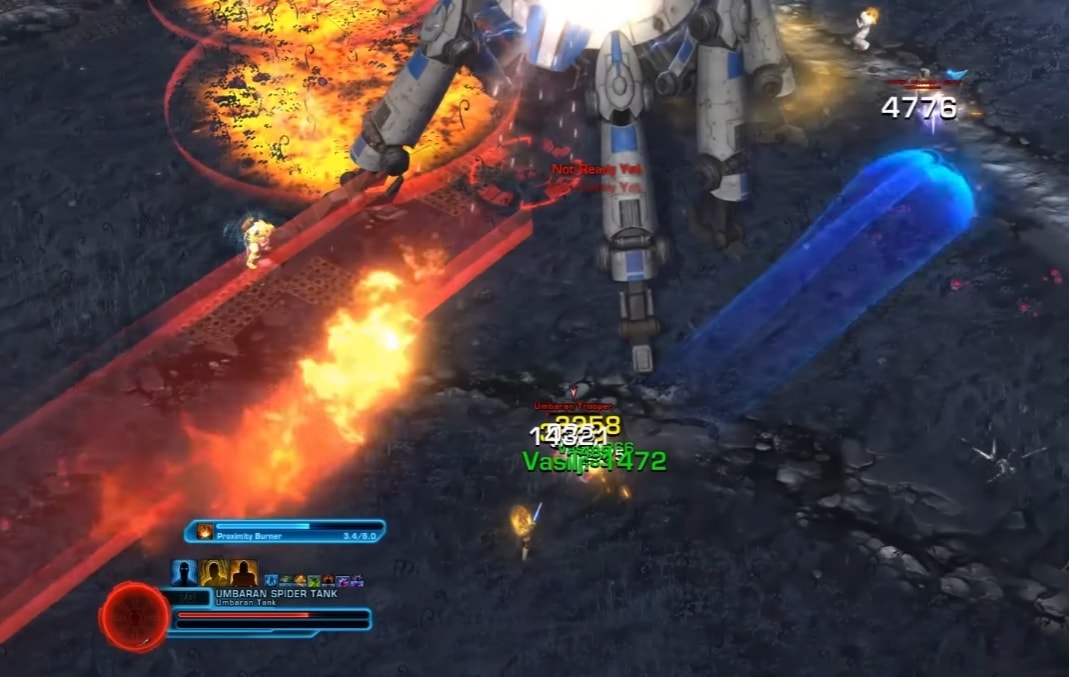
THIRD (FINAL) BOSS: Umbadan Spider Tank
Final boss is a giant droid Umbadan Spider Tank, plus waves of adds – Umbaran Troopers (ranged) and Shadow Assassin Acolytes (melee).
Ptoximity Burner
6s channeled ability that deals damage on a marked rectangular area in front of the boss.

Concussive Blast
2s casting ability that targets a random player, very hard hitter in Master Mode. Spread when the channel begins.

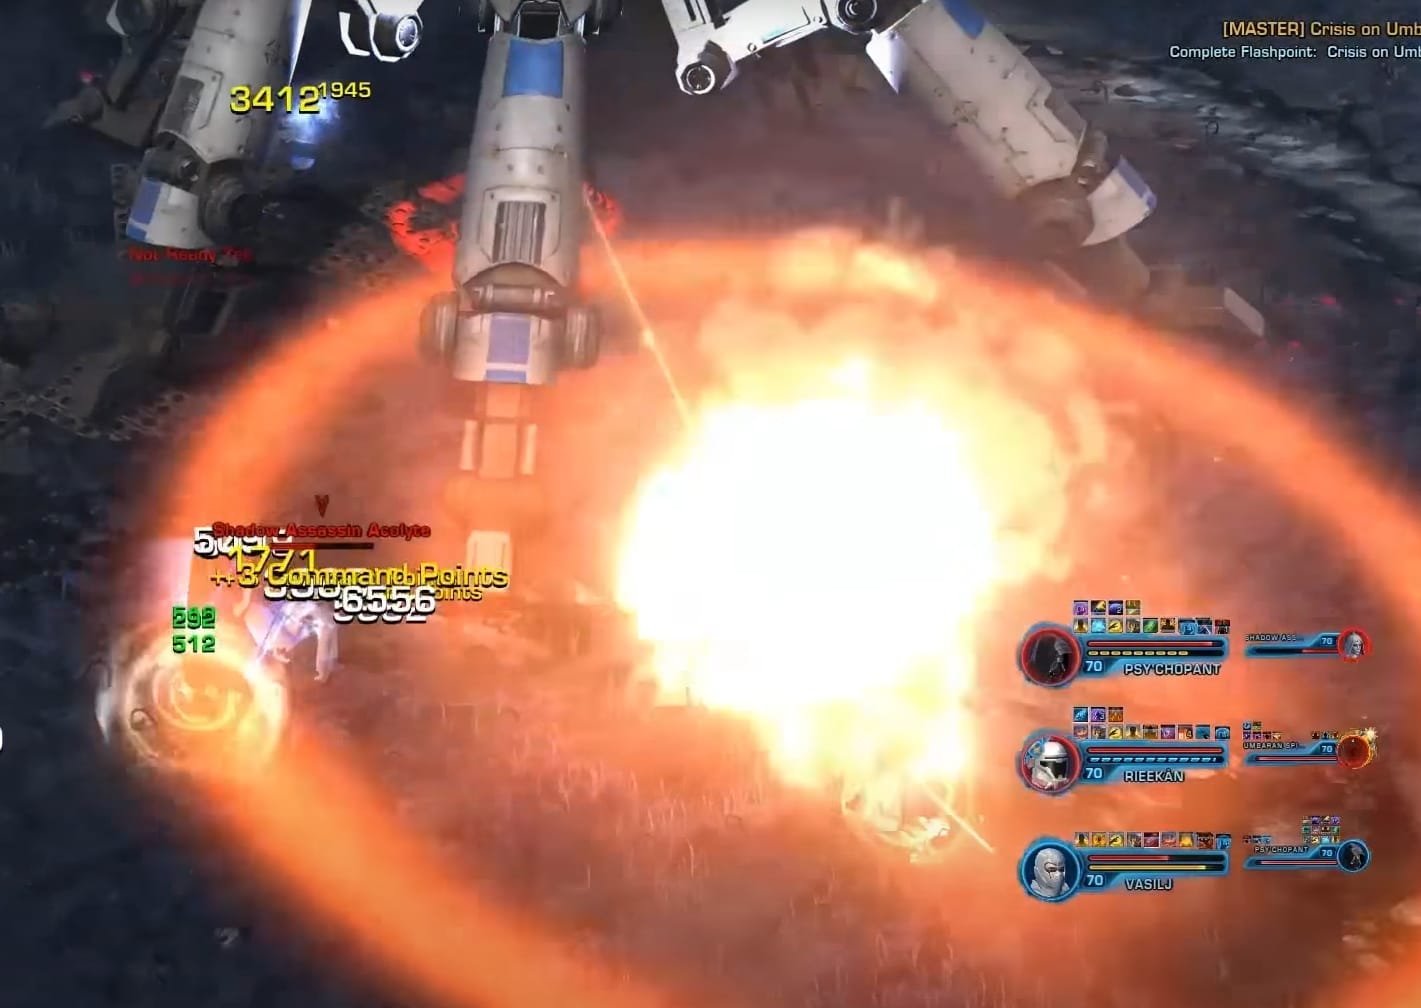
Turbo Cannon
2,2s channeled ability that targets the tank, appears after the boss drops below 50% HP. Red Circles appear on random players and deal damage constantly if the player doesn’t run out.

Ambush (Adds)
Spawn at ~75% of the boss’ HP and again at ~50%. The last wave seems to spawn adds constantly on a timer, like a soft enrage/burn mechanic until the boss is dead – it starts after ~20%.
The tactics for this boss is for the tank to keep it focused away from the group. One DPS is focused on the boss all the time, while the 2nd DPS is killing off the adds (suitable task for a quick leaper or RDPS with good burst and big hits).
If needed, both DPS should focus the adds immediately as they spawn in Master Mode as they deal a lot of damage and have more HP (~54k).
In Solo and Veteran Mode the adds are very weak and can be killed with 2-3 hits. Their channeled abilities can be interrupted. Some of them are ranged, others melee. It’s nice if one of the DPS has an off-taunt to help gather the melee adds around for AoE.
Make sure you clear the explosive canisters in the very beginning of the fight as they don’t help much (especially in MM), but can prevent players from easily seeing the spawning adds.
After 50% of the boss’ HP a new channeled ability is added to his arsenal – Turbo Cannon, that targets the tank exclusively and cannot be interrupted. In Master Mode it also deals quite a bit of damage.
The player, responsible for the adds, can use the pick-up bonus ability Flamethrower (located on a table near the boss) to burn up nearby Explosive Canisters and this speed up a bit the process of clearing the adds. The Flamethrower is no good as an actual AoE Damaging Ability as its damage is way too low.
Near the end, around ~20-15% of the boss’ HP, something like a soft enrage/burn phase begins – adds will start spawning constantly until the boss is finished. At this point all DPS should focus on burning the boss down and after that clearing up the remaining adds.
This bonus boss rewards you with 2x Alliance Recon Data token in Story Mode, 4x in Veteran Mode and 5x (?) in Master Mode.
Rewards for Completing the Crisis on Umbara Flashpoint
The Flashpoint bosses don’t provide you with any interesting gear drops, but each boss drops a certain amount of Alliance Recon Data – new special currency (tokens), which can be used at the 2 new vendors. They are located just outside the Flashpoint’s entrance on Odessen.
Alliance Recon Data drops per full Flashpoint run:
- Solo Mode – 6 tokens
- Veteran Mode – 12 tokens
- Master Mode – 20 tokens
Check the video below for a full overview of the available items and the pricing.
Walkthrough Videos
In the Videos section you will find various runs from my very first Solo Story Walkthroughs, through Veteran and Master Mode Guide and Gameplay videos. All ofthem in the highest possible quality I am capable of providing for you – 1440p at 60 fps and in very high bitrate.